HOLIDAY DONATION DRIVE - SUPPORT MSW - DO YOUR PART TO KEEP THIS GREAT FORUM GOING! (83 donations so far out of 49,000 members - C'mon guys!)
×


yvesvidal
-
Posts
3,607 -
Joined
-
Last visited
Content Type
Profiles
Forums
Gallery
Events
Everything posted by yvesvidal
-
 Absolutely beautiful. Are you going to rig it ? Yves
 -
Yes, that was one of my first kit, the Renwall original model. I was so excited to have such a great kit. You could even shoot the missile in the air. What a treat. Yves
-
For the simple reason that it is easier to adjust the cuts when you can see the modules inside. But do not worry, I will be shooting a coat of primer soon, on the bow that I am reworking. Yes, it is not easy to work on this transparent stuff. Yves
-
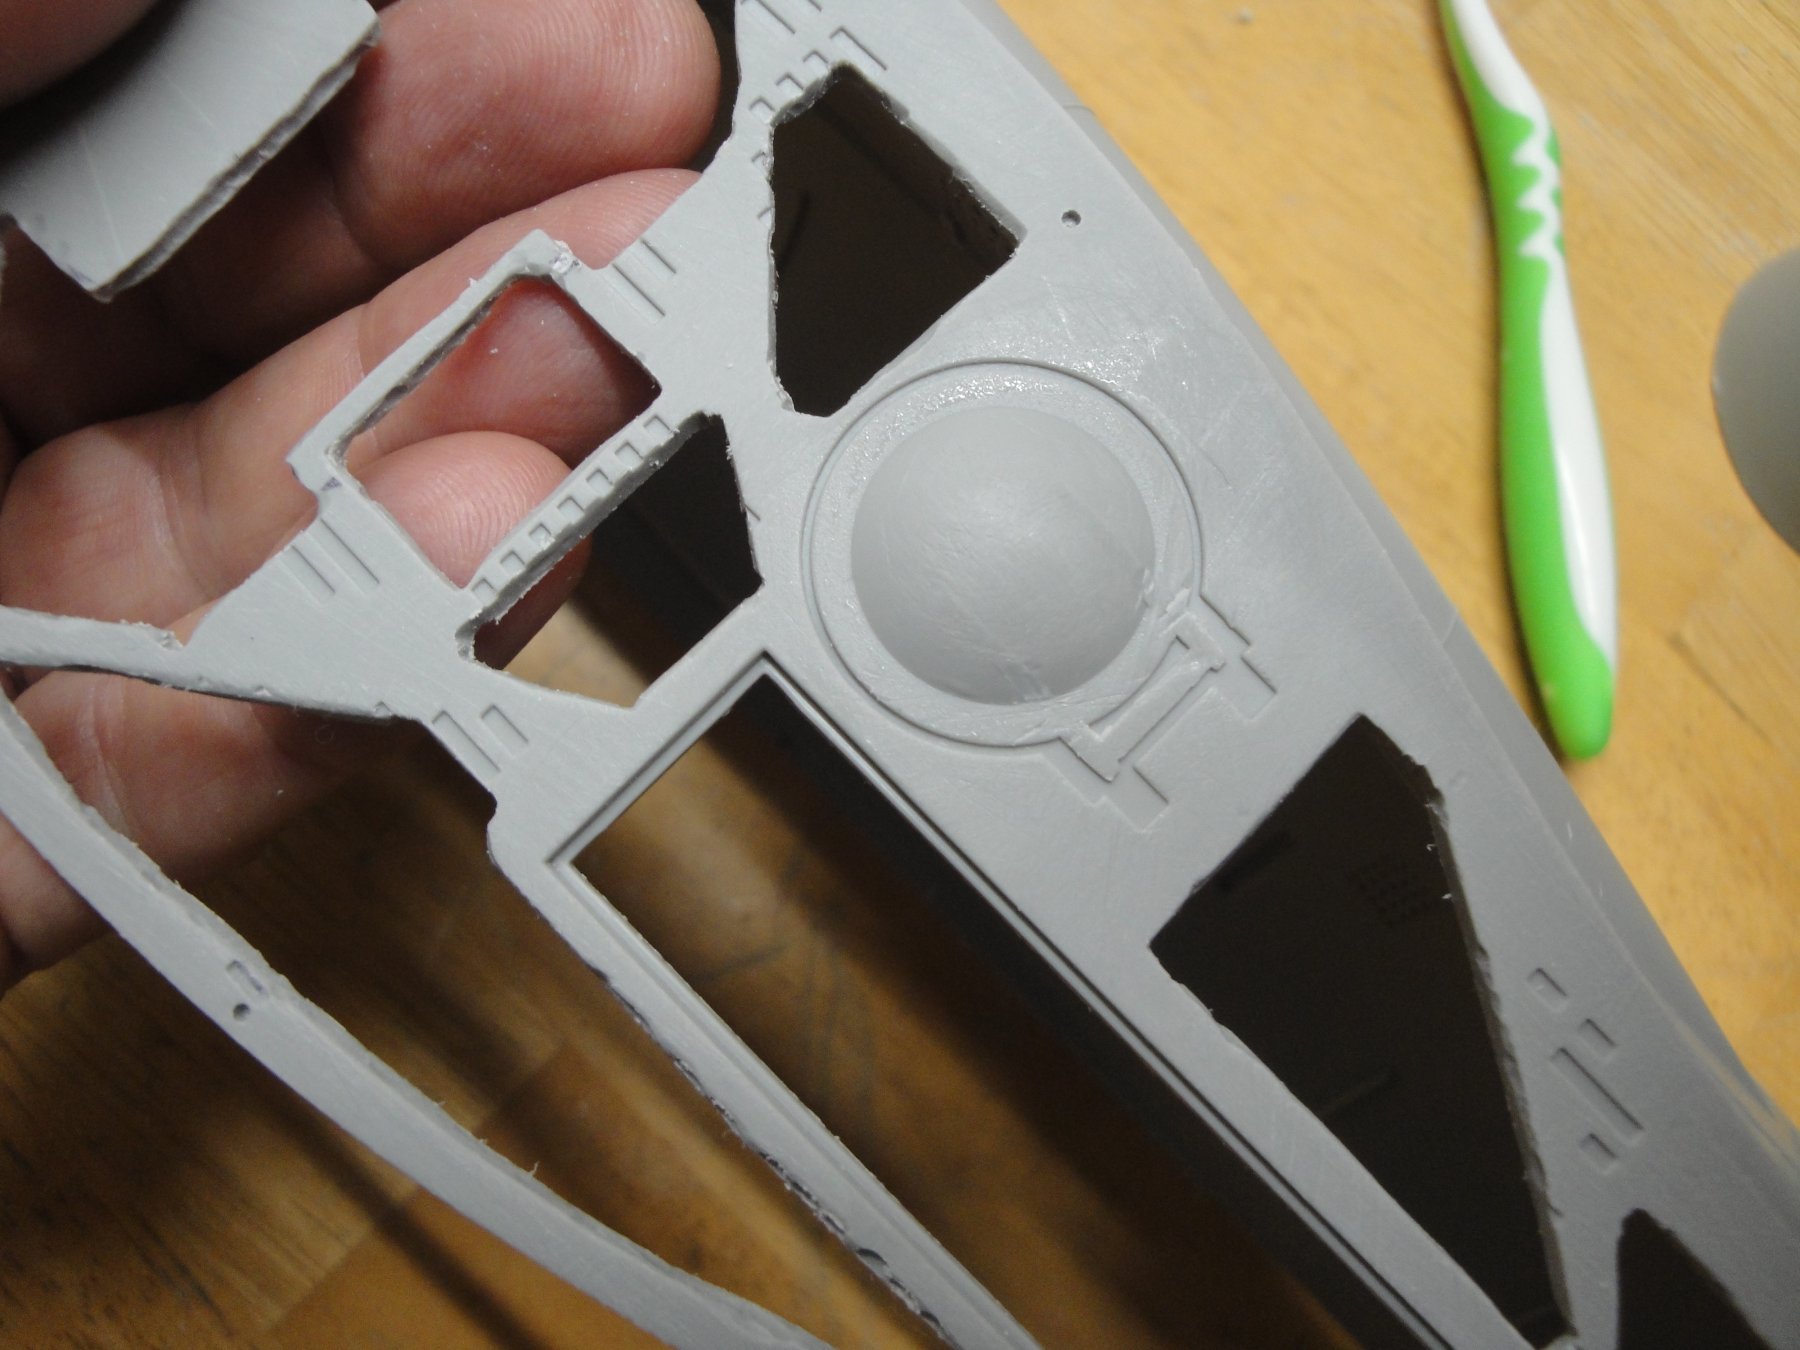
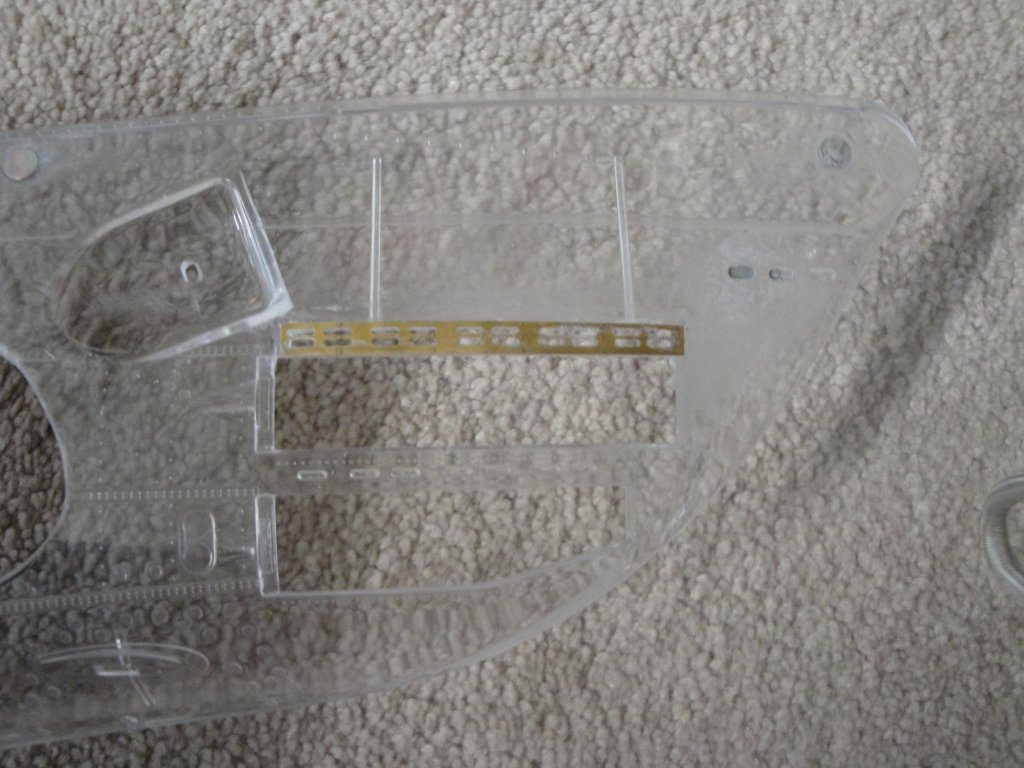
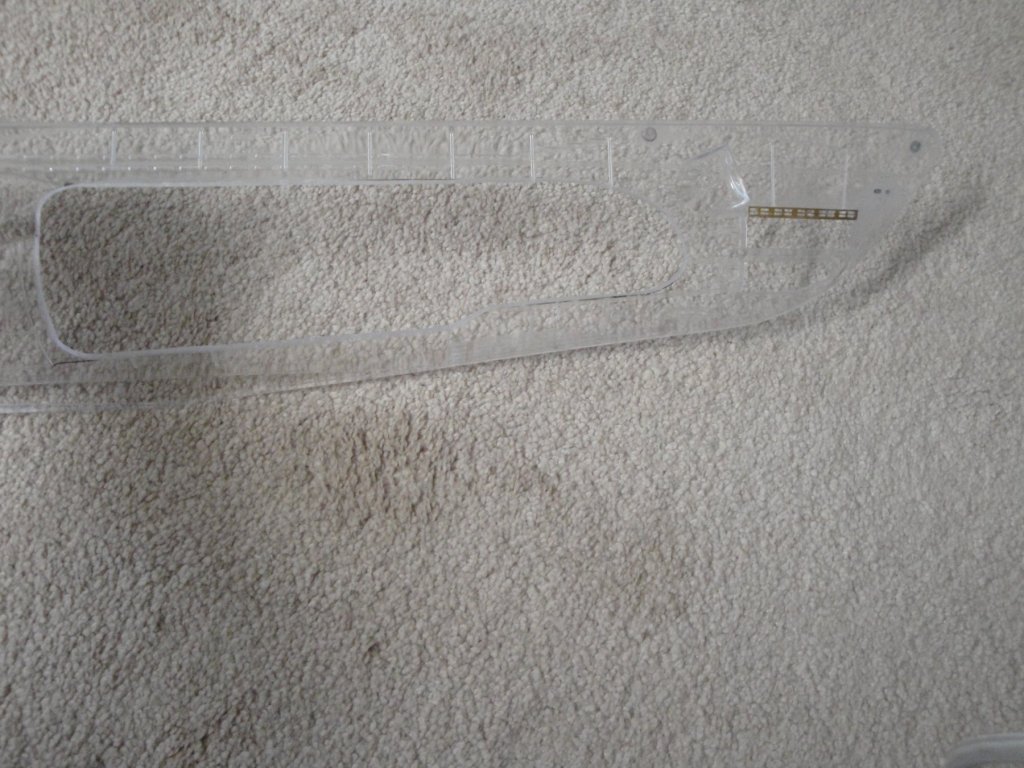
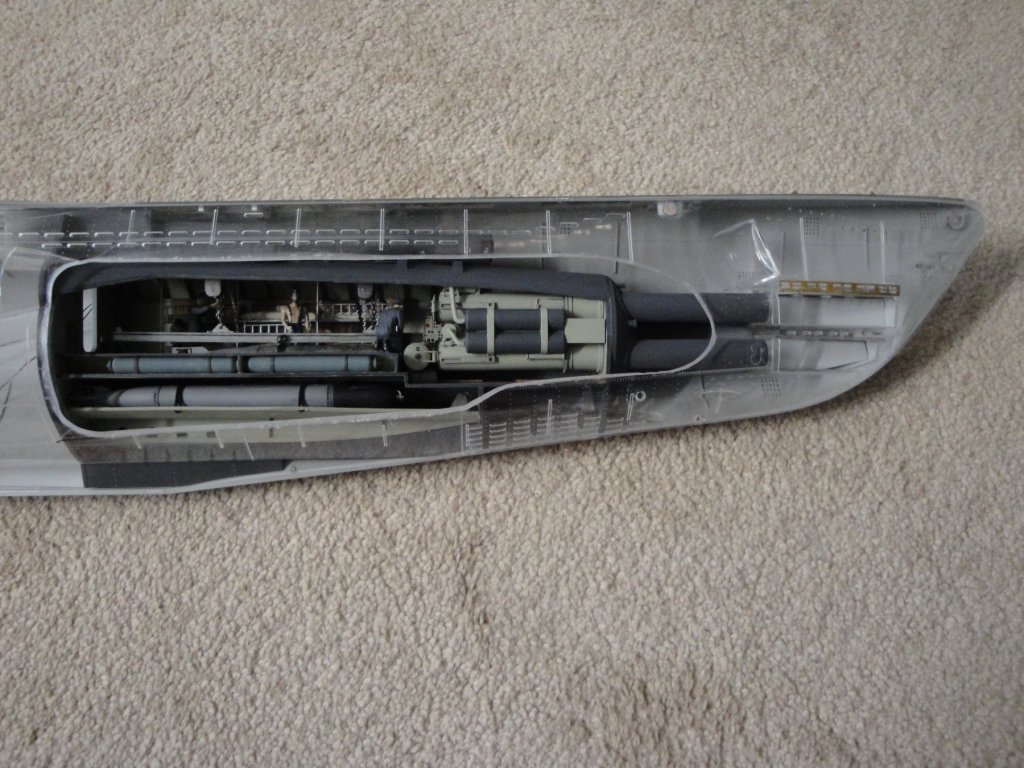
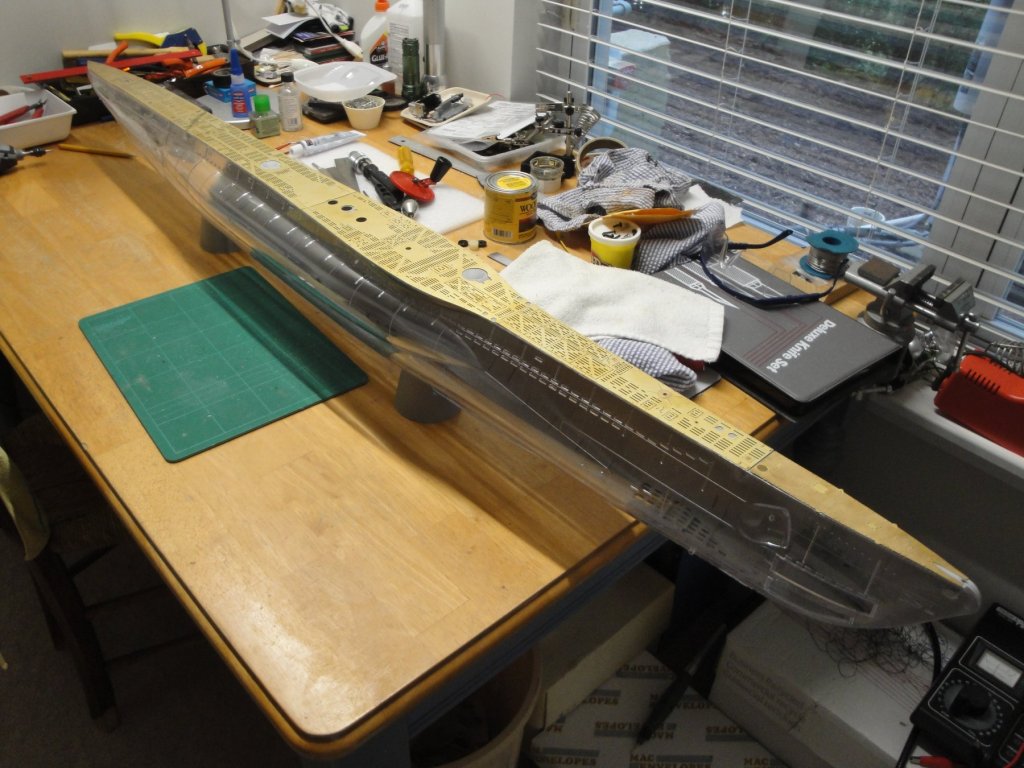
Now that the Port side is more or less completed, it is time to work on the starboard half-hull. This piece is made of acrylic or plexiglass and is a nightmare to rework. My tools although running at the lower possible speed (5,000 RPM) tend to melt the plastic if you stay too long on one spot. You have to keep moving, stop frequently, cut the melted blob around the bits, and start again, a tedious and delicate cutting. In addition, the part is not as resilient than the regular polystyrene and I am always concerned of risks of shattering the part. Not a pleasant section of the construction. It is nerve wracking and my teeth are clenched way too long. How much I wish they had provided two starboard hulls: one transparent and one made of regular polystyrene that you could cut to your desire. Also, working on a semi-transparent part is not exactly easy and I cannot wait to prime that section. It is truly difficult to see your mistakes. First, the torpedo doors: Then the large cut to show the front torpedo compartment: And an appetizer of what will be the final result: My plan is obviously not to use the transparent hull as provided in the kit. Let's be honest, you don't see much through that plastic, even though it may look a little bit better with the lights on. Instead, I want to paint the hull and leave open some sections that show all the action taking place inside the submersible. A little bit like these books of our childhood, showing you a cutaway of ships, cars, planes and submarines. Yves
- 760 replies
-
- 15
-

-
Folks and followers, Thank you for the appreciations and thumbs-ups. I encourage you to go back to old posts as I usually improve them with additional information and archive elements that I find, in my ever lasting quest on these machines. I recently added some schematics on the fuel system, a few posts back. I am trying to make this BLOG interesting by offering historical and technical elements in addition to the build properly speaking. Yves
-
You are making good progress, Christian. Yves
-
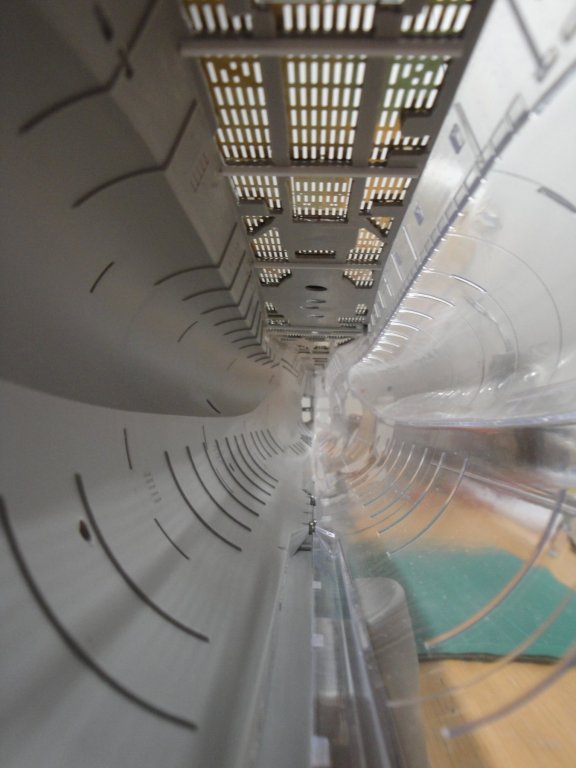
Well, I could not wait..... First two pieces of deck: These are glued with two components epoxy glue. It gives you plenty of time to position perfectly the parts and clean very easily with isopropyl alcohol. The end result is very sturdy although somewhat flexible. Just what I needed. You have to apply the glue very sparingly, as it will try to seep through the gratings. A soft and clean rag with alcohol, and it is all clean. Now, for the claustrophobia lovers, an inside shot: That hull is massive. Yves
- 760 replies
-
- 15
-
-
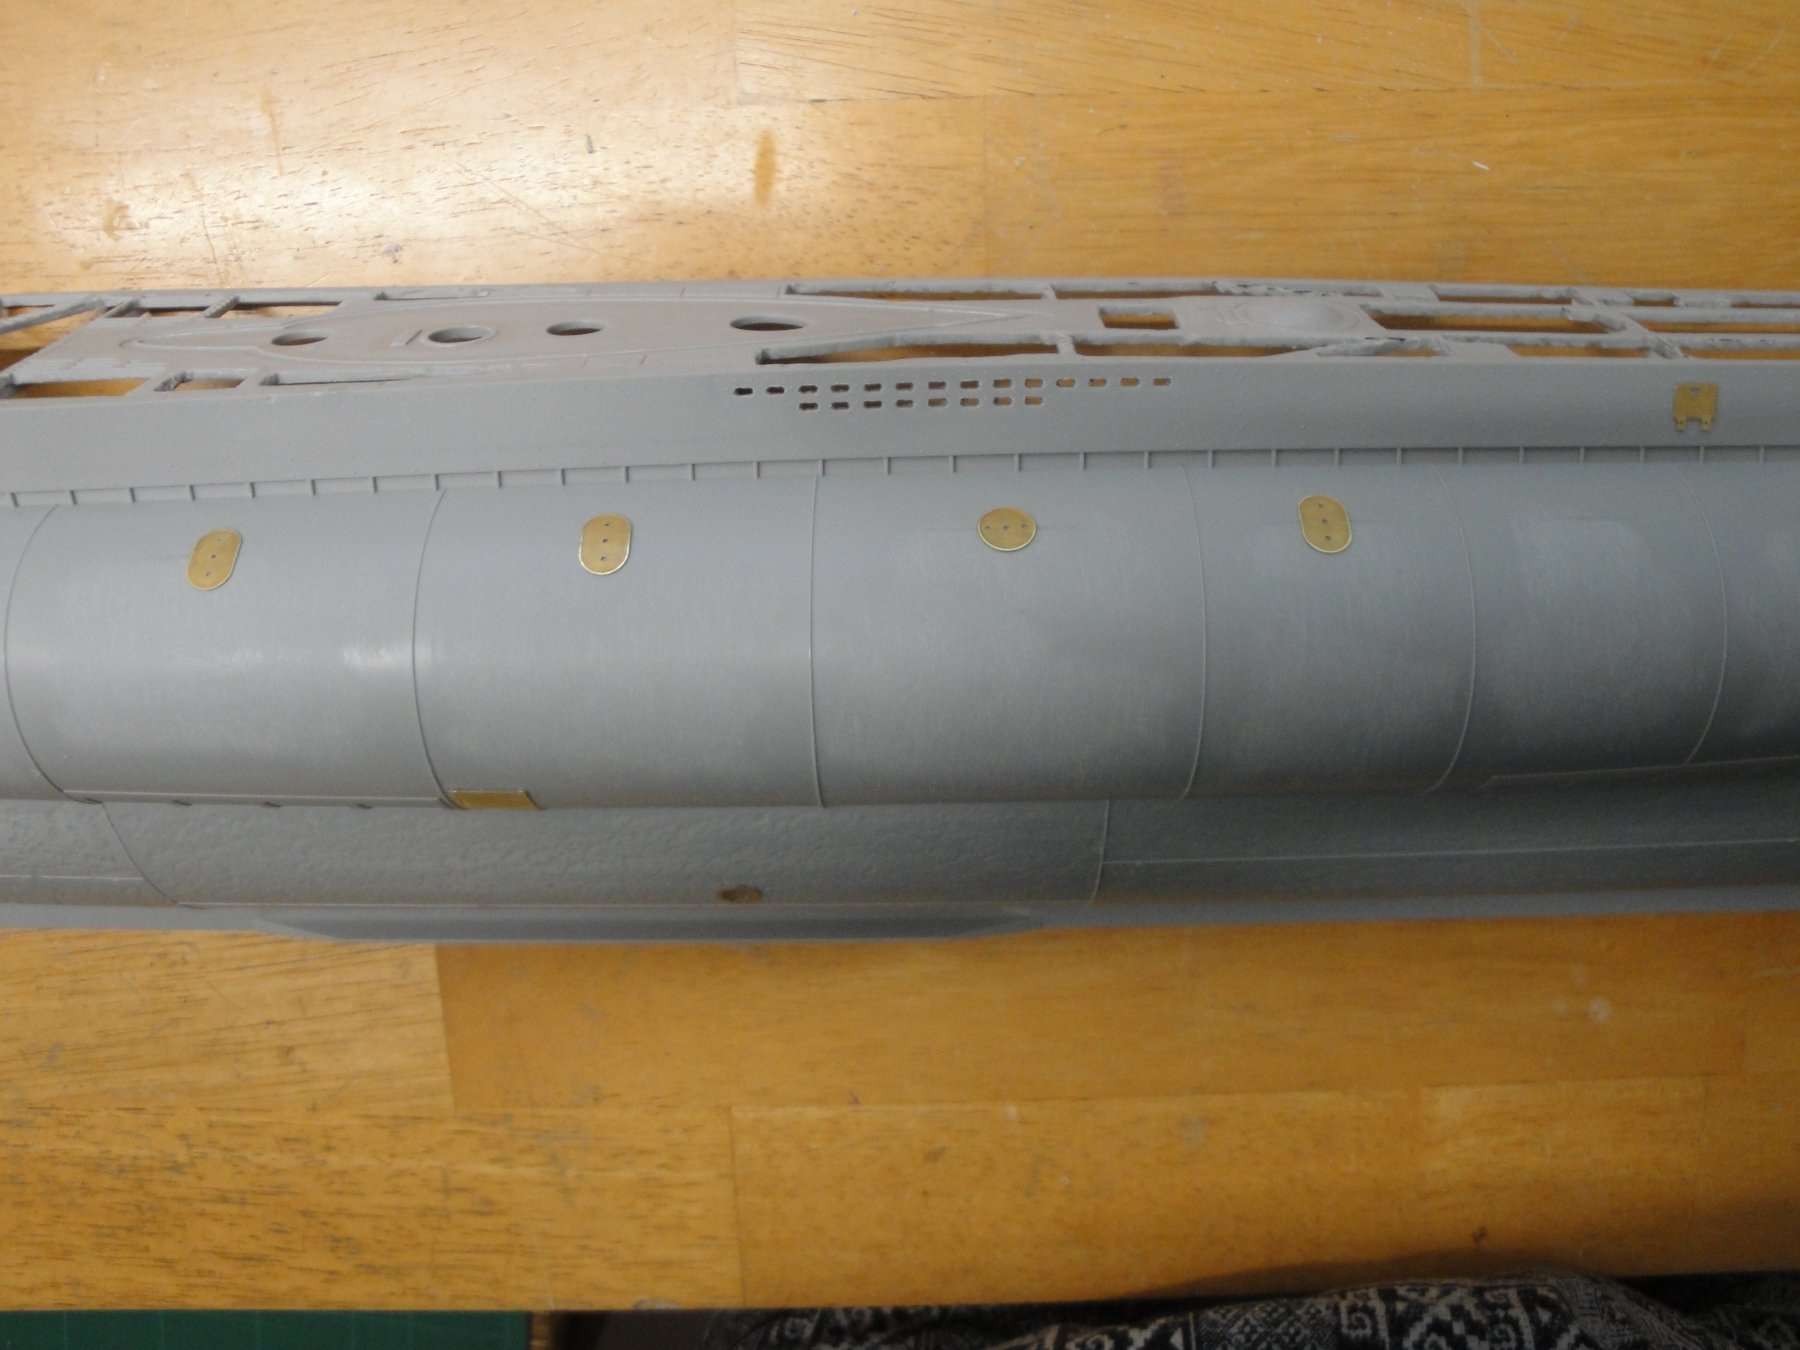
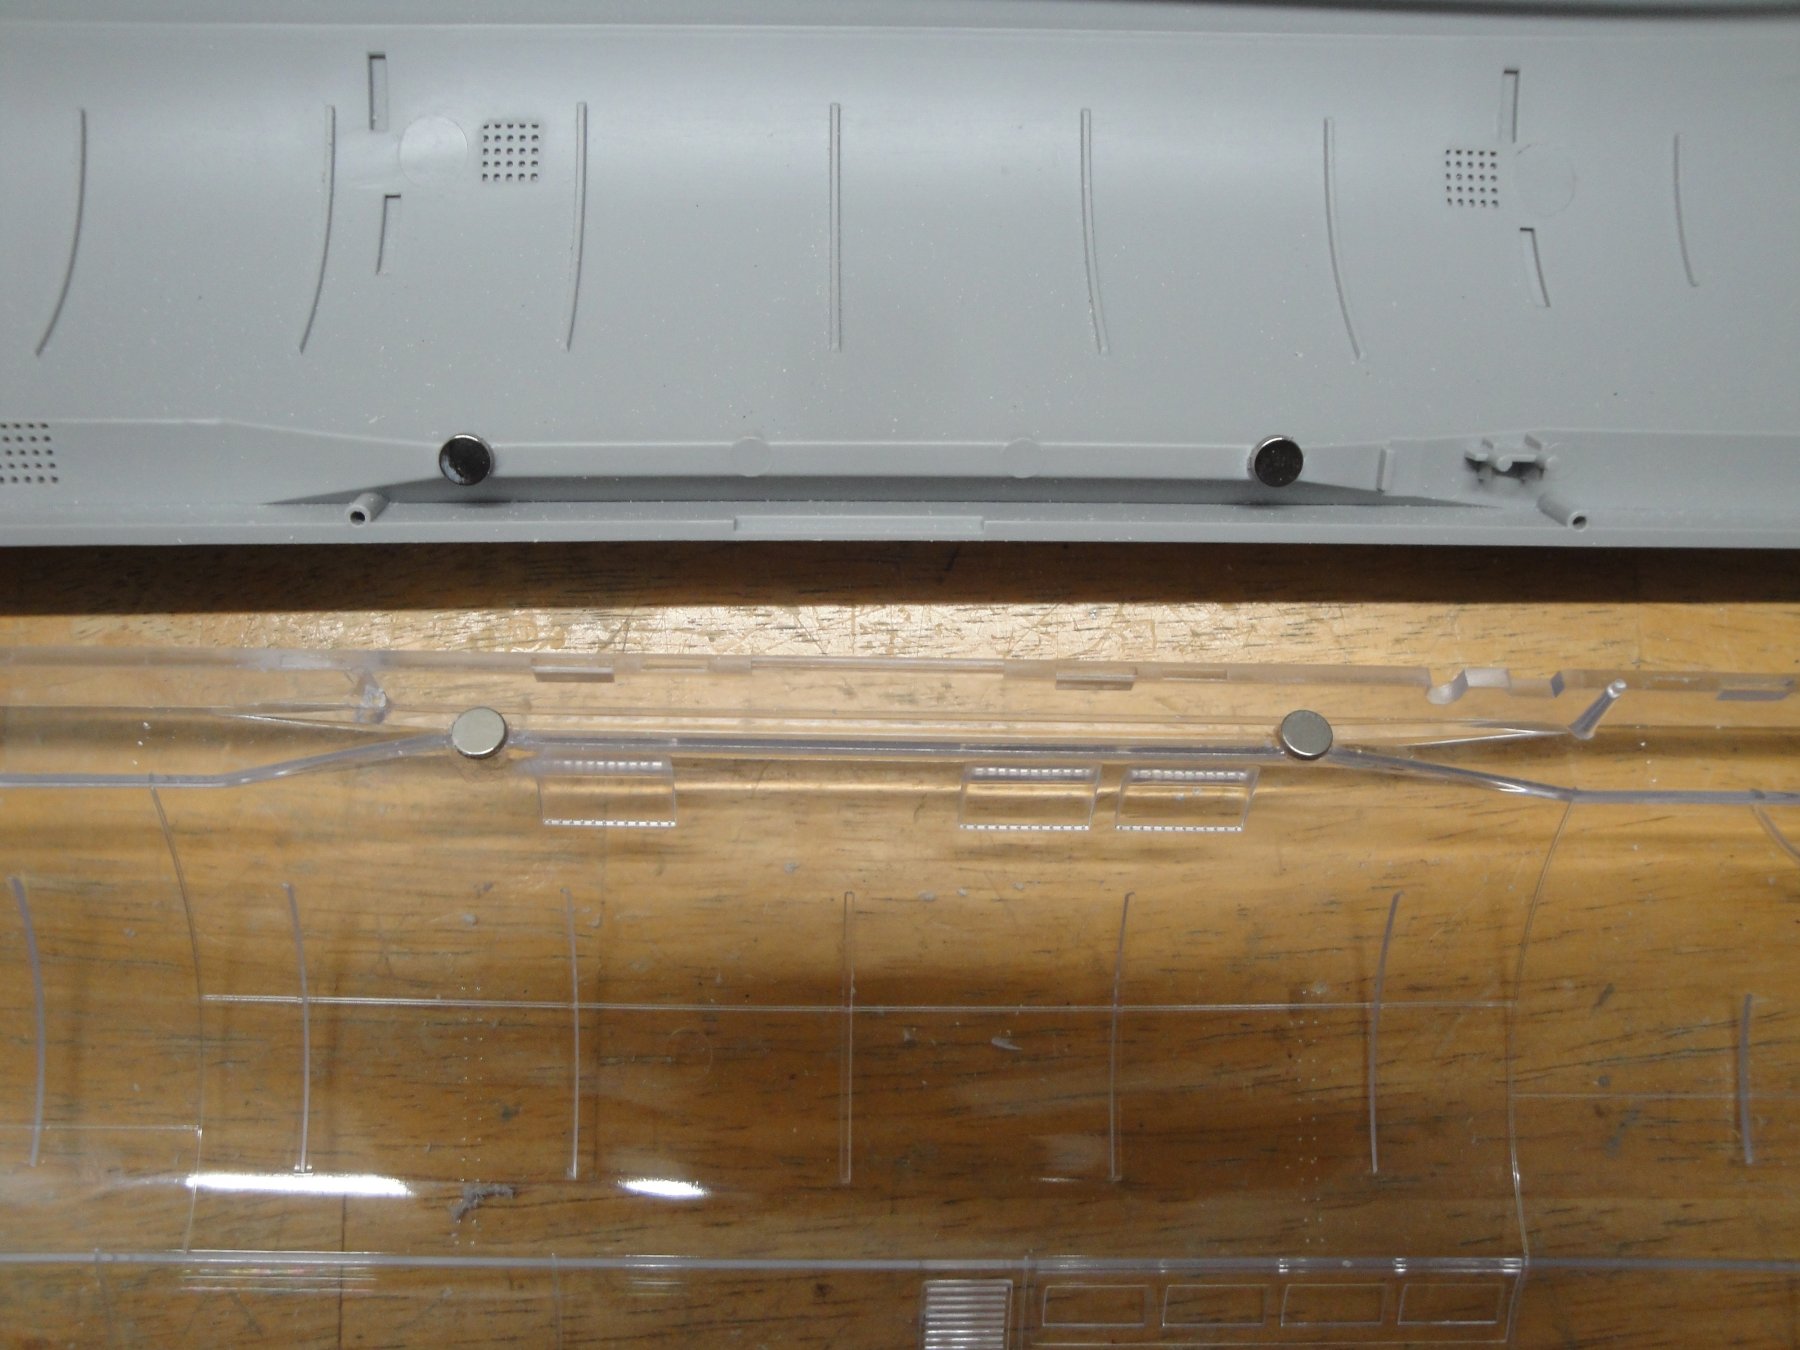
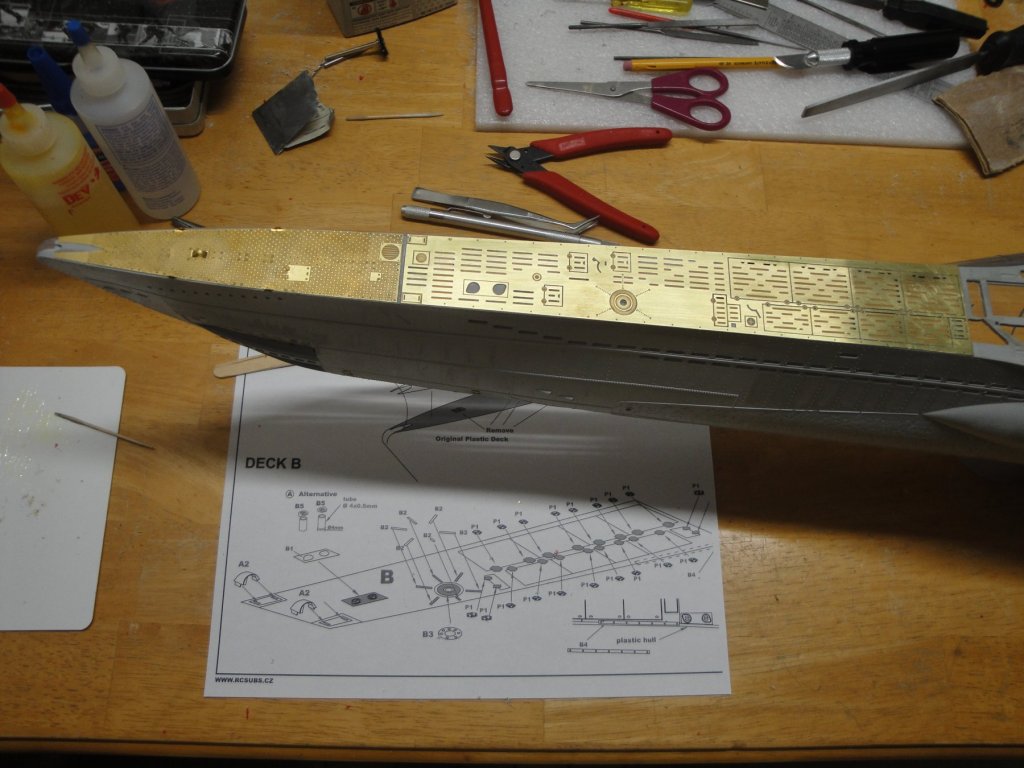
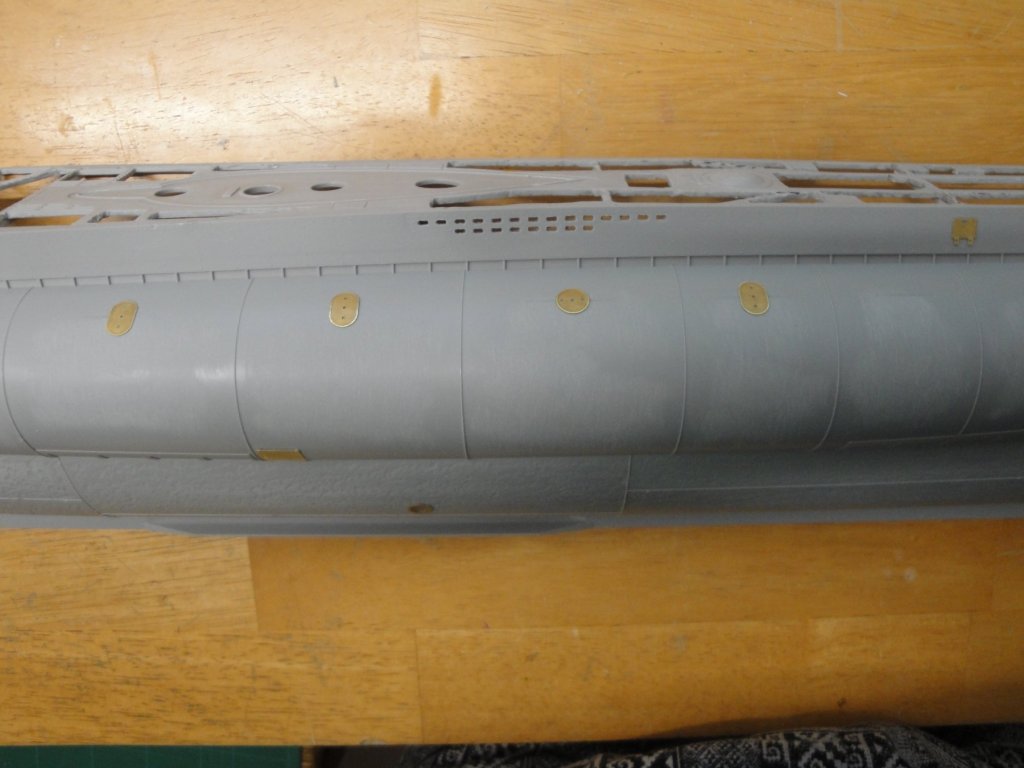
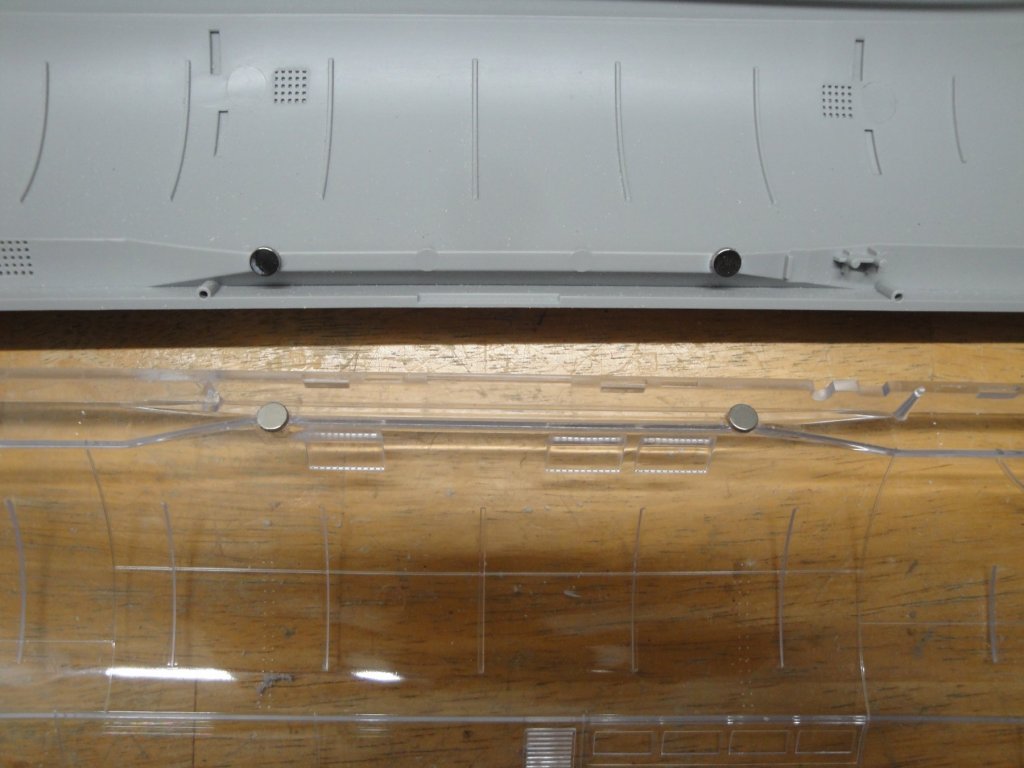
Some progress: 1) installation of magnets to hold the starboard half hull to the deck and port hull. It is working very well and give me a sturdy and full hull to work with. This is very important to position perfectly the PE on the deck. In the end, I may glue the other half, but there is no certainty. It could stay like that and be fine. I may still add a couple of magnets towards the bow, below the torpedo doors. The half hulls are so big and long, there is a slight warping that irritates me. 2) There is the whole enchilada, holding with just the magnets: Now is time for the exciting part: THE PEs !!!! A novelty for me. For the time being, they are just resting on the plastic deck. Maybe tomorrow, I will start gluing them, starting from the bow. Yves


- 760 replies
-
- 14
-
-
Yeah. This is going to be exciting. You are going to have an indigestion of PE, for sure. Yves
- 345 replies
-
- 4
-
-
- graf zeppelin
- trumpeter
- (and 2 more)
-
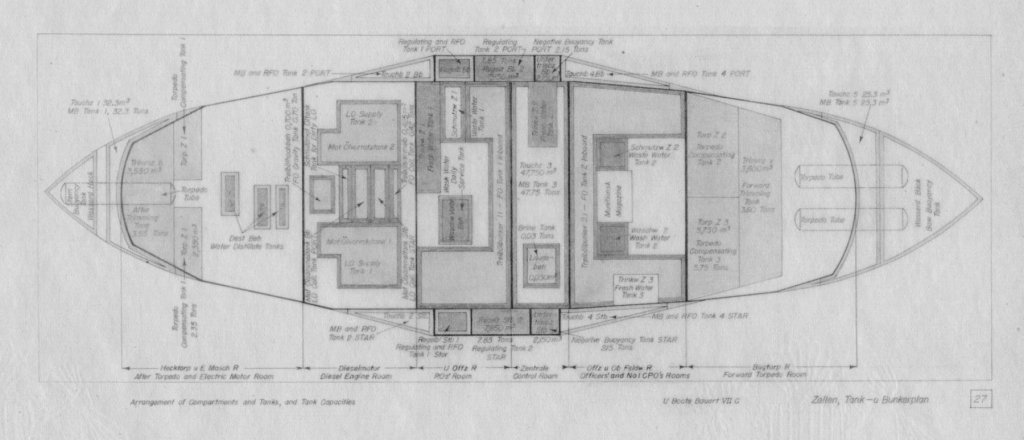
The Haynes manual on the Type VIIc seems to go along with your understanding, Imagna. So, I also have access to the original German Manual for the Type VIIc, translated in English. Below are a few schematics showing the intricacies and complexity of the fuel system and the respective positions of the various fuel tanks: I did not study them in details, but it is a good starting point to figure out how it works. Knowledge of the language of Goethe may help too. Yves

-
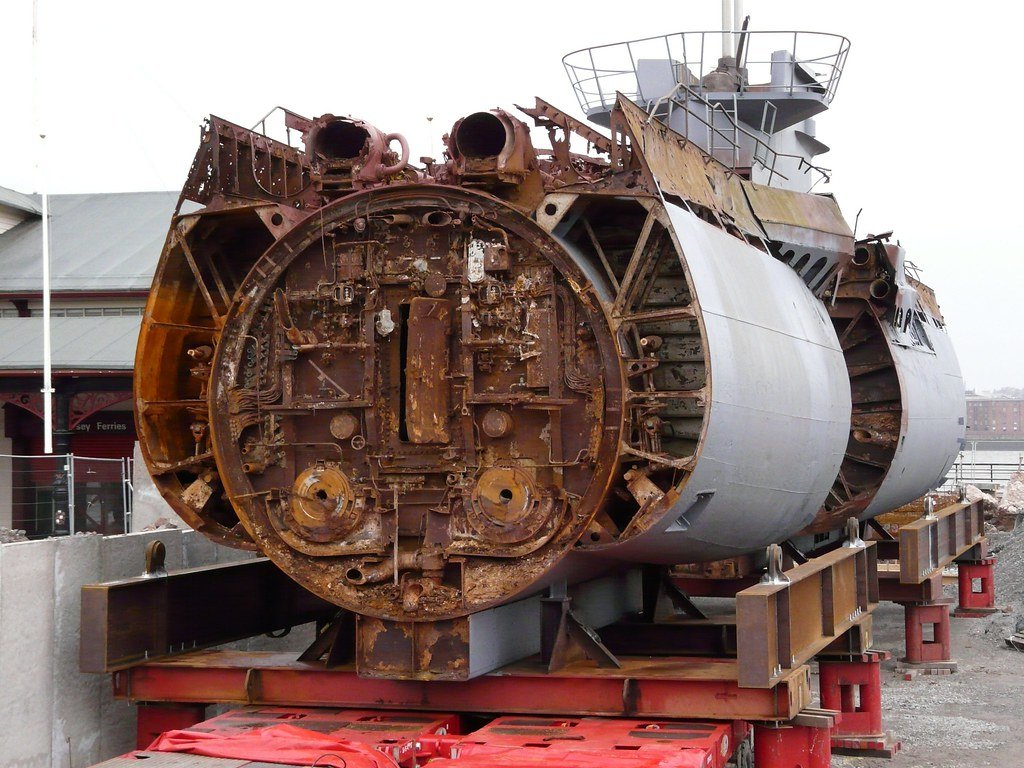
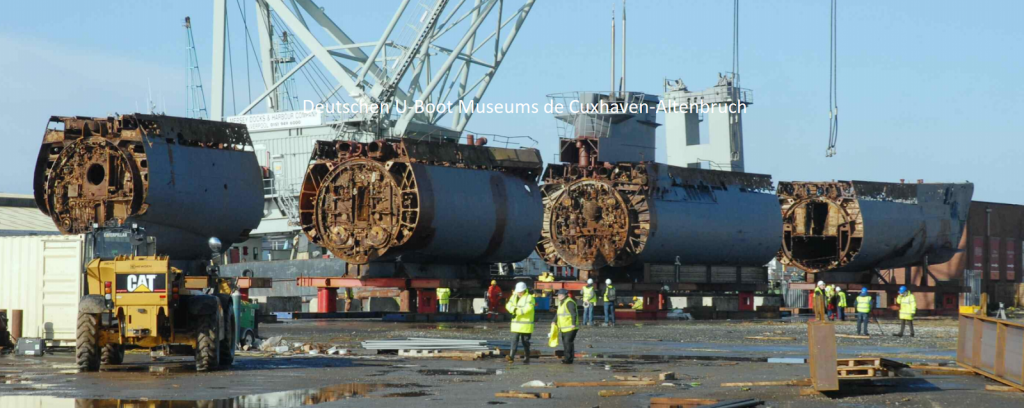
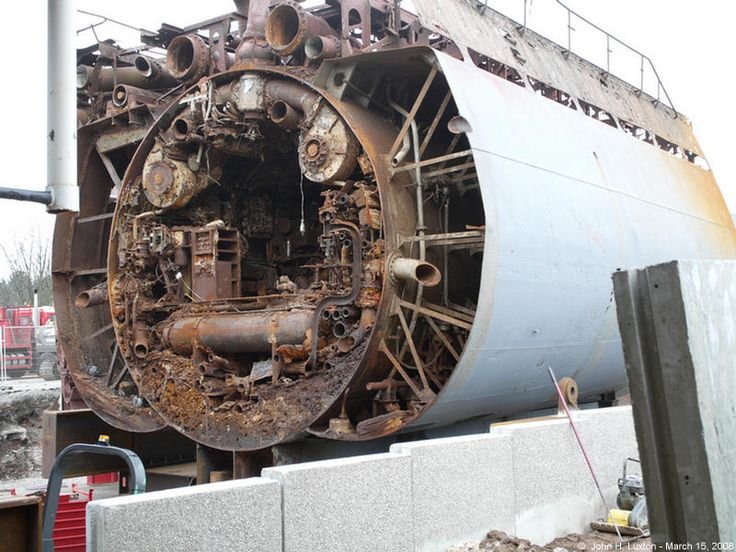
Imagna, Thank you for these explanations. It is somewhat difficult to understand exactly how these Type VIIc submersibles were used and operated. Yes, apparently the RFO (Reserve Fuel Oil) tanks were located with the main ballasts, on each side of the hull. I found that picture (not very good) of a slice of the U-534 (Type IXc) which was rescued recently and is being restored by a wealthy and "crazy" organization. It is still quite close to the Type VIIc, just bigger: Nice view of the two Turbos above. Yves

-
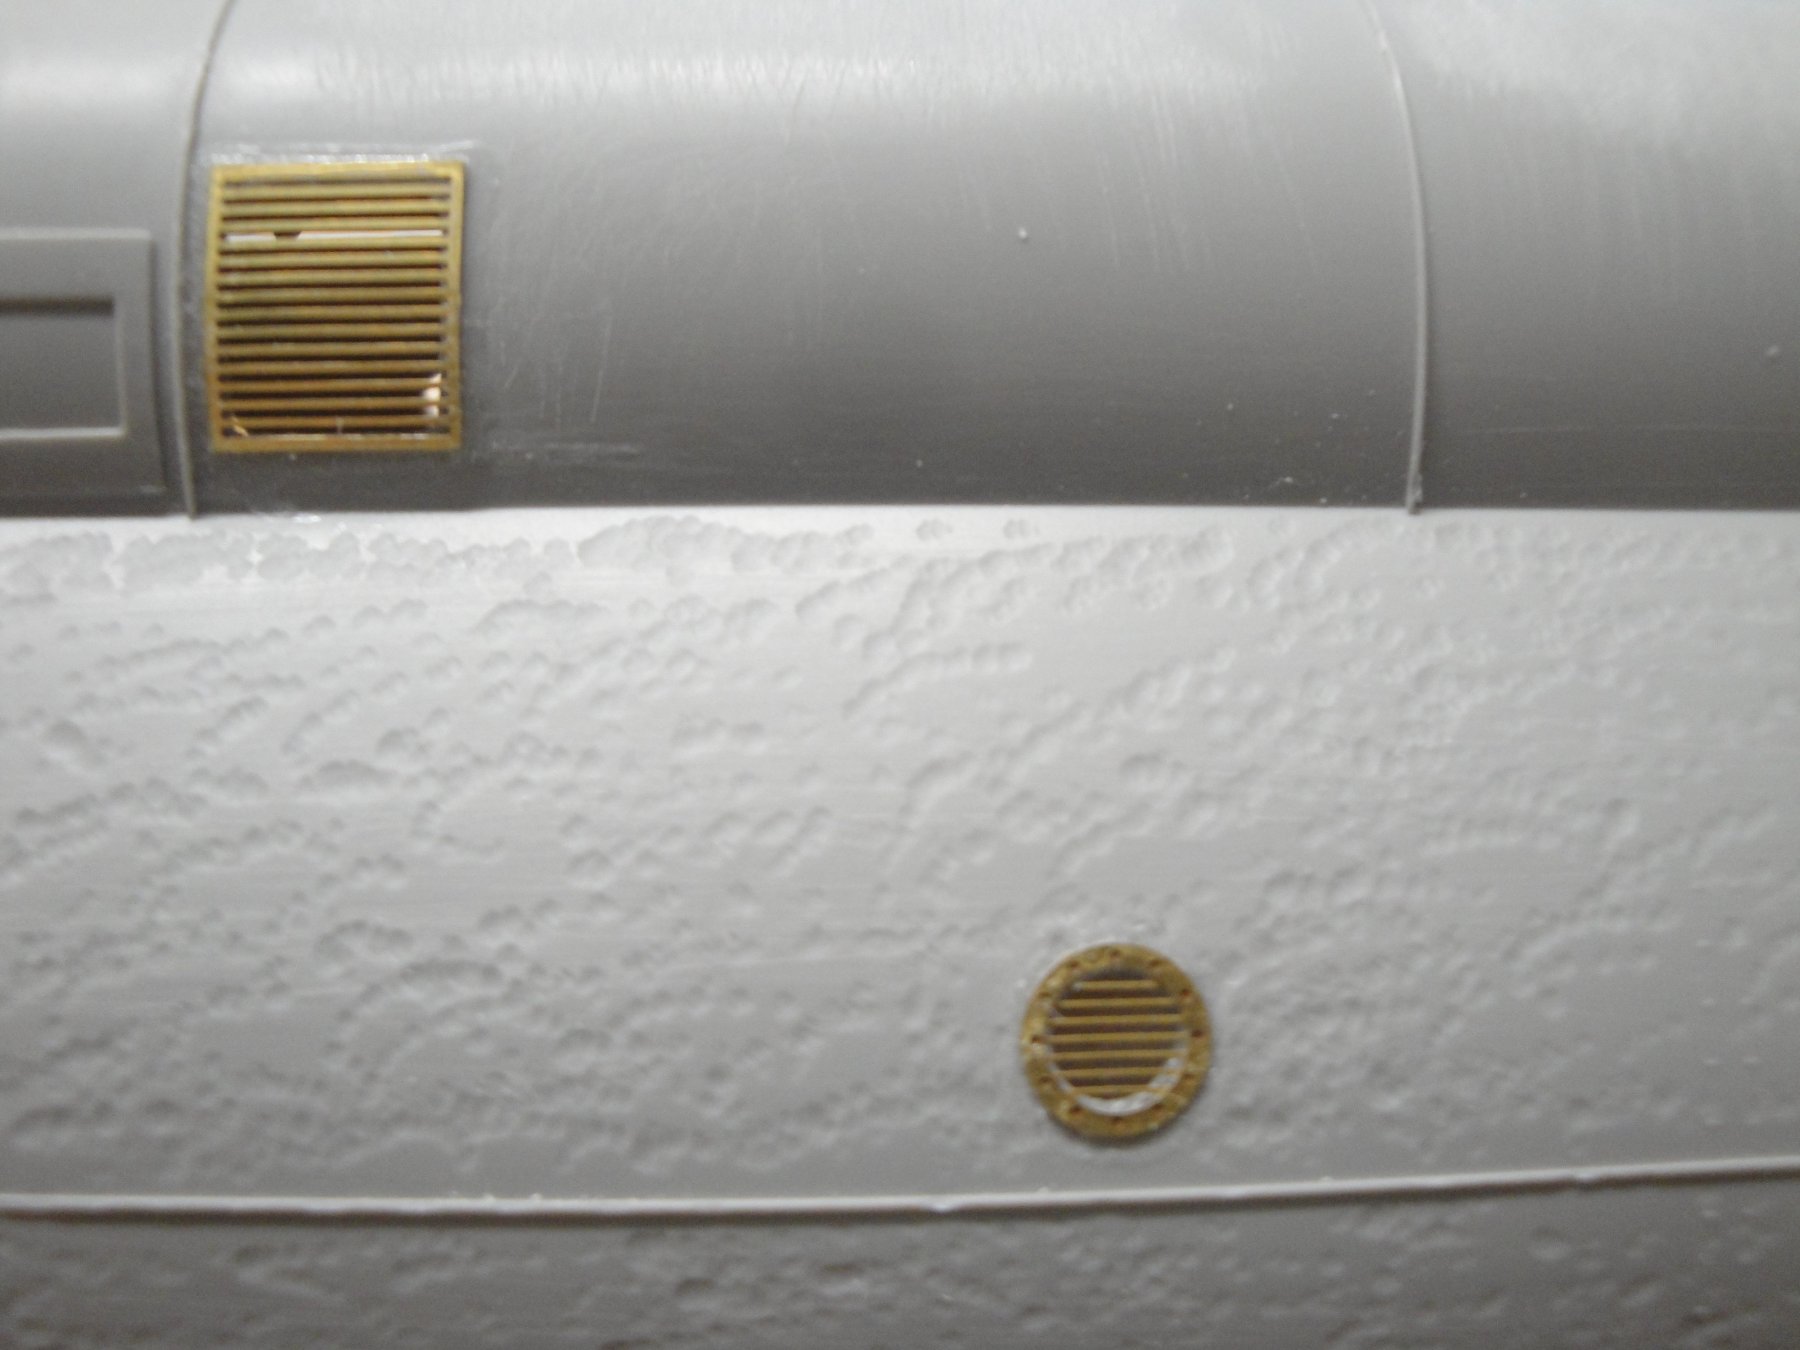
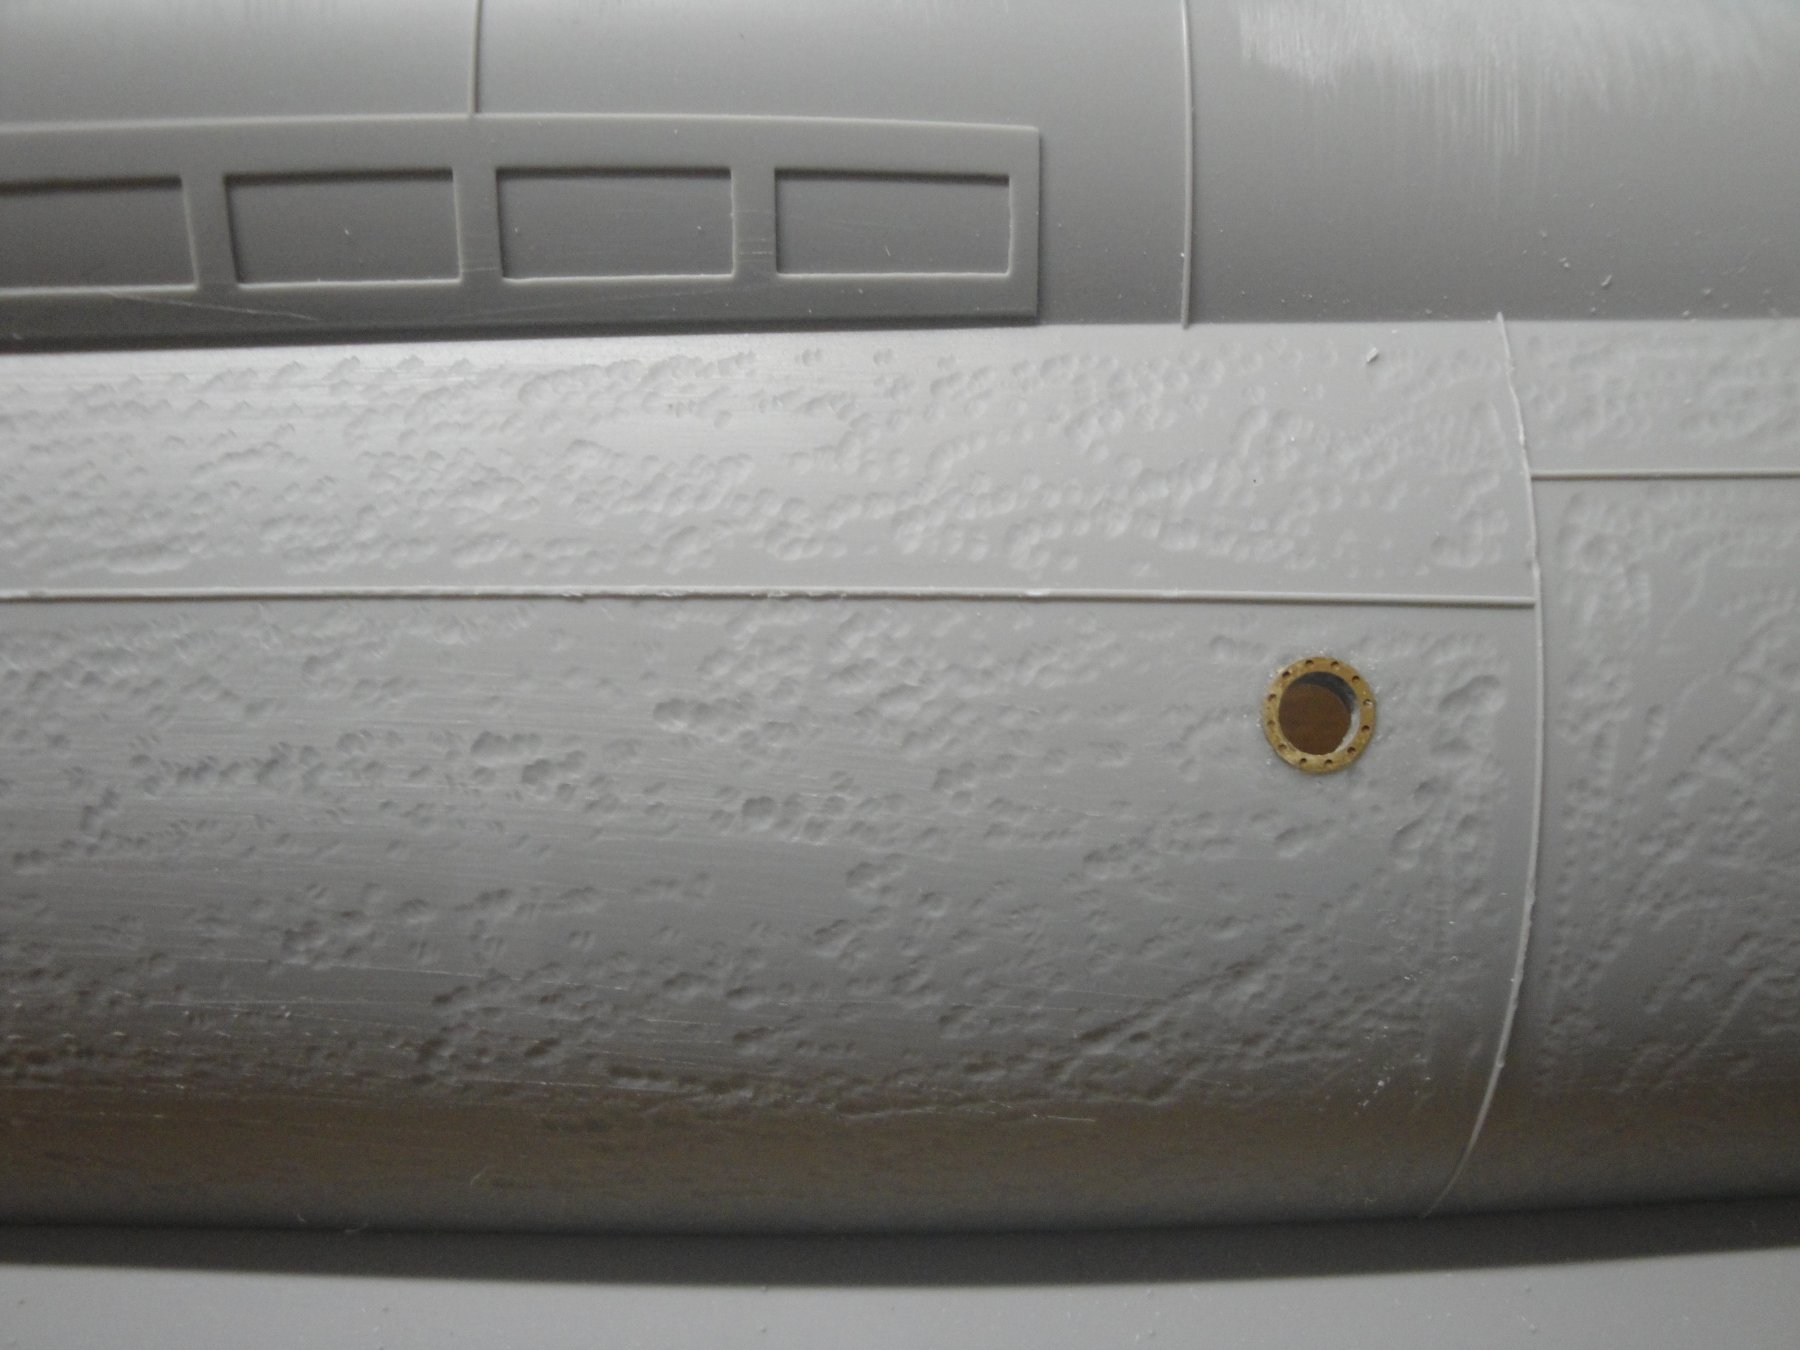
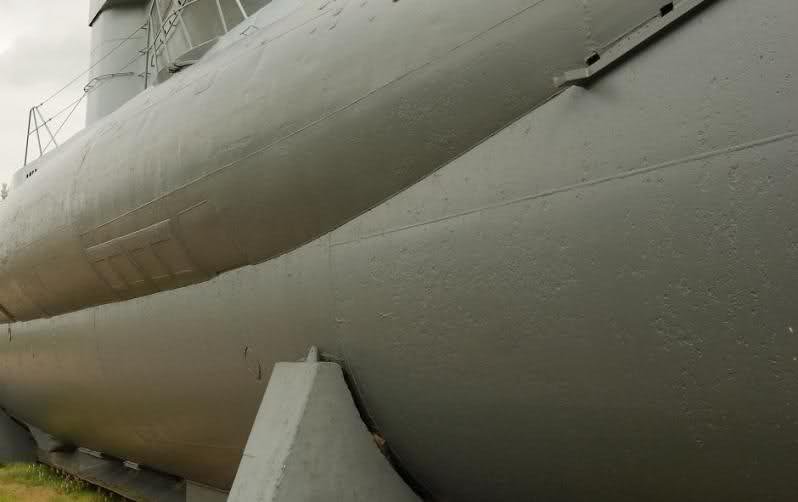
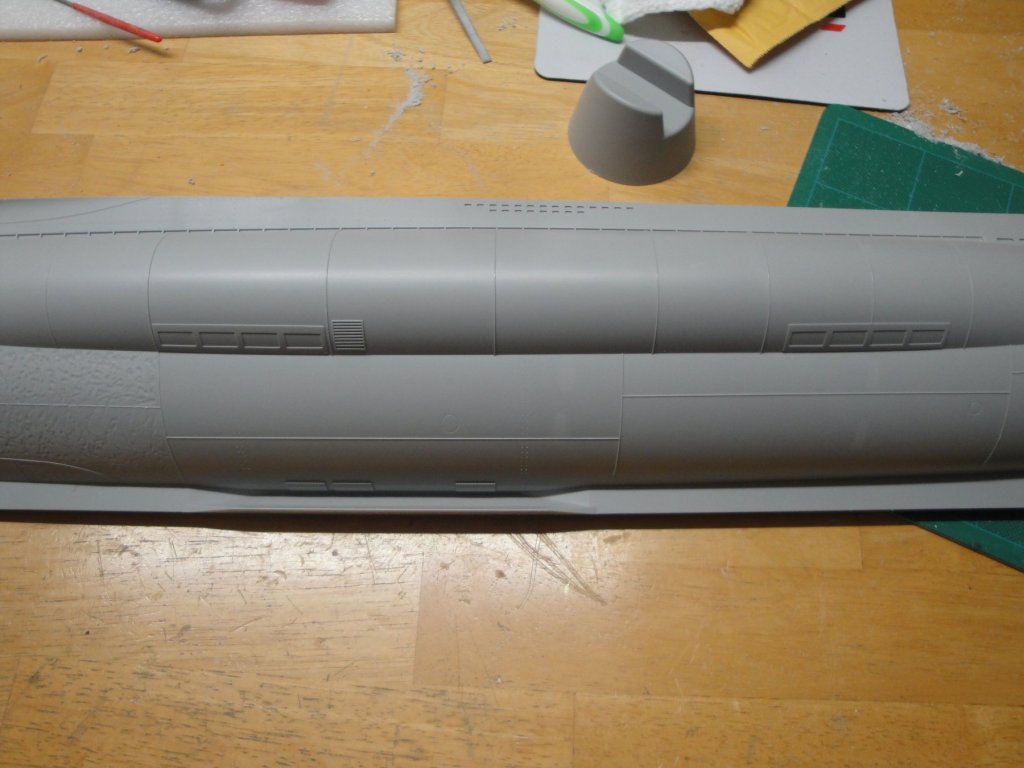
I have seen this appearance on some pictures of units in dry-docks. The effect may be over-exaggerated on my model but will be more subtle once I sand them a little bit and after the painting. I also do not like the sleek and smooth side provided by the kit. The crater like effect is due to multiple reasons: - Foundry was not always perfect. - Occasionally these submersibles landed on on the bottom of shallow waters. - Barnacles and shells hanging there... - Dry-dock maintenance between two missions. - Possible explosions and shrapnels being received. The ballast (above) did not have these appearances, although they were bumped at port and at sea (during re-fueling/replenishing), quite frequently. The typical oil canning was found on the ballasts, being made of a softer material. Below are a couple of picture of the U-995 that survived the war and did not see too much action: Yves
-
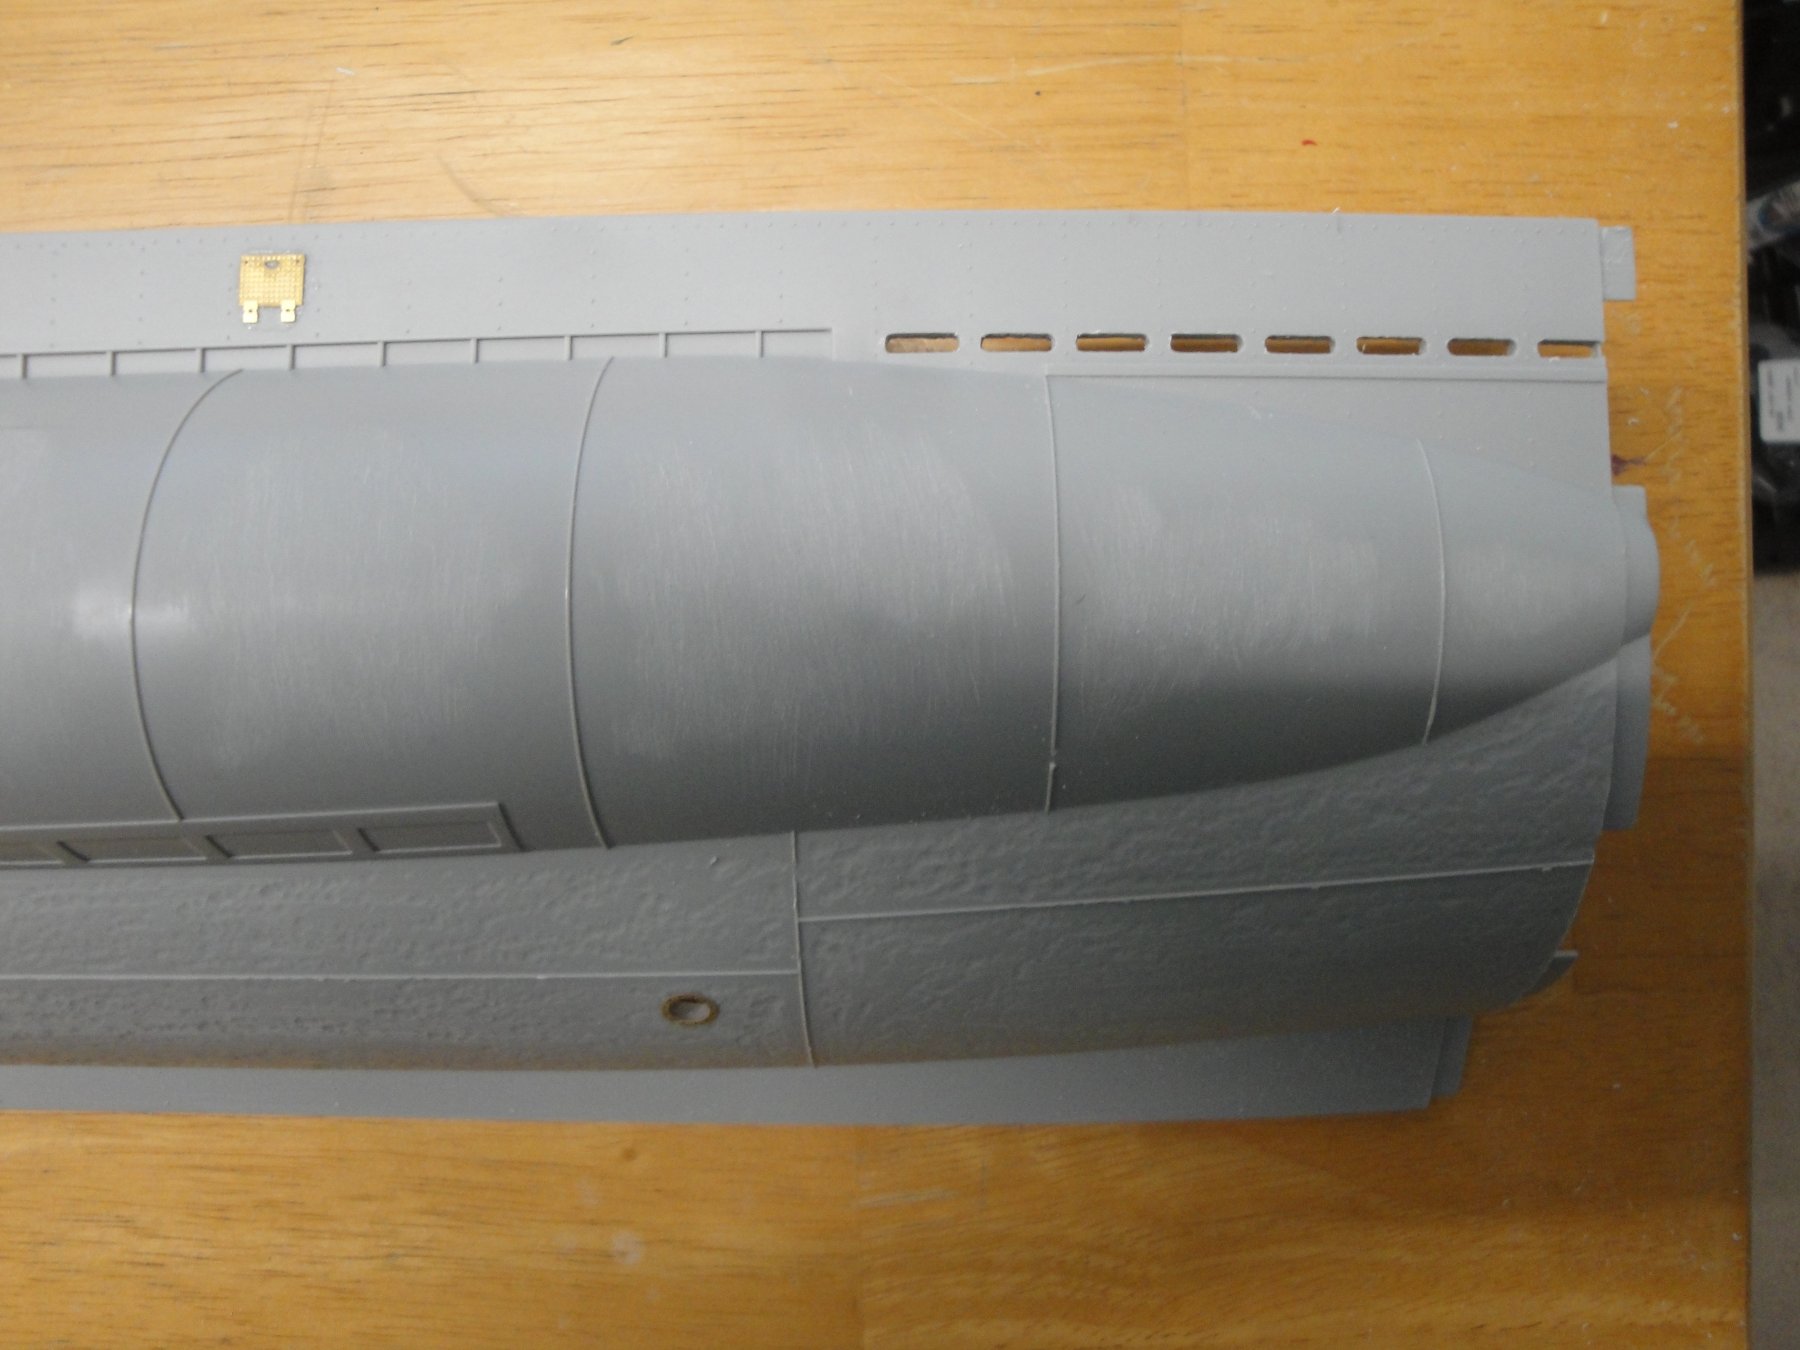
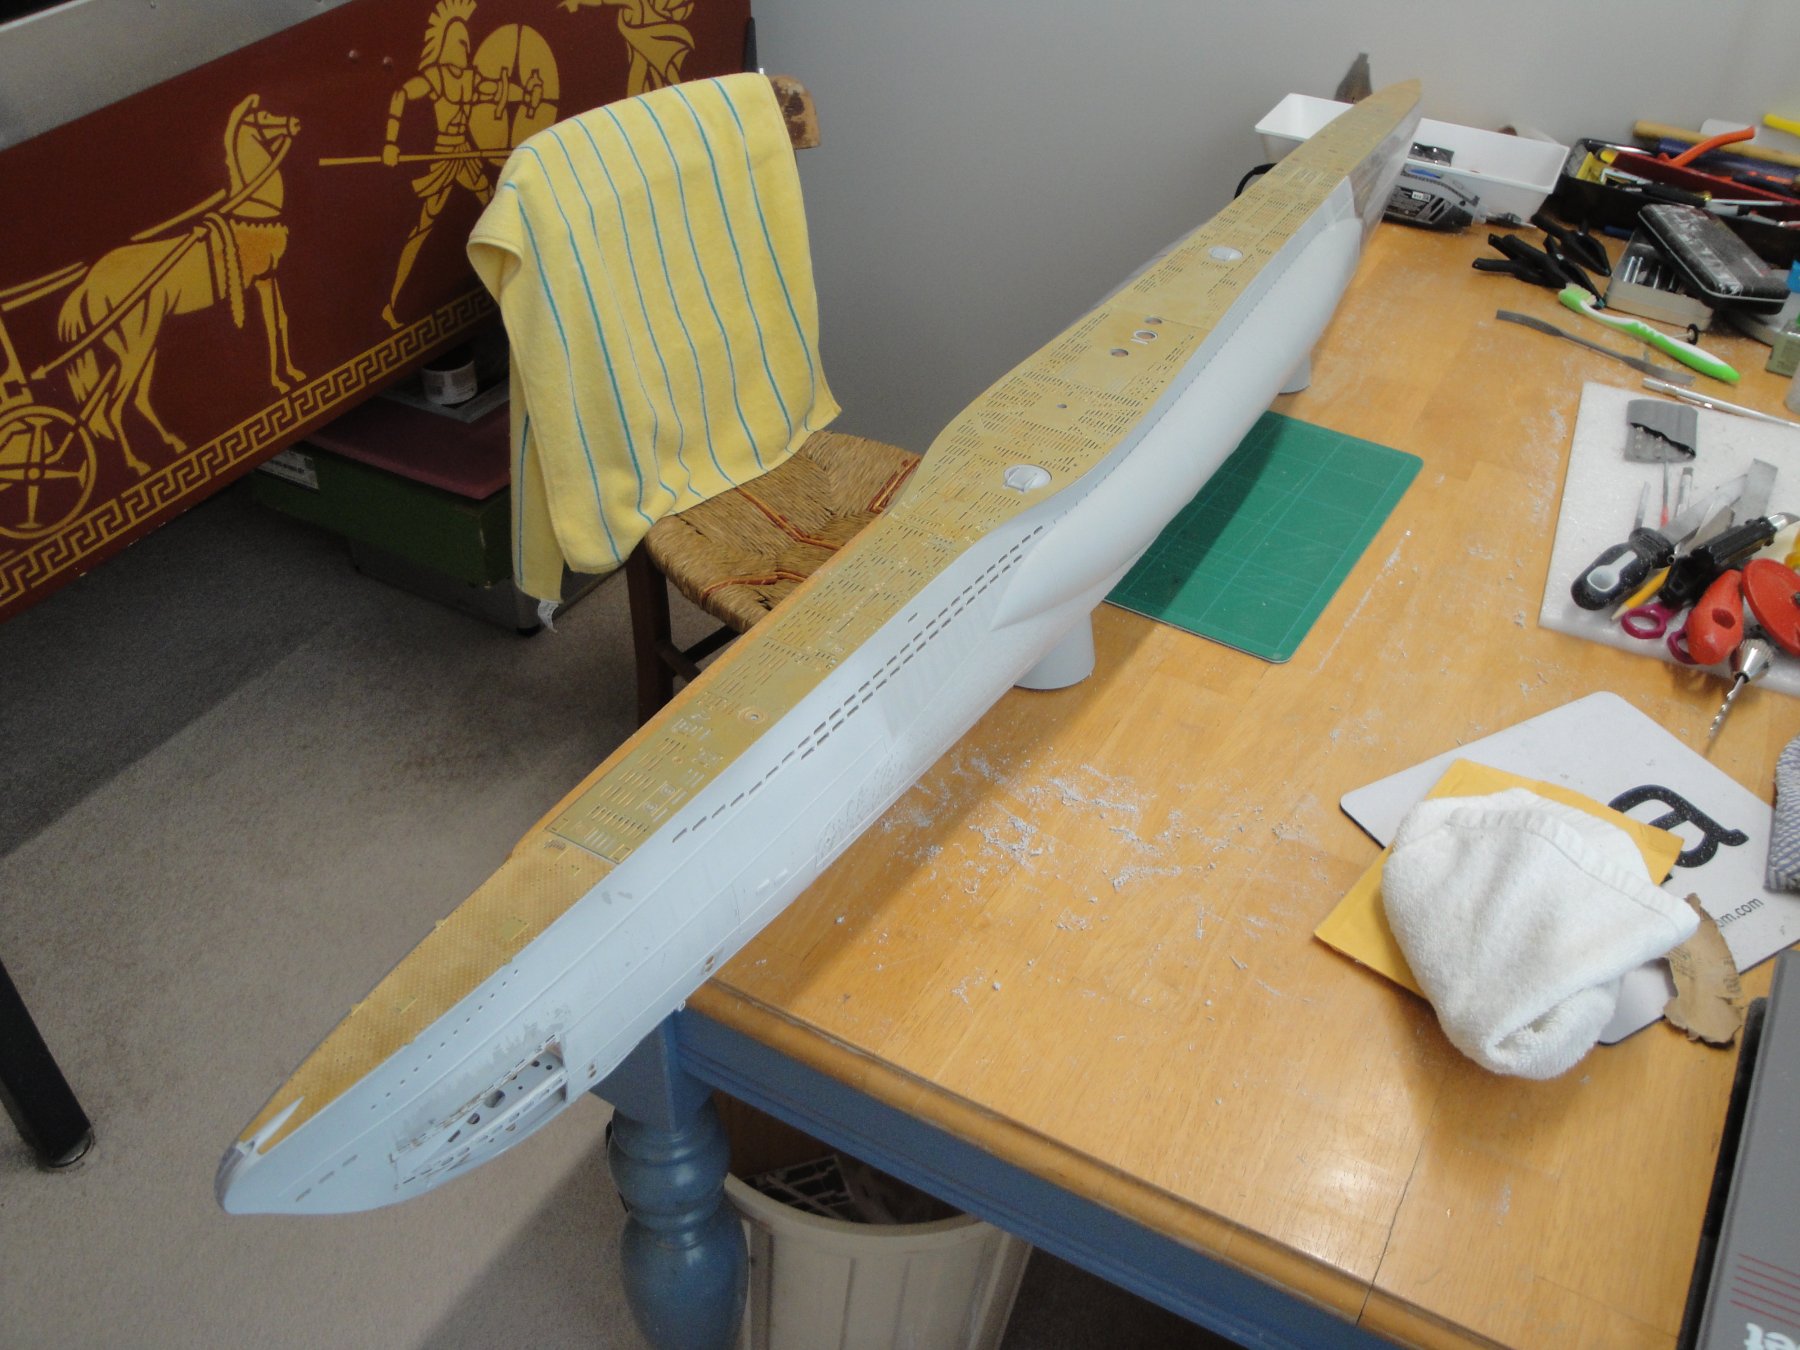
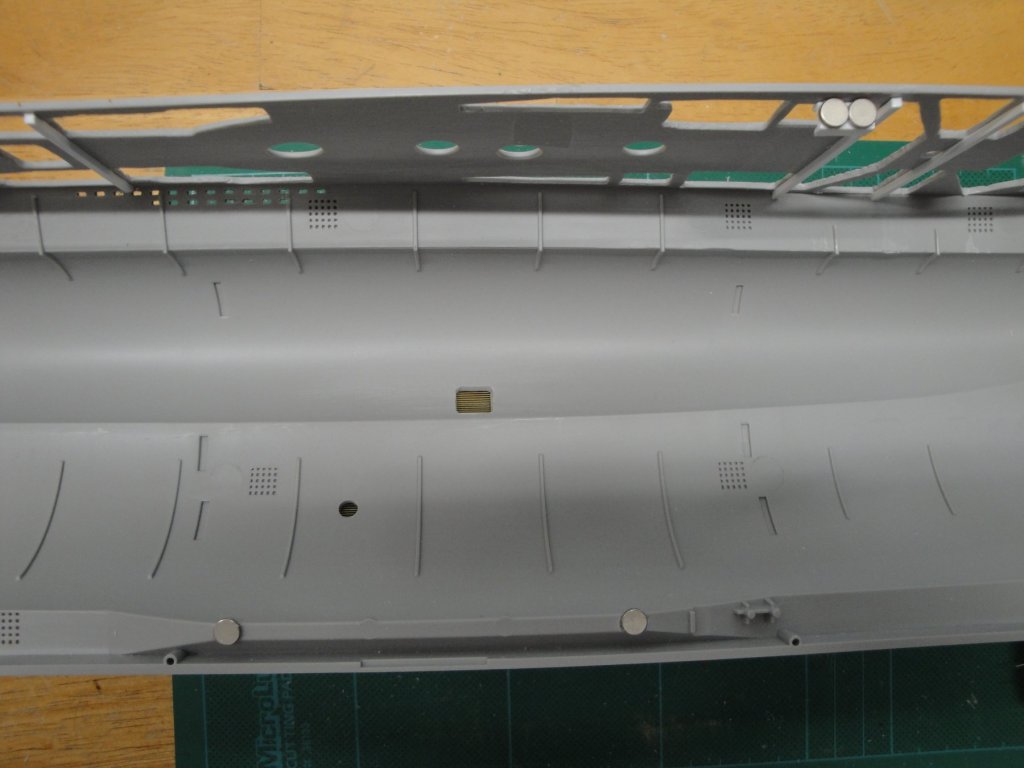
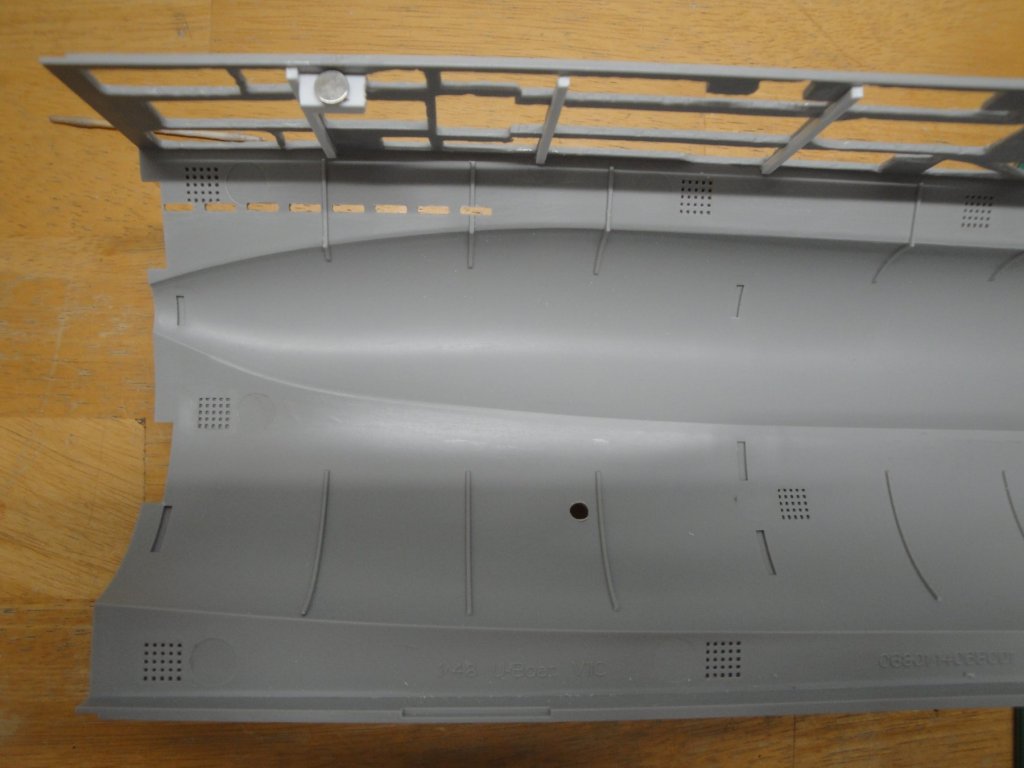
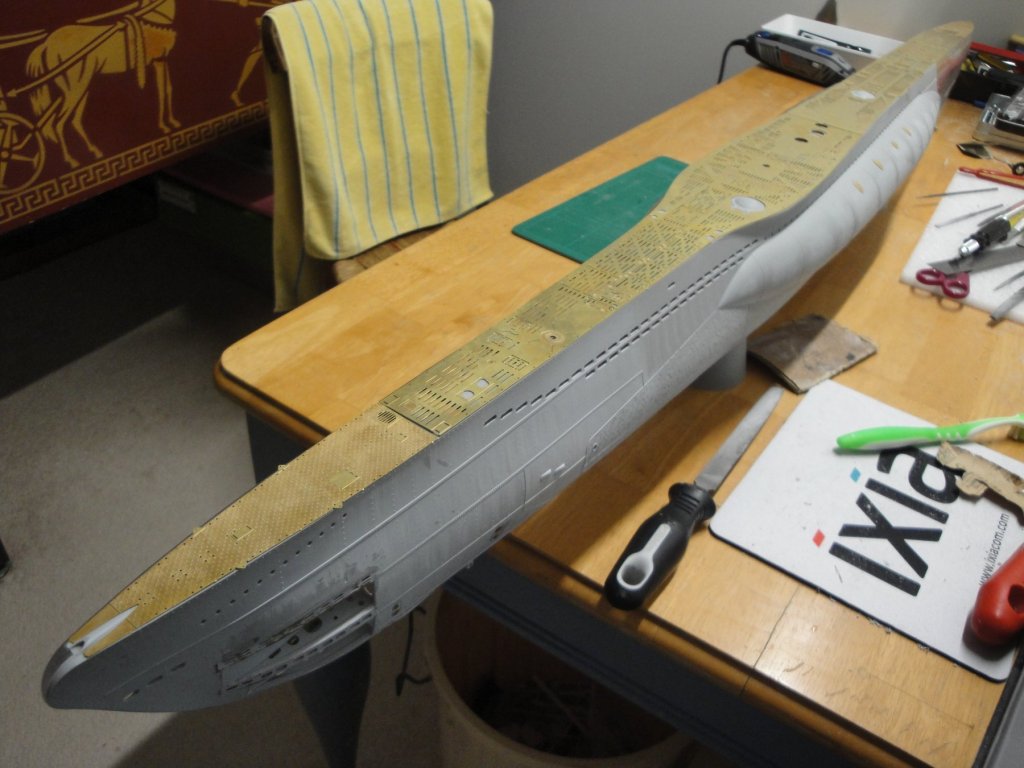
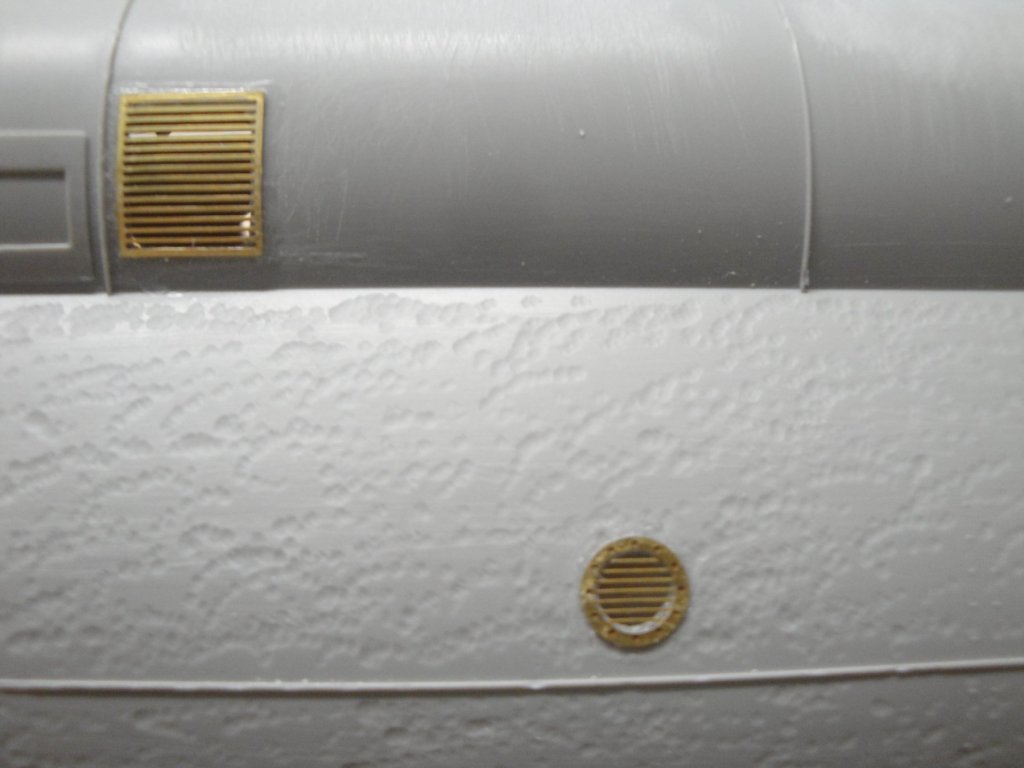
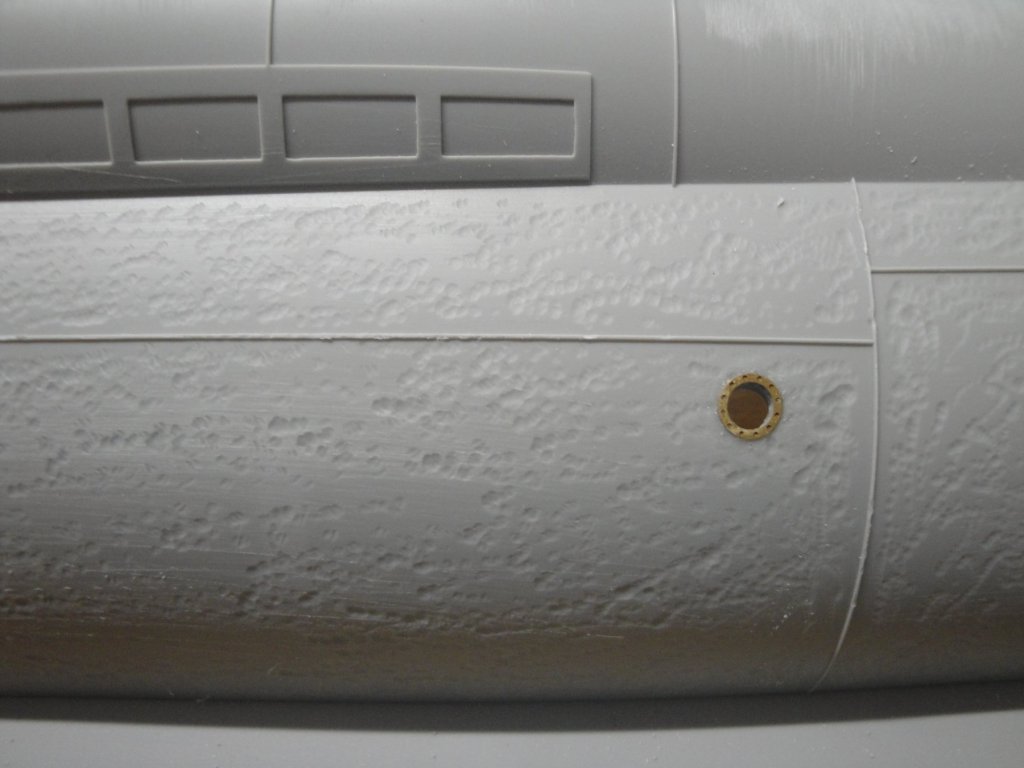
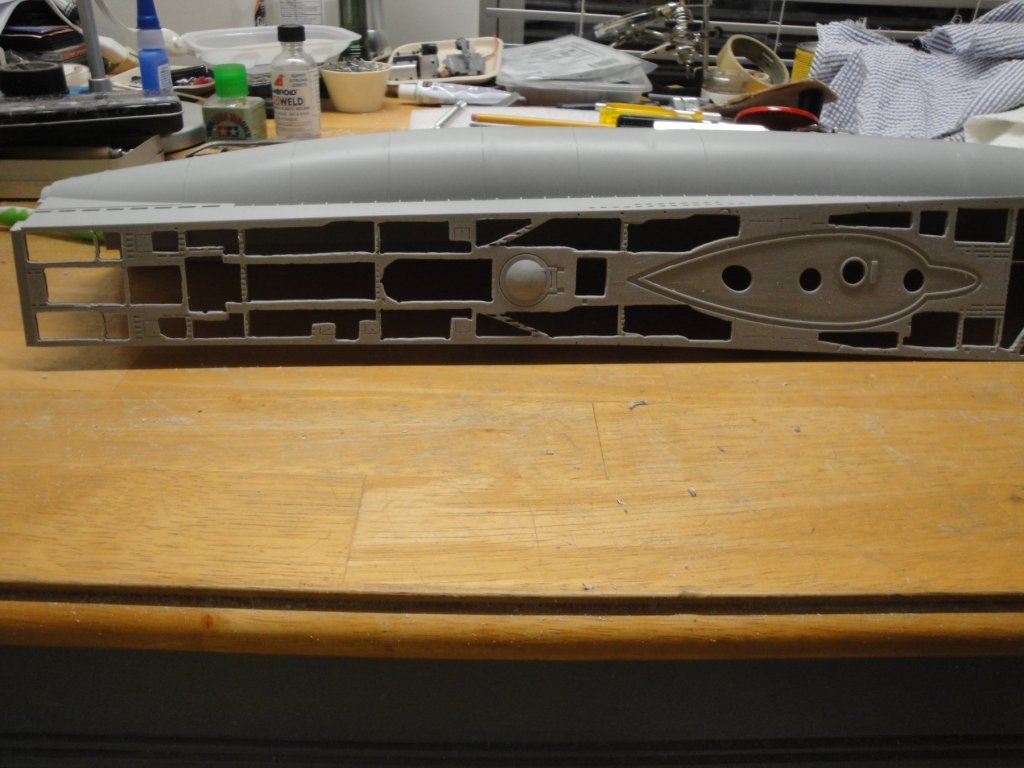
The half hull (Port side is pretty much completed: All holes (with the exception of the rectangular openings above the main ballasts) have been drilled and filed. A few details: My camera really sucks in Macro mode....☹️ I just have to finalize the gluing of the magnets to secure the two halves together. Then, the main deck can be assembled. Yves

- 760 replies
-
- 11
-
-
Coming along nicely and steadily. Yves
-
Guys, You may not know it, but Greg will be attempting a SS GATO class submarine in 1/350, with all the internal piping 😉 Yves
-
Beautiful model. This is a jewel of precision and beauty. Yves
- 449 replies
-
- 1
-
-
- sultana
- model shipways
- (and 2 more)
-
Thank you. Yes, of course, I do have the so called Type VIIc Manual by Haynes. Very interesting book. Yves
-
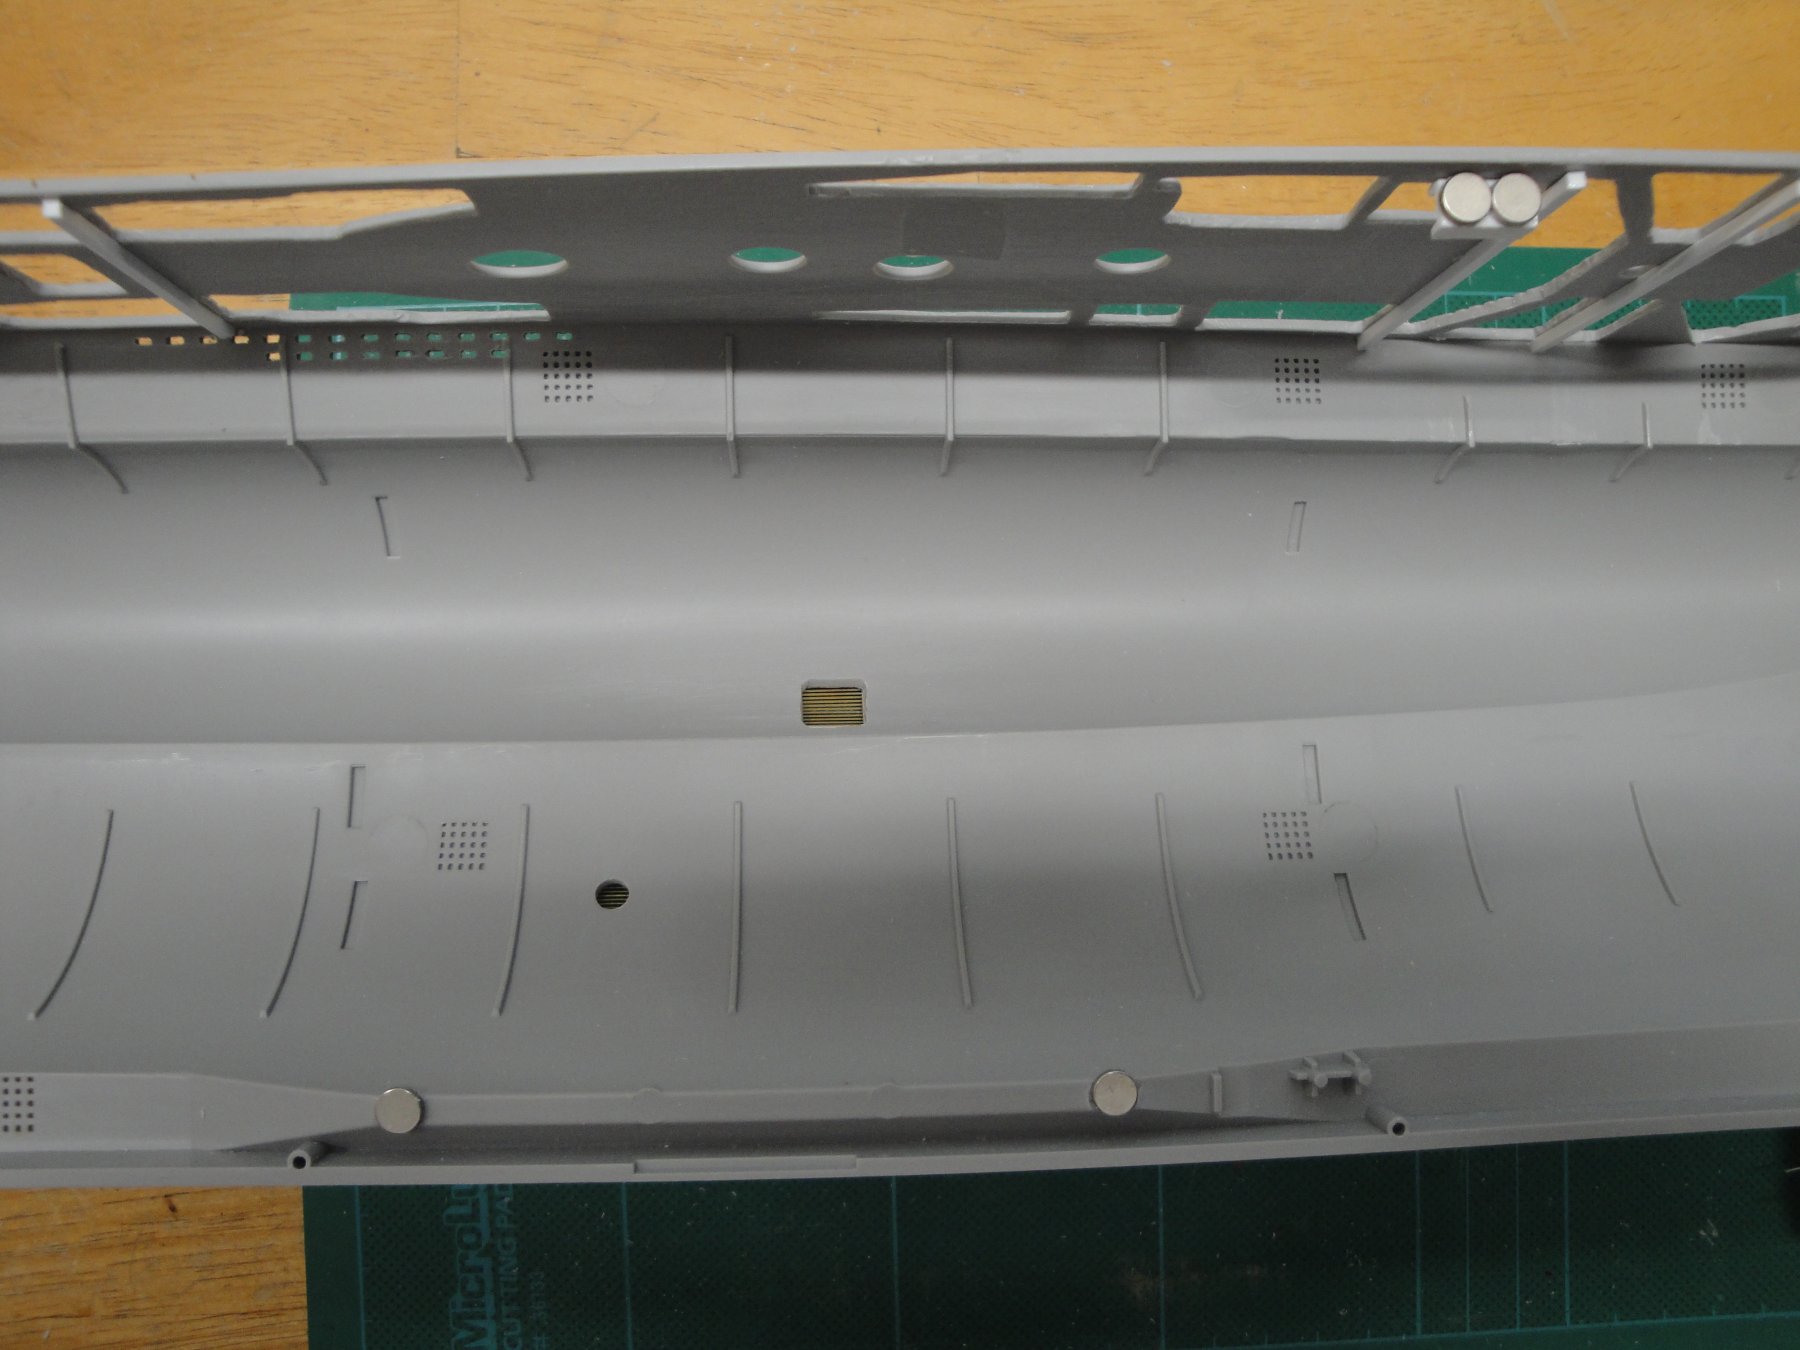
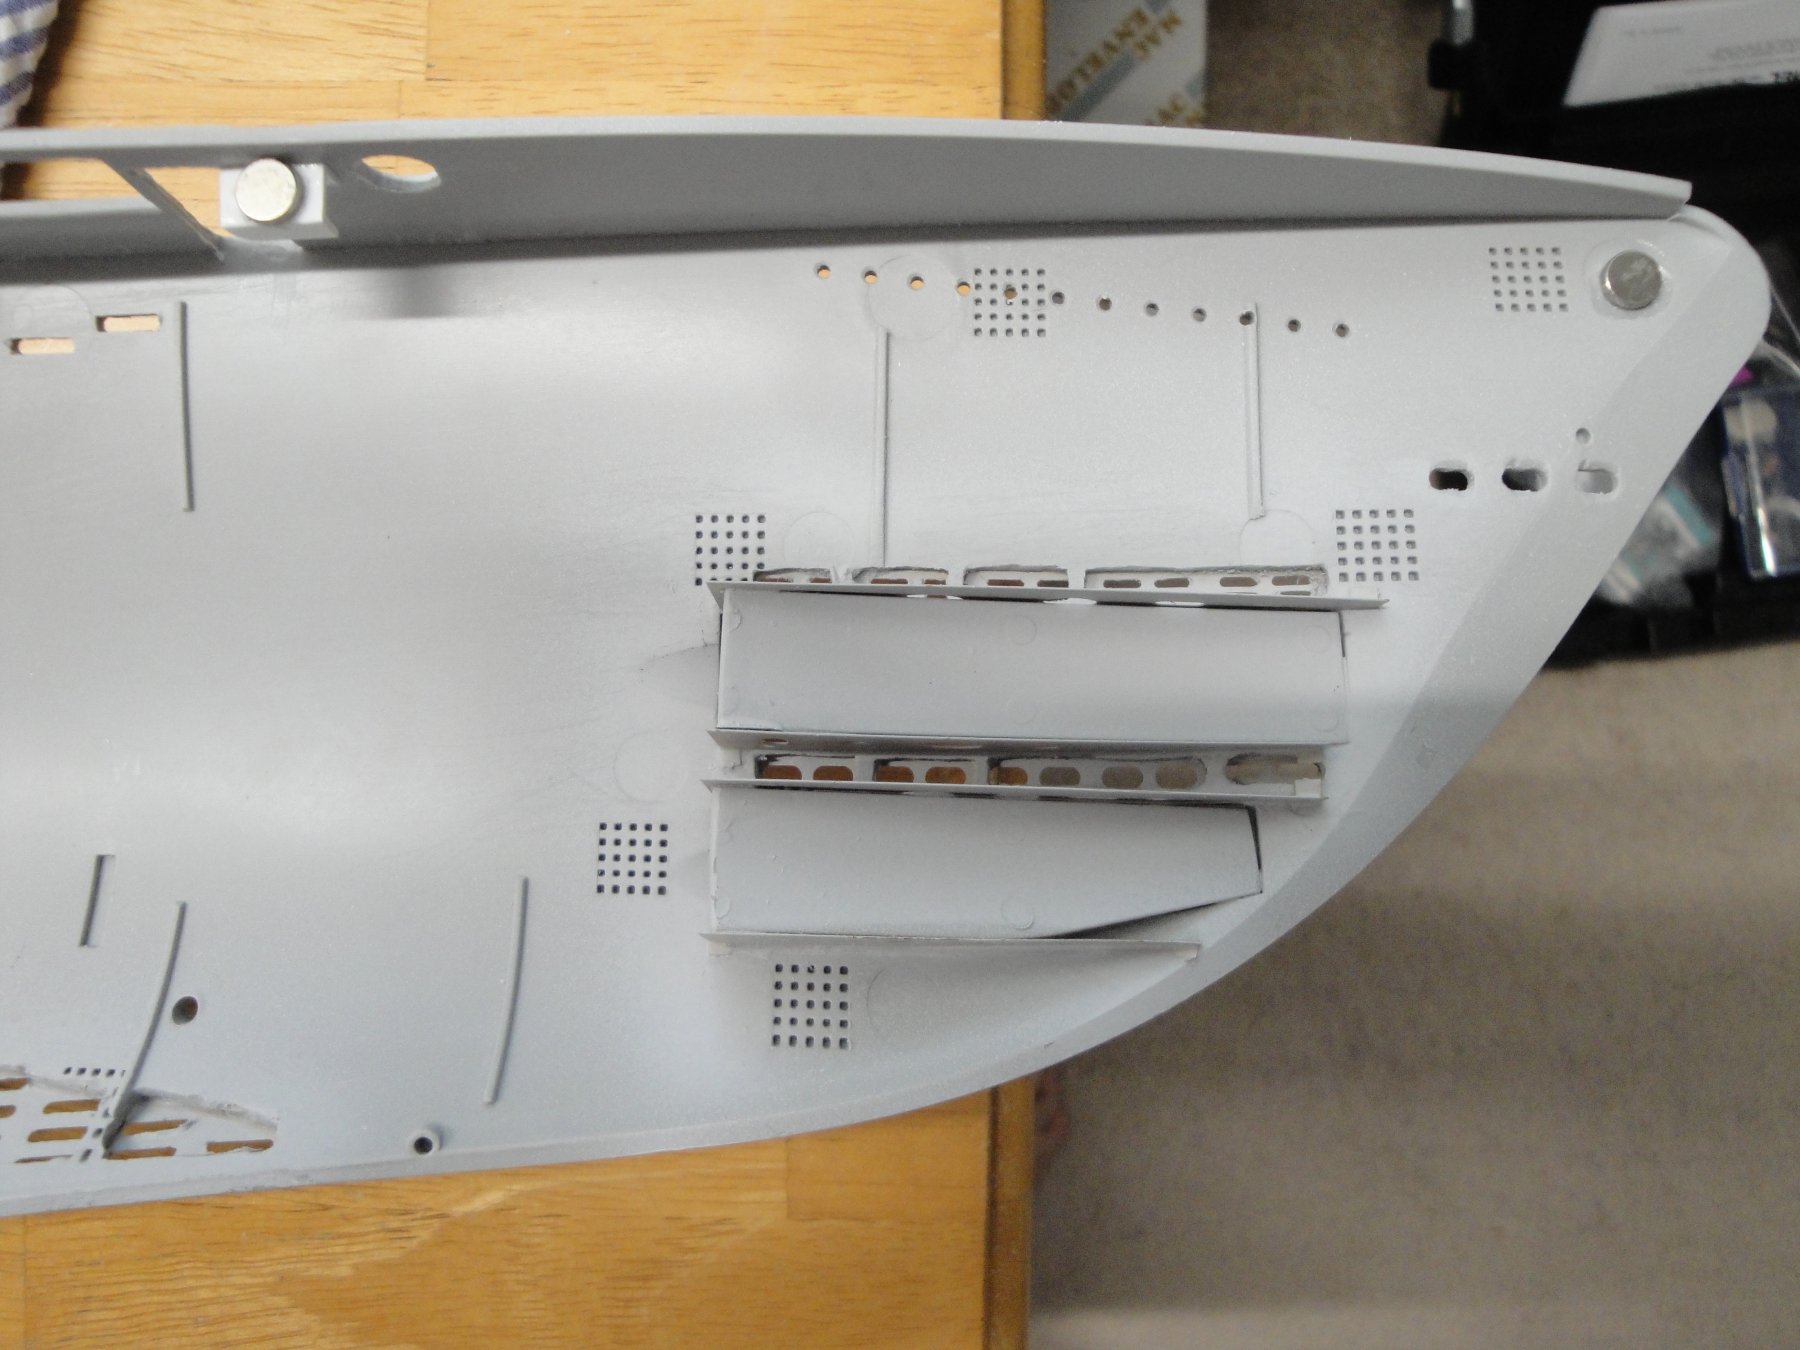
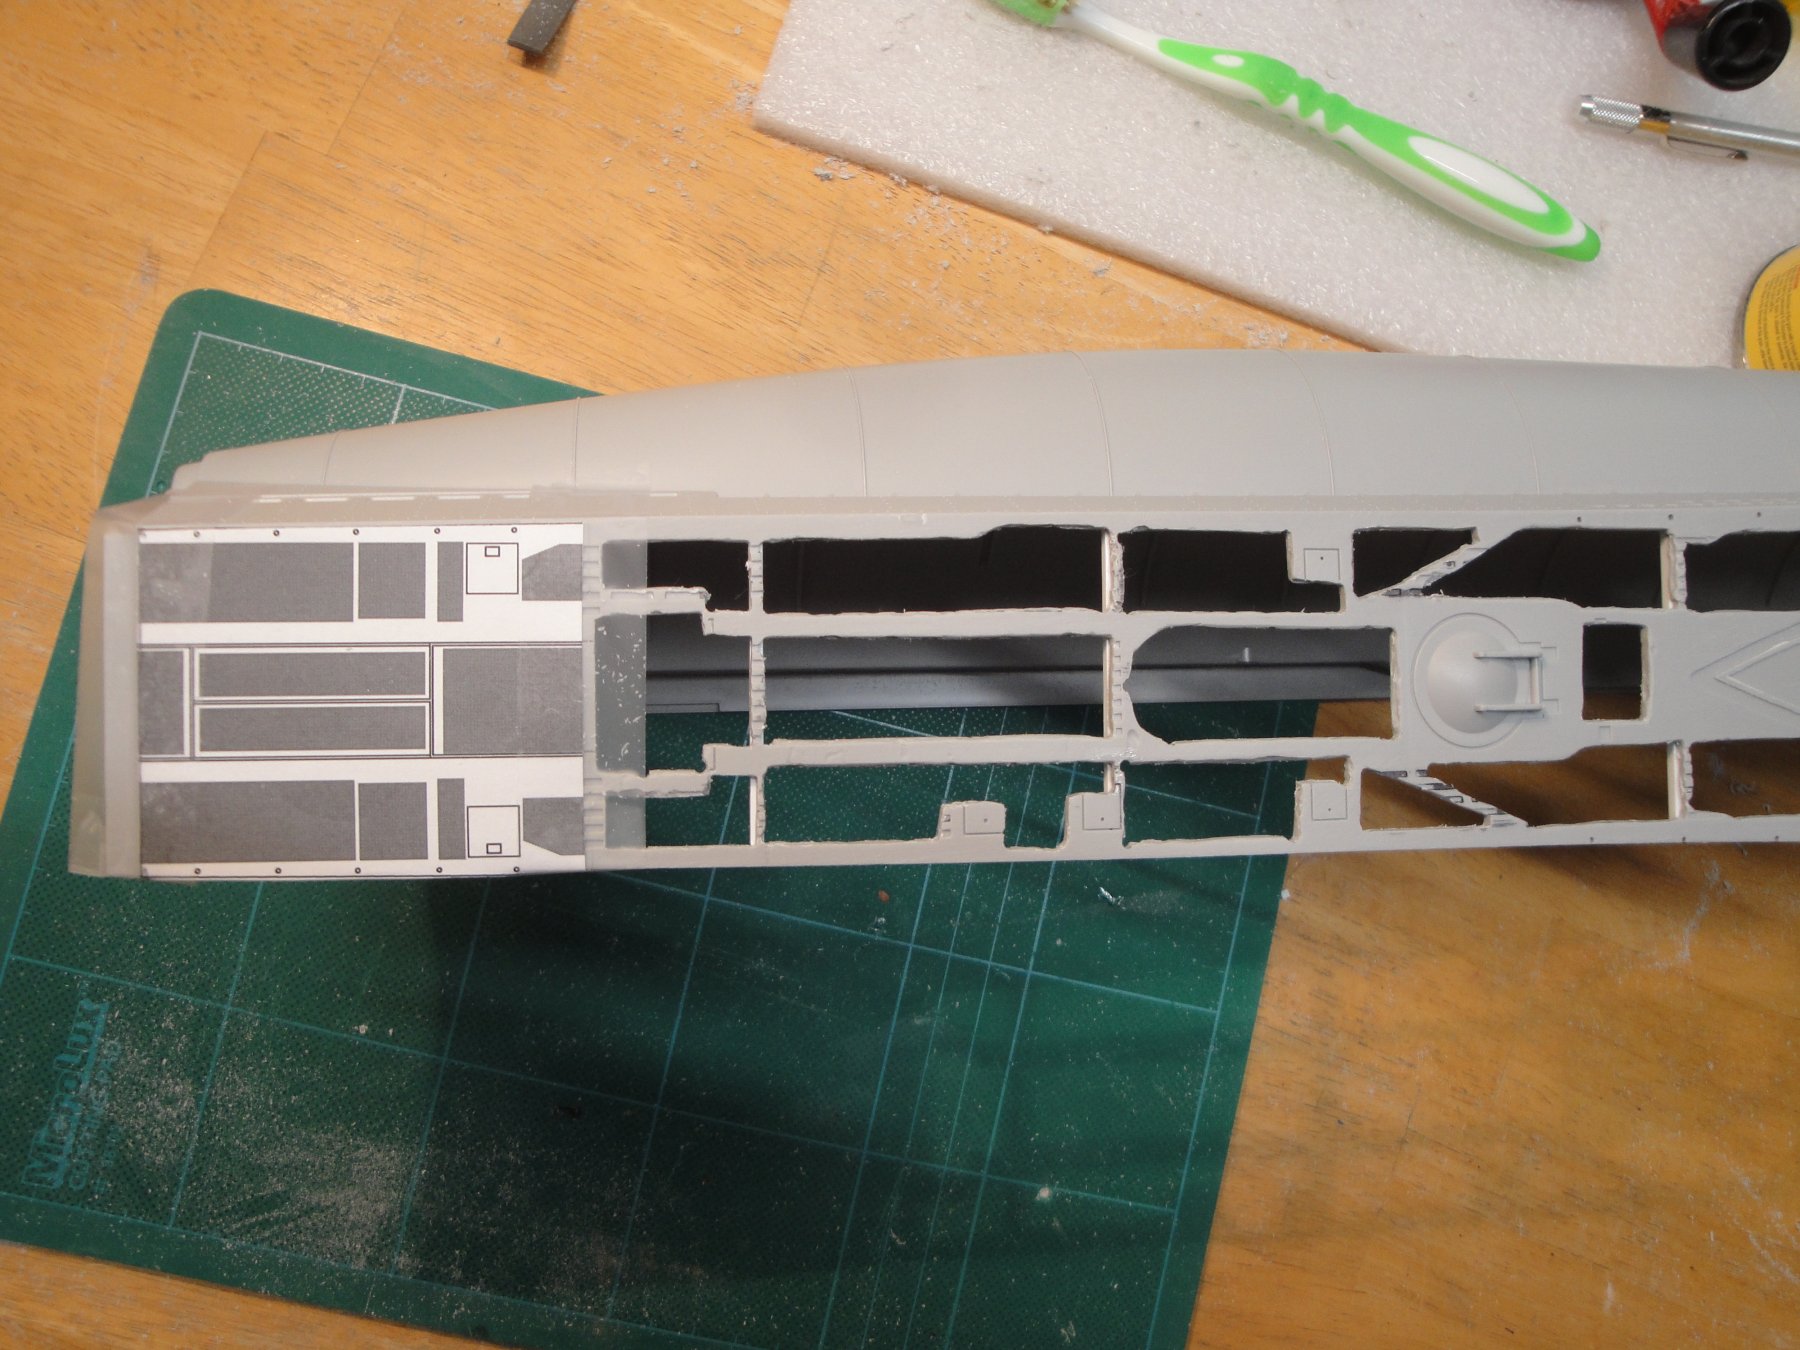
We are at a welcome point, where the "butchering" of the main deck has been completed: Not much of the deck is left overall. The hatches have to be also reworked as the PE set offers a nicer alternative than the gross molding of the Trumpeter. The Hatch mechanisms have to be installed before gluing the PE decks. It was not easy to remove the molded hinges without damaging the spherical shapes. At this stage, I need to finish the work on the port hull, with a few more openings: I still have a few elongated vents to open towards the stern and work on the openings that you can see on the picture. I am NOT touching the square/rectangular vents above the two main ballast tanks. These are too tedious and would weaken the structure in a very negative way. I will simply paint them black to simulate holes. Finally, I started installing some small but very powerful magnets to hold both half hulls together. I think I will be using that approach all around to obtain a solid assembly that can be opened if need be. This picture found on the WEB is very interesting and revealing of the details underneath the deck. These submarines are very similar to the one I am modeling. One can see that the cuts I did on the deck, may resemble what was done on the real submersible. Yves

.jpg.c1c08432307f8498395fb6172df4aade.jpg)
- 760 replies
-
- 15
-
-
It does. The difference between the original Trumpeter plastic deck and this one, is like night and day. Yves
-
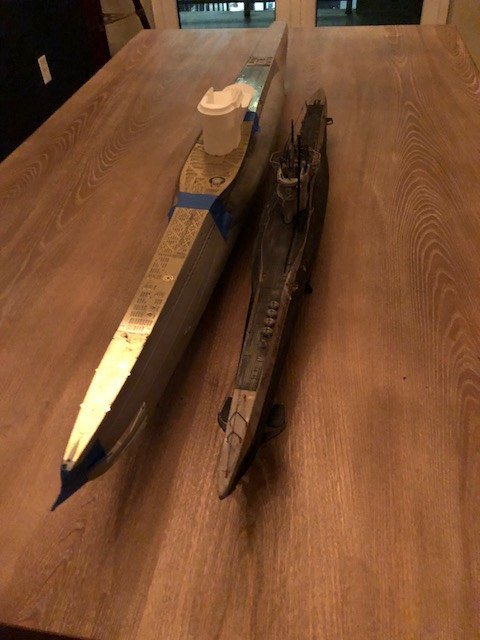
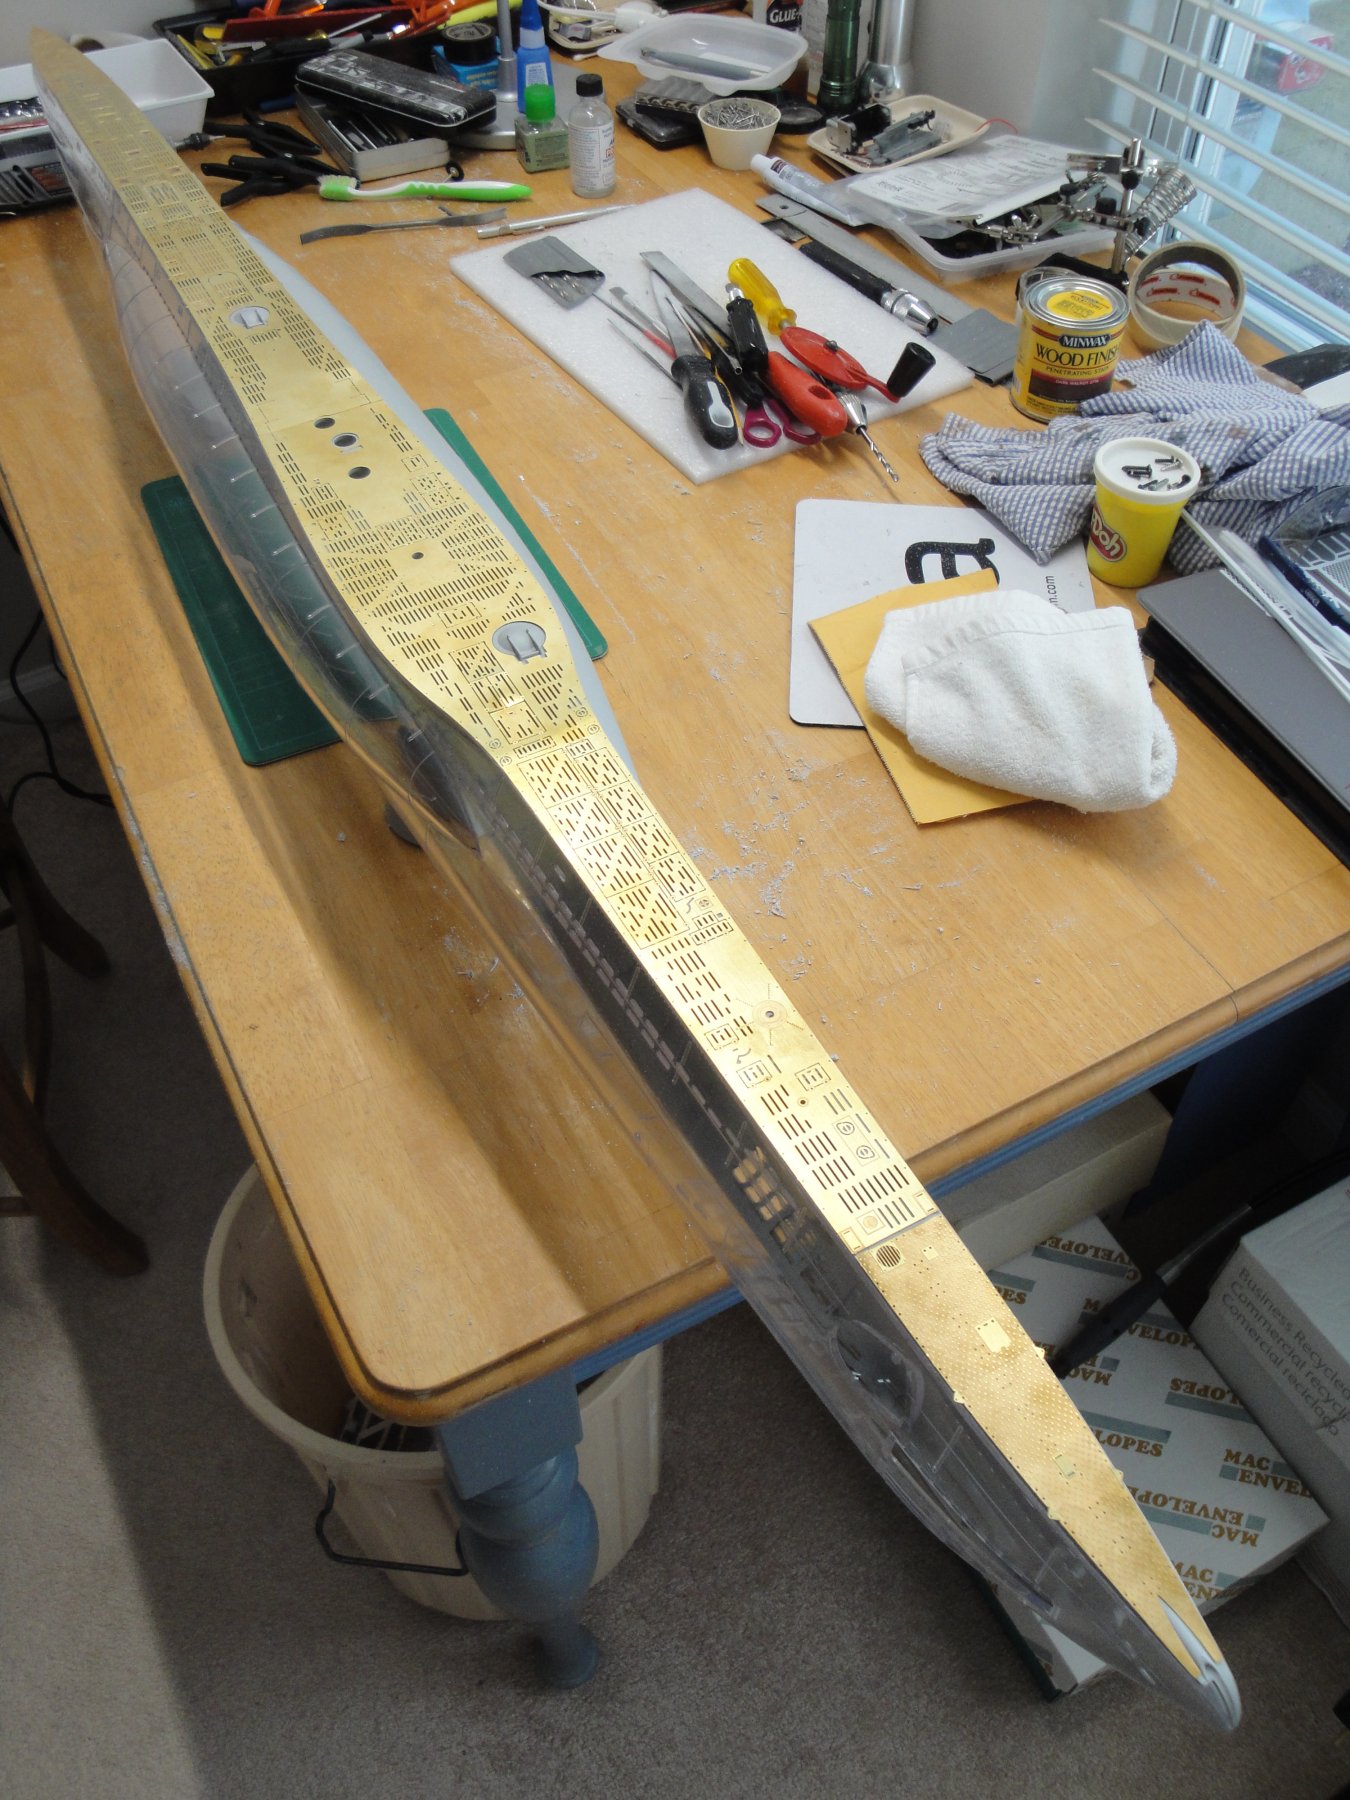
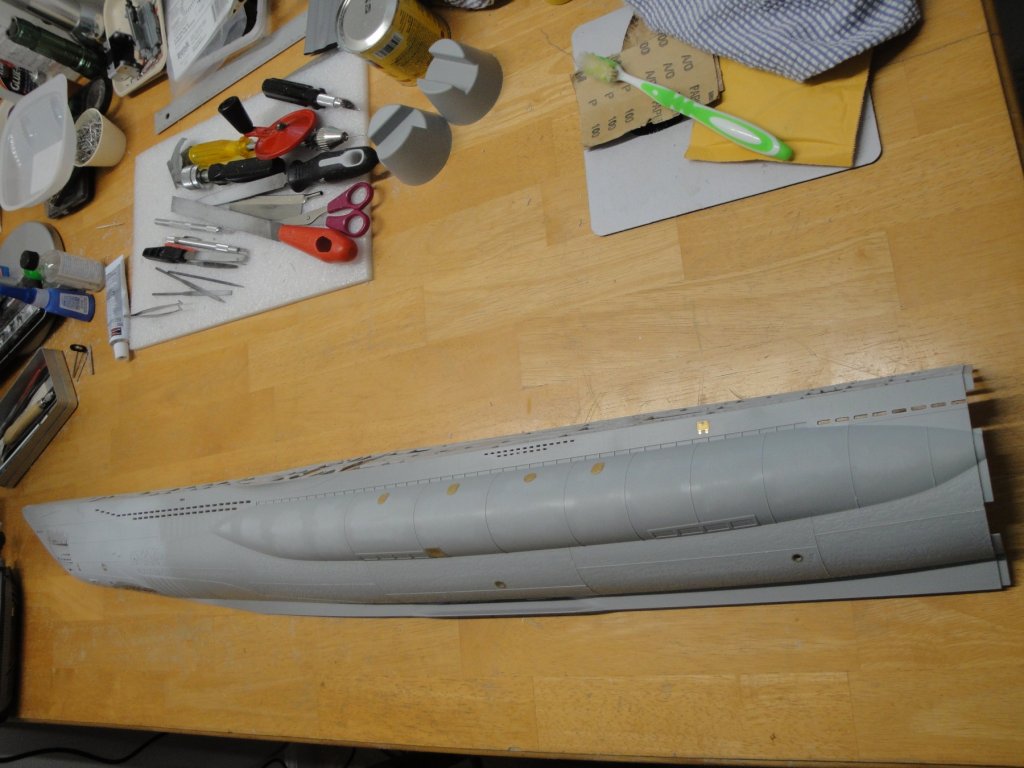
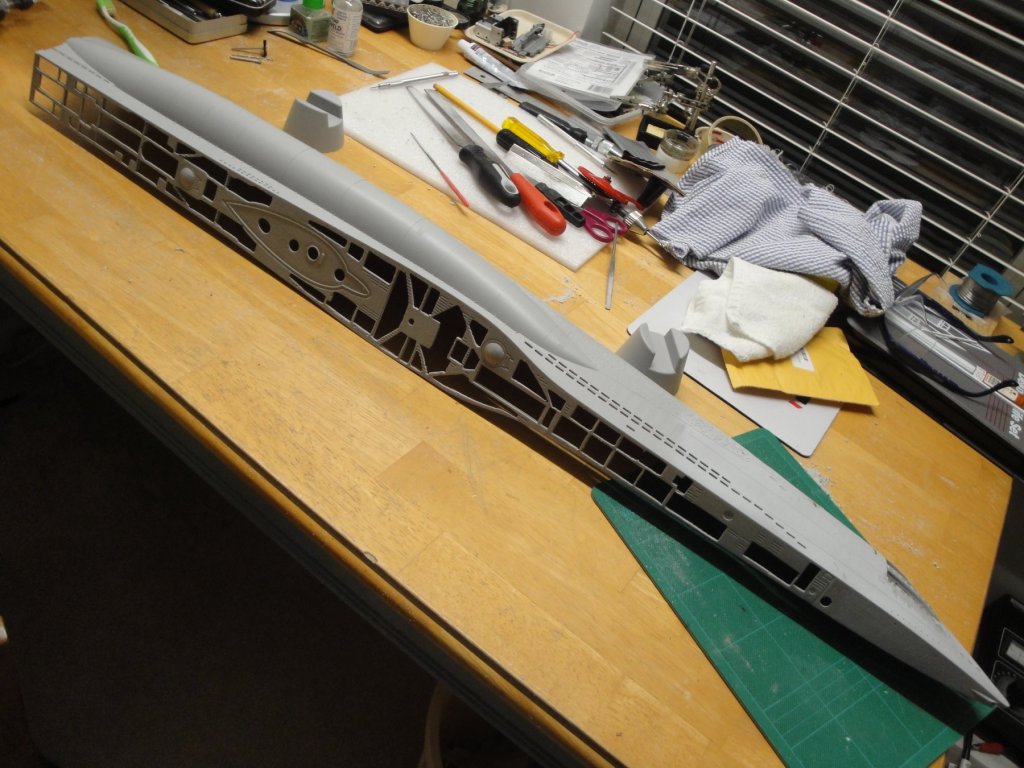
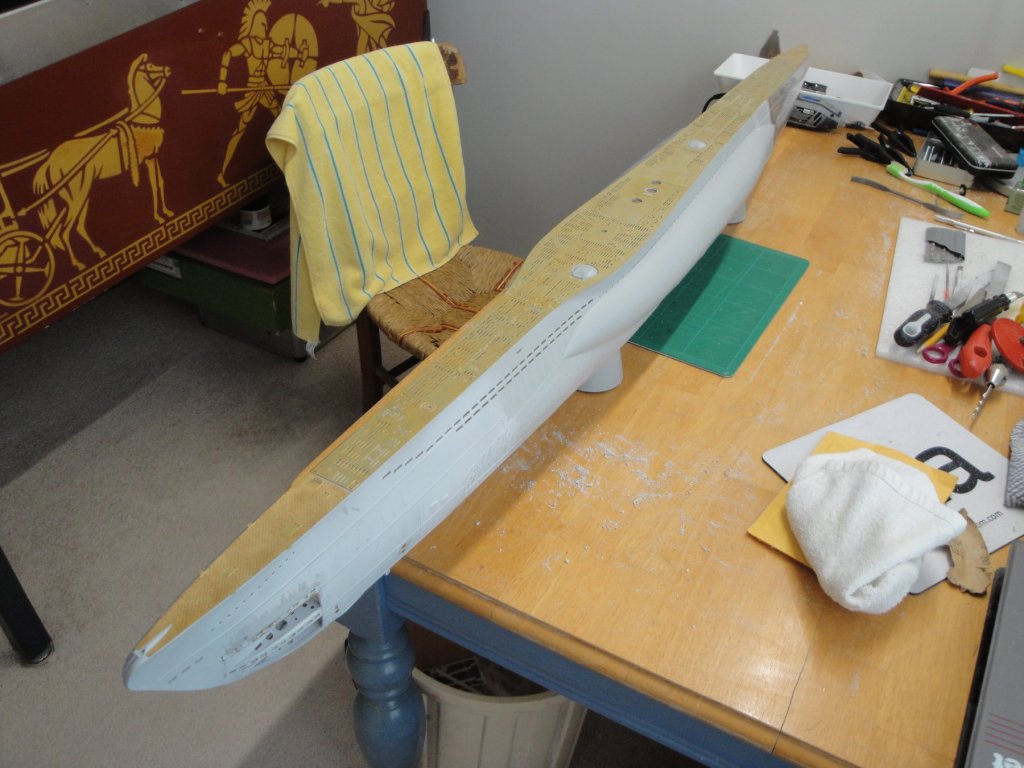
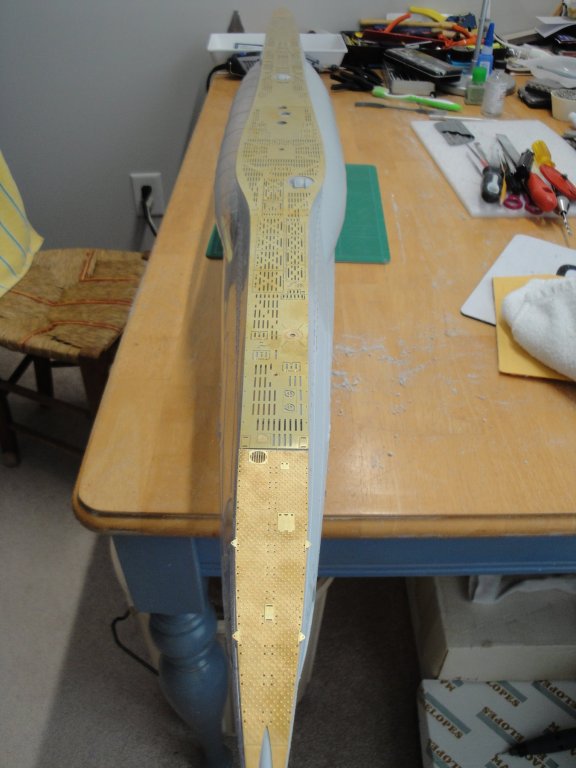
I do not know about you guys, but I had the urge to see what all this PE would give. So I put the two halves together and added the tail: Yes, almost 5 feet of PE deck. A pure marvel, if you ask me (okay, I am biased). Impressive beast to say the least. Yves

- 760 replies
-
- 18
-
-
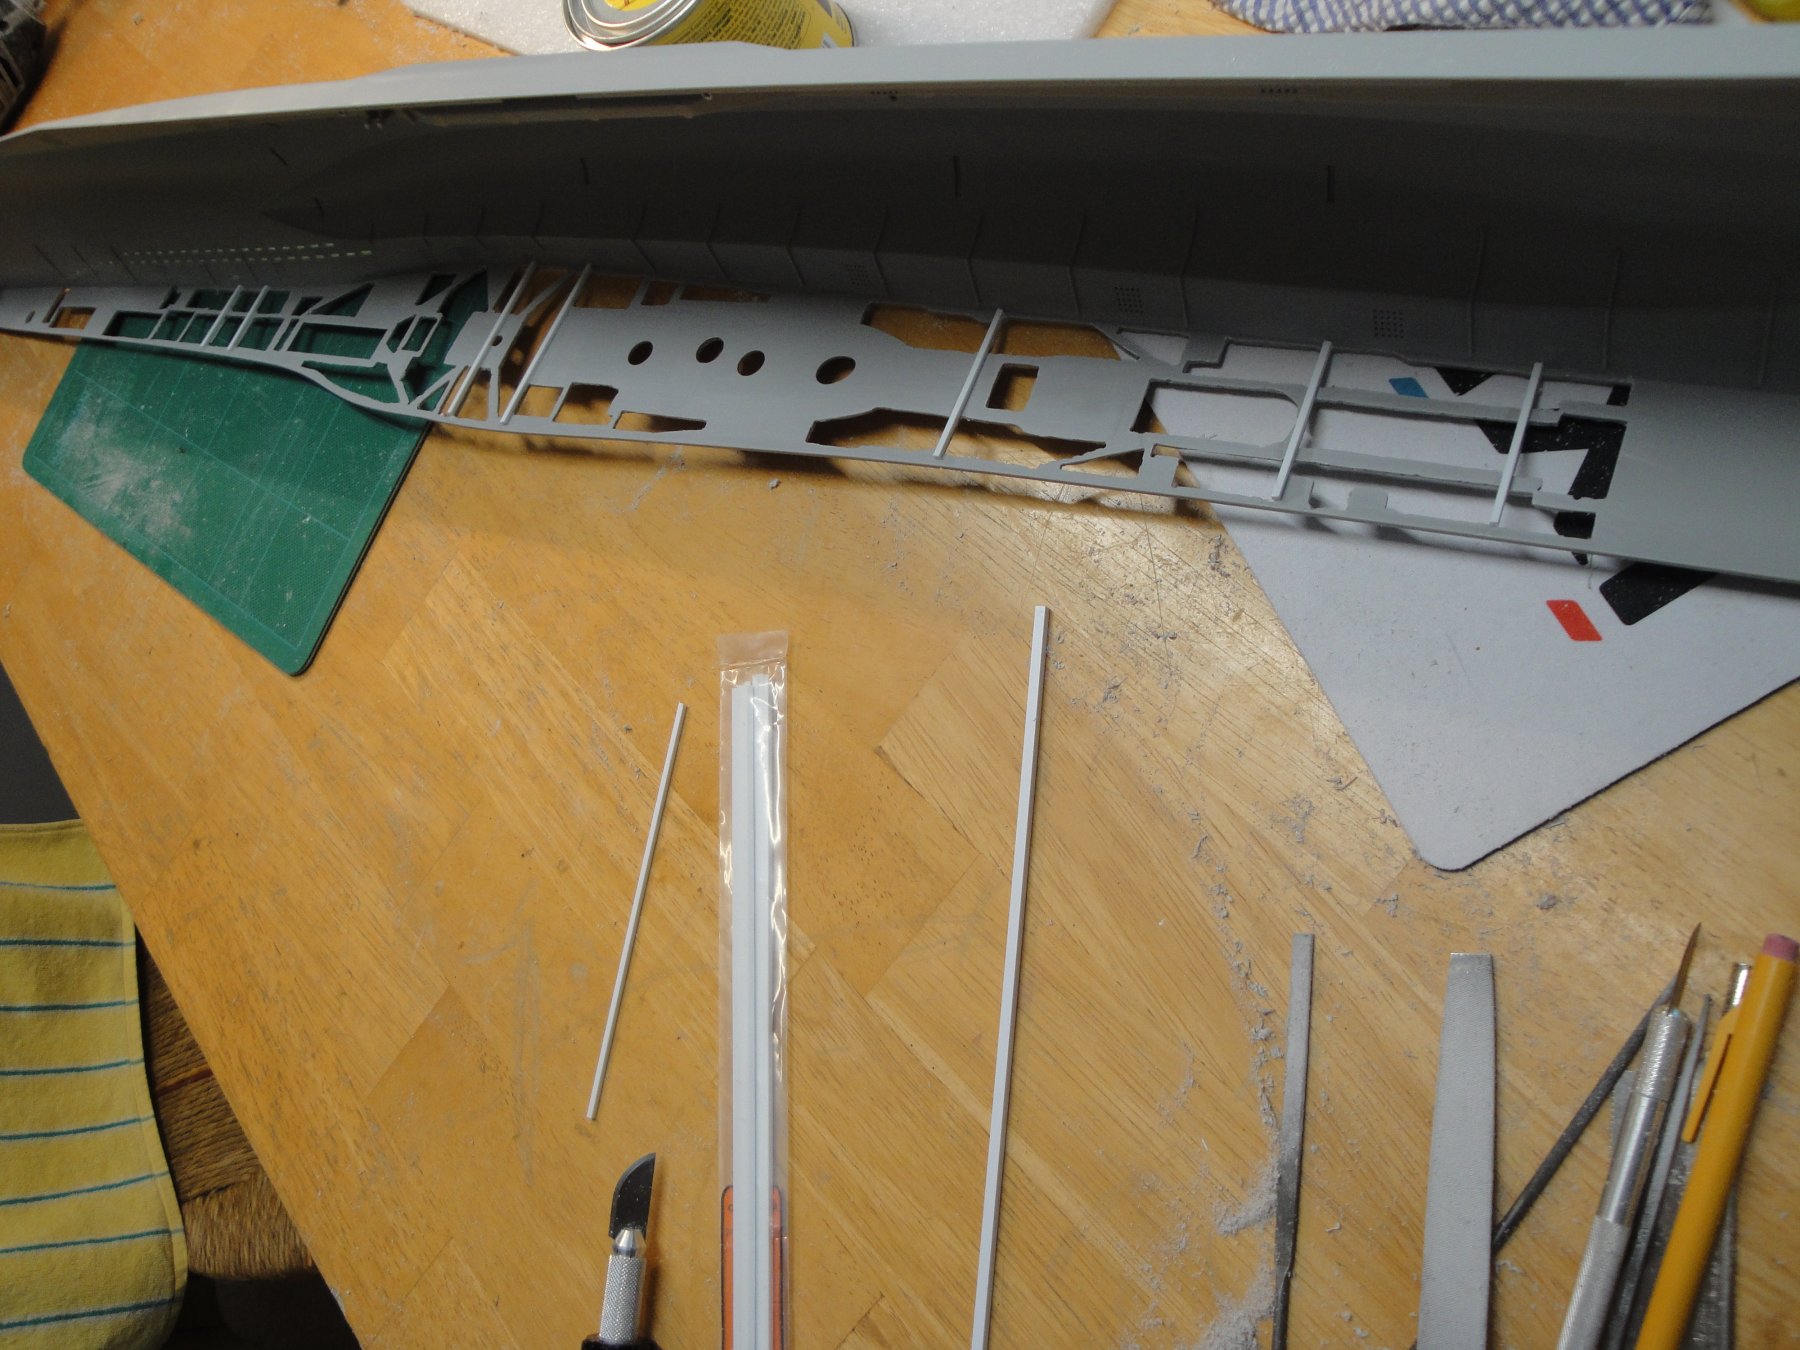
I decided to build some re-enforcement, inside the hull to support the delicate lace: It is not visible from outside, but it gives me a piece of mind and should strengthen the deck significantly, until the PE deck is glued (and even after). I am getting ready to cut the final openings for this section of the hull: After this, we are moving to the clear section of the stern. I am not looking forward to that part (same with the starboard side of the hull) as it is very brittle as all clear plastic are. I have ordered special cutting bits for my Dremel and I hope they will be efficient at biting into the clear polystyrene. Yves


- 760 replies
-
- 13
-
-
C'est tres beau Cri-cri. Superbe travail. Yves
- 550 replies
-
- 2
-
-
- confederacy
- model shipways
- (and 1 more)