HOLIDAY DONATION DRIVE - SUPPORT MSW - DO YOUR PART TO KEEP THIS GREAT FORUM GOING! (Only 13 donations so far - C'mon guys!)
×


Jasseji
-
Posts
604 -
Joined
-
Last visited
Content Type
Profiles
Forums
Gallery
Events
Everything posted by Jasseji
-

Ropewalk (and serving machine)
Jasseji replied to Charter33's topic in Modeling tools and Workshop Equipment
i'd buy the one from @Chuck but delivery to Europe adds +50% to it's price unfortunately, so rather i'd see something close by -
Ropewalk (and serving machine)
Jasseji replied to Charter33's topic in Modeling tools and Workshop Equipment
Cool Stuff Graham, any plans to start mass-production of both the ropewalk and serving machine ? -
Grats for the workshop setup, i wish my wife would allow me some proper tools, for now it's Kits only for me If you are in the US, the try Syren Ship Company for wood - i hear Chuck has best
-
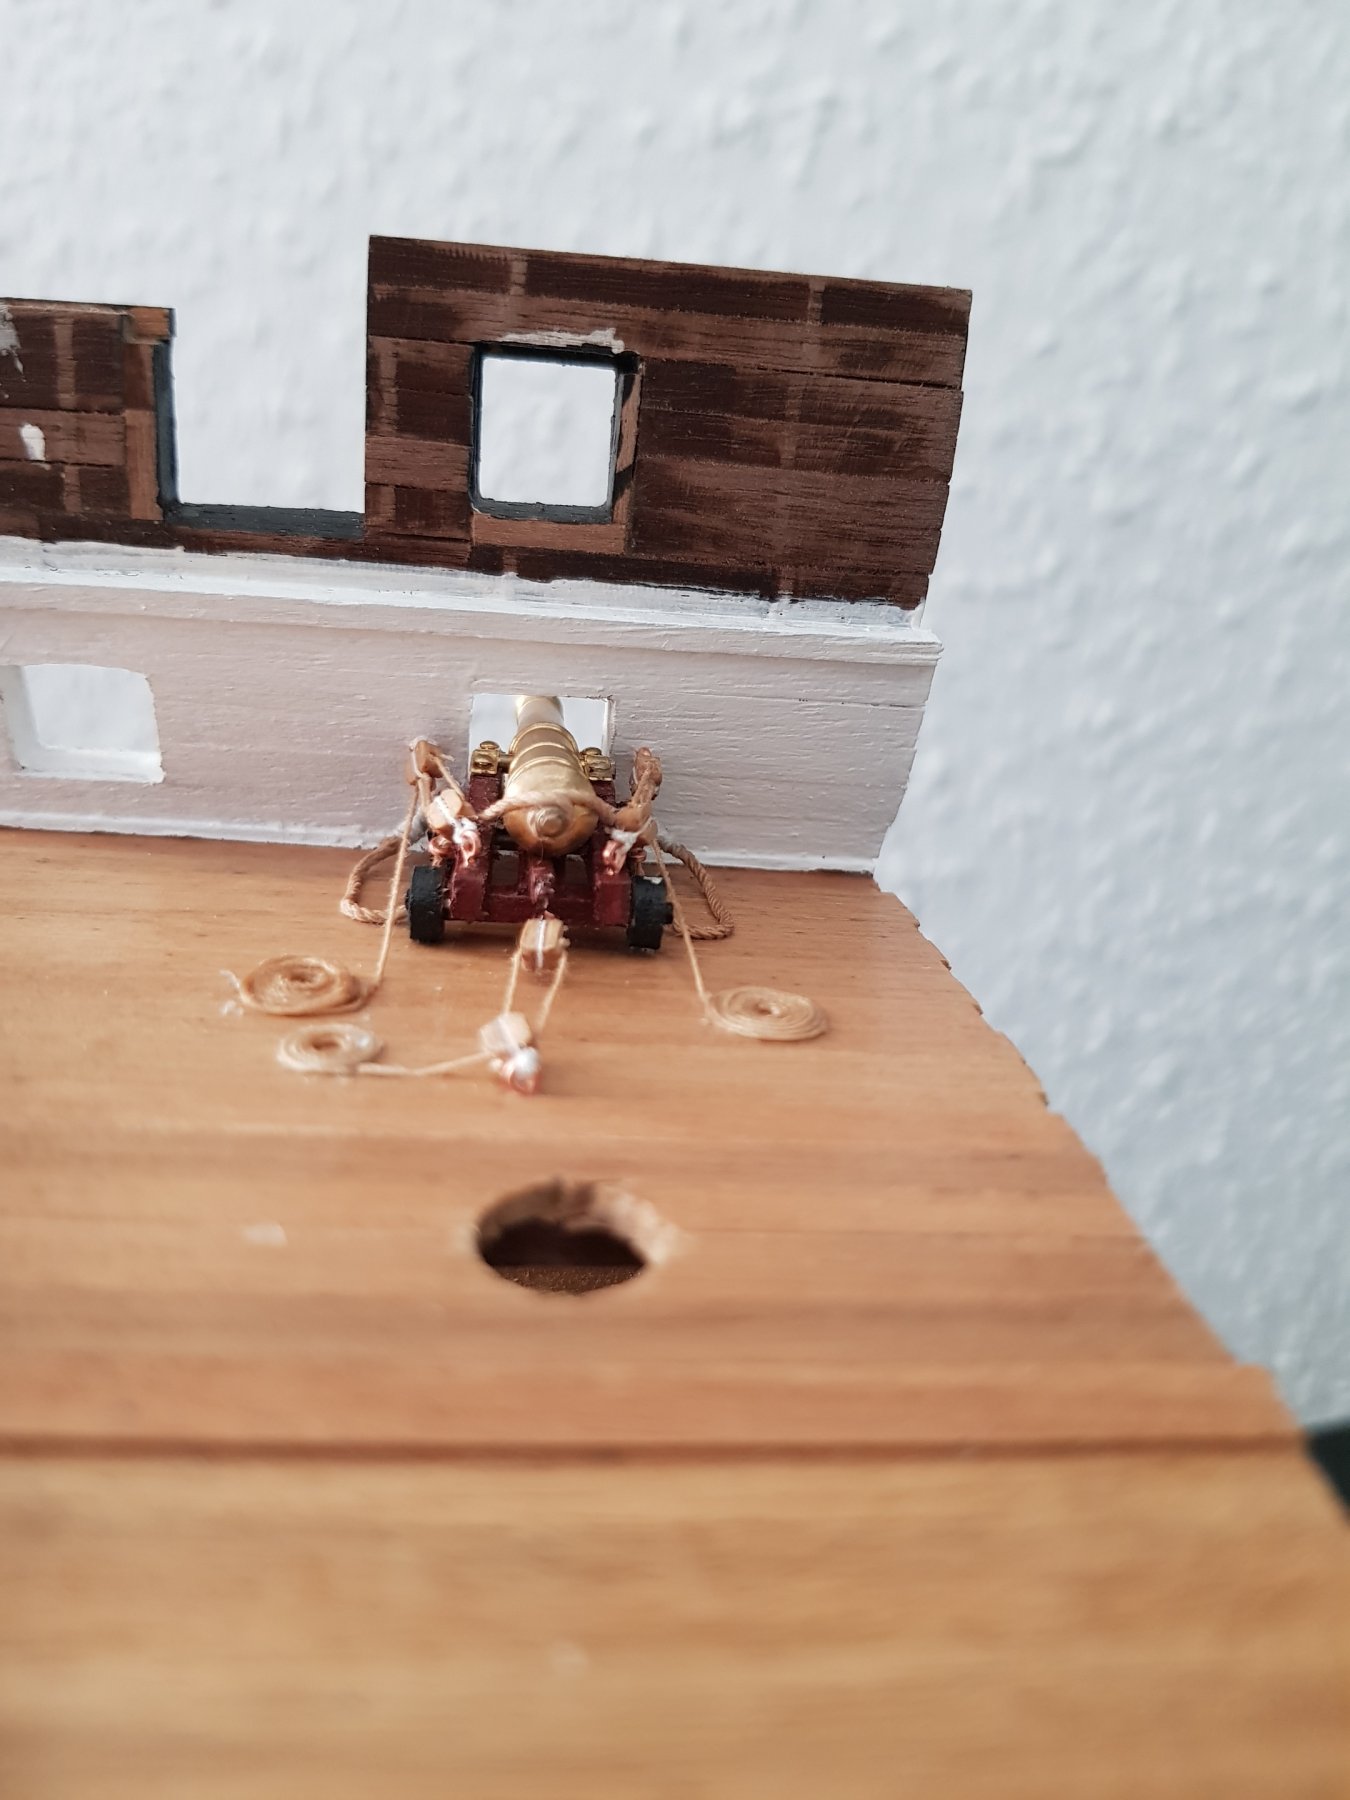
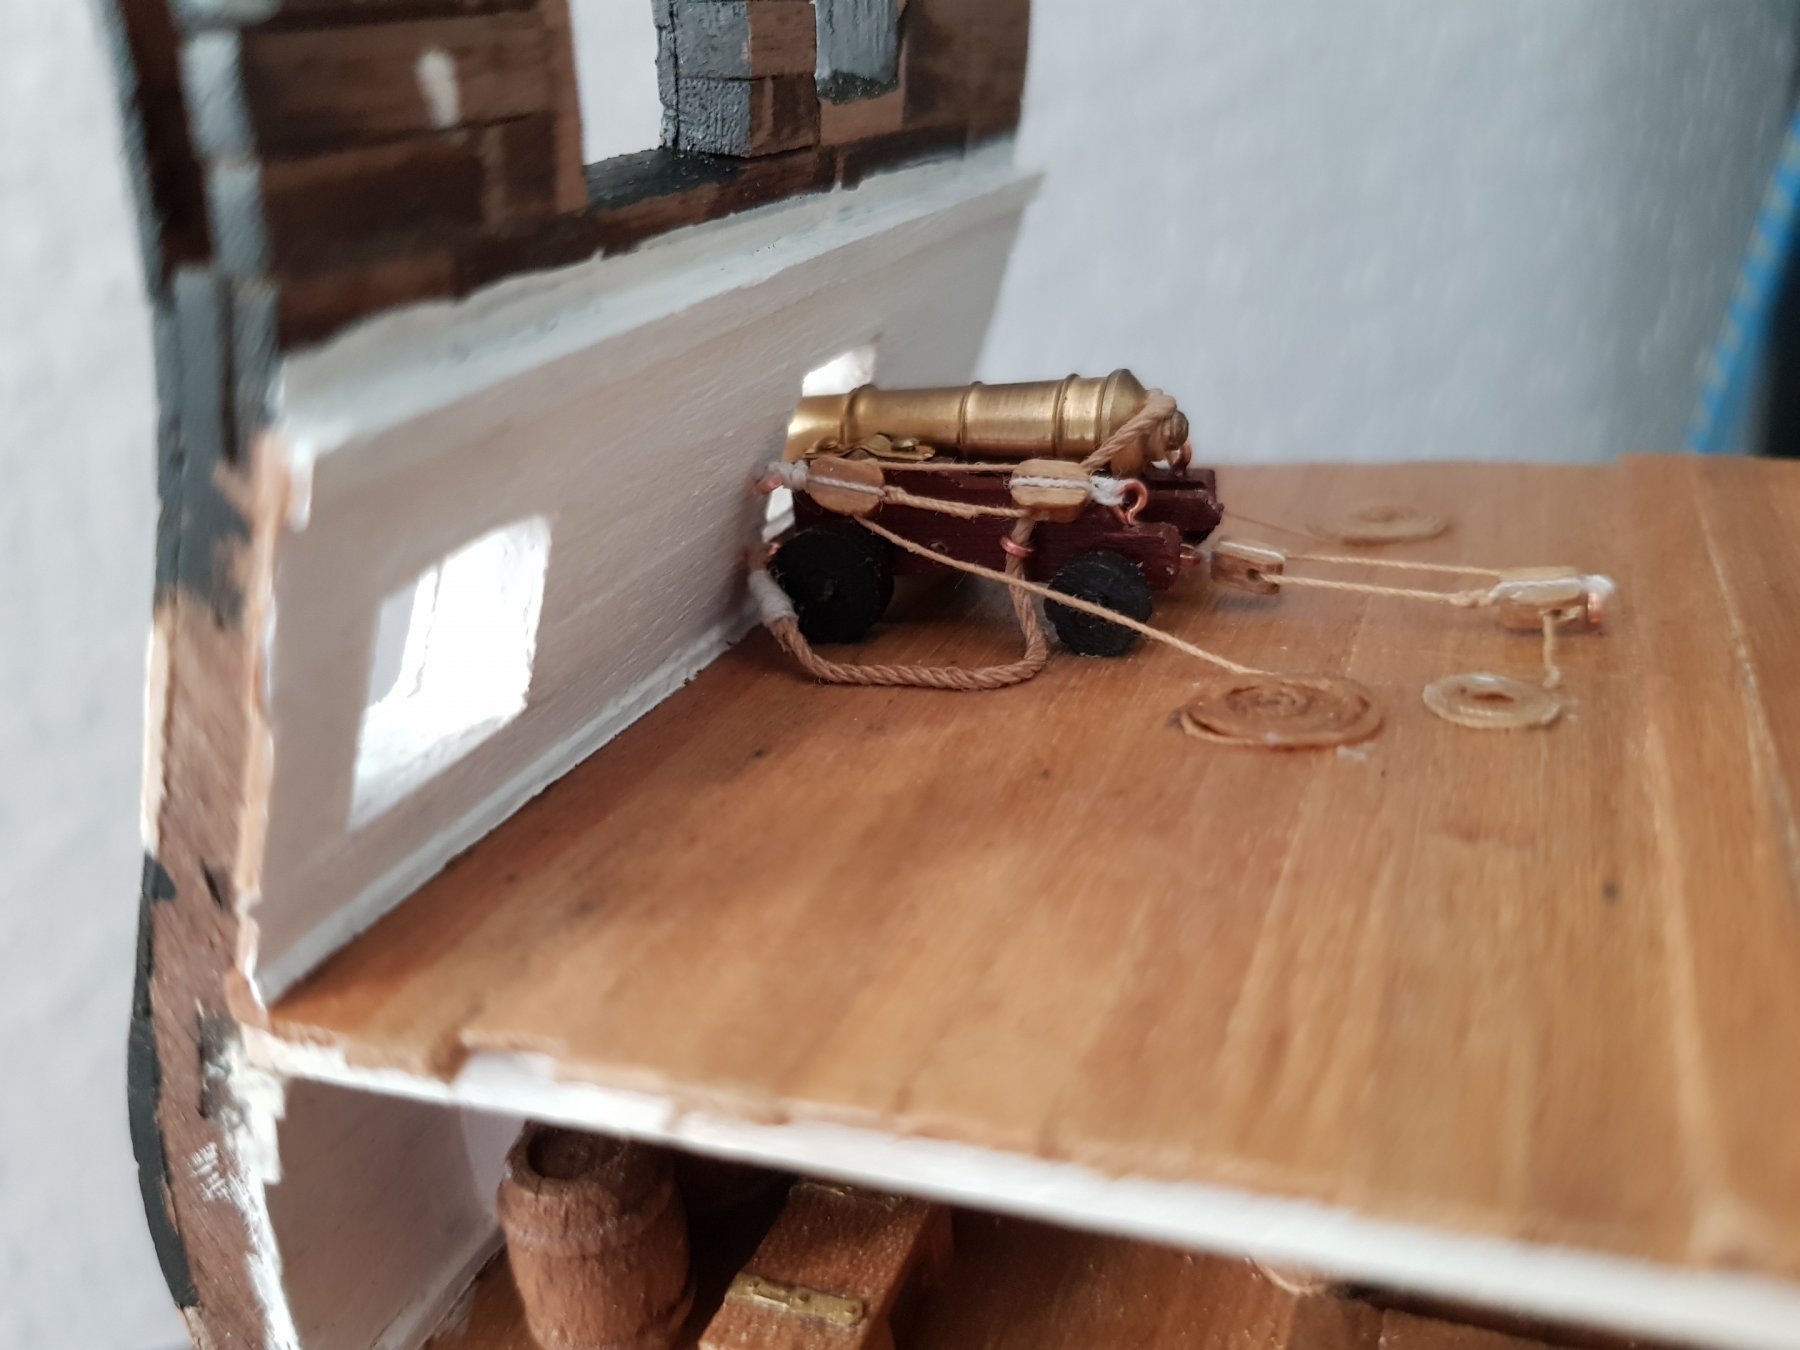
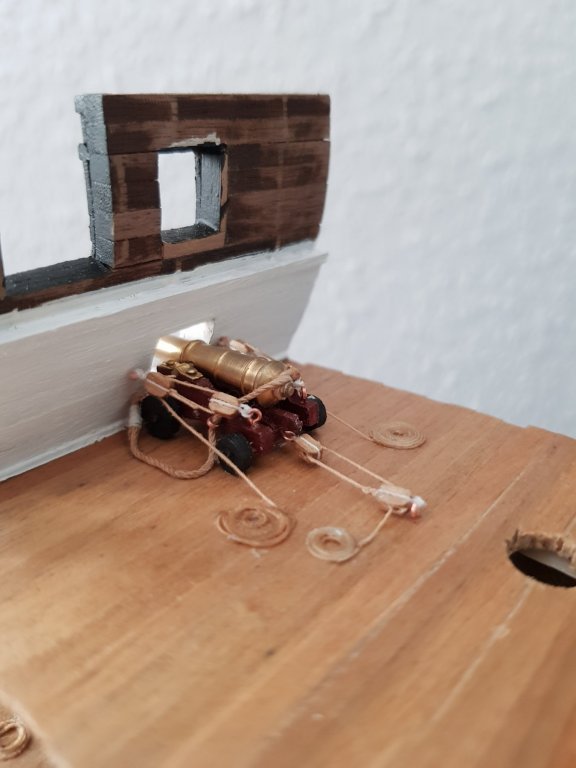
One Cannon Ready to Fire. i had to squeeze the rigging a bit, otherwise the tackles for the guns close to the edge wouldnt have space


- 50 replies
-
- 3
-

-
- mamoli
- constitution
- (and 2 more)
-
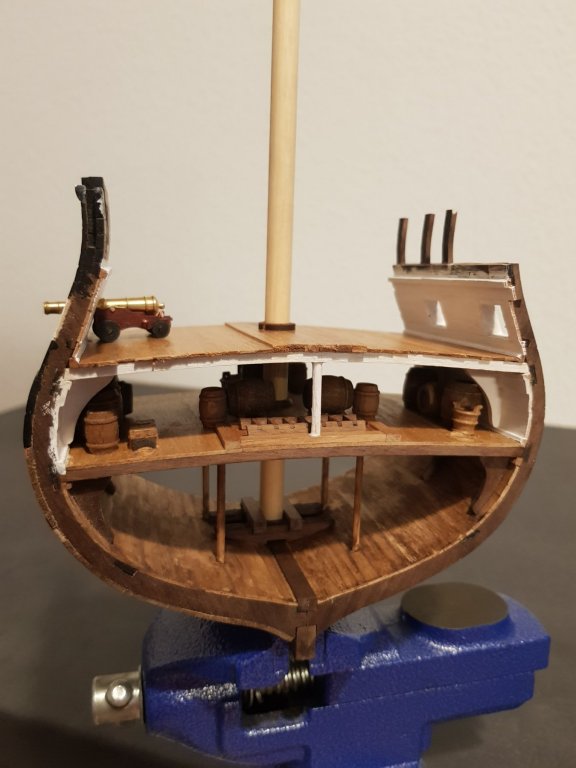
So many views and not a single reply ?? Is it that bad ? Anyway, here the Progress
- 50 replies
-
- 5
-
-
- mamoli
- constitution
- (and 2 more)
-
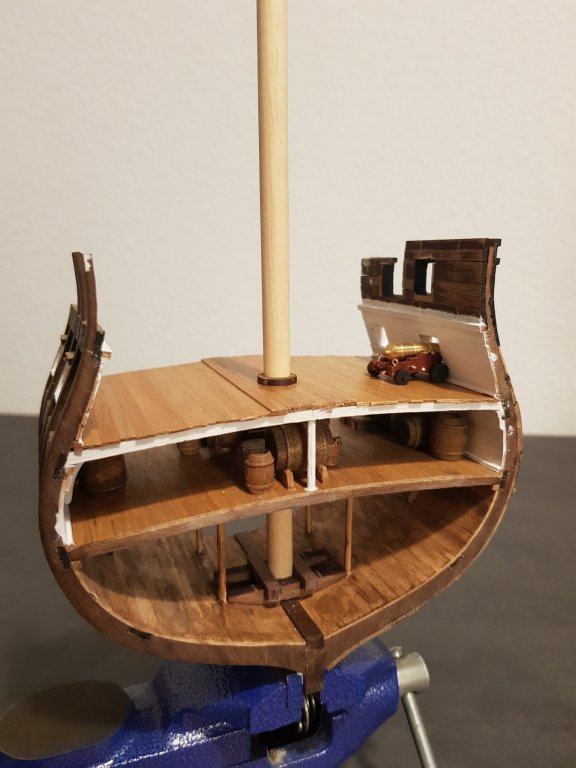
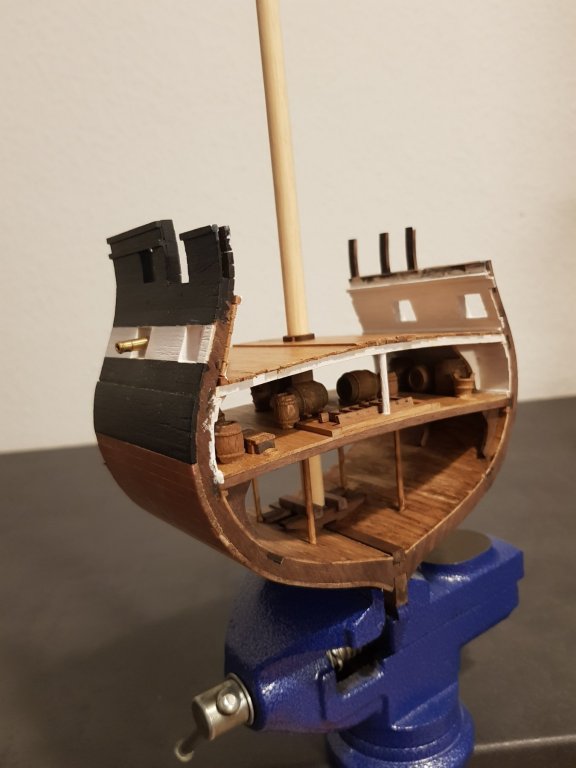
Had to remove all the barrels, Sand the deck again and place the gundeck knees, but now seems ok, i think i didnt forget anything else
- 50 replies
-
- 2
-
-
- mamoli
- constitution
- (and 2 more)
-
AAARGH i again forgot the Knees !!! will have to remove everything and redo the alignment - crap
- 50 replies
-
- 1
-
-
- mamoli
- constitution
- (and 2 more)
-
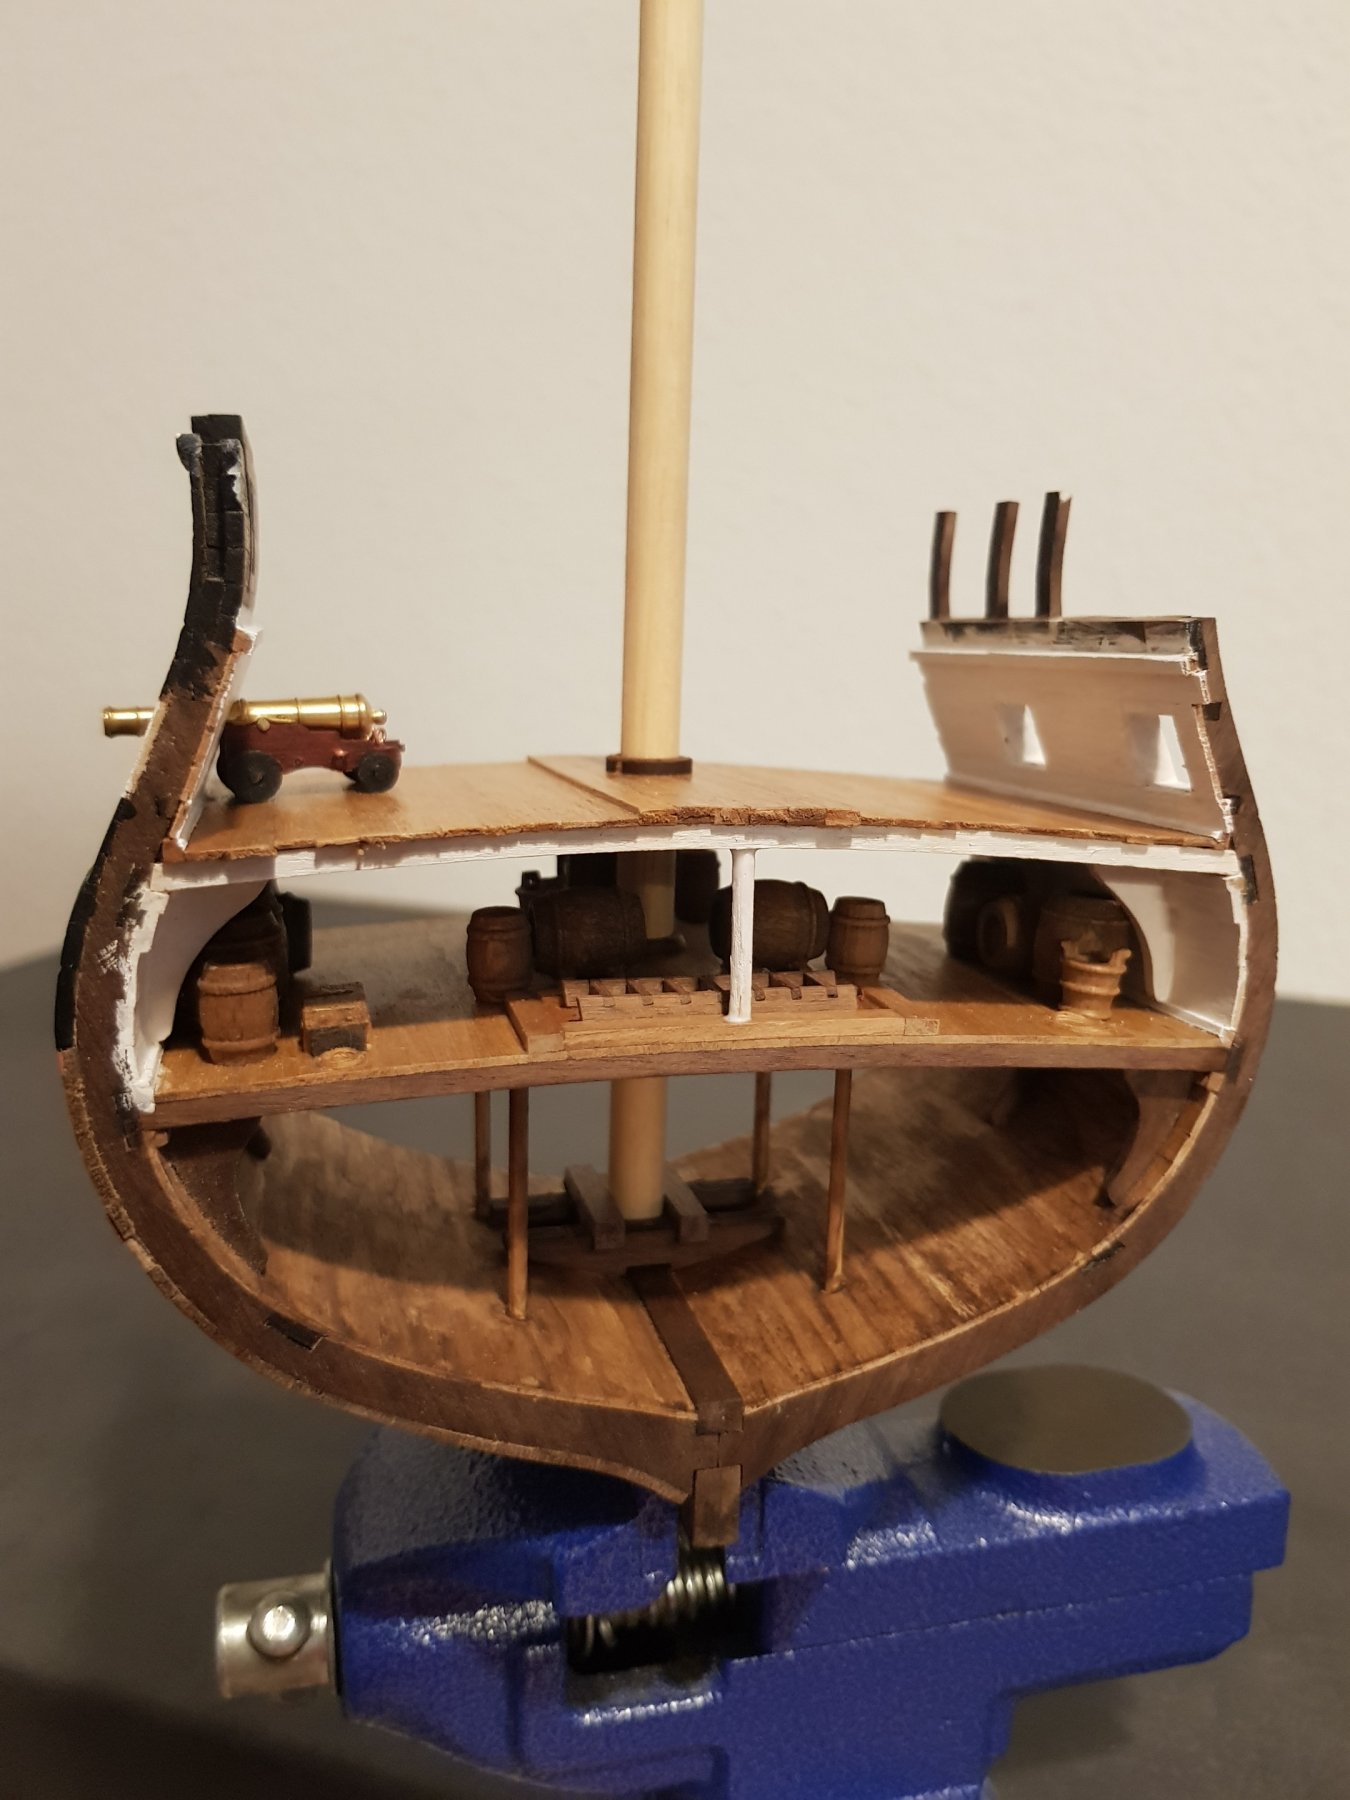
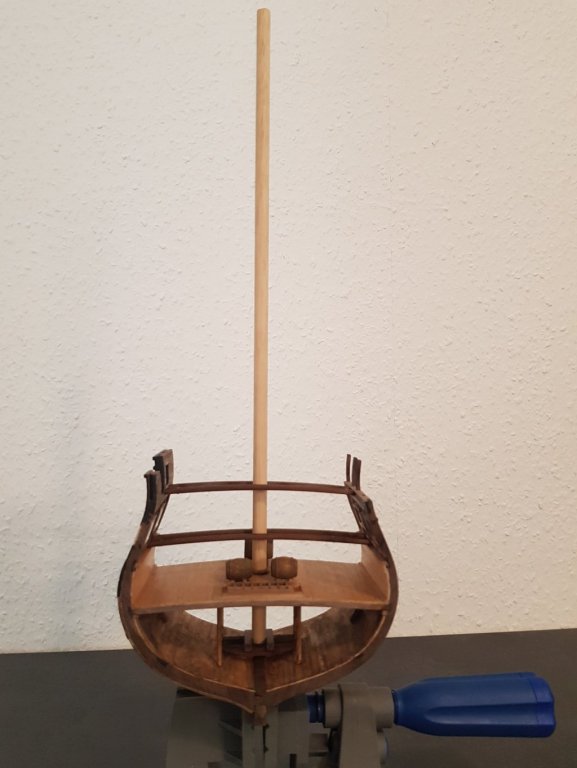
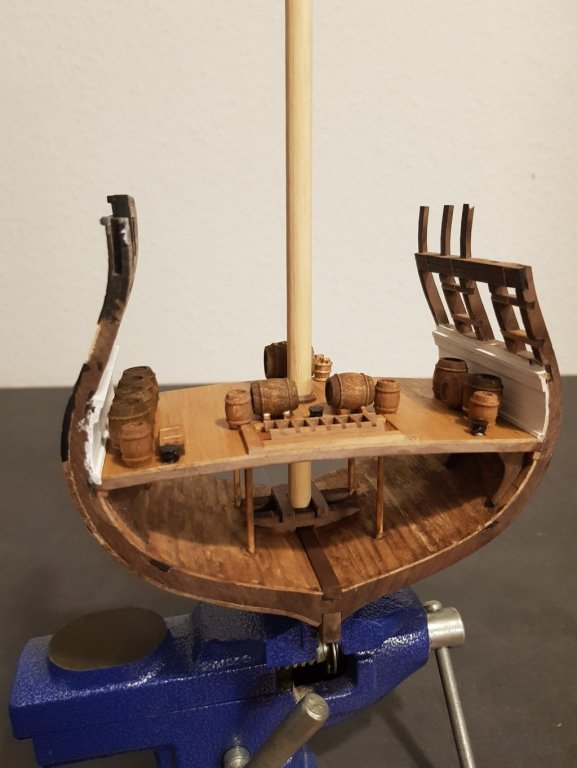
Current Status. Lower Deck Finished Drilled mast hole (alignment looks perfect) Hatch and ladder done Barrels and one Chest glued Buckets glued Mast Test-Fit

- 50 replies
-
- 1
-
-
- mamoli
- constitution
- (and 2 more)
-
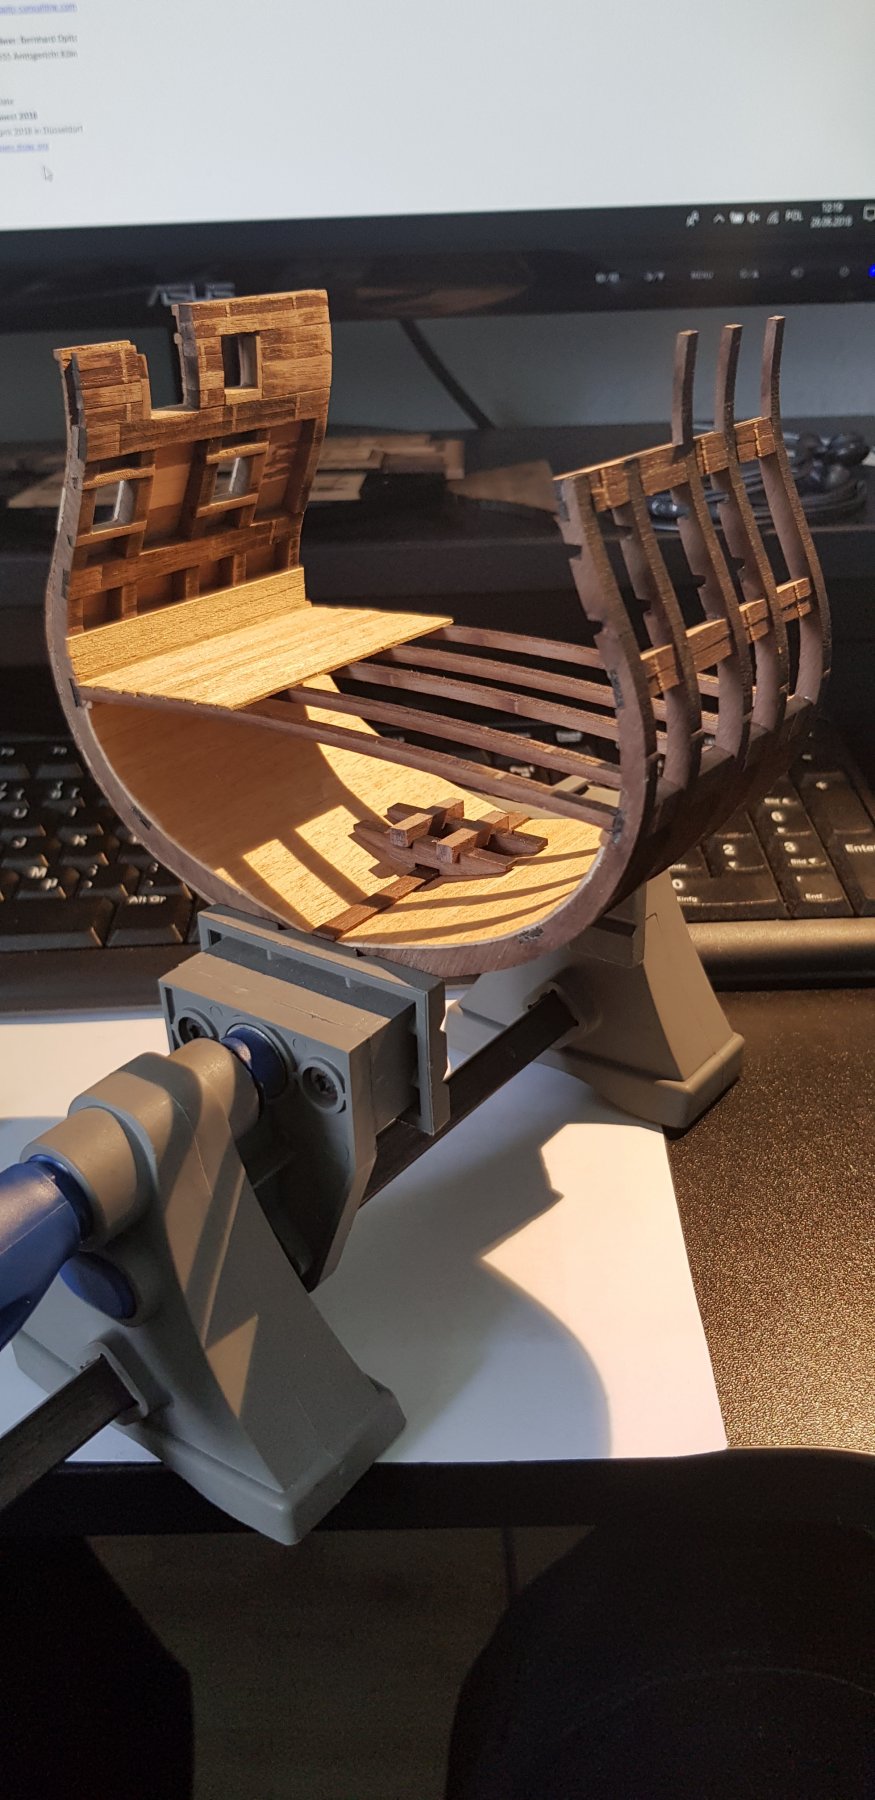
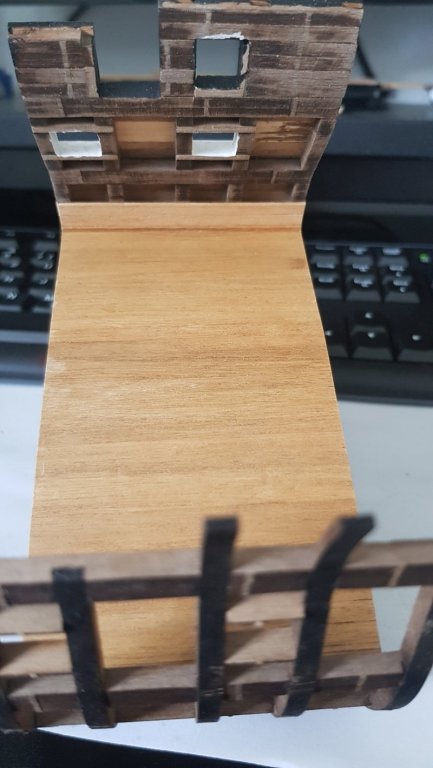
So for today's Progress. - Hold is ready (supports and knees added) - Lower Deck Planked and Sanded, then painted again with second layer of watered down Glue, waiting to dry for second sanding - Outside Hull Painted For future Reference, this is my Planking process: - Glue Planks - paint with watered down glue - File to remove roughness - Rough Sandpaper - Watered down PVA Glue without dusting off - to force the sawdust into cracks and openings - Sand with lighter paper Also, i did an attempt to stain the wood in the Hold, i used Acrylic Miniatures Ink - the effect is bad but luckily it's the Hold...
- 50 replies
-
- 3
-
-
- mamoli
- constitution
- (and 2 more)
-
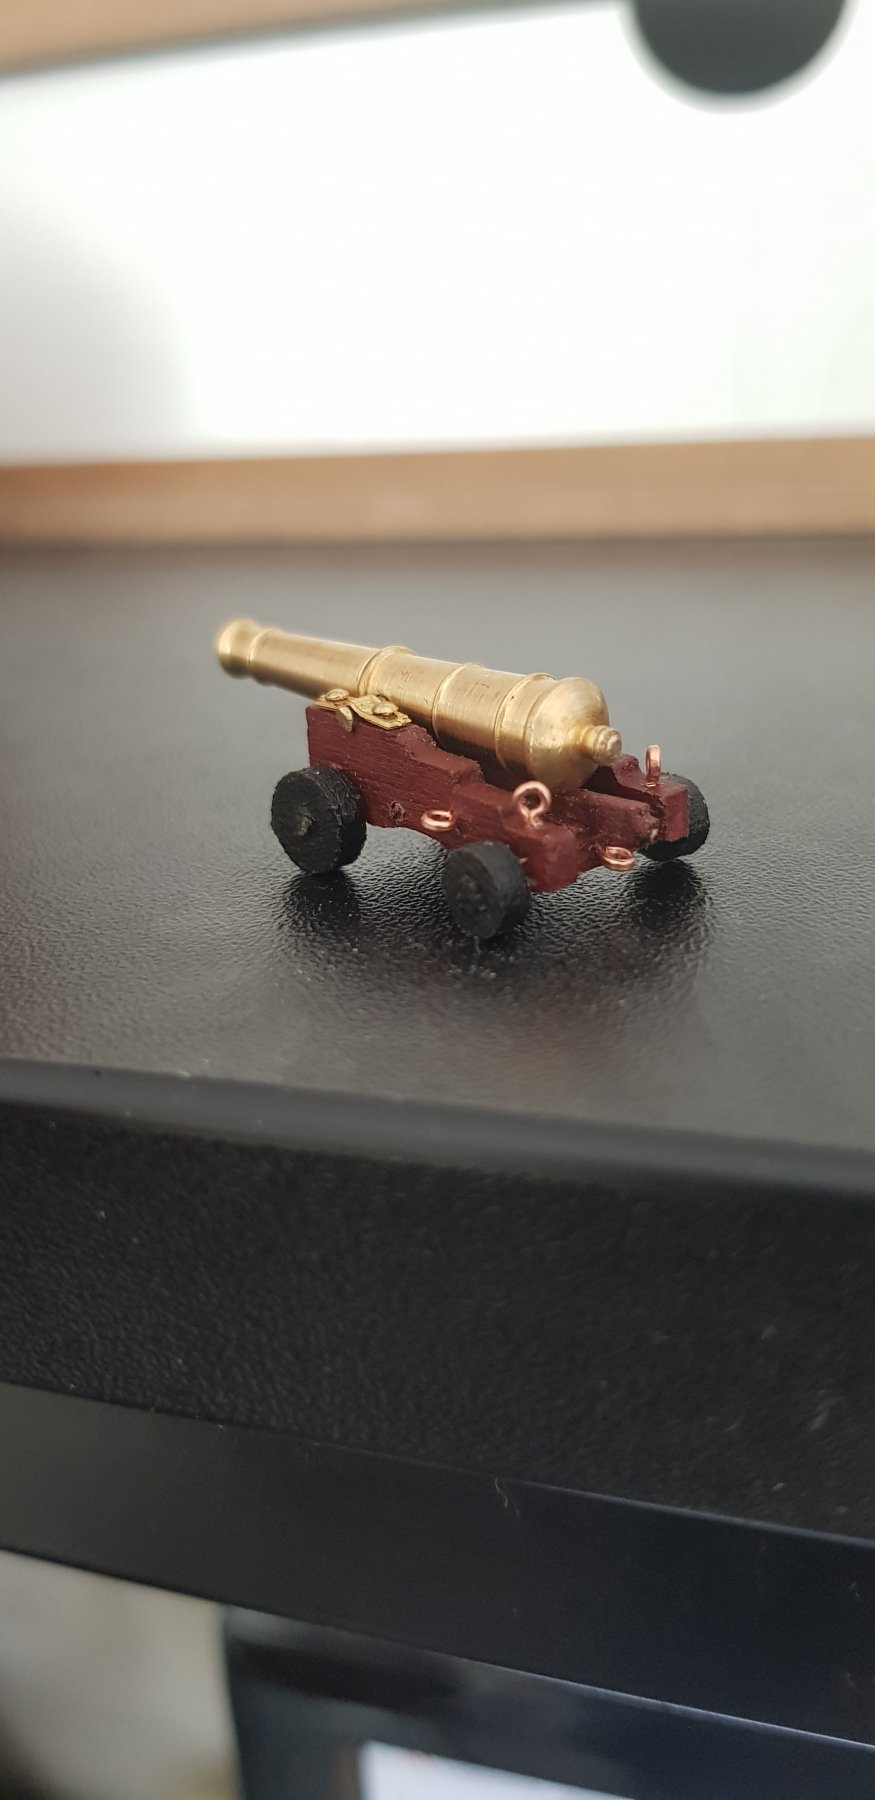
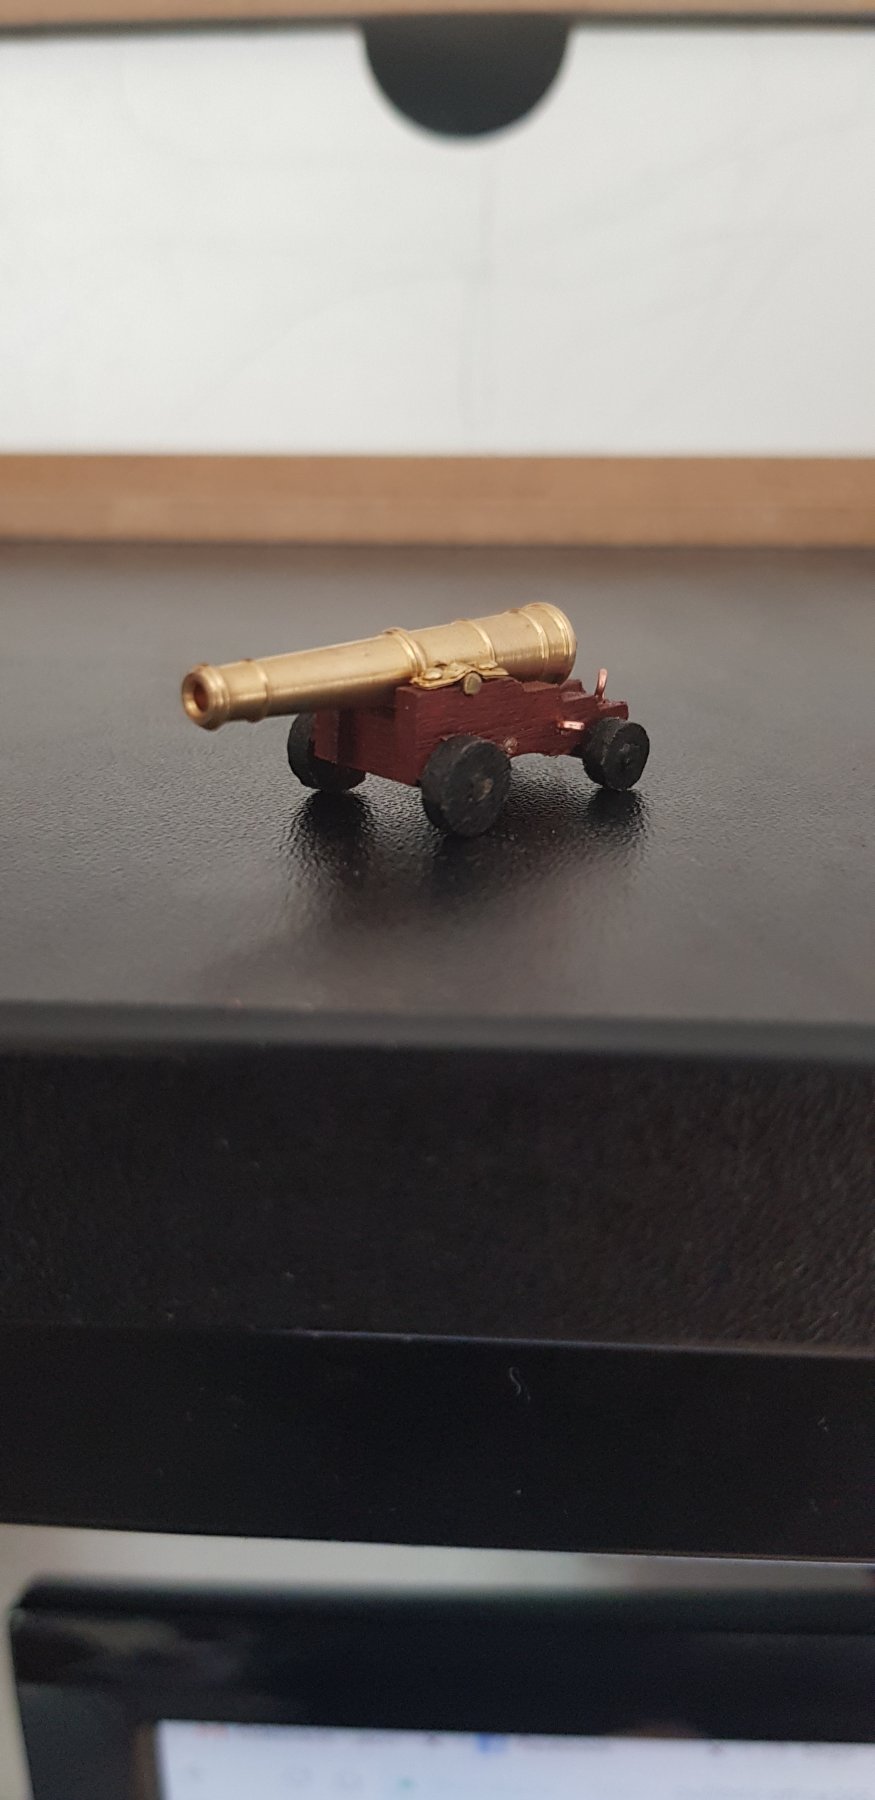
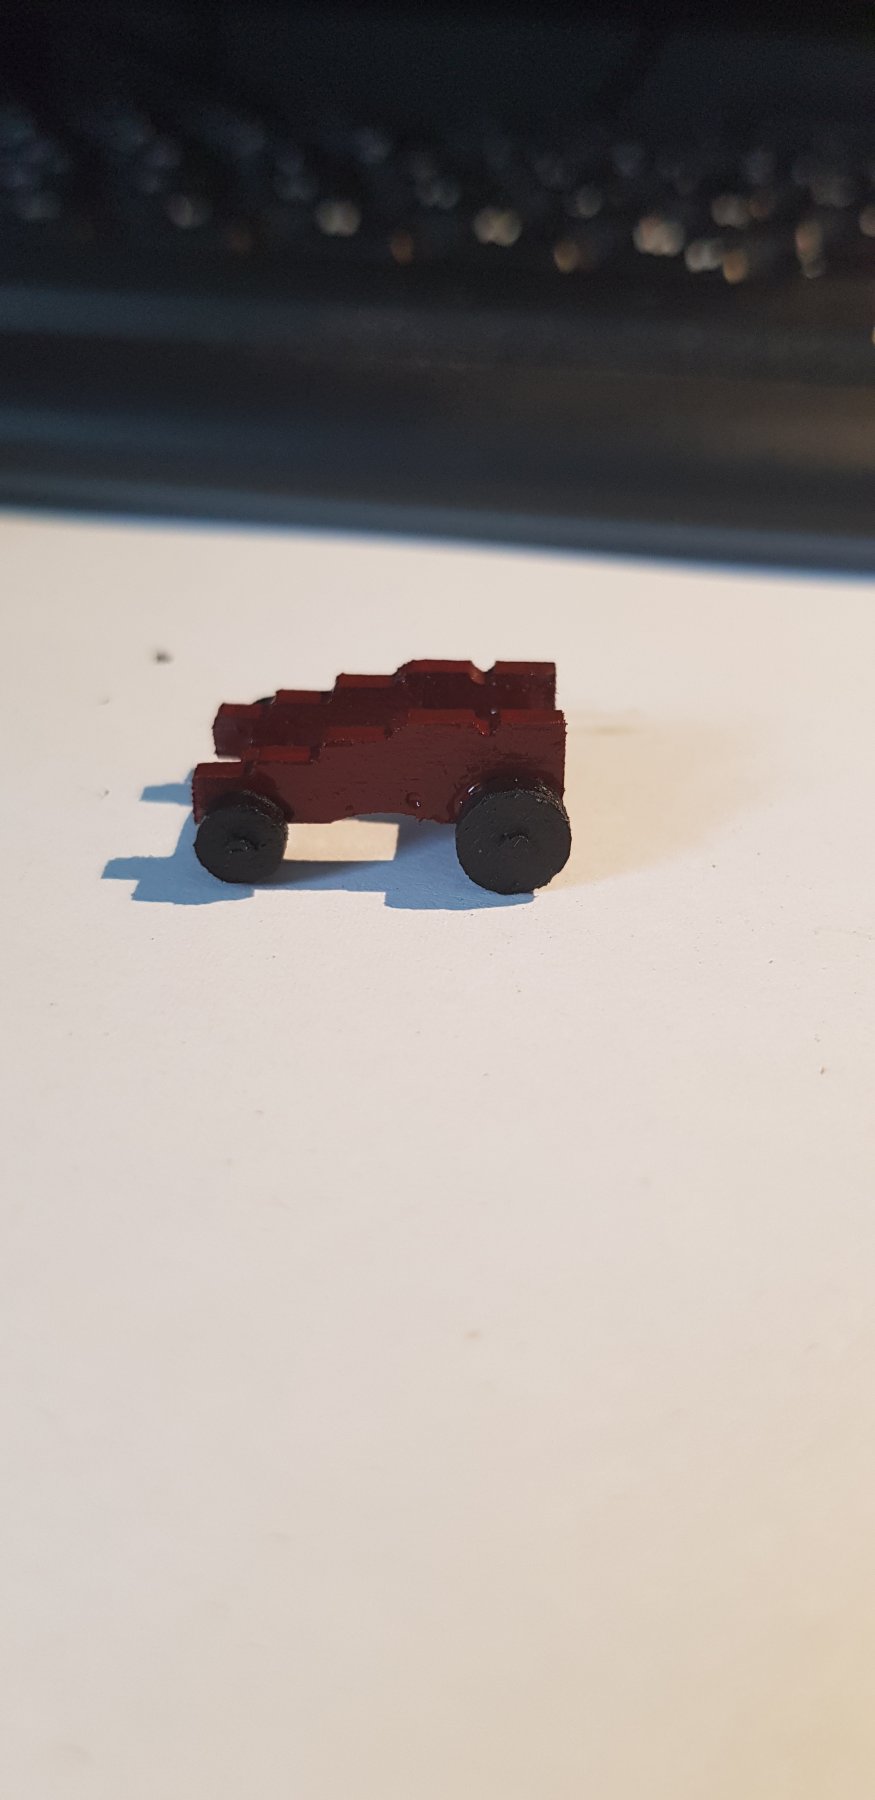
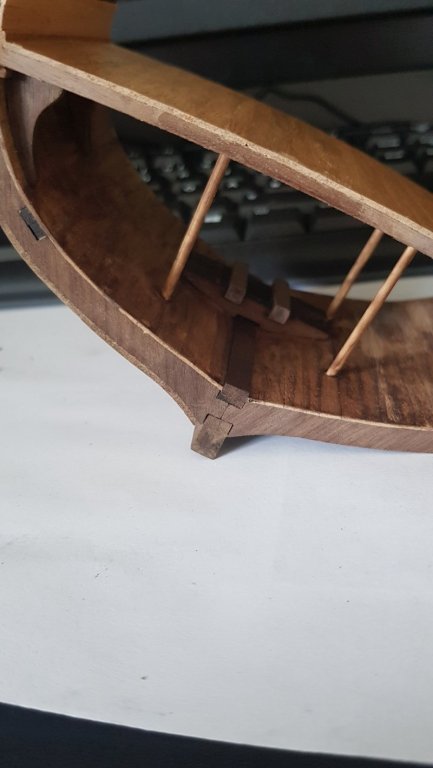
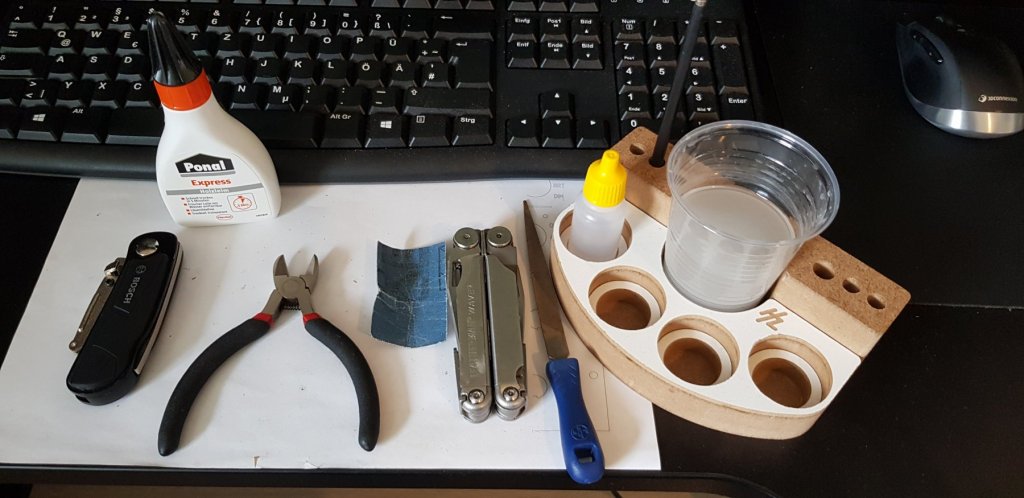
Slower Progress now (other hobbies to follow too :P) but steady. - Hold Planked and Planks trimmed - Deck Supports Glued in and started planking - Forgot Support Knees but will fit them soon - mast Step Glued in (proper position i think) - Got a few Cannons From Caldercraft so putting one together now, they are a bit longer (2mm) than the ones in the kit but should do fine - Test paint of Carriage with Acrylic Miniature Paints Last pic my tools, i think i need to get proper model tools

- 50 replies
-
- 2
-
-
- mamoli
- constitution
- (and 2 more)
-
Requesting feedback for future MSW Group Projects
Jasseji replied to Chuck's topic in Group Projects on Model Ship World
roger, understood -
Requesting feedback for future MSW Group Projects
Jasseji replied to Chuck's topic in Group Projects on Model Ship World
ok, so if we dont have a group nearby, we have to wait for the kits to be available on the website ? -
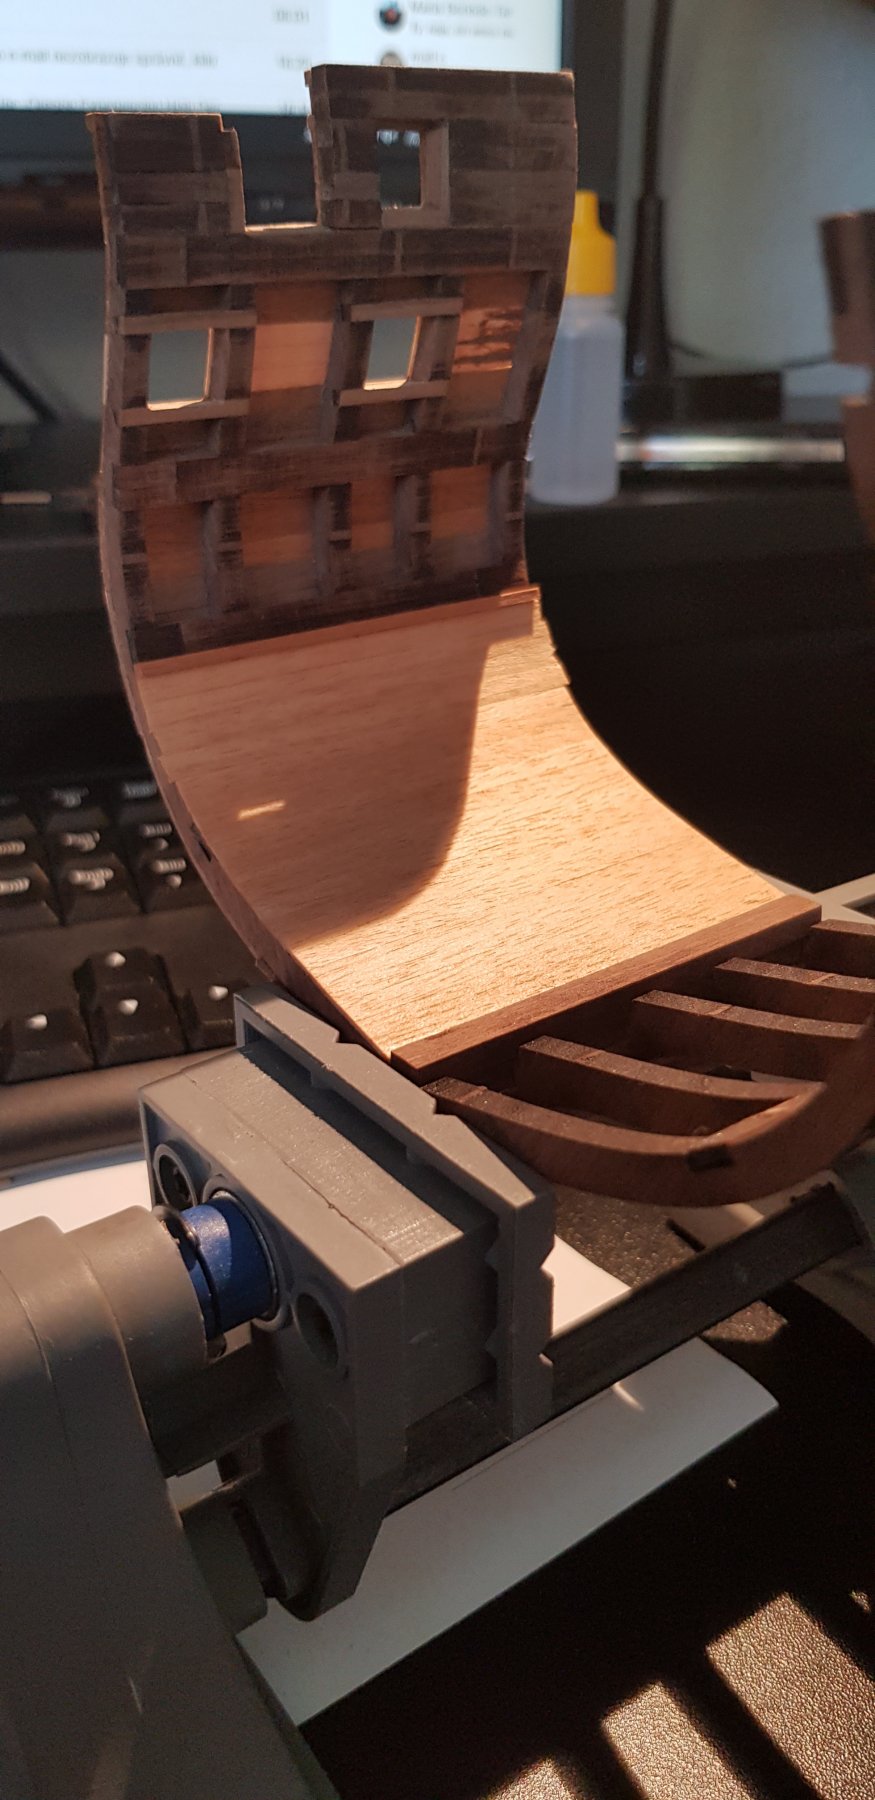
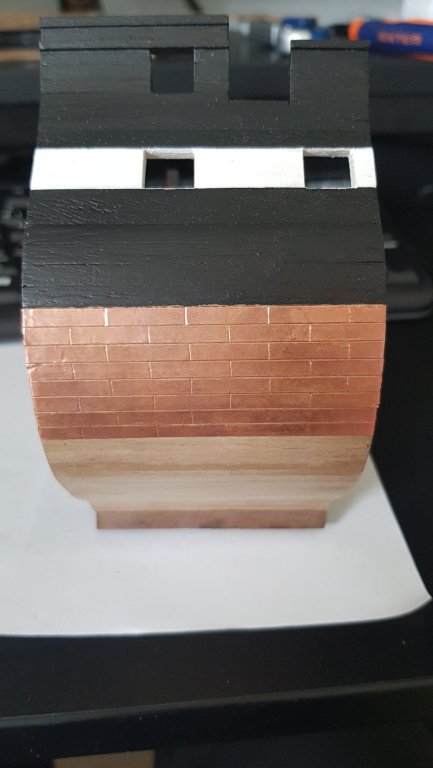
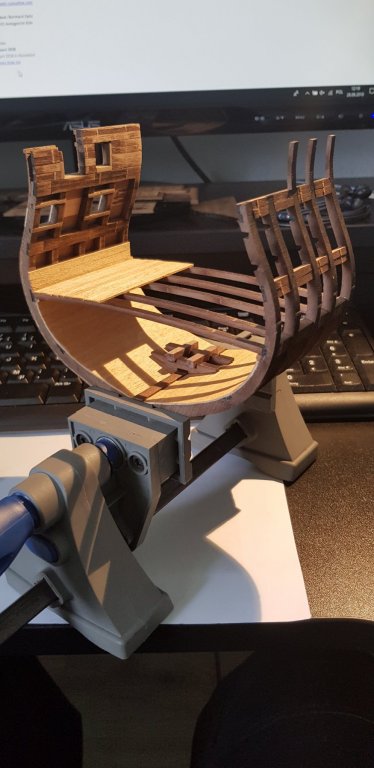
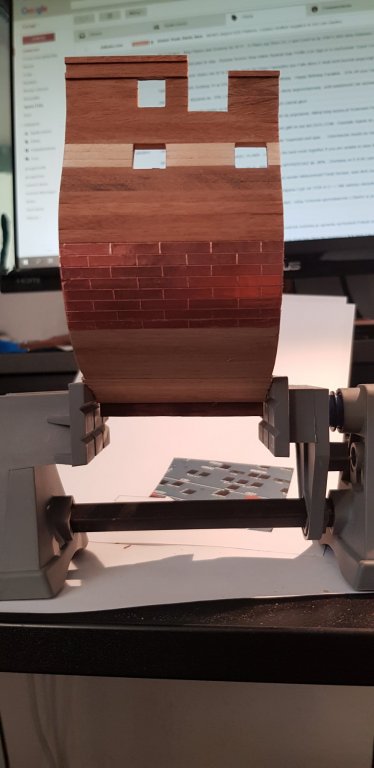
Admiralty is getting herself dirty (voluntarily) with sanding, hence more progress. Starboard outside planked and some rows of copper plating added (yes, the kit doesnt come now with these weird greenish tiles anymore, just self-adhesive copper strips). Also started planking inside of Hold (planked until the deck beam Supports). Port framing is still only Dry-fit. More Sanding, we decided to paint her after all but by brush (so after gundeck is ready - long time still)

- 50 replies
-
- 1
-
-
- mamoli
- constitution
- (and 2 more)
-
Oh we have a 2-year-Old, not gonna leave the house anytime soon, hoping to get my skills back So in 3-4 years i can do a project togehther with him At the moment i am building an unmasted Connie Cross-Section in 1:93, the Admiral even got her hands dirty with sanding So there is hope for a big lady to sail the living room
- 366 replies
-
- 2
-
-
- bellerophon
- victory models
- (and 2 more)
-
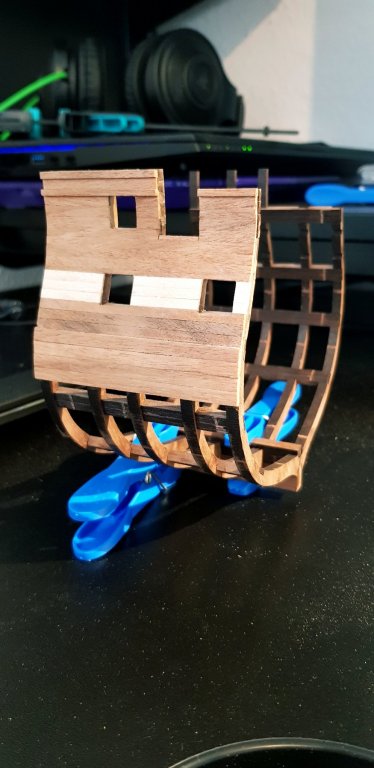
Today's Progress. It's going faster and smoother as i expected - Frames Cleaned and glued (only waiting for Daniel to replace the external short rib) - Started Planking the Outside, as i plan to paint the Hull black by Airbrush (and would mess up the internals). - Progress until bottom of Wales, even The Admiral lent a hand with file and sandpaper. We are trying to decide if to paint her at all, what you guys think (it wouldnt be the Connie then, but this model is not historically accurate anyway)
- 50 replies
-
- 2
-
-
- mamoli
- constitution
- (and 2 more)
-
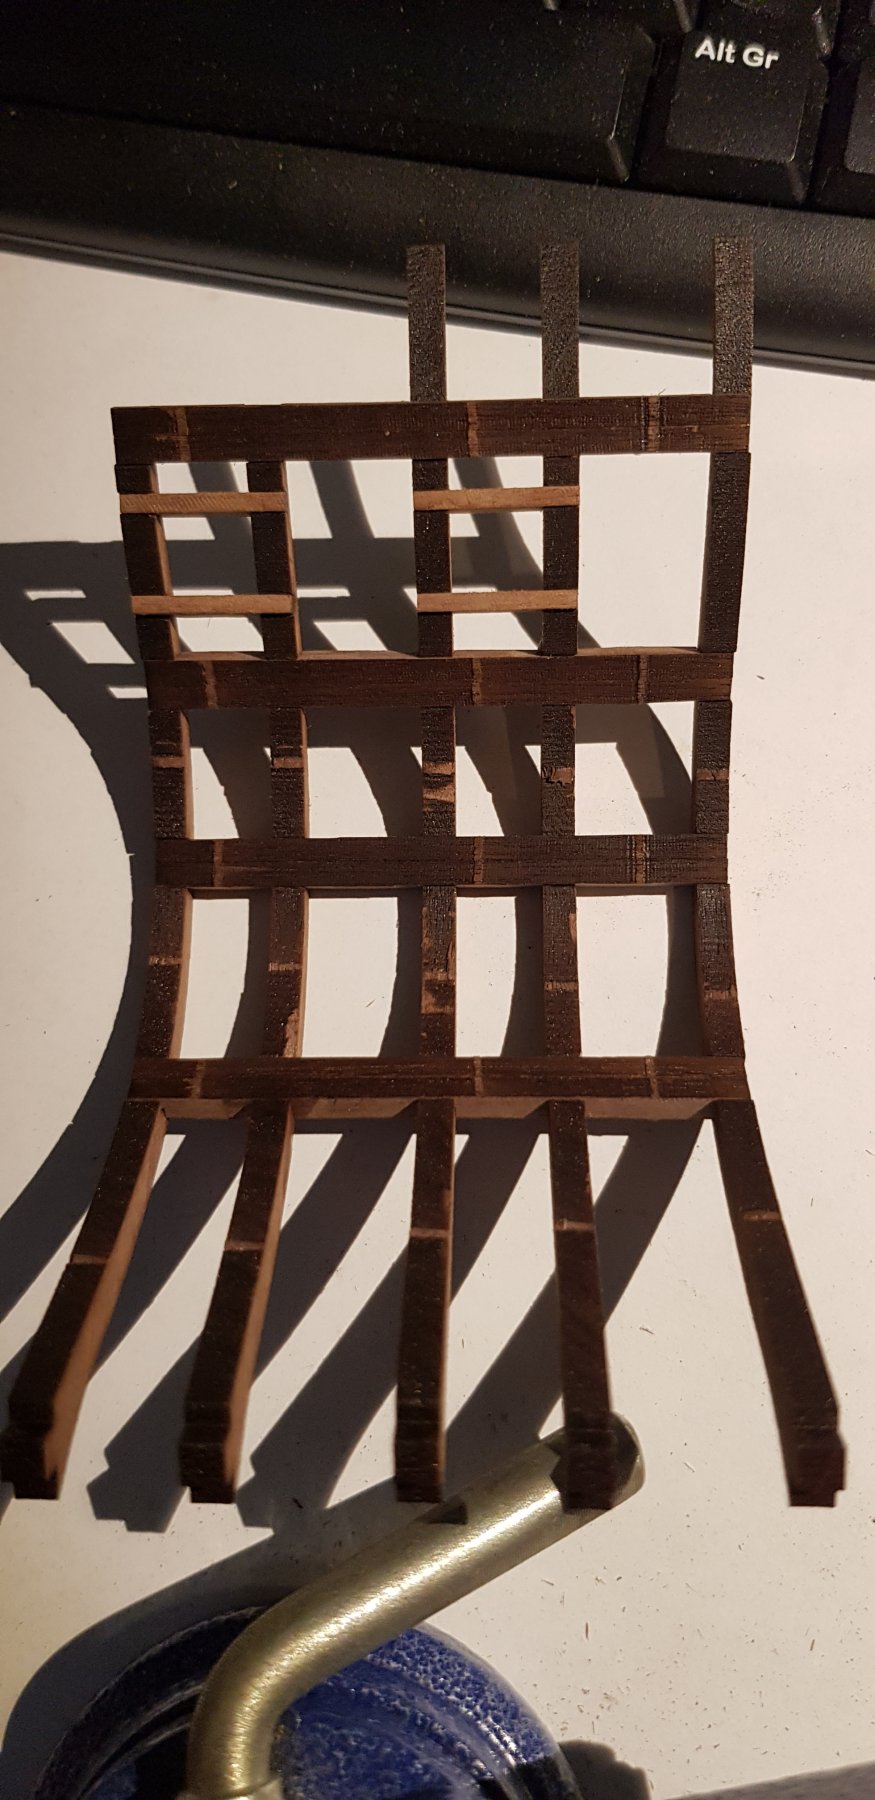
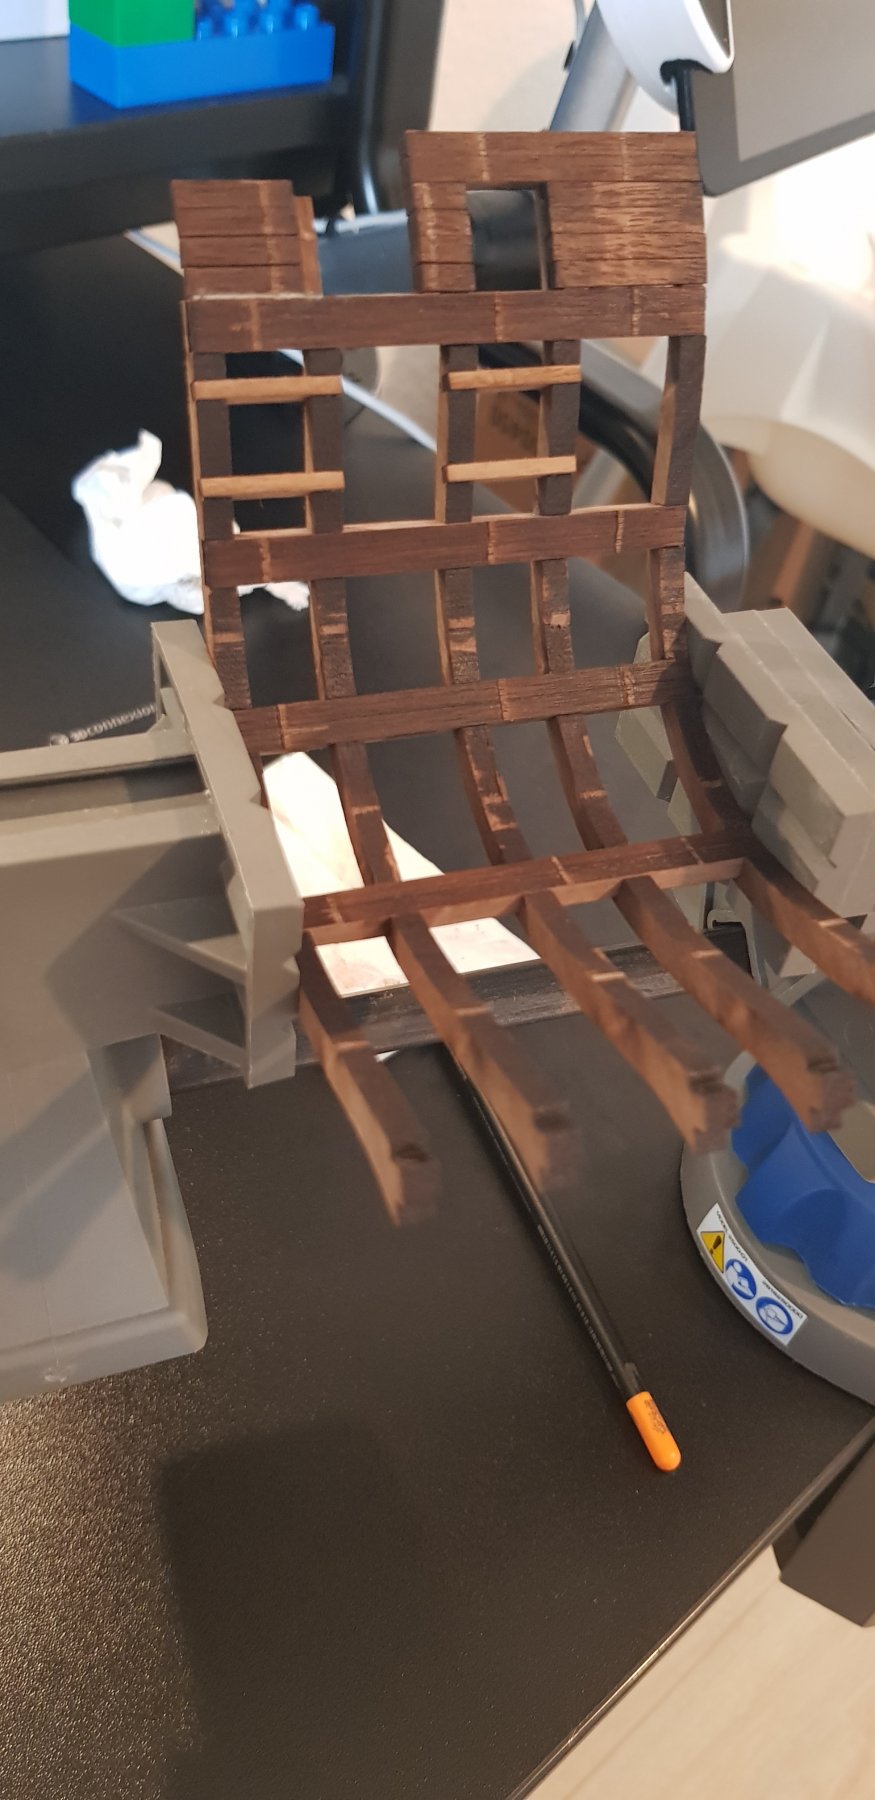
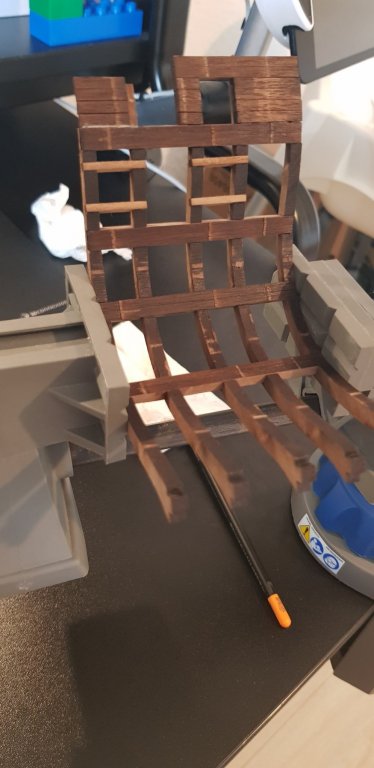
The frame is coming together, there are a few errors in the Kit but Daniel Dusek agreed to fix them. Sanding needs to be done of course

- 50 replies
-
- 3
-
-
- mamoli
- constitution
- (and 2 more)
-
Oh, and here is the plan for the Framing, Simpler than the original (no more small spacers between Frames, just a single element to hold all frames together):
- 50 replies
-
- 3
-
-
- mamoli
- constitution
- (and 2 more)
-
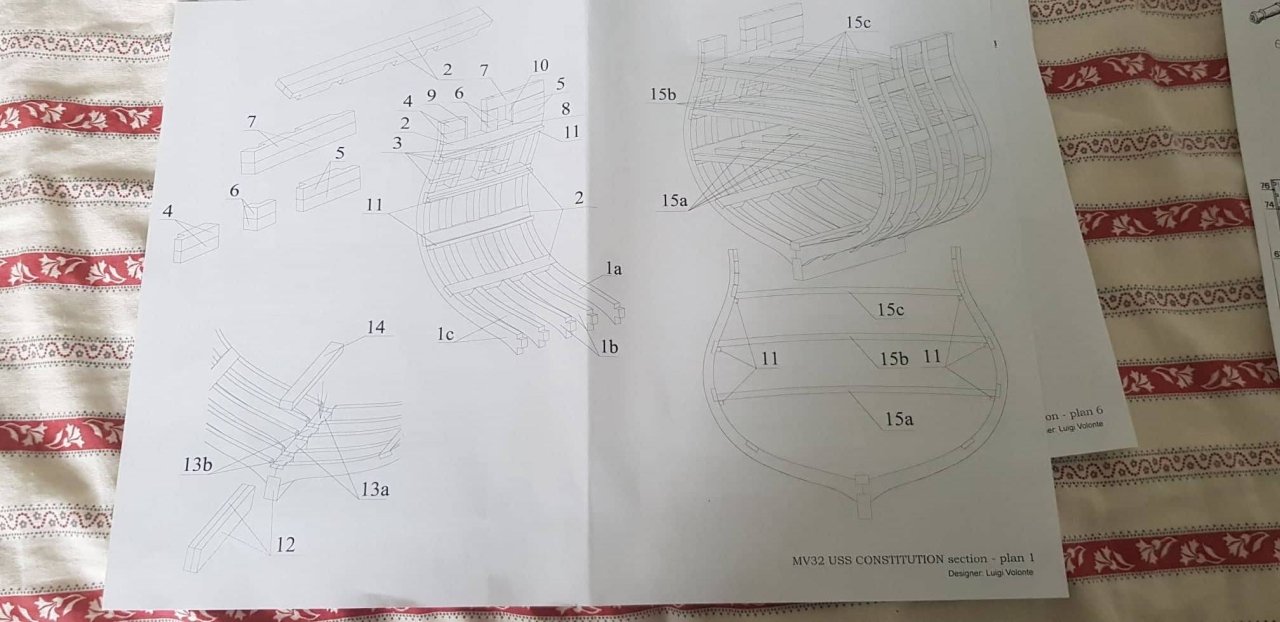
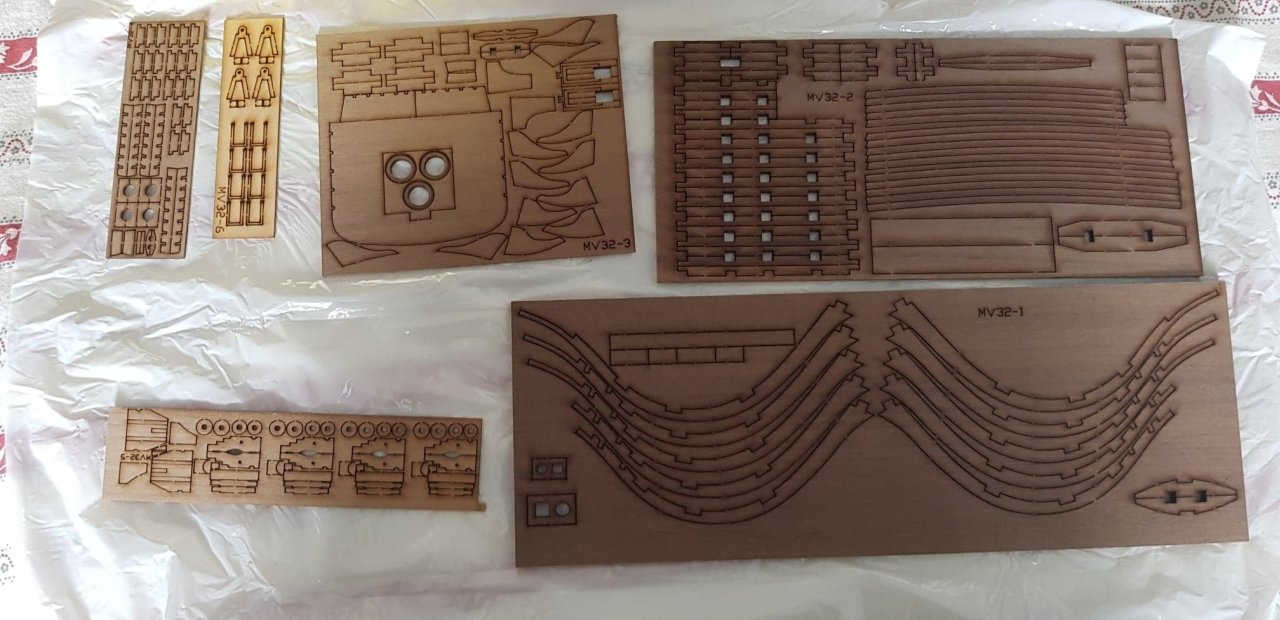
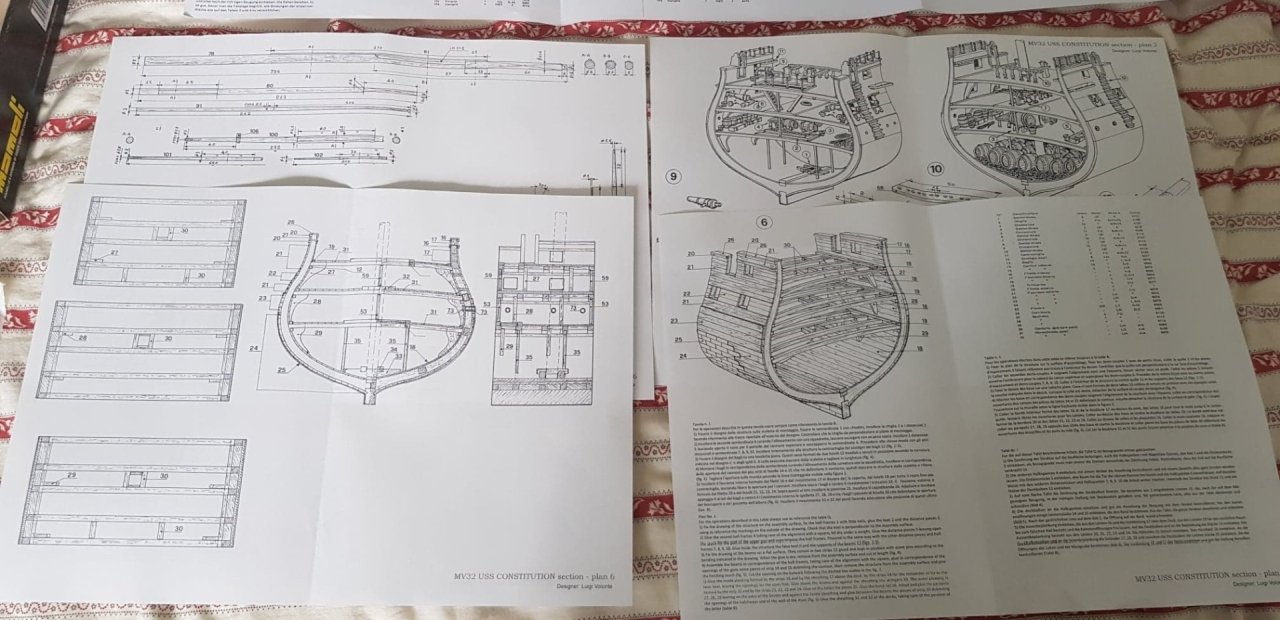
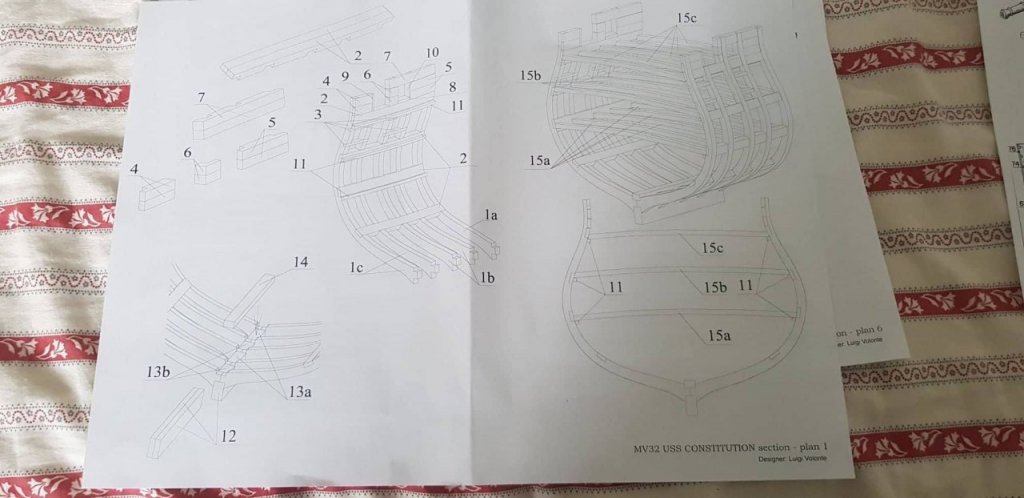
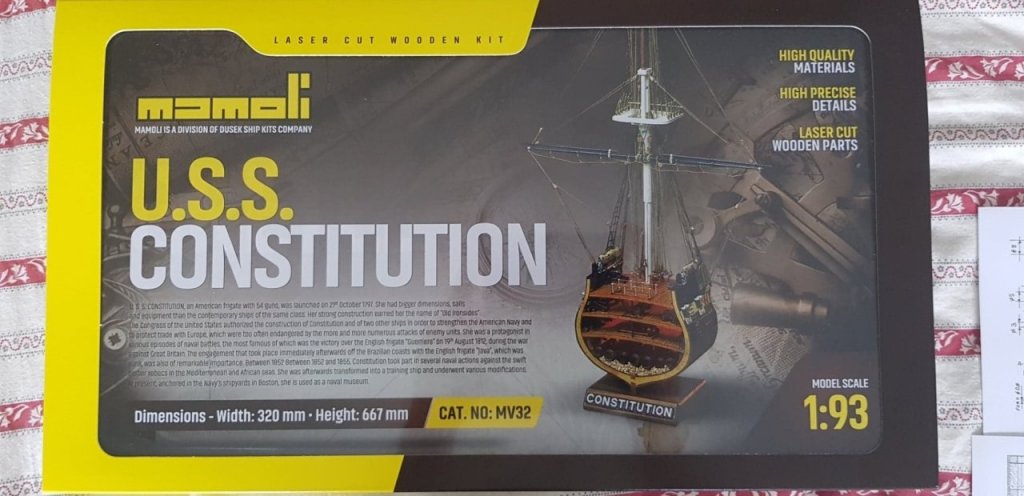
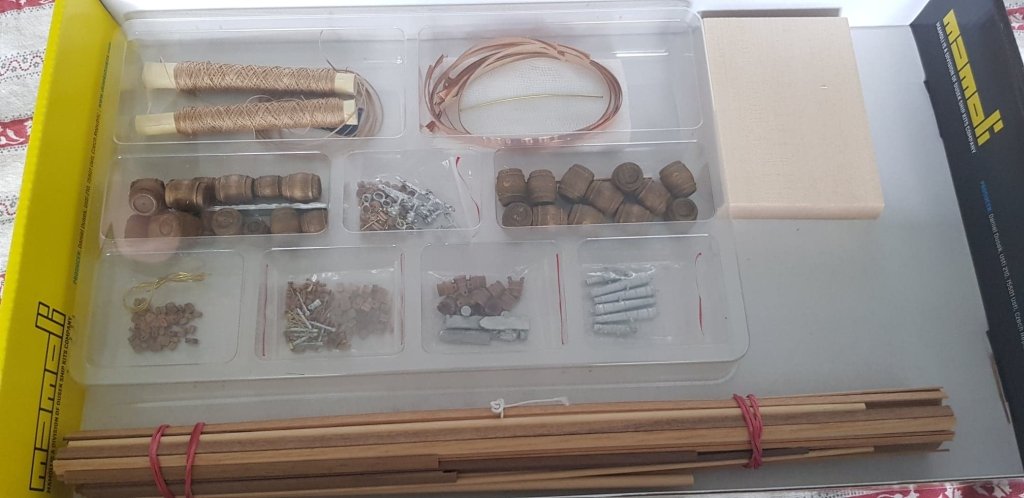
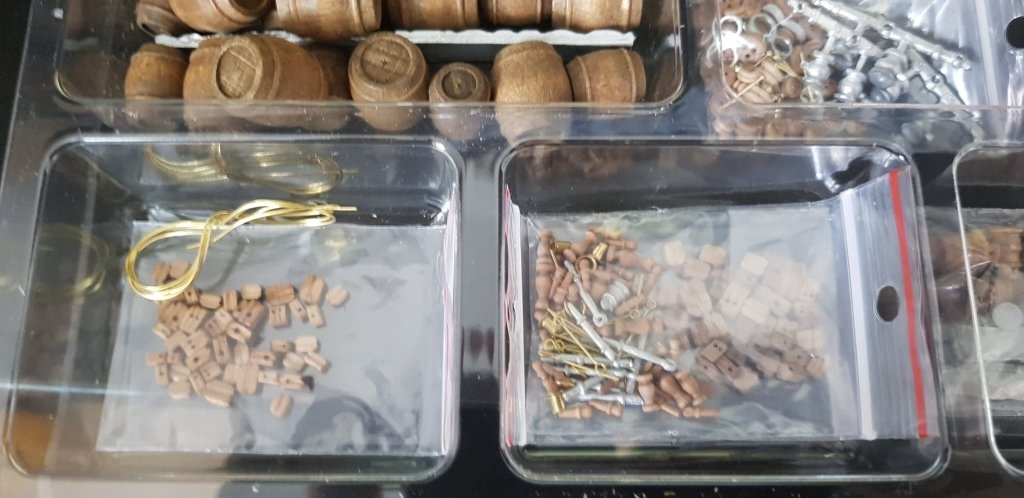
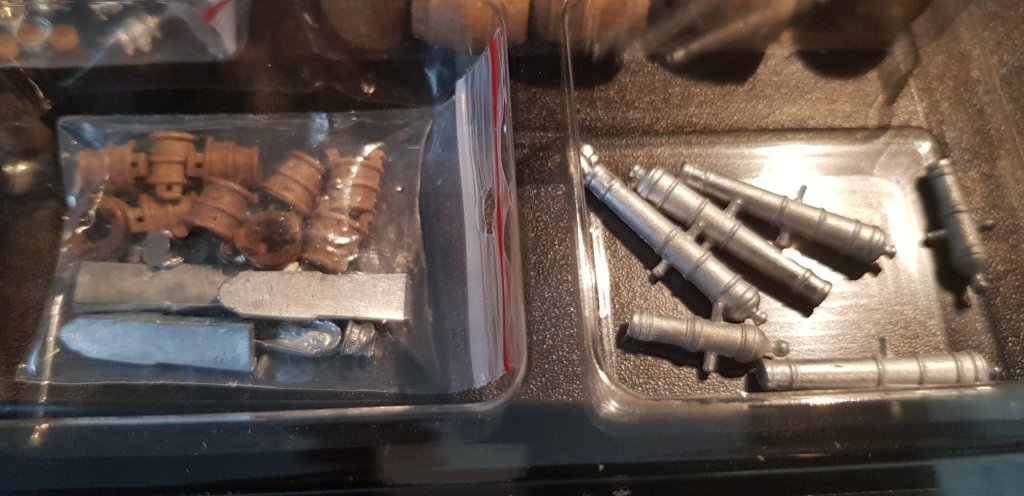
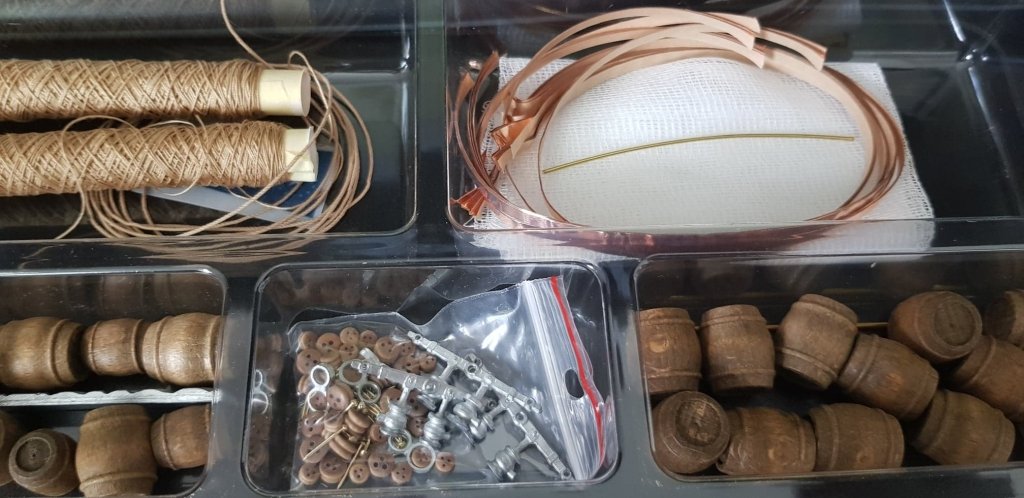
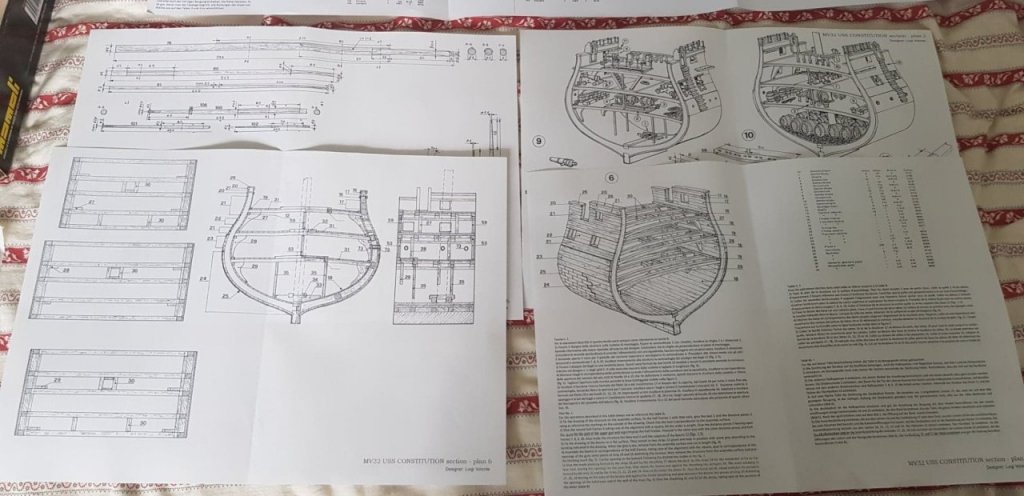
Ok, so the Box Arrived, here are my findings during Unboxing: PROS/Nice Things: - The Rigging Blocks/Deadeyes, Barrels and big buckets are of a better quality than i saw in the previous Mamoli kits, replacement doesnt seem neccessary - Laser Quality seems fine to me, some discoloring exists but only on parts which will not be visible or need to be painted over - New designed spacers for the frames - there is a single crossbeam with cutouts now connecting the frames - Deck beams are supplied already bent - no more gluing and bending to shape - Redesigned plans and sheet with explanation of all numbering of the Laser-Cuts The biggest CON/Problem/Issue is although: - There are new Plans, however the Description is copied 1 to 1 from the Old Mamoli Plans - there is no corelation between original Mamoli Part Numbers and new Dusek Numbers (i.e. Mamoli Keel is Part number 2, Dusek is glued from 2x Part 12) Basically, the Kit is redesigned, but the Plans (Especially the Description) are taken from the old Mamoli I hope i will be able to put it together using the Original Plans. Overall, New Parts Very Good, New Plans Need work. OH, and Jack Daniels is not on the Cover anymore !!!!! Some Pics here:

- 50 replies
-
- 3
-
-
- mamoli
- constitution
- (and 2 more)
-
Love your Lady, this model is my dream, trying to soften the Admiral up first
- 366 replies
-
- 1
-
-
- bellerophon
- victory models
- (and 2 more)
-
Hello, After i made the Connie Cross-Section, i will be tacking this build in same scale Can you tell me what wood you used for the frames (thickness ?)
-
Hello again folks, After several moves from country to country during the last couple years, i finally settled with my Family in Germany and i decided to get back on track with my Revell Connie. I have a 2-year-old Boy now so need to prepare, 2 more years and he will help me with next projects However to my shock i found the original box damaged, masts broken, decks warped as from heat exposure, several pieces missing etc. only the Hull pieces have survived intact - this got me thinking about kit-bashing, semi-scratch-building her from wood around the existing Hull but for now i lack the tools for a complete scratch build, hence the decision to go with the Mamoli Cross-Section. I've got my hands on some Mamoli plans a few years ago and after calculating the cost of tools needed to build from scratch, i decided to order the kit from Dusek Ship Kits aware of the fact that a few parts will need to be replaced. So while waiting for UPS Delivery, here is the Overall plan: 1. Mast only to the Fighting Top with standing rigging and Ratlines - as she would look with rest of mast removed (also to reduce height of Display case) 2. Possibly Main Yard rigged too but i am thinking "prepared to be pulled up" 3. Rest of mast pieces lying in front in display case 4. Some sailors perhaps preparing to raise the Yard After looking through all the build logs, i found already what needs to be replaced: - Rigging Blocks (Caldercraft as i cant find Syren in Europe) - Pumps (no idea which manufacturer yet) - Cannonballs (Caldercraft - i got them for the Revell Connie originally) - RB Model Barrels - Mantua Buckets (at least the small ones) And propably many more things which will need to be added/Replaced. So, waiting for the Package i have purchased JD already as the Instructions say Cheers and hope to have a chance to finish this one.
- 50 replies
-
- 3
-
-
- mamoli
- constitution
- (and 2 more)
-
Hello everyone, as i have seen MSW pdf listings of build logs i have to report in here - the kit got destroyed unfortunately, during transport while moving apartments the box was left in the sun and most of the parts got warped - the only thing really left intact is the hull and the sail kit and i do not know if i'm really inclined to re-start her. Considering i'd have to replace all parts, i'm more inclined to get a Wooden POB kit now that i'm settled in finally. I am marking this Build as On-Hold indefinitely.
-
Hello, i am coming back to modelling after a longer break, my last project unfortunately got destroyed during last few years moves (i moved apartments 7 times including 3 country changes during the last 4 years, the plastic from the kit got warped from moving in the car I was wondering to get a POB kit and looked at the Diana for her reasonable price - however i am confused by the pictures on the net and cant find anywhere any info if she has a full Gundeck or not, alternately if she doesnt, how hard is it to convert her to have a full Gundeck ?
-
Thanks lambsk for jumping in Sorry to all, i didnt have time neither for the forums, nor for the model recently as i am on an extended Business Trip now since August :/ Also, i am starting another build, this time scale 1:1 "Weekend Shelter Wooden House, Mountain Region" where each single penny has to go into. The build starts in Spring, as soon as snow melts in the Polish Mountains Mspedale6102: as said already, the plastic hull has a thikness of roughly 2mm, which according to 1/96 scale would be around 20cm, wheras the connie's hull has a thickness of at least 53cm (if not 60+, dont have sources now by hand). This "upgrade" changes the looks and makes the open gunports more realistic from the outside, as you see the bulwark when you are looking from an angle and not only a thin sheet of plastic. It adds the impression of "Real Armour". I took the idea from Force9's build btw Refer to these images of the real thing to see what i am talking about: http://www.freeimageslive.co.uk/files/images008/uss_constitution.jpg http://cdn.c.photoshelter.com/img-get/I0000G7gC055Bncg/s/800/800/Ships-Canon-USS-Constitution-Boston-0064.jpg http://www.orbitals.com/pic/misc/big/d005-179.jpg http://www.history.navy.mil/pics/artdeck.jpg http://2.bp.blogspot.com/-hMVMi9AZYwI/UQpDqnkn-mI/AAAAAAAAAl0/NTcw2vG0ctE/s1600/USS%2BConstitution%2Bgun%2Bdeck.jpg My progress since the last photos is totally ZERO. I actually only painted the gundeck and some supports, everything is hidden in the box now and waiting for any spare time (not going to happen soon)
- 46 replies
-
- 1
-
-
- constitution
- revell
- (and 1 more)