HOLIDAY DONATION DRIVE - SUPPORT MSW - DO YOUR PART TO KEEP THIS GREAT FORUM GOING!
×


SaltyScot
-
Posts
853 -
Joined
-
Last visited
Content Type
Profiles
Forums
Gallery
Events
Everything posted by SaltyScot
-
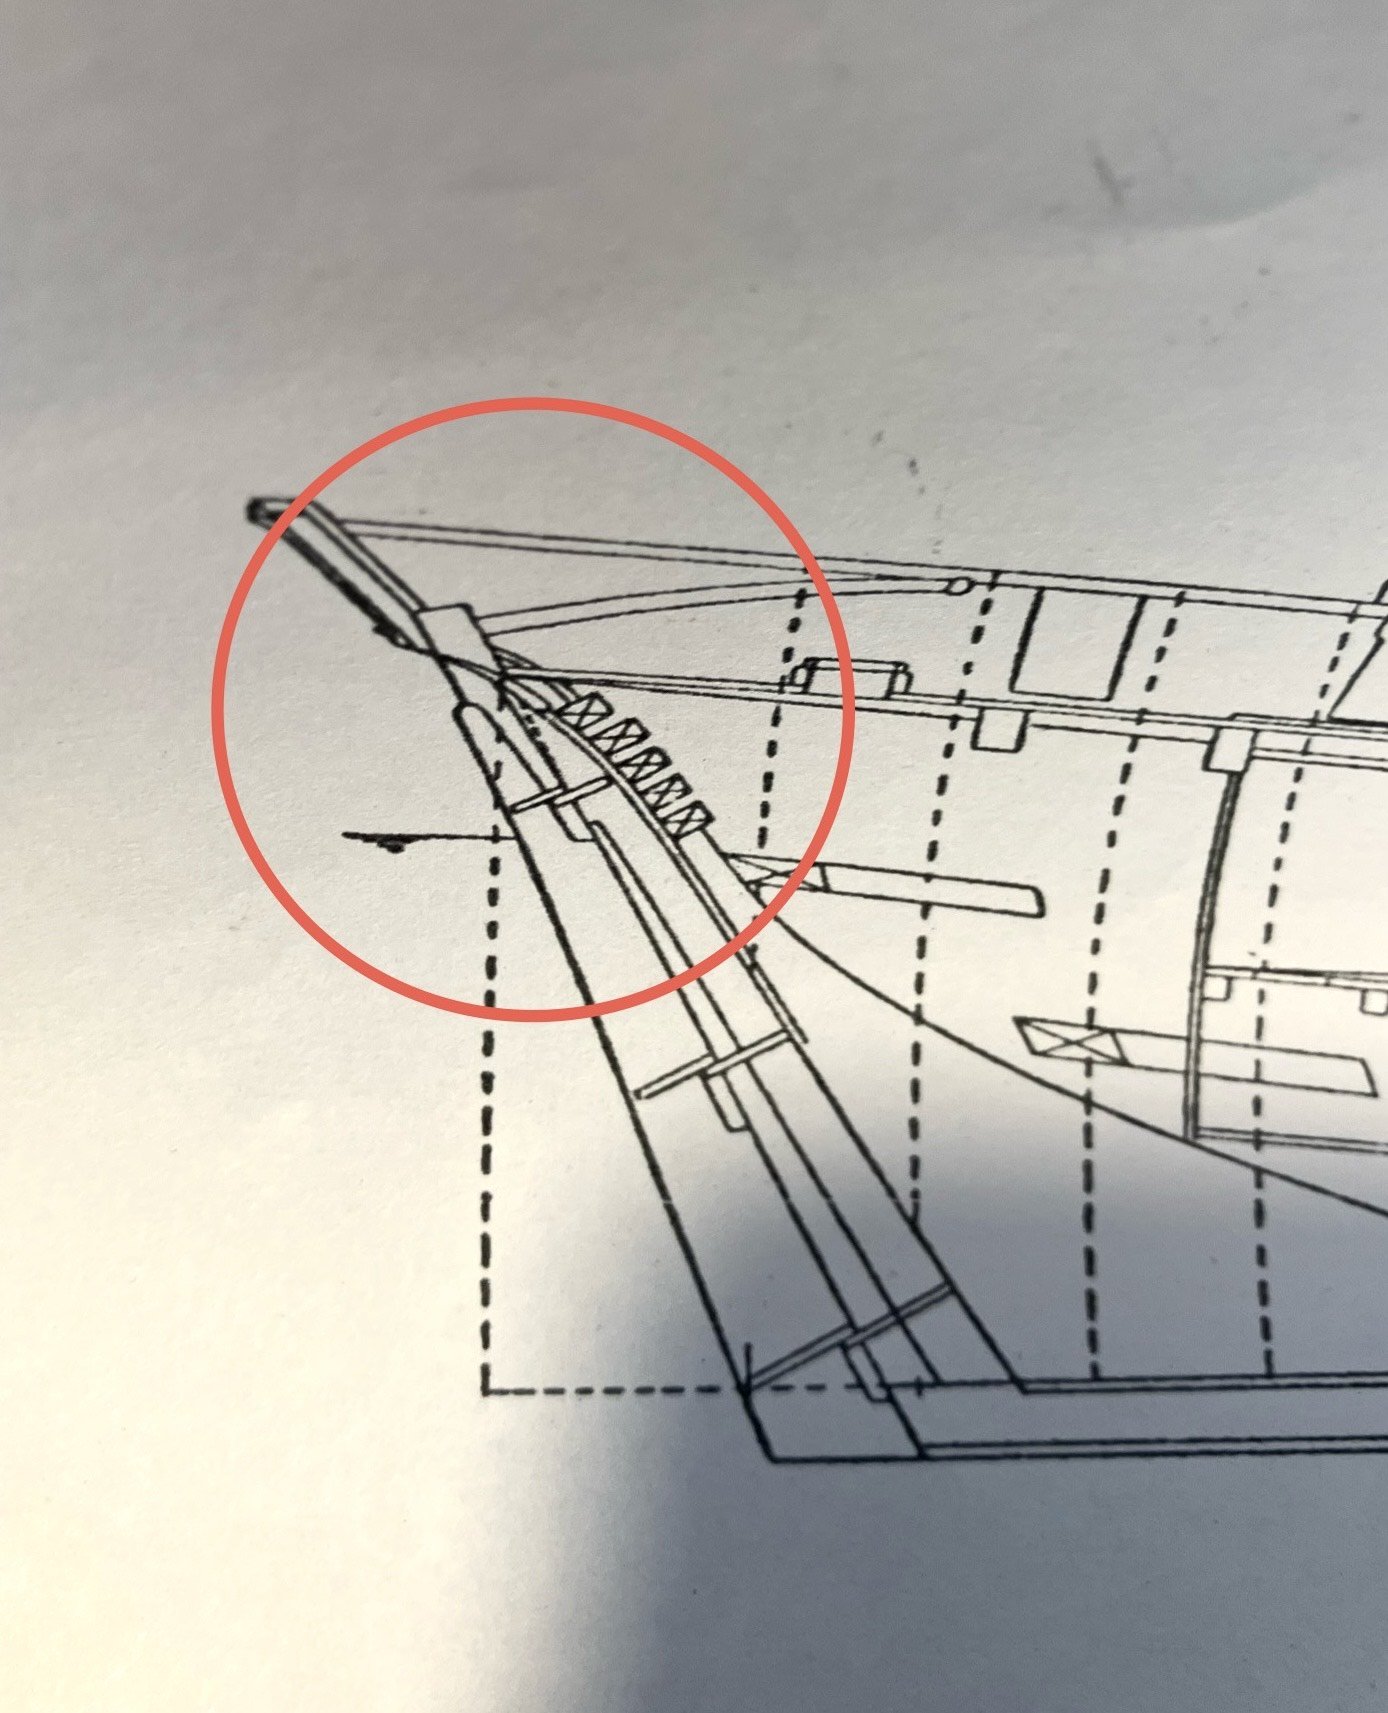
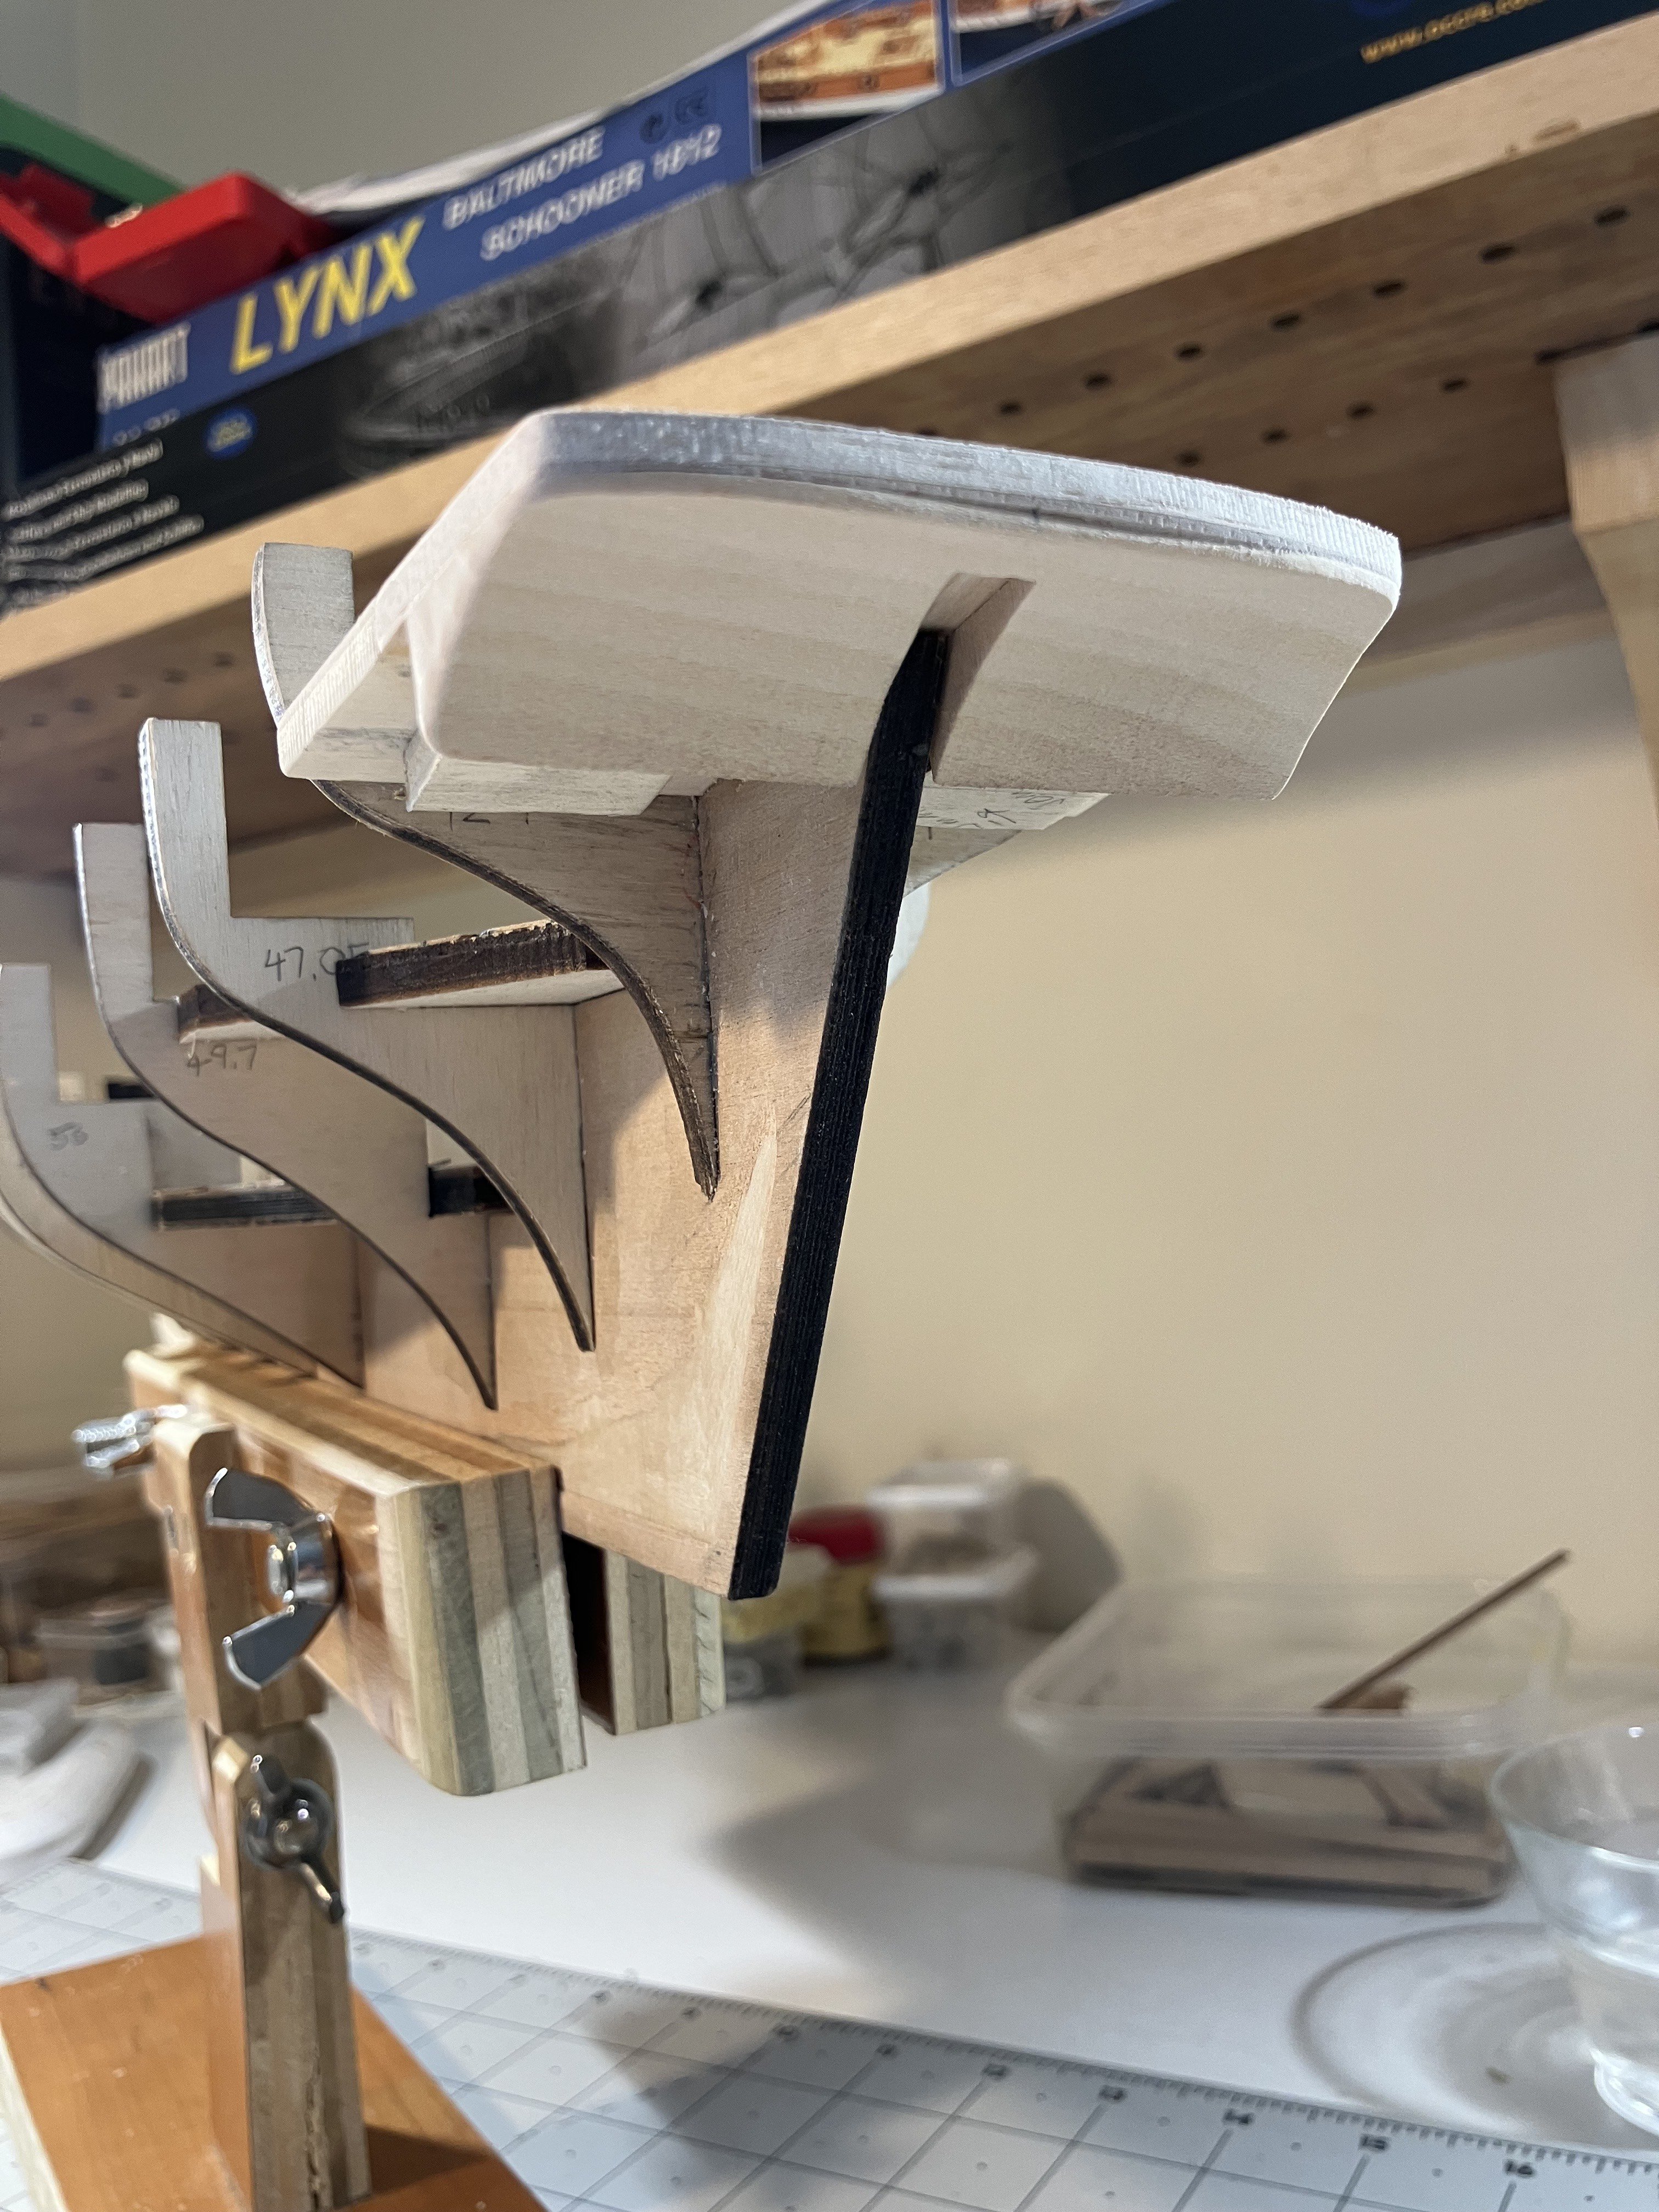
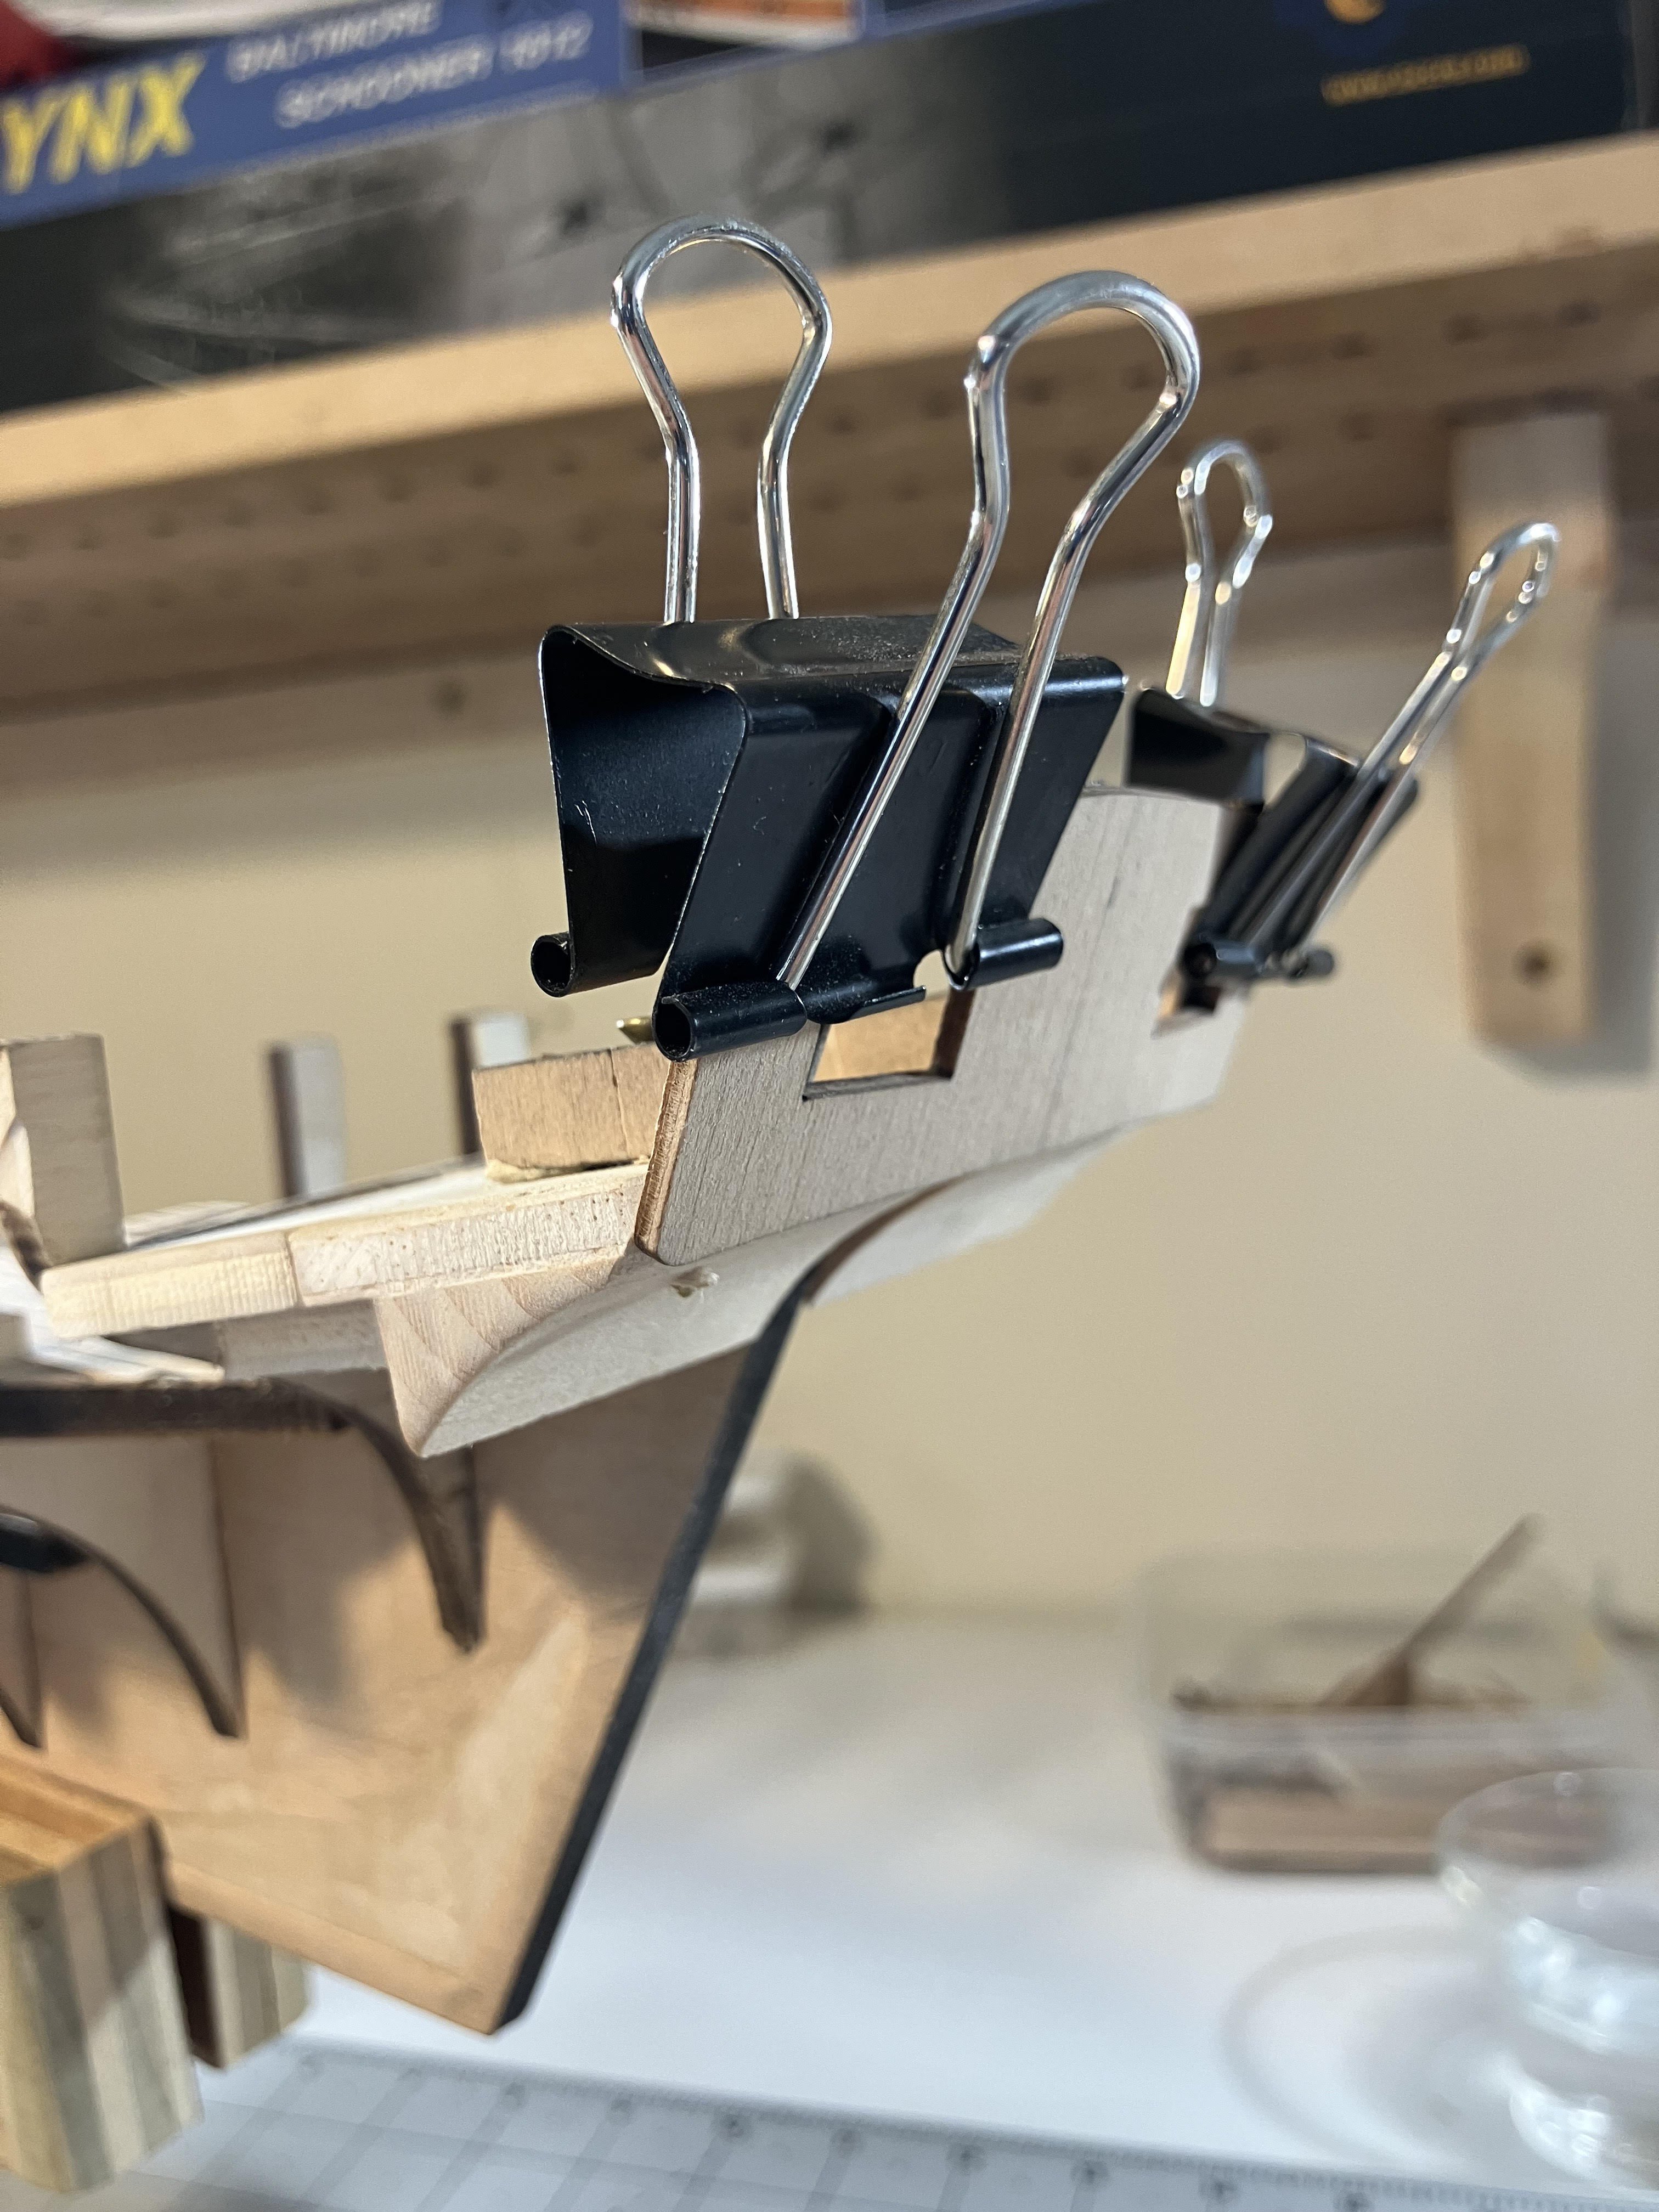
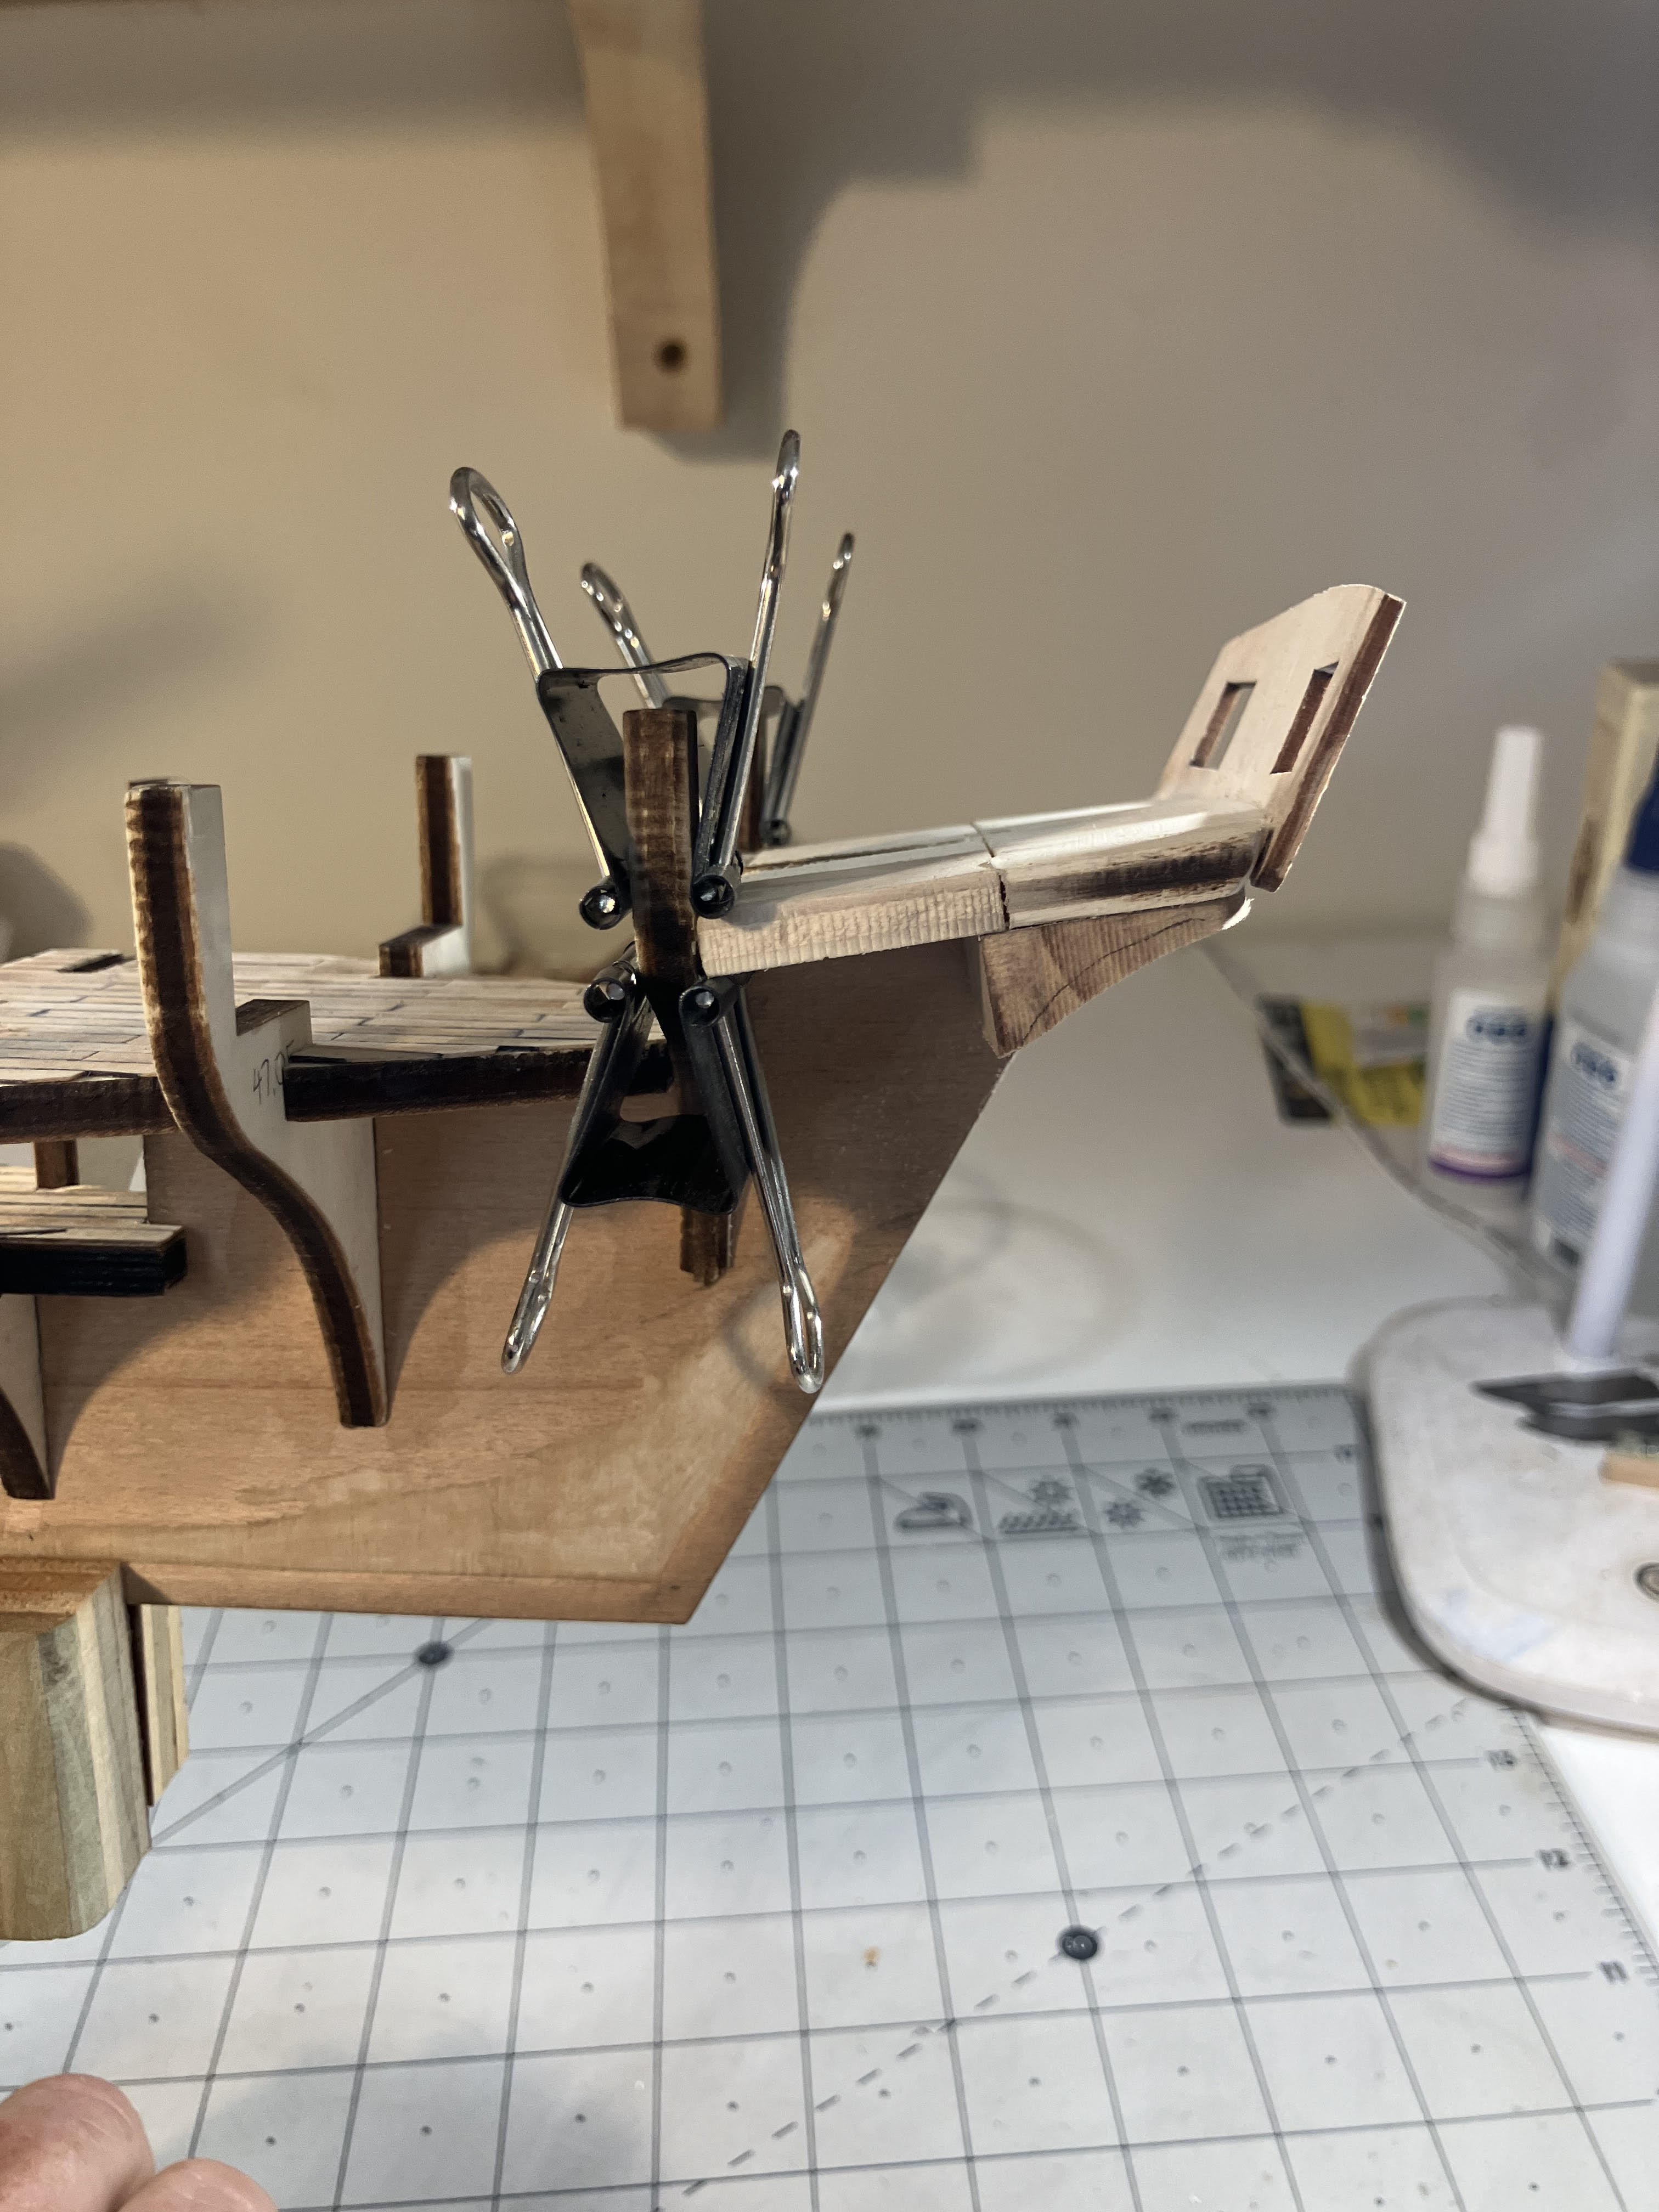
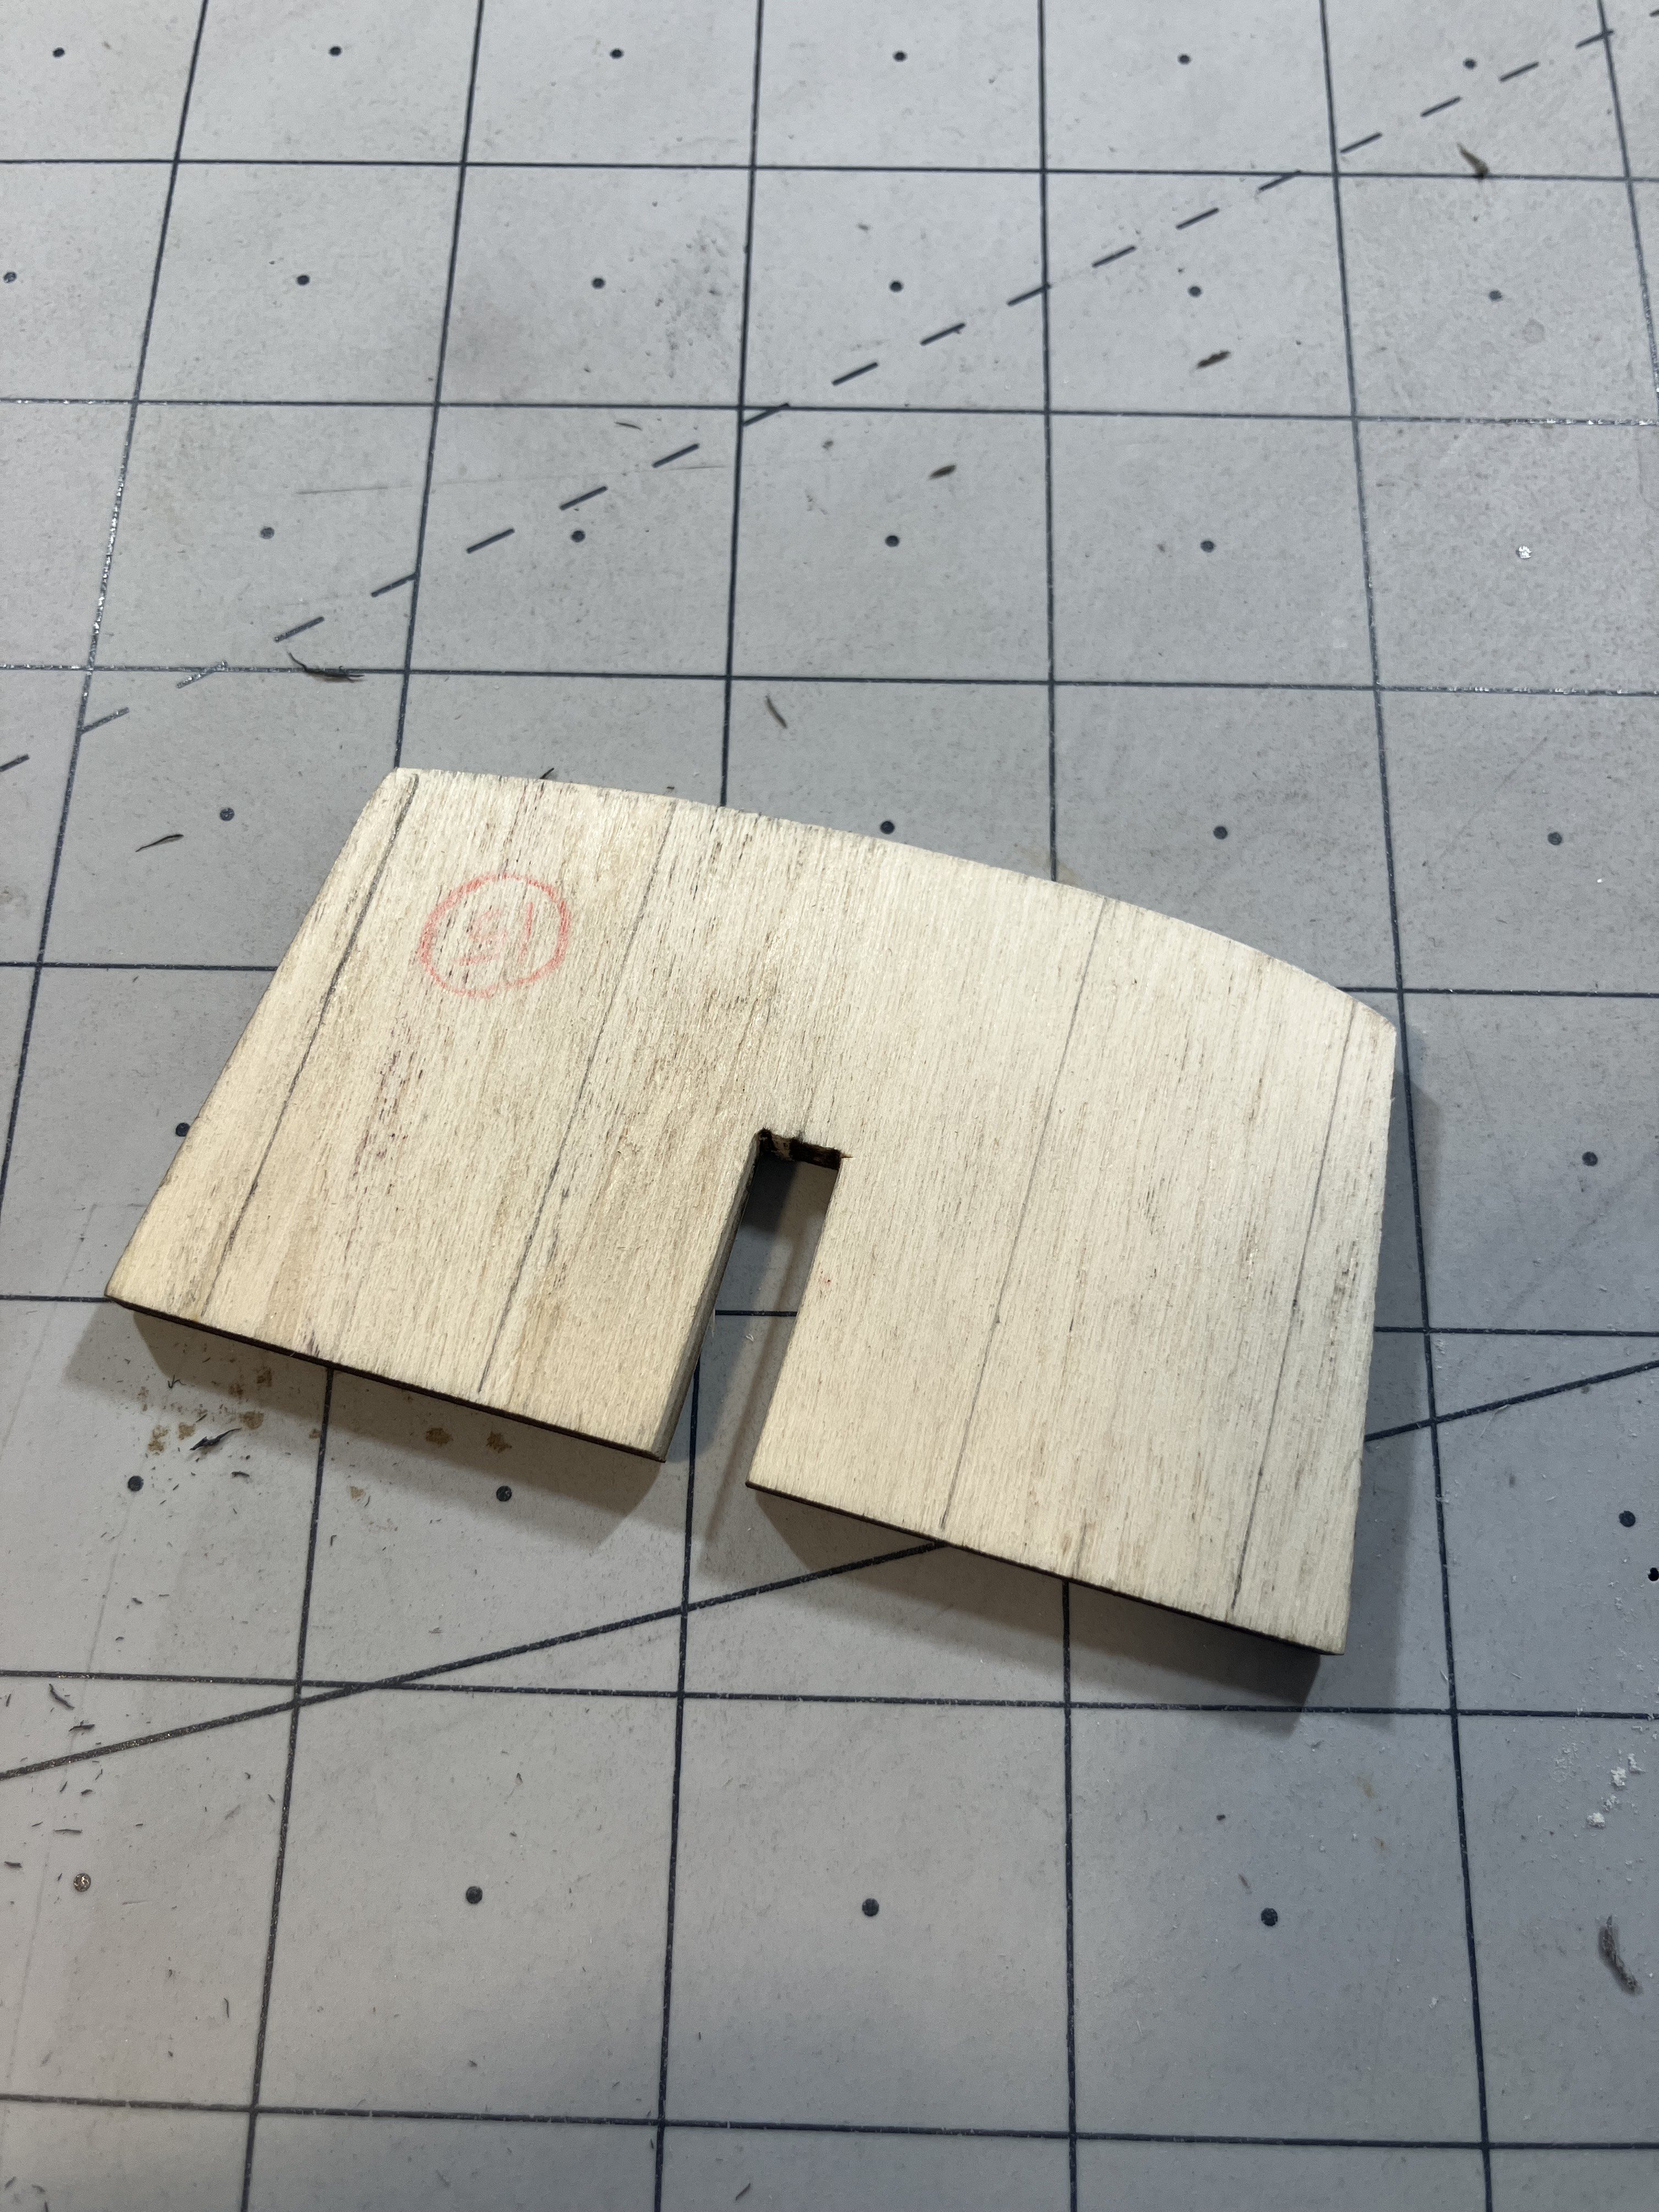
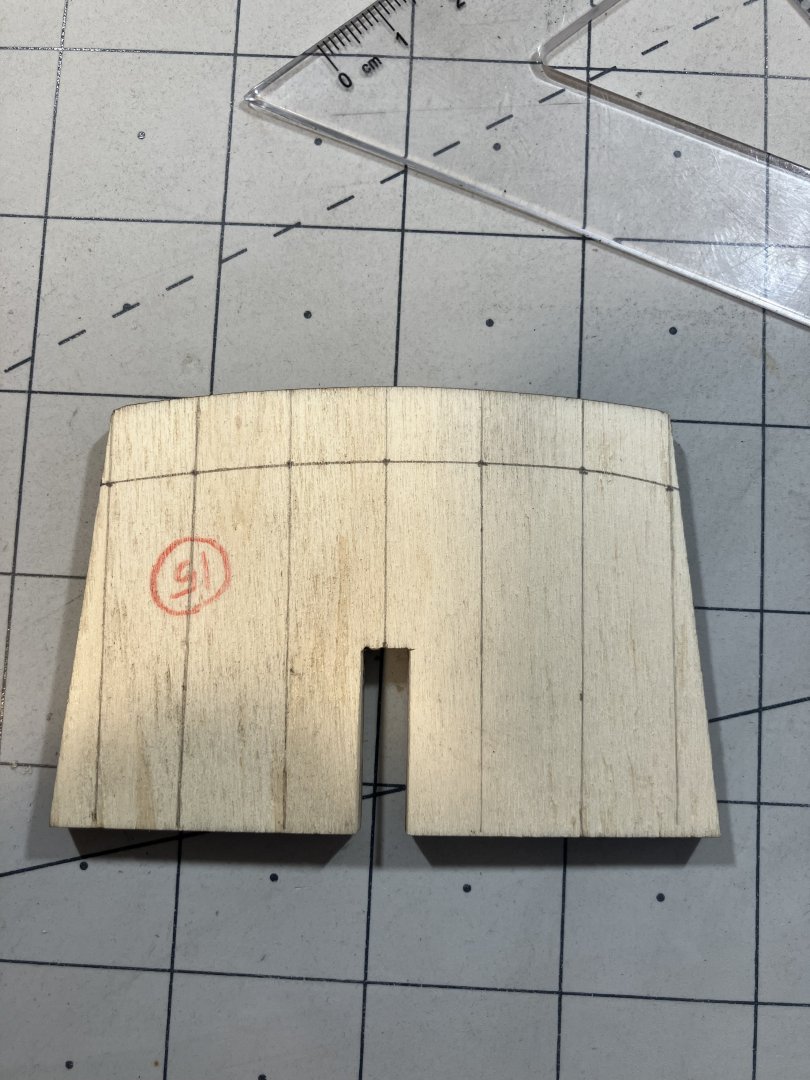
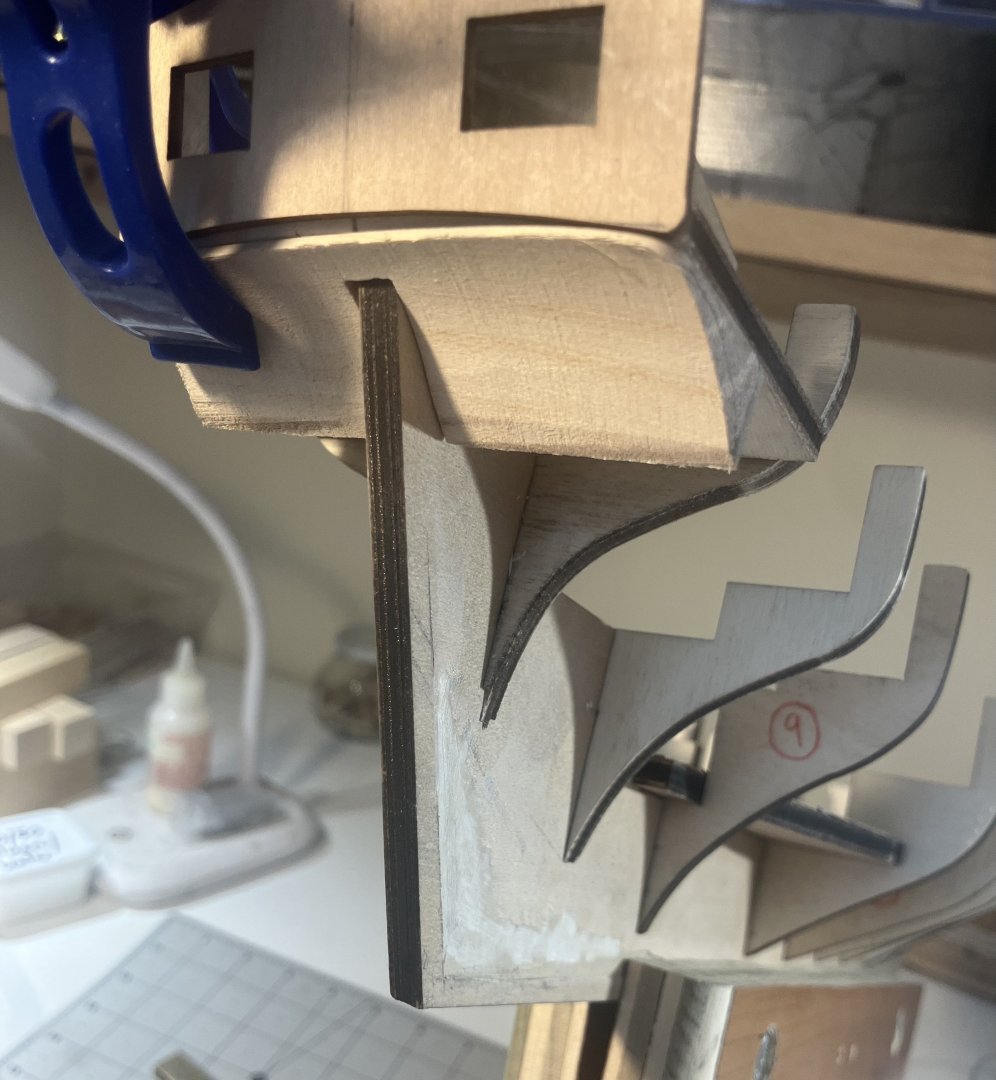
 I had noticed an error on my part when I "fixed" the transom. The intention was to move the counter away from the keel post to make place for the rudder head (thank you once again @SardonicMeow for pointing that out to me). What I did instead was just increase the wrong side of the transom plate which didn't really affect the counter at all. I stripped it all down this morning, made new parts, including the counter, and glued them back on. I took the enlarged plans of the Musquidobit to hand and tried to replicate the counter she had (see red circle in the image below). I liked how the keel post fed straight up into the trailing edge of the counter. I had luckily not thrown away the support knees to mount the transom piece itself so they got tacked on again and the transom remounted.
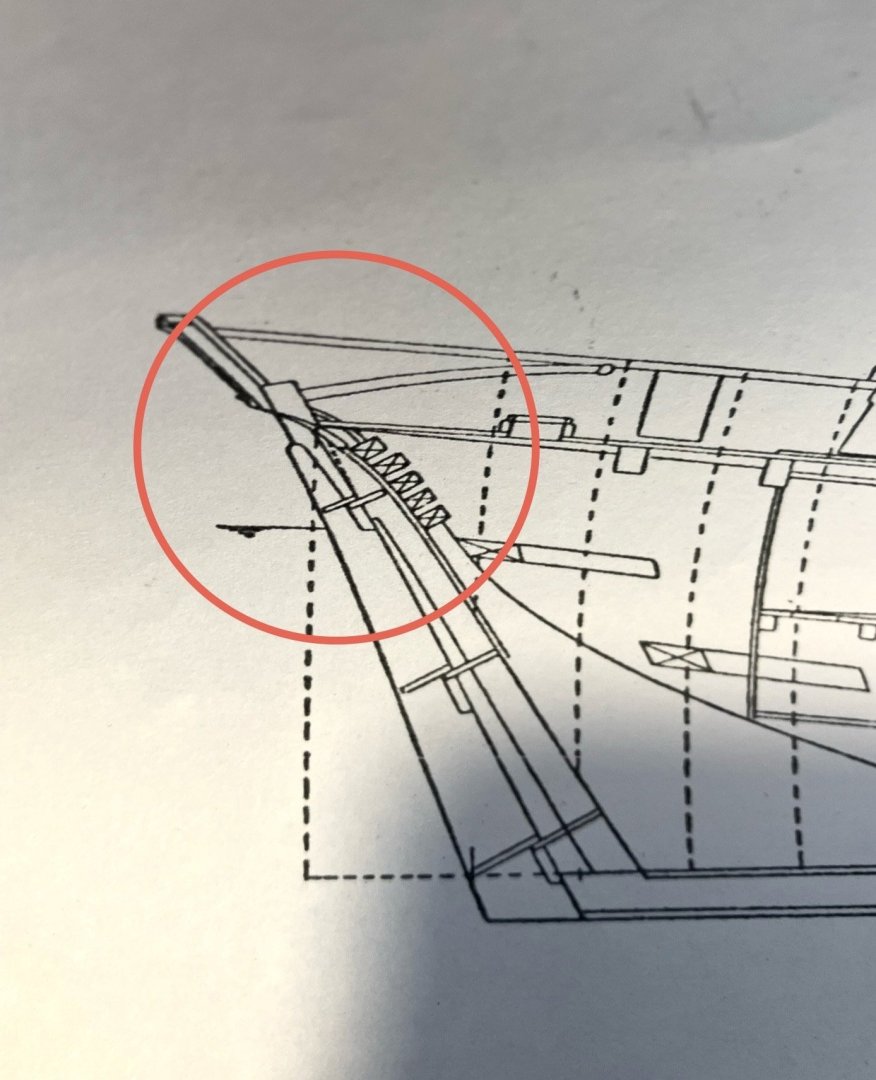


-
I actually did that check on the Endeavour hull too, Phil. It certainly paid off.
-
I have that book out on loan from our local library right now (seriously considering buying it!). It is a fantastic reference book with a lot of information. You may not find your particular model in there, but it has a great section on privateer schooners near the front of the book with very explicit images. Enjoy!!
-
Schlau This is just another example of how much you care about your build!
-
This a fantastic mindset, Jo. It is important to be happy with what you do. We all get frustrated now and again but that is just reality telling us that our high expectations need taking down a notch or two Making mistakes is part of the hobby, it is also how we learn. You are definitely on the right path, your planking looks good and you have a game plan. I will de following along, sir. Ich bin jetzt dabei!
-
Welcome to the MSW forum!
-
Wow, that is some concrete confirmation right there. How fantastic is that to find just what you needed AND be able to get up close and personal with it. Nice!
- 301 replies
-
- 4
-

-

-
- Constitution
- Bluejacket Shipcrafters
- (and 1 more)
-
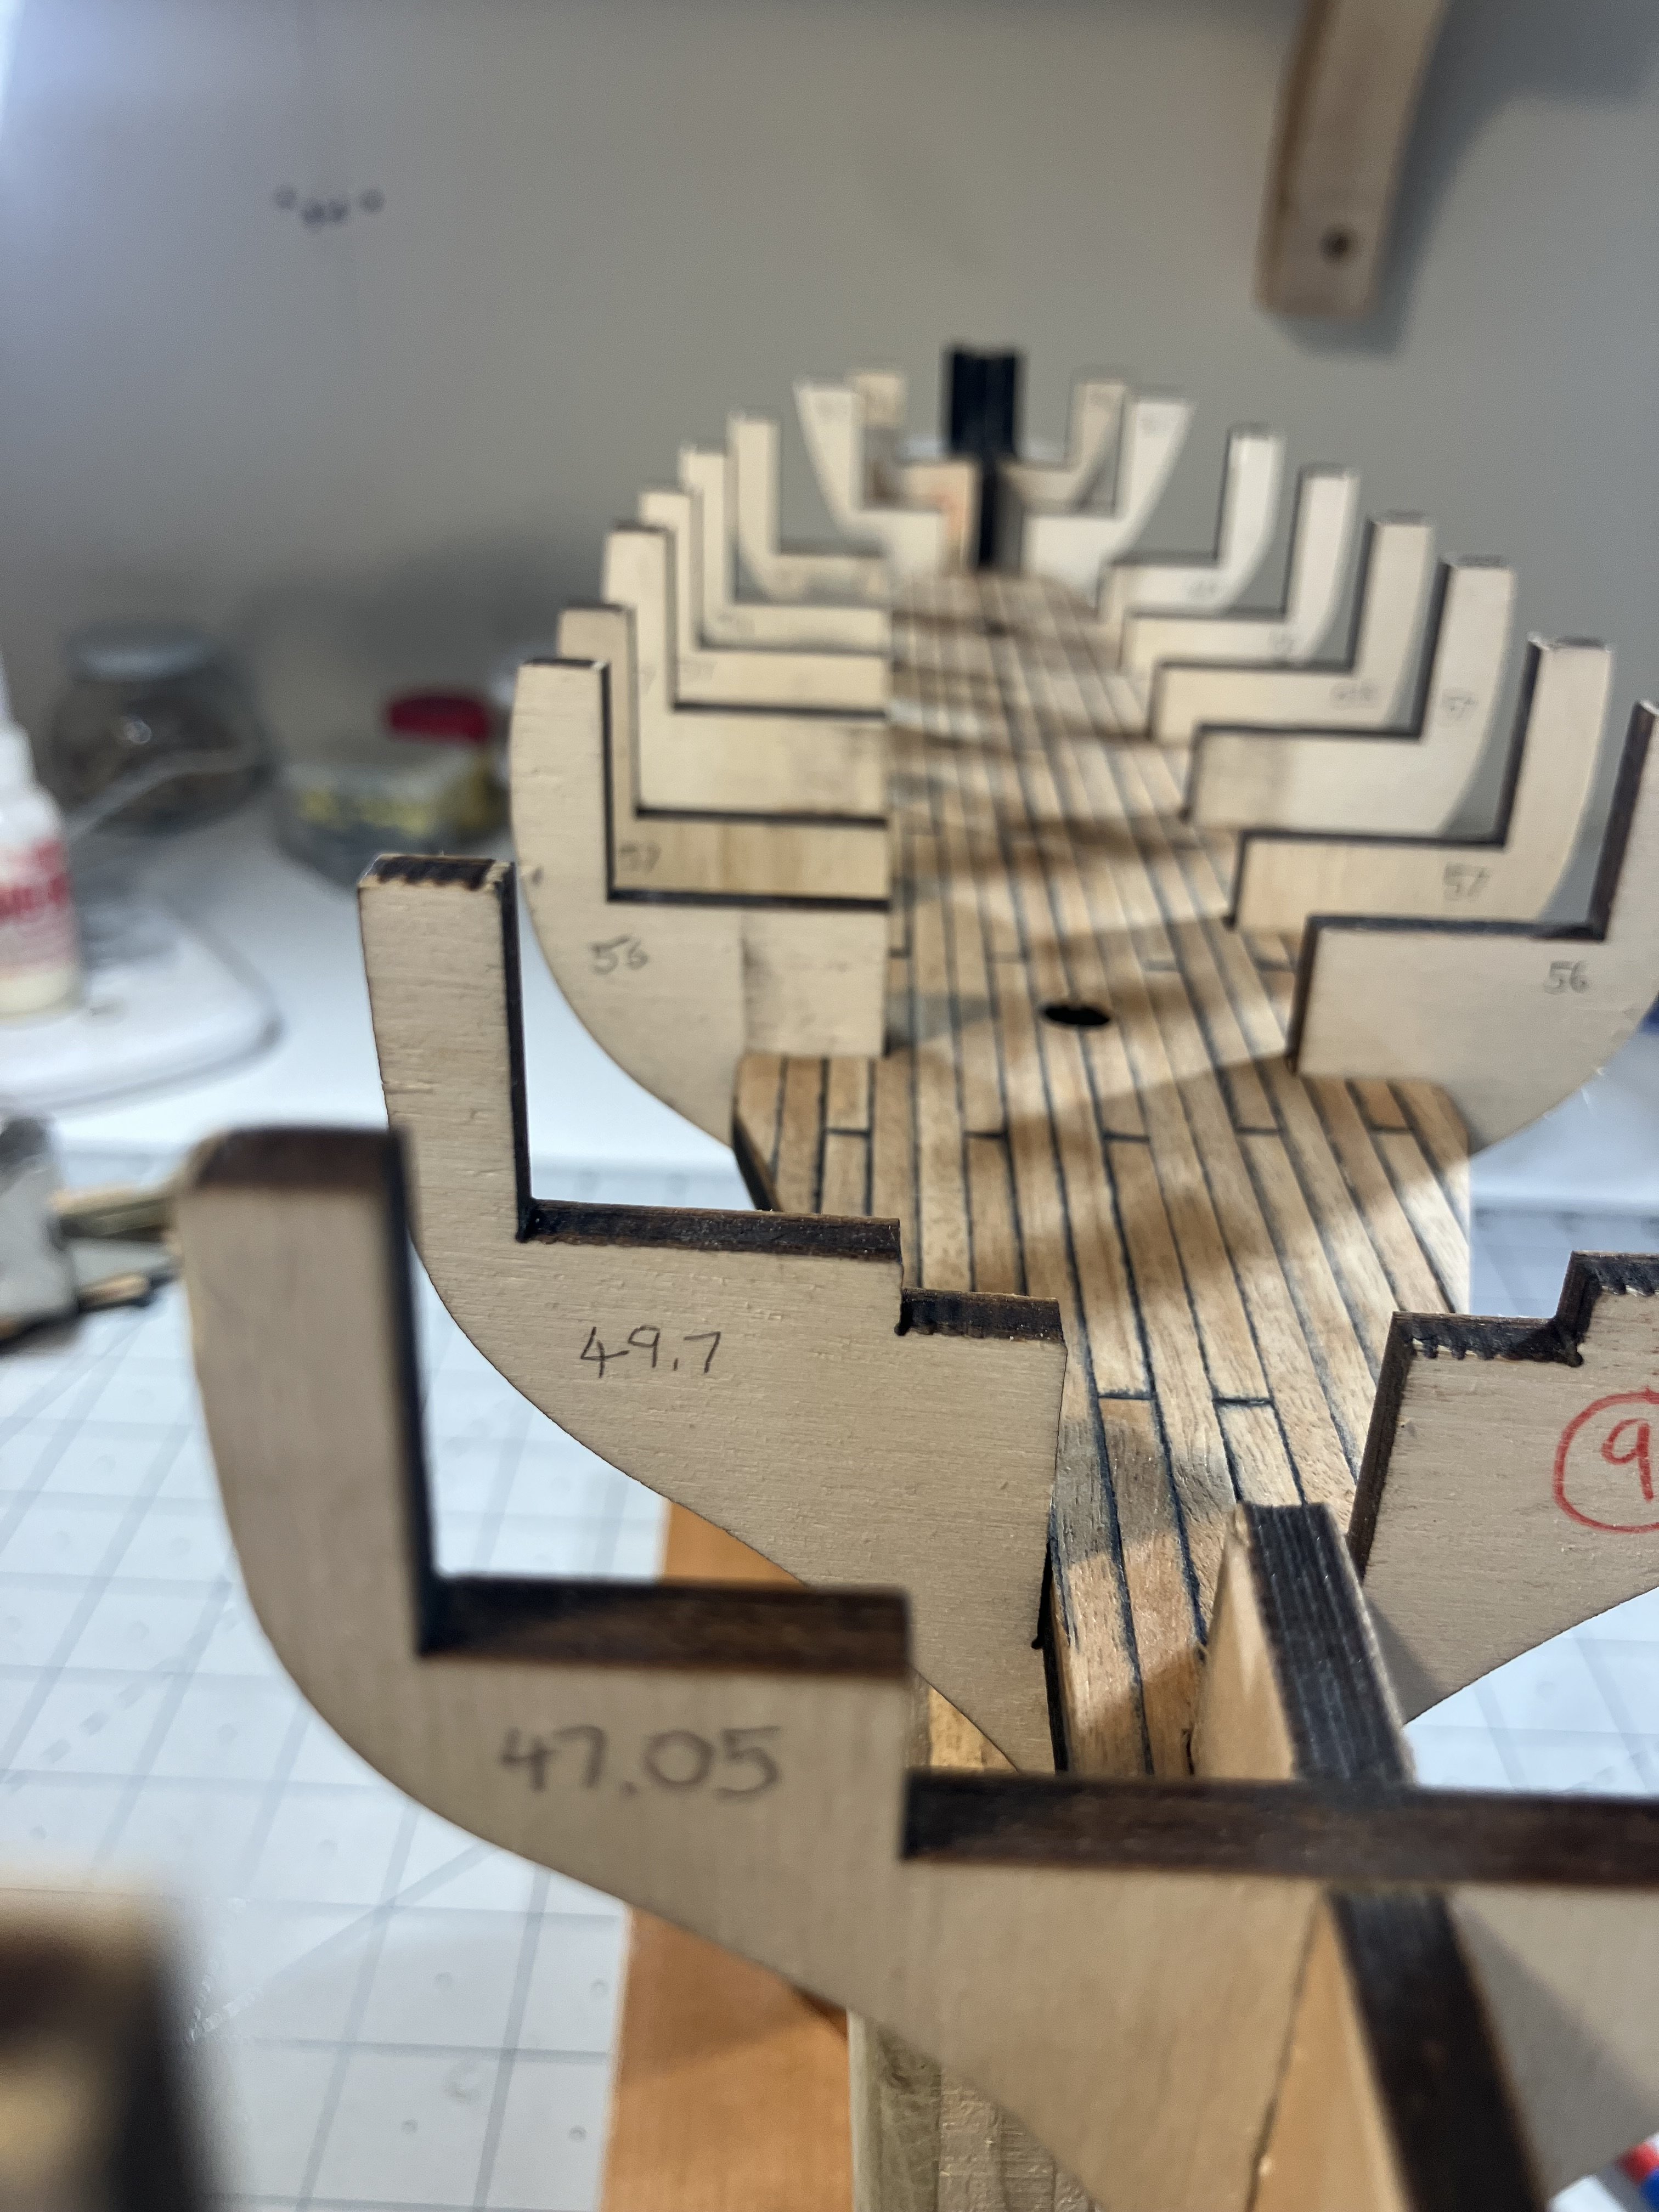
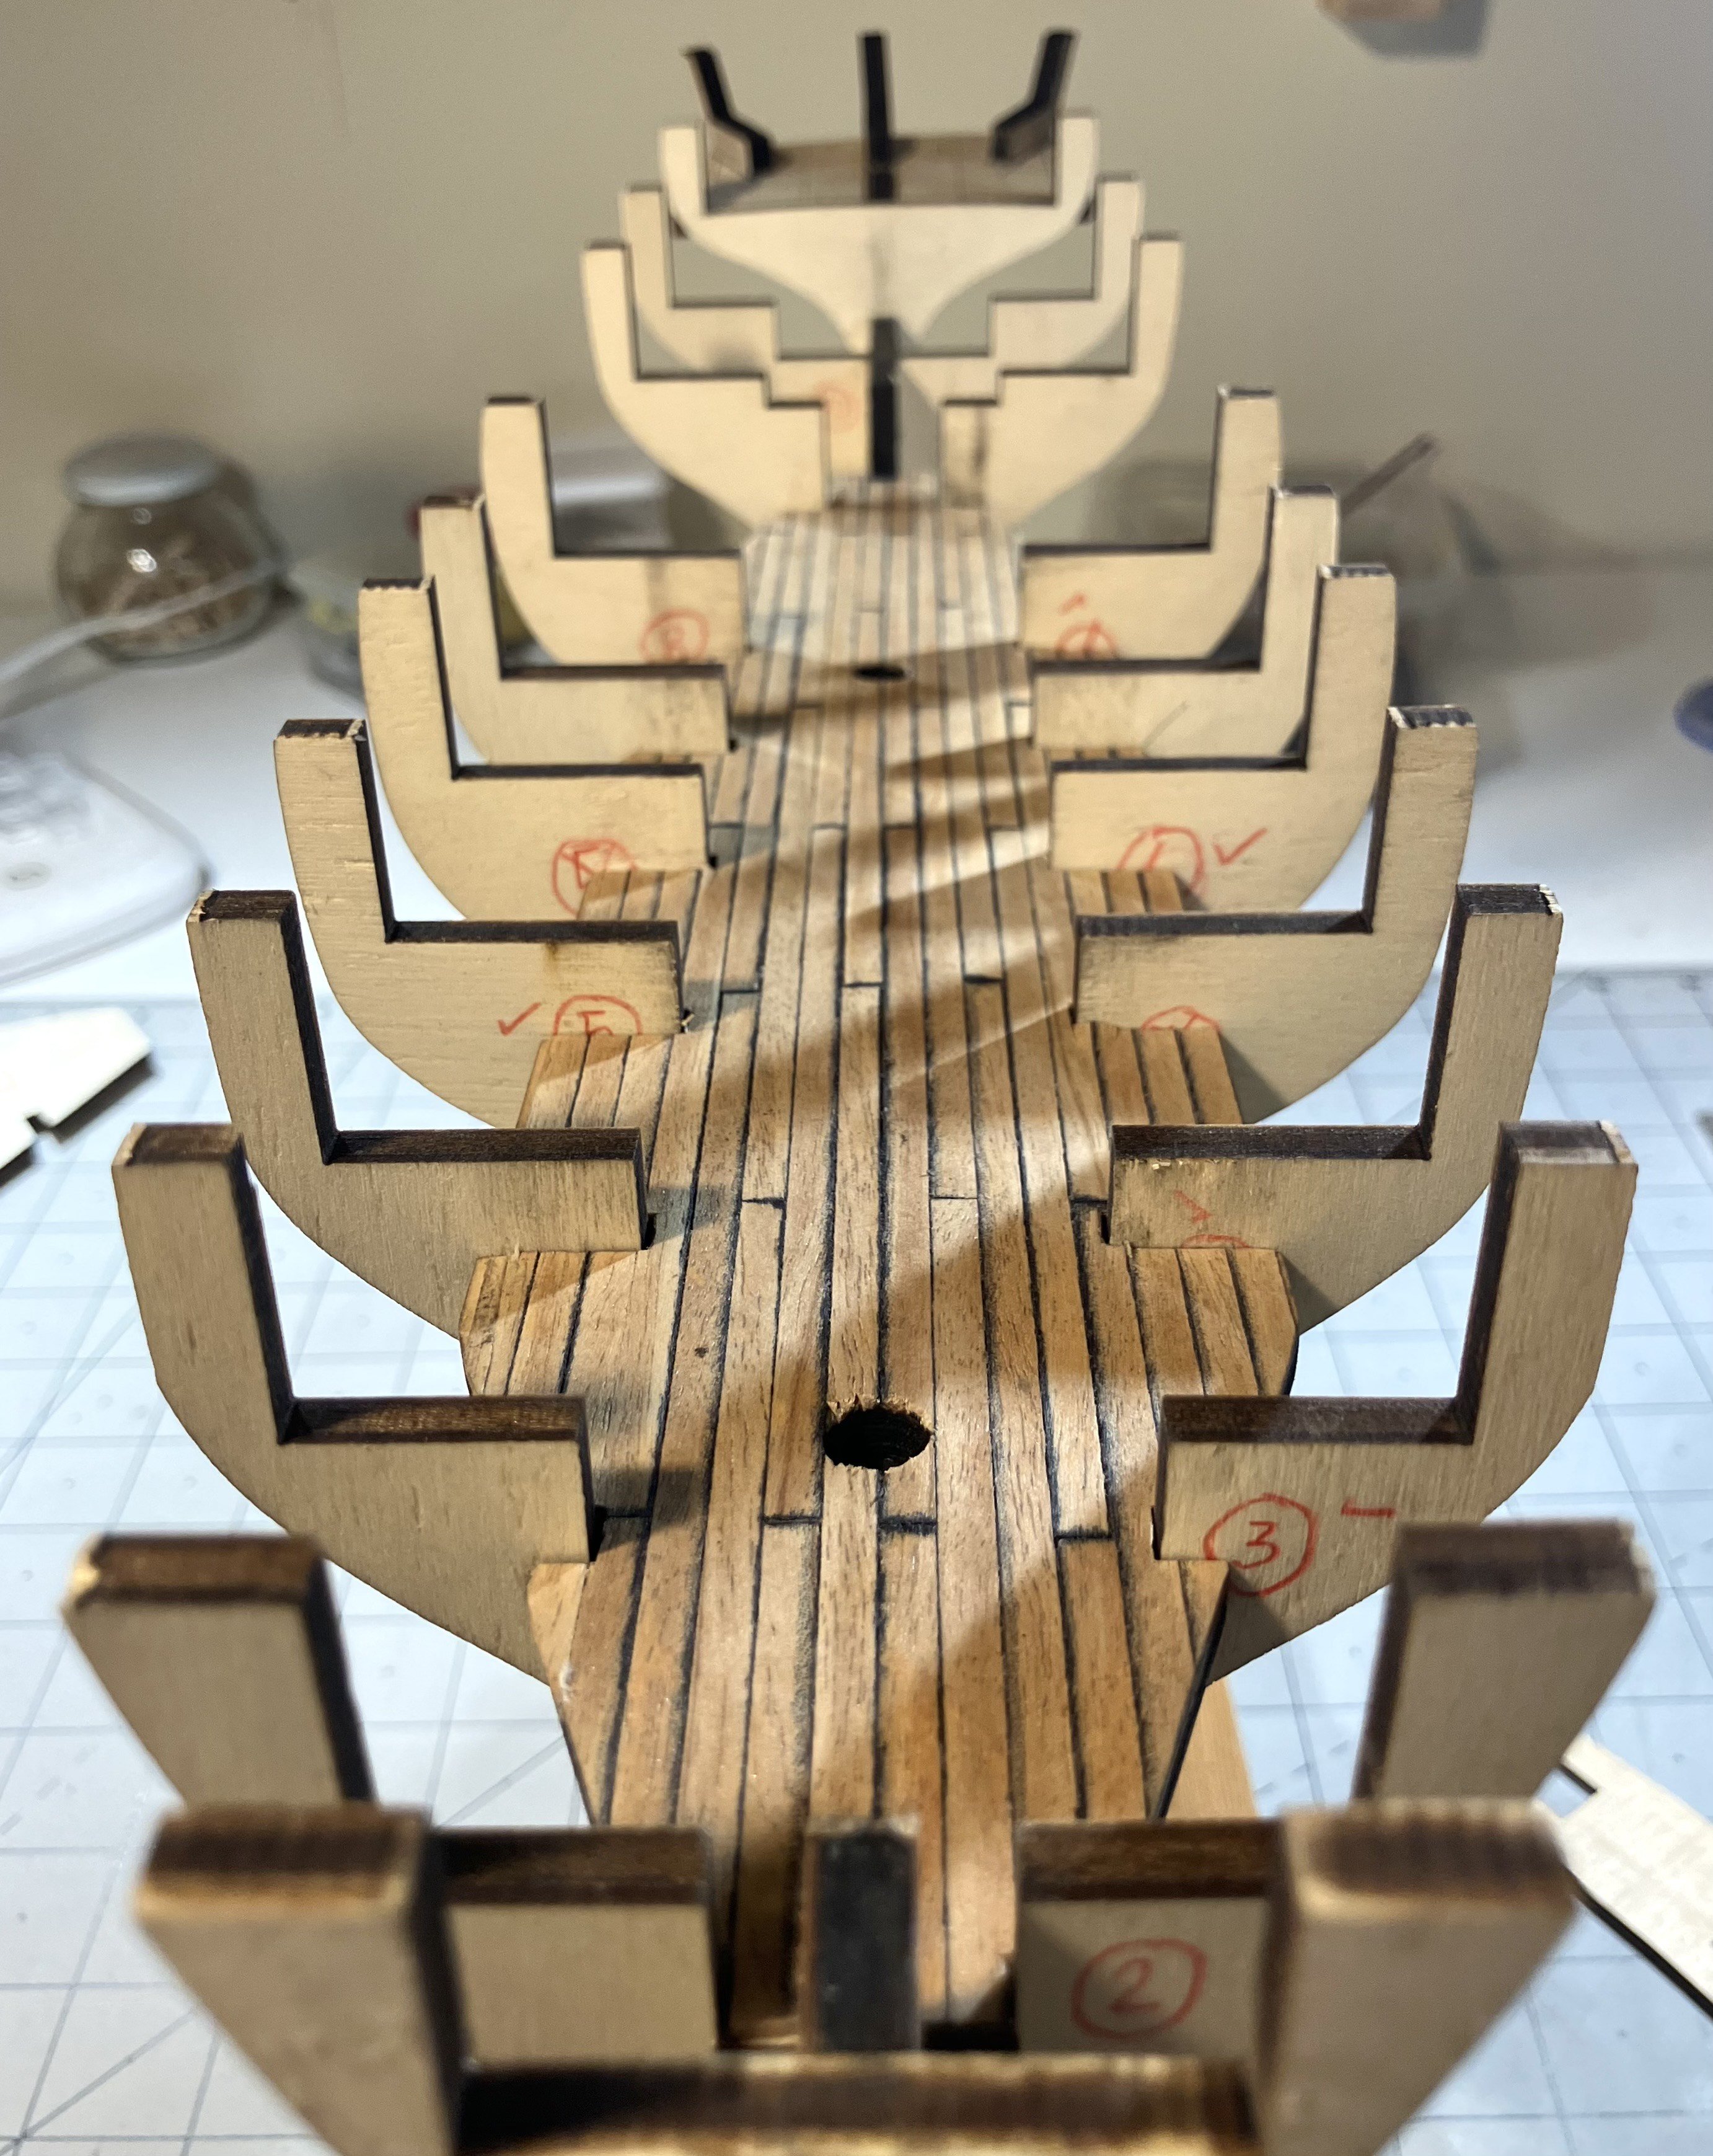
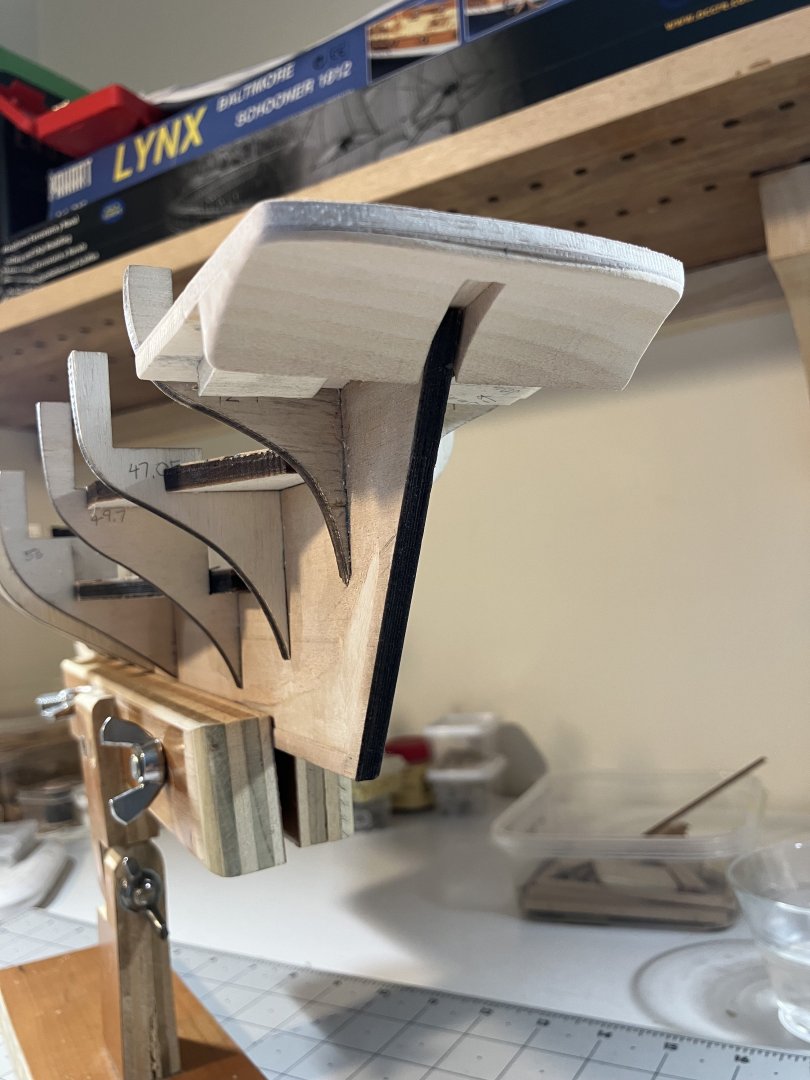
I was able to get the transom off and the size readjusted. I had originally cut it down by 10 mm. I added 5 mm back on by adding a piece of the same wood the laser cut pieces were taken from. The support knees were removed and the counter was then refitted. I will do the final sanding once everything is nice and dry: As per @Dr PR's recommendation, I measured the transverse dimensions from the centerline to the outside of the frames. I only had two that were at most 1 mm off. A quick sanding will take care of that. I noted the measurements on the bulkheads so that I would remember which ones they were: I am just about ready to begin planking now. Believe me, there will be a lot of checking and measuring and rechecking before the first plank goes on Before that though, I want the deck beams on and the bulkhead fillers in.


-
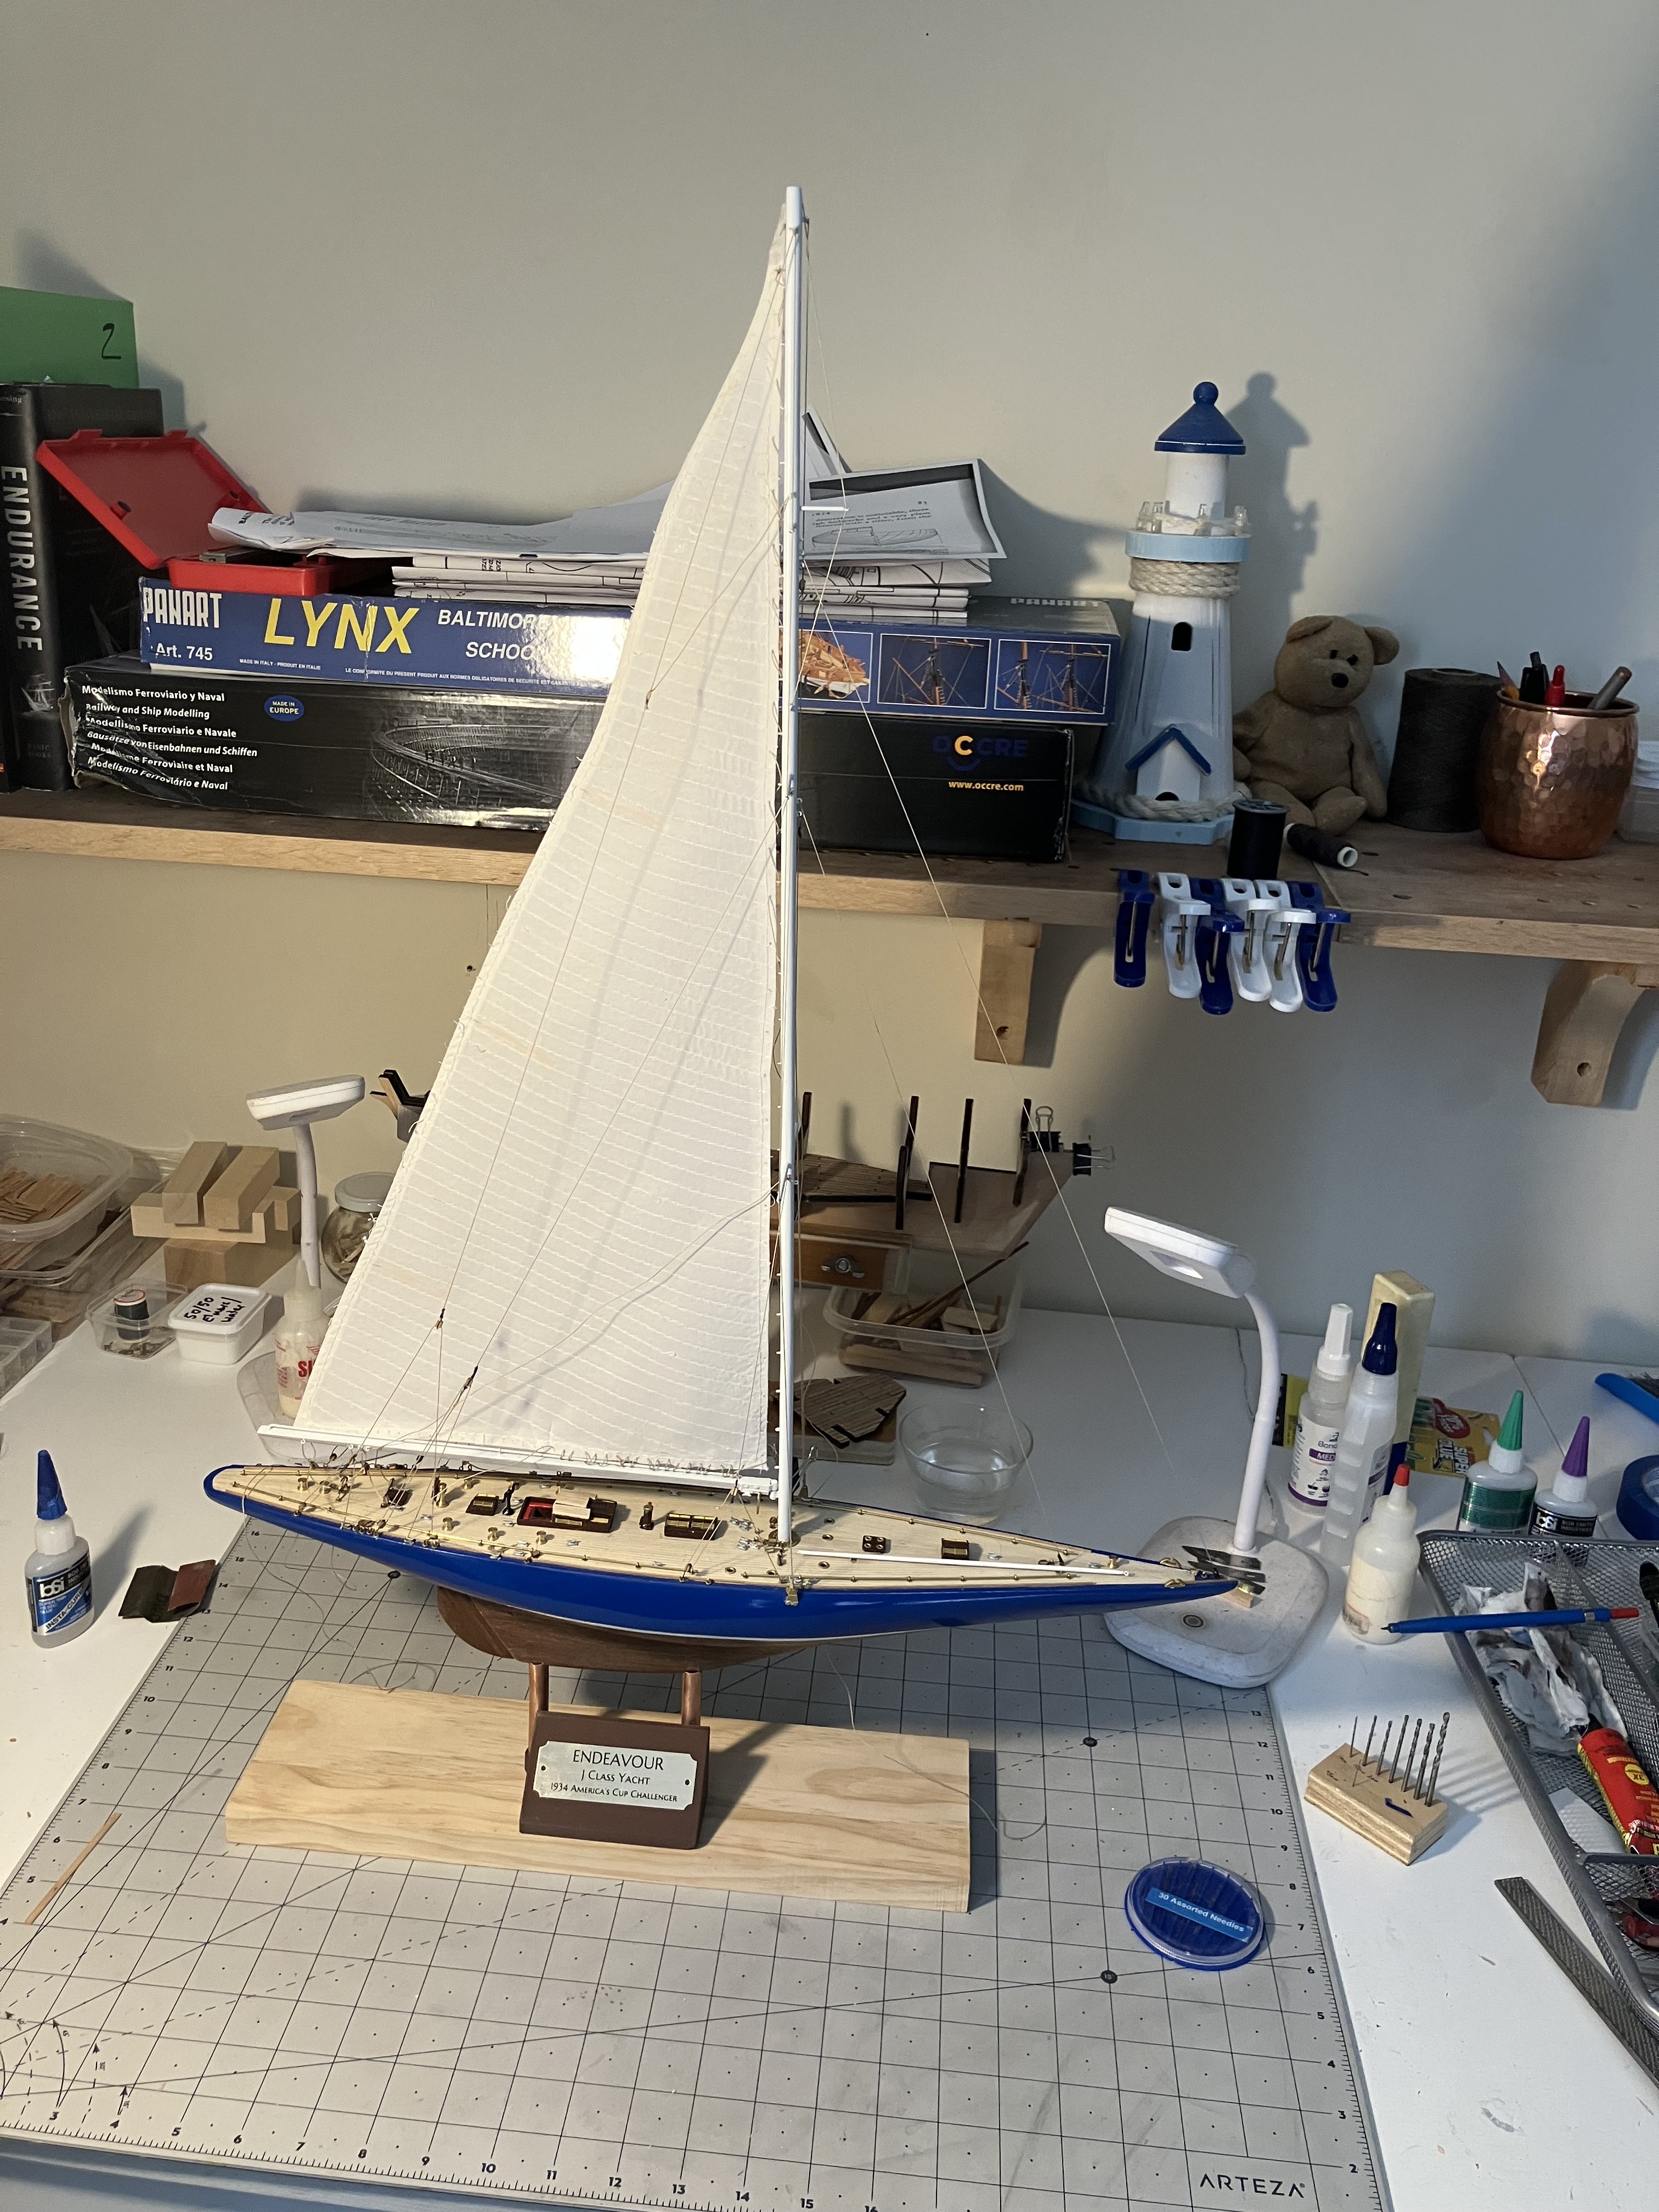
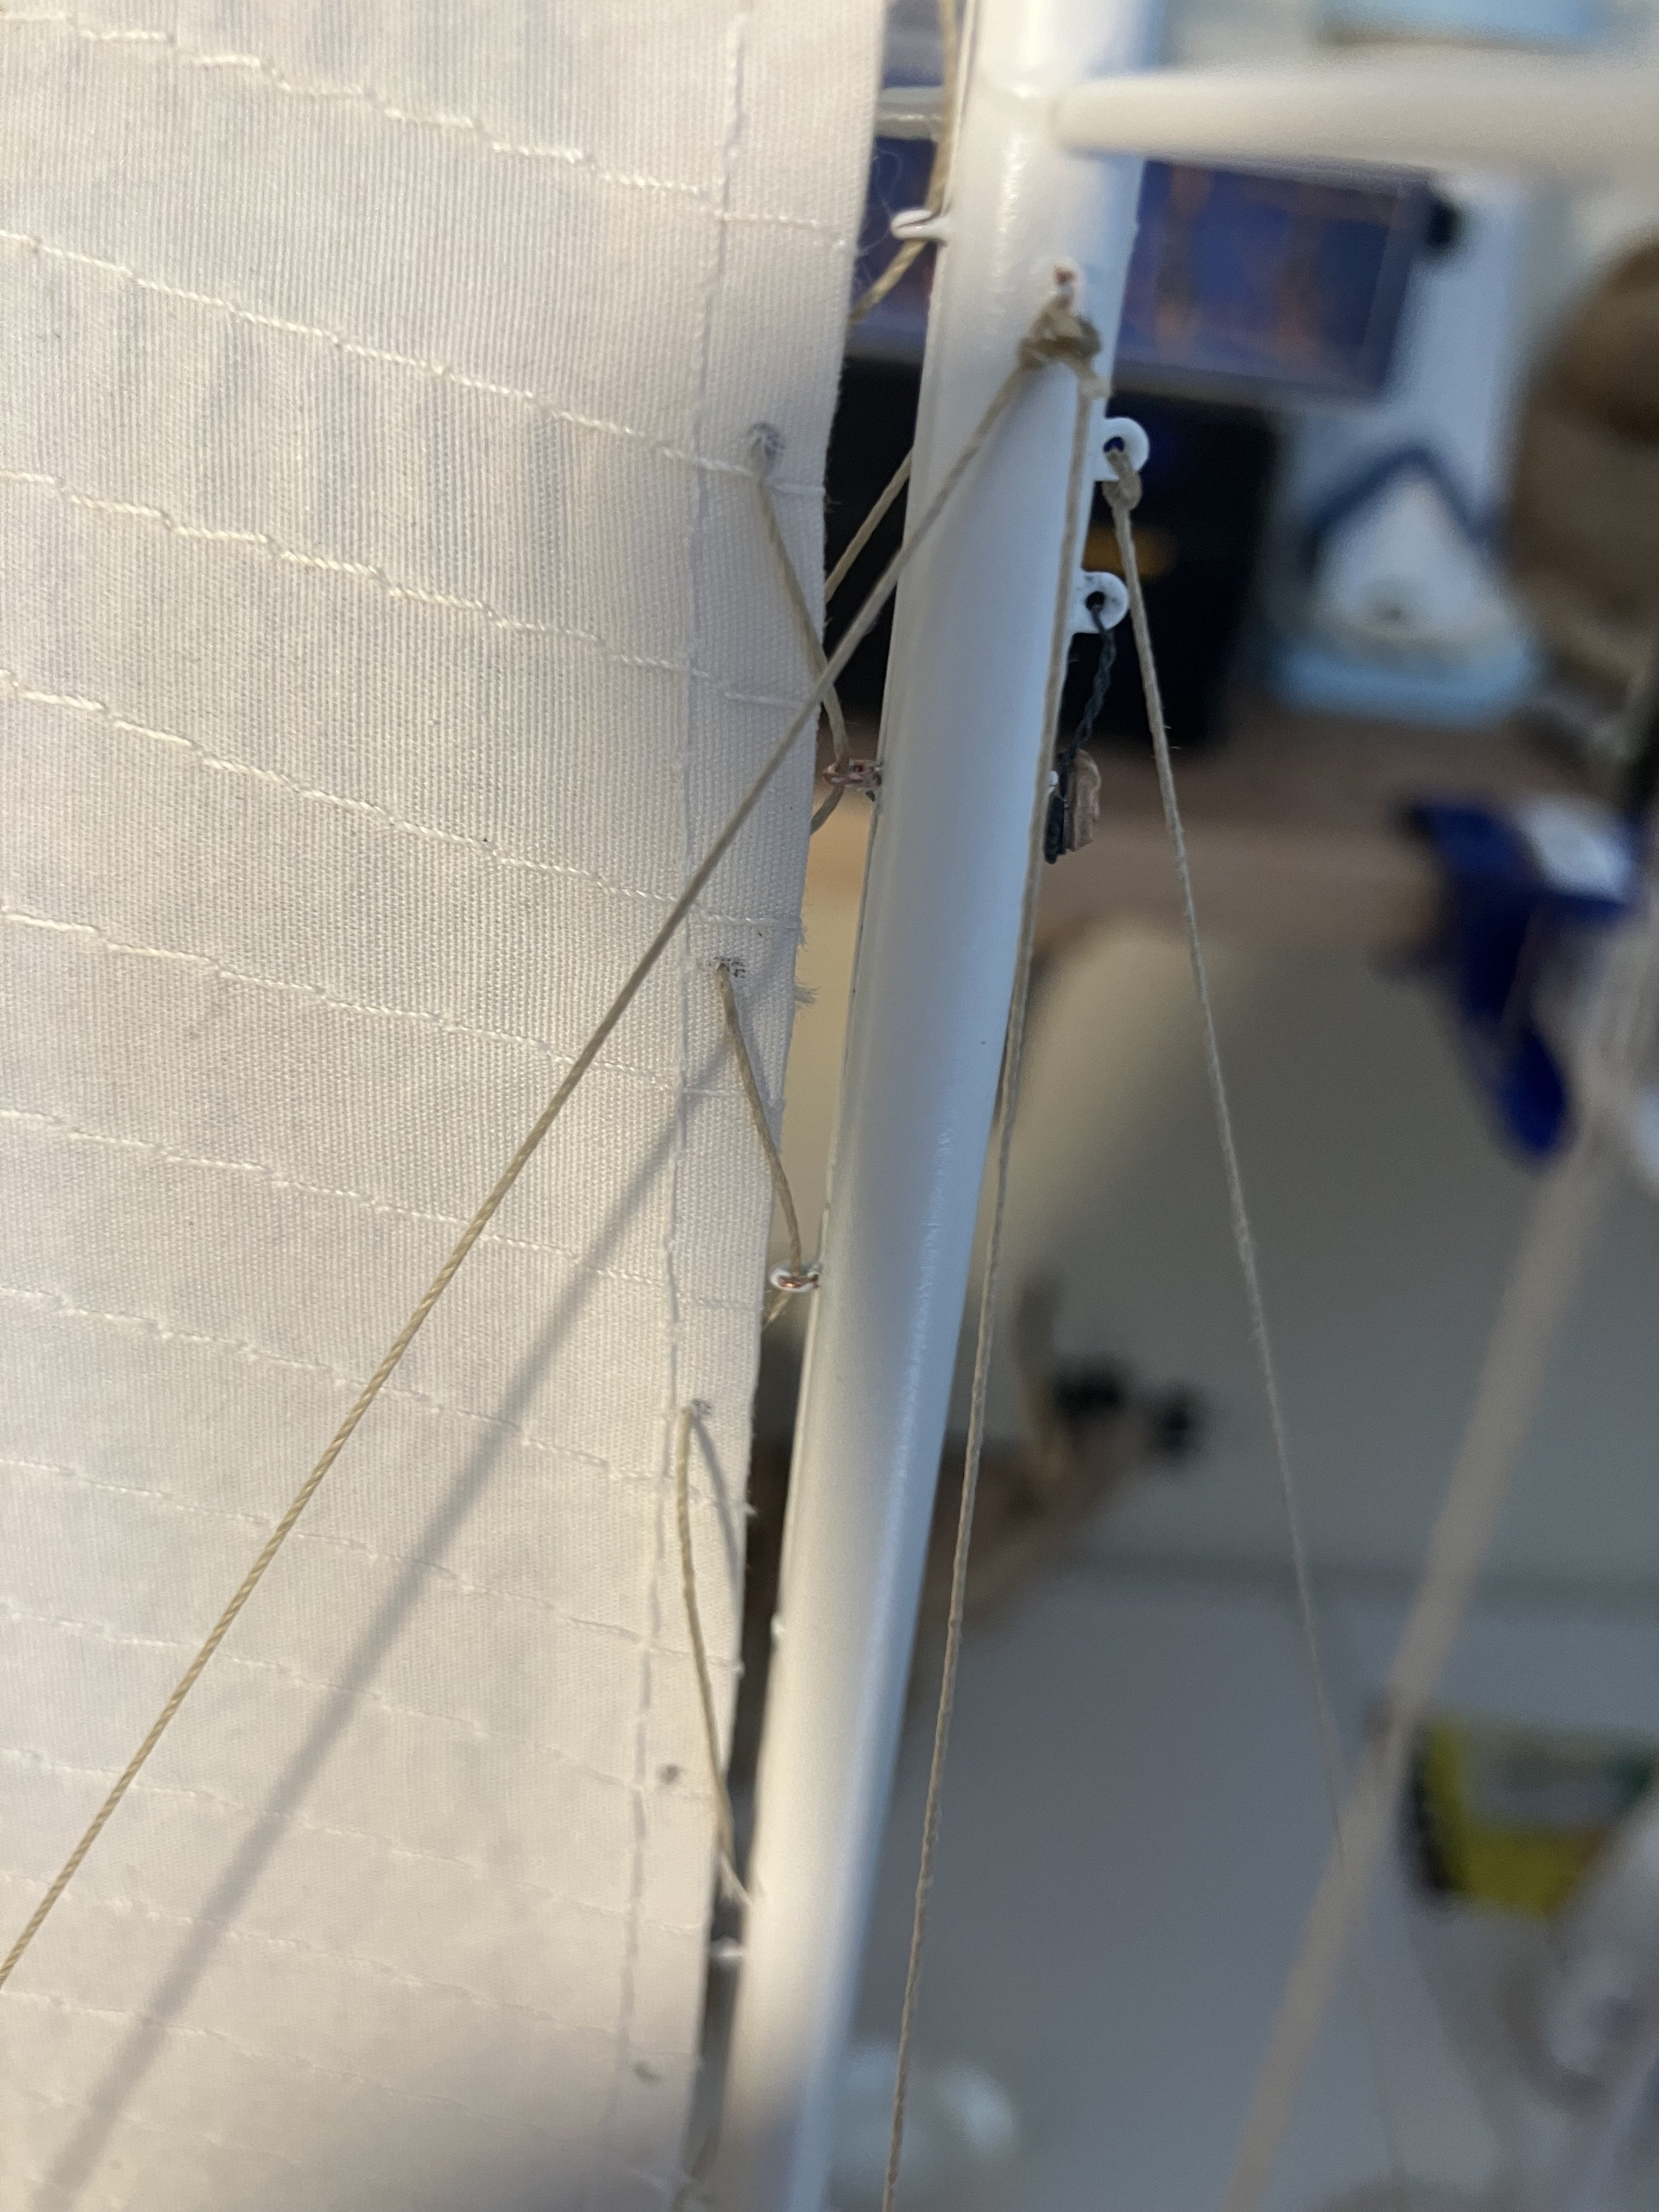
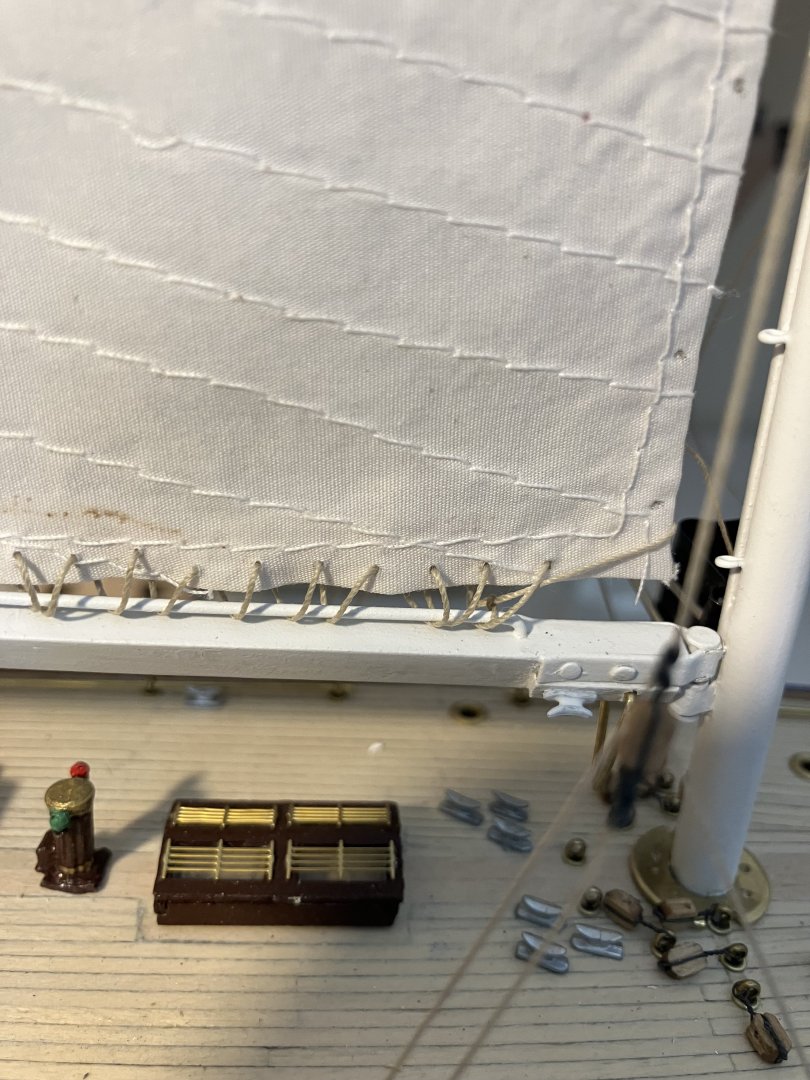
The mainsail has returned from the sewing department I must confess, it is certainly a tedious task "sewing" this sail onto the mast and boom. A note to anyone else who might follow this blog and build this model, make sure all the eyelets are glued firmly into the mast when you assemble it initially. Having one pop out while you are threading the sail and having to try and glue it back in in situ is a good test of patience, believe me. The CEO and I are still discussing wether we want to furl the remaining sails or not. The jury is still out on that one.


- 157 replies
-
- 11
-
-

-
At least that will give me some time to catch up on it all then, Trevor. Have fun
- 167 replies
-
- 2
-
-
- Norwegian Sailing Pram
- Model Shipways
- (and 1 more)
-
I can't get over how nice that wood is. I like the idea of popping those wood tones by using different woods. Coming along nicely there, sir.
-
That is what it looks like to these inexperienced eyes as well, Trevor.
- 167 replies
-
- 1
-
-
- Norwegian Sailing Pram
- Model Shipways
- (and 1 more)
-
I must say, Trevor, I have the bug now. The CEO was in here just now and, having asked me a few days ago to think about building what in essence would be a good old fashioned lifeboat, she saw your blog here and said, "See, there are some out there who are building them too." I would like to build the James Caird form Shackleton's expedition in 1912, but not the one with all the rocks etc. in it, just the plain old lifeboat. We will see. I guess what I am trying to say is you have inspired me, sir.
- 167 replies
-
- 3
-
-
- Norwegian Sailing Pram
- Model Shipways
- (and 1 more)
-
I think your planking looks just fine, sir. Nice job.
- 47 replies
-
- 2
-
-
- La Nina
- Artesania Latina
- (and 1 more)
-
That was my intention, Phil, but the idea of basically shortening the false keel is a valid one. I will be sure to get those measurements before I do any cutting or sanding. Thank you for the graphics. As far as the transverse dimensions go, I am so very glad you pointed that out. It was something I believe I had read somewhere when I first joined MSW but, with everything else I read, it got lost in the hubbub. Measurements will be taken, sir, of that I can assure you. What @SardonicMeow said about the transom being too short was the first lucid thought I had this morning and, like I mentioned last evening, it will be taken care of as soon as I am back in the yard.
-
Peter, Wow, that is something I had sadly overlooked and thank you for pointing it out. I am going to be out all day tomorrow and will probably not be back in the shipyard until Tuesday some time. That will be the first thing I will tackle, sir.
-
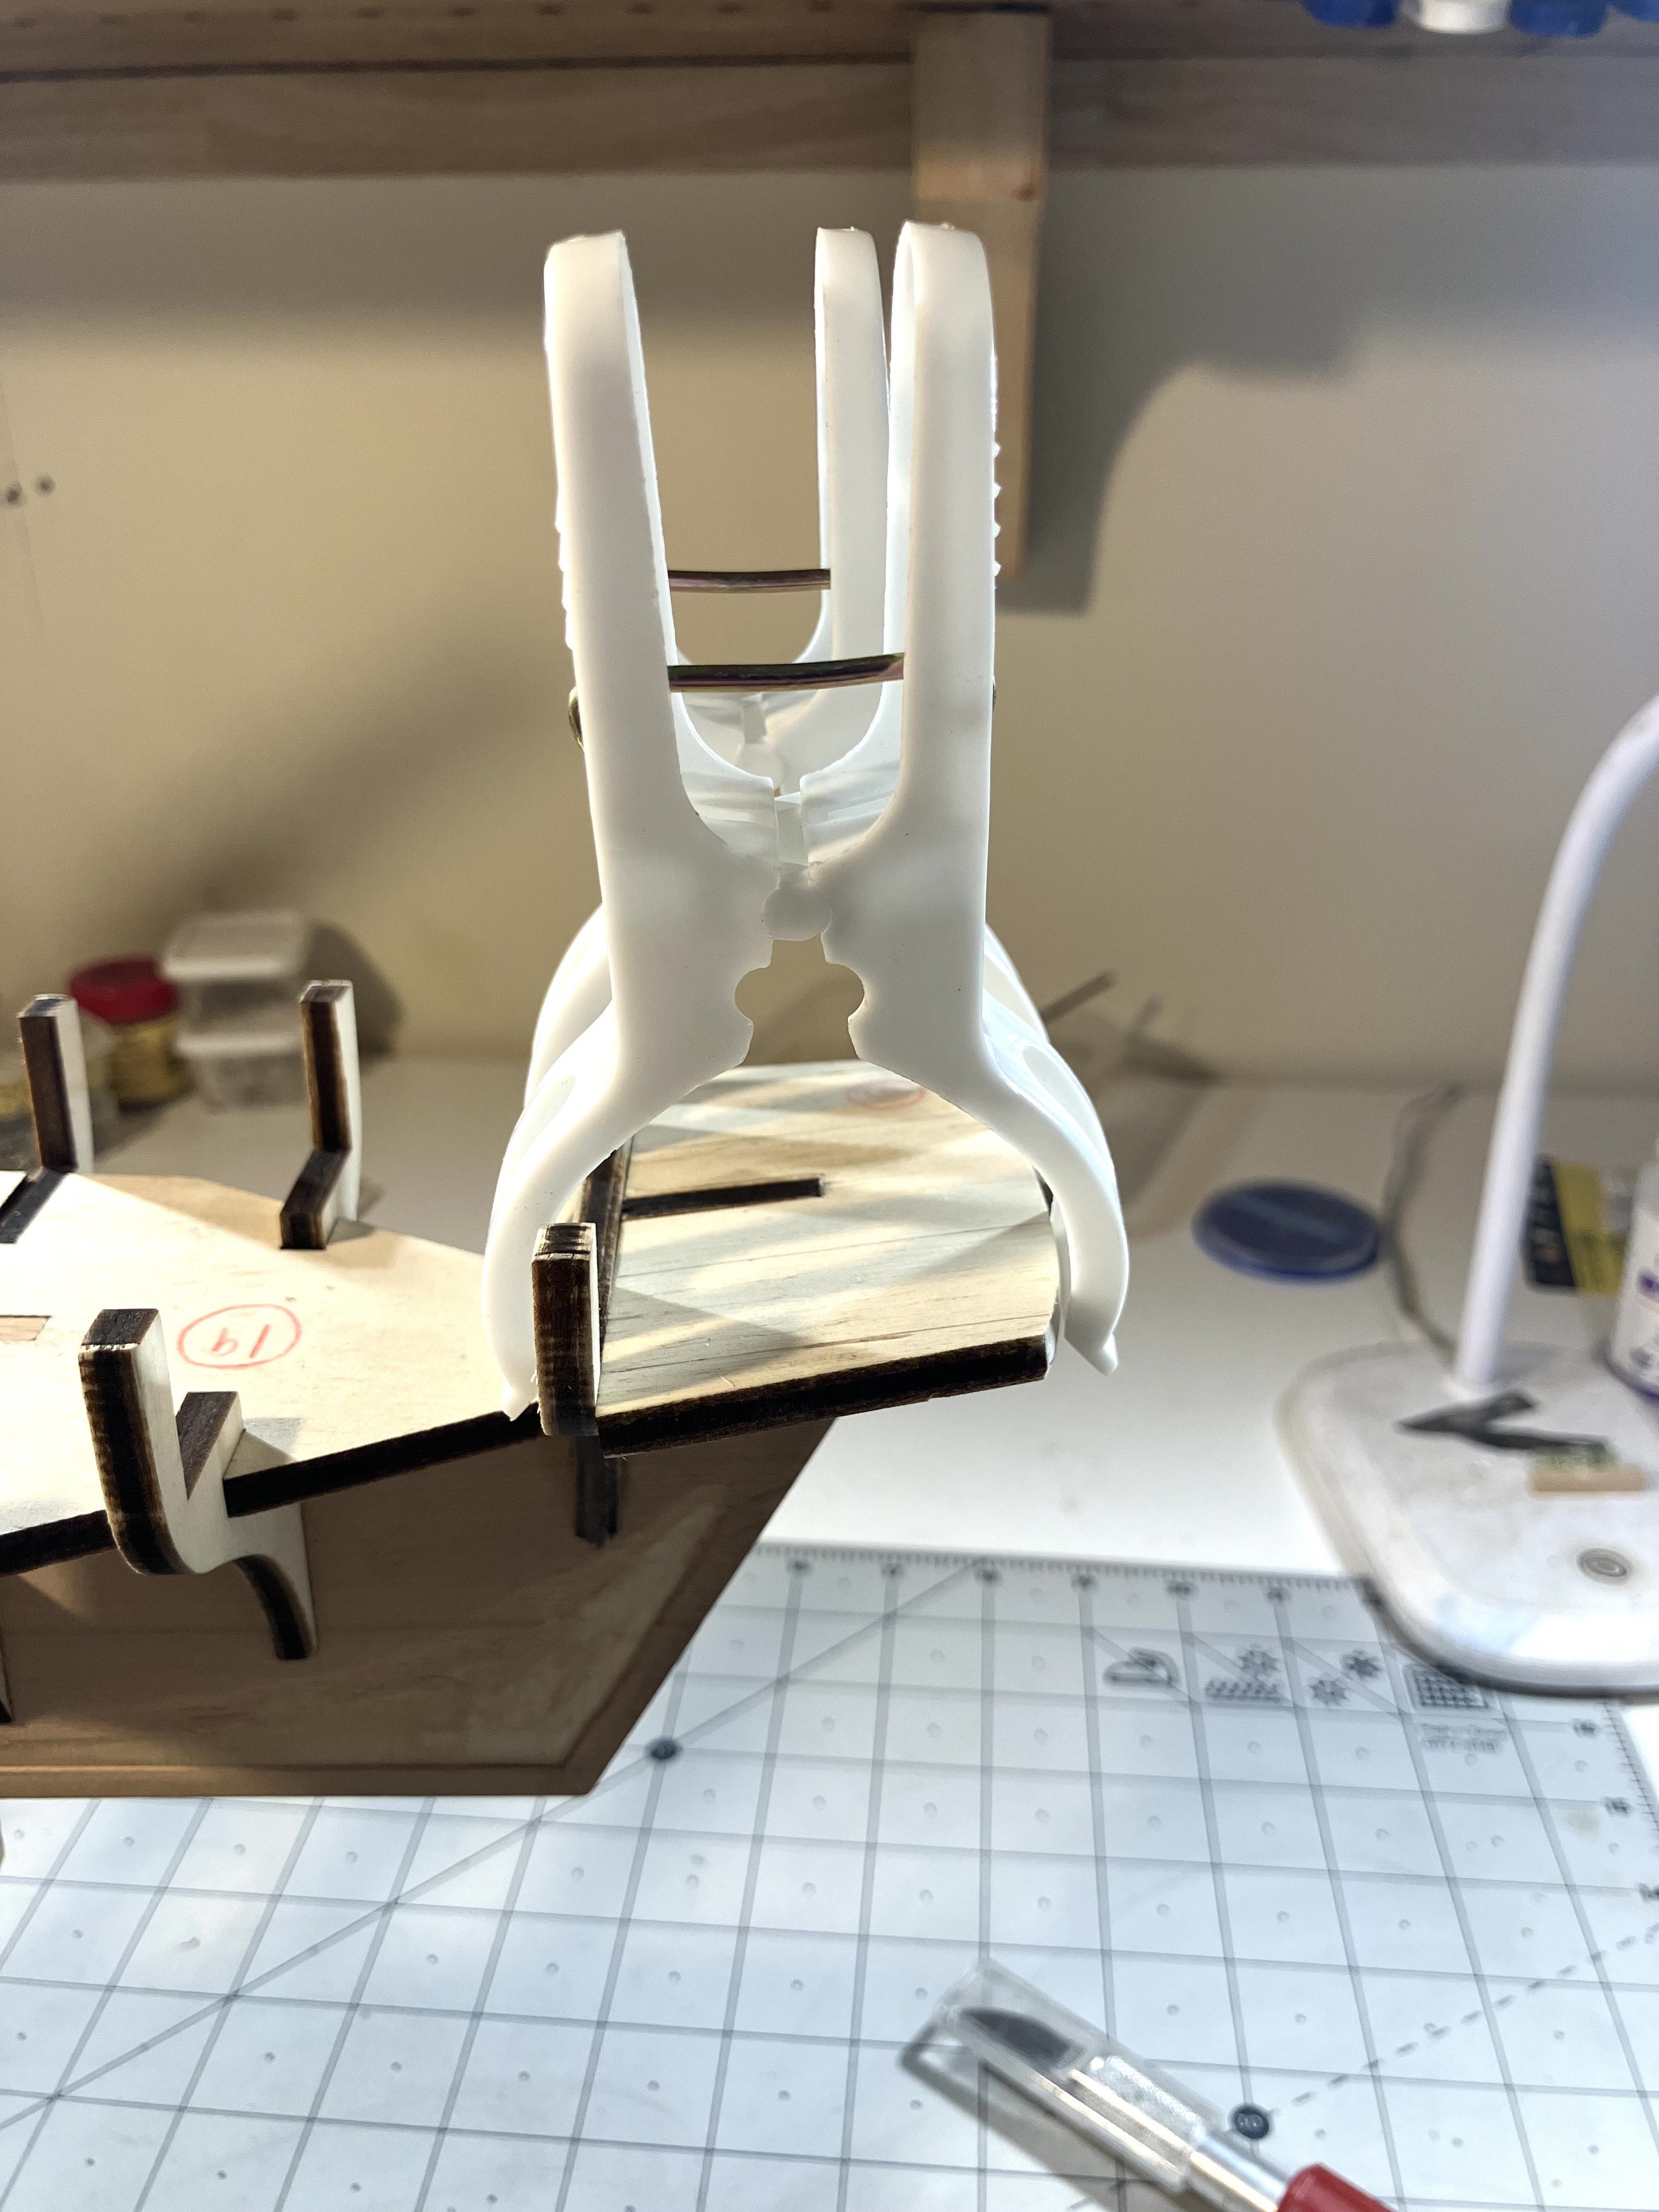
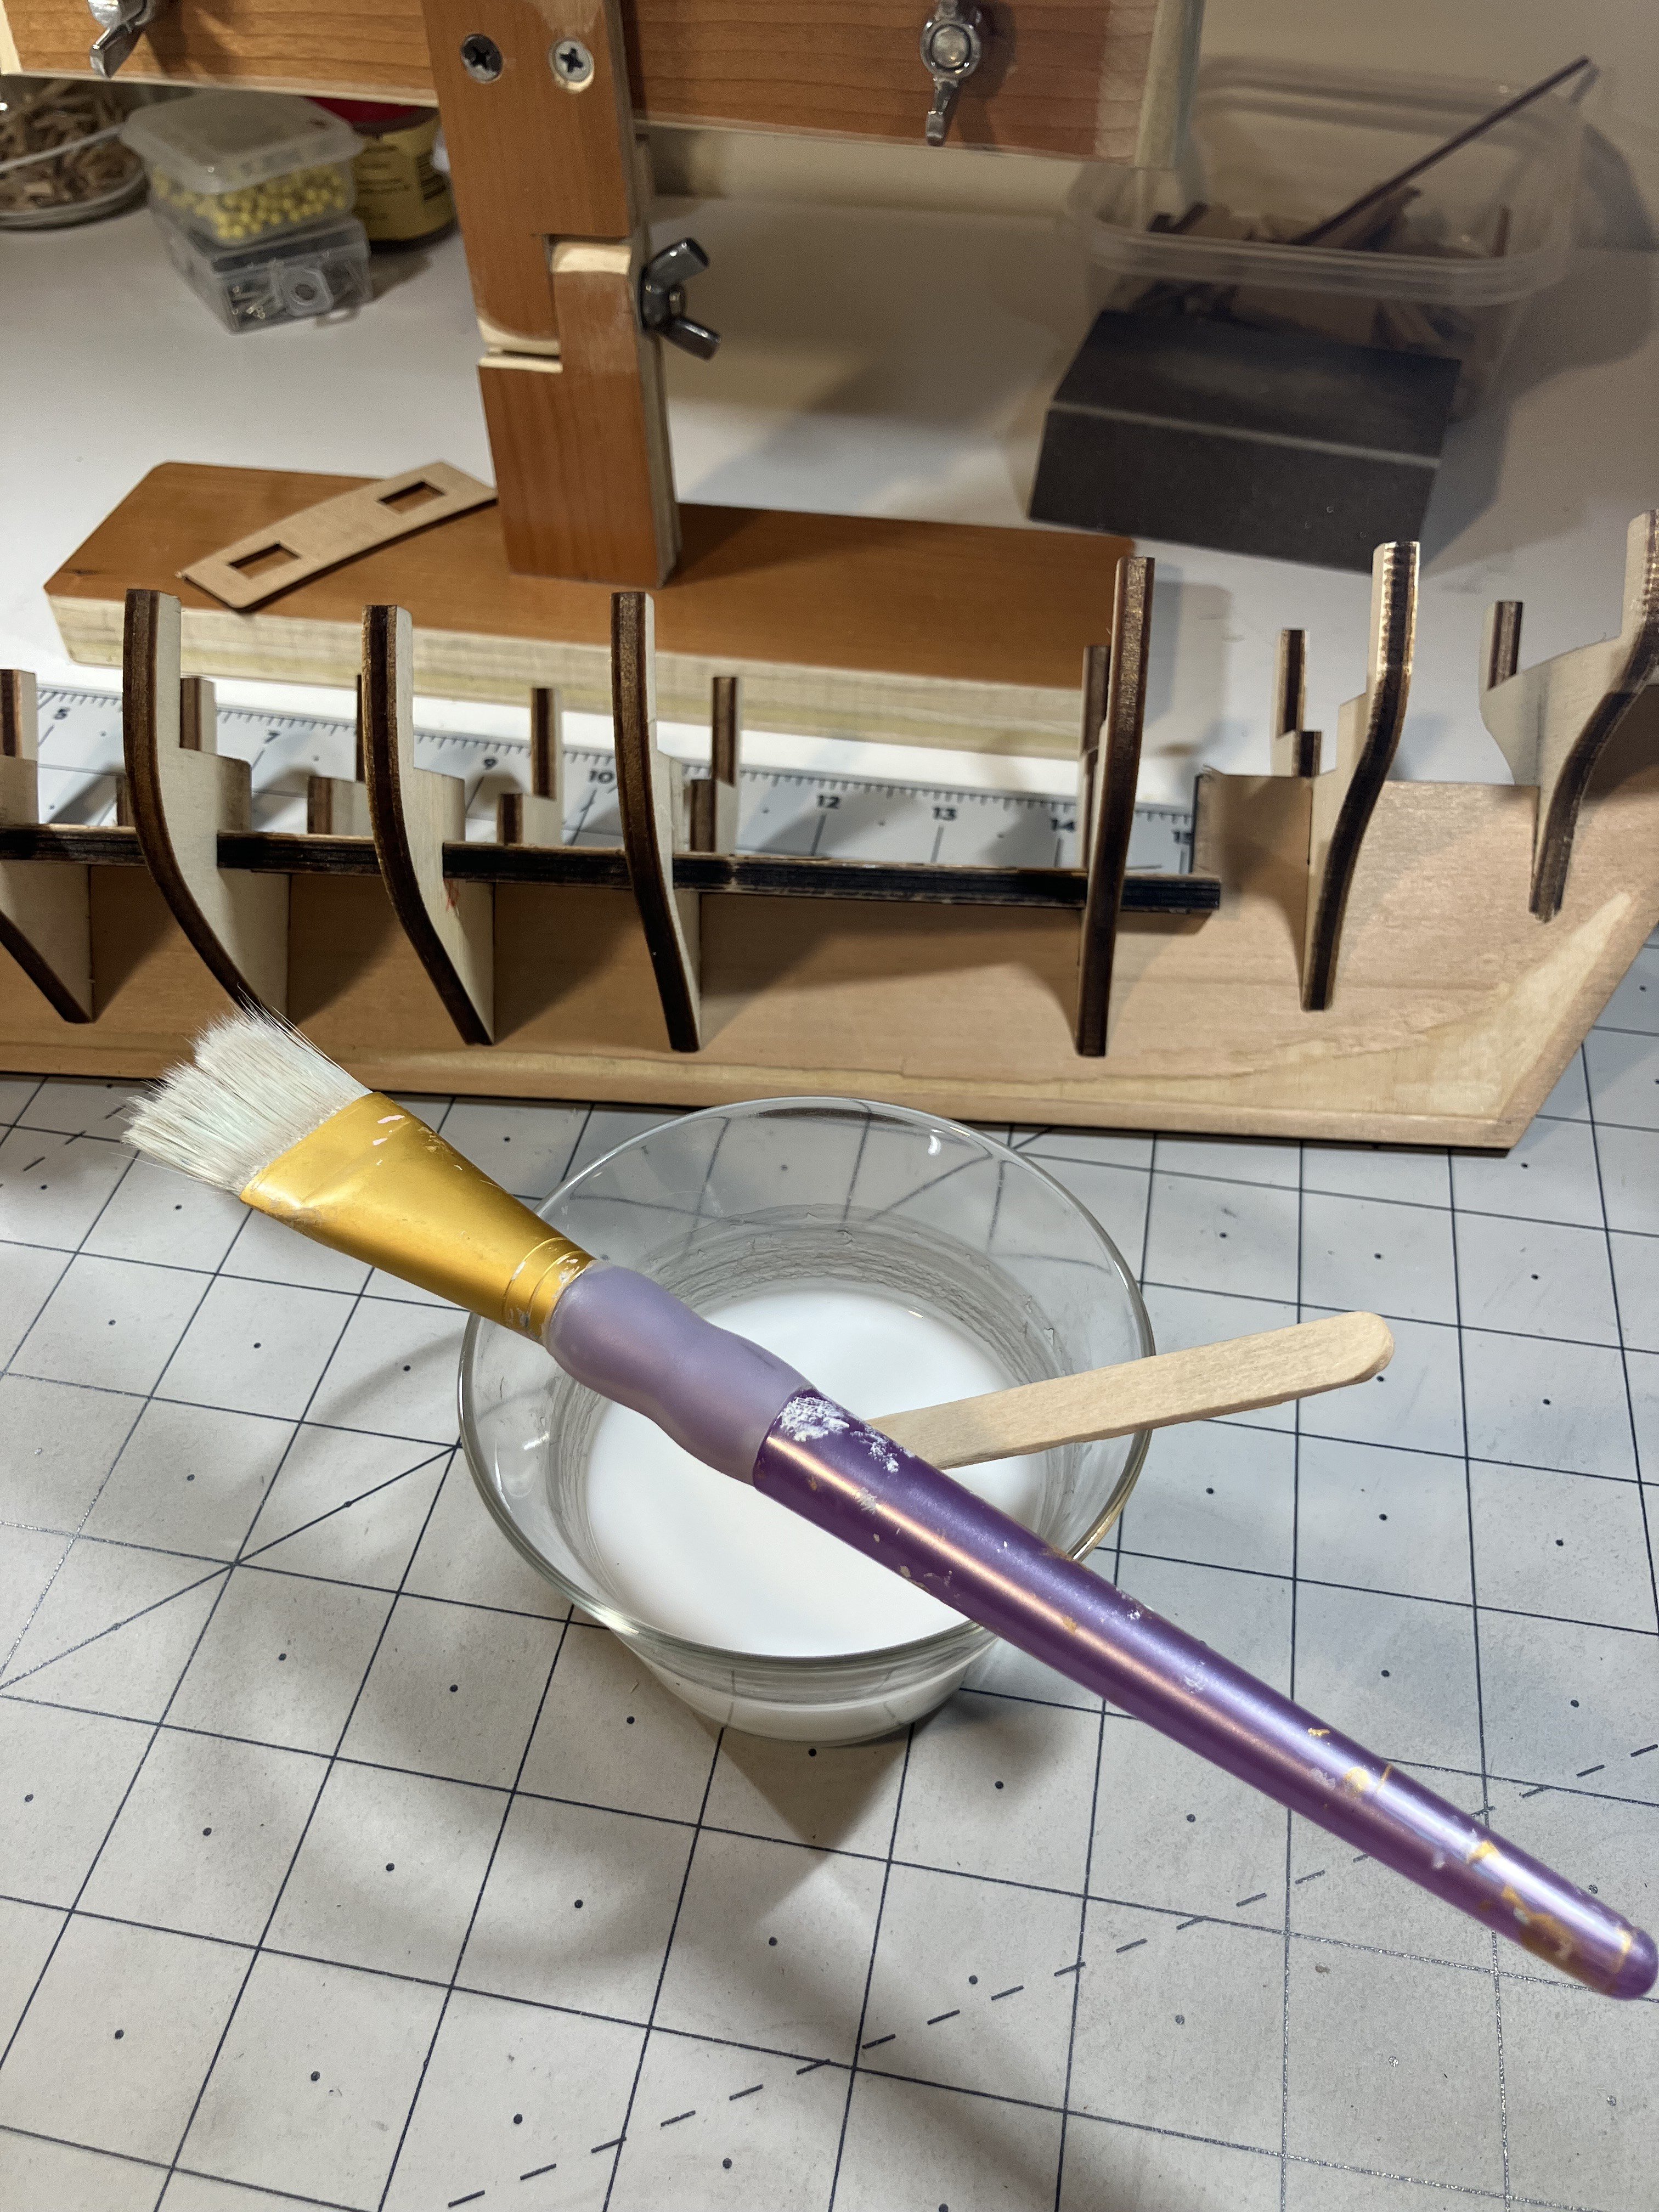
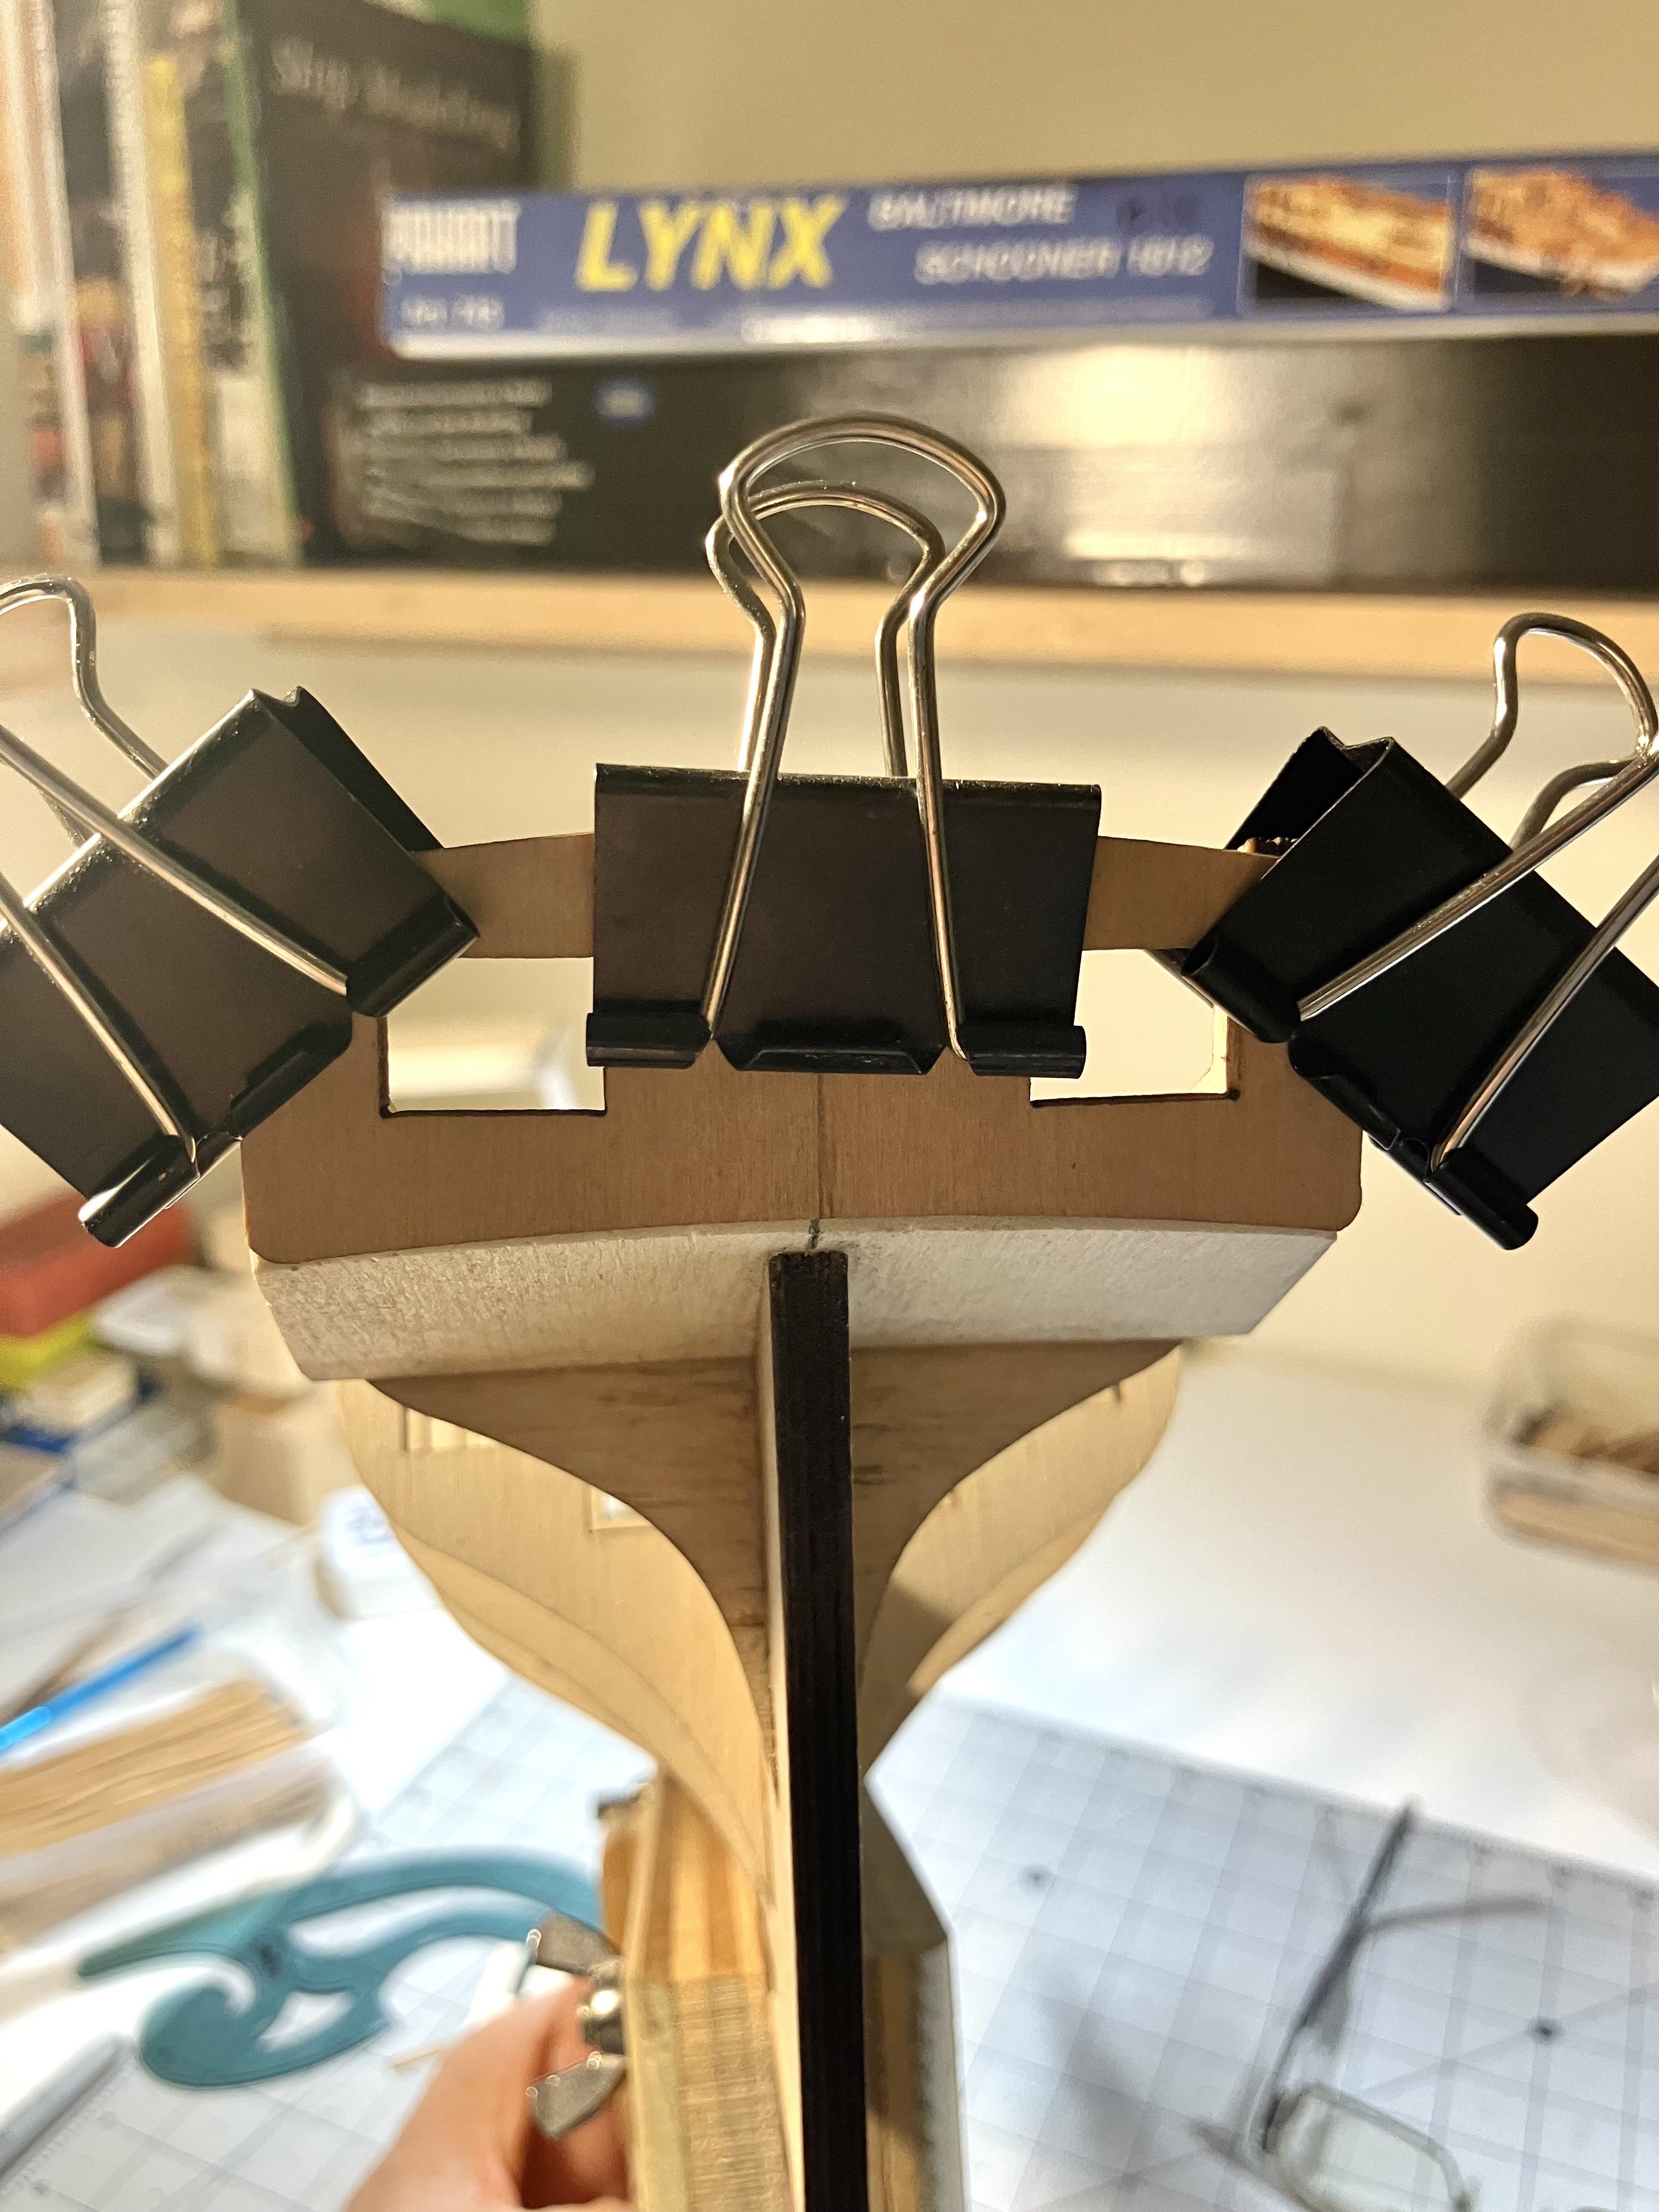
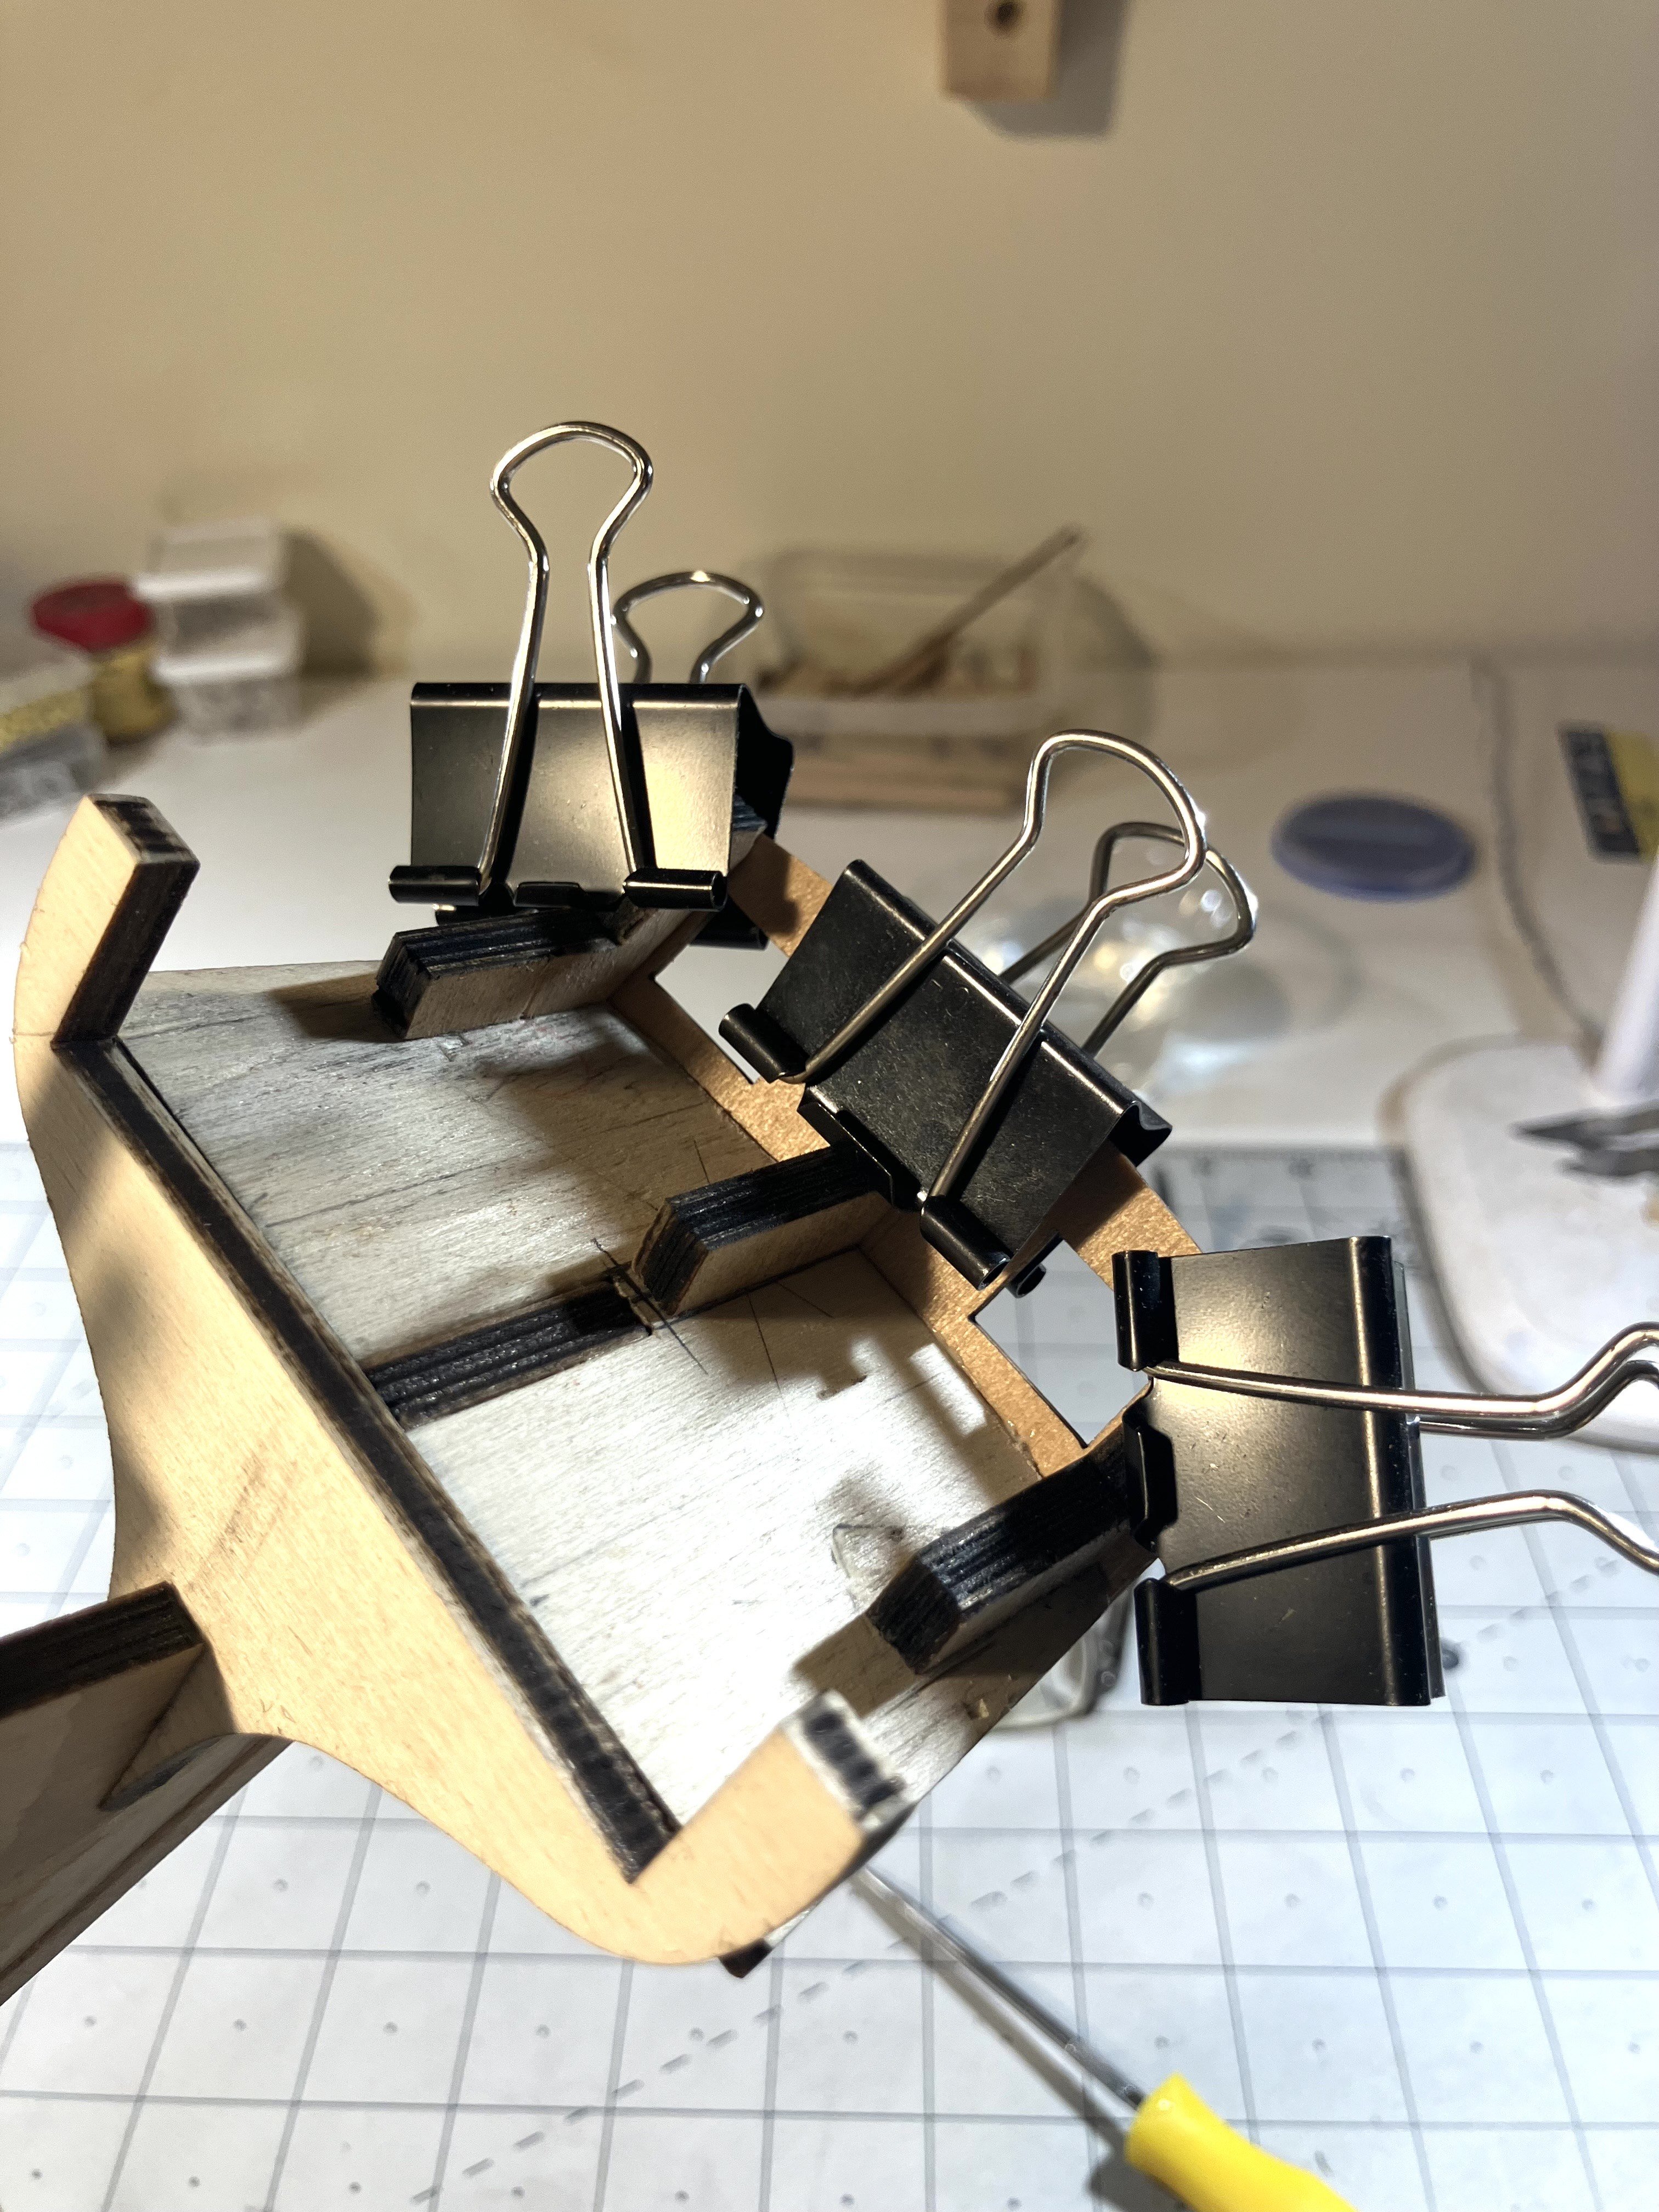
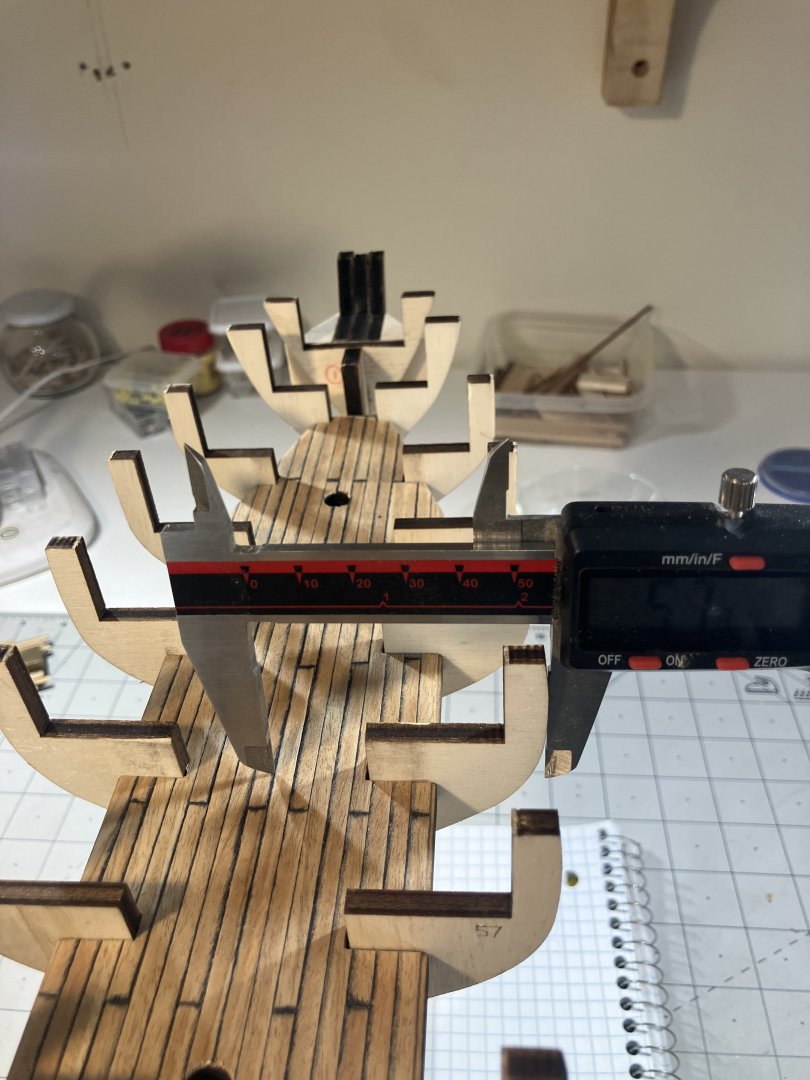
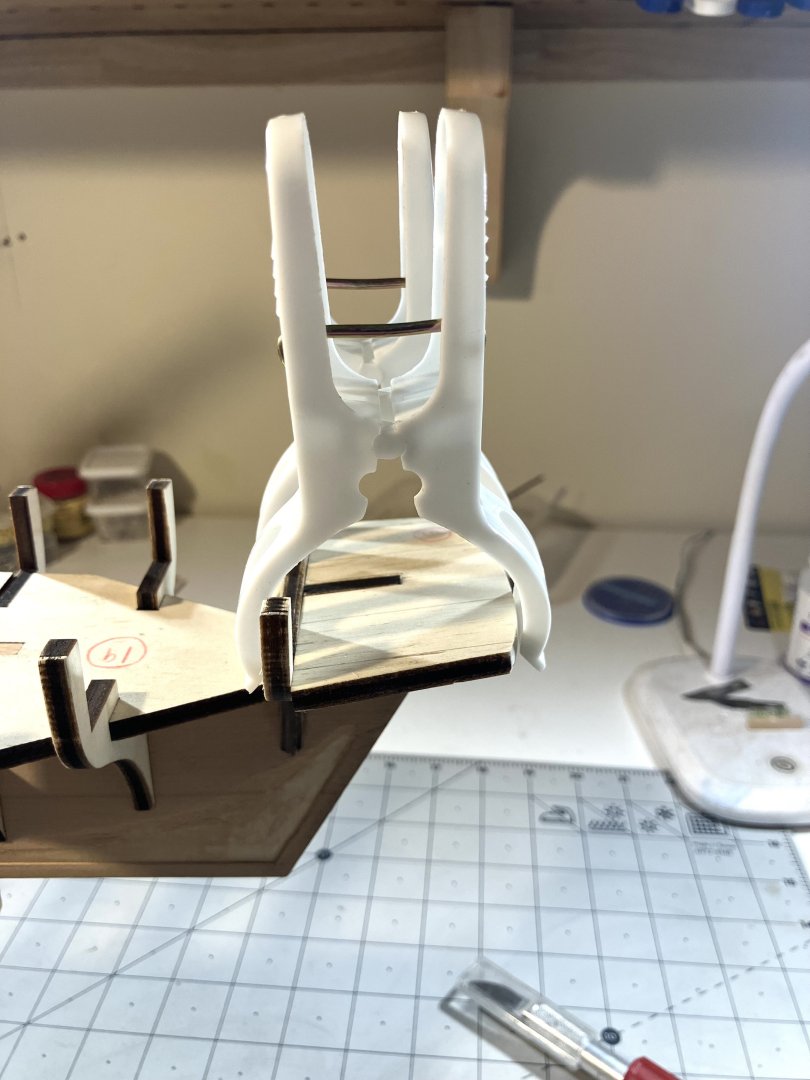
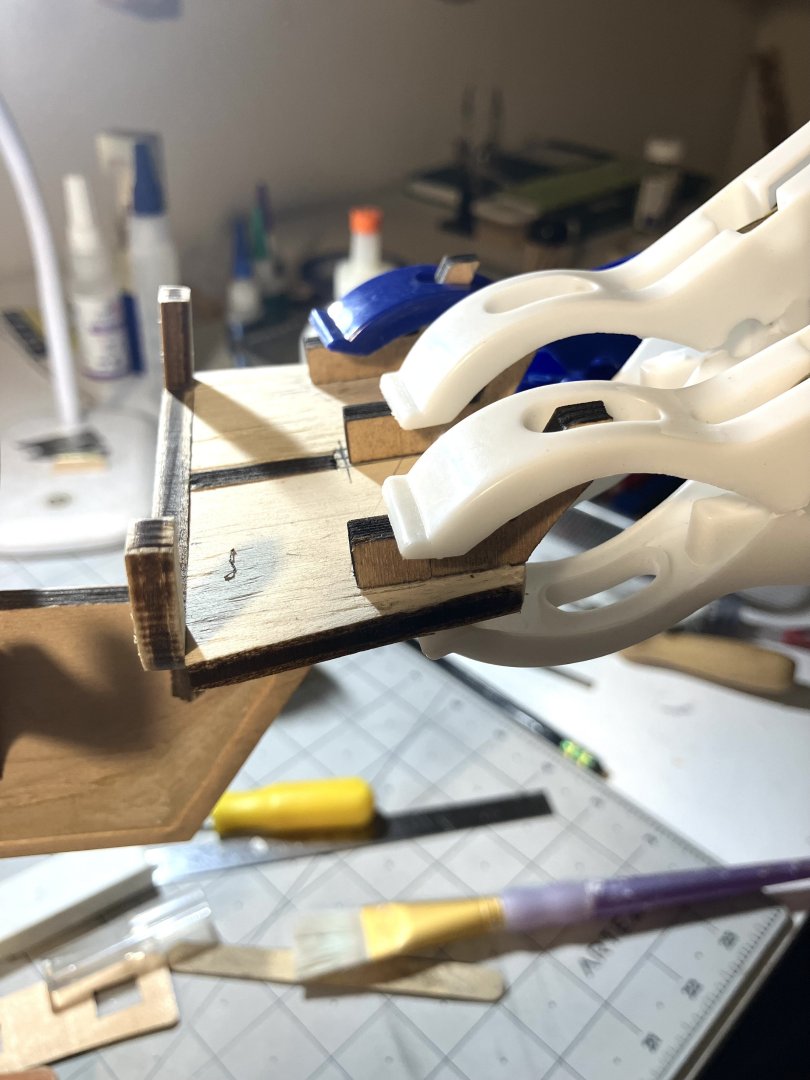
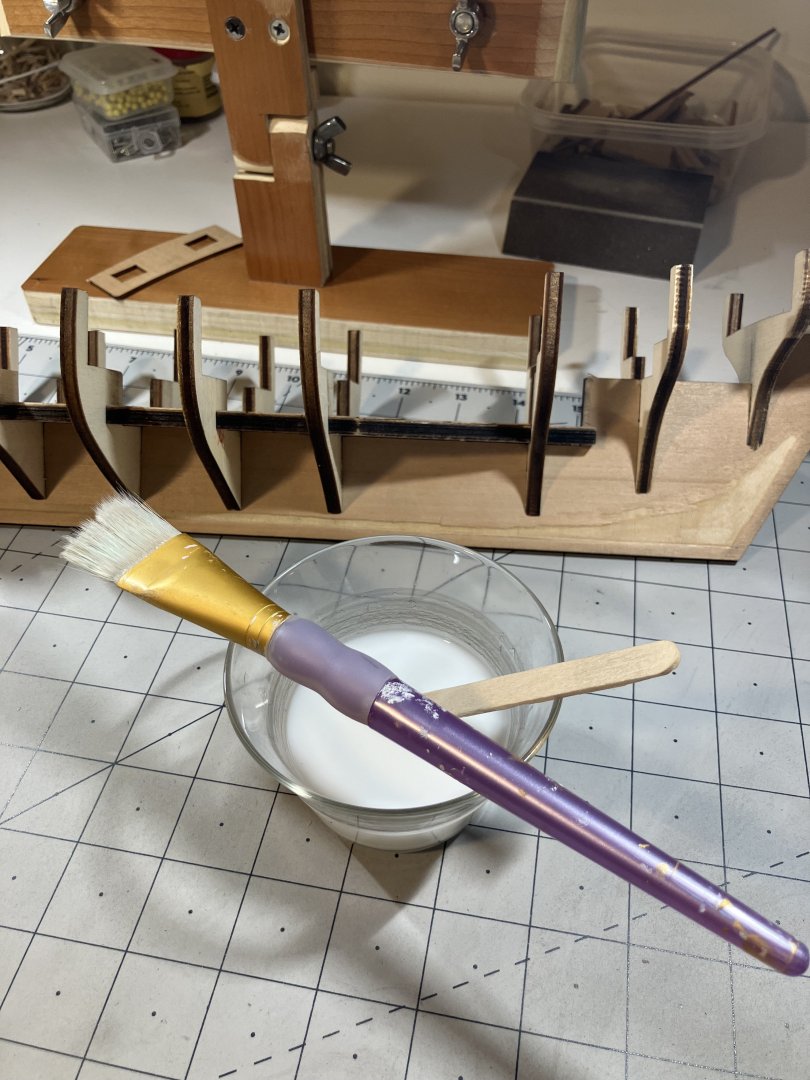
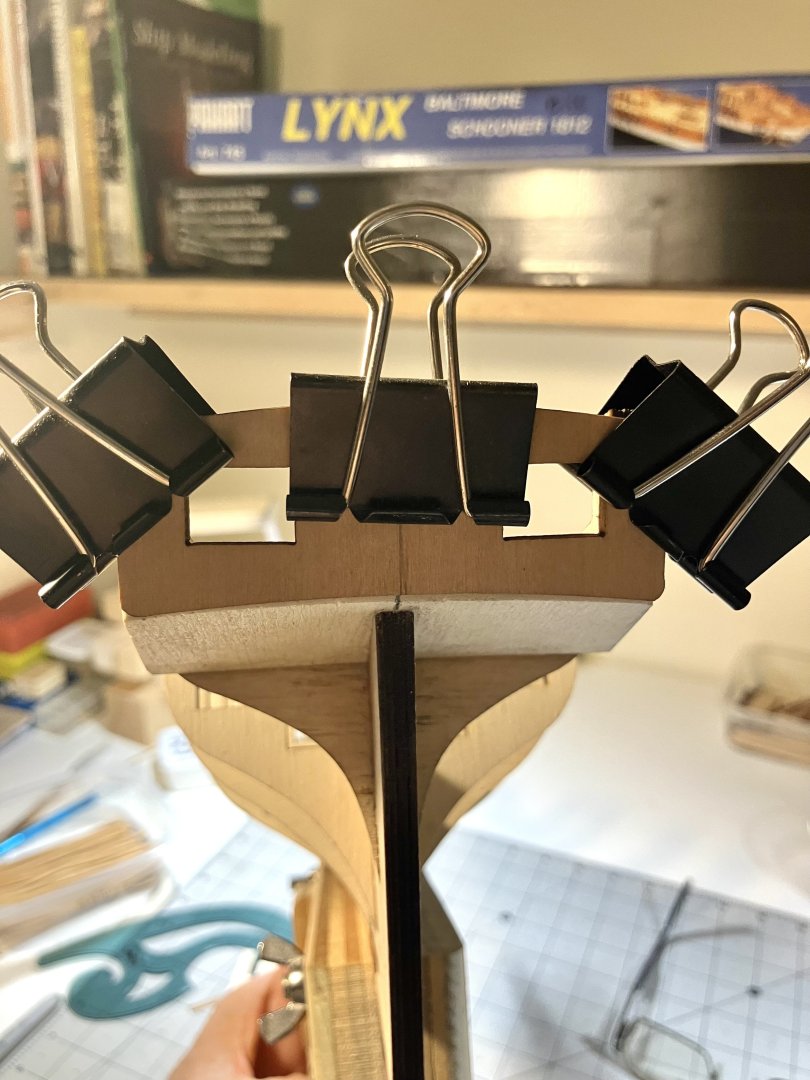
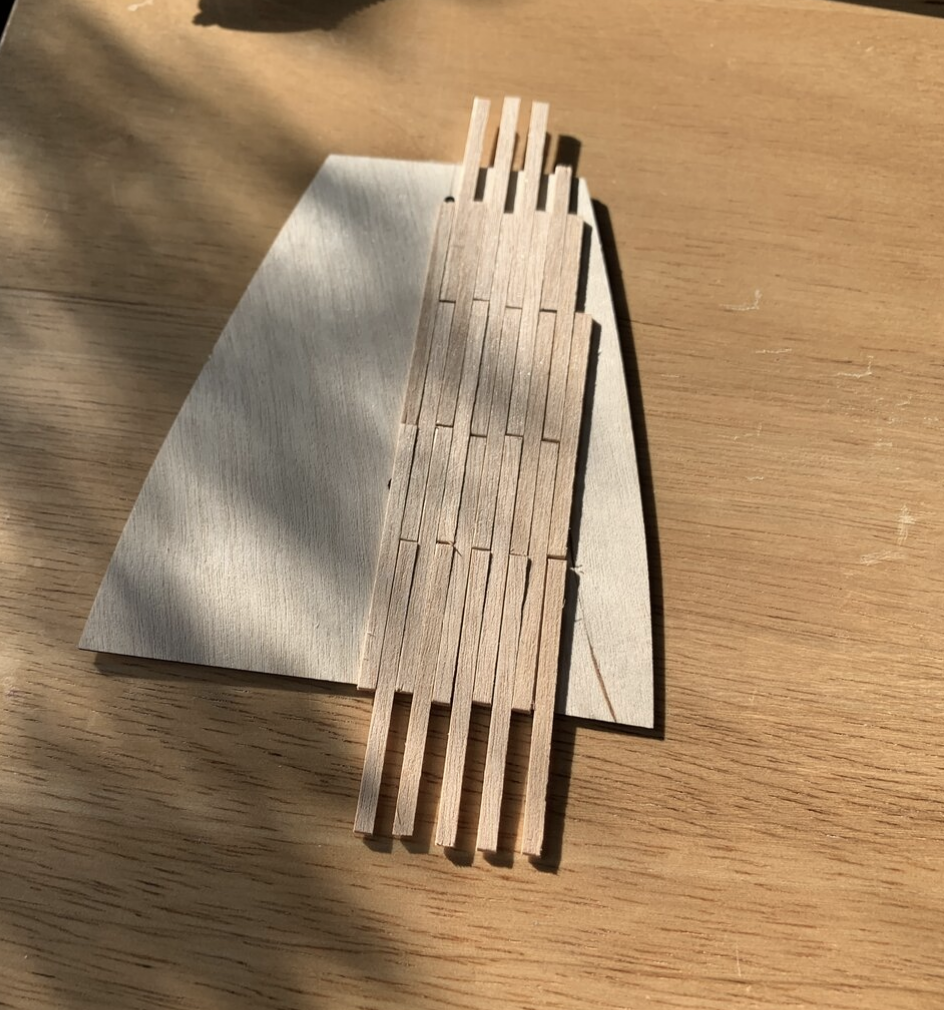
On with the build then..... I measured and shortened the base of the transom then glued it in place: By the way, there is A LOT of char on anything I cut out of the laser cut boards. I have to take them outside to sand away all the really black edges. Nasty stuff, it looks and smells like soot. Next up I glued the knees in place: And the lower deck was planked and fitted. I know planking wasn't necessary here but it served two purposes - 1. It is always good to practice and 2. I will know it is there You will be able to see it if you happen to look into any of the hatches too. I did realize the scale of the planks I used was a bit off (after the fact) but this is not the main deck so I left it as is. Once the lower deck was dry I did a 50/50 glue and water wash on all the bulkheads to tighten them all up before the planking starts: The transom itself was then clamped in place and left overnight to conform to the correct contours. The next morning I glued it in place too: I fabricated the counter and did a dry fit. This is where I am veering off the Panart plans and actually doing something related to the Mosquidobit build plans. It will need some fine tuning but I am happy with the way it looks: The Panart plans suggest planking the boat with both layers before adding the cross beams that the main deck will sit on. Because I am intending to put some fillers in between some of the bulkheads and I don't want to have to sand or chip them away when the bulwark stays are cut off once the planking is done, I wanted to know the height of the deck. I intend to stop the fillers below deck level. I hope that all made sense. Image to follow once I have it done.


-
That is good. I will be stashing that away too. Many thanks, sir!
-
Excellent, thank you, Peter. I think I will go with those figures and be done with it. I recently looked into Fusion with regards to 3D designs. I have the "home use only" free version. Maybe I should spend some time getting to know it better. Up to now I have used Tinkercad more than anything else which, since they added the new sketch tool, has gotten a lot better.
-
That looks fantastic!! Your attention to detail is certainly inspiring, sir.
- 332 replies
-
- 1
-
-
- Harpy
- Vanguard Models
- (and 1 more)
-
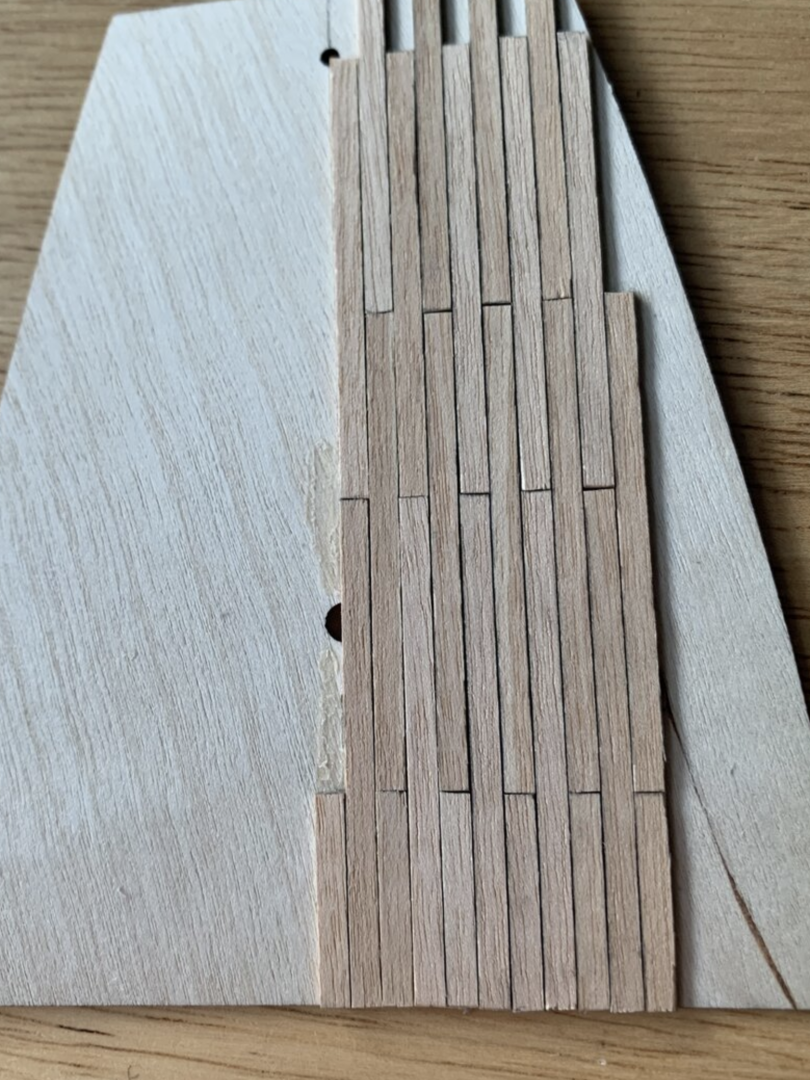
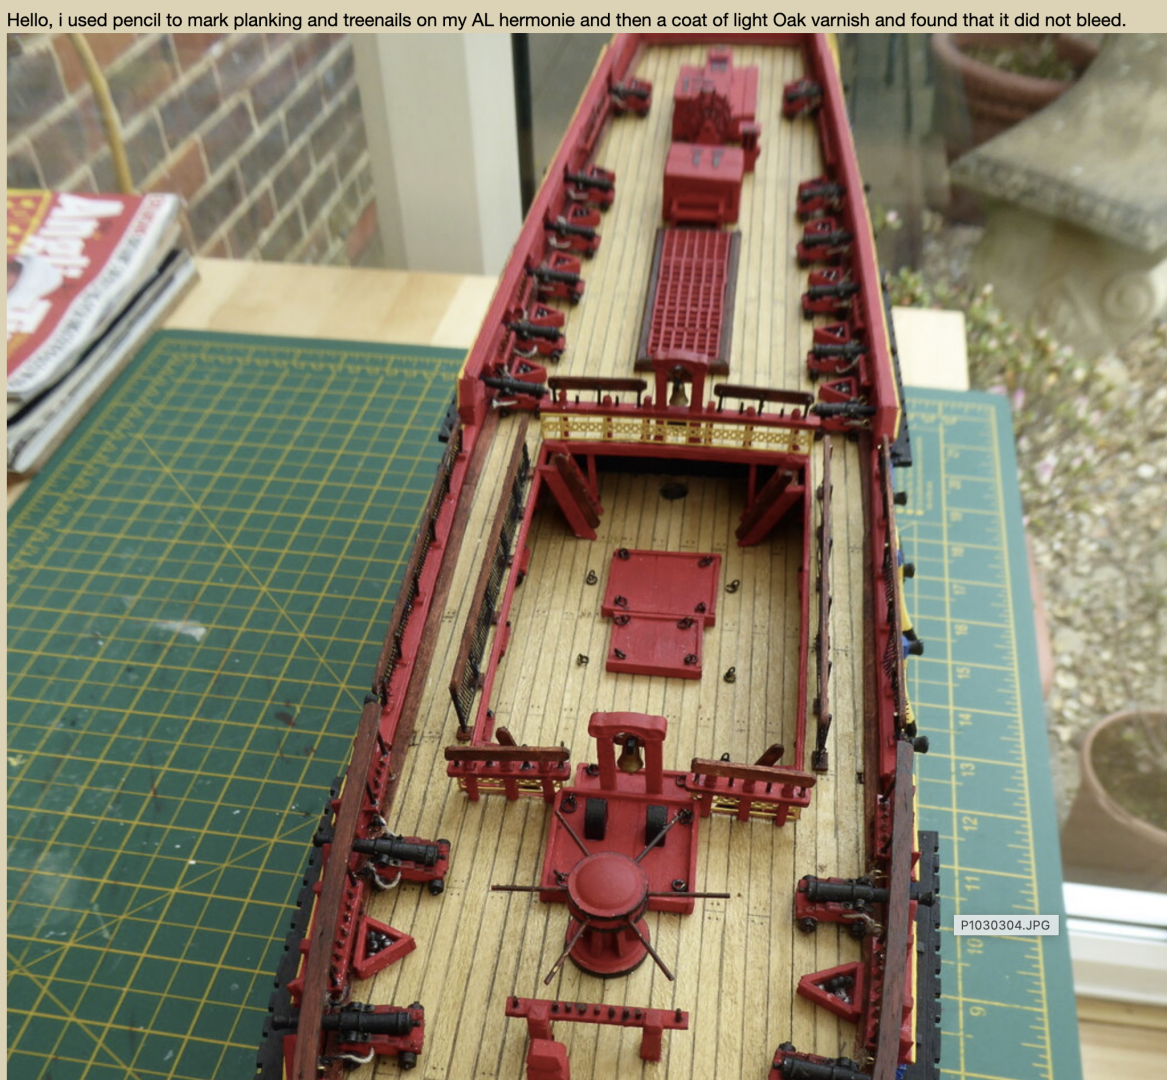
Here is an image of your ship being built on another forum (Ships of Scale). I believe you have to be a member to view build logs in there. I just joined to be able to see different logs of the Lynx I am doing right now. This is not a very technical planking pattern. Because you know the size of that deck piece you can (kinda) work out the plank lengths from the picture. Here, from the same forum, is a finished model (of another ship) showing the tree nails penciled in (see the builders comment at the top of the image): Right here is a blog in this forum with some good info on deck planking and planking patterns, it also has a conversion chart for mm to inches. And here is @Knocklouder's build log for La Niña. He explains his planking method on page 1 I believe. Another link here goes into a bit of detail about planking patterns and overall deck planking. Last link here from this forum on plank lengths. Hope this helps!
- 47 replies
-
- 1
-
-
- La Nina
- Artesania Latina
- (and 1 more)
-
At least we have a window to work in. From what Phil has said here and in other conversations, it would appear we are looking at numbers between 11 and 15 degrees. You made a good point, Trevor, about the scaling down of the plans for the Chapelle book and the inherent errors therein, quite valid. To be 100 % correct here one would really need to get their hands on the plans you mentioned that might be at Greenwich at this point.
-
Thank you, Phil. I will remeasure the rake on the Musquidobit plans using the base of the keel as a waterline and see what I get. I am planning on getting this as historically correct as I can but, that being said, I doubt anyone visiting our home will have a protractor with them
-
On a scale this size I would personally recommend not using nails for the deck, glueing it will be much better. I usually plank my deck once it is on. Have you read up on planking patterns for this build? Another tip, and I know this one is a bit late but if your false keel is warped (that's the bit your bulkheads got glued to), you should lay it on a flat surface with something to weigh it down before adding the bulkheads. An even better solution, and this you can still do, is to make a temporary base to keep the keel straight. Just take a flat piece of wood and screw two slats along its length that "pinch" the keel as it slots into them. Make sure the slats run parallel to the straight edge of the base plank and run true along its length. You can work on the model with it sitting on this stand too. If you have problems understanding what I mean, let me know and I will send you a sketch.
- 47 replies
-
- 2
-
-
- La Nina
- Artesania Latina
- (and 1 more)
-
I can remember thinking that once I left high school I would never need trigonometry again. Oh how wrong I was. I still use it to this day and here is a classic example of good problem solving with it too. Nice brain work there, Trevor.
- 167 replies
-
- 1
-
-
- Norwegian Sailing Pram
- Model Shipways
- (and 1 more)