-
Posts
1,016 -
Joined
-
Last visited
Content Type
Profiles
Forums
Gallery
Events
Everything posted by flyer
-
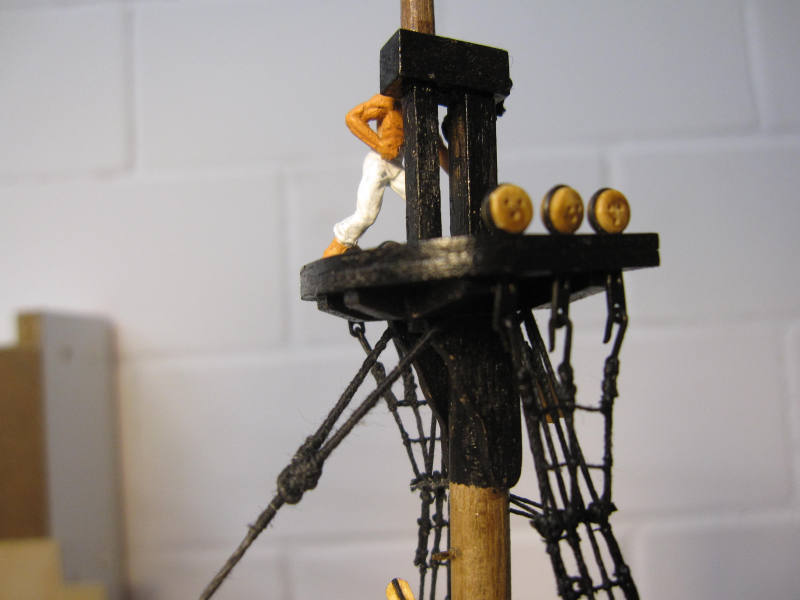
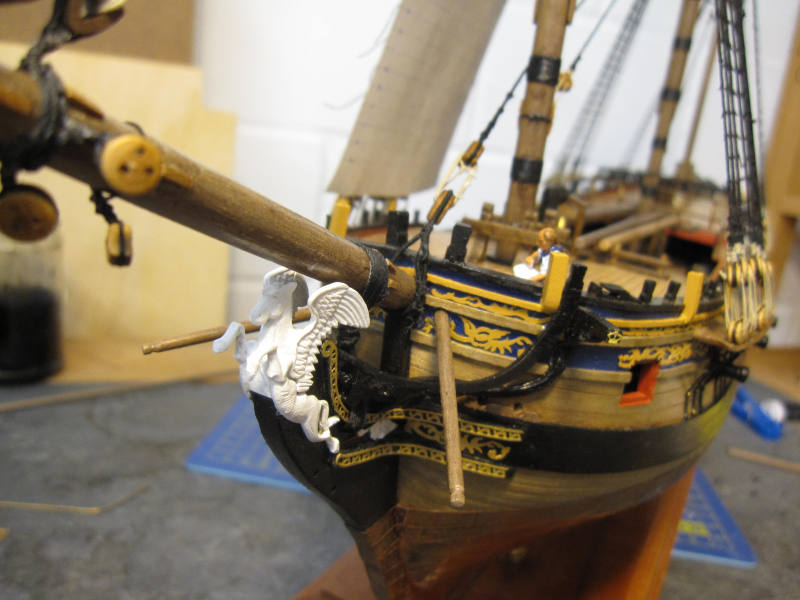
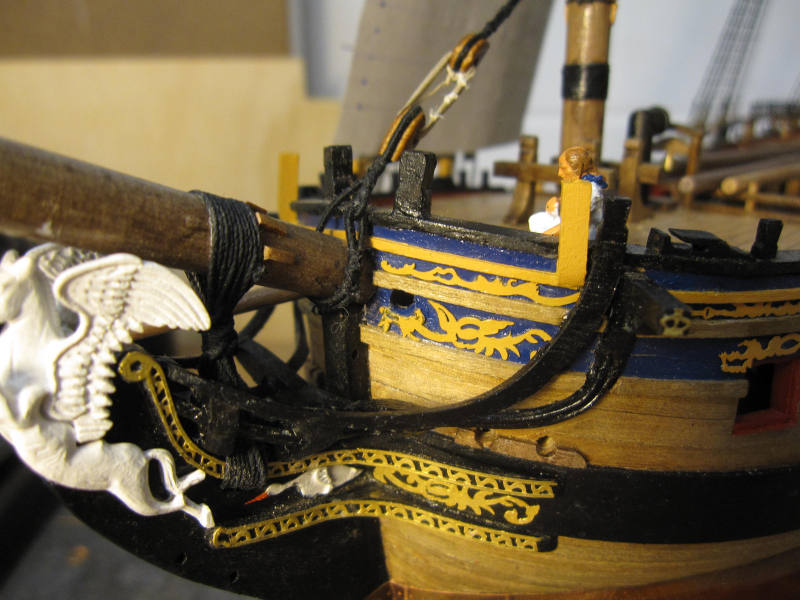
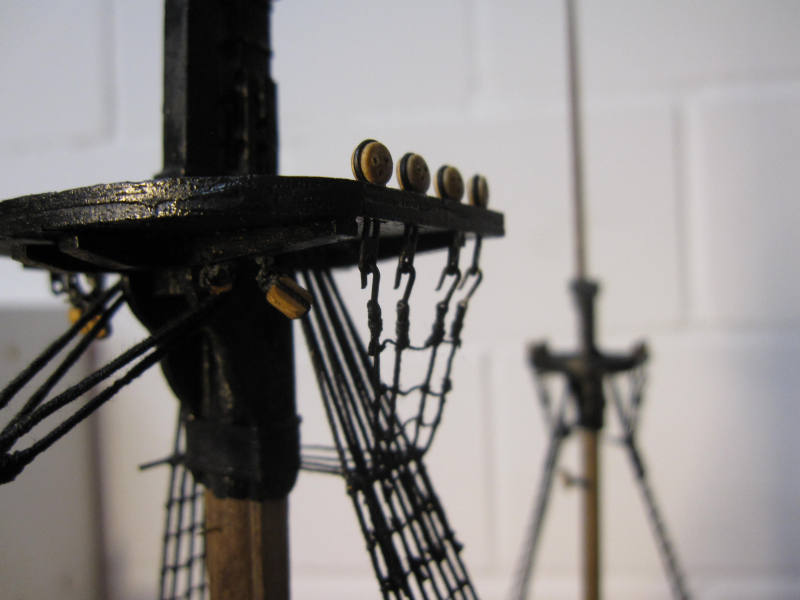
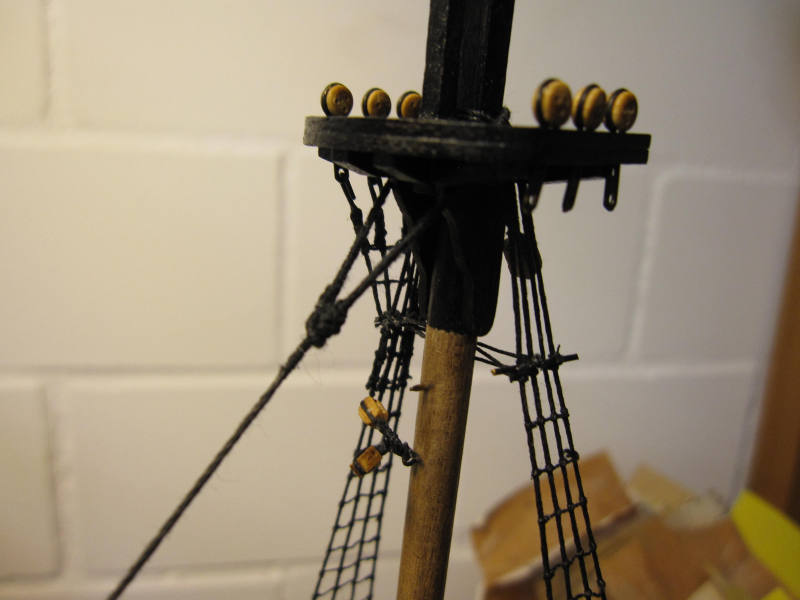
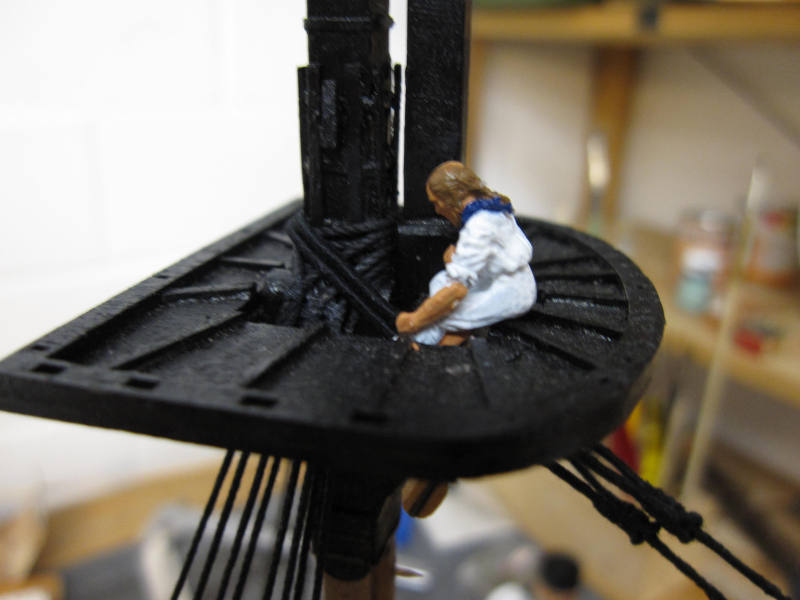
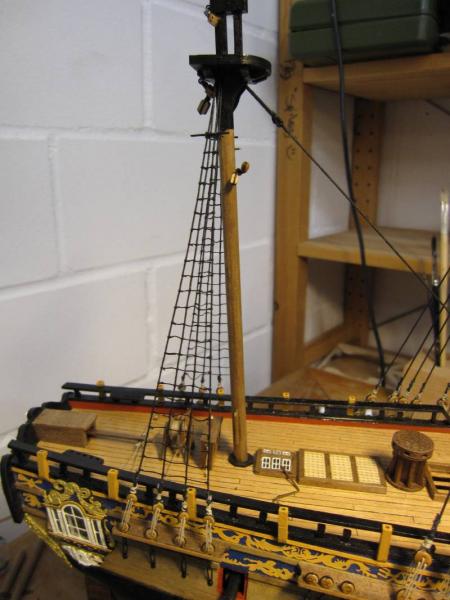
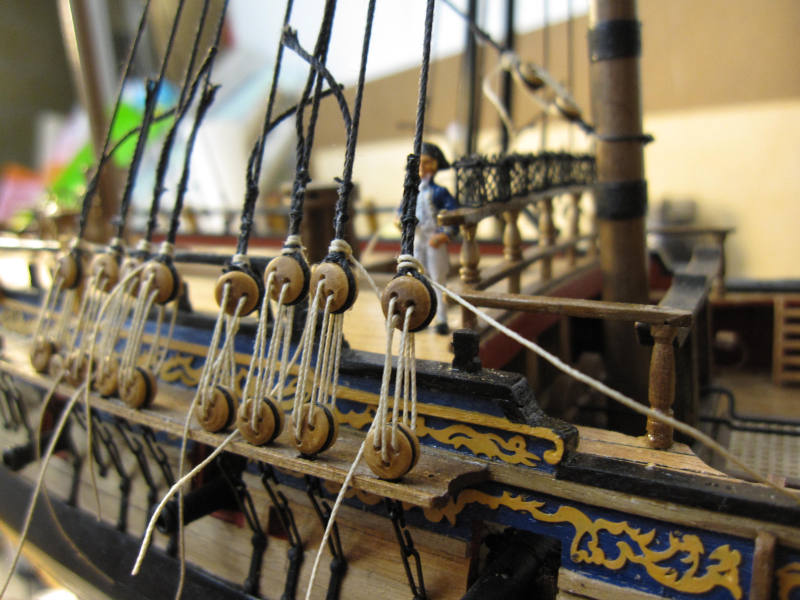
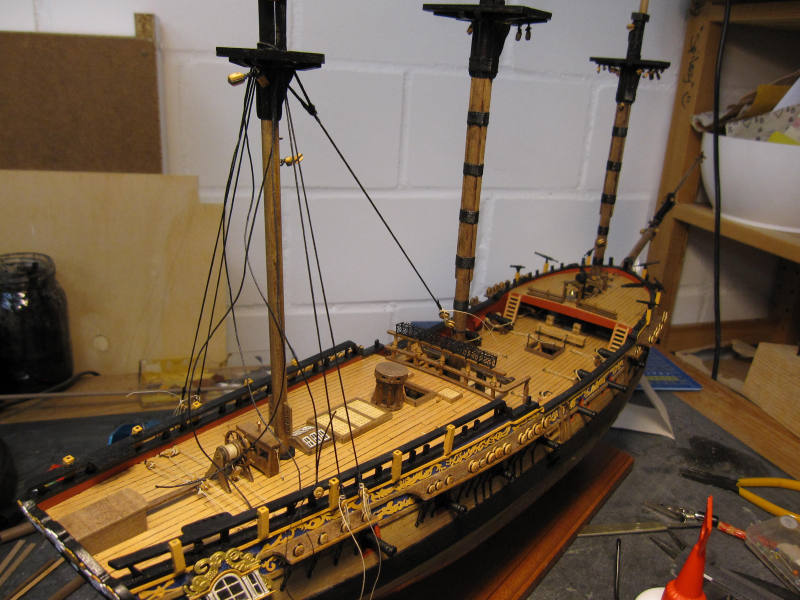
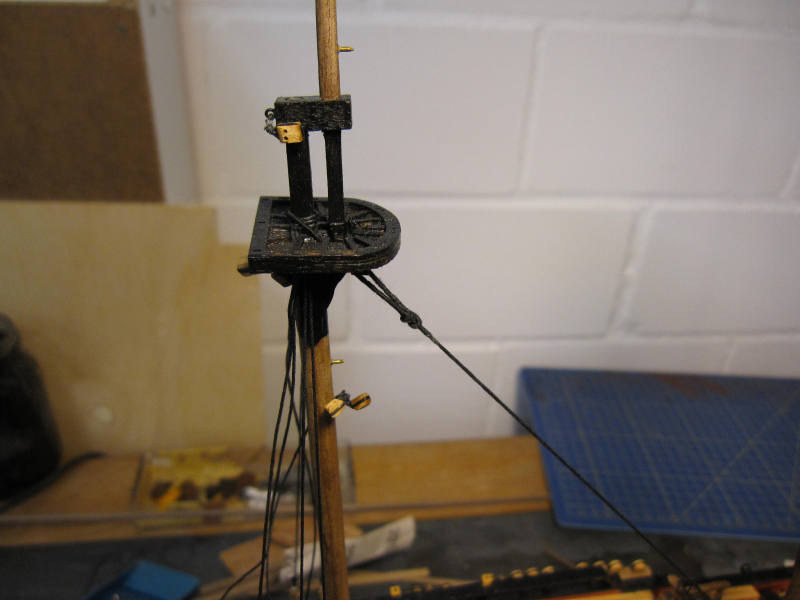
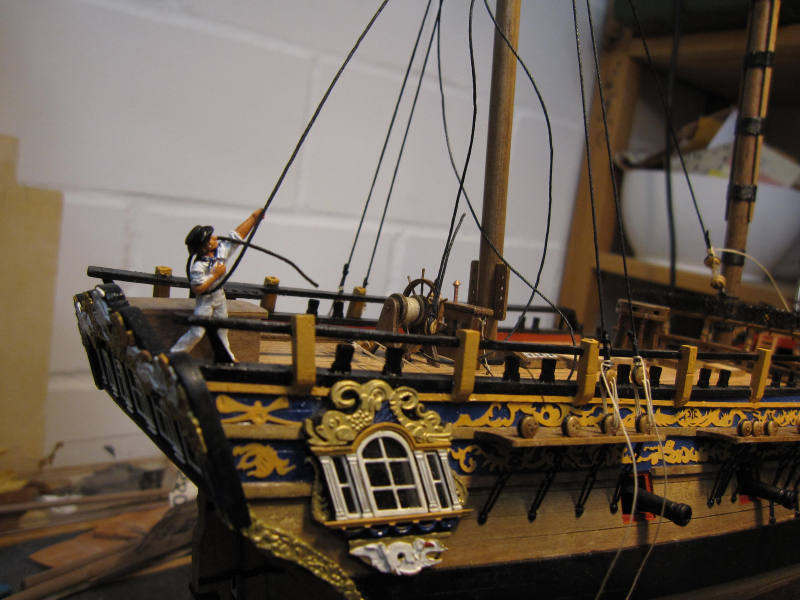
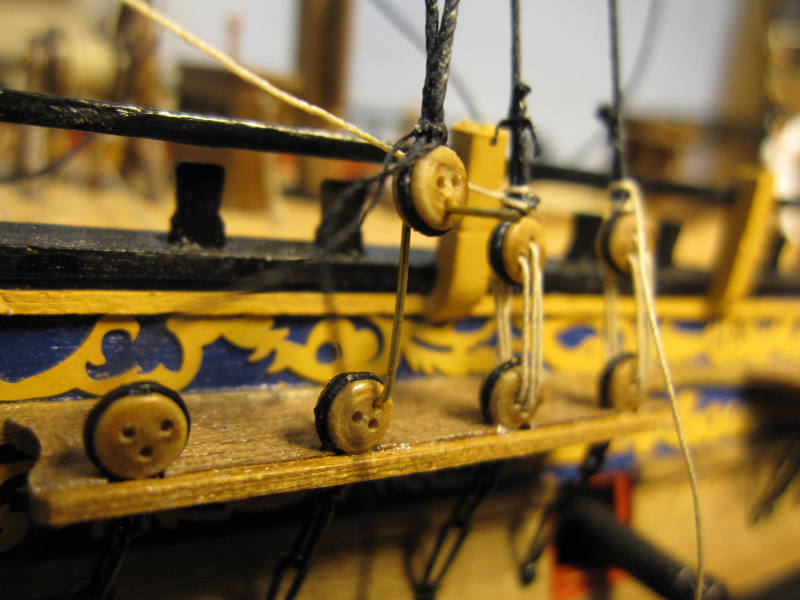
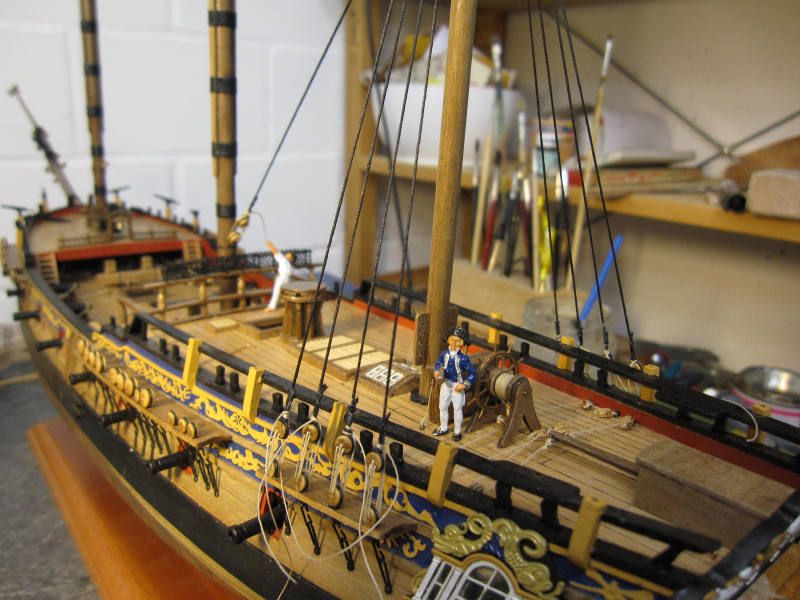
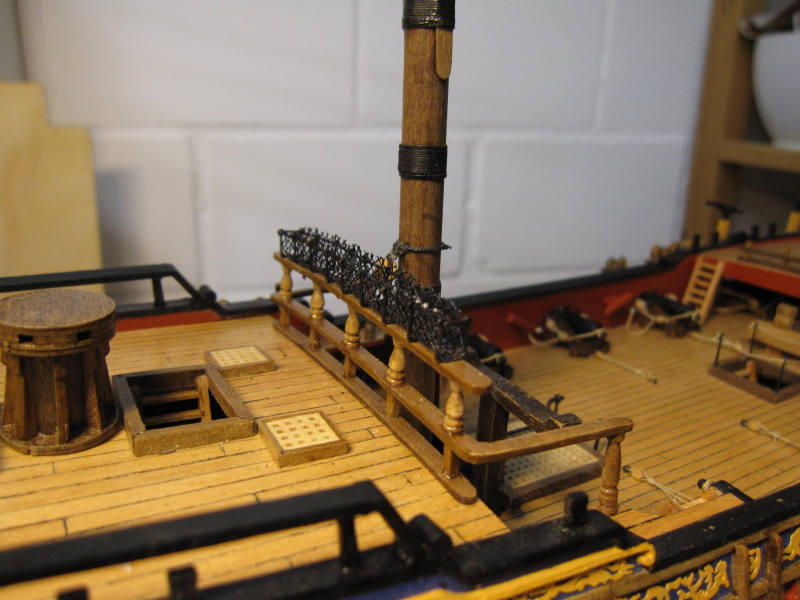
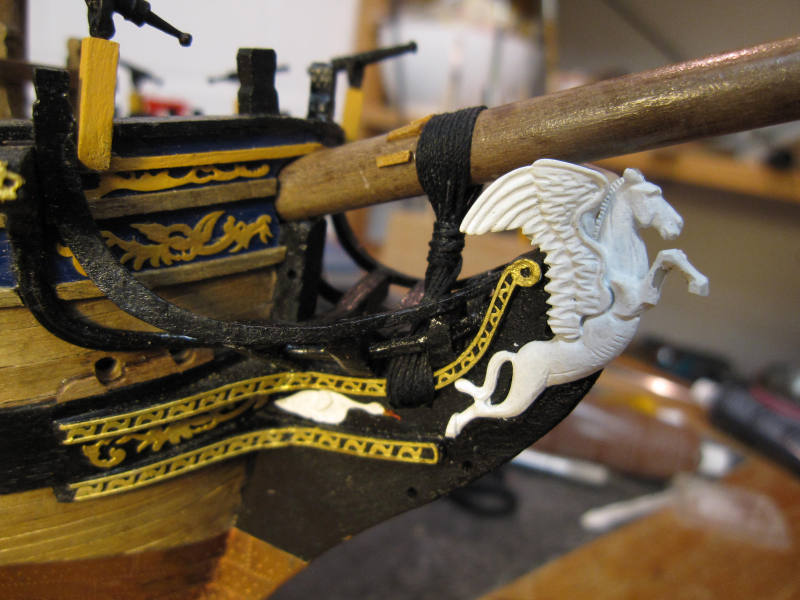
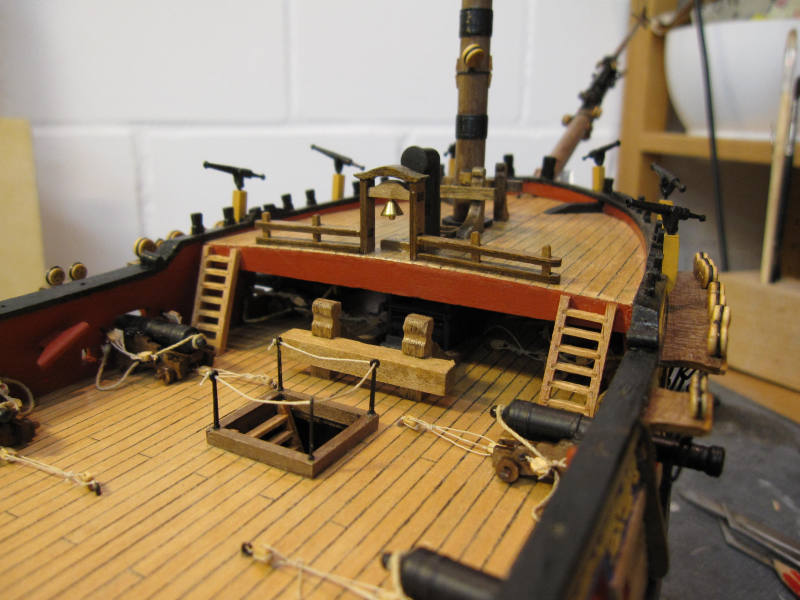
In the mean time ratline knitting is going on and the lower masts are nearly finished. Also the first futtock shrouds are in place. The hooks seem a bit large on top of the futtock shrouds – amati is using one single size of hooks for the whole ship. The topmast deadeyes are fixed in the platform with a drop of glue. I don’t want the pull from the topmast shrouds onto the lower shrouds displacing them. The boomkins were made according to the plan only 7 mm longer. I didn’t trust the method to fix them with a hidden nail and some glue. A hole was drilled into the bow to feed the boomkin trough. This is more stable and I think also like the real thing? Mizzen top Main top Hole for the boomkin Boomkins provisionally in place. As they are likely to brake off, they will be fixed later.
- 431 replies
-
- pegasus
- victory models
-
(and 1 more)
Tagged with:
-
Hi Andy Nice work on the mast! If you use the solution with the tendon and fix the parts with epoxy glue you end up with something as strong as one made from a single thicker piece. No problem there. To make my spare spars I ordered some square stuff – and it worked like a dream. That’s to say where the grain was ok. Some stuff had too coarse a grain and produced junk. Yesterday I flew into Montreal again and I must tell you that you have to work on your temperatures – they are definitely below standard! (According the definition of the standard atmosphere you should have some +15°C but you were 30°C below that!) Nevertheless there were 2 ships steaming upriver from Quebec despite some ice still on it. I guess you will start your sailing season 2013 soon? Take care Peter
- 1,148 replies
-

ROYAL CAROLINE 1749 by Doris - 1:40 - CARD
flyer replied to DORIS's topic in - Build logs for subjects built 1501 - 1750
Hello Doris Absolutely marvelous work! I feel privileged to watch a true artisan at work. Thank you. I had a look at your finished models and I’m stunned again. Questions: What material do you use for the sails – paper or fabric? And how do you the make the sails – are you painting and gluing or sewing? Cheers Peter- 883 replies
-
- royal caroline
- ship of the line
-
(and 1 more)
Tagged with:
-
Hi Mobbsie Thank you; there are a few to come. Shipyard work is slow because there was some work for money asking for priority. Take care Peter
- 431 replies
-
- pegasus
- victory models
-
(and 1 more)
Tagged with:
-
Hi David Thank you! And... Ship building in Vegas, in the middle of the desert? I look forward to that! Cheers Peter
- 431 replies
-
- pegasus
- victory models
-
(and 1 more)
Tagged with:
-
Hi Andy Nice to have you on shore for once! Yes, the assortment of spare spars is the result of looking through a heap of my clever books and should be reasonable (perhaps they would have more spars at the beginning of a voyage but, you know…). That’s a good trick for the handrail. You could use it also for hammock nettings etc. Thank you. Take care Peter
- 431 replies
-
- pegasus
- victory models
-
(and 1 more)
Tagged with:
-
The work on the futtock shrouds was started… And I had one of those moments we all like that much: gradually I realized that I made a big mistake, that the port ratlines on the mainmast were the mirror image of the correct thing and I’m in the process of doing 4 out of 5 anew. Upper part still wrong, lower part corrected. (This ends the repetition of the build log up to the crash/restart. Progress will be real time now and therefore a tiny little bit slower.)
- 431 replies
-
- pegasus
- victory models
-
(and 1 more)
Tagged with:
-
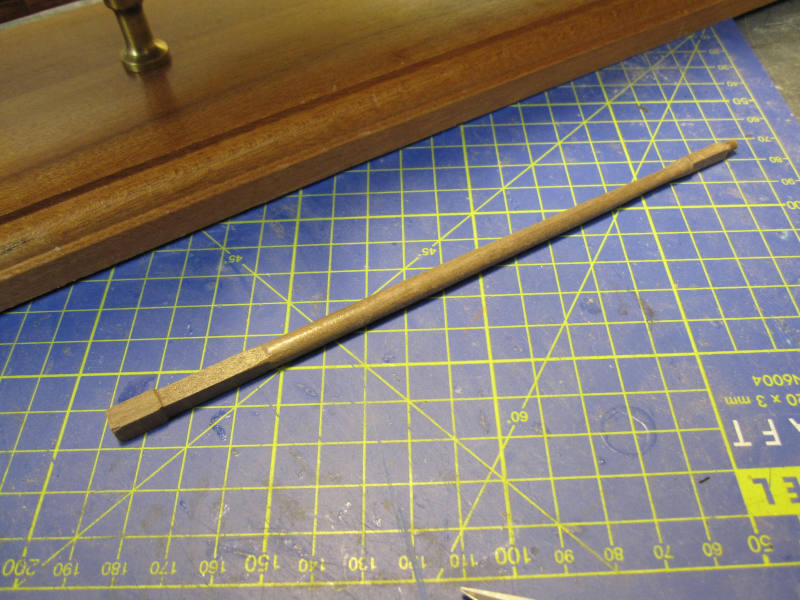
Another task is the making of the spare main topmast. I got some square walnut strip from Cornwallmodelboats to work with. As expected it is much easier (for me) to start working with compared to dowels if you have spars with prominent square or octagonal sections. I already made a spare main topsail yard of a 4mm square strip but this strip proved too soft and had a too rough grain – I will have to redo it. But making the Yard with a square strip was easy and quickly done: cut the corners to make it octagonal, put it into a lathe (or the electric drilling machine in my case) and work the ends into the correct conical round shape, finished in 10 minutes! I think kit makers should consider using more square strips instead of dowels. Finished spare main topmast… …in its place. (Here were some remarks about vacations in Florida, sunshine and good food which I don’t repeat. But I must mention the fine mojitos we had and will give hearty ‘cheers’ to Sir Francis Drake)
- 431 replies
-
- pegasus
- victory models
-
(and 1 more)
Tagged with:
-
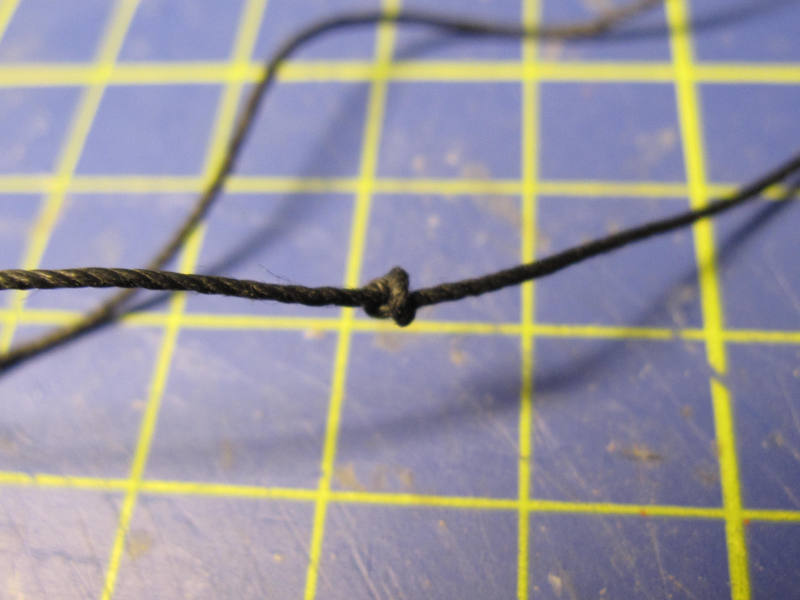
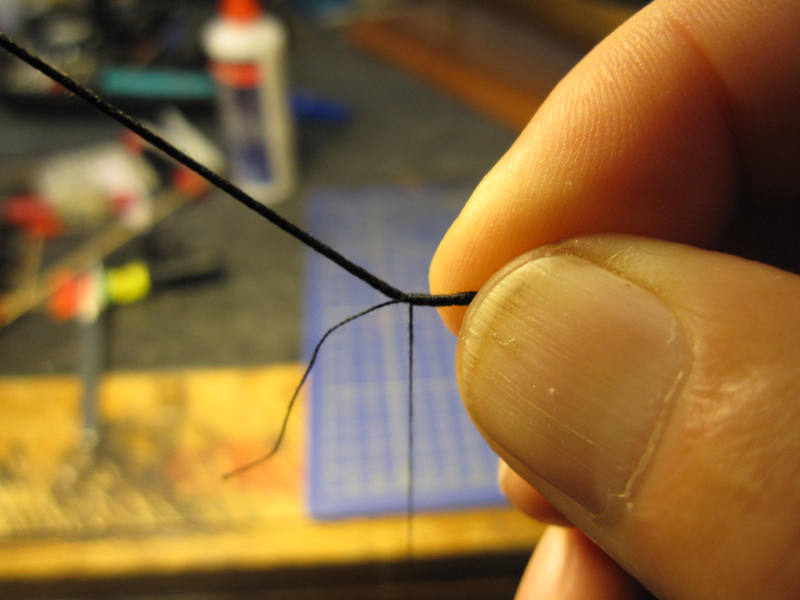
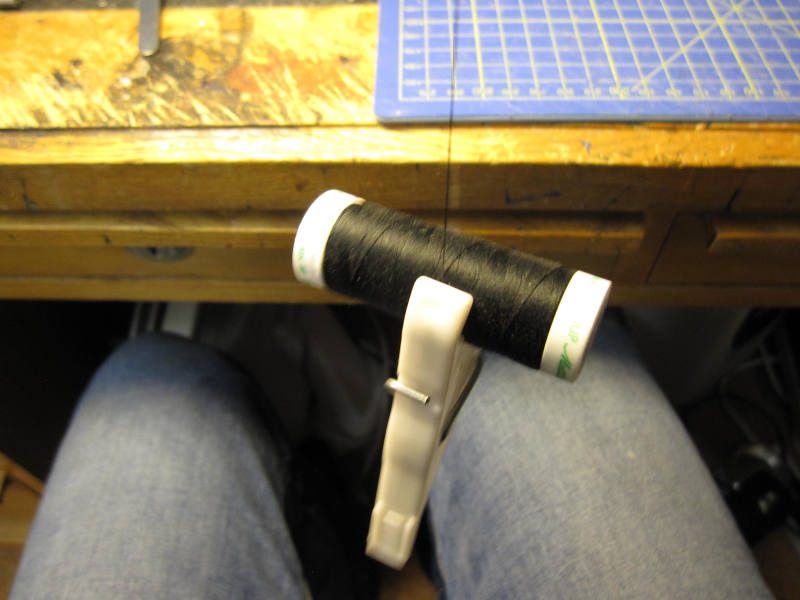
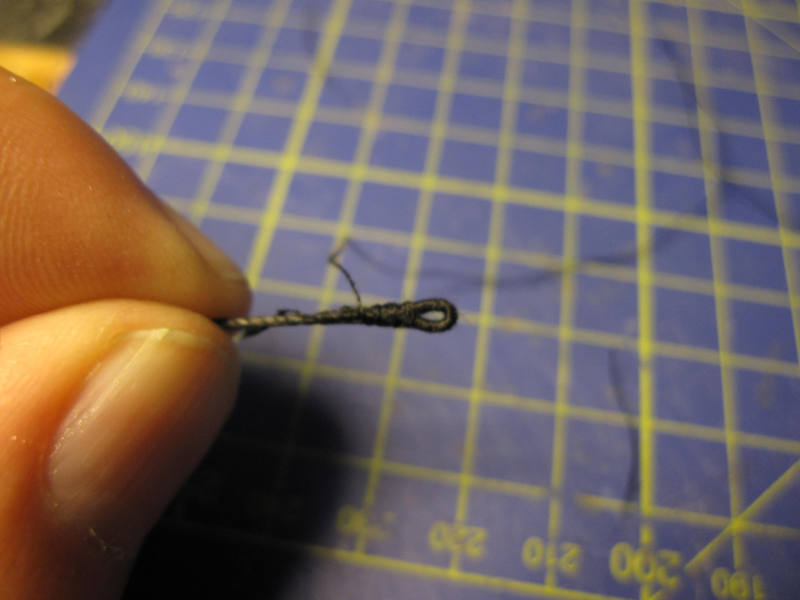
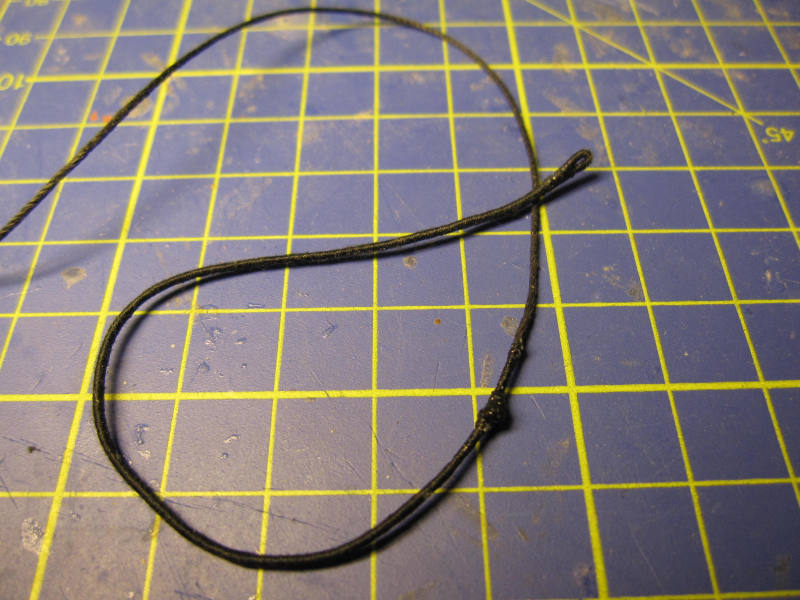
Progress is slow on the Pegasus. I’m working on 3 different tasks. One is the shrouds and stays on the foremast. I use the preventer stay as an example to show how the upper end with mouse and loop is made. First the mouse is simulated by an asymmetric figure-8-knot. Then I start serving the rope where the loop will be. The distance from mouse to loop is 110mm. This value is taken from the Granados manual and fits Pegasus. The serving is done for the whole length of the loop, and then the loop is bent and fixed with the continued serving which goes on down the rope. The serving is then going over the mouse and stops about 10mm below it. Over the mouse the serving must be fixed with some diluted white glue and black color otherwise the loops of the serve over the mouse will wander towards the rope. To serve I use some black thread from the haberdasher. I roll the rope between the fingers to roll the yarn onto it, using the coil as a weight to straighten the thread. The ‘mouse’ Rolling on the thread to serve the stay The weighted coil straightens the thread Loop finished Stay ready to set
- 431 replies
-
- pegasus
- victory models
-
(and 1 more)
Tagged with:
-
The heart blocks have arrived and the main stay was finished. There is still much work to do in the main top but it is taking shape. Finishing work on the main stay Collar of the main stay. In the background work continues on the foremast shrouds
- 431 replies
-
- pegasus
- victory models
-
(and 1 more)
Tagged with:
-
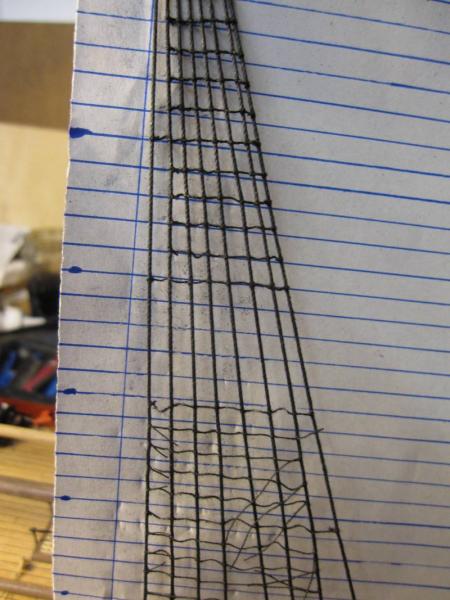
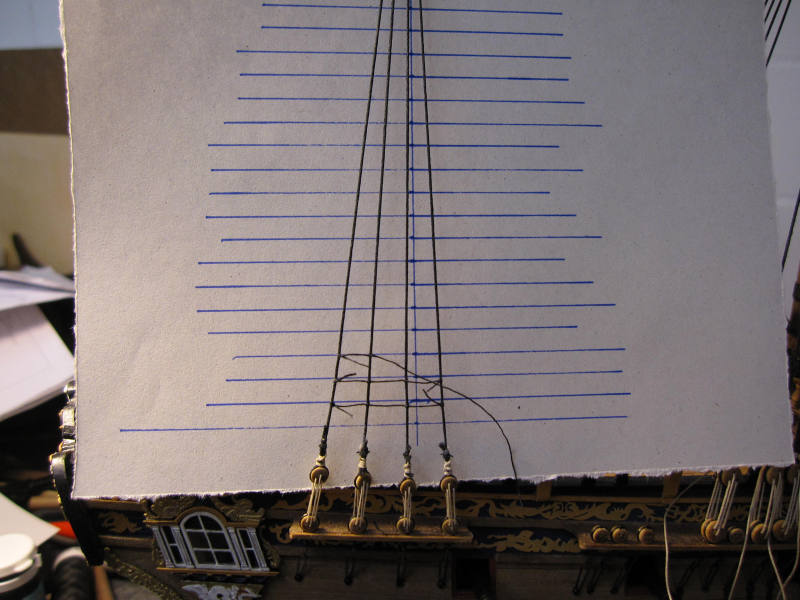
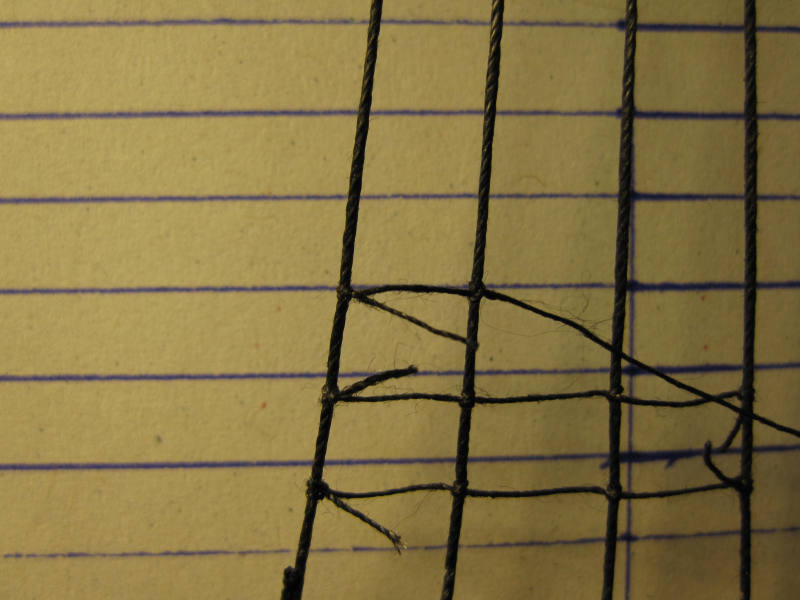
As the ordered spare parts were still in the pipeline I started on the ratlines. I took the 0.1mm natural thread from the kit and stained it with water soluble black wood stain. After soaking it for an hour and drying it had the same color as the black thread. I did use this stain already on other ship models and it worked fine. Perhaps a wood stain is better than ink to dye a thread because stain is designed to be soaked up and color permanent. A paper with lines in the calculated distance (roughly 1/64th of 14 inches) serves as a scaffold to tie the ratlines. According to some hint in this forum I use ratline hitches except for the outermost shrouds where a cow hitch is used. That way you avoid the ratline end sticking out. The first 10 knots done… Cow hitches on the outer shrouds, ratline hitches on the inner The Ratlines on the lower mizzen shrouds are finished. The futtock staves will be cut to length when the futtock shrouds are installed.
- 431 replies
-
- pegasus
- victory models
-
(and 1 more)
Tagged with:
-
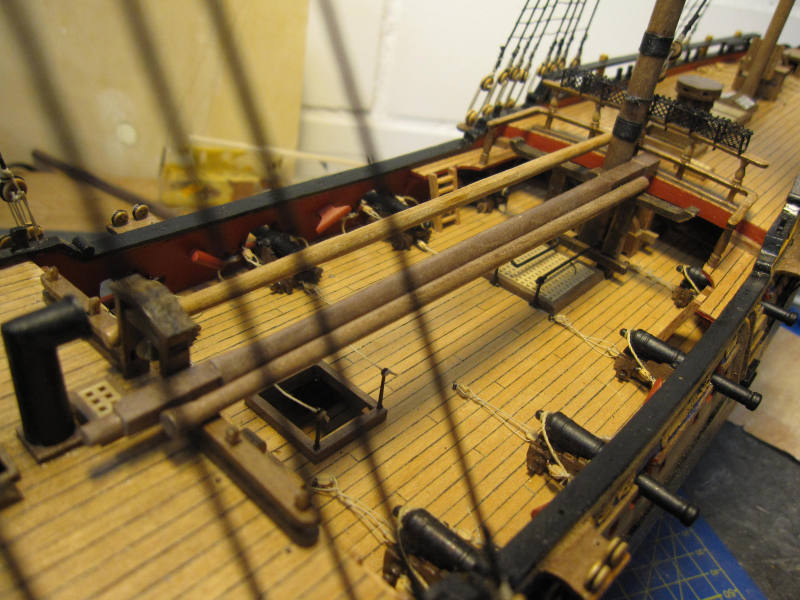
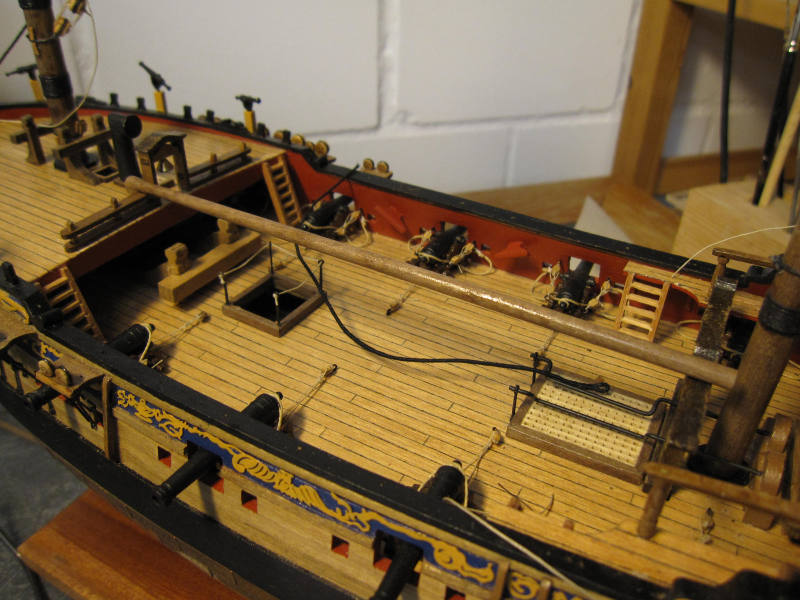
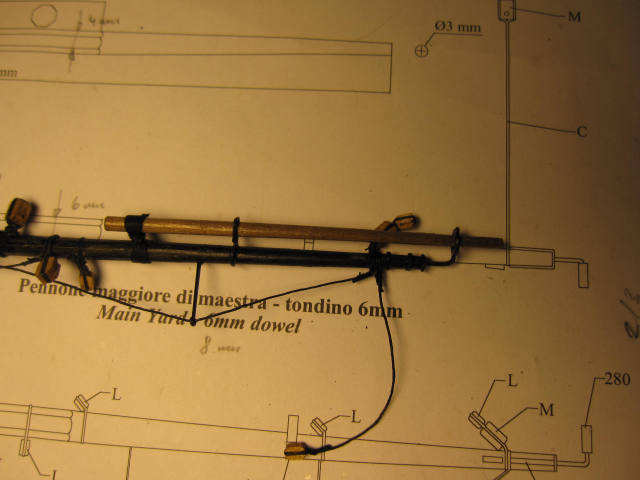
While waiting for the heart blocks some other tasks could be taken in hand: There will be some spare spars over the waist (where the boats will be stowed onto). After searching in a few clever books I decided to make 4 spare parts: 1 jib boom 1 main topmast 1 fore yard 1 main topsail yard The jib boom could be made from leftover 4mm dowel. The first attempt was according the plan and just a little to short to rest safely on the bearings. I made it again a little longer. For the other parts I will have to wait again for some ordered walnut strips. Spare jib boom in its position (below lies the prepared collar for the main stay)
- 431 replies
-
- pegasus
- victory models
-
(and 1 more)
Tagged with:
-
Next step was setting up the shrouds on the main mast. Despite the little tool the height of the deadeyes varied and I had to retie one per side to get an acceptable result. The main preventer stay was also put in place. But when I wanted to set up the main stay I missed the heart blocks. I don’t know if I misplaced them or if they were missing altogether. The captain was checking the alignment of the deadeyes – and not happy After resetting the third deadeye it looked a little better
- 431 replies
-
- pegasus
- victory models
-
(and 1 more)
Tagged with:
-
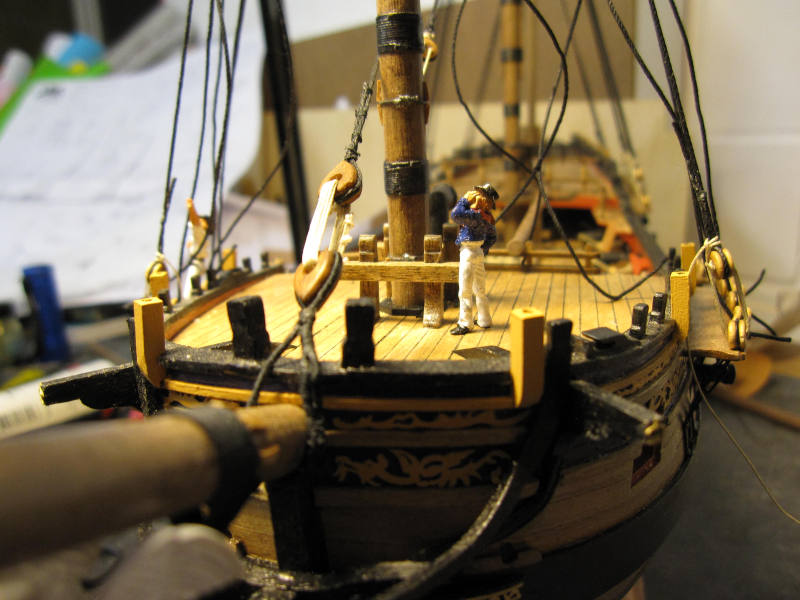
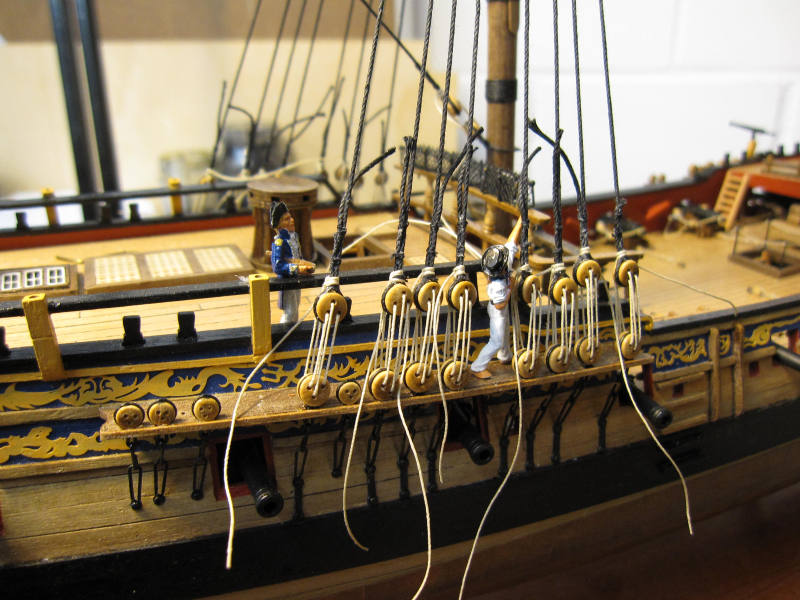
The rigging was started aft and low. First all the shrouds on the lower mizzen mast were prepared and the foremost pair was set up. To get similar distances between the deadeyes a simple little tool is used: a wire bent into a Z. After first 2 shrouds I installed the mizzen stay. Those 3 were set up and their pull balanced so as to leave the mast in its true position. Thereafter I continued pair by pair with the shrouds working aft. Each pair was set up to keep a constant tension on all the shrouds and the stay. The stay got a simple mouse botched by a cross between a lopsided figure 8 and a stopper knot and was seized (wormed?) to below the mouse. Any kind of mouse I tried so far was somehow unsatisfactory. This was at least quickly and easily done. For the pictures I also played with some scale figures. I like it how they enliven the model. The first two pairs of shrouds and the stay are set up Stay and simple mouse OK. I had some skilled help. The little Z-wire-tool Captain Jack was checking the progress
- 431 replies
-
- pegasus
- victory models
-
(and 1 more)
Tagged with:
-
On my Pegasus I did a few minor works such as making the hammock netting on the quarterdeck rail and the handrail on companionway as well as touching up some parts with wood colored paint as suggested by Ron. Next was a small step for a mast but a great step for all shipbuilders: the stepping of the masts. Fortunately they ended up more or less true and the first step of the standing rigging was also done: the gammoning of the bowsprit. The edges of the hammock netting look a bit unkempt and will need a shave… Companionway The first step of the standing rigging. Quite a few more to follow…
- 431 replies
-
- pegasus
- victory models
-
(and 1 more)
Tagged with:
-
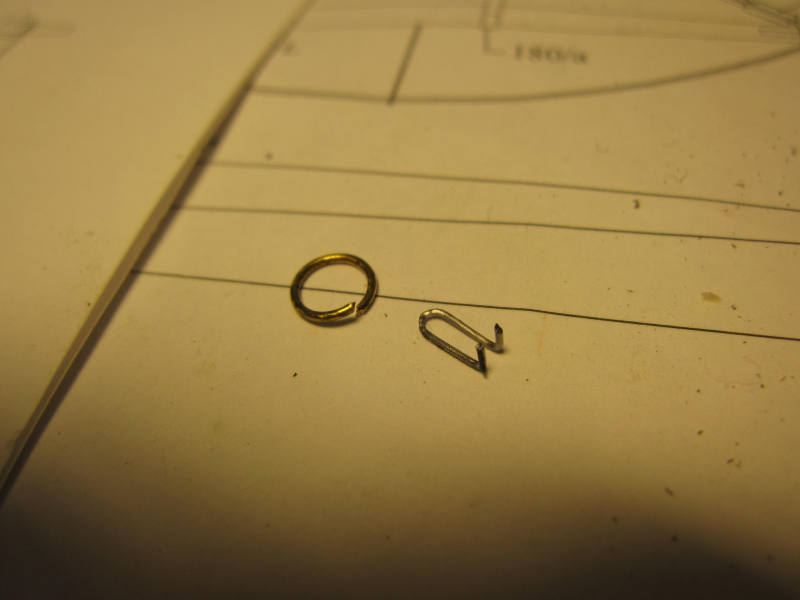
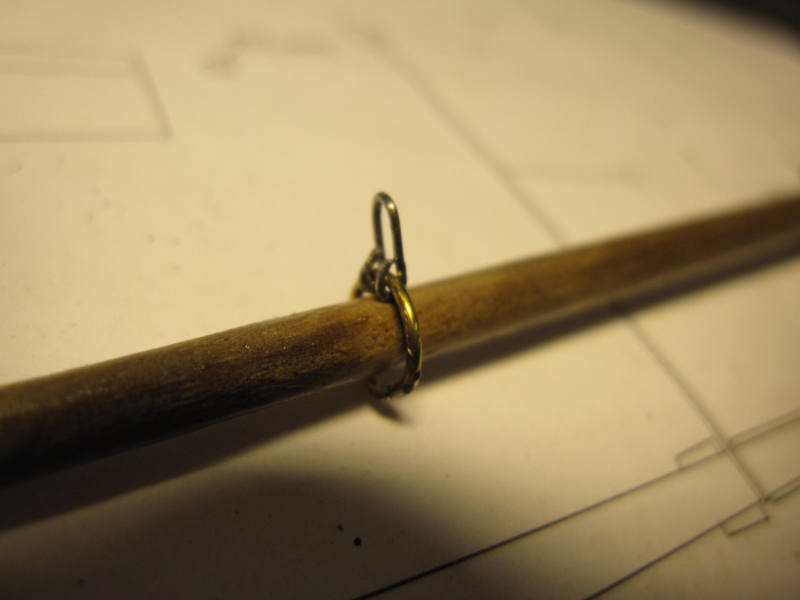
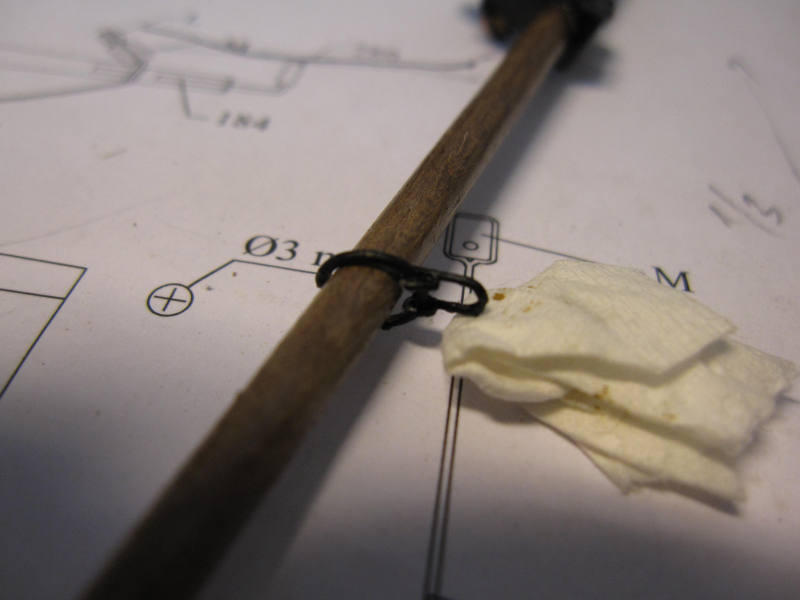
In between I tried to build a traveler for the bowsprit. I intend to rig sails. Most probably they will be furled. To rig the jib a jibstay must be rigged and its lower end will be fixed to a traveler. Of course I remembered this only after the blocks on the end of the jibboom were already in place and I had to fabricate the traveler around the boom. A ring made of 1mm brass wire and a thimble made of 0.4 mm wire were assembled and the ring was soldered. Then all was painted black and after cleaning the jibboom again I had an approximation of a traveler. Open ring and thimble Traveler on the boom in the raw… …and painted
- 431 replies
-
- pegasus
- victory models
-
(and 1 more)
Tagged with:
-
Thank you, Frank. Whenever I almost succeed with such a tiny self-made piece I get a hint of the satisfaction those scratch builders must feel – but then I remember the frustrating, unusable tries lineing the road to success… I will stay with kits! Take care Peter
- 431 replies
-
- pegasus
- victory models
-
(and 1 more)
Tagged with:
-
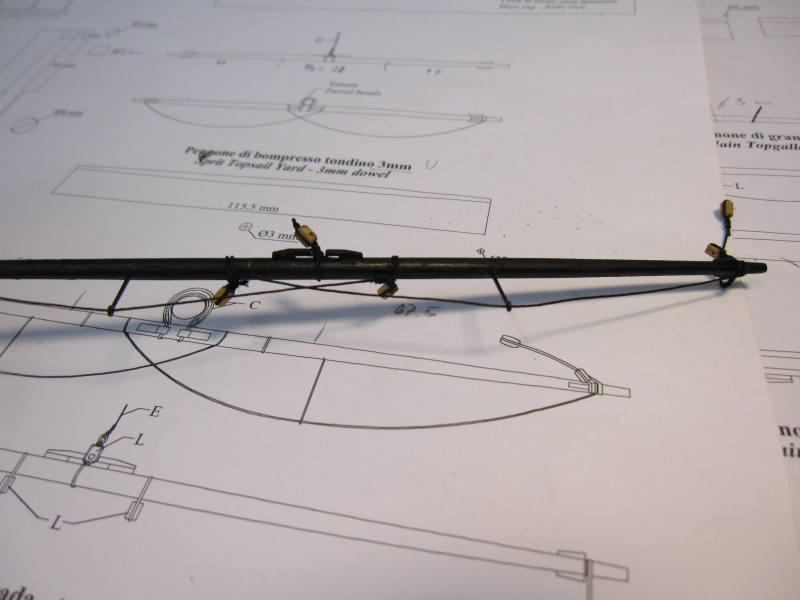
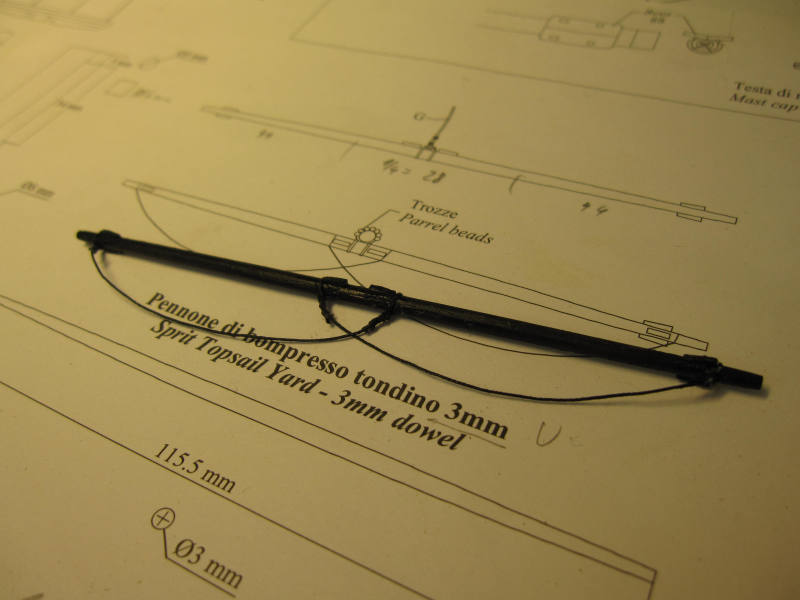
(The edges of the plywood parts in the pictures above look partly ugly. Taking up a suggestion from somebody in MSW 1.0 I tried later to paint them in wood color. That’s something I will do in future builds before installing such parts.) The last two yards to make were the spritsail and the sprit topsail yards. They were finished according to the dimensions in the plan. Now all the yards are completed and the next step will be the stepping of the masts and then the rigging will begin in earnest. After all that preparation work I’m actually looking forward to it. Spritsail yard Sprit topsail yard
- 431 replies
-
- pegasus
- victory models
-
(and 1 more)
Tagged with:
-
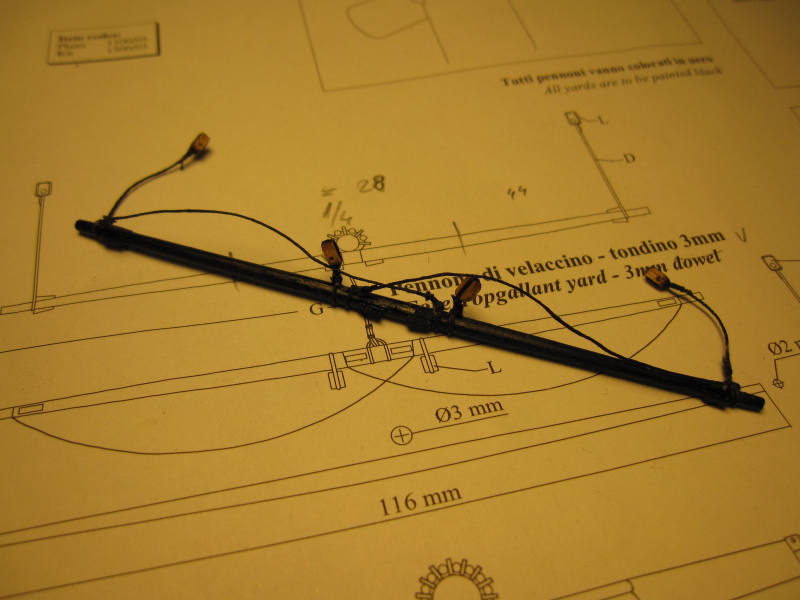
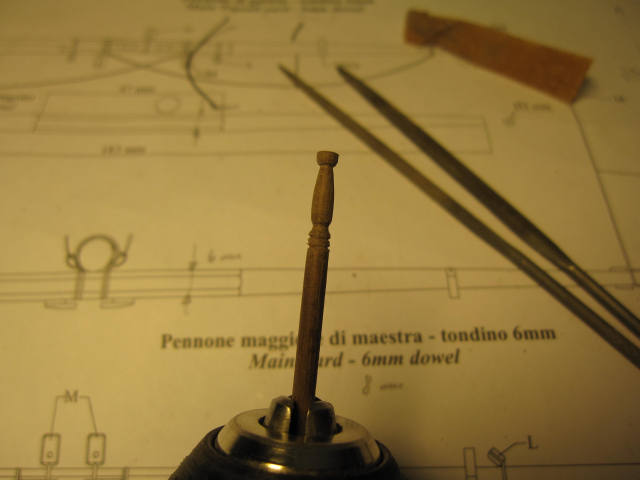
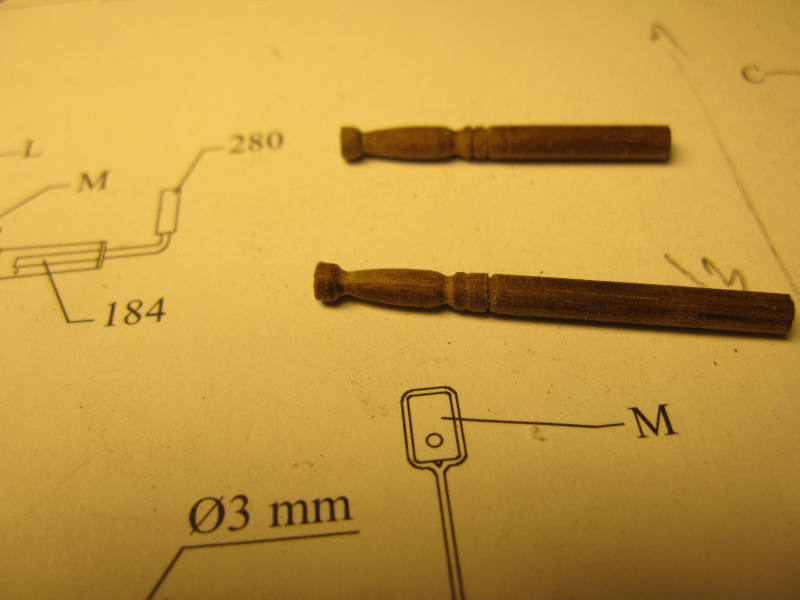
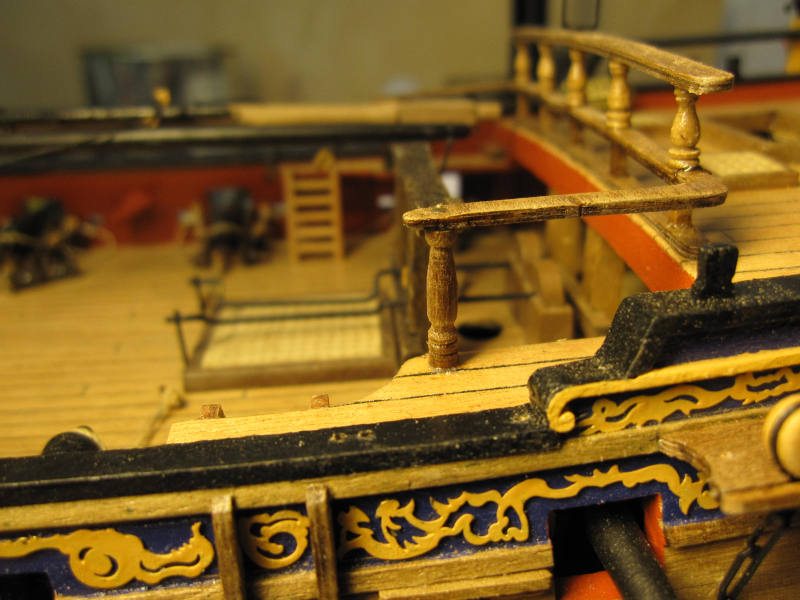
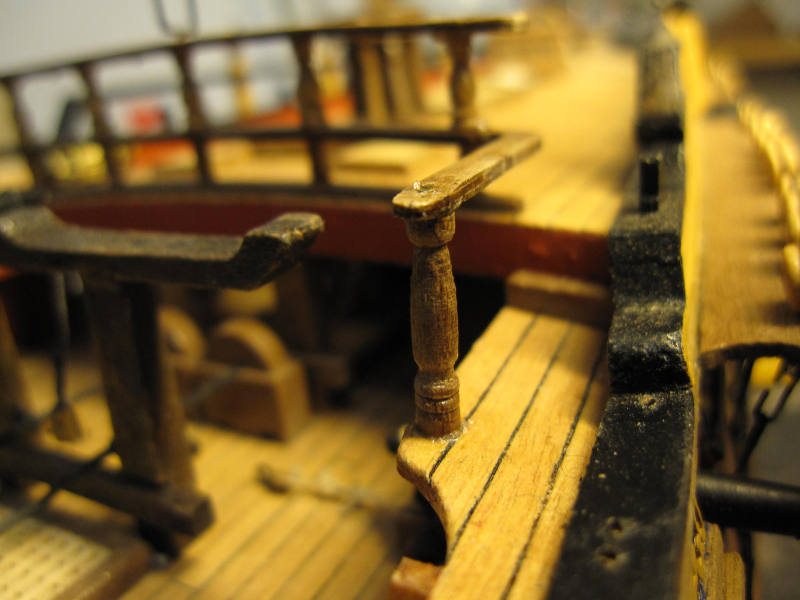
Next in line was the fore topgallant yard. Here the dimensions in the plan are in agreement with what I found in James Lees’. It was a straightforward job. In between yards I tackled another point on my to-improve-list: Unfortunately I did use those two ugly pillars on the side deck which were supplied with the kit much to my regret. Finally I took some leftover 3mm dowel, put it in the drilling machine and scratched away with needle files and sandpaper. In three tries I got two nearly similar pillars with a height of 14mm. The old pillars were carefully cut out (they were – as the new ones are - fixed additionally with small nails in their upper and lower end) and substituted by the new ones. It is definitively an improvement and I’m happy how relatively easy it was to fabricate those pillars with the simplest means. Old pillar Drilling machine replacing a lathe New pillars not yet cut to length New pillar in place I’ll have to scratch away the superfluous CA glue
- 431 replies
-
- pegasus
- victory models
-
(and 1 more)
Tagged with:
-
Hi Frank Thanks, I will. There could be worse things. Just imagine 5-masted ships could have been the standard of the sailing ships area! Take care Peter
- 431 replies
-
- pegasus
- victory models
-
(and 1 more)
Tagged with:
-
Hi B.E. Thank you for the very interesting and extensive answer. As I understand JoTiKa says that they are using plans of a (Bermuda build) schooner which seems to be very similar to what is known about Pickle. So, they regarded it as kind of a sister ship and did stick strictly to those plans. Unfortunately no reproduction of those plans is easily available (it seems somebody wants eventually publish a book about that subject). So this model certainly is NOT Pickle but perhaps a sister. In my opinion this should be made clearer by JoTiKa and the model should be renamed. The Boats were apparently just taken out of what was available from Caldercraft. By the way – I like what you did with those boats. Unfortunately they don’t sell any 16’ boats – only 18’ and 14’. I still fancy that kit for a project between bigger ones and as one which could be built with full sails. In any case my boat(s) would be positioned in a traditional way and the actual rake of the fore mast would be decided while building. Also the dimensions are modest enough to smuggle the finished model into some nice spot, e.g. on your desk, where it would hardly be noted by the admiralty. Cheers Peter
- 87 replies
-
- pickle
- caldercraft
-
(and 1 more)
Tagged with:
-
Hi Frank I hope you can bear another voice in great-work-chorus. Here it is: Great work! Another idea how to display the ship: why not high and dry on an (uncharted!) sandbank waiting for the next flood? This has happend to the best of the skippers – even Jack Aubrey was one of them. The crew could scrape at the barnacles or prepare the ship to refloat it. Cheers Peter
- 389 replies
-
- supply
- caldercraft
-
(and 1 more)
Tagged with:
-
Hi blue (I hope you don’t mind the familiarity, calling you by your first name, but I couldn’t resist when I read about your interest in fermented grapes and blue or ‘blau’ means rather well oiled in German!) Thank you for the compliments. Yes, despite all the shortcomings, it is a splendid kit. Only with Caldercrafts Granado I had an even better one. But manufacturers must make money and therefore I guess a shortcut is unavoidable now and then. I’m just glad that we have at least 2 companies which offer kits on a level unknown until a few years ago. Cheers Peter
- 431 replies
-
- pegasus
- victory models
-
(and 1 more)
Tagged with:
-
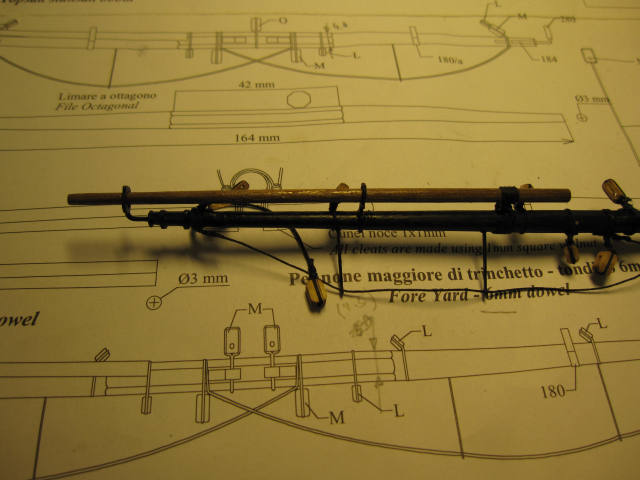
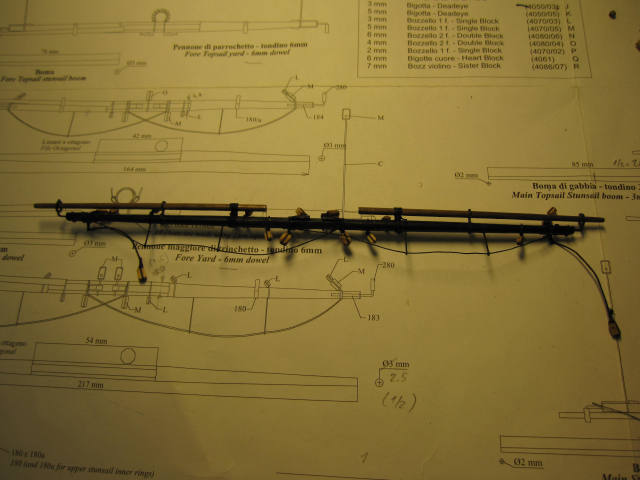
Back in the model yard the fore topsail yard was taken in hand. It was done in a similar way to the fore yard with the maximum thickness of the octagonal section reduced from 6 to 4 mm. Thus the 6 mm dowel could be used. Fortunately this was the last of the rather complicated yards with stun sail booms. Now only 3 rather simple yards remain to be made. Then the masts will be stepped and the rigging work will start in earnest. I find I am actually looking forward to making the ratlines after all that preparation work. Stun sail booms lashed The finished yard
- 431 replies
-
- pegasus
- victory models
-
(and 1 more)
Tagged with:
-
Next came the fore yard. The work was similar to the main yard. The maximum diameter across the octagonal section was reduced to 4,8mm. The stunsail booms inner rings had to be reduced in diameter again (cut open with a cutting wheel, adjust the remaining length, bend it do a smaller ring and fix with CA). While working on the rings I found that the rings on the main yard are the wrong way. There is a thickening in the boom ring which represents a roll for easier movement of the boom. It should of course be on the lower side of the ring. I don’t know yet if correction is possible. To fix the stunsail booms I put on a lashing with 7 turns, similar to what is used to fix the bowsprit. First step is to fix the line with a timber hitch on the yard. Then the 7 turns are laid, crossing the existing turns each time when going through the gap between yard and boom.
- 431 replies
-
- pegasus
- victory models
-
(and 1 more)
Tagged with:
About us
Modelshipworld - Advancing Ship Modeling through Research
SSL Secured
Your security is important for us so this Website is SSL-Secured
NRG Mailing Address
Nautical Research Guild
237 South Lincoln Street
Westmont IL, 60559-1917
Model Ship World ® and the MSW logo are Registered Trademarks, and belong to the Nautical Research Guild (United States Patent and Trademark Office: No. 6,929,264 & No. 6,929,274, registered Dec. 20, 2022)
Helpful Links
About the NRG
If you enjoy building ship models that are historically accurate as well as beautiful, then The Nautical Research Guild (NRG) is just right for you.
The Guild is a non-profit educational organization whose mission is to “Advance Ship Modeling Through Research”. We provide support to our members in their efforts to raise the quality of their model ships.
The Nautical Research Guild has published our world-renowned quarterly magazine, The Nautical Research Journal, since 1955. The pages of the Journal are full of articles by accomplished ship modelers who show you how they create those exquisite details on their models, and by maritime historians who show you the correct details to build. The Journal is available in both print and digital editions. Go to the NRG web site (www.thenrg.org) to download a complimentary digital copy of the Journal. The NRG also publishes plan sets, books and compilations of back issues of the Journal and the former Ships in Scale and Model Ship Builder magazines.


