

guraus
-
Posts
361 -
Joined
-
Last visited
Content Type
Profiles
Forums
Gallery
Events
Posts posted by guraus
-
-
Thanks Bizibilder, I will try to remember your advice.
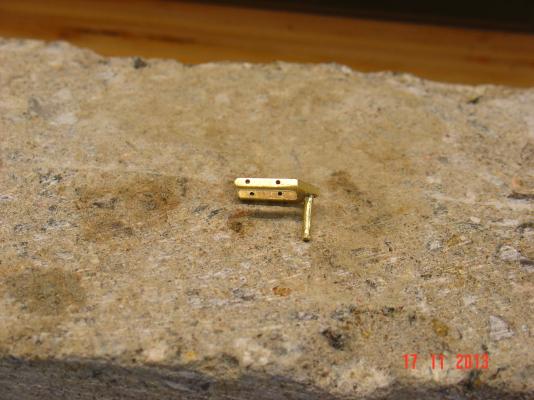
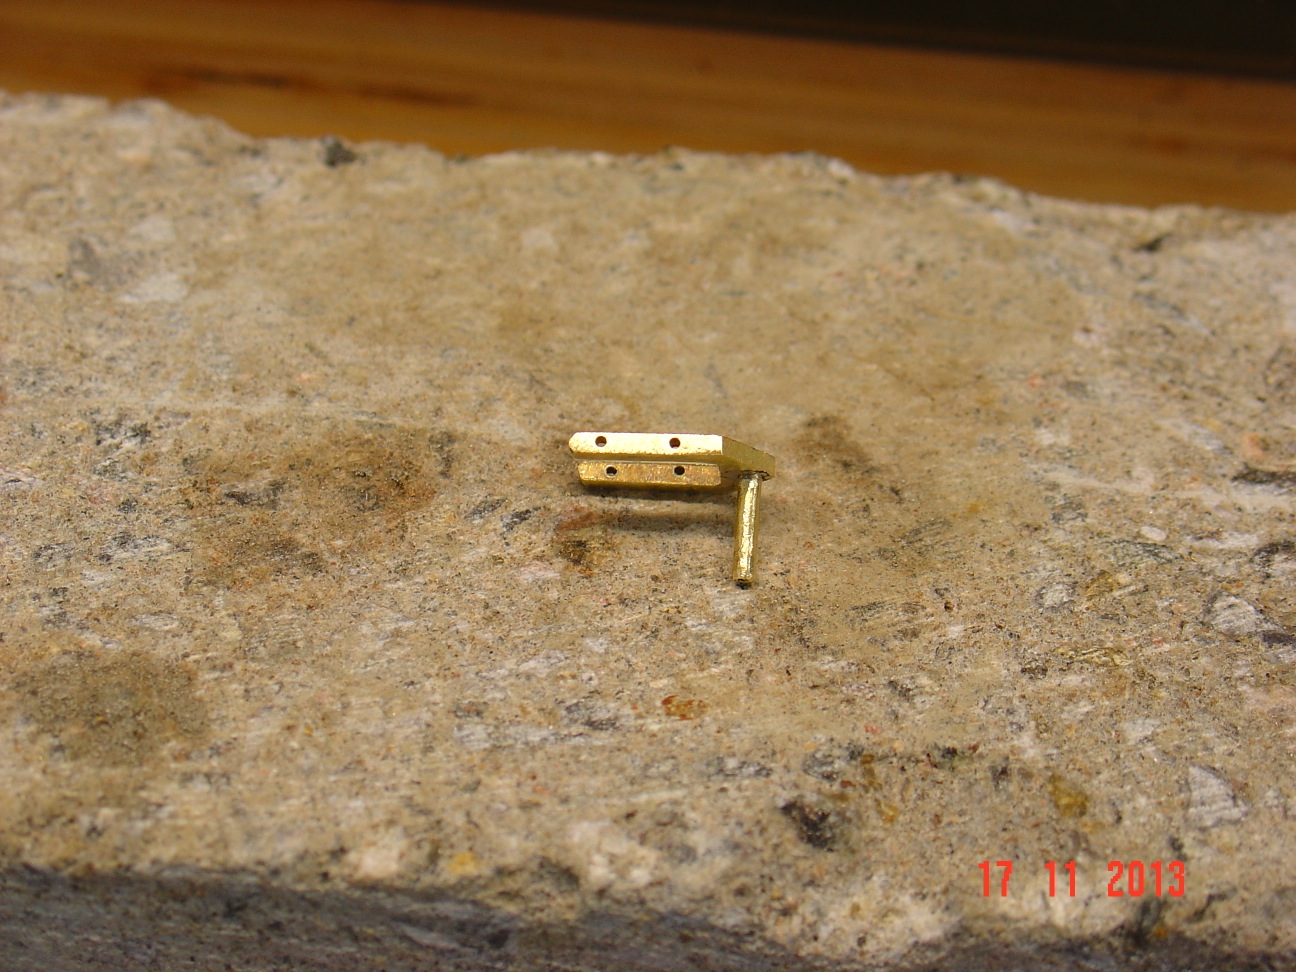
In the meantime I worked with what I had: I made new pins a tad smaller then the holes on the lathe and I managed to solder them in place with the paste I have. Some took two or even three tries but I finally did it.
Next I did the ruder head reinforcement hoops from thin copper strips soldered together on a piece of wood same size as the ruder so I won't burn or tarnish the ruder.
In the end all was blackened with Jax and dry fit on the ruder.
Here are some pictures.
-
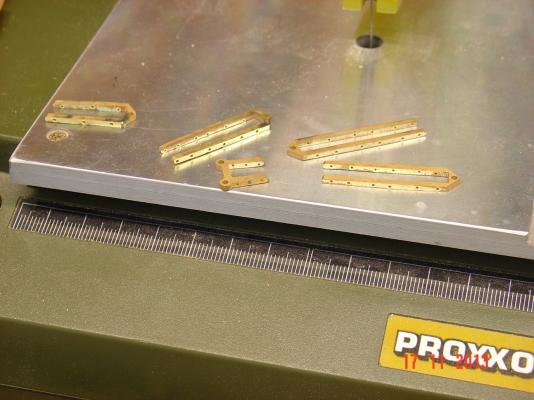
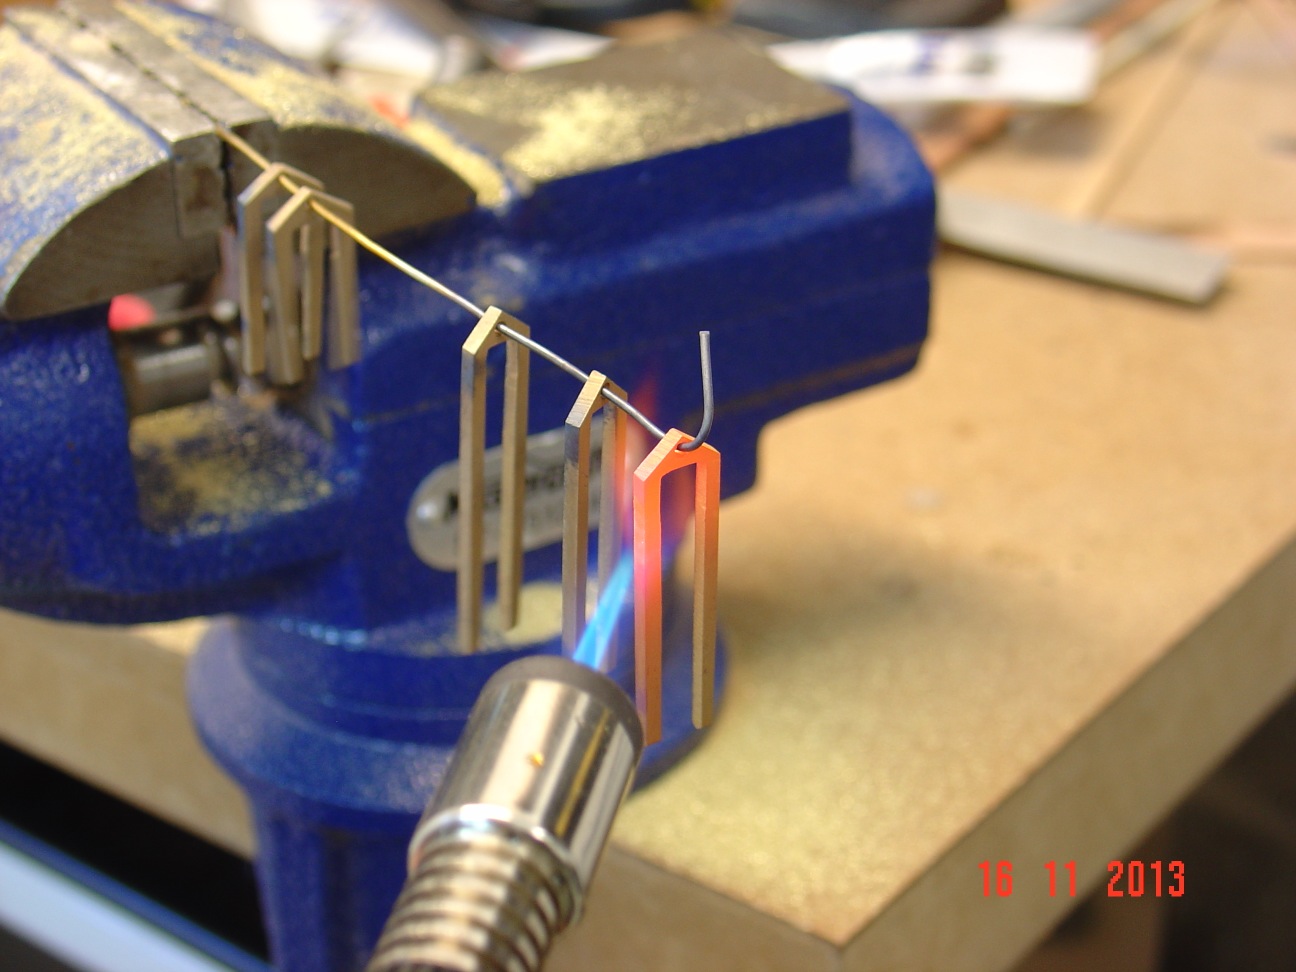
Thank you guys for all the information. I don't have much experience in metal working and you teach me a few things. I didn't even know that there are special bits required to drill brass.
Same for annealing - I knew that heating the metal and let it cool will change its properties but didn't know is called annealing. And this did the trick! The pieces become much softer - maybe a bit too soft. Because of that I managed to drill all strap holes on the drill press with the cost of only one additional 1mm bit.
So I am one step further to solder the pintles. For them I decided to use a 1/16'' tubing I have as I also have a larger diameter one which has 1/16in internal diameter for gudgeons. They fit very smoothly one inside the other. The problem I have now is that the holes for the pintles were made with a 1/16 drill bit which gave a very thigh and nice fit and now the silver solder won't get in between the two pieces. All I managed to do was joint surface soldering which is fine till I start filing down the excess of solder. When I am done and the piece looks how I like, the tube gets unsoldered and falls of. Tried a couple of times with the same result.
Next thing I want to try is to use regular solder to see if this one gets inside the joint. (The silver solder I have is in a paste inside a syringe mixed with some other substance that bubbles away when heated so a bit difficult to apply uniformly.)
If this won't work either, I'll machine on my lathe the pintle pins from brass rod to a slightly smaller diameter than the holes to live more space in the joint and try again the silver solder.
Thanks again
Alexandru

- Кутузов Сергей, Obormotov, fatih79 and 2 others
-
 5
5
-
-
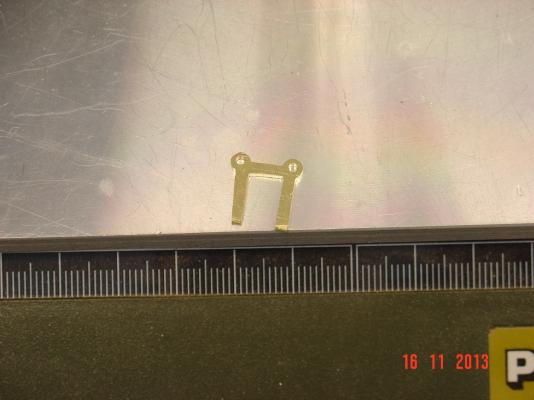
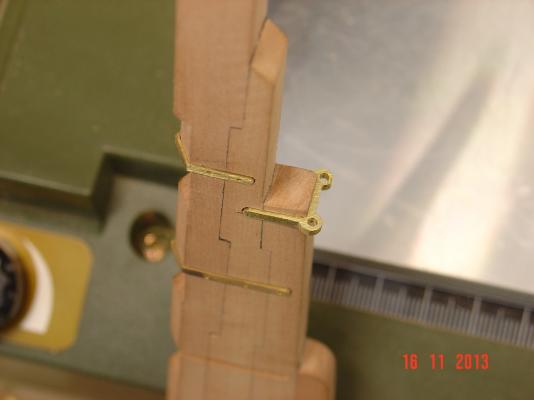
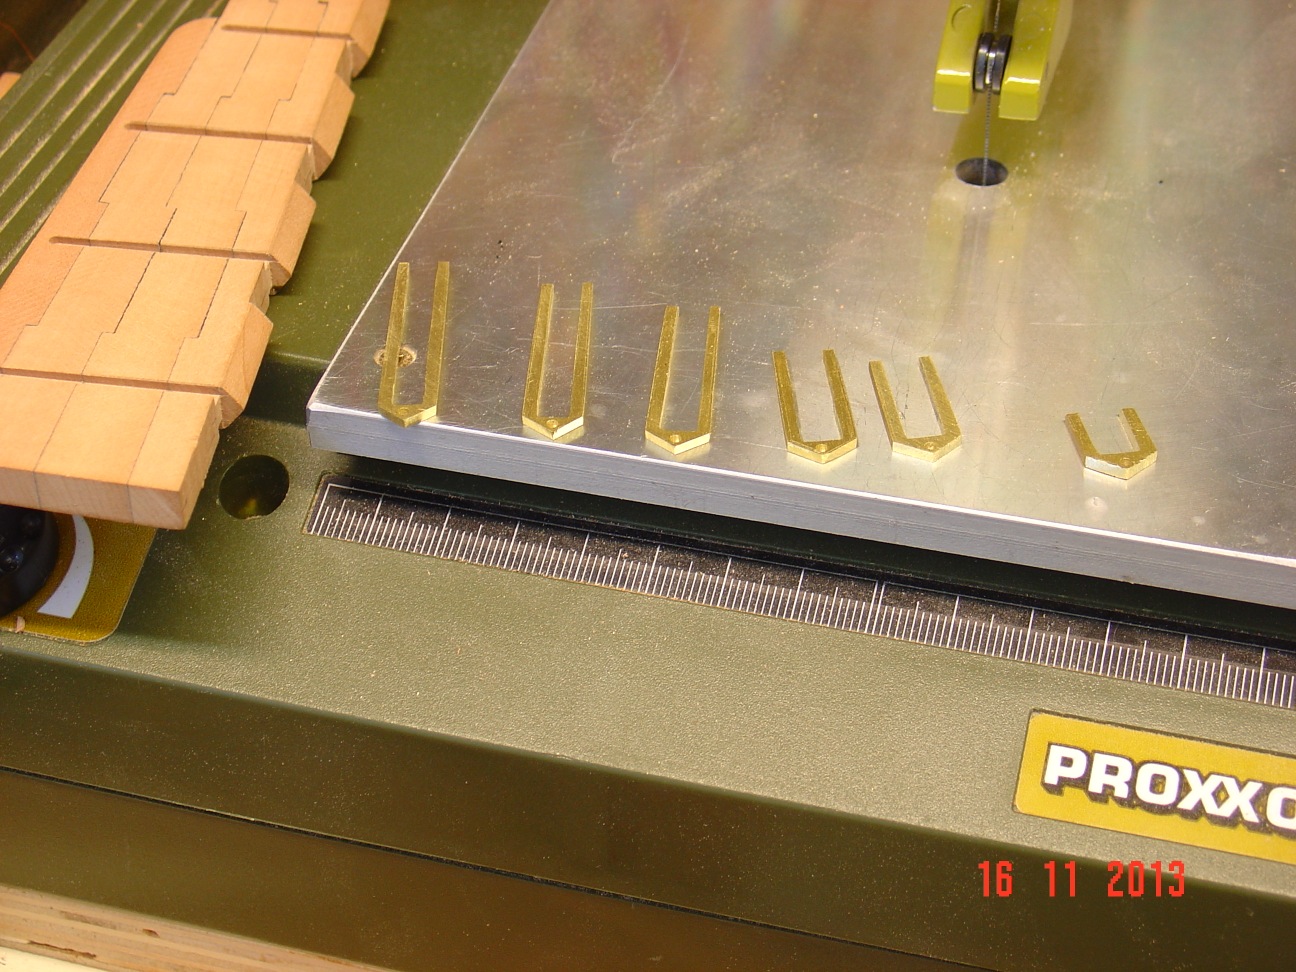
Hello,
I started working on the rudder and I progress quite fine until I get to drilling holes in the pintle straps. The brass I have is so hard that I already broken the 1mm mill bit into it (only one I had) and on the drill press the 1mm bit seems it just won't cut into it. I don't really know what to next with them. Only thing I can think of is to heat them red and try to drill after. So any idea will be greatly appreciated.
Thank you,
Alexandru


- giampieroricci, egen, fatih79 and 3 others
-
6
-
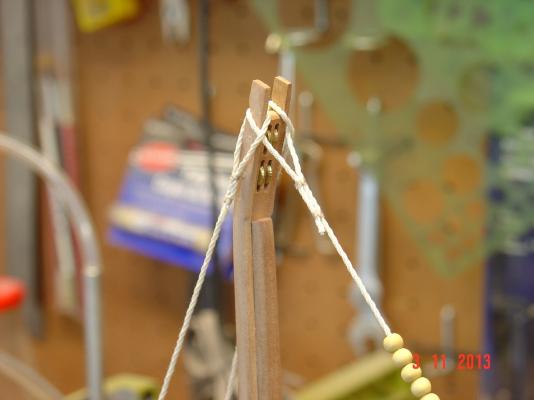
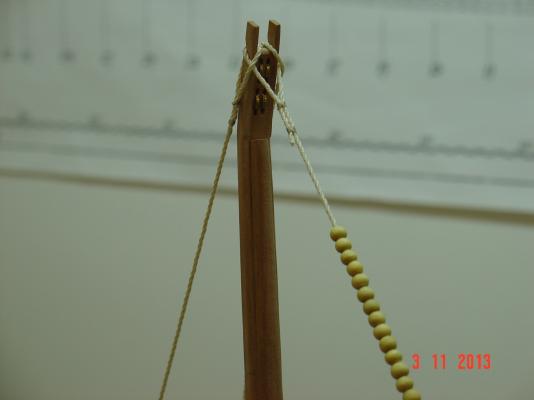
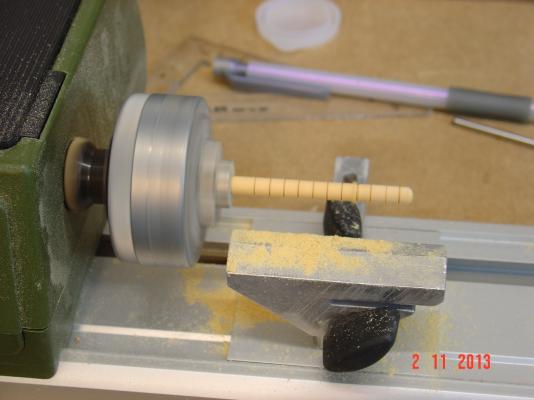
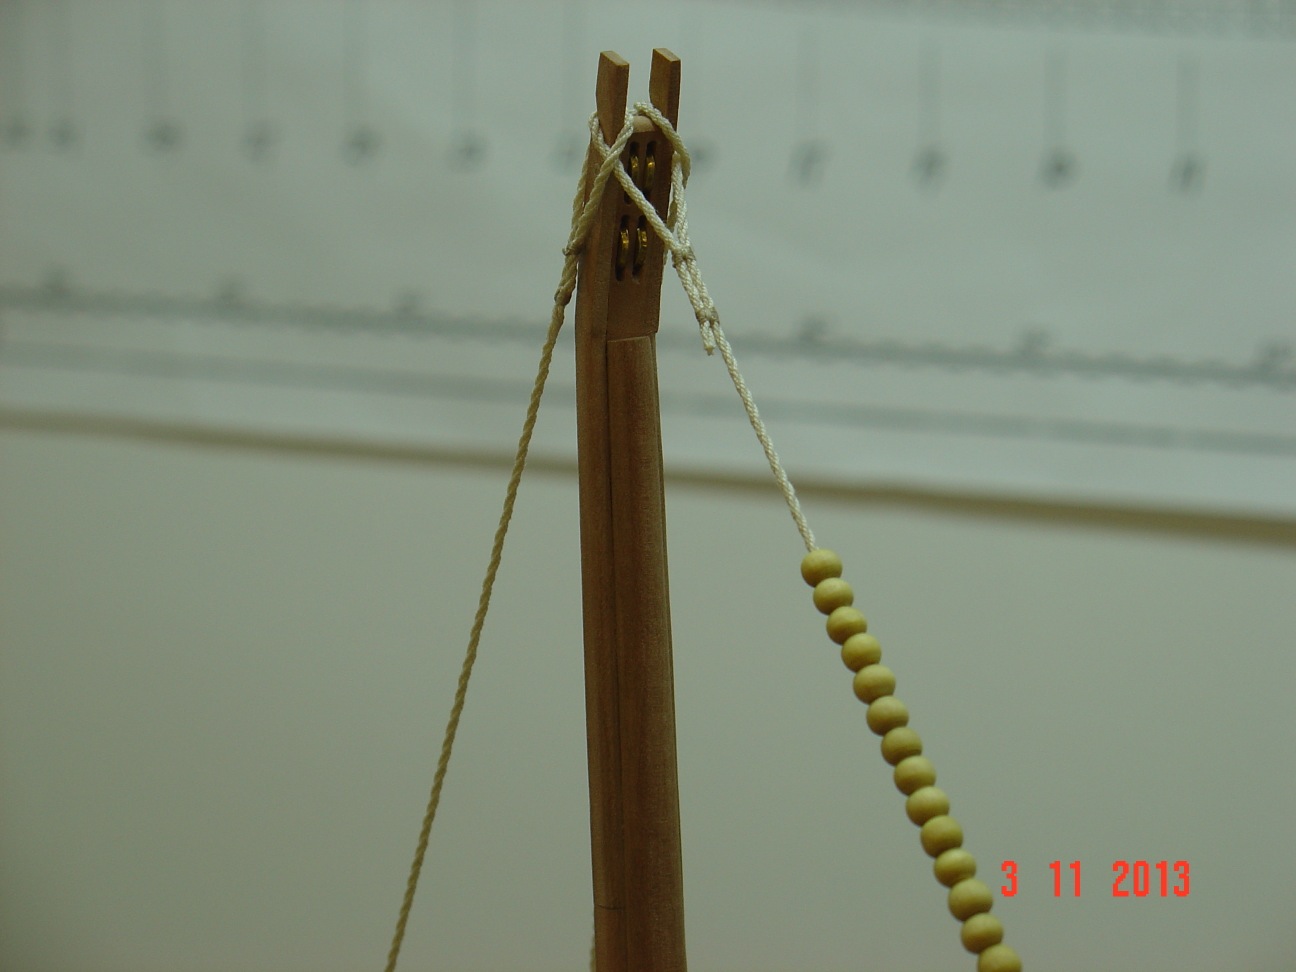
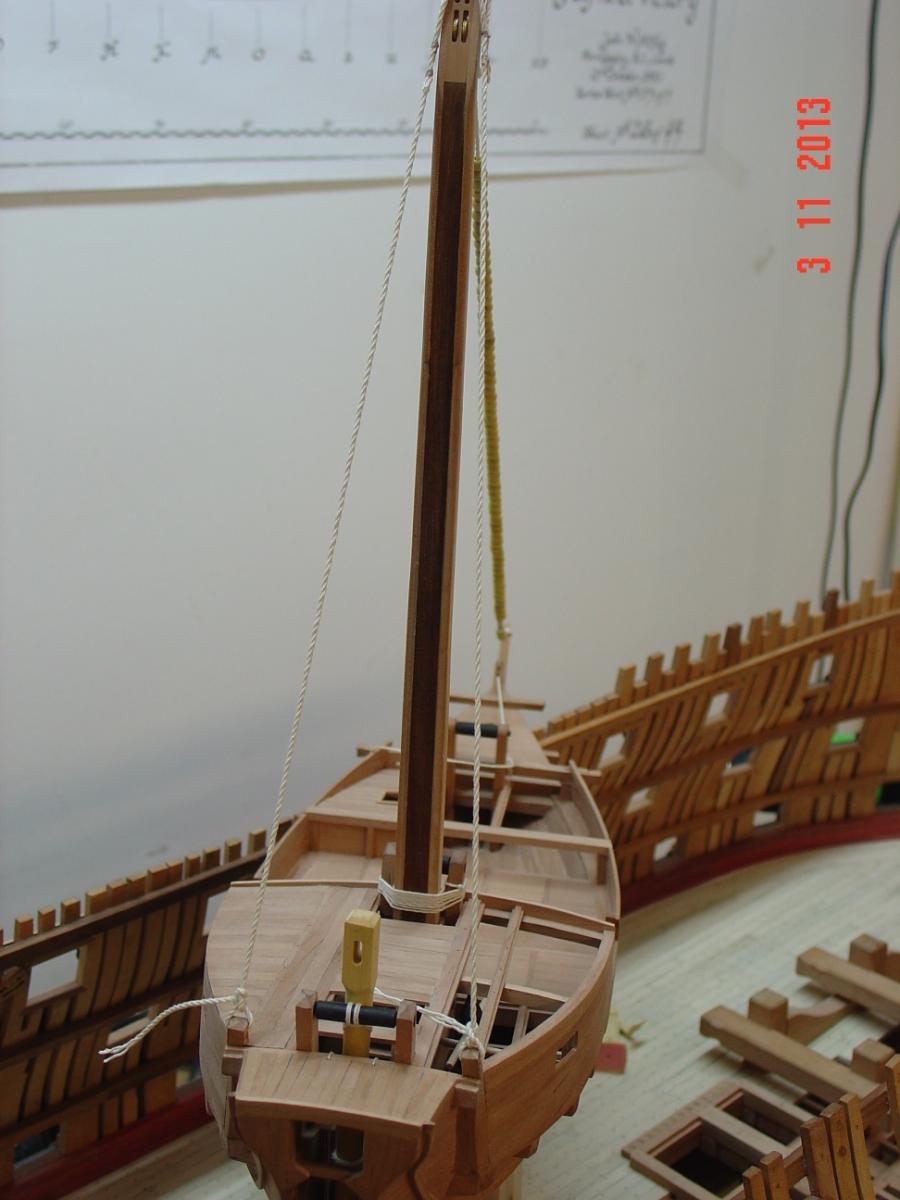
You are right John, it is quite different.
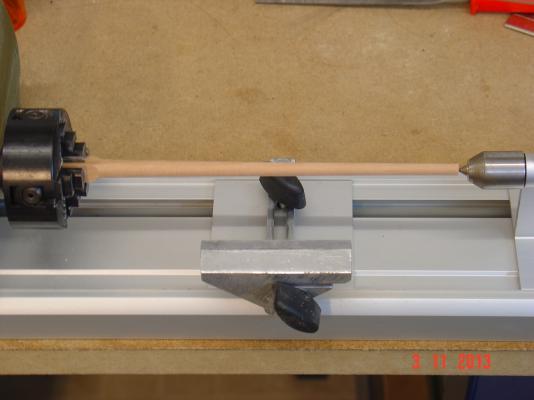
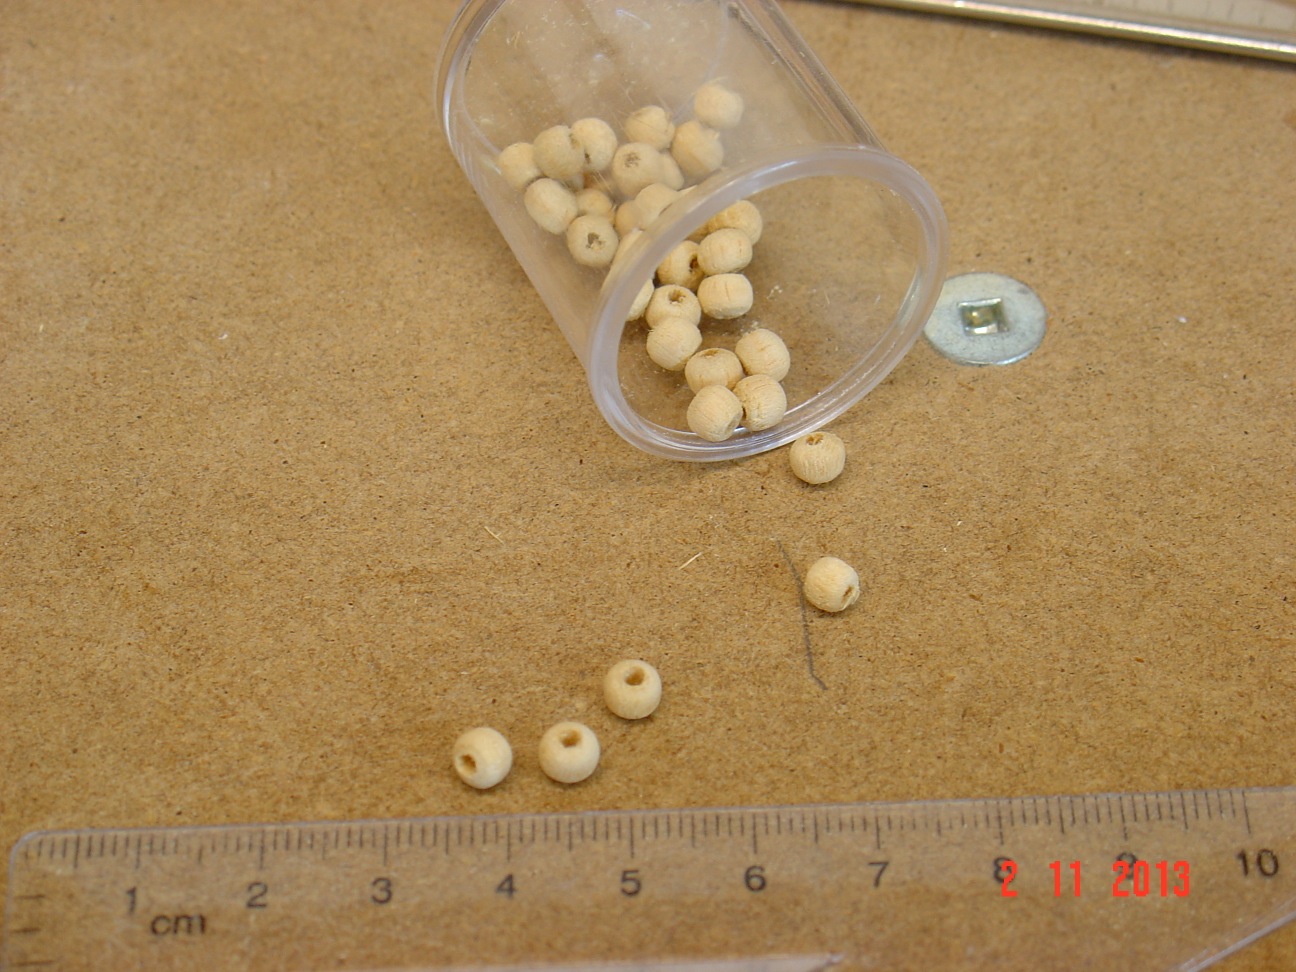
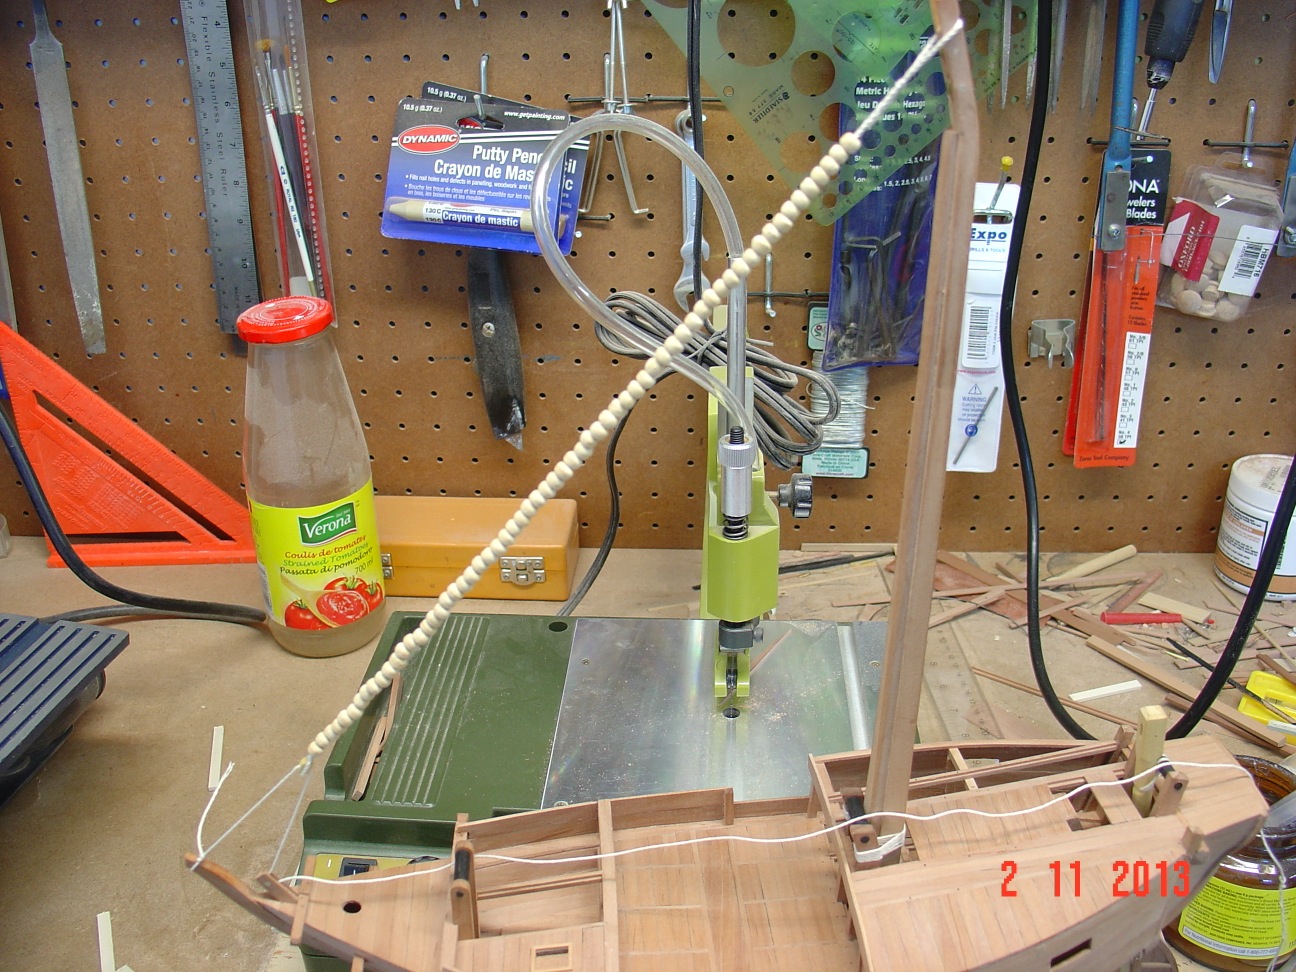
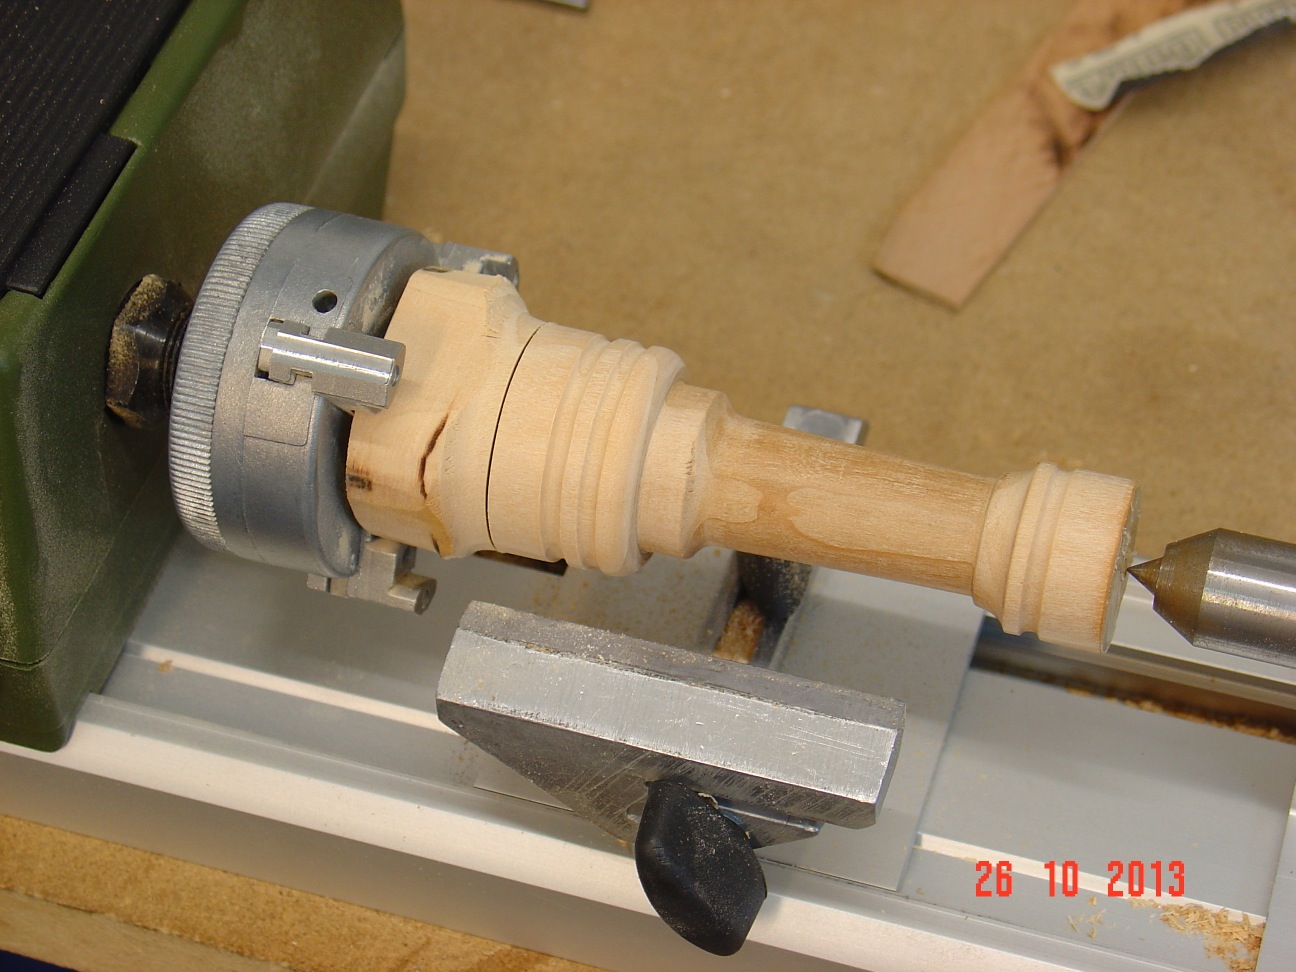
Here is the version 2 of the stay with bought wooden beads. They are a bit smaller and more uniform than those I made on the lathe.
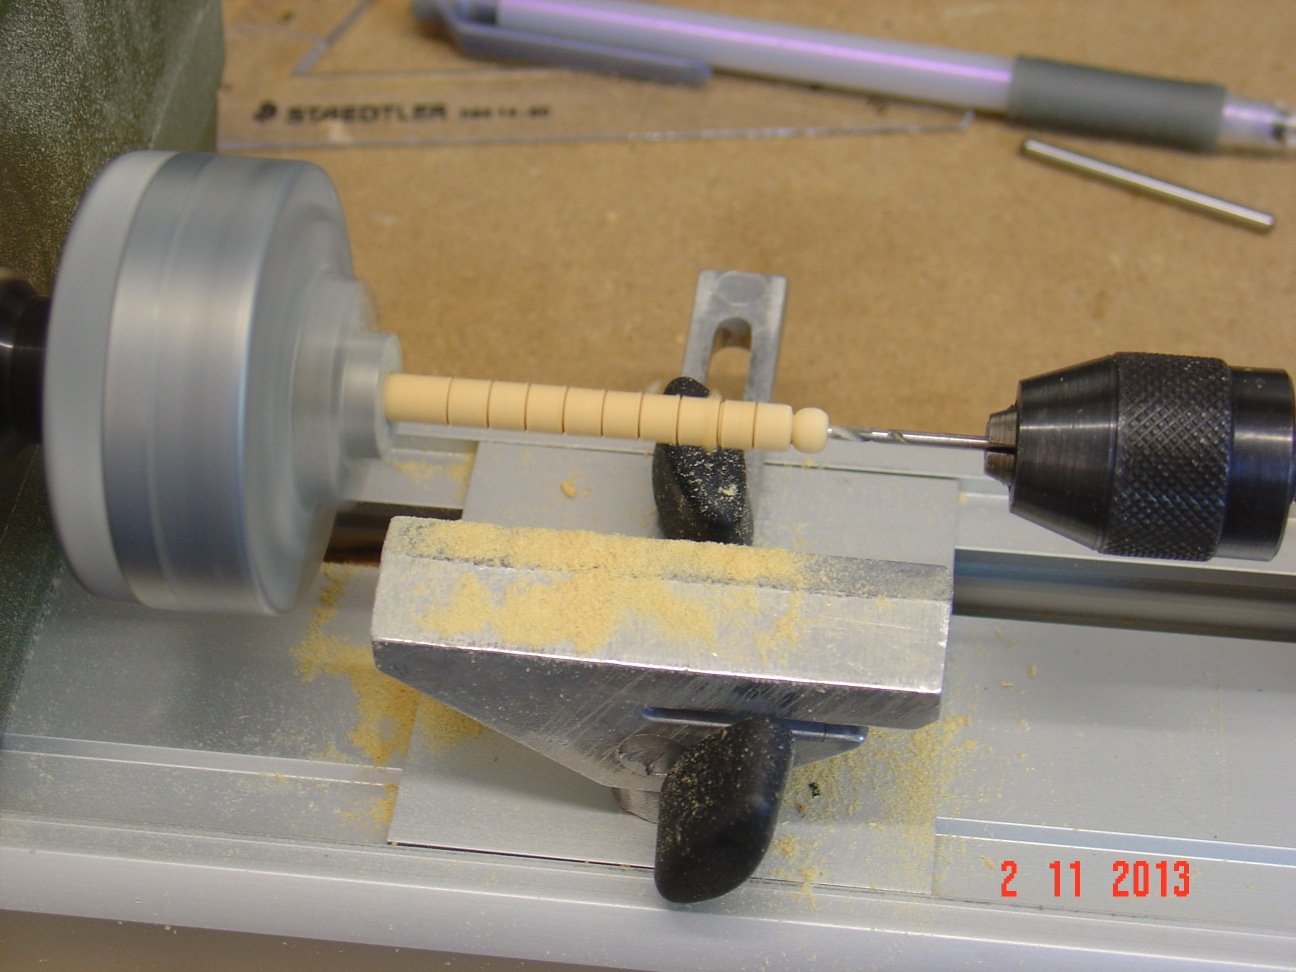
In the second picture is the bigger of the two fore small masts being turned. Is not installed yet.
Alexandru


-
Started to work on the rigging.
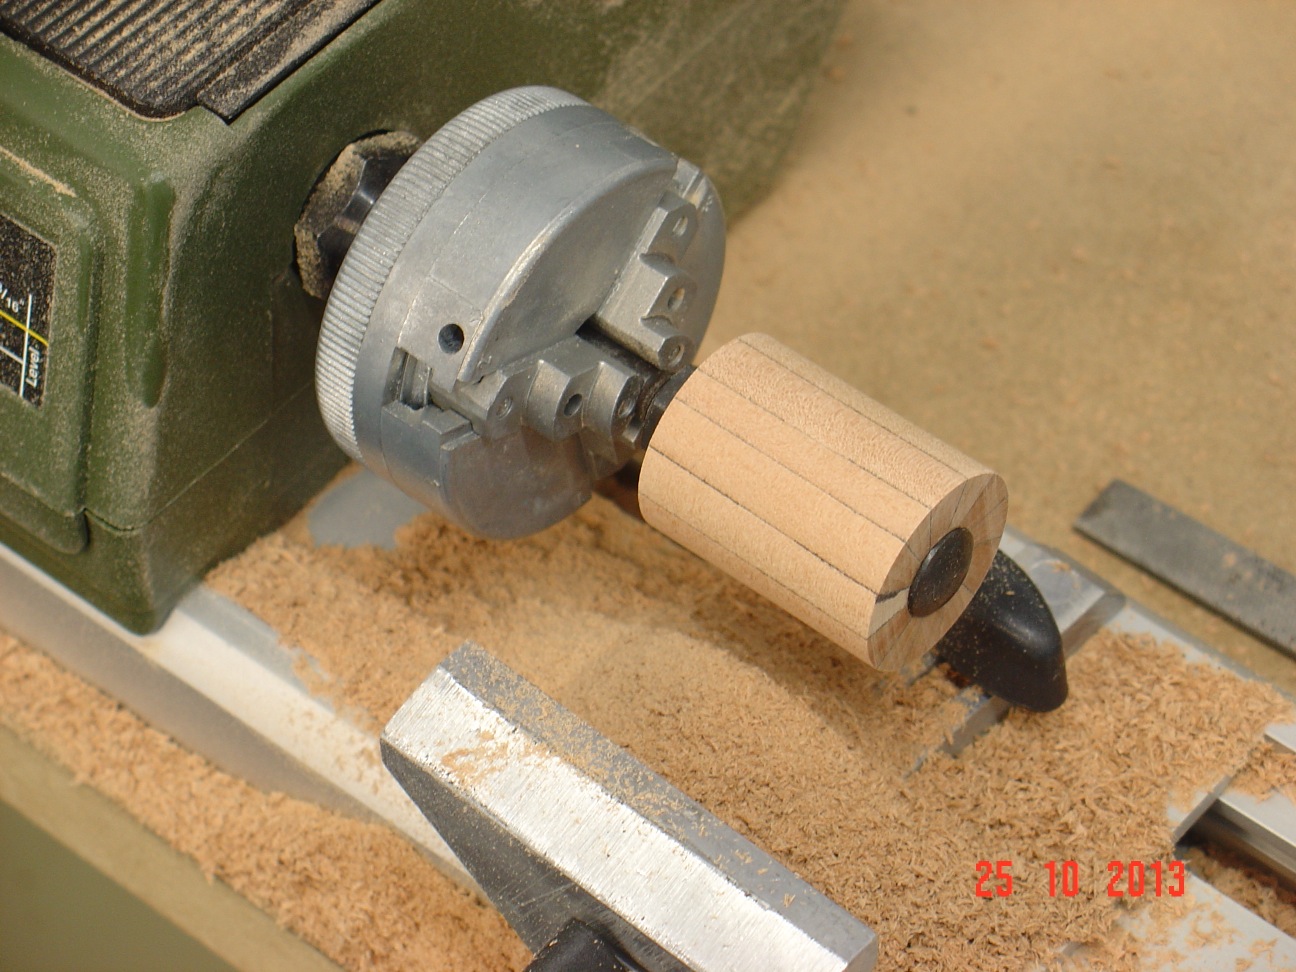
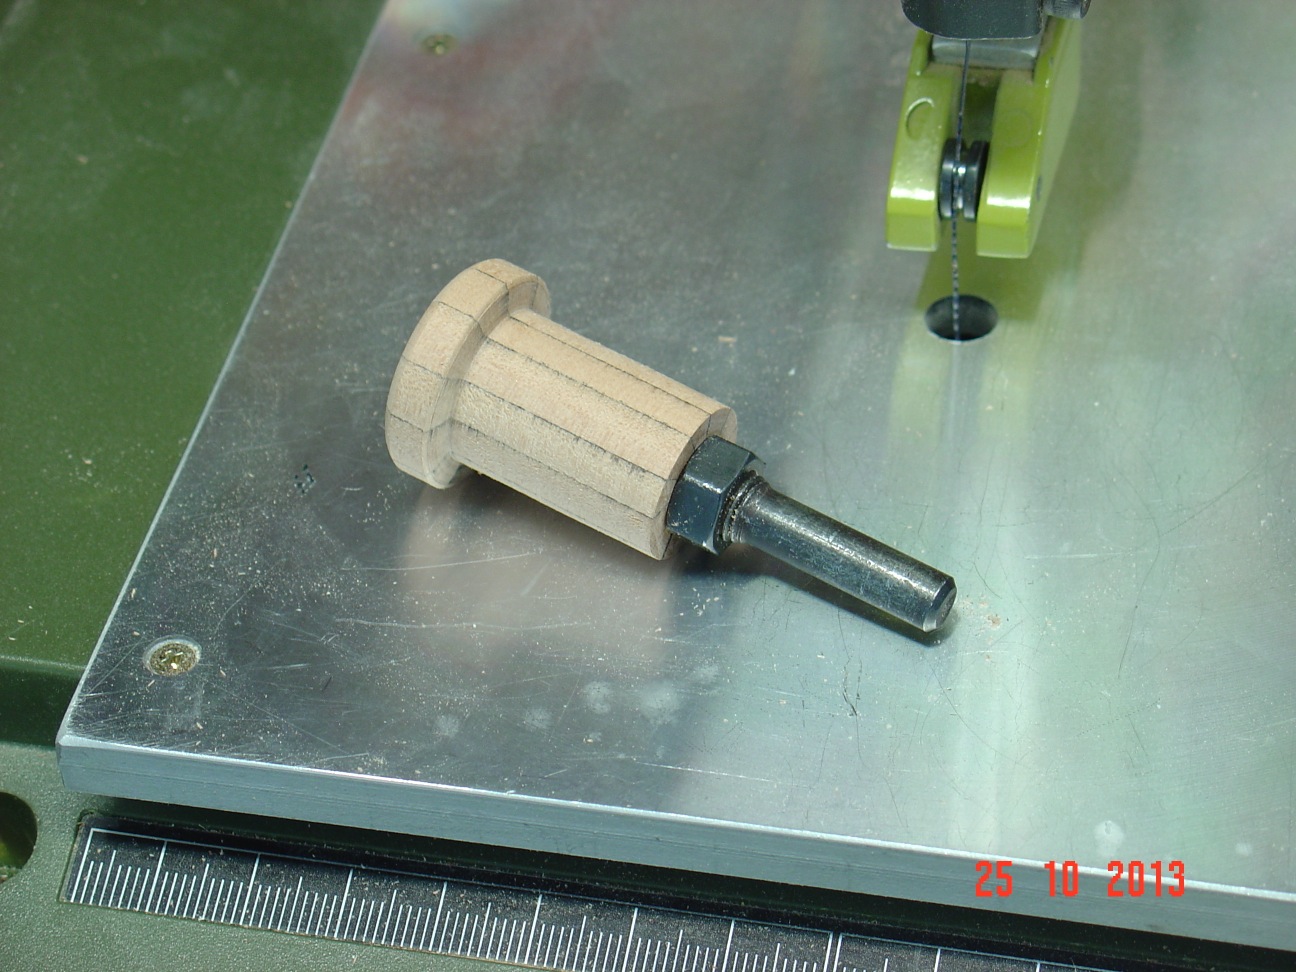
First thing I'we looked at is the main stay which in this case is covered with wood balls for some reason. Maybe because the smaller two masts in the front are attached to it and to protect the stay from their wind and wave induced movements.
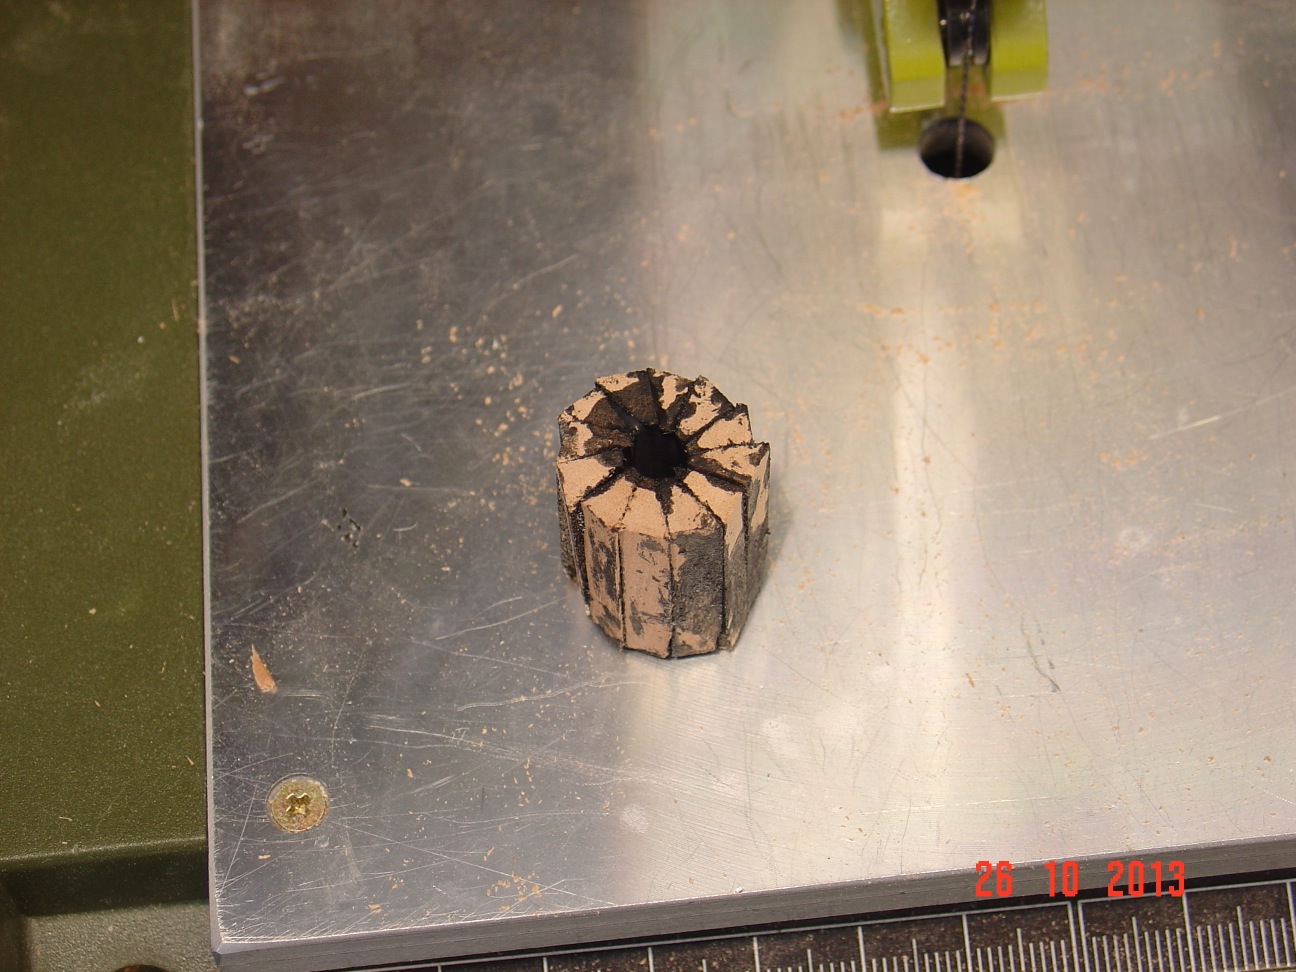
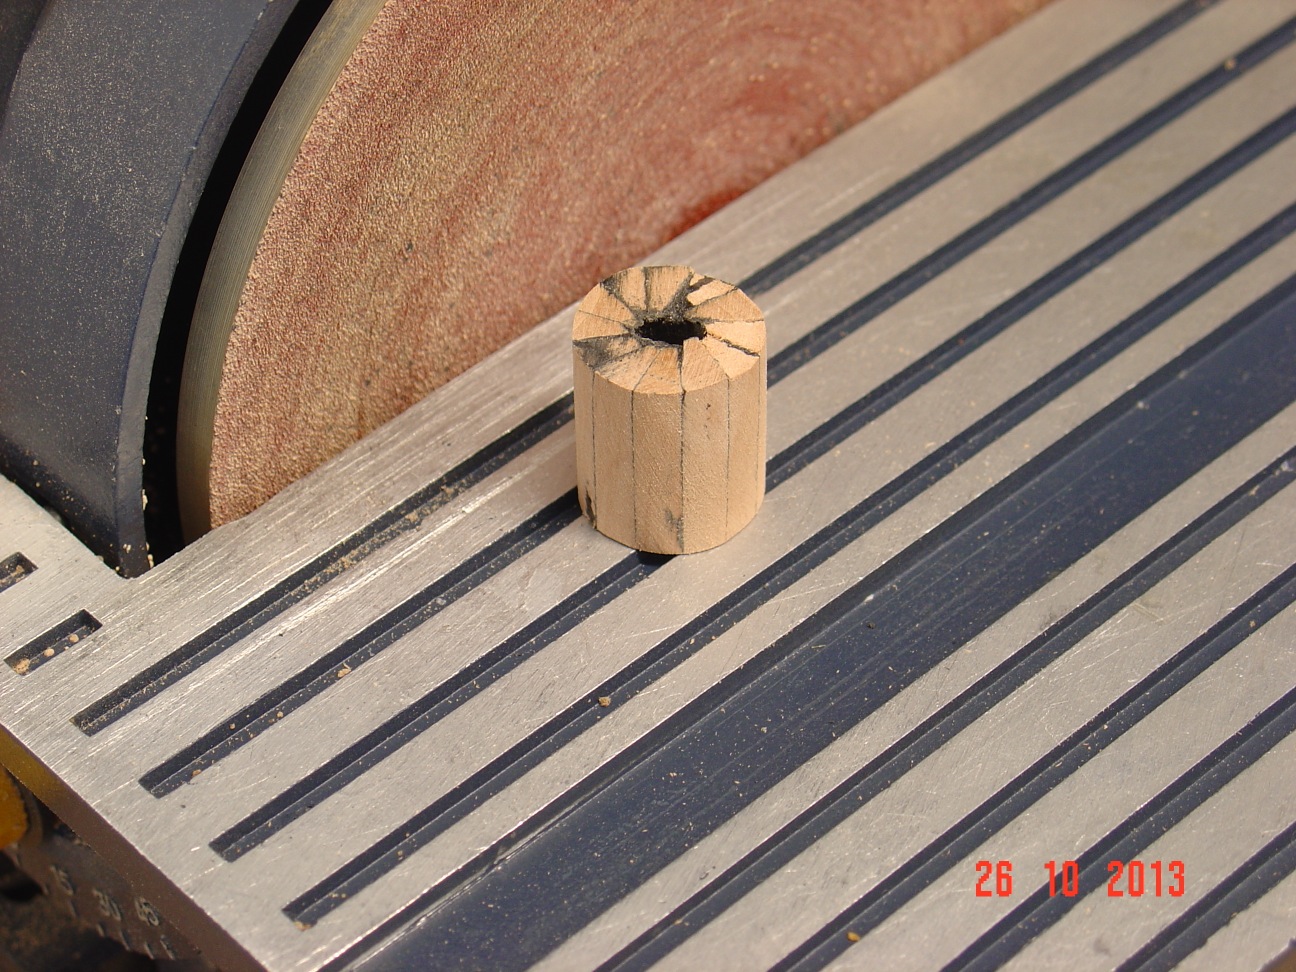
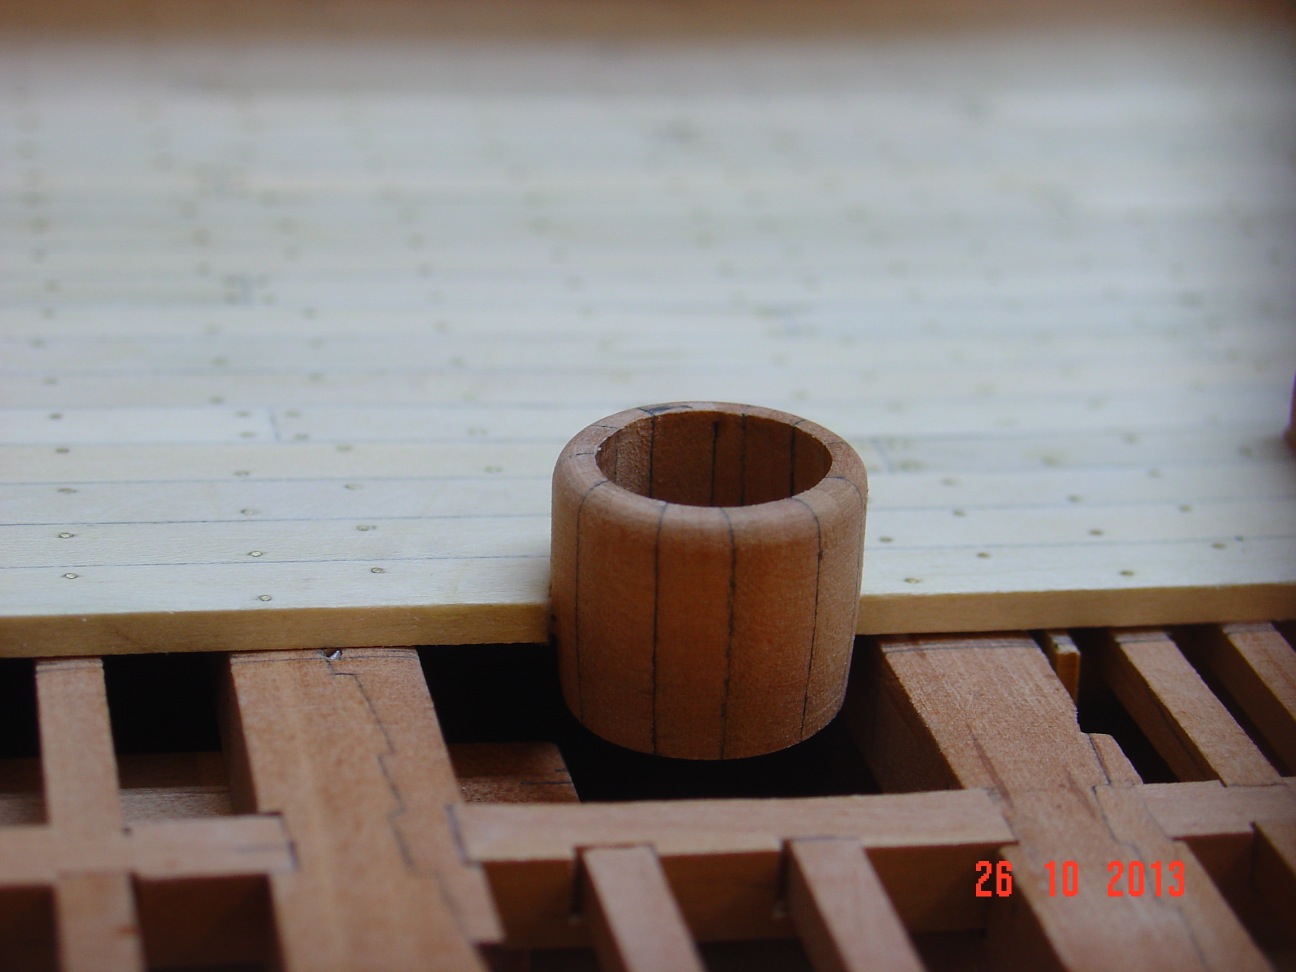
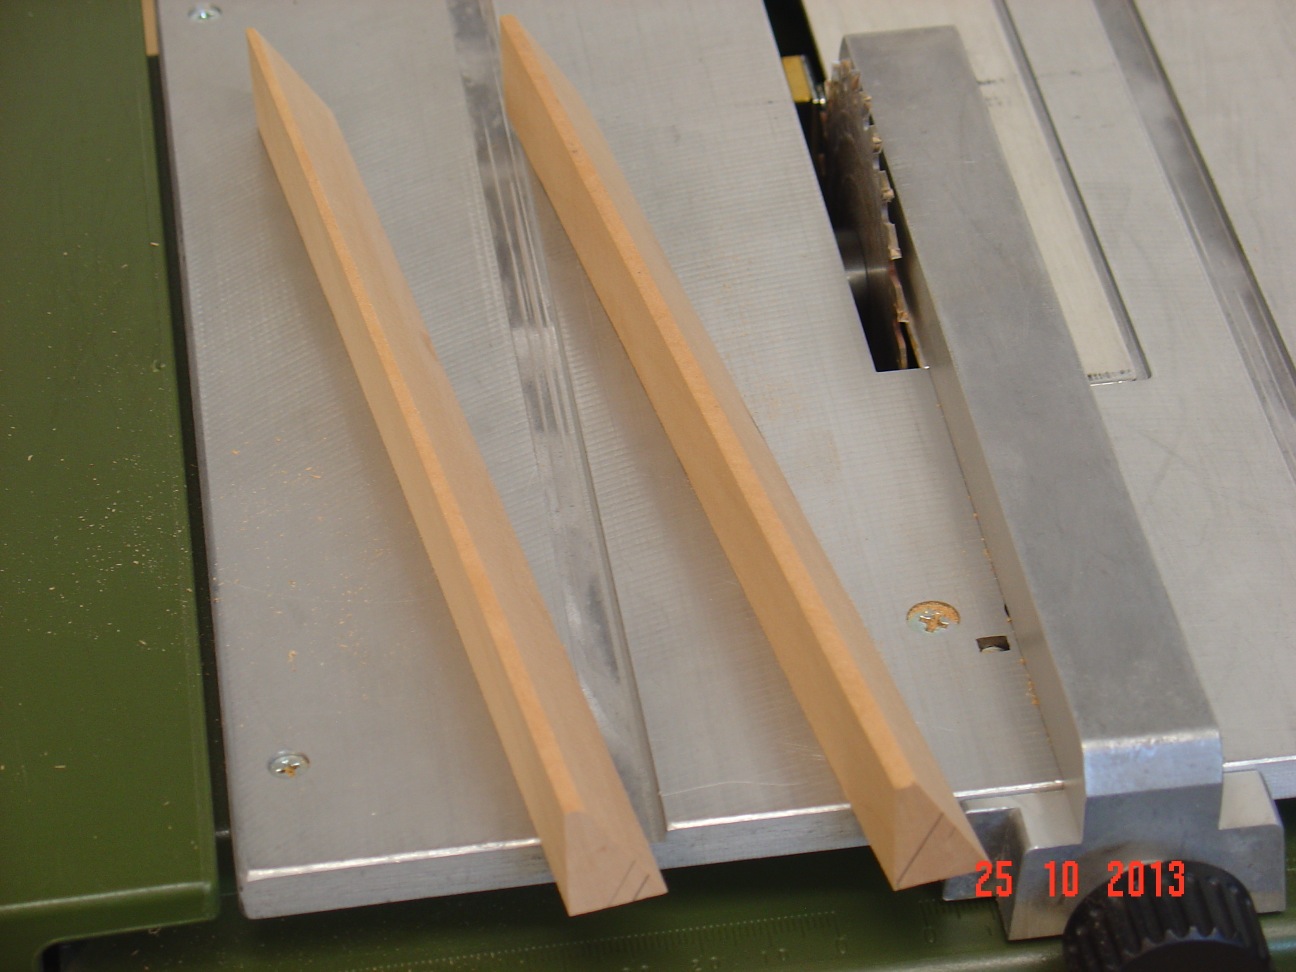
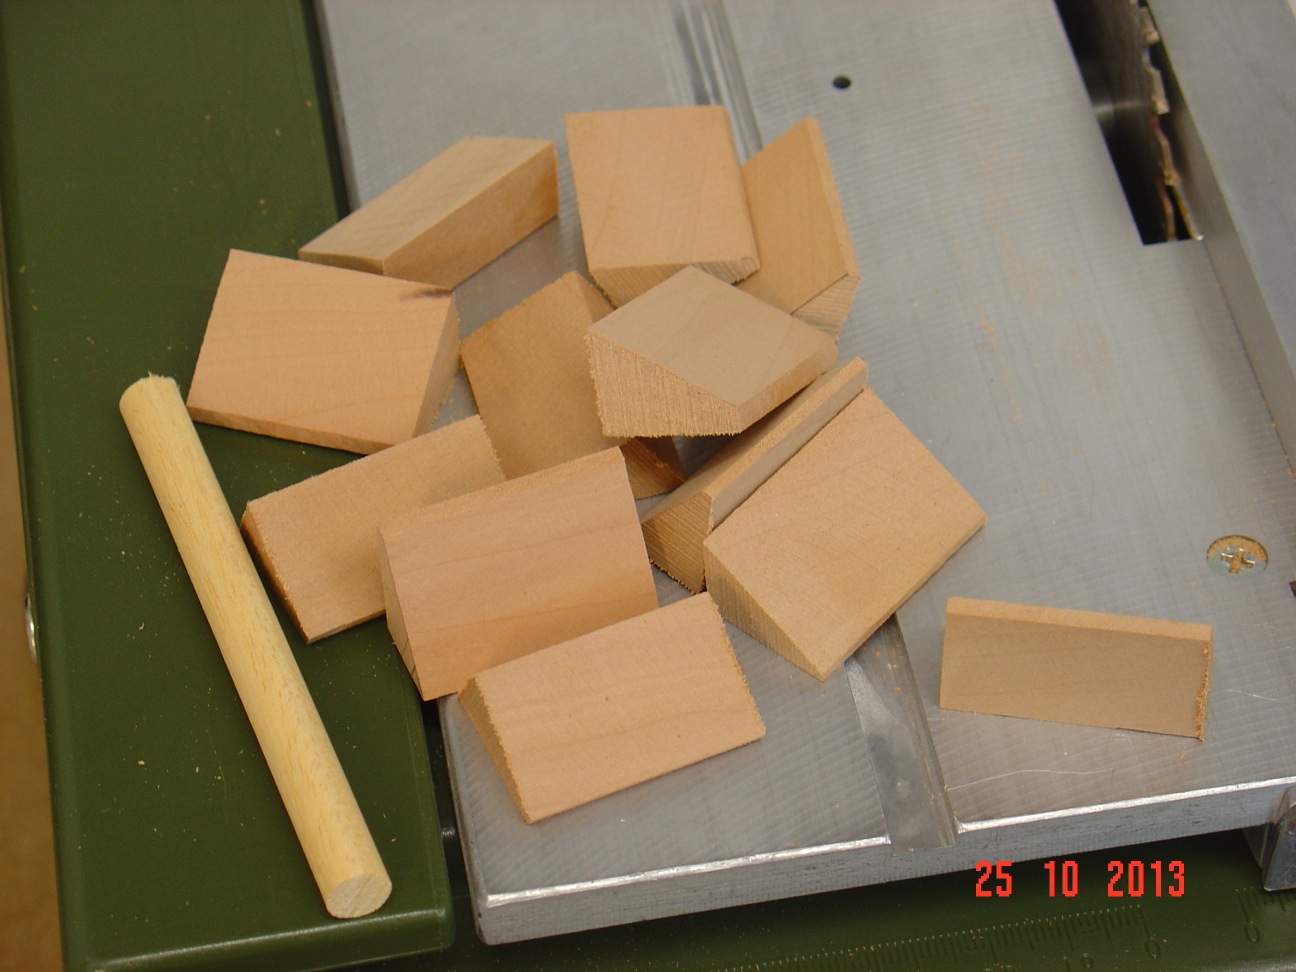
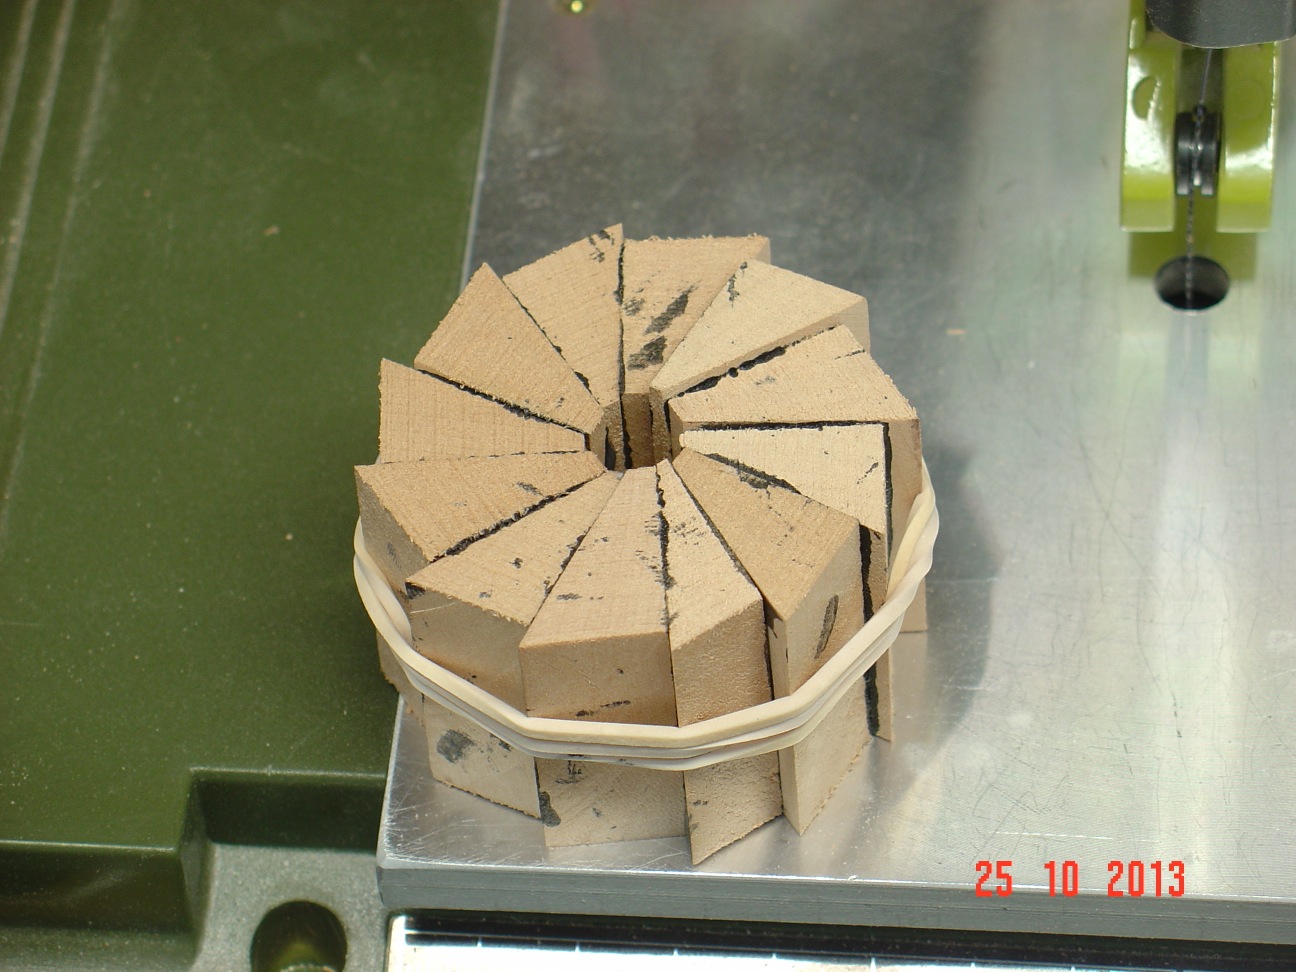
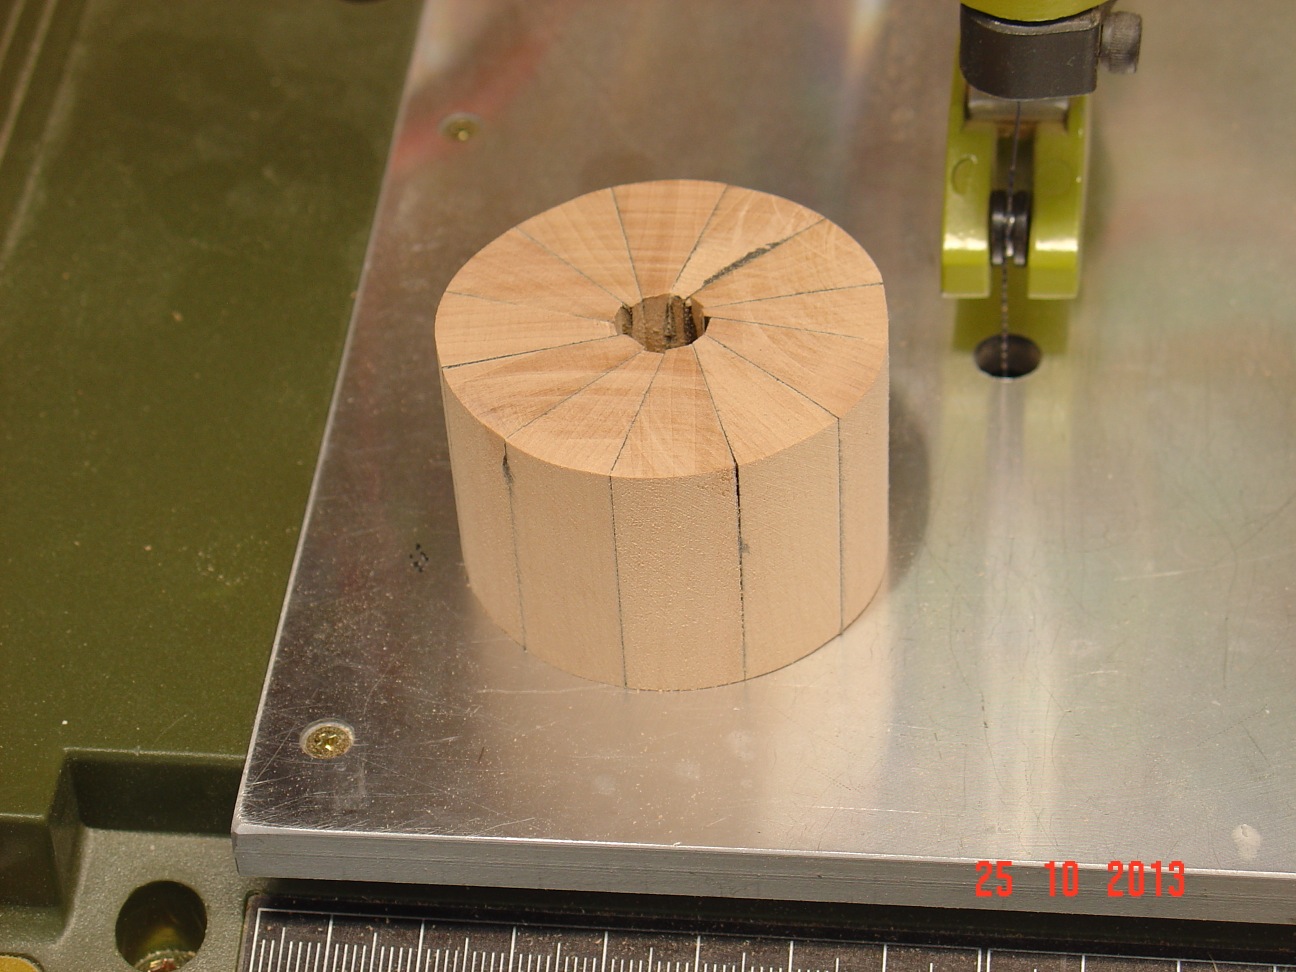
The wood beads in my case were done on the lathe one by one from round stock. Problem with them is that they are not quite identical and they are to big for the scale of the model. When on the stay and in the final position as can be seen it the last two pictures - I didn't liked them at all.
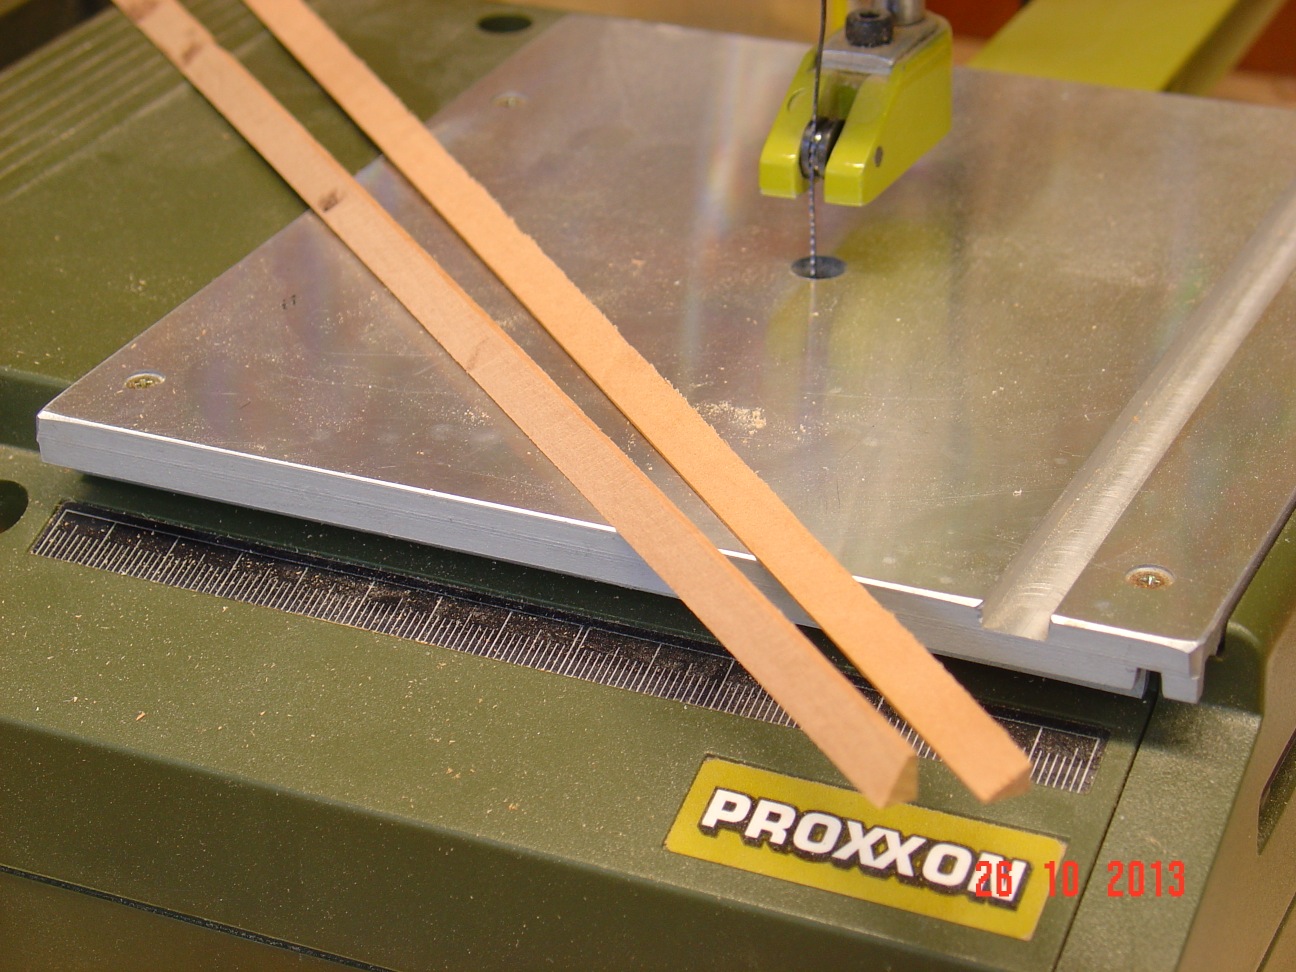
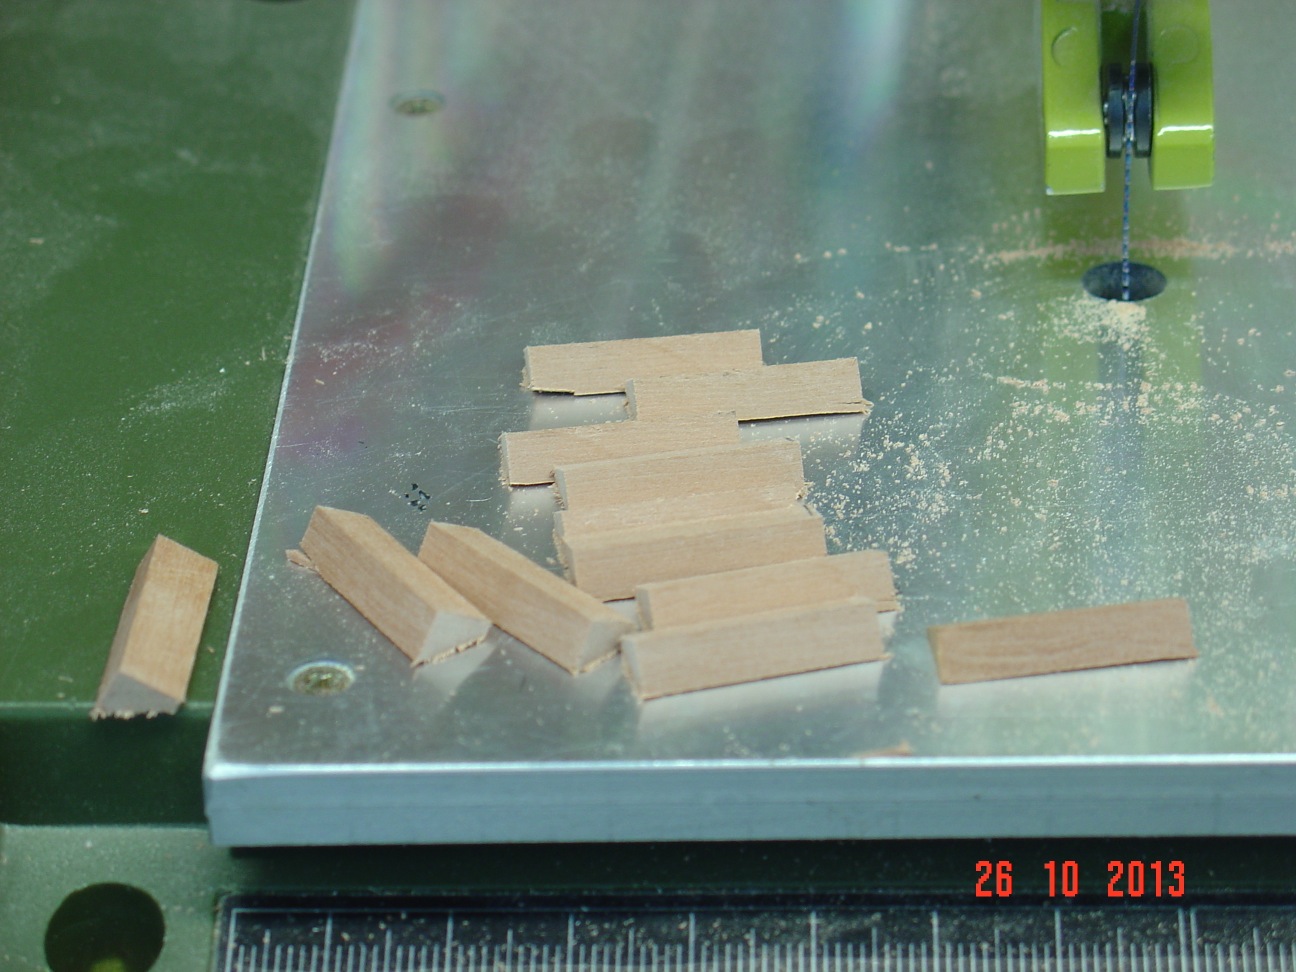
I tried to do some of smaller size from 1/8in stock but it will take many more and forever to do. Biggest problem I have with this thiner stock is to properly centre the hole in the middle of the piece of wood. Wood bends sideways when spinning drill bit bends too as is smaller diameter and if the hole is off centre the beads on the string look bad. You can see some in the bigger size to in the pictures.
I will go see a beading store later today to check if I can find some ready made in proper size - at least all will look the same.


- GrandpaPhil, harvey1847, WackoWolf and 3 others
-
6
-
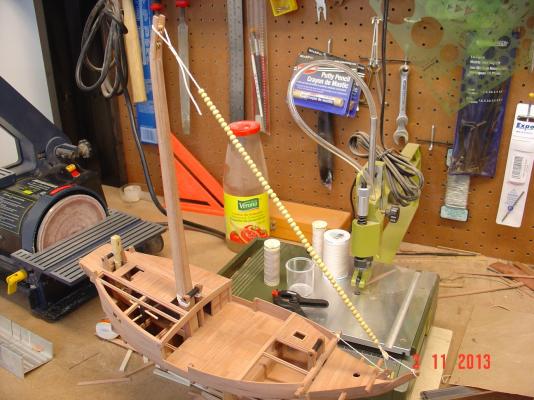
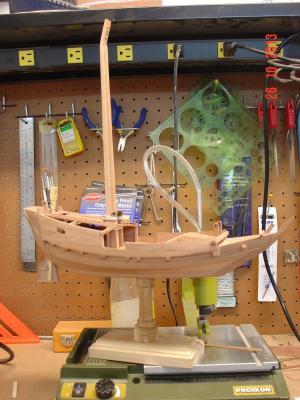
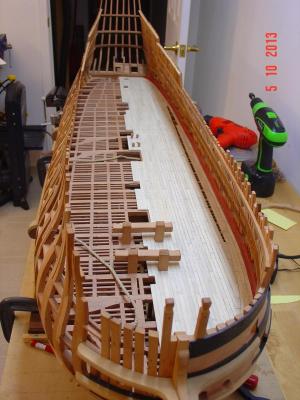
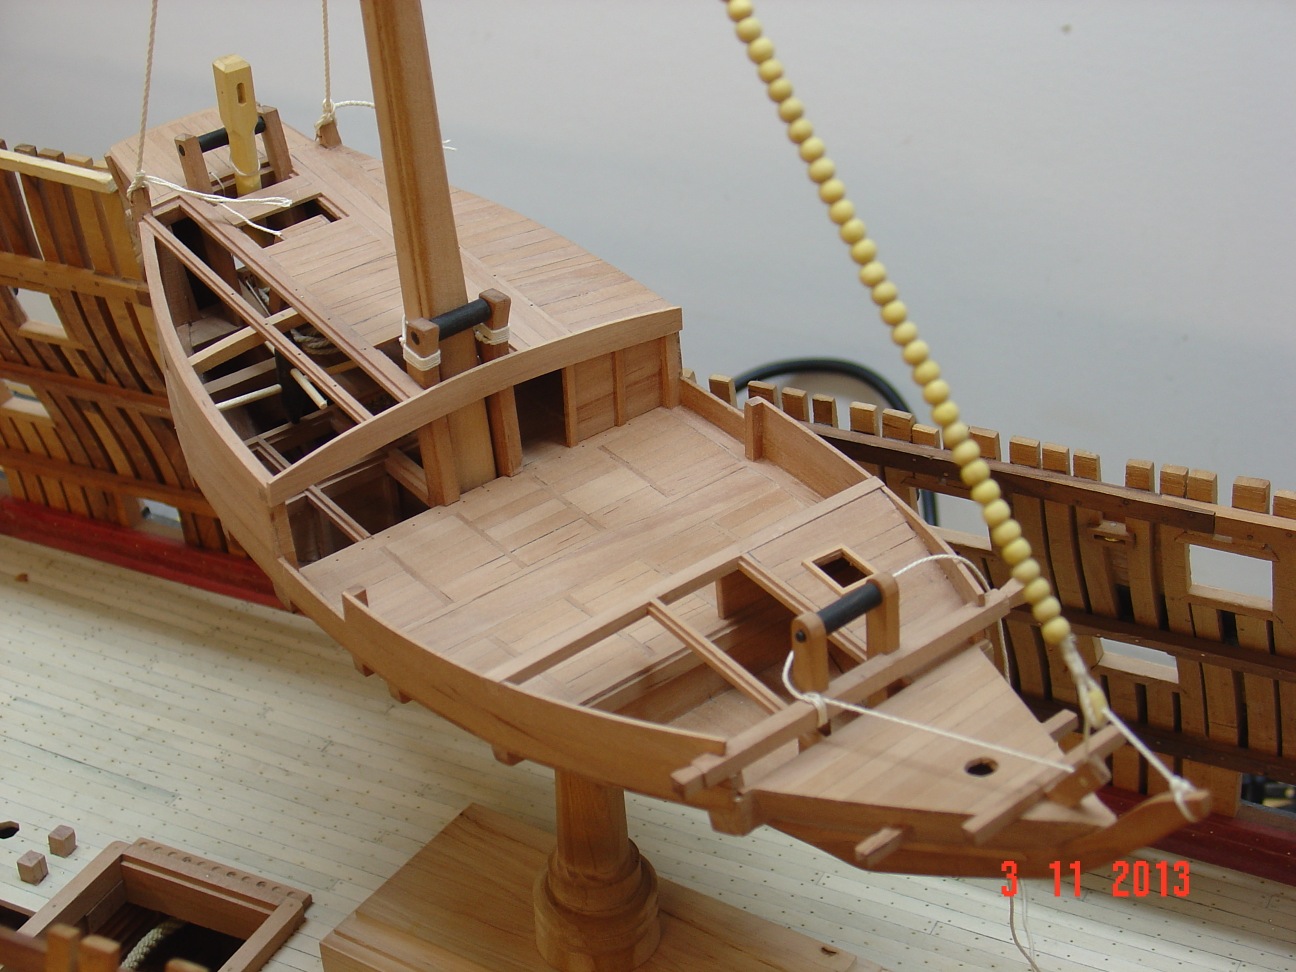
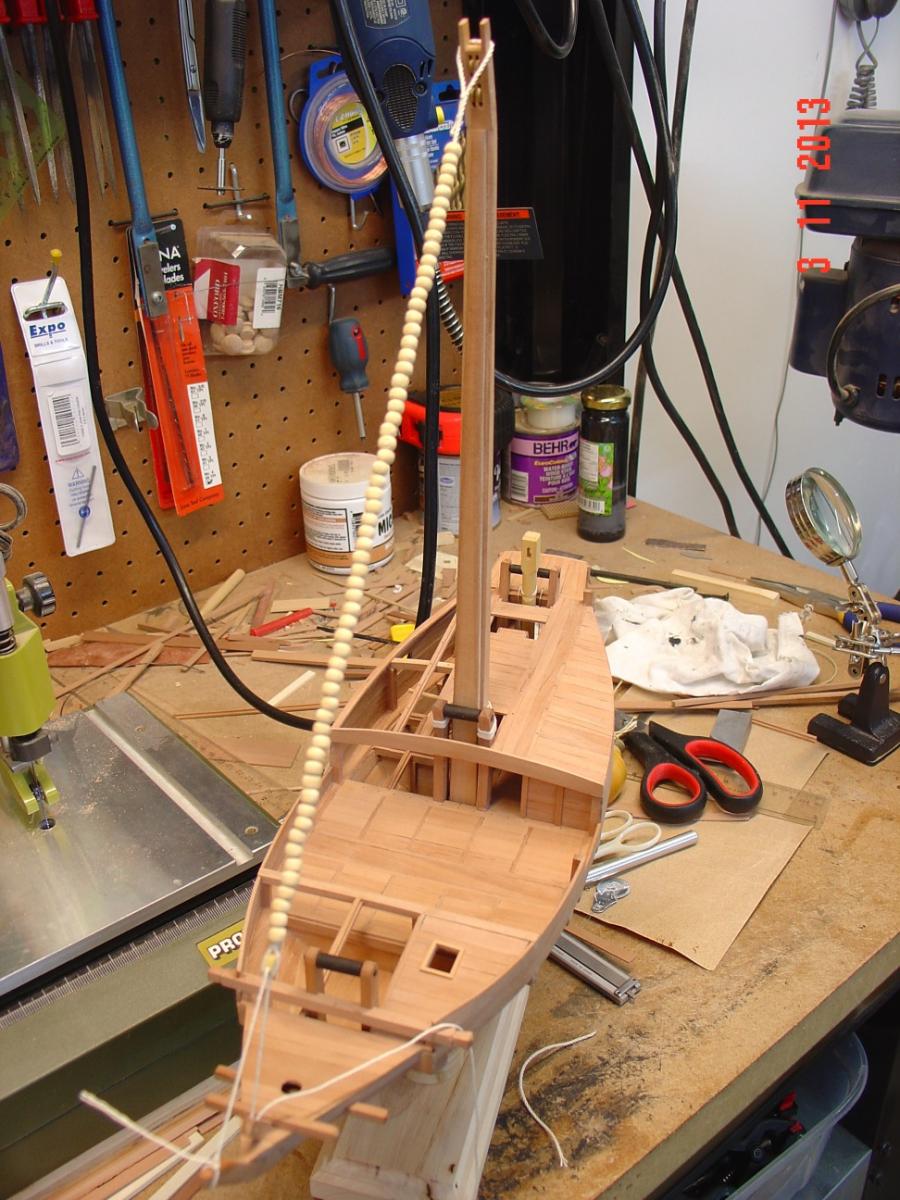
Not much done for this model just a "temporary" stand that risks to be used quite a long time.


- GrandpaPhil, harvey1847, Aussie048 and 1 other
-
4
-
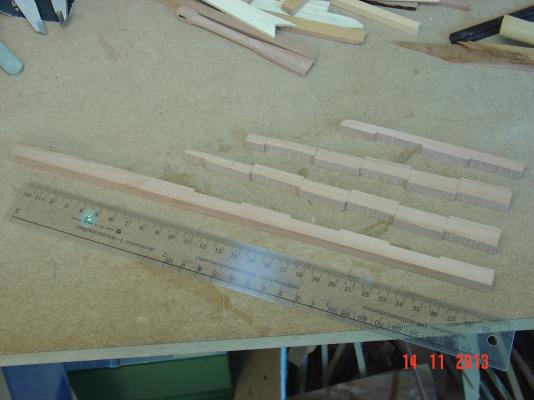
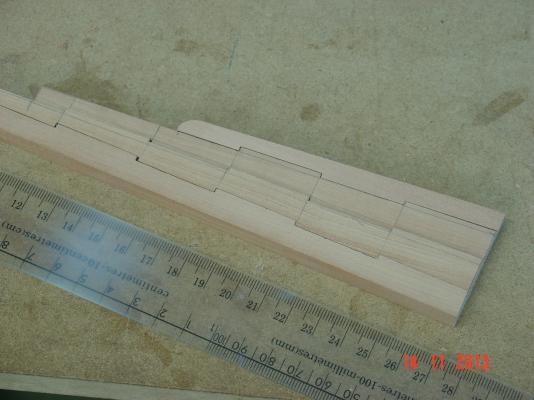
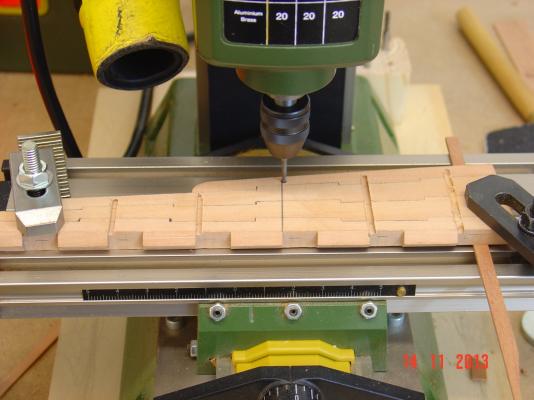
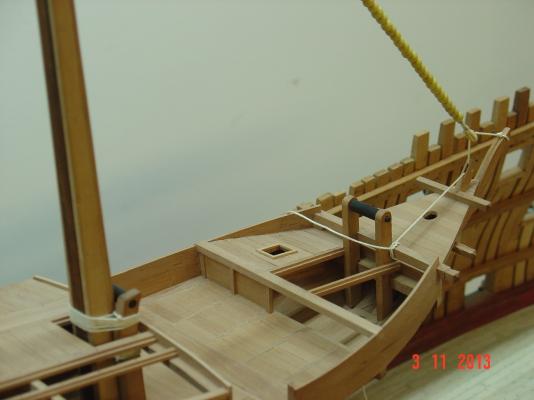
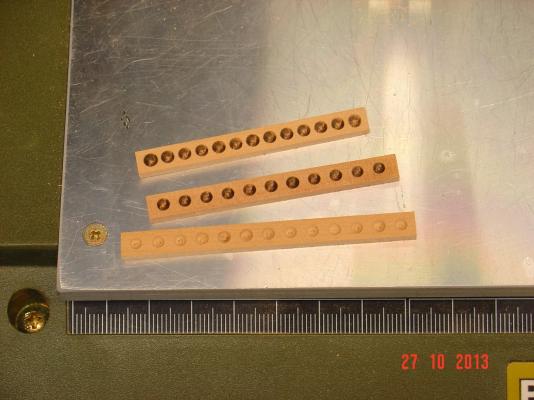
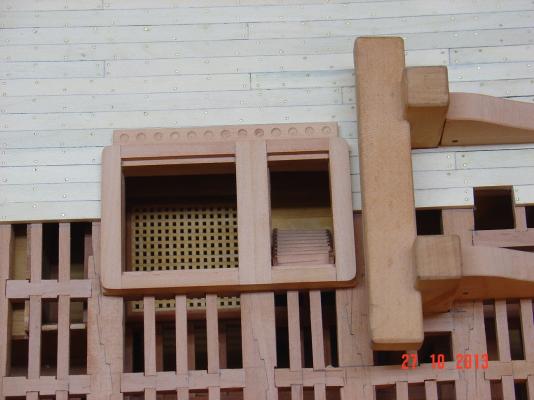
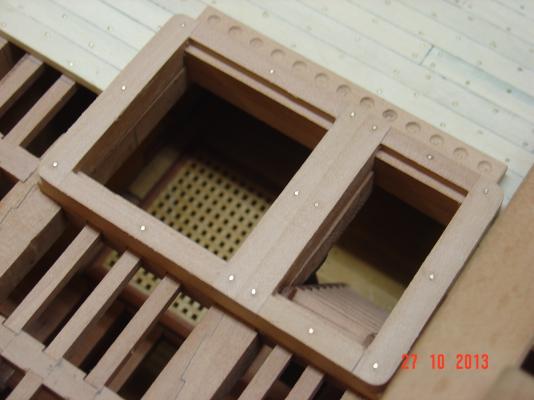
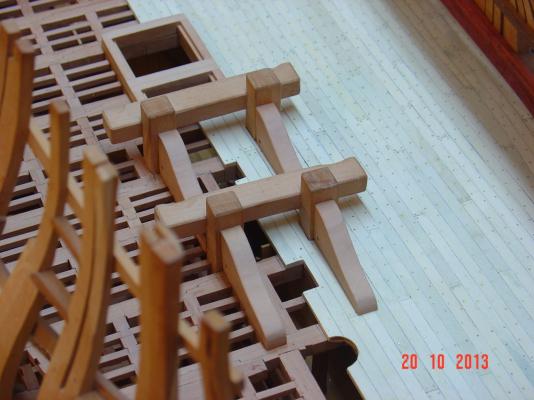
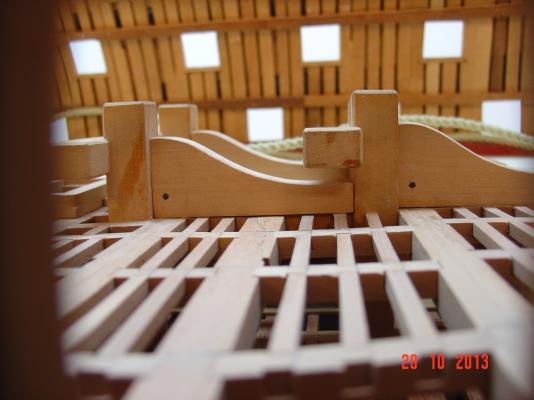
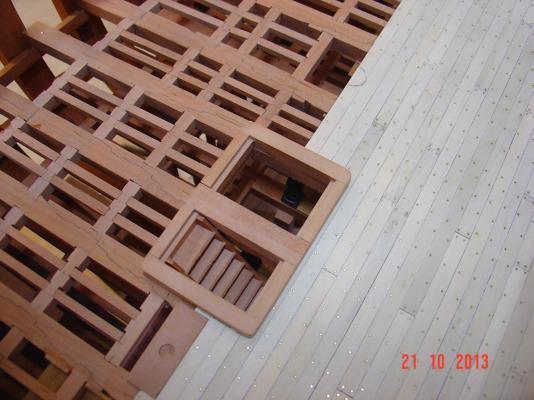
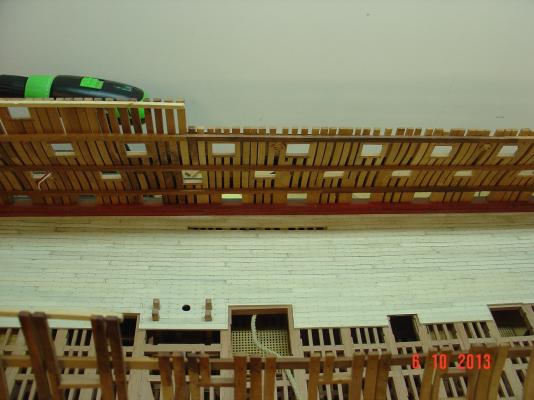
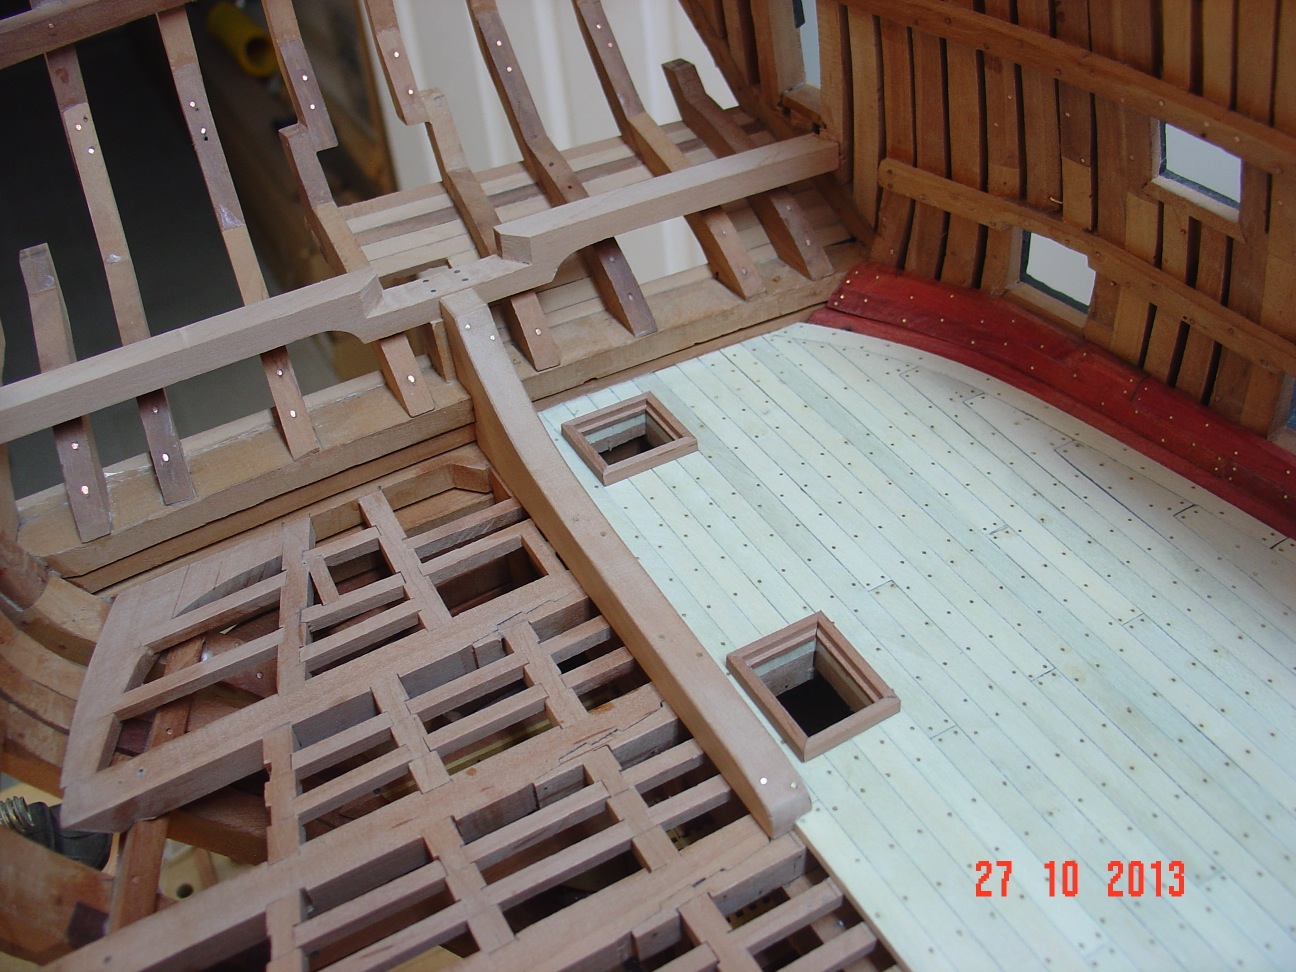
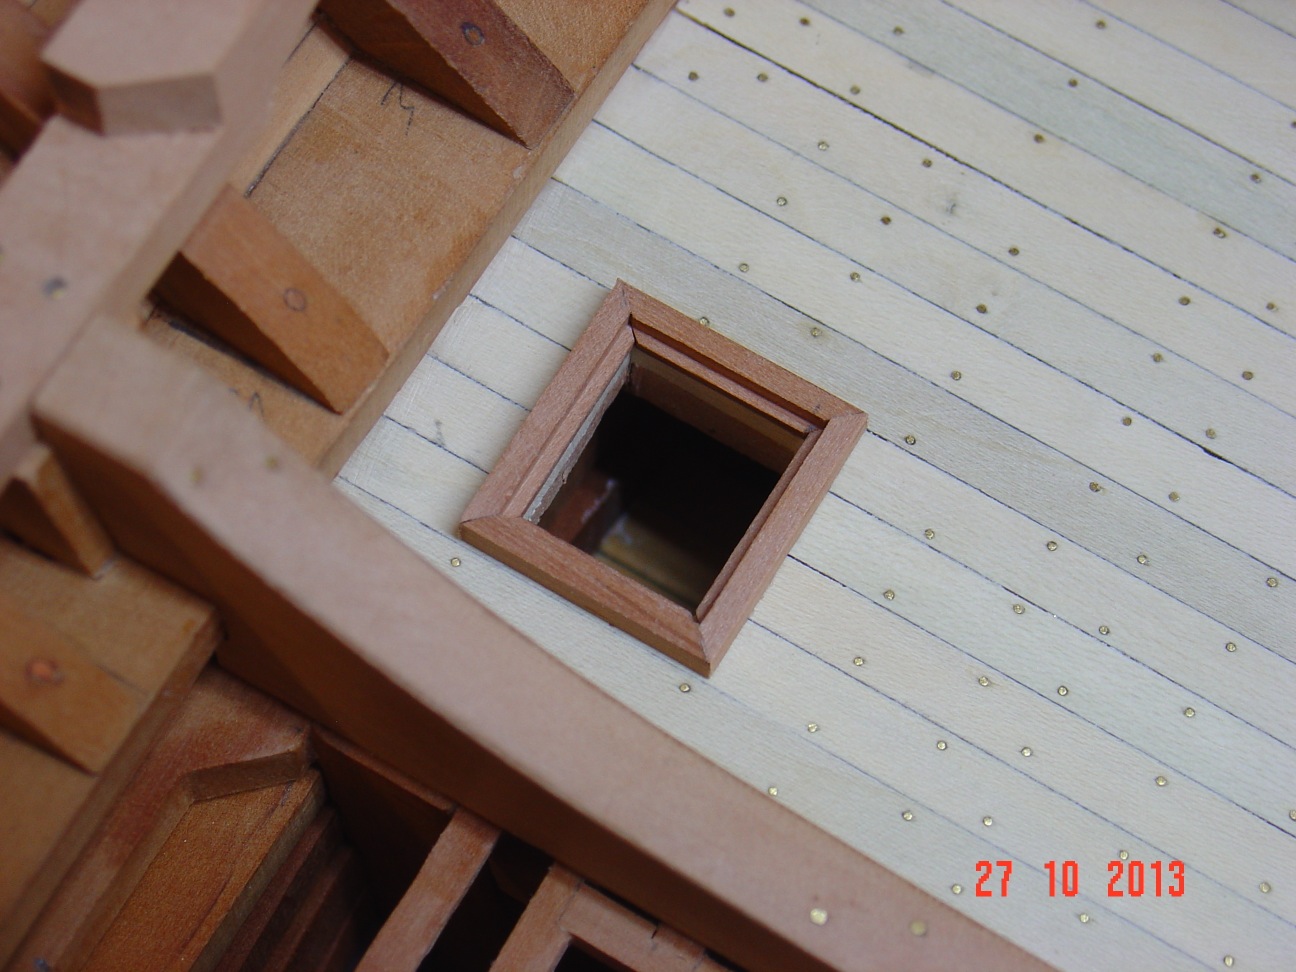
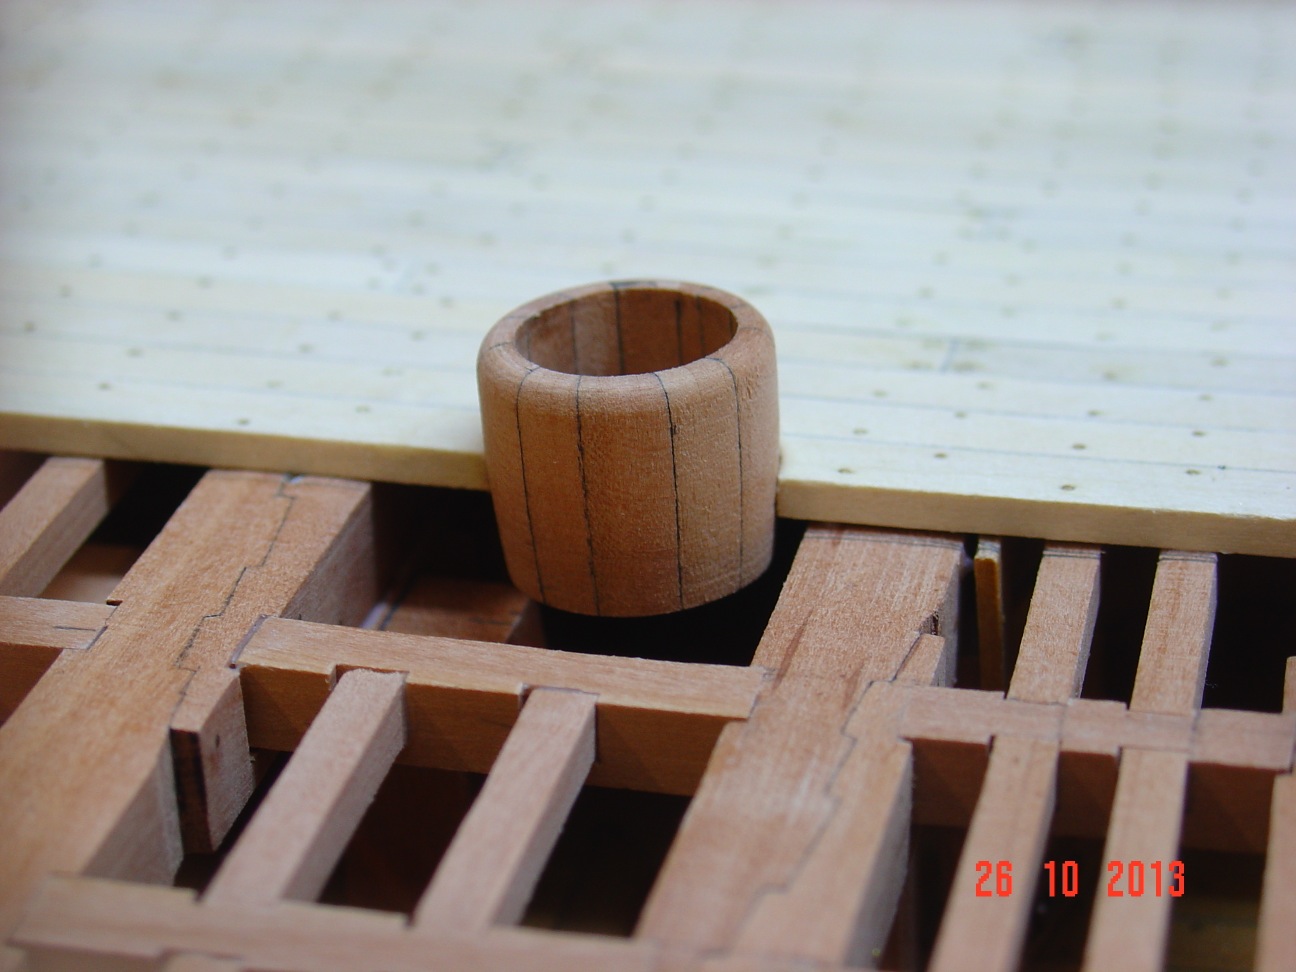
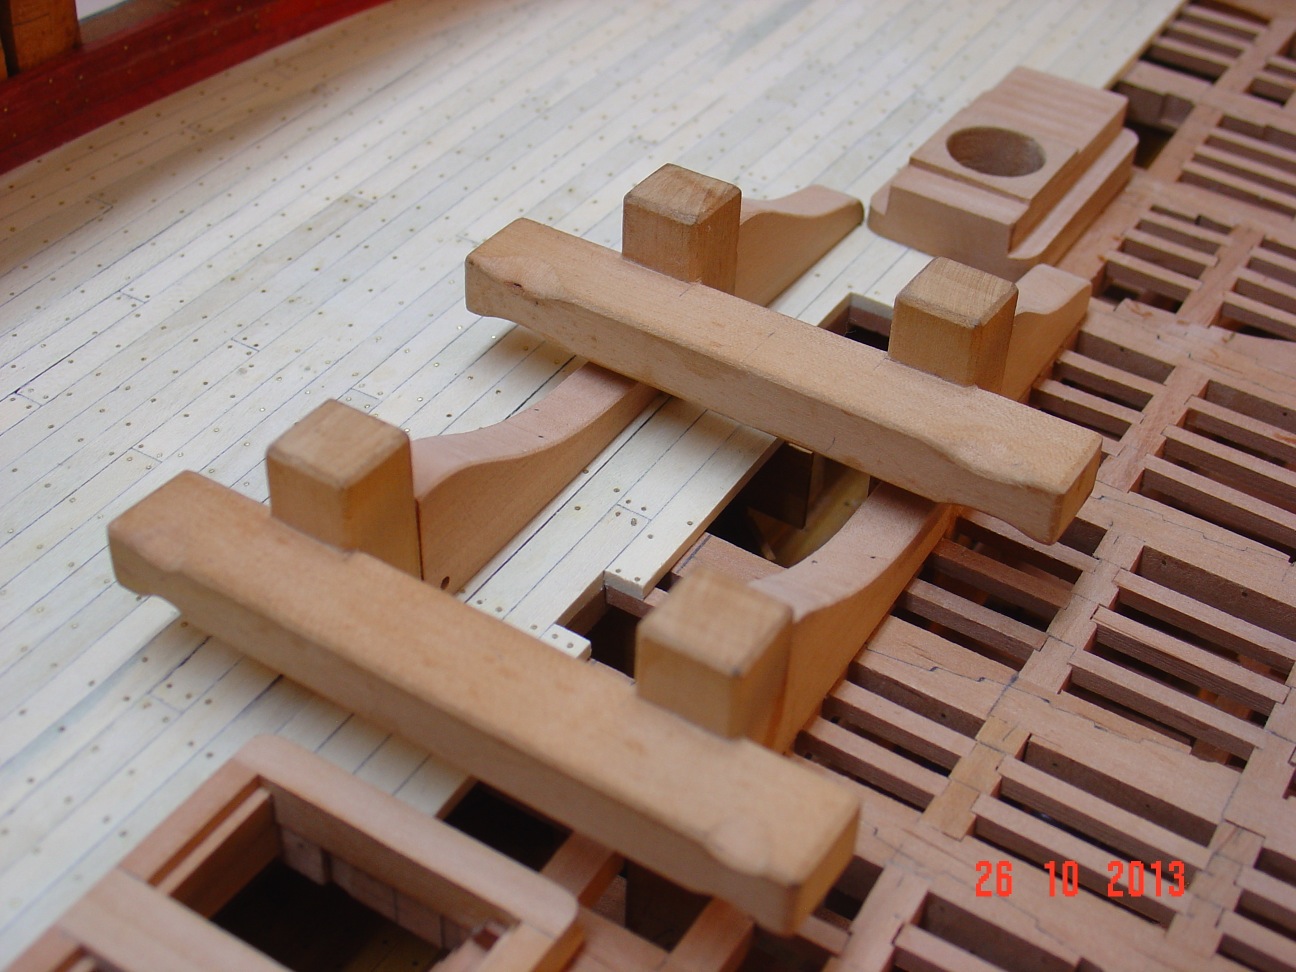
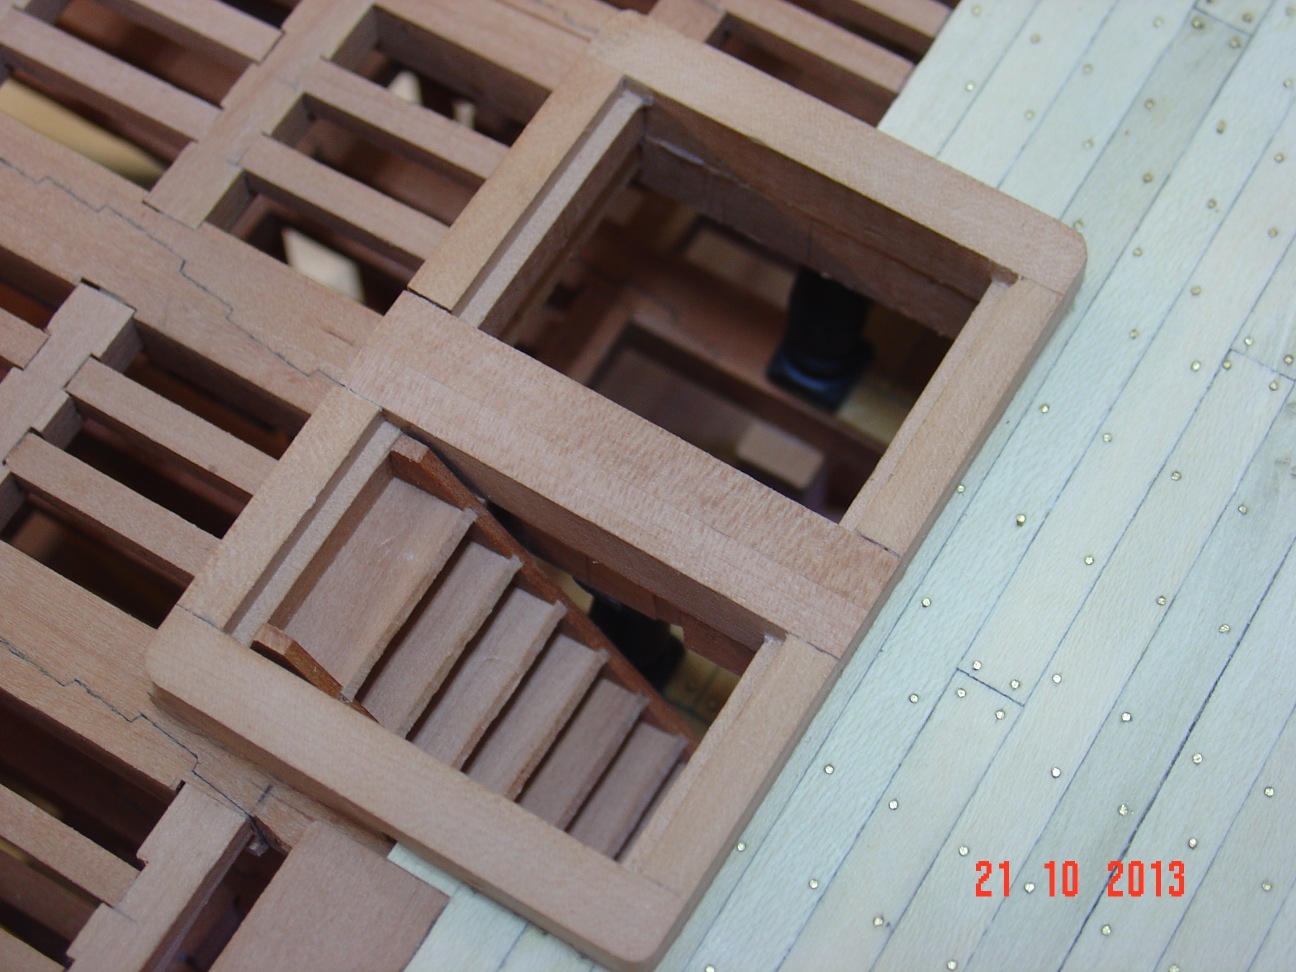
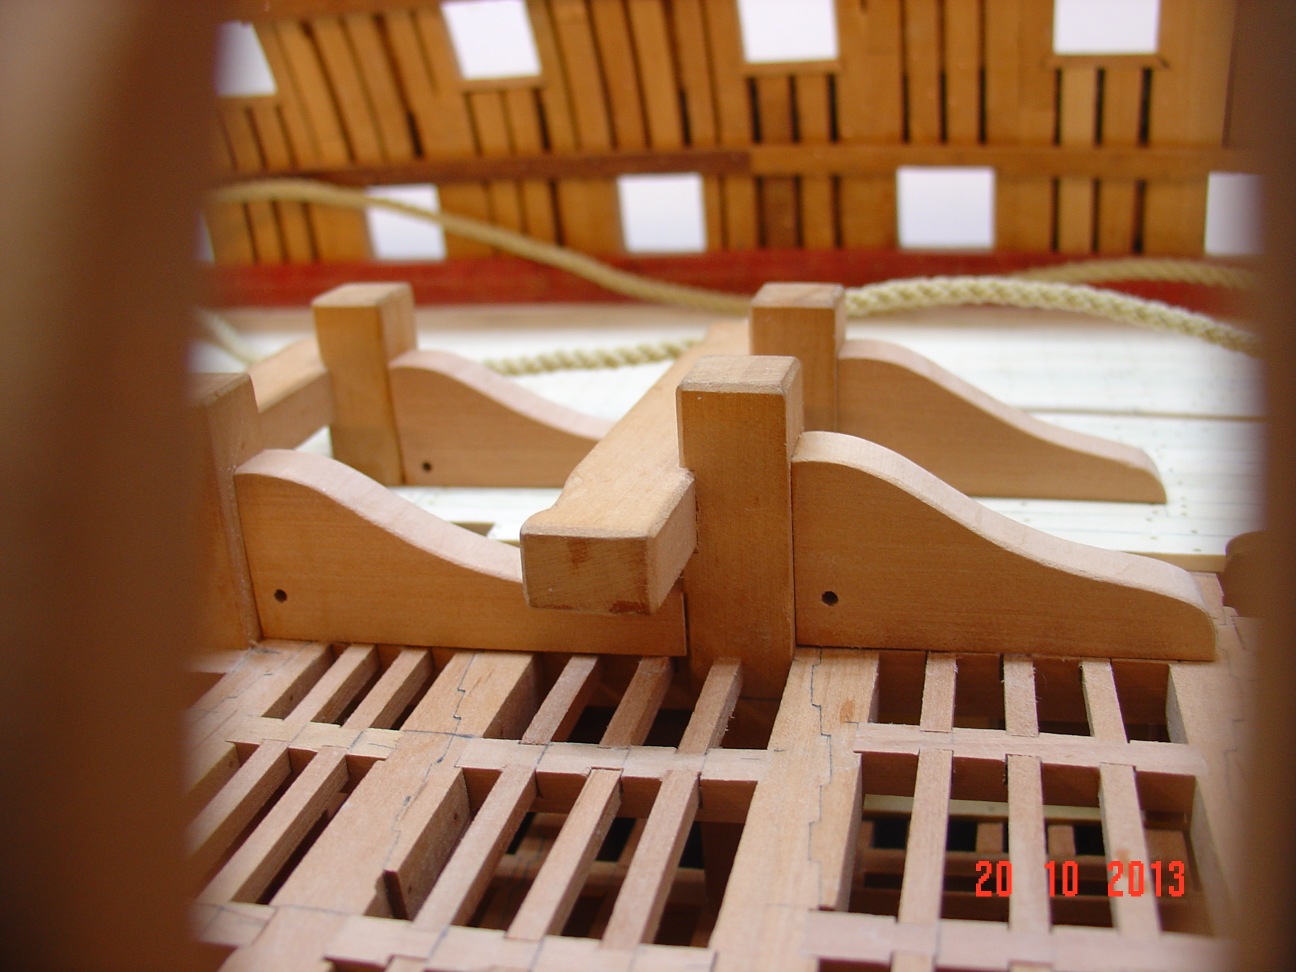
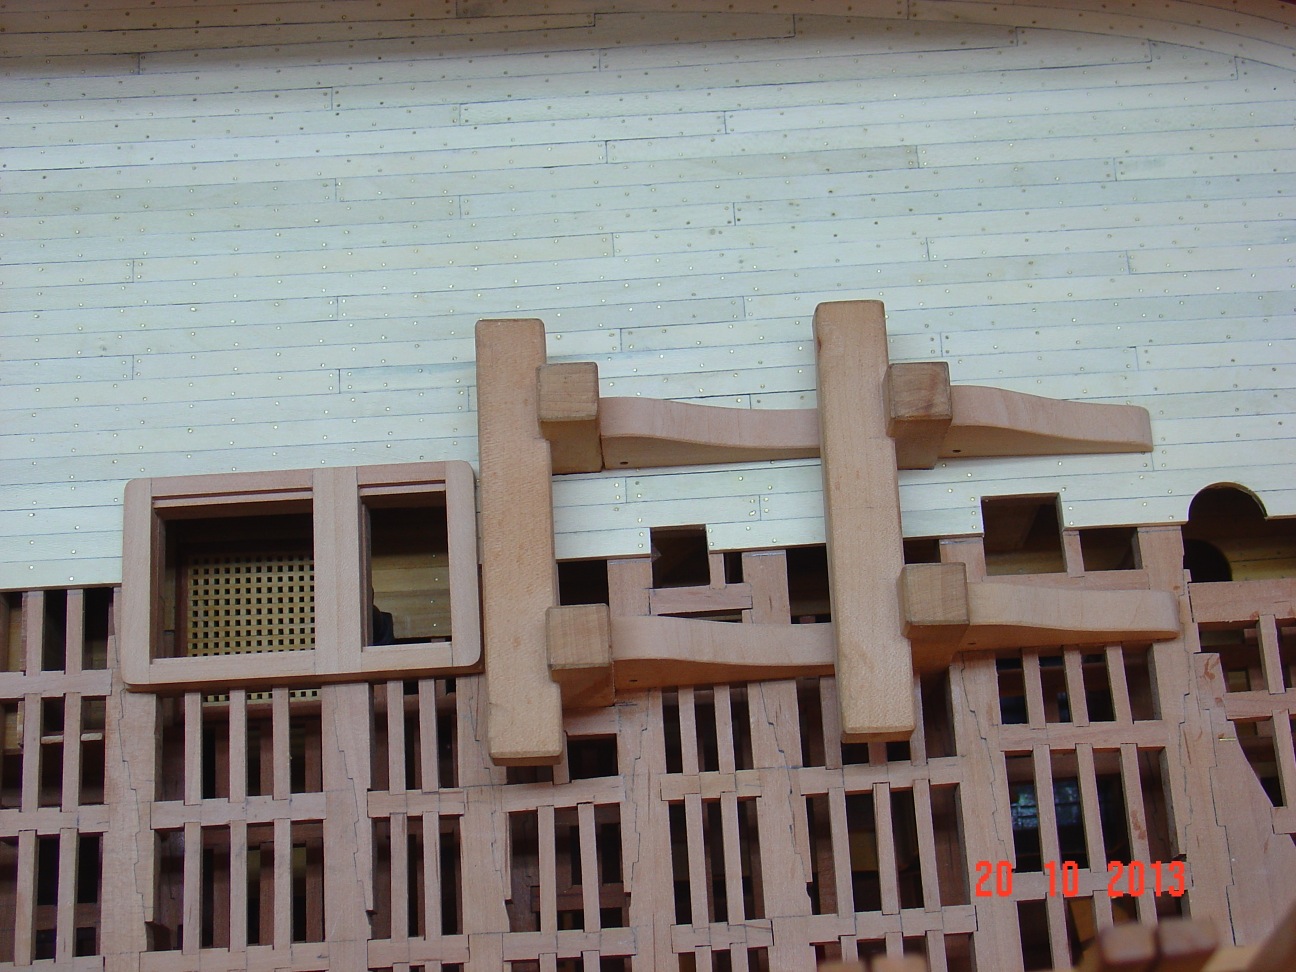
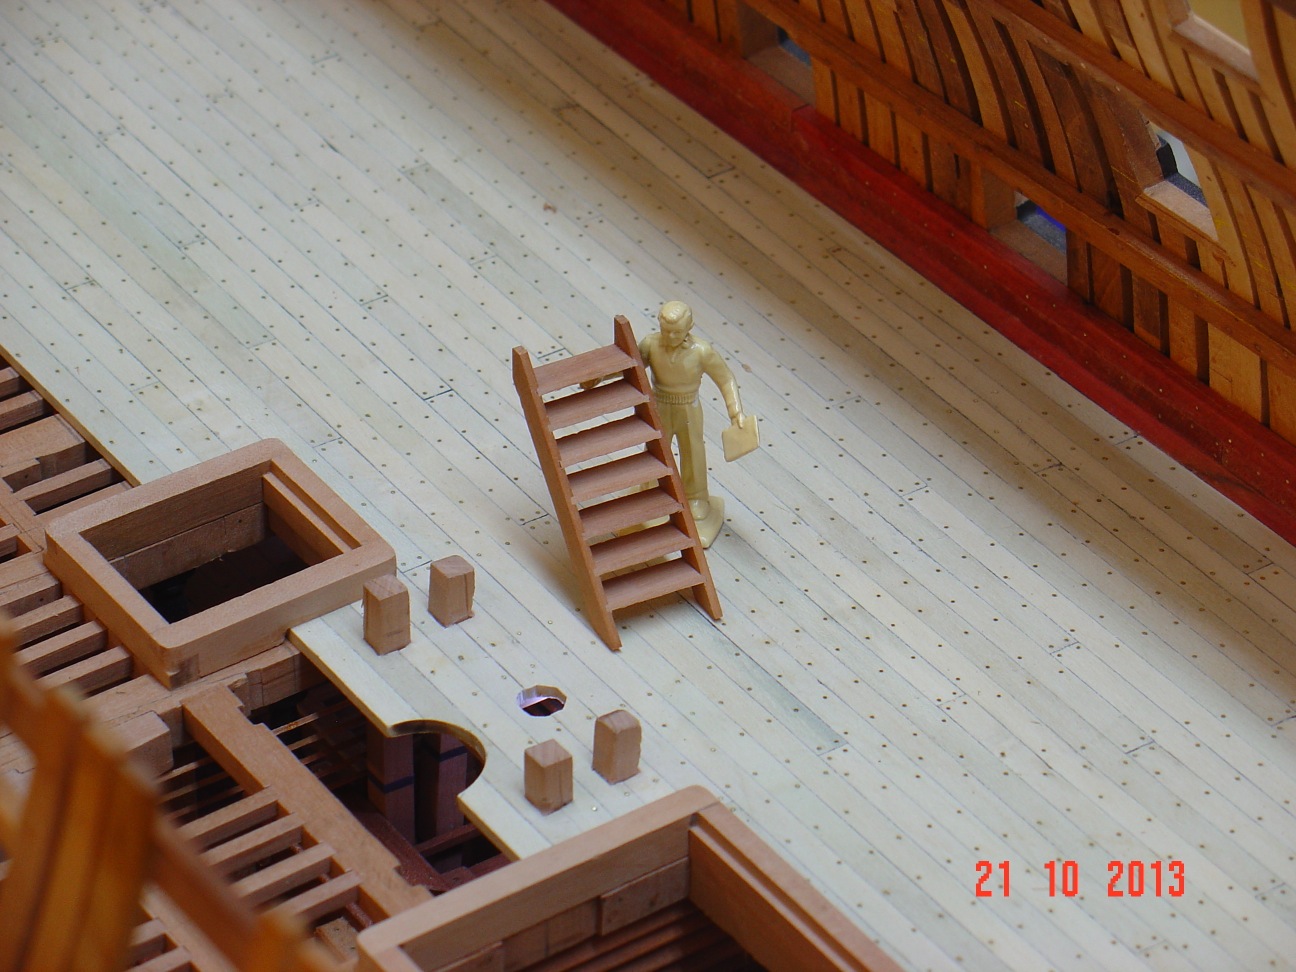
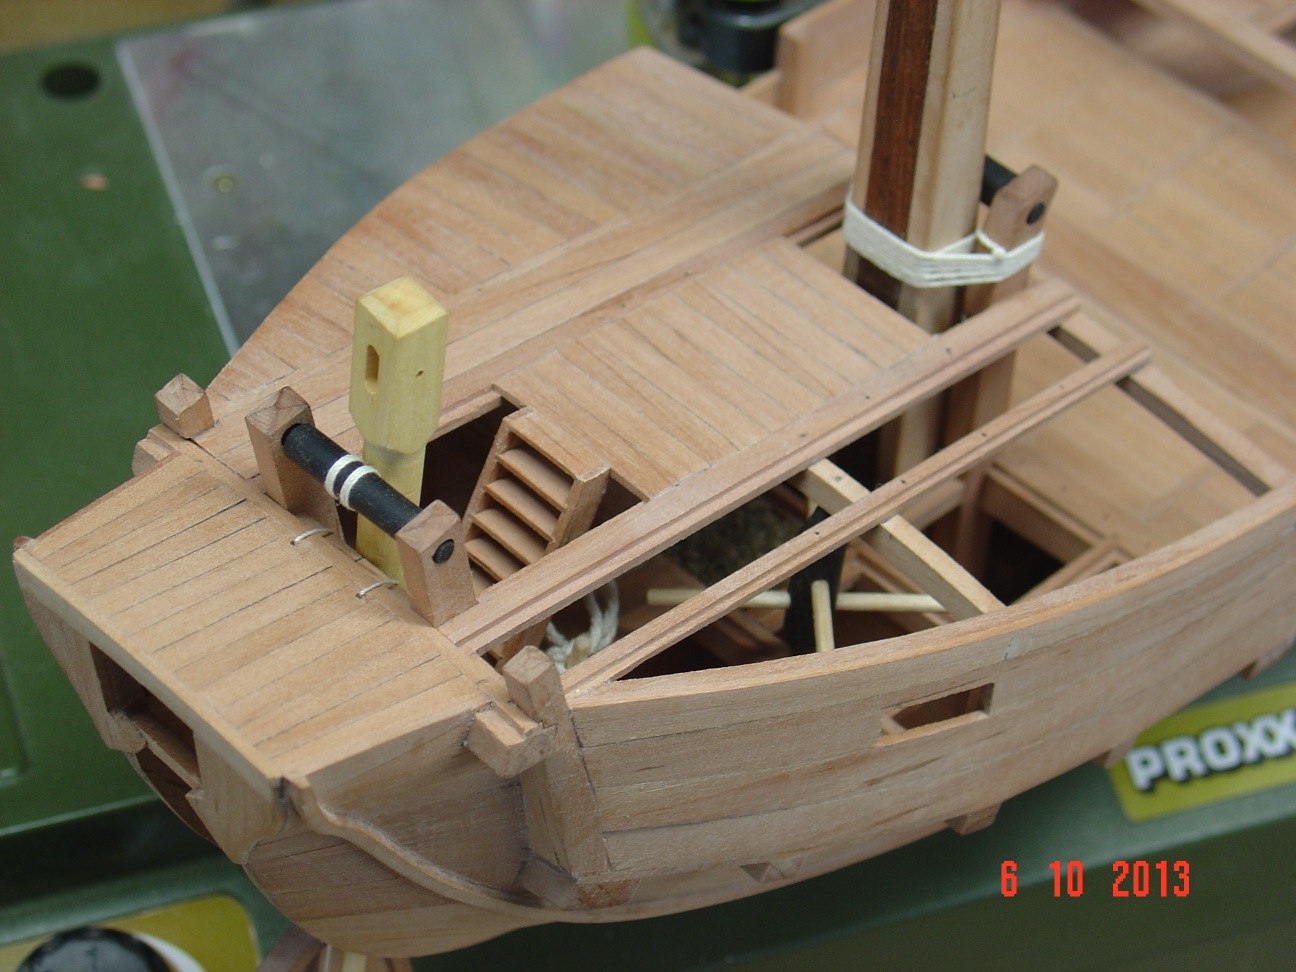
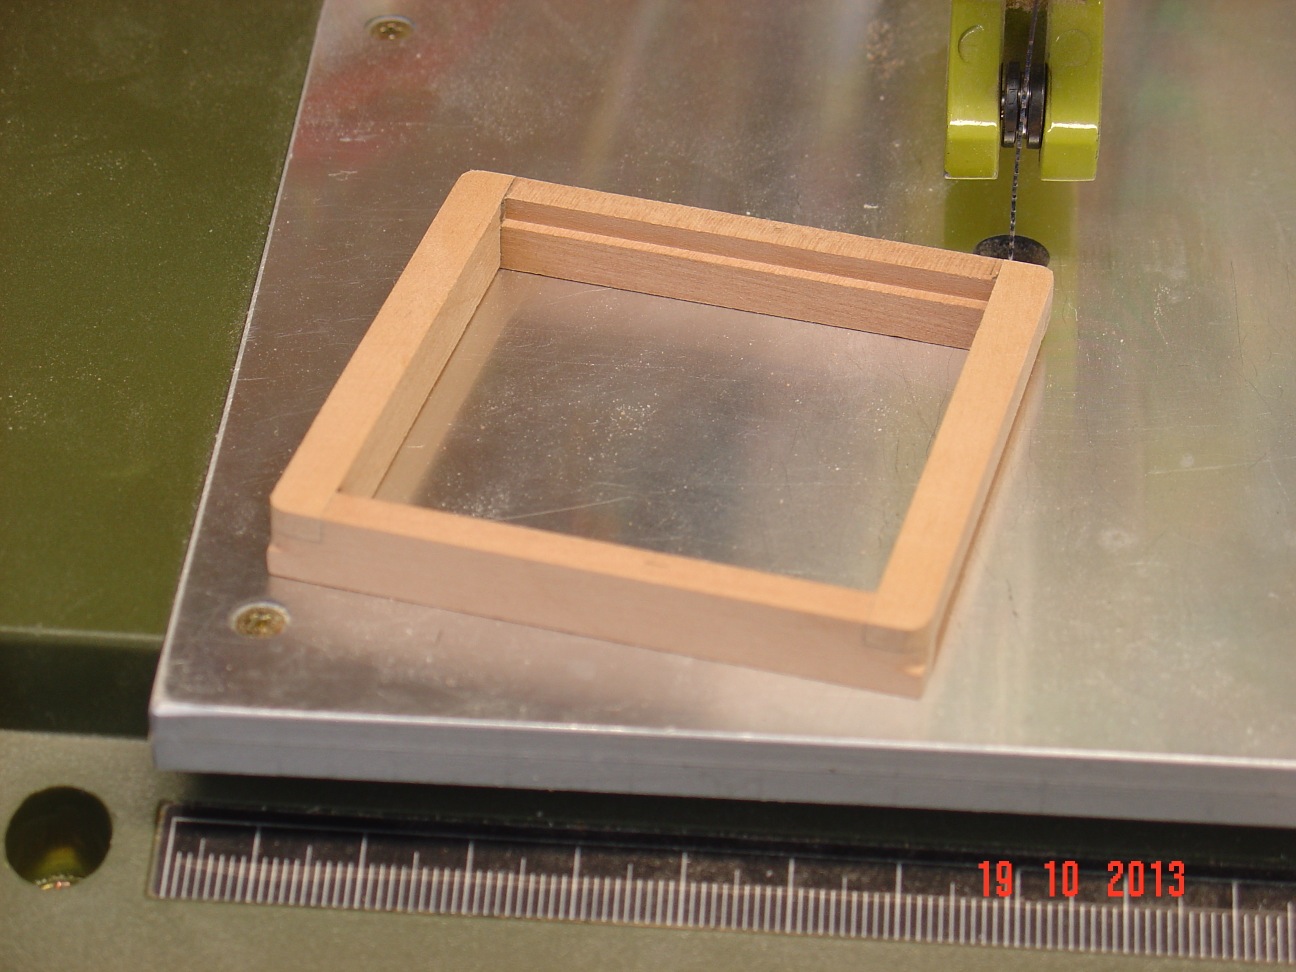
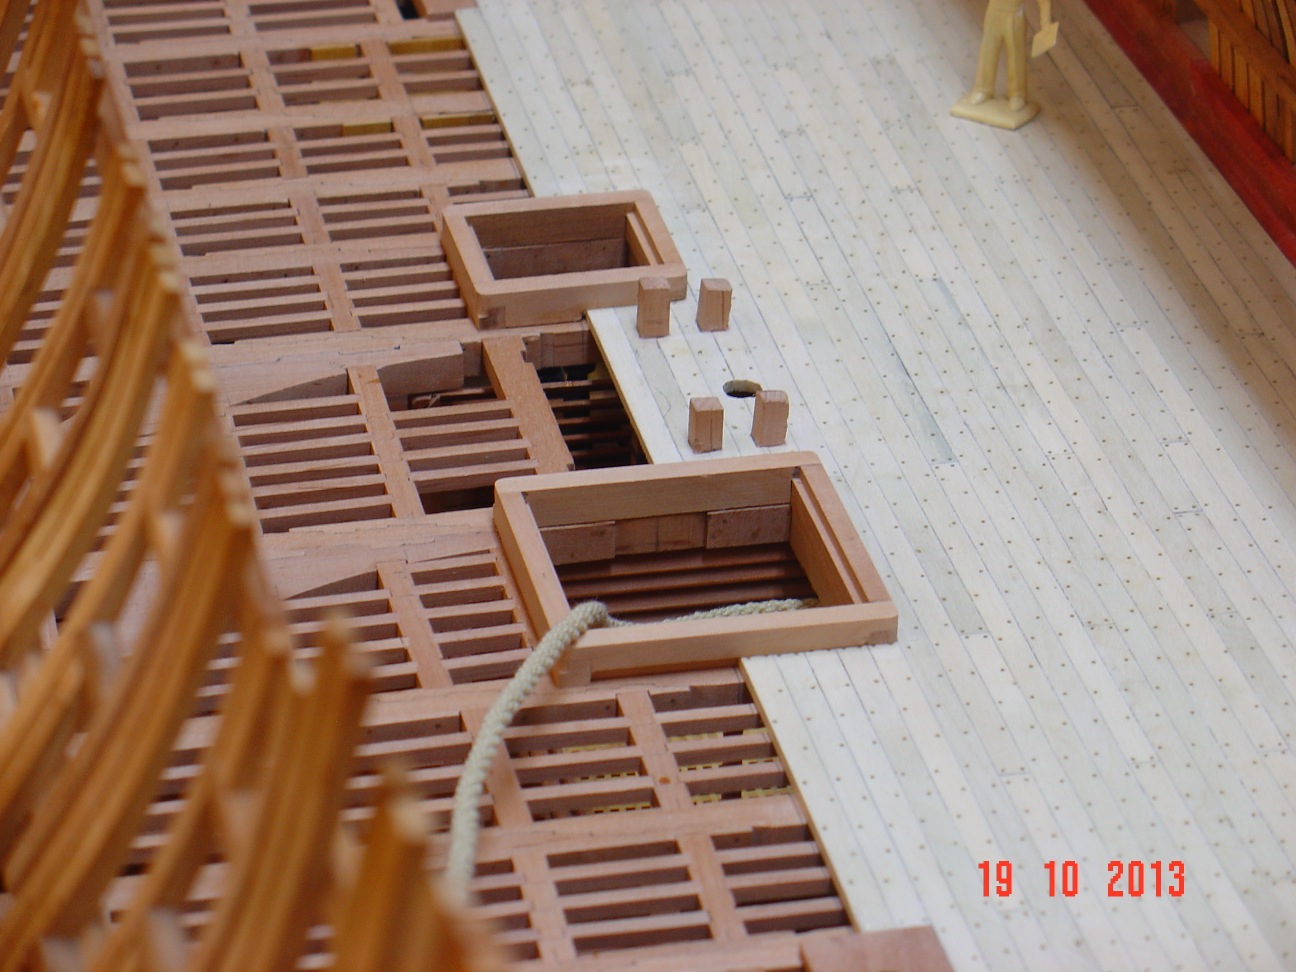
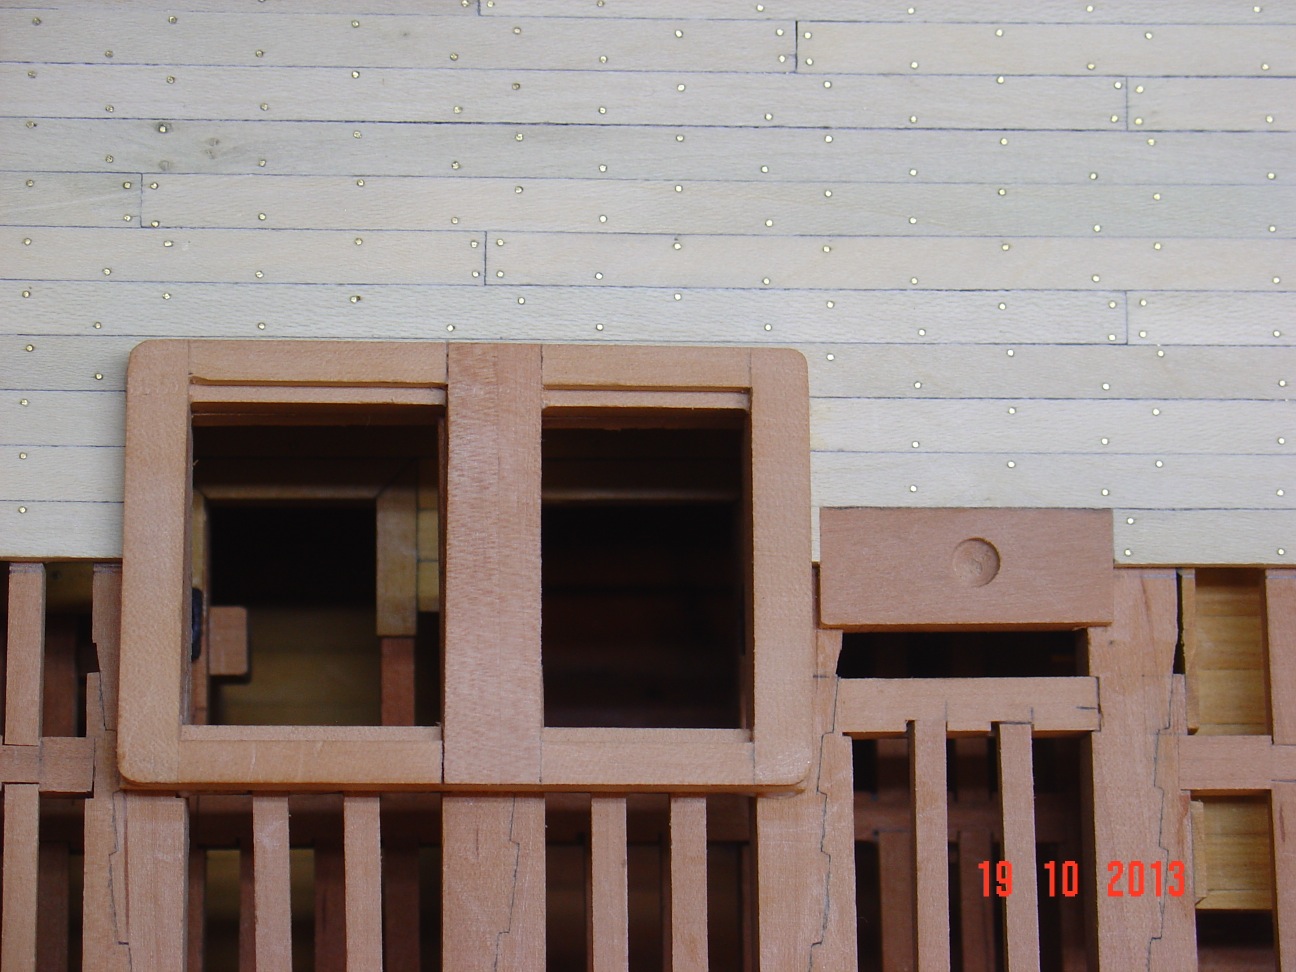
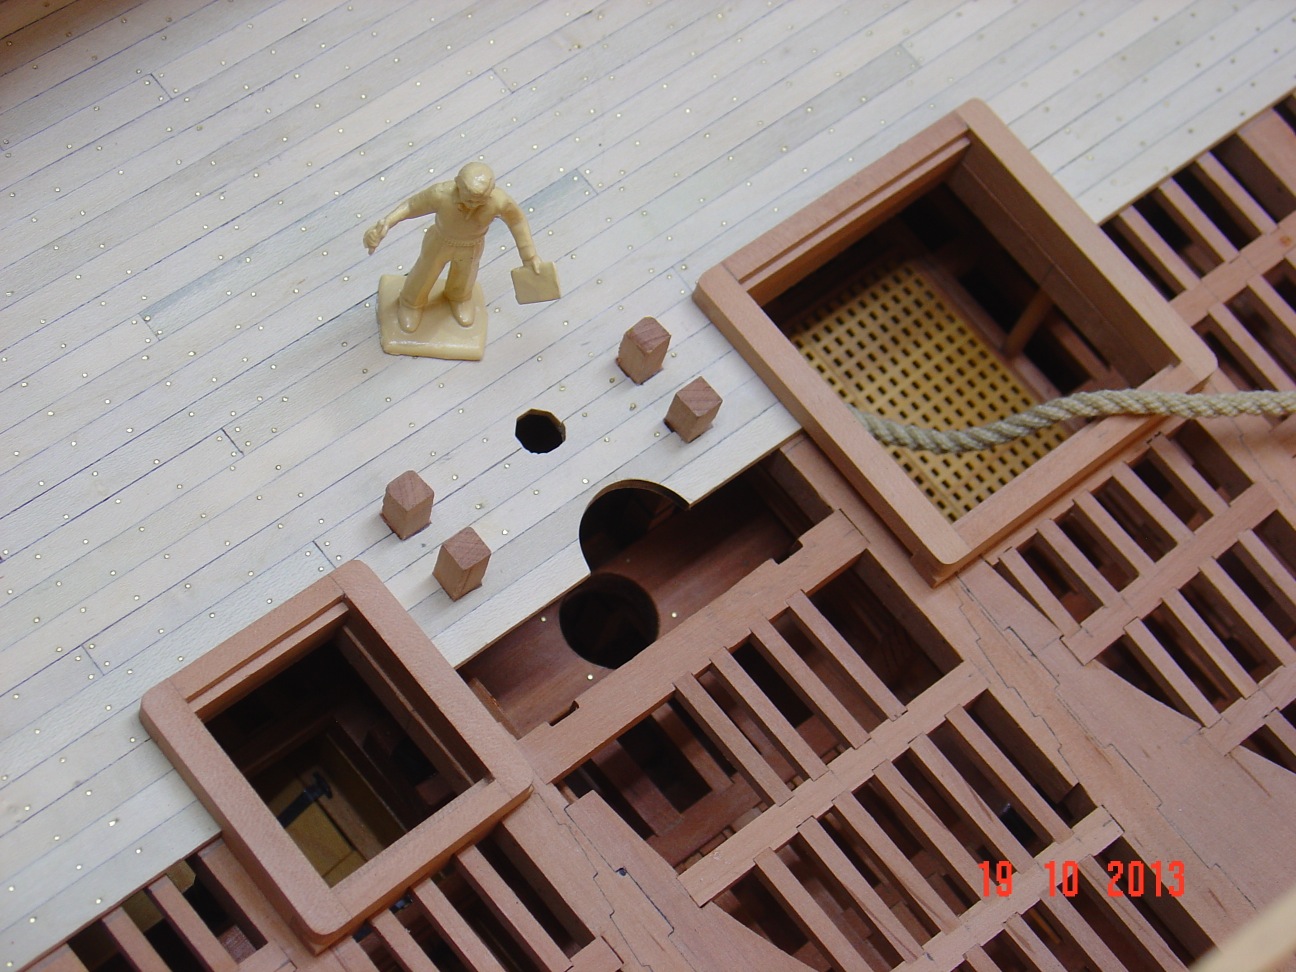
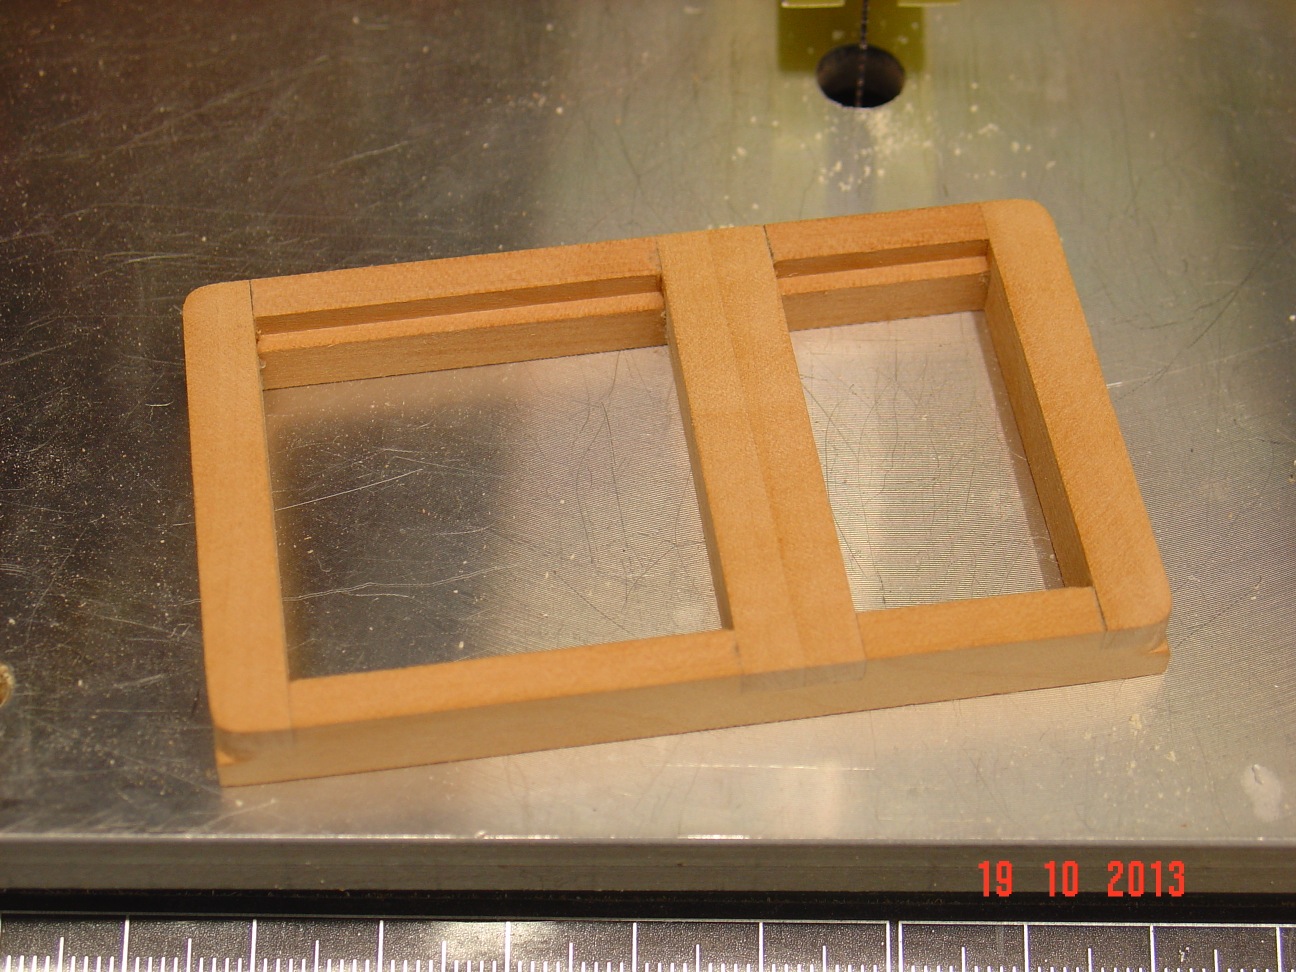
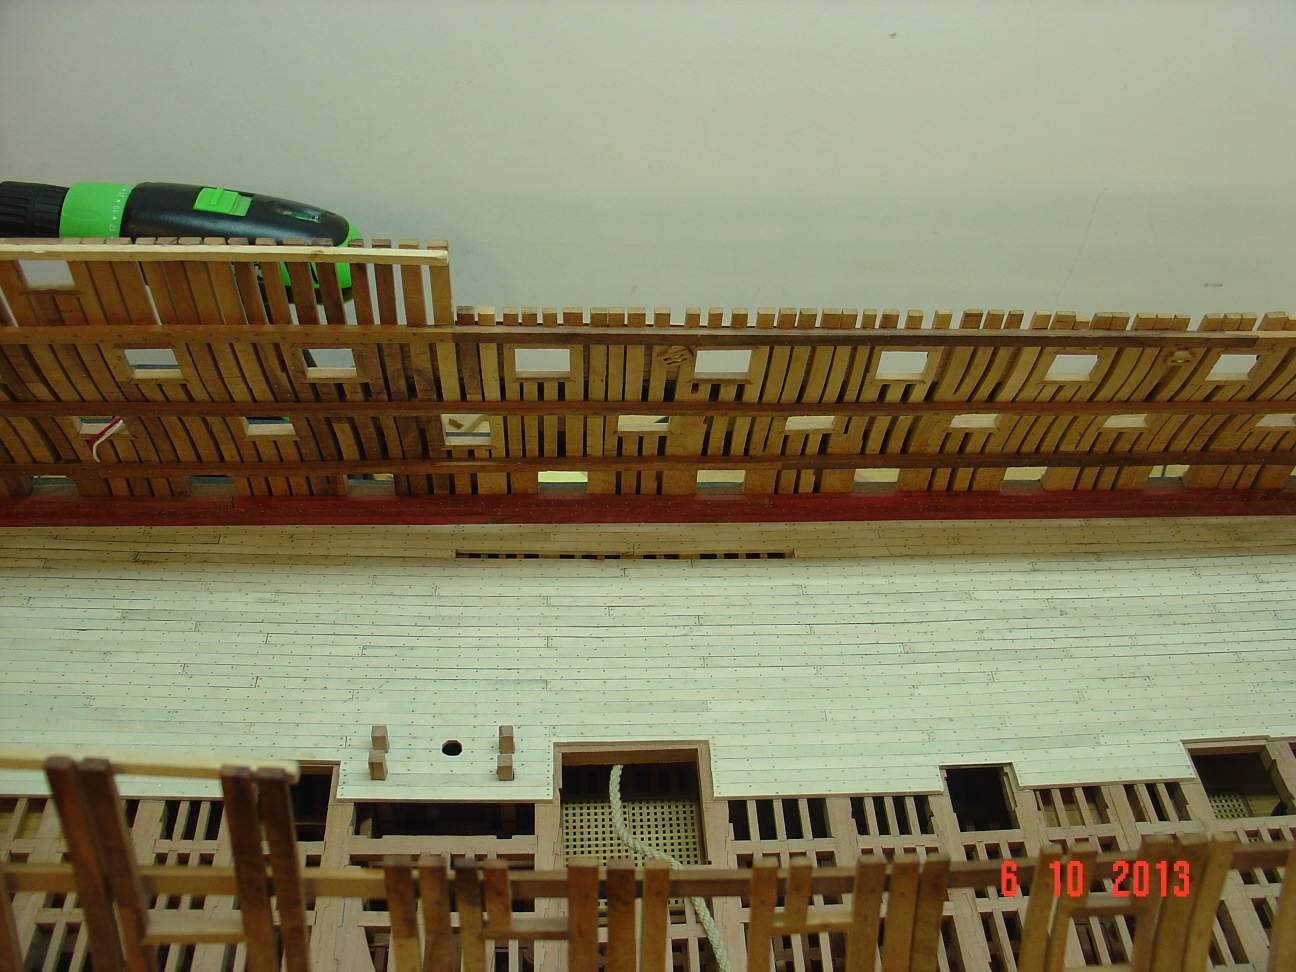
Did some more work on the main gun deck details: shot racks, couple of small hatches and I nailed the coamings for the big deck openings.
First set of shot racks were done with a different bit which burned the wood - thus the black colour. Luckily I found a different one which didn't and I used that one. The distance between "holes" is 5mm and this gave me about same number as in the plans.
Alexandru

-
-
-
-
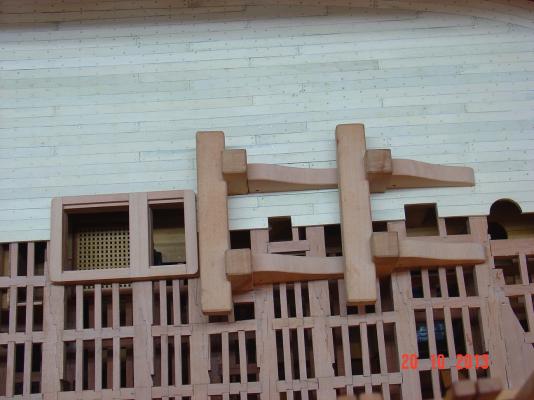
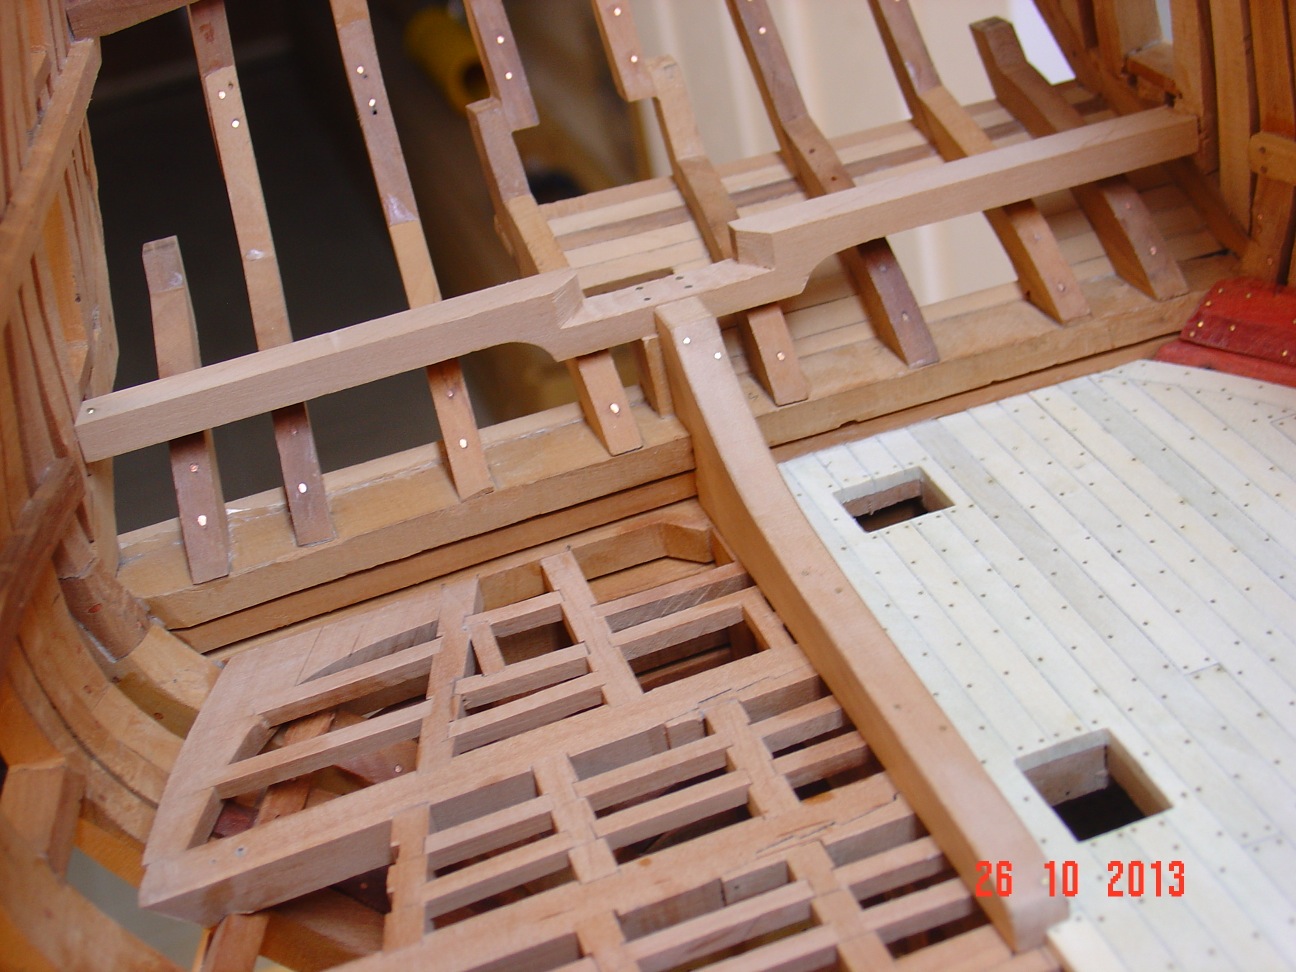
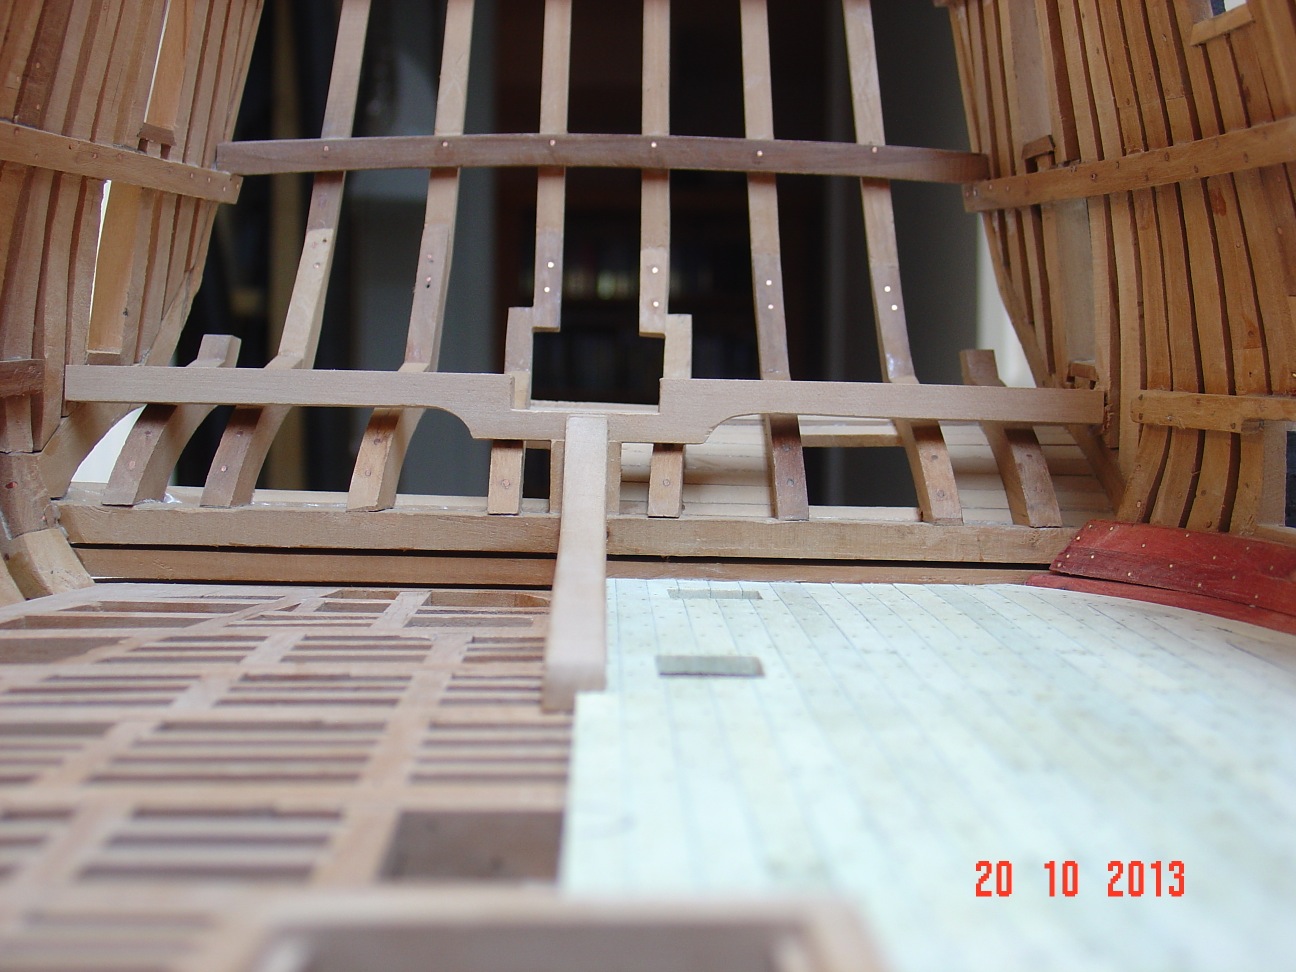
That massive beam you milled, would that have been one piece in the original, or three parts bolted together?
Jan
Jan,
Unfortunately, my plans provide no details concerning that beam - called helm port transom. I made it one piece as I know the wing transom below is also a single piece. This "beam" is not actualy a beam in the above gun deck so would it be required to be of high strength?
I have some pictures from that part of the real Victory but everything is so thickly painted over you can't tell if is one piece or more.
What I found about it in Goodwin's "Construction and fitting of English man of wars" is, and I quote: " a single stout transom piece called a helm port transom"
Alexandru
-
-
-
Hello all,
Another small update.
Alexandru


- fatih79, butch, Кутузов Сергей and 4 others
-
7
-
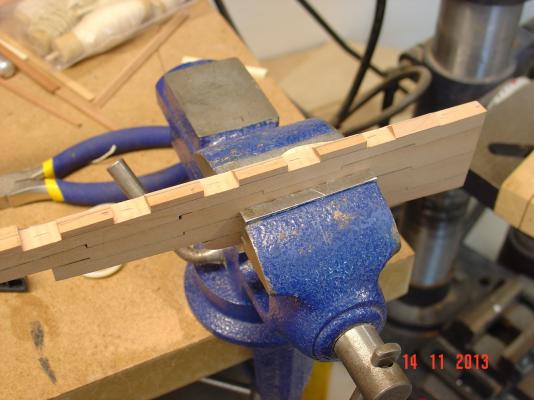
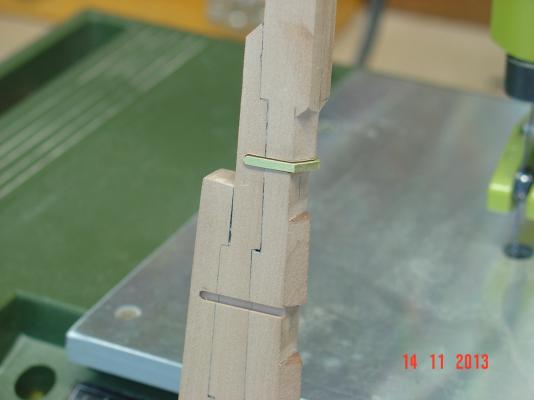
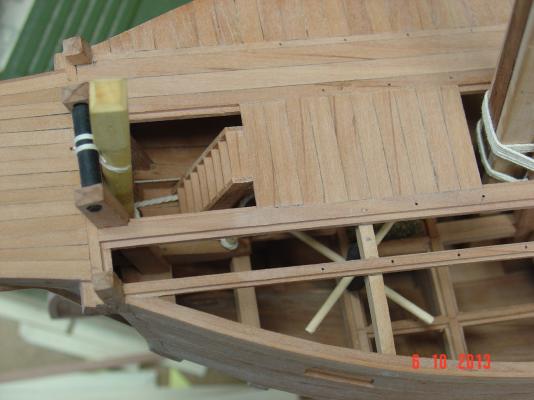
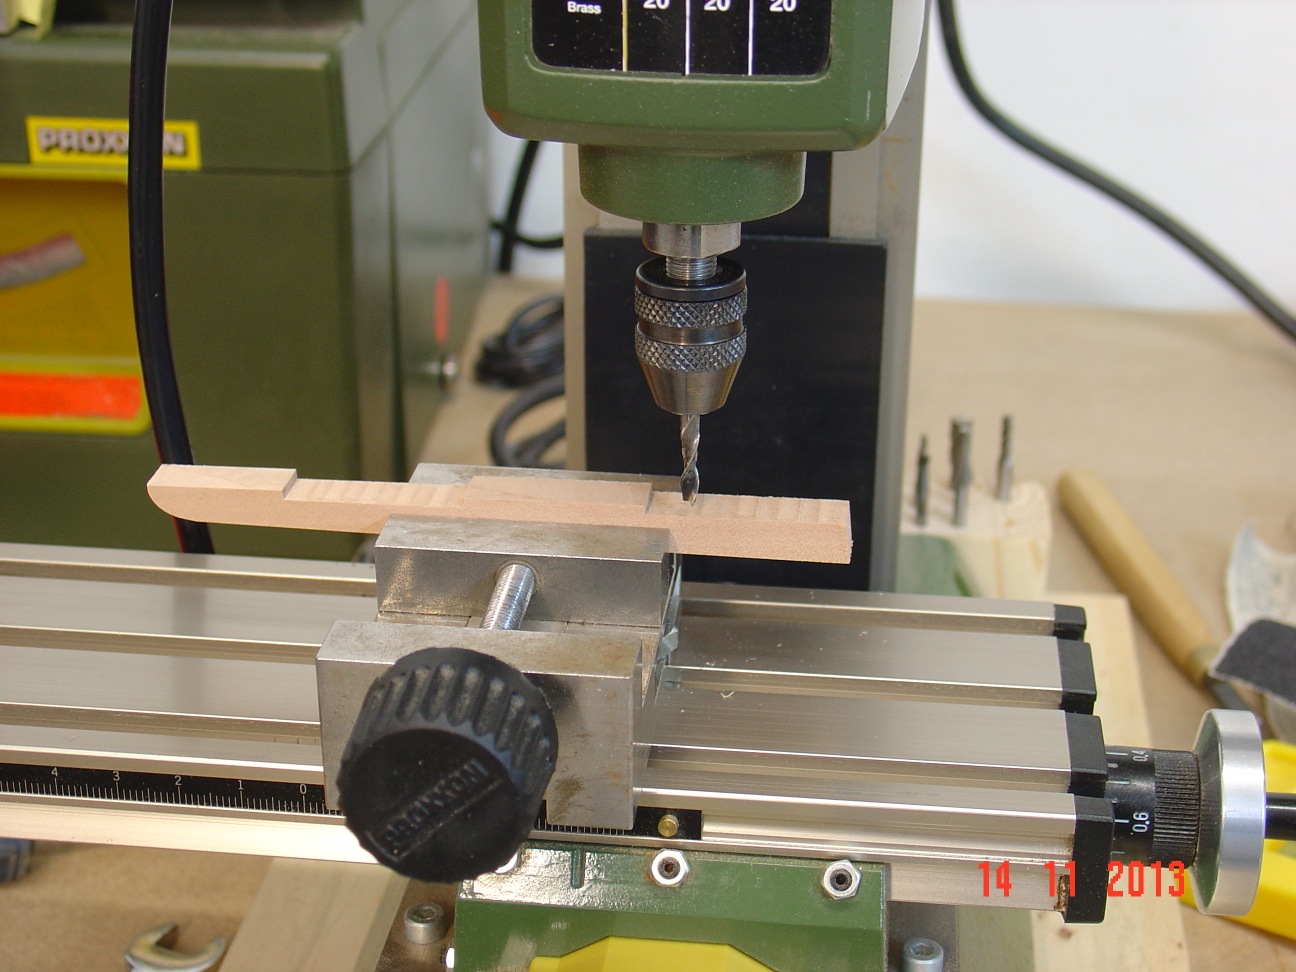
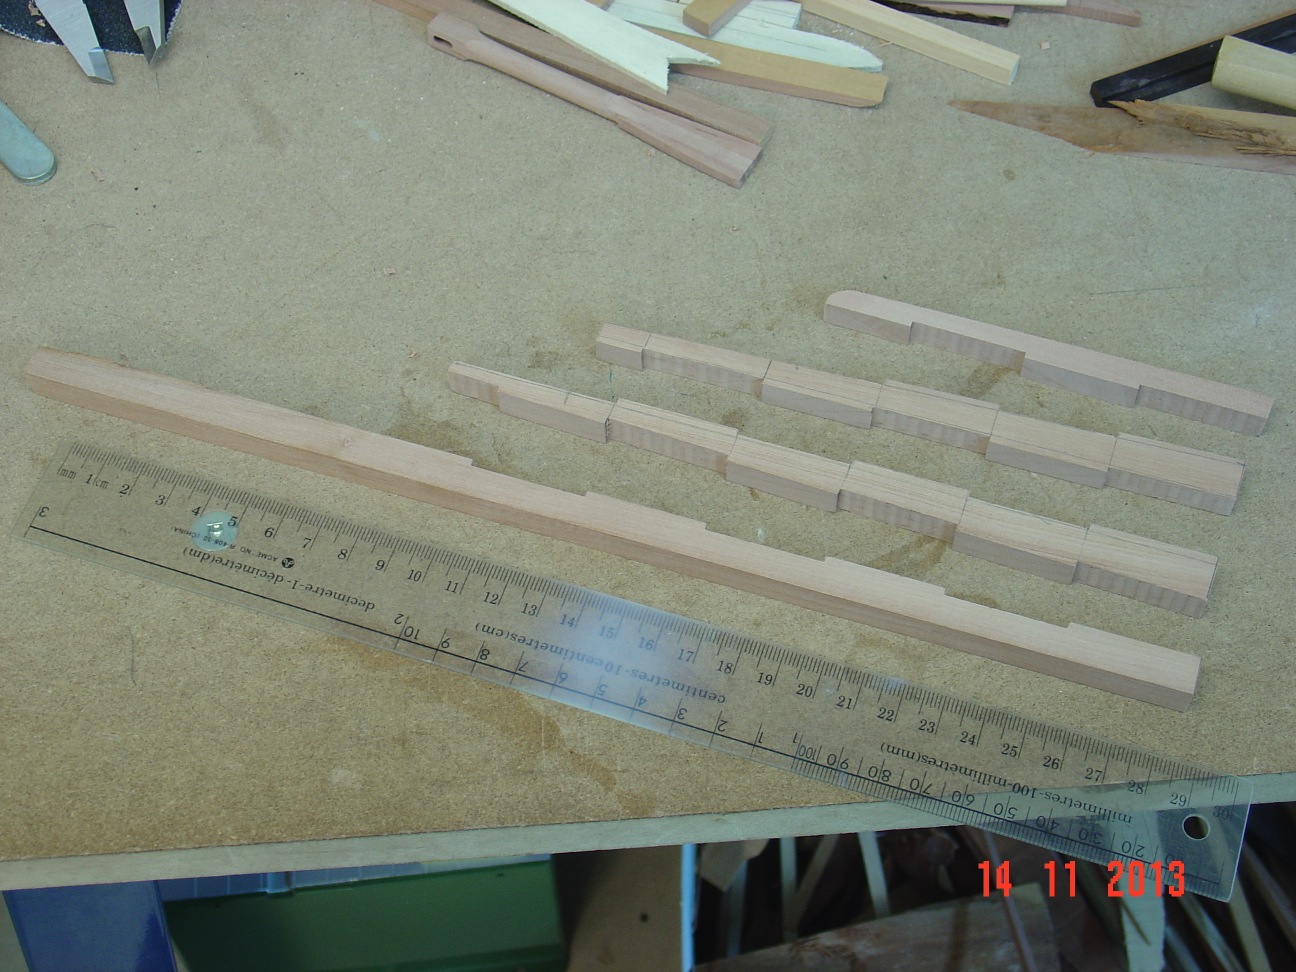
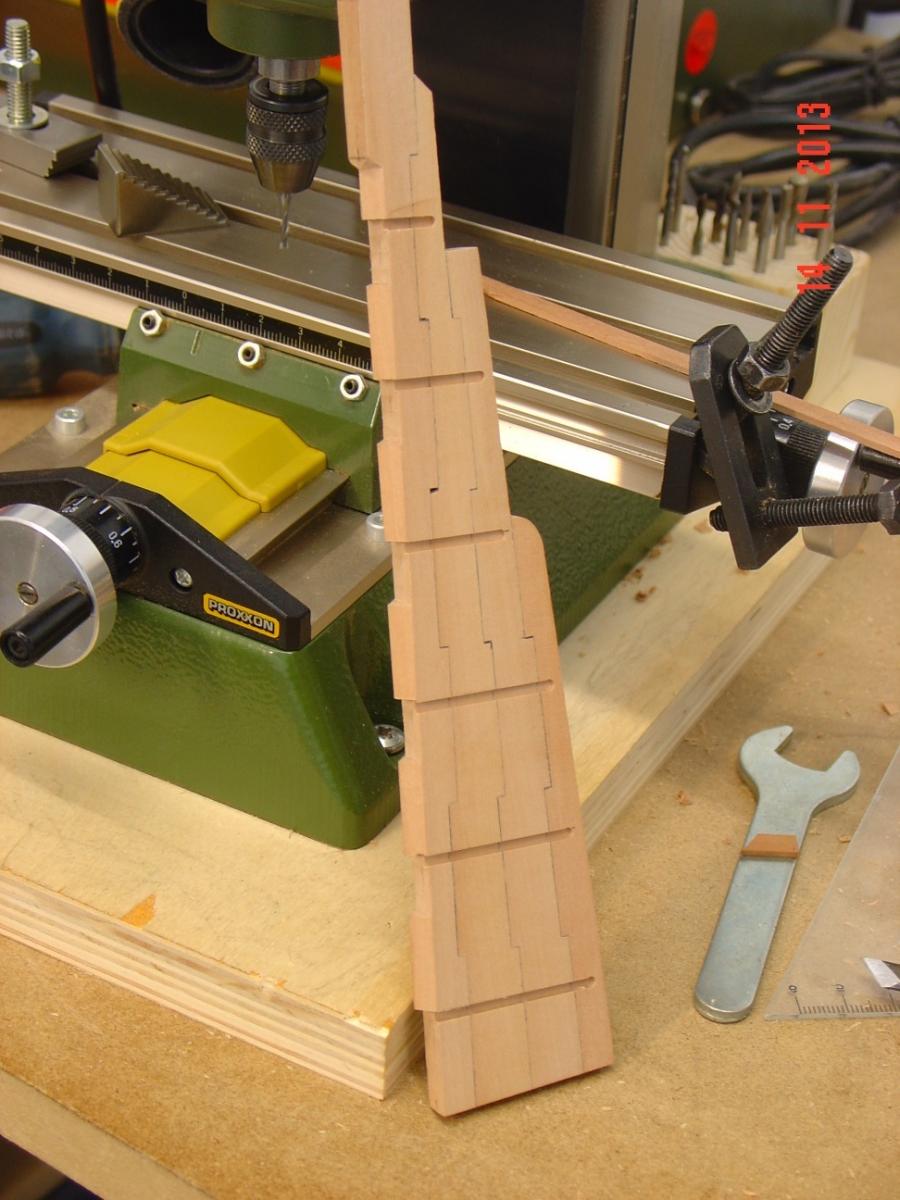
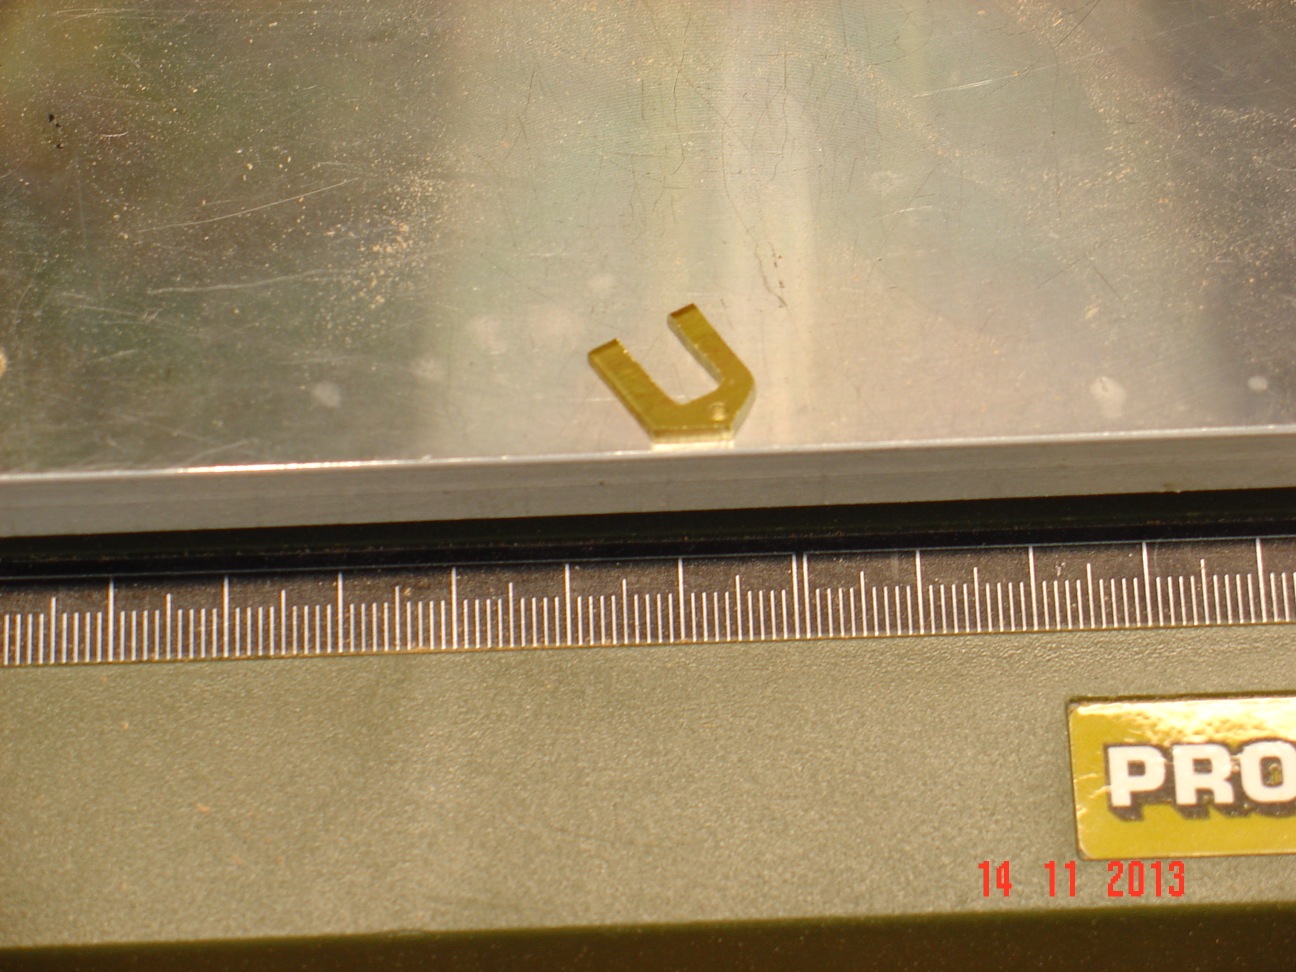
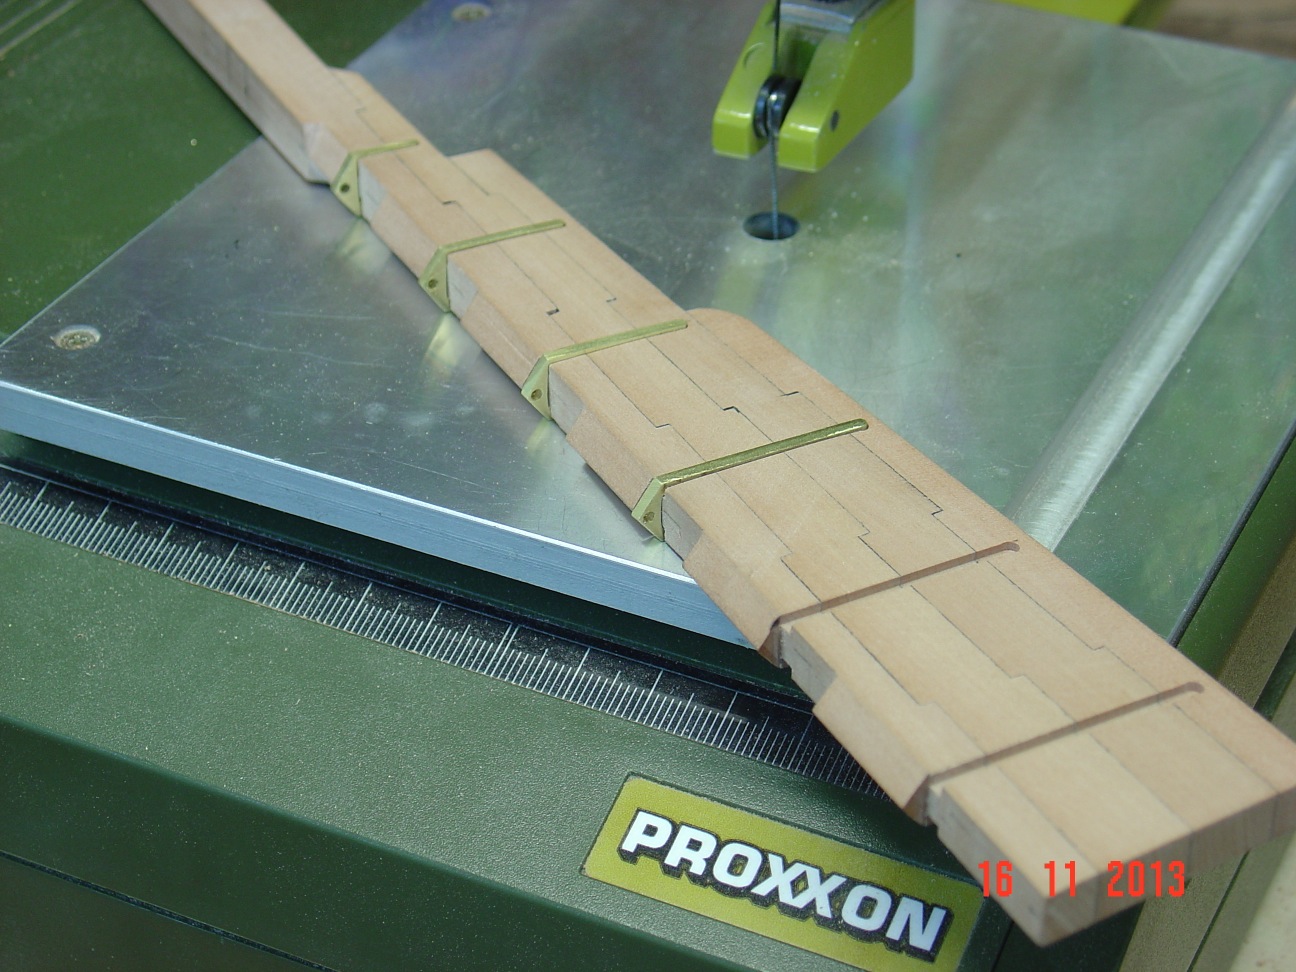
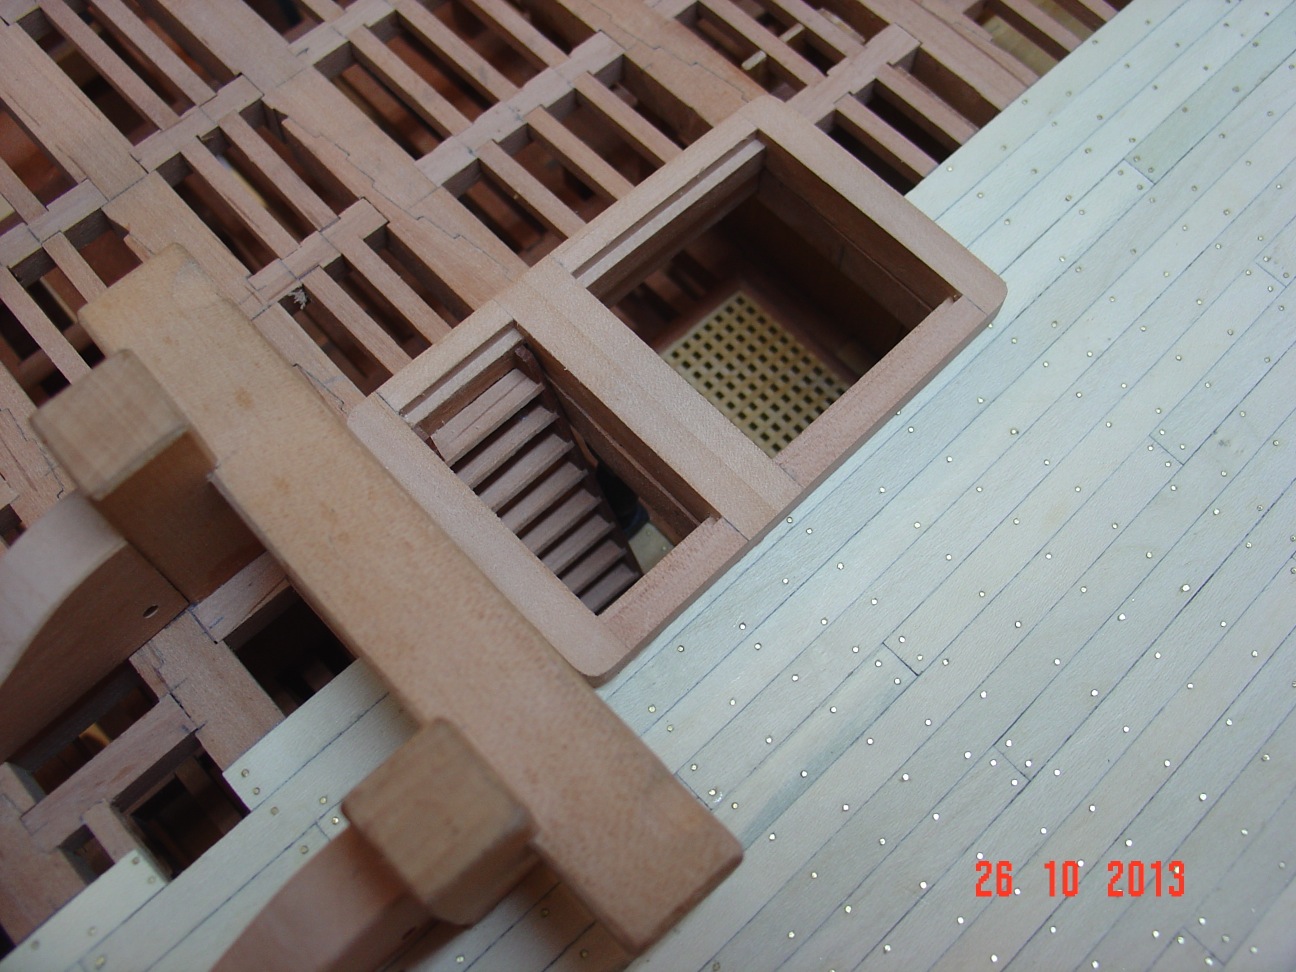
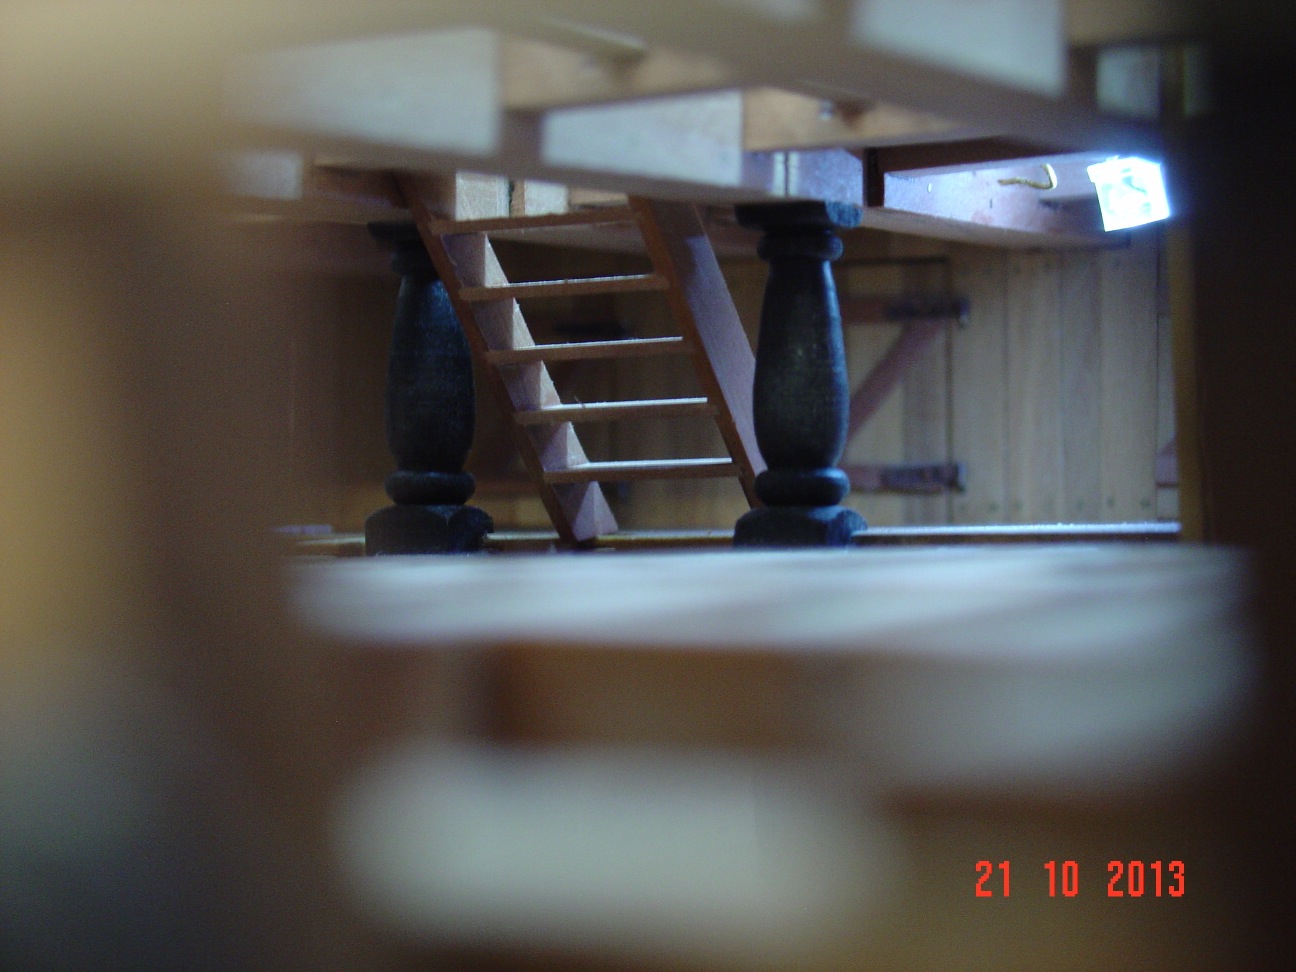
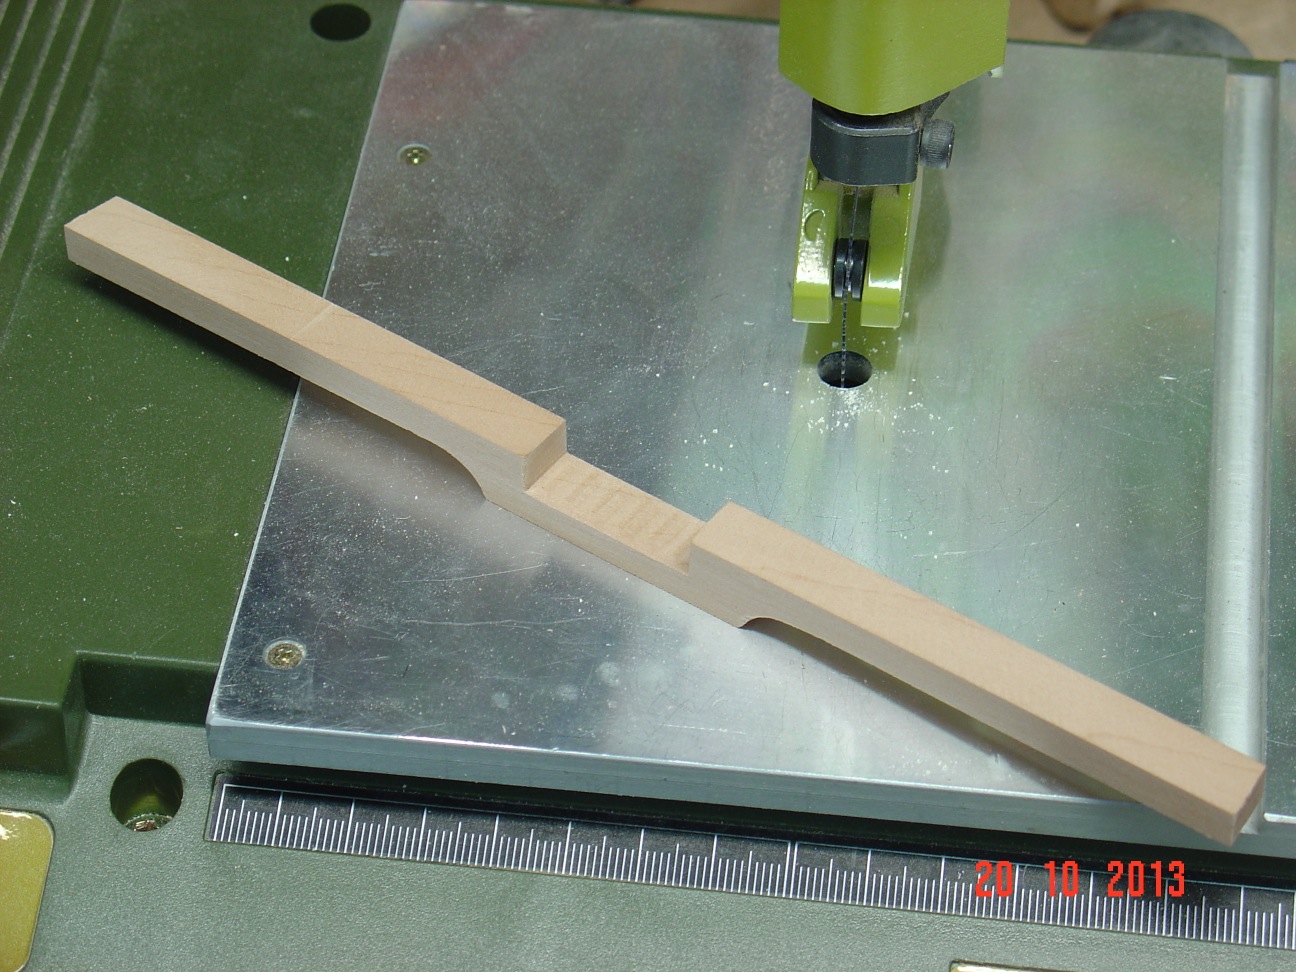
Nicely made ladder - I assume you have a jig for assembling it.
John
John,
I don't have any jig to assemble the ladders. Once the notches are cut in the two sides on the mill in the same time as you can see in the first picture the assembly is manual. The only thing a bit "special" I do is to glue in place the first and last steps first then press it in a vise for a while so the glue sets making sure to preserve the rectangular shape. After that the rest of the steps are glued by sliding them in place. Nothing fancier than this.
Alexandru
- WackoWolf, gjdale, harvey1847 and 1 other
-
4
-
Are you sealing the wood with a finish as you go along?
Yes I do with tung oil. But only once all that had to be glued in place is already glued in its place - which makes the oil application quite cumbersome at times.
Alexandru
-
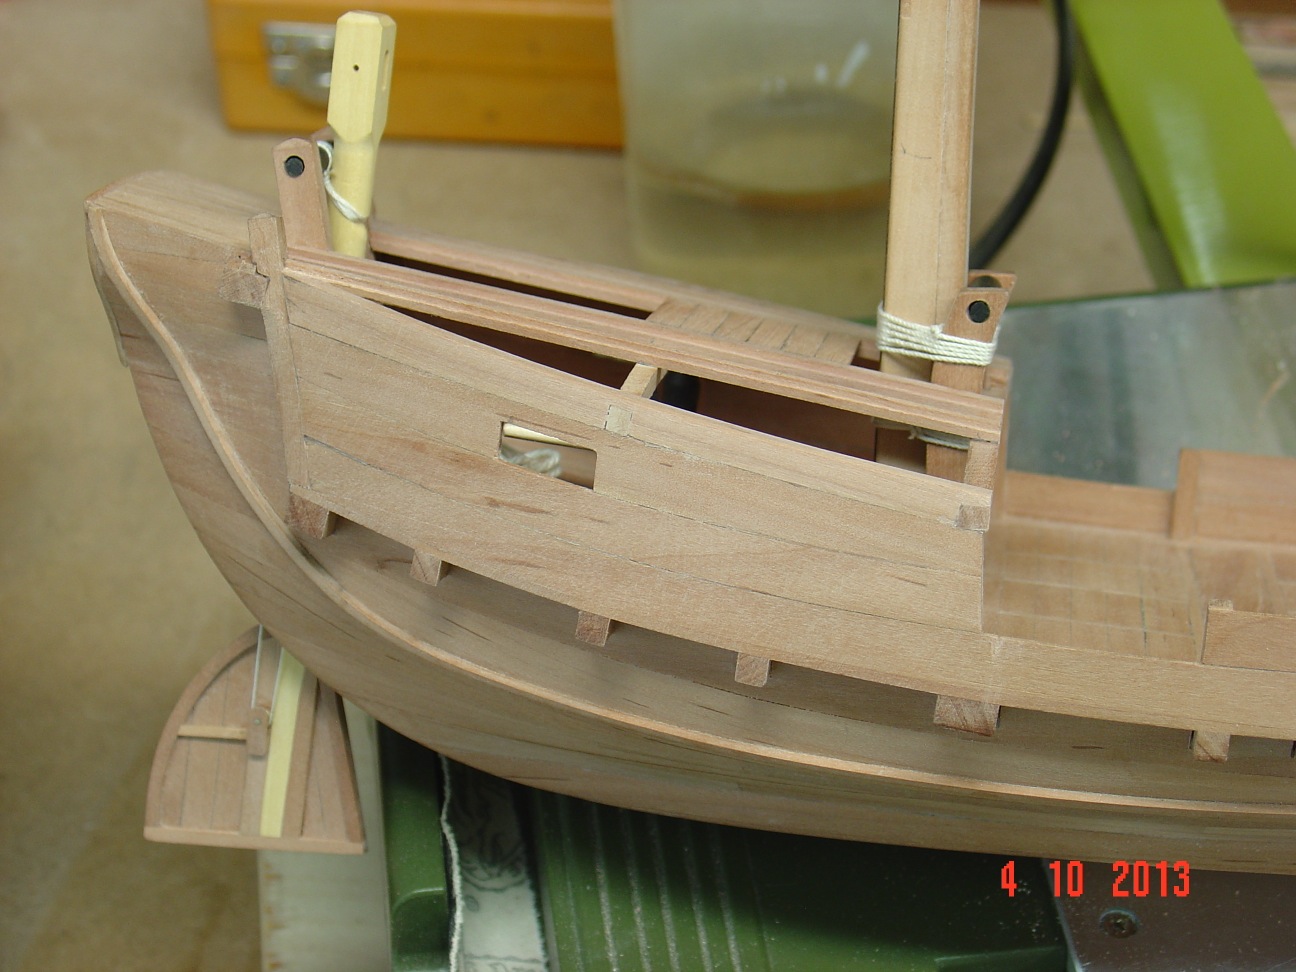
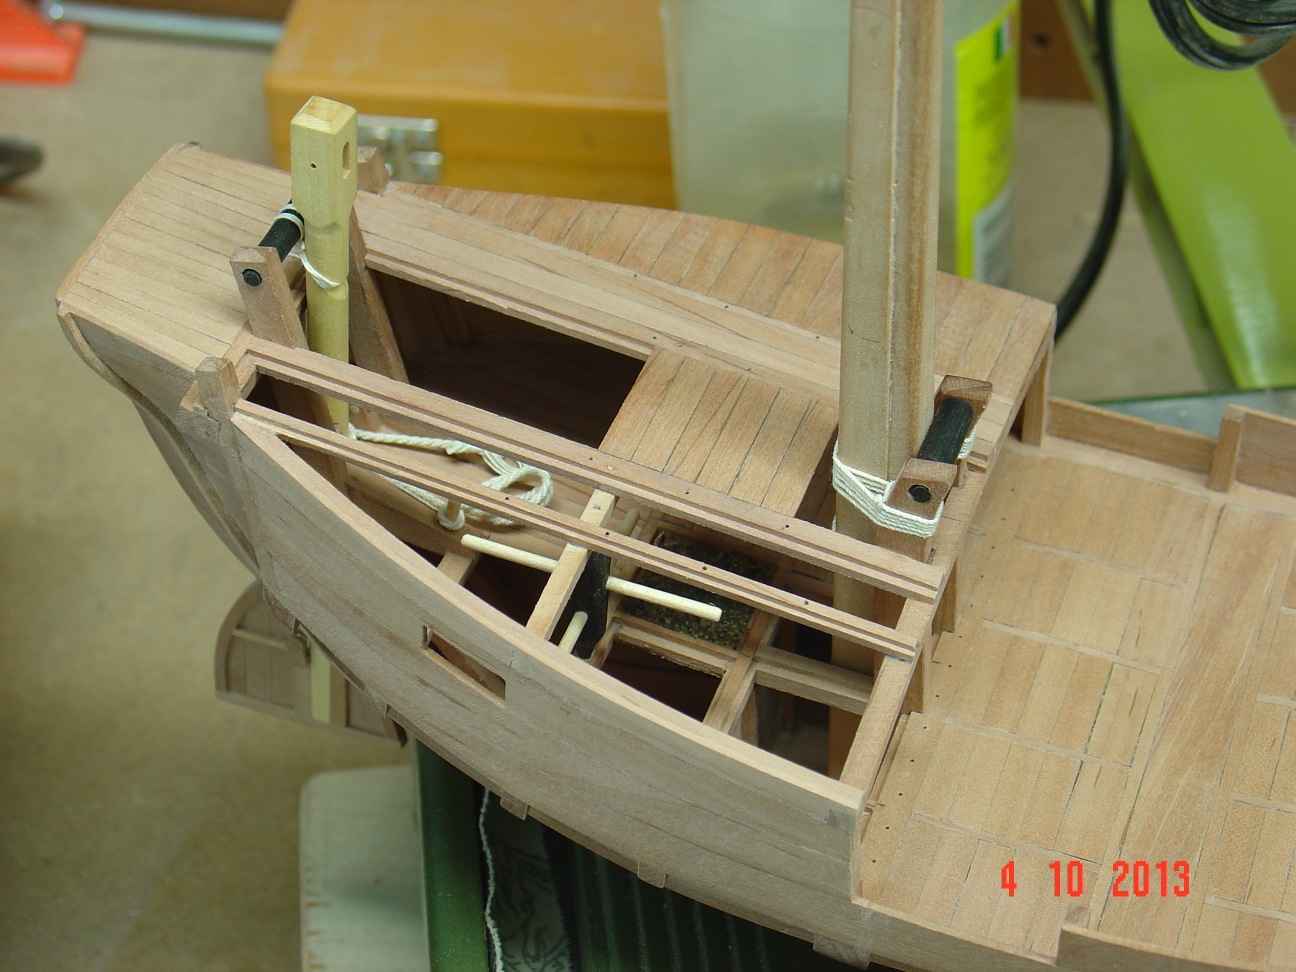
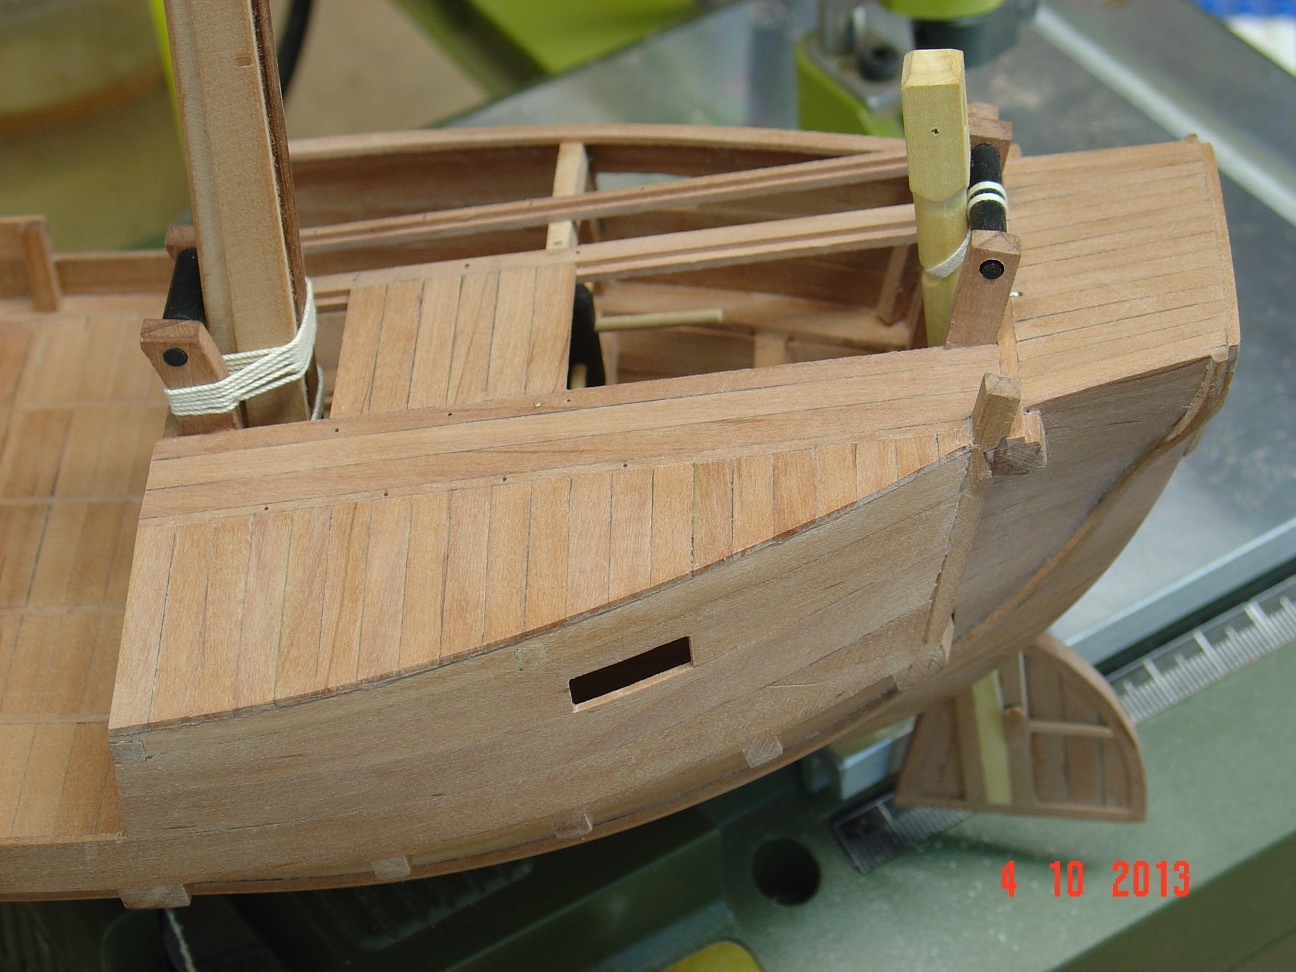
Some progress on the Fune too...


- mtaylor, druxey, harvey1847 and 1 other
-
4
-
-
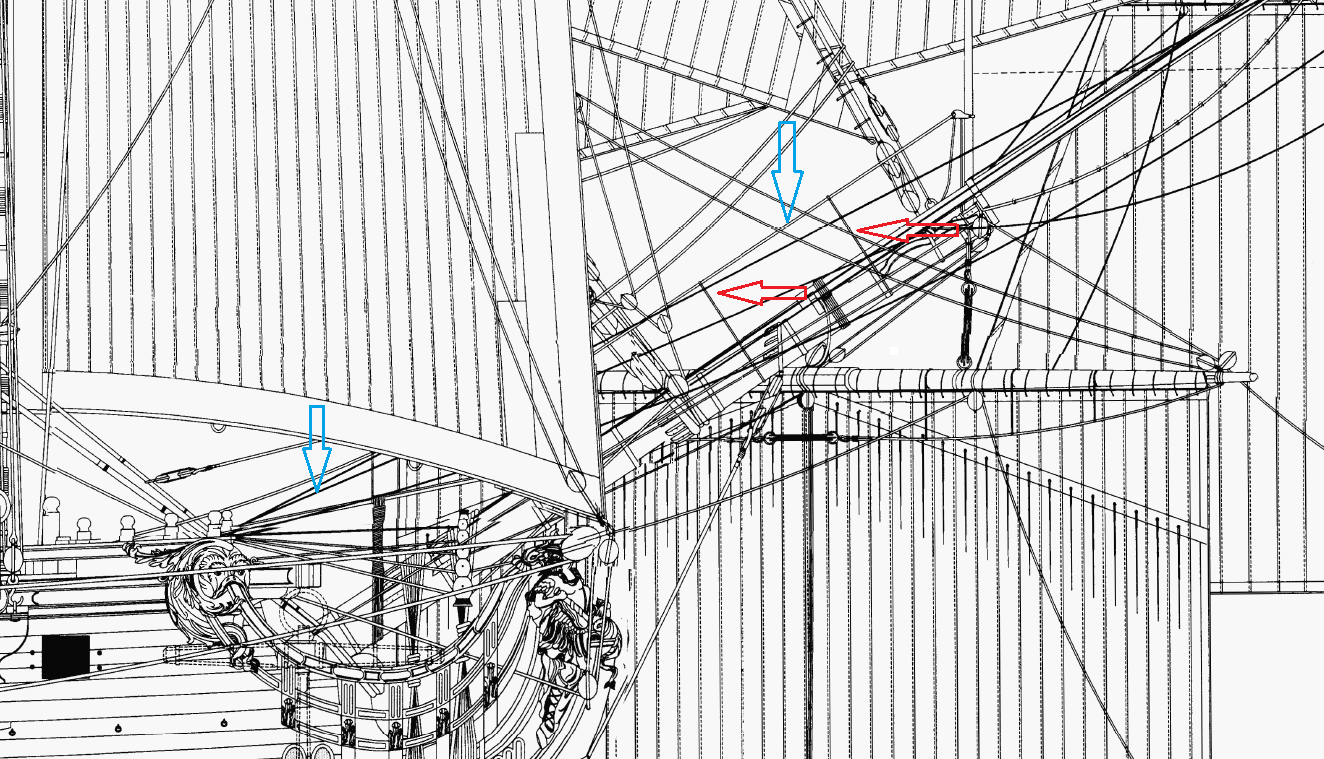
Carbapente,
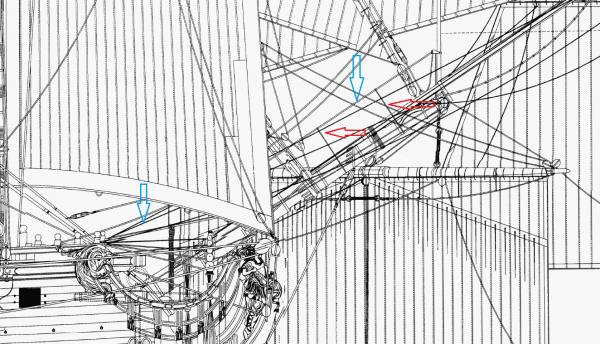
The French text talks about the two ropes alongside the bowsprit and not the rope you are pointing in picture 2 which is a stay as Druxey said. These ropes are used by the sailors walking on top of the bowsprit as rails to hold onto not to fall into the sea. See the rope pointed by the blue arrows in the attached picture.
The description in French gives the dimensions and how those ropes are attached to the bowsprit cap (one on each side) on two iron loops, a dead eye at the other end attached to another dead eye seized to the main mast stay loop. In addition there are several ropes attached to these "rails" and passing under the bowsprit - red arrows.
Hope this helps.
Alexandru
-
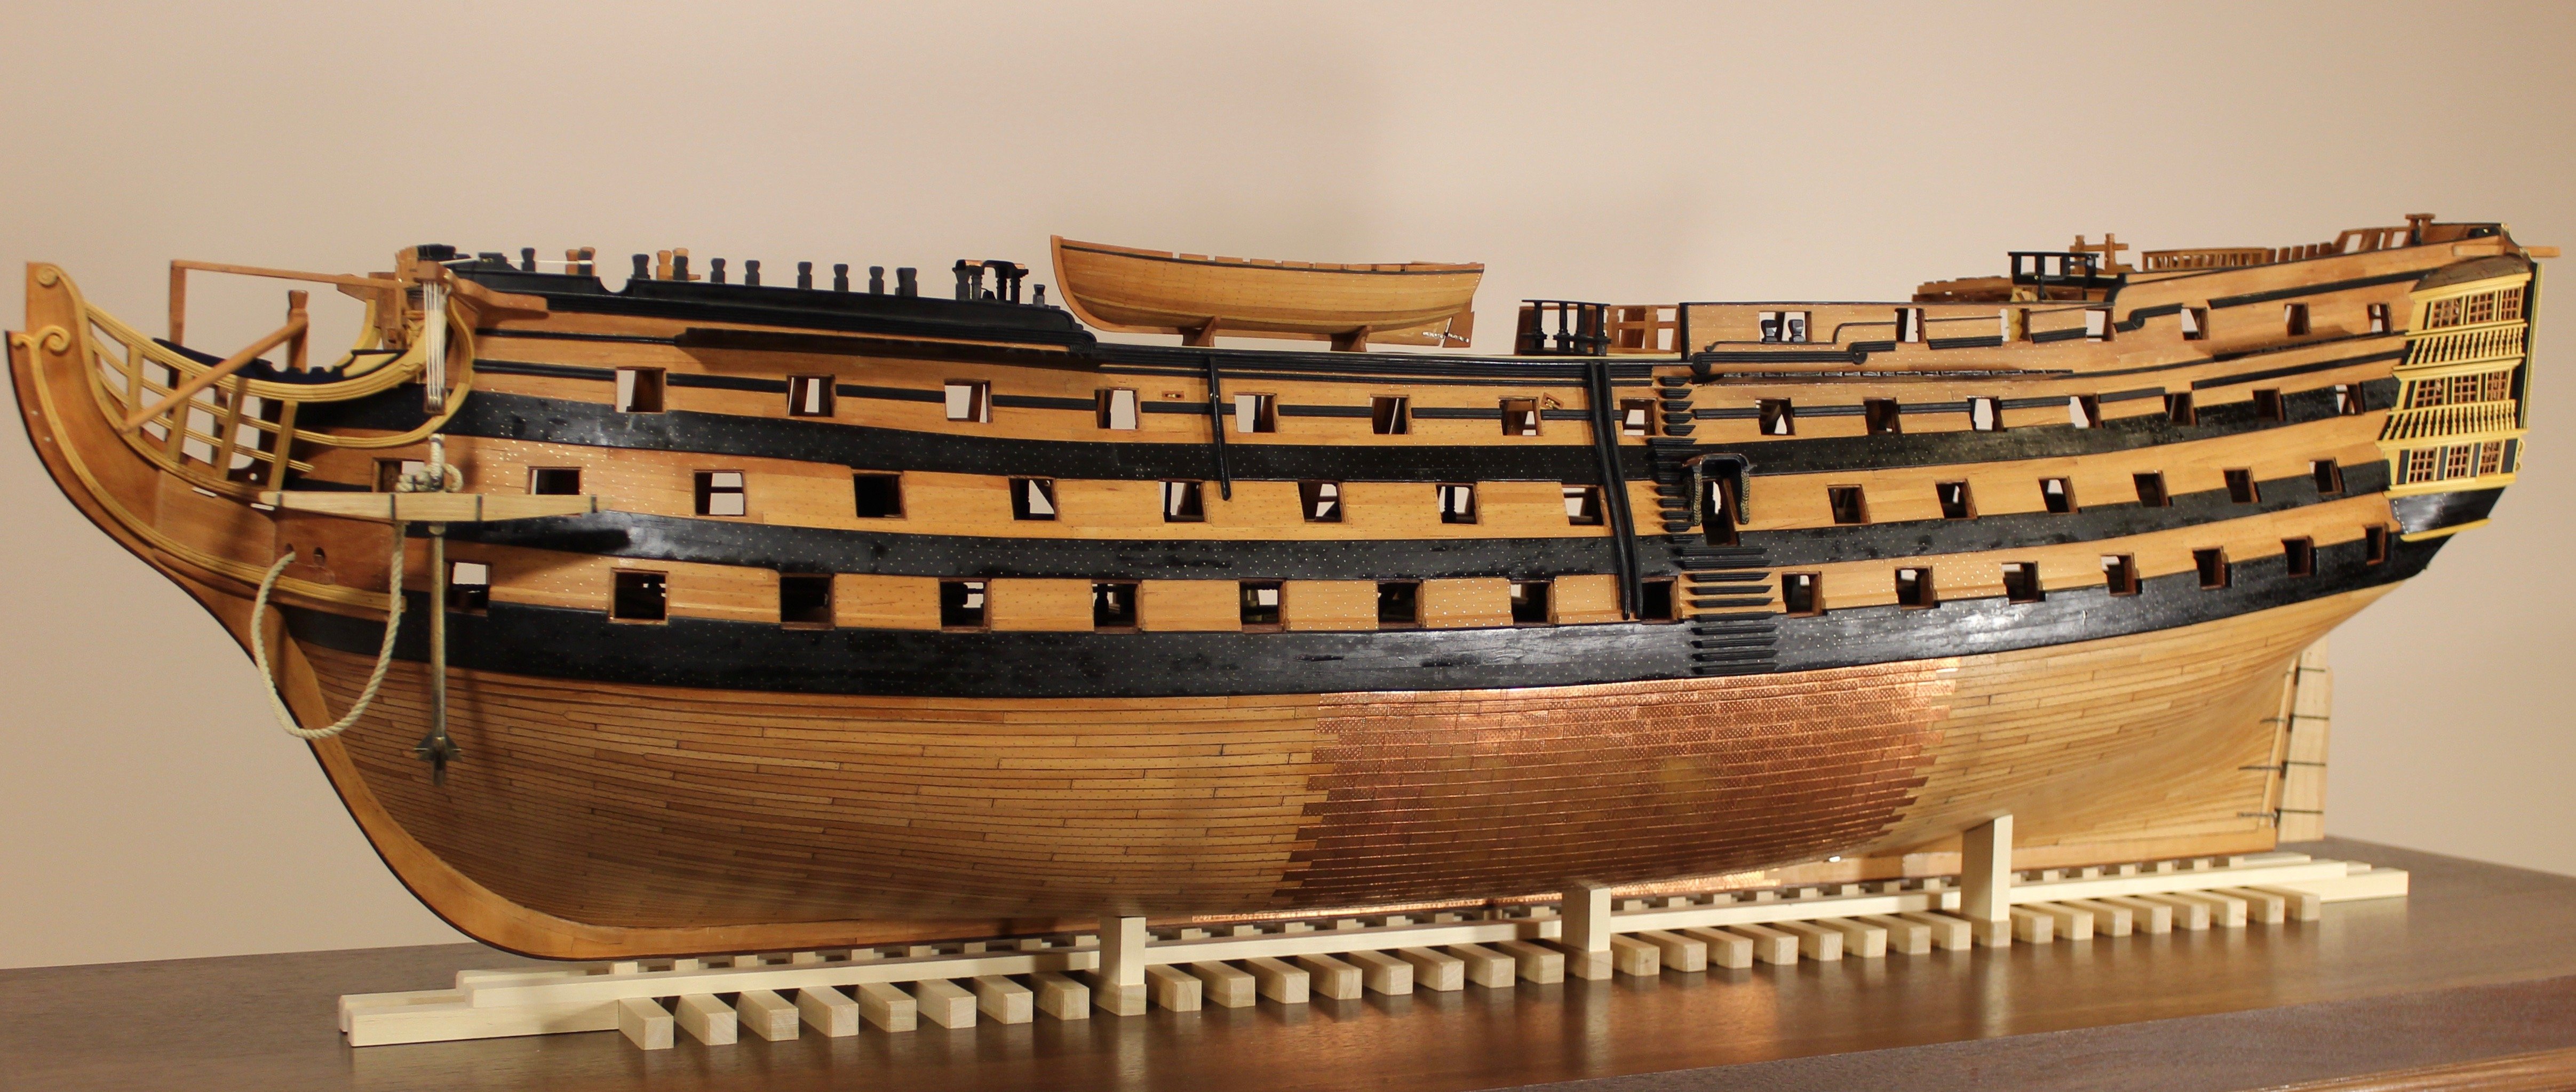
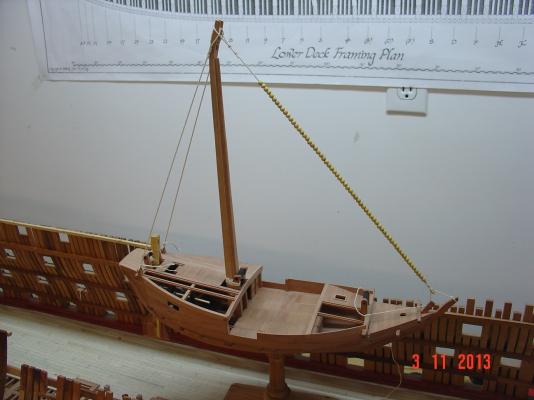
lovely work alexandru, do you know what the dimensions of this huge model will be?
The model as it is now measure 145cm (55in) by 35cm (14in) width by 45cm (18in) height and about 20kg (40lbs). It won't gain to much in size as it won't be probably masted. But it will certainly gain in weight.
Alexandru
-
Tony,
That do happens. So far I was able to recuperate all of them. I least I hope so. For that I have a long and thin piece of wood to which I attached a needle at one end and I am using it to "pick" lost pieces of wood. I also use a flashlight to see what I am doing. Having one side open also helps. From now on at least I have half of one deck covered so hopefully the future lost pieces will stop on it.
Alexandru
-
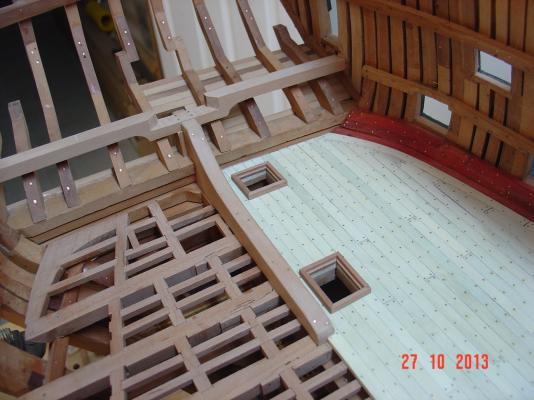
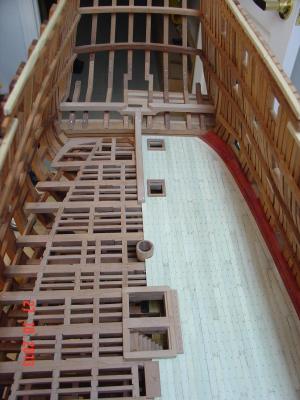
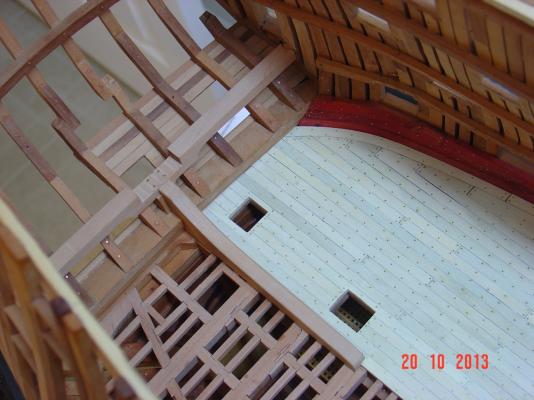
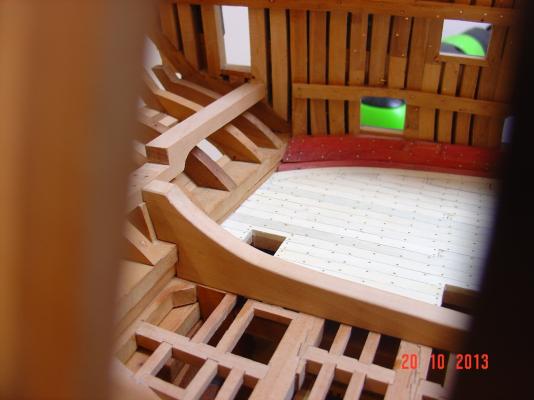
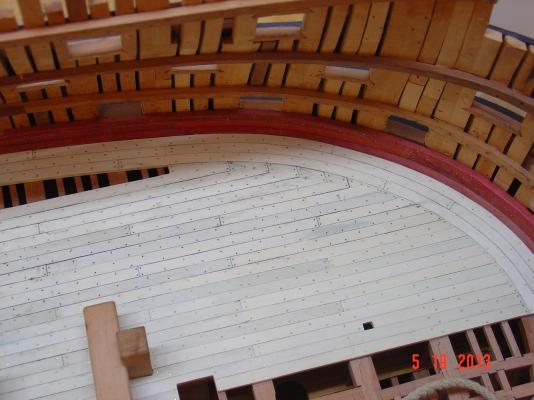
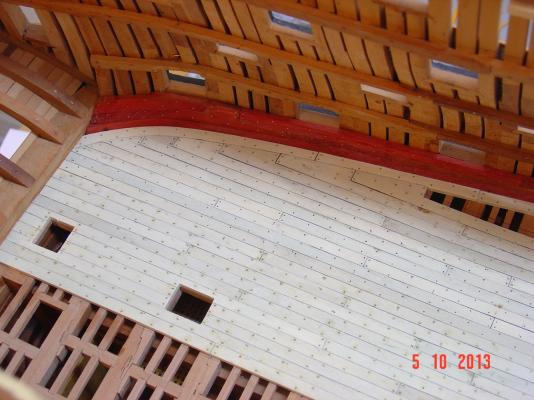
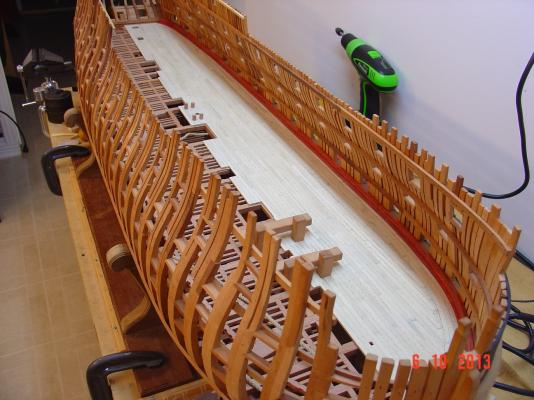
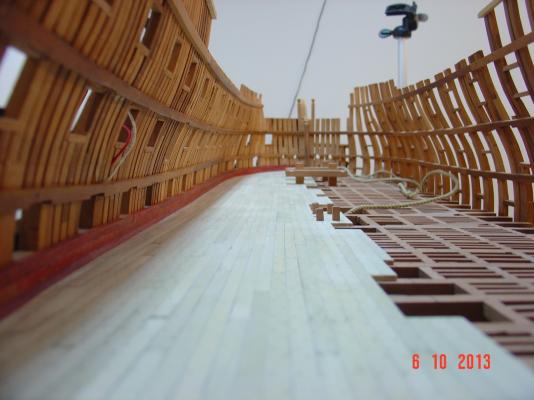
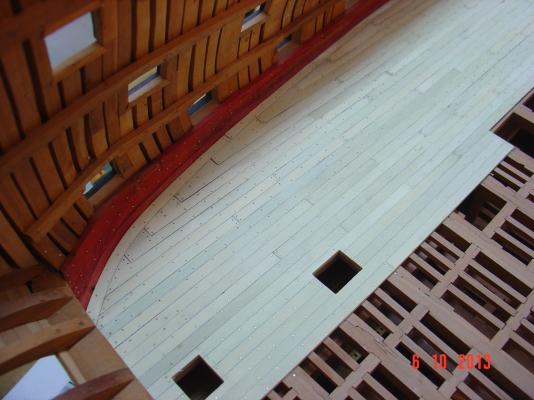
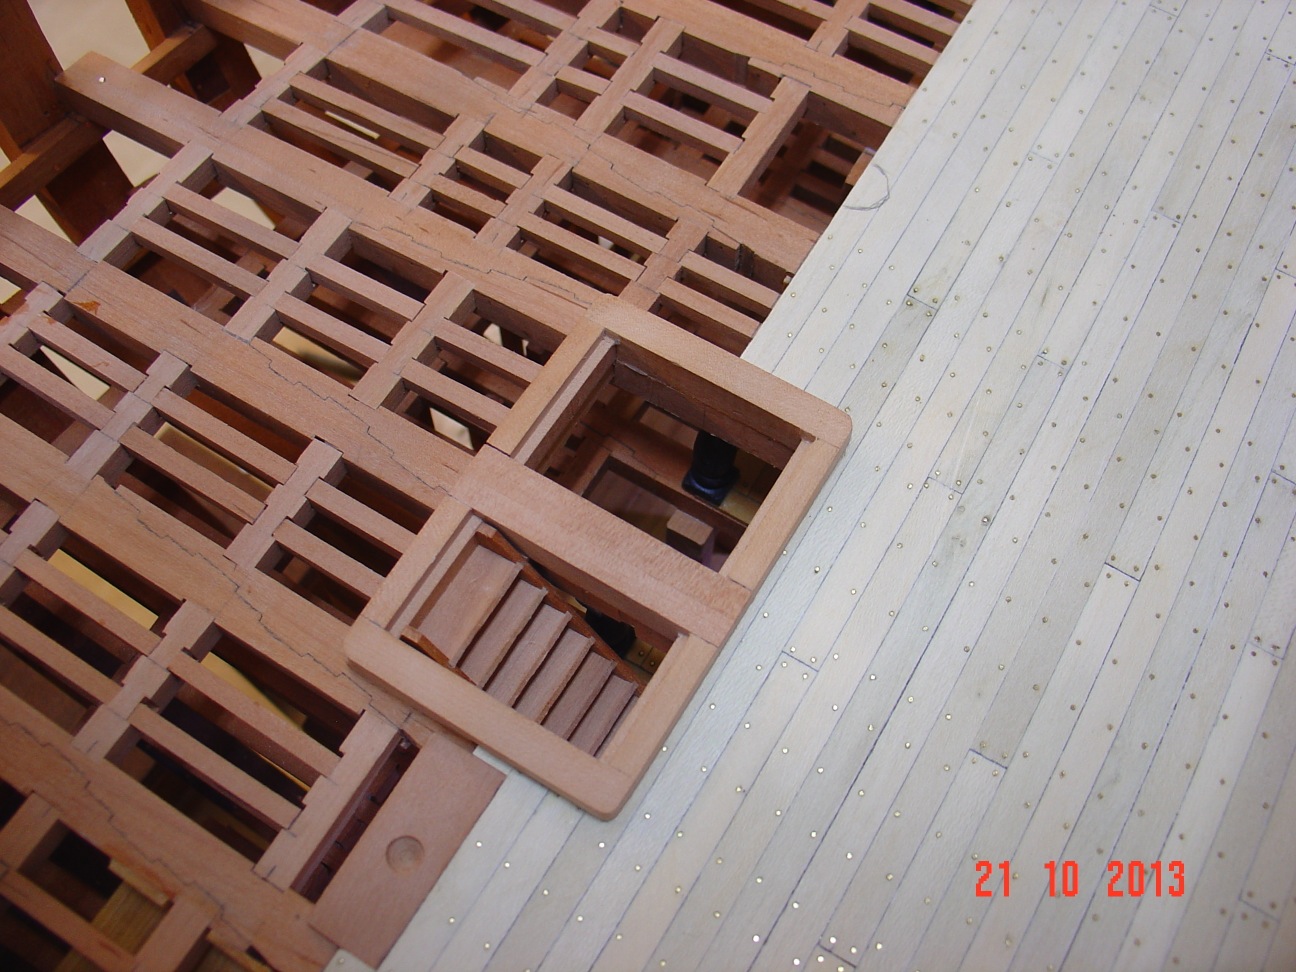
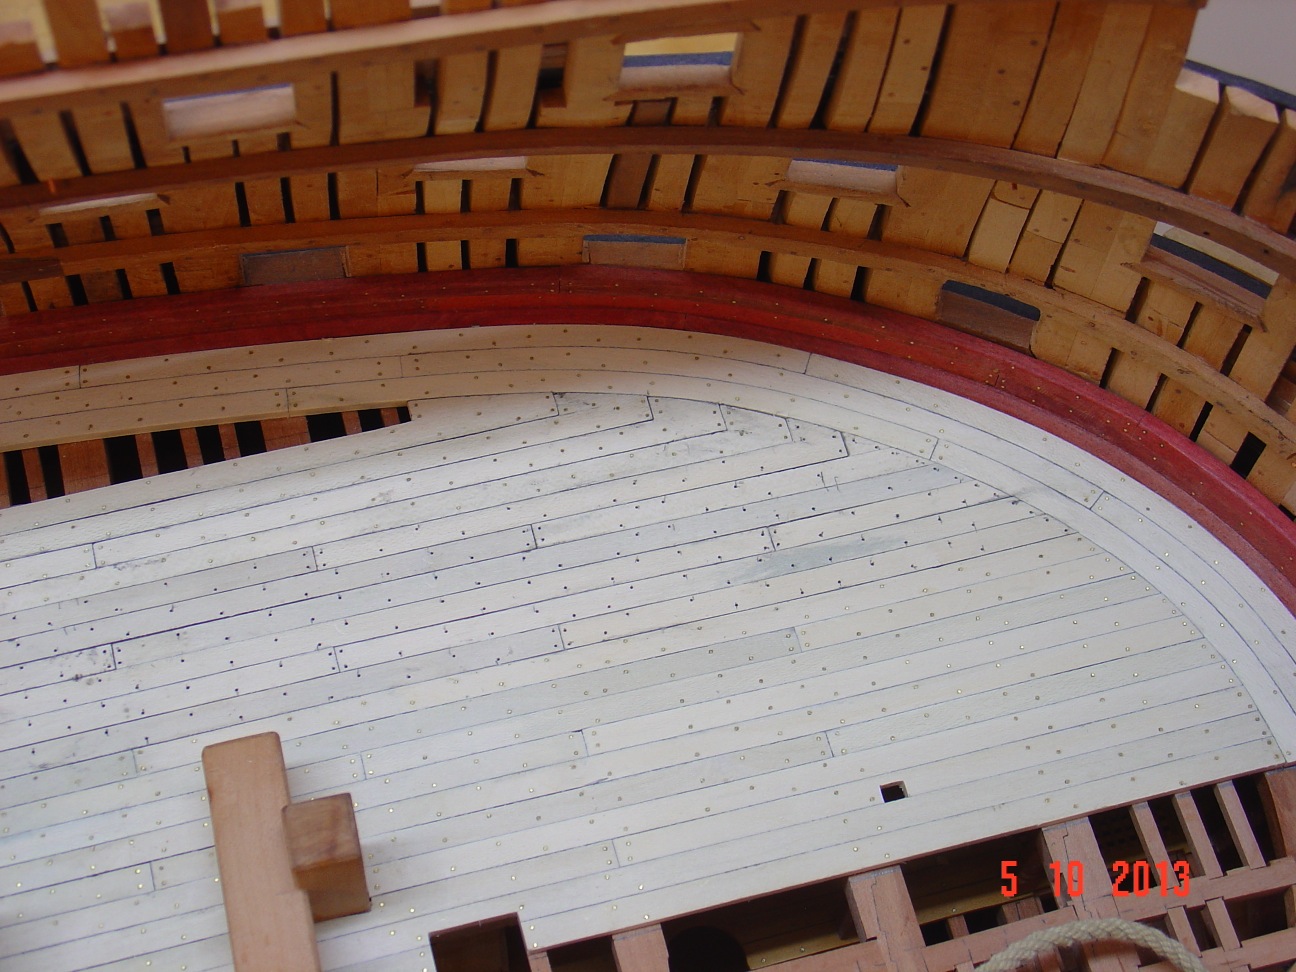
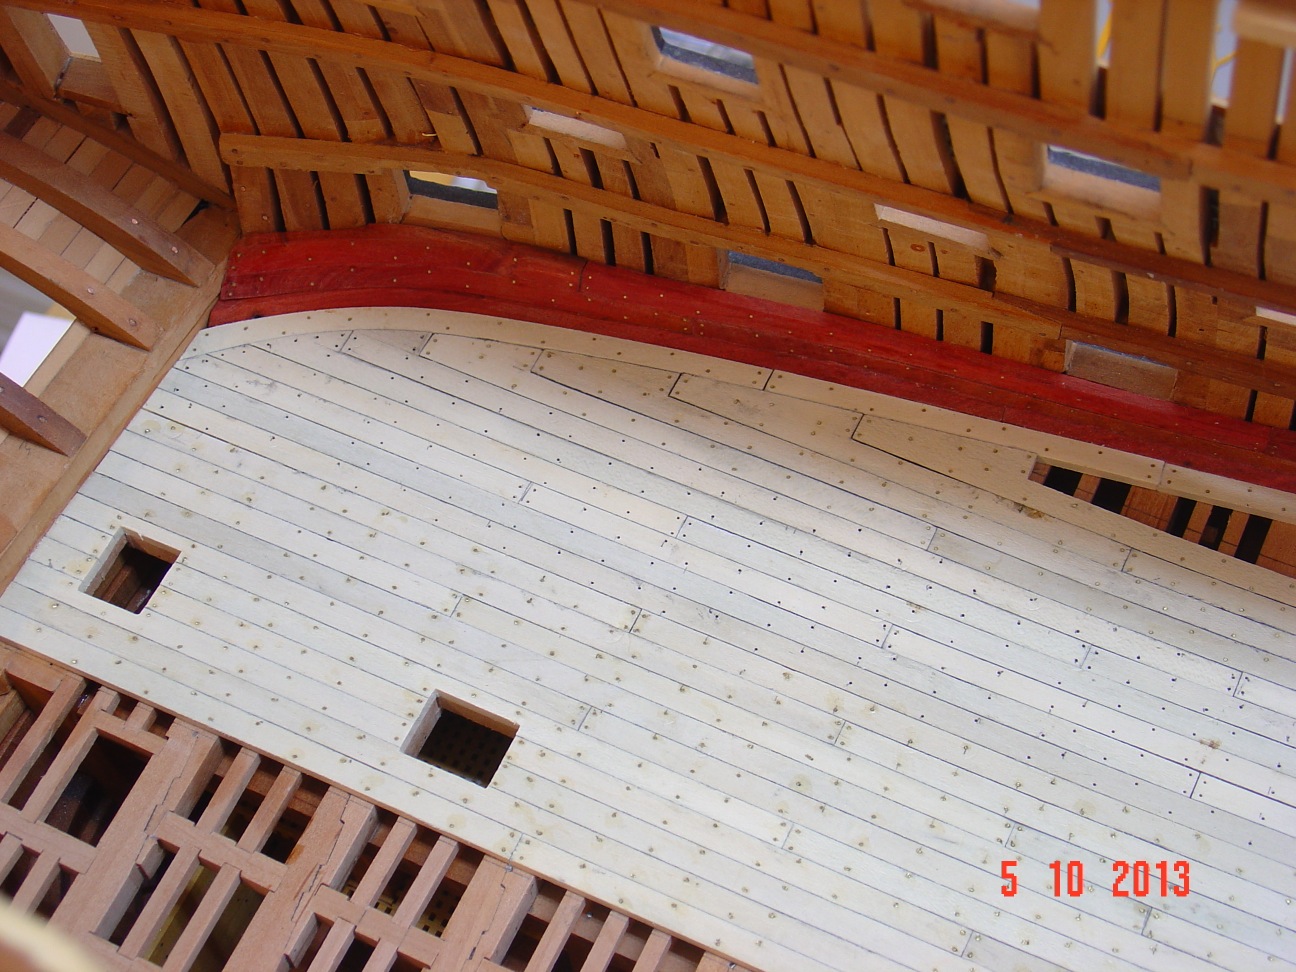
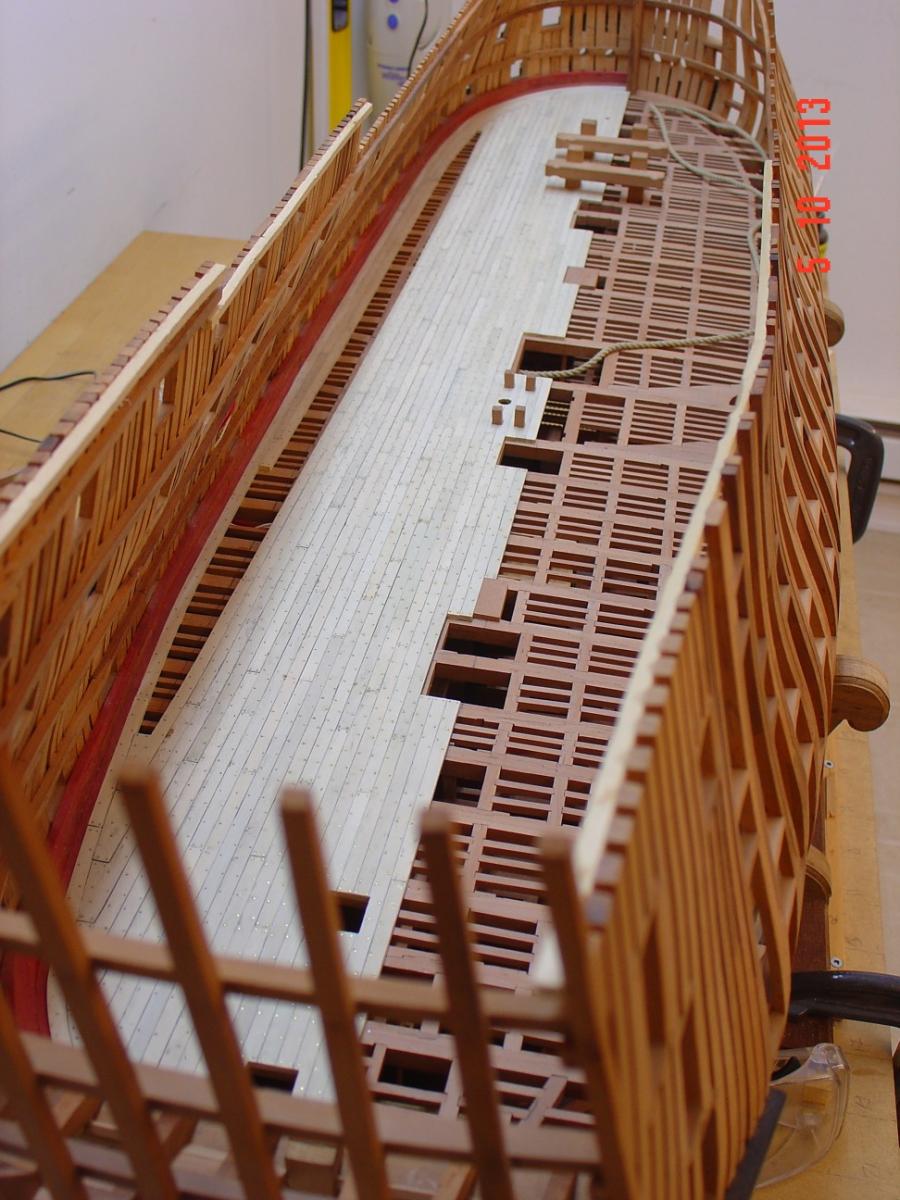
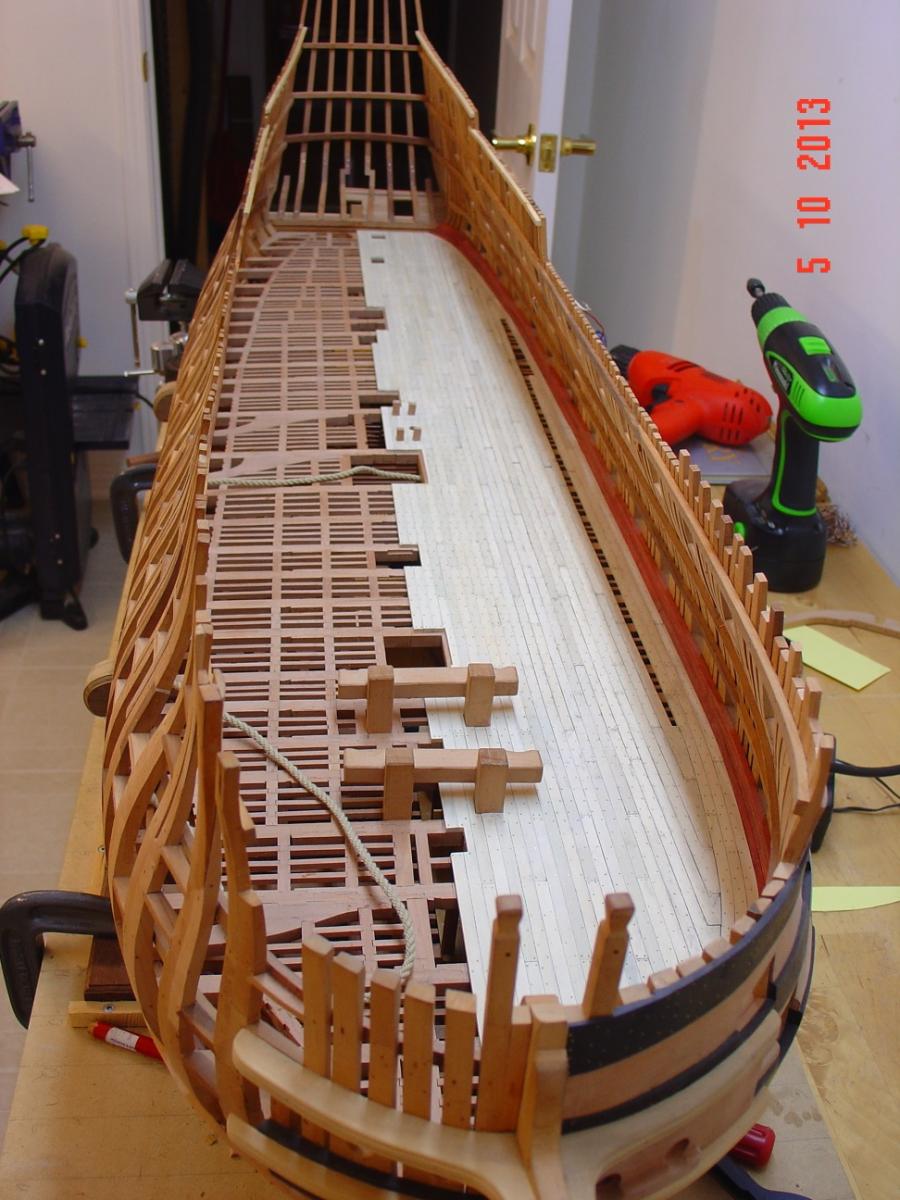
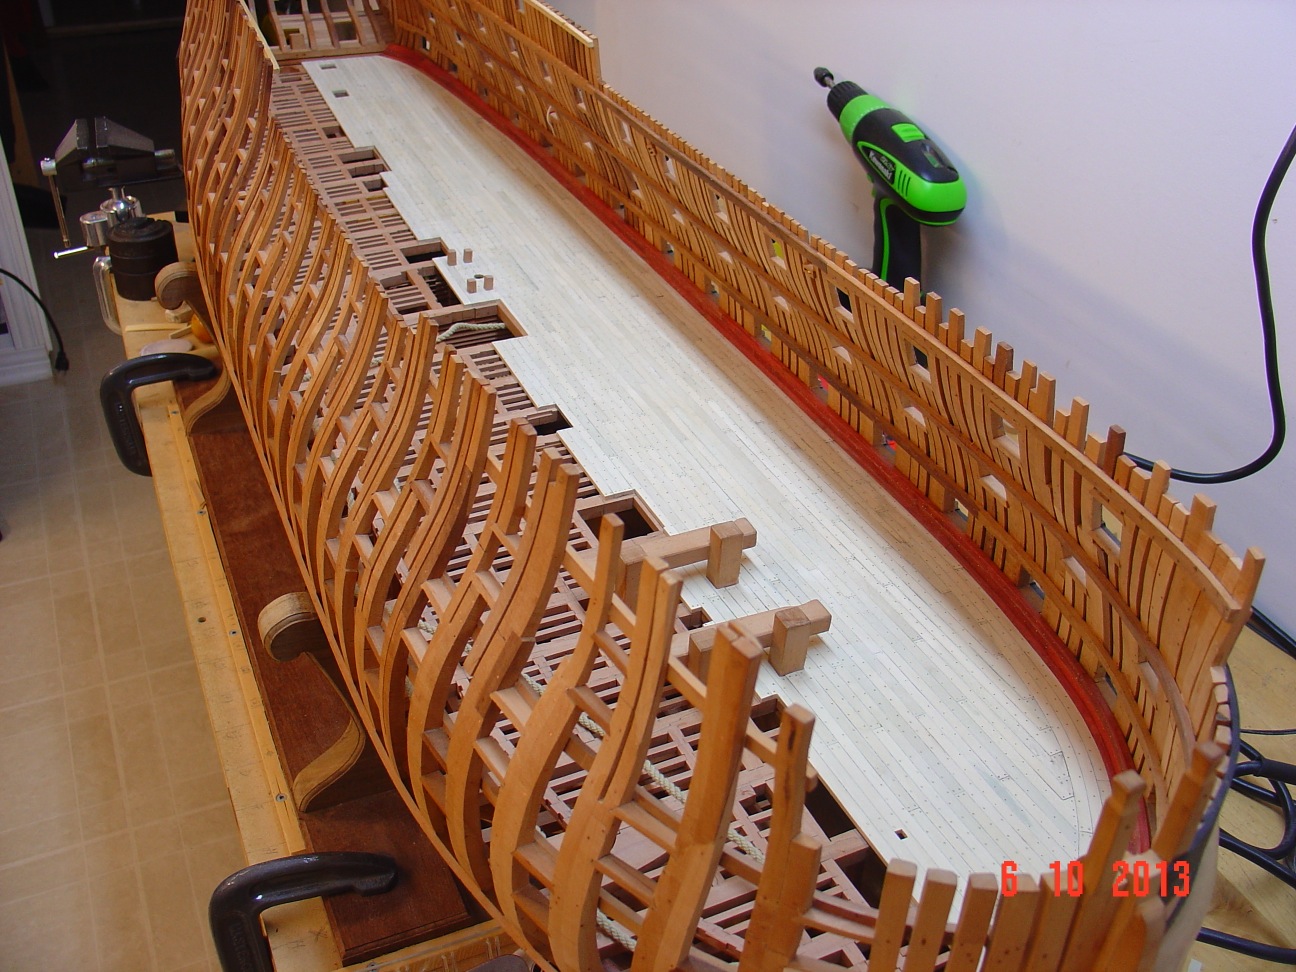
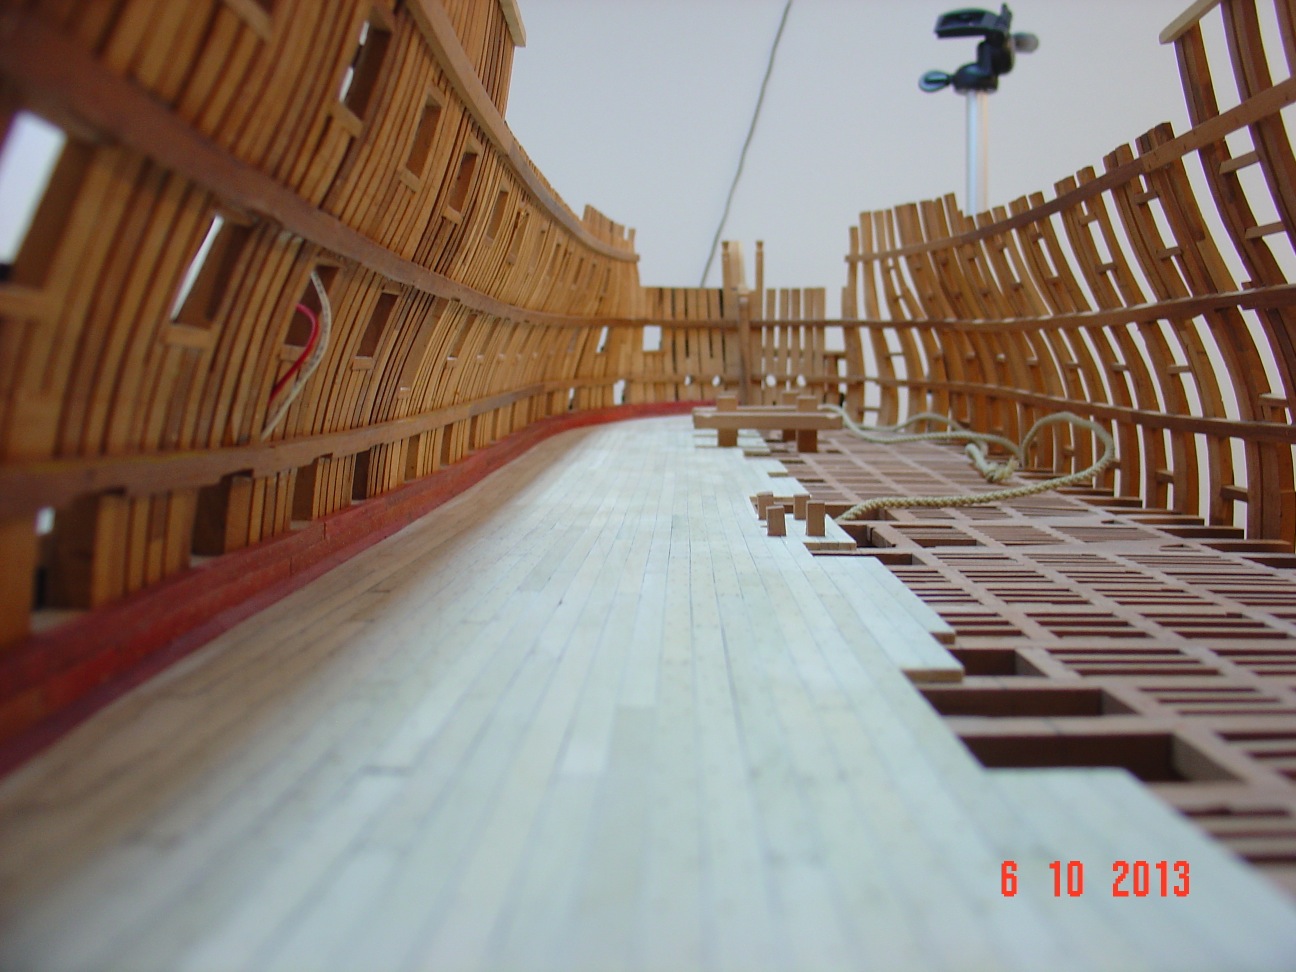
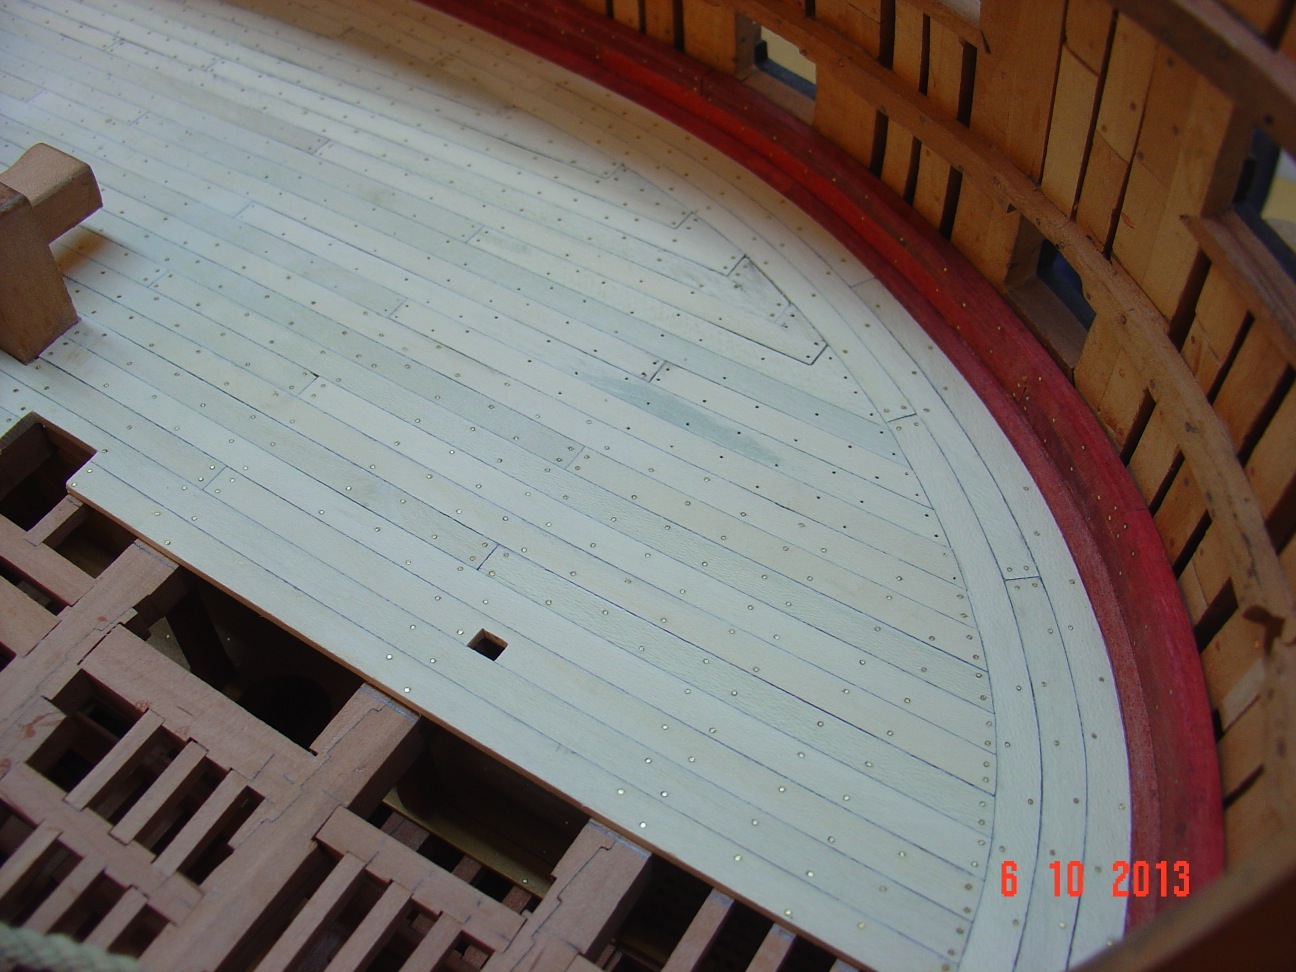
Half of the main deck planking is done. There still are about six strakes of planking to be "nailed" plus a thorough sanding but the bulk of the work is done.
Here are some pictures.
Regards,
Alexandru


- mtaylor, Jeronimo, Wishmaster and 13 others
-
16
-


HMS Victory by guraus - scale 1:48 - plank on frame
in - Build logs for subjects built 1751 - 1800
Posted
...