HOLIDAY DONATION DRIVE - SUPPORT MSW - DO YOUR PART TO KEEP THIS GREAT FORUM GOING! (89 donations so far out of 49,000 members - C'mon guys!)
×


Mike Y
-
Posts
1,557 -
Joined
-
Last visited
Content Type
Profiles
Forums
Gallery
Events
Everything posted by Mike Y
-
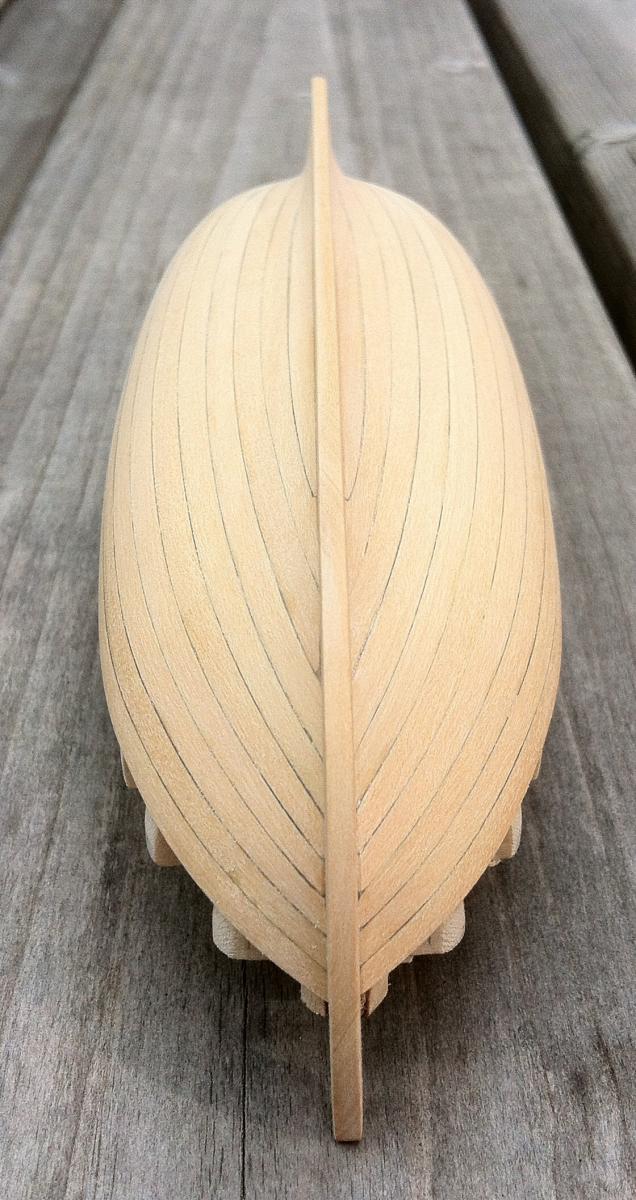
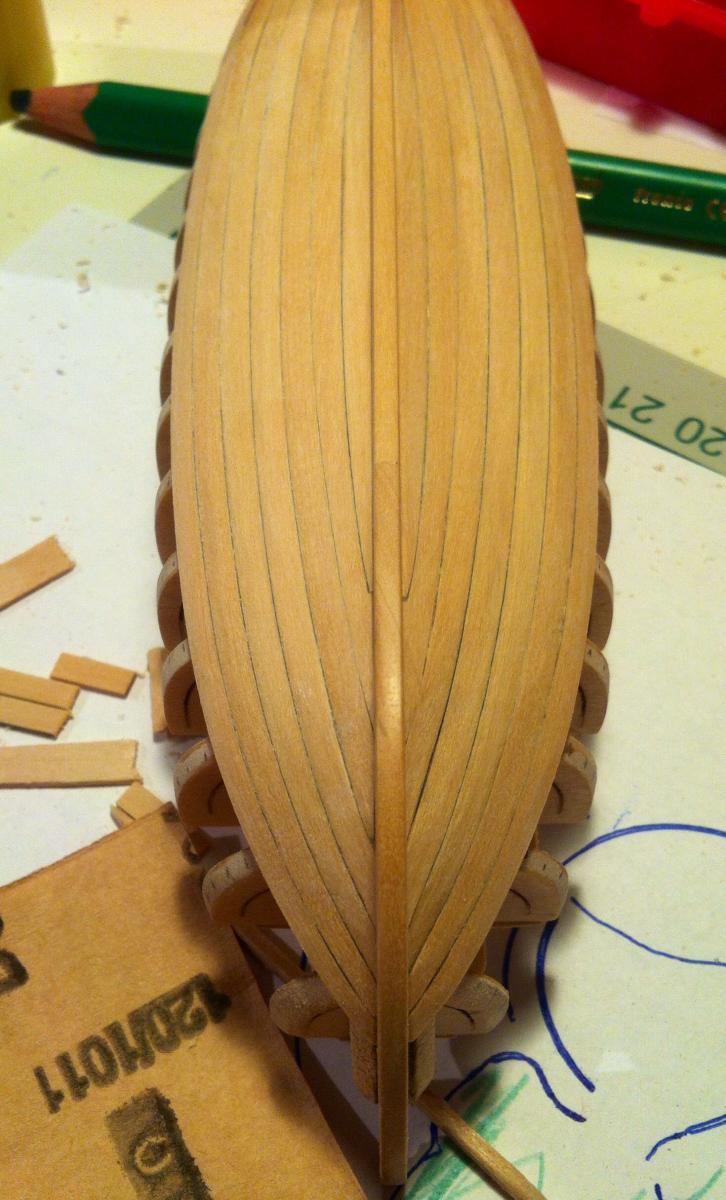
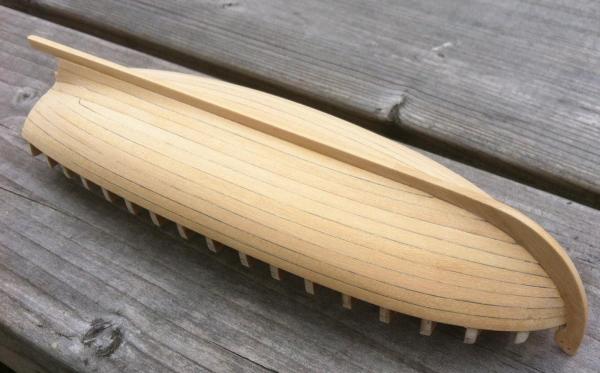
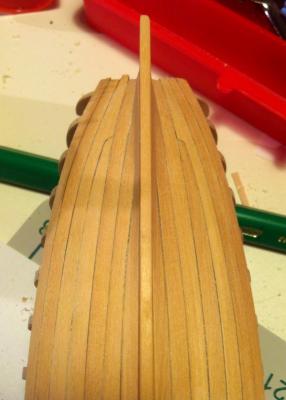
 Floyd, I'm not sure about the plank count - because I still have a space for two planks remaining, where I will have a decoration wale plank. But I think it's closer to 11 - real planks turned out a bit wider then reference lines, and reference lines were done for 12 planks. I tapered some planks in middle streaks, only at the bow. All planks were edge bent, but the bending was pretty easy, and done right on a hull, clamping wet plank to the frames. The gardboard strake - hm, not sure how to explain, see the photo It ends much earlier then the bow. Yes, one plank at the stern is terminated earlier, and there is a tiny drop plank there. Not ideal, but in the end looks ok, and I don't have any gap between frames, planks and false keel, everything fits together. I have a more detailed photos of the stern earlier in the log. Good luck with your planking! Looking forward!
 -
Pops, it is also a lot due to the different wood - planking with boxwood is so much easier! It is elastic, but strong - so you will not skew it while gluing, it is still a plank with clear edges. Basswood planking is harder due to that.. Plus boxwood strips provided by HobbyMill are a bit thicker then the ones in the kit (because kit planks are getting thinner after initial cleanup. Hence, you have much more room to hide mistakes with sanding and scraping. So next time - try planking with some hardwood. Would simplify the planking process and make it less nervous!
-
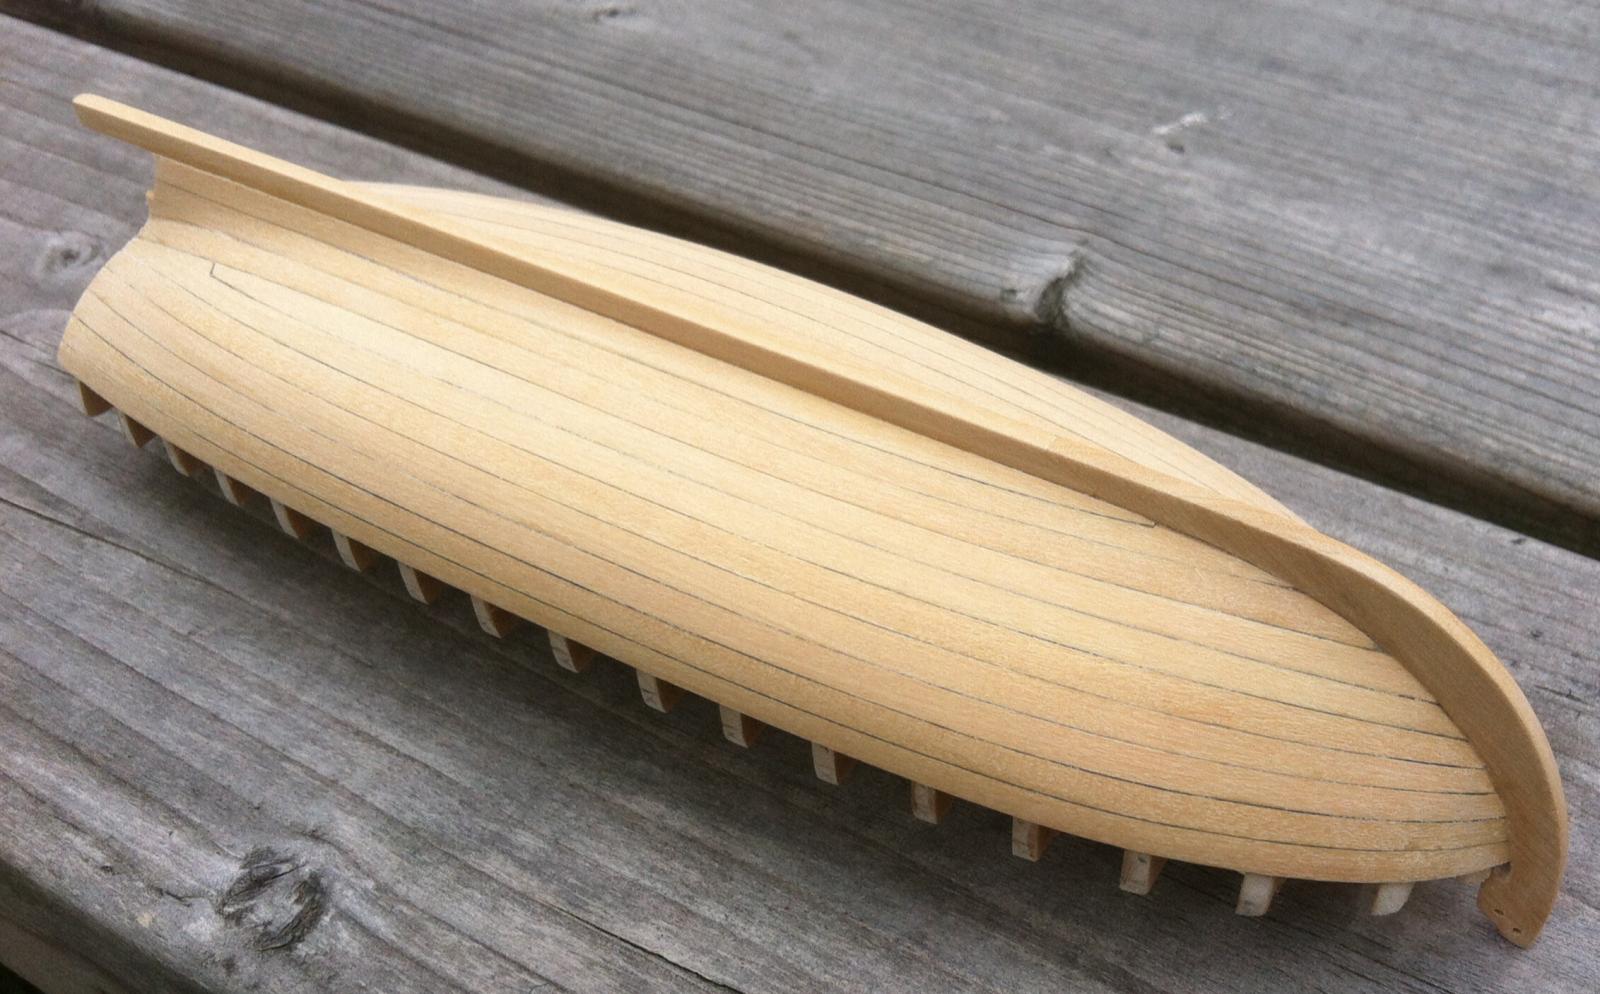
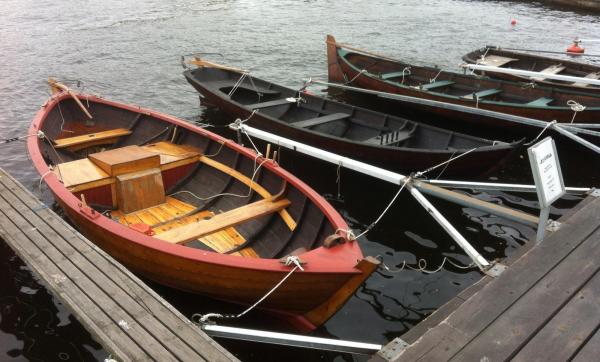
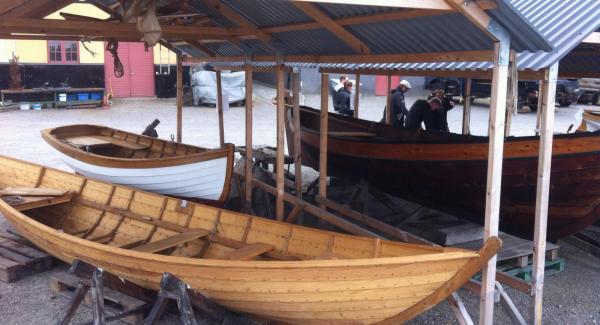
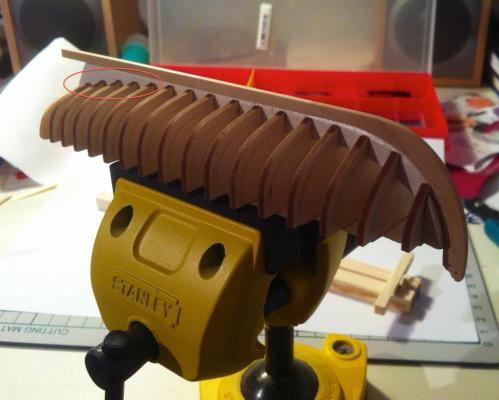
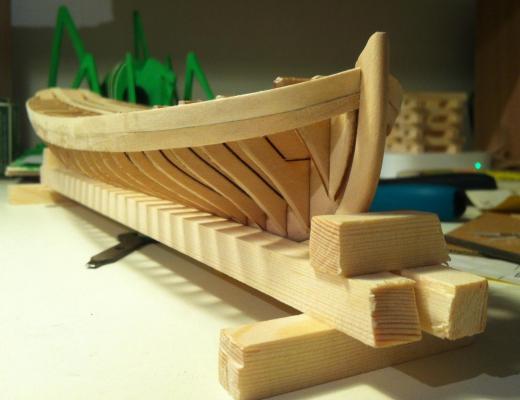
Completed main part of planking. Now the decorative top planks left, they would be a bit special and I will add them after a treenailing and final sanding of the hull. The hull was just rough sanded, final smooth sanding would be done after treenailing. So please pardon that "hairy" look of the wood! Currently experimenting with various treenail sizes. Probably will go forward with single treenail per plank, 0.8-0.9mm in diameter. Half offtopic: I was walking on one of my favourite islands in Stockholm - so called "Ship Island" (Skeppsholmen). There is a boat building club there: They do teach how to build and maintain historical boats.. Some very fine examples are tarred and parked nearby: One day, when the kids will grow up and I will have plenty of time, I will build such boat just for fun.. Very fine workmanship!


-
ancre LE BONHOMME RICHARD by Jeronimo - FINISHED
Mike Y replied to Jeronimo's topic in - Build logs for subjects built 1751 - 1800
Incredible! What's next? Cross section of a Captain sitting in a cross section of Longboat in a cross section of Le Bonhomme Richard?- 662 replies
-
- 2
-

-
- bonhomme richard
- frigate
- (and 1 more)
-
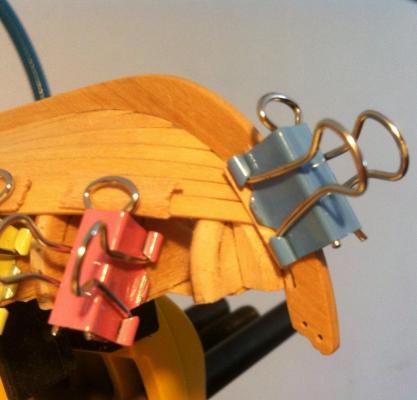
They are a regular paper clips, of the minimum size I could find. It is a brilliant idea from Floyd, see http://modelshipworld.com/index.php?/topic/611-easy-planking-clamps for details They are very useful for planking!
-
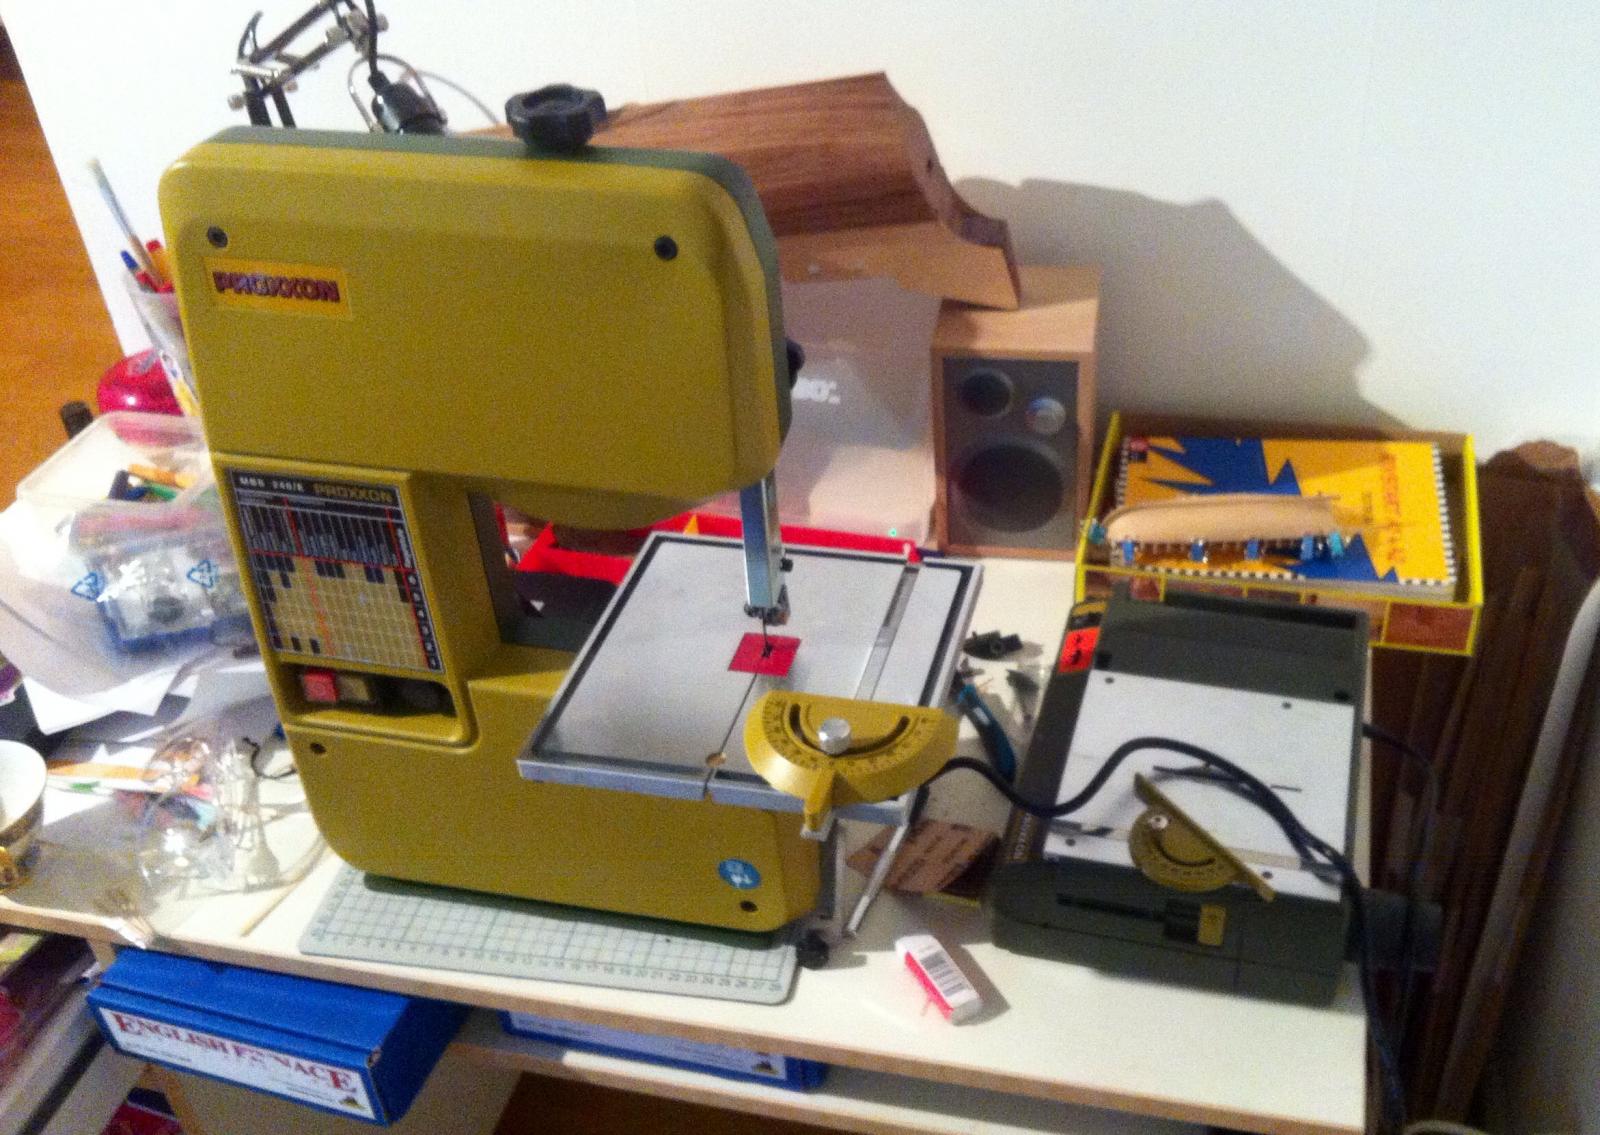
Joe, too early to say! So far I like everything in it, apart from a requirement to screw the saw to some wooden base to make it more stable. I really like the blade guide with three ball bearings, you can pull it down very close to the material, to have no flex in the blade. It's pretty quiet and no vibration - that is why I preferred band saw to the scroll saw. But to have a better view need to try it in action. Will post some review after a first bucket of sawdust
-
Got a new toy today! Would be used for the next project Frankly, I thought this micro band saw is smaller. It is a 8kg thing that occupies half of the table! But the quality is really good, so far I'm pretty happy. Let's see how it will manage a sawdust generation on a large scale.

-
Mike, you are right, probably I'm just overcomplicating it Anyway, I have a wale planks coming soon, and I will do them in a bit weird way instead of gluing the friezes!
-
Stuntlyfer, bending to 90deg is not a problem, but even if you bend it - there would be a small gap between plank and frame. Anyway, I just think it would be much better if that joint would be smooth, hull shape would be better. Moving forward!
-
Wow! Really like the look of it, with a proper waterline. And a houses With such a clean and glossy finish, how do you protect it from scratches while working on a deck details?
-
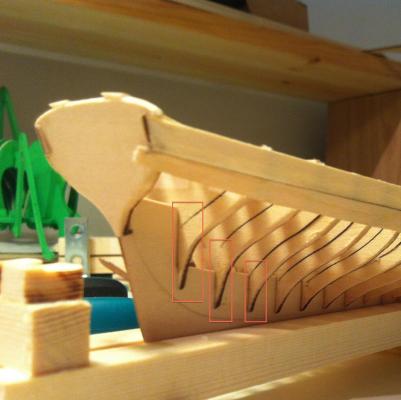
To illustrate the point about smoothing the transition from rear frames to false keel. Here is how it's done on Pinnace, frame bottoms are forming a smooth curve: And here is the Longboat. Hmmmm... How am I supposed to twist planks that way without leaving a gap between plank and frame? Probably the wisest thing would be to make a filler, which will transform frame shape into smooth shape as on Pinnace. But it's too late on that phase of the build.
-
HMS Druid by Krug - FINISHED - 1:48 - Hahn
Mike Y replied to kruginmi's topic in - Build logs for subjects built 1751 - 1800
Hm, maybe you can go further, add two servos and a stick, to tilt the model? Stick could be embedded into display case, it will control the servos and tilt / rotate the model, so viewer can look from various angles? All electronic for that is quite cheap (I bet on something close to $30-$40), but will require enough space inside the display case, so model could move there without problems. Of course, viewer can just move the head to get another angle, but it's boring and not fun! P.S.: sorry for a crazy idea, but since you are going that way, adjusting the display case so viewer will have a better overview of hull internals... -
Typical argument for planking wale first is to make the hull stronger and avoid wobbling of the frames. But I have a "false deck" for that. If you follow the reference marks - you will end up with a proper shape of wale plank even if planked from the keel. The benefit of planking from the keel is that you don't have a tricky "last plank" somewhere in the middle it requires lots of time to shape, and if not done carefully - there would be a gap around this plank. I planked Pinnace as suggested im the manual (starting from wales, meeting in the middle), and can't find any benefits of that, if frames are already fixed together with a false deck. However, usual disclaimer - all methods will work
-
Floyd, unfortunately I do not have lots of pictures, all of them are in that log, but there are some on page 4 and 5 of this log. I clamp rear ends of first planks together, with a strong plastic clamp (see page 4), that helps to keep the bend. When plank is drying, it keeps that bend perfectly. Also take a look on a grain direction, plank is twisted easier in one direction than another. At the bow, I fix the end of the plank with another clamp, that is attached to the stem and pressing plank to the false keel:
-
Amazing! Are going to add a hole in the hull, to imitate the boat that hit the rock, and hence require the service?
-
Floyd, no worries! I am happy to help, if I can, so questions are welcome! Both bents are done at the same time - soaking plank, curving it with fingers a bit (to make it softer), and then clamping to the hull. So just one soaking, snd leaving it until the next day clamped, to dry and keep the shape. When unclamped, it bounces back just a bit, and you can glue it without any problems. First I glue the stem part lf the plank - where it is inserted into false keel / stem, and few top frames. Then I glue next part of the curve, 2-3 next frames. Remaining part is close to be straight, and the last gluing is near transom. So around 3-4 gluing stages, with 10-15 min between them. Since I also edge glue planks, it is hard to glue whole plank at once - need to make sure it is properly pressed to all frames and previous plank, to avoid gaps. Please let me know if you want some detailed pictures of some stage, I can make them without any problem. Pops, boxwood does twists easily, it is very elastic! Surprisingly Bending boxwood is as easy as bending basswood. The important thing is that it's still hard, so you can't just smash one plank into another and let it be glued - need to shape edge of the plank to tightly fit into edge of the previous plank. I failed to join edges of 2nd and 3rd plank without gaps, so decided to let 3rd plank run on a smooth line, and added a filler plank between them. Probably a proper solution would be adding a filler wood pieces to the bottom side of rear frames, to smoothen a joint between false keel and a frame.
-
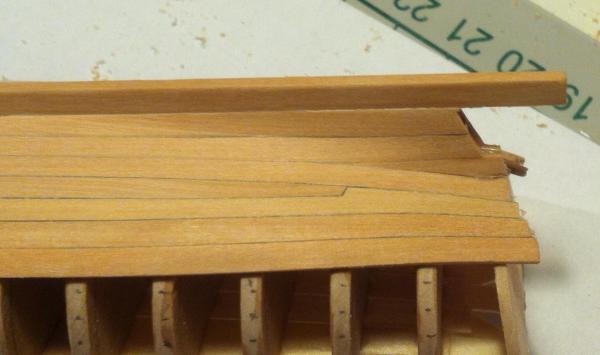
Here is a shameful workaround for a tricky area, where false keel meets with rear frames: And also not sure why I have that stealer plank there... At some point I forgot about shaping planks to reference lines at the stern, and decided that it is a good idea to practice a proper stealer plank Current state of the hull, around half of planking is completed: Discovered that scraping the boxwood hull is much better then sanding it. The more I plank with boxwood, the more I like it!

-
Heh, I have an great wife who also have a hobby (knitting), and mostly I do modelling during 1-2 hours when kid is already sleeping, and I'm not And I thought it's moving very slow! No picture of fairing from the stern, unfortunately. All pictures are in this log... Stern shape is smoother then in a bow, so just a light fairing required. Main problem I faced was around 2-3-4 planks from the keel, right on a stern. If I build a longboat again - will definitely add some fillers to smoothen the transition from false keel to rear frames. They are pretty smooth in Pinnace, but on Longboat you will either have a gap between frame and plank, or planks will meet on some extreme angle So before you plank it, try to dry fit a few planks there. Maybe you will want to add some fillers
-
It looks amazing! Thank you for a detailed photos of the process! Preparing for my Hahn's build, and trying to catch every detail
-
Very interesting build! That archiepelago ships have their charm Would you mind if I pull the chair? Oh, glad midsommar, btw!
-
Stupid question related: where the oars were stored? I'm looking on Pandora's anatomy book, and oars look ridiculously long if you think how to store and move them inside the ship... Or they were made out of a multiple sections, that could be assembled and locked together?
-
Yes, I added transom before the false deck, why not Used same jig to level transom, as I used for frames. Transom is basswood, because I'm going to plank the external surface of the transom, with boxwood planks.
-
Have you stained the wood? Interesting color! Or it had that color out of the box?
-
Looks good! Looking forward to see it sanded! Just be careful, use lamp to see where the hull is already too thin, and extra sanding will just make a hole in it.
-
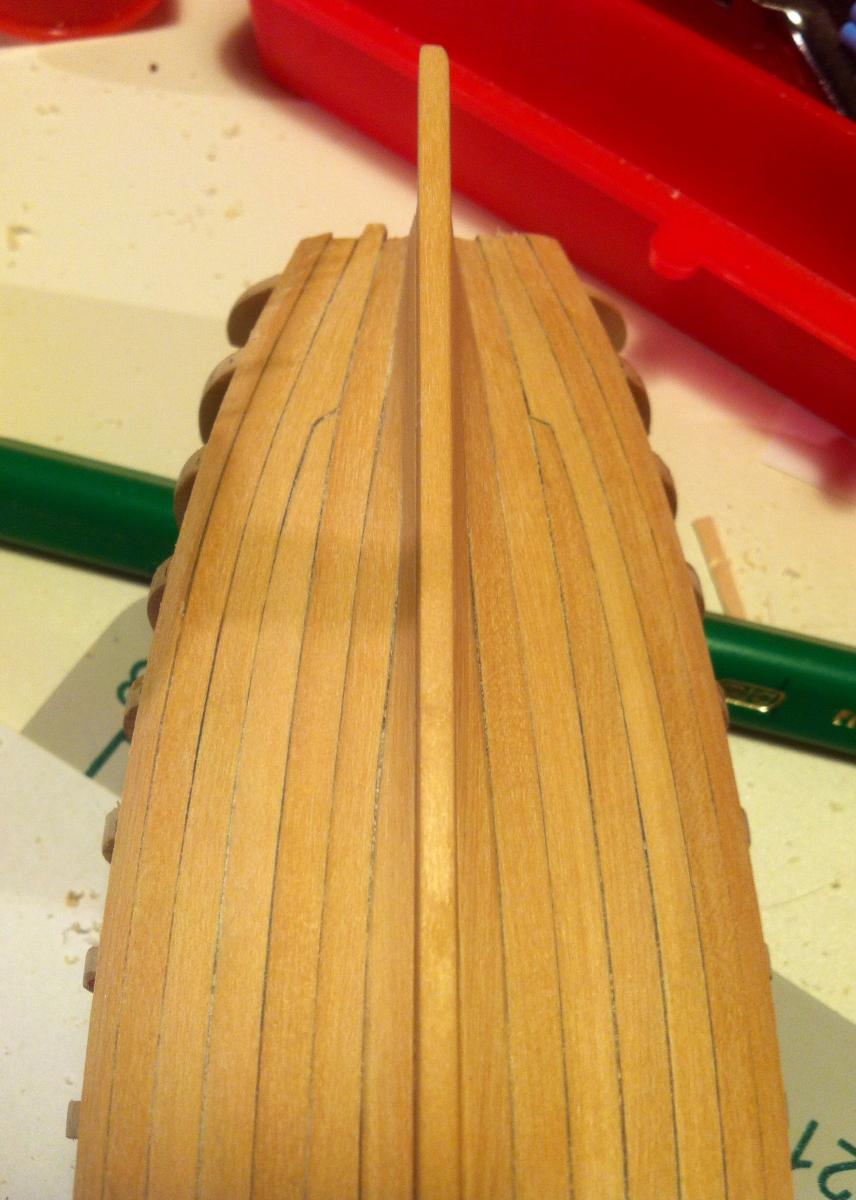
Yes, still look good! especially the tricky bend in the rear part of the hull. I failed there, will show my workaround later The front photo confirms that planks are not tapered. A bit of taper will make them really better! Chuck recommended it in my pinnace log, see the first pages. Like this: (Sorry for spoiling your log with my photos, but it's just for illustration - sometimes simpler to show them, instead of explaining the theory).
- 132 replies
-
- 2
-
-
- 18th century longboat
- model shipways
- (and 1 more)