-
Posts
1,557 -
Joined
-
Last visited
Content Type
Profiles
Forums
Gallery
Events
Everything posted by Mike Y
-
Proper light for a modelling table
Mike Y replied to Mike Y's topic in Modeling tools and Workshop Equipment
Magnifier with integrated light is a different story. I will buy it separately it gives a spot light, and I am looking for a good background light, that will keep entire working area bright enough -
Proper light for a modelling table
Mike Y replied to Mike Y's topic in Modeling tools and Workshop Equipment
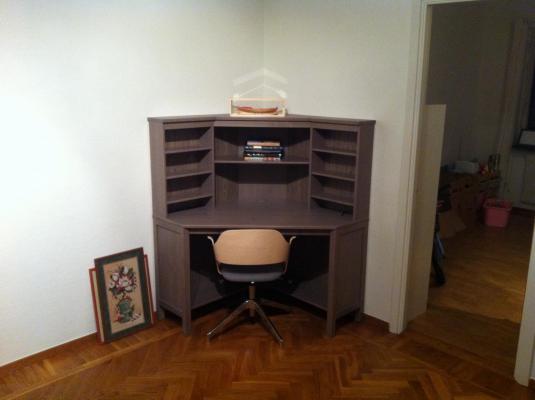
So conceptually I am looking for a bare lamp like this: It would be mounted on top of that table, under the place where Pinnace stands on that photo: Unfortunately most of such lamps are designed for kitchen and have a terrible light quality. And if you search for a separate light bulb to make this lamp by yourself - there are gazillion of different technologies -
Making a modelling corner in a new apartment, and want to do a proper light on my modelling table. No need for a table lamp, no mounts or clamps, I will integrate the lamp into the top part of a table itself. My table is in the living room, so the room is already light. However, need a guidance in what kind of a lamps are preferred.. * No high frequency flickering like in a cheap fluorescent lamps. Lamp should not make eyes tired * Not too bright * Neutral spectrum and colour palette, when I look on a wood or paint, I want to see a real colour, without effects of the lighting Basically, it should be a pleasure for eyes and it should not skew the colours. Price range - I hope to be below $150. Would really appreciate any hints, what type of a lamp to use. I saw some professional jewellery lamps, but they are around $400, which is too expensive.
-
Ok, so I just realized that all these photos were a macro, and model is much smaller then I though! Wow!
-
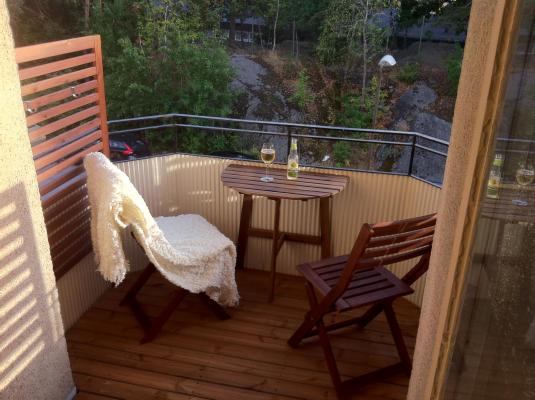
Modelling is temporarily on pause - was busy buying and moving into a new apartment. Now busy renovating it Used modelling tools to make a balcony, does it count? Next on a list - make a modelling table, so I can start my build!
- 968 replies
-
- hahn
- oliver cromwell
-
(and 1 more)
Tagged with:
-
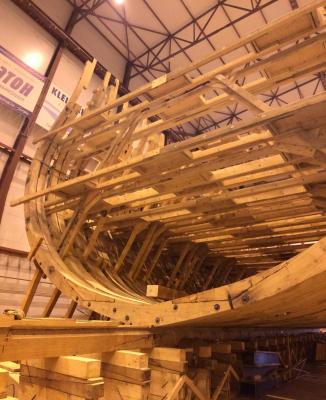
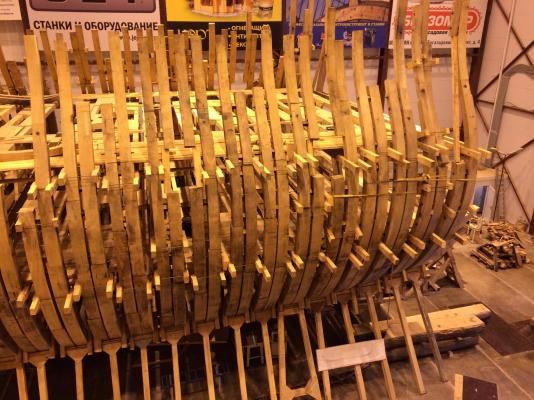
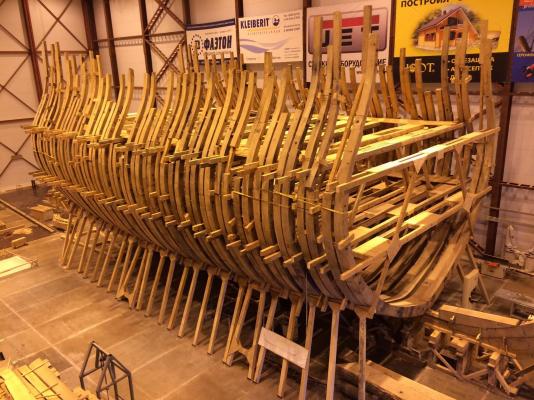
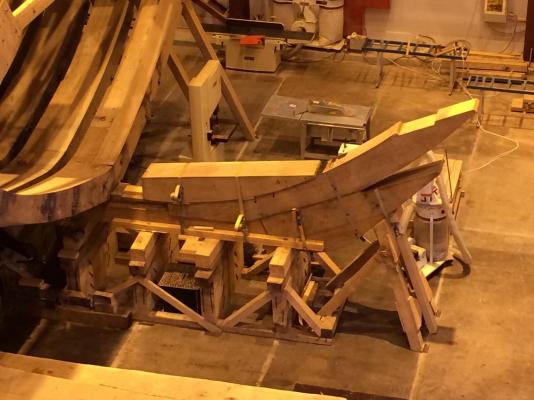
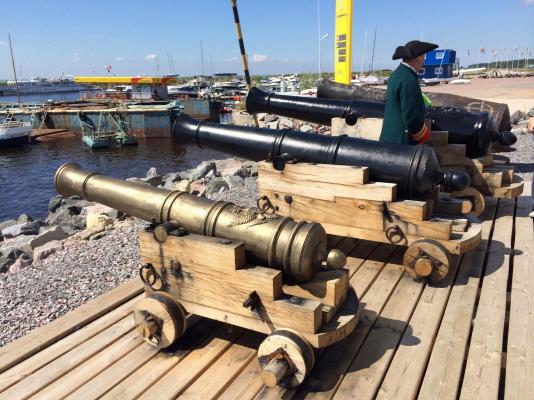
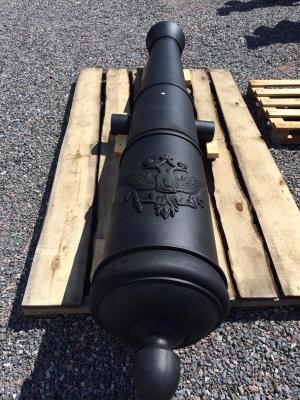
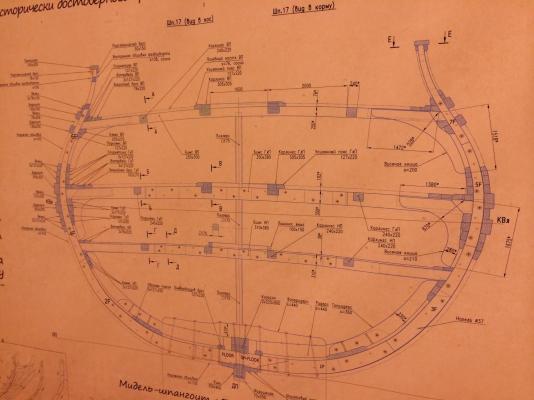
Speaking of a fully framed models - a friend of mine visited an interesting project today - 1:1 reconstruction of Poltava, 1712 ship, partially designed by Russian tsar, Peter I, who studied shipbuilding in Holland. See http://en.wikipedia.org/wiki/Russian_ship_of_the_line_Poltava_(1712) The site is located in St.Petersburg, Russia. Pretty interesting to see, looks very close to that build logs, and nearly-round shape of the hull make it look like Triton
- 968 replies
-
- hahn
- oliver cromwell
-
(and 1 more)
Tagged with:
-
Dave, I wanted to build a fully framed model, and there are quite a few kits offering this. Basically, POF kits in a good wood - none. Only sets of timber + plans, like Admirality models / HobbyMill or Lumberyard. And I like the challenge of blueprint interpretation Hahn jig is documented in some logs here (like Licorne by mtaylor), or here: http://modelshipworldforum.com/resources/Framing_and_Planking/HahnMethodnew.pdf You build the hull upside down, and jig helps to align frames properly and space them evenly.
- 968 replies
-
- hahn
- oliver cromwell
-
(and 1 more)
Tagged with:
-
Just finished catching up with your log - incredible level of detail on such a small scale! Just... Wow!
-
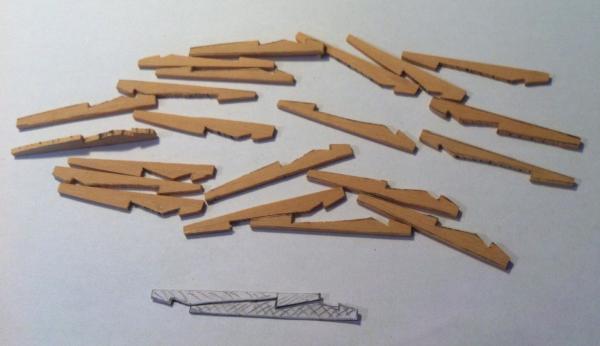
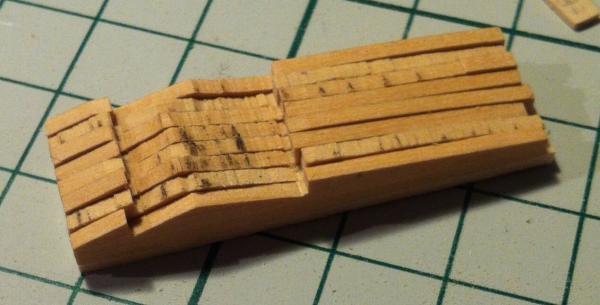
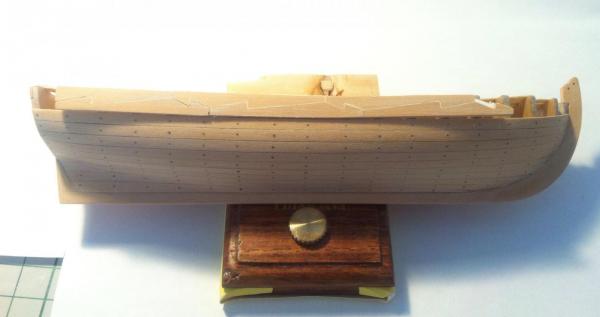
Time for an epic fail! I had an idea to plank sheer strake in a anchor stock pattern, like the one I saw in Anatomy of Pandora book. So I took a sheet of wood a bit thicker then regular planks, cut lots of pieces on a band saw: Glued them together to shape all at the same time: Then shaped them with files, knife and chisels until I managed to make a nice joints... Glued shaped patterns on a paper strip to see how it will look like... (Ignore small gaps, final fine fitting would be done while gluing. Dots are just marks for treenails, there would be a real treenails later.) And it looks ugly - too heavy for a light model of that size. Hope that experiment will give you a good laughs So I wrote it down like a scarf carving exercise, and need to think again how to make a sheer strake. Still don't want friezes. Probably just plank as usual and add some light moulding? Any ideas are welcome, even the crazy ones!
-
Missing instruction booklet for AL San Francisco II
Mike Y replied to popeye26's topic in Wood ship model kits
I have one, can mail it to you.. Where you are on a globe? P.S.: but frankly, that booklet is quite useless, better use build logs here as an instruction. It is full of self-explanatory steps like "now plank the hull". -
There is no kit for that ship (and there are not so many POF kits out there). This is a timbering set - plans, required amount of wood milled to a proper thickness, and some laser cut parts (Hahn jig, keel, some small parts). There are also no instructions, only plans. I have Hahn's book, but most "instructions" are build logs on that forum. See http://www.dlumberyard.com/shipkits.html Scroll/band saw is a must for that build, lots of frames to cut from that wood! You can also look on Licorne build as a good example of Hahn's method. Or Triton build (there is a sub-forum for it). Or just any other POF scratch build. It is not a 100% scratch because you skip the step of preparing 3d model of a hull based on old plans, and you already have a proper amount of wood in a sizes that you need. But that deviation is acceptable on that forum
- 968 replies
-
- hahn
- oliver cromwell
-
(and 1 more)
Tagged with:
-
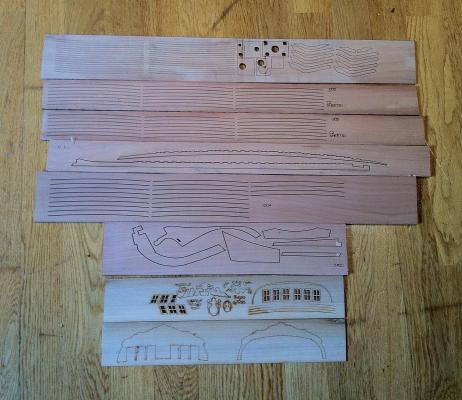
Udo, the laser cut parts look pretty good from a first glance. Let's see how they will fit together I can send you some more detailed photos if you need.
- 968 replies
-
- hahn
- oliver cromwell
-
(and 1 more)
Tagged with:
-
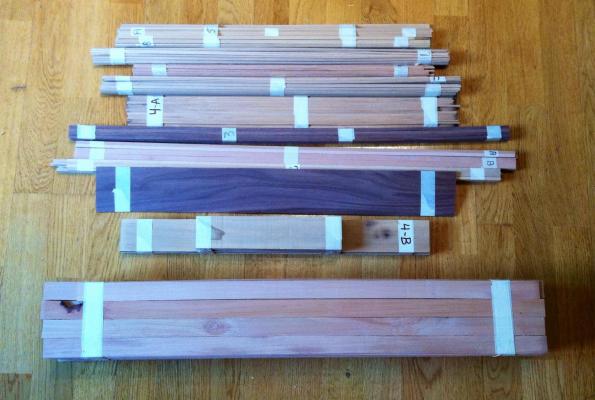
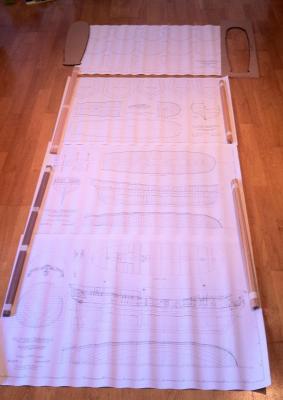
And here is what you get inside the timbering set from The Lumberyard. Various planking and frame wood. Notice that wood color is pretty varying, so needs to be sorted. Framing, keel, deck beams/knees would be in swiss pear, planking - boxwood, fittings - mixed. I also got beech, walnut and cherry for some parts, but not sure if I'll use them. Will see! Laser cut parts. Planning to make my own deck beams with a cute scarfs, instead of using these. But they are a good backup, if my scarfs will turn into failure: And plans, lots of them! Don't mind the small size of the photos, it's 11.5 kg of wood! Let's unpack the blueprints and make some sawdust!
- 968 replies
-
- hahn
- oliver cromwell
-
(and 1 more)
Tagged with:
-
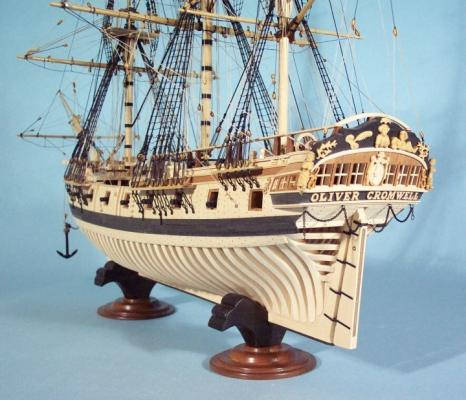
Why scratch? I always had a high requirements for a wood quality and fitting quality. Unfortunately, even expensive kits were never that close. After getting a first pack of boxwood, I would never go back to any inferior wood. Hence, only scratch. Not that scary though, I do most of the parts from scratch anyway. It's a pity that kit producers do not offer a wood upgrade. For a serious build, cost is spreading over a number of years, so is it really so important? Speed of the build is not important, I enjoy the process. As Remco says - "Treat each part as if it is a model on its own, you will finish more models in a day than others do in a lifetime". Why Hahn? For a weird reason, don't like the realistic framing style, like David Antscherl suggests. First - you don't see anything between frames, and second - uneven spacing and shape of frames make me feel dizzy when I look on them. Physically. I know it sounds weird, but I just can't. So - frames would be spaced evenly, even if it's unrealistic. So what, I'm not adding a rocket engines to my model Also, Hahn's method for a frame construction looks easier. Yes, the wood usage is higher, but again - why that matters? I will build it for 5 years at least, so paying a bit extra for additional wood is not a problem. And I truly like the design of Hahn's jig! Why Beavers Prize / Oliver Cromwell? This ship has no honorable history. It was built in 1777 in Philadelphia, started a pretty good career - capturing 7 ships in 3 months after a start - but then was defeated by british HMS Beaver. Was downgraded from 24 cannons to 12, and served remaining time guarding british coast. Died in a hurricane after a number of years, slowly degrading and having a continuous problems with discipline onboard. But there is something in the lines of that ship that touches me. Look on the model - hull proportions are pretty nice. It's not too high, and not too low, and I was looking for that photos a lot, admiring its beauty:
- 968 replies
-
- hahn
- oliver cromwell
-
(and 1 more)
Tagged with:
-
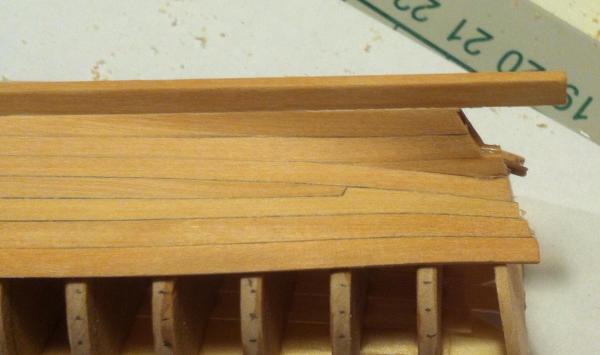
I did it with gel CA (gel super glue). Regular or extra thin CA is very liquid, and will flow away from the tiny metal pieces, gluing your fingers to the planks. Terrible thing!
- 132 replies
-
- 18th century longboat
- model shipways
-
(and 1 more)
Tagged with:
About us
Modelshipworld - Advancing Ship Modeling through Research
SSL Secured
Your security is important for us so this Website is SSL-Secured
NRG Mailing Address
Nautical Research Guild
237 South Lincoln Street
Westmont IL, 60559-1917
Model Ship World ® and the MSW logo are Registered Trademarks, and belong to the Nautical Research Guild (United States Patent and Trademark Office: No. 6,929,264 & No. 6,929,274, registered Dec. 20, 2022)
Helpful Links
About the NRG
If you enjoy building ship models that are historically accurate as well as beautiful, then The Nautical Research Guild (NRG) is just right for you.
The Guild is a non-profit educational organization whose mission is to “Advance Ship Modeling Through Research”. We provide support to our members in their efforts to raise the quality of their model ships.
The Nautical Research Guild has published our world-renowned quarterly magazine, The Nautical Research Journal, since 1955. The pages of the Journal are full of articles by accomplished ship modelers who show you how they create those exquisite details on their models, and by maritime historians who show you the correct details to build. The Journal is available in both print and digital editions. Go to the NRG web site (www.thenrg.org) to download a complimentary digital copy of the Journal. The NRG also publishes plan sets, books and compilations of back issues of the Journal and the former Ships in Scale and Model Ship Builder magazines.


