Mike Y
-
Posts
1,543 -
Joined
-
Last visited
Content Type
Profiles
Forums
Gallery
Events
Everything posted by Mike Y
-
 Not yet, but she is close And I also need to build a display case, already bought some plexiglass for it.
 -
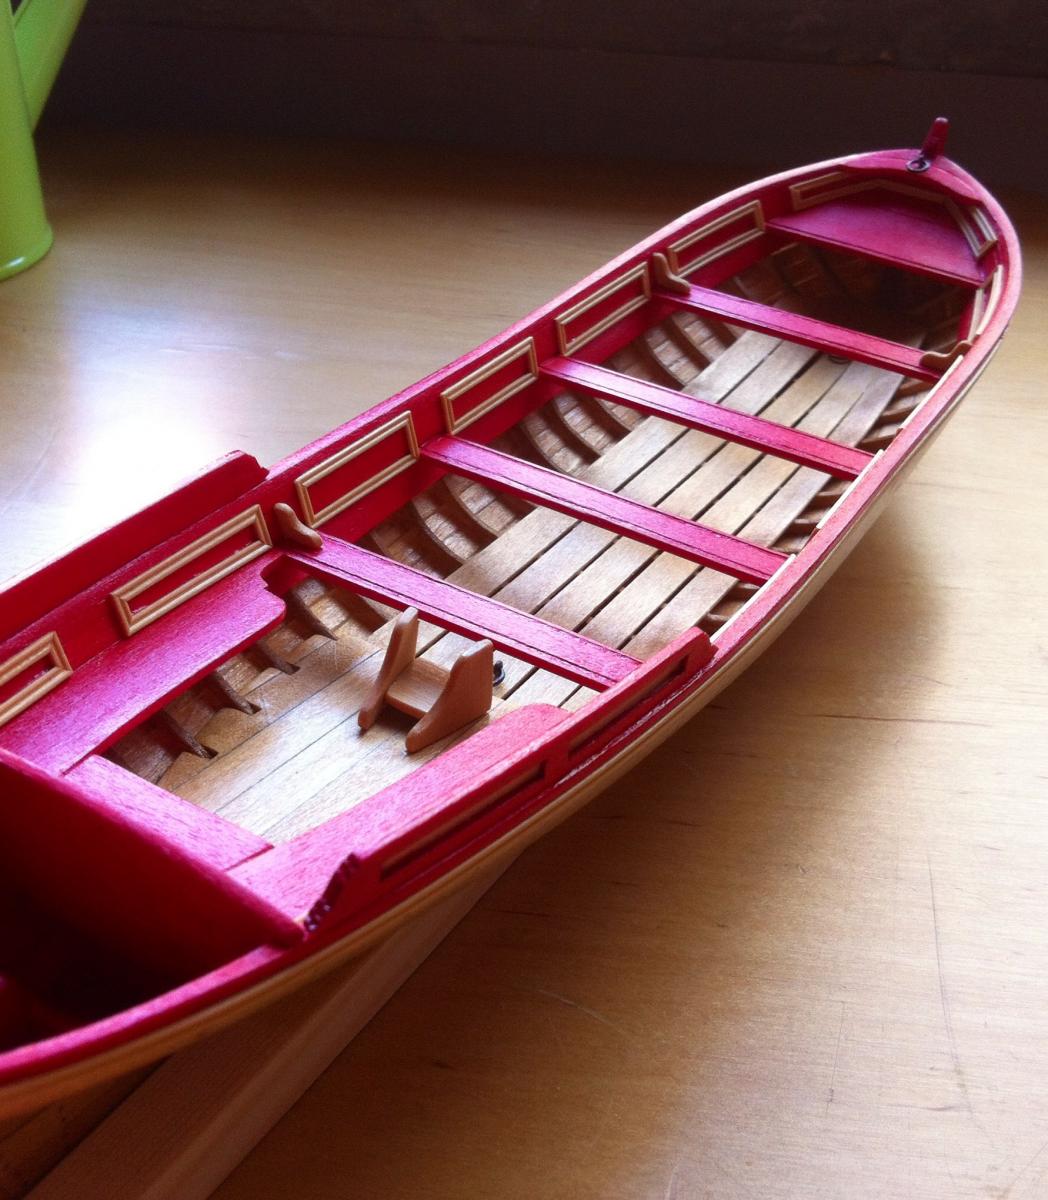
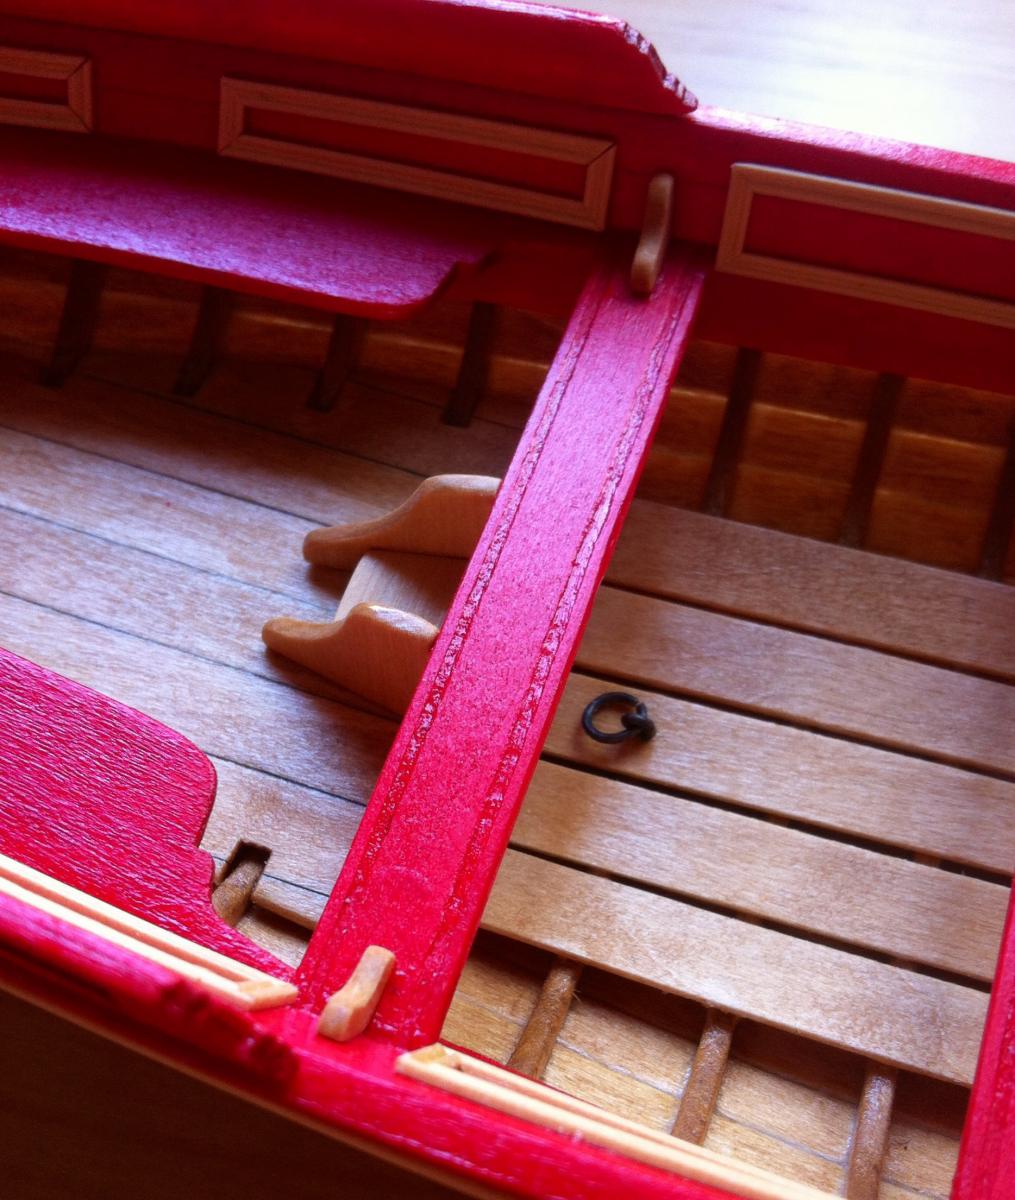
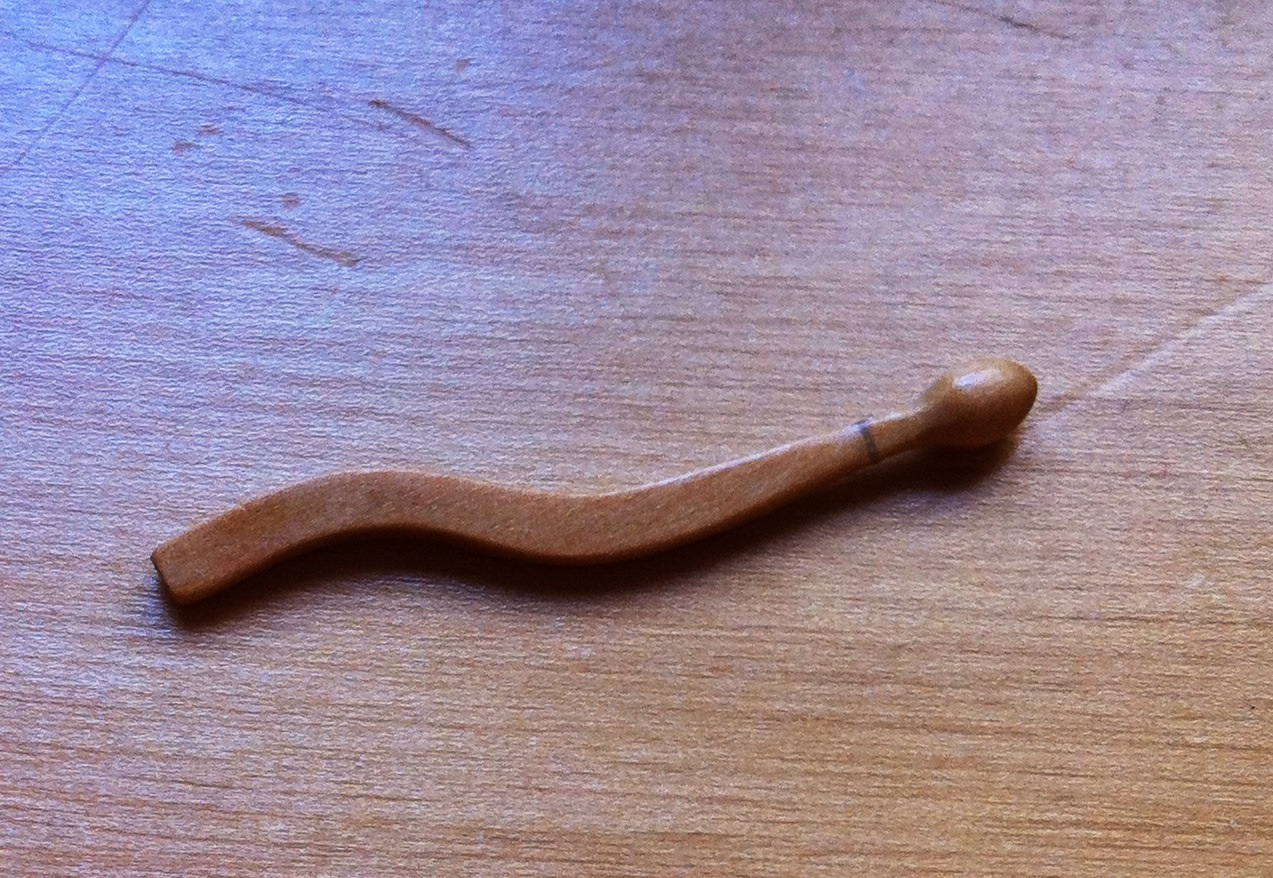
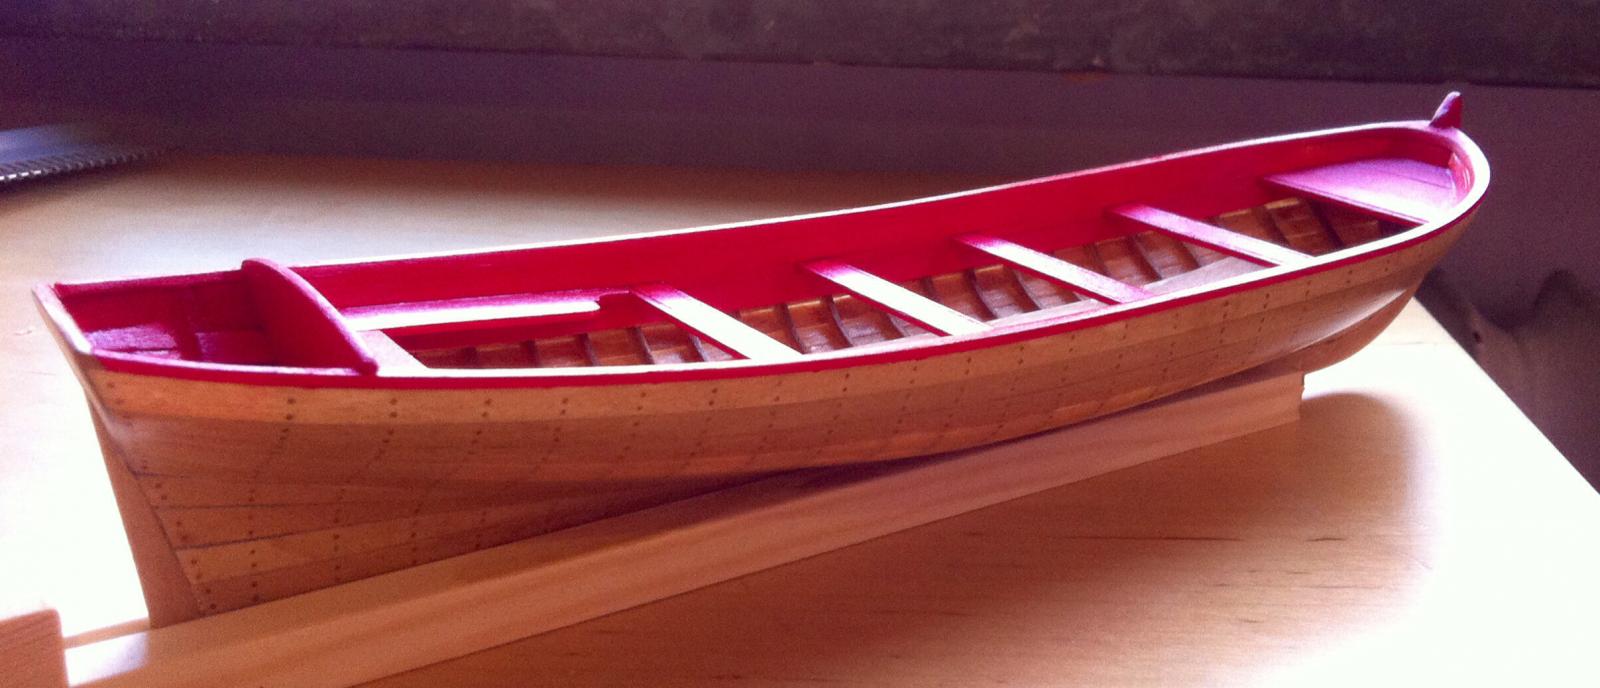
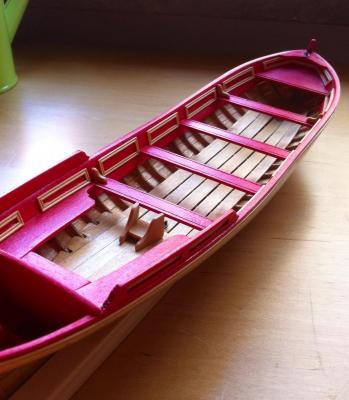
Slowly finishing interior details. Mounted splash protectors, rings, some decorative things near a few twarts, small ladder for a captain. Some things are done not according to the manual (different position on splash protectors, etc). So far I like the modified parts compared to pictures in manual Rudder tiller was nice, but too small for that scale. Made another one, bigger. Maybe it is not in scale, but now it will not break if a fly poops on it Connection between carved part and turned part is enforced with a small brass rod. It is a pity that connection is visible, will try better next time: And that is a moulded boxwood strip instead of friesers (that look like an overdecoration imho). I understand that are a part of contemporary model, plus the whole point of captain pinnace is to flash, so it was overdecorated. But I like a more laconic design, so replaced most flashy parts with less flashy, but elegant:


- 137 replies
-
- 12
-

-
- finished
- model shipways
- (and 1 more)
-
I sanded it away with 240 grit easilly, does it work for you? Congratulations, following the build with interest! I will also start my boxwood longboat build in a month or so
- 335 replies
-
- 1
-
-
- 18th century longboat
- Finished
- (and 1 more)
-
It is the first model where even the dust looks authentic! Exceptional!
- 227 replies
-
- 1
-
-
- cumberland
- 74 gun
- (and 1 more)
-
Sanding the inside of boat hulls.
Mike Y replied to Modeler12's topic in Modeling tools and Workshop Equipment
The sanding drums come in different grits, so you can use the fine one. Sorry, that's the only picture I managed to google, with a coarse grit But yes, they are to remove most of the material, while the final polish is always manual. -
Sanding the inside of boat hulls.
Mike Y replied to Modeler12's topic in Modeling tools and Workshop Equipment
That drum sanders for dremel do the same thing, very handy: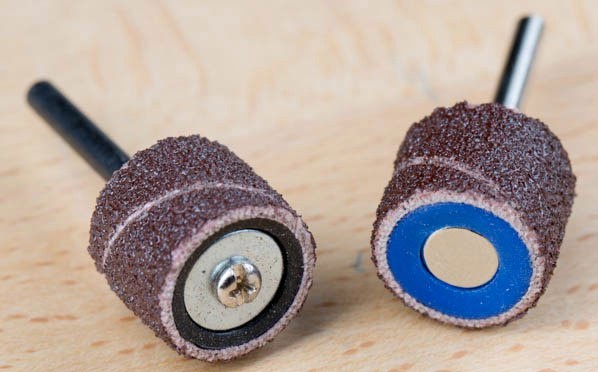
-
Sand them away with a rotary tool, trim edges with a knife, remove remainings of the glue with water or alcohol, depends on type of a glue? Should work nicely!
-
Wow! What kind of a glue do you use? And how do you prevent the hull from warping when wet? Planks will expand, and then leave the gaps when dried. Or there is a trick to prevent that? Looking forward to see the video of first voyage, and more detailed photos! Incredibly interesting project!
-
Just out of curiosity - if you apply the poly to frames now, how can you sand the internal side of the hull later? Or you will skip that step?
-
Wow, the nose filler looks really good!
-
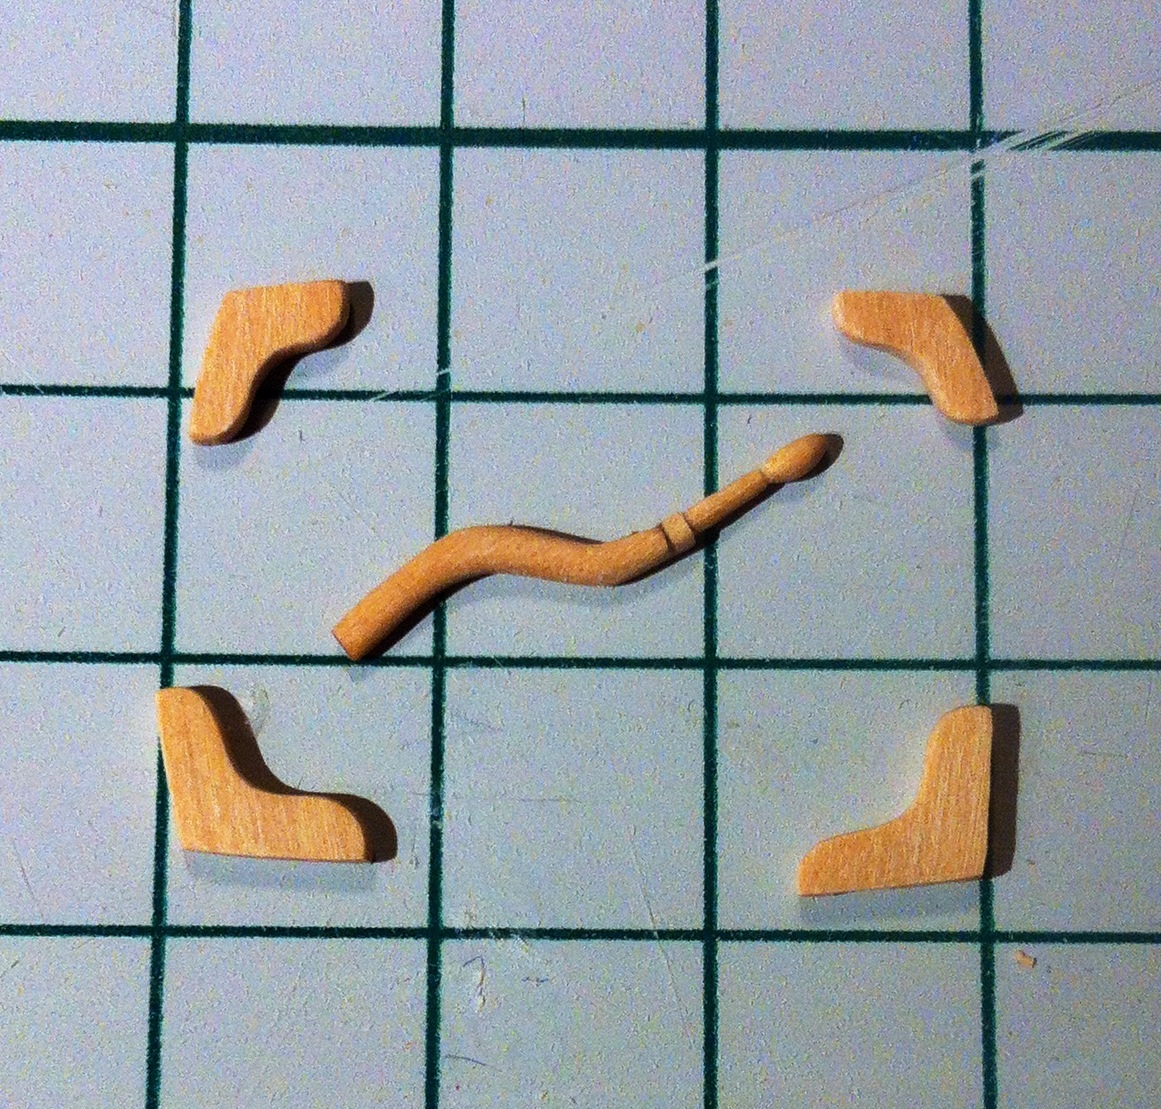
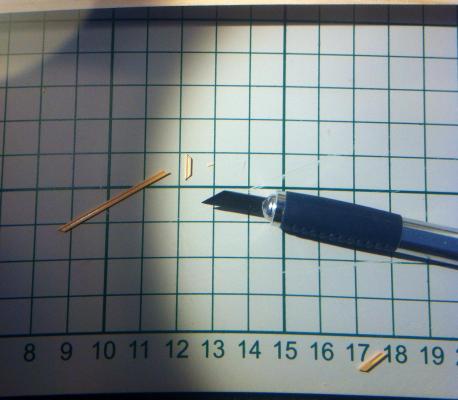
Killed around 10hr on inboard panels, and not sure if they make things nicer or not. Probably, I should have definitely skipped the panels on the rear part of the ship. Very hard to get a proper precision with such small things. Even if they are nice on micro scale, under magnifier, on a larger scale panels are not perfectly aligned together: Also finished a rudder tiller. It have two pieces - carved part and turned part glued together. I am very happy with boxwood, so strong wood and so easy to carve! On that photo, one cell is 5mm (1/6 inches): Now will try to cover all that small particles with wipe-on poly and install to the model.


- 137 replies
-
- 7
-
-
- finished
- model shipways
- (and 1 more)
-
Grant, Ian, oh yes! It is a new amazing skill, I never thought that wood could be that solid.
-
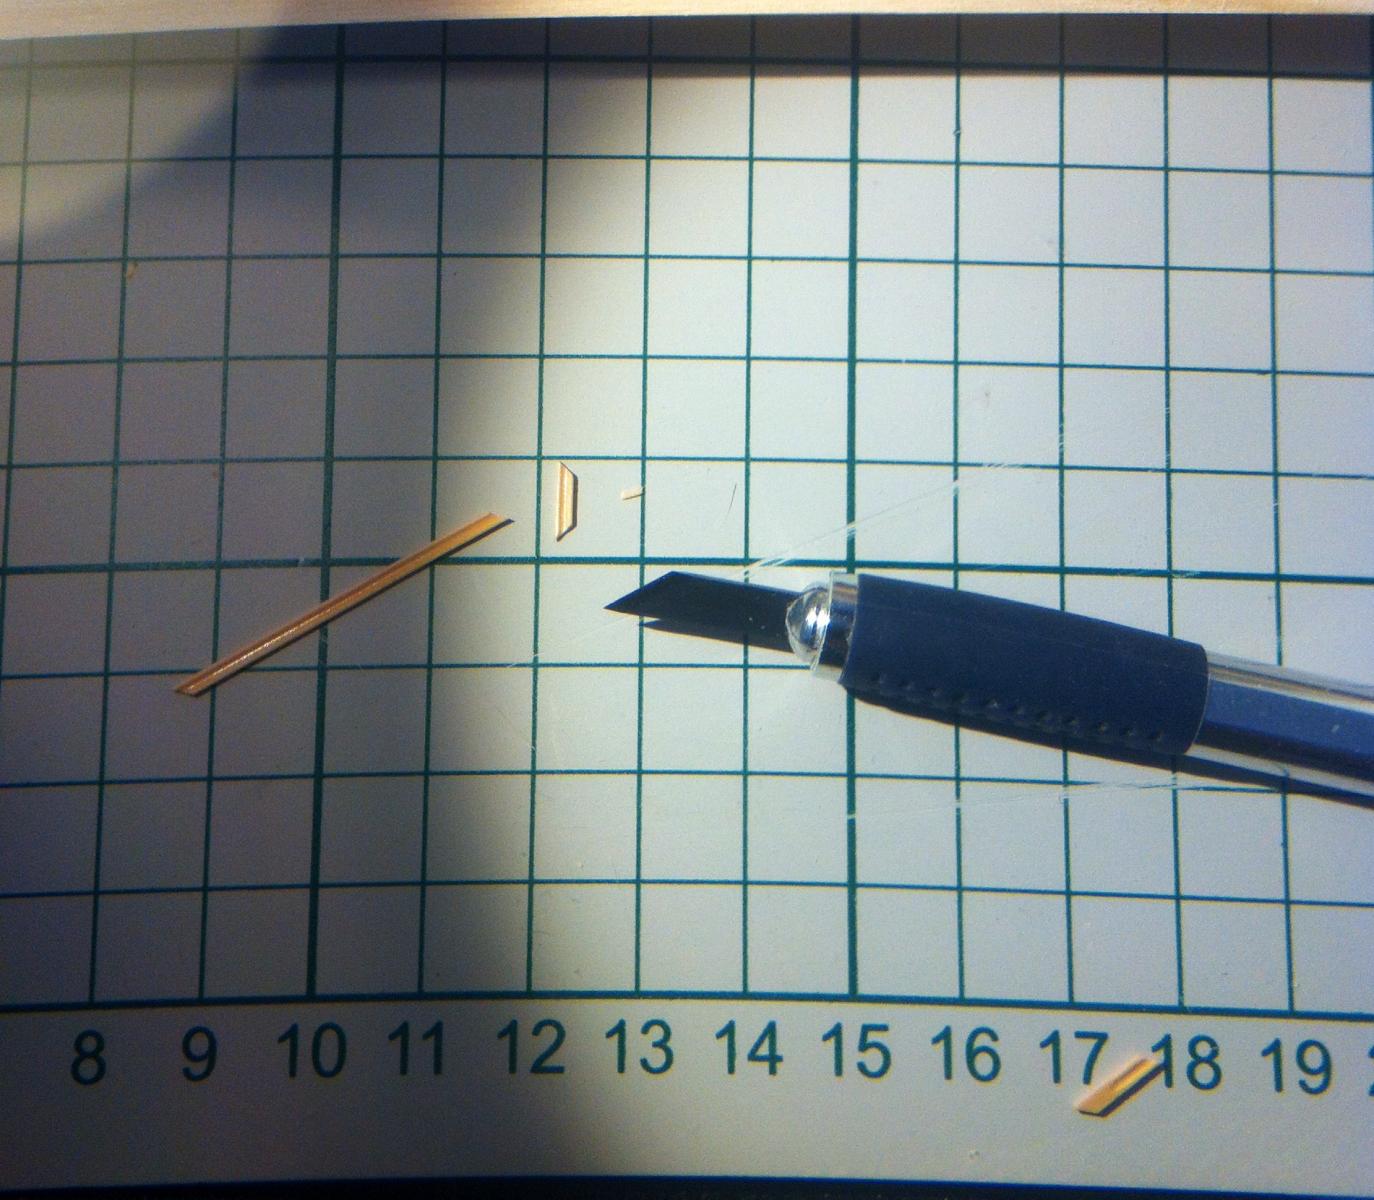
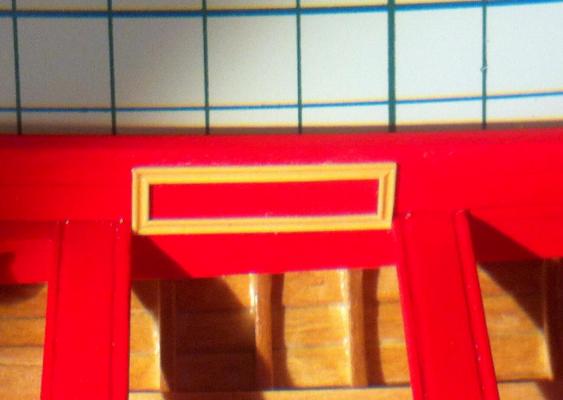
Started interior panels. Feeling like a jewlery master, they are sooooo small! I cant make it without a magnifying glass, any attempt to photo them without it fails. Boxwood behaves perfectly, no splitting, no cracking, and tweezers do not leave any traces on it! That is how one panel looks through a magnifying glass: 2.5 hours later, and I just installed bottom parts for all panels on one side of the boat... Looking forward for a weird weekend I wonder how I was supposed to make them with a basswood from the kit? Tried it, just for fun, it is close to impossible, the wood grains are too big.

- 137 replies
-
- 8
-
-
- finished
- model shipways
- (and 1 more)
-
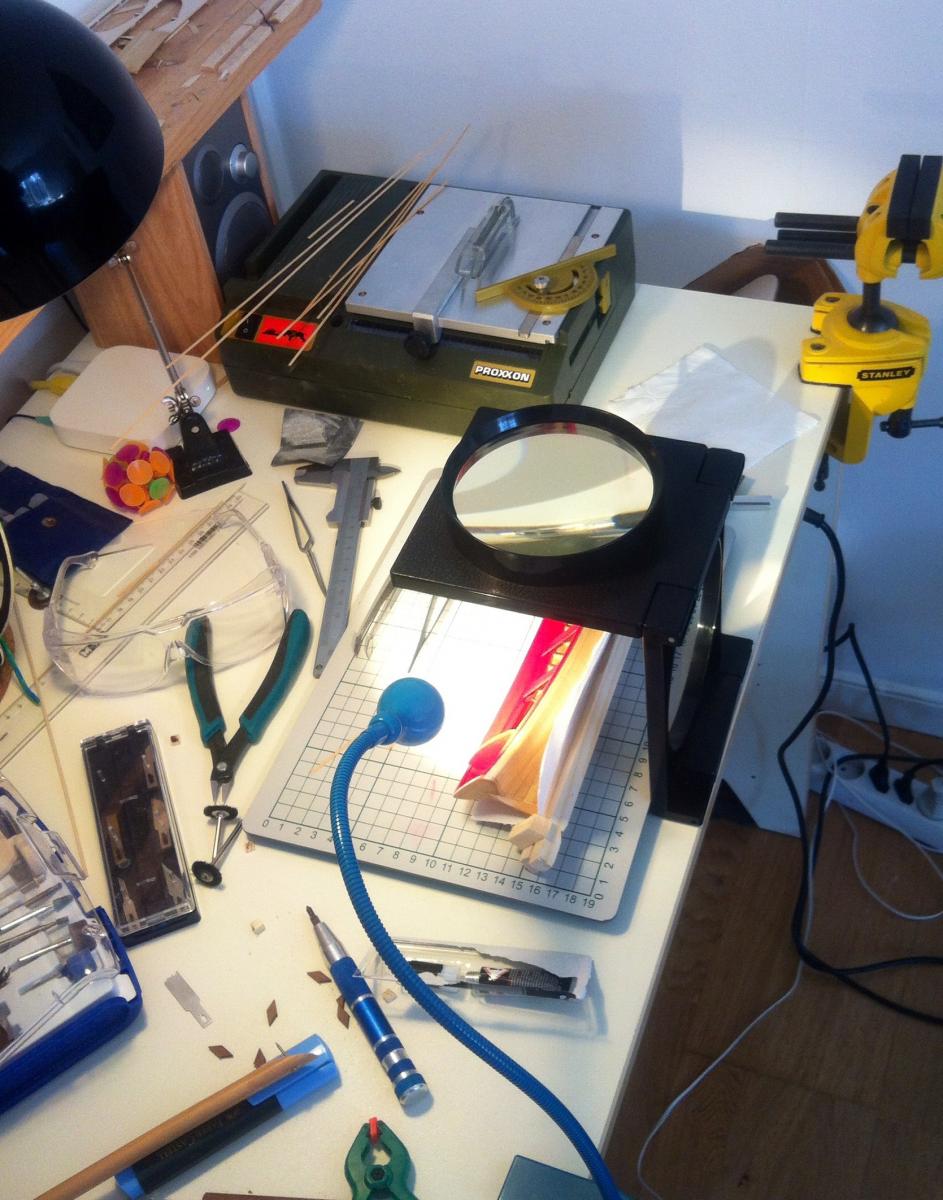
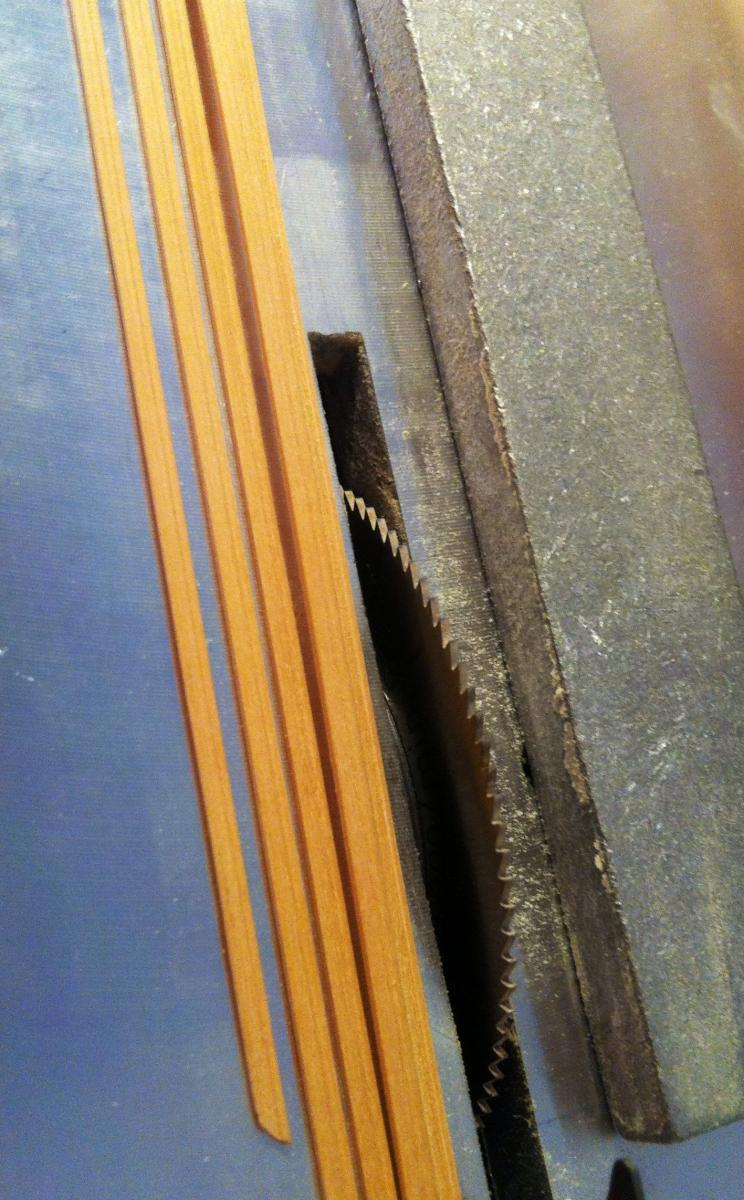
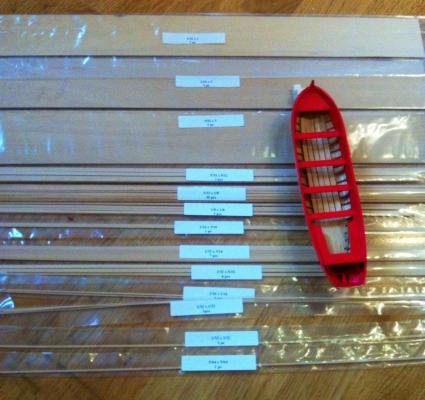
Received a boxwood upgrade package from HobbyMill! Technically speaking, it is for longboat (next build), but it has three big sheets of different thickness, and I milled a few strips from 1/32 sheet to make a nice decorations for my pinnace. Newly purchased table saw from Proxxon helped with it, surprisingly decent accuracy if push the sheet accurately without twisting. It is far from being a precise machinery, but for $120 it is more then good! I tried to make a moulded strips for interior panels, but can't get an accurate edge on basswood strips. You can see it on thwarts, mould looks crappy. Totally different story with boxwood! It is my first experience with it, and I am totally happy! Nice color, very solid, holds a nice edge, now I see why it is so popular! Sorry for a bad photo, that is the best I can get with an iphone camera... Let's see how the result will look like! Now I can't whine about bad wood anymore
- 137 replies
-
- 5
-
-
- finished
- model shipways
- (and 1 more)
-
Dave, thanks for explanation! I now carefully re-read related chapter in Hahn's book (ships of american revolution and their models), indeed, frames are double-layered.
-
Pardon for a really stupid question, but what is the benefit of glueing together two thin wood sheets instead of using a sheet of double thickness? And it is not a mistake, you ordered the wood milled to that thickness, just trying to understand the method.
-
what is the ideal modelling table?
Mike Y replied to AON's topic in Modeling tools and Workshop Equipment
Be careful though, lots of fraud there... Make sure you can rollback the transaction if you will receive fake junk instead of ordered item. -
what is the ideal modelling table?
Mike Y replied to AON's topic in Modeling tools and Workshop Equipment
132 USD in http://www.aliexpress.com/item/24V-500mm-stroke-lift-column-Telescopic-Pillars/1580588570.html, for example. Plus shipping, that could be organized through various resellers. And lots of lots in a 300 USD range. But you are right, it's definitely not a cheap solution. -
what is the ideal modelling table?
Mike Y replied to AON's topic in Modeling tools and Workshop Equipment
Tables are expensive, but the lifting mechanism itself is not expensive and could be ordered from China easilly. -
what is the ideal modelling table?
Mike Y replied to AON's topic in Modeling tools and Workshop Equipment
AON, have you looked on a lifting mechanisms for office tables? Much better solution then a system of pulleys. Google "office lifting table", you can buy the "legs" with motors and controller separately from the table itself. I have one of those in the office, quite a handy thing. Handles a big weight, even if the weight is located on one side of the table. -
Thanks Erik, Nils and Robin! Stuntflyer, thanks, will try that cloth.
- 137 replies
-
- 1
-
-
- finished
- model shipways
- (and 1 more)
-
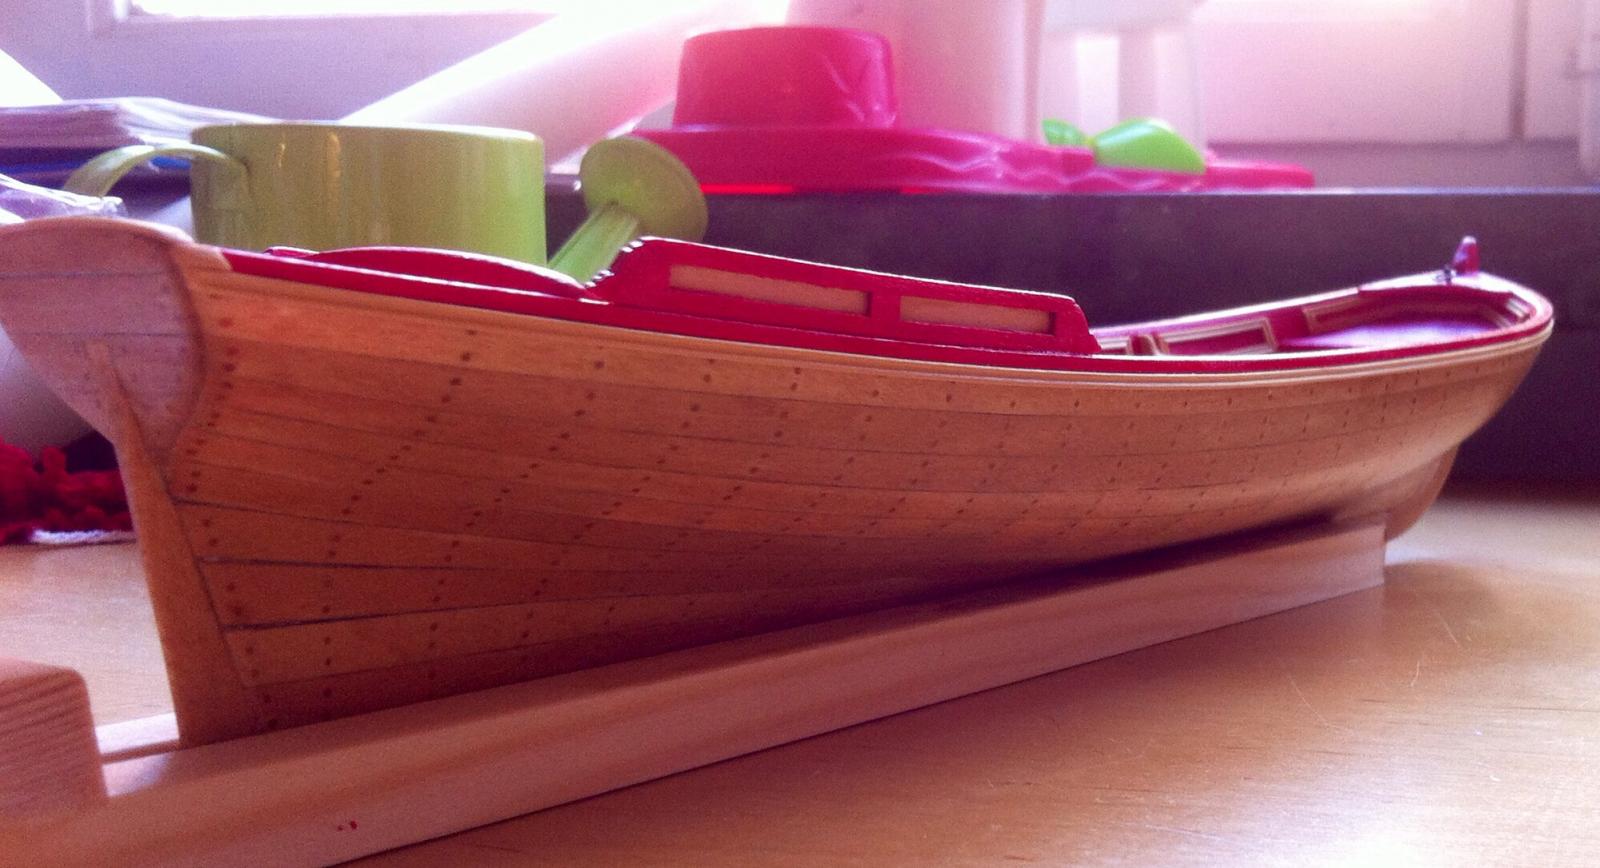
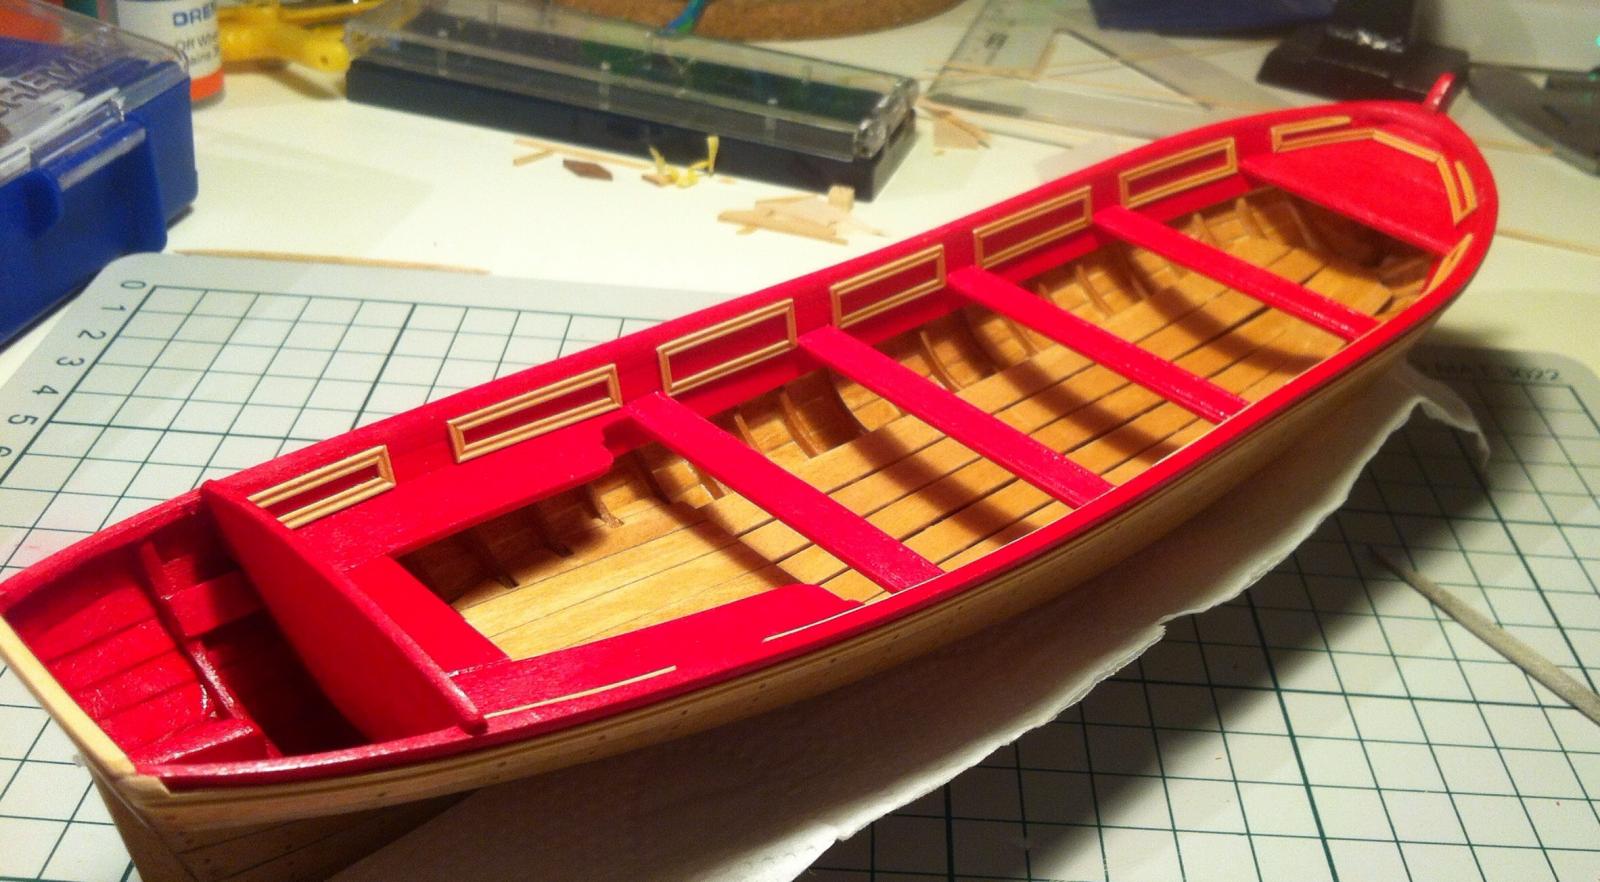
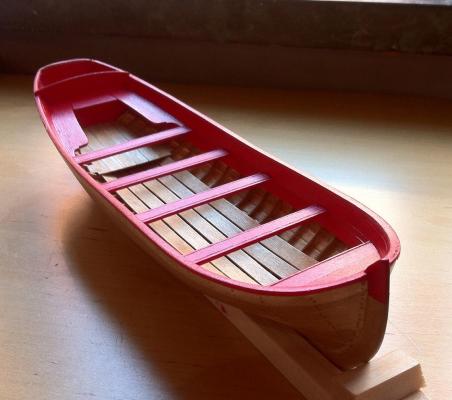
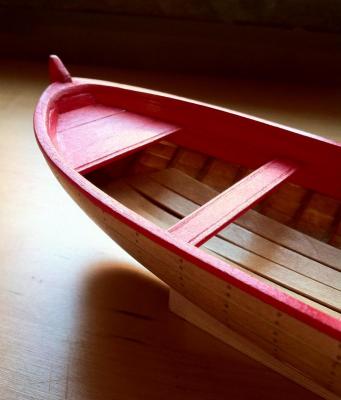
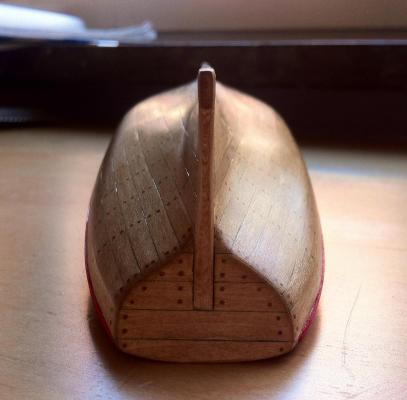
Poly dried overnight, and I got back home early enough to make a few photos with a natural light. Looks so much better! Good effect of a poly, it is now a bit glossy, but not too much. Just enough! Plus it mechanically protects paint layer. But I wonder how to apply it properly, without a cloth that leaves a fibre particles that are stuck in a sticky poly. Or maybe a proper poly is not that sticky? Sorry for lots of photos. But hey, good build log should have more photos then words, right?

- 137 replies
-
- 12
-
-
- finished
- model shipways
- (and 1 more)
-
Interesting deck planking pattern, with surprisingly narrow deck planks. Is it purely for aesthetic reasons, or such planking is more practical on a yacht? The paint looks great, nice glossy effect!
-
Applied wipe-on poly. I used an optic cleaning microfiber cloth to apply the poly. But still got lots of small particles from that cloth, poly is very very sticky. Is there some special cloth for wipe-on poly, or minwax poly that everybody use is not so sticky?