Mike Y
-
Posts
1,543 -
Joined
-
Last visited
Content Type
Profiles
Forums
Gallery
Events
Everything posted by Mike Y
-
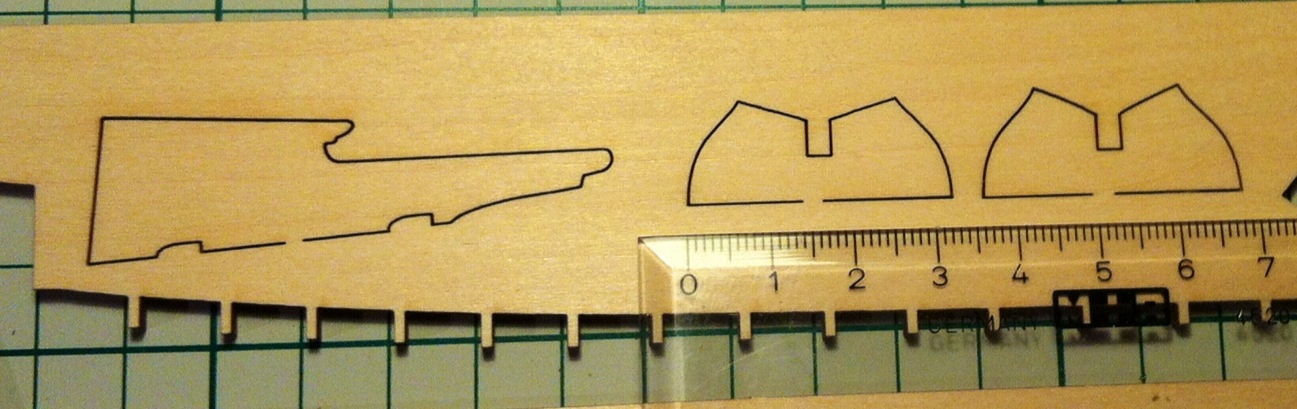
 Btw, there is a real shortage of a wide planks for floor and platform on the back of the ship. I used one of them for a hull gap plank, as advised, and there were just 4 planks remaining. While you need around 5 at least! Also, while planning the next steps, found some mysterious Extra Details. Spent 30min re-reading whole manual, cant find what that could be. It is thick and, probably, should be mounted on a keel. Chuck, could you please give a hint, that are these pieces for? Two right ones on this sheet of laser cut details:
- 137 replies
-
- 1
-

-
- finished
- model shipways
- (and 1 more)
-
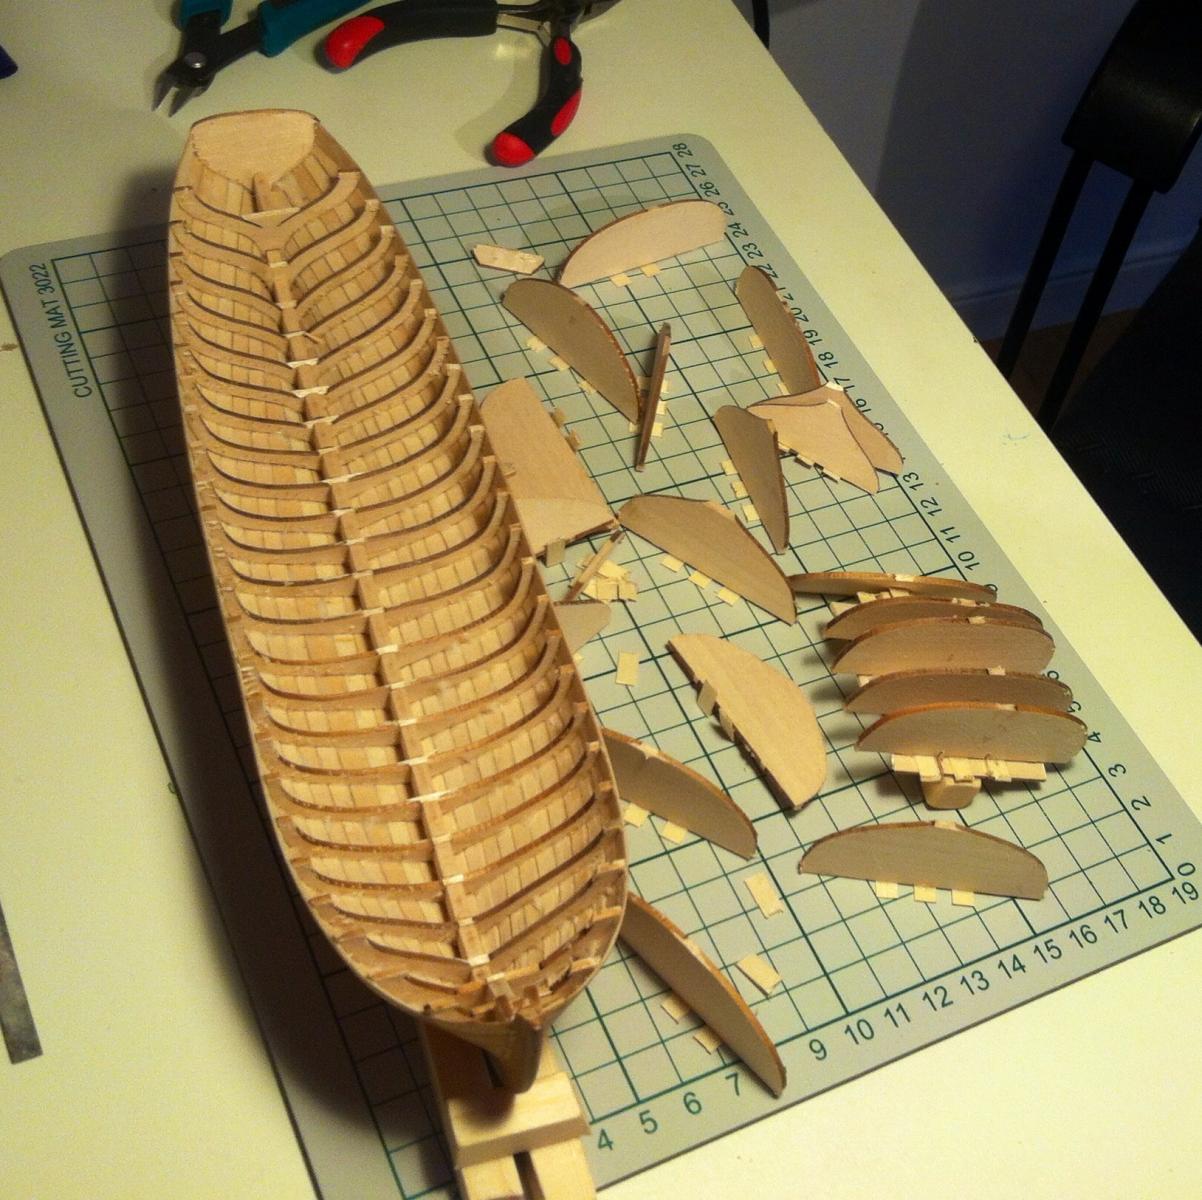
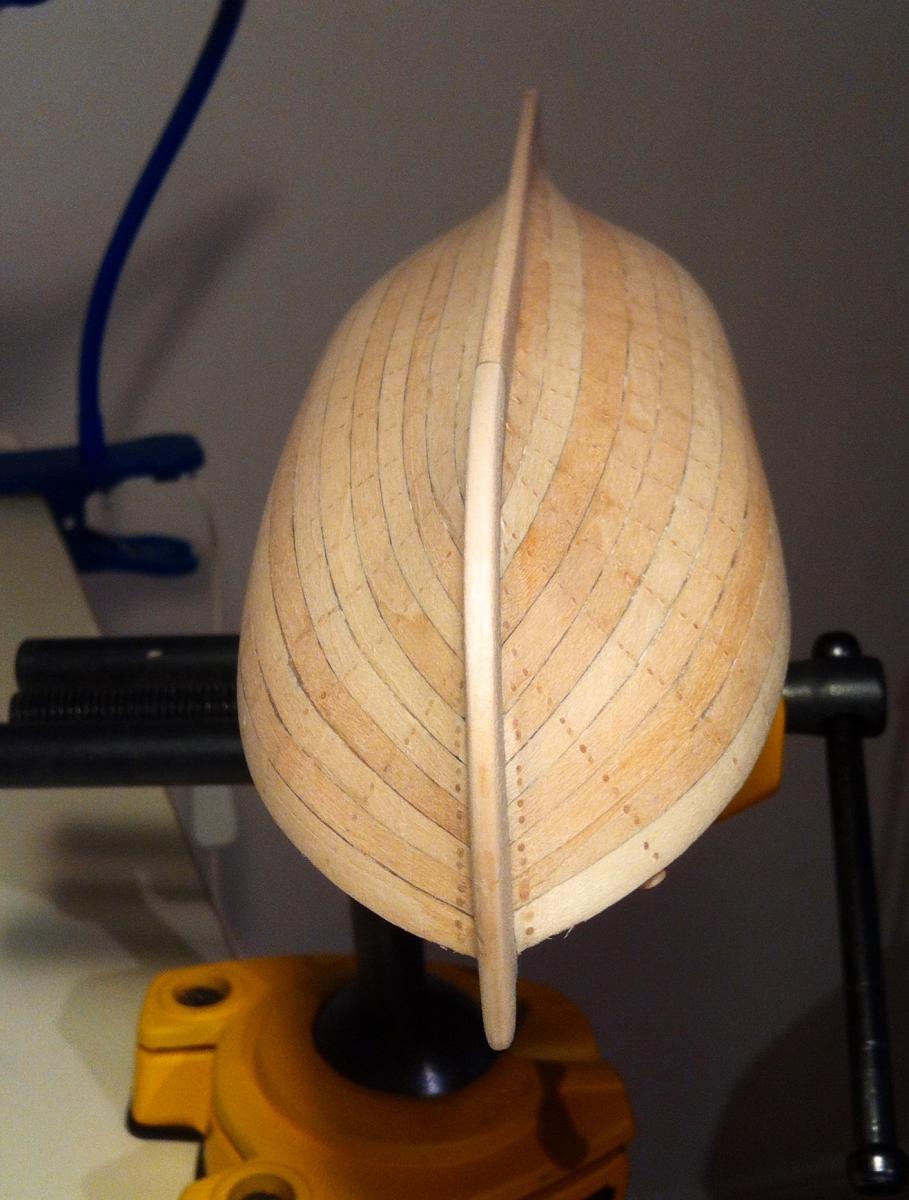
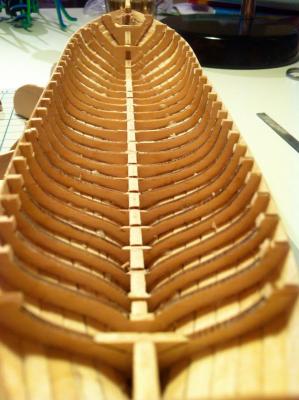
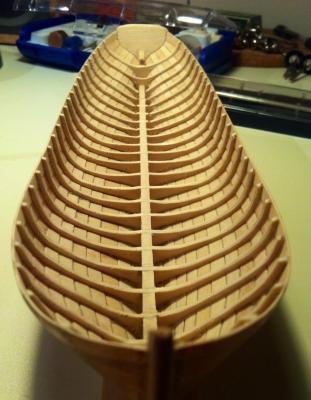
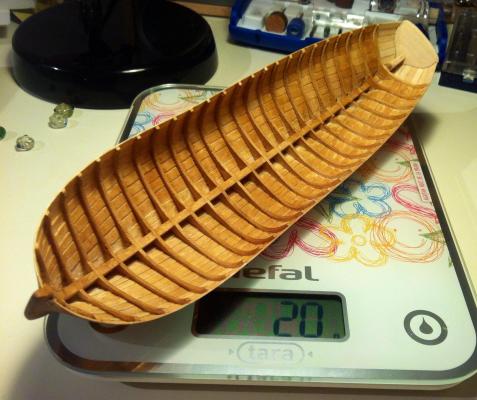
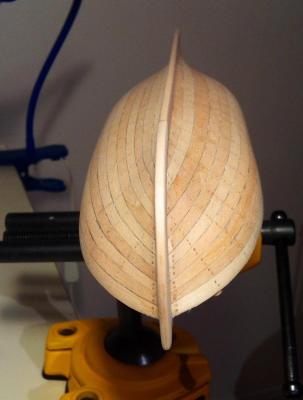
Important milestone achieved - removed frame centers: Frames are quite thick, not sure why. Manual says that they should be later sanded down. Probably they would be too fragile otherwise After sanding, looks quite neat: Hull is extremely light, it feels like an egg shell. Just 20gr (0.705oz)! Amount of sanding required really reminds me on an old anecdote about Japanese spies stealing blueprints of Soviet jet fighter, which looked more like a steam locomotive after assembling. There was a small fine print in the manual - sand down some material to shape it like a jet fighter....

- 137 replies
-
- 4
-
-
- finished
- model shipways
- (and 1 more)
-
Which scroll saw is not very big and the most silent? I'm a living room modeller, was thinking about a dremel moto saw, but checked some youtube reviews and it sounds extremely loud. Or on a low speed with a thin material it would be fine?
-
Thanks a lot for a warm words It is very inspiring!
-
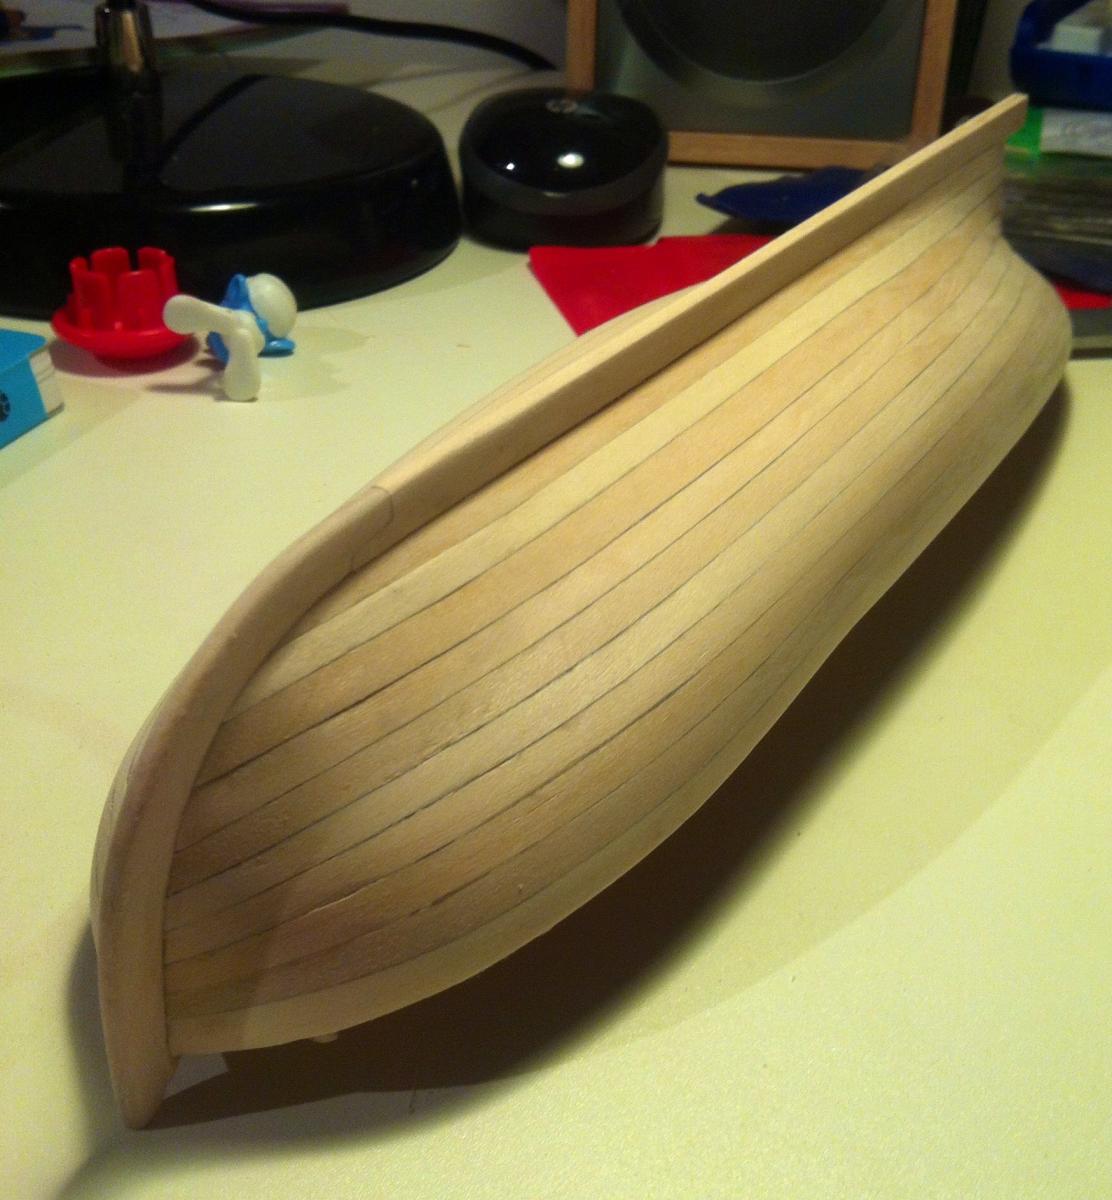
Applied stain. Hat tip Amfibius, with wipe on method it's much better: Some spots on a bow do not soak any stain. I tried to scratch and gently sand them to "open" fibers, but no luck. Then added a coat of a wipe-on poly. Reflections are not as strong in real life, it's just a lamp that I use when taking photos Whole staining experience confirmed that the best stain is no stain, good wood do not require any staining, just a gentle cover of a poly. Now looking forward to inner hull sanding! Also ordered boxwood longboat, will do the next build better then this one

- 137 replies
-
- 7
-
-
- finished
- model shipways
- (and 1 more)
-
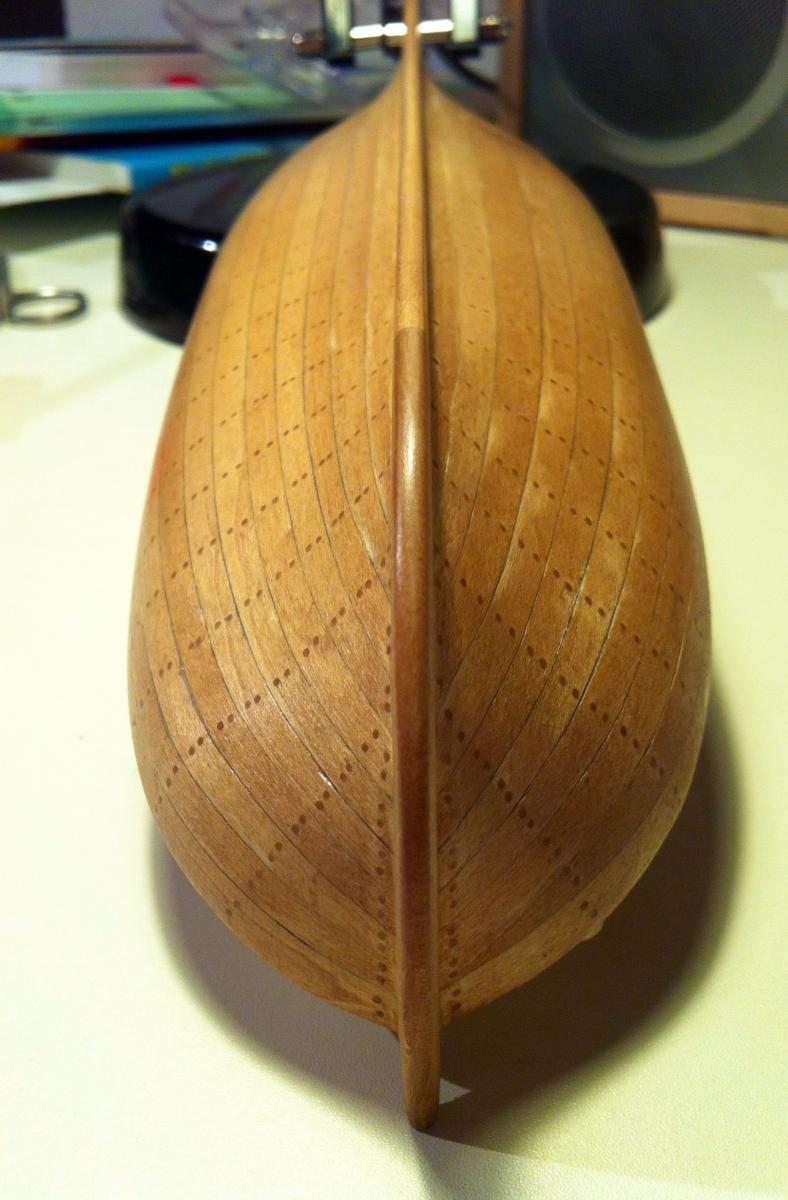
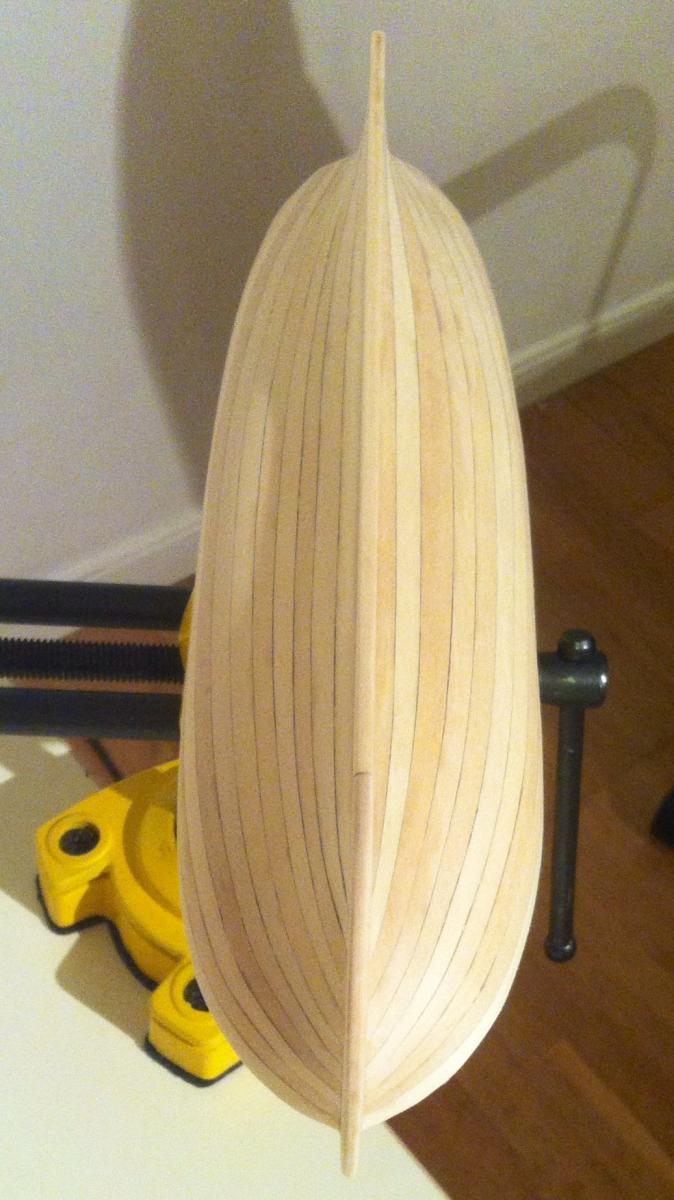
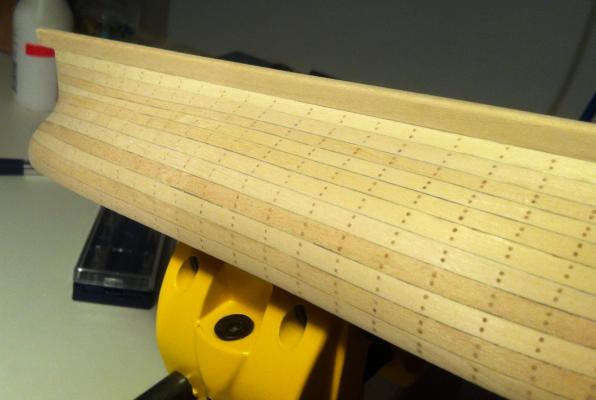
Finished treenailing and sanding. Sanded with 240 -> 600 -> 1200 grits, the result is kind of smooth (if you can say that about that wood). The stains here are not glue or dirt, it is really such wood first and last experience with cheap wood for planking. But luckily my staining experiments show that stain will smoothen the wood color a bit. Also planked the transom: Now the most tricky part - painting. If I do it wrong - whole build is trashed and will deserve a good old viking funeral!

- 137 replies
-
- 3
-
-
- finished
- model shipways
- (and 1 more)
-
Oh, I am such a newbie in anything that is related to paints! Thanks, Amfibius, will try now
-
Wow, such a nice model in just 3 months! Unbelievable! Good luck with next one!
-
Experimented with different stains. Found a terrible problem - basswood expands when it soaks the stain. Wood is warped and there are big gaps when it dries. Luckily it was just a scrap piece. What to do? Avoid staining basswood at all? I used quite a few drops of stain on a brush, to keep the moisture level as low as possible. But is just soaks the liquid and expands. Or there is some trick?
-
Natural wood. It is a nice mahogany, not sure if it is a good idea to paint it
-
Checked it - yes, yours is a much better way of making a treenails. But a much trickier one, especially on my size, not sure how can I drill with that angle.. Added your method into bookmarks!
-
Amfibius, thanks for advice! By the way, what was the benefit of treenailing from inside?
-
Treenailed one side of the ship. Will do same for other side, and then polish and then cover with wipe-on poly. Question: what is the best way to polish basswood? Tried a smooth sandpaper, then scraping with sharp blade, still not smooth enough, wood fibers are poking in various directions. Is there any trick? Maybe I should make it a bit wet and the polish? What about different polishing wool or cotton disks that are used with dremel, can you use them with wood?

- 137 replies
-
- 4
-
-
- finished
- model shipways
- (and 1 more)
-
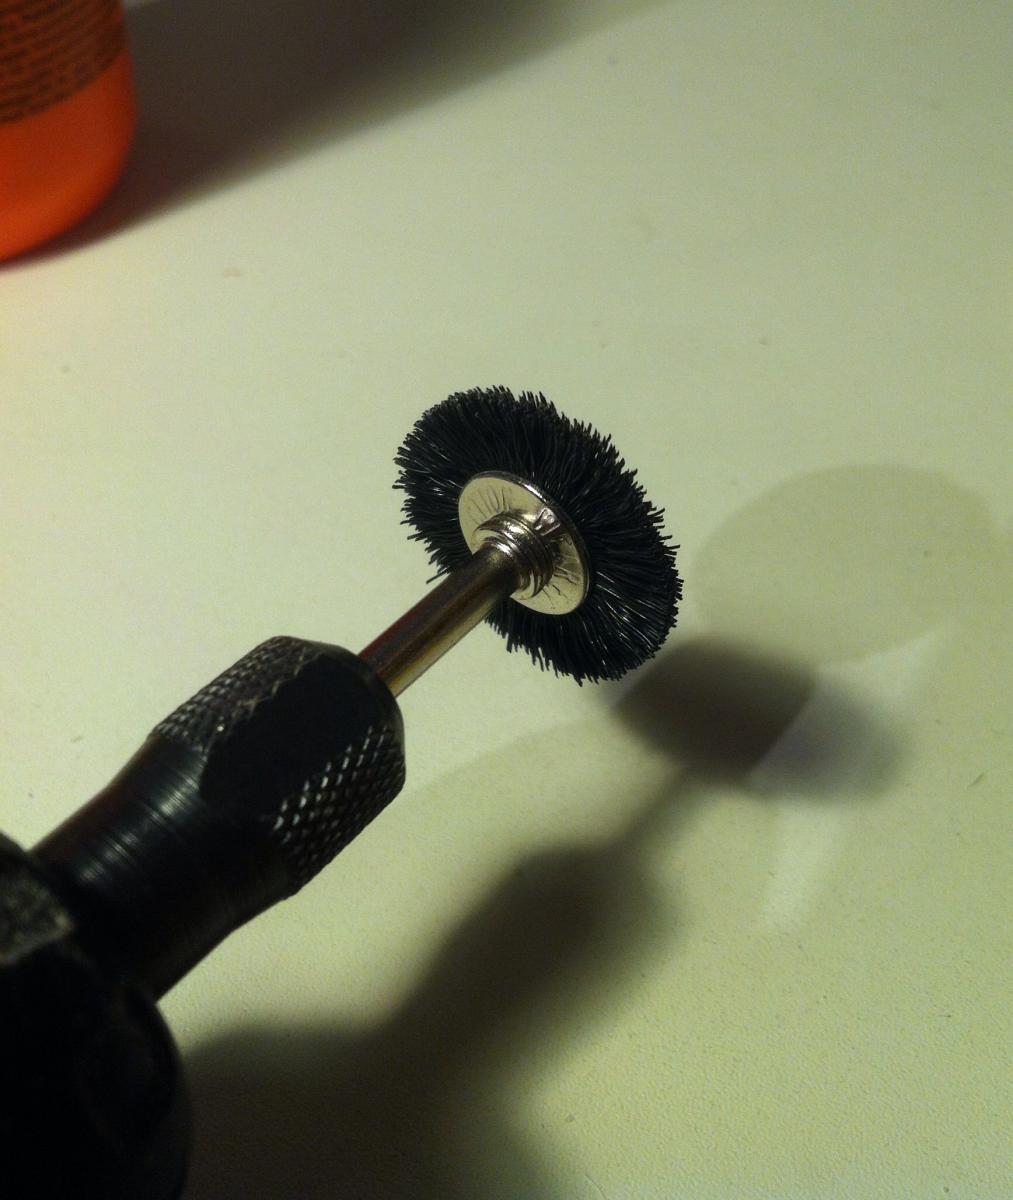
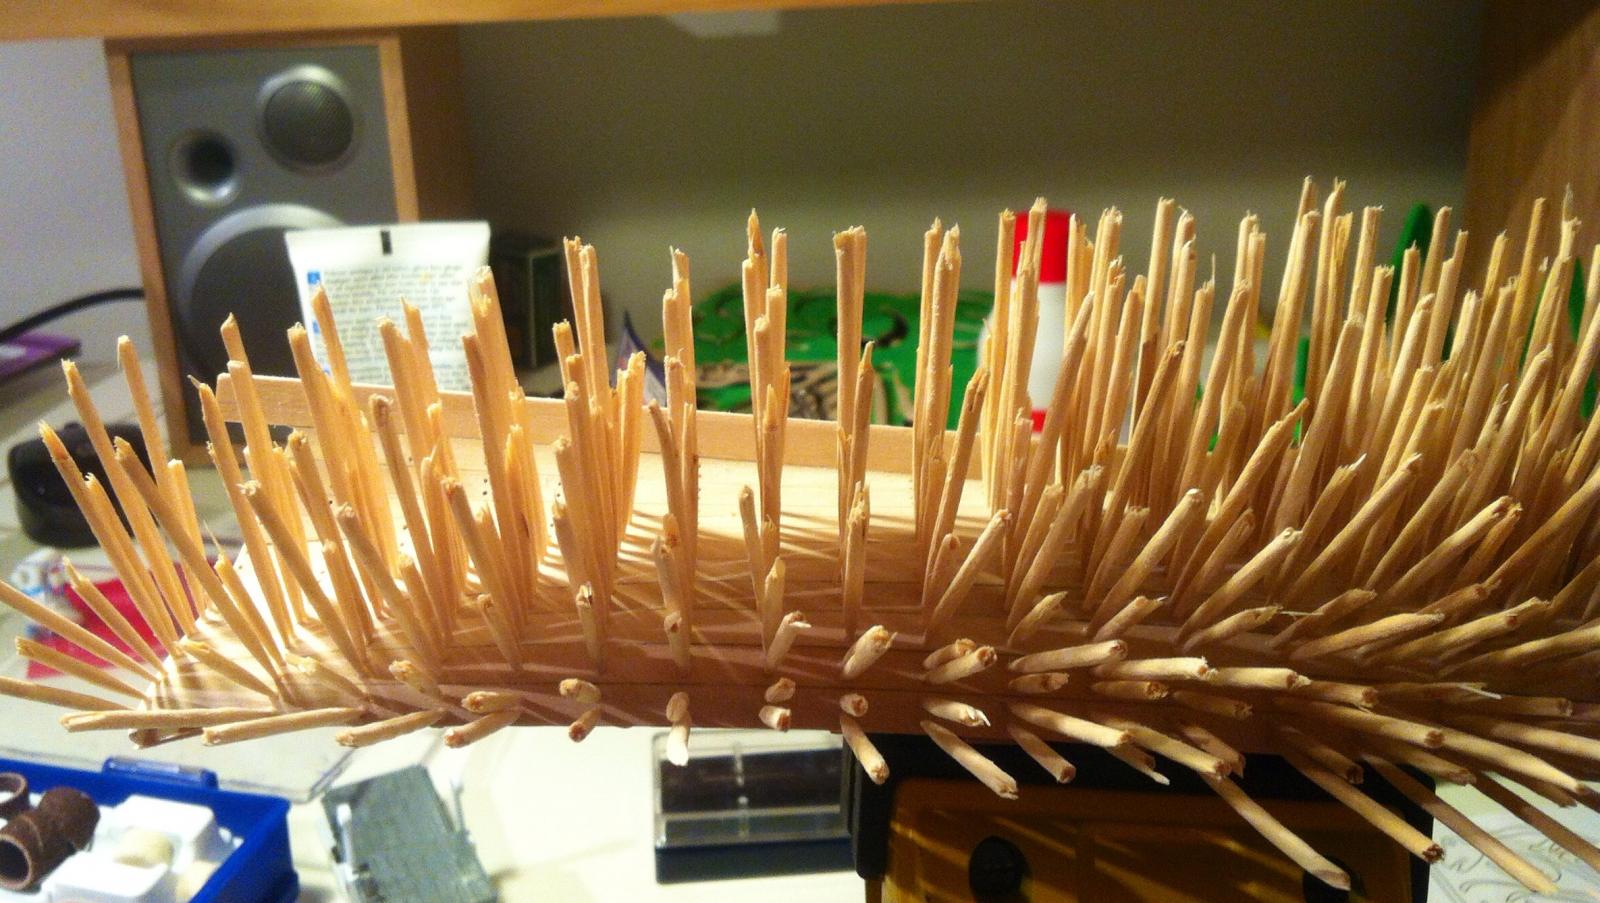
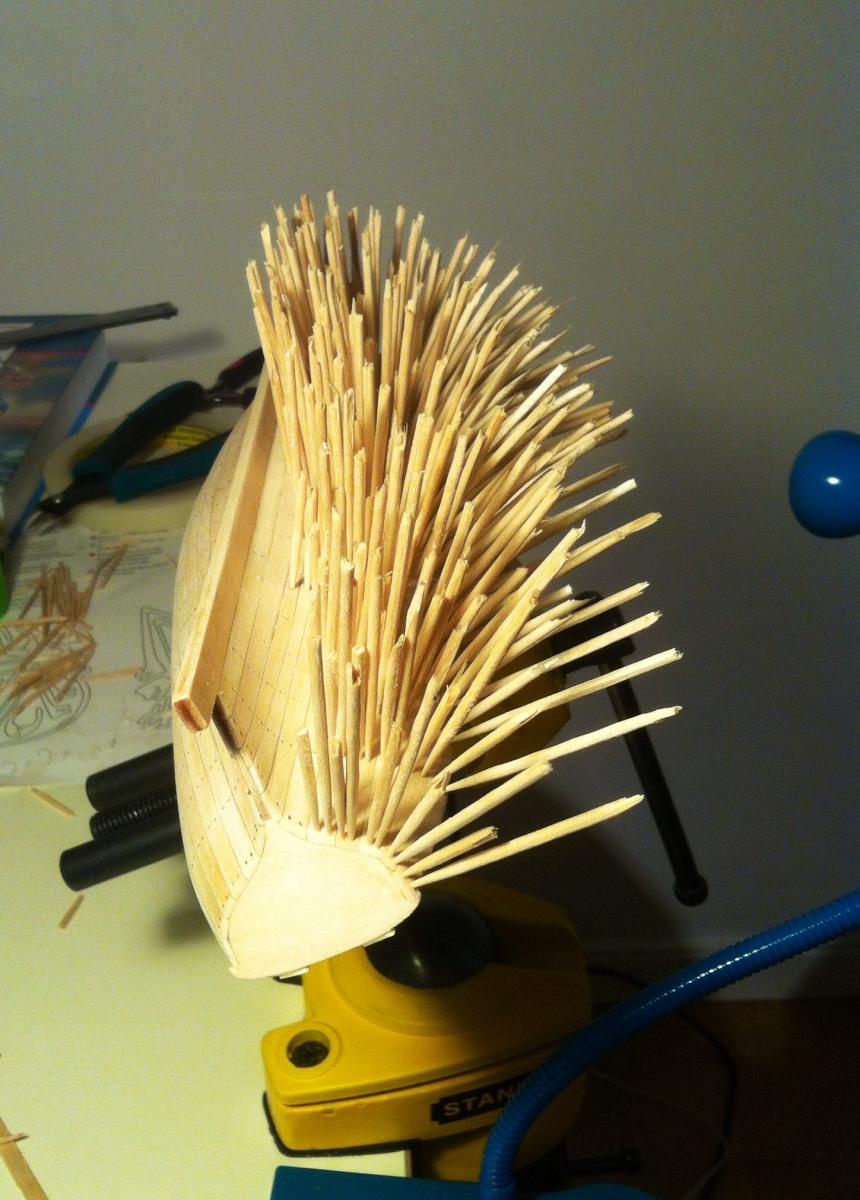
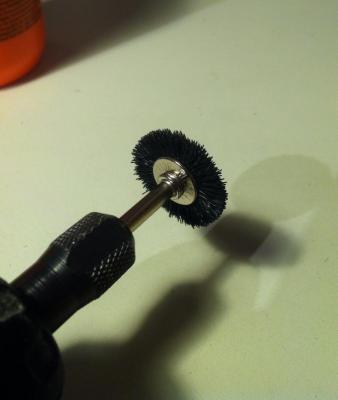
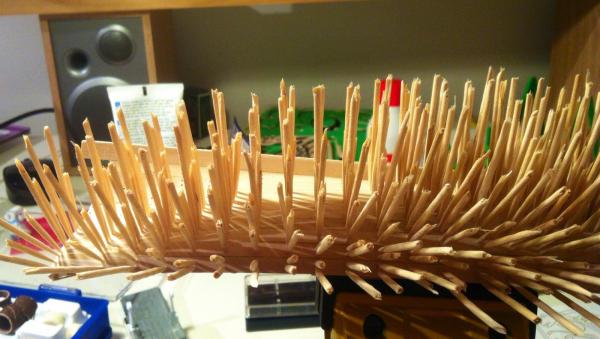
Here is how shaved hedgehog could look like: This dremel nylon disk brush turned out to be really good tool to remove remainings of the glue: Example:
- 137 replies
-
- 2
-
-
- finished
- model shipways
- (and 1 more)
-
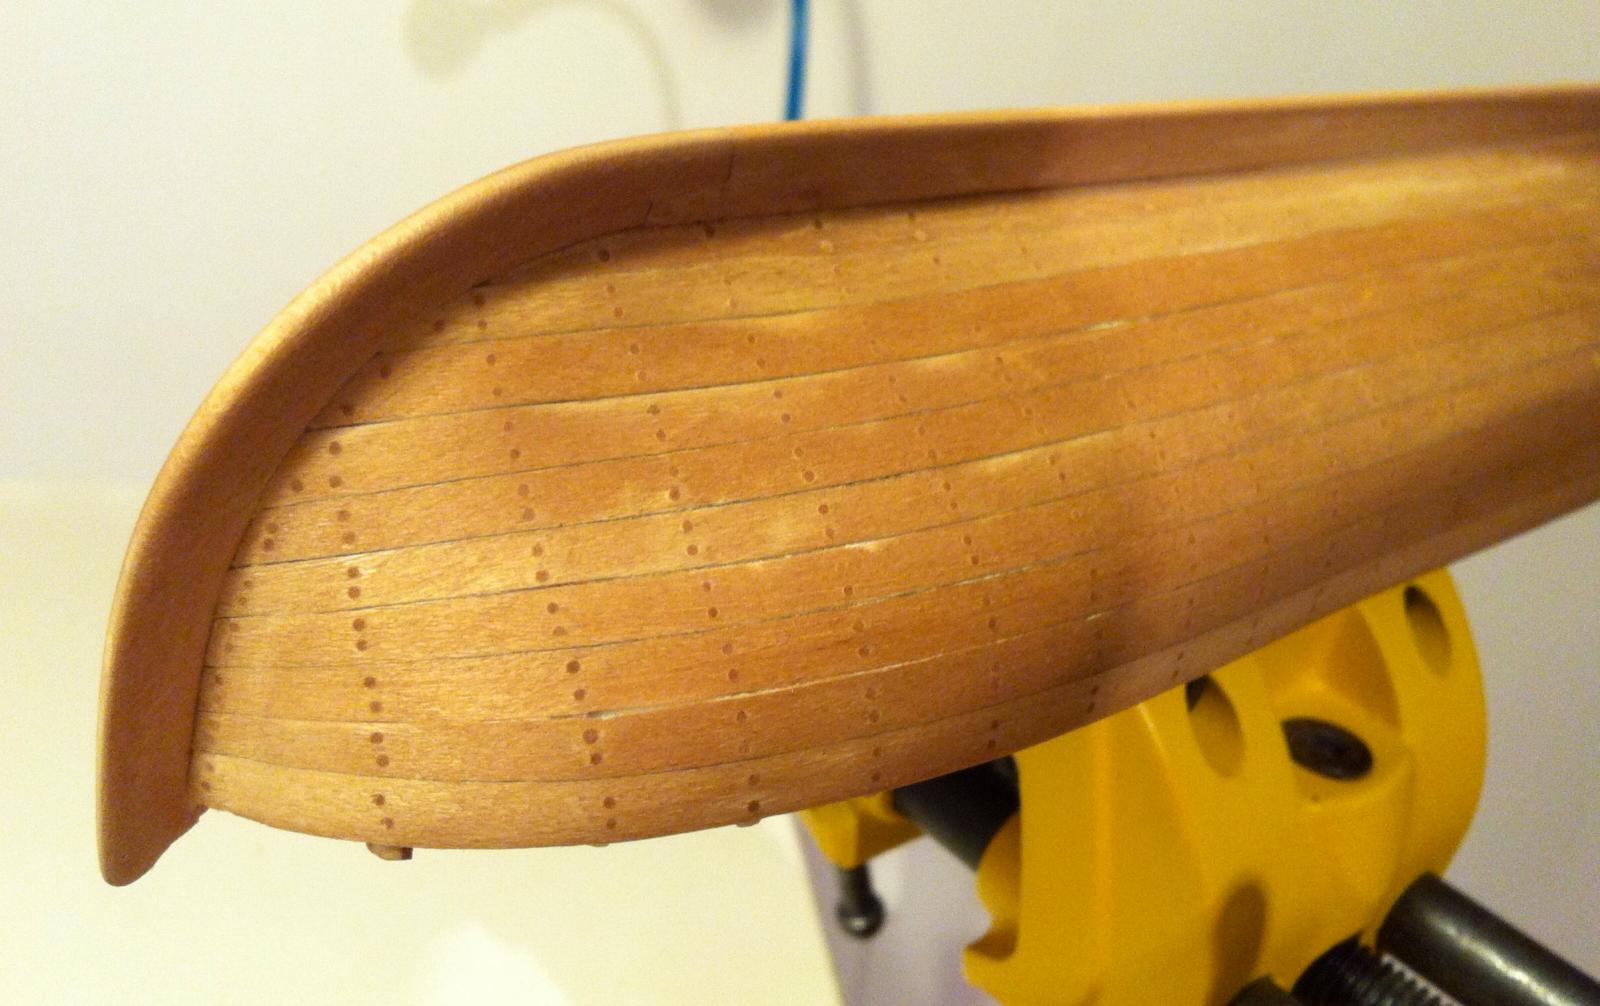
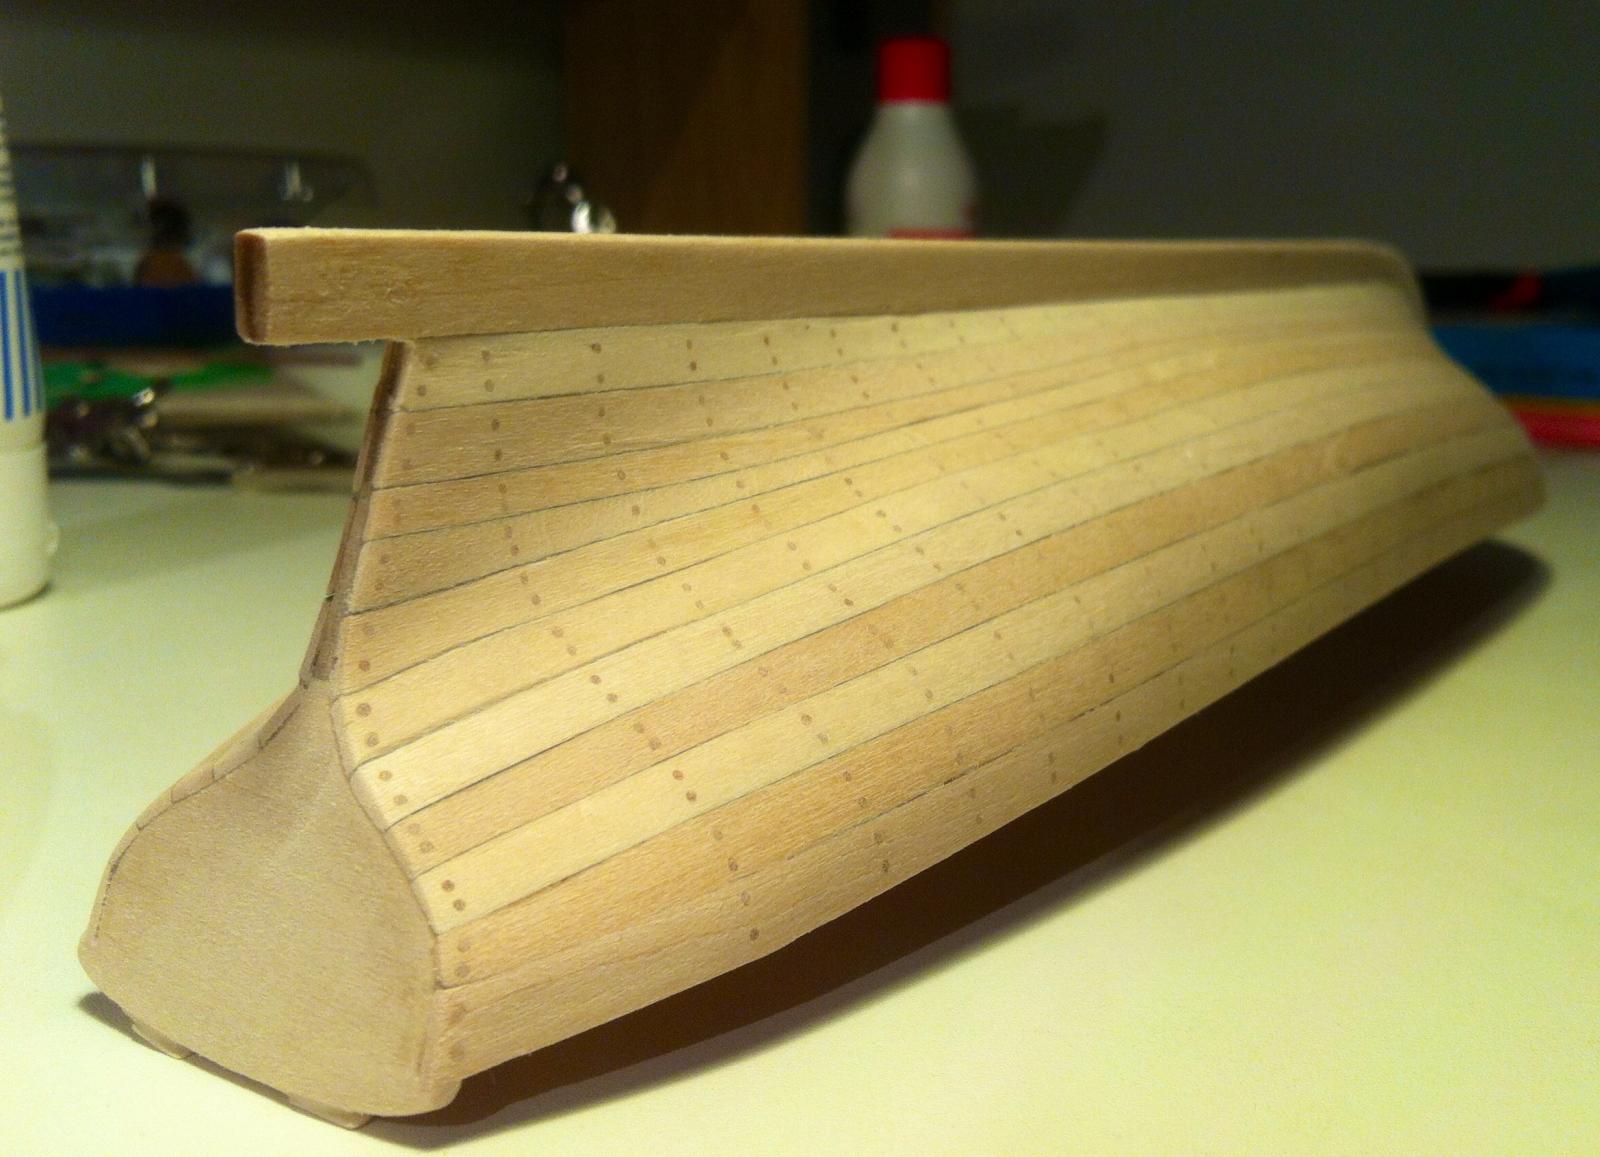
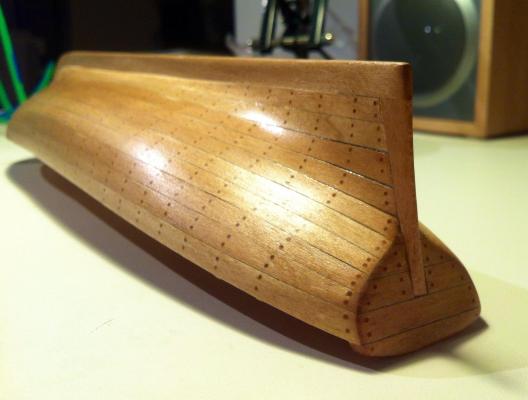
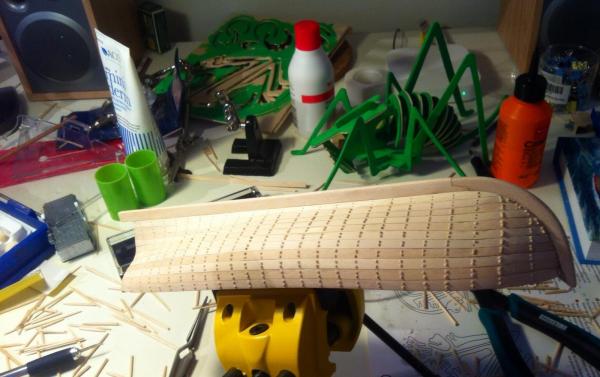
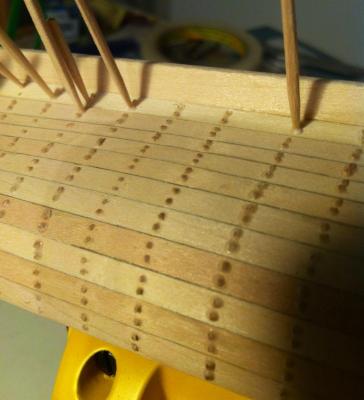
Treenail imitation in progress. It turned out to be faster then I thought, average speed is about a hundred nails per hour, including drilling. Holes are 0.60mm, I did a series of tests on scrap planks, 0.60 is the best looking compromise. 0.70 too big, while 0.50 is too tight, a lot of glue is not getting into the hole, some nails fall off. Nice hedgehog The trickiest part would be cutting off the toothpics and remainings of glue, with a very little sanding. Some planks are too thin after previous hull sanding.. Hobby knife should do the trick!

- 137 replies
-
- 5
-
-
- finished
- model shipways
- (and 1 more)
-
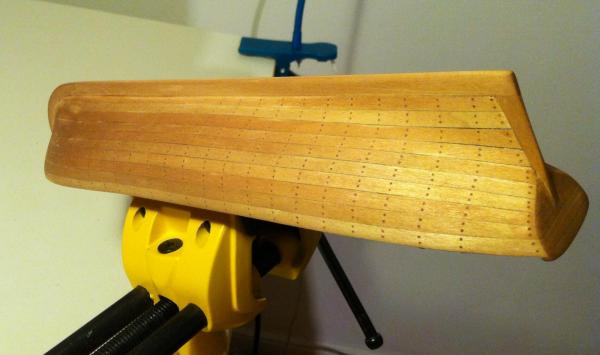
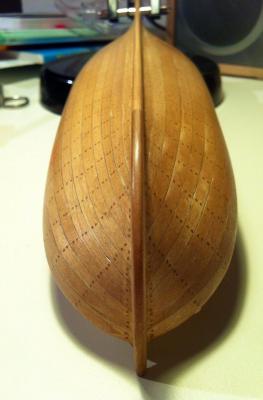
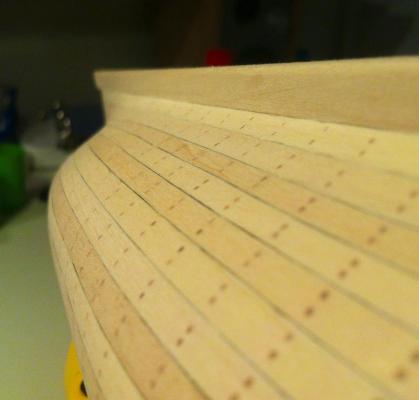
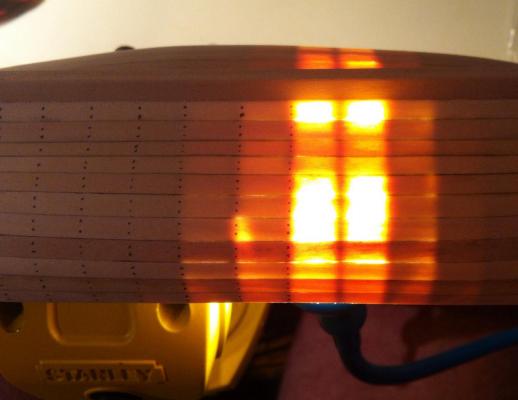
Time for a warm lamp light! Very easy to mark treenai holes with a small spotlight. Planks are thin and frames are neatly highlighted
- 137 replies
-
- 5
-
-
- finished
- model shipways
- (and 1 more)
-
Amazing planking!
-
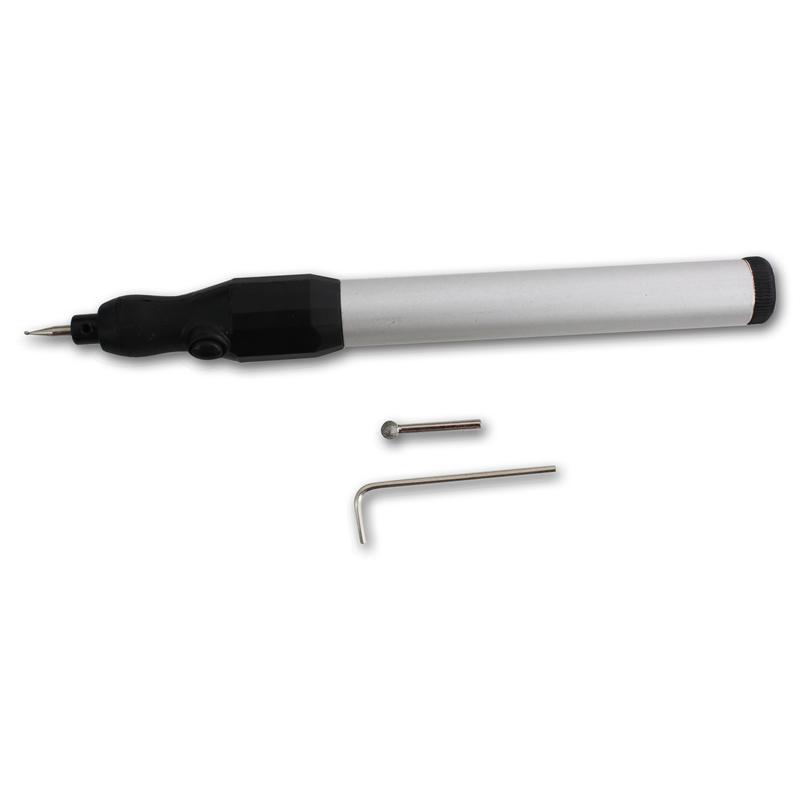
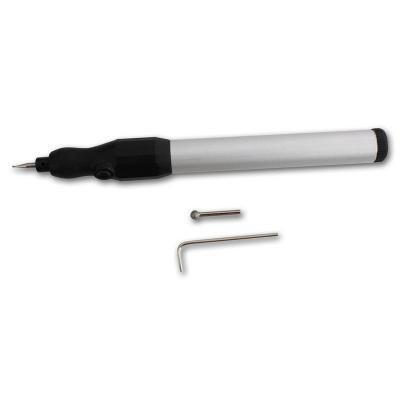
There are also similar products for nail polishing, but they all have a fixed size chuck. Of course, the power of such tool would be really low, so you can't drill any hardwood or press it. But, hey, it's a tiny drill anyway, that will break if you try to use power on it..
-
Looking for a mini mini drill, to make a tiny holes in planking. Dremel is a bit too heavy for it, I'm afraid of breaking the drill bit while holding it. Ideally it should be powered by AA battery or two. I found some engravers that looks exactly like I need, but it's not possible to put a tiny 0.3-0.5mm drill bit in it, they don't have any chuck. Would appreciate any hints!
-
Probably the easiest way would be to find a photos of original planking. I tried to google them, looks not easy really Was in Sjöhistoriska museet this weekend, unfortunately they have no good yacht models or photos. The one they have are made with a solid hull, no planking. But they have a quite big archive, maybe you can send a query?
-
Bob, your model is one of the cutiest! If you dont mind, can I steal your treenail pattern? It is the best!
-
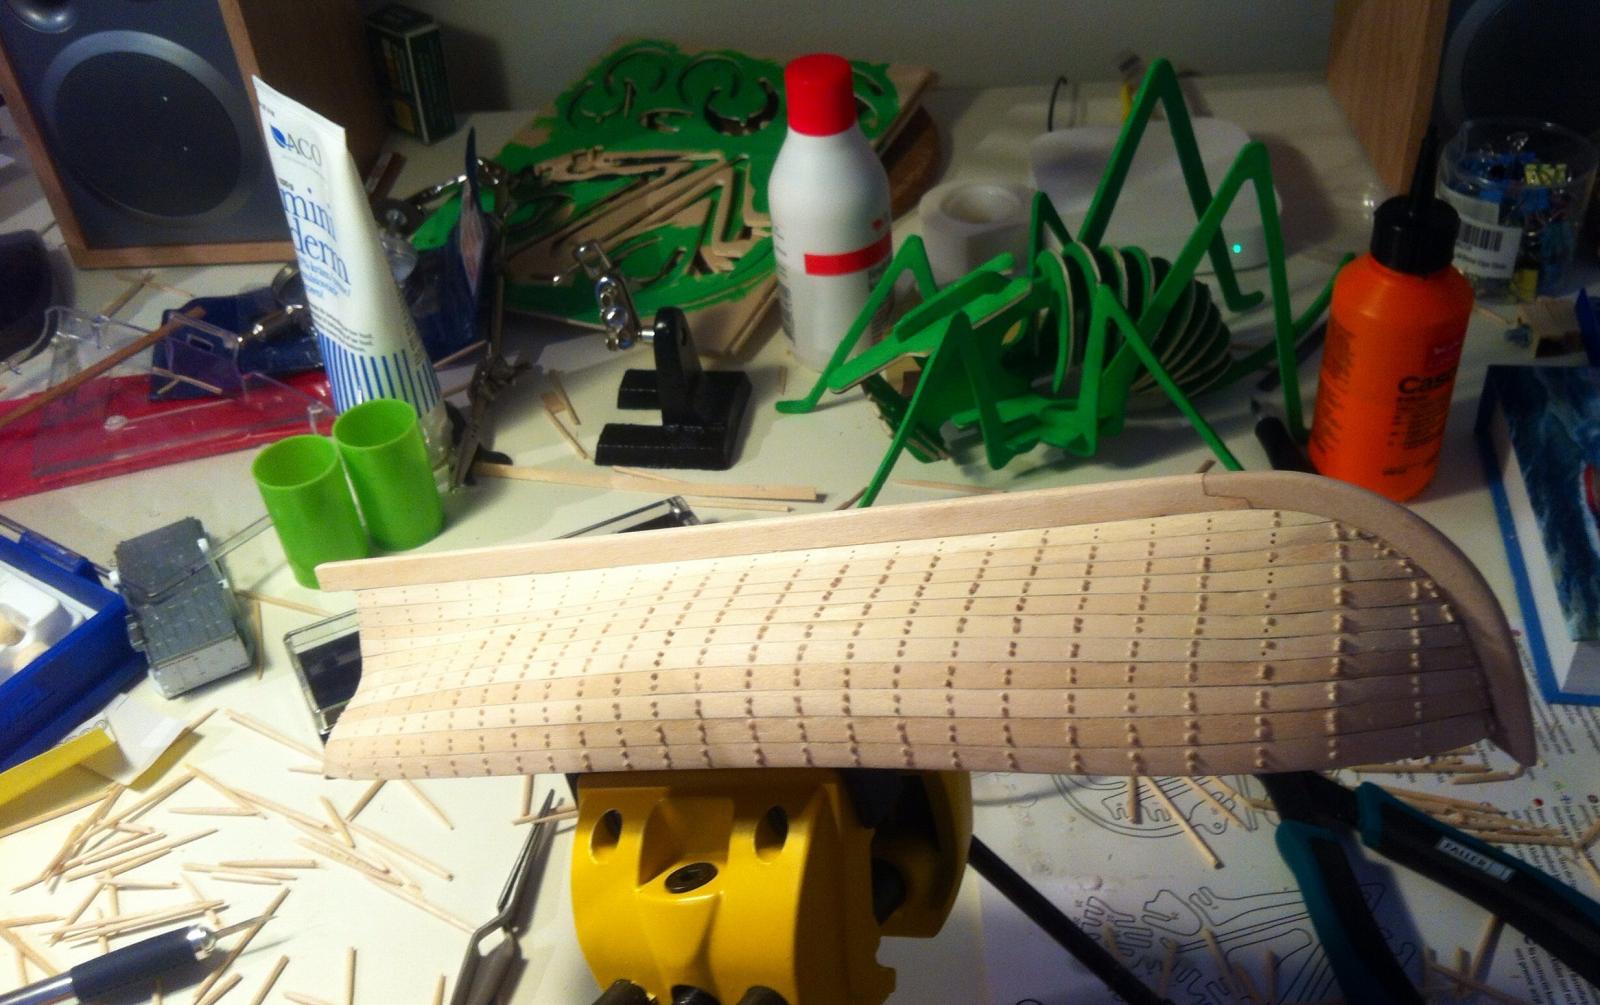
Slowpoke detected, it is me! I was sure that MS pinnace is the same as MS longboat, but without masts. MS website promise that lengtth is equal. But, no! I had a growing suspicion, hey, longboats in other build logs looks shorter then mine, thy is it soooooo long? It looks like Pinnace is a stretched longboat, 24 frames instead of 16. Which gives me around thousand treenails, if i use "two treenails per frame per plank" pattern. That is a hell lot of toothpics! But looks like I have no choice. Sanding cant fix all planking mistakes, if you dont want to have a holes in the hull: Wide stealer plank is better then two thin straler planks, but worse then a properly precalculated evenly sized planks


- 137 replies
-
- 4
-
-
- finished
- model shipways
- (and 1 more)
-
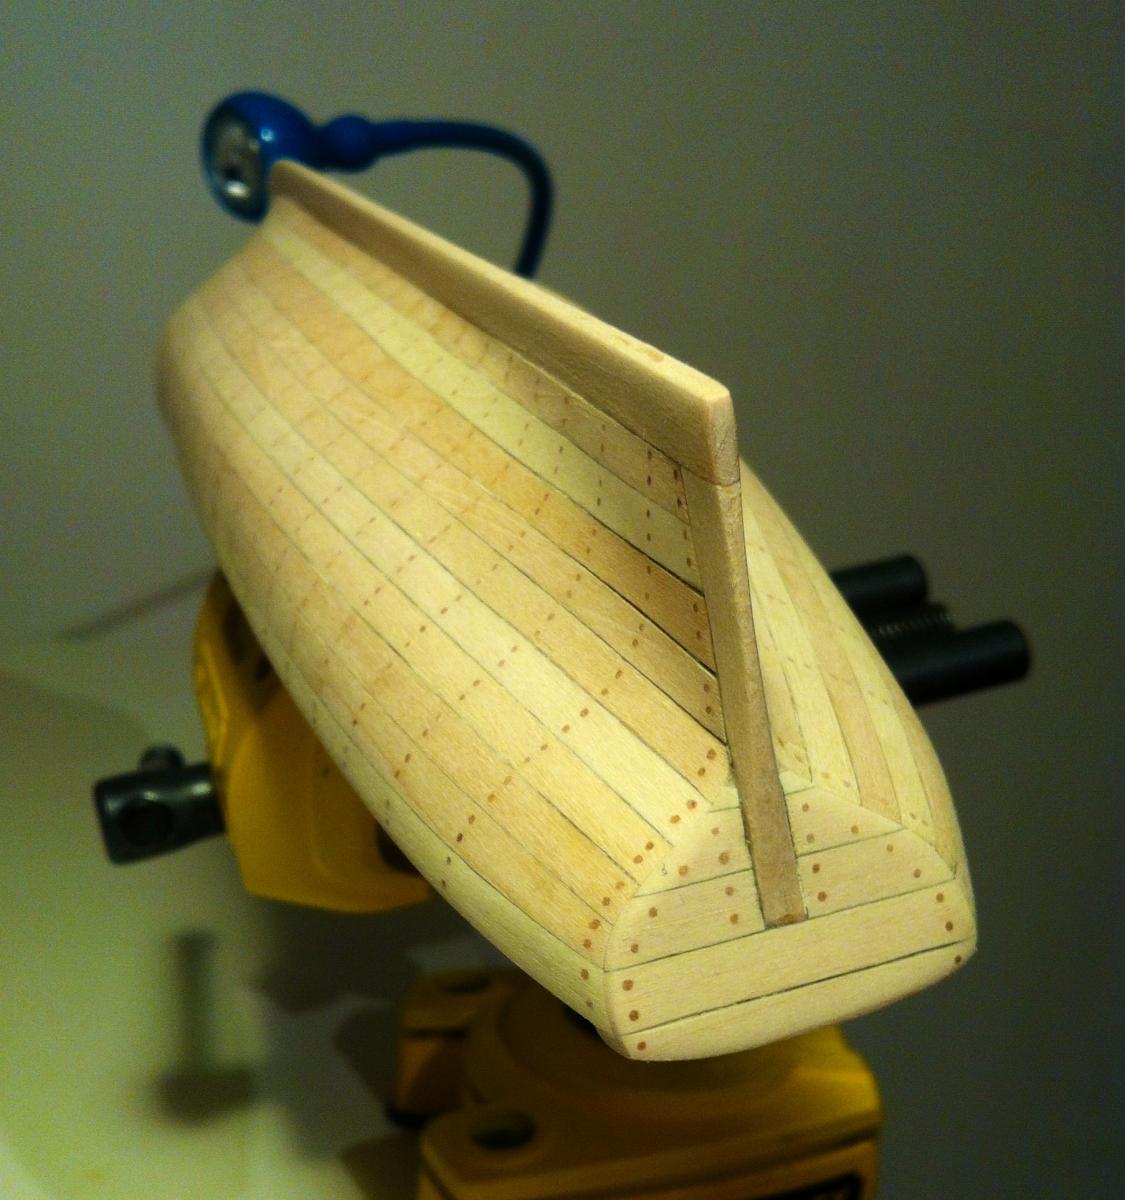
Bob, you are right. I just decided to drop that "false transom", don't like how it looks Also, since the "natural color" of basswood turned out to be quite pale, and different planks have different colors - will stain it a bit.