


federicoaa
-
Posts
63 -
Joined
-
Last visited
Content Type
Profiles
Forums
Gallery
Events
Posts posted by federicoaa
-
-
-
-
Hi Michael,
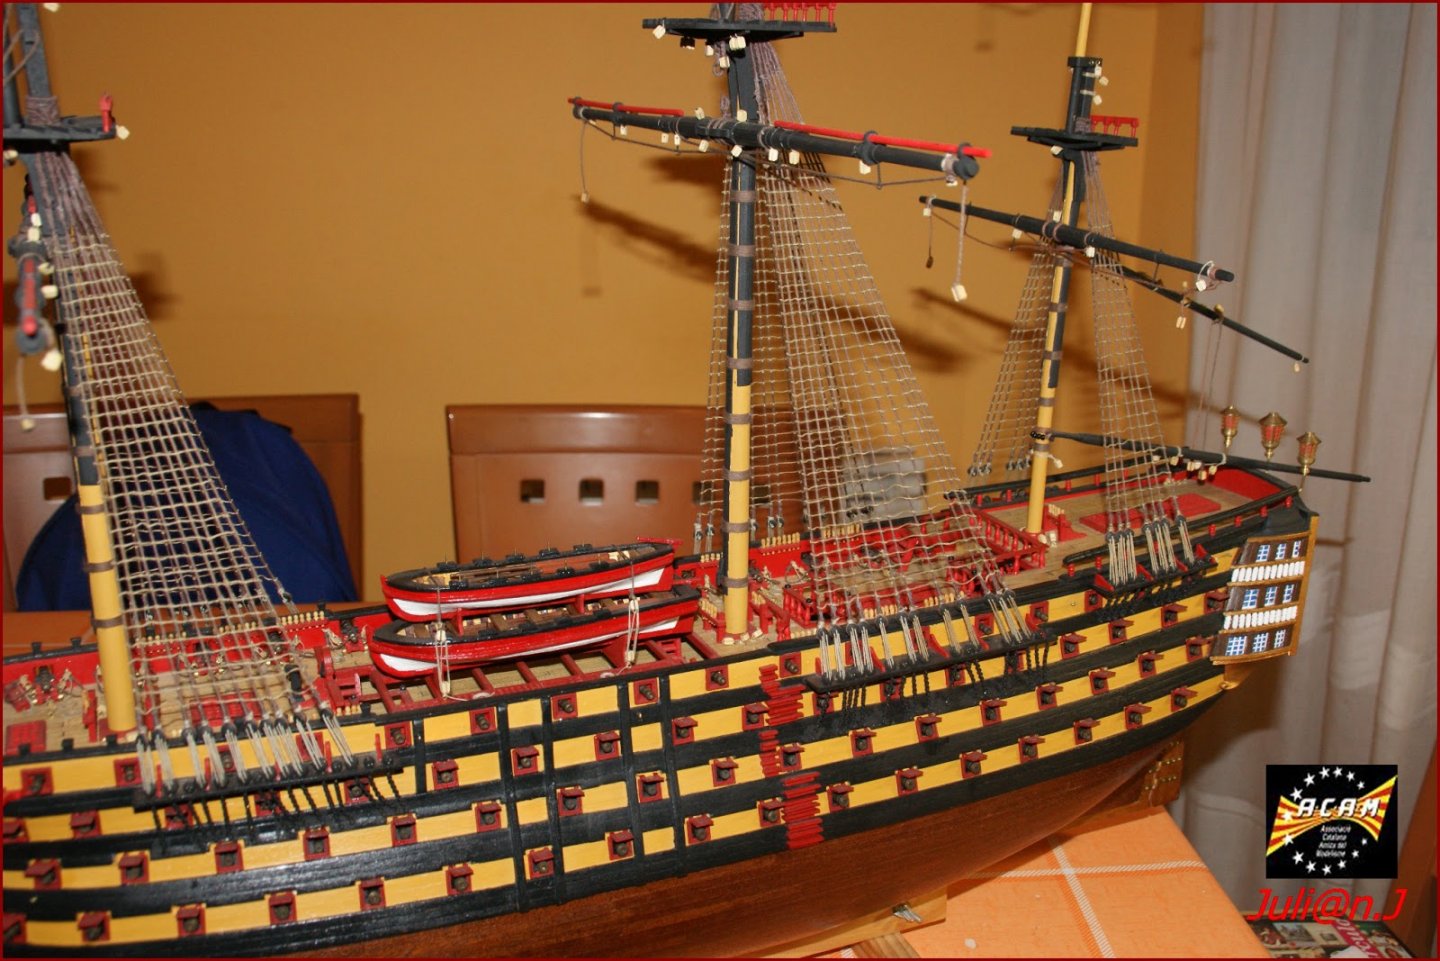
For what i've seen in some builds, colors are black and red
You can reference the picture below from a spanish model maker, I think the color scheme looks very nice
PS: I did not paint my model either
- GrandpaPhil, fmodajr, marktiedens and 2 others
-
 5
5
-
Hi, have you started looking at the rigging parts?
I'm quite stuck at the main yard halyard (192 & 193 in the plans). Don't have a clue how to thread those lines
-
Thanks.
It never occurred to me to use CA glue and then flip it XD
- md1400cs, EJ_L and popeye the sailor
-
3
-
How do you make the rope coils? I tried using PVA glue to fix it in the deck but the rope elastic memory is too strong, it always unrolls itself
- Patrick B, EJ_L and popeye the sailor
-
3
-
-
Go for Vallejo acrylics.
Firs use a primer, let it dry for 12 hours and then apply Vallejo metal color of your choice.
I recommend using an airbrush. For the metal colors, add a few drops of flow improver.
After the paint dries apply a varnish, metal varnish if you want it bright or matt if you want it dull
-
Hi,
I as wondering. Period ships used to have a kitchen, but was it fueled by coal?
And where they stored the fuel?
I'm looking for ideas to add to my ship but Google can't answer me.
Thanks,
Federico.
-
-
Hi,
I must say I felt inspired by your build. So inspired in fact that I ended up doing something similar hehe
Only difference is that for the fittings I did not use metal, but cardboard painted with metallic paints

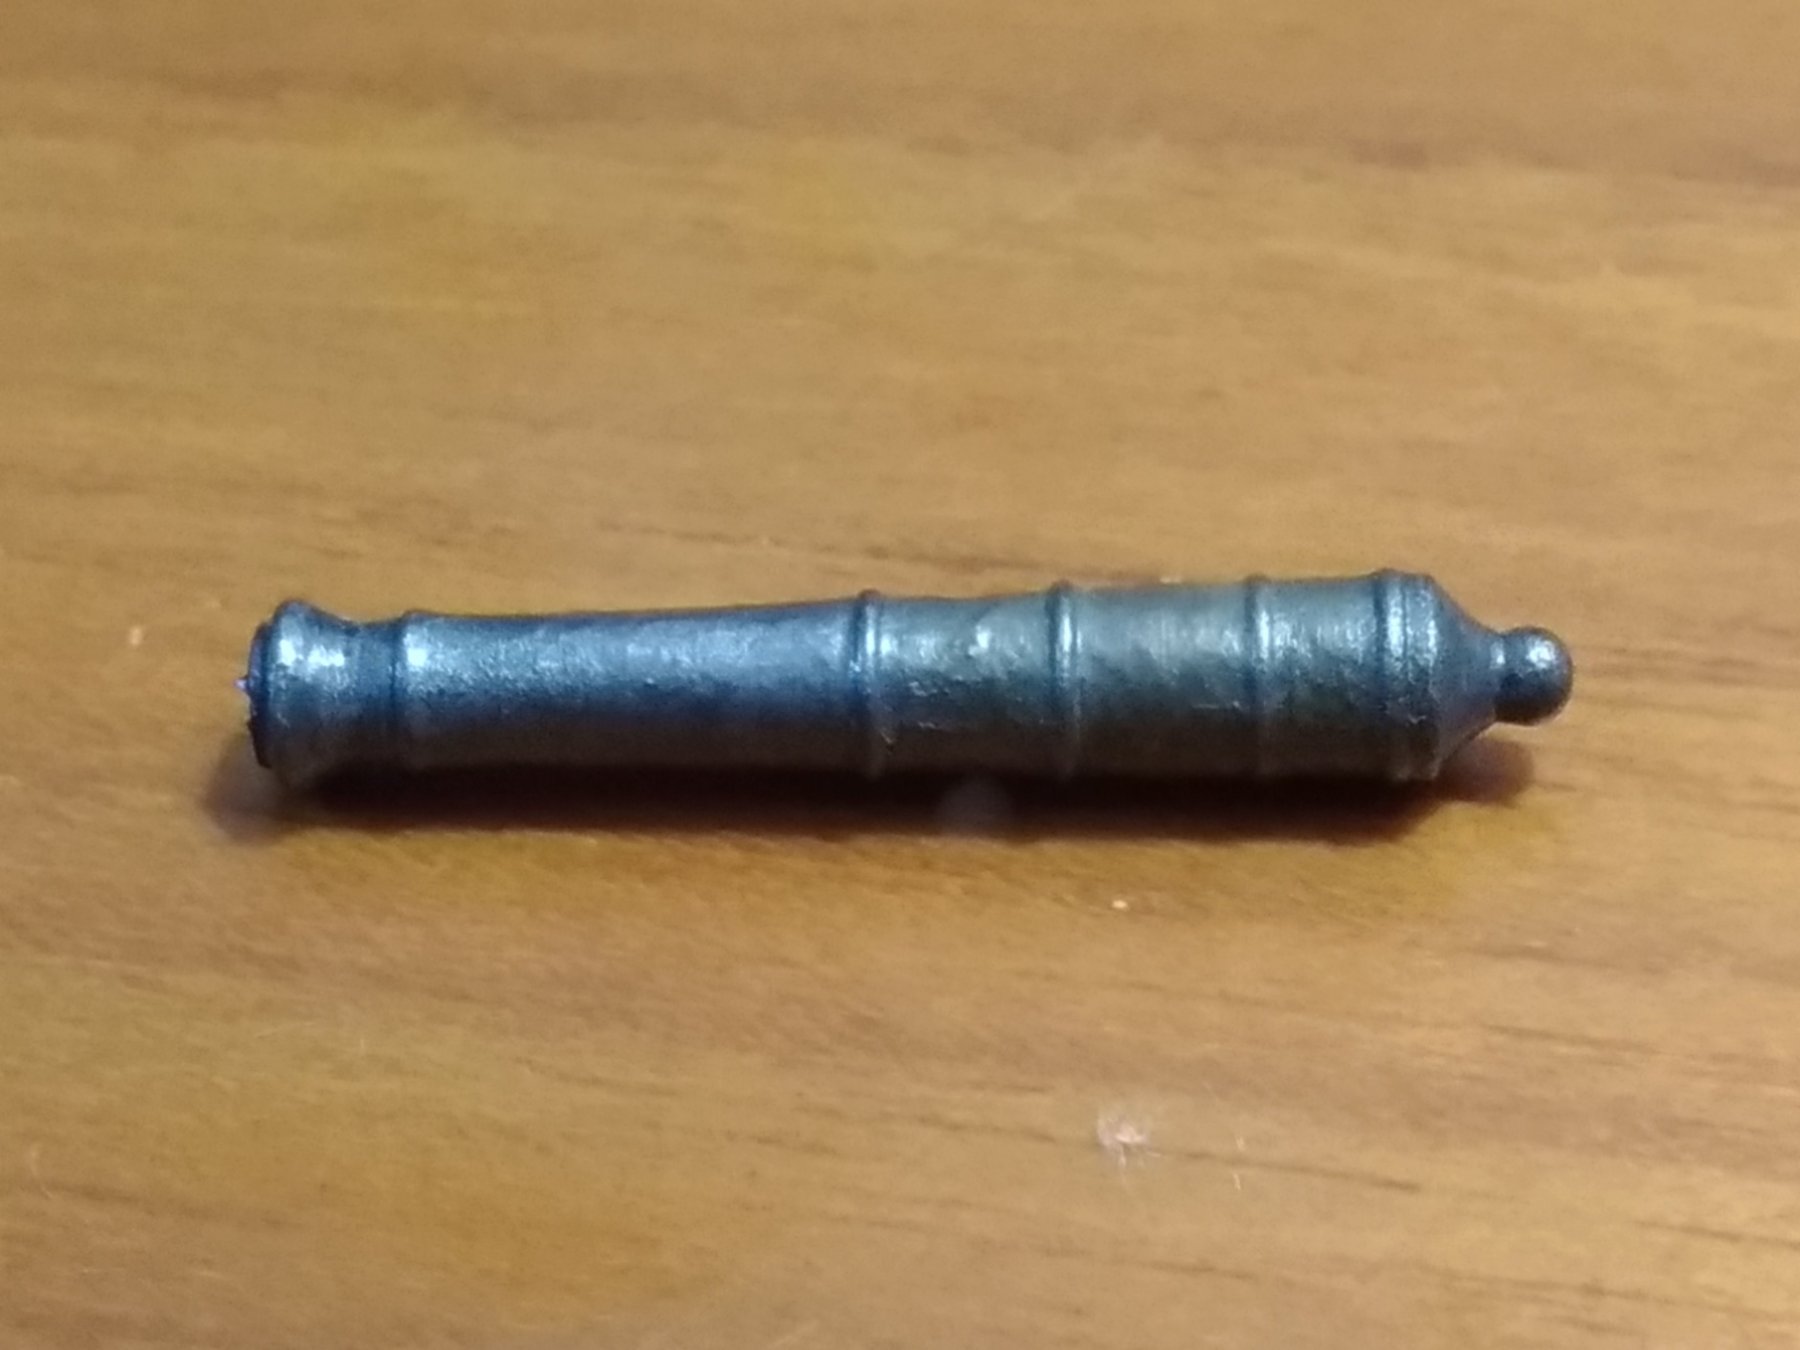
By the way, do you intend keeping the cannons in their original color?
All the cannons I've seen in real life are iron, the ones in the kit seems like brass
I had a spare cannon from another build I decided to play around.
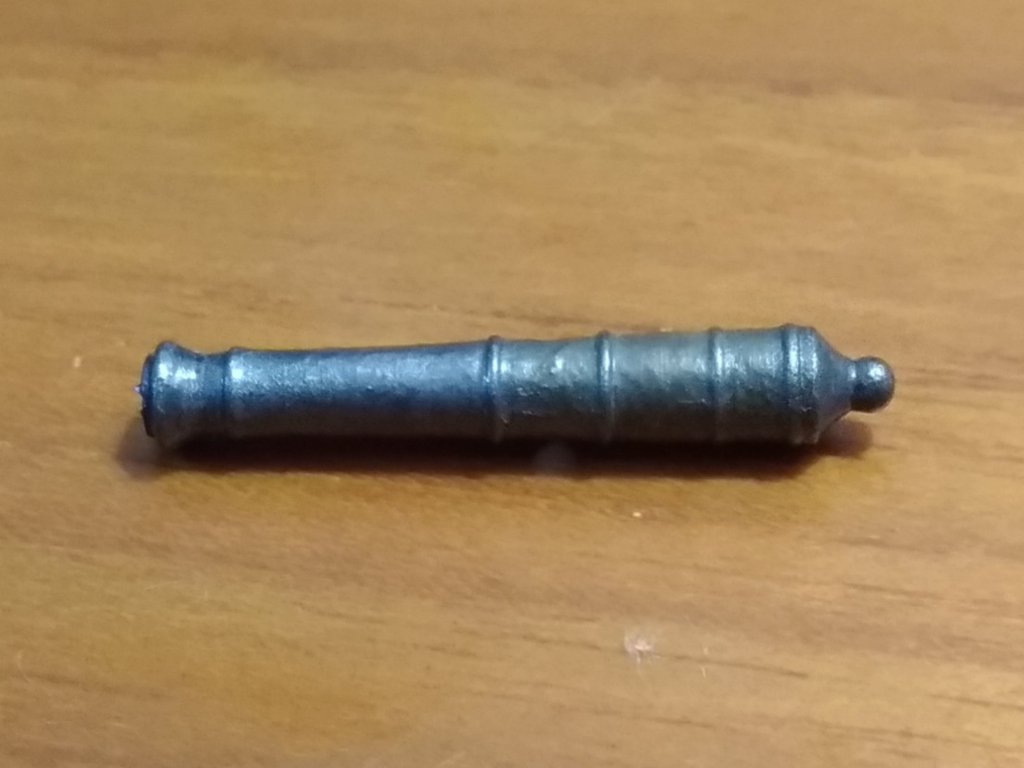
Sorry the pic is a bit out of focus, I can't get the focus right on such small things with the cellphone
-
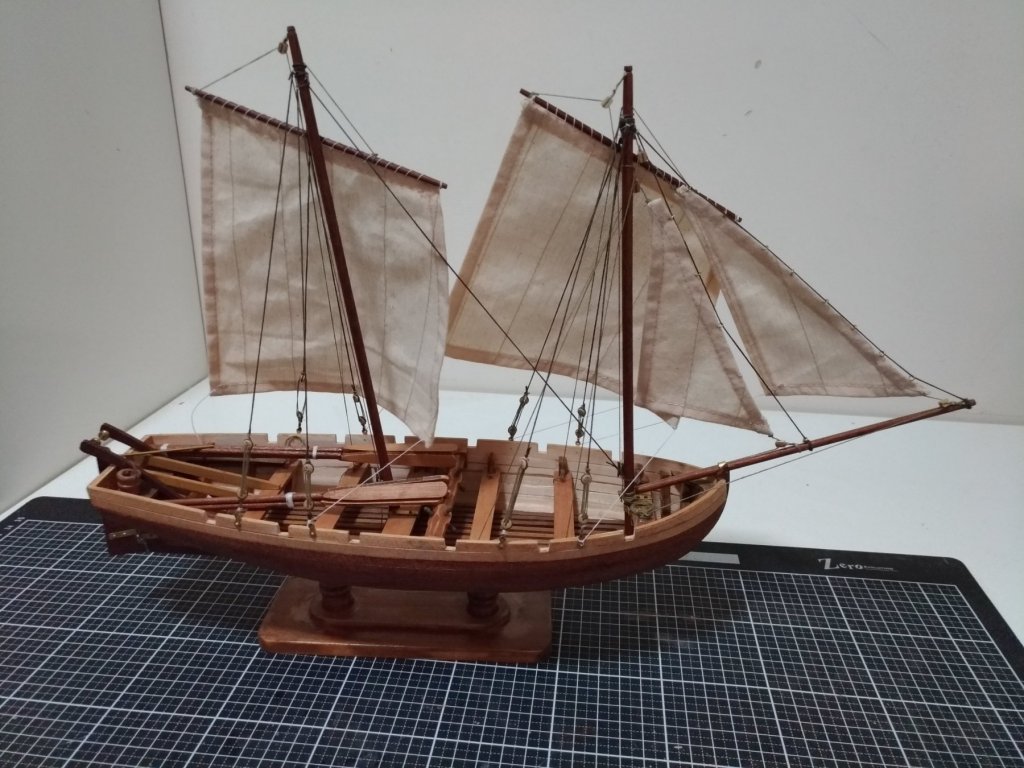
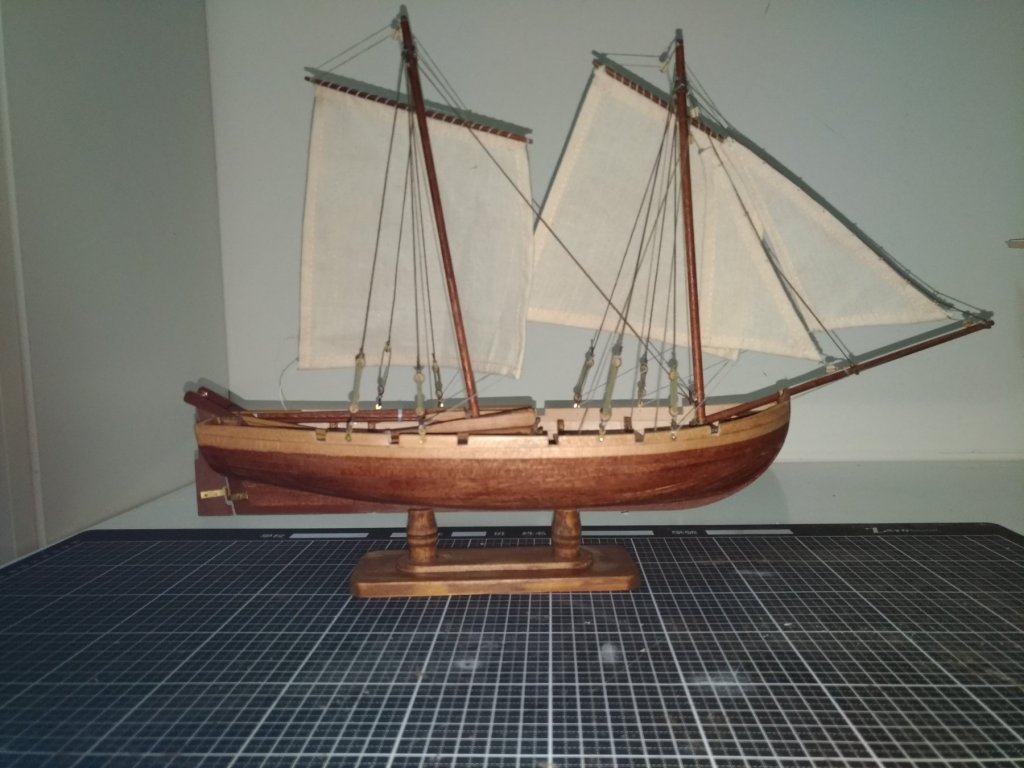
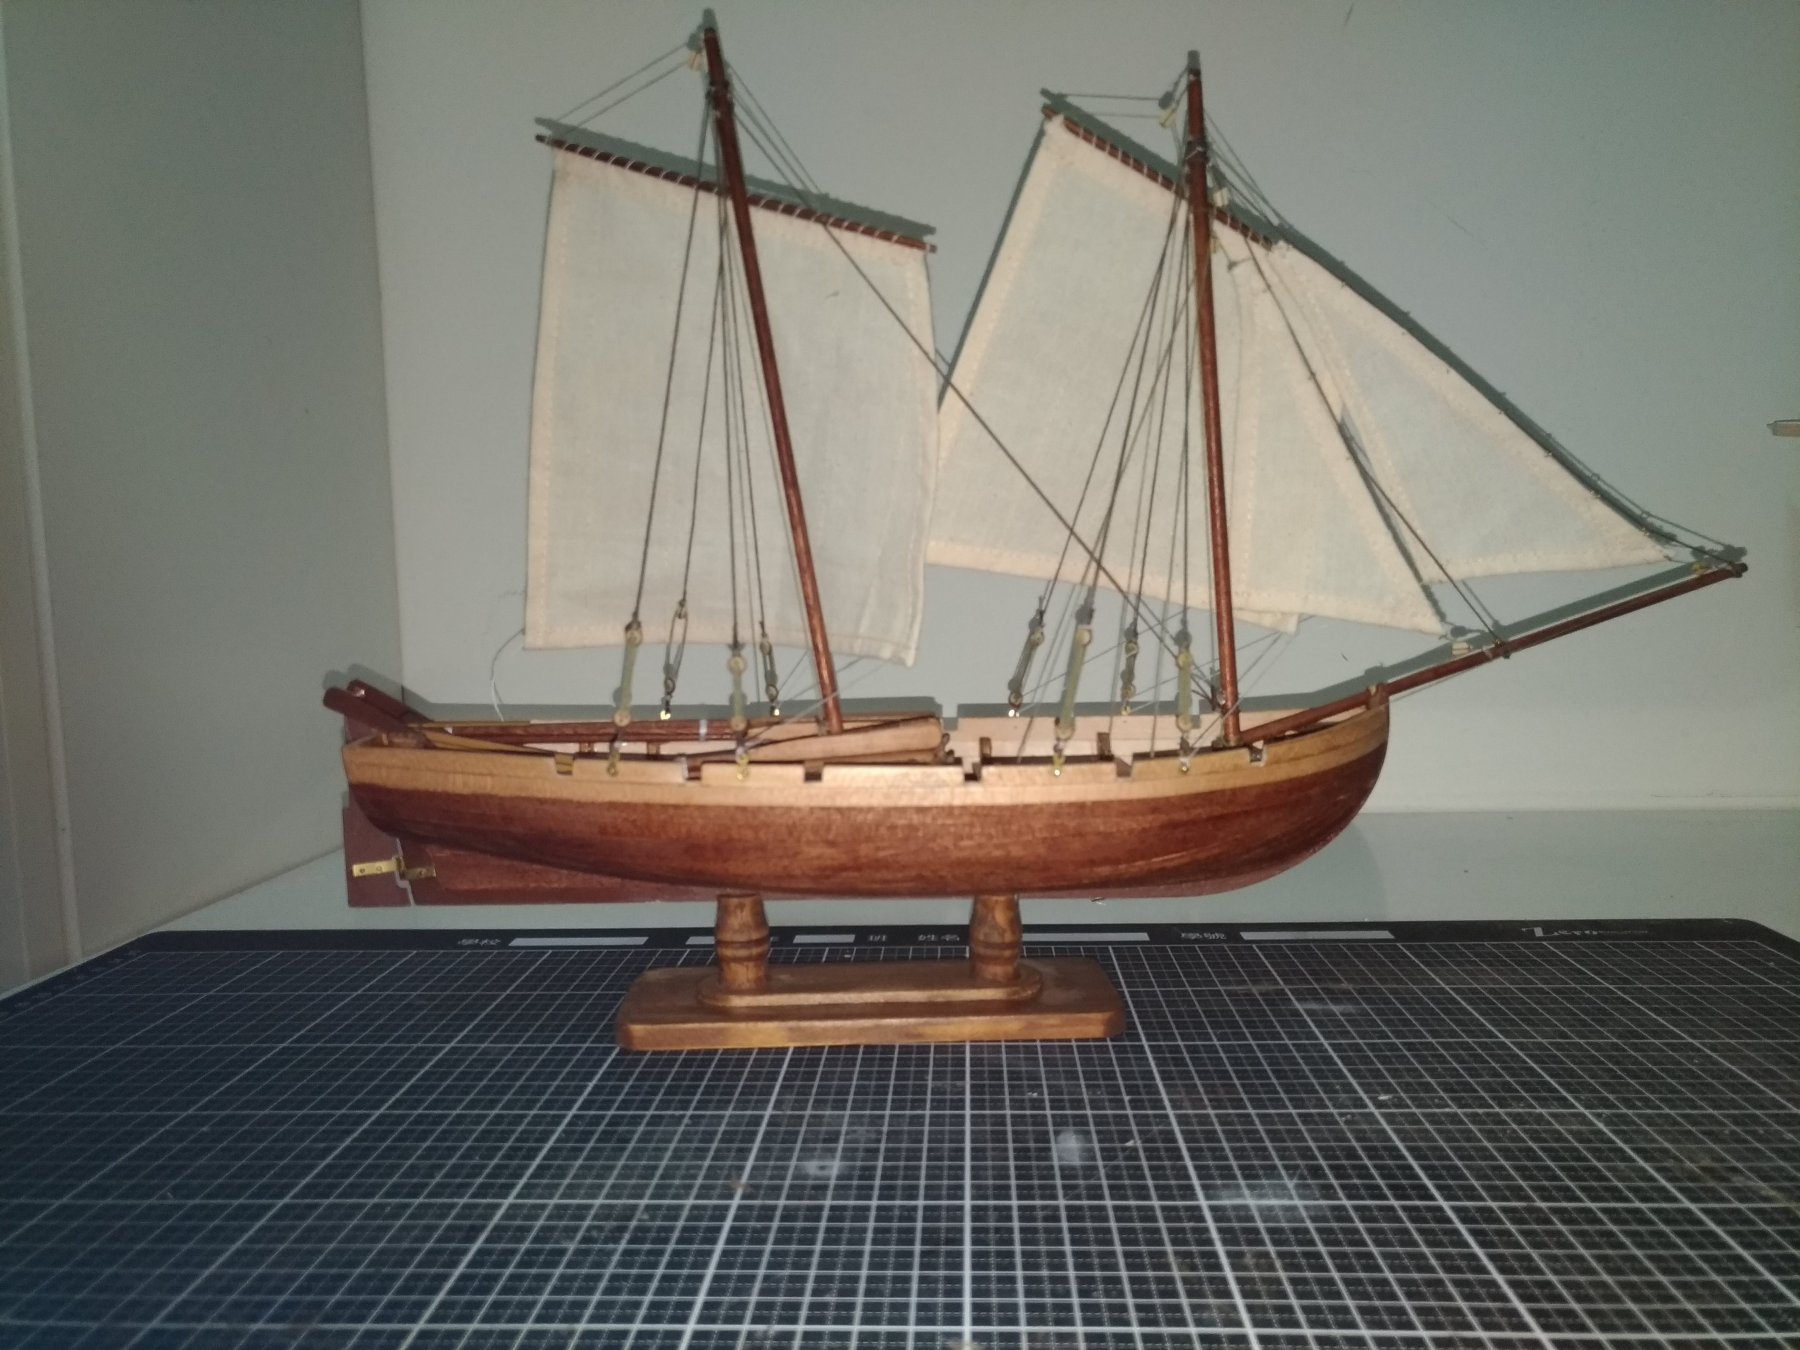
Hi all,
I finished this model a month ago, but did not have time to update these blog.
The rigging went smother than I expected. It was not really hard.
One thing I noticed is that the instructions are quite scarce on the rigging. And the 1:1 blueprint does not really match the pictures in the manual.
So for some ropes, where to tie them was entirely left to my imagination.
After I finished the model, I made a small base with some pine wood
All in all, it was a fun project and good for learning.
I do recommend this model for beginners, but notice you should not follow their instructions, step order at beginning is not good. Also, leftover wood from the kit is almost enough to build a second boat XD
Now to my next build, the cross-section of the santisima trinidad (occre, 1:90)
Cheers,
Federico.
- GrandpaPhil and ccoyle
-
2
-
I just started this build, I'm going to follow your progress.
I may borrow some of your ideas haha (they are pretty neat)
- popeye the sailor and EJ_L
-
2
-
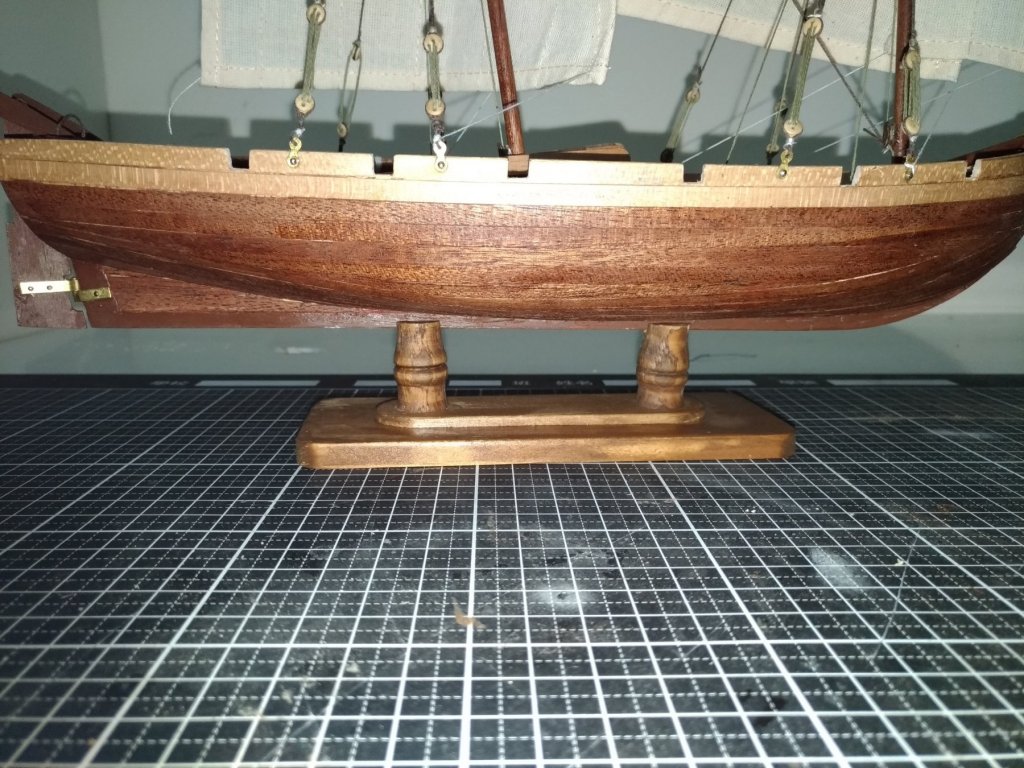
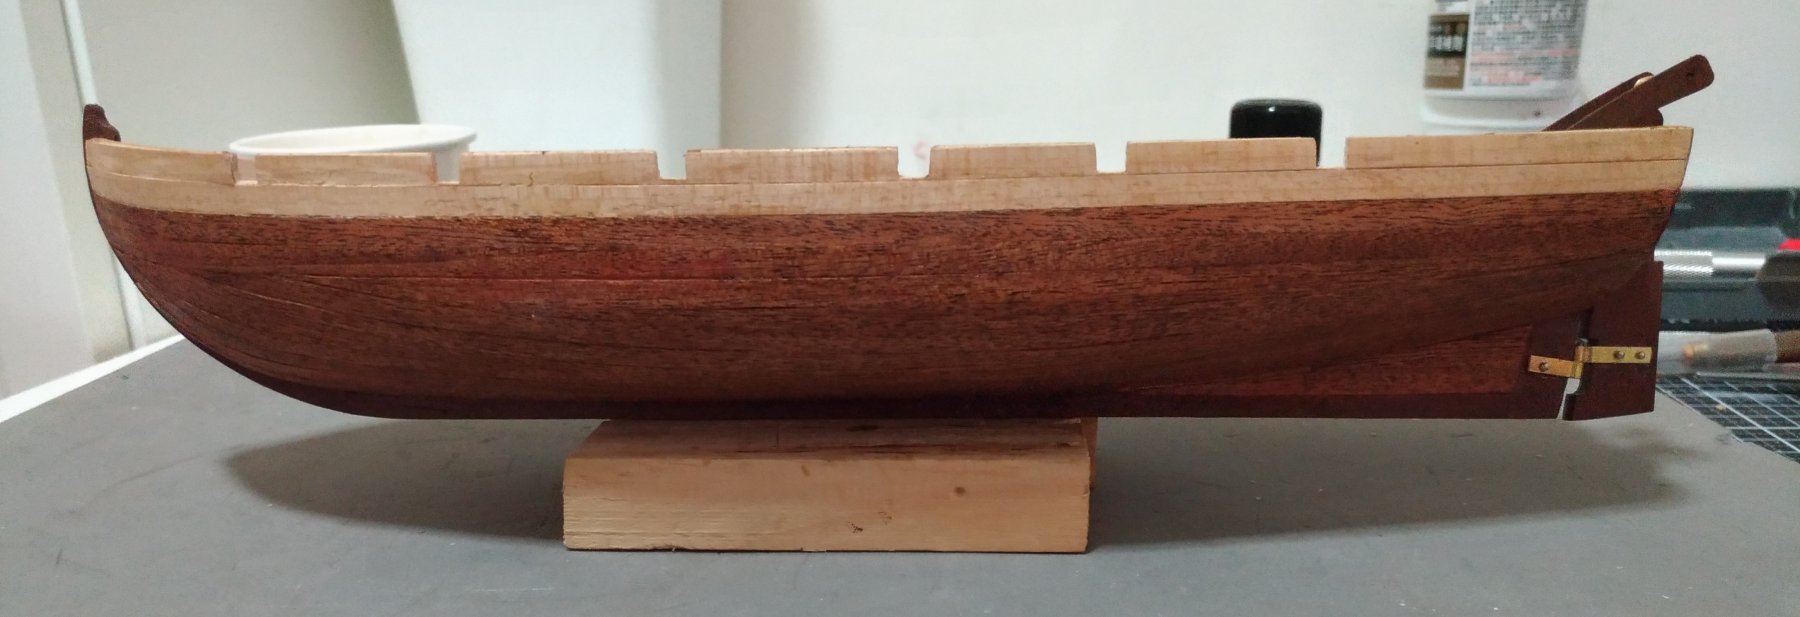
Hi,
Finally I finished the hull.
I screwed up during the planking so I did not want to take any picture until finished

Anyway, instructions are not quite clear in some steps, and planking steps are definitely in the wrong order.
It says to plank the floor and glue the thwarts before planking, that way the inside of the hull cannot be sanded

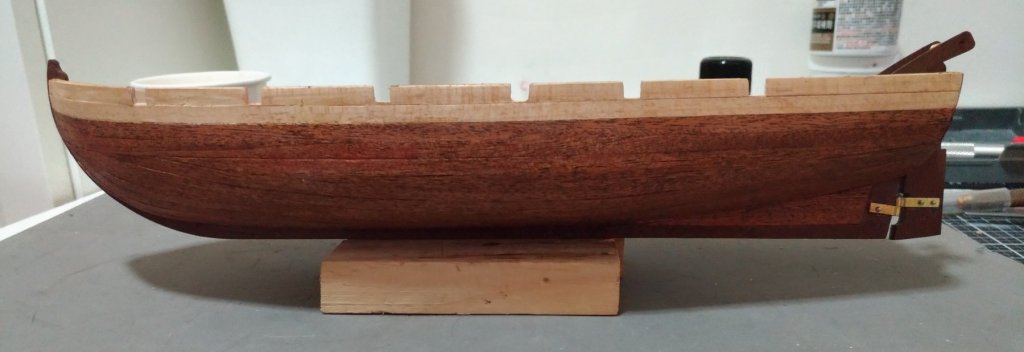
As I said earlier, I screwed up the planking on the fore, but thanks to the magic of second planking I got it fixed.
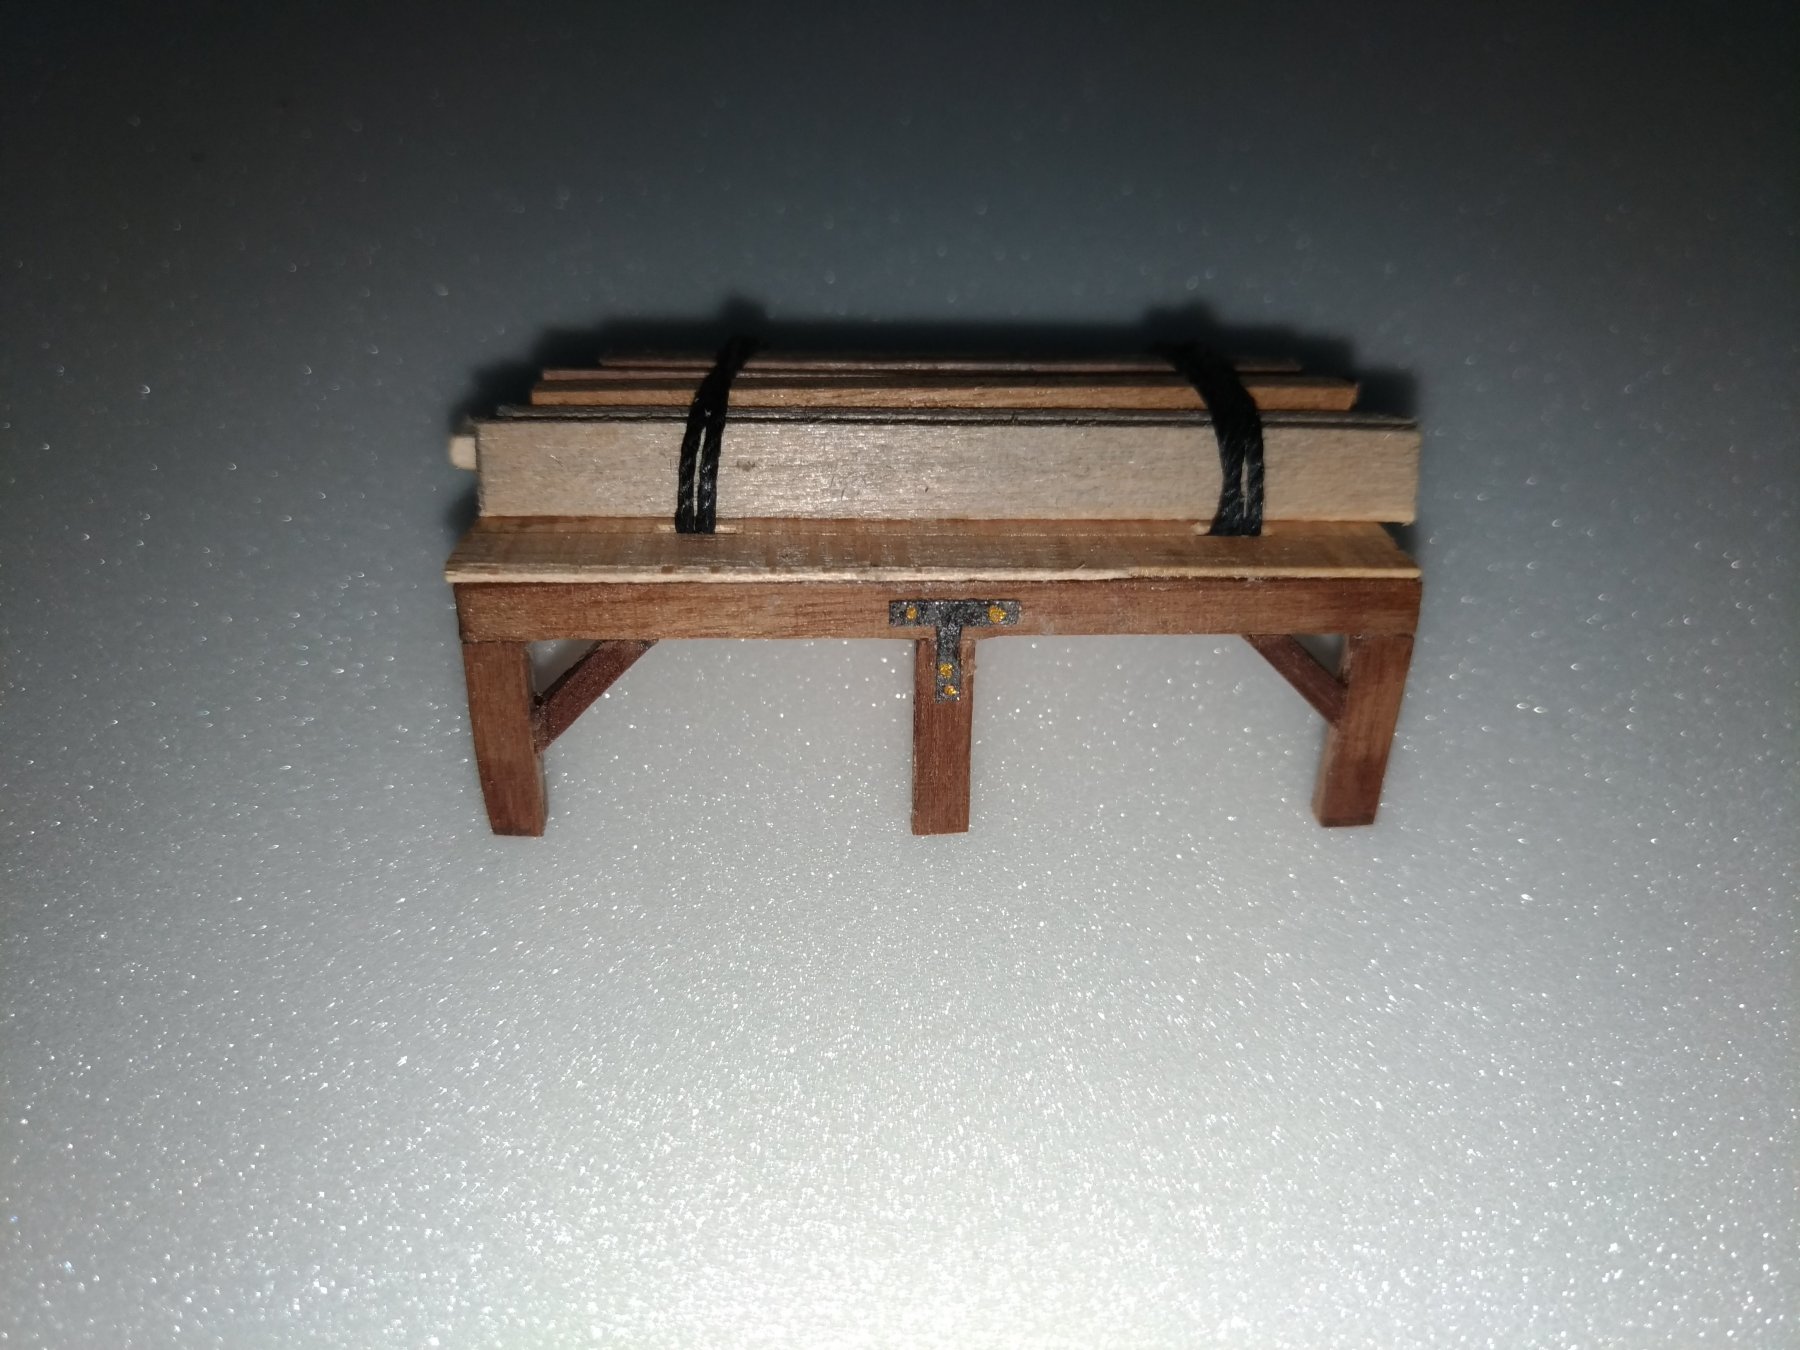
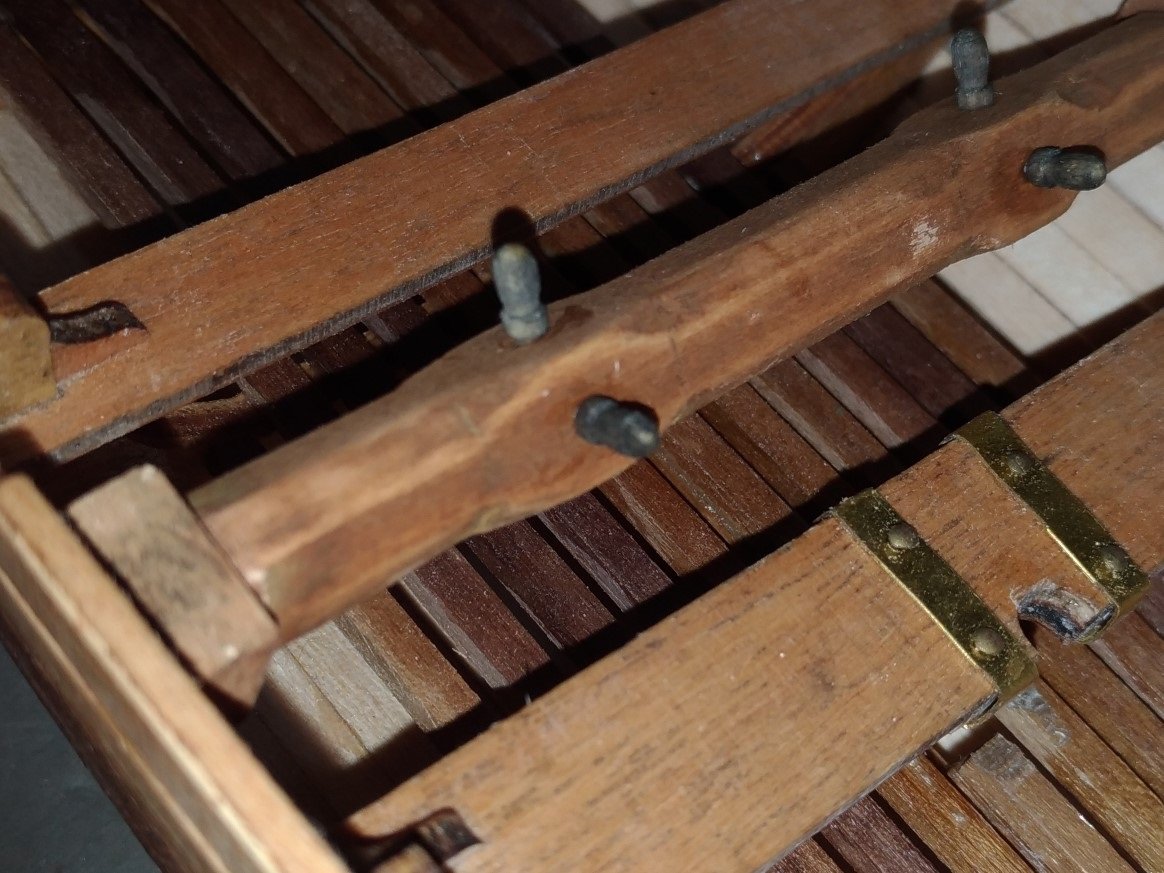
I like how I made the windlass, using burnt umber with india ink wash and then a light sanding to create an old looking effect.
The pins are also washed with india ink instead of being all black.
Curiously, there are only 6 pins for the windlass, even though there should be 8. The part list only lists 6 so I think this is intended.
Now to the part I fear the most, the rigging

Cheers,
Federico

-
-
-
-
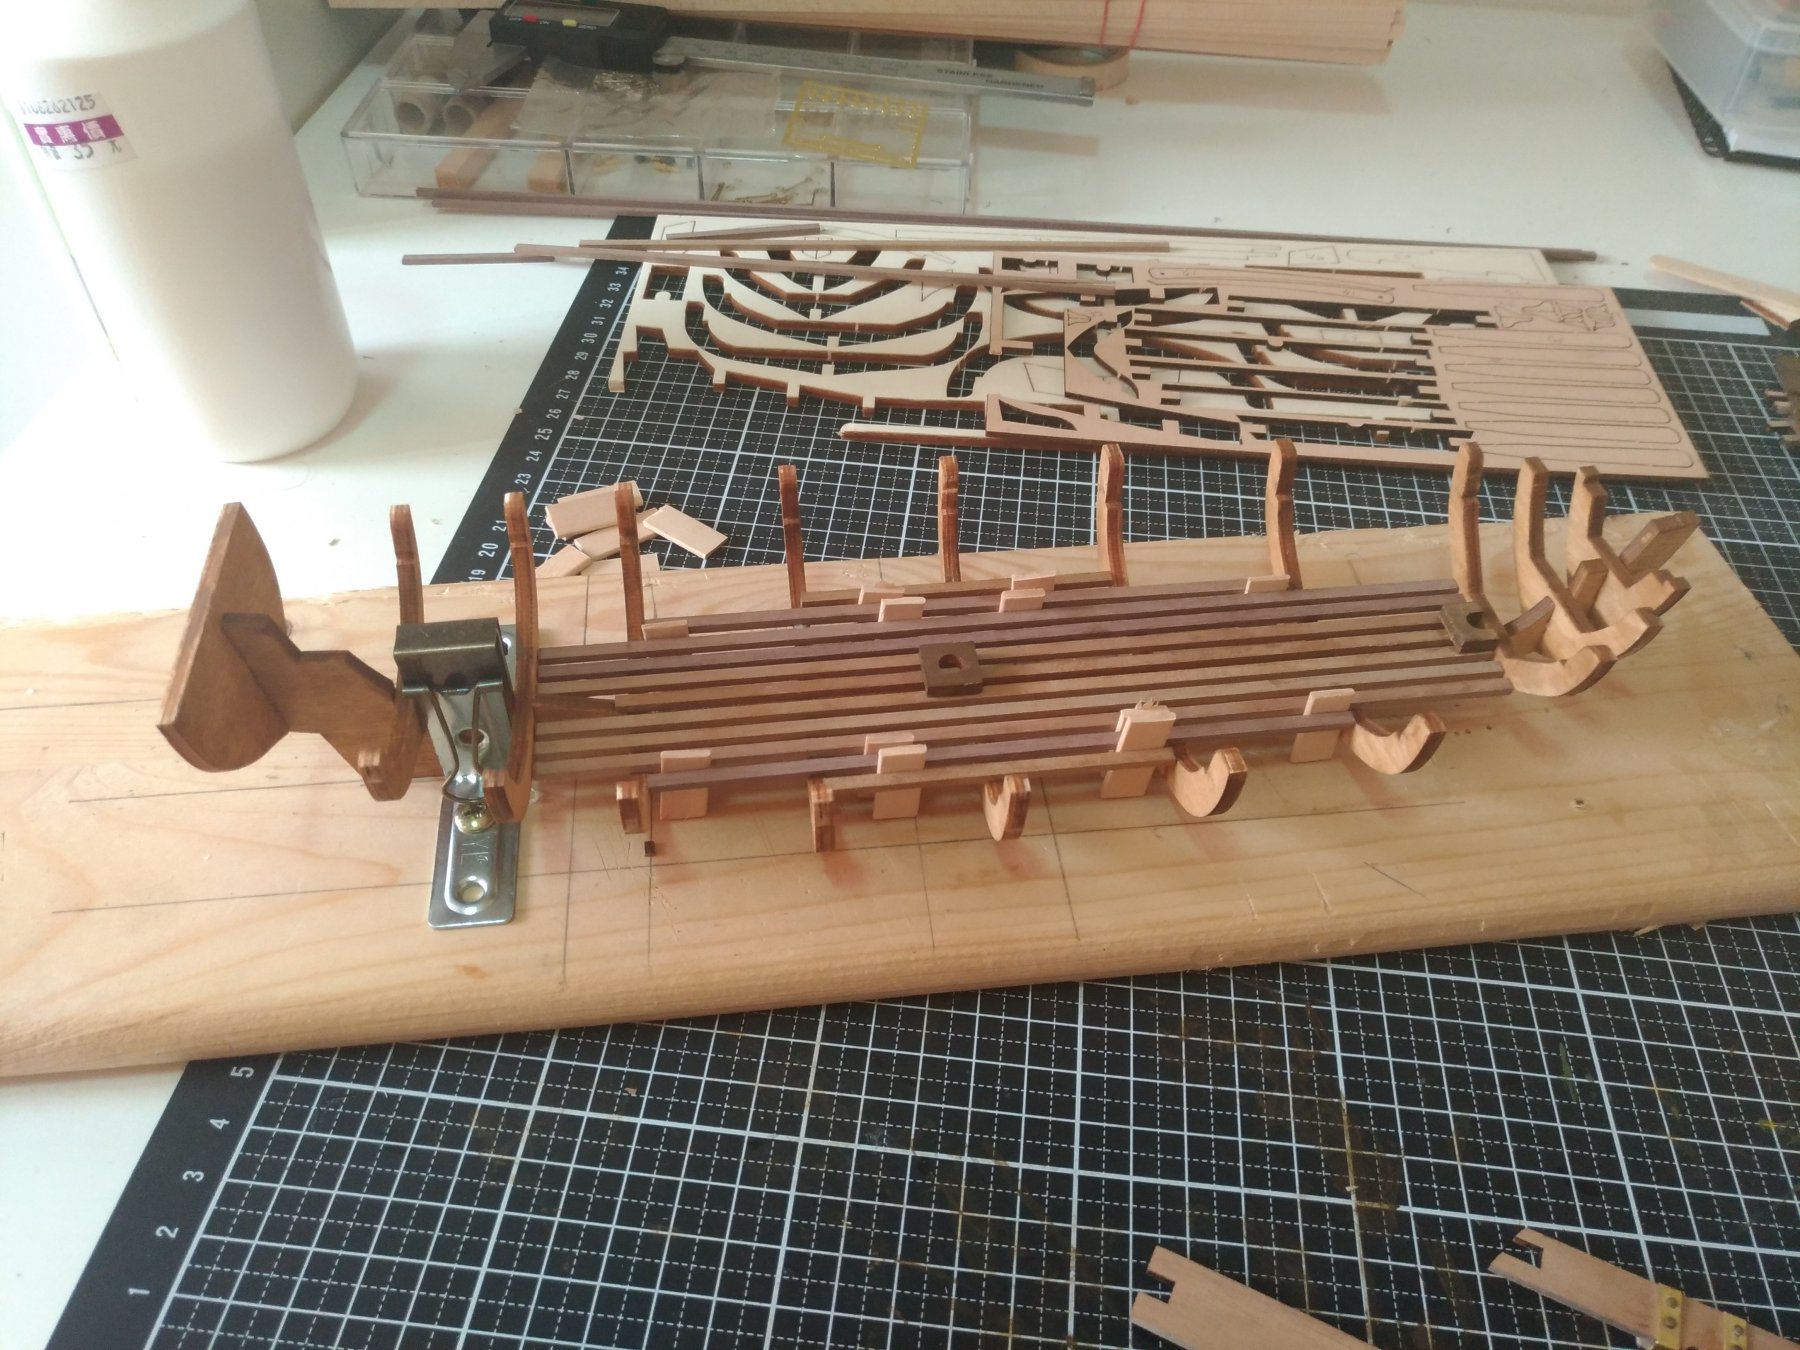
Hi All,
Returning to model ships, I decided to start with a small one.
"Following the mutiny on the Bounty, Captain Bligh, along with 18 loyal members of the crew were cast adrift in the launch, and made a remarkable voyage to the island of Timor, after spending 41 days in the worst possible conditions."
I started with the keel but forgot to take pictures.
Here's one where I'm placing the floor (sorry for the mess in the background, my workplace is tight
") )
)
I use small wood separators to keep all planks even while they set
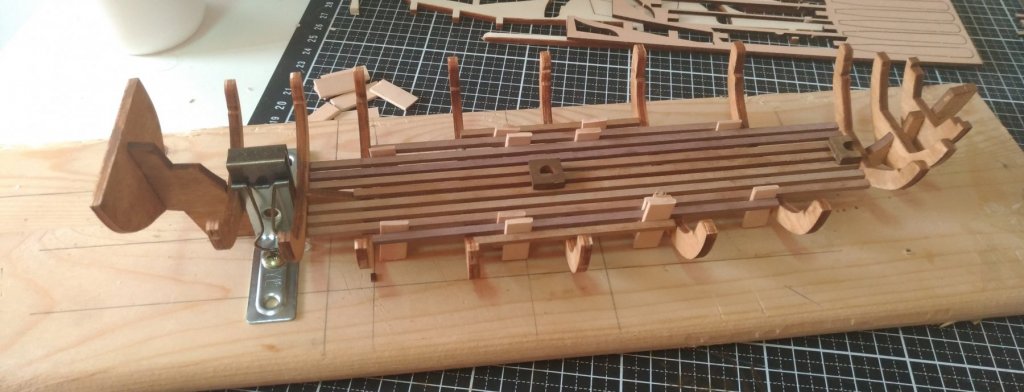
Next step is to glue the thwarts in place and start planking
Cheers,
Federico.

- Derek C, zappto, Estoy_Listo and 2 others
-
5
-
Hi,
After 4 years out I'm back again.
4 years ago I started my first model, and I learnt something important: I't hard to work without tools
In these years I finished my PhD, got a job, bought an apartment, and got a child.
It took me 4 years to finally be able to get a small workshop, but I'm happy with the results
(It's quite hard to get good tools here in Taiwan)
I recently bought 2 models from Occre: The bounty boat (a small beginner level model) and the cross-section of Santisima Trinidad
I started building the bounty boat a week ago, I think it's time to start a blog entry
Cheers,
Federico.
-
-
It's always nice to see your progress Karl, you are truly amazing
- GLakie, CaptainSteve, Jeronimo and 2 others
-
5
-
-
Put a link here to your new build when you start
-


Santisima Trinidad by md1400cs – FINISHED - OcCre - 1/90 - cross-section - bashed
in - Kit build logs for subjects built from 1751 - 1800
Posted
I am so buying that model.