


ASAT
-
Posts
619 -
Joined
-
Last visited
Content Type
Profiles
Forums
Gallery
Events
Everything posted by ASAT
-
I used it pretty thin too, about the consistency of whole milk..... color and thinner probably close to 50/50..... multiple light coats...
-
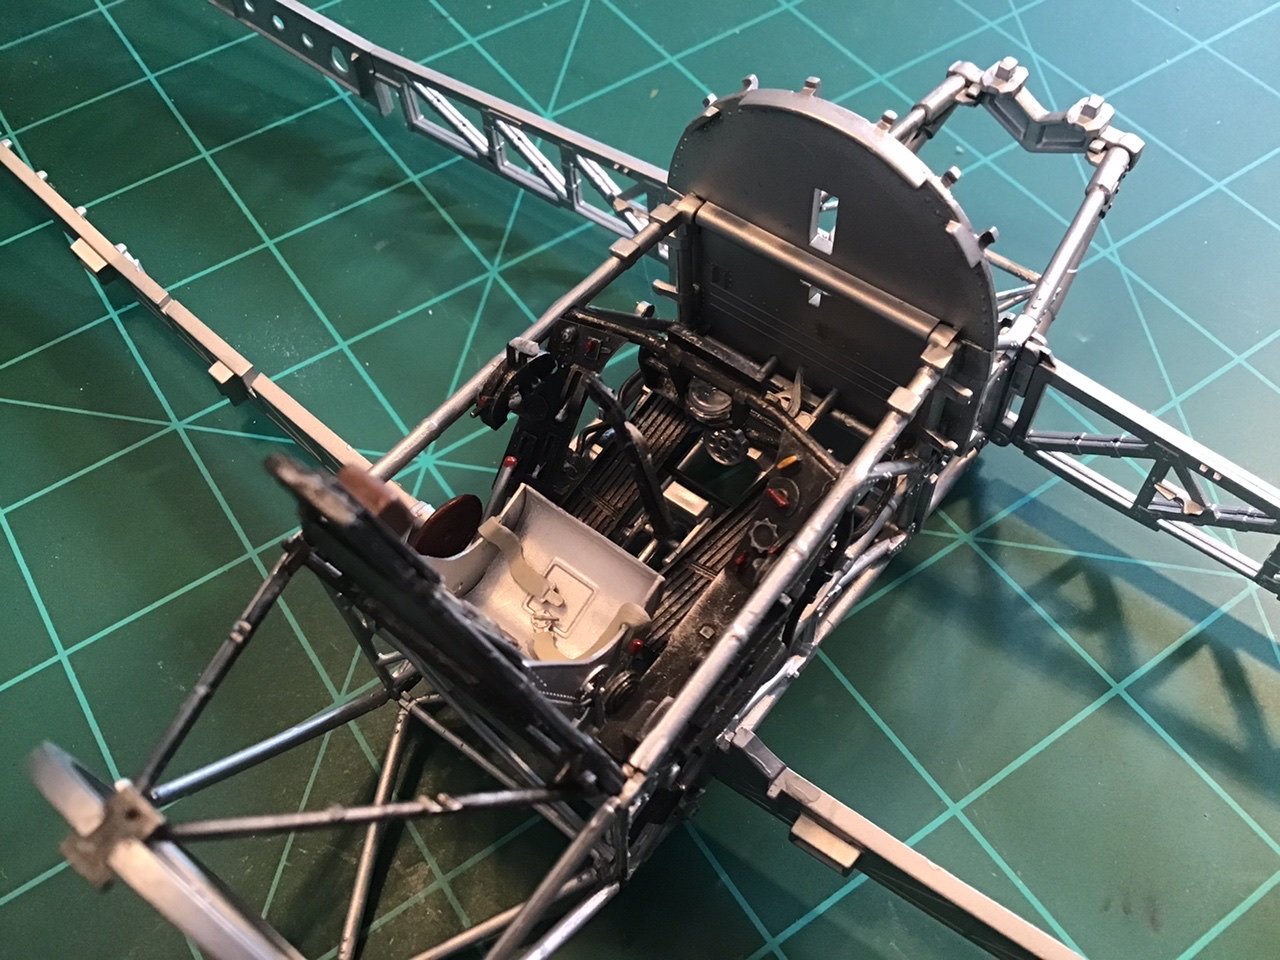
Thanks OC... there’s even more you can’t see, some of the black boxes and wiring/pipes got pretty fiddly....
-
I imagine you have tried thinning tamiya paints with mr. Color leveling thinner? That’s what I used and this is my first time airbrushing and it seemed pretty easy.... for military paint jobs anyway, they ain’t no show car...😎😀
-
Ooops forgot the oil and oxygen tanks....

-
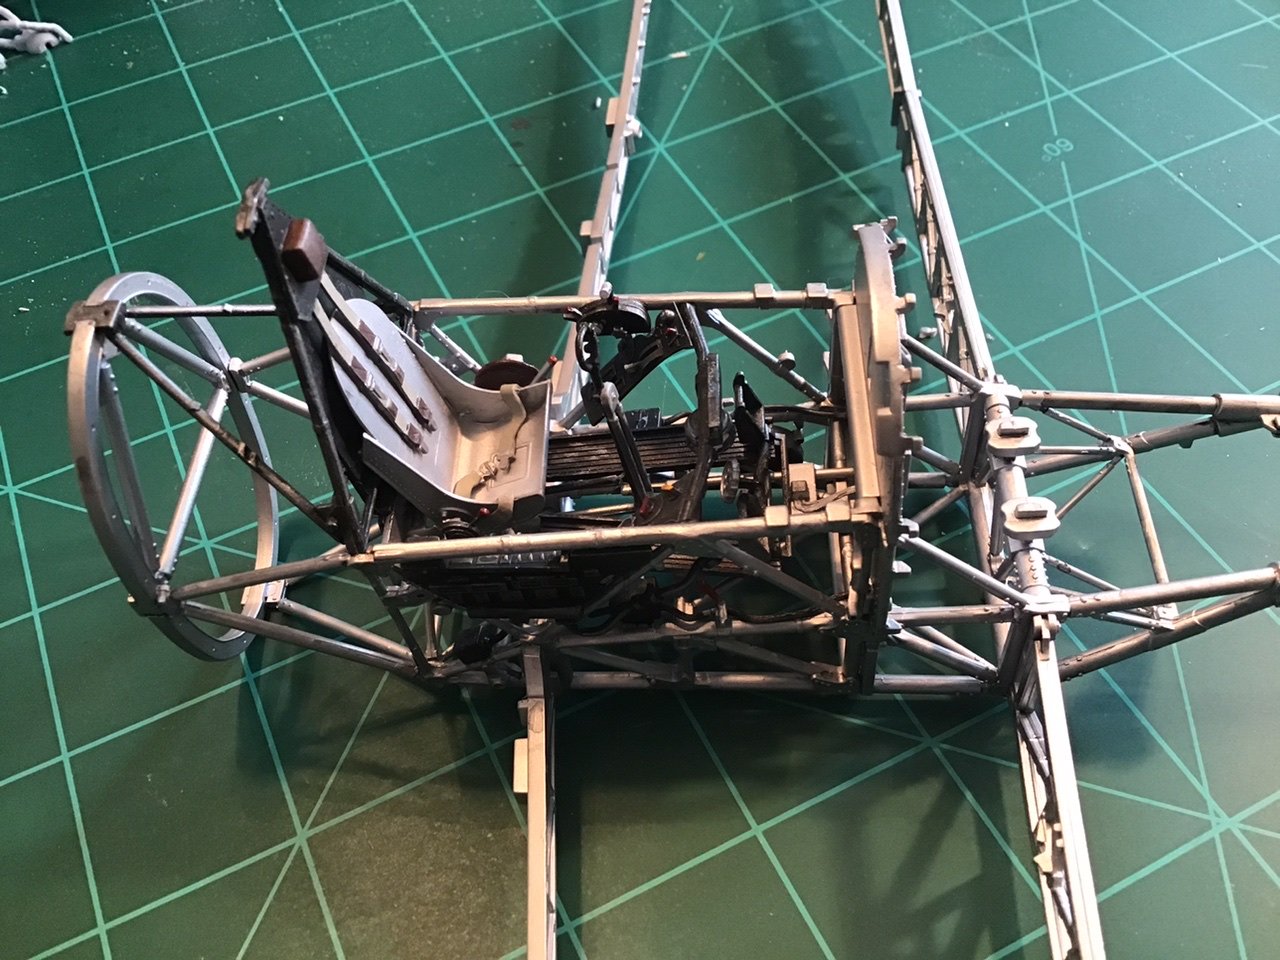
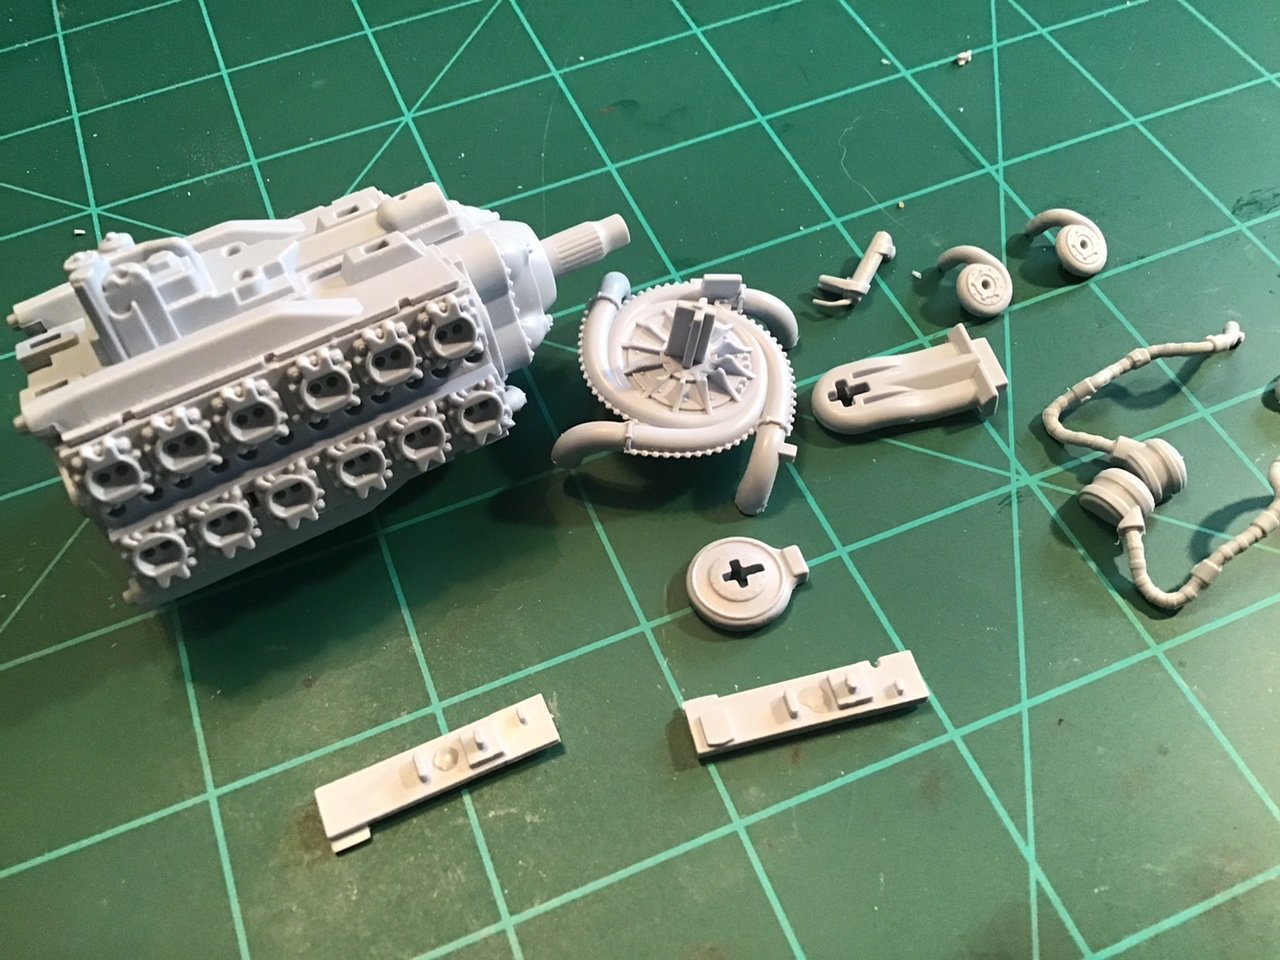
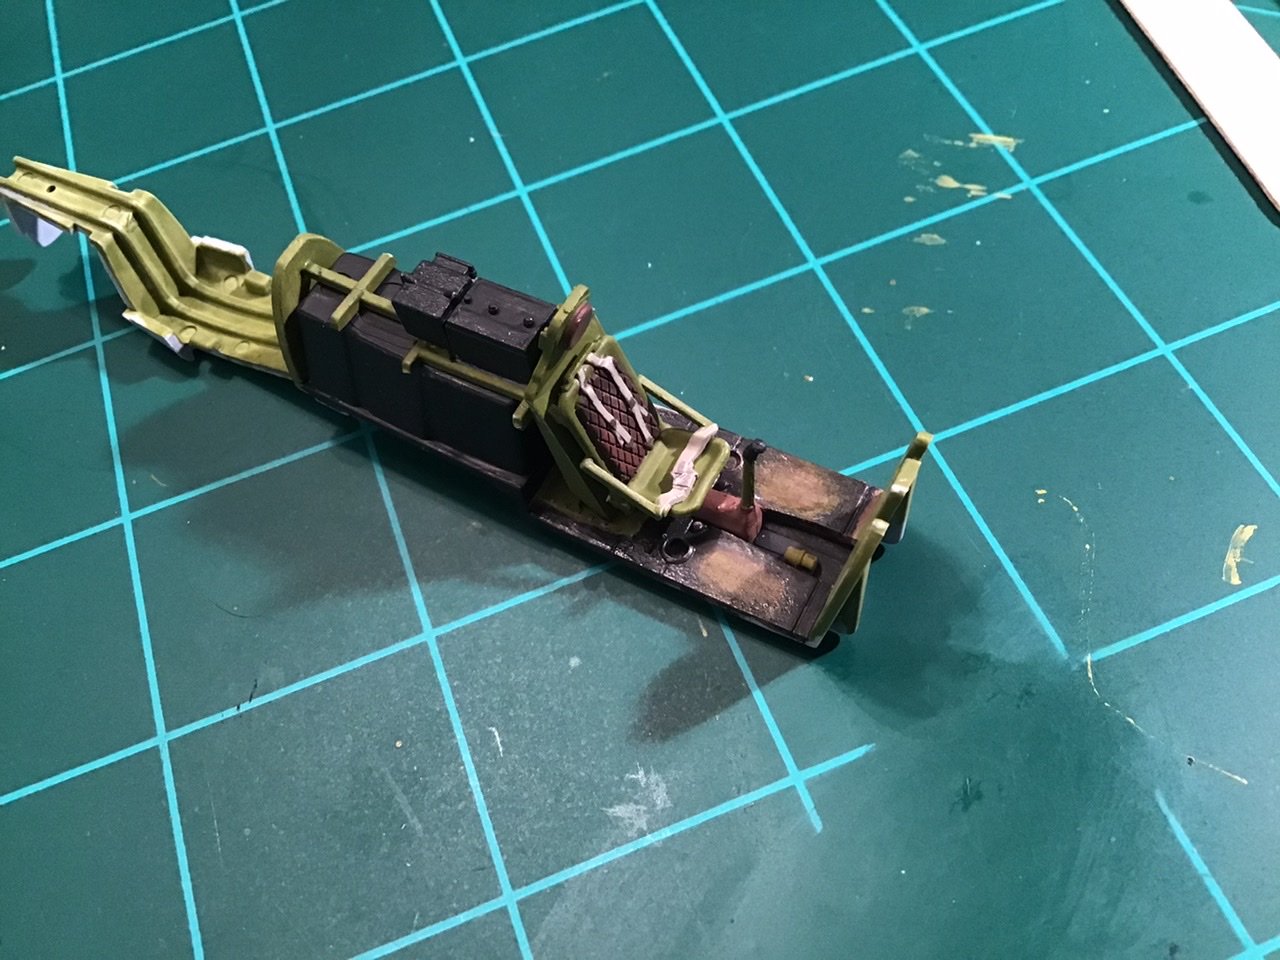
Well, I worked over some area’s and have all the cockpit stuff done except for the instrument panel.... waiting for the airscale decals for it.... started work on the Napier engine, filling in a couple huge pin marks that will be right on top of the Sabre motor....
-
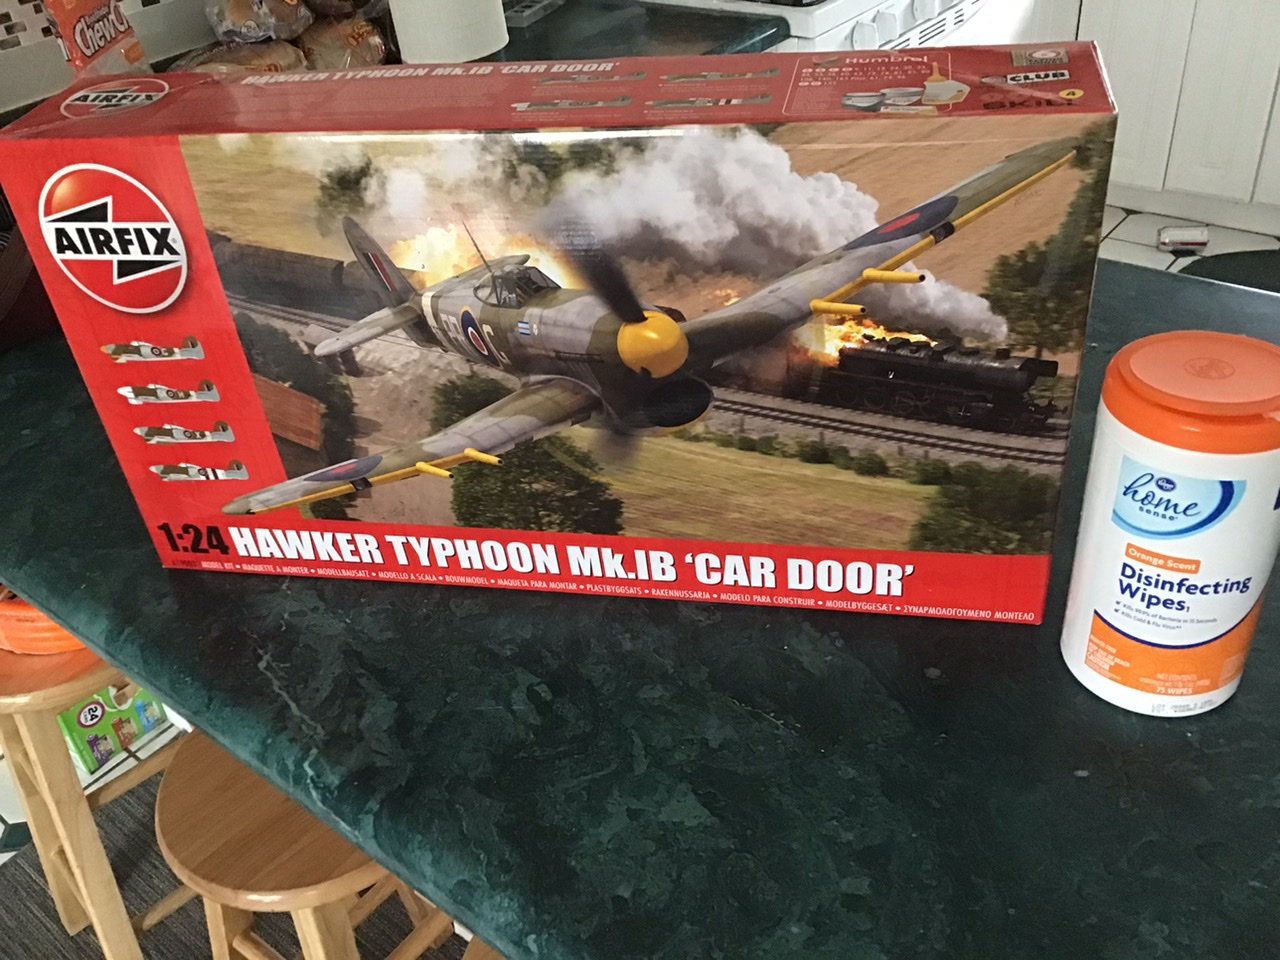
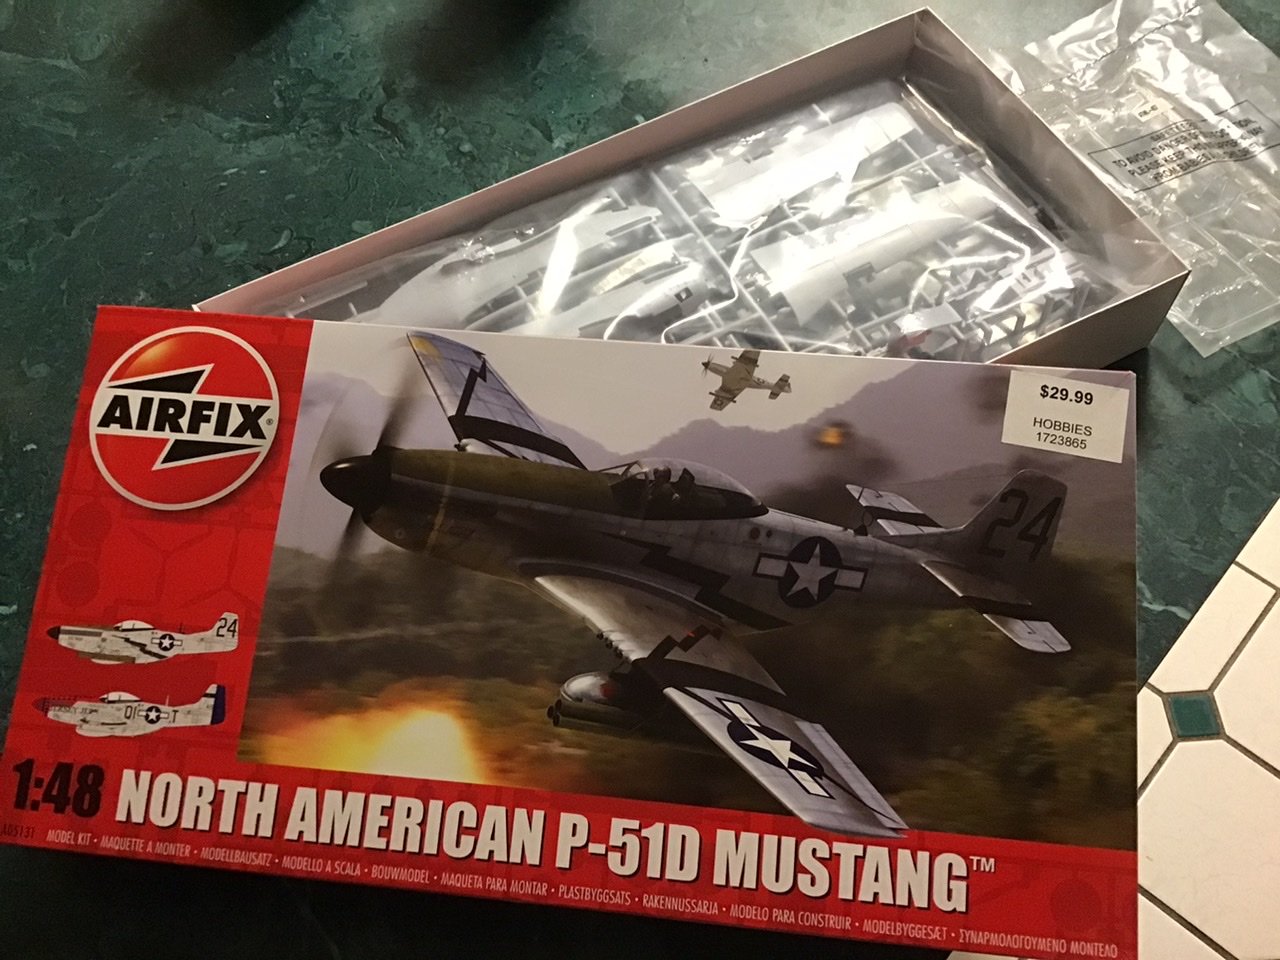
Ooops yeah, I posted this in a different thread, here’s the box again..... wipes are not included..... but necessary!
-
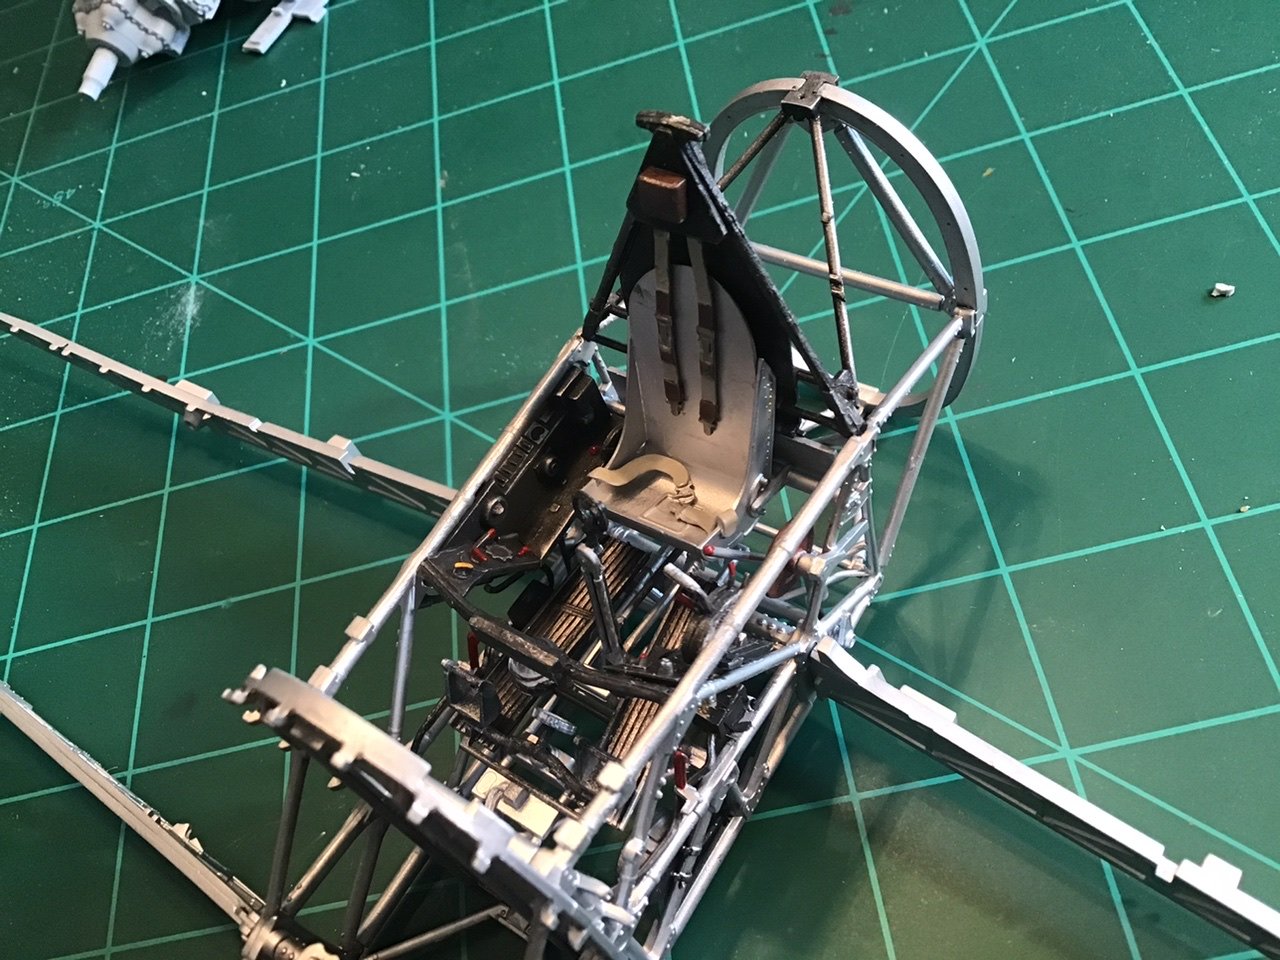
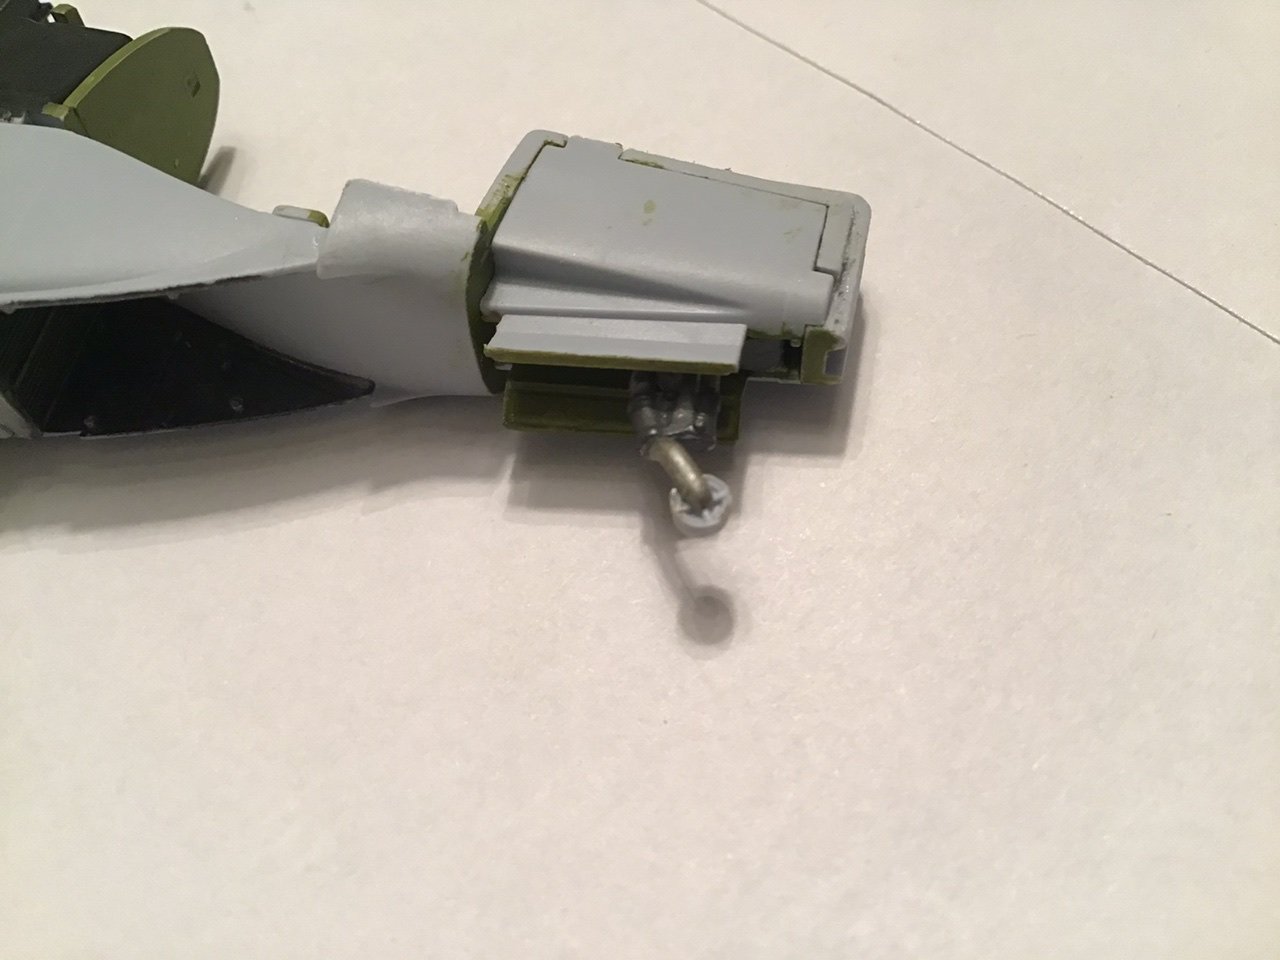
I found that out the hard way, lucky it still fit ok... that is one area where the airfix instructions are lacking, it doesn’t always show clearly where everything attaches. I thought I cleaned up the parts on the areas that will show, but the camera is pretty brutal at showing flaws.... need a bit of work in a few areas
-
Well if this was family feud, 85 out of a hundred people polled said....... Caldercraft! if you are looking for historical and scale accuracy - well that is until the new Amati 1/64 scale version comes out in the next few months to years..... both designs by the same guy... Chris Watton of Vanguard Models now.....
-
Hey! My Dad had a 67 olds delmont 88 with a 425 in it.... you guys are pretty creepy alright.. once a year right?
-
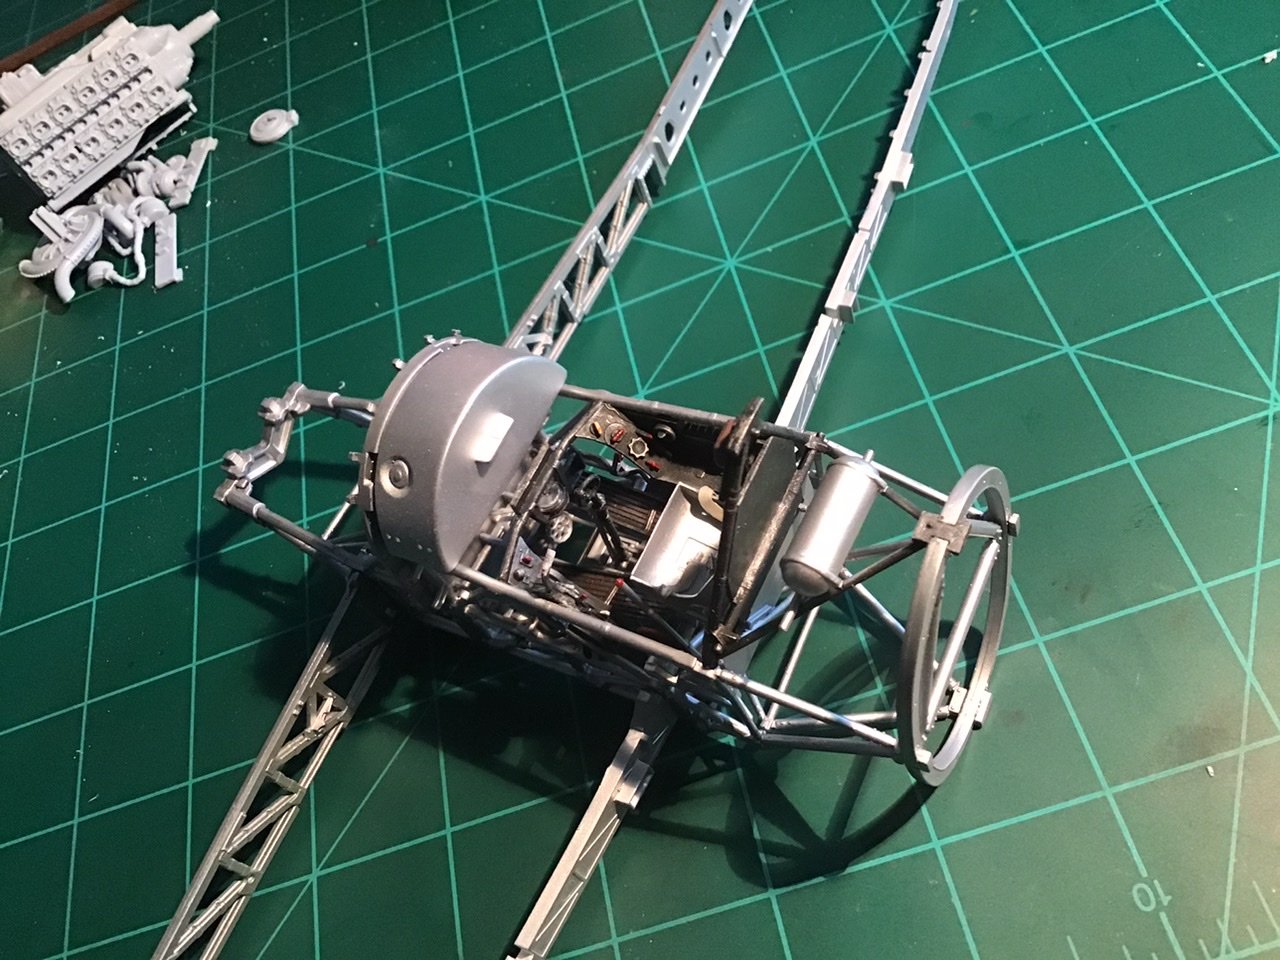
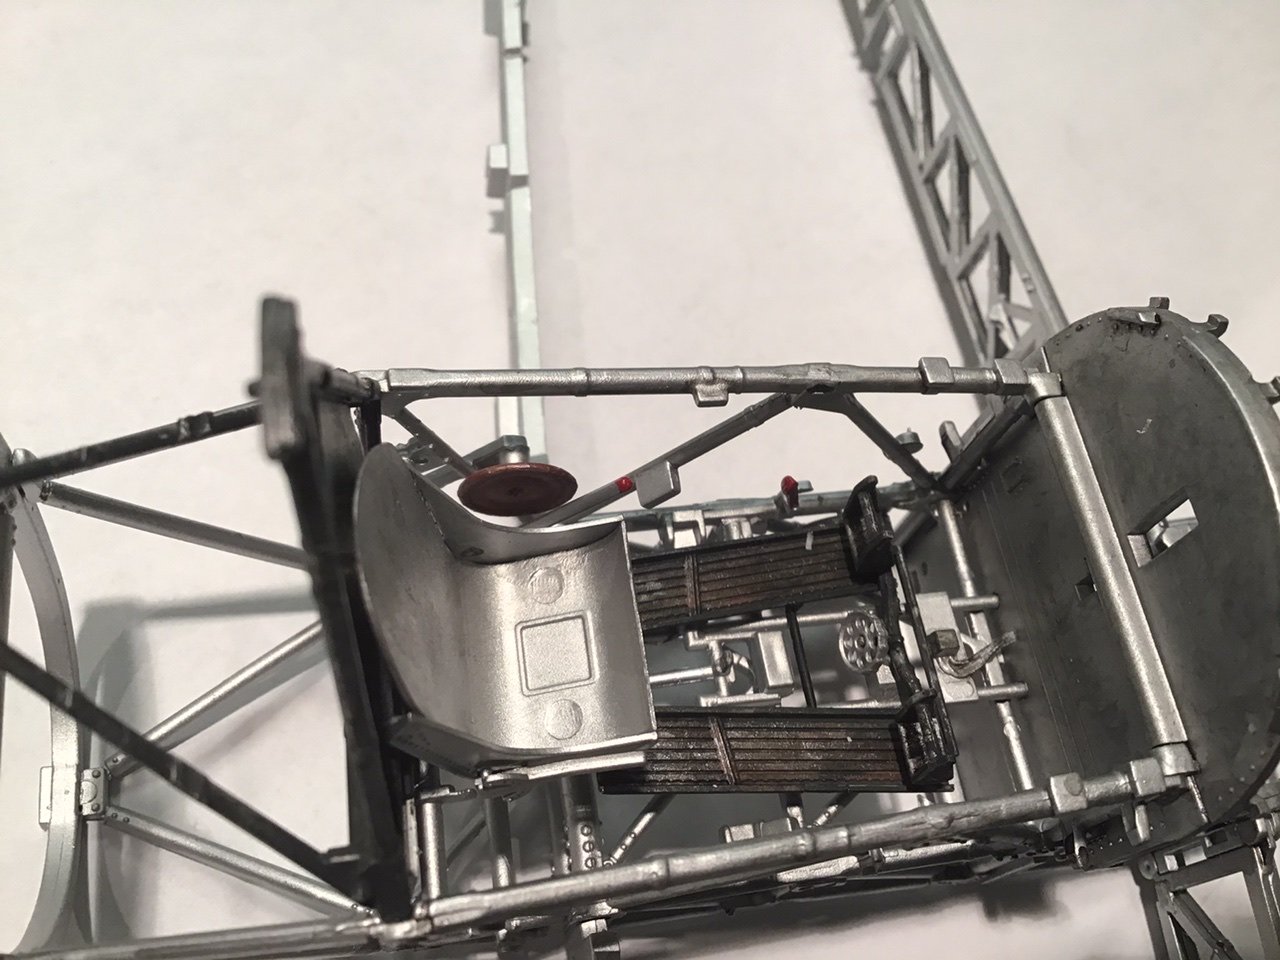
Well this is the one that started the bug.... I was gonna wait to start this but I’m waiting for stuff on all my other builds... I am going to build this with the aid of the Airfix magazine builds by James Hatch and Brett Green, leaning more to the Hatch version specifically..... so here is the start of the cockpit- it looks more weathered in person, I’m finding that weathering silver/aluminum is more difficult than greens and black.....looks like I need to sand and fill some pin marks on the seat, I thought they would be covered by a seat cushion but not on this version? There is definitely a lot more flash/cleanup to do on this kit vs the 1/48 Airfix kits I’m doing. Any input or suggestions are definitely welcome!


-
B-25J Mitchell by Tom E - Revell - 1:48 Scale - PLASTIC
ASAT replied to Tom E's topic in Non-ship/categorised builds
Yep, the PE really makes things pop and your airbrush work looks great Tom! -
North American P-51D Mustang by Asat - Airfix - 1/48
ASAT replied to ASAT's topic in Non-ship/categorised builds
Oh yeah... I’d say I got bit..... I really like these new kits... -
I felt the same way till I saw what Chuck is accomplishing with his Winchelsea- that looks pretty darn good, but I’m waiting to see if others can make them look that good! New tech will always catch up with us....
-
North American P-51D Mustang by Asat - Airfix - 1/48
ASAT replied to ASAT's topic in Non-ship/categorised builds
Mark, I have been ordering from a pretty popular online vendor that is local for me but a drop shipper I think, kitlinx.com - some stuff says in stock but most of it says 2 weeks- is there a stateside ”go to” store that has great inventory and reasonable shipping? -
B-25J Mitchell by Tom E - Revell - 1:48 Scale - PLASTIC
ASAT replied to Tom E's topic in Non-ship/categorised builds
Hi Tom, any more progress on this? Sent you a PM.... Lou -
North American P-51D Mustang by Asat - Airfix - 1/48
ASAT replied to ASAT's topic in Non-ship/categorised builds
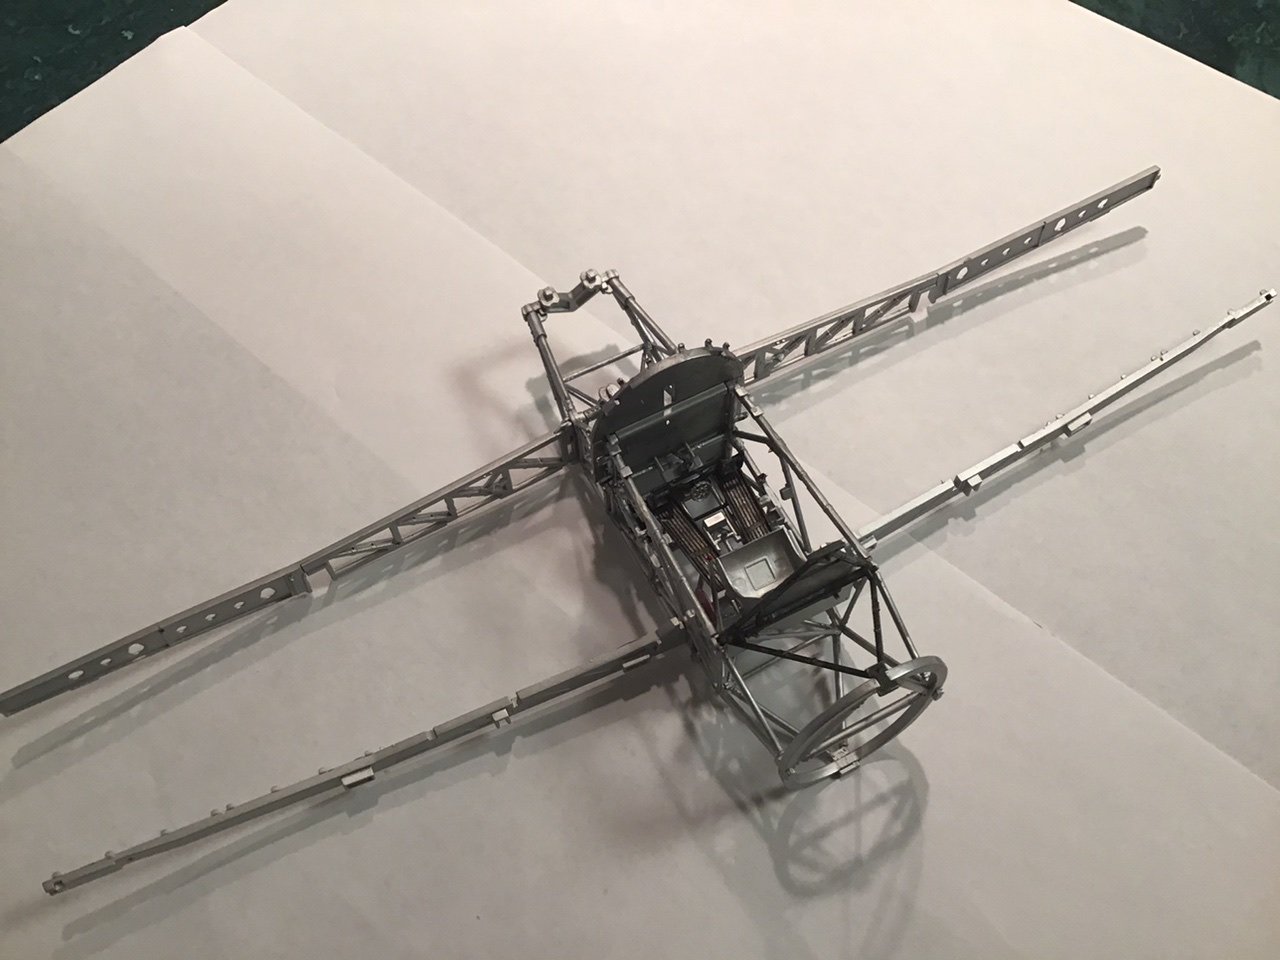
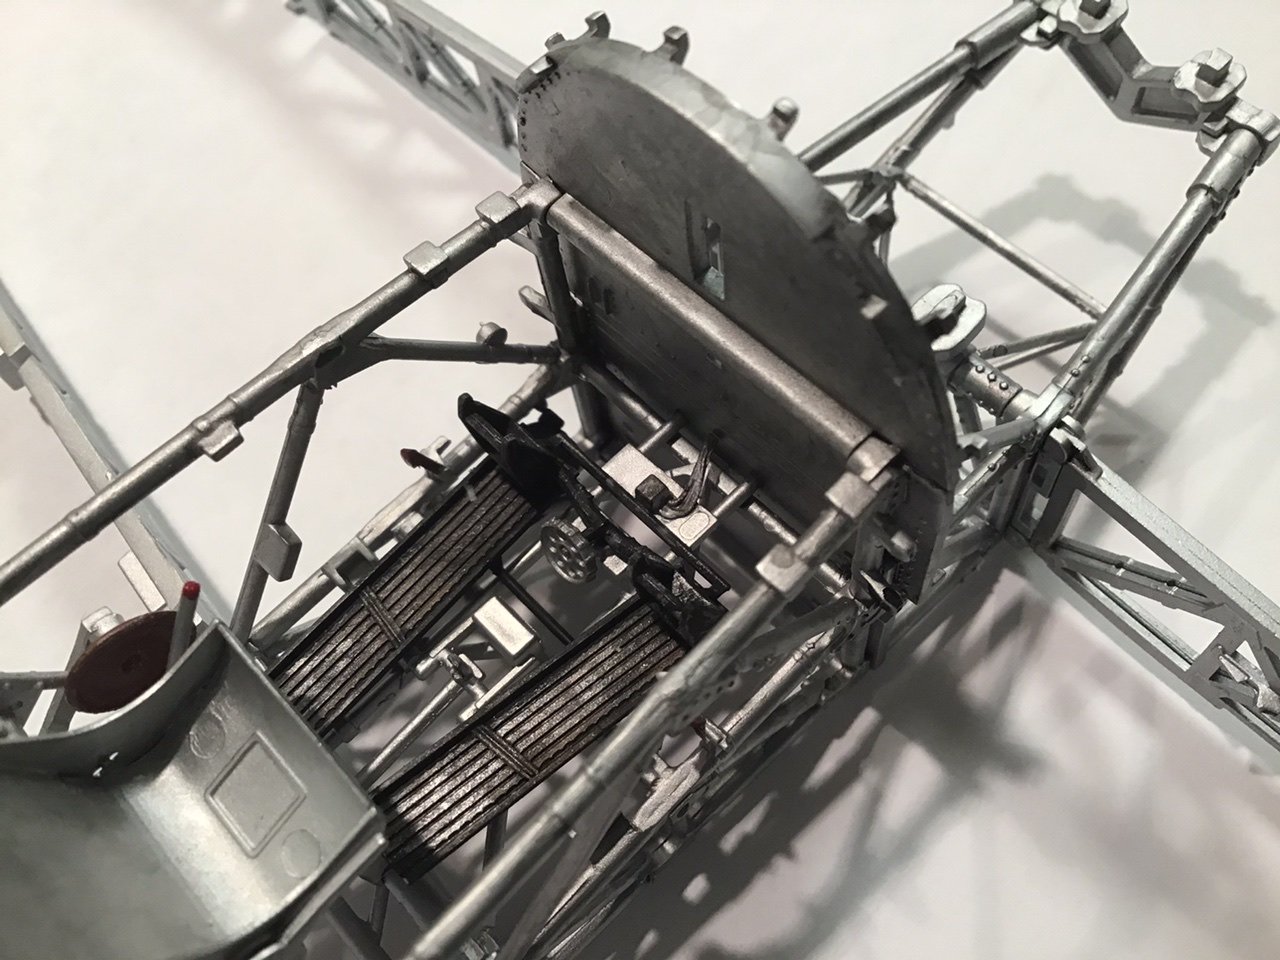
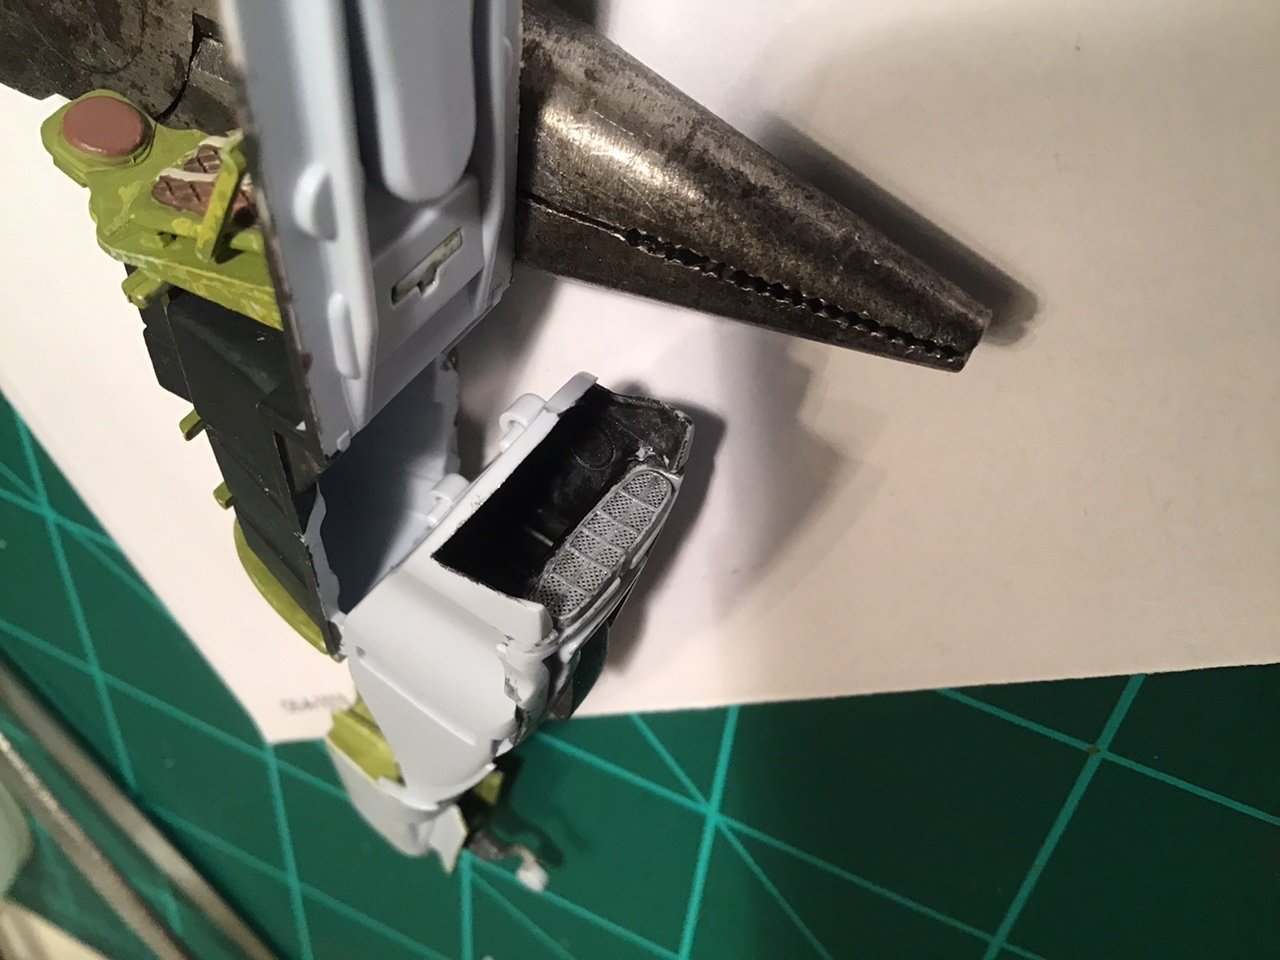
So, there are a lot of assemblies that connect to the main cockpit frame, the cooling ductwork and exchangers, the tailwheel housing etc. Due to a big screw up on the instrument panel decal I am now at a work stoppage on this one too... I didn’t have any decal solvent or setting solution and this decal just would not conform to the instruments and was lifting... I read on the old internet that you can use acetone as a setting solvent...... NOT!! Man it dissolved it as soon as I touched it with the wet brush..... heart kind of sank but I found a Eduard cockpit detail set (FE 1074) for $13 but it’s gonna take a couple weeks to get here. I also did a preliminary painting of the cockpit sides but need to wait for the detail set to move on.... wellllll....... I am learning a lot and that was the intent of these builds so......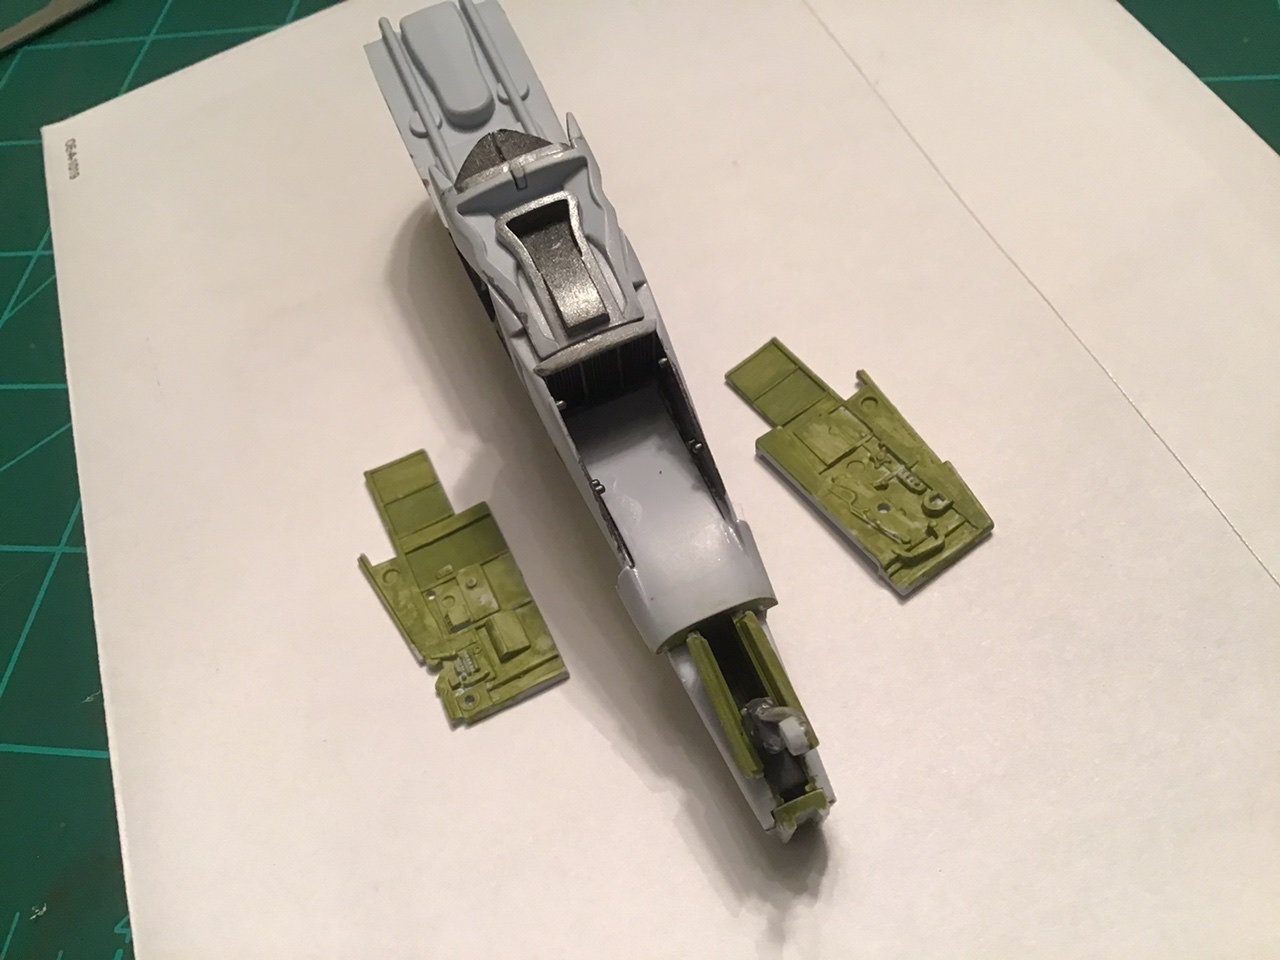
-
Yeah, this is a mystery ship - looks like a sloop of war or a corvette? Perhaps some type of brig? In any case it is going to be developed before the Bristol as well.... I thought the Bristol would have been close to being released by now, but these smaller designs have been the focus for a while now to facilitate more demand and establish the brand? Hoping it will create an established lineup to support development of a few larger ships that obviously take more time and investment to produce. Chris has stated a few times now that Bristol will be developed after this latest design. And possibly something even larger after her...
-
North American P-51D Mustang by Asat - Airfix - 1/48
ASAT replied to ASAT's topic in Non-ship/categorised builds
Ken, I’ve seen it used on wing walkways and such but not in a contemporary cockpit, at least not on the ones I worked on.... F4, A7, F16, etc... although there was a lot in a C-130.... -
North American P-51D Mustang by Asat - Airfix - 1/48
ASAT replied to ASAT's topic in Non-ship/categorised builds
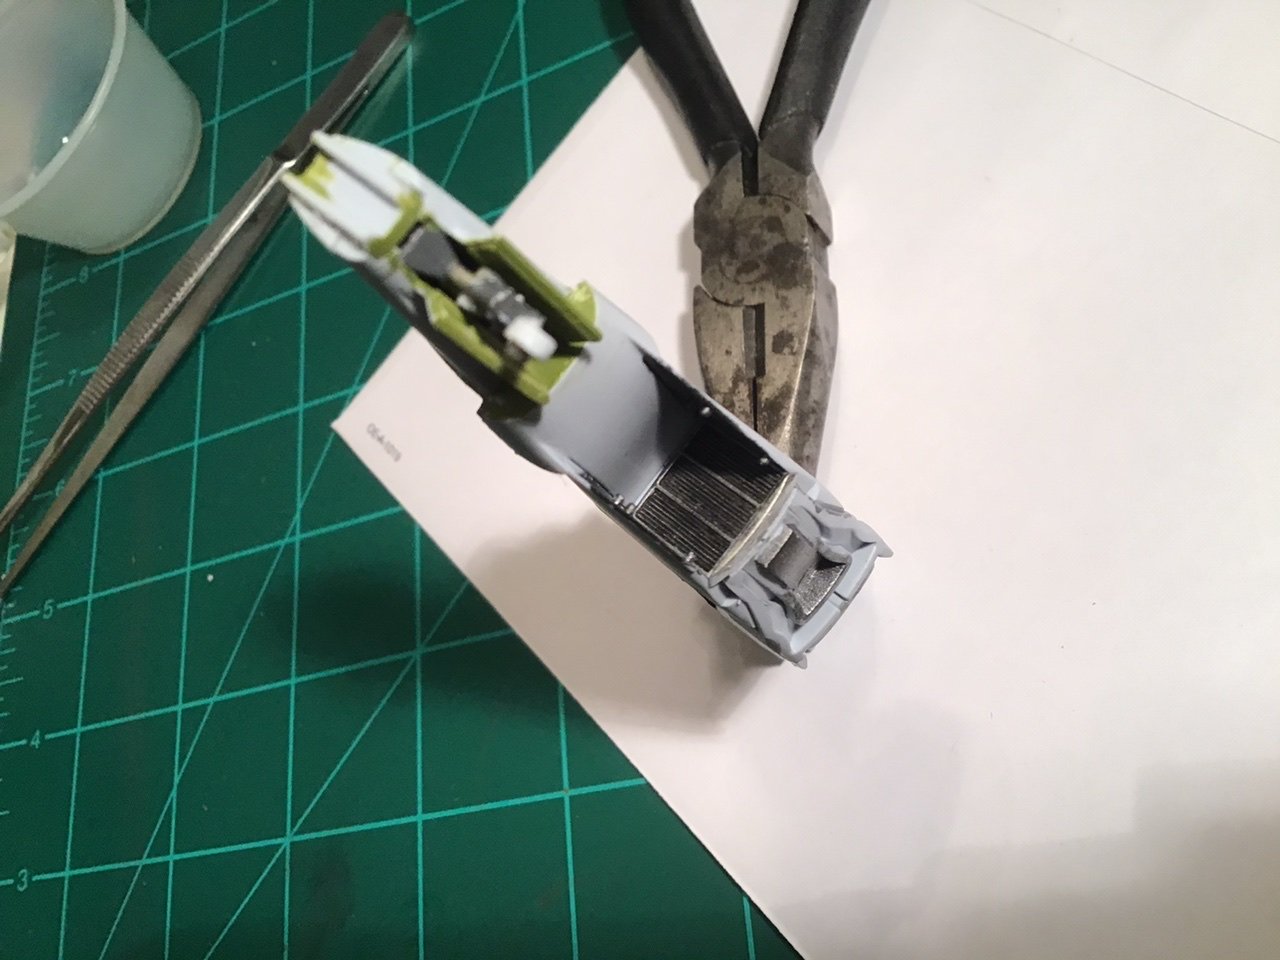
Thanks Lou, I started by painting the floorboards in front a medium brown and after it dried I painted the black over it, then I took some isopropyl on a brush and exposed the brown paint, mixed in some light tan and yellow highlights and used a dry brush technique to blend them till it looked like a worn down plywood floor... I didn’t know P-51’s had a wood floor till I started doing research for these builds, I read somewhere that they were painted with flat black paint mixed with sand for a non skid surface, so that’s what I envisioned..... -
Curtiss P-40B Warhawk by Asat- Airfix- 1/48
ASAT replied to ASAT's topic in Non-ship/categorised builds
Ok with me, should I delete these posts? Can you move the reply’s to the new thread? -
So this is my second foray into plastic aircraft, I am trying to get some skills with plastic and paint so I can build the 1/24 Airfix Typhoon. This is in conjunction with my P-40 build on here as well... Started with the cockpit, this one has the belts molded into the seat, came out OK. Man! I don’t know how anyone could fold and make PE belts look that good! Know I know the P40 belts are way too big these things are tiny! Probably 1mm or even less!! Instrument panel and try some wiring on the radio stack up next....


-
Curtiss P-40B Warhawk by Asat- Airfix- 1/48
ASAT replied to ASAT's topic in Non-ship/categorised builds
Started with the cockpit, this one has the belts molded into the seat, came out OK. Man! I don’t know how anyone could fold and make PE belts look that good! Know I know the P40 belts are way too big these things are tiny! Probably 1mm or even less!! Instrument panel and try some wiring on the radio stack up next....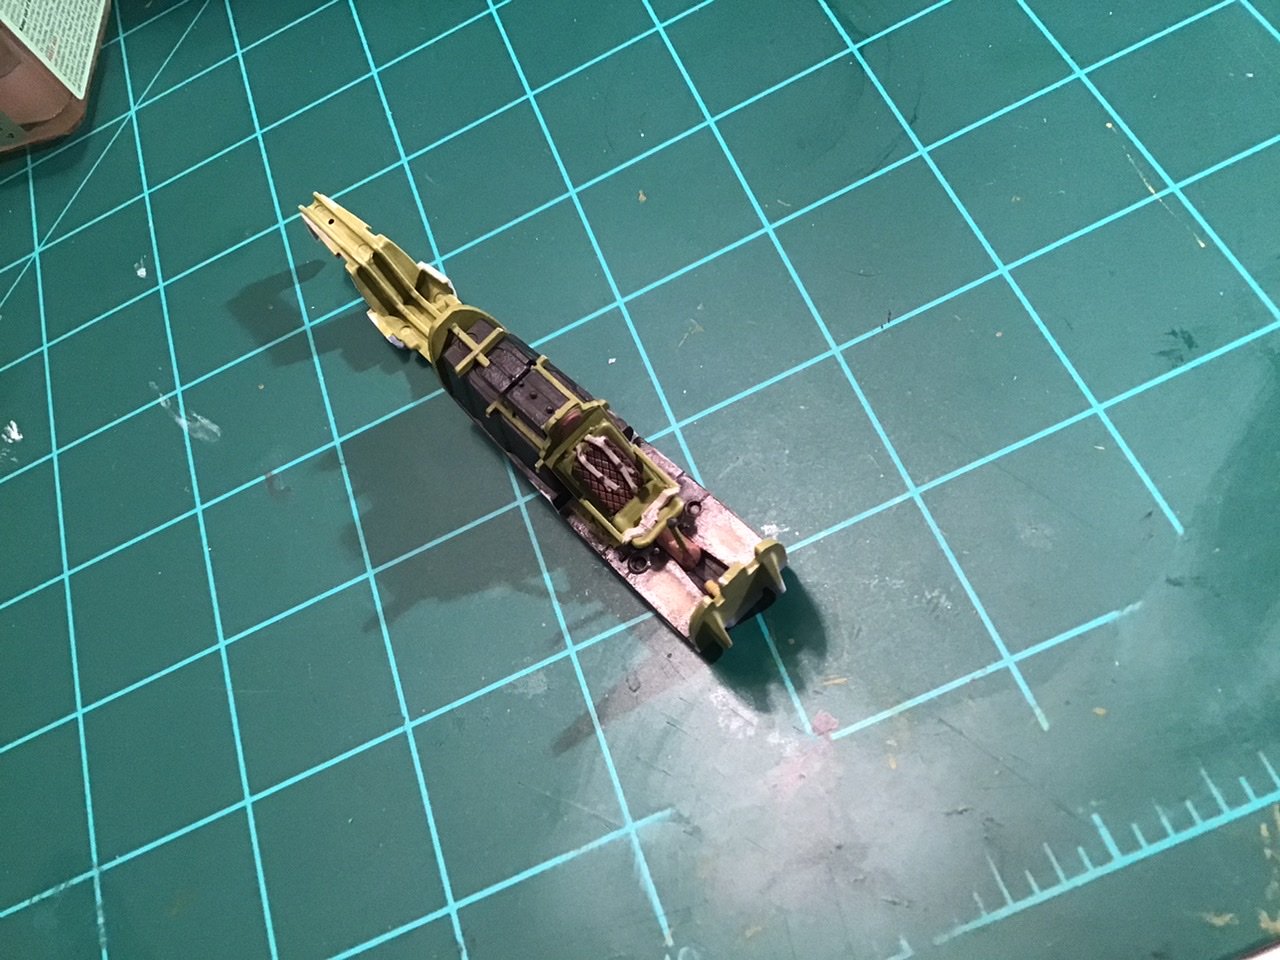
-
Wow! Nice work! Detail to the max! You need to tell me how you did all that detail - ever want to do a tutorial build? 😀 I guess references are half the battle? Is that all eduard detail stuff or do you use wire,solder etc to enhance?
-
Curtiss P-40B Warhawk by Asat- Airfix- 1/48
ASAT replied to ASAT's topic in Non-ship/categorised builds
Thanks guys, I have been watching all kinds of vids on it and our own James H. Did a step by step build for a modeling book on typhoons and for Scale Modeler International’s mag, got the cover of both! I found a copy of the book plus some other great resources on a subscription service Scribed.com - that guy can build!! I am waiting again for stuff for the P40 so I am going to start the Airfix P-51 till I get the mr.surfacer and masks I got for the P40.
-
Curtiss P-40B Warhawk by Asat- Airfix- 1/48
ASAT replied to ASAT's topic in Non-ship/categorised builds
Look what the Amazon Man just brought! (Disinfecting wipes not included) 😎 Build log coming soon!