pirozzi
-
Posts
843 -
Joined
-
Last visited
Content Type
Profiles
Forums
Gallery
Events
Everything posted by pirozzi
-
Hi Brian, I went on the website in Europe and looked at the Constructo kit for the Prince. While it is somewhat simplistic, it is nice and in a large scale like the Amati kit was. I think this kit would make a great basis to build her, and using the available photos and information, I could build her up to a very realistic model. The kit is not available here, but you can order it from the company in UK and have it shipped here. Vince P.
-
I agree Brian. Somehow, I am going to build her to display along side the Royal William. Vince P.
-
Thanks Spiderbug, I did not know this kit existed. Is it still available? Who did you buy it from? I will follow your build log, as I am intetested in this ship. Thanks, Vince P.
-
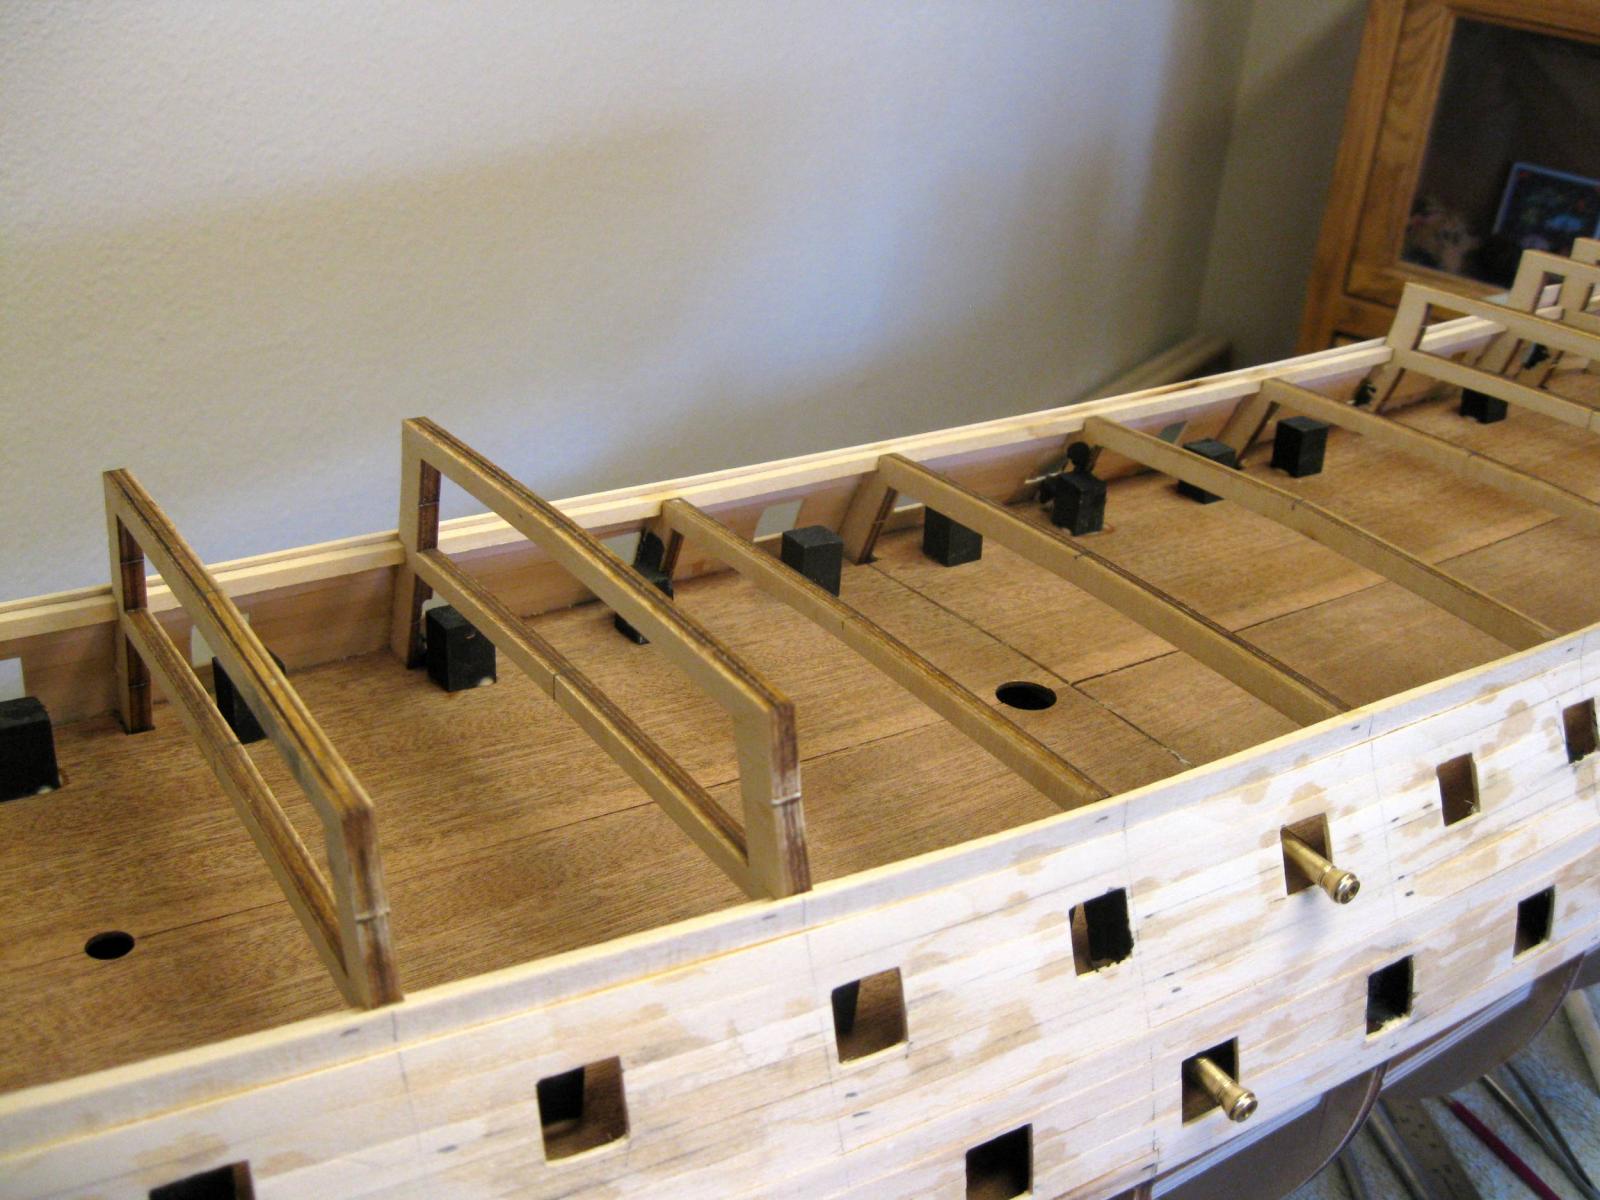
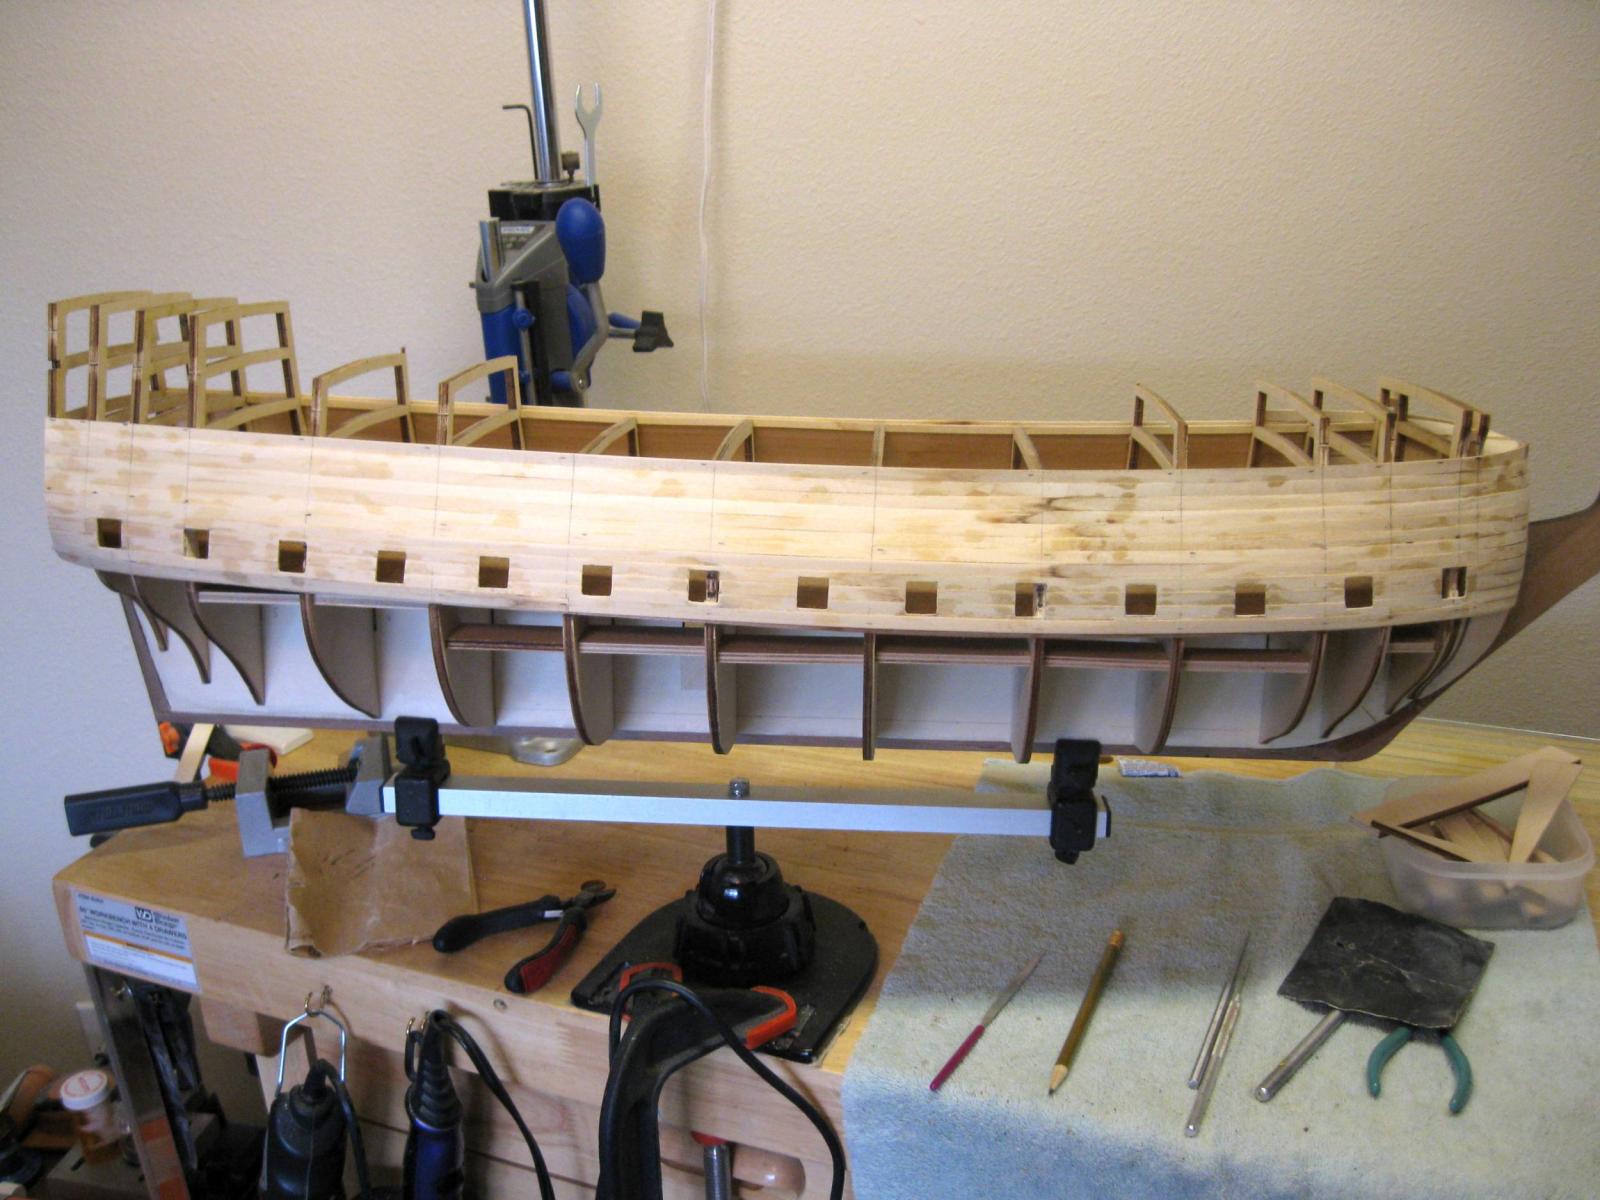
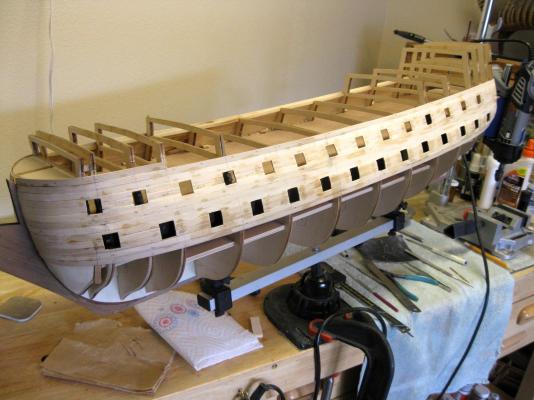
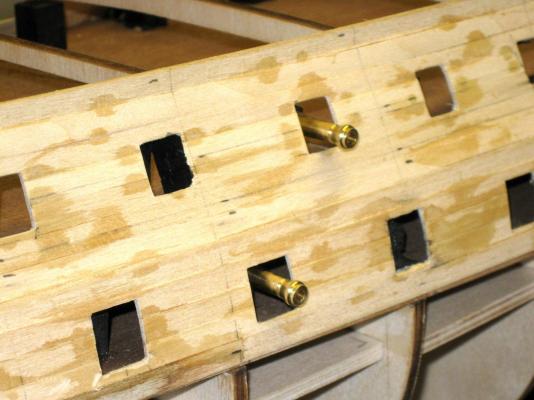
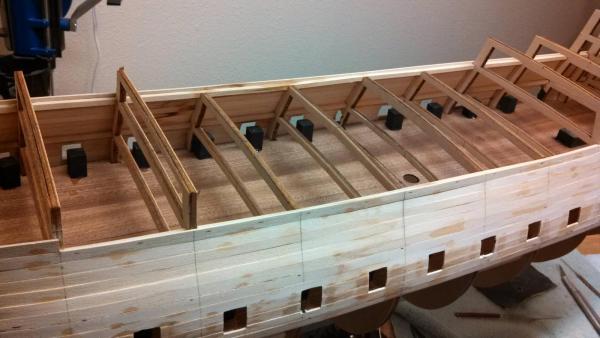
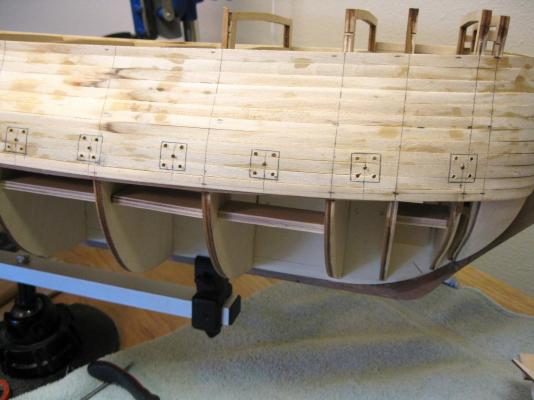
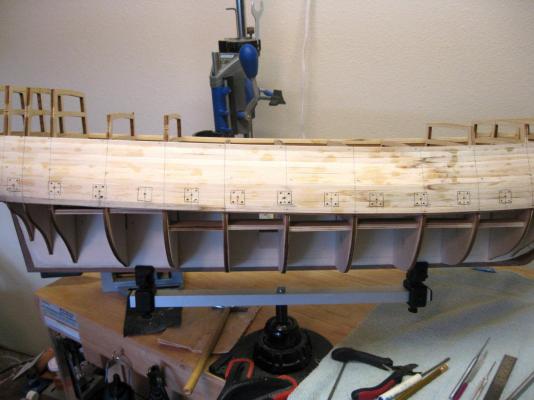
 Middle gun deck ports cut out and false cannon blocks in place on deck. Vince P.
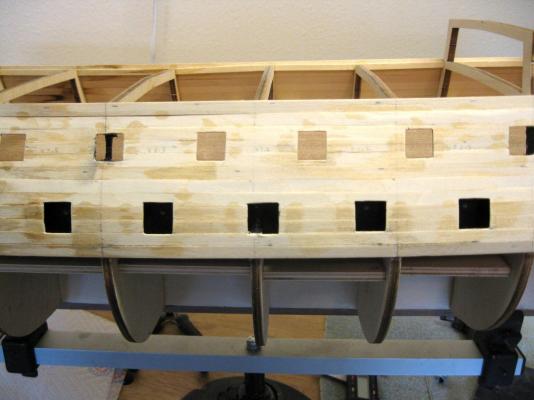


- 593 replies
-
- 6
-

-
- royal william
- euromodels
- (and 1 more)
-
Hi Andy, On cutting out the gun ports, I am doing them in a similar way to you. First I mark out the center of the port on the hull and drill a 2mm pilot hole. Then I place a square jig which is the full size of the port in the hole and draw out the square on the hull. Next I drill 4 more 2mm holes, one in each corner of the square. I use a small diamond cutting bit (1mm) in my Dremel tool to cut across all of the holes (connect the dots), which removes the center section of the square. Next I use the cutting tool to carve out the square just inside the marked area. Lastly I use a knife shaped diamond fine file to finish the square. I use the jig to place in the hole as I file it until it fits snuggly. It does take time and patience to do each hole, and gets boring when you are doing a ship with 3 gun decks. My build log pretty much shows how I do it. Vince P.
-
Hi Anja, I fully understand. The job pays bills and feeds the family. That has to come first. When you are able, we will enjoy your updates. Vince P.
-
Hi Andy, Good fix on the rudder. I had the same problem with the chain links on the SOS. They have the opening at the end, where the most stress would be. Anyone knows links of a chain are split in the middle of one long side. I just trashed all of them and made some new ones from shiny copper wire of 0.5mm diameter. It solders easily and will hold with the split on the long side. Then I just painted them flat black and they worked fine. Vince P.
-
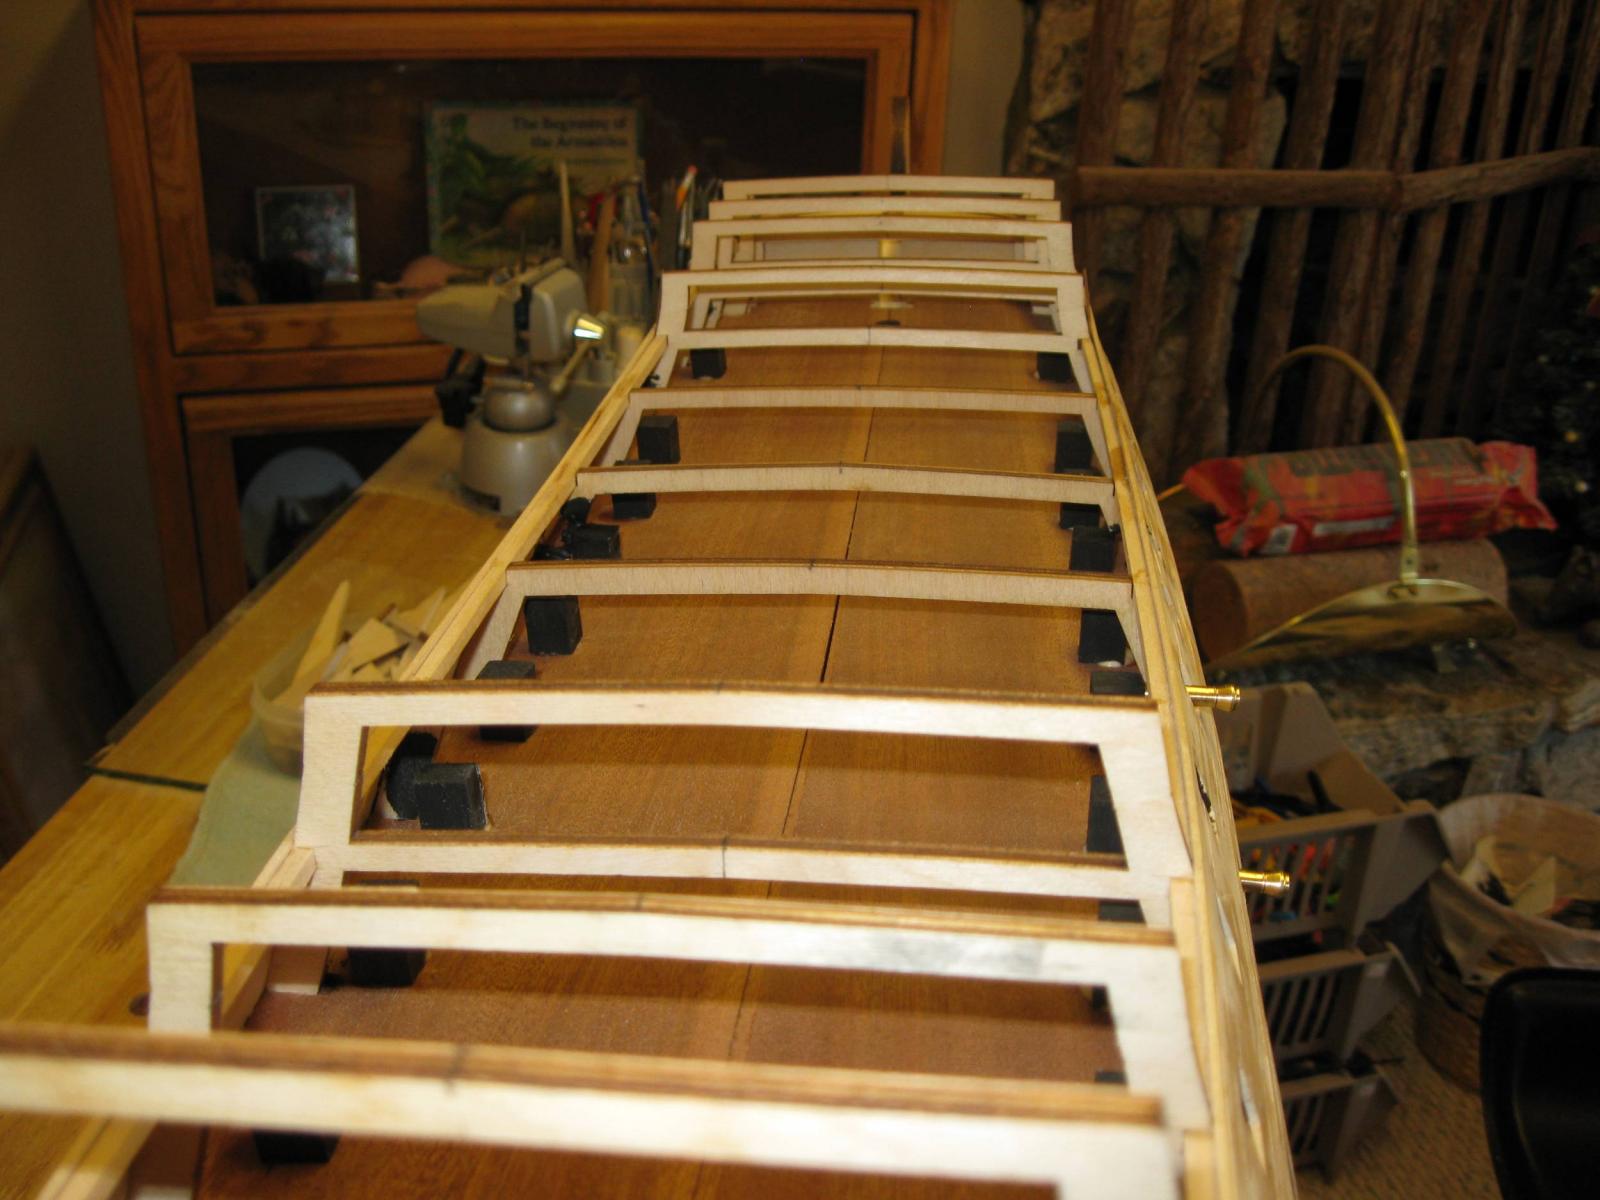
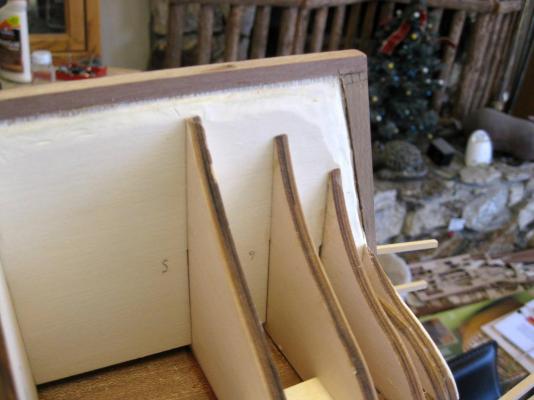
Having secured the middle gun deck, the gunports are marked for cutting out. I decided to cut the gun deck in half again making 4 quarters just like the lower gun deck. It is much easier to manipulate being it was so long only cut down the middle. The cross sectional cut was made across the center of bulkhead "1". Also, since these gunports are smaller at 13.0mm square, I just shaved down the 14.0mm jig I made for the lower ports. Vince P.
- 593 replies
-
- 9
-
-
- royal william
- euromodels
- (and 1 more)
-
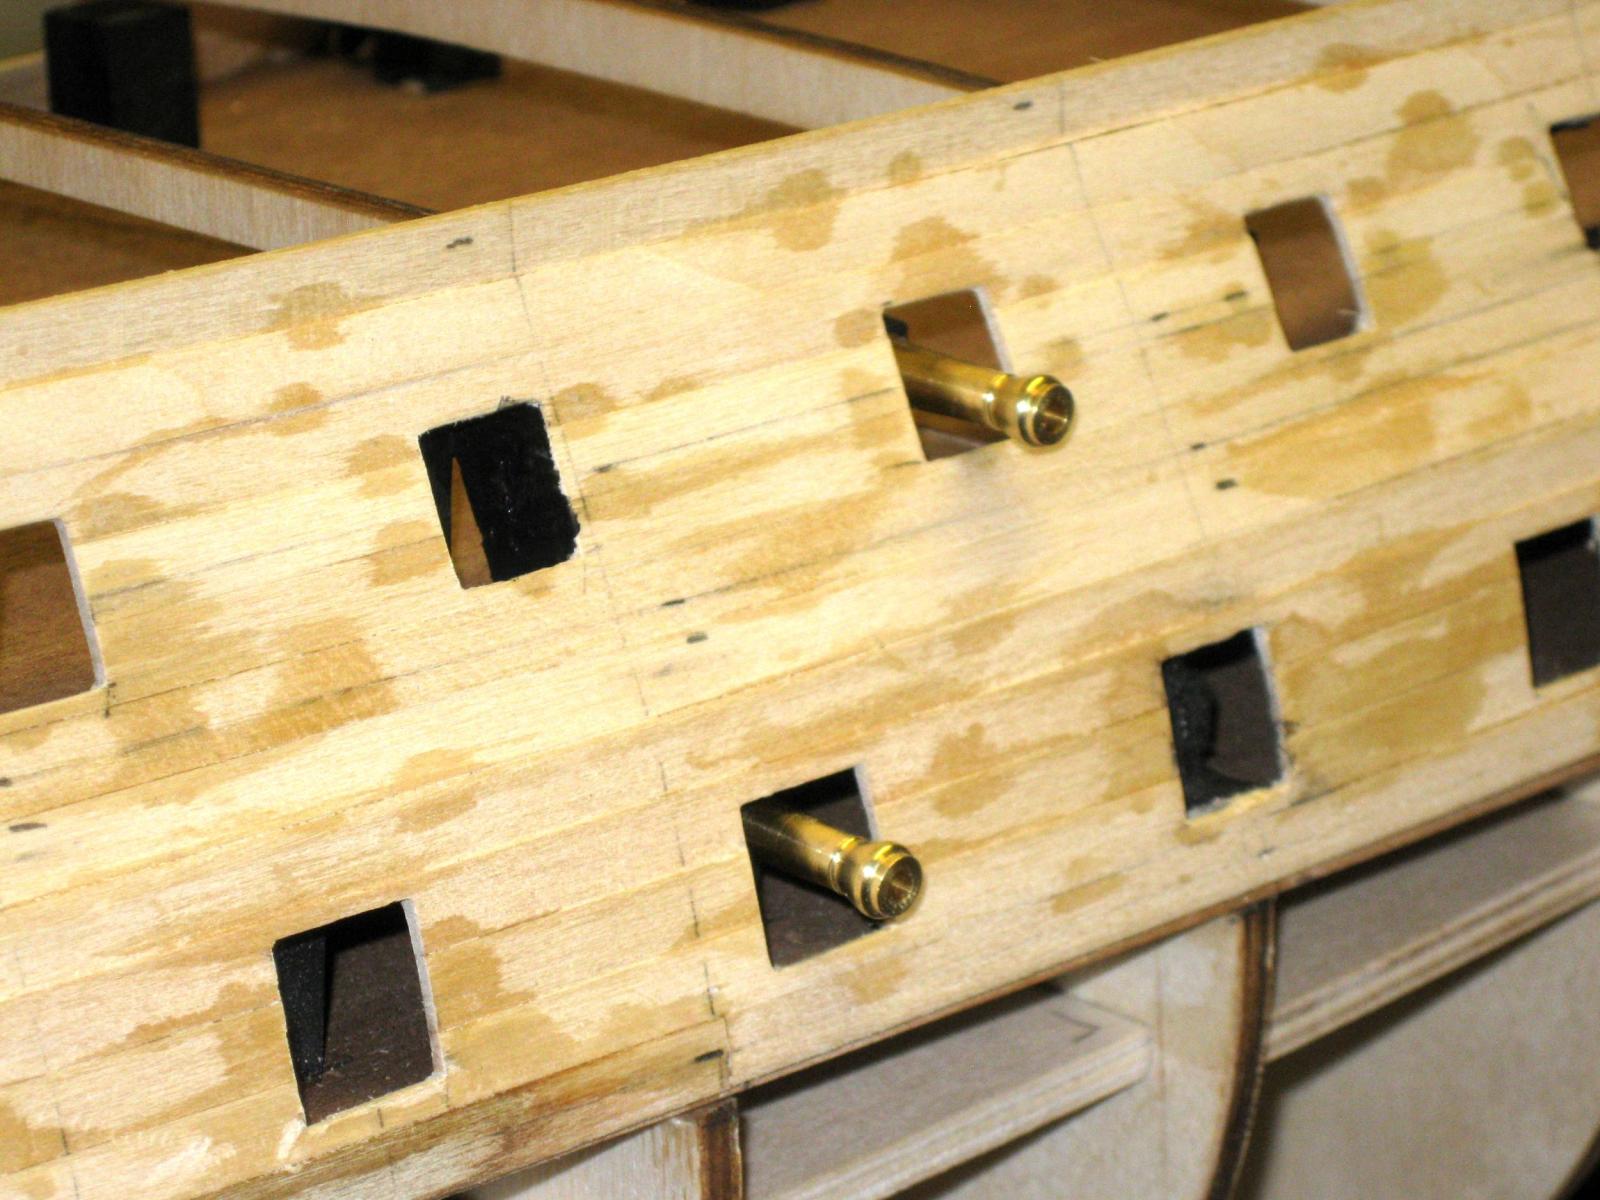
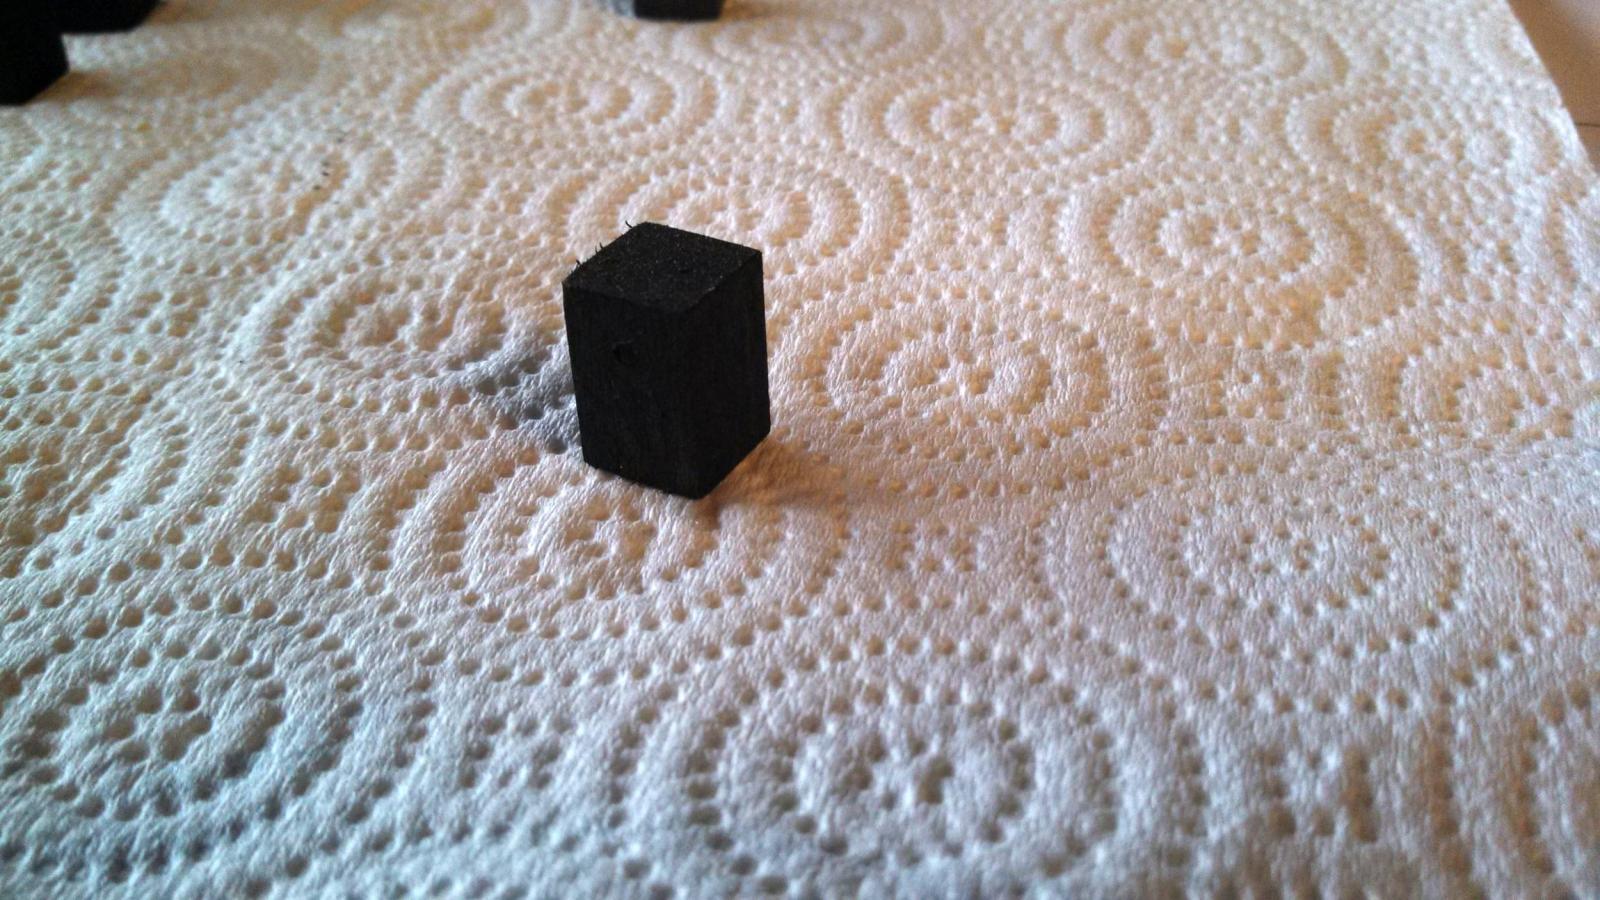
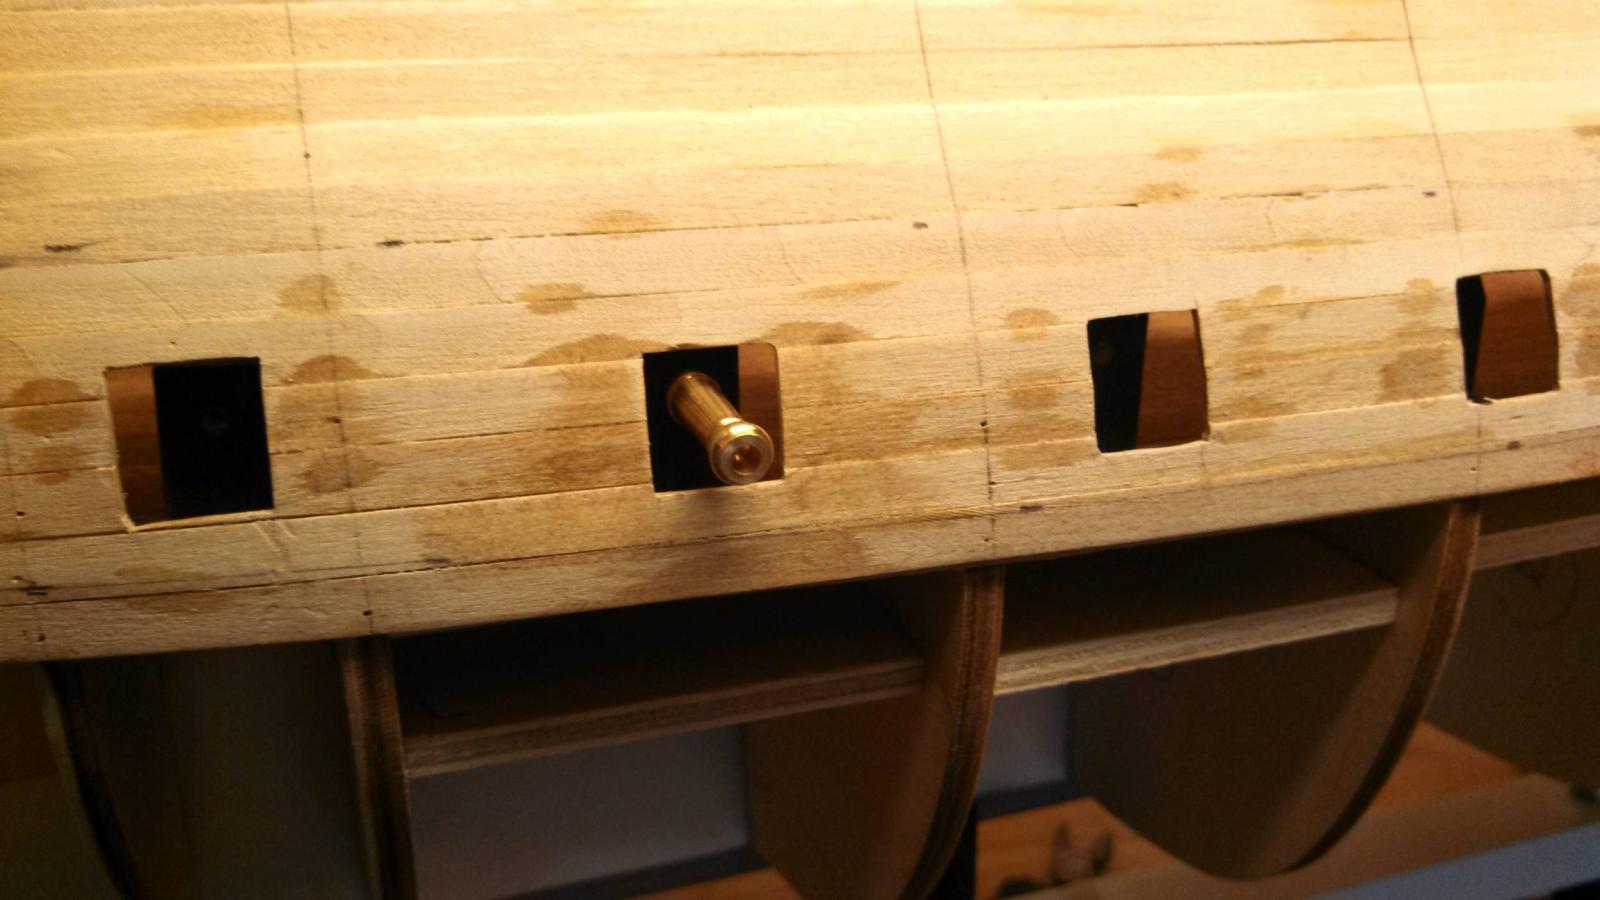
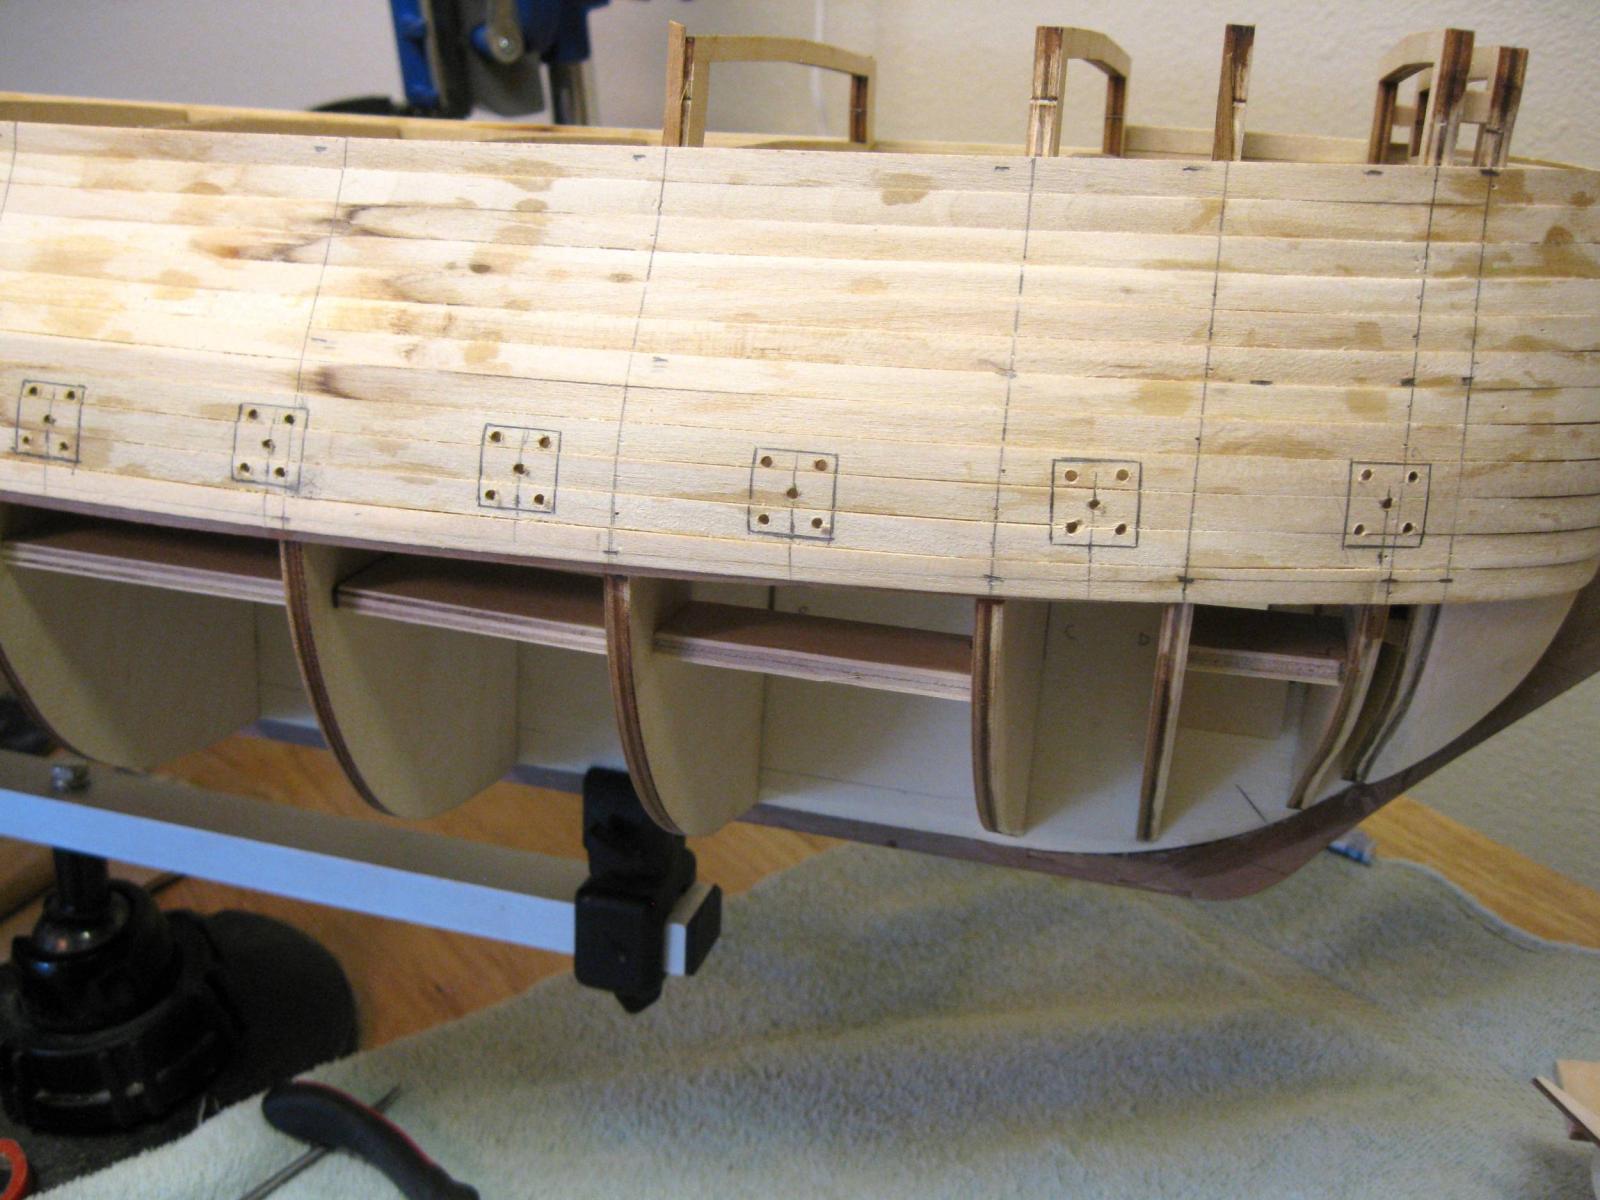
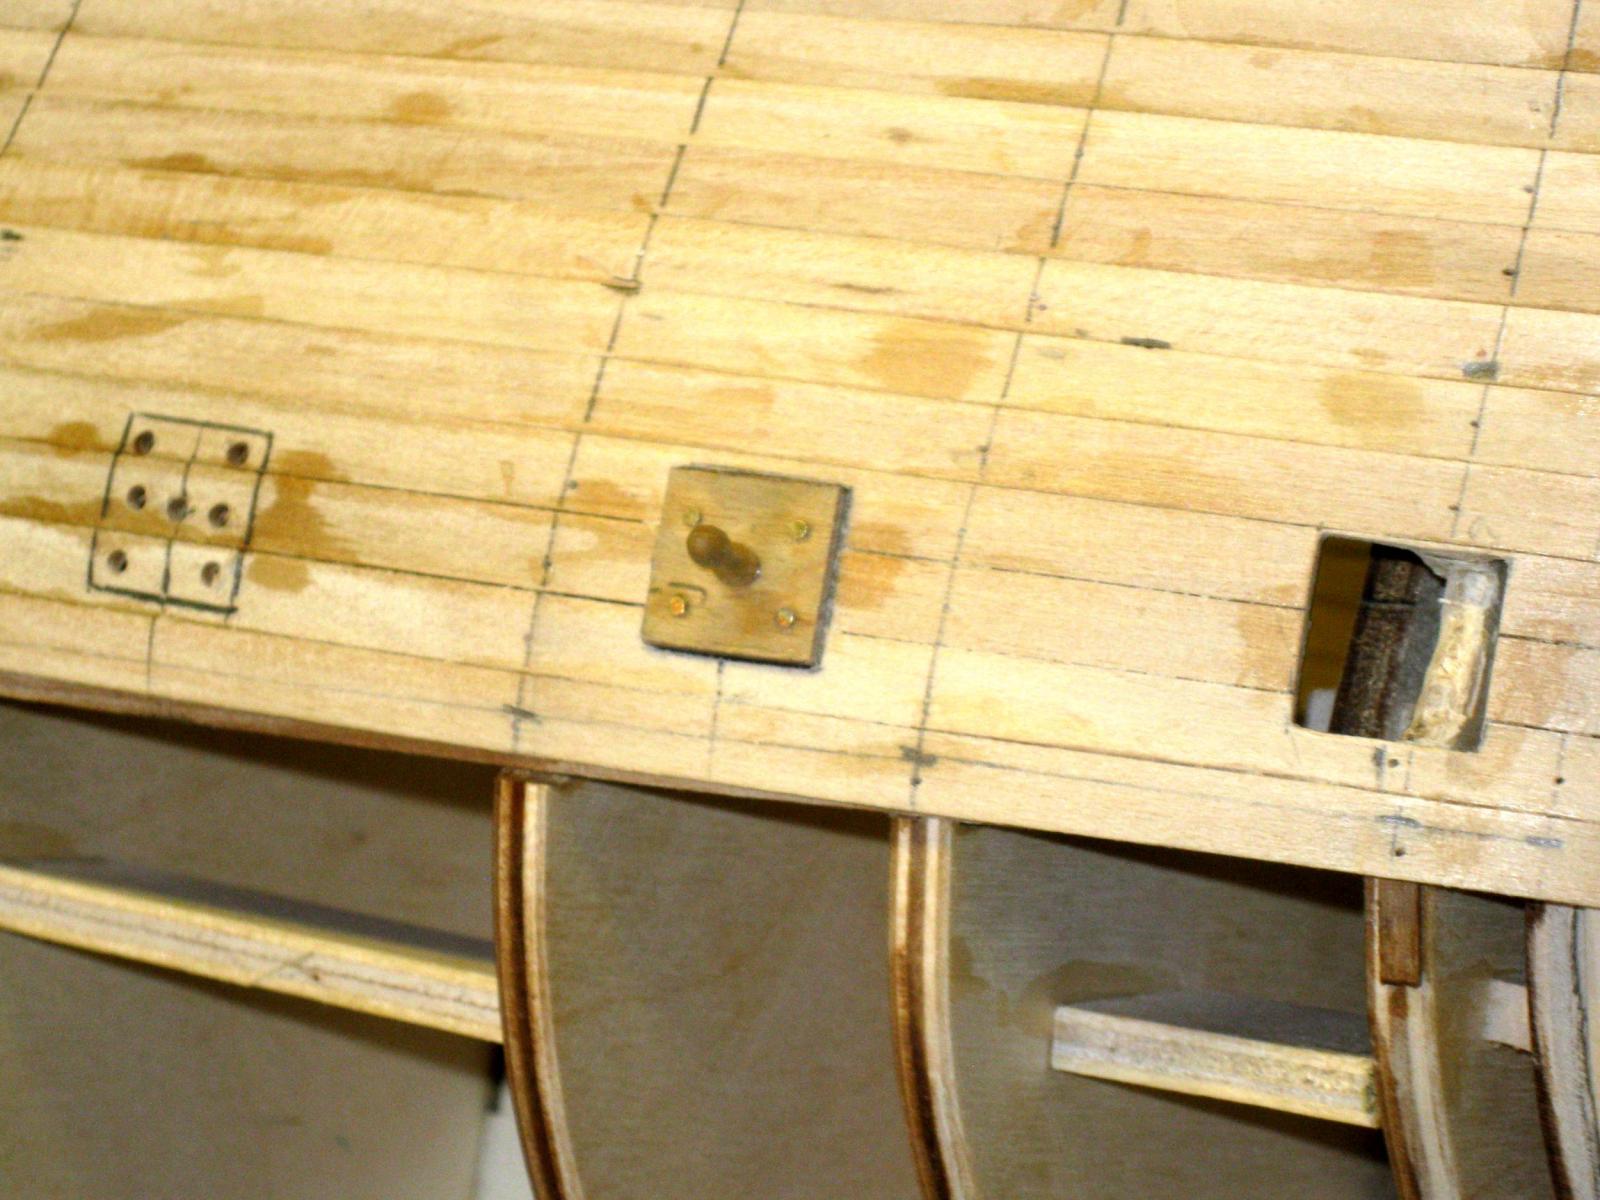
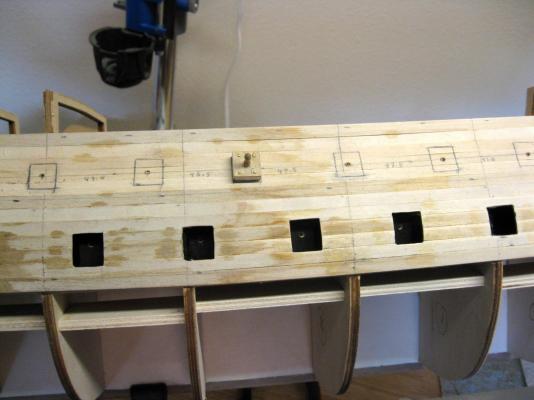
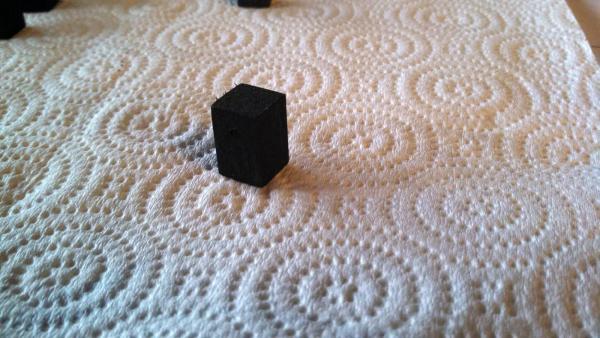
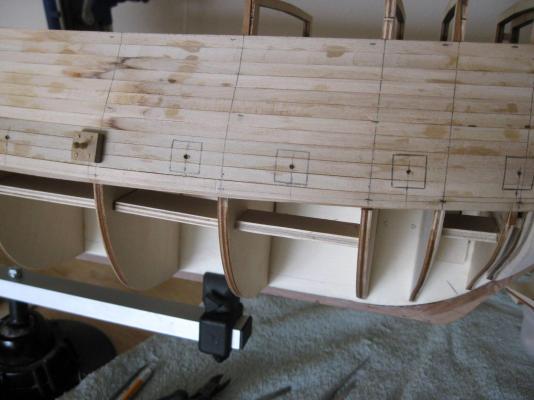
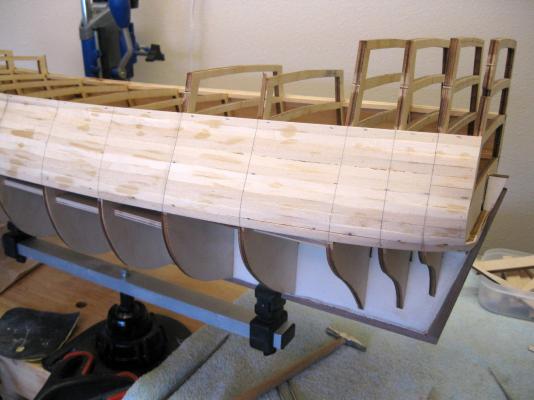
I finished cutting out the gun ports for the lower gun deck. Using plan sheet #8, I was able to locate the ports fairly accurately. Next up was to place the false gun blocks. Since I already had ports cut out, centering the blocks was easy, and I had only 2 dimensions to deal with. The first was to measure the height of the gun barrels from the deck, and the other to determine how far back from the deck edge to place the blocks so the barrels protruded the correct distance. In the Euro notes, Peter had provided these dimensions, but I decided to make my own calculations using the plans and the gun barrels. It just so happens that Peter's figures were almost exactly what I came up with, so I used his, The holes in the blocks were drilled 13.4mm from the bottom and the blocks were located 11.7mm inward from the outer edge of the deck. There were 4 ports on each side that will remain closed, so no blocks were placed there. Next up will be placing the middle gun deck. Vince P.

- 593 replies
-
- 13
-
-
- royal william
- euromodels
- (and 1 more)
-
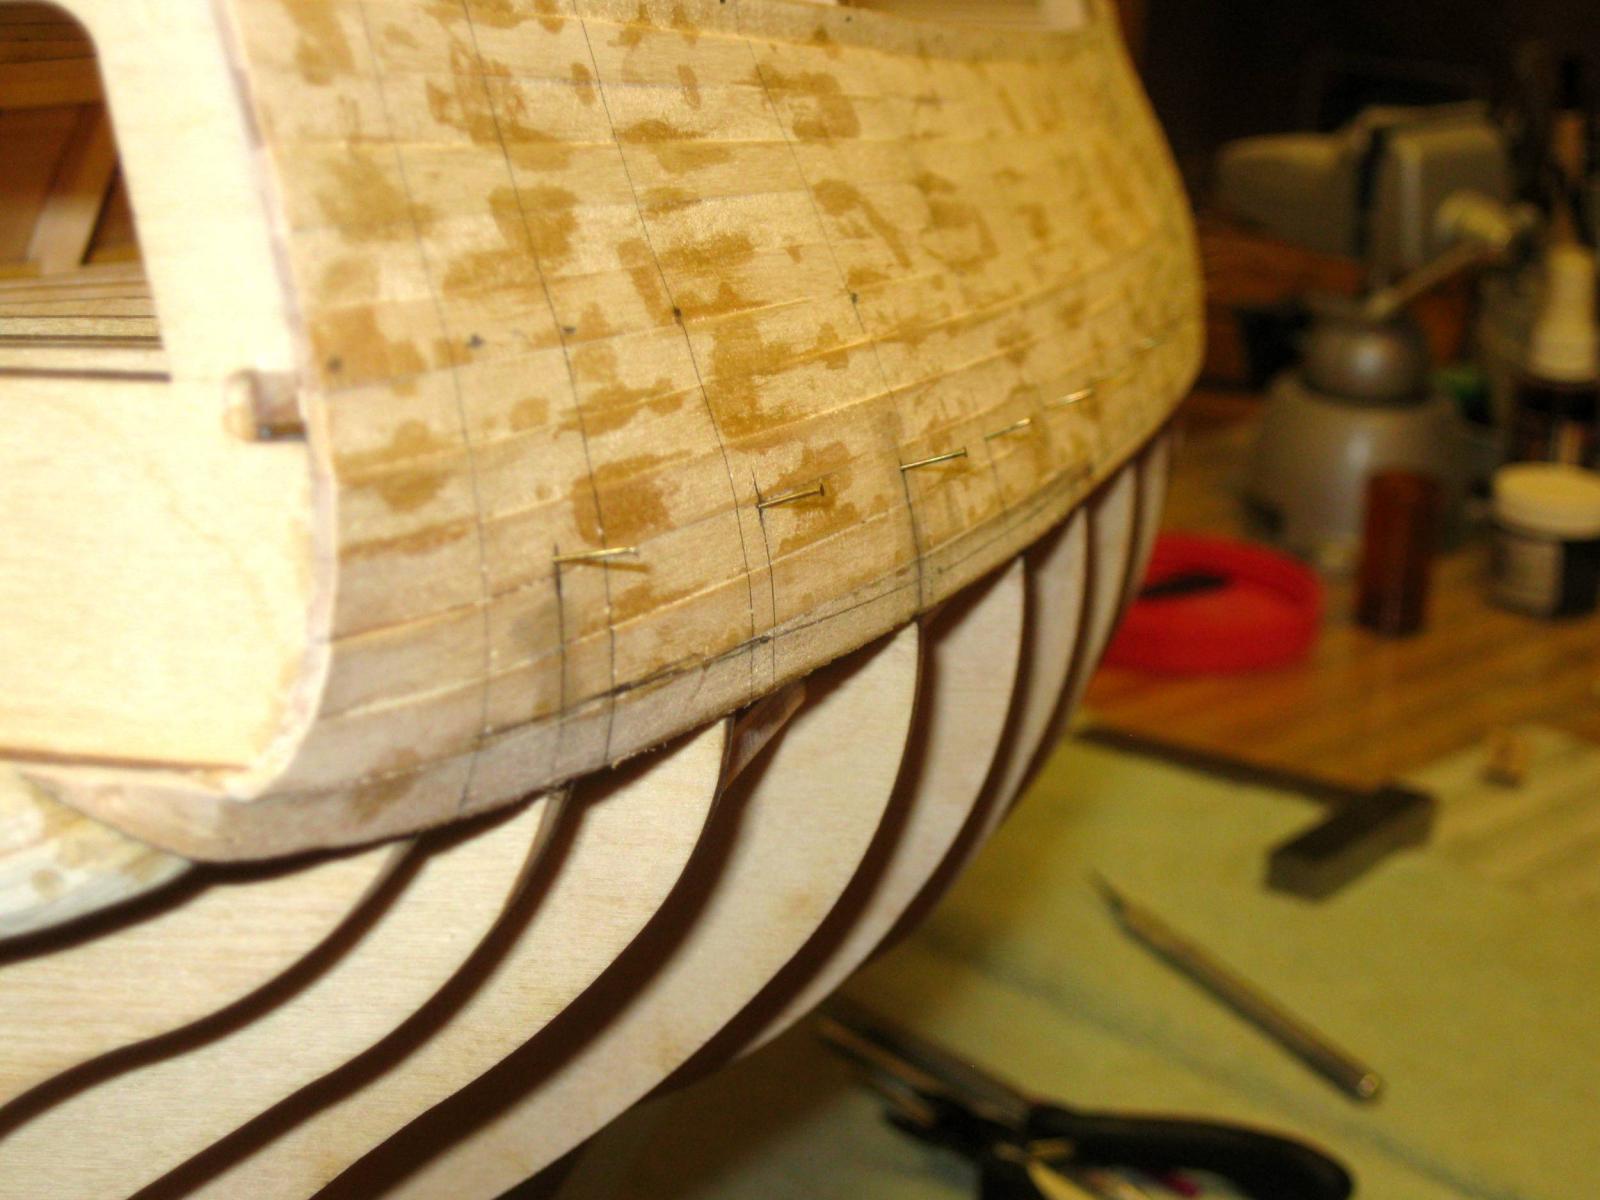
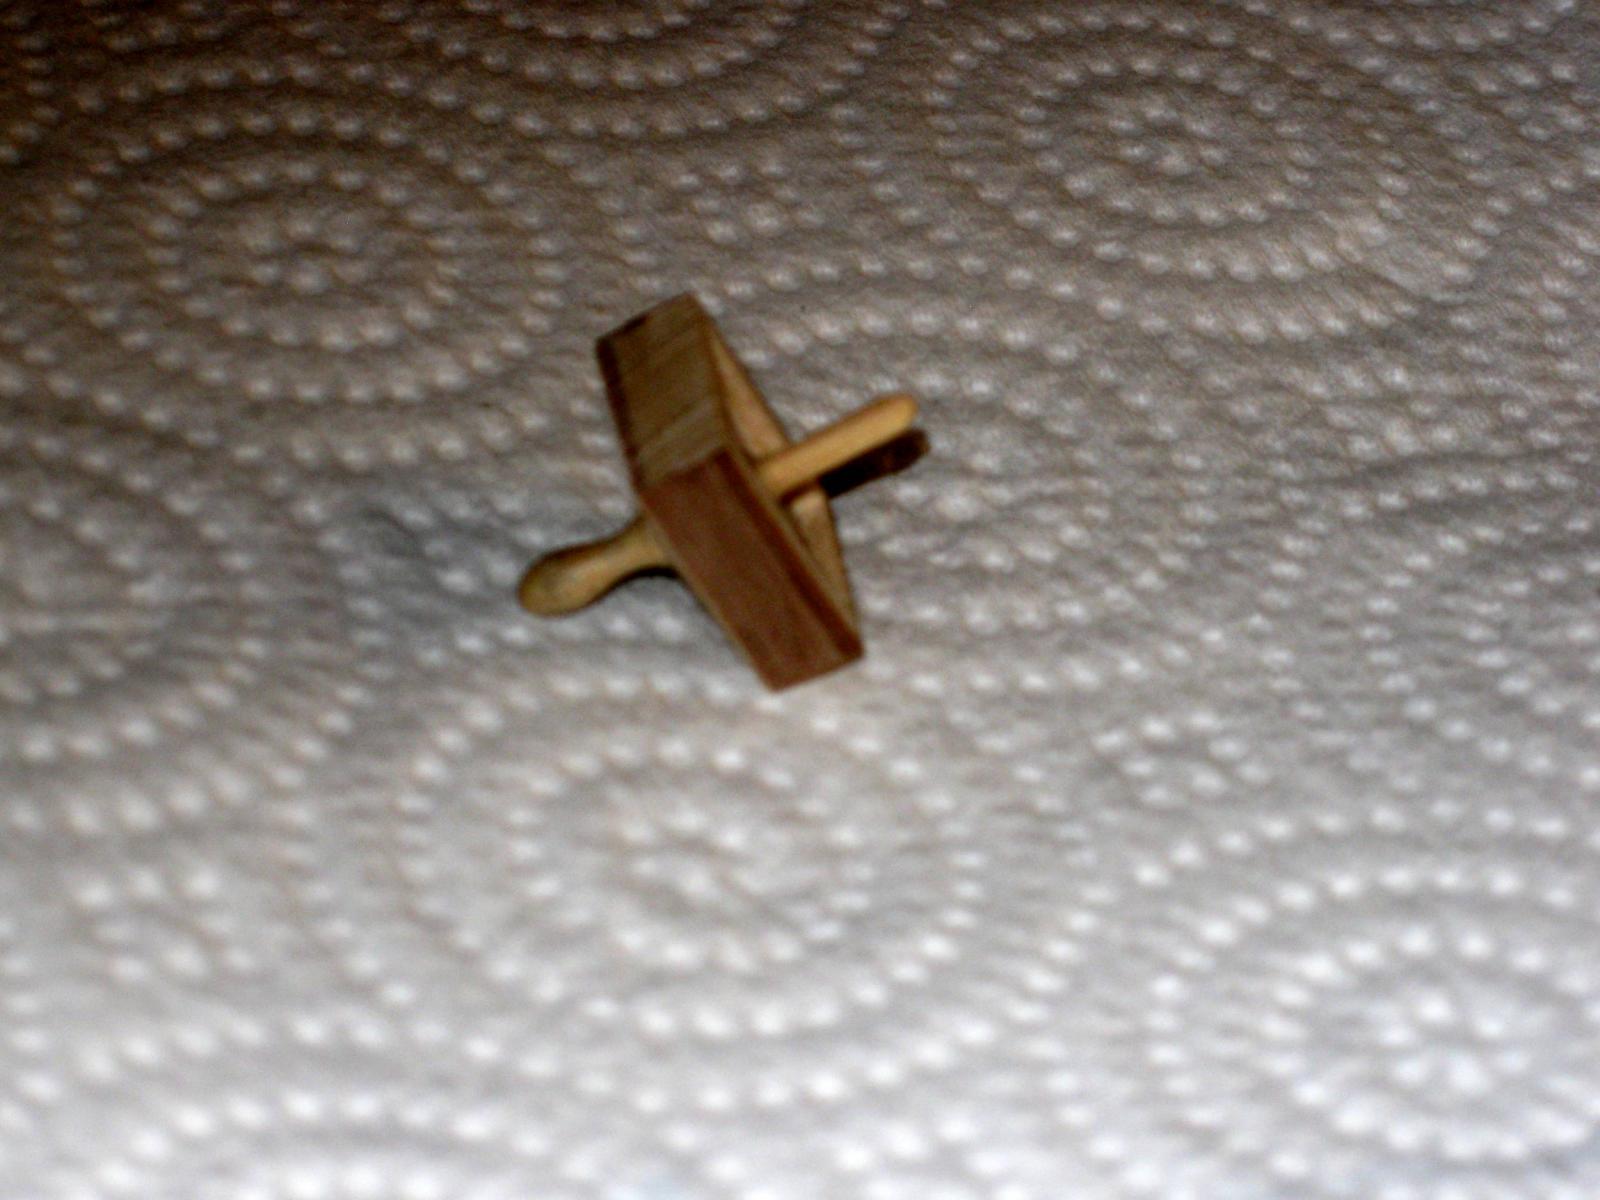
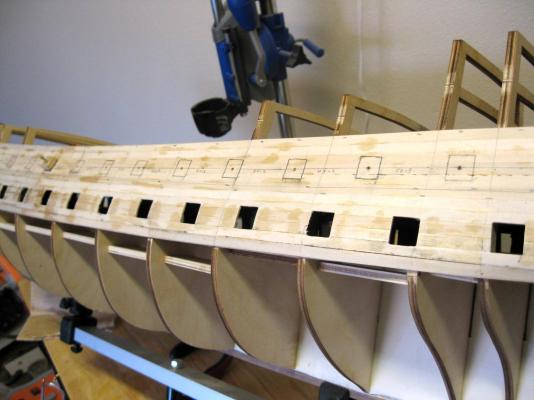
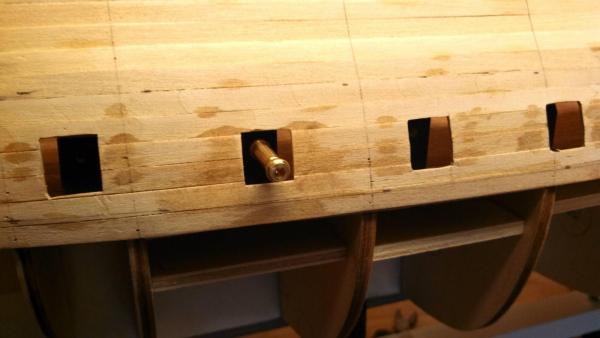
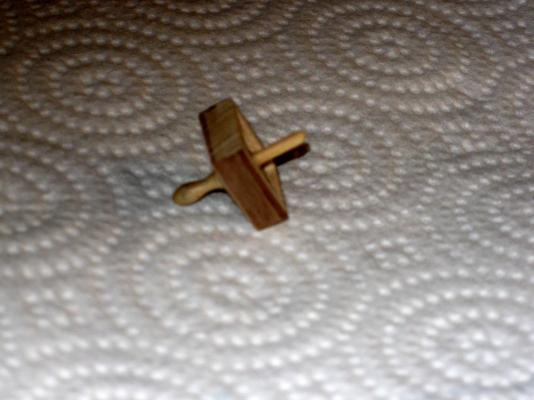
Working on locating and cutting out the gunports for the lower gun deck. First I marked the center of each port on the hull using plan sheet #8 measurements. Then I placed a small nail at each center so I could look down the side of the hull to see if they all were in algnment. A couple had to be adjusted slightly. Second I created a small jig that measures 14mm square, which is the gunport dimensions, with a belaying pin for a handle and a 2mm wood dowel for a pilot. I drilled a 2mm hole in the center of each port location. Third I placed the jig in each center hole and traced the sides on the hull to mark the square cutout. Fourth I drilled more holes in the marked squares to aid in making the cutouts. Lastly as each cutout was cut and squared off, I placed the jig into the hole until it fit snuggly. The result is a nice square hole of the correct dimension. Vince P.


- 593 replies
-
- 11
-
-
- royal william
- euromodels
- (and 1 more)
-
Hi Brian, The lower deck was secured before I started the planking. I am now cutting out the gunports for the lower deck. The false cannon blocks are already made and painted and will be mounted as soon as the all of the ports have been cut out. There are photos coming shortly. Vince P.
- 593 replies
-
- 2
-
-
- royal william
- euromodels
- (and 1 more)
-
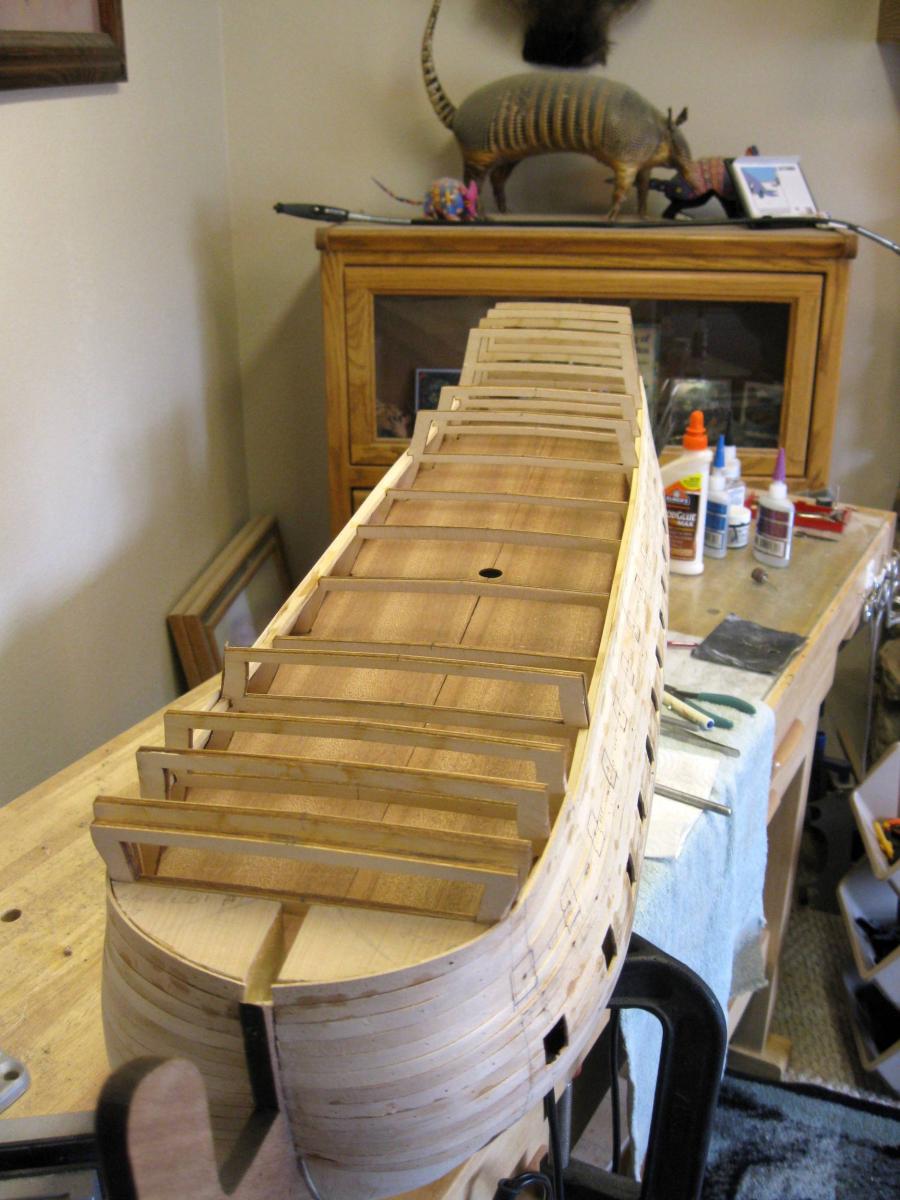
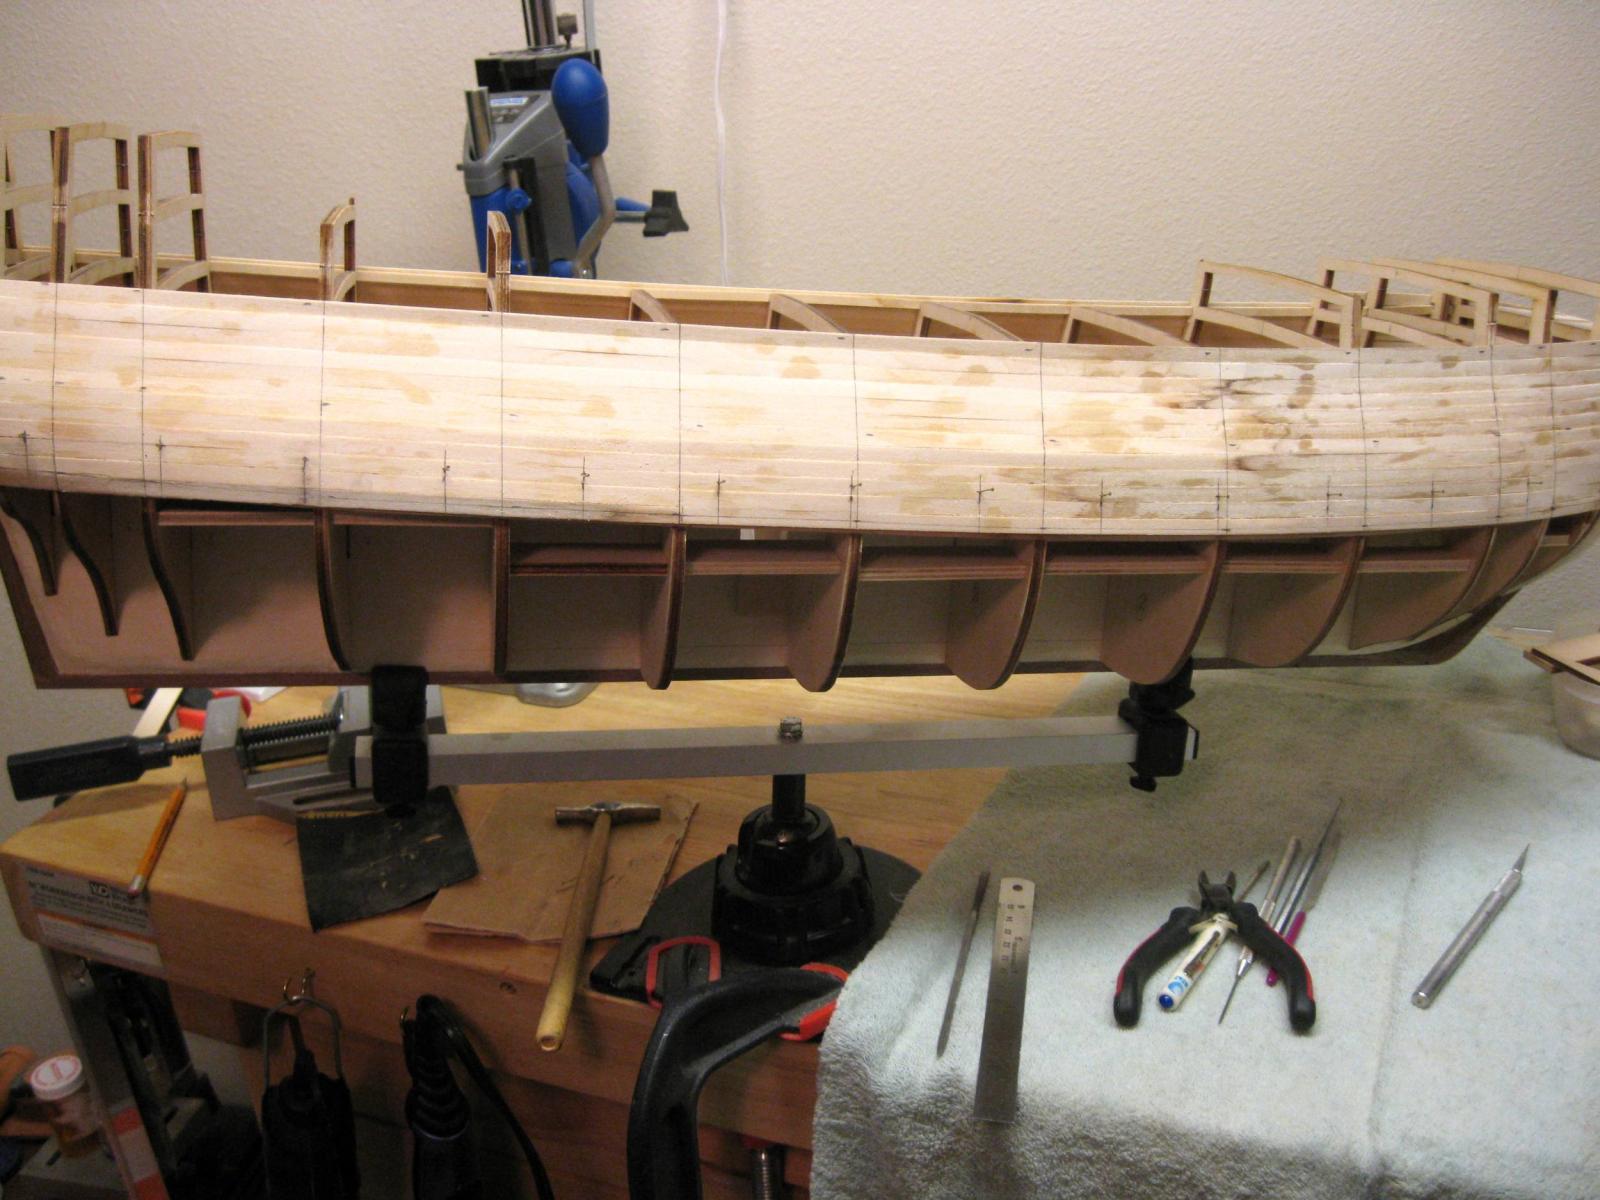
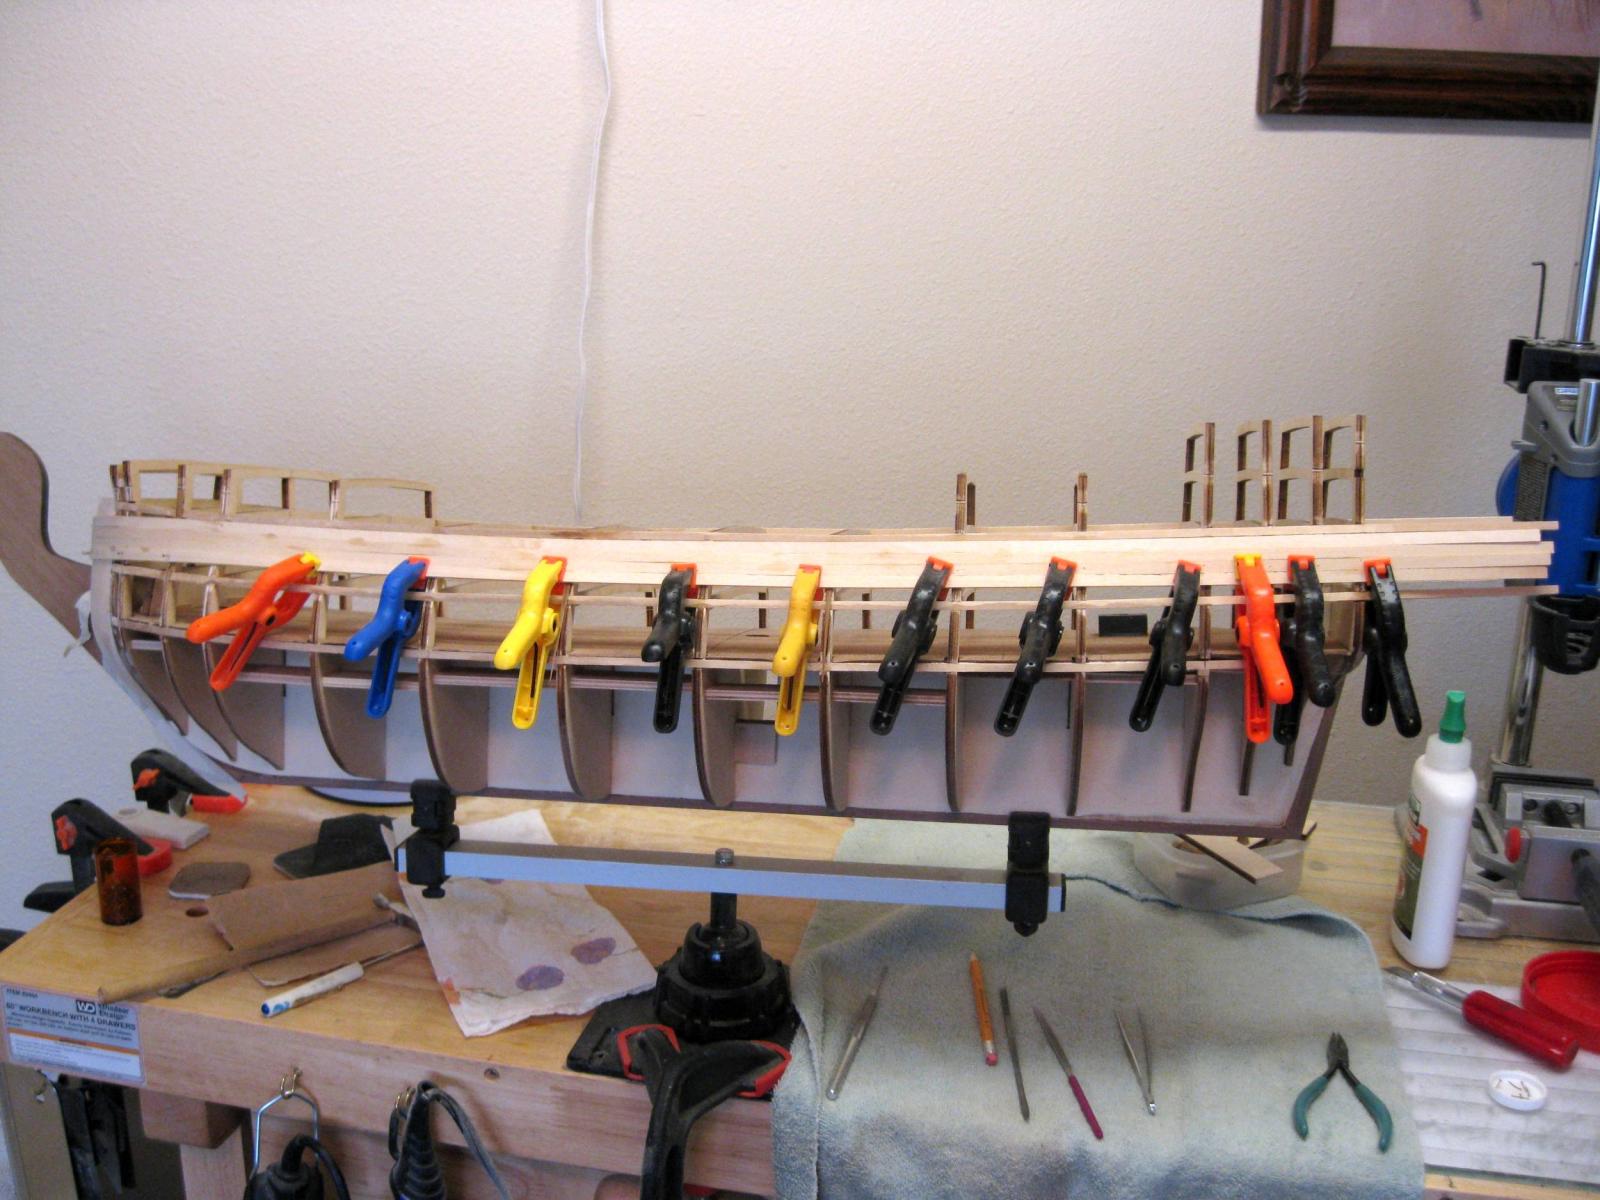
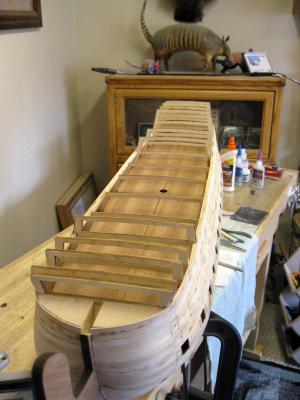
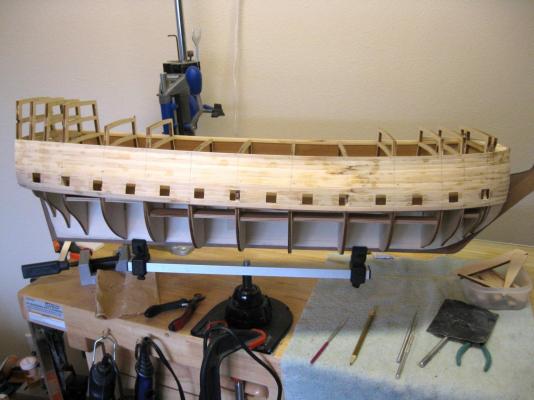
I have finished the first planking from the main deck down to the lower gun deck. It was a long process and required very many adjustments to the bulkheads and blow block. Next up is to locate the gunports for the 2 lower gun decks. You can see I have marked the planks with vertical lines for the centers of the bulkheads, and dotted lines for the top line of each deck. Using these marks and plan sheet #8, I can plot the exact location of each gun port. Then comes the fun part of drawing them on the hull and cutting them out. I got spoiled by other kits such as the SOS which came with templates that already located all of the gun ports. This will definetely be much more of a challenge. Vince P.


- 593 replies
-
- 5
-
-
- royal william
- euromodels
- (and 1 more)
-
Thanks Demonborger, I will check it out. Vince P.
-
Hi Anja, Looking forward to your log and enjoying the progress you make on building her. Vince P.
-
The HMS Prince was built by Phineas Pett the Younger and launched in 1670. He is the son of Phineas Pett the Elder who built the Sovereign of the Seas. Anyway, I just learned that the Prince, sometimes called the Royal Prince, Was rebuilt in 1692 and renamed the Royal William. Does anyone know if there is a kit made by any company, or where to get a set of plans for building this ship? Any help would be appreciated. Thanks, Vince P.
-
I agree with Brian. I am building the Royal William which has 3 gun decks. On each deck there are at least 2 or 3 ports that wind up in the middle of a bulkhead. Just closing those ports makes it simple. Also, it adds to the appearance of the ship, as ports were often closed here and there for one reason or another. If a port just overlaps a bulkhead to one side, the bulkhead can be trimmed and painted black and the false gun barrel placed alongside. Vince P.
-
I have had a similar issue. PVA glue can be softened and the bulkheads either removed or adjusted. Just use a hair dryer on high heat and apply it for a few minutes. The glue, which is just a plastic base, will soften and you can move the parts. Vince P.
-
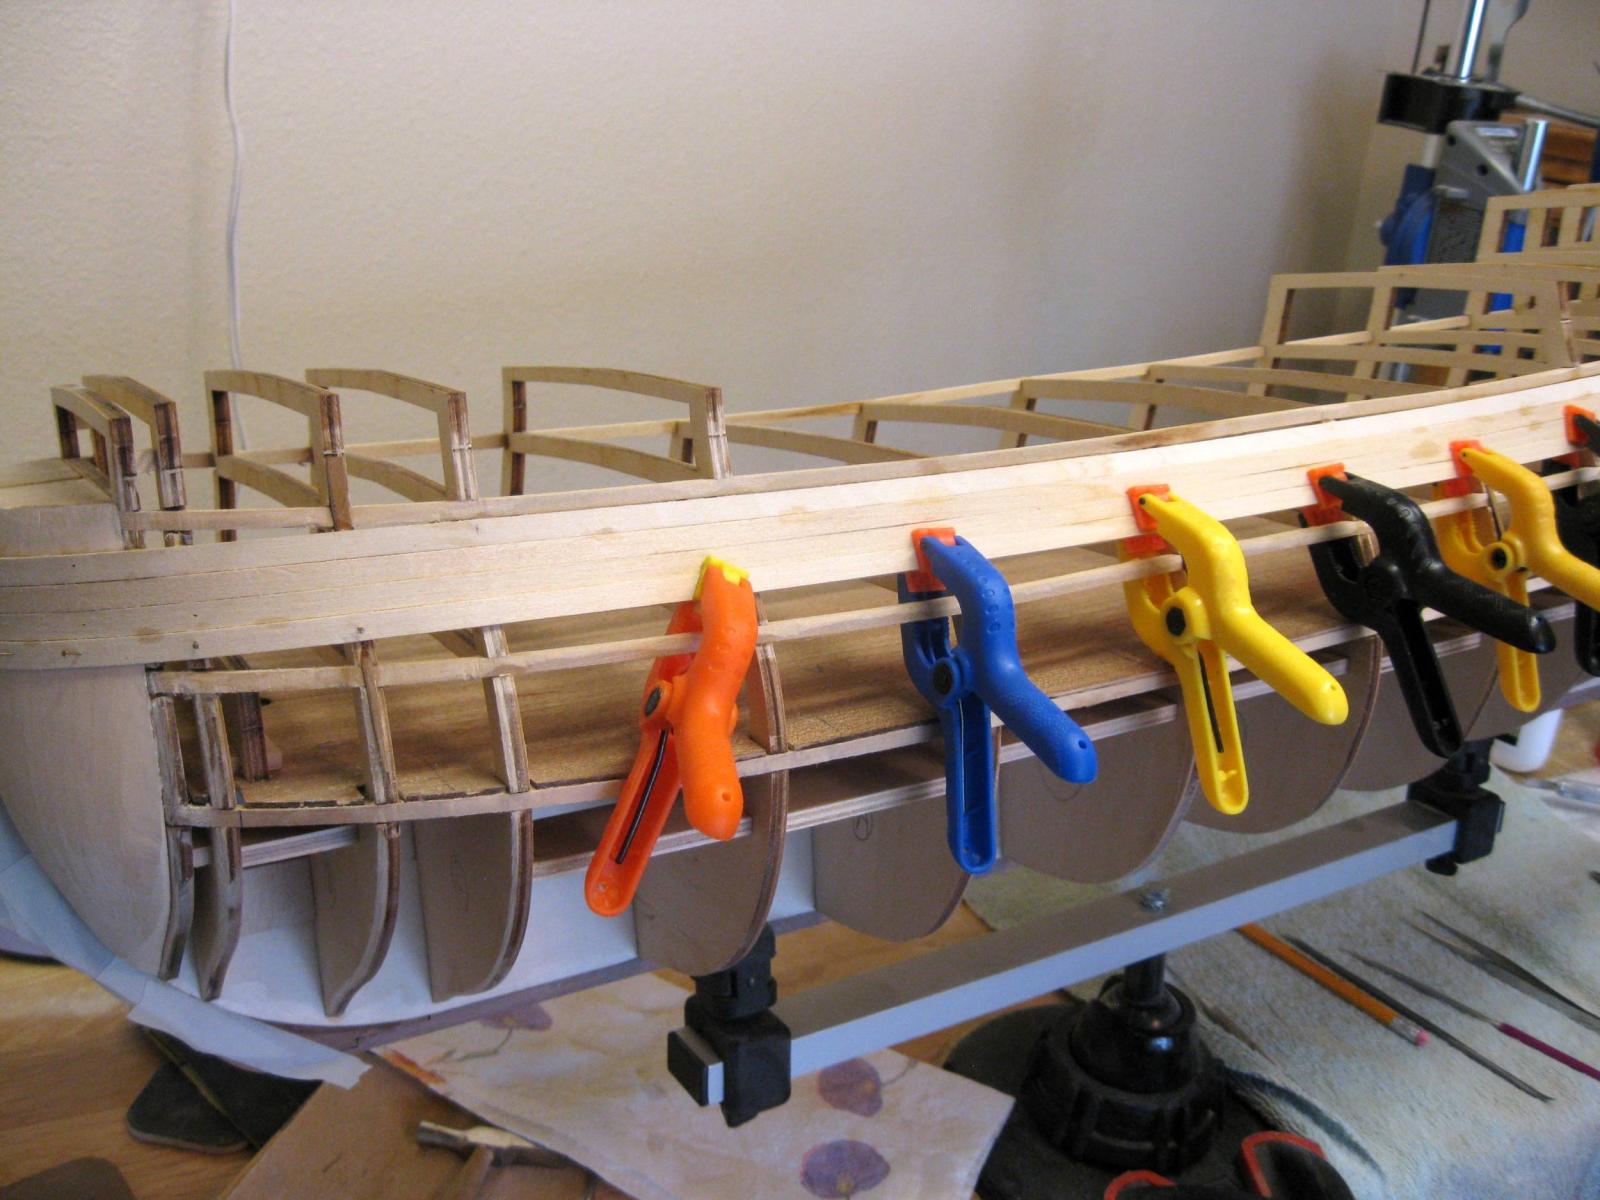
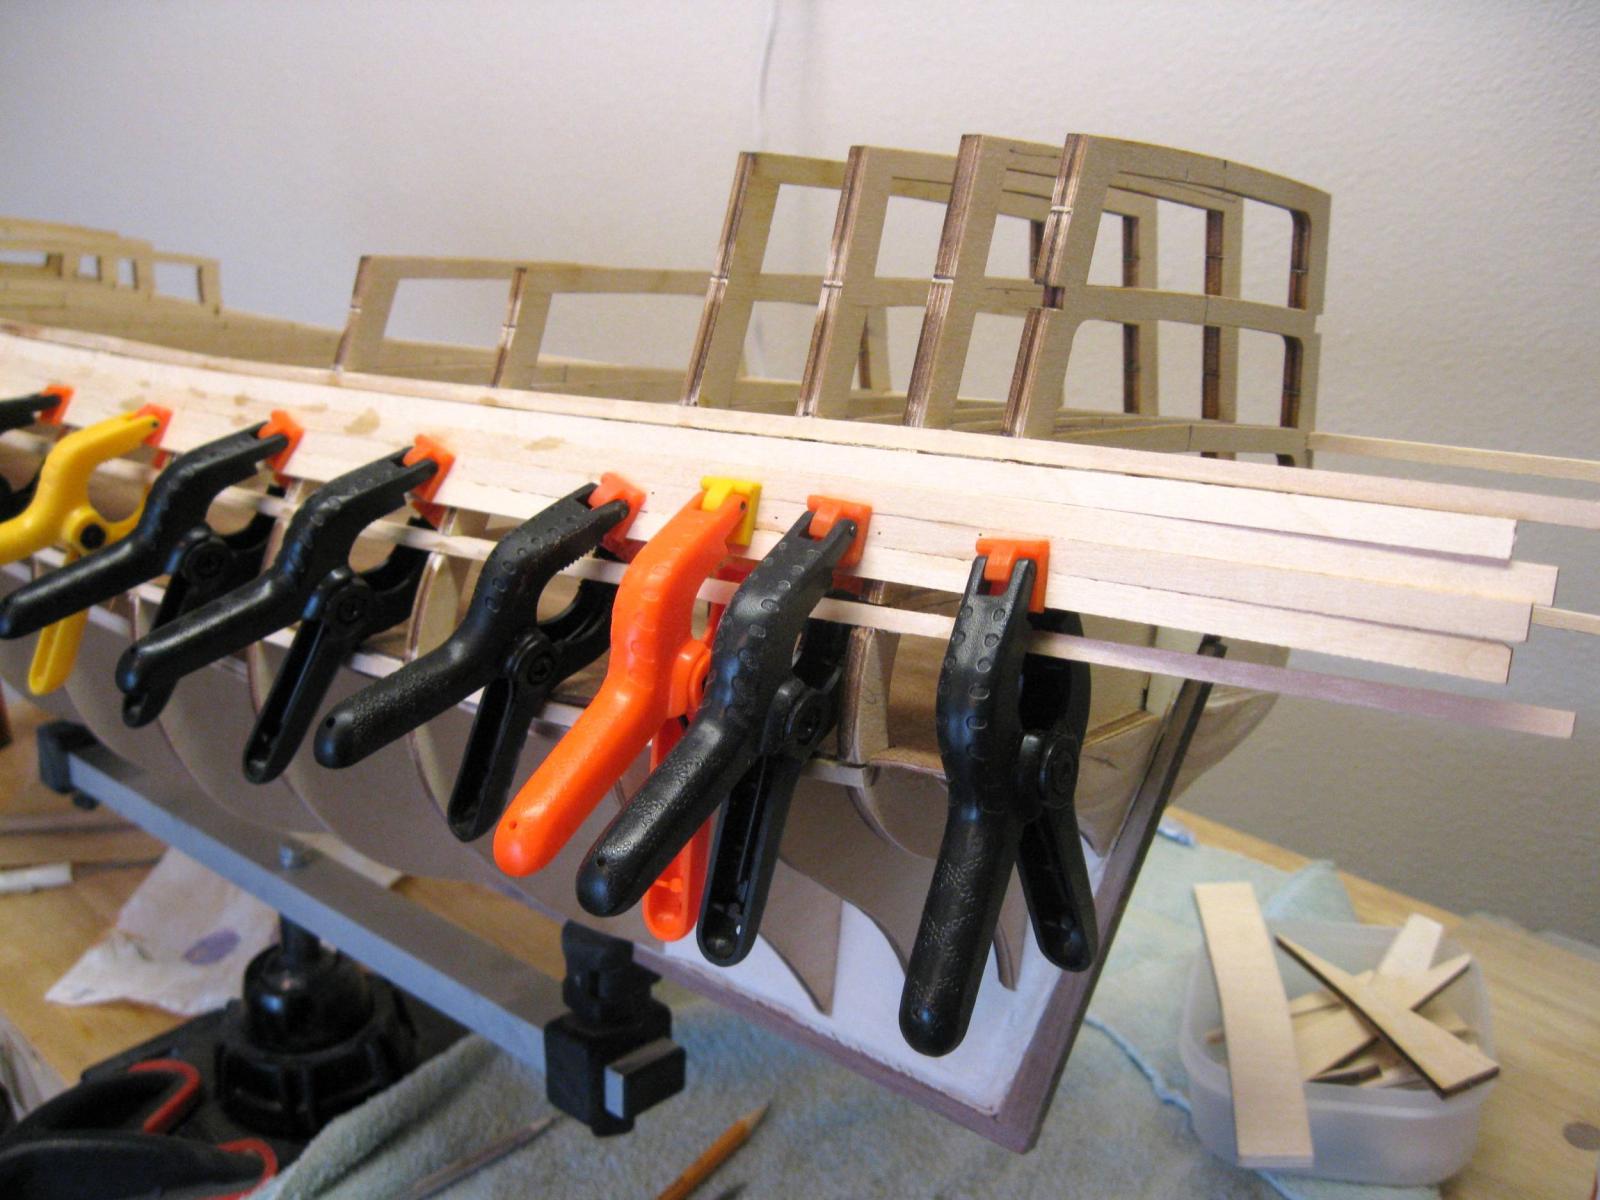
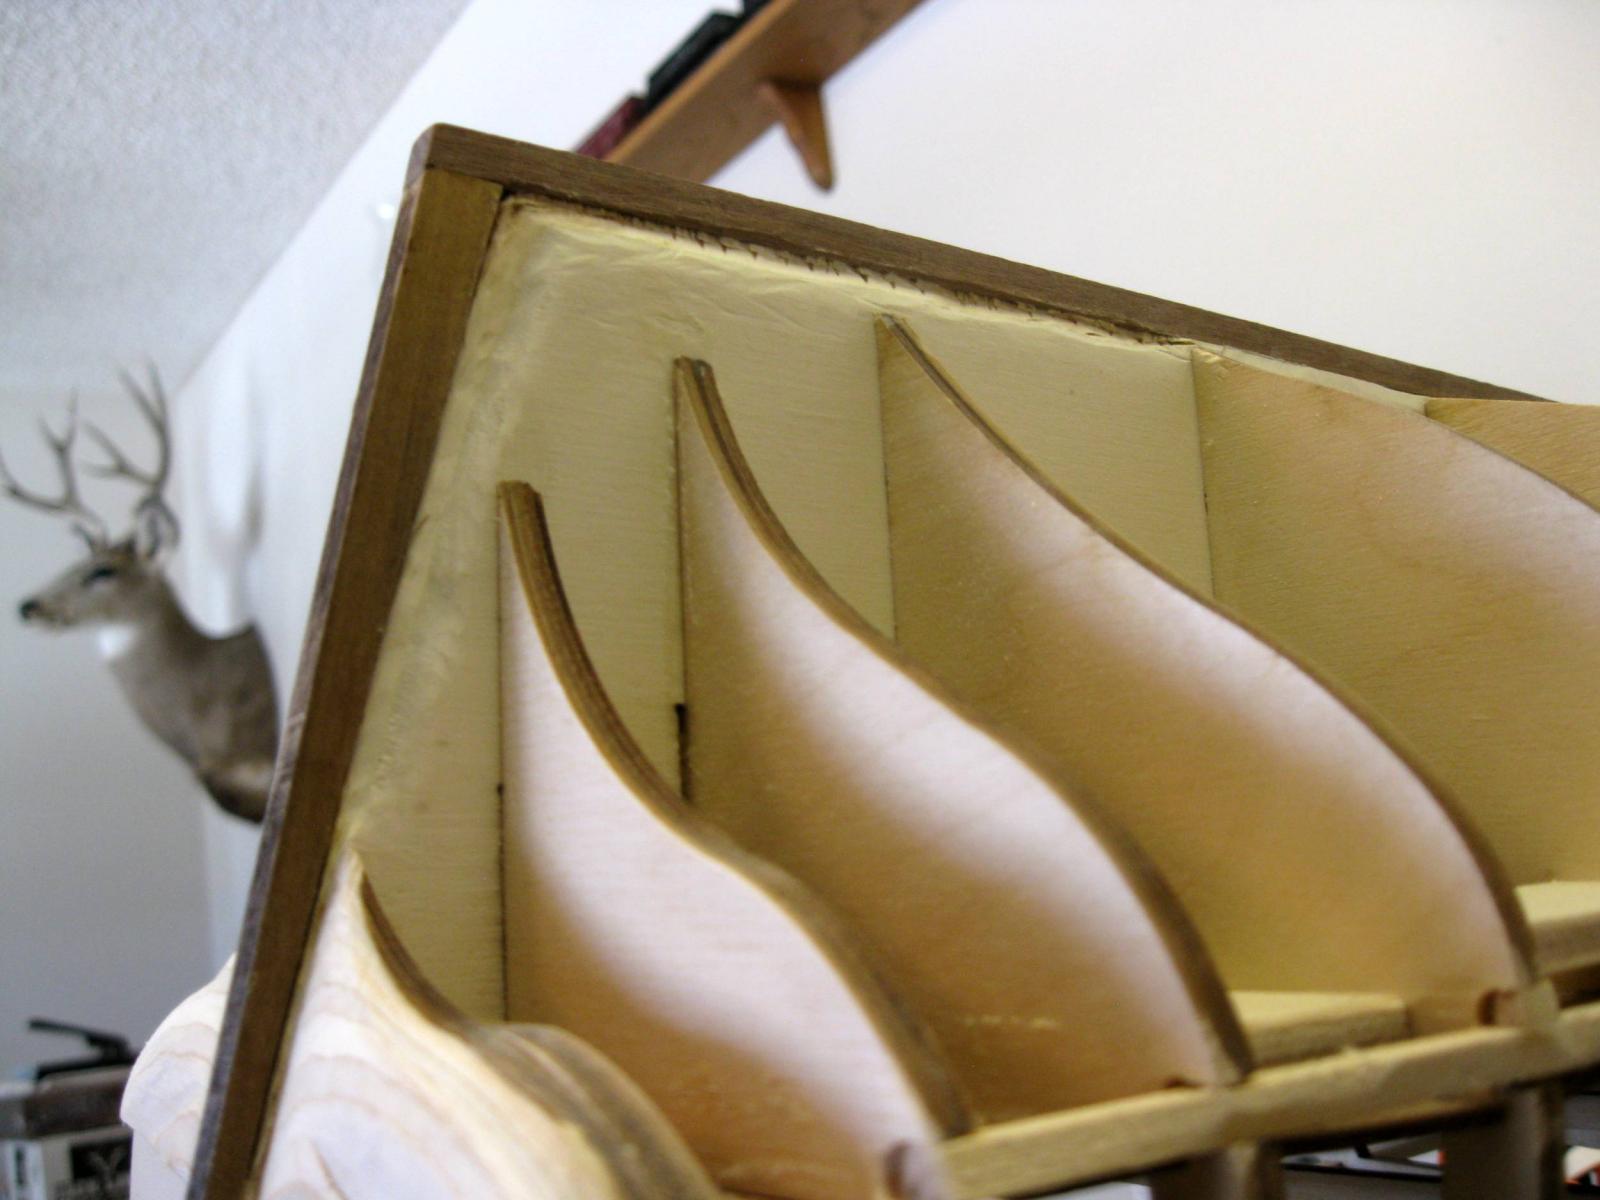
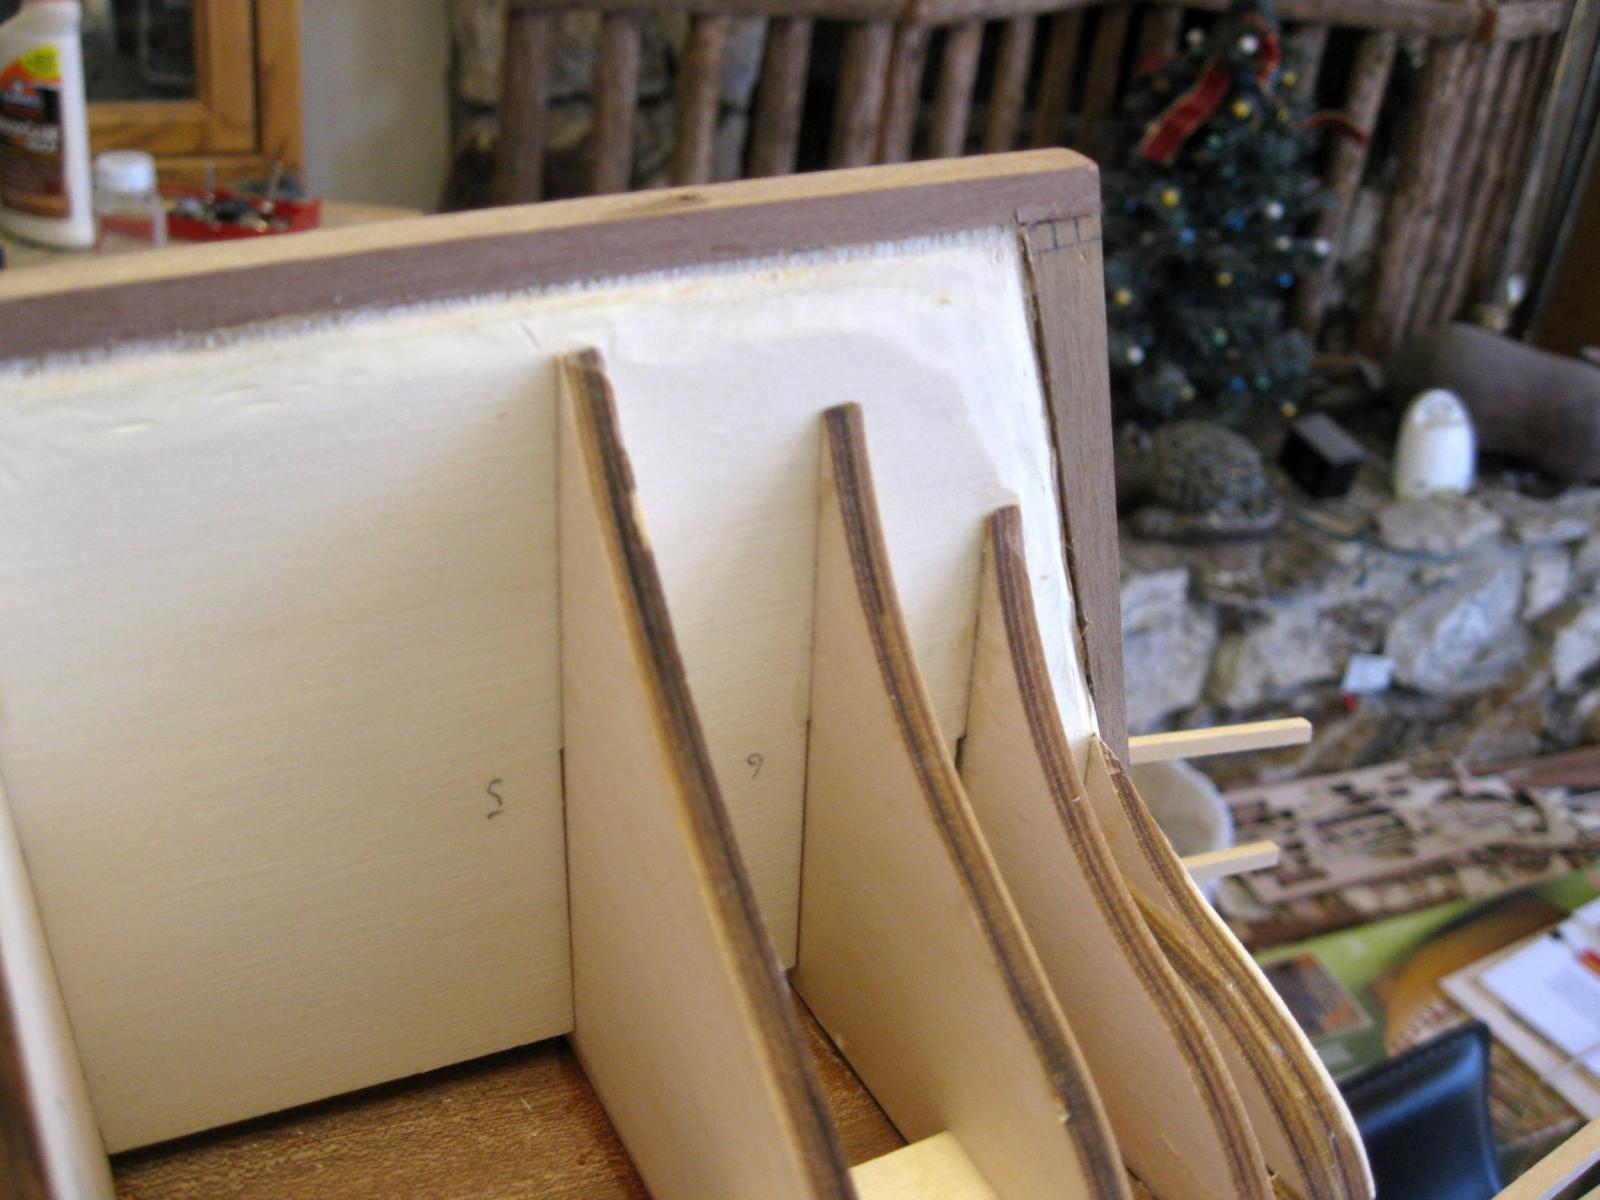
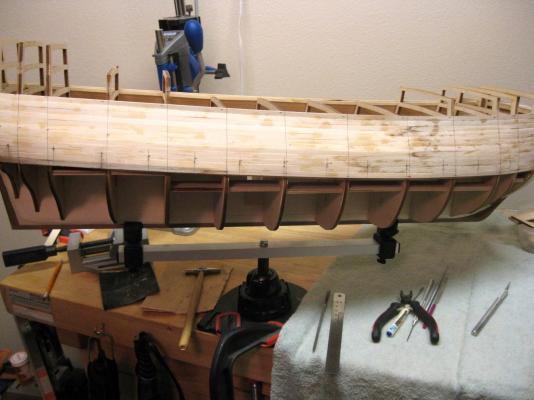
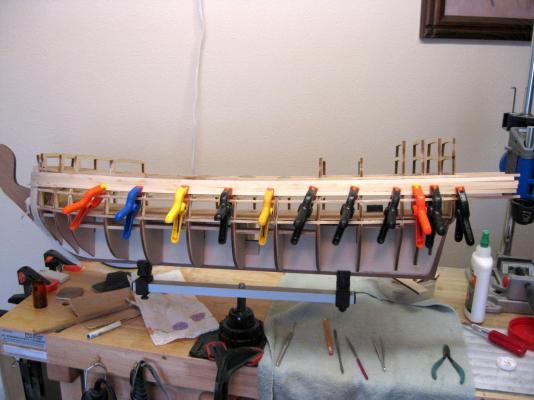
Still working on the first layer of planking from the main deck down to the lower gun deck. Very slow process. Even with careful alignment of the bulkheads, a considerable amount of adjusting is necessary to keep the planks running smoothly and the surface as straight as possible. Several bulkheads on both sides had to be either shaved down or shimmed up. The solid blocks at the bow requires the most effort. They have to be finely adjusted as each plank is laid. If I had to do it all over again, I would eliminate the blocks and just place 2 contoured plywood boards on the stem and butt the planks against them, allowing the planks to form a natural curve of their own. I did it this way on the SOS and it came out nicely without much effort. Photos to come as soon as I complete this section of the hull planking. :mellow: Vince P.
- 593 replies
-
- 1
-
-
- royal william
- euromodels
- (and 1 more)
-
Starting the first layer of planking. I will plank from the main deck down to the lower gun deck. All of these planks do not need tapering, and only bending with an iron for the sharp contour of the bow. The planks are in limewood at 6mm x 1.5mm. Once these areas are done, the gunport locations and the placing of the other full decks can be addressed. Vince P.


- 593 replies
-
- 2
-
-
- royal william
- euromodels
- (and 1 more)
-
Hi Everyone, Please do not use this build log to chit-chat among yourselves. If you have a comment or question of me regarding by build of the Royal William, or anything else you would like to communicate to me, then that is OK. This build log was created only to illustrate and share the construction of this ship by me. Thanks for your consideration, Vince P.
- 593 replies
-
- 6
-
-
- royal william
- euromodels
- (and 1 more)
-
Hello, Thanks for the help. I do have this book and have been using it for reference. Vince P.
-
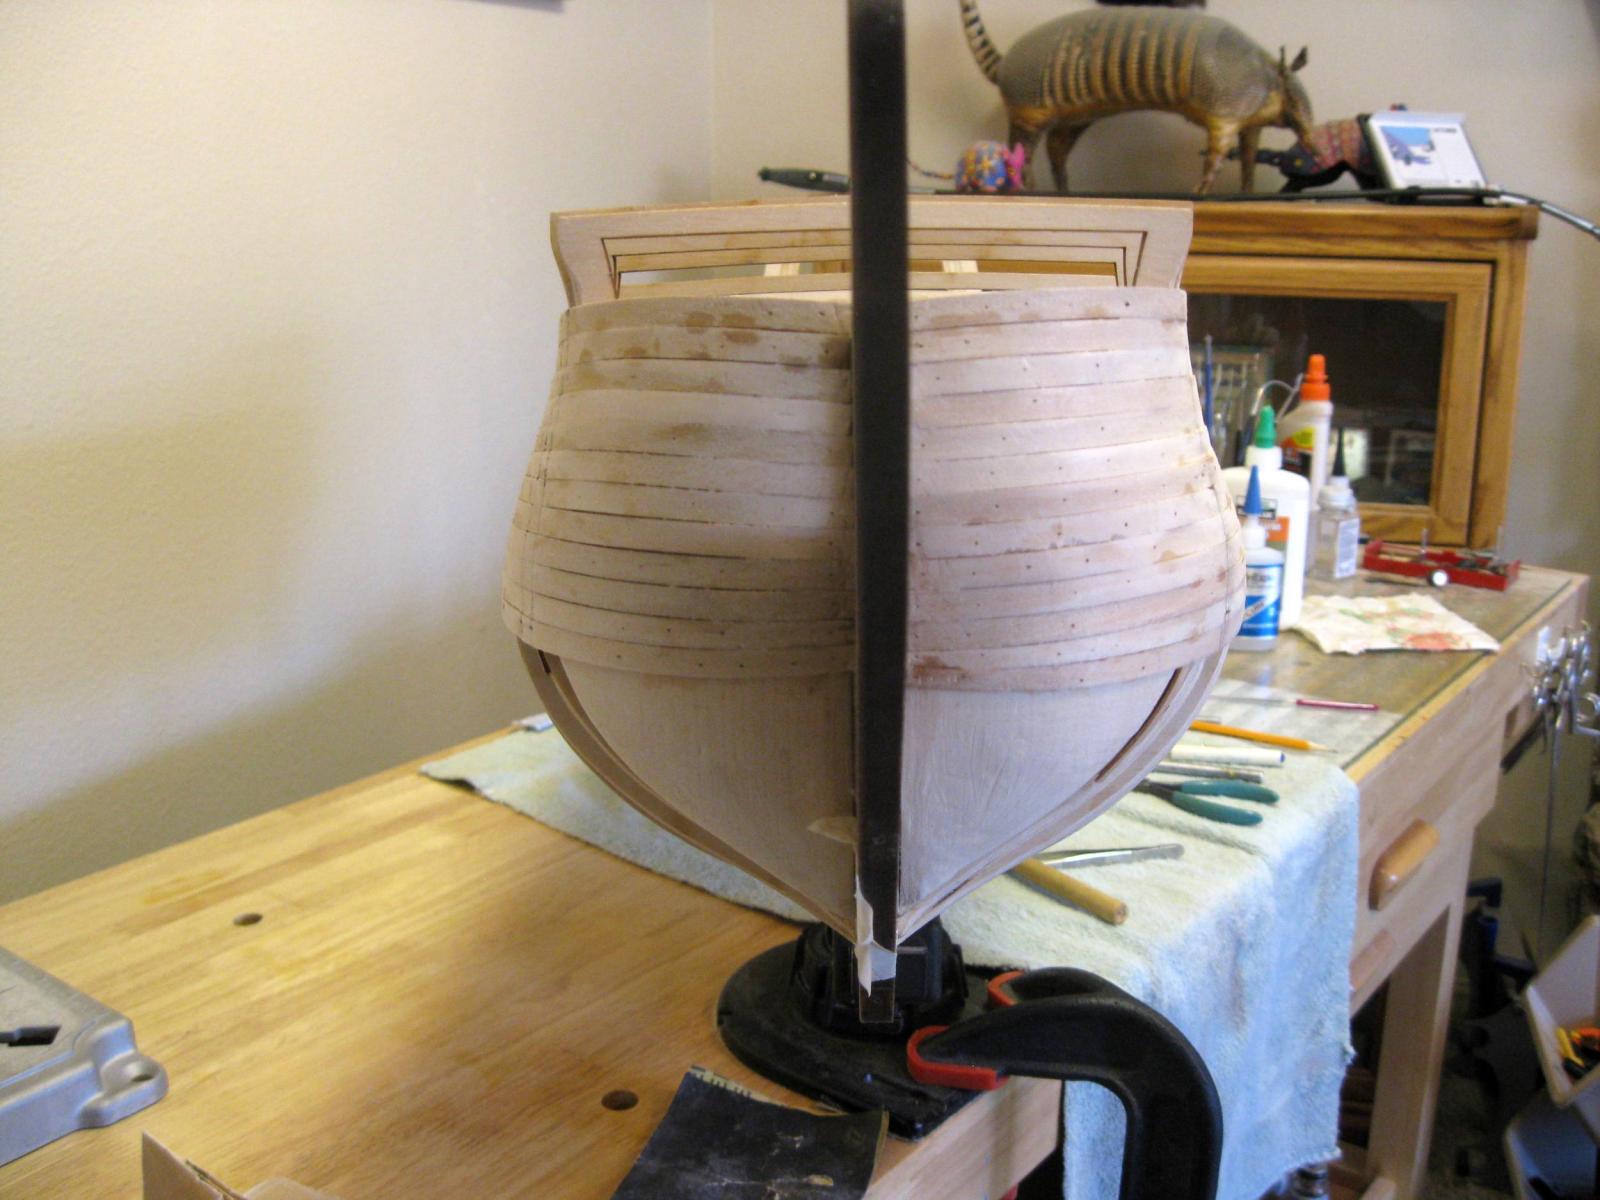
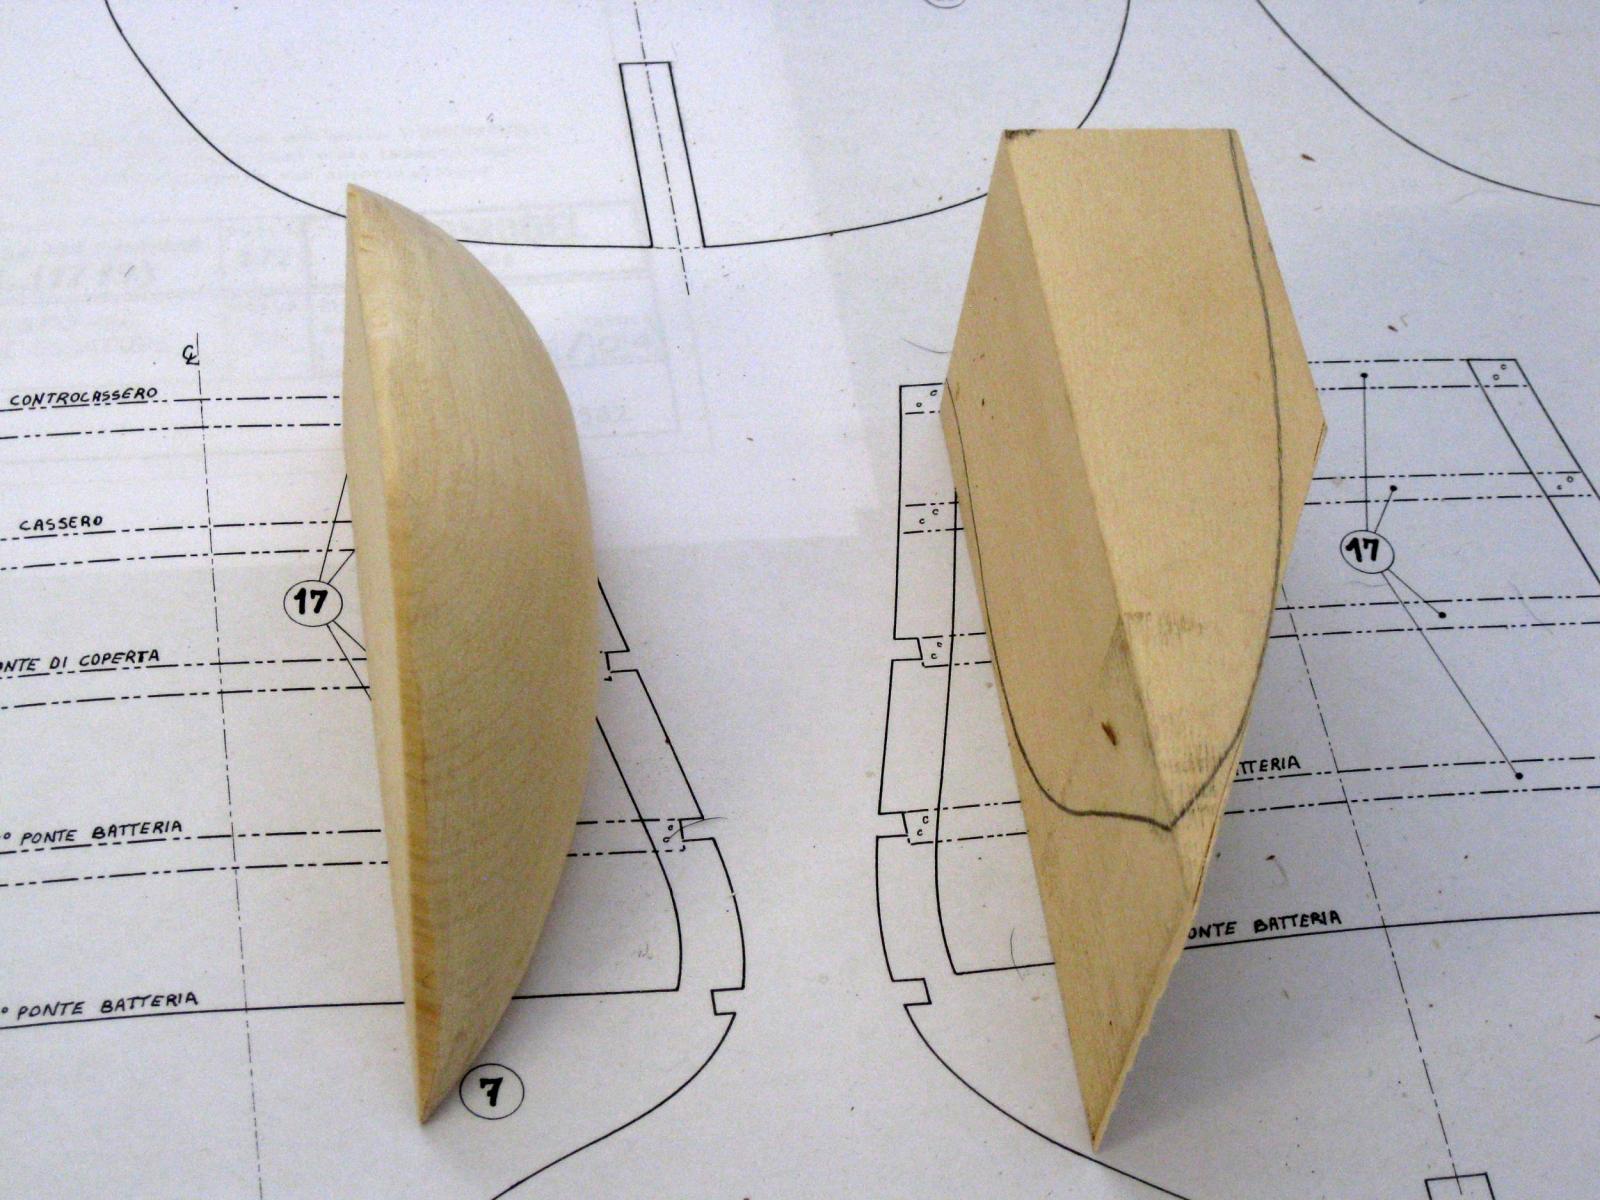
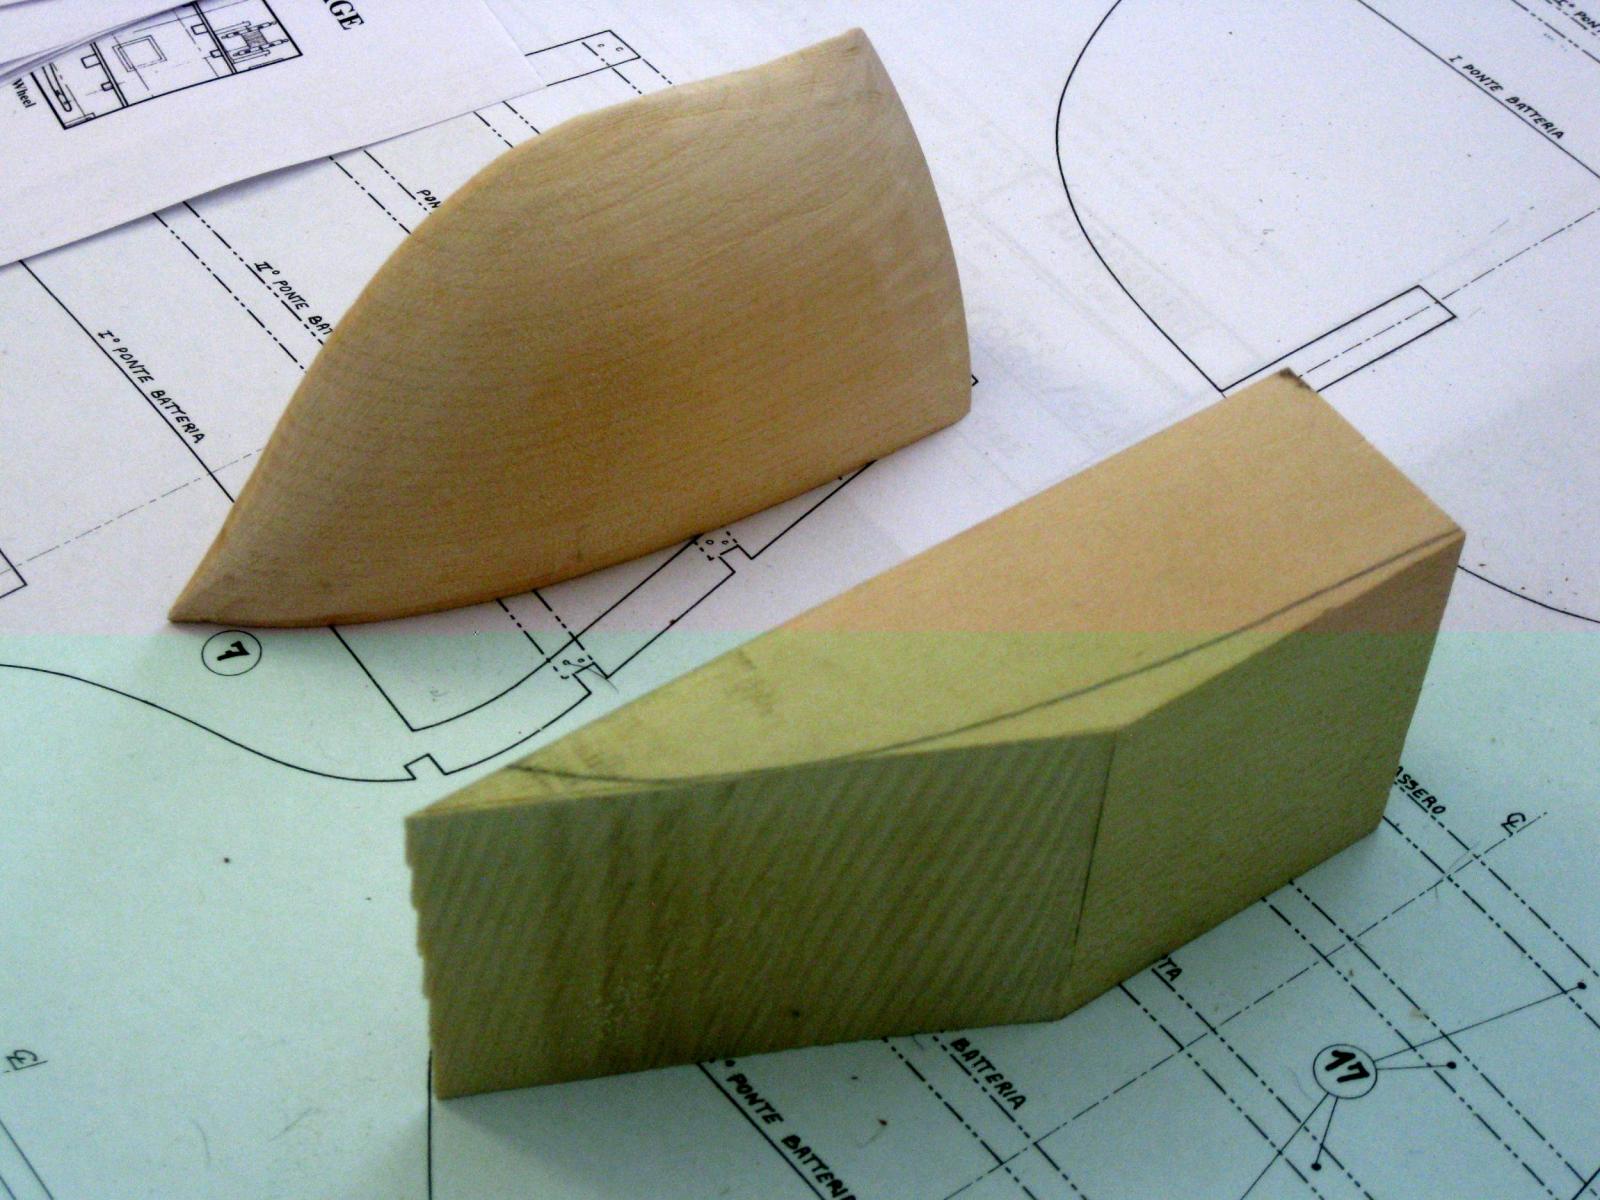
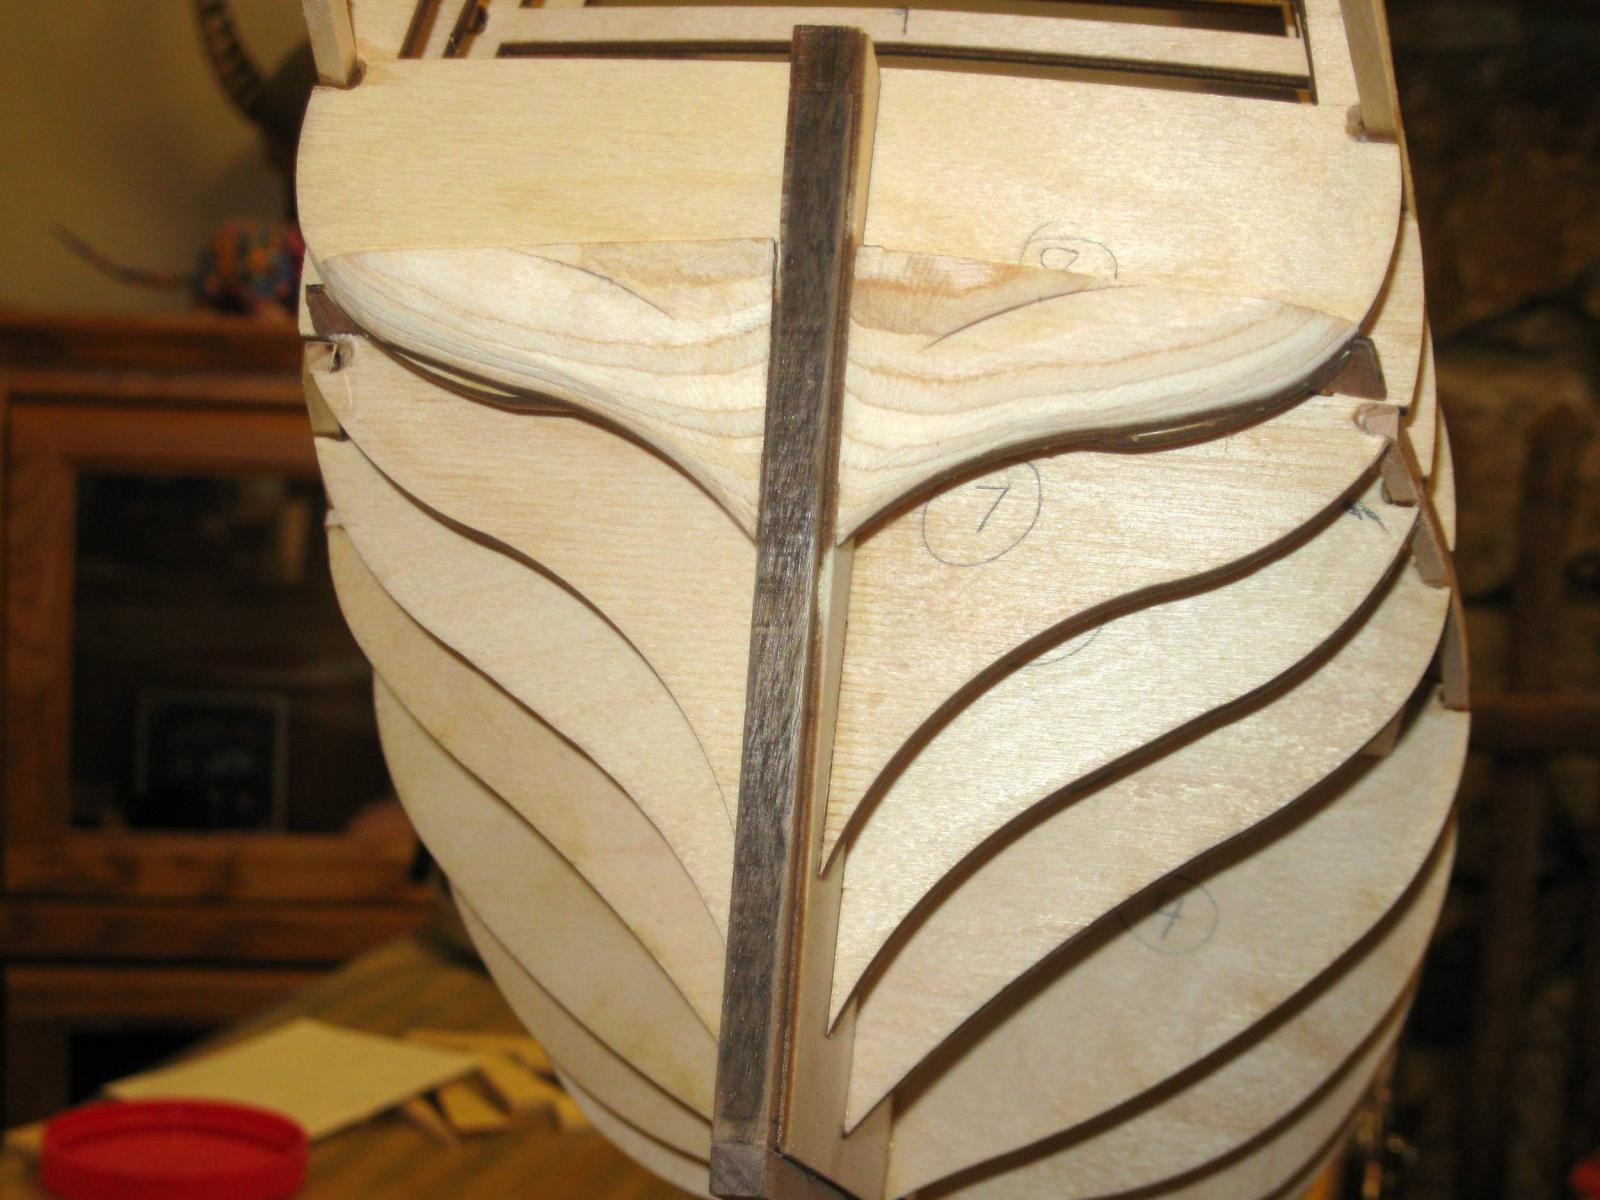
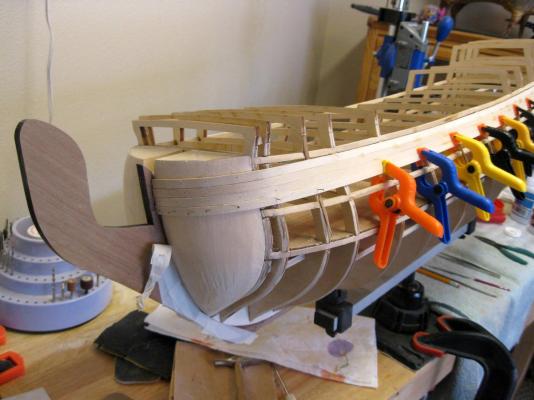
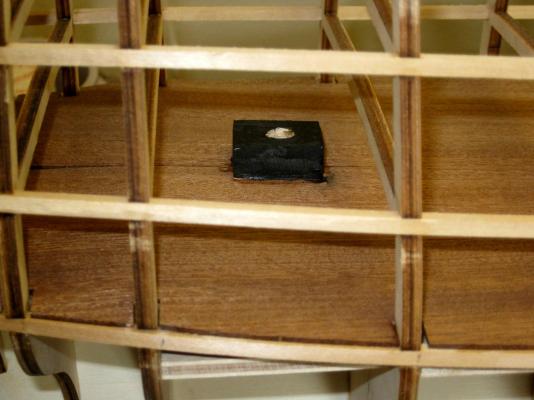
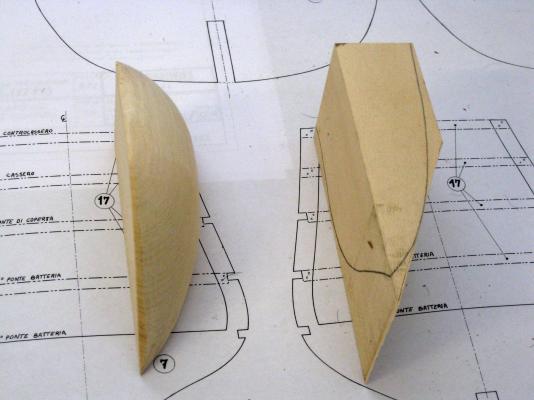
Two more steps in the hull construction. 1. The mizzen mast bottom rests on the lower gun deck. A stepping block needs to be fabricated and secured to the lower gun deck before things get covered up. With all 3 lower decks either secured or dry fitted in place, the mizzen mast is inserted through the decks and placed vertically and at the correct cant. A wood block with an 8mm hole is then located on the gun deck and glued in place. It is also painted black to keep it hidden. 2. The solid bow blocks are carved down to the contoured shape. The photo shows before and after. Make sure to do this in a ventilated area. The amount of saw dust created was enormous. I am still coughing. Vince P.

- 593 replies
-
- 4
-
-
- royal william
- euromodels
- (and 1 more)
-
OK, so I made a boo-boo. The sternpost is 2mm narrower than the thickness of the false keel. I made a note to taper the stern end of the false keel so it would be 2mm narrower than the sternpost. This way the first planking would terminate slightly below the surface of the sternpost with a little shaving of the plank ends. I got side tracked thinking of so many other things to do that I forgot to do it before securing the sternpost. I fixed it by tapering the false keel to the thickness of the sternpost and then cutting a rabbett 1mm deep along the edge of the false keel. The first planking will now terminate just below the surface of the sternpost as it is supposed to. The second layer of planking will form a smooth joint with the sternpost with a little tapering. Thanks to Peter from Euromodel for pointing out the issue before I got too far along. That makes 2 mistakes so far that I had to dig my way out of. I hope there will be no more. Vince P.
- 593 replies
-
- 7
-
-
- royal william
- euromodels
- (and 1 more)
-
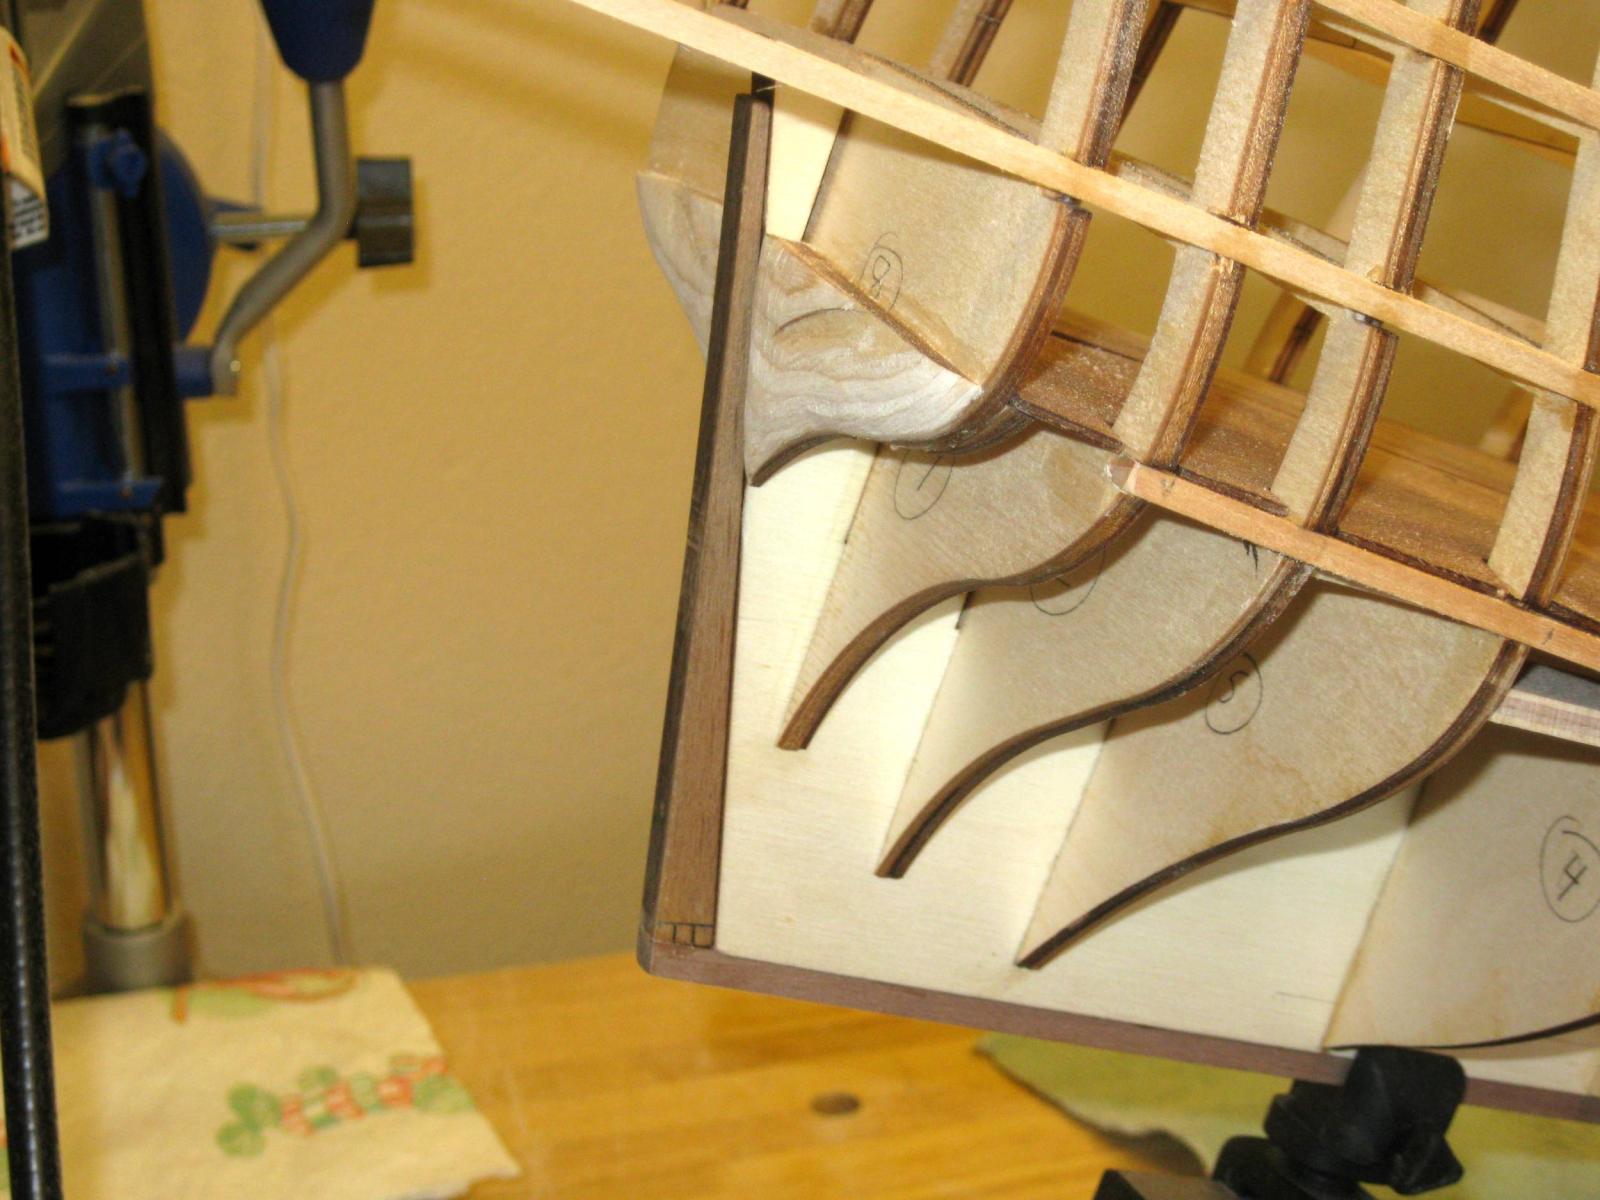
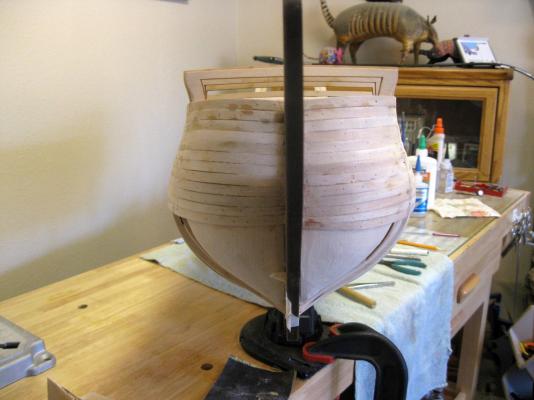
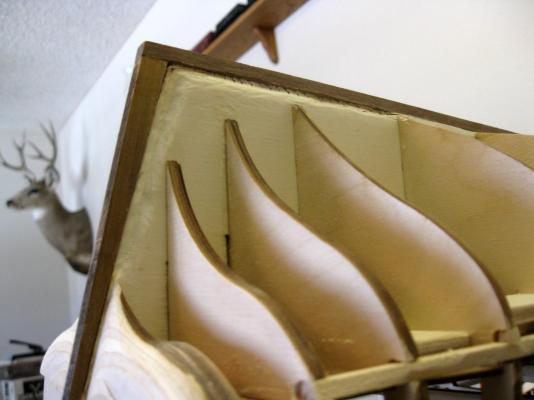
The sternpost in place and the stern blocks contoured. I shaved at least half of the mass of the blocks and more has to be sanded off. I will wait until the planking is started and shave more to best suit the plank sweep. Vince P.


- 593 replies
-
- 2
-
-
- royal william
- euromodels
- (and 1 more)