


popeye the sailor
-
Posts
16,007 -
Joined
-
Last visited
Content Type
Profiles
Forums
Gallery
Events
Everything posted by popeye the sailor
-
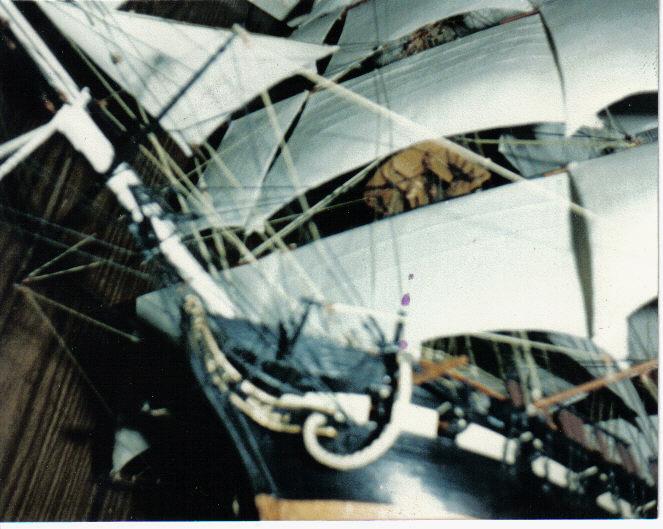
 love that photo Augie........she looks superb! shrounds and ratlines look very well done.........good work!
 -
but you ARE rich......you have each other...........just like us. money comes and goes.......but what's important, always stays constant!
- 552 replies
-
- 3
-

-
- maine lobster boat
- Midwest Products
- (and 1 more)
-
ain't that the American way.........we live paycheck to paycheck.........our government has become too greedy to care about us 'little folk'
-
could have sworn I've seen them in there.......think I even commented on them too.
-
that's a big build Michael......really superb work! showed it to the admiral.....she said I was dreaming!
-
I've never done anything that small.......pretty snazzy little boat!
-
nice work so far Adam.......just be sure to keep the glue to a minimum......light stain is good, but dark stain will make the glue blotches show up like crazy. I use an archive pen as well......great for calking without the mess. keep going, your doing some wonderful work!
-
thank you all again folks! I keep telling the admiral that it's not true that ships are the only things we {I} think about......nice to know this proves my point.
-
thanks Bob......hopefully, I can get back to her soon. I'm not too sure about that Pat.....I don't own an aztec.....I do know that tip are changeable......I have a new gravity feed, but haven't tried it yet hi Frederik.......I rubbed the edges beforeI laid them down, but I had to scrape some of the 'crumbs' off the tops, so it wouldn't get all over the place. them I gave it a light sanding after wards. thanks for looking in hi there Mark........yes it's in the wings........soon I hope. thanks for looking in. I only have one more, the Gothenborg.
-
I can't find the right word Borge.........she looks just super superbly fantastic! you knocked this one right out of the ballpark! you are truly a metal master as well! I am so jealous.........you made your "masterpiece"......and I love those sails.......WOW!!!
-
thanks Adam and Mario......just something I did that worked out....thanks for the good word. OK Frank........I'll think about it. I have the Syborn......or maybe I'll skuff up the Denny-Zen......We'll see
-
one more John.......and I shudder to think........the Gothenborg. I'll start on that one soon. thanks for lookin in, I appreciate it!
-
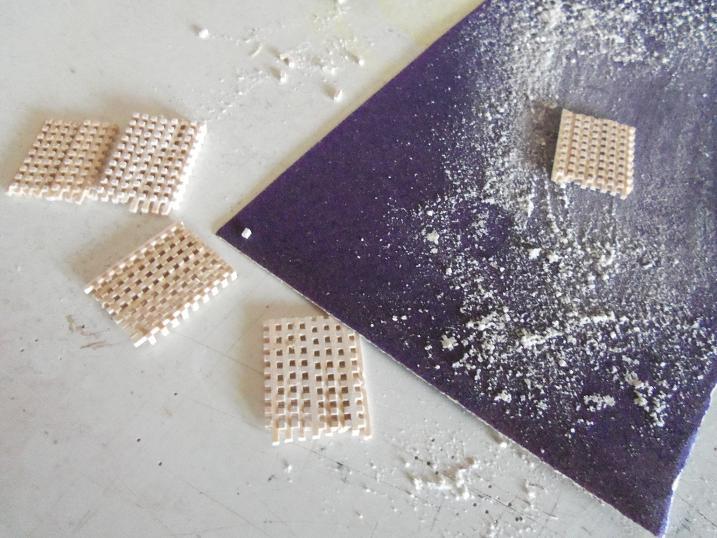
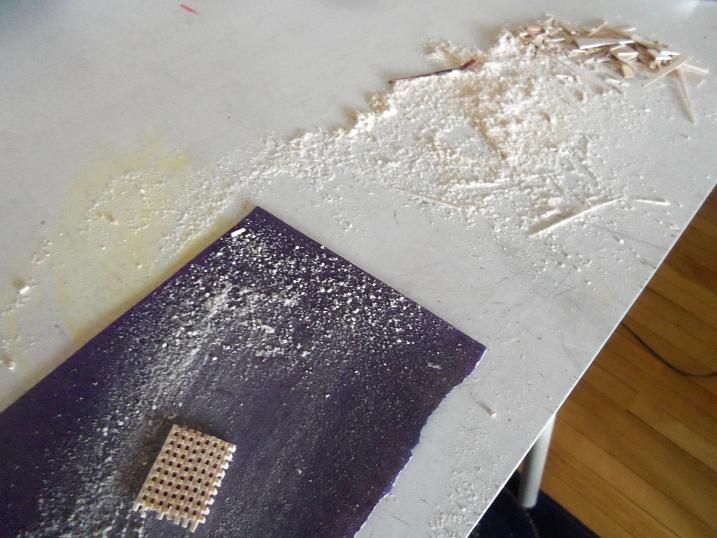
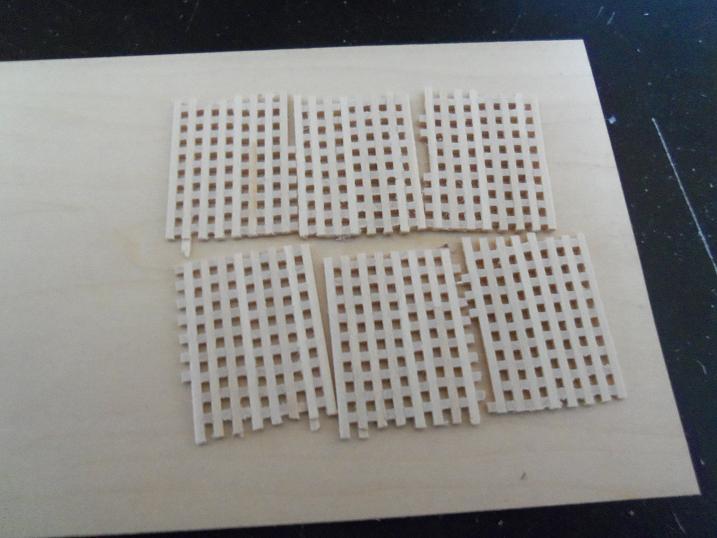
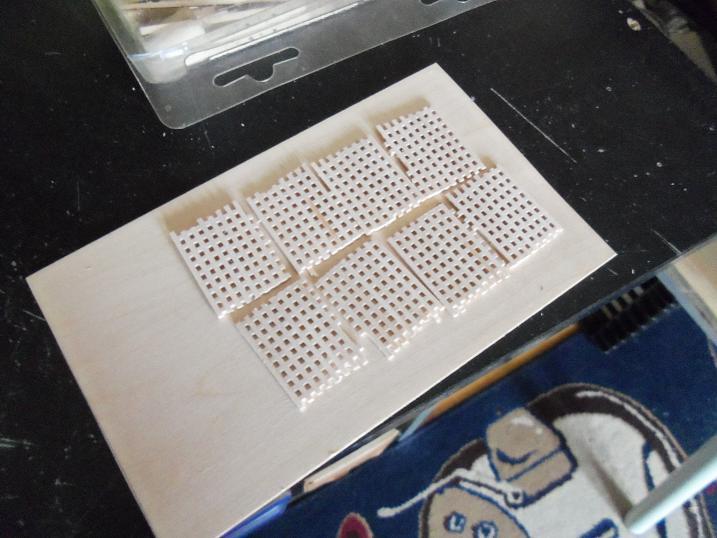
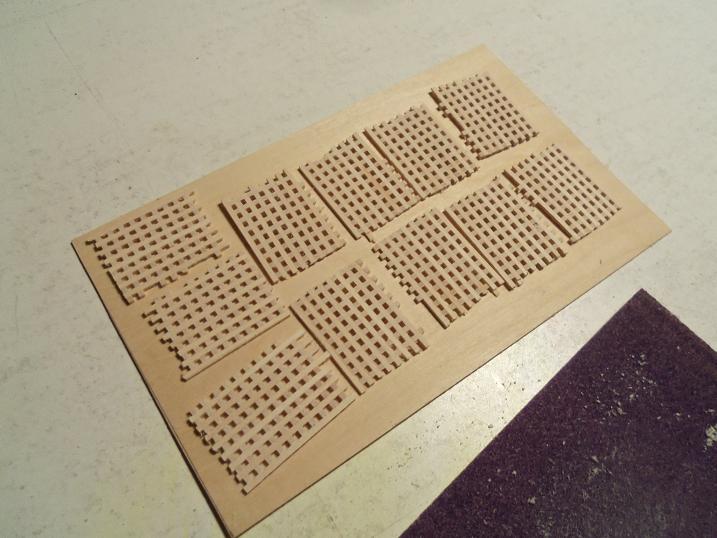
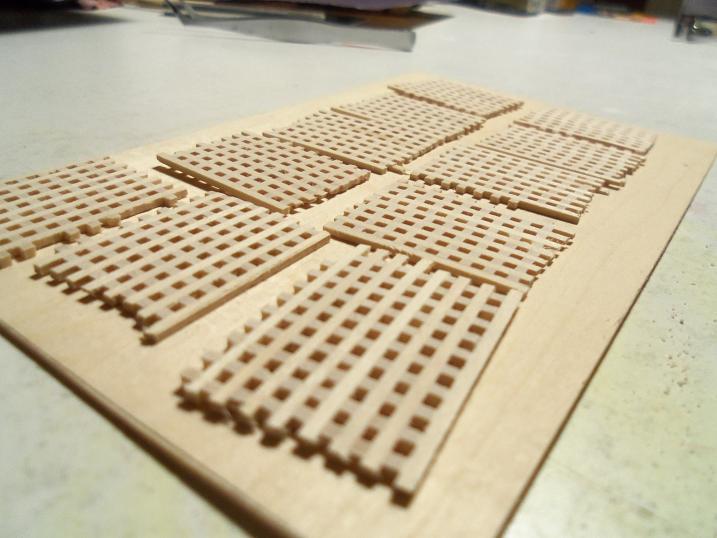
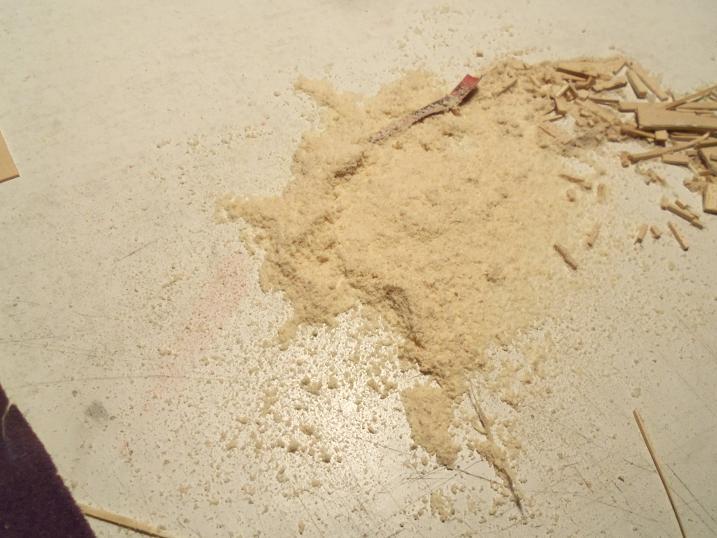
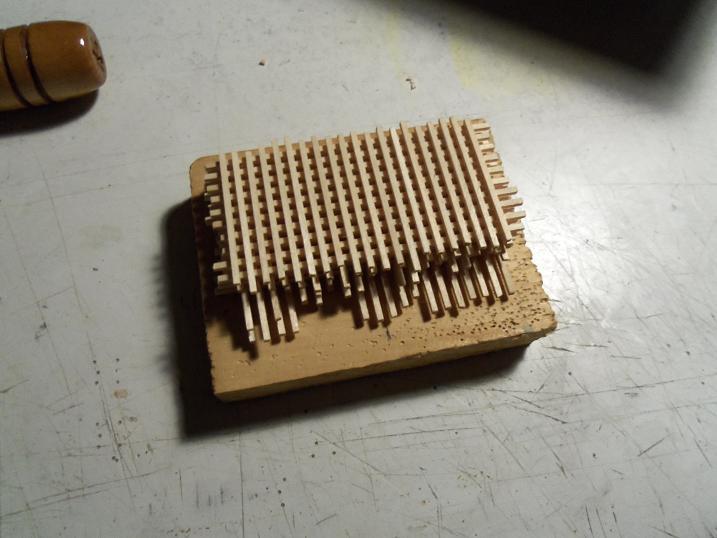
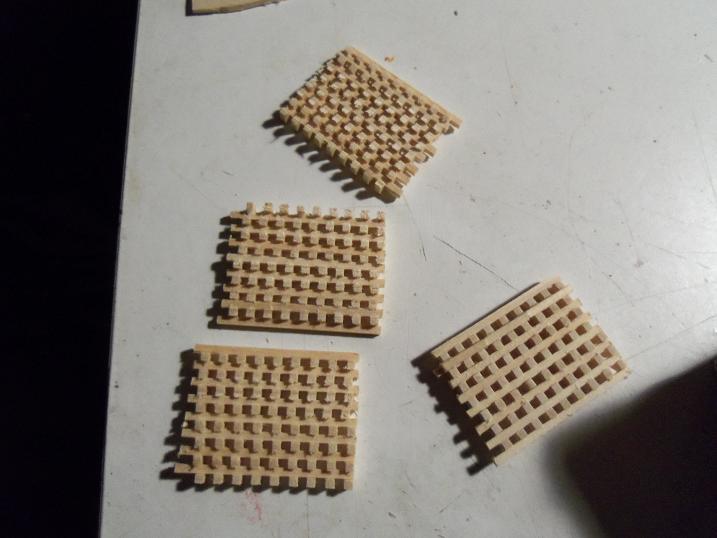
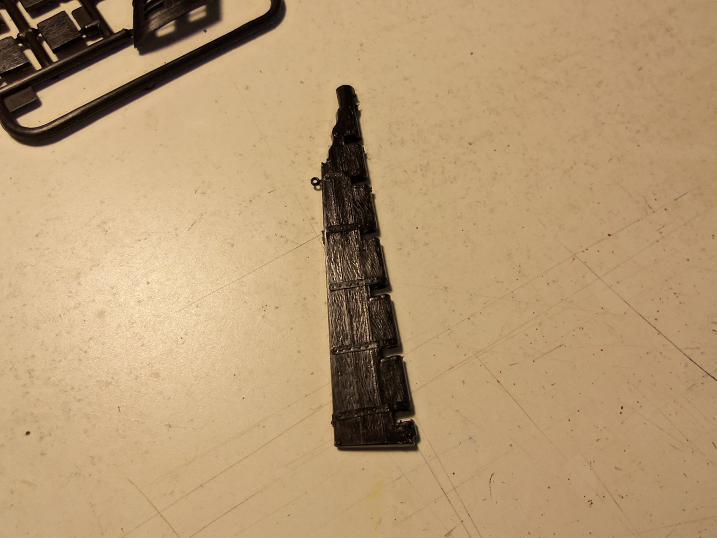
as you can see, some of them need a little help. I can fix them though.....I began the task of sanding them......lots of sanding. keep an eye on that sawdust pile I got six of them sanded down.....I could go a little more, but I'll do that later, when I go to install them. I worked on getting the others done first. I couldn't get a decent picture of them, so I set them on a piece of flat stock, to see if that would help. I got a couple more of them. .....until I got them all.....I didn't lose a single one! the sawdust pile grew to be quite large......I'm saving some, so I can make some home made filler. I wouldn't suggest to anyone that they should do this......it took me a couple days to do this. it was just an experiment to see if this would be a viable alternative. the only thing I can see, is that it might have been better to use smaller stock........1/32......or even 1/64. these would be suited for the larger grates, the kit provides the smaller ones......it might be best if I used them......but you never know, I might try it.
- 165 replies
-
- 5
-
-
- united states
- revell
- (and 1 more)
-
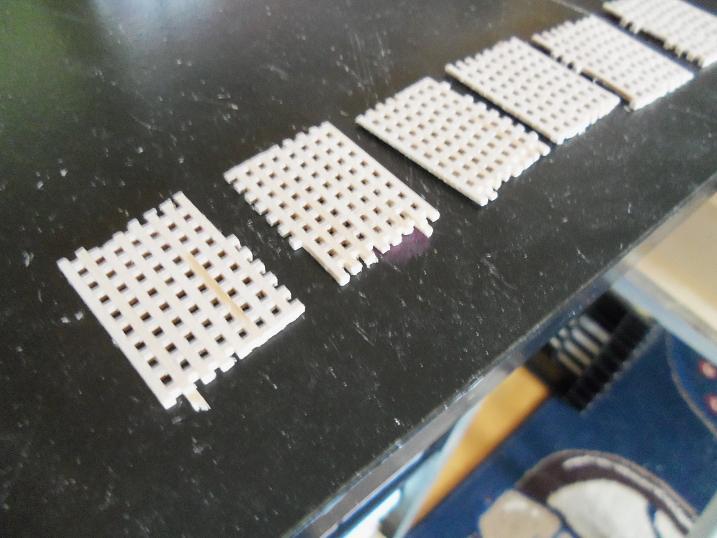
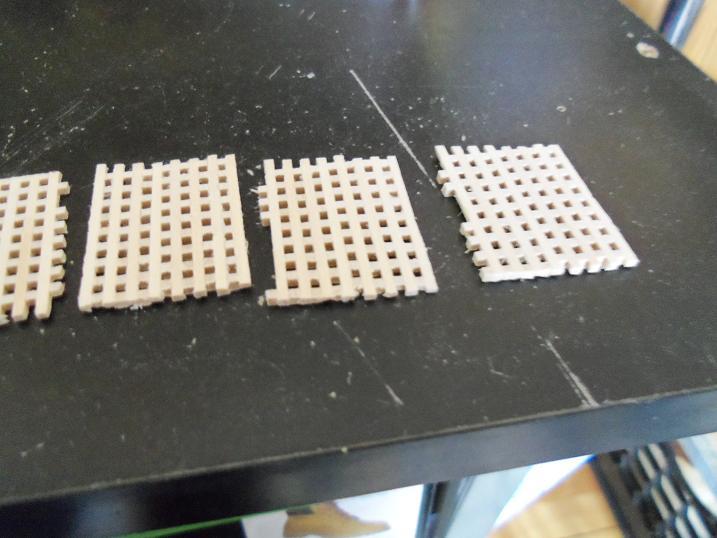
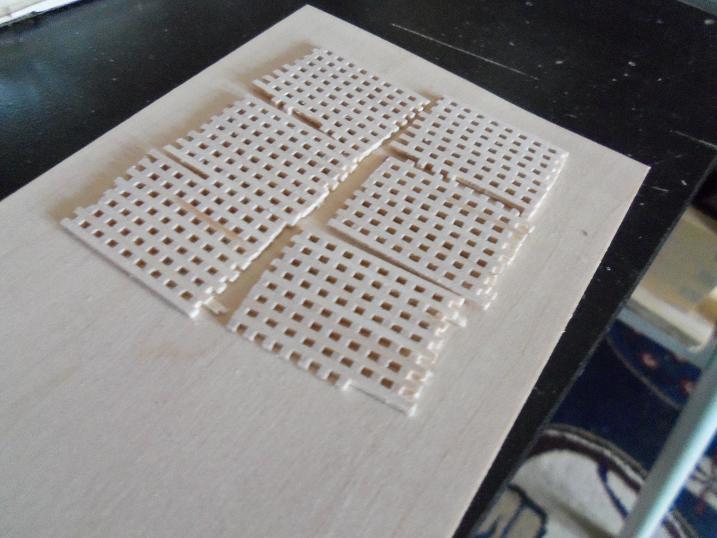
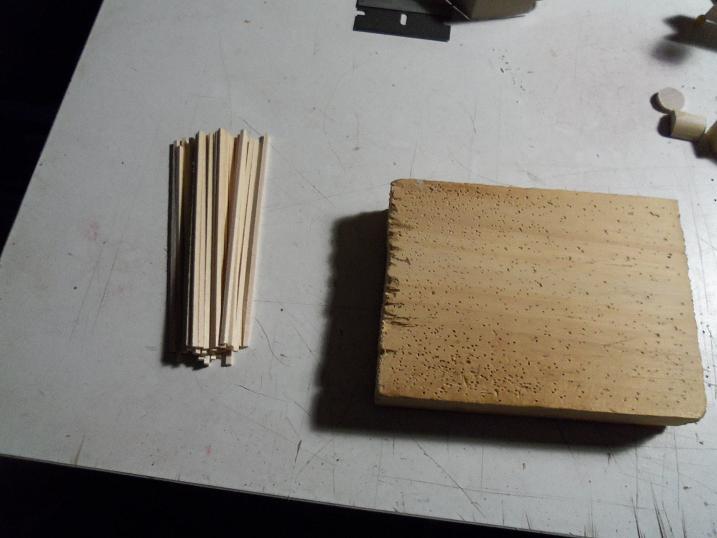
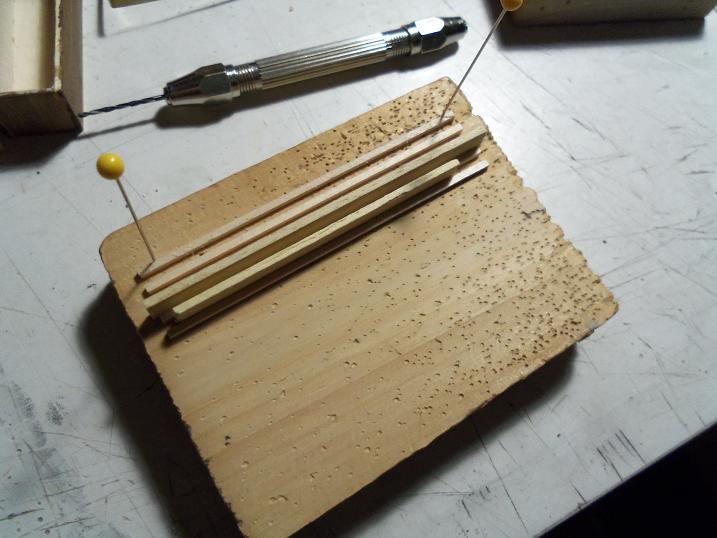
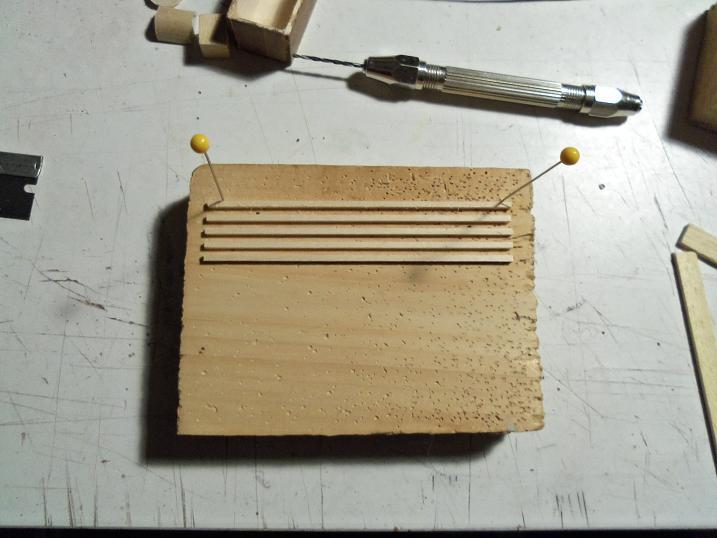
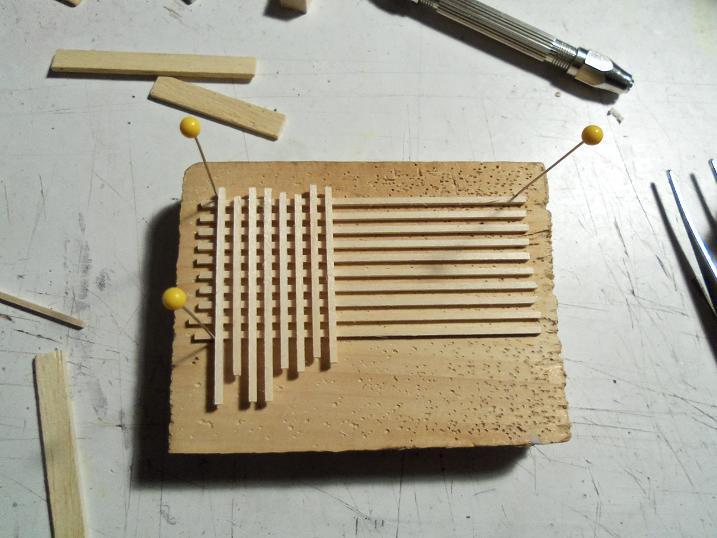
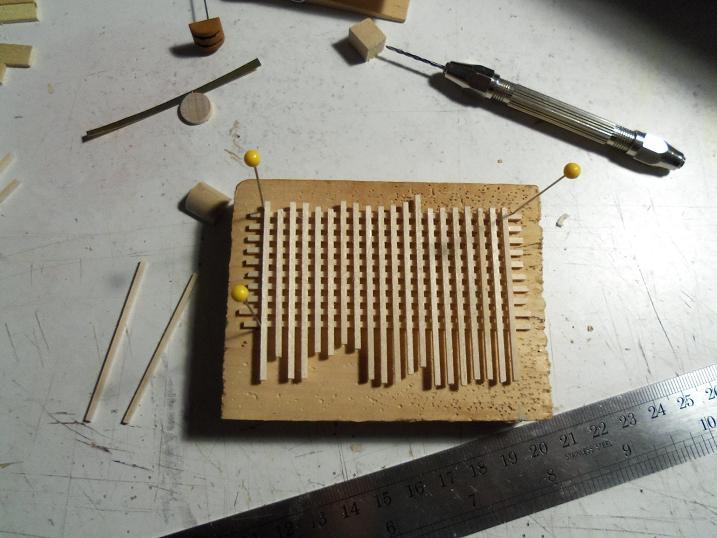
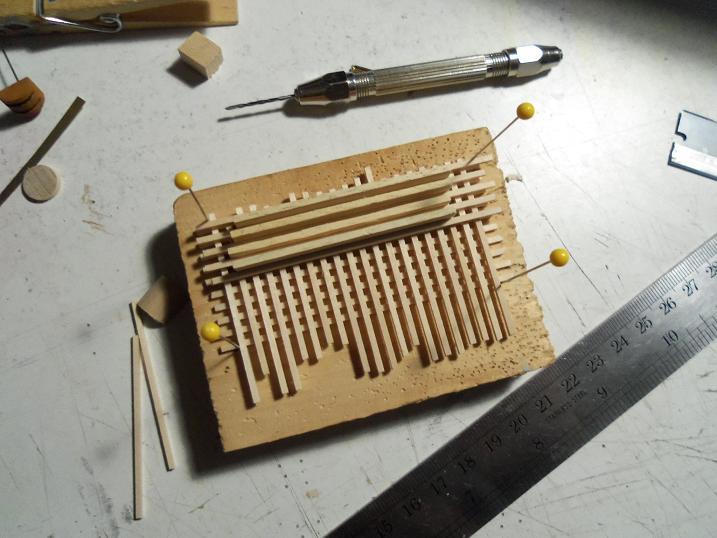
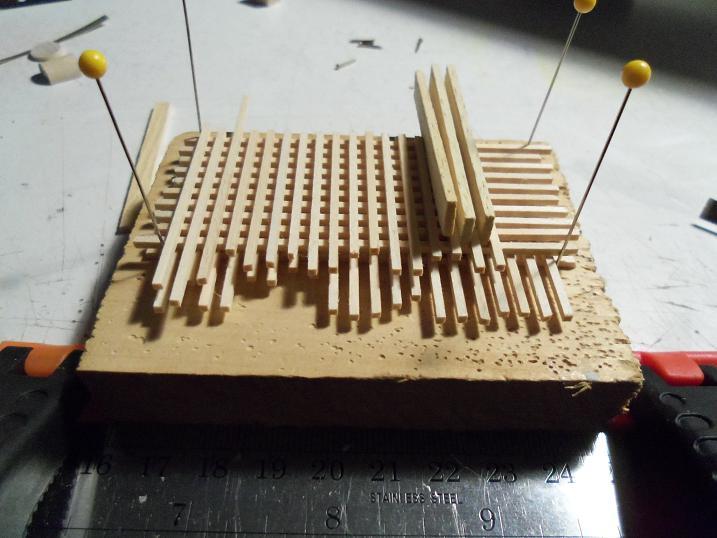
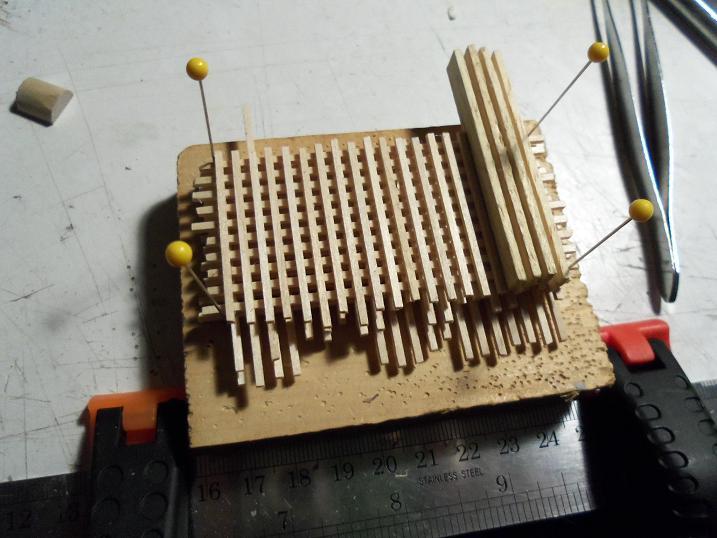
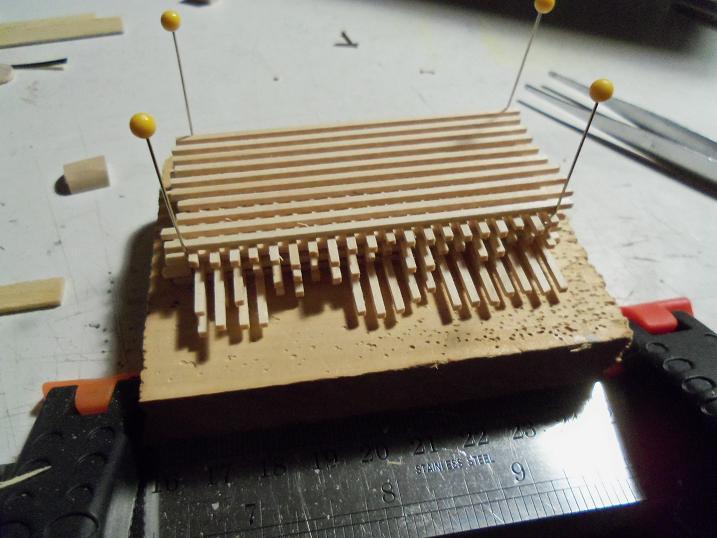
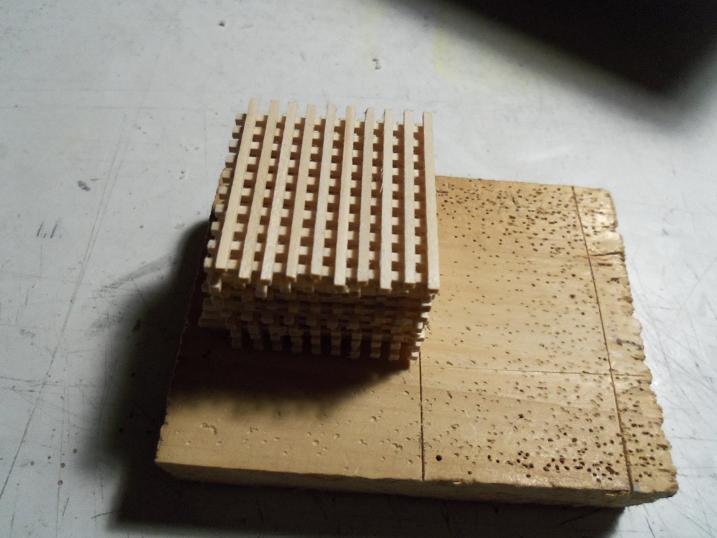
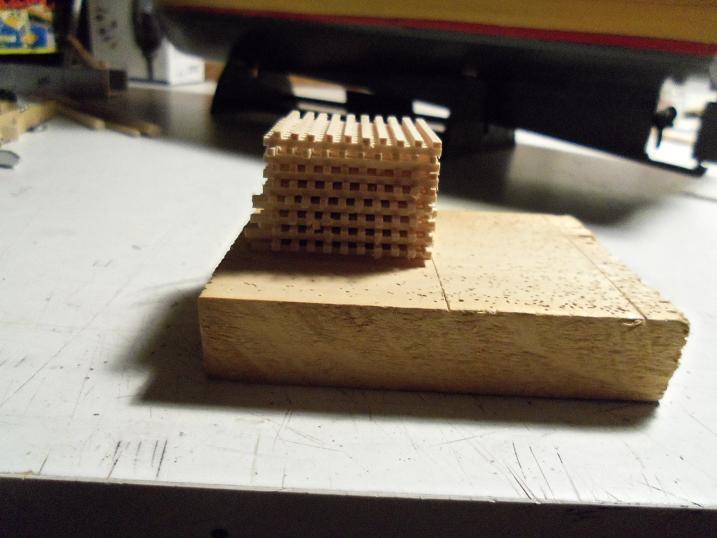
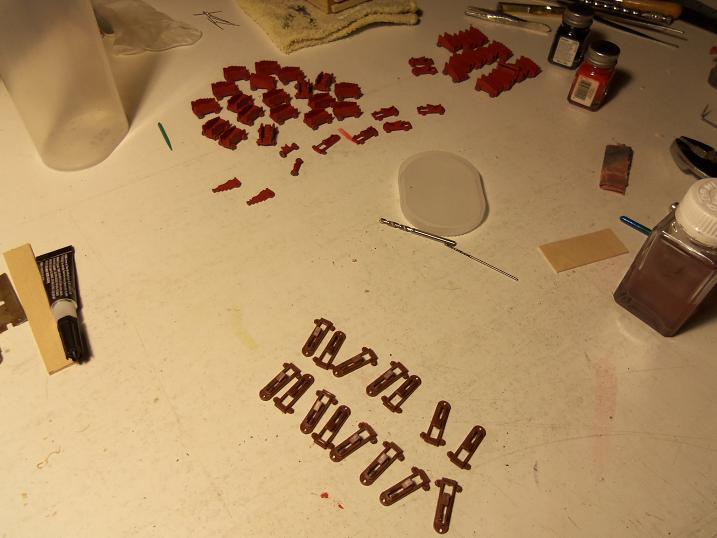
I do have one more bit of progress to pass on to you. I would have posted this, but this was when the site went down.....believe it on not.....so this is fairly recent. I had ordered a grate kit from the place where I had ordered the 3.5mm deadeyes for the Gothenborg. it was taking so long to get them, I canceled the order. while I was waiting though, I thought about how many of those kits I would have to order...and the cost involved. I decided to try and make them. I bought two packages of 1/16 square stock and cut them into short lenghts. with just a tiny bit of cement on the ends, I cemented ten of them down onto a small piece of wood, spacing them equally {1/16 wide}. placing another layer on top of them, spacing them the same way, they form a cross - thatch pattern. third row fourth row fifth row I was running out of the strips......and only half way as high as I want to go. the only recourse at this time, would be to cut this in half, fit it together the best position possible, and glue it together. so, I finished with what I had and did just that. when this was dry, it was sliced into wafers. they will be sanded flush, making them thinner in the process. there were some of the tiny pieces that broke free. they were repaired and set aside to dry, I would just pick up another one and work on thay one in the meantime. for some reason, I got eleven of them........I thought I'd only get ten. a bonus.


- 165 replies
-
- 8
-
-
- united states
- revell
- (and 1 more)
-
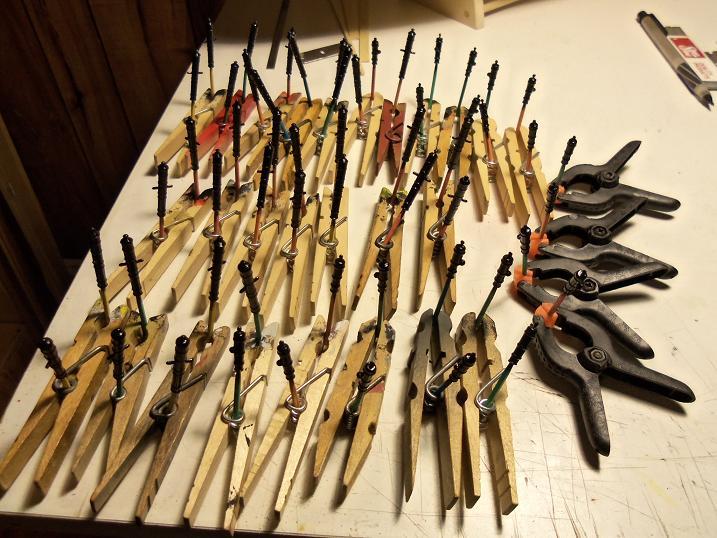
thanks Marcus......kinda quiet right now, but when I can get caught up, I can get working on it a lot steadier. for now it's just a little here and there. thanks for looking in. I know Mobbsie......painted myself into a corner this time! .....and I don't even have the Gothenborg in here yet....LOL! never a dull moment at the Wharf.....I can tell you that...hee...hee. it just looks scary. about the clothes pins......I have to buy my own. as a matter of fact, I have to get after them......they grab them to keep their chip bags closed........yea......they watch me too....LOL {and shake their heads}
- 165 replies
-
- 1
-
-
- united states
- revell
- (and 1 more)
-
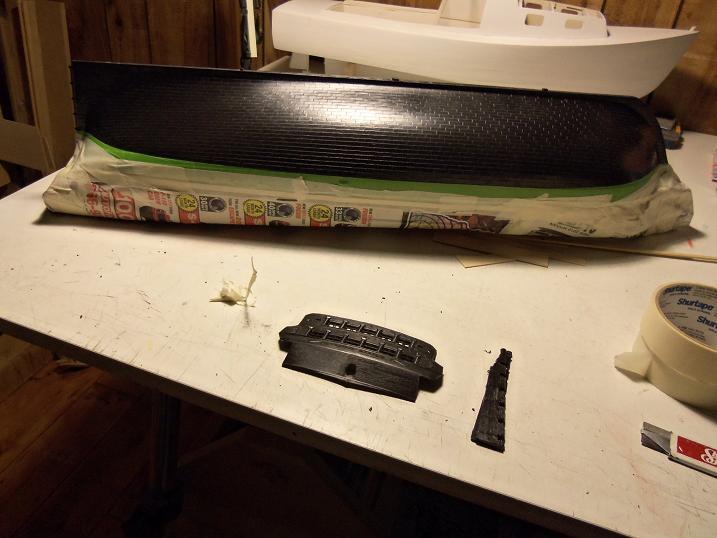
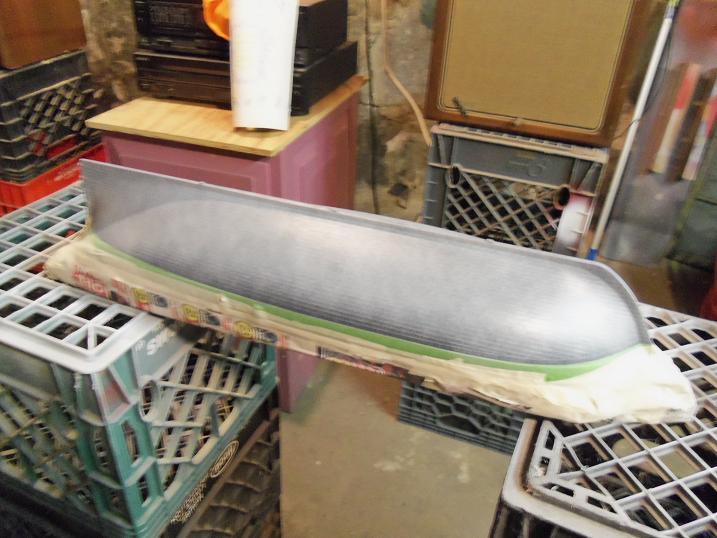
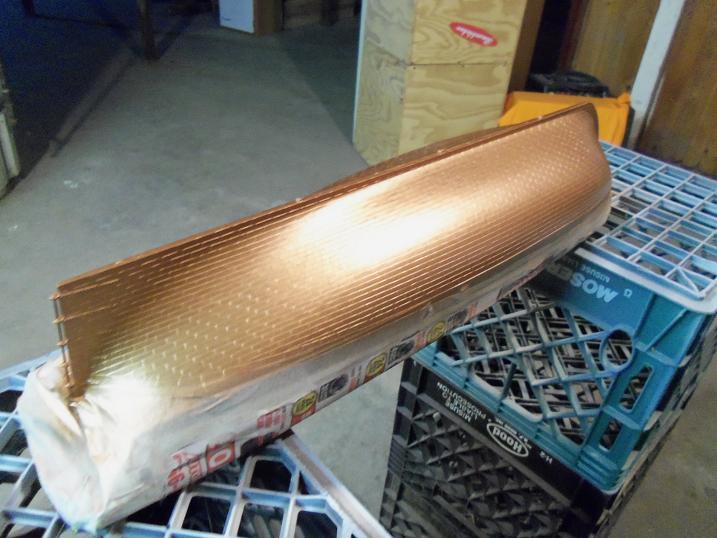
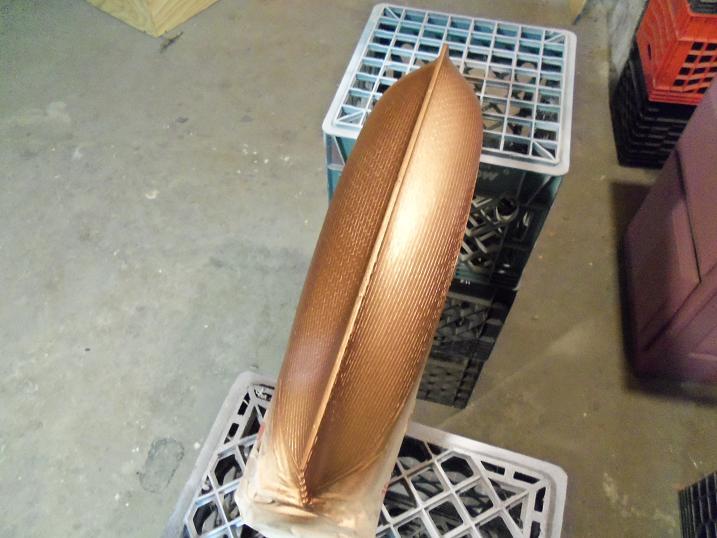
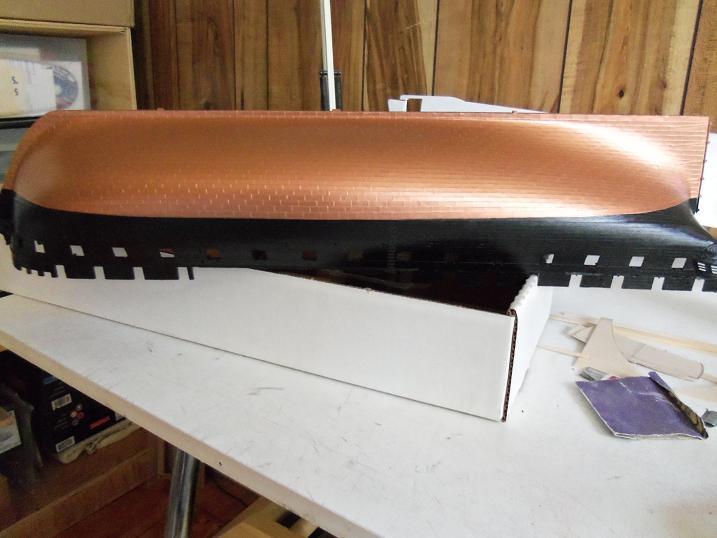
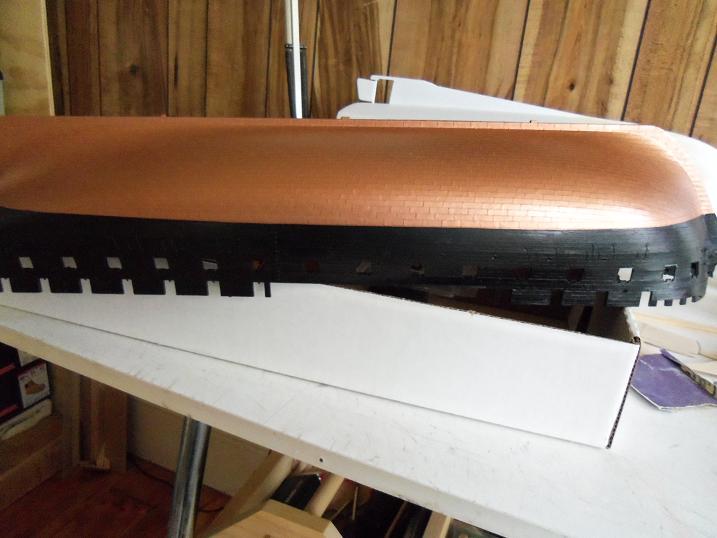
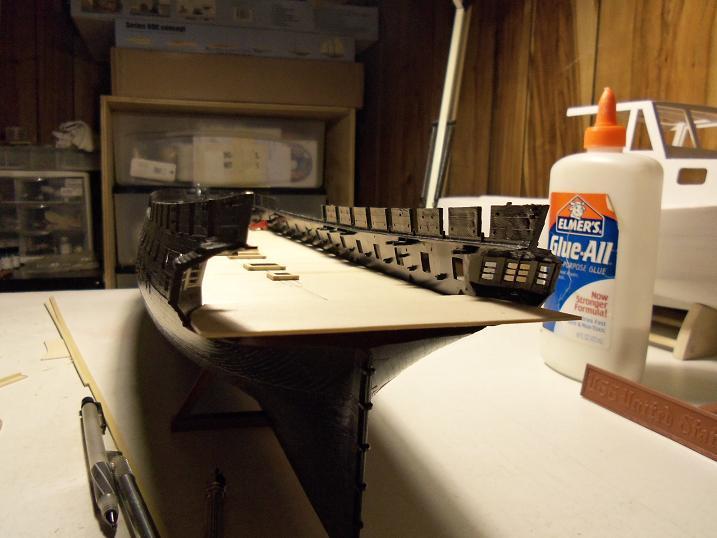
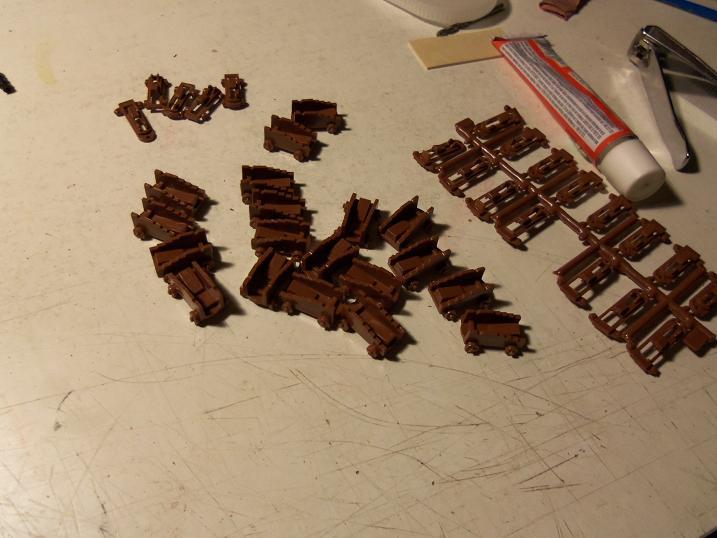
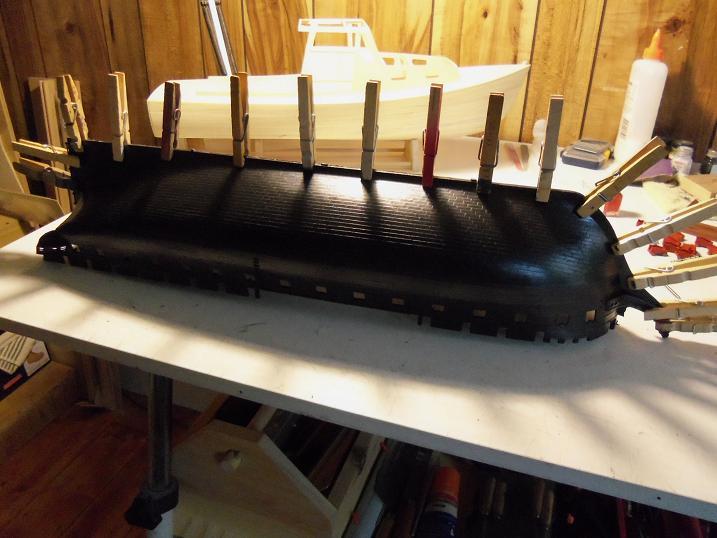
I did a bit more......but not as much, since I was running out of wood. before I can make the spar deck, I need to get more. I figured that I would paint the copper....I've never sprayed a metallic paint through an airbrush before, this should be interesting. I did make a couple of parts for the spar deck, before I bundled them. I bundled the gun deck up as well.....I don't want them to get warped either. I gave the hull a light prime. the copper paint went very well......only two tiny imperfectiond to repair. I was very happy to see that.

- 165 replies
-
- 3
-
-
- united states
- revell
- (and 1 more)
-
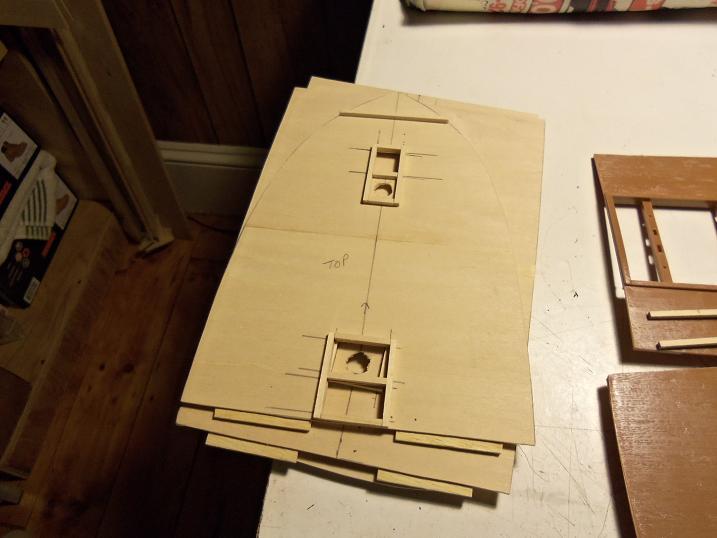
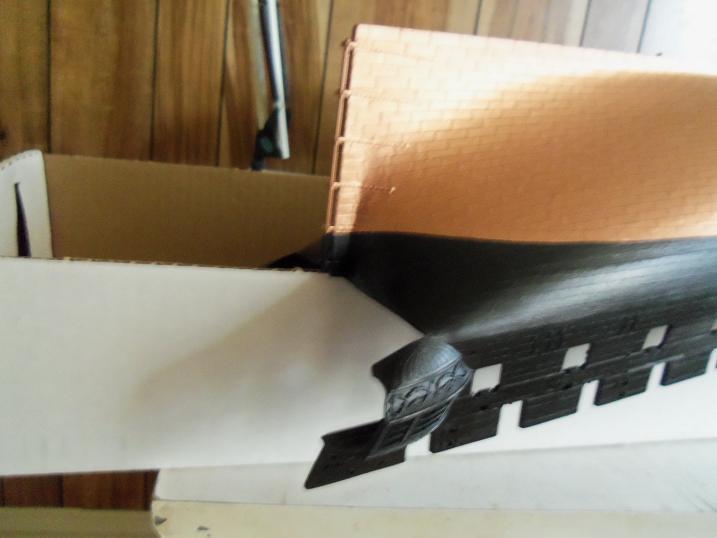
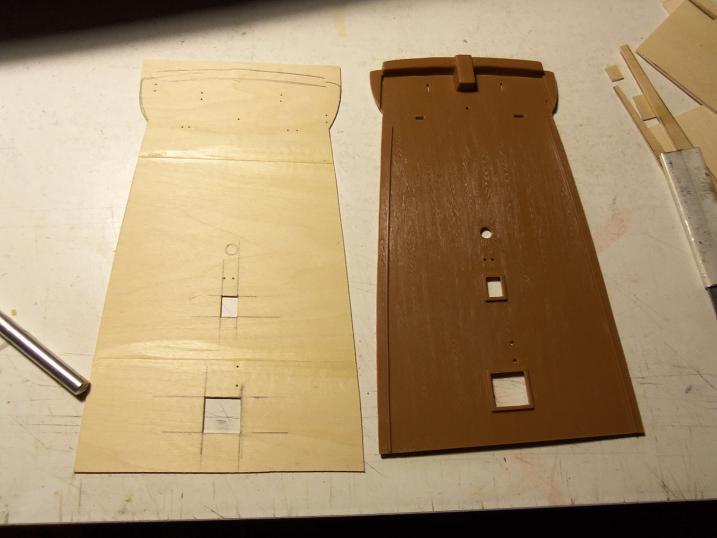
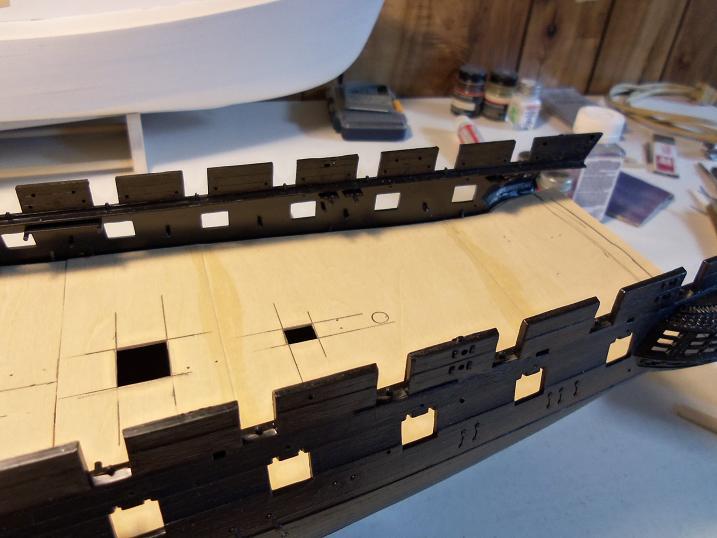
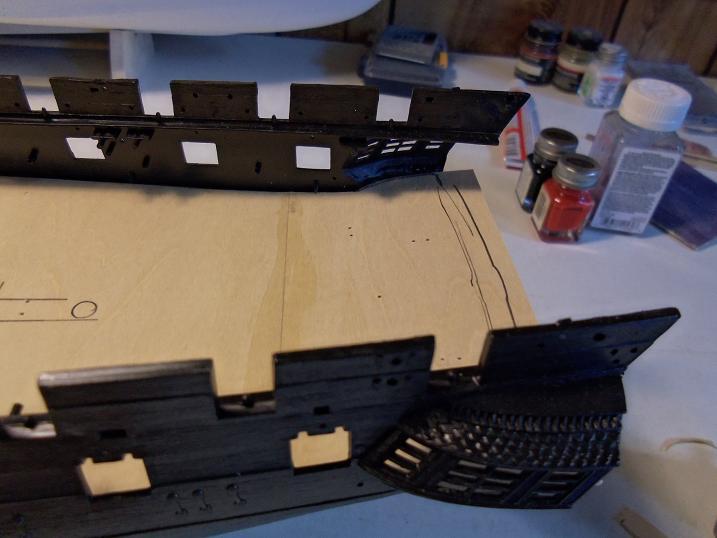
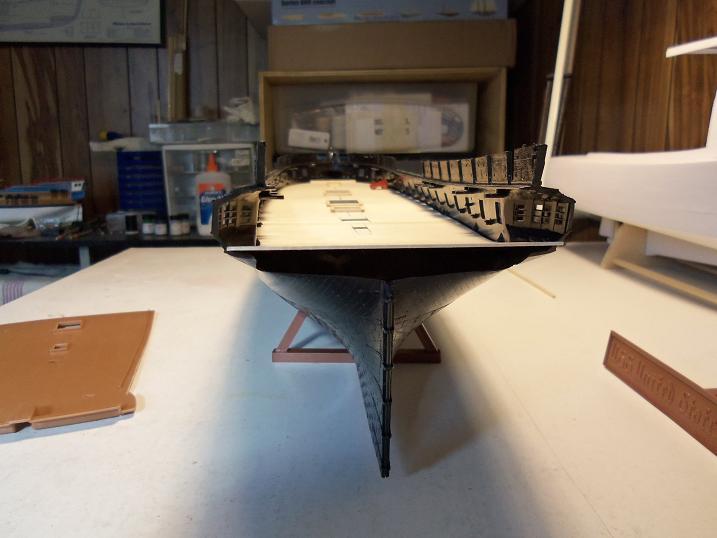
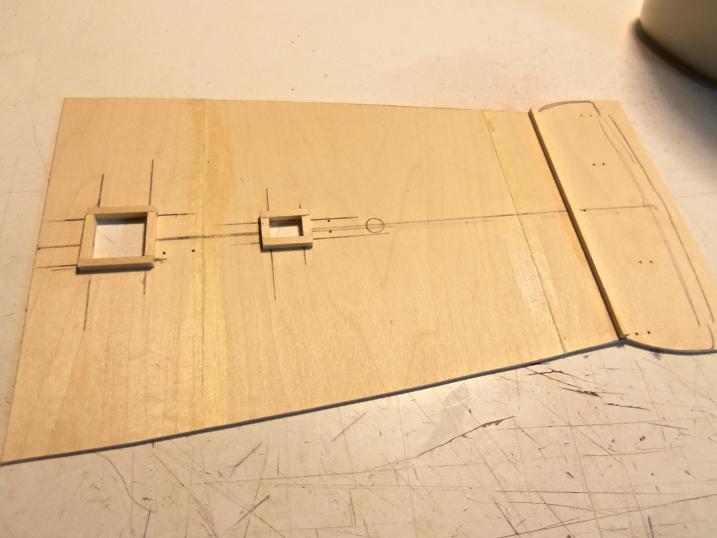
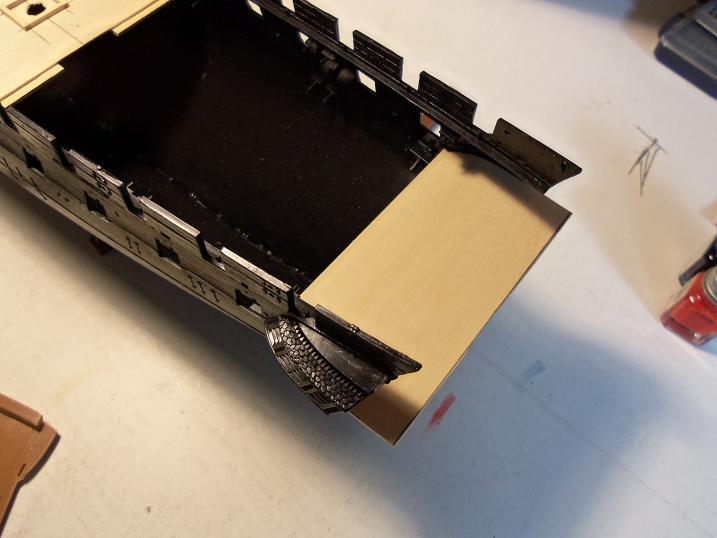
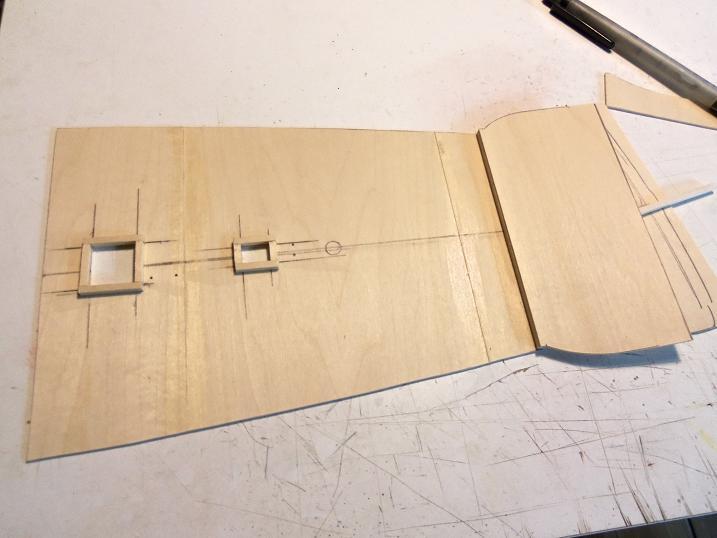
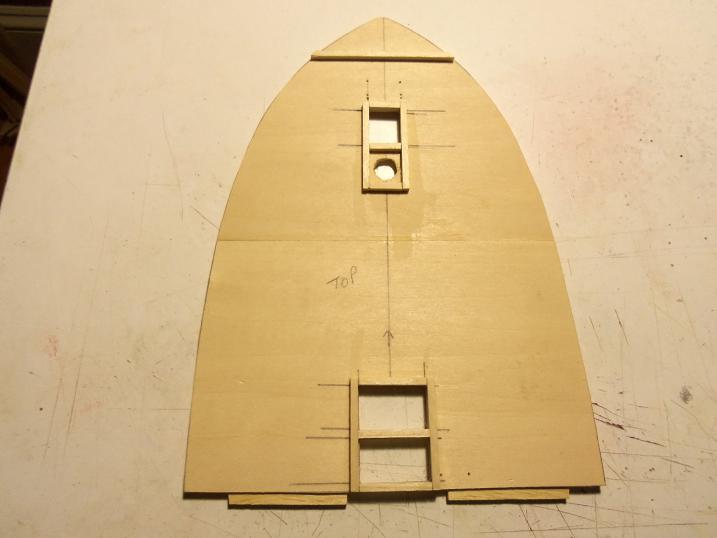
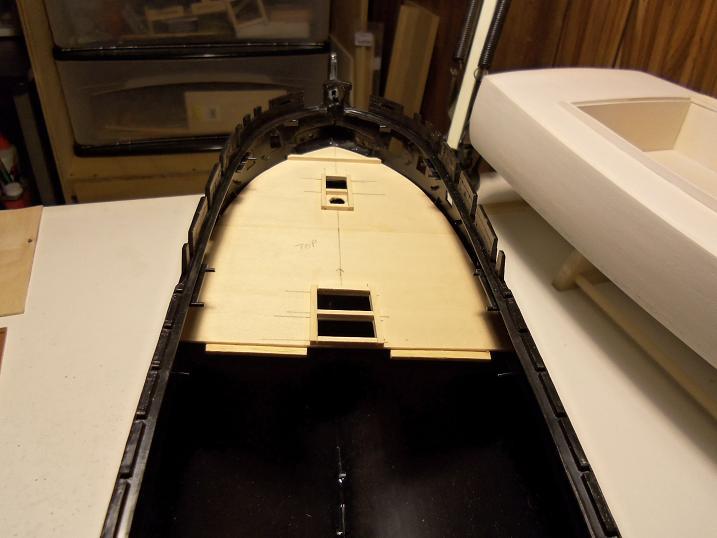
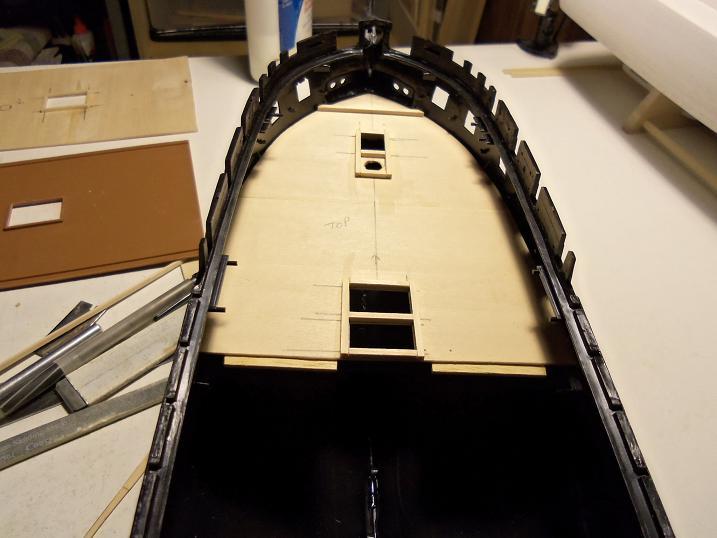
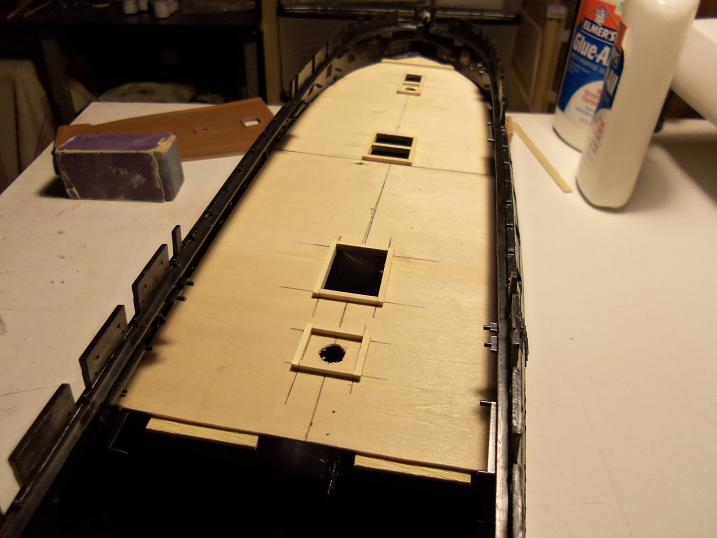
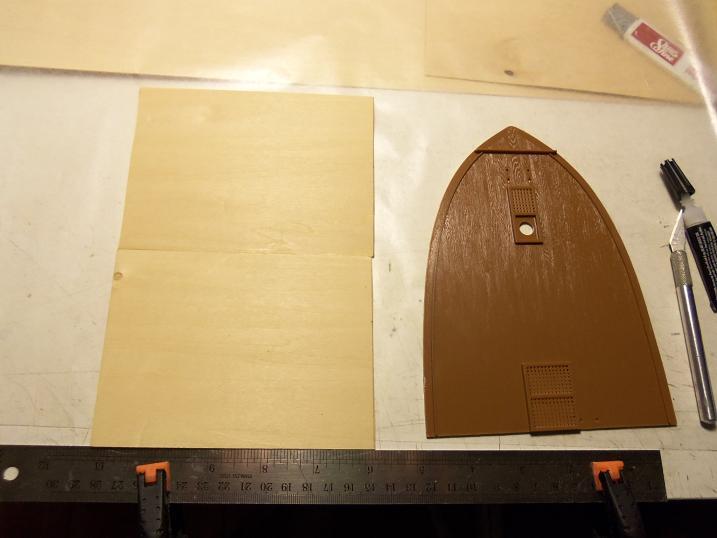
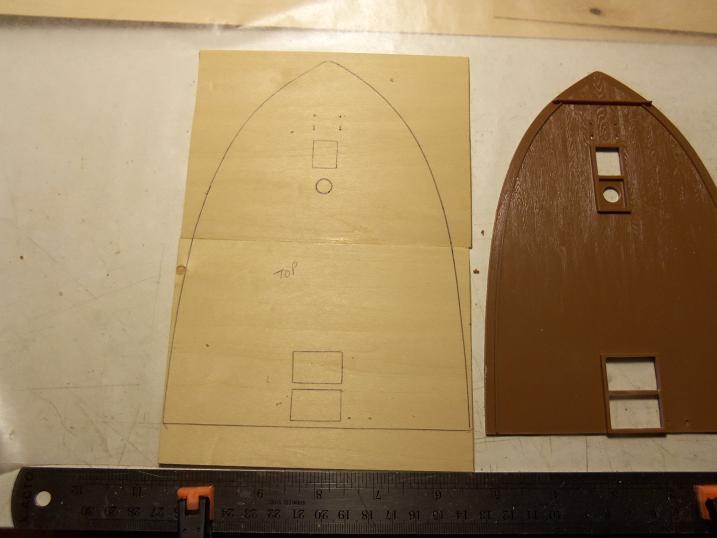
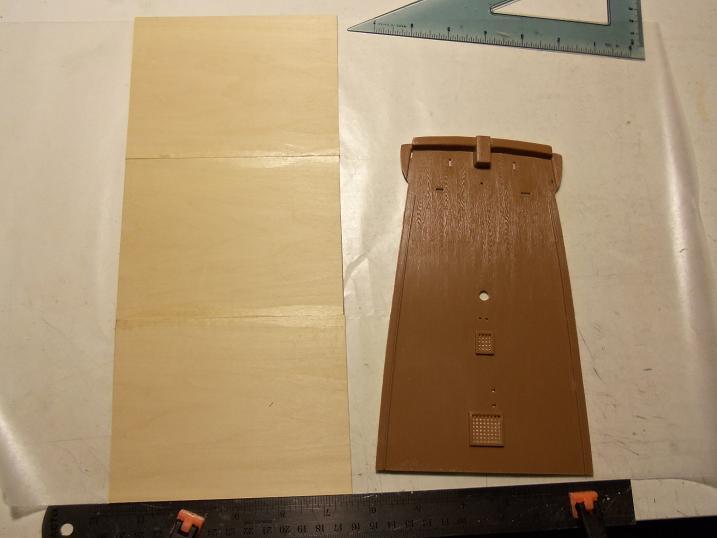
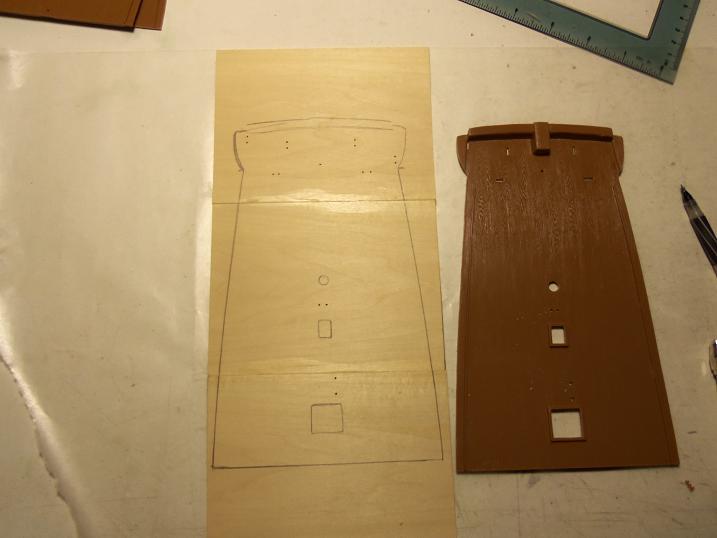
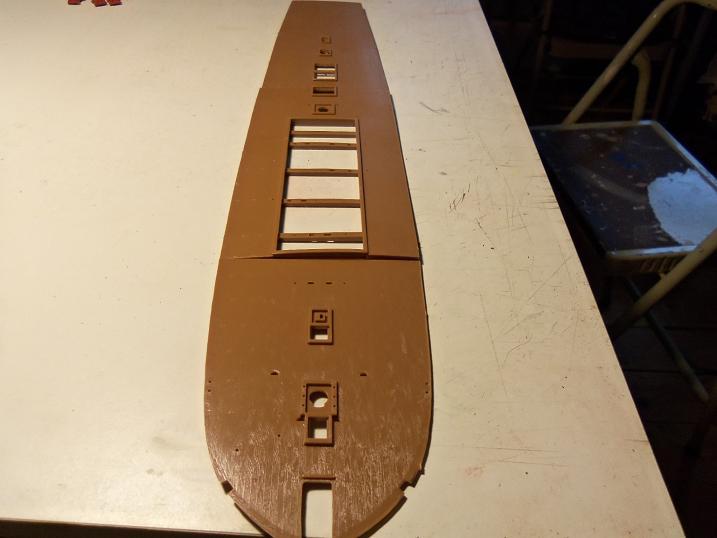
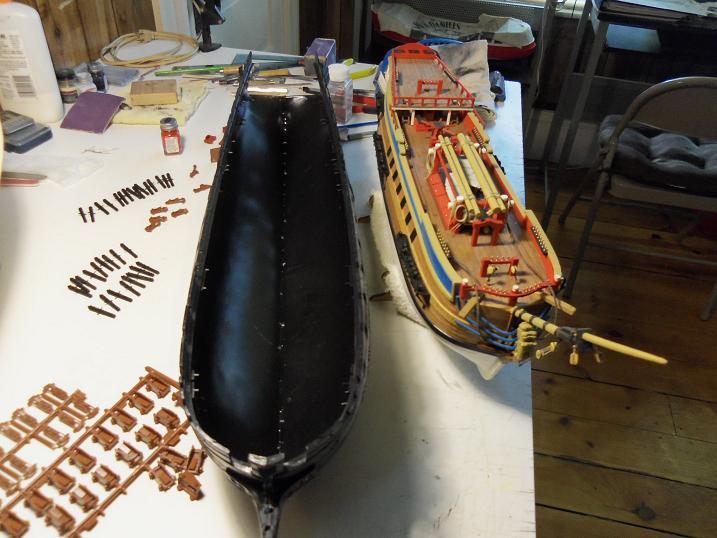
I drew the center lines on the sections......there was a mention on the old site that they appeared to be a bit off. the hull is a bit disproportionate at the moment, so the sections are not sitting in there the way they should be. when the hull is pulled into shape, it does tend to straighten out.........please bear with me. the aft section will take someadjustments to be correct. it starts out like this just for fun, I took the bow cannon and placed it in one of the ports. I need to raise the galley section, so it will align with the hull. the line of the deck curves upward...to correct this, the tail has to be cut off and shimmed with a 1/16 spacer. the level is now corrected......from here, it needs to be shaped. as with the other sections, pieces of planking is cemented underneath to keep the section from doing anything wierd. when it was ready, it was dry fitted. the deck line is much better. when the time comes, the major assembly can begin.


- 165 replies
-
- 4
-
-
- united states
- revell
- (and 1 more)
-
I told you Andy........I have manic constructive disorder. I just wanted to get this one back on here for when I can finally get back to it. I hope it will be soon, but who knows, I may be able to dabble with it from time to time. I still have the other decks I have to make. it is a good thing that I'm doing this anyway......some of these sections are really warped bad! thanks for looking in Andy.....I will probably need some of your sage advice later on
- 165 replies
-
- 1
-
-
- united states
- revell
- (and 1 more)
-
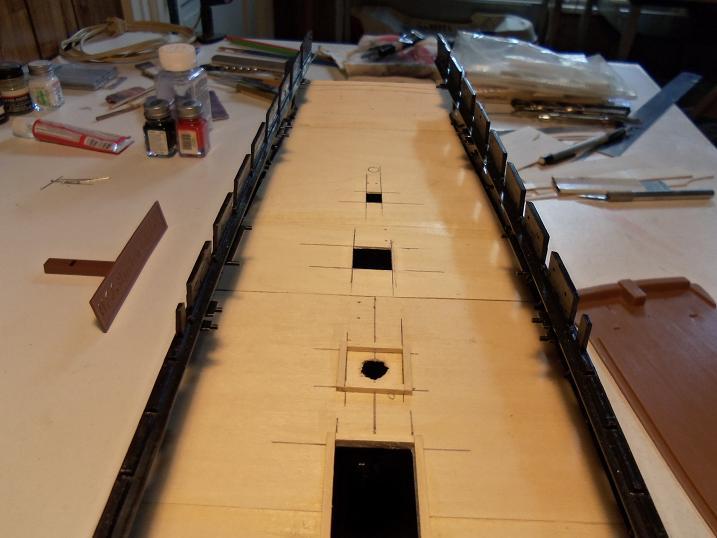
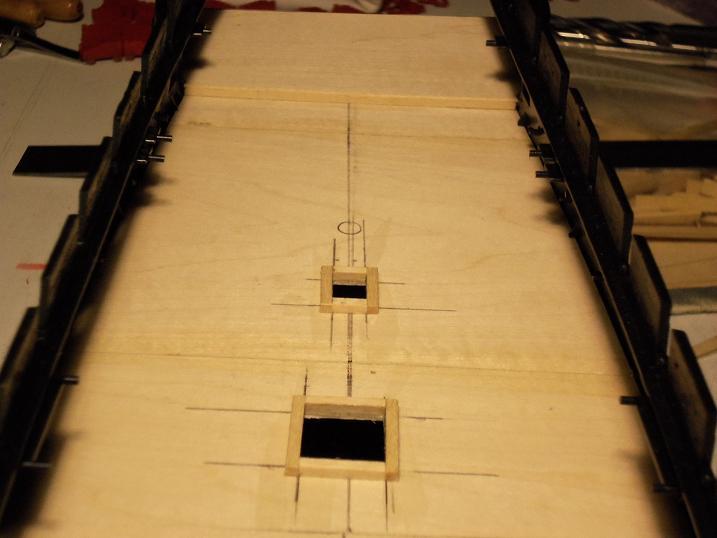
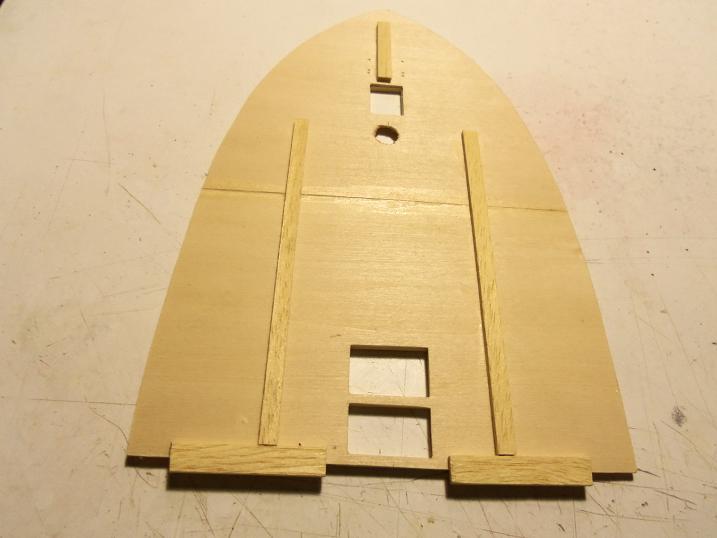
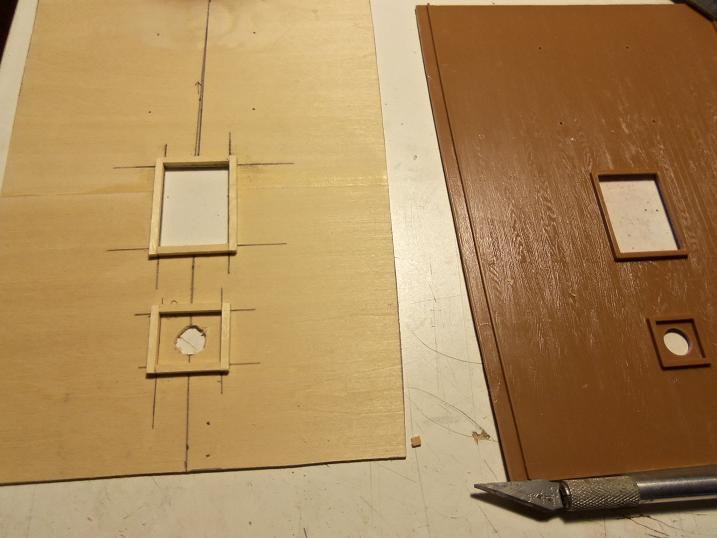
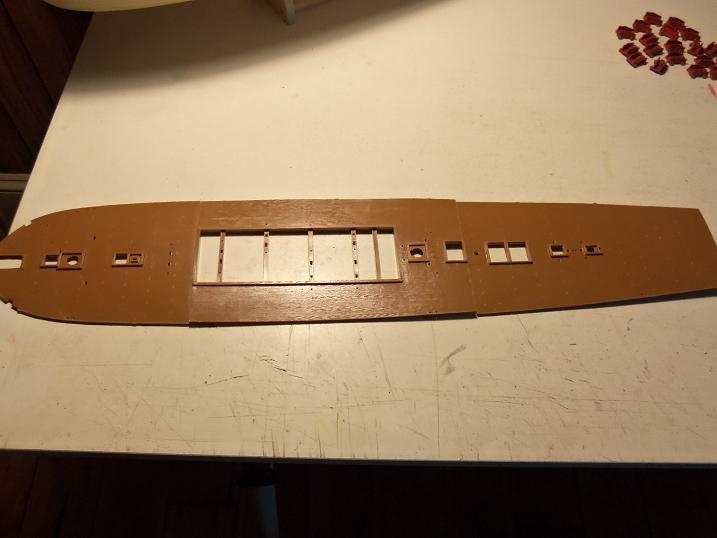
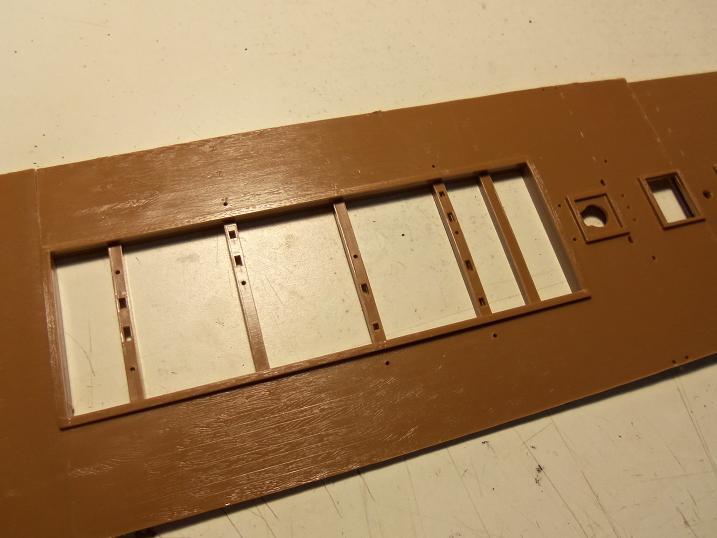
the process continues with the cutting........ the grasting frames were cemented in place. I cemented a couple of pieces of planking underneath the section to keep it from warping or curling. tabs on the connection ends will aide in them in being cemented together flush. the mid section was next. the first two sections are done......the hardest one is yet to come.


- 165 replies
-
- 3
-
-
- united states
- revell
- (and 1 more)
-
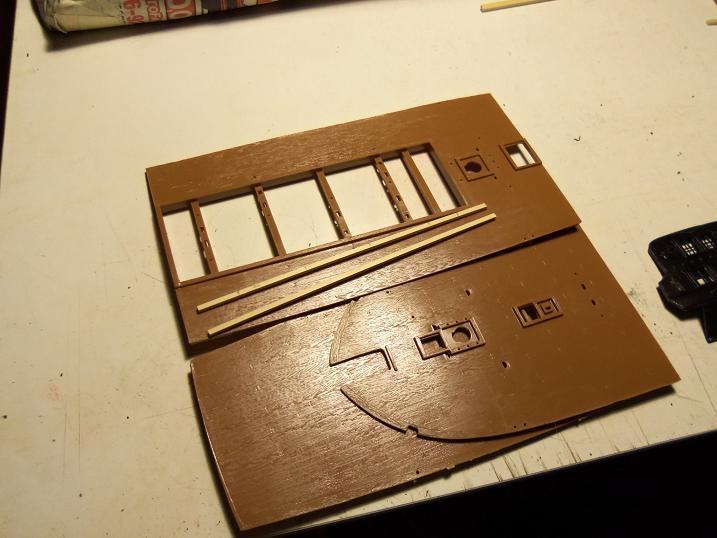
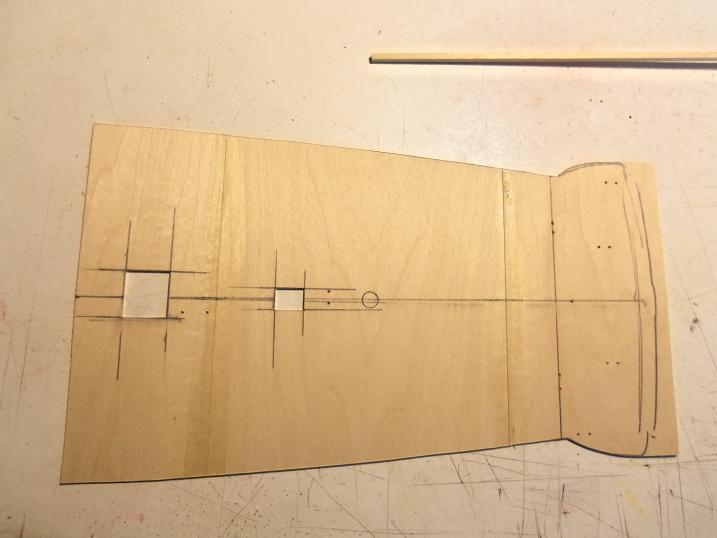
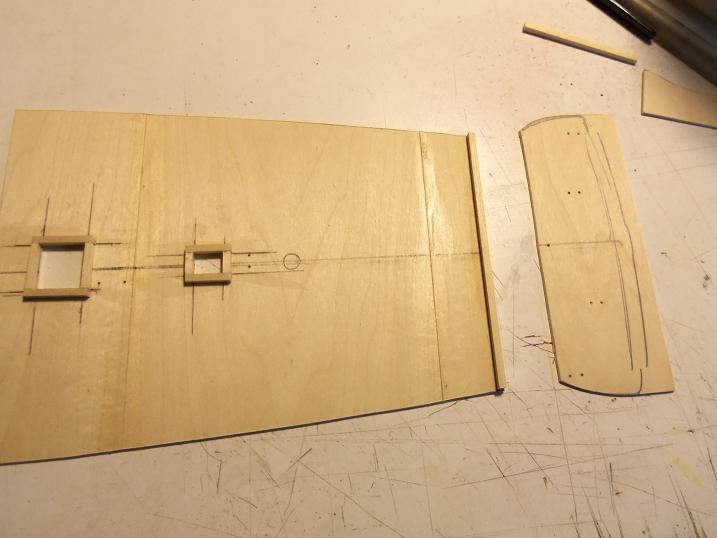
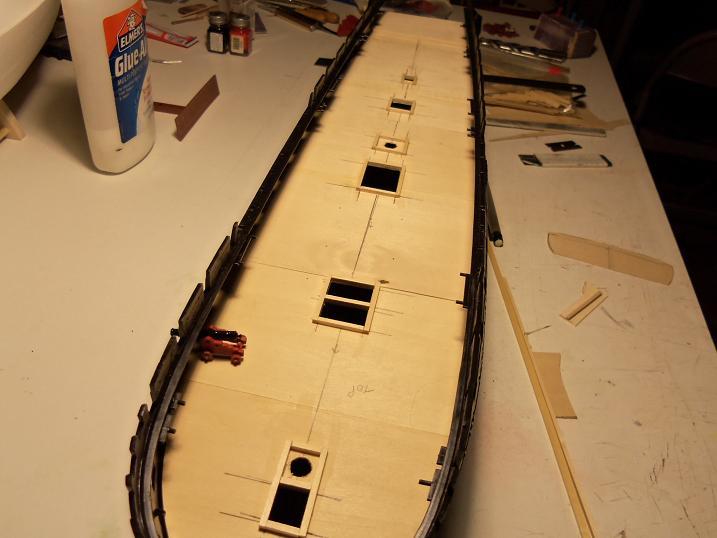
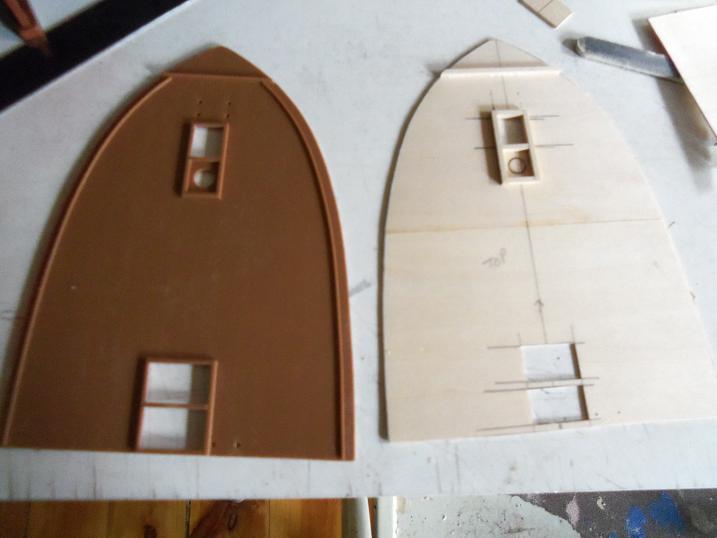
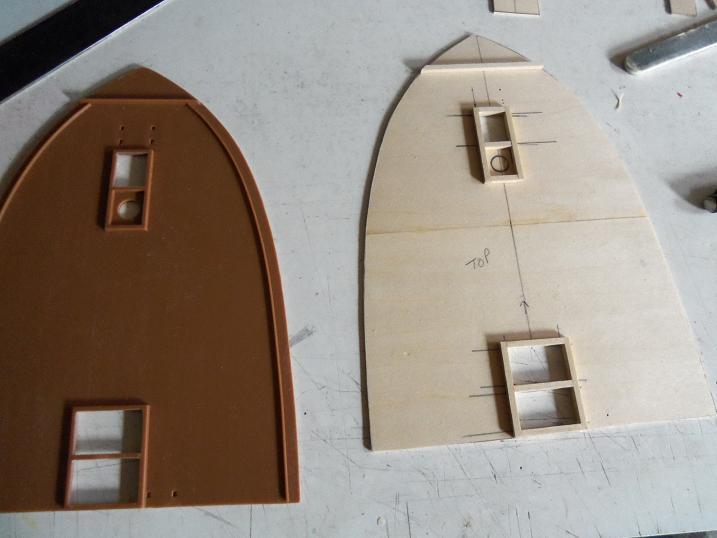
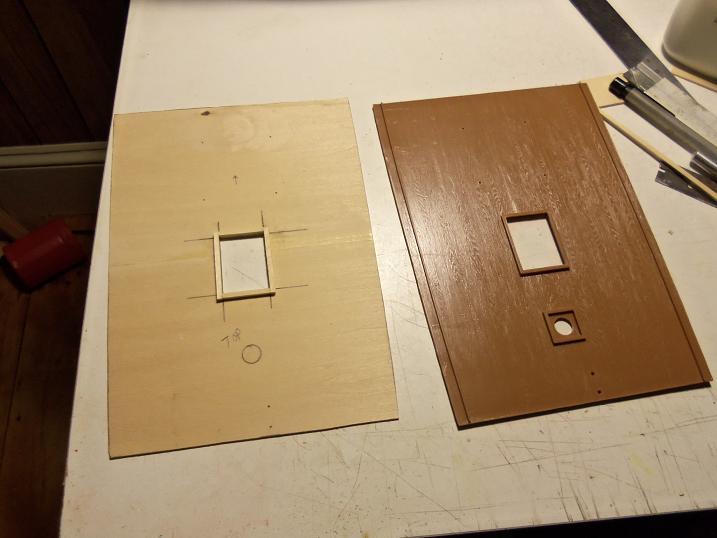
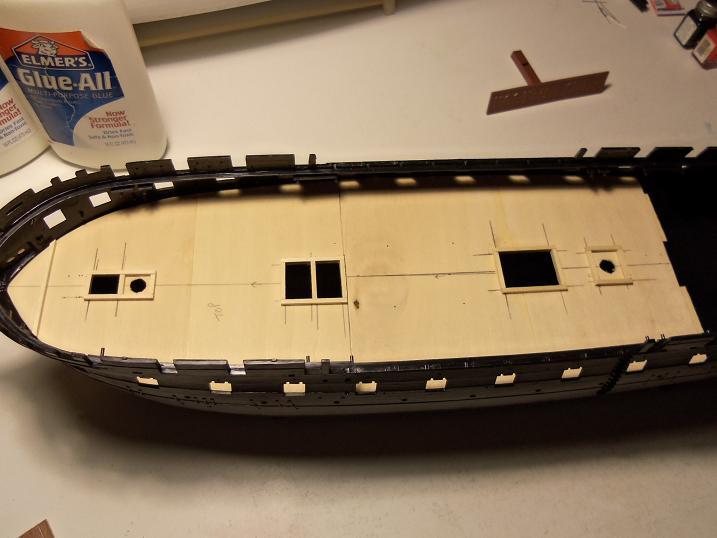
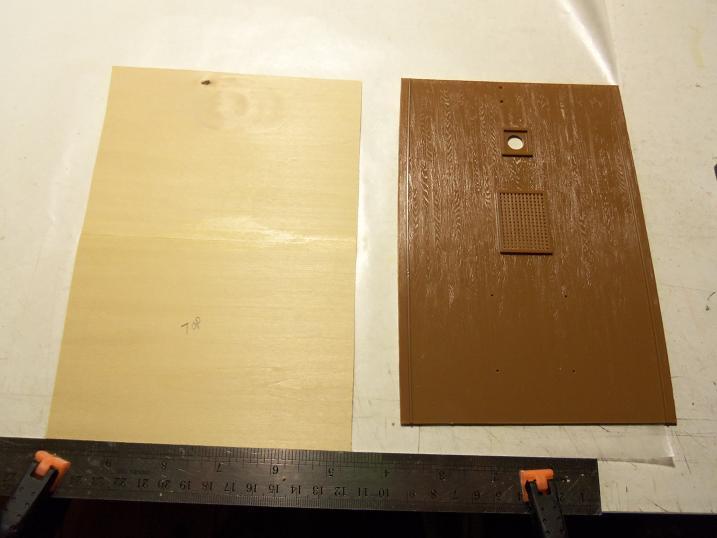
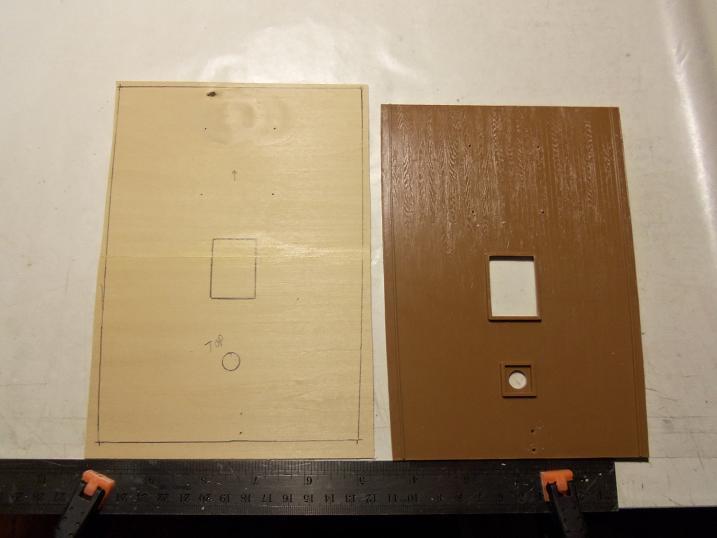
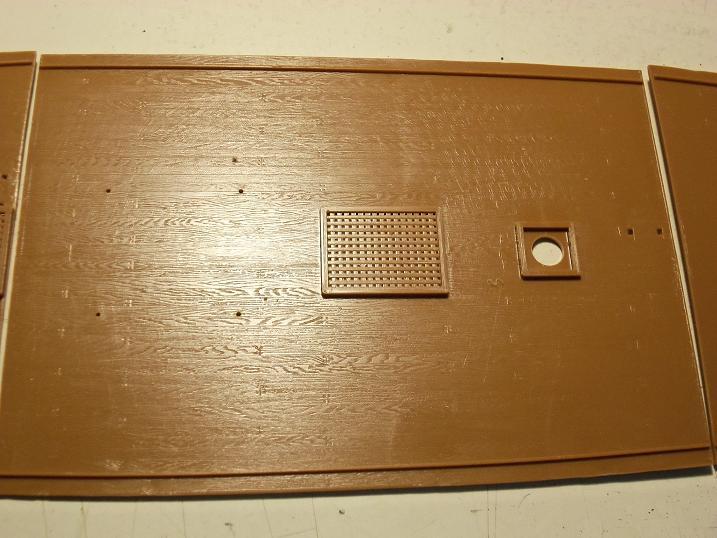
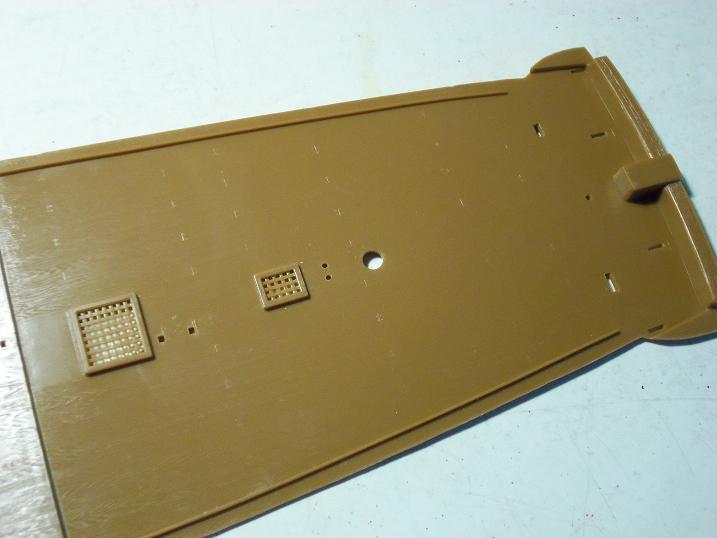
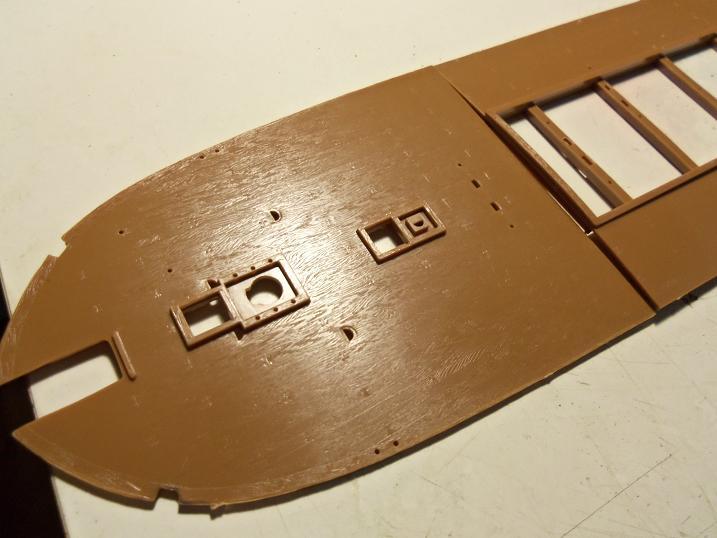
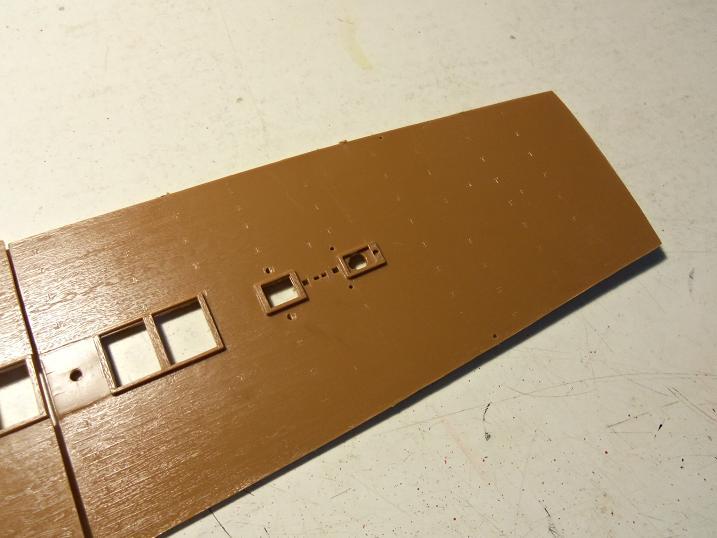
At this point, the gun deck sections are prepped and traced out. I needed to cut out the grates in order to trace them, so I'll have to make.....or even order grates for them. I have one on order asa matter of fact.....haven't seen it as of yet.......I wondered if they mailed it. I didn't bother to show the middle photos.......they just show the grates cut out anyway. the stern section is going to be the interesting one for sure. that tail piece isgoing to need to have some fine tuning done on it, if it is to work out. I did make all the marksas to where the aft quarters are to be located. now to cut them out and assemble the frames for the grates and other bits of detail.
- 165 replies
-
- 3
-
-
- united states
- revell
- (and 1 more)
-
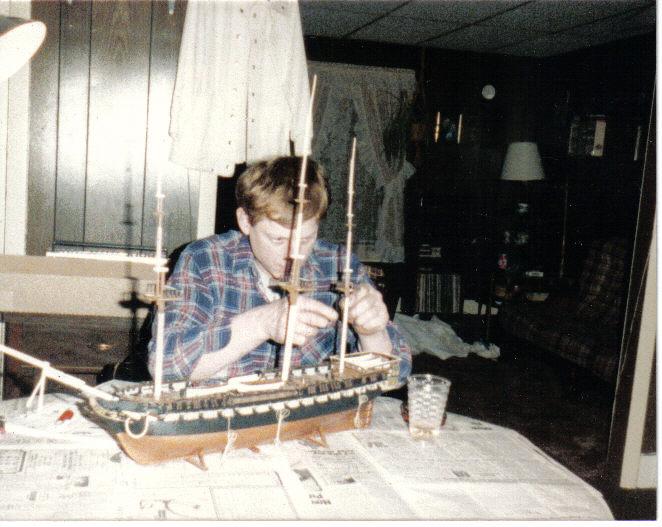
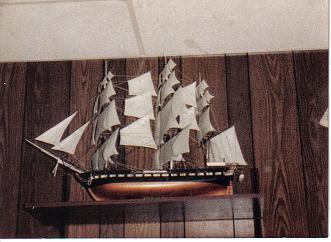
thanks Patrick.......I had to put this one back in. when the real work starts on it, it's gonna get quite busy. if everything I want to do works out......I think there will be others who want to try this. who do you think Augie.........it's me! I was a lot younger.....and I had thicker hair I think I was about 35 when that picture was taken. I didn't do a lot of apinting on that build.....it comes in four different plactic colors, very easy to sluff off on painting. this was a complaint, taken a look at by manufacturers.........folks who wanted to build models, but were not adept with paint. this was also aimed at young modelers, whose parents didn't want a big mess, with paint. thanks for the good word gentlemen......glad to see your going to follow along. I'll try to get to it a.s.a.p.
- 165 replies
-
- 3
-
-
- united states
- revell
- (and 1 more)
-
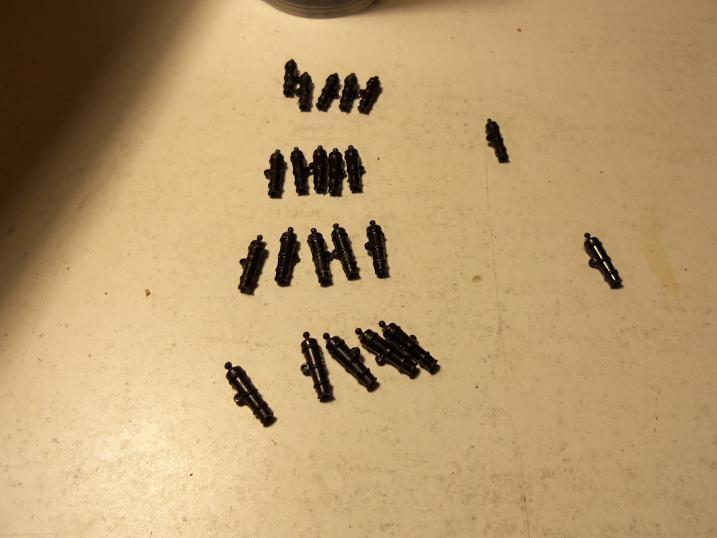
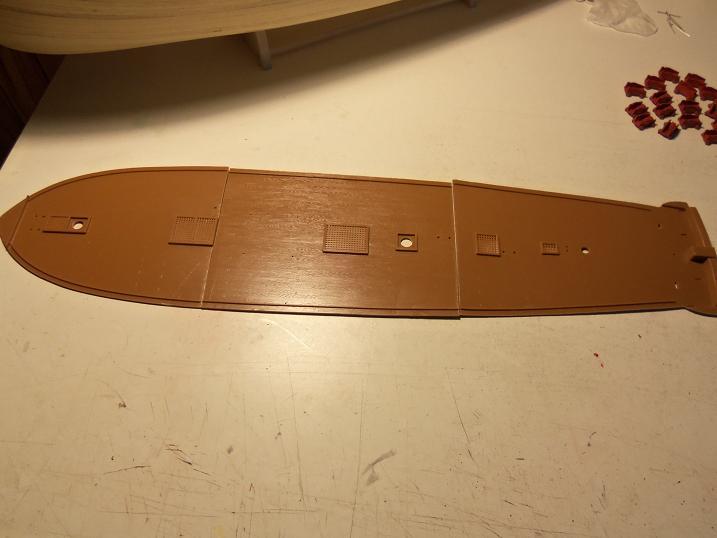
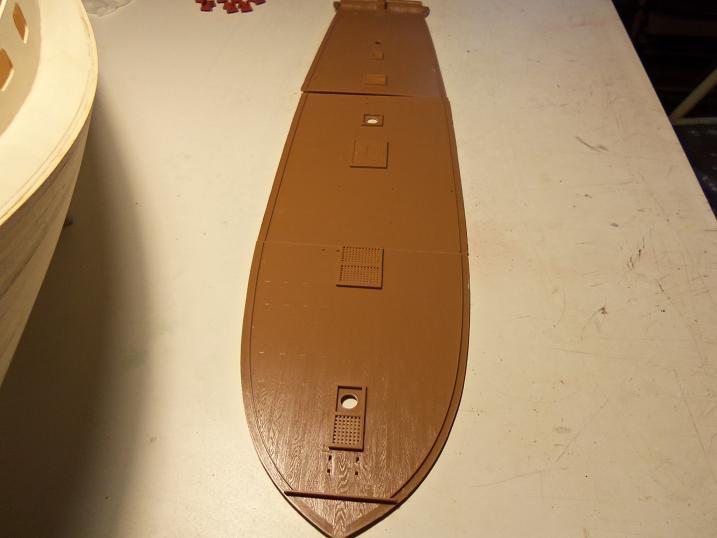
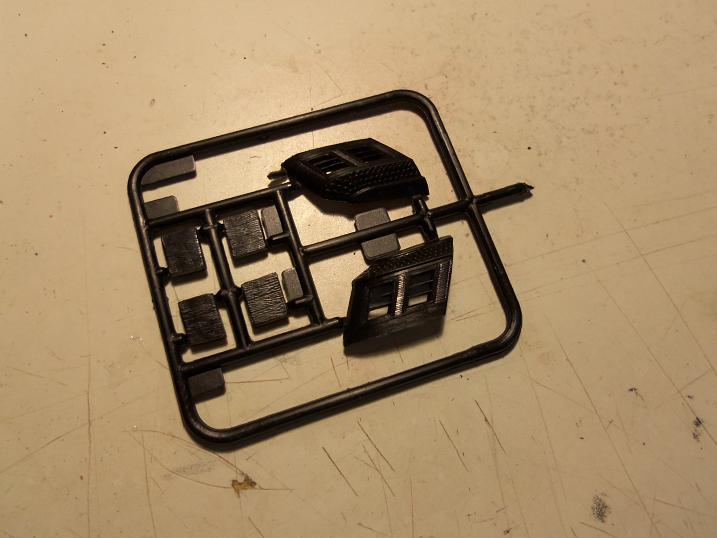
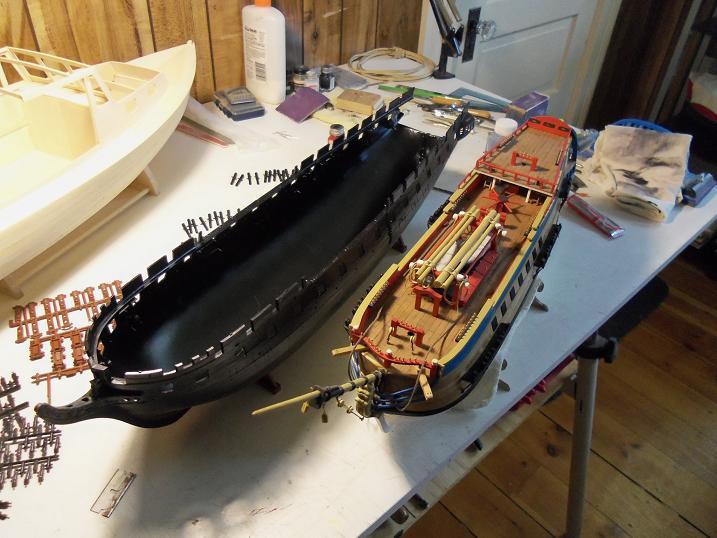
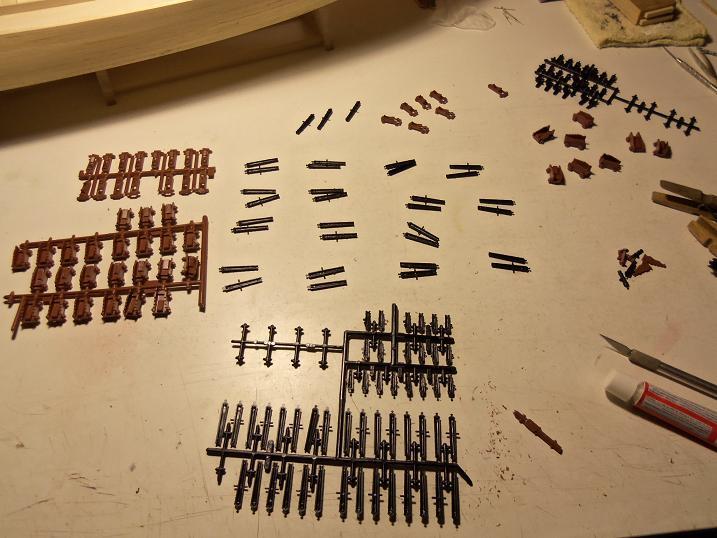
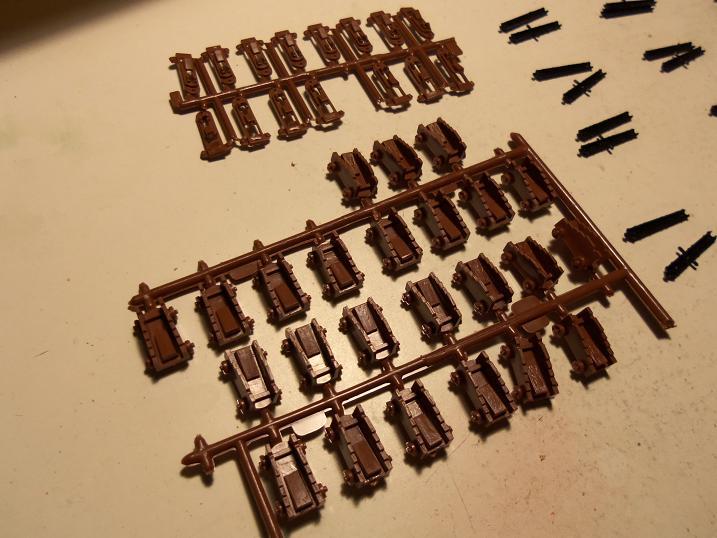
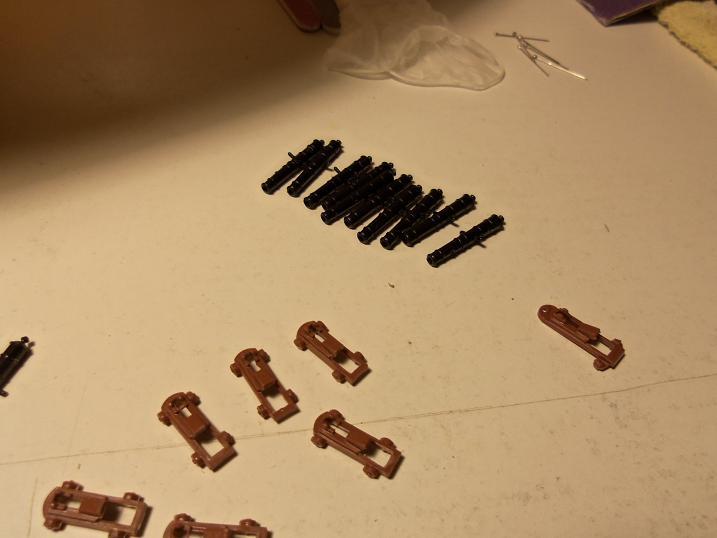
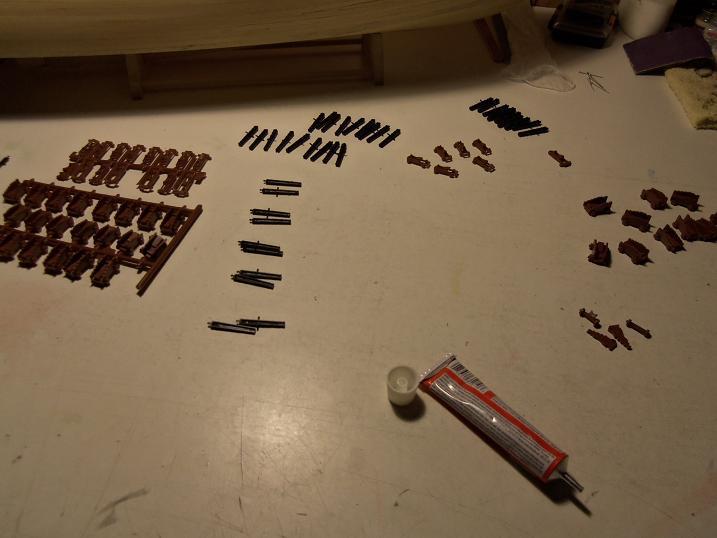
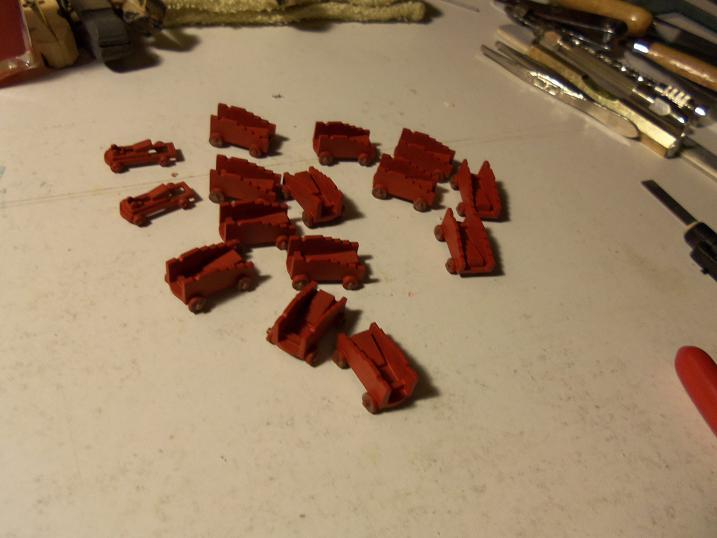
I'm basically just assembling parts, with no particular rhyme or reason once the cannons were painted, I packaged them to keep them from getting lost or damaged. taking a look at the decking....there quite a task ahead this was the gun deck........here is the spar deck these parts were in a bag unrelated to the color in which they were molded. it's my guess that these parts were added in.....found as an oversight on their part. just a couple of other parts that will need either paint or assembly.


- 165 replies
-
- 3
-
-
- united states
- revell
- (and 1 more)
-
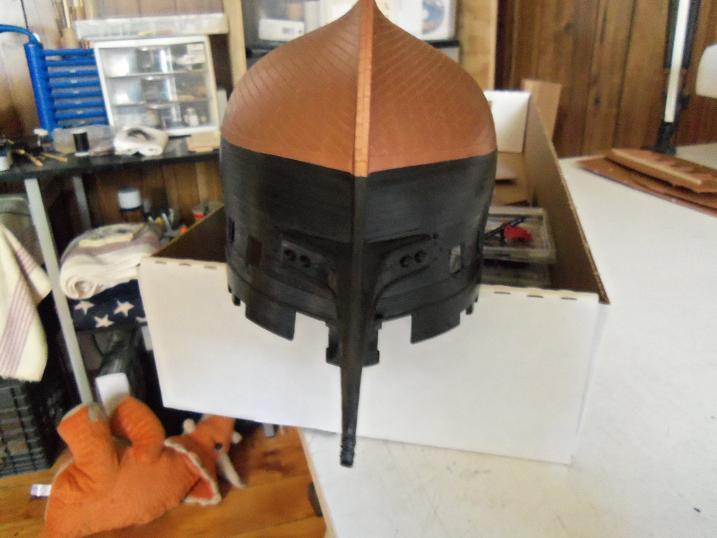
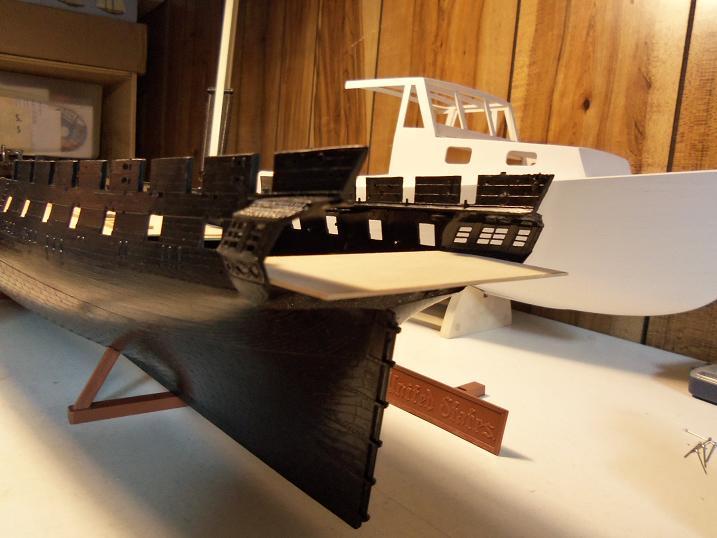
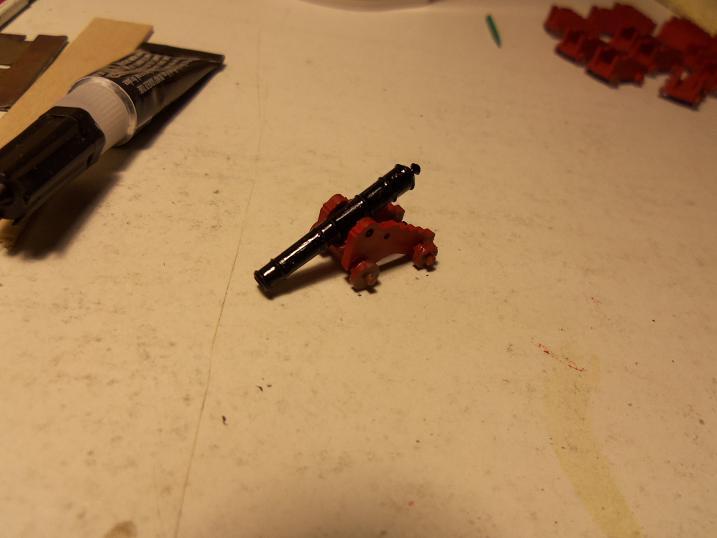
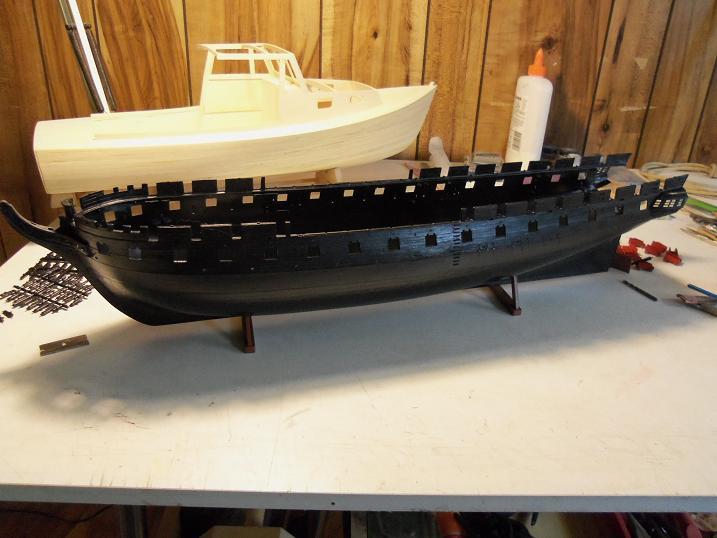
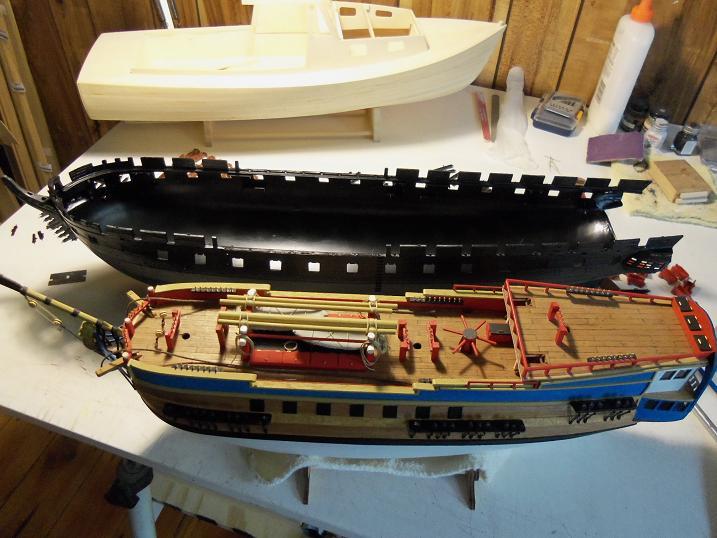
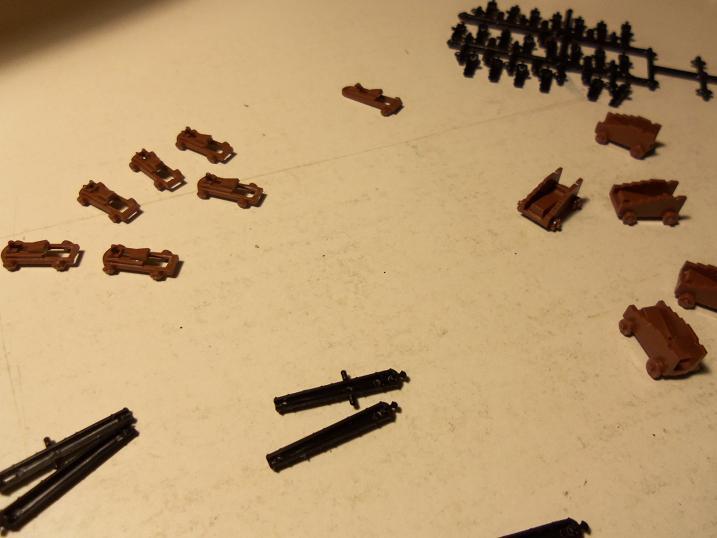
so, the build kicked of in November of 2012. right now, I'm just doing small things, until I can get some of the other builds out of the way. the deck sections are the most important thing first off. they need to be made so that when they are put together, they will lock together without any lines or unevenness..the planking will cover all this over anyway. for the moment, I decided to put the hull together. I'm going to use the stand parts.....they do work quite well. I also assembled the bow chaser cannon...I wish I had two of them.....I like them better than the other cannons. I put the Gothenborg up next to it......I think the size difference in scale is cool.

- 165 replies
-
- 5
-
-
- united states
- revell
- (and 1 more)
-
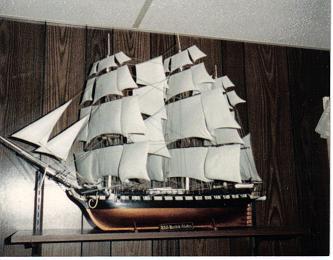
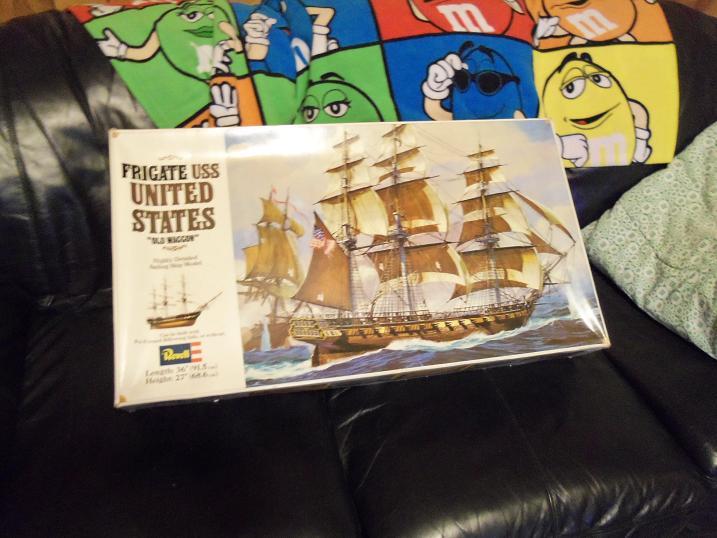
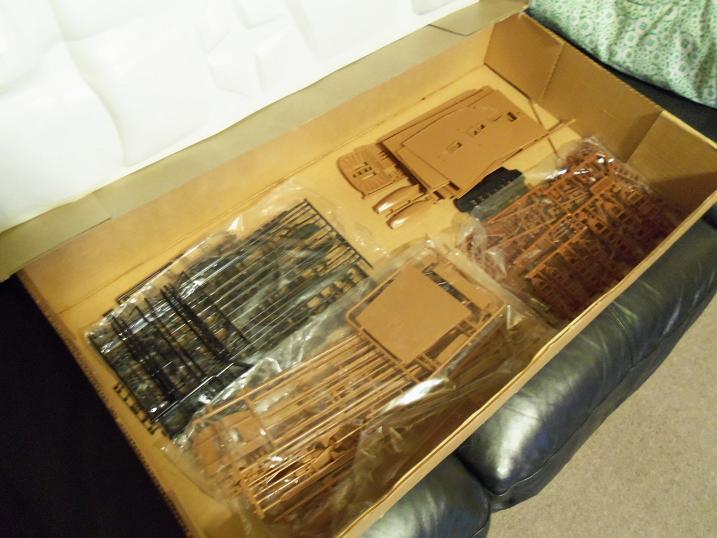
I have some pictures of my first build......this had to be in the mid 90's here is the kit as I got it


- 165 replies
-
- 6
-
-
- united states
- revell
- (and 1 more)
-
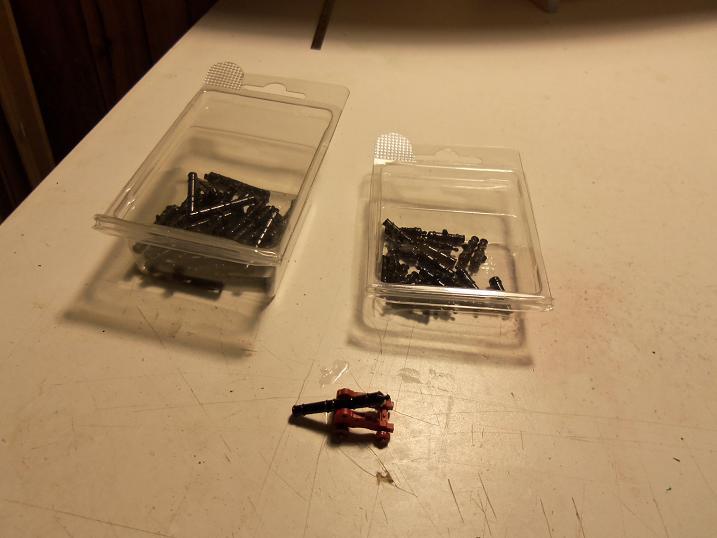
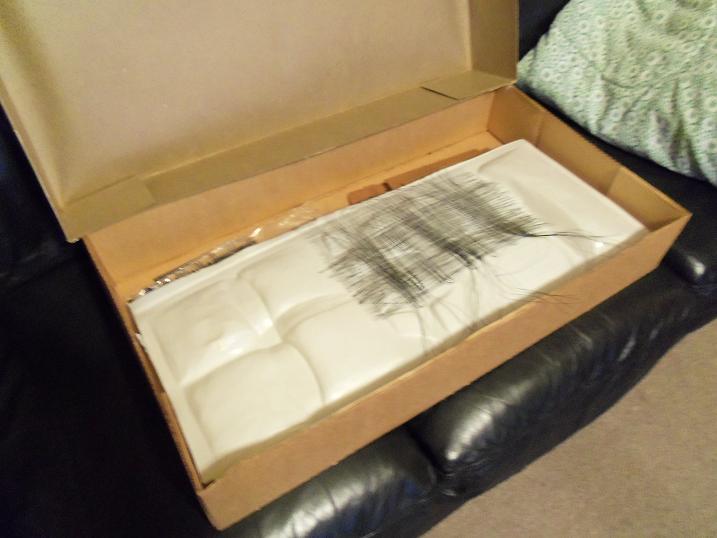
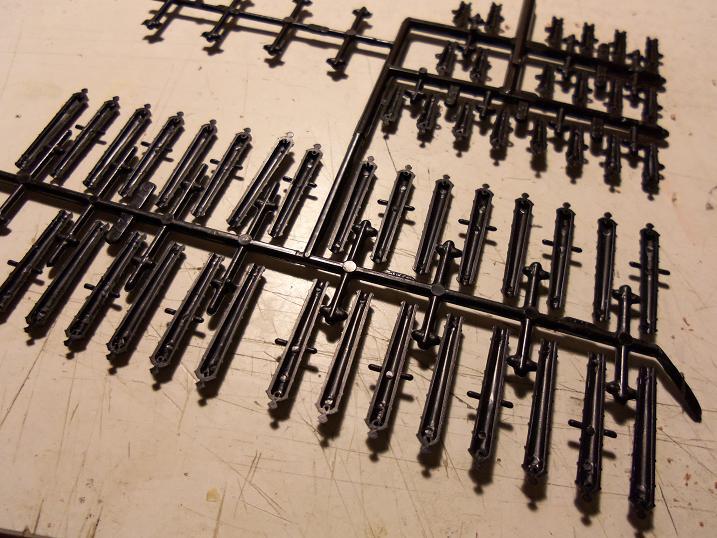
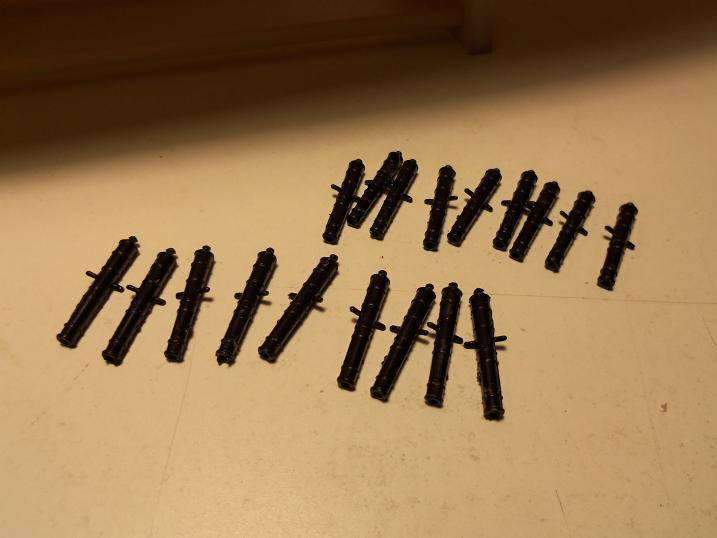
this is the Revell 1:96 scale kit. I had built this kit some time ago. the model was short lived though and met it's demise at my hand. I had been looking for another one for quite a while. I got a tip that there was one on E-bay........didn't think I would suceed......but I managed to get it. it spent a long time in the closet, until one day, when my curiosity got the best of me. I had seen Daniel's build of the Victory here on the site, and wondered if I could pull something like that off. so here it is.....in it's infancy. Now, when Revell came out with this series of large scale models {there we several in the series}, quite a bit of evidence pointed towards the reasoning of the grouping in the series. The Cutty Sark mimicked the thermoplyae.....the C.S.S. Alabama mimicked the U.S.S. Kersarge.....the U.S.S. Constitution mimicked the U.S.S. United States....the only one that didn't seem to have a clone, was the Spanish Galleon. these kis may have.....or probably were, molded from the same molds. whoever came up with this idea was a genius, in my view. outside of a few minor discrepancies....they came out with some of the best kits that revell had ever done. sadly, the Constitution was the only one to survive the discontinual chopping block. my rebuild of this fine vessel is going to be a bit different.....I plan to replace all that I can do with wood. I don't think I'll be able to go as far as Daniel did on his build {which is exsquisite, by the way}, but I'll do what I can. the one thing I want to defeat.....are those nasty separation lines that cursed these decks. the decks on these particular kits are done in sections. when put together in the build, you can't help but see these section lines. I have seen other folks try many ways to hide them.....some are pretty good, but I think doing the decks in wood will totally erraticate them once and for all! what started this build sounds kinda silly......just playful banter on the site. I decided to bring out the cannons to put on the Gothenborg......as a show of force, and to defend the wharf. It opened a can of worms.......it got me thinking of the deck idea again.....and so I went for it. I spent quite a bit of time making the barrels for the cannons I did manage to do a little painting on them. the parts are in pretty good shape....not a lot of flash, or deformaties. there are some things that were not put into this kit, that are in the Connie kit. the aft quarters, for one thing. I'm going to try to add the parts for it in here.....I think it would make for a nice addition

- 165 replies
-
- 7
-
-
- united states
- revell
- (and 1 more)