HOLIDAY DONATION DRIVE - SUPPORT MSW - DO YOUR PART TO KEEP THIS GREAT FORUM GOING! (83 donations so far out of 49,000 members - C'mon guys!)
×


popeye the sailor
-
Posts
16,007 -
Joined
-
Last visited
Content Type
Profiles
Forums
Gallery
Events
Everything posted by popeye the sailor
-
 I want the Dr 1........there was the D series, and an F series......both of these designs was done on the D VII and Dr 1. the only real difference was with the ailerons and stabilizers. the endecker came out shortly after the D VIII. the Germans were experimenting with single wing construction.......the D VIII had the wing fixed over the fusalage, strutted and cabained, and the Endecker had the wing fixed into the top section of the fusalage.......that is, if my memory serves me correctly... I built a D VIII back in the 70's Guillow's has a nice one. this was my best flyer.......rubber powered. it had the habit though of prolonged gliding, after the rubber was done.........I always had to chase it. I was living in Florida at the time. the most memorable flight was also the most funniest! it flew until the rubber died......and then it glided into a marshy field bordered off with barbed wire. then it veered to the right, and went into another marshy field....bordered off with barbed wire. I had to wade through waist high saw grass and scrug bushes to get it......not to mention the barbed wire. I came out of there with the plane to meet up with this old guy, telling me I shouldn't go out there again.....the area was loaded with gators and snakes!
 -
I think I had better take that back. I was looking through my fittings....having the masts ready for assembly, and I noticed a few things. the majority of the blocks supplied in the kit, are single blocks. I found one 5mm double block.......I think there should be at least six of them. these should be for the boom lifts......one set for each mast, as well as the one for the aft horse {on other kit pictures, there were two sets here}. I went on a hunt to find other rigging diagrams for the ship, but so far it's been a bust. I will have progress shortly, to show the block layout I have done so far.
-
does you kit show the mast {s}.........in the fittings are there collars that ne to go on the mast tops? tapering masts depends from ship to ship. on your particular ship, the tapering might start 2/3rds towards the top of he mast. if you have a rigging sheet......this might give you clues as well......but mostly.....get familiar with the fittings that go on the masts and where they are located.......they will be your best barometer. Wayne had his mostly rigged......perhaps he will post some pictures for you........won't you WAYNE!
-
you have my E-mail.........send me a peek!
-
the D VII is the biplane.......is the D VIII the mono?
-
could have fooled me........she looks great!
-
just like feeding the pidgeons........LOL!
-
still.......you've done a fantastic job there, Frank! gonna look great when all the sails are on!
-
guess what I watched the other day Augie.........the Blue Max!.........MAN!!!! I want to get that fokker.......NOW!!!
-
nice work Sarah......the added structures and fittings are well placed. cool deck layout! oh, you were still adding more progress........even better now!
-
don't feel bad Augie..........I do the same thing. there are times where I'm doing something really intense......the camera can be stiing right there {or in my pocket}.......but I fail to get a picture. you did a swell job.......nice recovery..........the fact that you even mentioned it, is enough for me. I don't need a blow by blow......"with the circle and arrows and a paragraph on the back of each one " do you know where I got that phrase from?
- 1,668 replies
-
- 1
-

-
- syren
- model shipways
- (and 1 more)
-
superb job on her Alex.......so clean and neat........nice lines! the time you spent on her is quite realistic.......took me five months to do the Cux........but it all equates to just how much time, at any one sitting, you can devote to the build. you've built a very nice ship here......I'll look forward in seeing your next build!
-
your making some good ground getting caught up Kats.......you'll be caught up in no time! lots of good info for all who look
- 237 replies
-
- 1
-
-
- cutty sark
- revell
- (and 2 more)
-
looking good Andy.........superb rigging!
-
my main tool for simulated calking was crayon. while on a later build, I had a conversation with John {jim lad} about the use of archive pens. the one that I bought, you can find in any craft store......but to be honest, the secret is in the type of ink. regular markers contain ingredients that allow the marker to do just what it does.....seep into whatever you apply it to. this and you have to remember....wood, especially the type we use......is porous. the archive pen that I have is a non fillable pen, that is filled with india ink. India ink is a condensed ink......containing little to no ingredient as such........it will seep into whatevery you apply it to, but will not leech out to the other side.... {paper, or light material}. I use a med to fine tip. still, it is an ink, not something you want to dottle on......you have to move the pen over the edge without stopping.......but it will seep in if your too slow. try a couple test pieces to get a feel for it.....careful on the ends, because it will seep in quick, due to the cut of the wood. also, you do have to wait a minute or two, so the ink will dry to some degree.
-
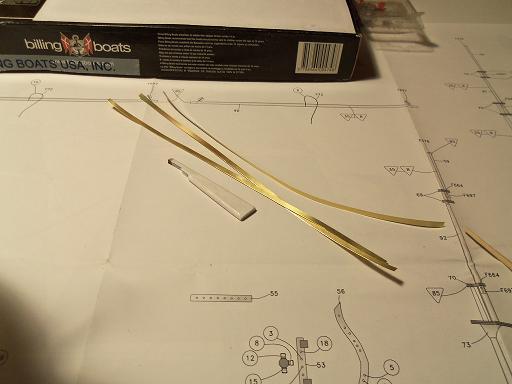
thanks Bob........had some pressing thing to do yesterday........but I'll get the whip crack'in today no Augie.......just the brass wire that was supplied in the kit. I haven't had to add anything....it's a super kit. it even looks like there's enough sail material........not sure....I have to map them out. I'll have an update soon. thanks for the good word.
-
thanks Frank........the cap rails aren't exact, but there again, there are a few things that aren't that I failed to catch. one of these days, I'll be able to get those dead eyes........hopefully by then, I will have caught up some. thanks for the good word, my friend.
-
glad you made it back.......I'll be looking........
-
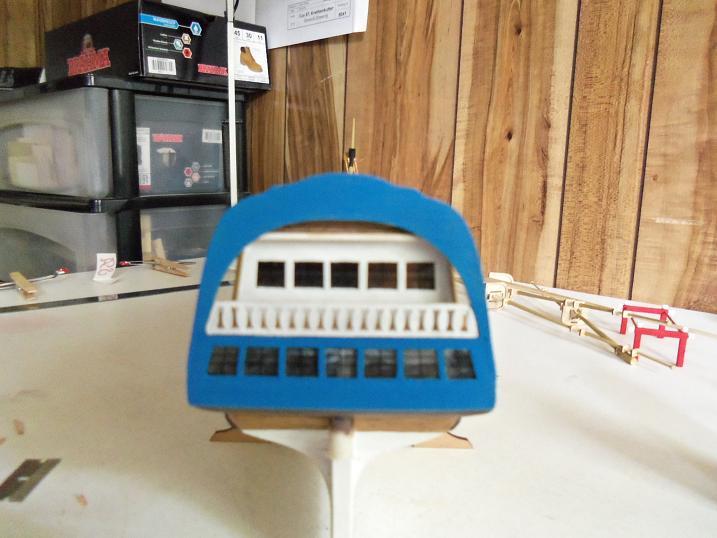
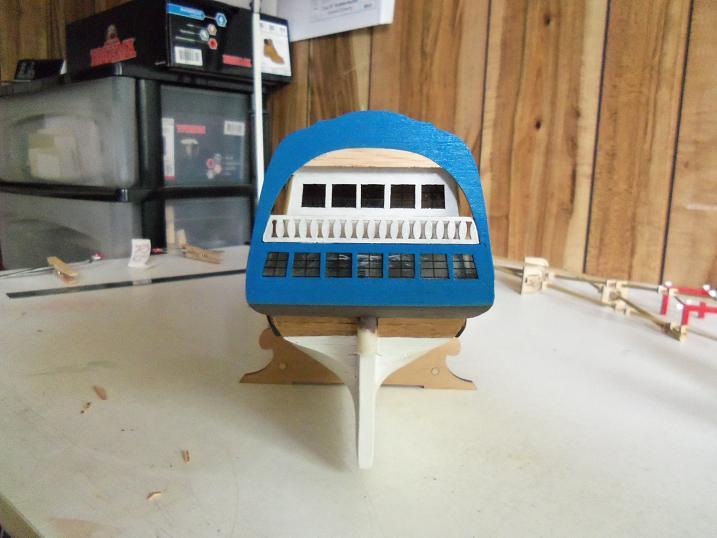
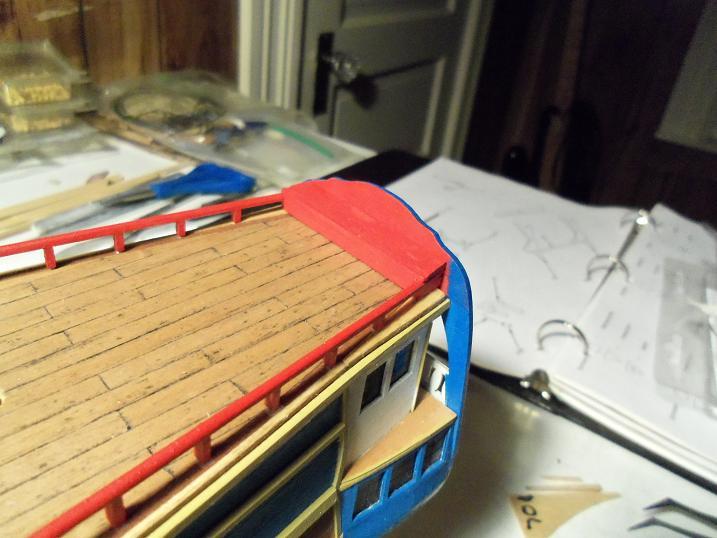
Thanks Augie.......sorry I didn't see your post.......I believe the blue is called 'grabber blue' the same color as the Nordkap. thanks Anja......yea, not too much left....but enough to confuse the bejebers out of me, trying to remember what I did...thanks for the good word. thanks as well Mark...yep, before you know it.....it will all be back up. I kinda had to post most of it......too much little stuff, but I did leave out some of them...... there will be more progress soon. thanks for the good word.
-
WOW Augie! glad you were able to put her to right! sad to hear you had to do some back peddling there! look at it this way.....at least she didn't hit the floor {perish the thought}.......but your back on track now, and that's all that counts! great save!
- 1,668 replies
-
- 1
-
-
- syren
- model shipways
- (and 1 more)
-
superb job so far Frank.......completely done like this, it's going to look swell!
-
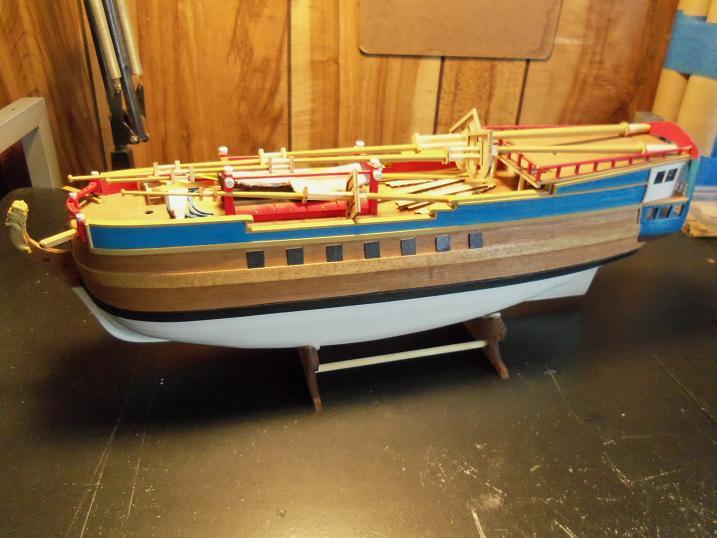
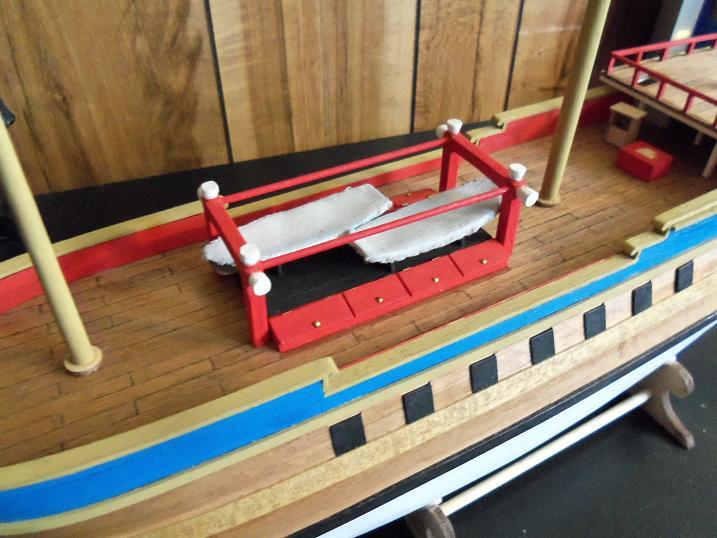
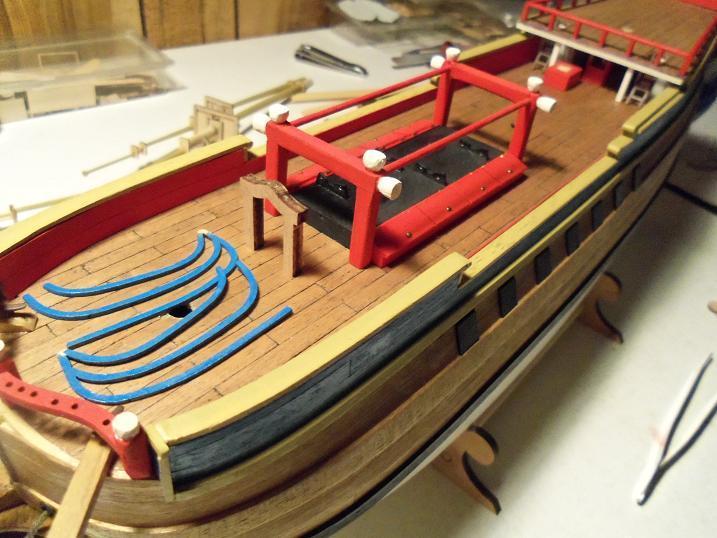
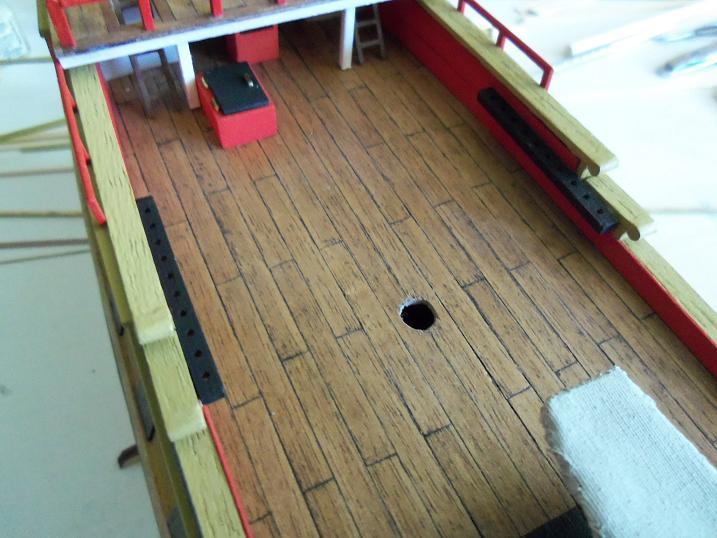
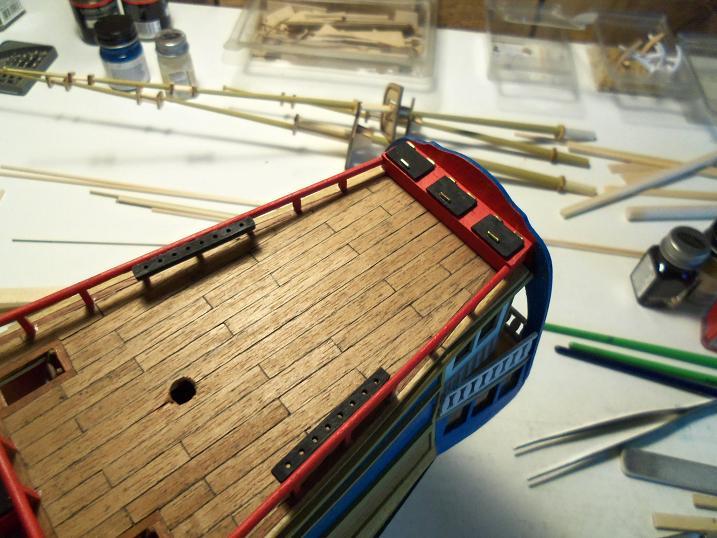
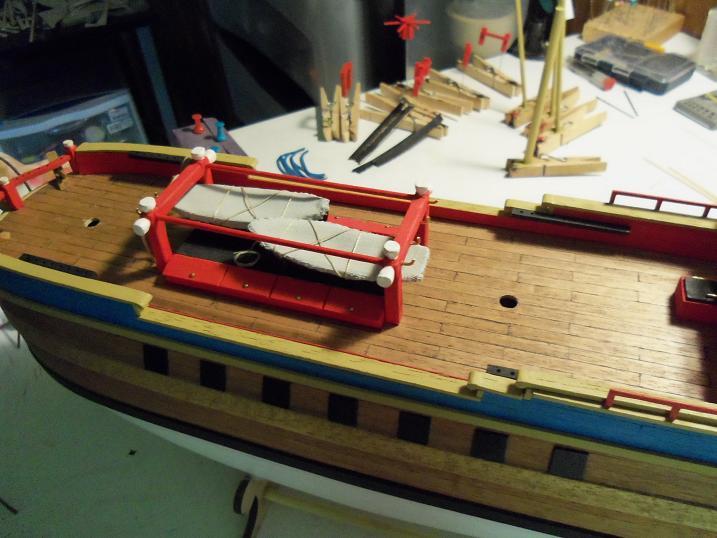
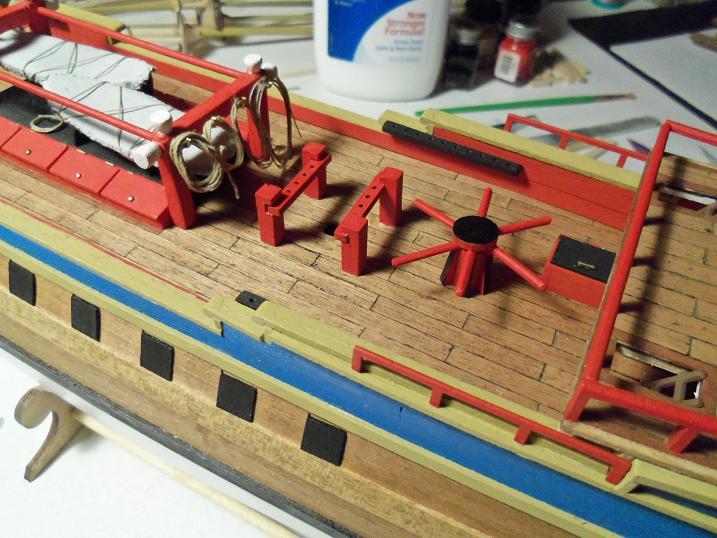
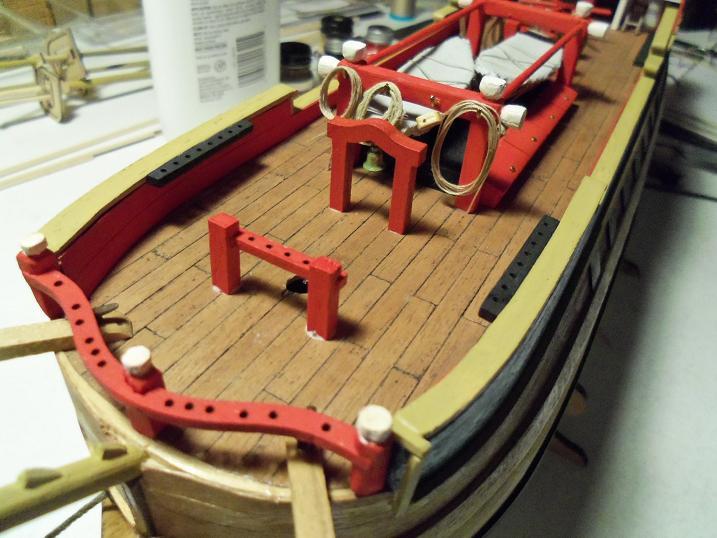
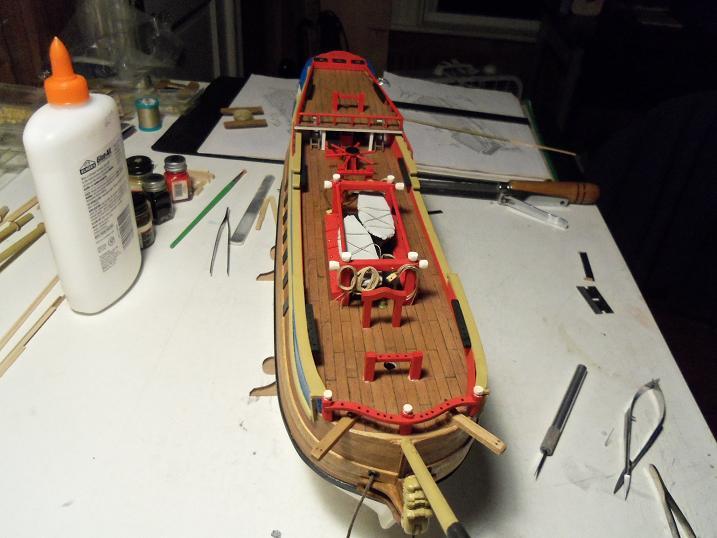
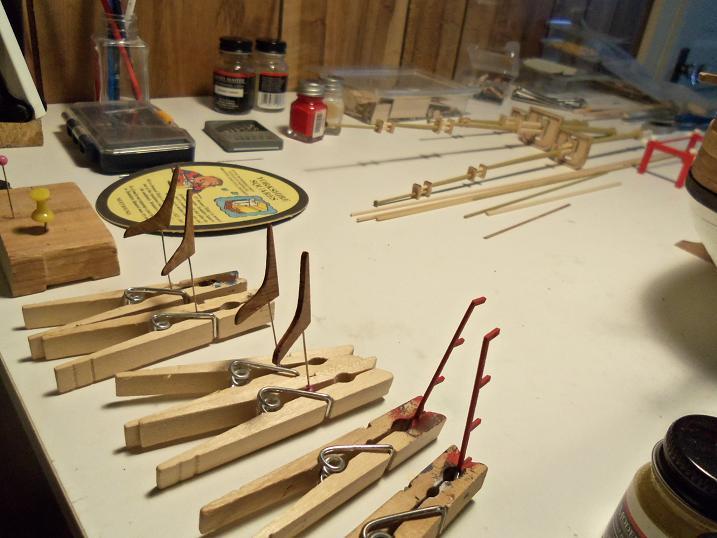
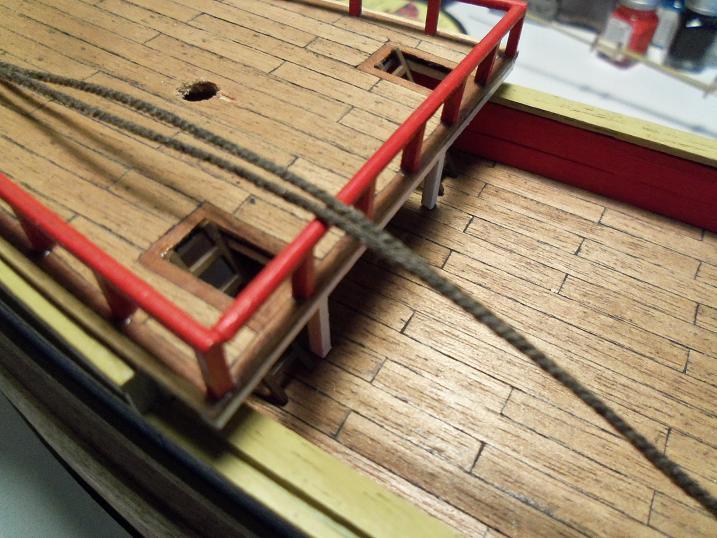
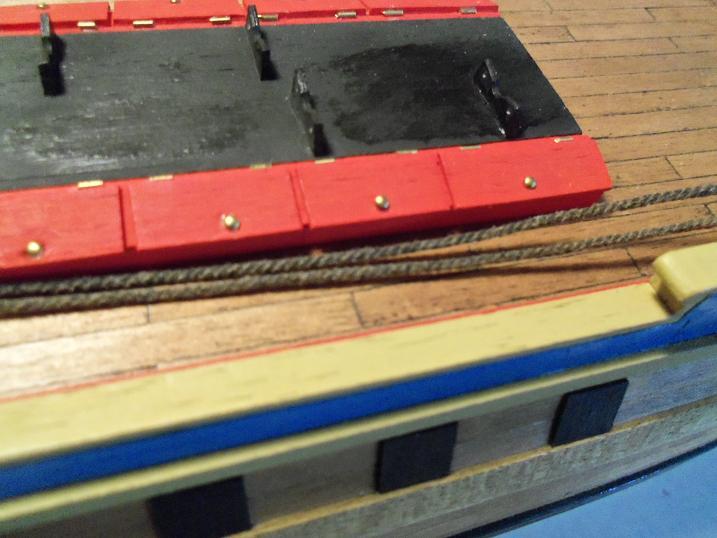
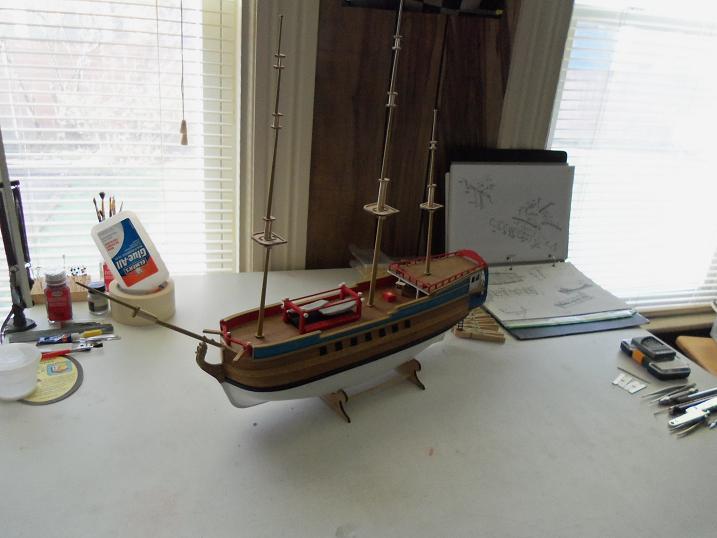
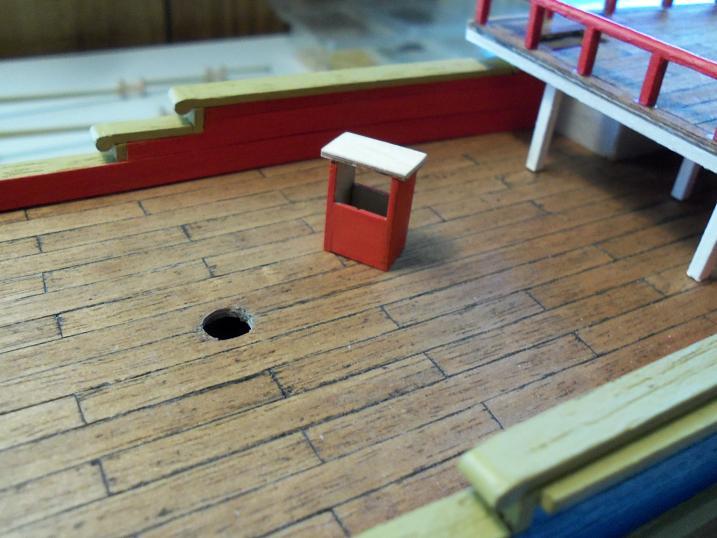
5 - 18 - 2012 another session.......more assorted add ons......more fittings were added to the deck.


-
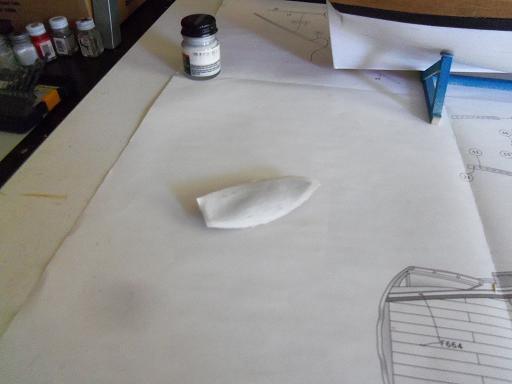
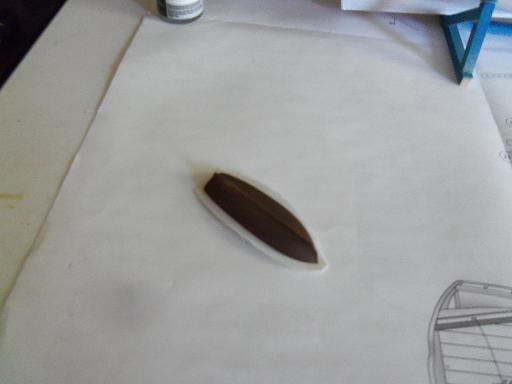
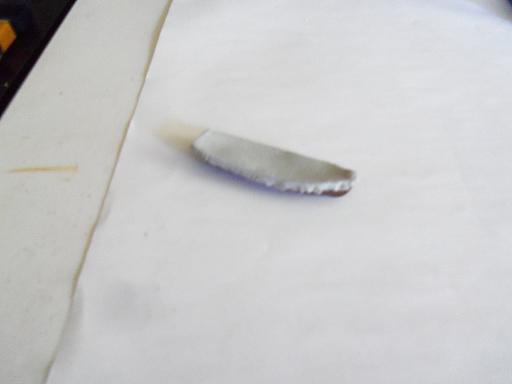
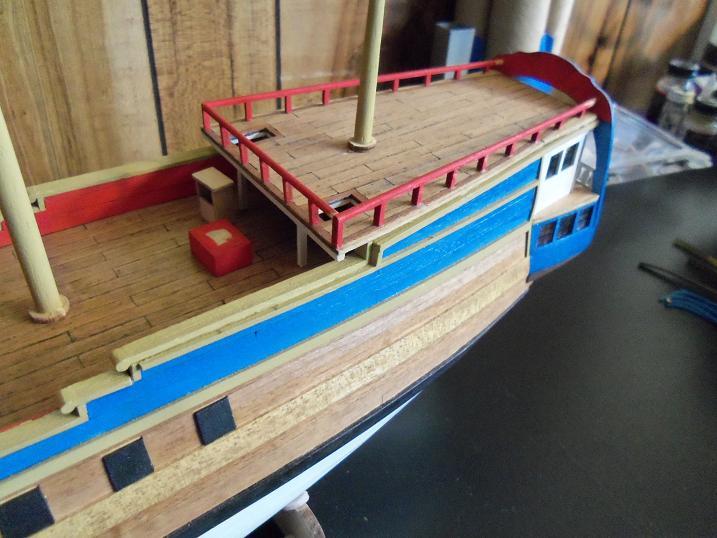
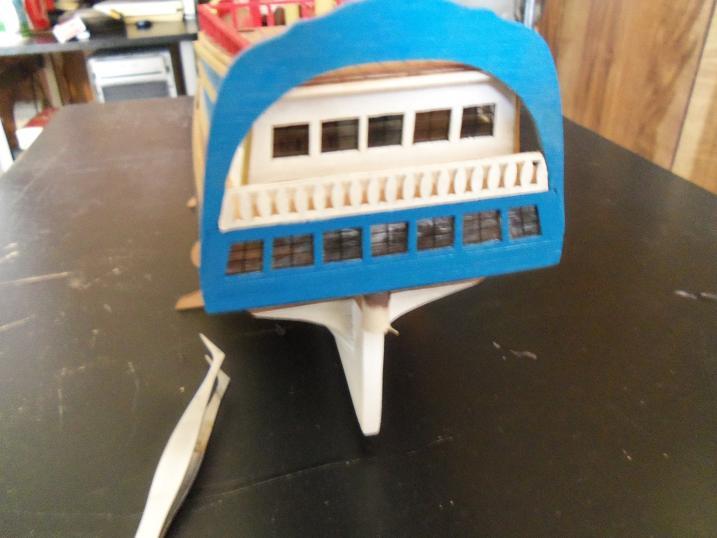
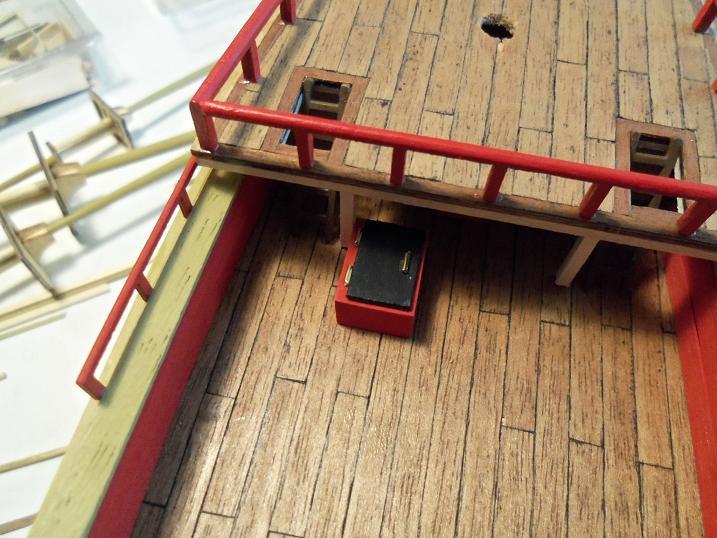
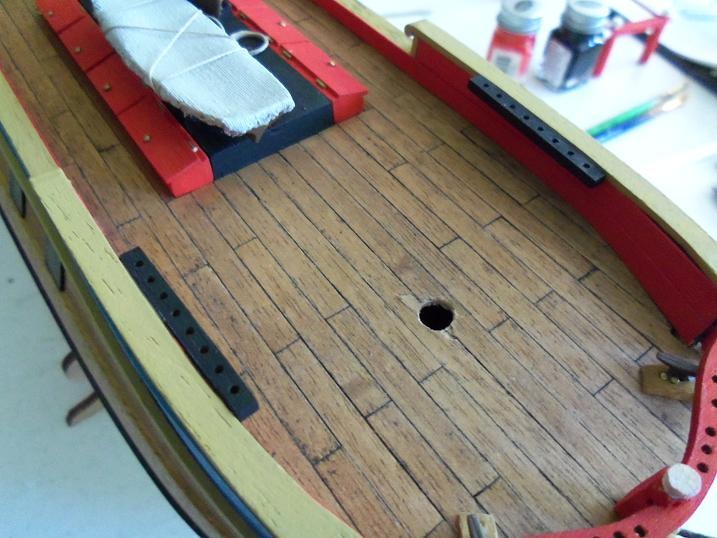
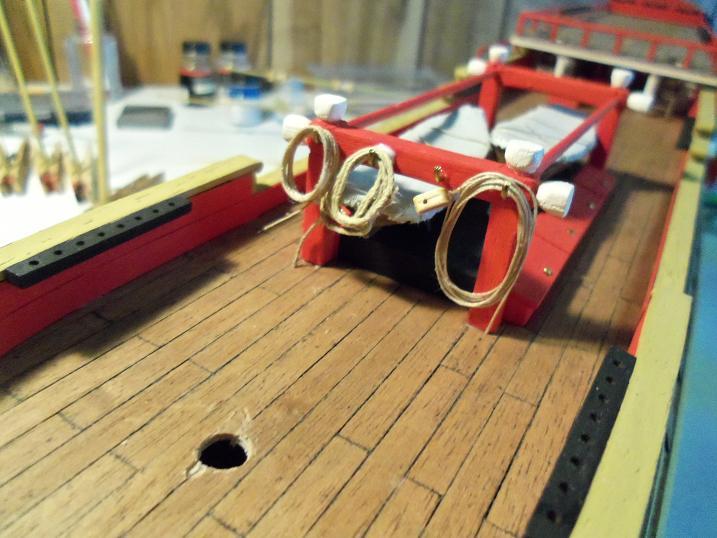
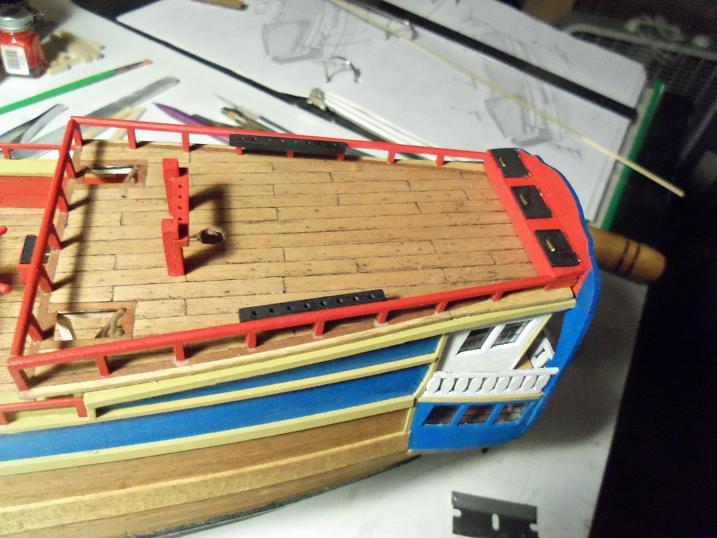
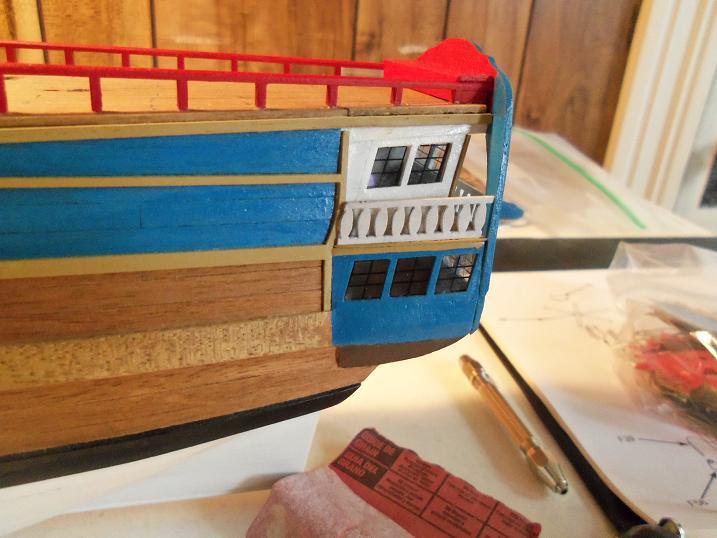
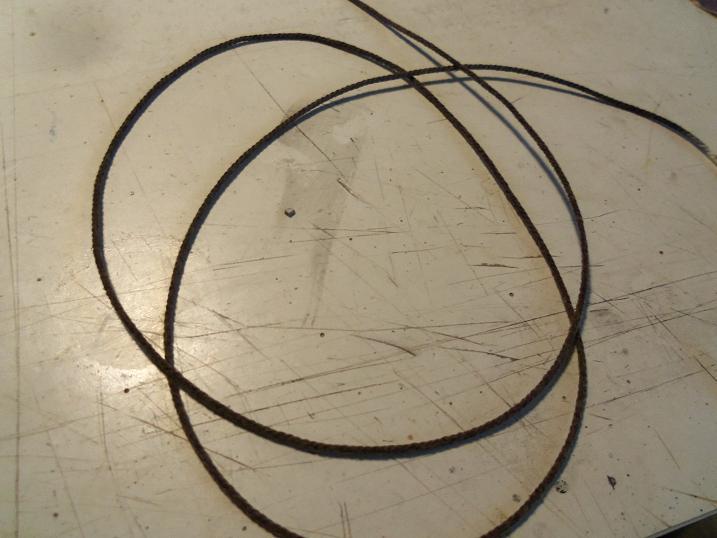
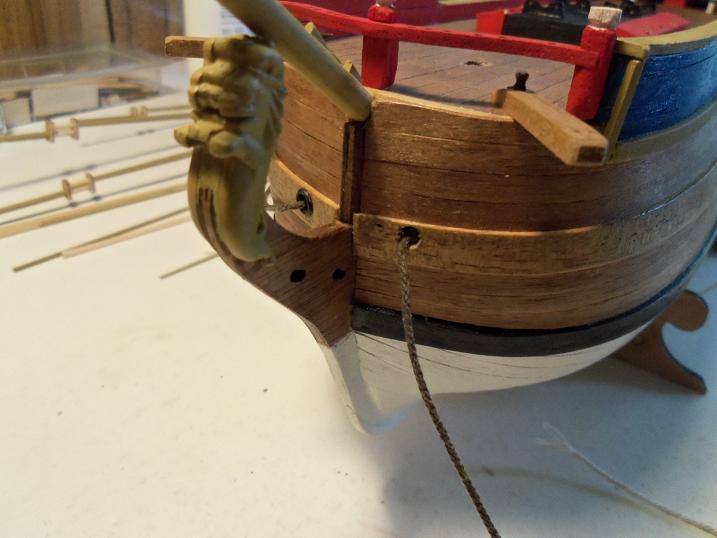
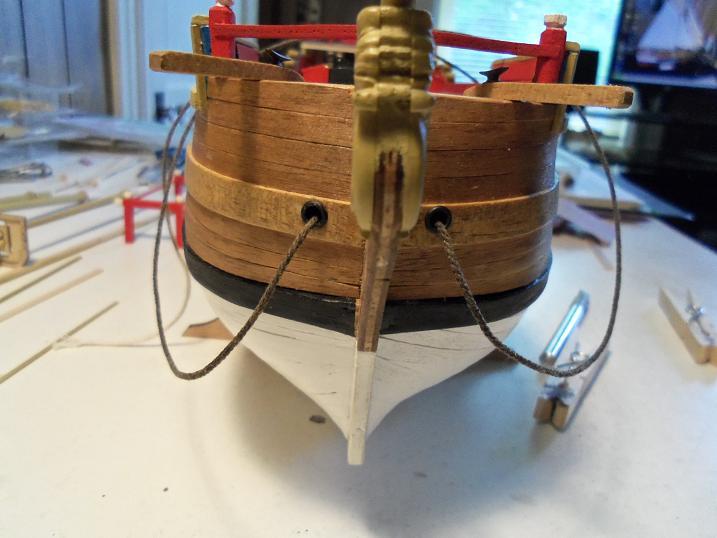
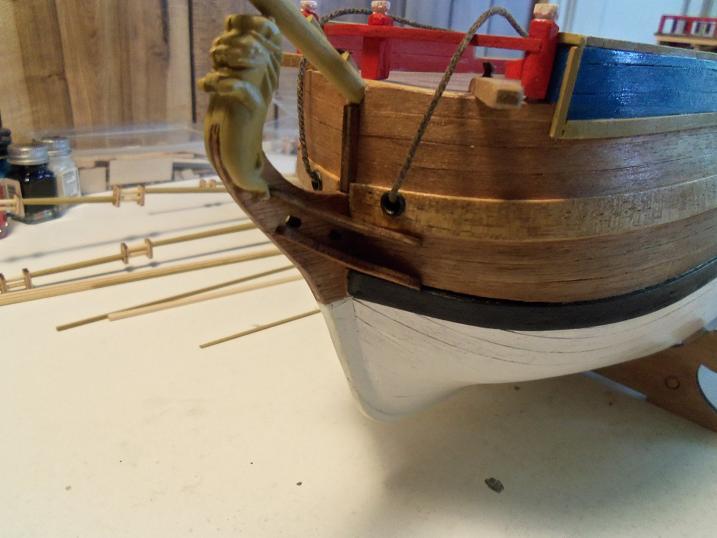
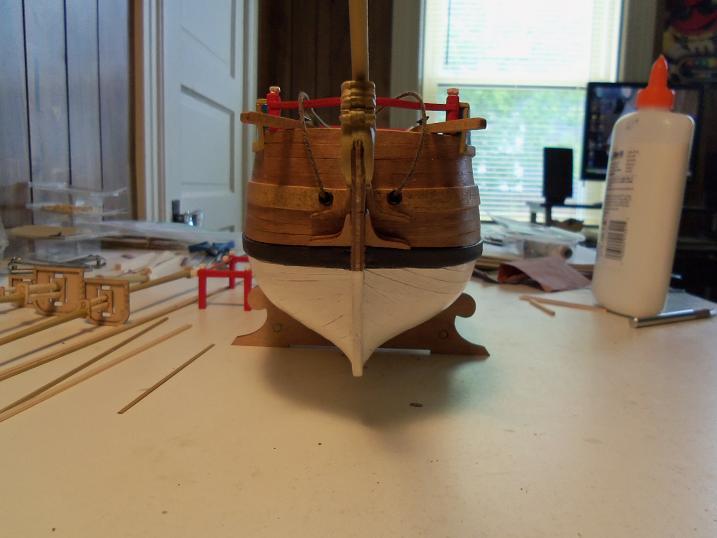
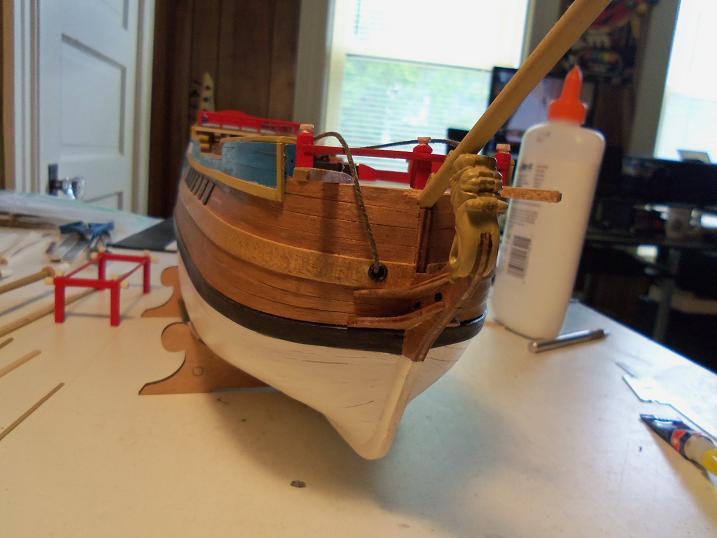
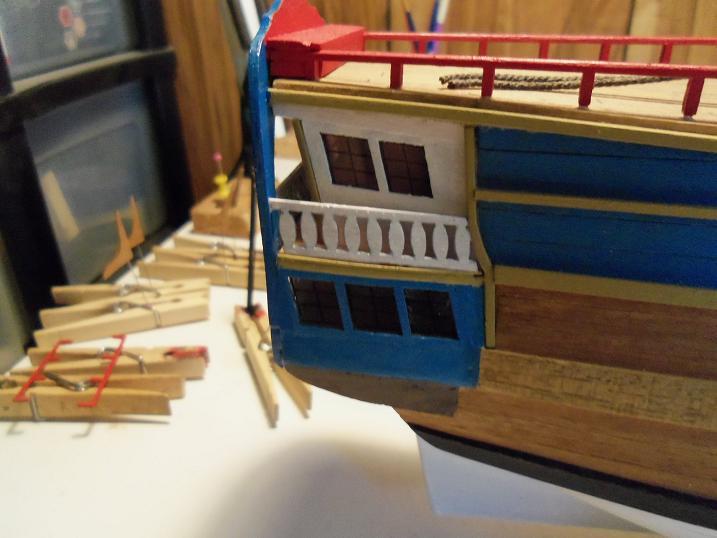
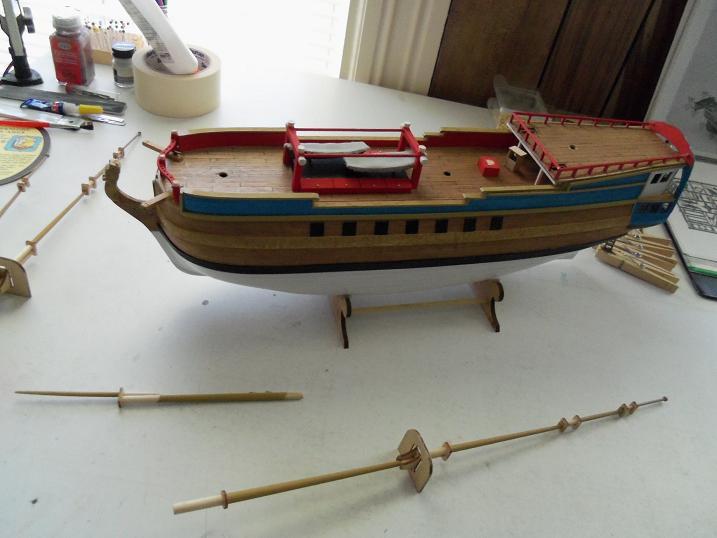
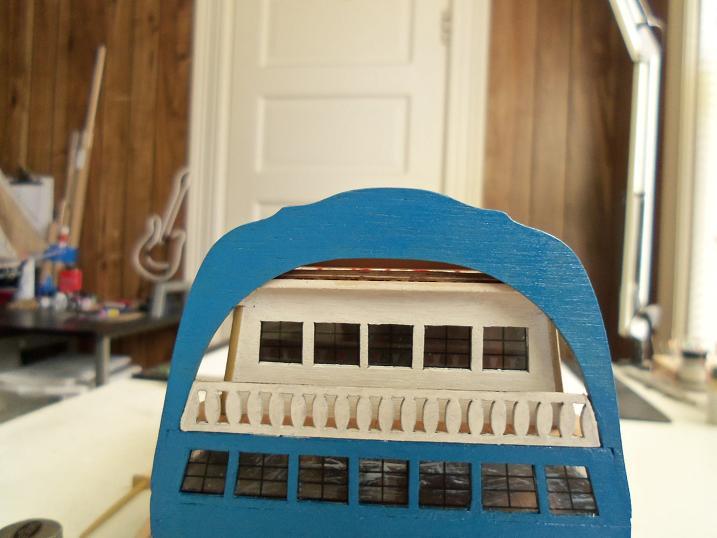
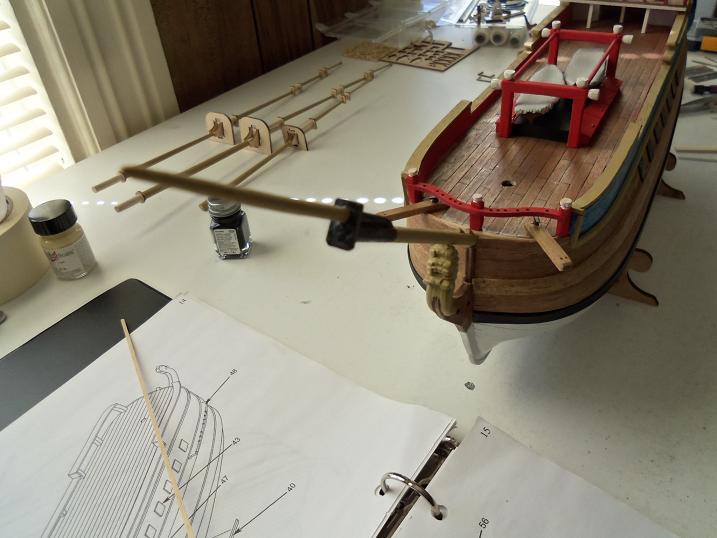
5 - 9 - 2012 the filler was made for the balcony the kit kit supplied a single pair of bobstays......the actual ship has two pairs. I made the extra pair. the kit also did not show where the the anchor holes were to be.....from looking at the main drawing and the pictures, I figured out where they were to be. I made up the anchor rope by staining it first, and then painting on diluted white glue. the anchor ropw was cut into two equal lengths and then knotted on one end. the kit supplied two hawse grommets for the holes. after they were threaded onto the ropes, they were cemented in place.


-
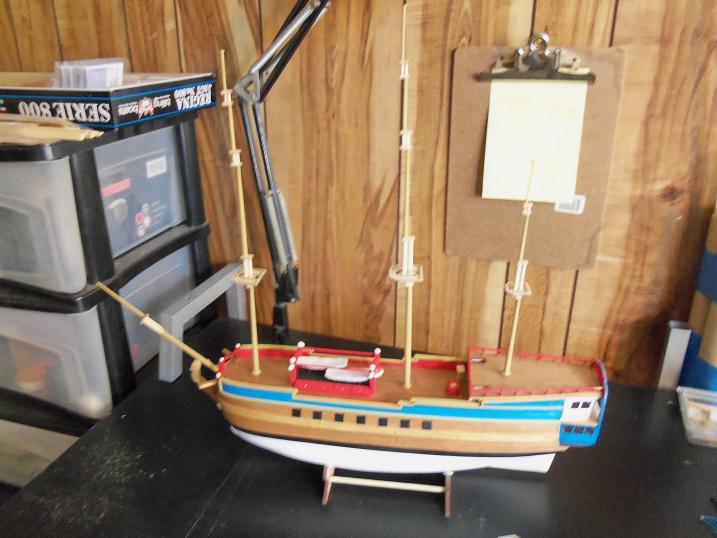
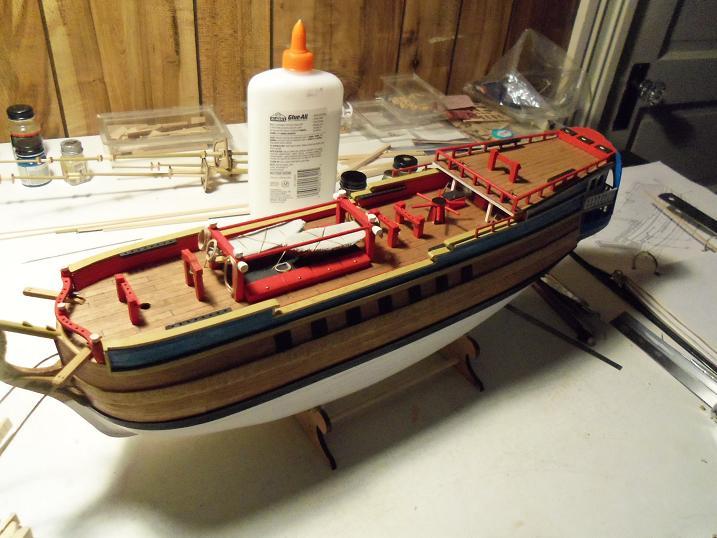
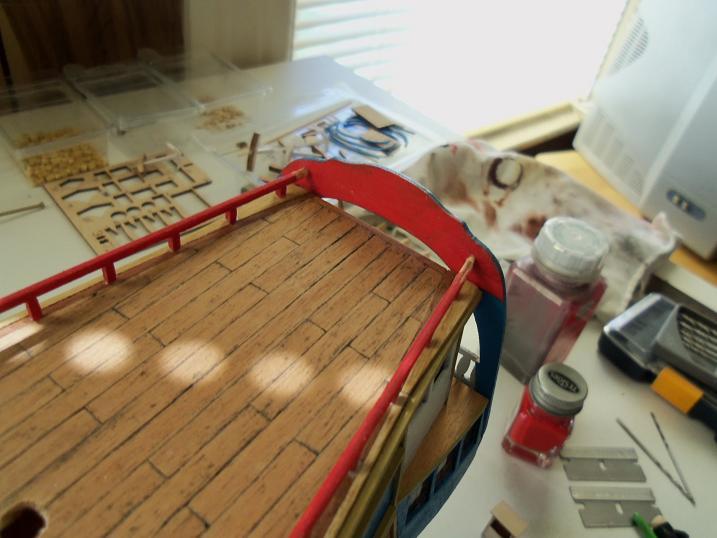
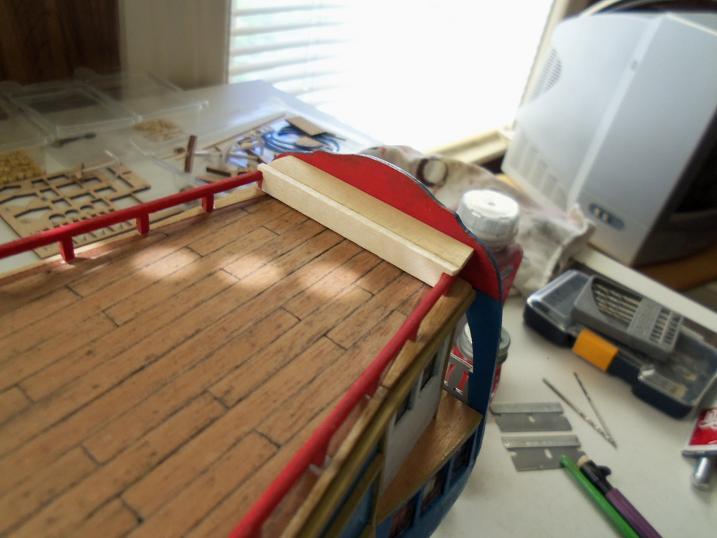
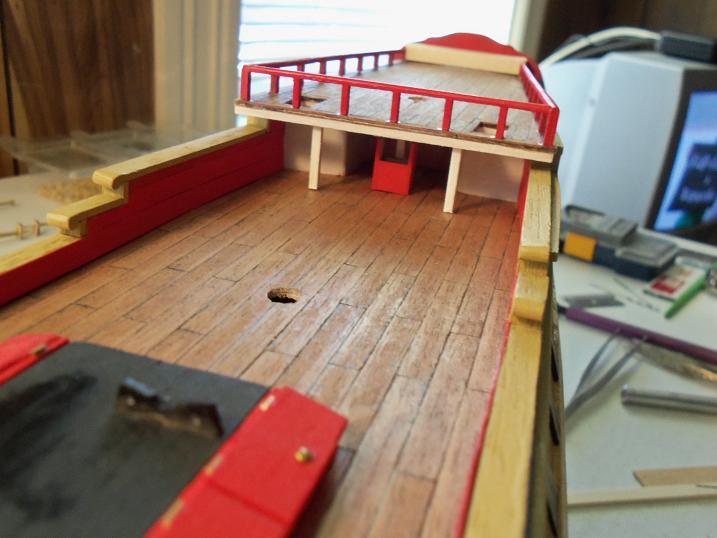
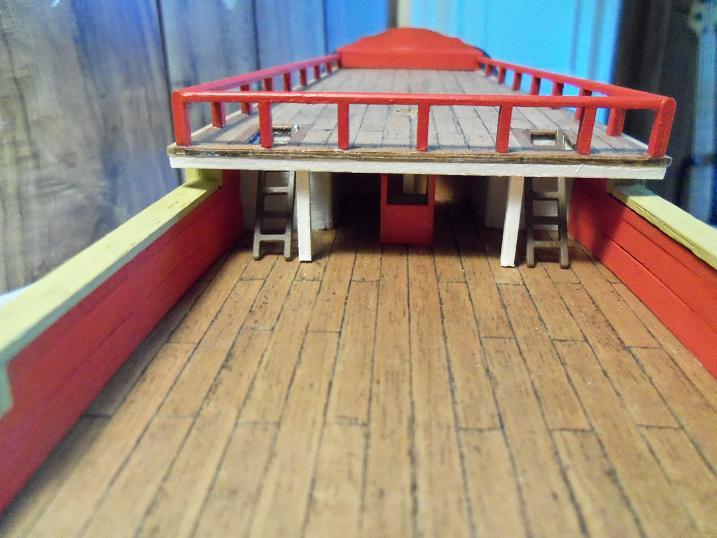
thanks for looking in Bob........I know it's crazy......but I'm used to it by now. compared to others here at MSW, I'm still a relative newbie.......I think I've only been doing these about four years now {I lost track}. I've started the logs......I can just pick them up later. thanks for the good word.......and not to worry, I can only work on one build at any given moment 4 - 13 - 2012 I forgot what I was doing between the time frame.......but I brought the Gothenborg back out. 4 - 19 - 2012 I did some small detail work at this time, adding a little something here and there. there is the gap between the aft deck and the balcony, I decided to make a locker that will span the width of the aft deck. I will need to make a slight change in the curvature of the balcony to hide this as well. I did a bit more with the bow spirit as well. I cleaned up the chain plates....prep for paint I added extra wood to the fore chain plates, so I could put more of a curvature to match the hull.


-
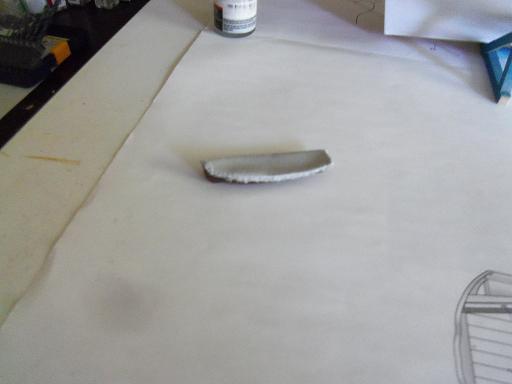
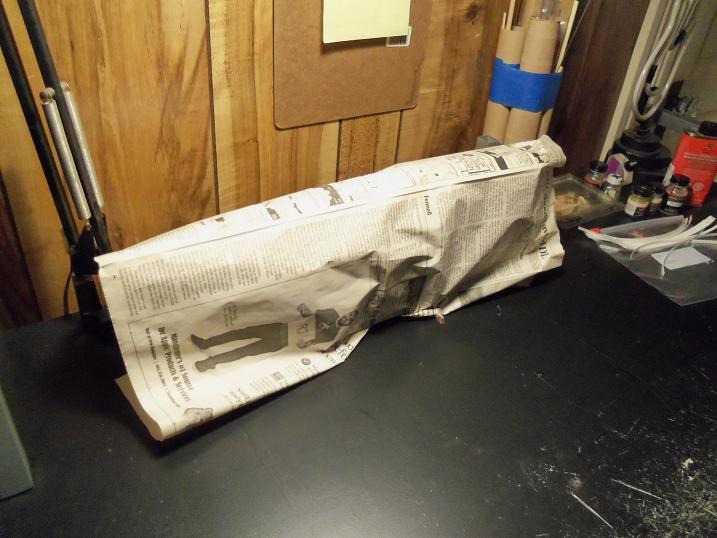
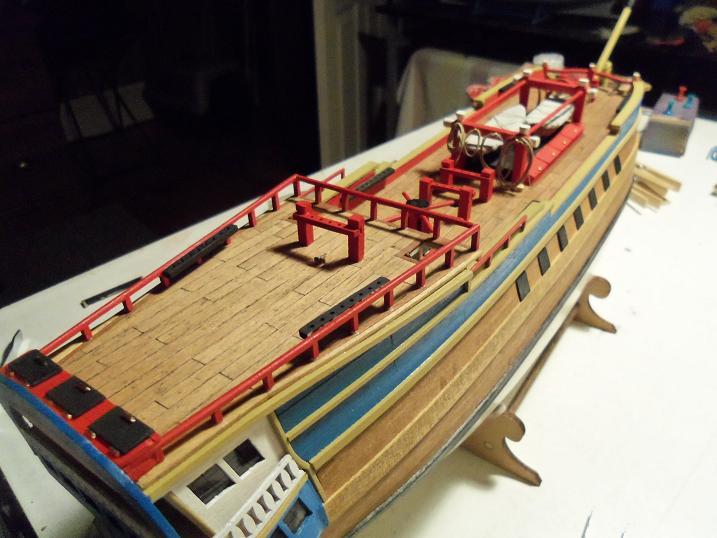
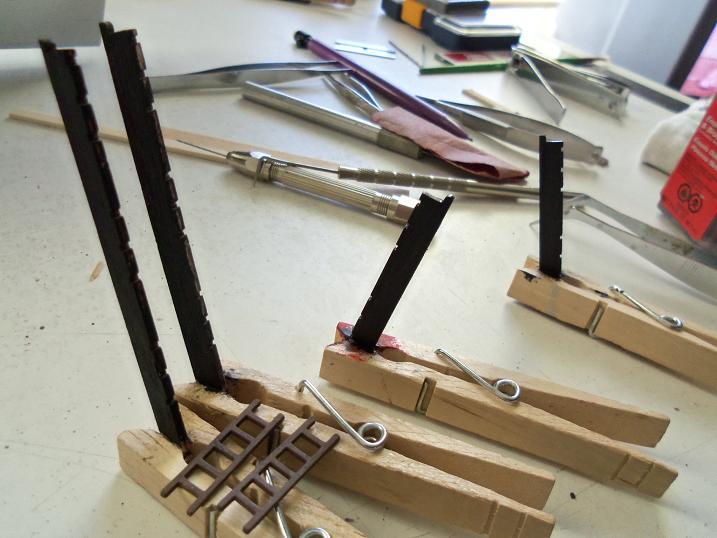
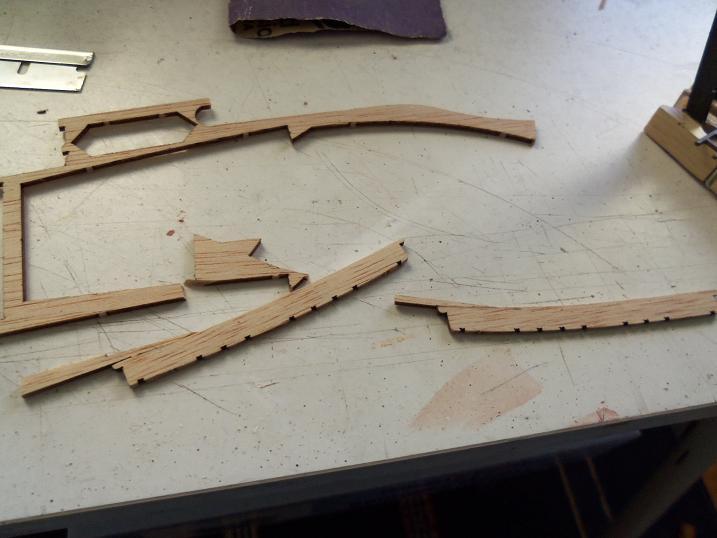
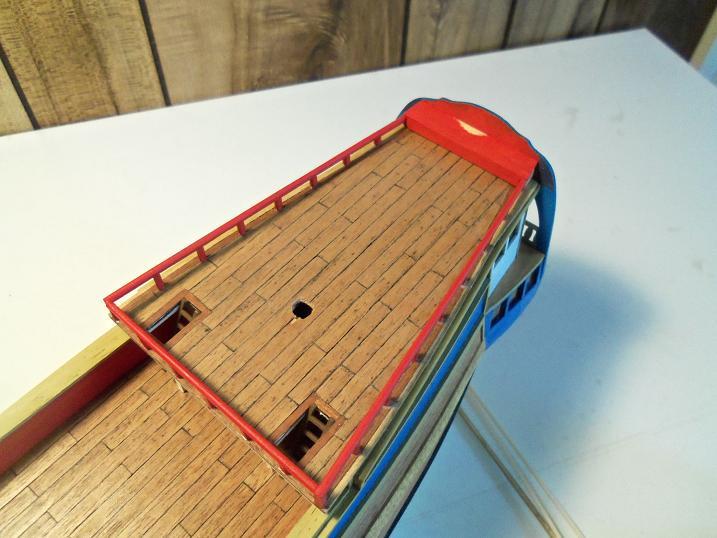
I started to work on the rudder: ....and a little work on the life boats as well I thought to show the life boats covered with tarps. they will be lashed down later within the rack assembly. ..........I was having problems at this time. I had read the article about the Gundalow.......since reading it, I was finding it very hard to concentrate on the Gothenborg. in fact, you can see glimpses of the hull frame in some of the pictures. thoughts and ideas about the Gundalow would not let me go.....the pull finally made me table the Gothenborg........she laid dormant for a while............... 1 - 27 - 2012 with the build of the Gundalow finally finished........the cover can be removed from the Gothenborg and work can continue. it was short lived though......other ideas came to mind........and with the mind still weakened from the Gundalow......off the beaten path I went.