


popeye the sailor
-
Posts
16,007 -
Joined
-
Last visited
Content Type
Profiles
Forums
Gallery
Events
Everything posted by popeye the sailor
-
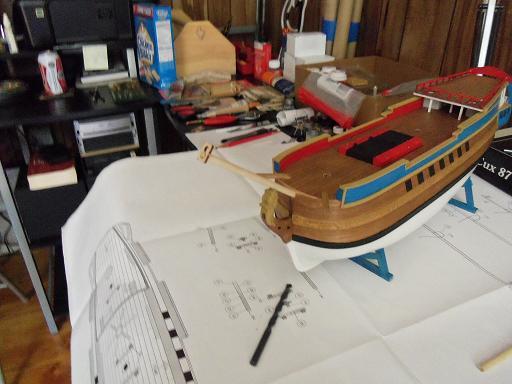
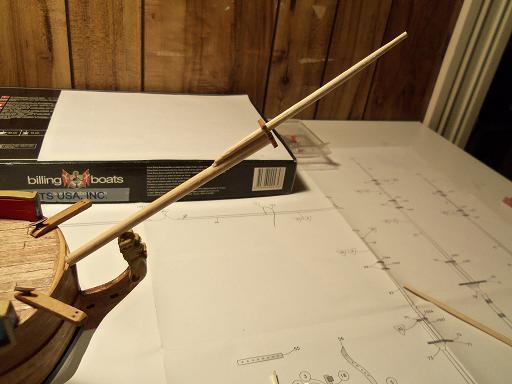
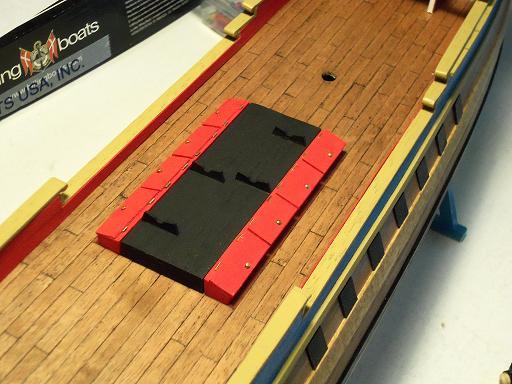
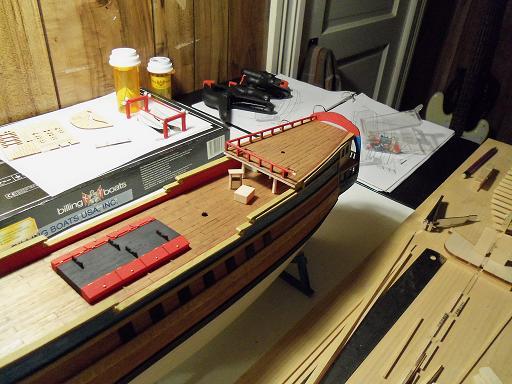
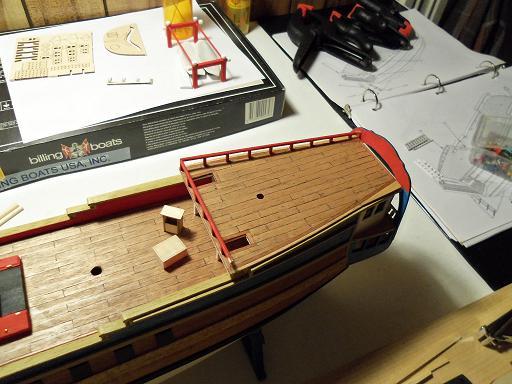
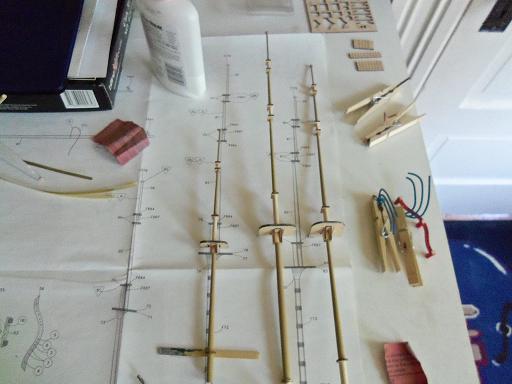
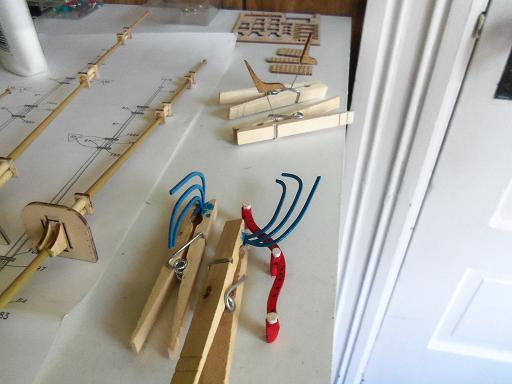
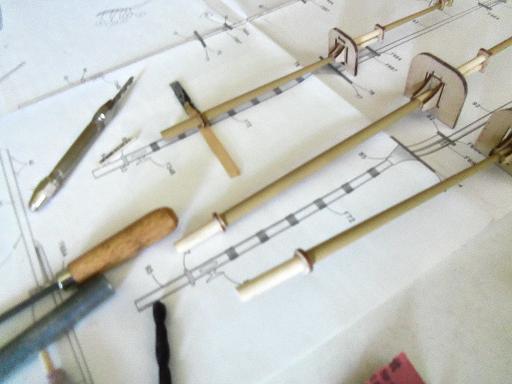
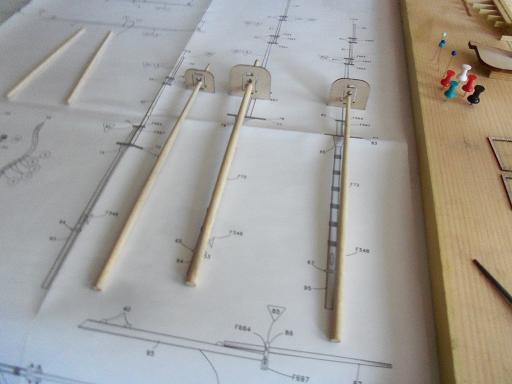
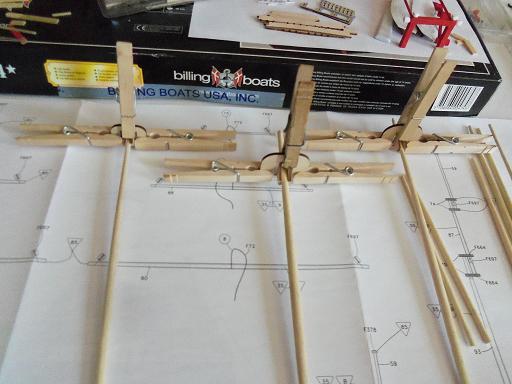
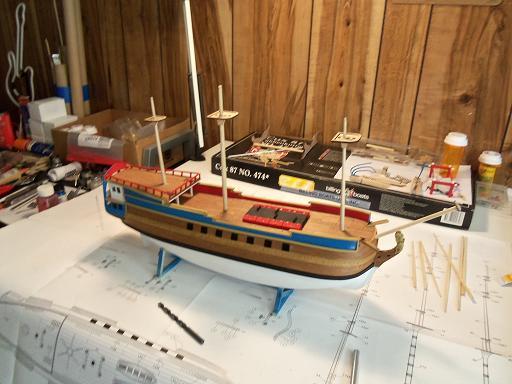
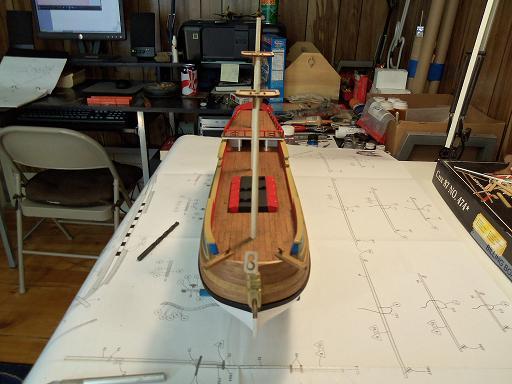
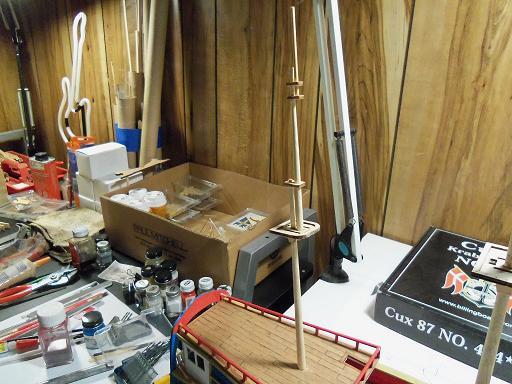
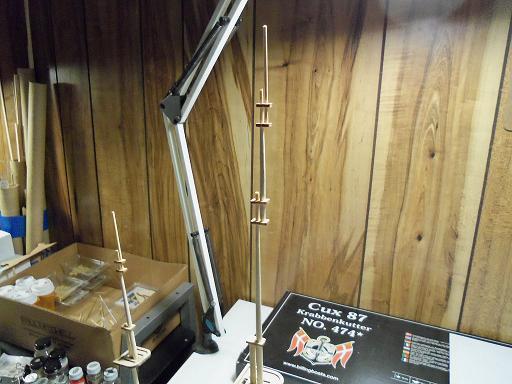
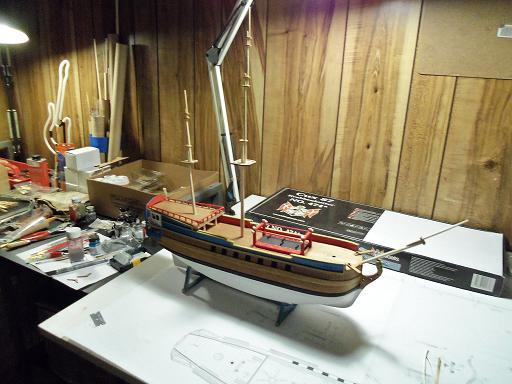
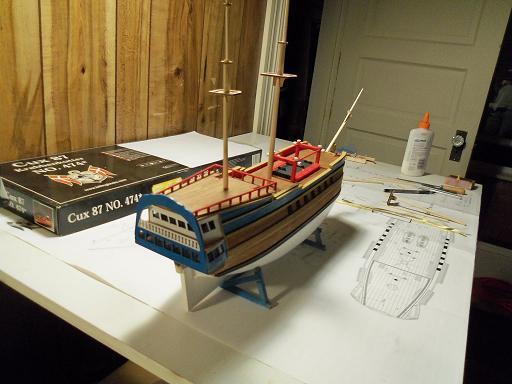
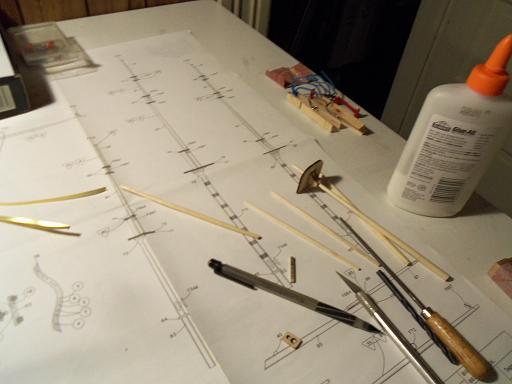
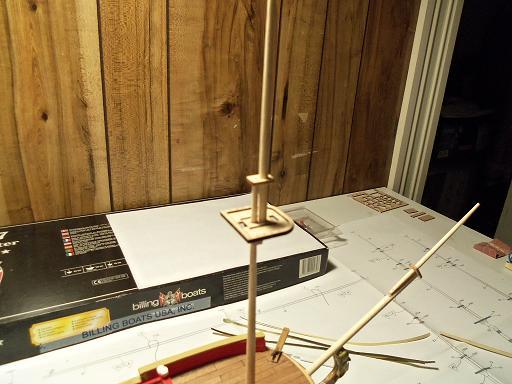
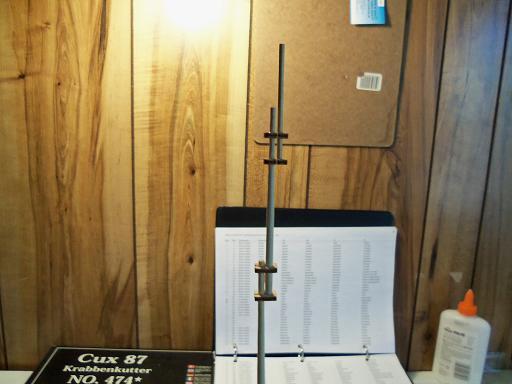
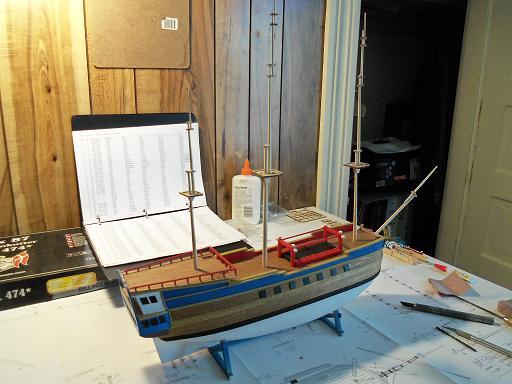
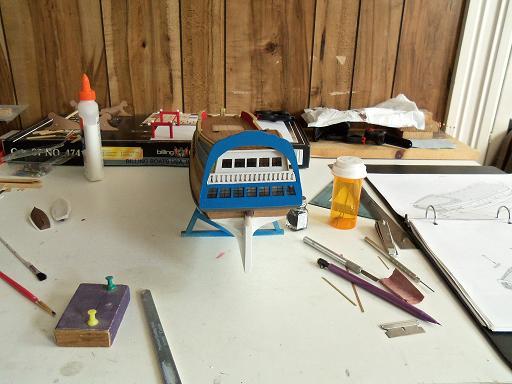
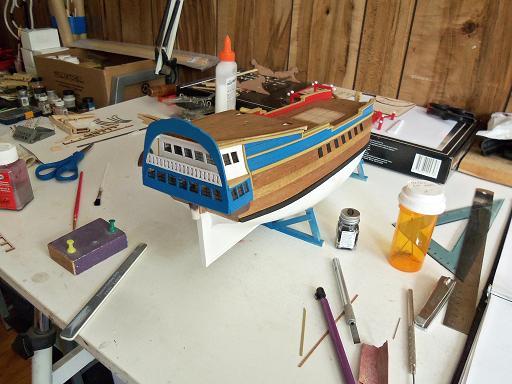
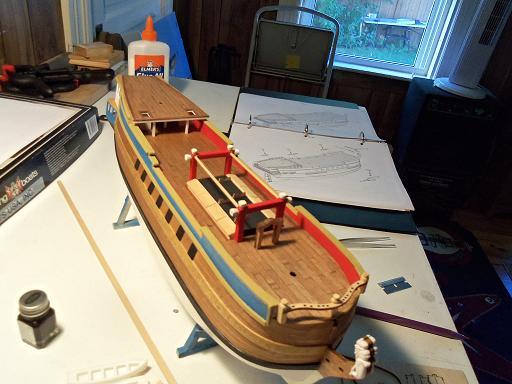
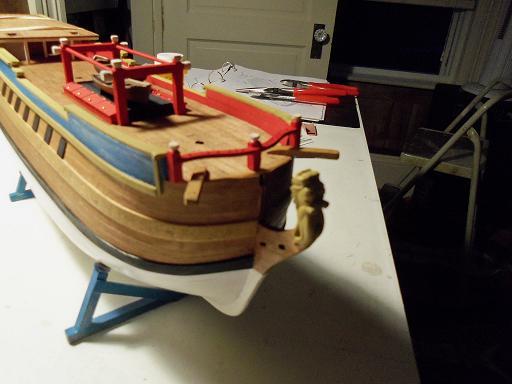
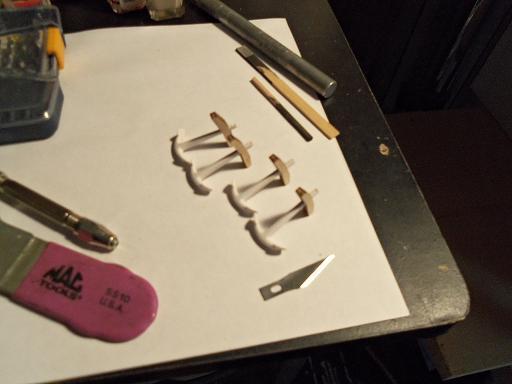
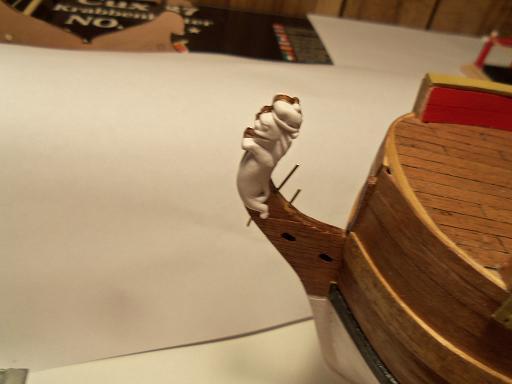
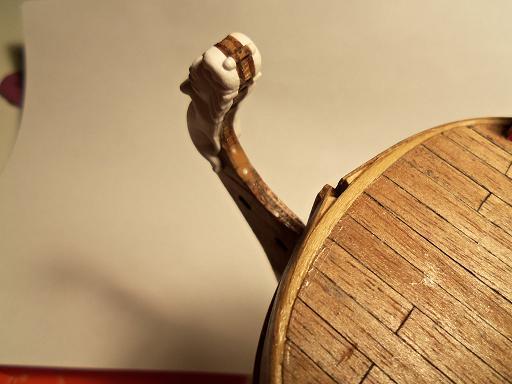
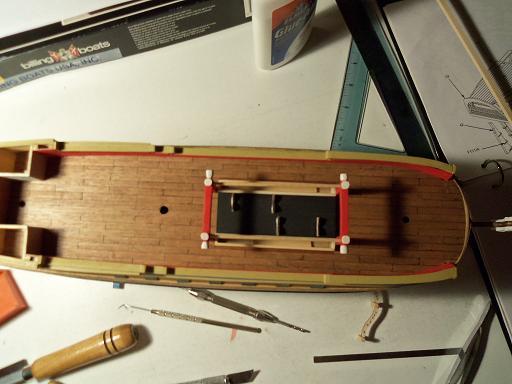
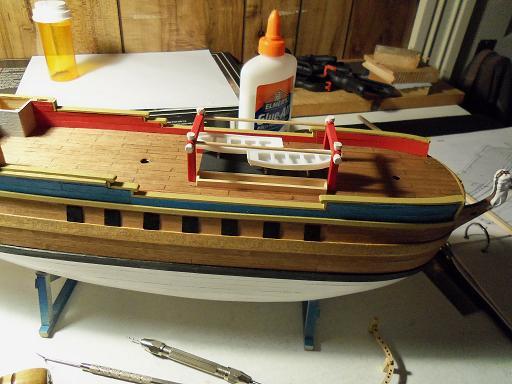
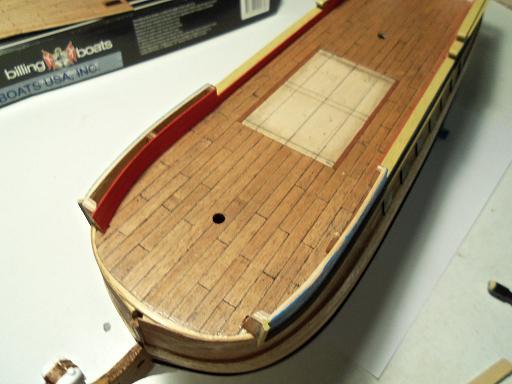
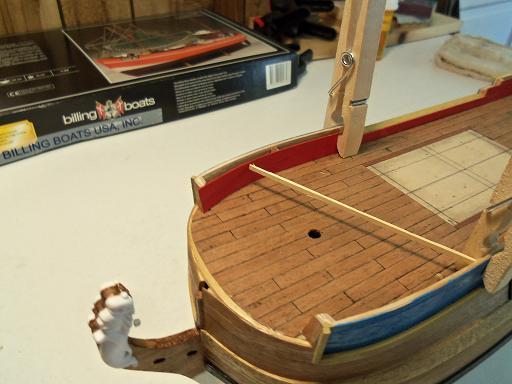
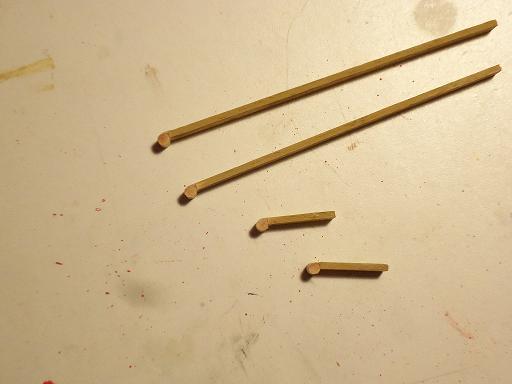
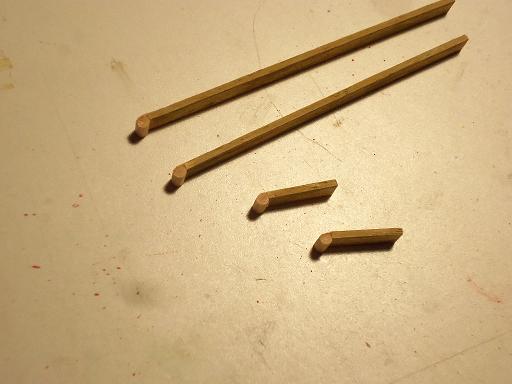
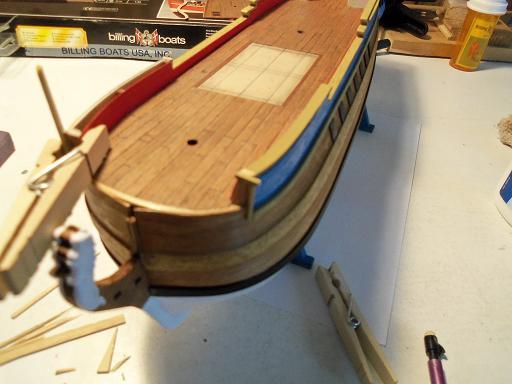
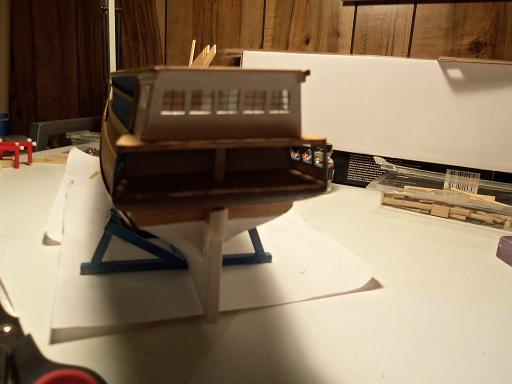
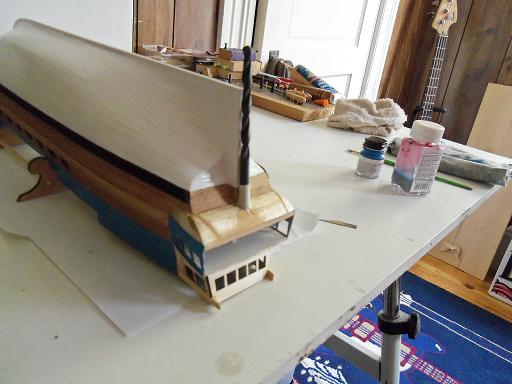
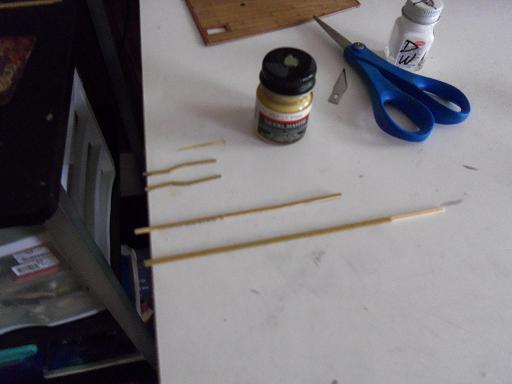
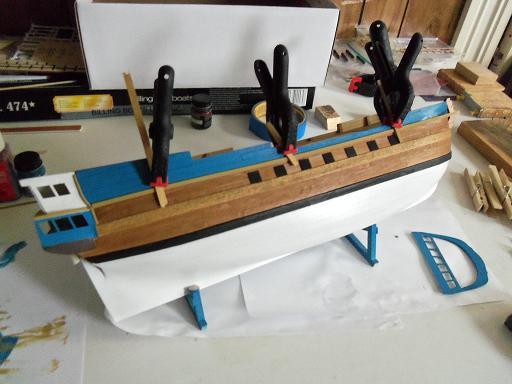
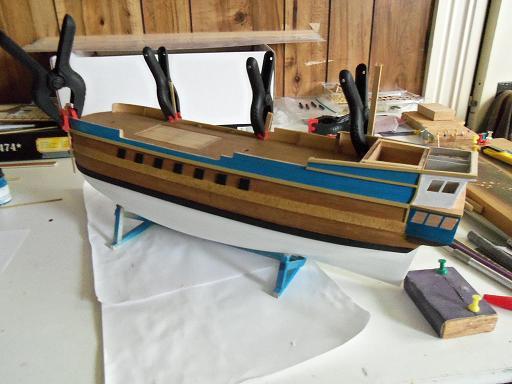
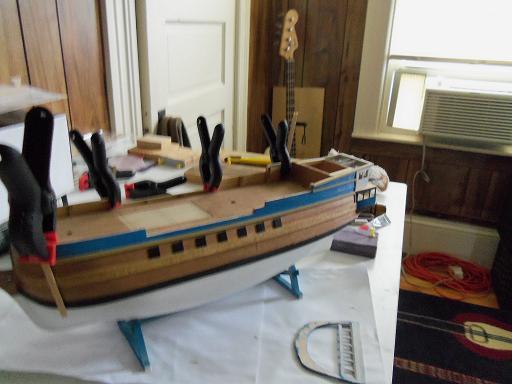
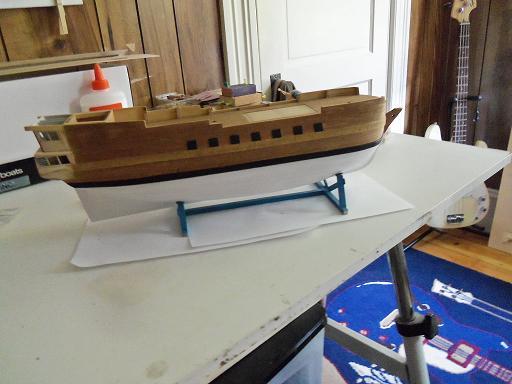
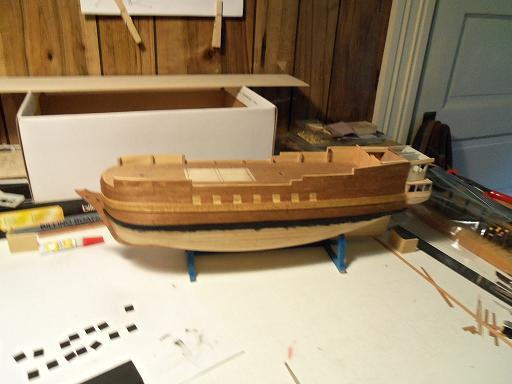
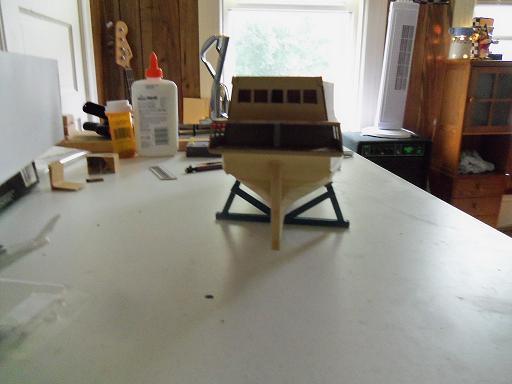
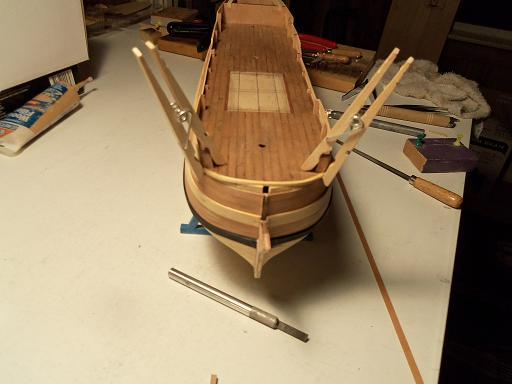
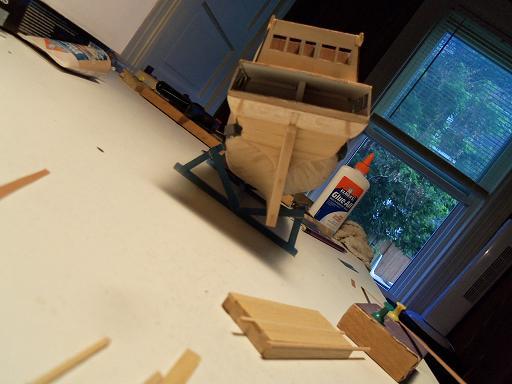
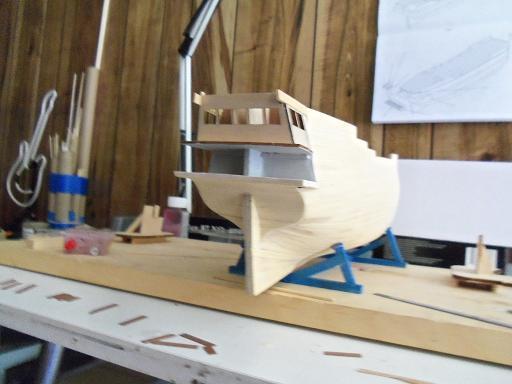
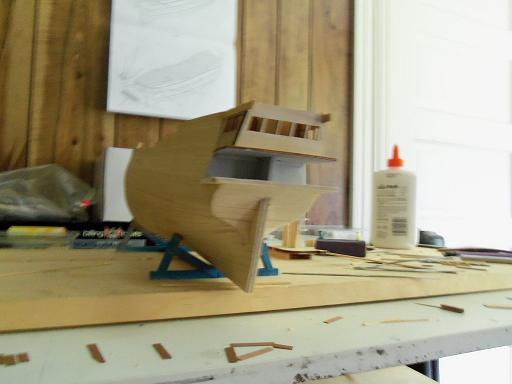
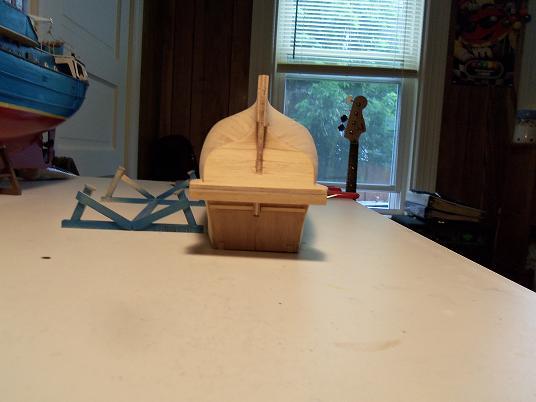
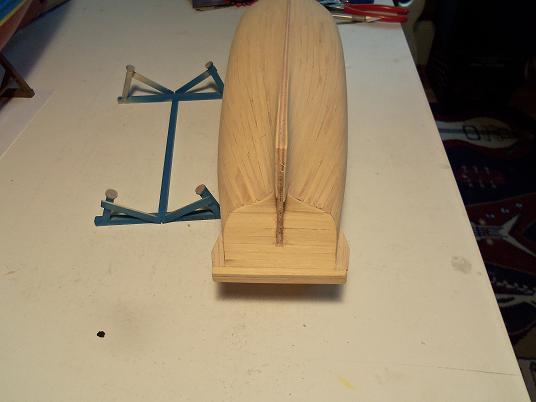
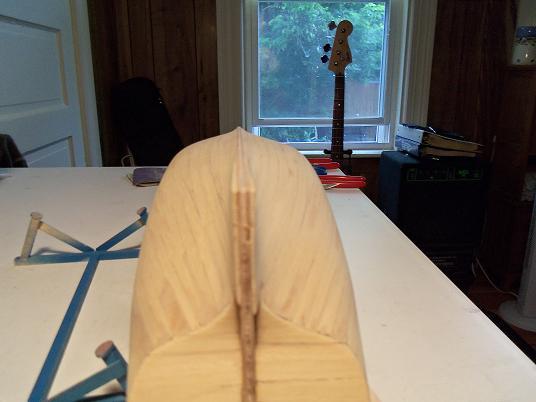
 8 - 25 - 2012 in this session, I did a host of different aspects. I'll lable them as I go. bow spirit: deck add ons: mast assembly and paint: then the masts were painted:
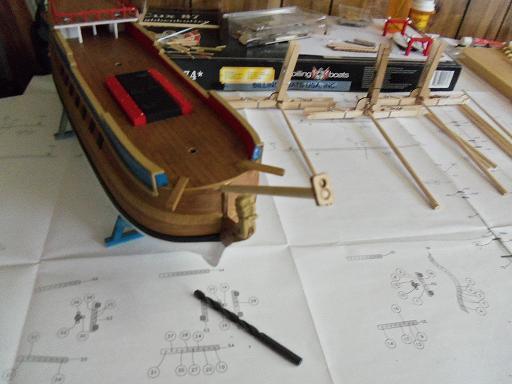


-
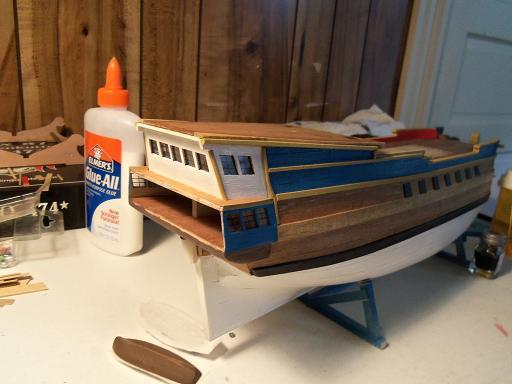
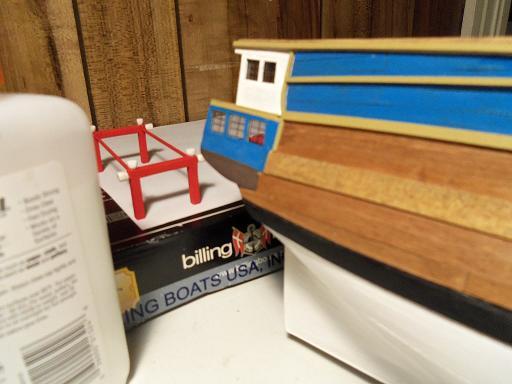
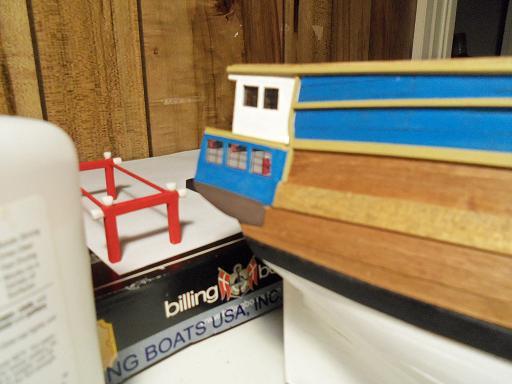
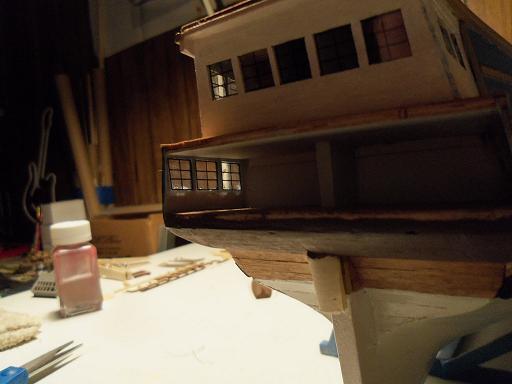
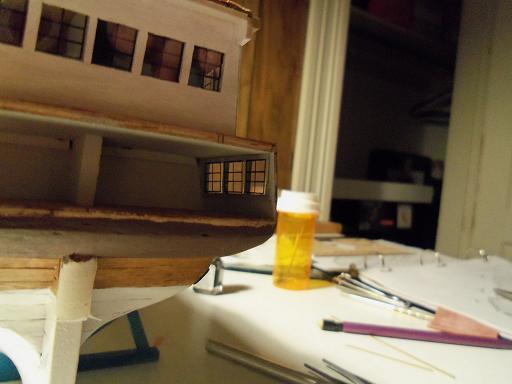
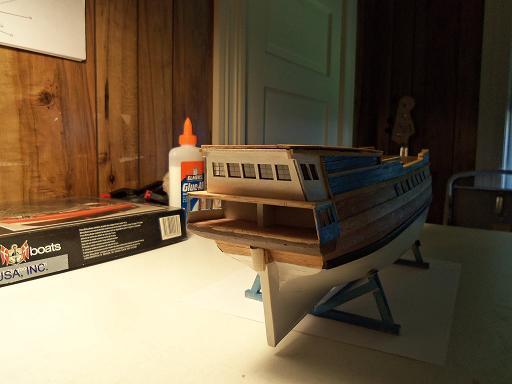
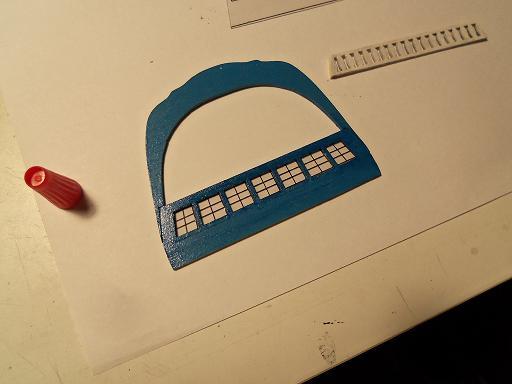
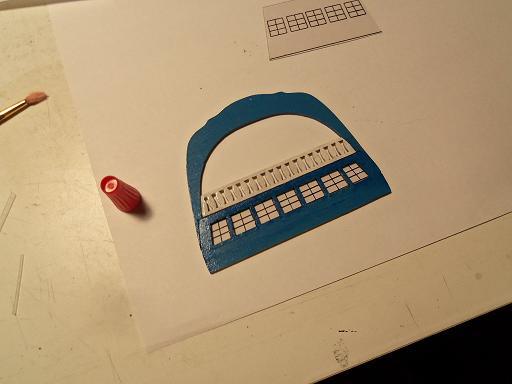
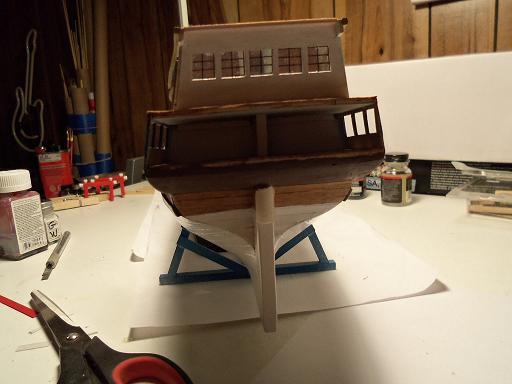
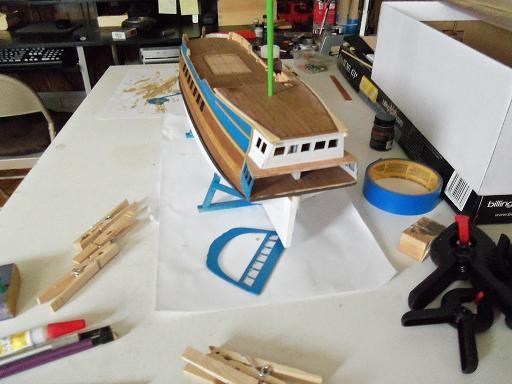
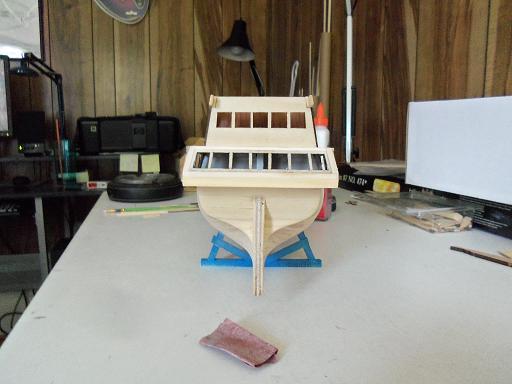
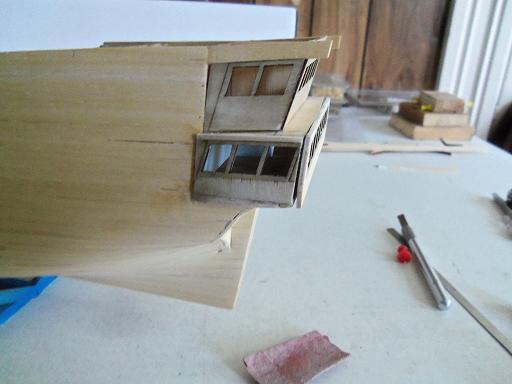
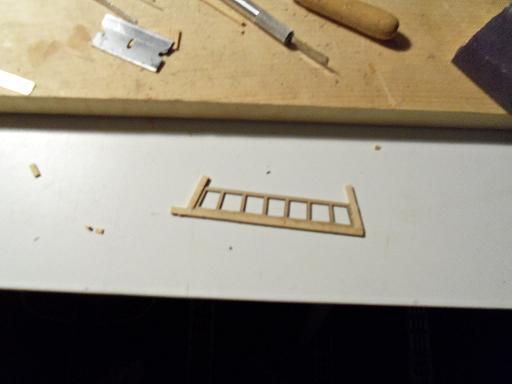
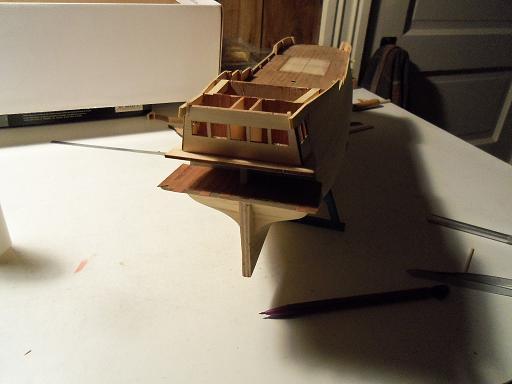
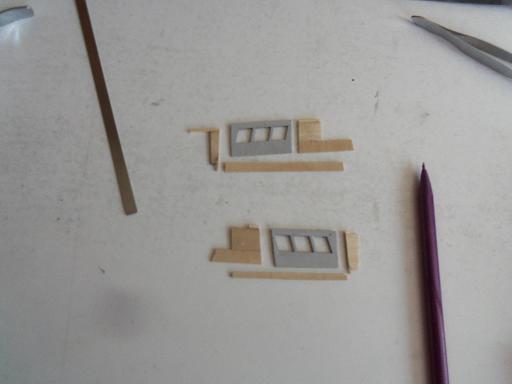
it's not too bad Mario......my focus is on two builds at the moment......but every once in a while, I'll think of something for one of the other builds, and then I'll work on that. but, if I just get my butt in gear......I probably can get these two out of the way sooner. thanks for the good word! I'll work on putting a bit more up here......and then I'll do some building 8 - 12 - 2011 I did more work on the balcony: then I finished the windows when I did the balcony face.
-
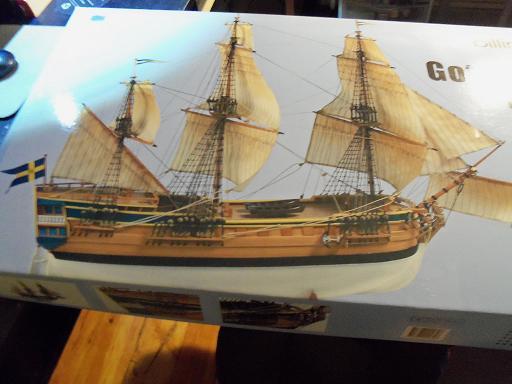
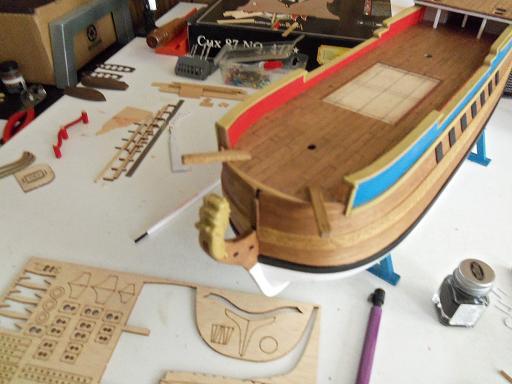
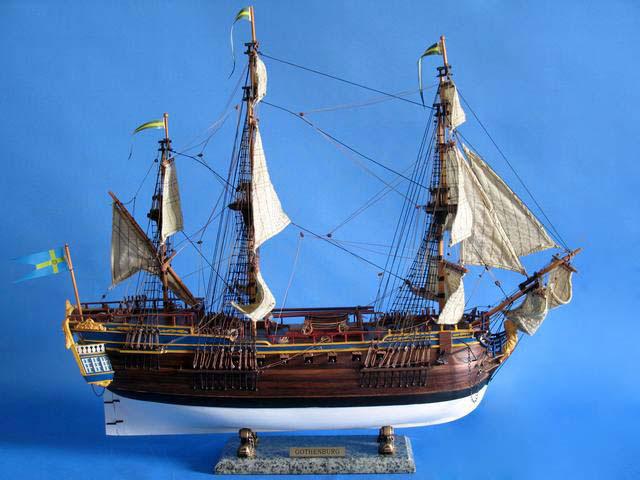
I did come across another picture of a finished build....this is from the box itself. the first one box art

-
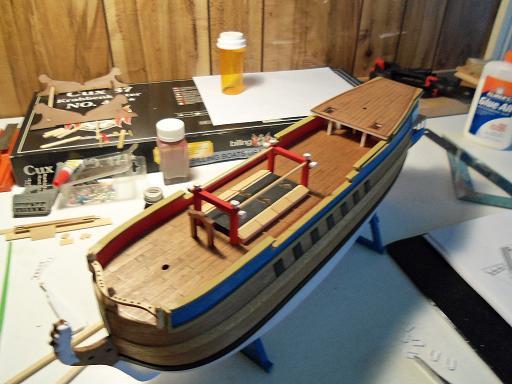
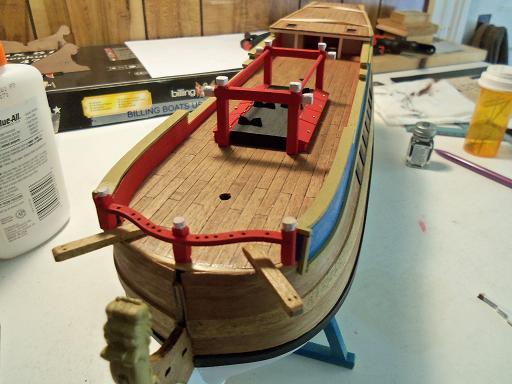
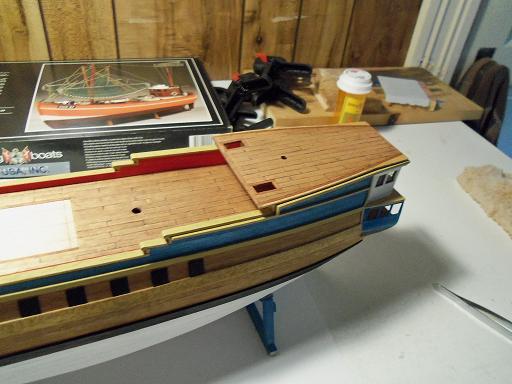
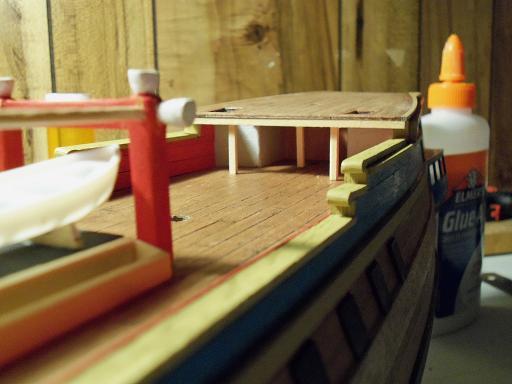
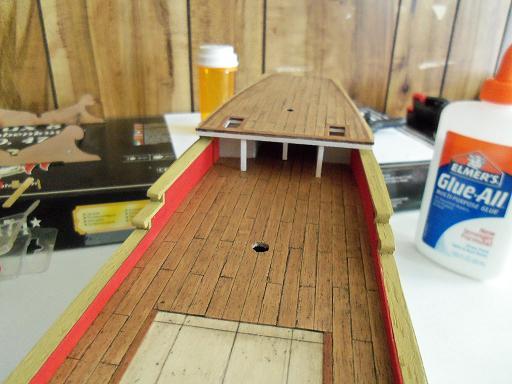
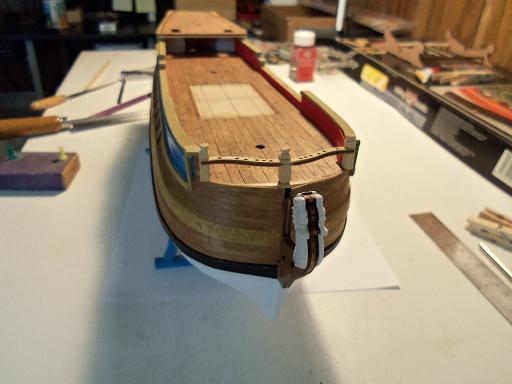
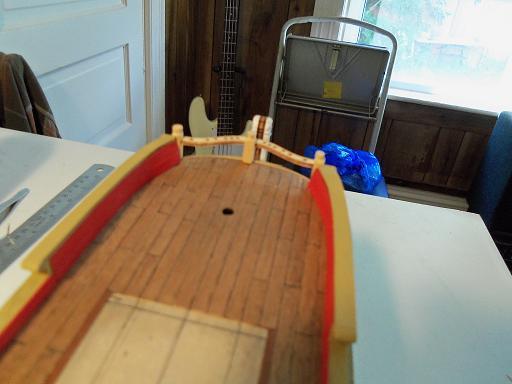
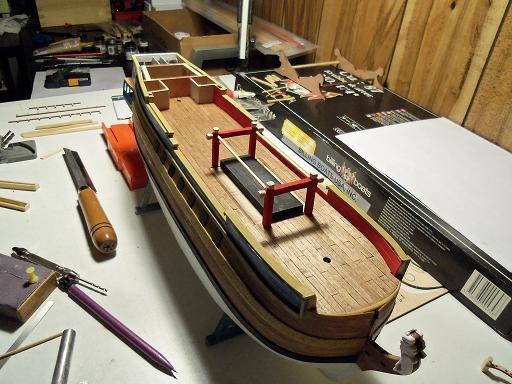
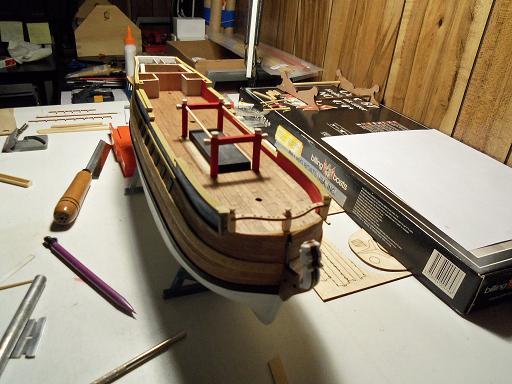
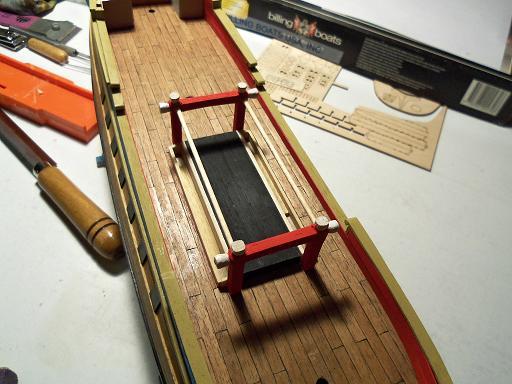
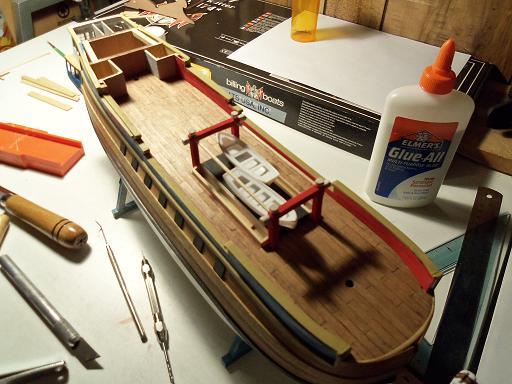
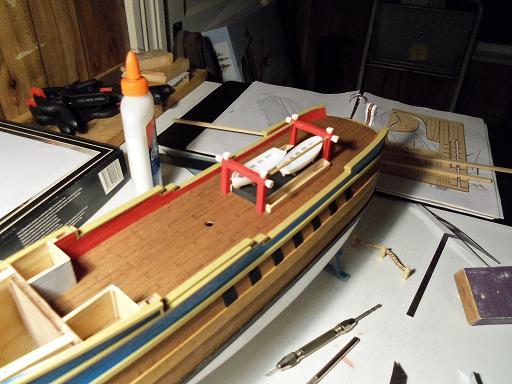
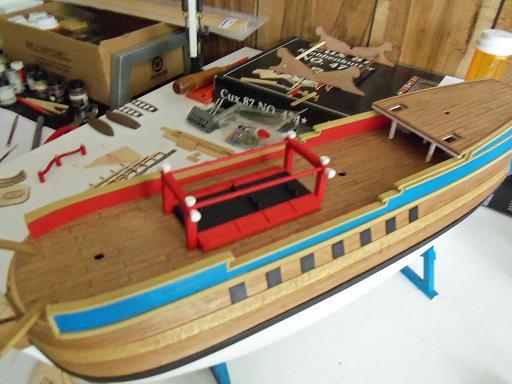
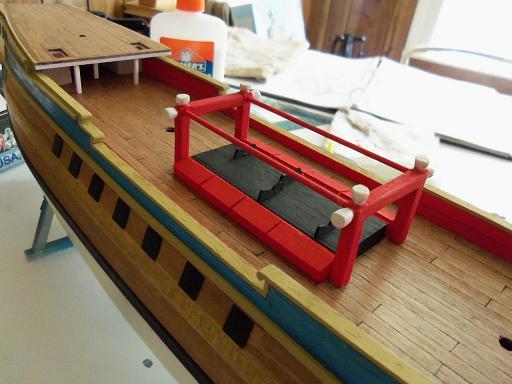
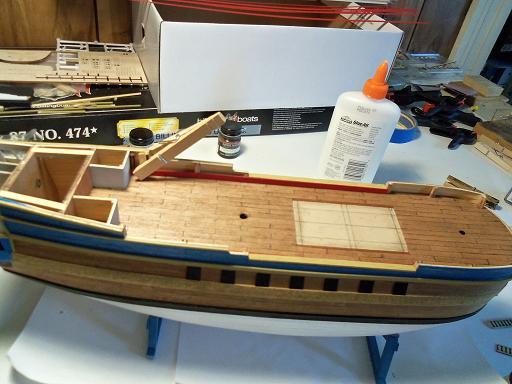
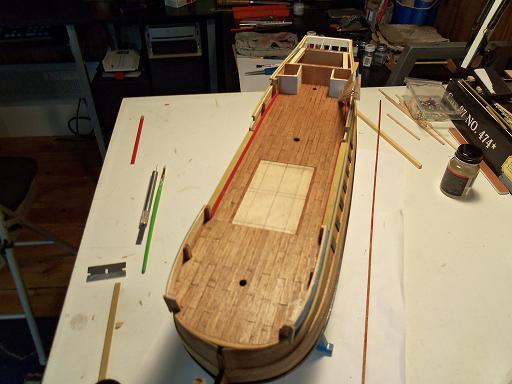
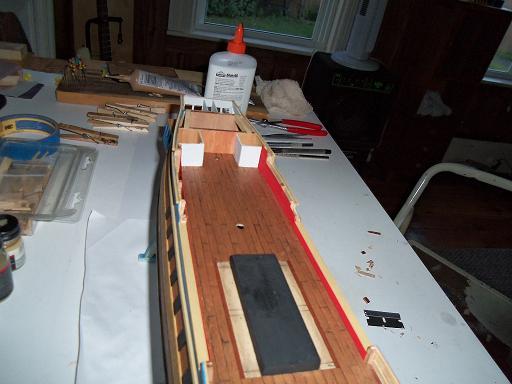
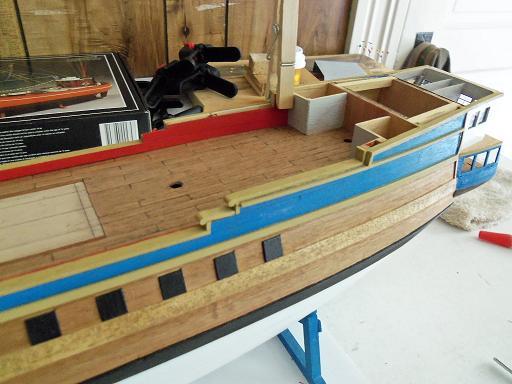
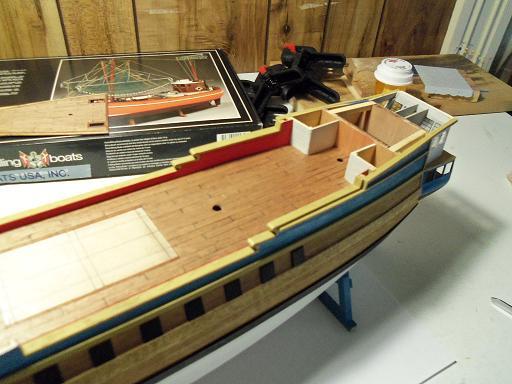
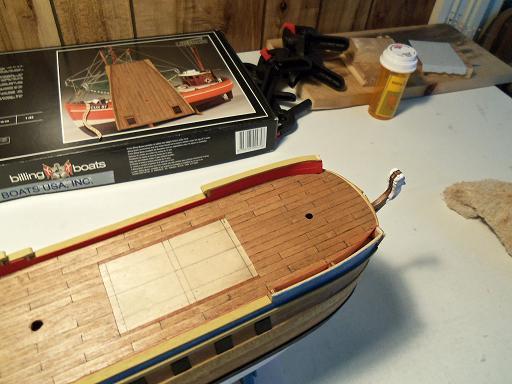
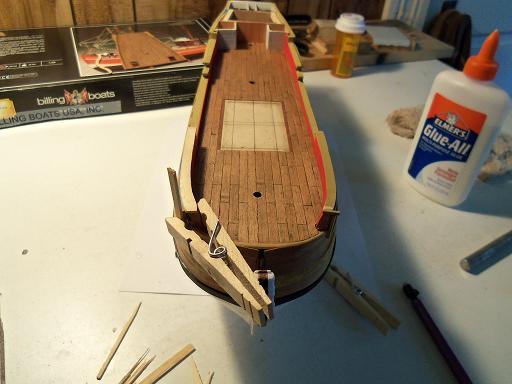
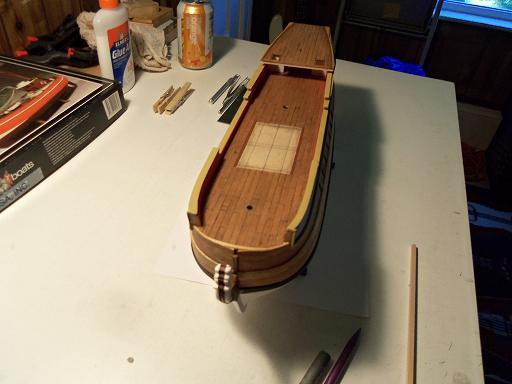
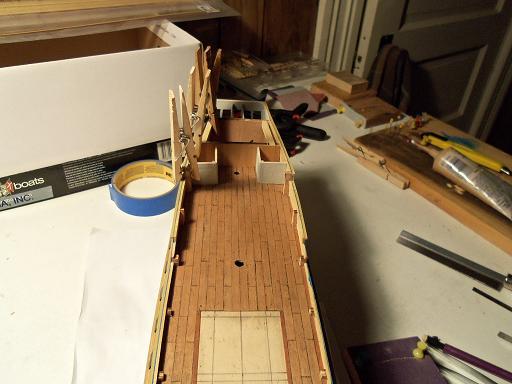
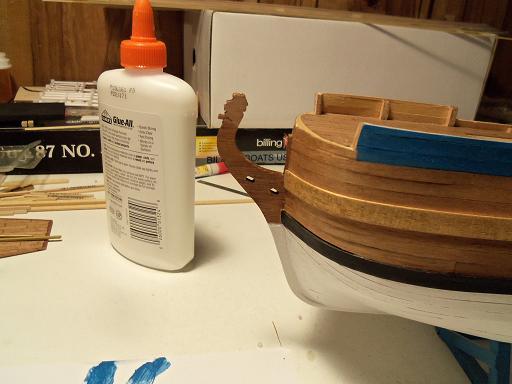
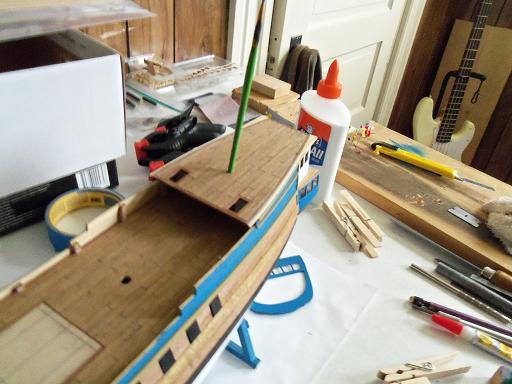
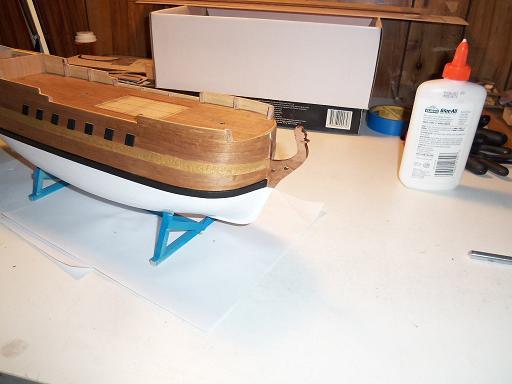
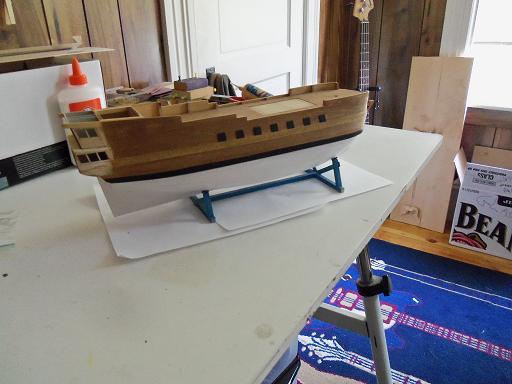
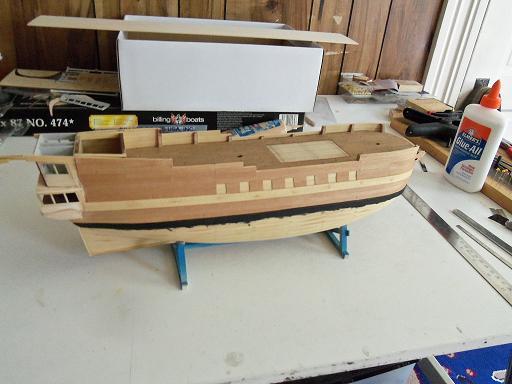
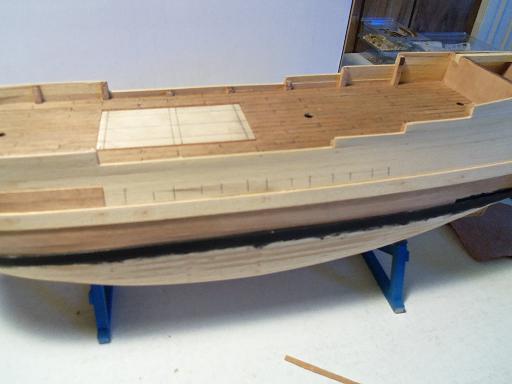
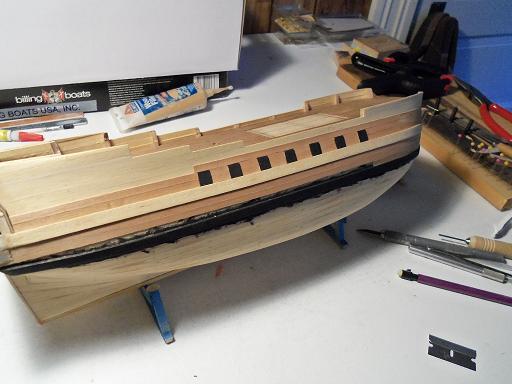
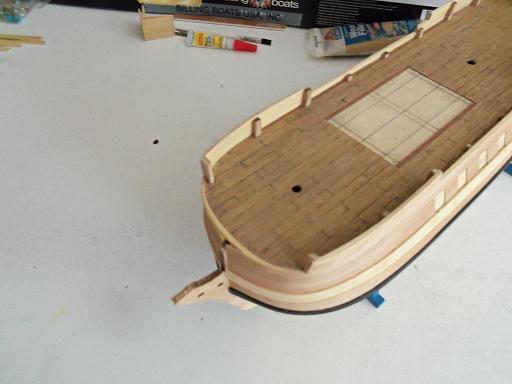
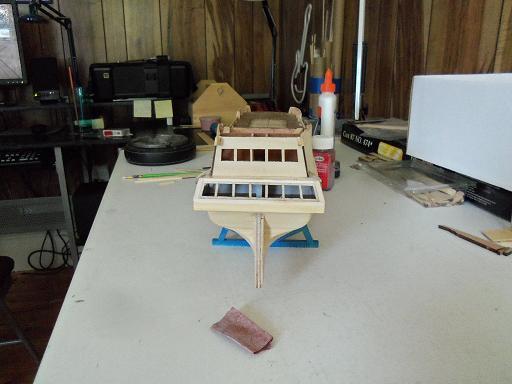
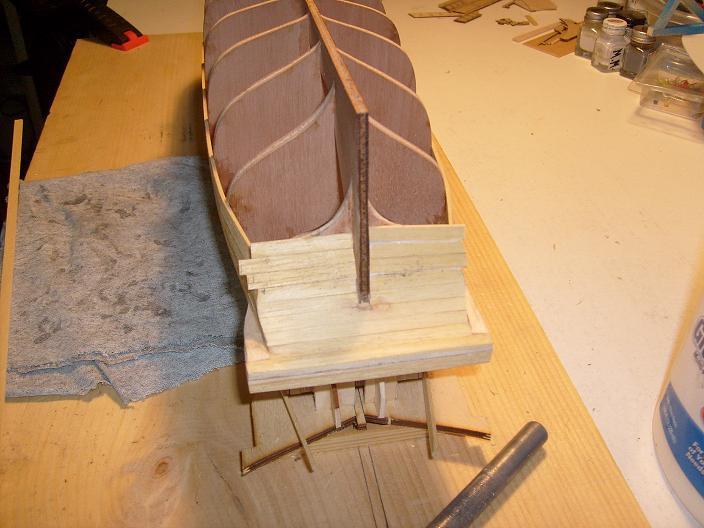
8 - 8 - 2011 the aft deck was finally cemented in place. I added a bit more detail to it before this was done. More work was done to the bow as well. I wasn't too crazy with the anchors, but decided to assemble them to see what they will look like. the bow rail was also put into the developement mode too. here are the pictures of the bow stem repair. holes were drilled and brass rod was installed to strengthen the repair. more was added to the rack.....it's starting to take shape. I do have to shorten the stanchions though, it is too high.

-
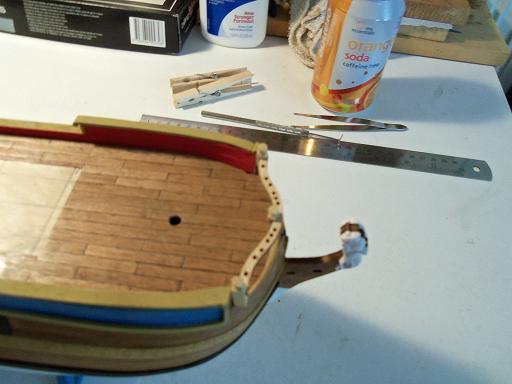
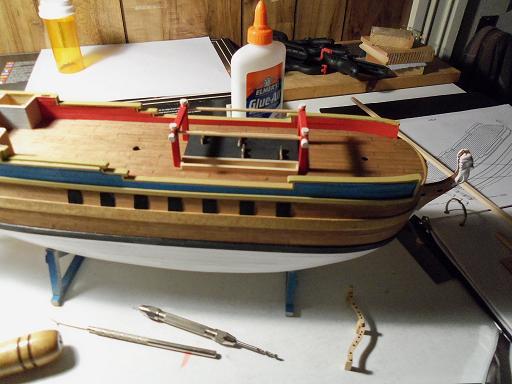
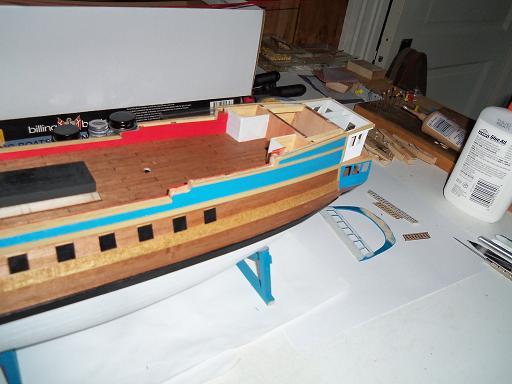
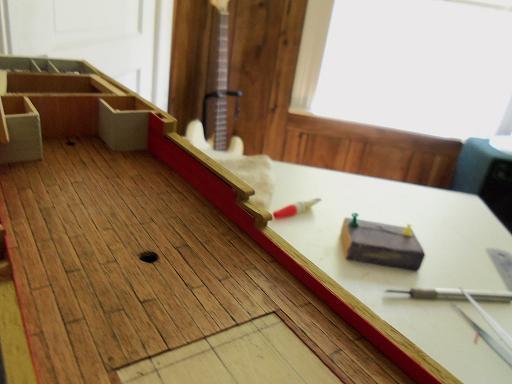
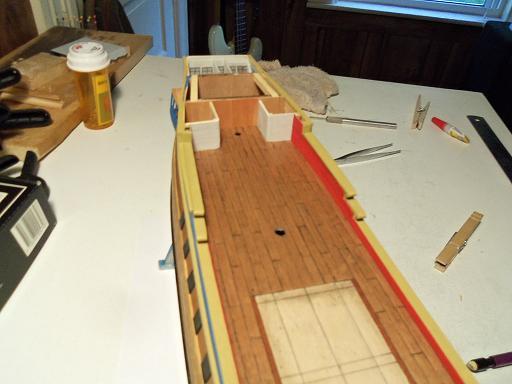
hi Mobbsie........glad to see you here! I'm getting more in.......hope to have it complete soon. I do have a few other ideas that I can do before I can get those elusive deadeyes....but it would be better if I focused on other builds and get them out of the way. you can get closer.......Sjors won't bite 8 - 2 - 2011 it was time to get the inner bulwarks in place. I painted up some thin strip, and comensed to doing them. spent a minute on the rack then worked on the top rails. there was a bit more done to the stern quarters as well.


-
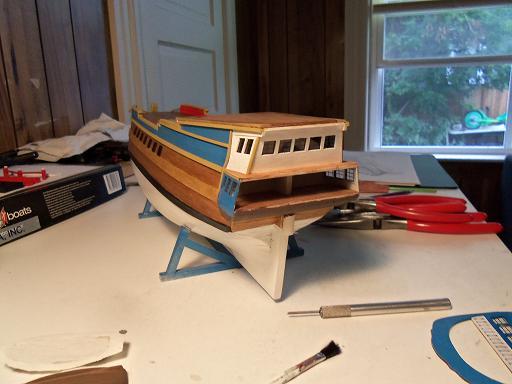
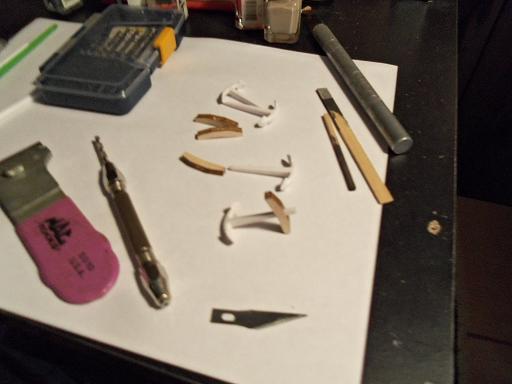
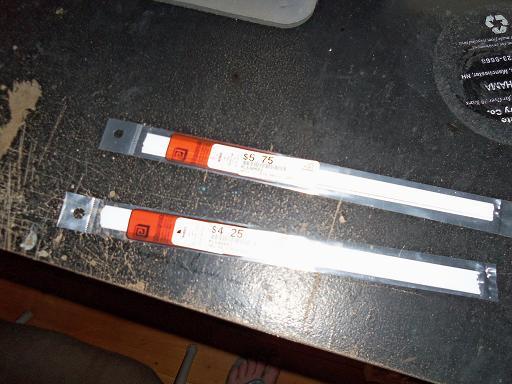
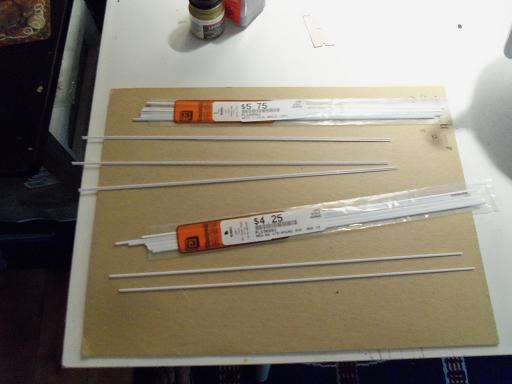
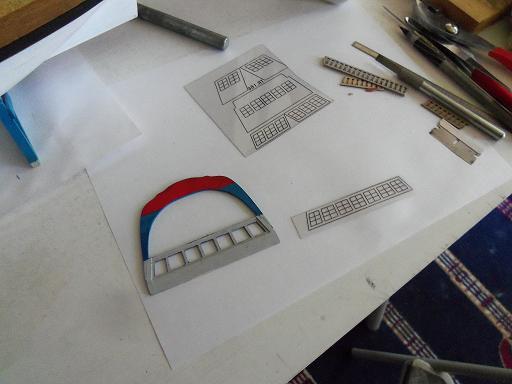
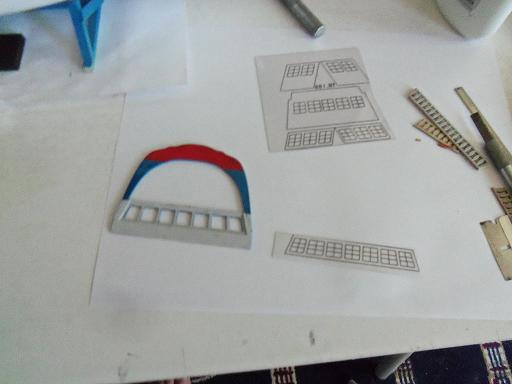
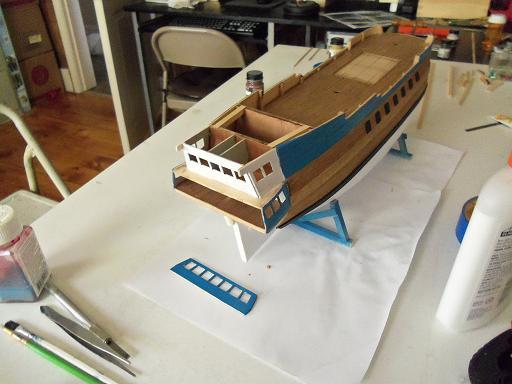
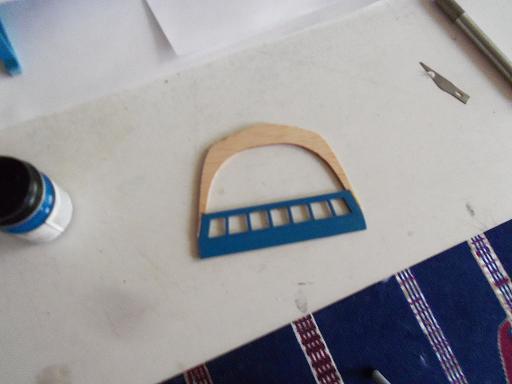
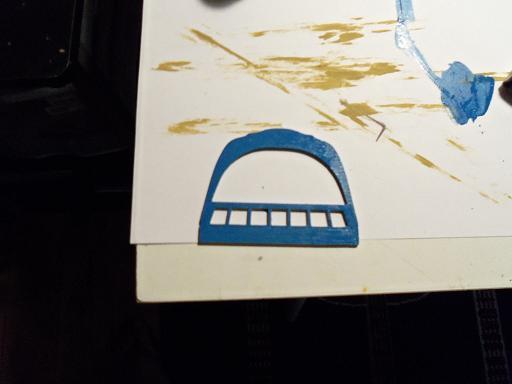
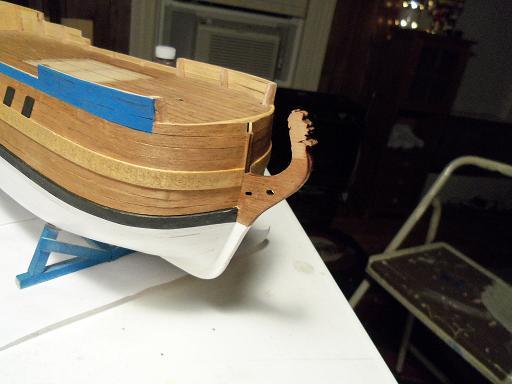
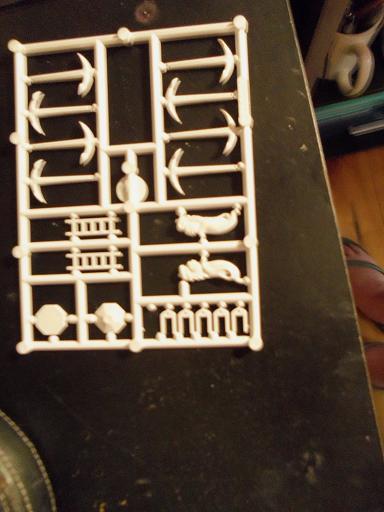
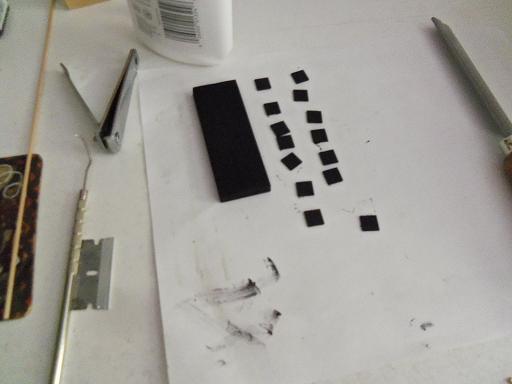
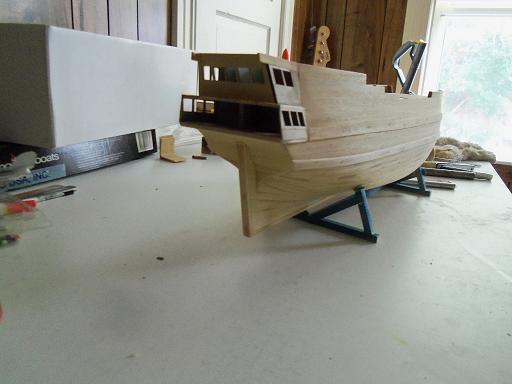
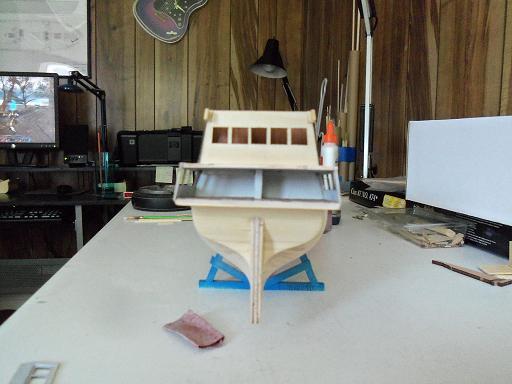
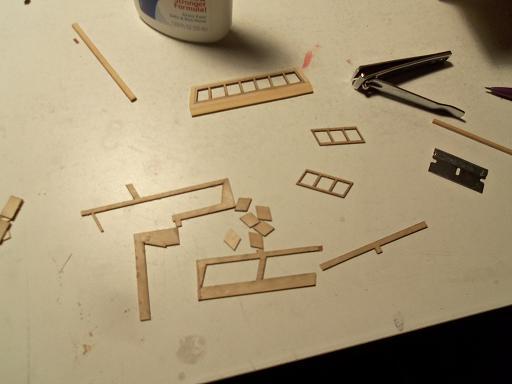
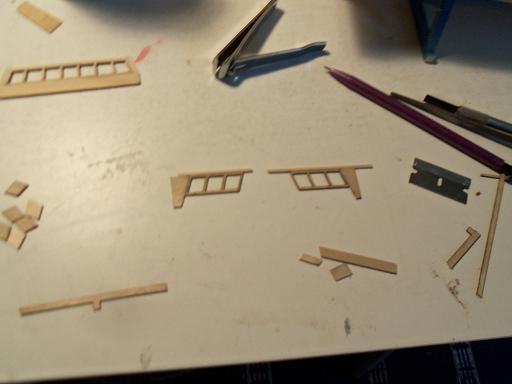
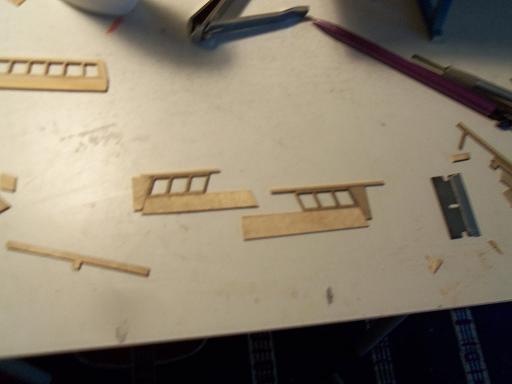
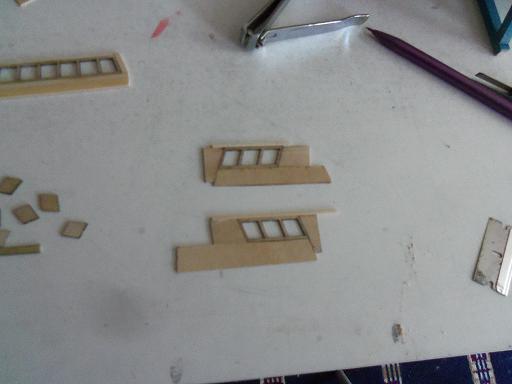
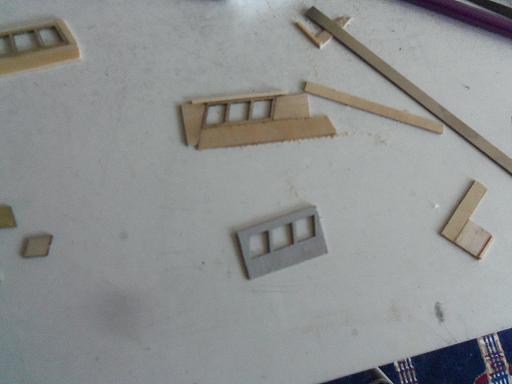
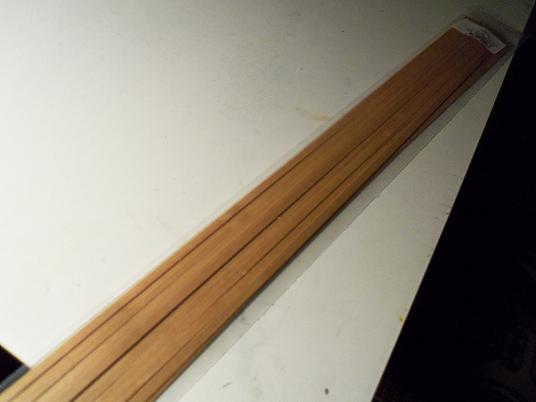
I forgot I had these pictures of the styrene molding that I have. a lot of folks use evergreen {I think that's the name of it}........we have this type in my neck of the woods......plastruct. should I ever get involved with model train.......I will go nuts! 7 - 22 - 2011 here is more prep that I had done to the balcony and arch. I was also prepping everything up for the window installation. then the windows went in the figurehead was cemented in place at this time. more rail work was done as well.


-
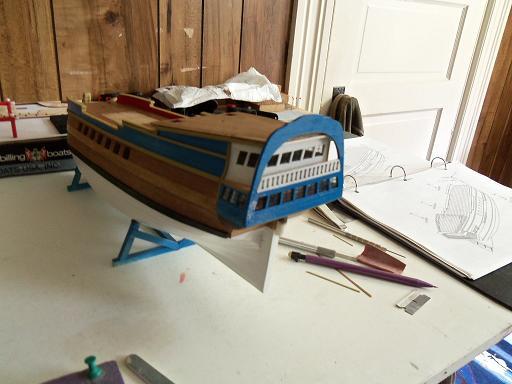
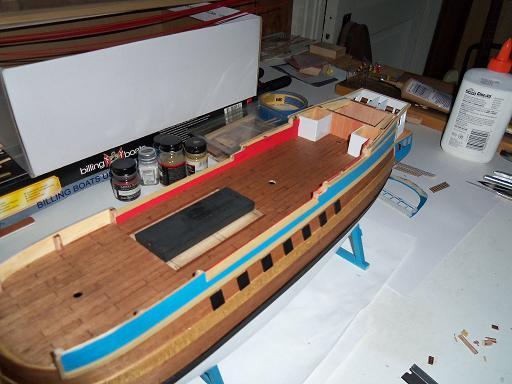
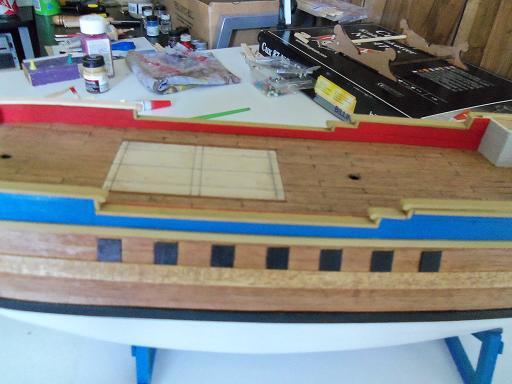
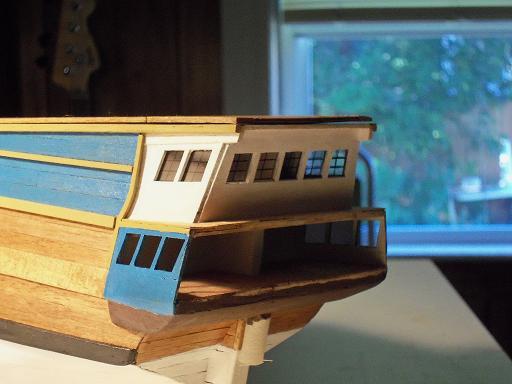
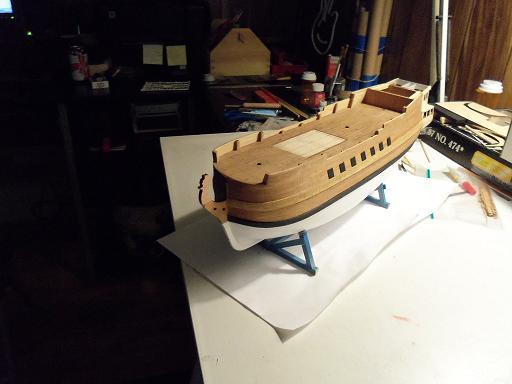
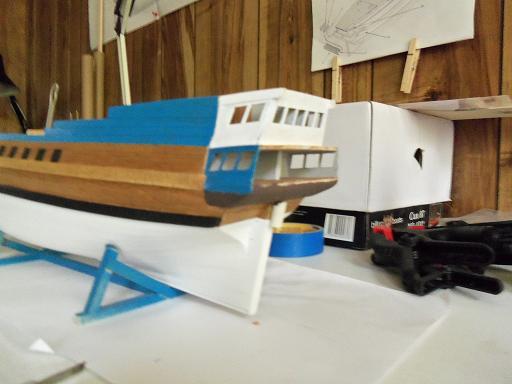
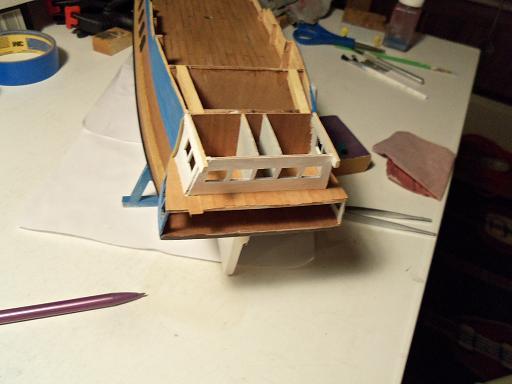
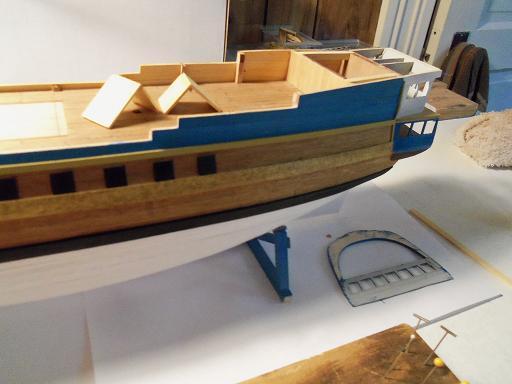
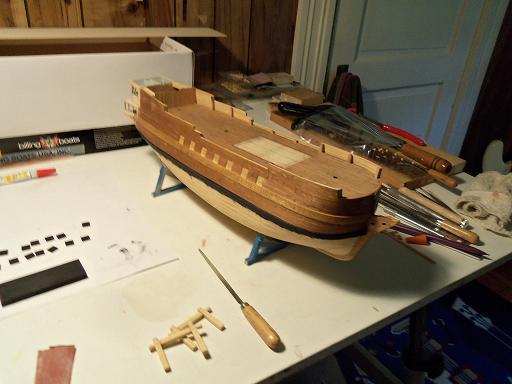
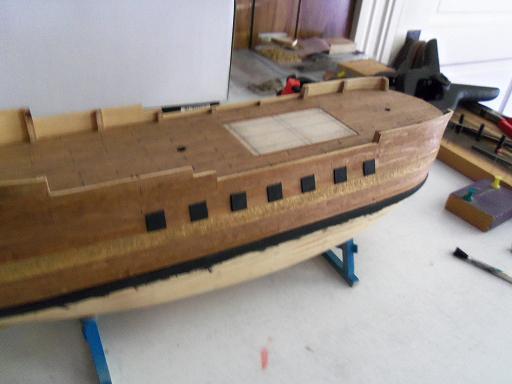
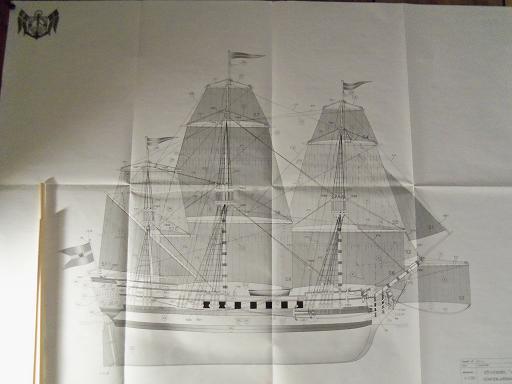
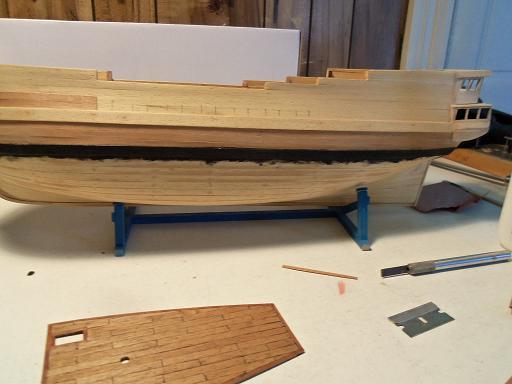
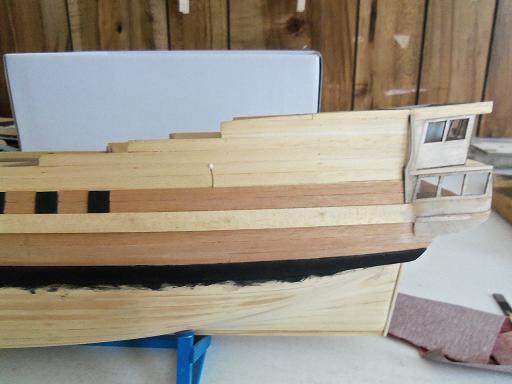
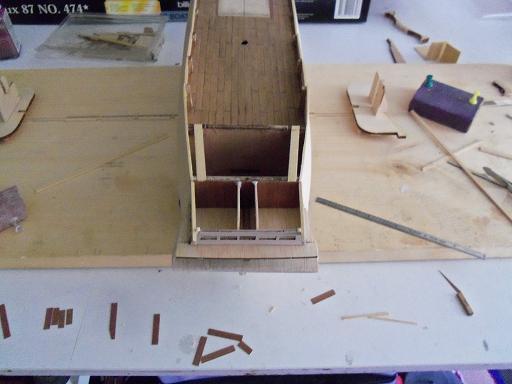
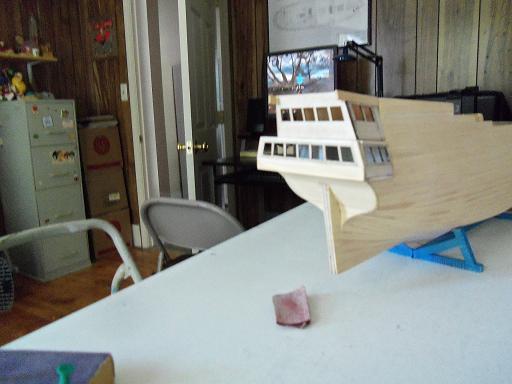
hello Augie......I saw Sjors......but sadly, not you........but I see you now! I was wondering how I can see postings while I am in process......I see how I can do it now....so cool! this is really not a big build, at 1:100 scale, it's kinda small, compared to your build. I'm still going to cram in as much as I can. thanks for the good word. as you saw in that photo.......they added in the rack as well. makes me wonder why the kit doesn't include it.......it also shows that the Gothenborg has only one set of side windows. this also makes me wonder why the kit shows two sets. there are other small oddities in here as well....I correct them as I see them. for this though, I am too late.......the discrepancy is done. 7 - 22 - 2011 this bit of progress shows some of the hull detail and molding that I added. I still have more to do with the stern......I still haven't gotten to it yet. then I got some paint on her I saw the rudder sock in the pictures and I thought it would be a good bit of detail to add in. I made a tube from some sail material, and cemented it in place. for the balcony cap, I thought to assemble it to the lower face of the stern and cement it on as a whole. before the cap can be cemented in place though, the window cello needs to be installed first. the bow.......all pieced back together and stained I added more surface to the aft deck as well........the reason for this, is due to the alterations I made to the stern section.


-
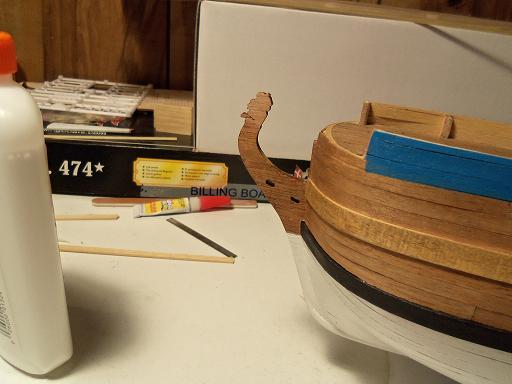
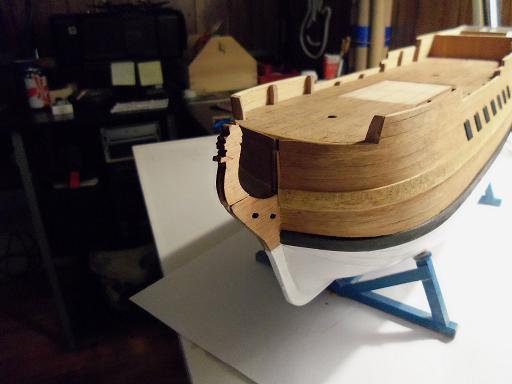
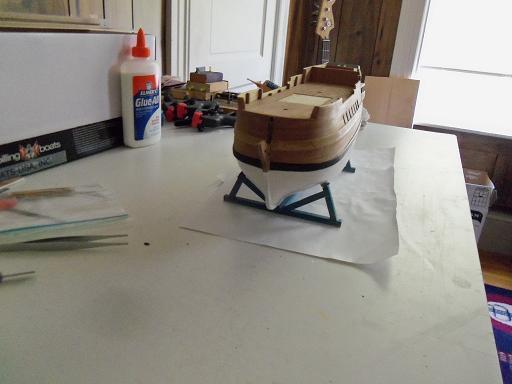
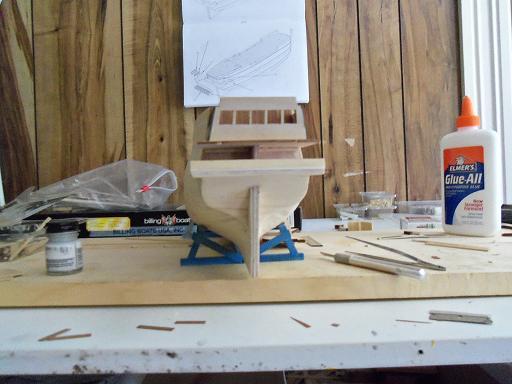
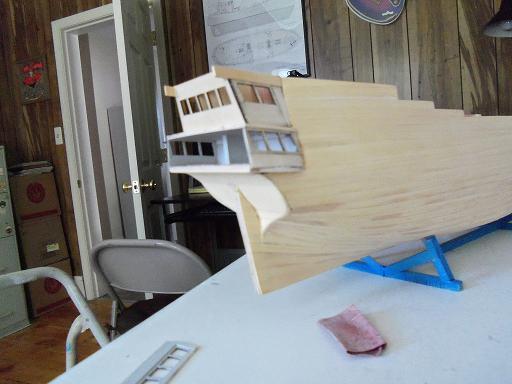
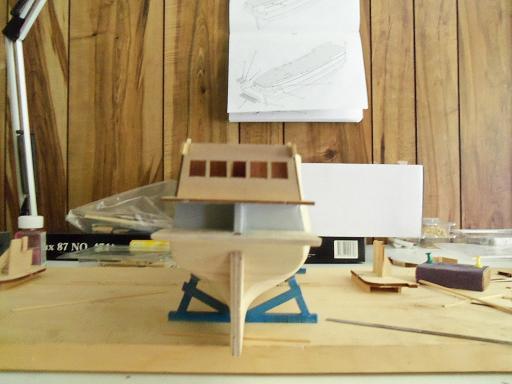
7 - 19 - 2011 here is the repair I did on the bow stem. it doesn't show how I did it, but just that it was repaired and the cosmedic assembly of it. hello Sjors........yes, I'm almost at the mid point of what I've done on this build. she's not finished, still a ways to go yet. this poor girl.......thanks for looking in......the progress continues. before the bow was repaired......I had shown what the kit build looks like. note the stern quarter windows, and how they are blinded off.......I hate that I have a couple of other pictures of finished builds......none of them show these windows opened up, so this build will be unique.

-
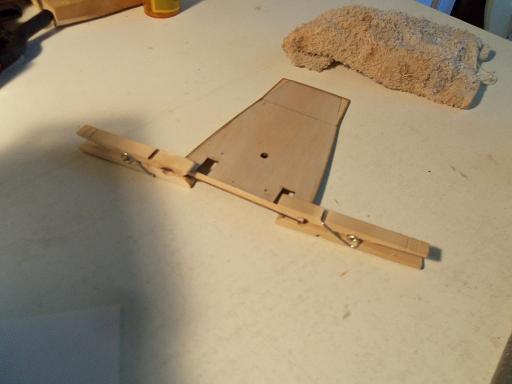
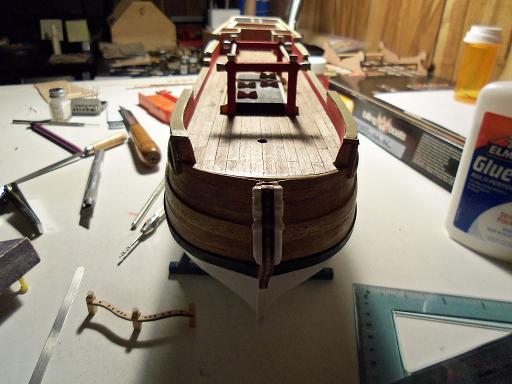
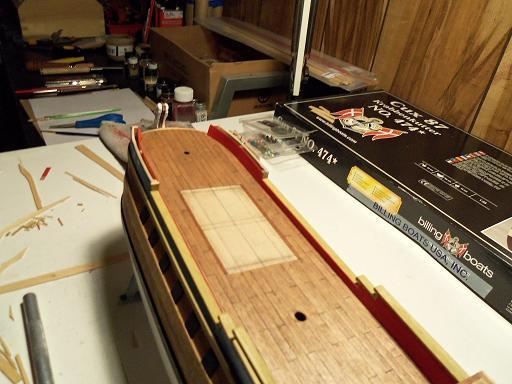
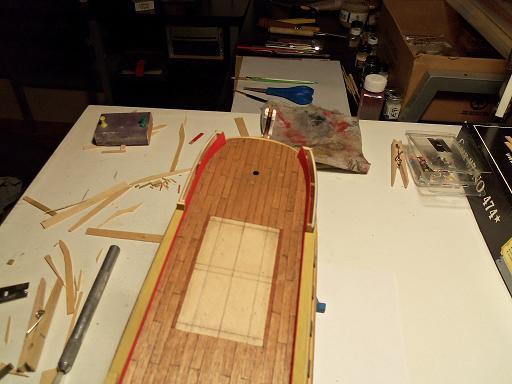
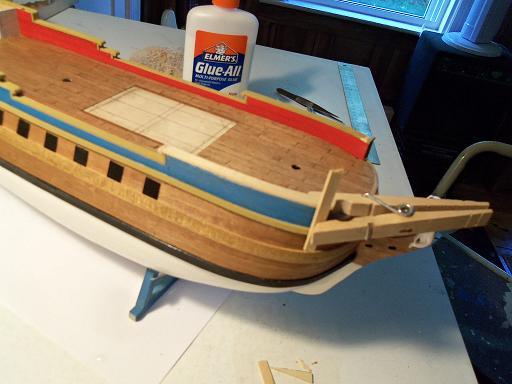
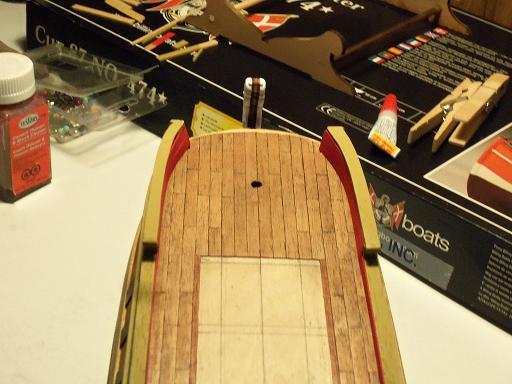
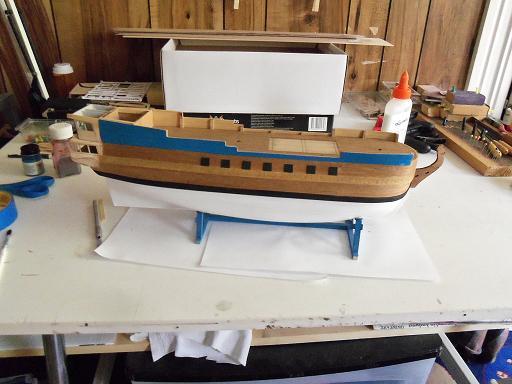
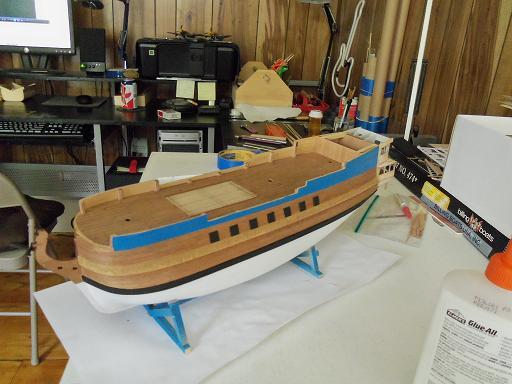
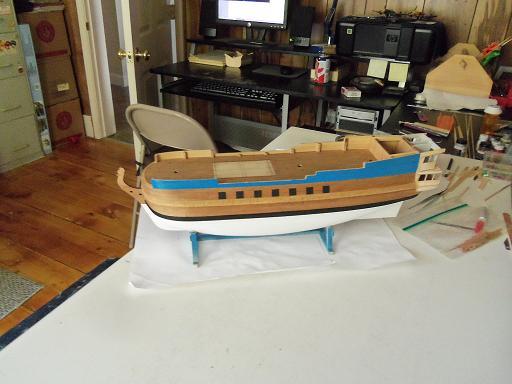
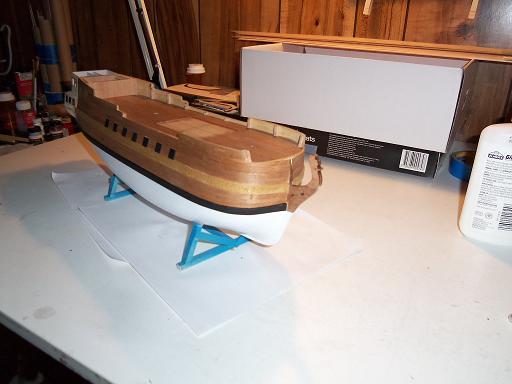
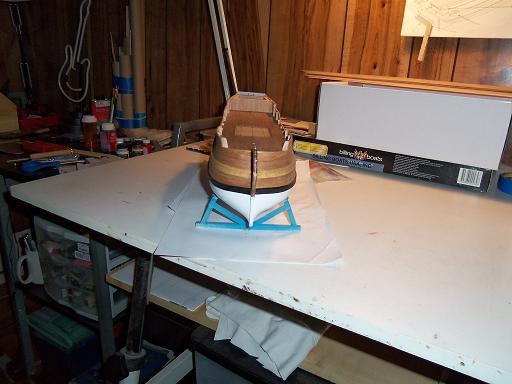
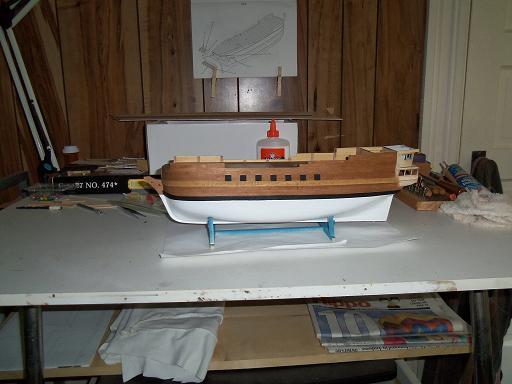
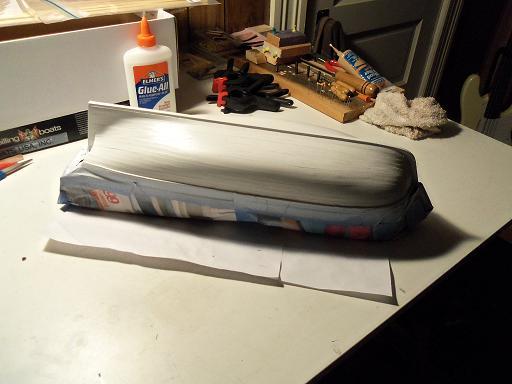
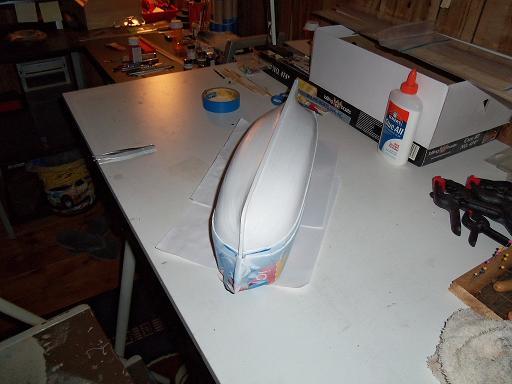
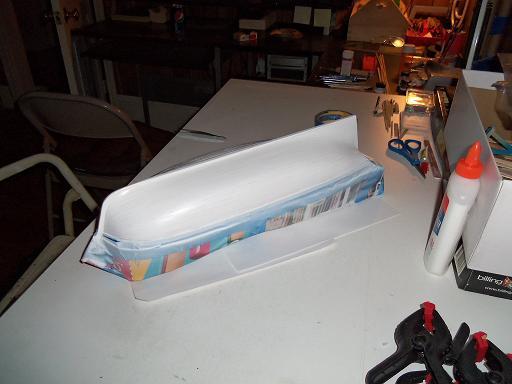
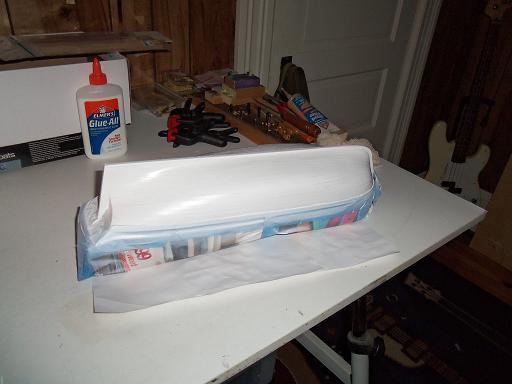
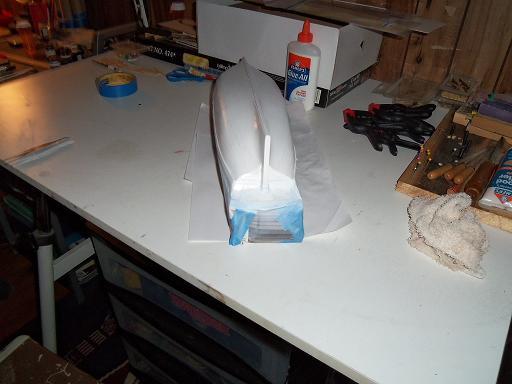
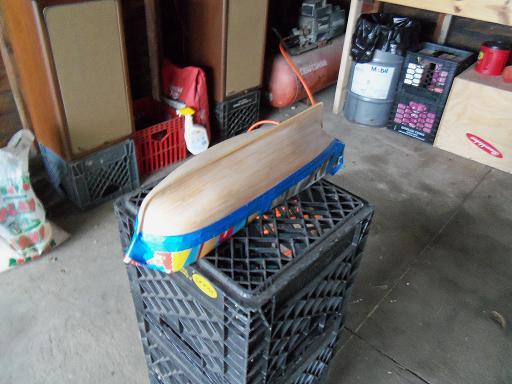
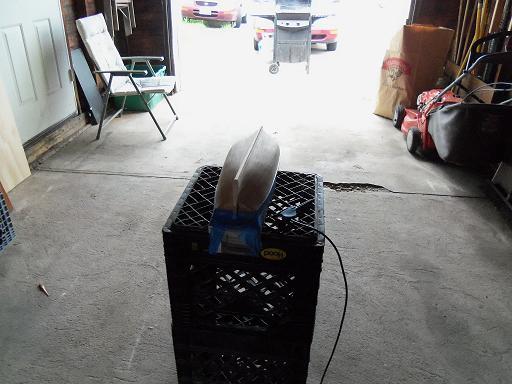
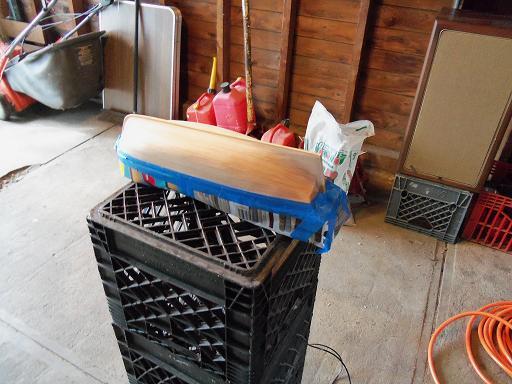
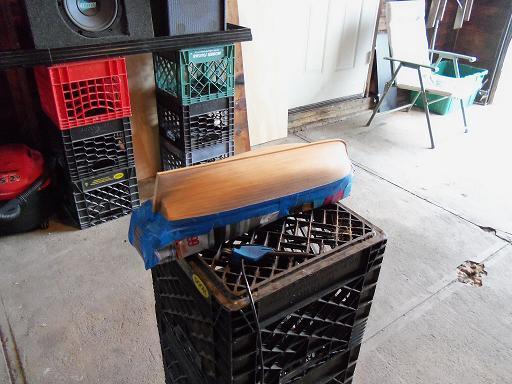
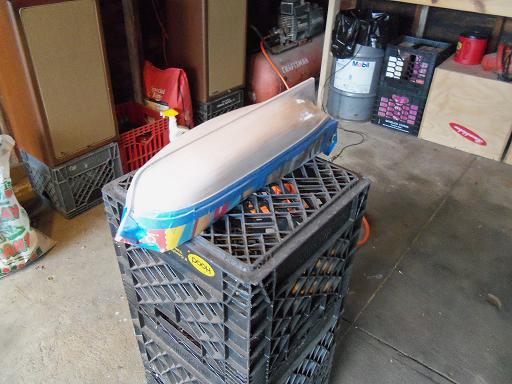
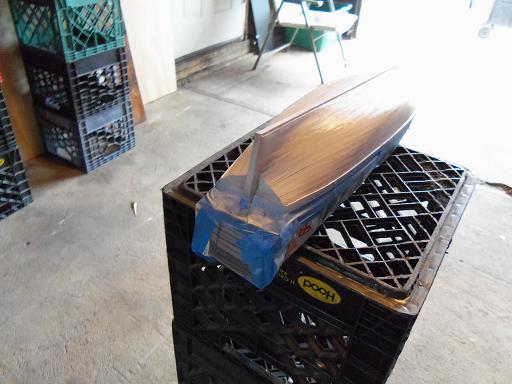
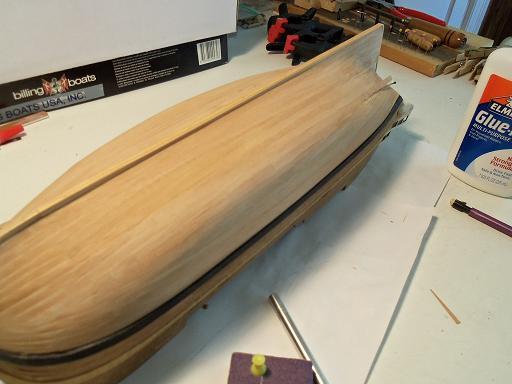
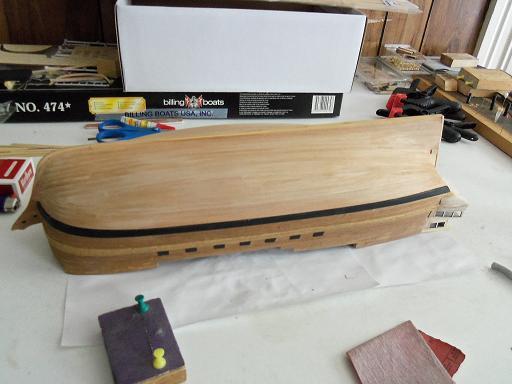
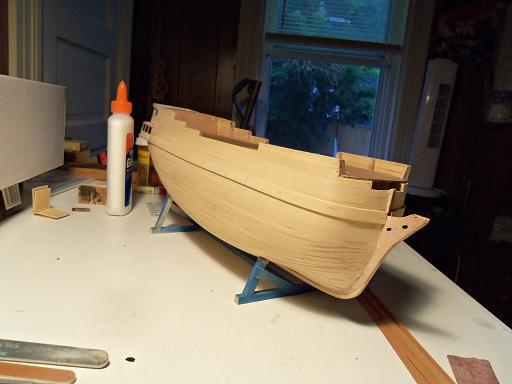
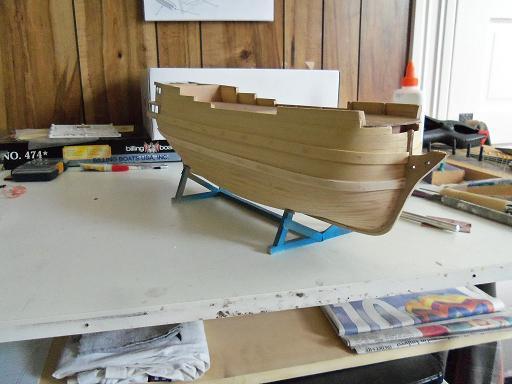
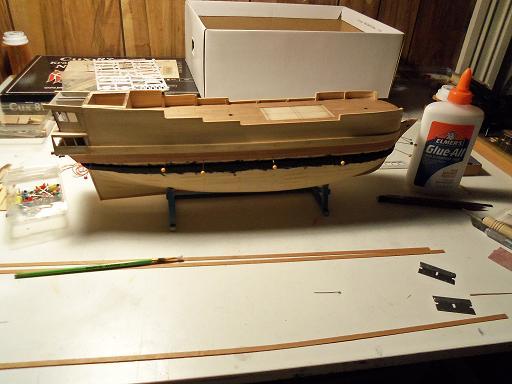
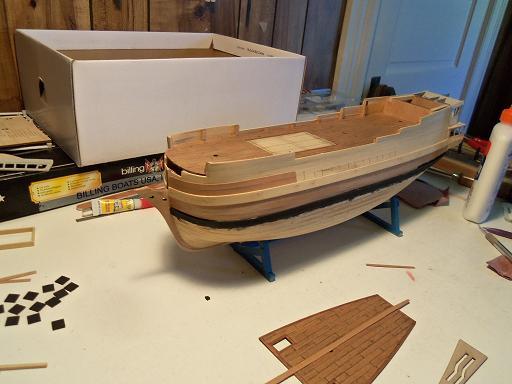
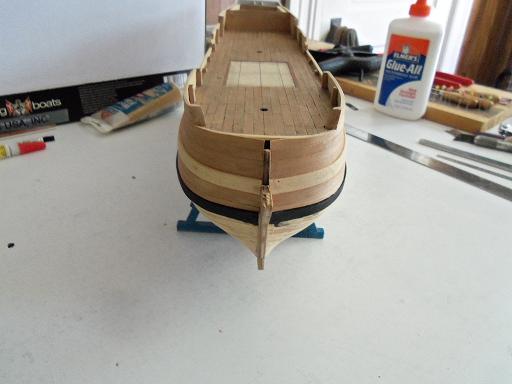
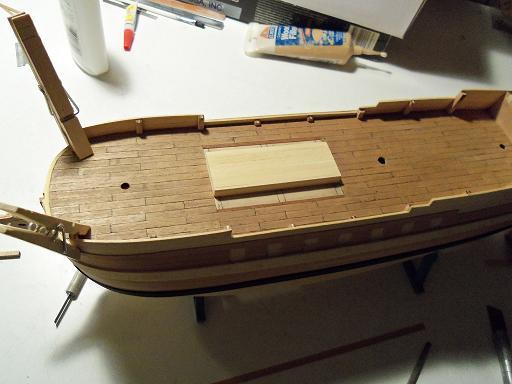
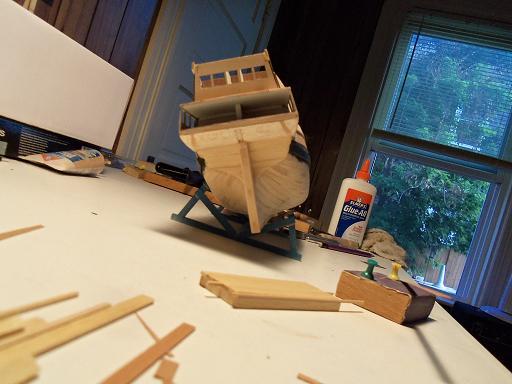
next was the bottom hull paint prep: then it was painted: I did give it a second coat:


-
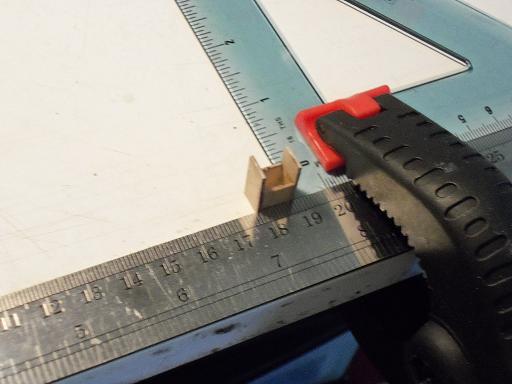
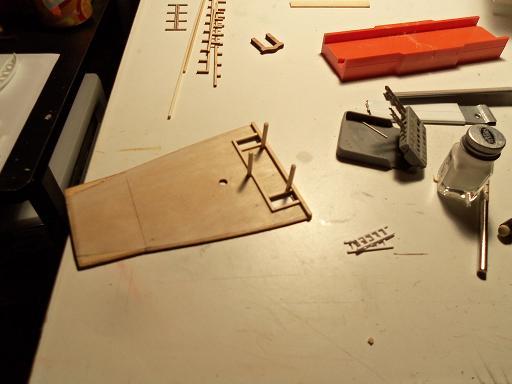
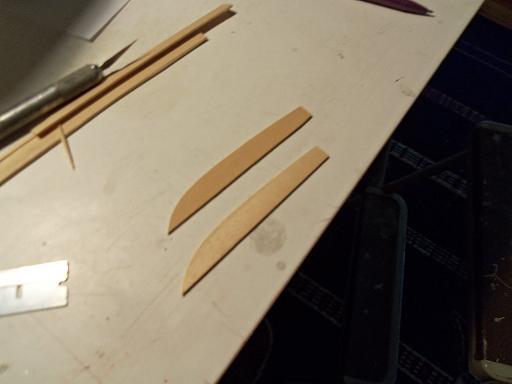
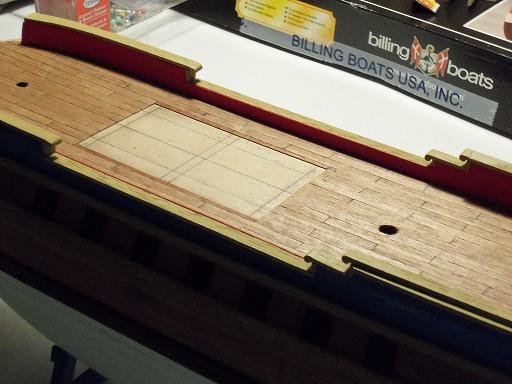
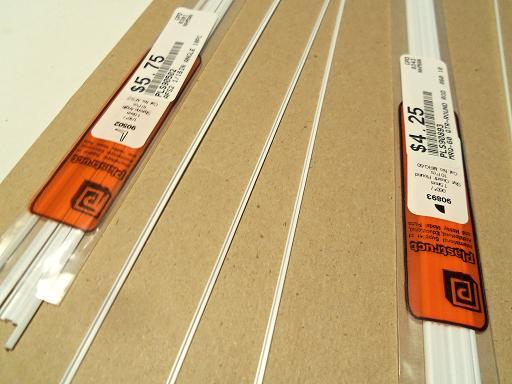
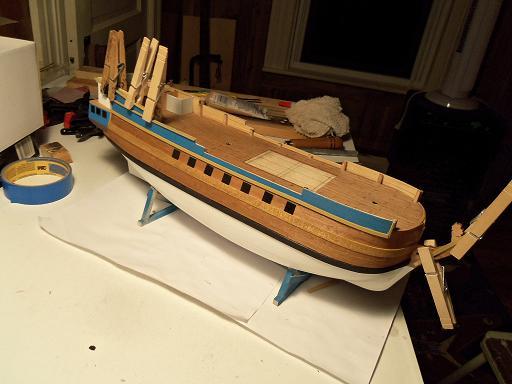
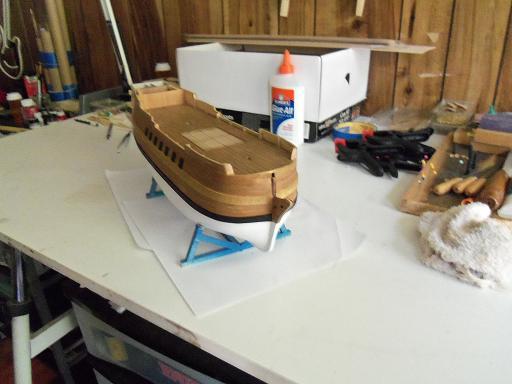
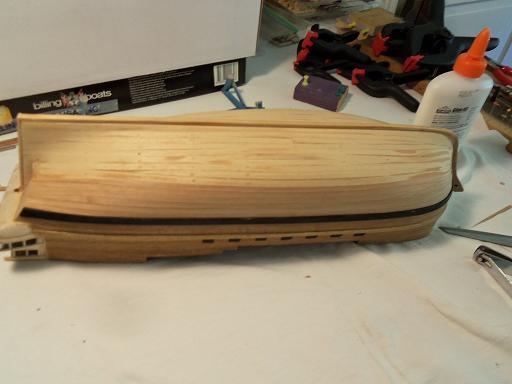
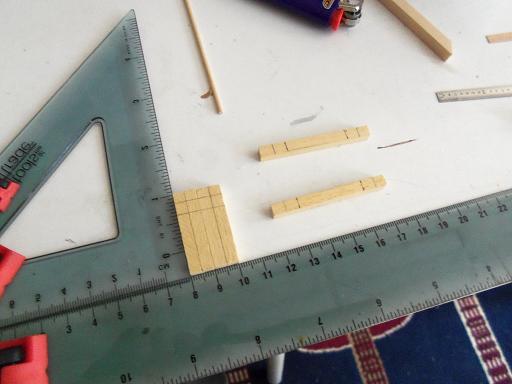
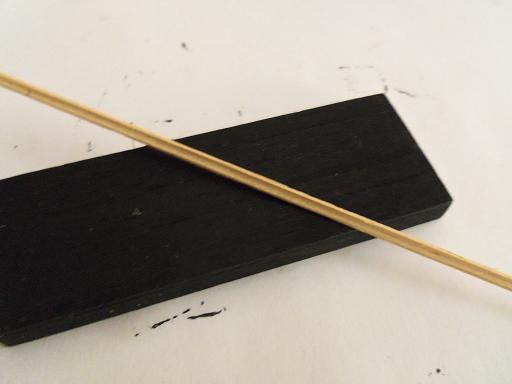
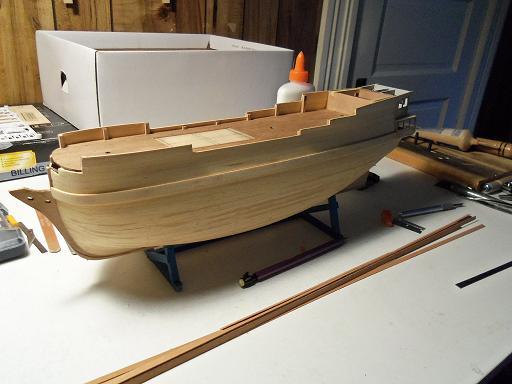
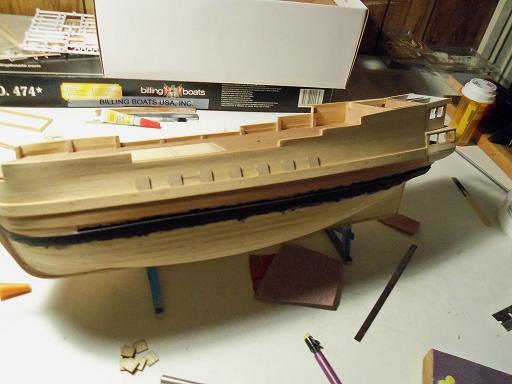
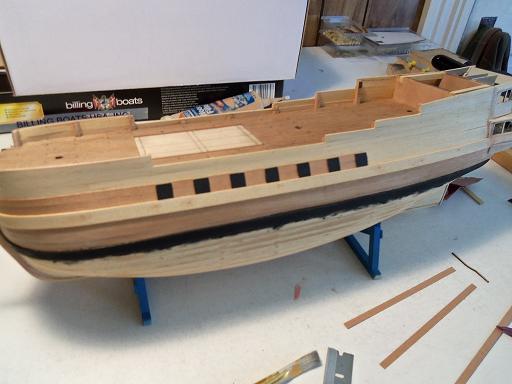
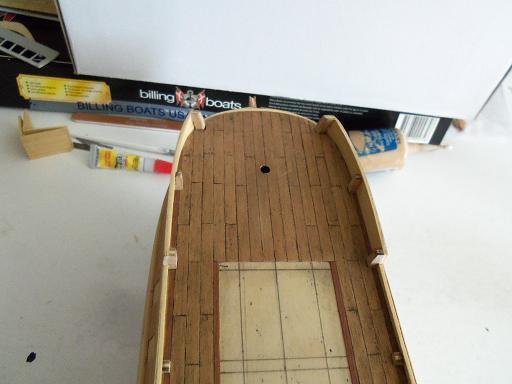
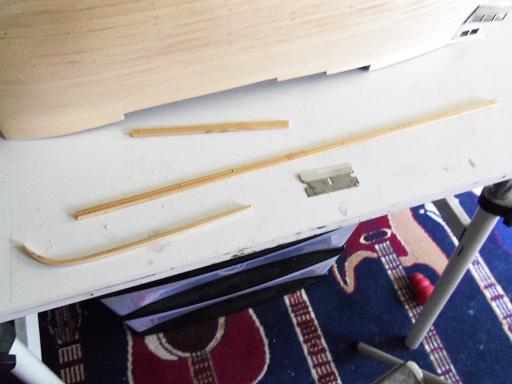
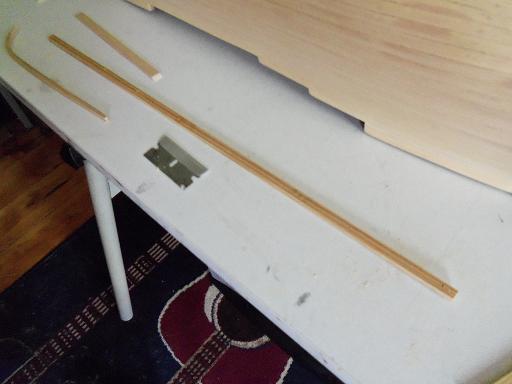
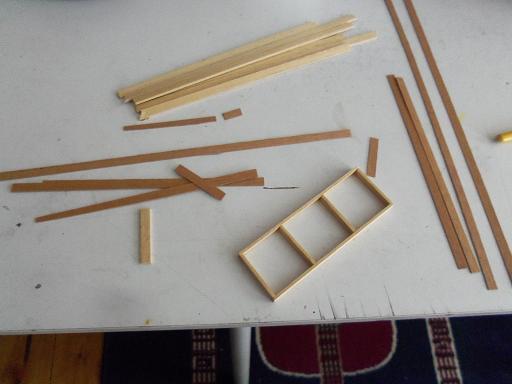
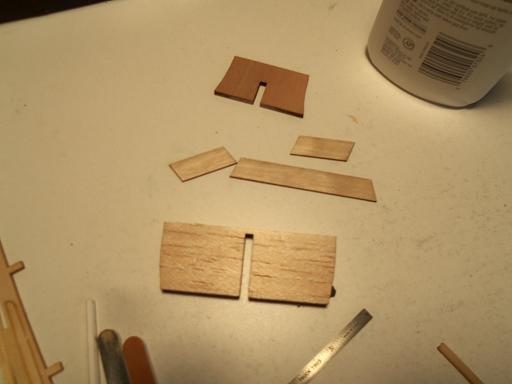
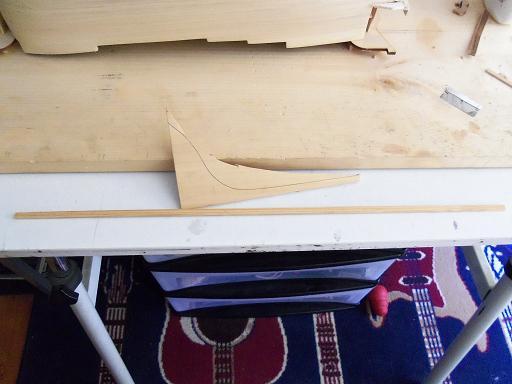
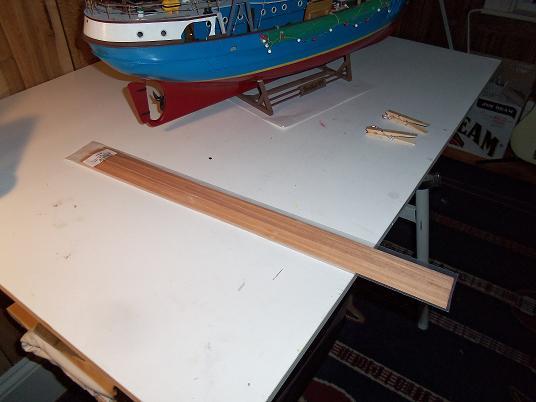
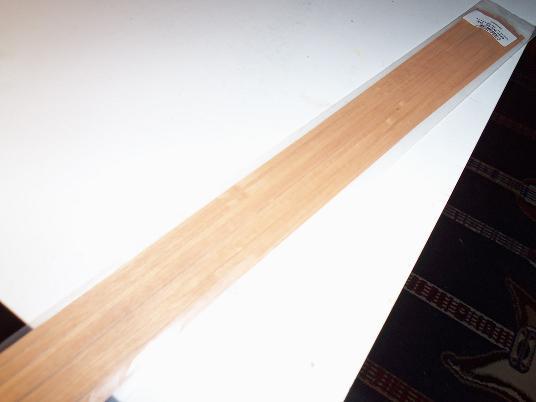
the last photo is a shot of a molded milled strip of basswood. I also have an old Ambroid train kit, the B&M snow plow, and the wood, although pretty old, is really neat. I have been on the lookout for this type of milled wood, but in the meantime, have settled on styrene to fill in the gaps. 7 - 15 - 2011 after the upper planking was finished, the bottom hull planking was done next.

-
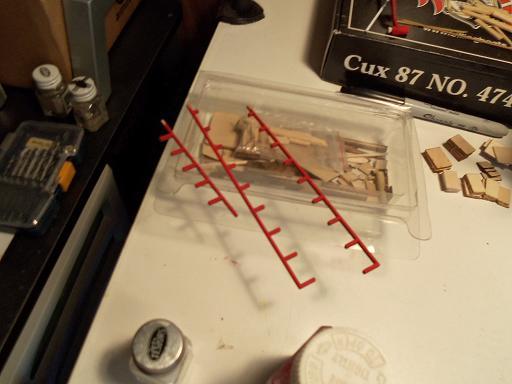
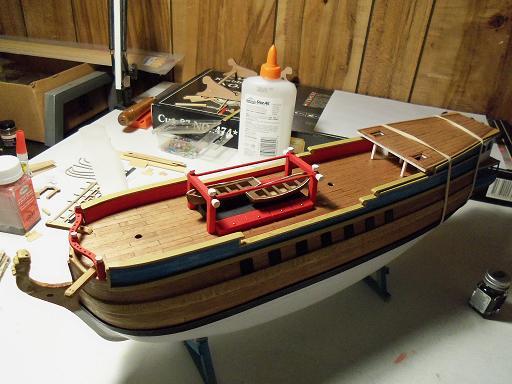
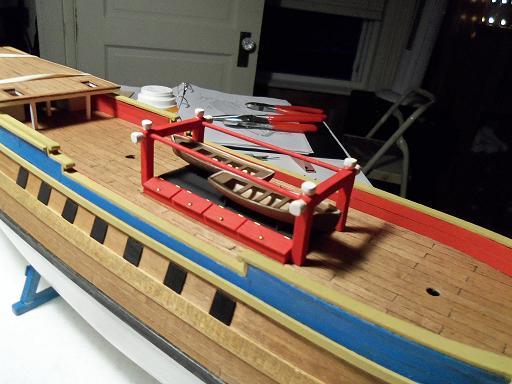
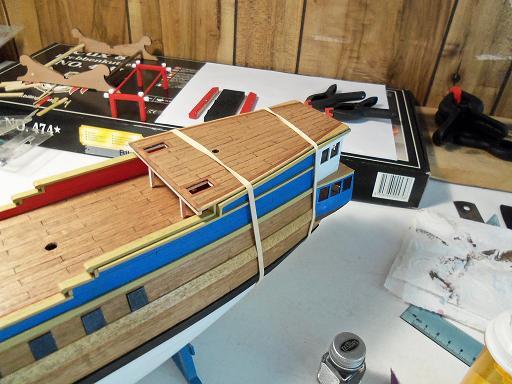
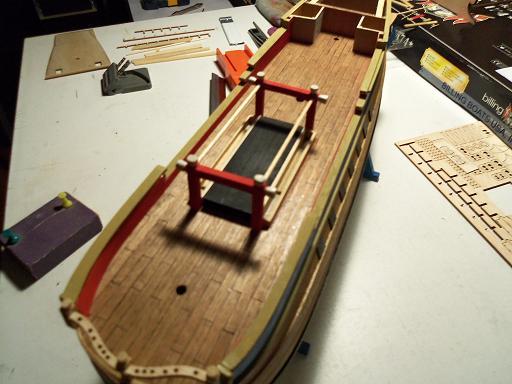
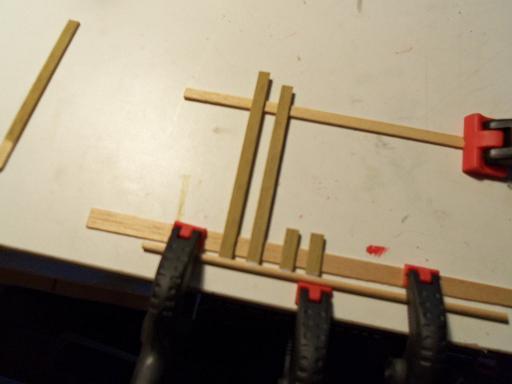
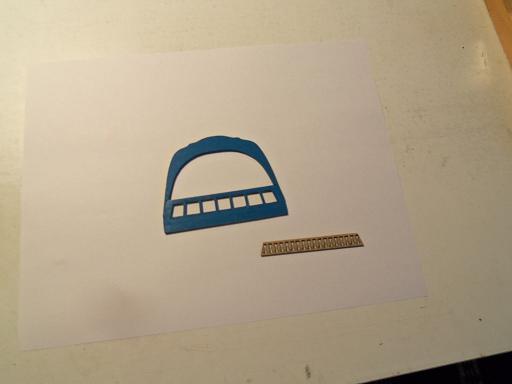
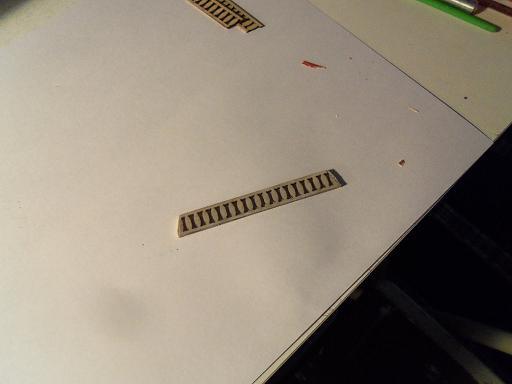
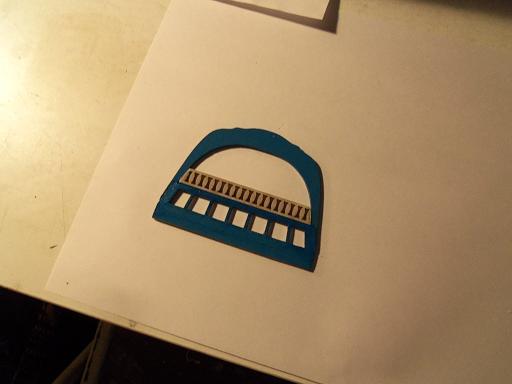
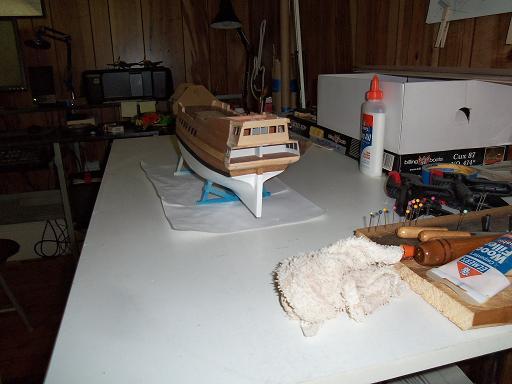
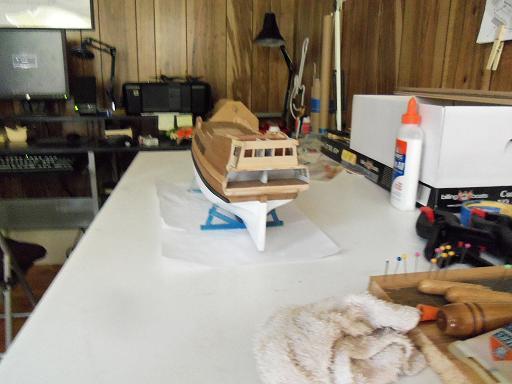
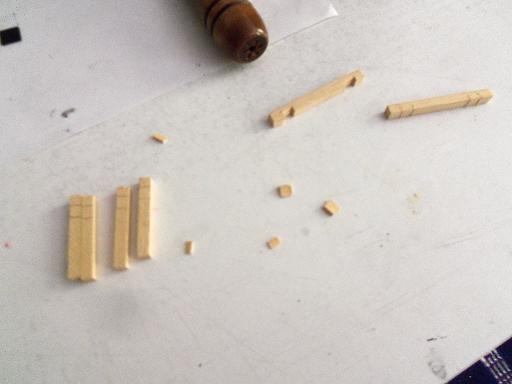
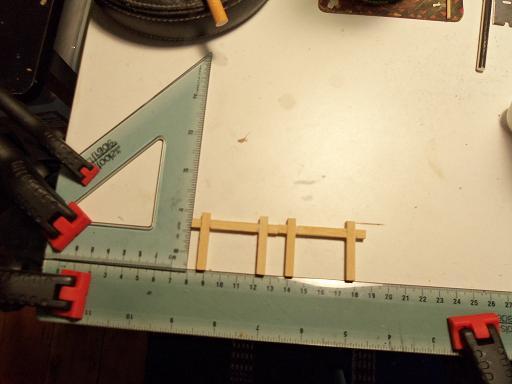
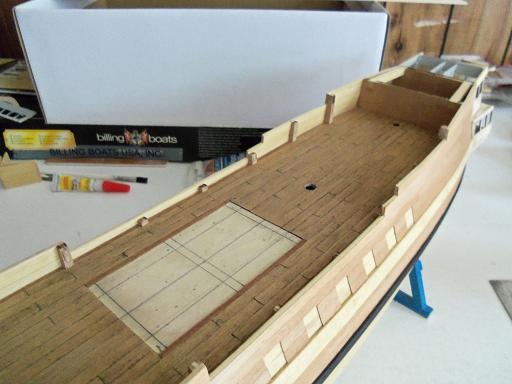
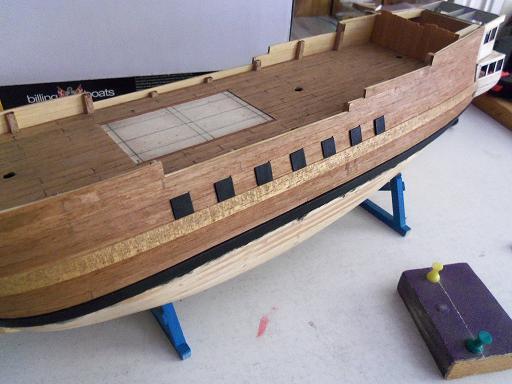
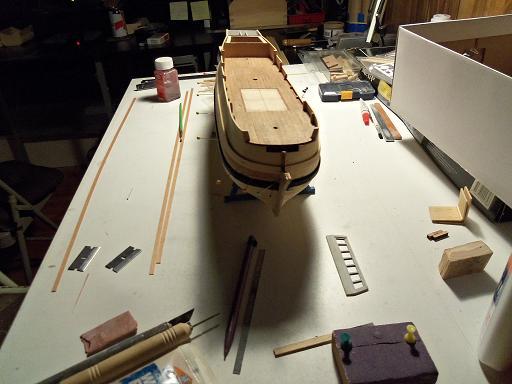
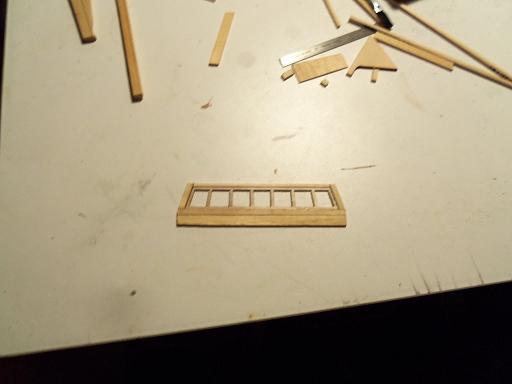
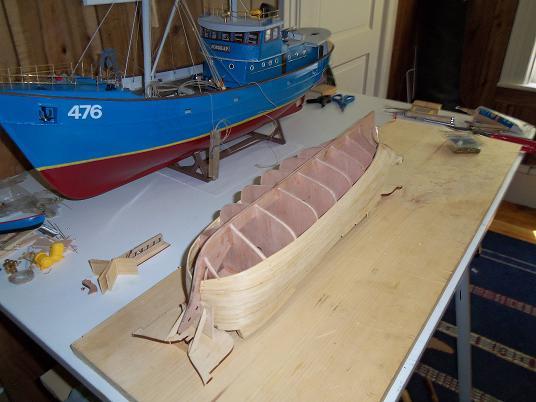
here is more progress on the rack then I went and did more to the stern ......then back to the upper planking


-
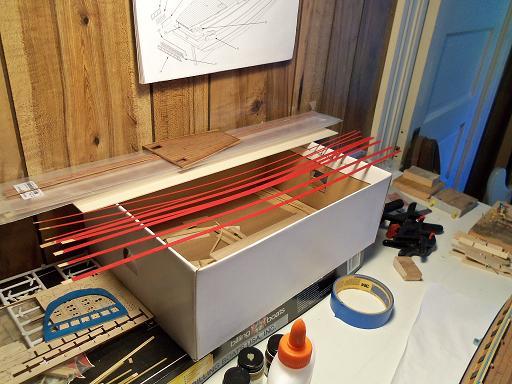
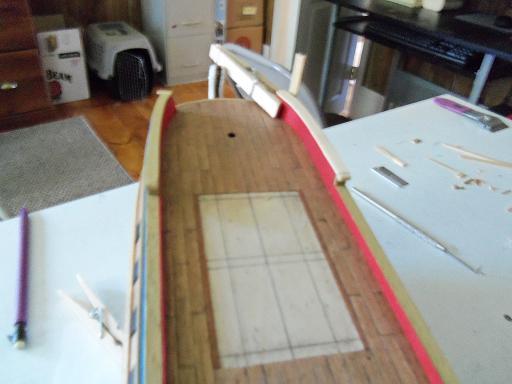
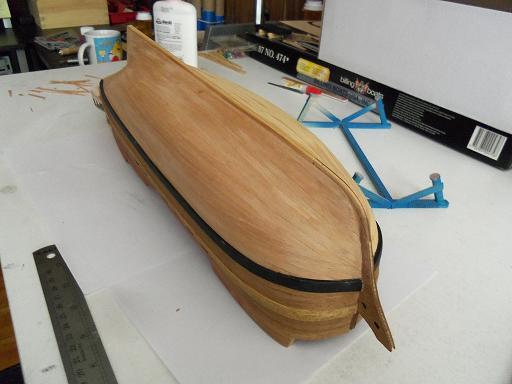
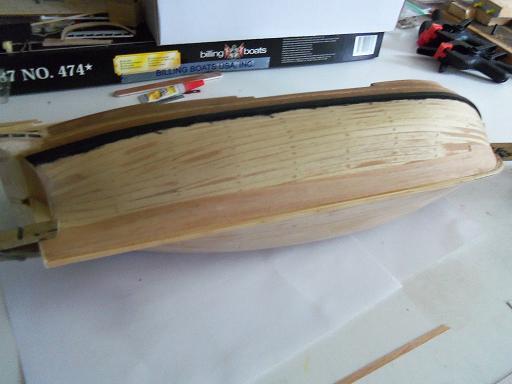
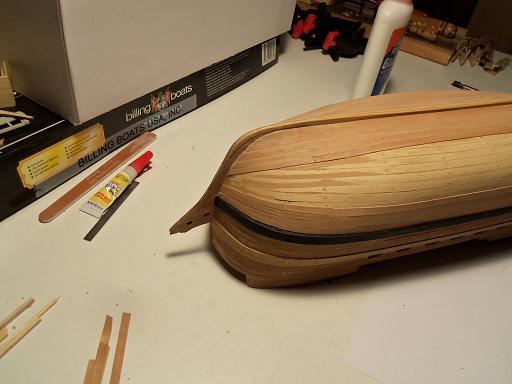
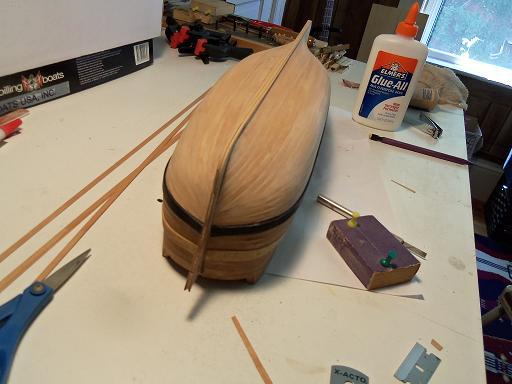
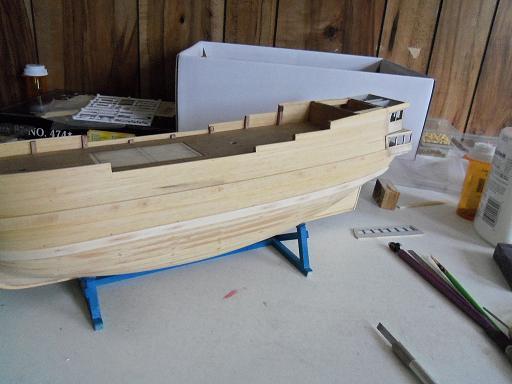
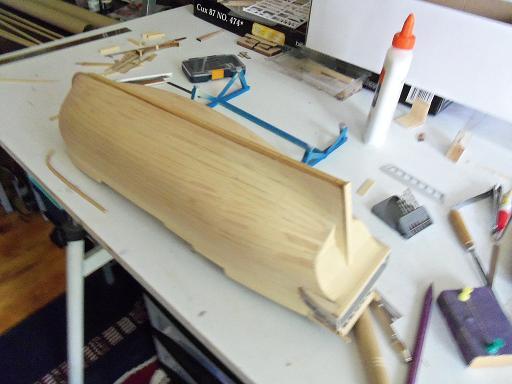
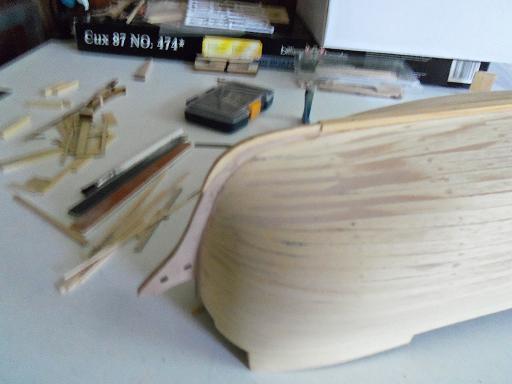
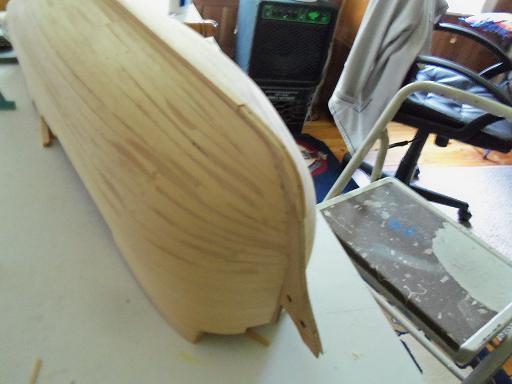
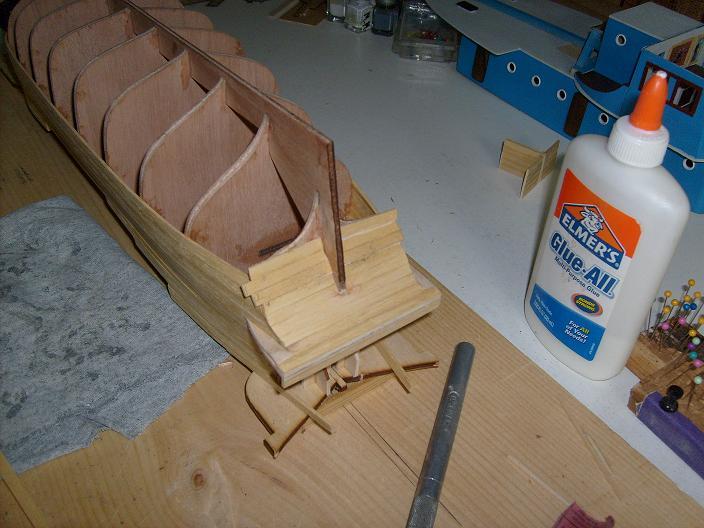
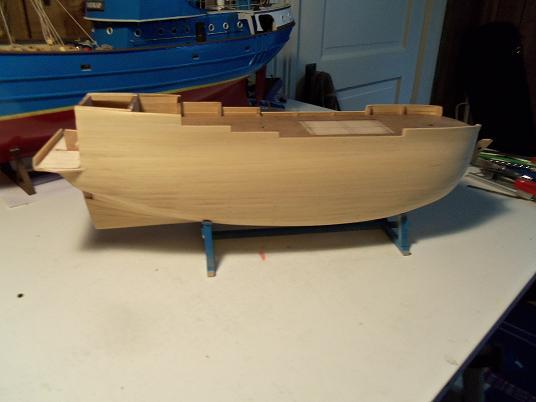
here is the beginnings of the second planking.......the upper section first.......... I remember this picture vividly........in doing the second planking, I needed to plank in that space at the bow. I left it open because I wasn't sure how the bow spirit fit in. I had to hold the strip in place by hand, there was no way to pin it. Since I knew that I ws going to be stuck like this for a while, I put some music on........Simon & Garfunkle. I got into the music....fooling around, I started to sort of dance to the music........the admiral came in, and she clearly thought I went nuts!

-
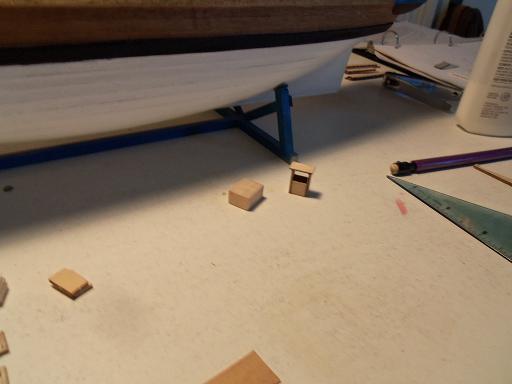
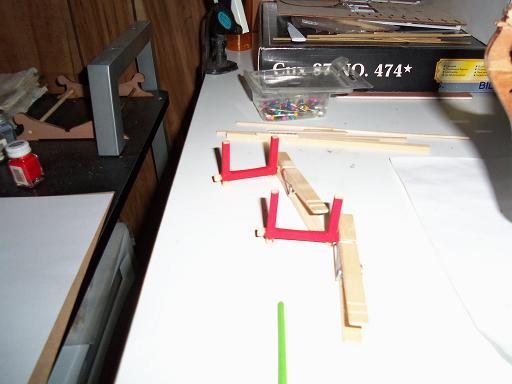
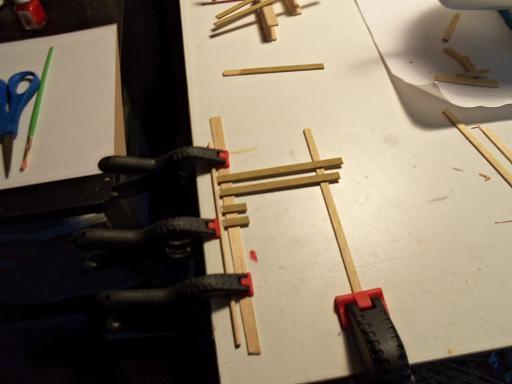
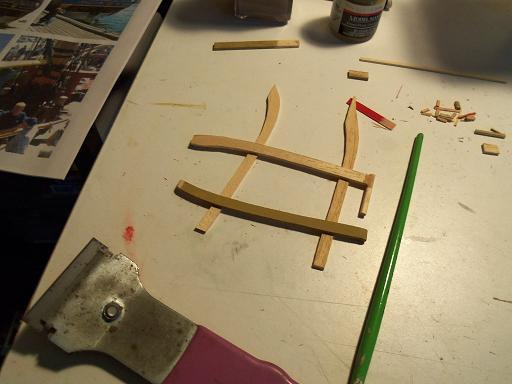
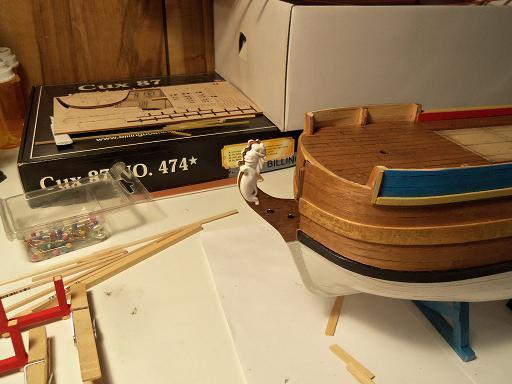
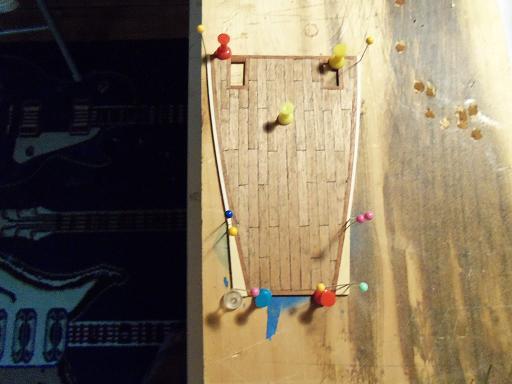
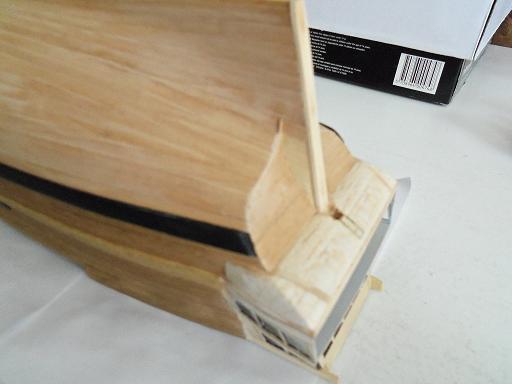
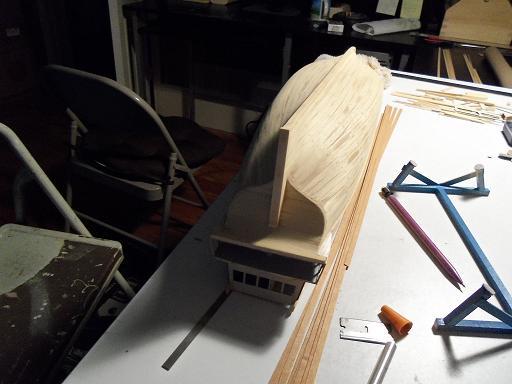
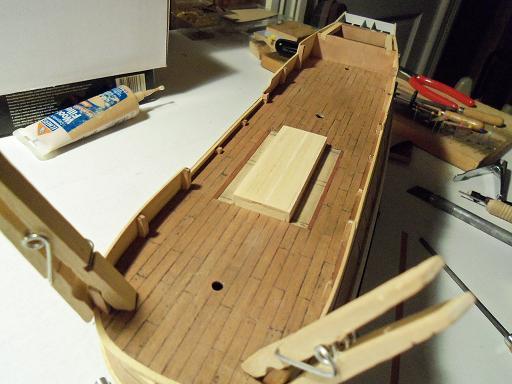
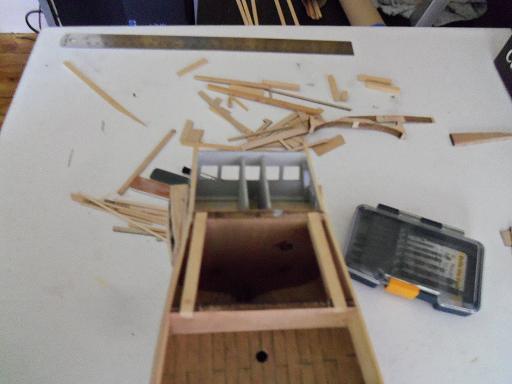
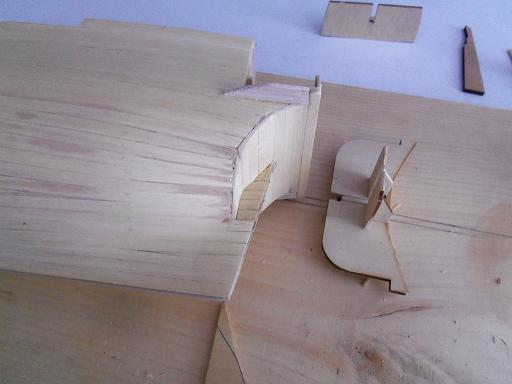
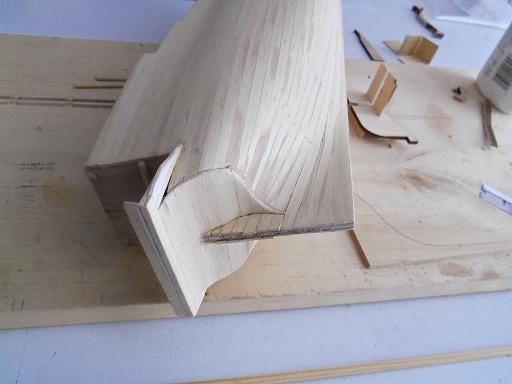
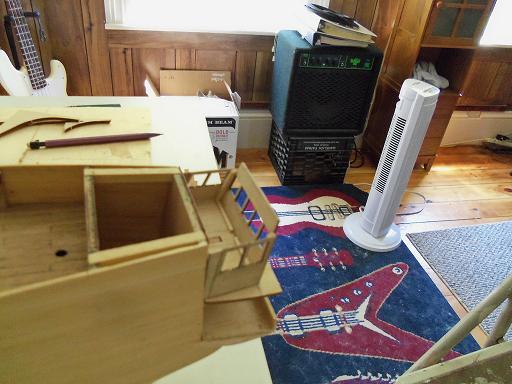
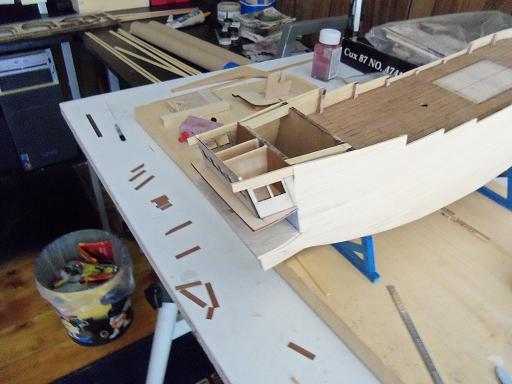
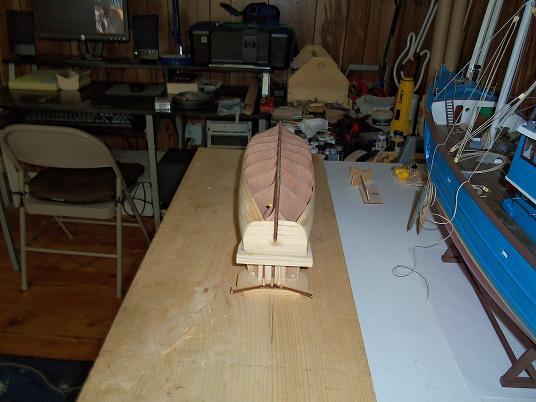
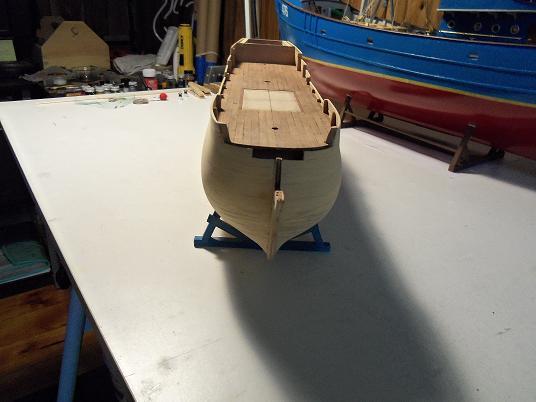
here are pictures, laying the new keel. I also started the progress for the rack concept. I had done some work to the stern......but the progress was mixed with the second planking that I had started to do.......I will show this bit first. quite a bit of work was done to get the stern to look like this. it was on to the second planking.
-
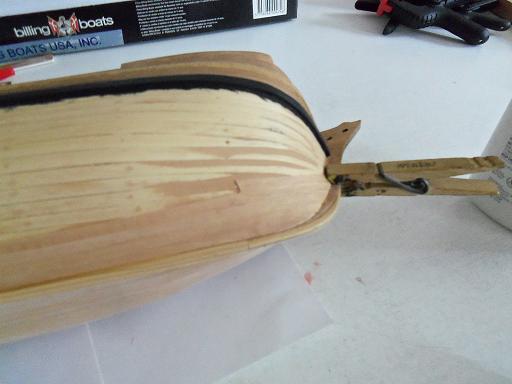
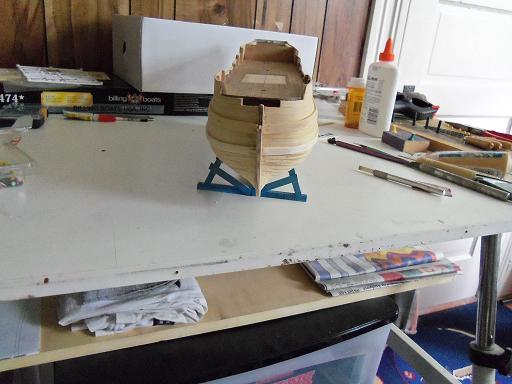
I had to finish planking the stern stem as well then I did more with the sterm quarters again.......after what I had done earlier, had dried. these are the parts that will not be used. the upper section:
-
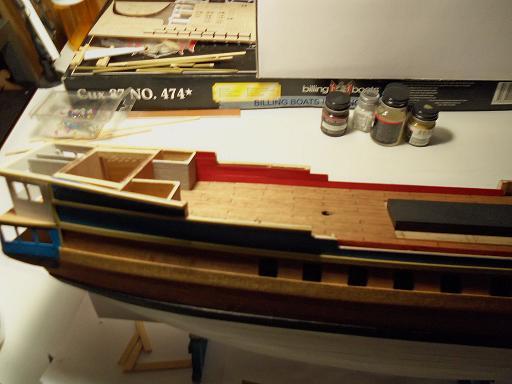
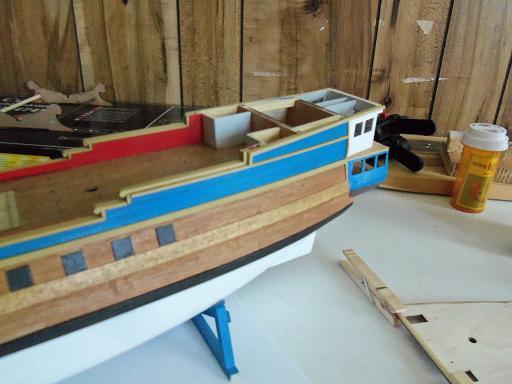
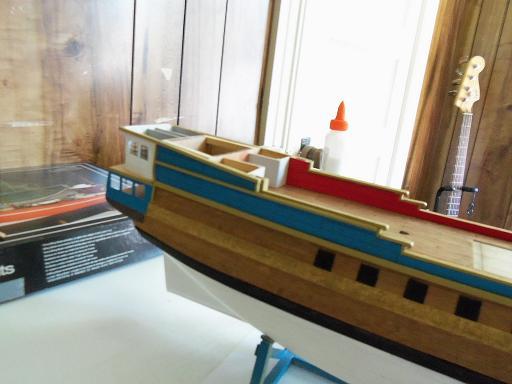
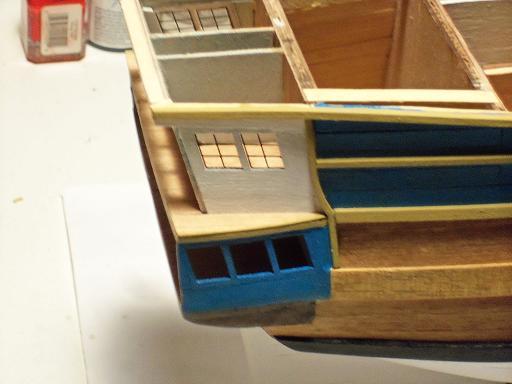
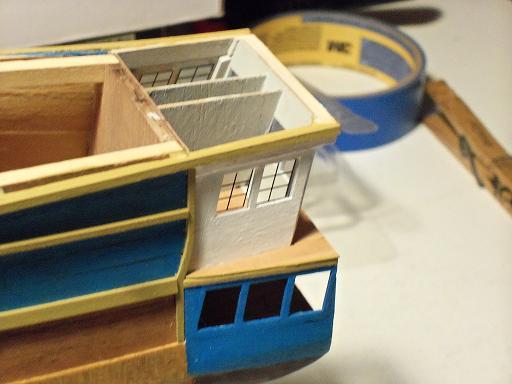
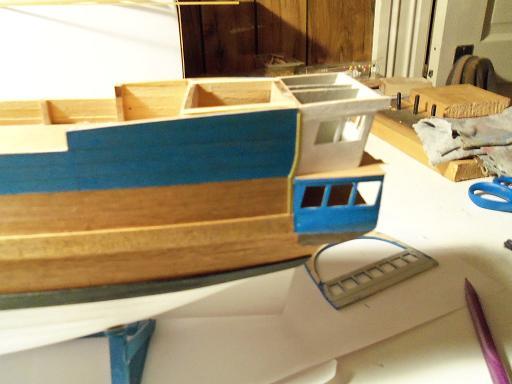
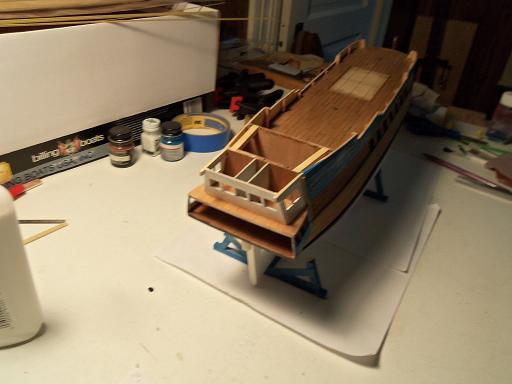
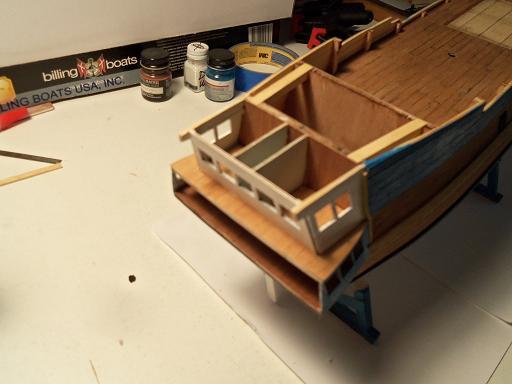
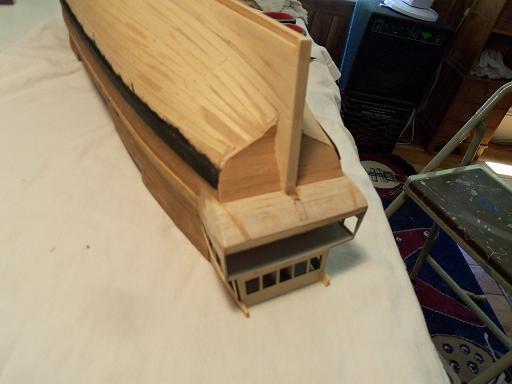
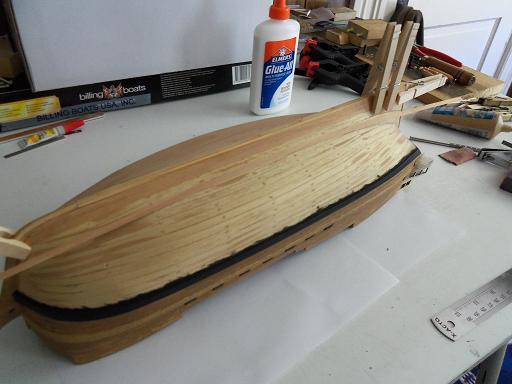
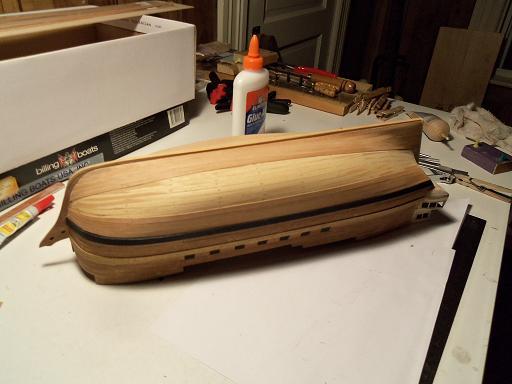
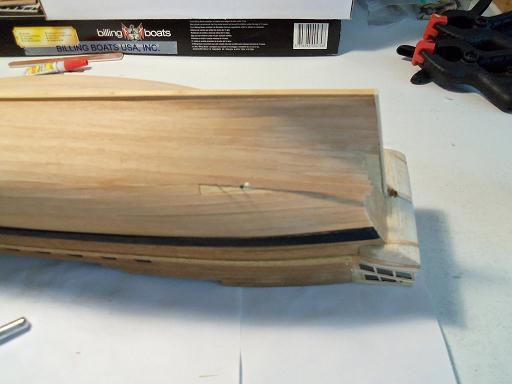
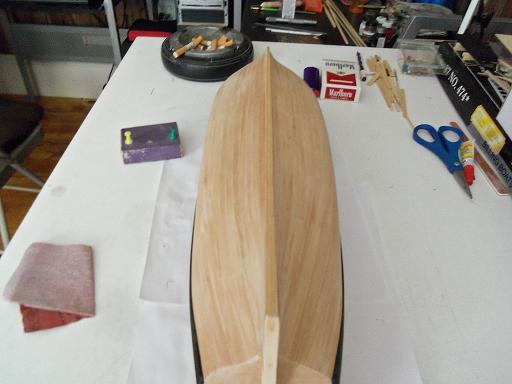
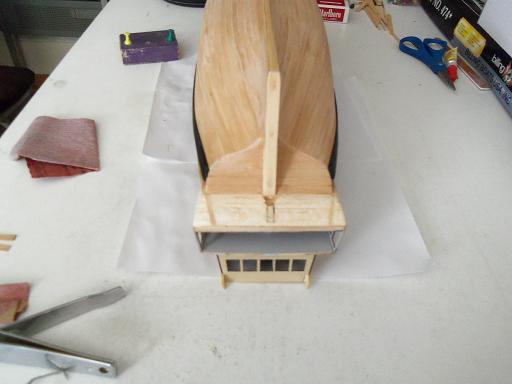
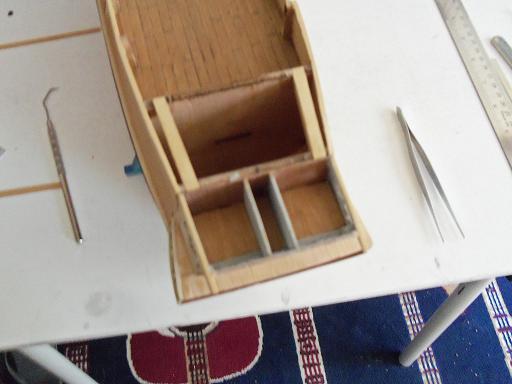
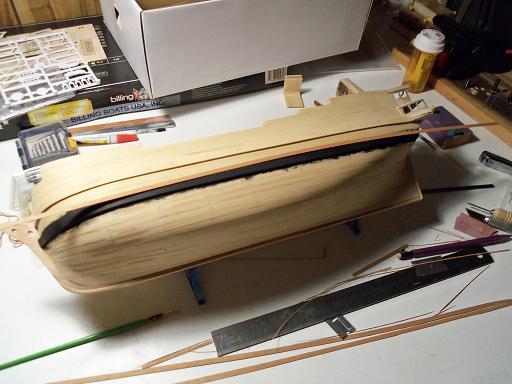
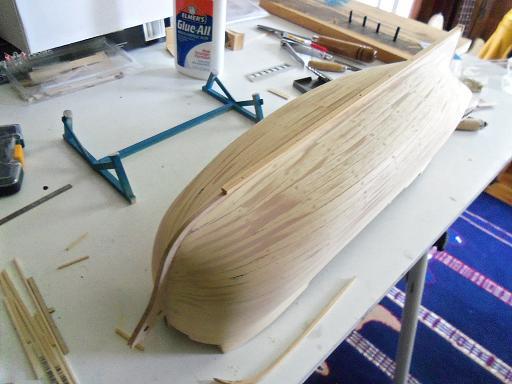
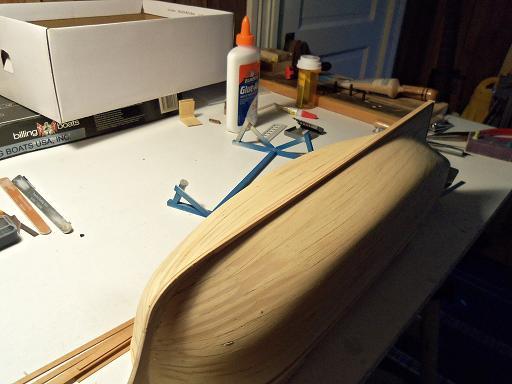
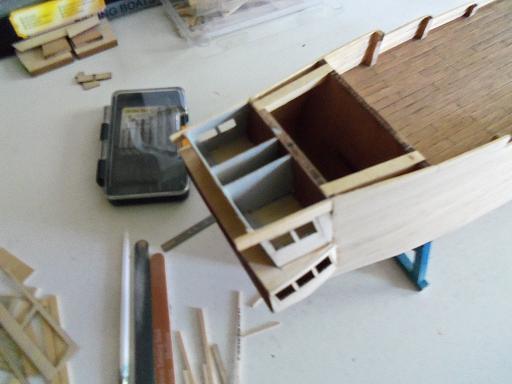
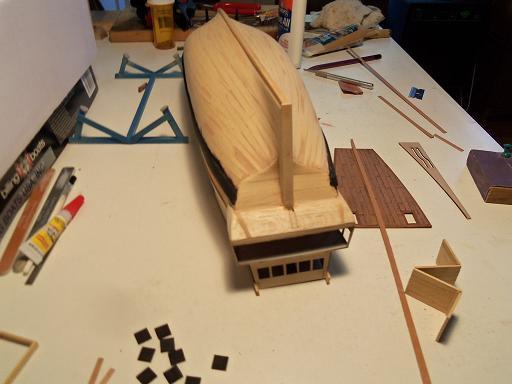
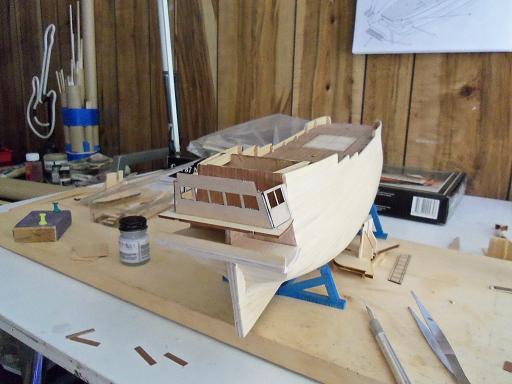
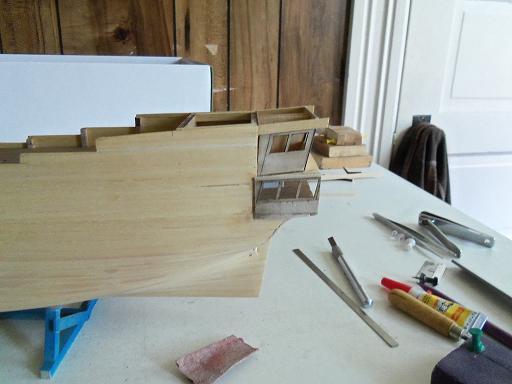
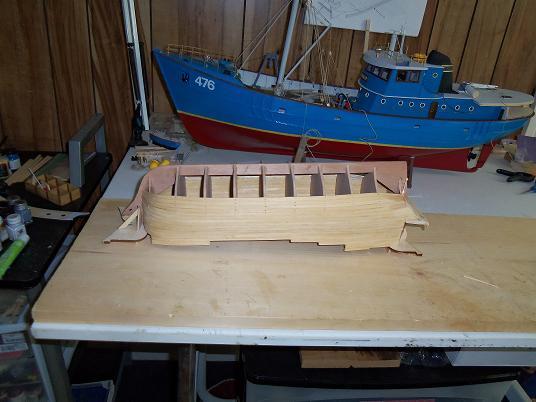
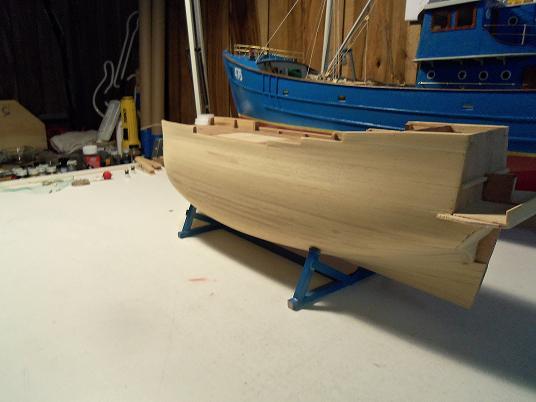
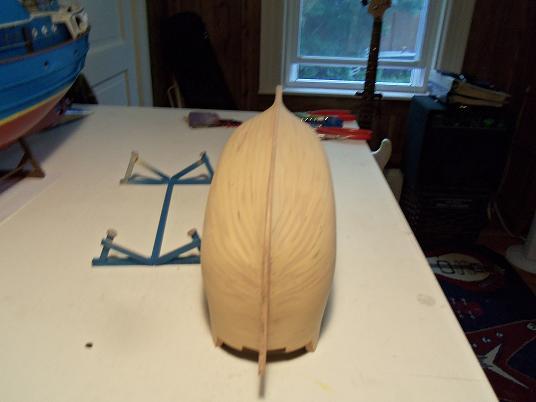
with the second planking, I needed to add to the keel. I did not go all of the way up at the bow.....I started about half way dwon and back to the stern stem I did more with the stern quarters, painting and fleshing out the outer walls. I had to have this done, before the second planking could be done. I put the lower quarter outer wall on with a dab of cement to see what this will look like. I like how open it looks inside. to make the side walls was a task as well. with how I did the alteration, I had to add wood to them and shape them to fit

-
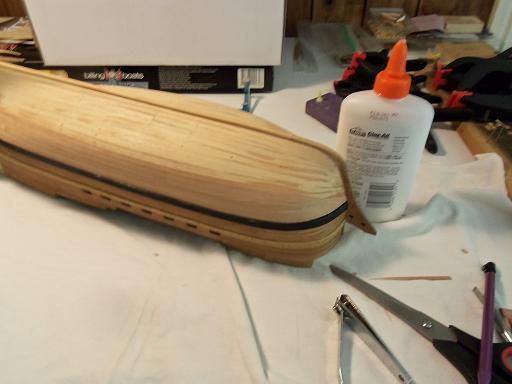
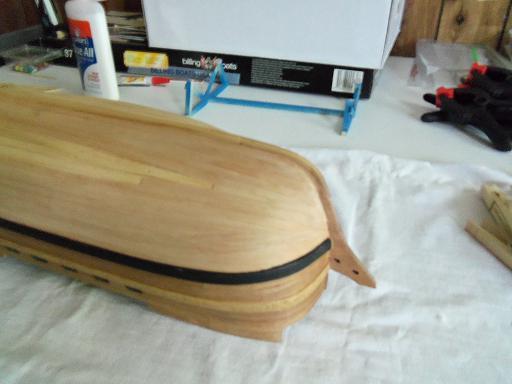
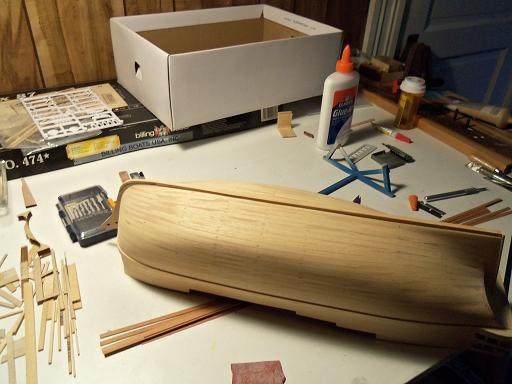
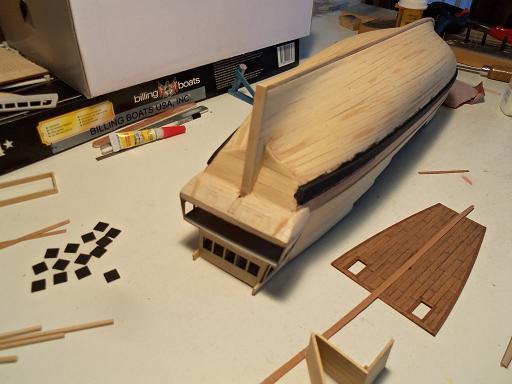
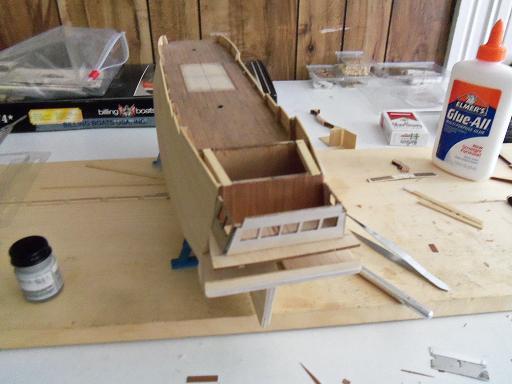
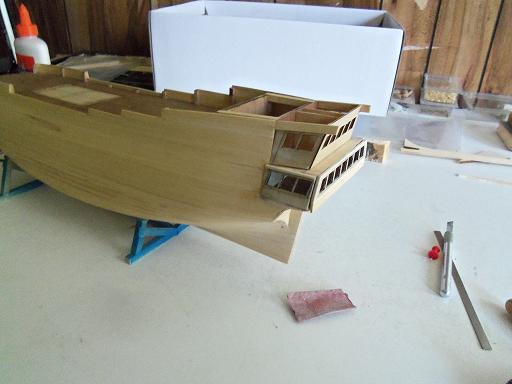
I cotinue........the planking was going good, but I did mess up on the transom and counter. I ripped it all off and redid it, in which it came out much better...more in line with the hull shape. the stern had it's own problems......building it to the point where you could see through the windows.....I did not like the idea that the windows were blinded off like that. I wanted to open the quarters area up....at least show that light could pass through it......I still kick myself a little that I didn't furnish it a little, because you can see in, giving the proper lighting. here is the redo of the transom and counter. here is that faiteful day, when I was holding it in my hand, trying to cut something, and it flew off the table onto the floor. it broke the bow stem, broke off the two lengths of planking that was to define the aft deck, cracked wood in a couple of other places. I thought it was over for the build......but then I had a better look at it and decided to repair it. the other bits of damage was easy to repair, but the bow stem required pinning and gluing.....I'll show that a bit later. I was still hard at work with the Nordkap....almost done. for anyone who don't know the history of the Nordkap.......this ws the ship that got me building wooden boats. the kit was over 20 years old and stored in an attic, given to me by a friend on mine. I was inspired....probably why I have so many builds in the works......I can't seem to get enough of it. I've grown to love this hobby.....don't know what took me so long to wake up! this is of the repair and the finished planking. after sanding the hull, I decided to do a second planking. I had been talking to Tom Richardson @ Billing's......he was very sorry to hear that I was doing this {I had put in an order for the mahogany strips}. I put him at ease though.....it's not the kit's fault, it's just something that I had in mind. this is Annegre mahogany, it a lighter color and very nice to look at.......I like the grain texture.

-
yes......he had a lot of trouble keeping pappy away from the women and drink! LOL! LOL! funny how the early cartoons show him with 'sweet pea' {the name for the child here in the states}, and then in later cartoons, have him with his three nephews pipeye, poopeye, and pupeye. they portrayed popeye and olive as married, even though they never were....or so they gave the impression. sweet pea was an interesting character.......I never really caught on whether the child was a he......or a she.....LOL! it was also said that popeye was never in the service........only cartonned in sailor dress for the war effort of the time. during our war with Japan, he was cartooned on battleships, and after eating his spinach, you would see a picture of a battle ship, or a generator......anything that pointed towards emence power.
-
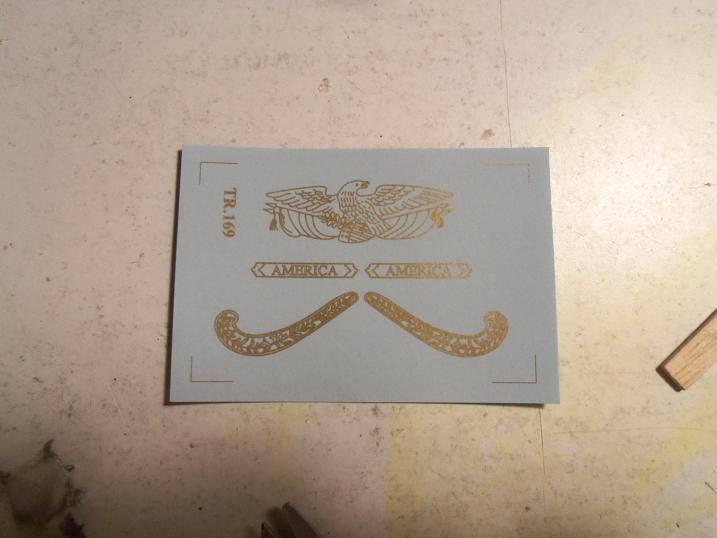
thanks Patrick........when the eagle has landed........i"ll post a peek first I'll spray them with the decal bonder, so I don't lose it again! thanks Mario.....looking forward in seeing another of your fantastic builds thanks John......now why didn't I think of that...I can be terrible with terms and names, and of course, the instructions don't give them to you either. you'll make a well seasoned sailor outta me yet thanks Alfons......yes, I've started the Gothenborg build.....putting it all back in. I did a lot of bashing to the stern....I couldn't stand those closed up windows. I'm going to try and put more in today.....planking, and more on the stern. again, I thank the folks who supplied me with pictures of the ship.....they have been invaluable in putting some of the extra detail in there.......I just hope I can do as well with the rigging.
-
hi Caroline, so glad to see your putting this build back up. love what you've done with the stern.....it's amazing! it inspired me to do what I did with my build, the Gothenborg.....although, sad to say, I didn't go the lengths that you did. I'll look forward in seeing more progress on this superb build!
-
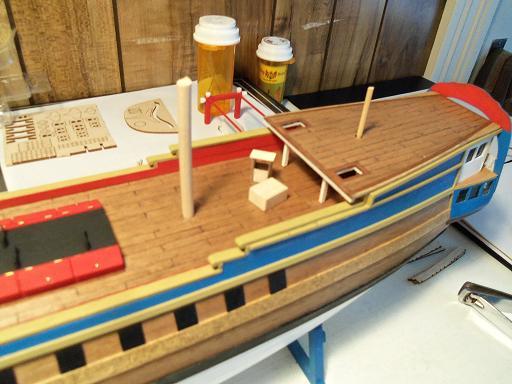
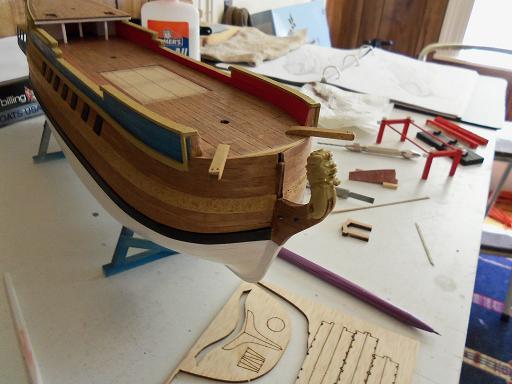
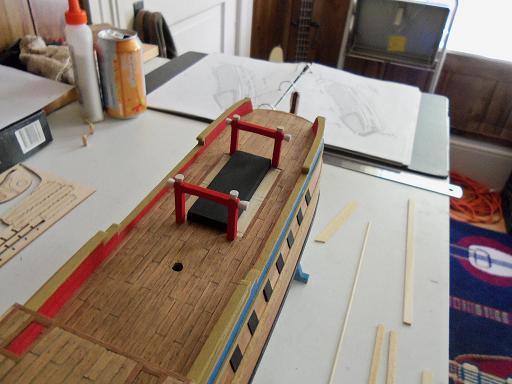
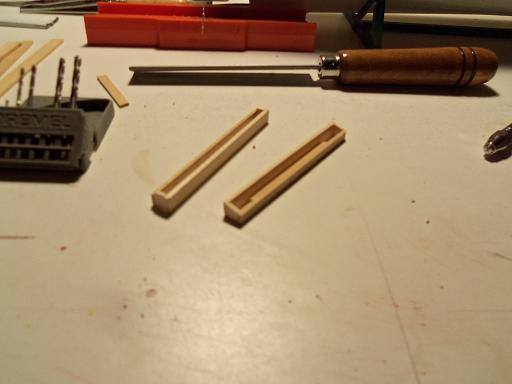
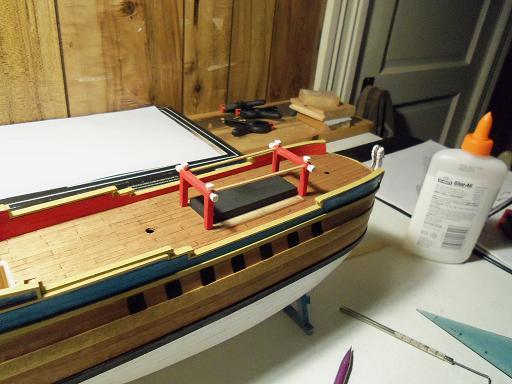
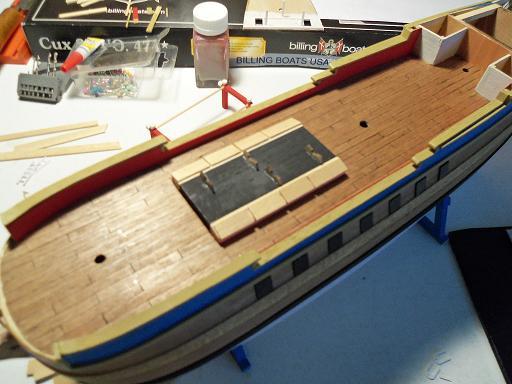
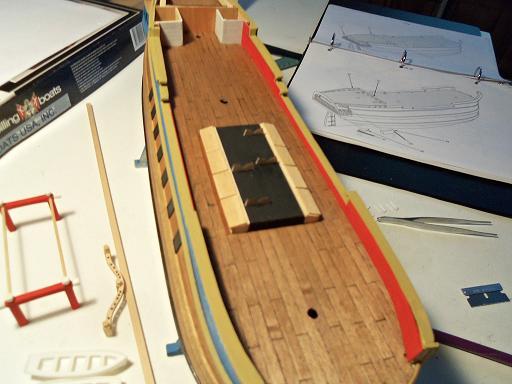
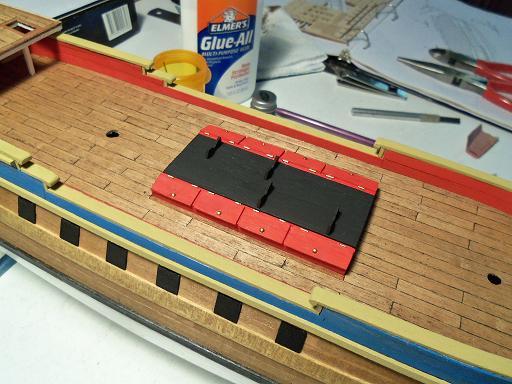
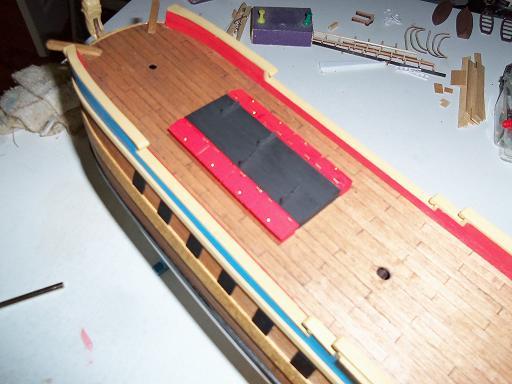
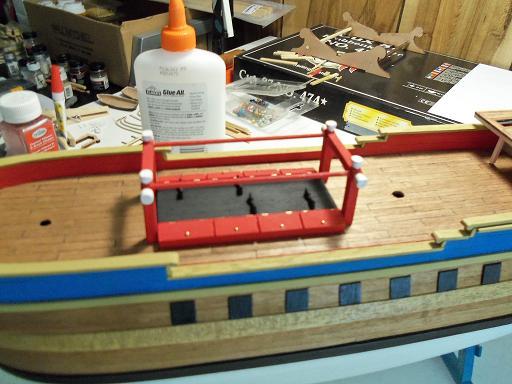
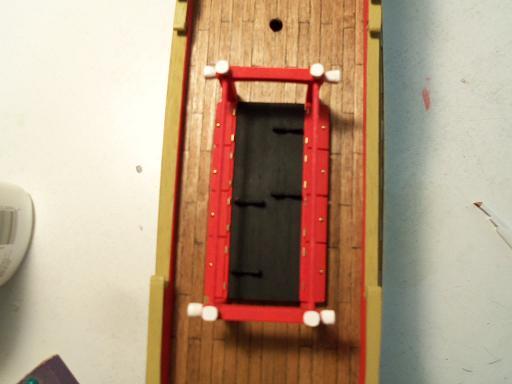
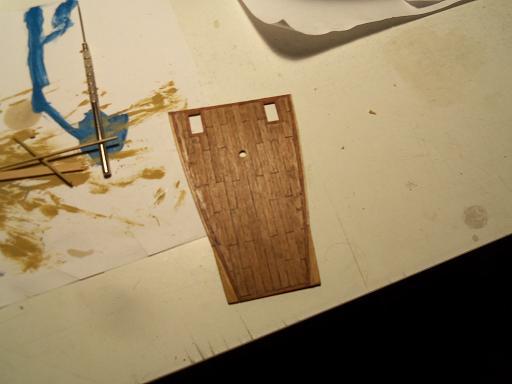
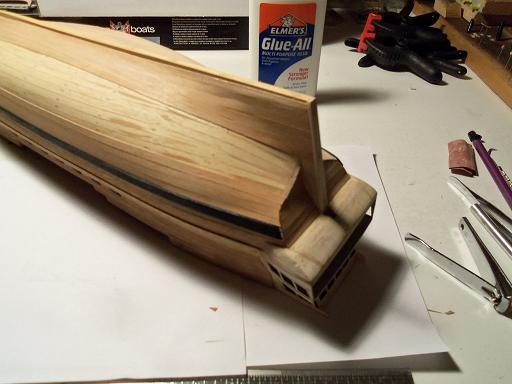
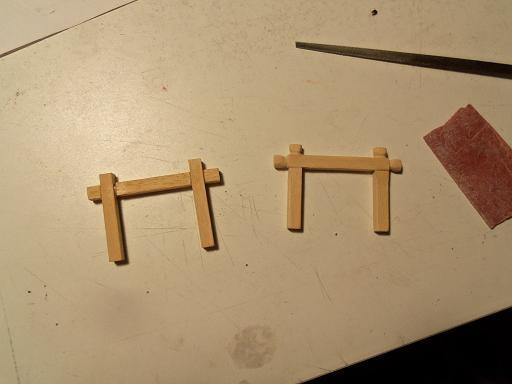
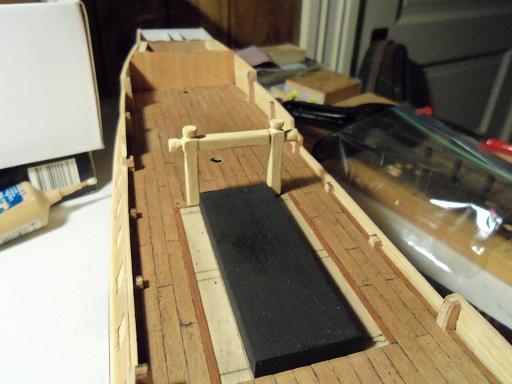
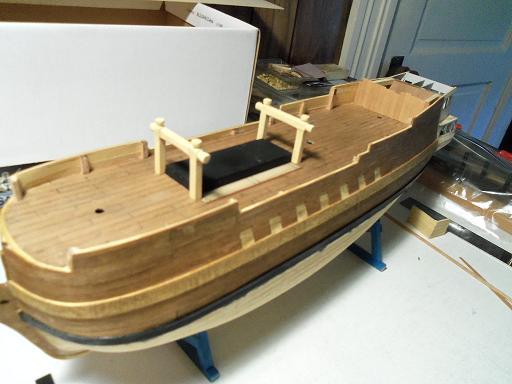
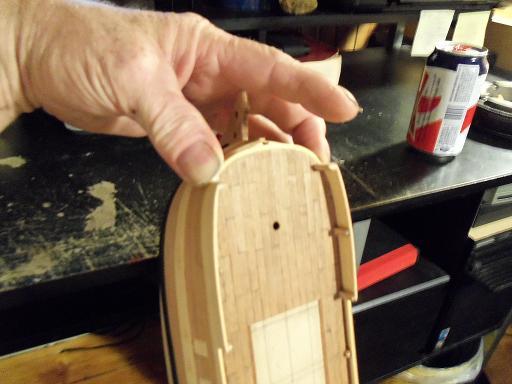
thank you very much Anja.....I am really enjoying this build. I had contacted Billing's to see about getting another decal sheet, after ruining the eagle for the stern. I came home today and found the envelope on my desk. I also cemented the skylight in place on the deck. I was kind of hesitant about gluing the dome on the base.....I thought that the CA might cloud the window maker. though I was very sparing with how much I used, I found that it wasn't affected by it. before I stopped for the evening, I did add one more bit for the deck......the aft boom horse at the stern. I don't recall the proper name for this part.


- 377 replies
-
- 1
-

-
- america
- billing boats
- (and 1 more)
-
it is something to read how tall the mast are........then you see them in the flesh........yeowzza! looking forward in seeing more pictures!
-
yes, Popeye had {has} a father.......it all started back in the 'thimble theatre' ....I'll try to remember how All this went down {such a long time ago} "maw told popeye about his father.......he looked for him.......later finding that he was being held captive on Goon Island {I think by a character called Sea Hag}. after he rescued him, he brought him back to maw " pappy appeared in quite a few cartoon shorts after he became syndicated....I believe it was whitman publishing.......I'll have to look all this up again to refresh my memory...I used to have the site bookmarked. how the charecter popeye evolved is really interesting. he was my favorite as a kid.
-
there may be many Victorys out there......but none like yours that I have seen. your skill is simply amazing!
-
very nice structures Sjors......can't wait to see them on the deck
-
I can agree on that Hakan......there is a son........he can finish it! my one memorable moment got me started with this hobby.........I can't thank Harold enough. I am rather worried about him.....he has been out of work {sick} for well over a month now....he is getting on in age. I'll look forward in seeing a future build........whatever she be Hakan, I'm sure to see that it will be another top notch build!