
HOLIDAY DONATION DRIVE - SUPPORT MSW - DO YOUR PART TO KEEP THIS GREAT FORUM GOING! (Only 75 donations so far out of 49,000 members - C'mon guys!)
×


popeye the sailor
-
Posts
16,007 -
Joined
-
Last visited
Content Type
Profiles
Forums
Gallery
Events
Everything posted by popeye the sailor
-
 looking at it from a mechanical aspect, many of the domestic cars had multiple arrangements for engine mounts.....one could upgrade a mustang very easily. I've never heard of someone souping up a european sports car, unless they were changing the fuel management system or engine specs. I think the Mustang came out with more variants of this line........Plymouth comes in second. amazing stuff could be done with the older cars.........unfortunately, it a lot harder to do stuff like that with today's cars. I've had a dislike for colored plastic....a lot harder to paint in different colors. even with some primers, the tint still comes through and will alter the color your using. are you using a brush?
 -
thanks Mark and Lou
-
thanks OC
-
thanks Ed and Mark......this one was kind of a filler. I still have the Stuka too.........I put that one back in the box for some reason {I forget}. I'll be working on it I haven't even looked where the Clotilda or the brigg {Agilis} ended up in the new arrangement yet Ed. the Fokkers are next thanks to all who hit the like button!
-
great job so far OC.........they look very good I'm taking notes on the horses........I have a bunch of them to do at a much larger scale
-
nice save on the body paint castors look great too !
-
....and then to Boston for some chowder
-
B 25 Mitchell ragove 1/144 Minicraft
popeye the sailor replied to Papa's topic in Non-ship/categorised builds
they do have a B 25B kit out there.........I forget who makes it. the early production of this aircraft was perfect for the mission........the weight was less than the future variants, it's size, and how little modifications would need to be done. all of the guns were removed........due to a miscalculation on the weight for take off. I was looking for decals......I was going to do the Ruptured Duck Pacific Wrecks - B-25B "Ruptured Duck" Serial Number 40-2261 I was hoping to use the kit I have, but it won't work.......I'd have to do too much to it. it's a J variant. -
WOW! great job on the dio all the pieces fit really well, and you did a great job on the figures too! simply superb!
-
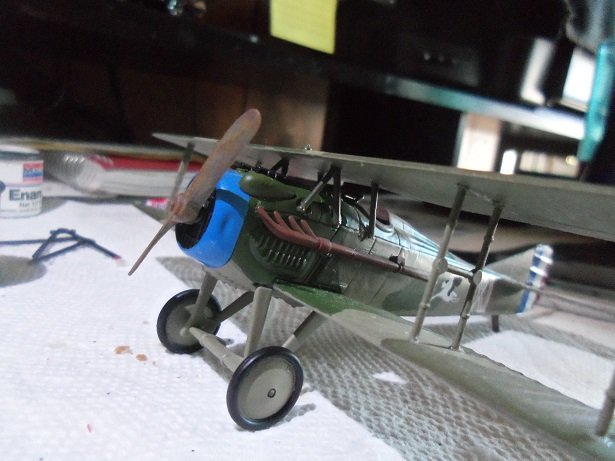
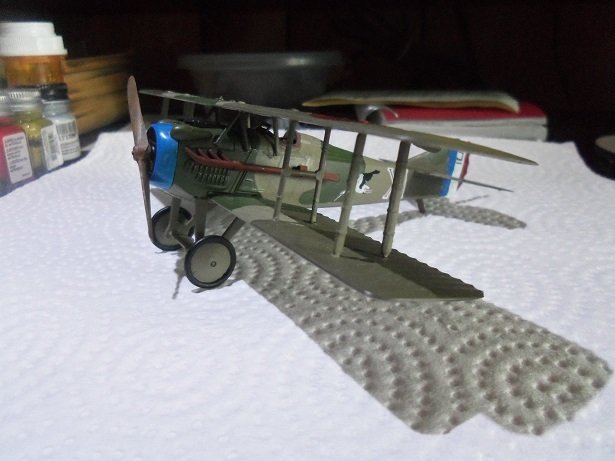
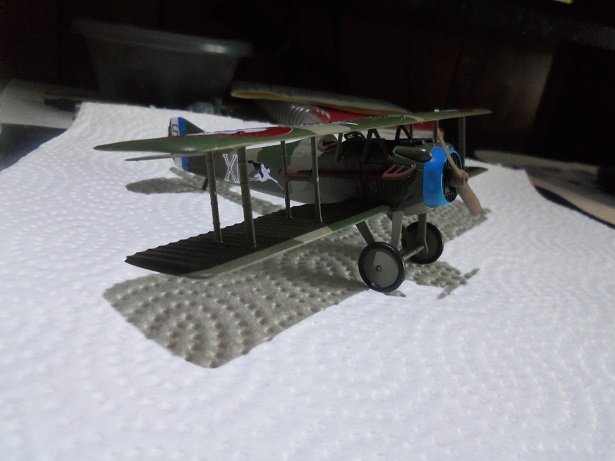
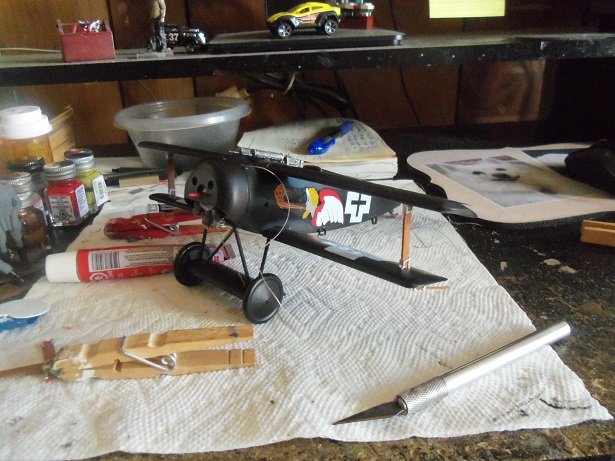
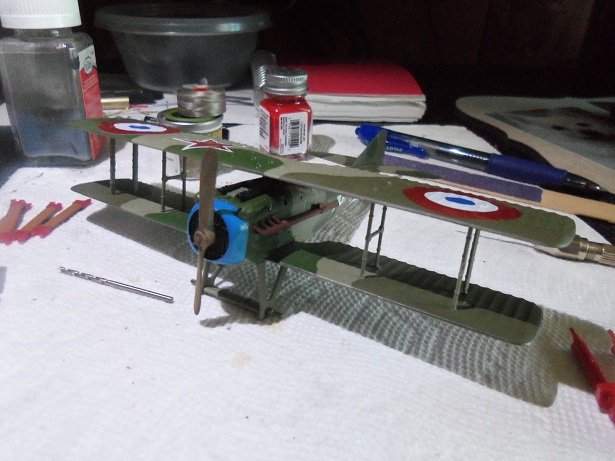
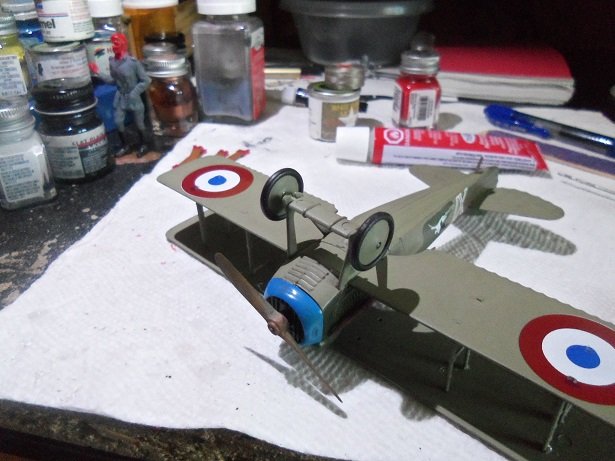
hey there folks! I didn't have anything really to report last week. the big L got in the way......I also got more info with my leg issues. I need to have both legs done...just waiting now for the OK from the insurance and scheduling the date. I think it will be sometime in August, since this is the end of July. the good thing is that it's a low impact procedure and it won't lay me up for any real length of time. the only restriction will be no heavy lifting for a week, and I hope I can follow the plan I've devised in the best interest for home and work. if this is all I've had to deal with....then I consider myself to be one lucky guy I did get this model finished yesterday.........I was able to clean up the mess with the interplane struts and cement the cabane struts in place. they still need to be painted. from here, the struts were painted........the touch ups were done, and the rest of the decals were added to the tail. the model is now finished! while browsing a Hobby shop yesterday, I came across a Spad kit that also supplies decals for the German Luftwaffe. interesting to think that even in WWI, planes were being captured and used. I hope you enjoyed watching this project. Glenco kit are Ok.......not much in the way of fit issues............... some holes and locators needed to be drilled out thanks for all the kind comments!
-
nice progress
-
Awesome model.........always wanted one but never pulled the trigger I be watch'in this one!
-
B 25 Mitchell ragove 1/144 Minicraft
popeye the sailor replied to Papa's topic in Non-ship/categorised builds
gee......if there was a way to eliminate the turret, with the right decals, you could have done one of Dolittle's planes I have found a kit that has the option to lose the turret.......but every time I try to hit the buy button, the admiral alarm goes off "it's designed to go off before you do!" I've done that with a few tail heavy models.....glue the tires to a home made base.....one good solution I've got a larger scale B 25 J......under the cockpit floor is a great place to put the weights. I normally use either tire weights or derby cars {if they fit}. I'm not familiar with the access you might have with this one though. she came out great........looks really neat! -
sorry I missed the second attempt........even sorrier that it didn't work out. I'm not familiar with the use of wax, but it's been my experience to know that metallic paints do not harder like other paints. I've stayed away from doing 'silver birds', but I would have if I built another B 17 if there is a method.......I'm sure you will find it. I do wonder if it might have been better to lay the other paints before the metalization. your admiral sounds a lot like my admiral. I saw this in my travels........I thought of your project
-
you get questions like.......what do you do with it when your done? my two boys........if they can't endlessly manipulate it, they're not interested the old days before the internet....and TV........of course saw the biggest influx of modelers. crafting today is foreign.......why make it when you can buy it already made. it goes for other things too......like farming, and things we took for granted, but were sustaining {I'd give anything to be back on a farm } I hope they know what to do when the word goes to snuff that would be a matchbox thing.........most companies illustrate the painting as the model is built. here they figure that this would unclutter the process. little do they realize that it's all the same I haven't built a Messerschmitt in eons......I'd love to watch
-
making great progress with the Sea Harrier very nice work!
-
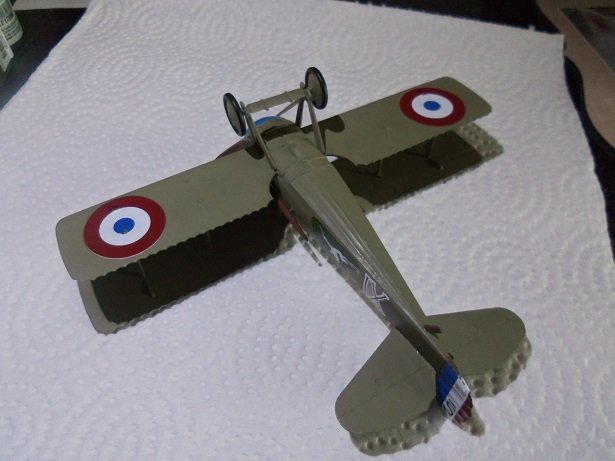
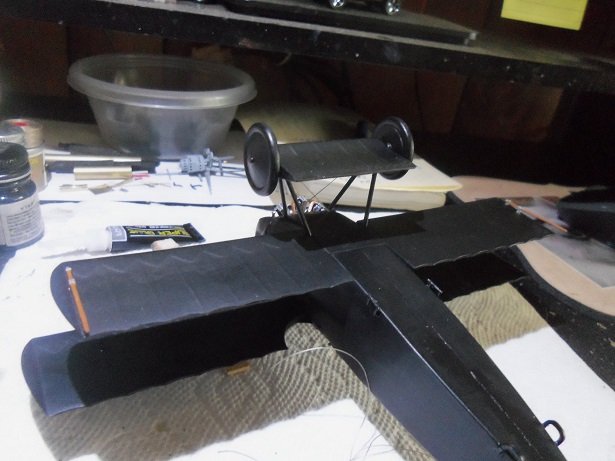
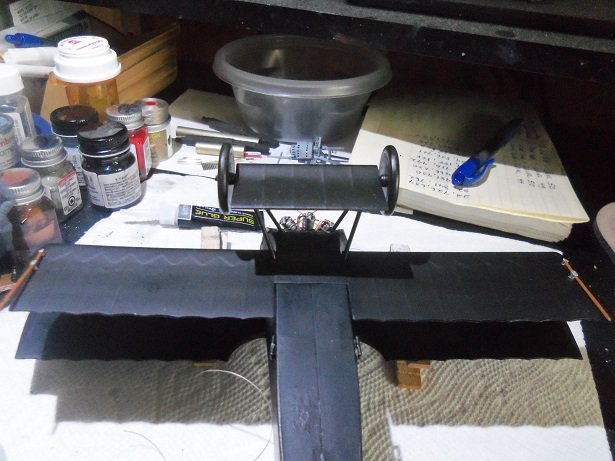
other plants have latex qualities.......it was said that the extracts from Dandelions were also experimented with. it was later abandoned due to them having lesser amounts to work with. I believe that they would look sort of an ashened gray. I came home from work the other day......it's been quite hot lately, and I couldn't help noticing how bright the room was from the natural sunlight. so I grabbed a few more pictures....I also added the lower interplane struts. I finished painting them. the upper struts were fitted, but I haven't added them yet.. I was thinking on how I wanted to do the top wing. Revell kinda drops the ball in regards to this bit of rigging. instead of having molded holes for the control cables, there are holes in the upper cabane strut roots, to thread the rigging through. I would try and drill the holes, but I could never be able to copy the detail aspect of the pre molded holes, so I will live with it. rigging for the upper and lower aileron cables needs to be cemented in place, before I can close up the top wing.

-
thanks ......not much further to go now.
-
just kidding my friend back when I worked at the garage, {1980 or so} it was normal to see {even if it was kept in the bottom drawer }. times have changed....you won't see them anymore.....replaced by vintage cars and hot rods. one year, I even got one for my brother in law for Christmas. I'm still working .....a trailer mechanic at a truck shop {Wal Mart}, and no one there even has one. chalk it up to another 'fad' that had its 'heyday', and disappeared into obscurity did you rough up the treads on the tires?
-
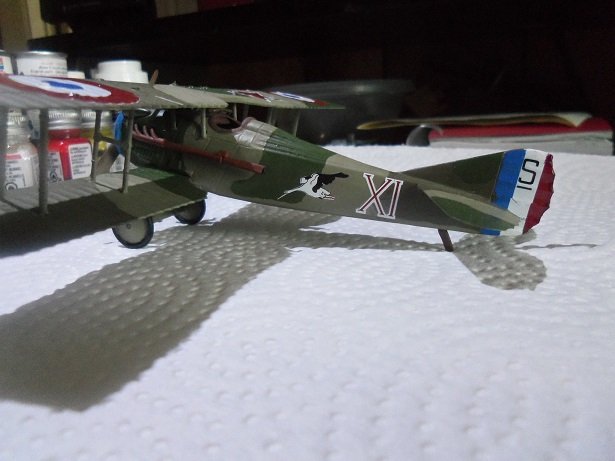
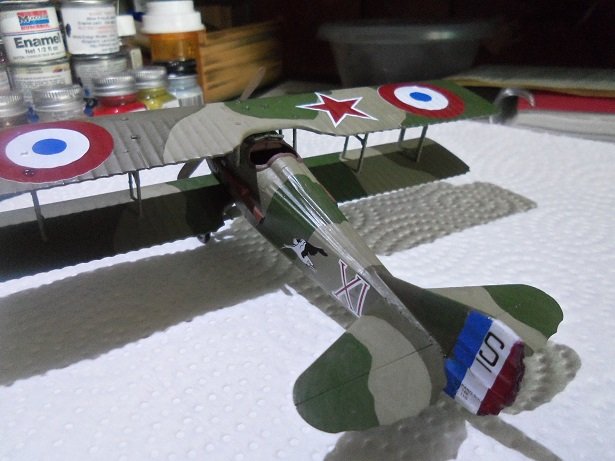
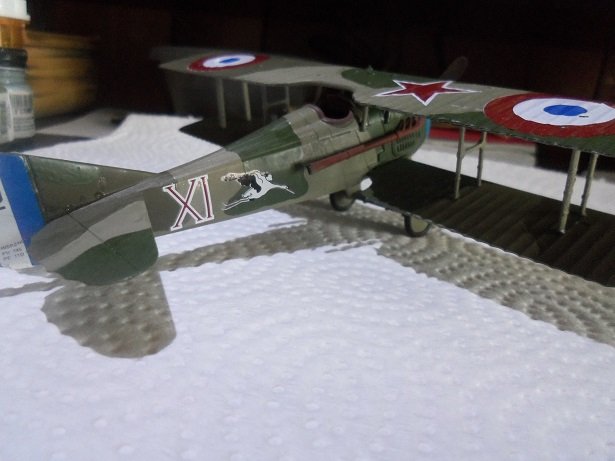
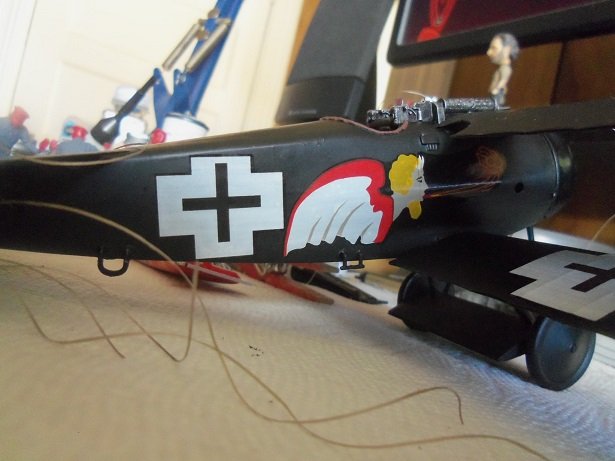
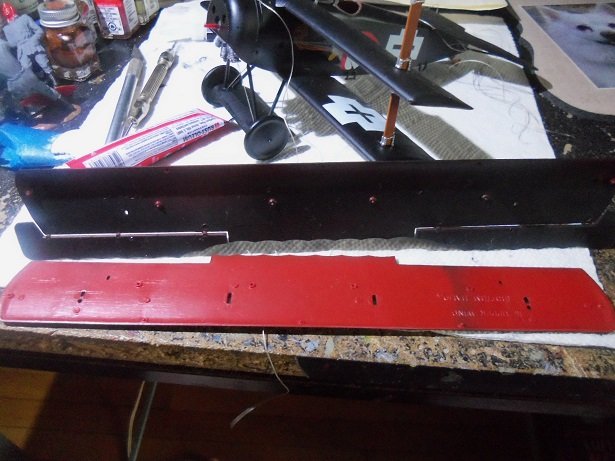
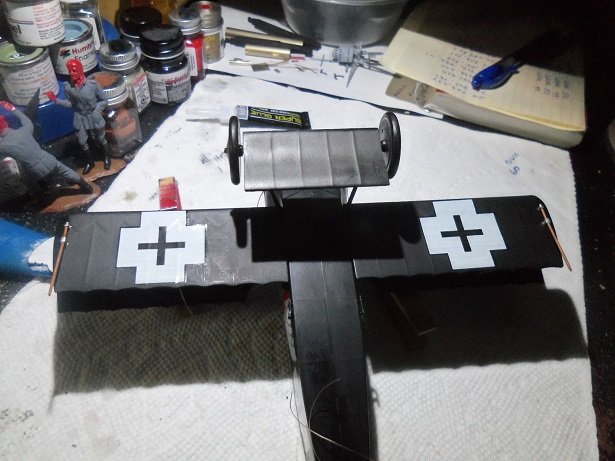
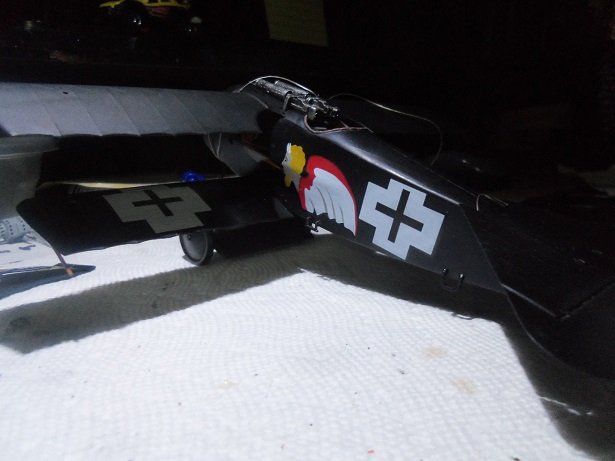
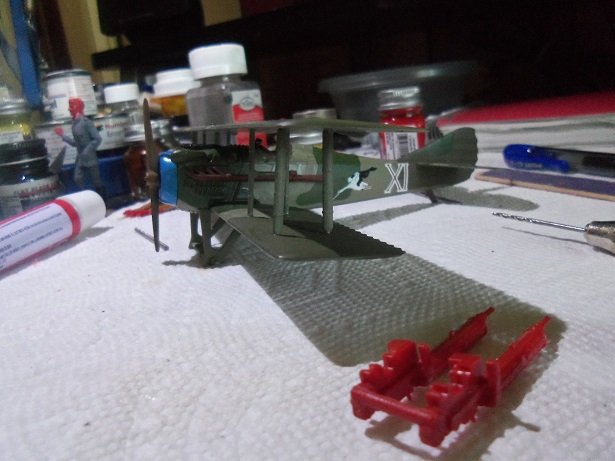
thanks OC.......I went further with it til it was time to go off on errands. I had posed a subject on the quality of rubber back in these times. on some models folks painted the tires gray or similar colors. the use of rubber has been around since 1836, but was used as far back as 1600 BC. refining latex back then, as opposed to today, was likely primitive than today's standards. raw latex is relatively impervious to dyes, so it makes one wonder what color tires actually were back then, and how did they achieve this. I was going to paint the tires a grayish color, but it was an afterthought, and I had already painted them. rather than experience anomalies in the paint, I left them as they were.........adding them when I added the wing skids. the stabilizer struts were added and painted next.... it was time to go shopping.........after that excursion....and supper......I got back at it. I finished painting the interplane struts.......setting them aside to dry. I couldn't hold off any longer.....decaling! starting with the bottom wing...... there is another pair on the top surface as well. only Ltn. Jacobs knows why......then the fuselage. the lighting is rather poor........I'm sure there will be better pictures later. this decal split down the middle..........it went together OK, without much fuss. the rudder will be flat white......of course there is a decal for it as well. that's for the next update though. there aren't too many parts left....assembly of this kit is top notch.

-
thanks OC.......it should clean up OK
-
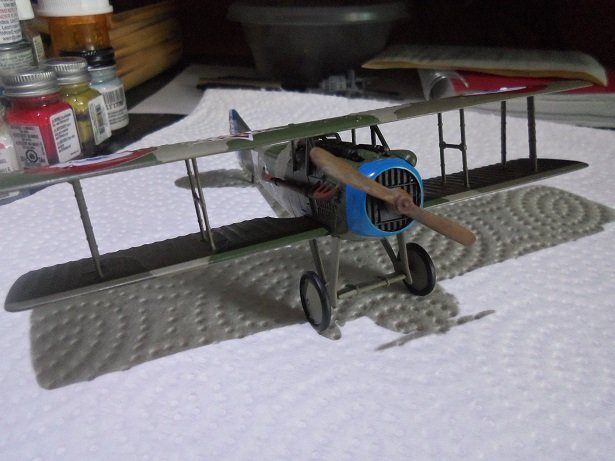
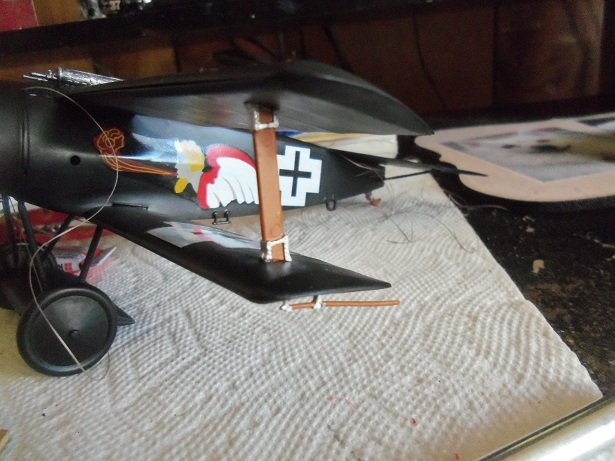
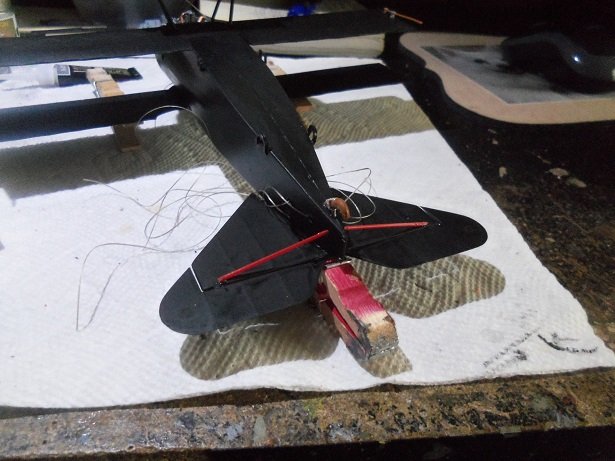
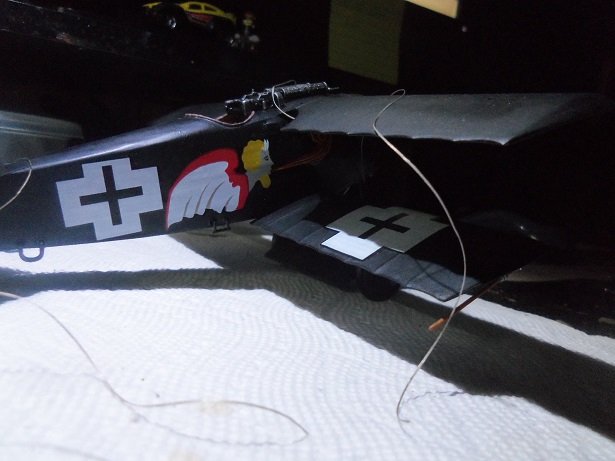
I almost lost this puppy! with the main interplane struts and upper wing on, I went to add the outer interplane struts and it caused a whole bunch of grief. everything started to come apart.....bad enough for me to remove the upper wing and drill out the holes. I had to start over. to make matters worse, the rudder decals didn't goo too good either......one side broke apart. no pictures on the decals, but I got the wing back on..........and need to do the damage control. one good thing was that I didn't have any problems with the tires, and they are now in place. still more to go yet
-
very nice diorama! the pilot came out nicely as well superb job..............five ⭐'s!
-
I have the site bookmarked....it's nice to know that they stand a good chance of being available for future projects I'll keep it in mind
-
the instructions to assemble the rims must be top notch! they look awesome! your progress in the chassis is outstanding
