HOLIDAY DONATION DRIVE - SUPPORT MSW - DO YOUR PART TO KEEP THIS GREAT FORUM GOING! (Only 36 donations so far out of 49,000 members - C'mon guys!)
×


popeye the sailor
-
Posts
16,007 -
Joined
-
Last visited
Content Type
Profiles
Forums
Gallery
Events
Everything posted by popeye the sailor
-
 I did the same thing with the bulwark posts.........not enough if only the bulkheads are used, and not high enough either look'in good Tom!
- 135 replies
-
- 1
-

-
- billing boats
- half moon
- (and 1 more)
-
hey.....I heard that there wuz a guy with no talent build'in a Bentley. I see they were blow'in smoke up my whazoo! sweet look'in model so far MD..........I see your brushing up on alternating detail {metal & canvas}. good to see you dove in with both feet......hope you enjoy your newfound past time look'in forward in seeing the finished model
-
turned out quite well Mike.......some models, they are as they are. some inaccuracies you can do with little trouble........some are nearly impossible. I'm still looking for that model that I've covered all the bases it will be interesting to see how different companies cover the same subject. on some models, I've done better adding the dash to the inside of the body, rather than the chassis. the grille.........you did great with it.......I'm sure you did some profane words with it
-
your village looks better and better every time you show your progress the detail you add is awesome..........really nice work!
- 789 replies
-
- 11
-
-
sorry to hear of your fall....hope your getting better
-
it might have been a terrible kit.....but you did a fantastic job! can't have been too bad, if you built two of them sometimes it's hard to instill the realism in a model, but you didn't have to work too hard at it.......they are way over the top! superb looking bikes.........congratz!
-
I've seen kit that give the option to do it........never tried it myself. glad to hear your recovering well. I've got a procedure coming up as well.......got to adjust plumbing in my legs. no heavy recovery though. glad as well to hear you made it through the storms down there!
-
you've done a superb job so far Grant! really coming along and looks great it's too bad that such a nice kit has so many defects.......good you have back up to solve the shortcomings
-
good move.....best to keep the admiral happy nothing worse that an admiral's scorn. great progress.......really coming along nicely!
-
usually , no treatment at all would have been done to the glass. I have never used a varnish on plastic models. I hope you can correct this.........it is moisture / humidity. varnishes are equal with lacquers when it comes to moisture...it doesn't react very well.
-
superb job on the figures so far OC knitted skivvies..........bet they are heavy when you get out of the water...;) knitted suspenders? just a thought
-
me......I'd look at 'em and think I could never build one it took a co worker to lay one in my lap to get me going. I haven't heard from him since he left Wally....an older gent, I hope he is well.
-
following as well
-
superb job on the tank! really nice weathering as well look'in forward to see what's next
-
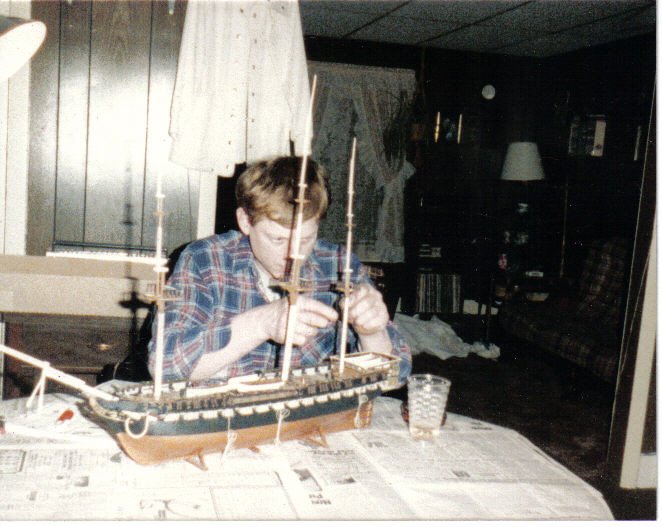
well hello there stranger! it's so good to hear from you! yea.........just going back to my roots. I grew up with plastic models....built quite a few in my day. I took a period of time off to deal with life........back in the '90's I got the bug back. here is a picture of me building the U.S.S. United States....... ....so long ago ~sigh~ the wood model bug bit me in 2009....wish it would have bitten me sooner. I like to think I've gained some experience.....but there are folks here that show me that more prep is needed have you added to your active projects? I'll have to check! thanks for the kind word.......hope you follow along
- 89 replies
-
- 10
-
-
sweet look'in body.........good you got the clear coat sorted out. I get the same thing sometimes..........spray cans have poor control. how far away from the item is important, but how fast you move is more important, I think. some rattle cans have adjustable nozzles........holding the can as upright as possible will insure a good spray. when I'm going to use a can, I will shake it periodically several times before using to insure mixing, and warming the can will bring the paint to room temp.........a bowl of warm water will do the trick. the same trick works well with compressed air cans too...if you use an airbrush with compressed air {the one I use can be used with these cans}. I fitted it though, so I can run it on a small compressor. you might have had the can at an angle where the tube inside sucked up some of the gassed propellant....may have disrupted the spray. there are time where a second light coat will lessen the effect.........but you arrived at a suitable solution that your satisfied with.....so all is good gonna be a sweet look'in body when you get some wheels under it!
-
canopy looks good I use artist's brushes that are pointed.....like they are molded or something. I find it's all in how much pressure that's put on the tip of the brush.........keep it from fanning out. I need to get a few more........they tend not to keep the pointiness for very long
-
impressive planes..........painted on decaling?........I've not done that before hope your feeling better!
-
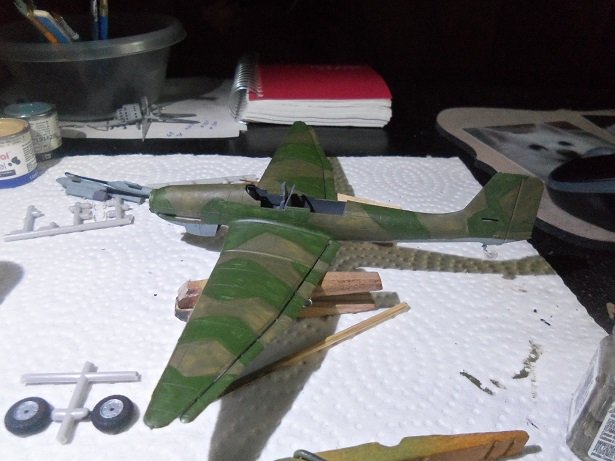
thanks.....sorry 'bout being belated........just haven't had any gumption lately I have been tinkering.......I'll show what it is a bit later, but nothing really exciting to speak about. I finally got a date on the procedure on my legs.........yea, both of them........Sept 8th. the nice thing is that there isn't any major restrictions.........just not to do any heavy lifting for a week........and to walk as much as possible. more on it later. I had a large scale model of this plane when I was a youngster at home........I forget the scale.......had to be at least 1:32, if I were to take a stab at it. my siblings destroyed it on me though....... very sad story.......... I'd love to get another one...........a lot more detail. the exhaust was a kicker..........just went to press one in the slot and it broke in half. it was nice that they included the Africa version exhaust in the kit.........does seem funny though, that they would include the bomb pods, but no bombs to add to them. the 1:72 scale kit is an old kit........I've seen a couple of kits that were put out there using these moulds. Guillows does have a kit.........series 1000.........it's a 1:16 scale model with 34 1/2 wingspan! that would be an impressive model I hope to have more done on it soon.

-
it appears you had a great vacation! outstanding model........very well aged, right down to the patina on the stone foundation! looks super as a cut away..........a fine stand alone model, and even if you later decided to add it to a diorama, it wouldn't take away from it's beauty! superb job and a really nice subject
-
he had many planes at his disposal...... controversial on how he died, all evidence pointed to anti aircraft fire that killed him. it was indeed lucky that he was flying close to the ground when shot.....he was able to land the plane without crashing. he broke his rule upon seeing his cousin Wolfram being attacked.....later to pursue the attacker, Ltn. Wilfred May........the precursor to his death
-
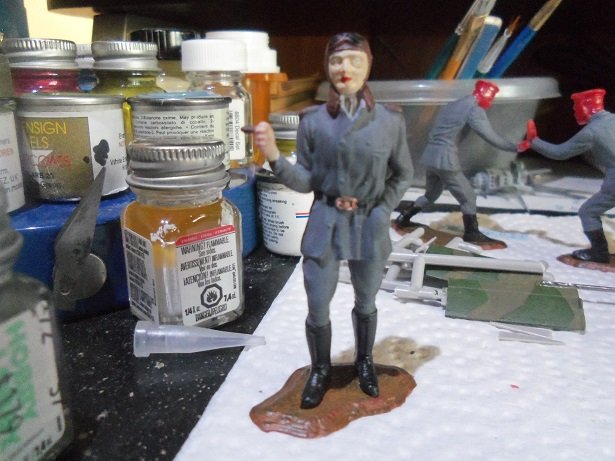
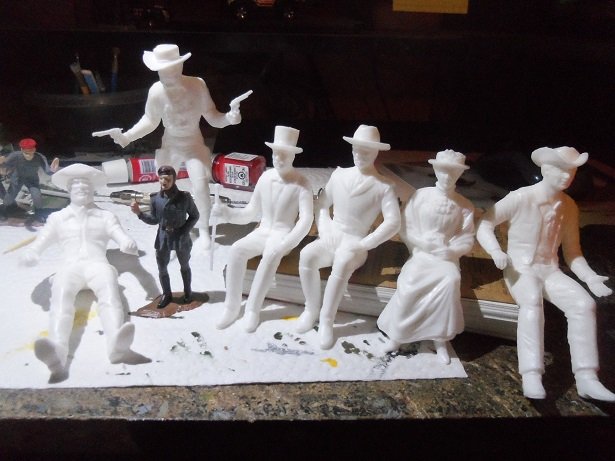
I was thinking of dry brushing. I have a life color kit that pertains to flesh color, but they are acrylics, and I only use enamels. I do have colors to match....... I gotta bone up on this.......never really done it to a great degree. I got these folks to do once I get into the stagecoach project...... I still have the two 'mime' guys to finish too. they're not done yet gonna browse youtube for tutorials

-
should I use a brown?.........how dark?
-
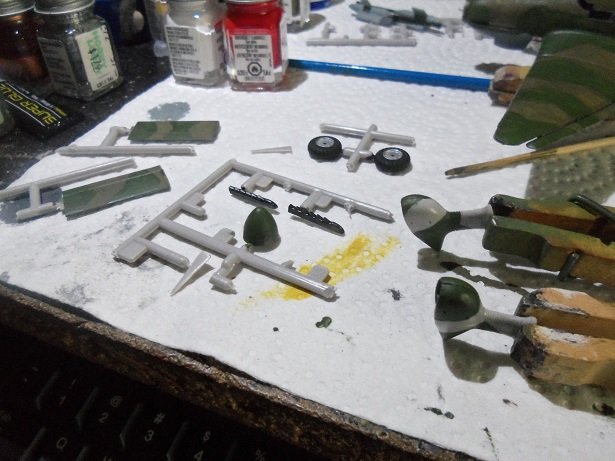
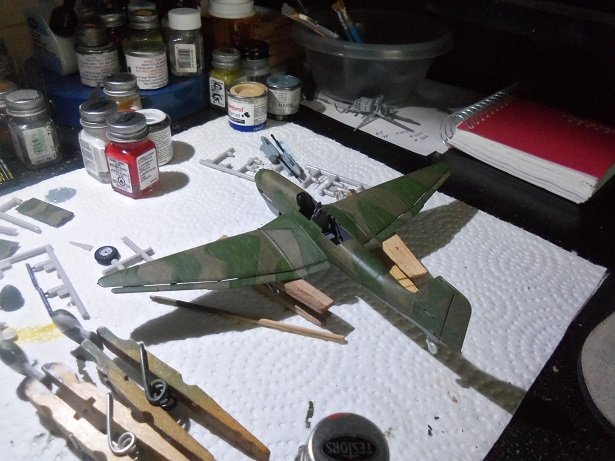
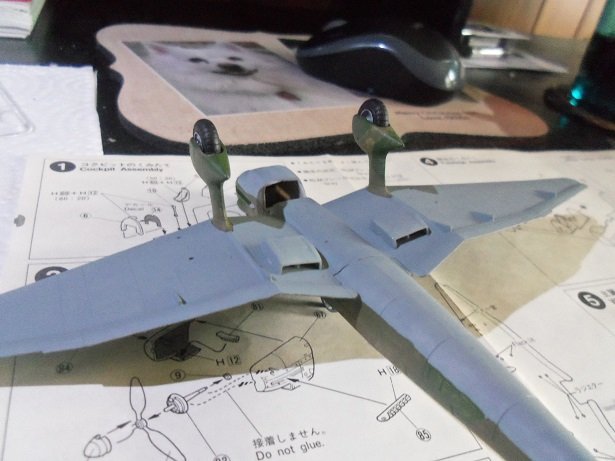
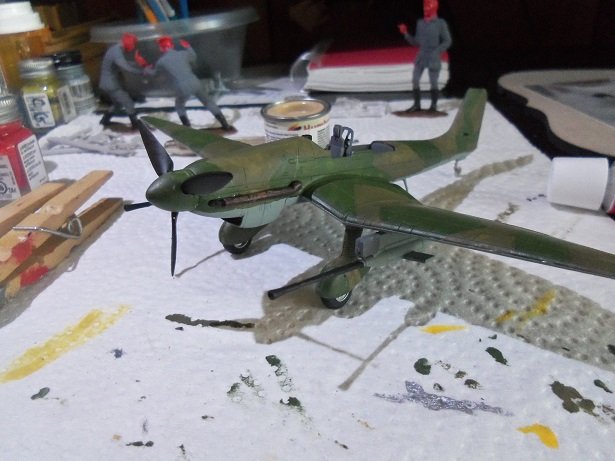
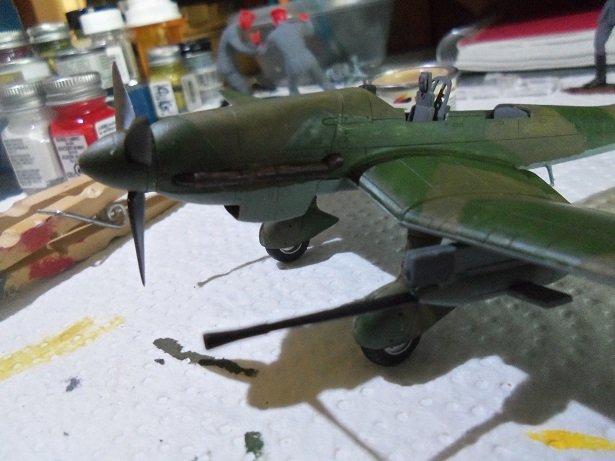
I did a bit more on this one today...again, since I was home I started off with more painting....... the spats { as the instructions call them} were painted and assembled with the wheels. they were cemented in place along with the coolers on the wings the prop was painted along with the spinner, later to be added to the model. the wheels turn and the prop turns...usually I just glue them. the exhaust broke on one side........these exhaust ports are usually found on the Africa variants, although the instructions do not show them. I used them. the cannons are also in place. the stabilizers are next.

- 89 replies
-
- 10
-
-
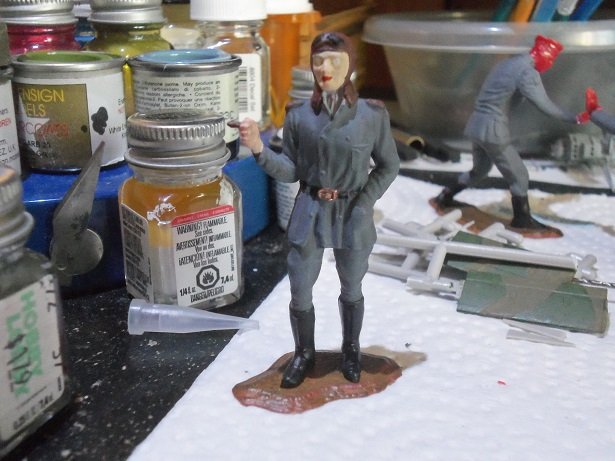
since I stayed home today, I finished painting Ltn. Jacobs