
HOLIDAY DONATION DRIVE - SUPPORT MSW - DO YOUR PART TO KEEP THIS GREAT FORUM GOING! (Only 36 donations so far out of 49,000 members - C'mon guys!)
×


popeye the sailor
-
Posts
16,007 -
Joined
-
Last visited
Content Type
Profiles
Forums
Gallery
Events
Everything posted by popeye the sailor
-
 AWESOME!!! ..still don't see the swimsuit edition calendar? definitely first rate!
 -
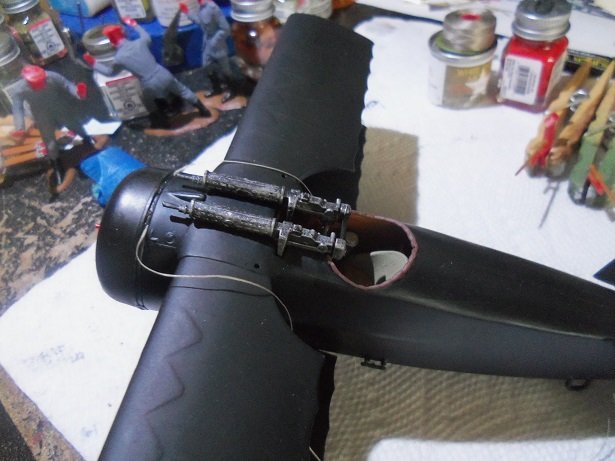
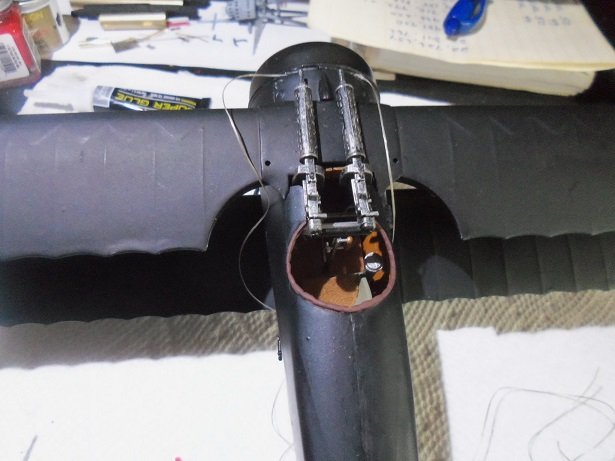
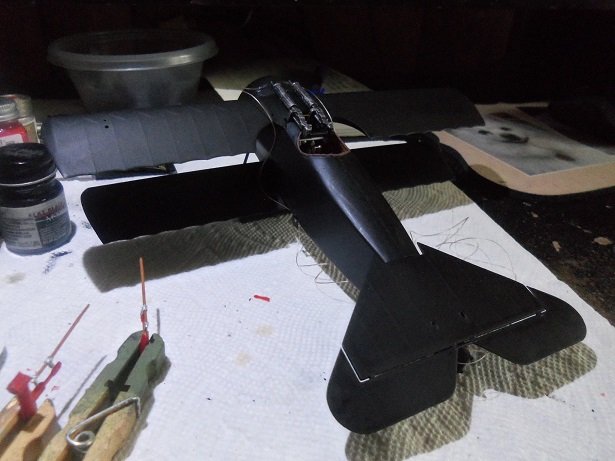
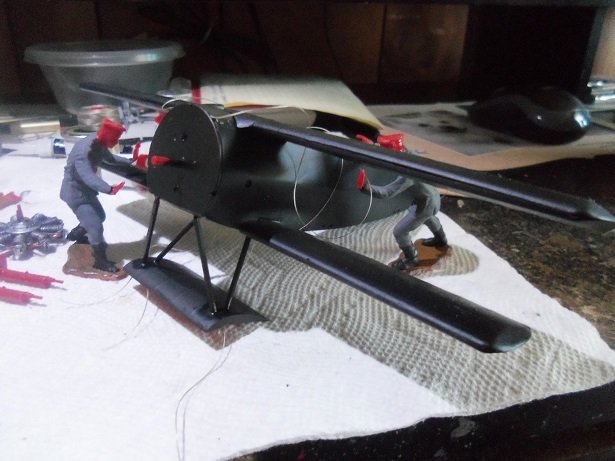
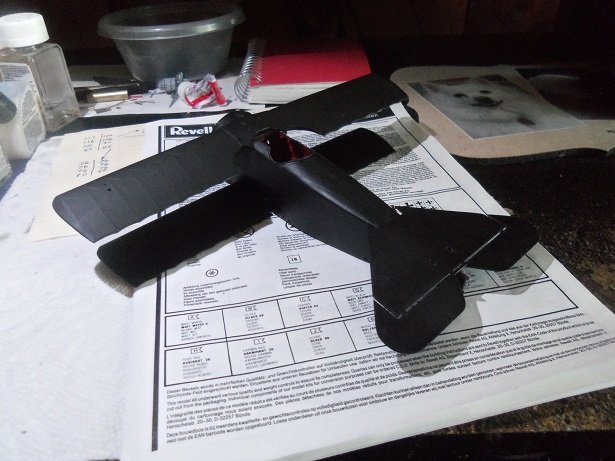
the guns were added this morning after the leather around the cockpit was painted. I think that padding looked a bit scant.........I was going to trim it off and add some real leather, but was unsure if I could pull it off.........so I left it as is. the stabilizers is on as well...
- 100 replies
-
- 10
-

-
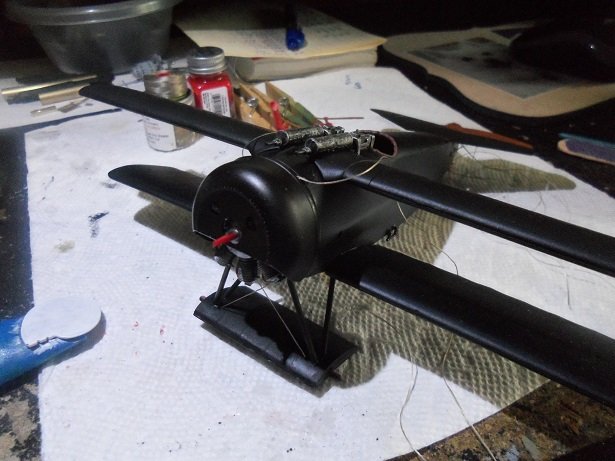
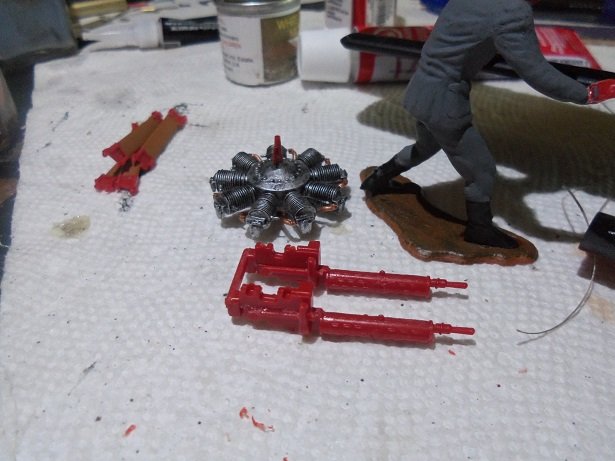
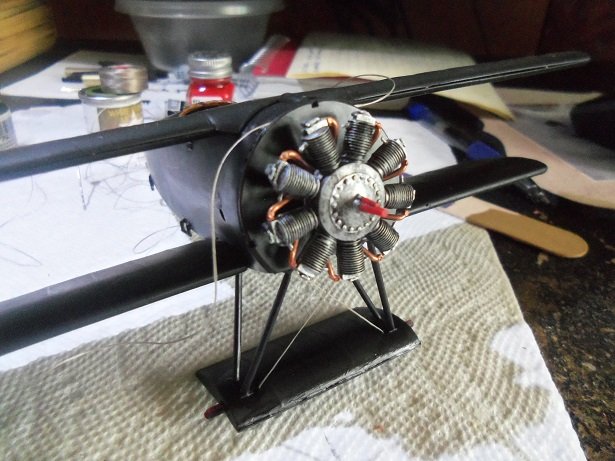
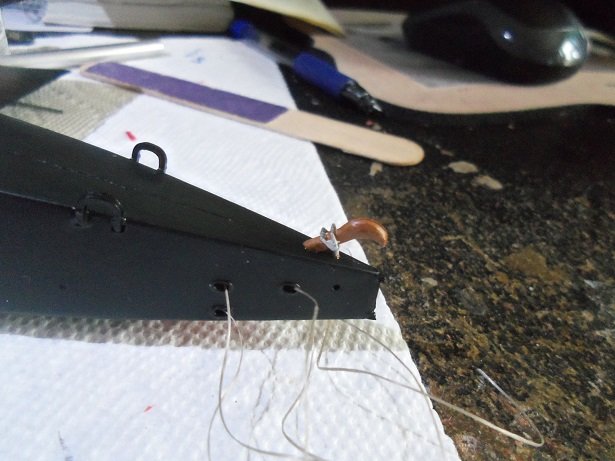
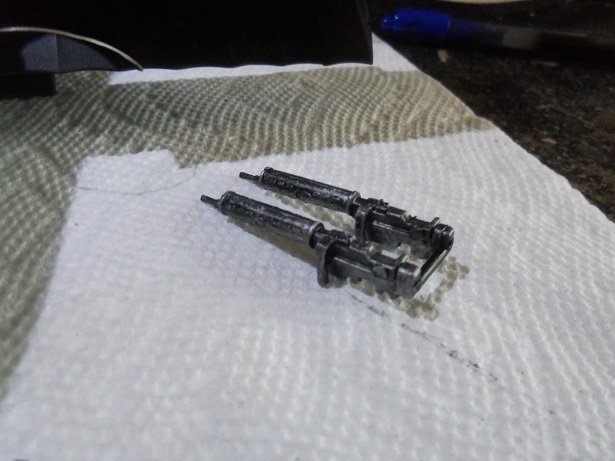
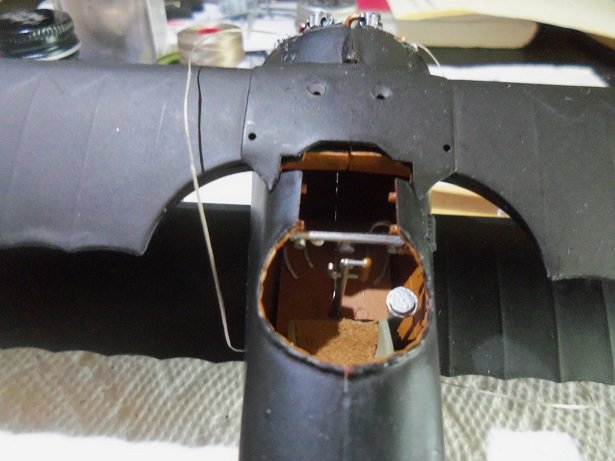
WOW! I wish I had seen this earlier Ken.......they are already painted and on the model I had been trying to get another 1:28 scale Dr1, Werner Voss's.........but I haven't seen it on the site, so I think it is gone. I did see a D VII though that I might go for.......has photo etch included I am lov'in this scale! much further as far as progress goes. the figures are partially painted, and are itching to get to work........ the landing gear in added to the model...touch up paint drying. I must have trimmed something I missed earlier, 'cuz when I added the middle wing, it fell into place with no gap at the bonnet...that front fuselage lip. this is flat black...rattle can........happy to see that my bottle of black has the same sheen. usually I'll thin the black down till it goes dead, no sheen whatsoever, but this is a fairly new bottle. the engine is now fully assembled and painted.......the guns are next. the interplane struts are progressing. the cowl is dry fitted in place.............I have a face. for those who are familiar with the Dr 1, know what I'm referring to. I think it's 1:32.......I bet it would fit, but Jacob's plane didn't have it, so I won't torture myself. the landing gear strut cables were rigged and glued...I used Ca to insure that it won't come apart. the grab handles and steps were added at this time. the landing gear platform was closed up, once the rigging was trimmed. the center pin on the firewall is the pivot for the engine. the prop is 'keyed' so when cemented on the engine pin, the assembly will turn. once the cowl is cemented in place, I'm hoping this will be the outcome. the tail skid was cemented in place after the bracket detail was added. as for progress on the wing skids, the broken one was sanded and trimmed to the same length as the other one. from what I've read, these were not on the F 1 prototypes, though only two were given the F 1 designation. the rest of the initial order {20 aircraft were ordered at that time}, which were given the Dr 1 designation, had these skids. these were added to aide and prevent 'ground looping'. these planes proved tricky to handle during take offs and landings.......the bottom wingtips would scrape the runway. putting the two side by side, they match pretty good. the machine guns have been painted and dry brushed........they'll pass muster. the view inside the cockpit..... once the guns are in place, that open void will disappear. the pins on the cowl needed to be trimmed down a little to cure a gap issue. it was then cemented in place, and the prop was dry fitted on.....the engine does turn with the prop.......success!


-
gonna be a nice looking home........I was wondering if your saving any of the stone dust. I do the same with sawdust....makes a good filler as well
-
neat little tank.......quite a few parts for such a little model
-
they look very detailed........gonna be fun painting them. I knew you couldn't resist starting the project.........it futile!
-
very well done........cool way of making the tracks! quite a collection you have there........you log each one..... do you sell them?
-
I've heard of that coating for canopies........haven't tried it myself. you've done some very nice progress fingers crossed on the second attempt! happy belated Birthday to you....I seem to miss the important dates.......I'll probably be late for my own funeral I hope you had a good day!
-
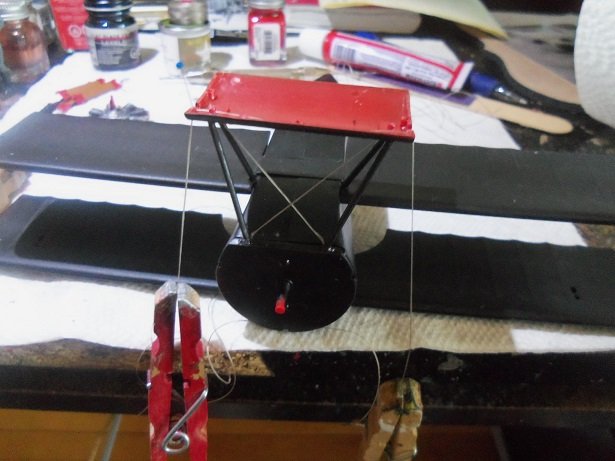
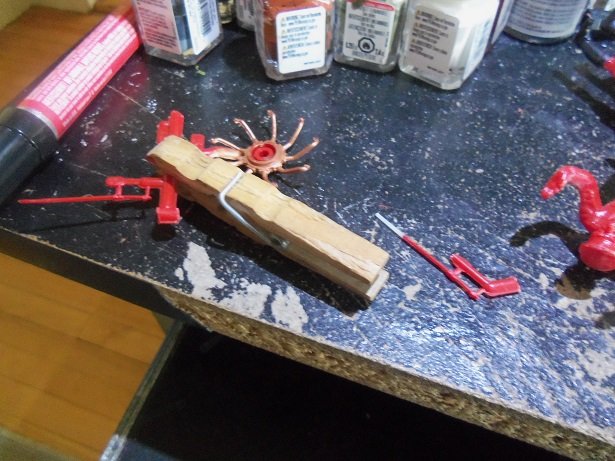
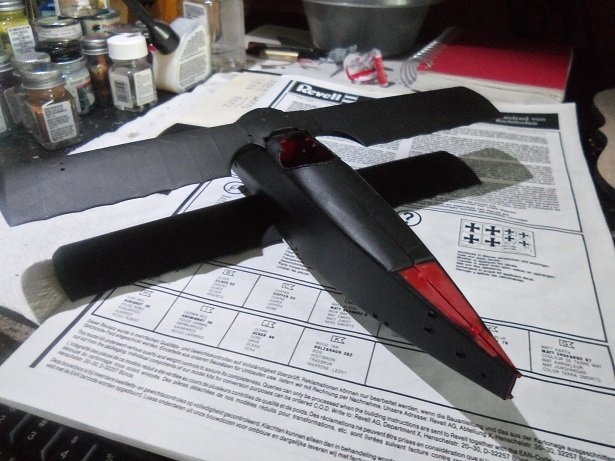
thanks Ken and Ed..........bottom wing and engine plate is on it now. the plate has some involved rigging, so the fuselage is done as far as that goes. now to put it where it's supposed to go I started to paint the figures........I'm using some of the Monogram/Humbrol paint that Lou sent me. of course, I had to stir it to break up the sediment at the bottom, and shake it periodically for a day........but it covers nice......should be alright lawns look good........even did some weeding along the sidewalk. should have more tomorrow.............thanks as well for all the likes
-
I should show you a picture of my tool box........gotta have a snap on calendar too not a good place though, behind the car like that........you look'in to nick the body looking really good.........good you found a fix for the paint
-
B 25 Mitchell ragove 1/144 Minicraft
popeye the sailor replied to Papa's topic in Non-ship/categorised builds
at least I've made it here for part of the project! I built a lot of these small scale aircraft when I was younger.......weekend models I used to call them do be careful on 'quick builds' though........some can turn out to take longer than expected looks great -
coming together really nice!
-
super job on the spit OC...... ....a very well behaved project
-
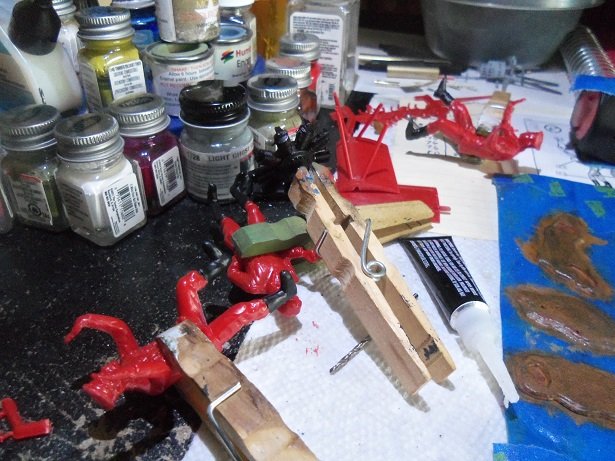
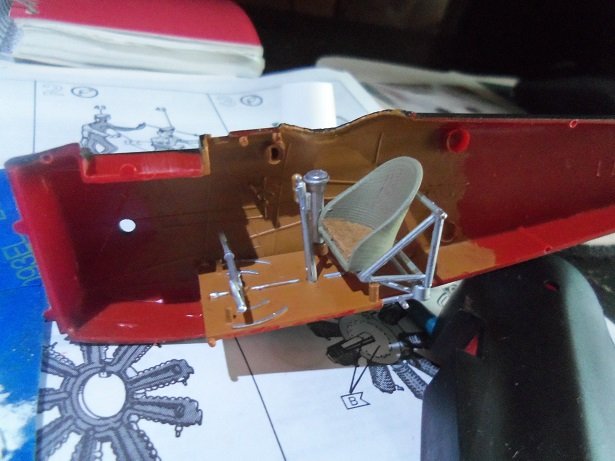
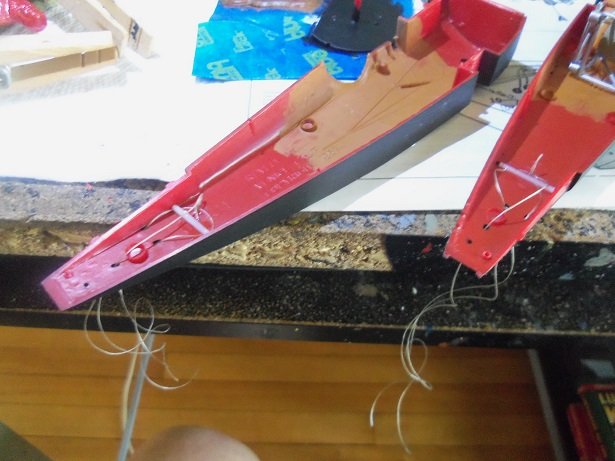
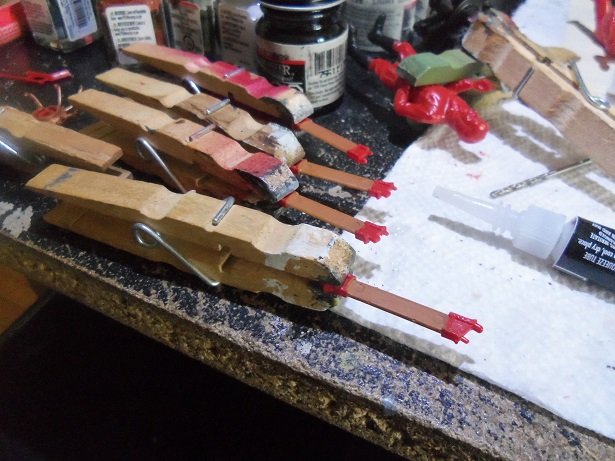
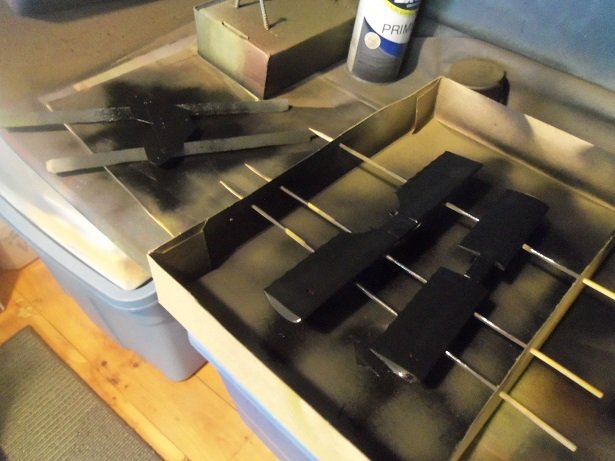
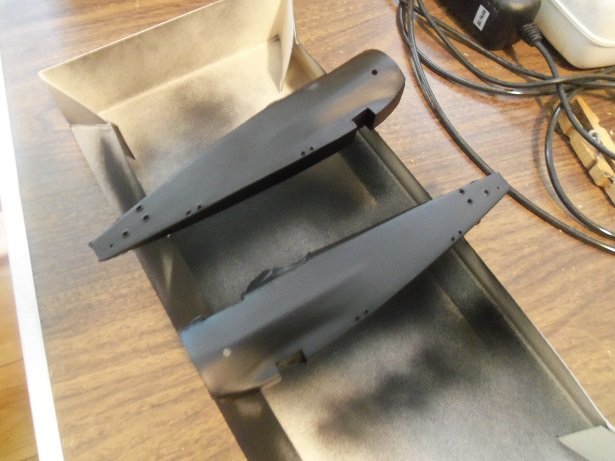
some assembly and painting was done yesterday evening and this morning. I started to paint the figures. this will be new for me, since I don't usually do figures. I hope to do good and learn a few things.........I have the Budweiser clydesdale wagon and the stagecoach in the stash.......they have figures and horses to paint one of the wing skids had the tip broken off.........no idea where it went. I found a piece to add to it......sand it to shape before painting the cockpit was painted and assembled. it was cemented in one side of the fuselage and then closed up to align it with the other side. as I did with the Roden {Kempf} plane, I cut a piece of leather to line the seat. there was an injection ring in the middle of it. I have this half moon piece of plastic in the kit, that I thought was the instrument panel. come to find out, it's nothing more than excess plastic..........the instrument cluster is actually a few gauges on a cross bar. this will be added when the fuselage is cemented together. I'm going to do a few thing to break up and add contrast to all the black. this is a silvery thread, to be used as control cabling.......elevator and rudder cables rigged in the tail section and cemented in place. the fuselage was cemented together when this was dry. another opt to break up the black, are the interplane struts. I'm going to paint them a wood color with steel bracketing. the cabane struts will remain black. I have to let things dry for the time being........and go mow the lawns admiral's orders...........I must obey............
- 100 replies
-
- 10
-
-
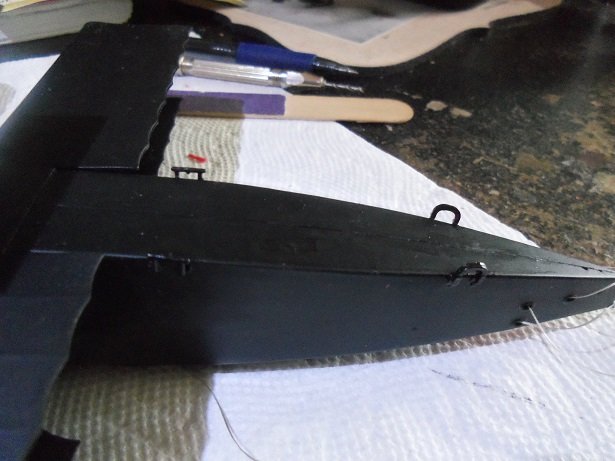
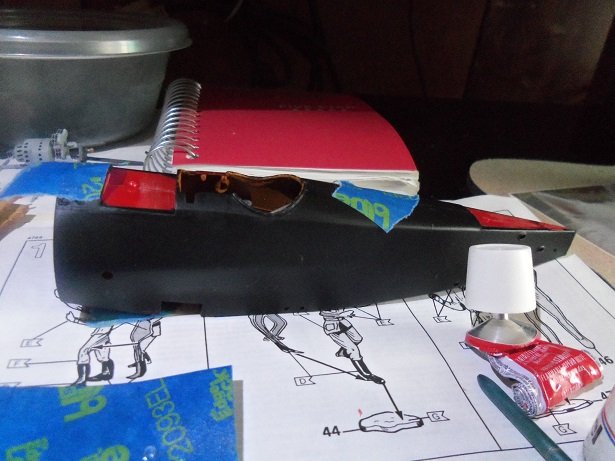
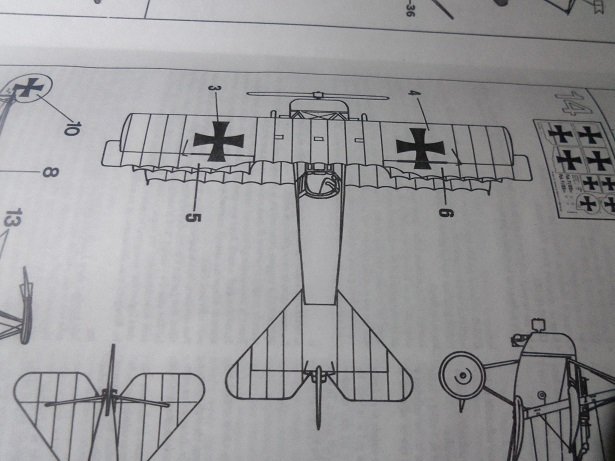
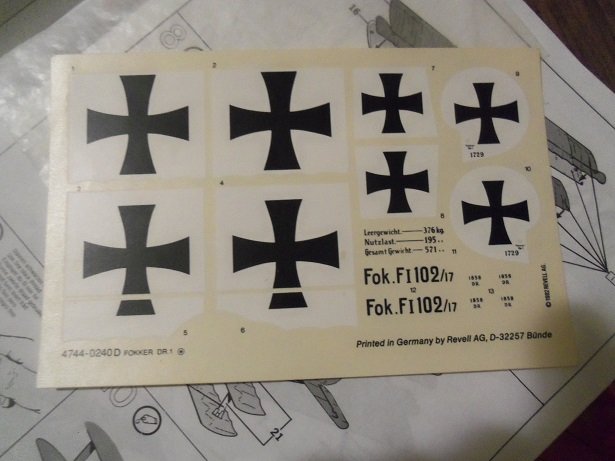
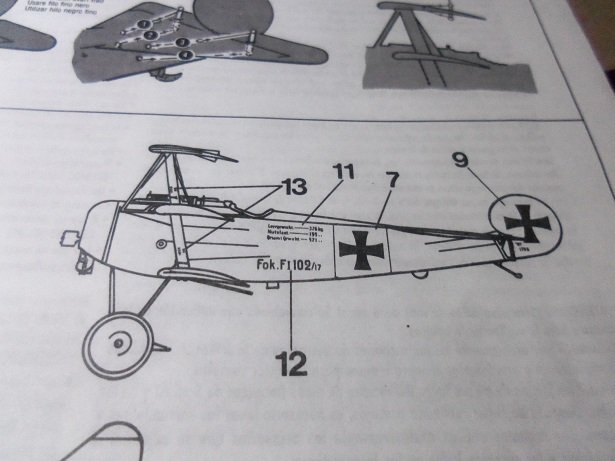
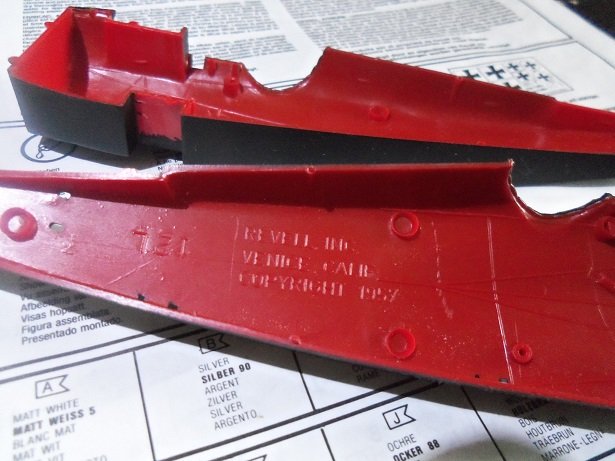
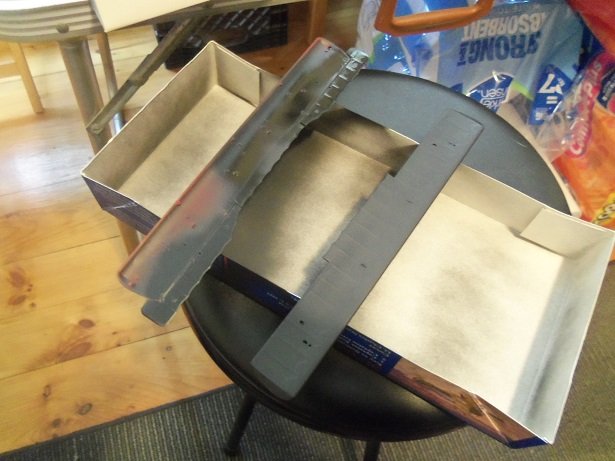
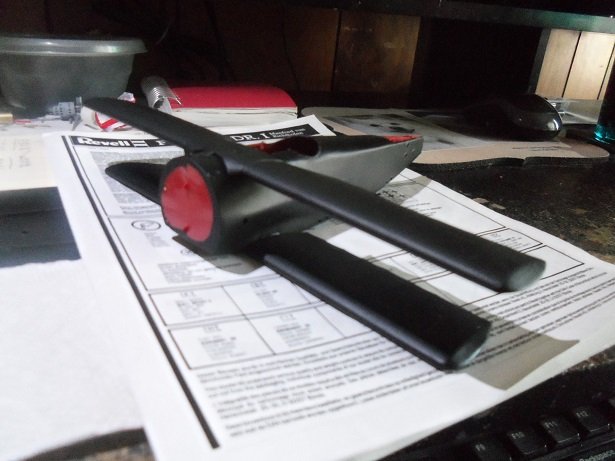
there is progress to report.........and a sliver of info on the idiocracies of this kit. after I trimmed the port side aileron, I was looking at the instructions, and I noticed that the diagram depicts them as I have done, and not as the kit supplies. ...but look at the decal sheet.........they are printed as the supplied kit parts depicts another strange thing about this kit is in the production. it is distributed by Revell / Germany, produced in 1992. when the bottom wing was test fitted, I had to remove a mould date stamp on the outer surface of the part {the root running across the fuselage}. {Revell 1981} it would have been visible. Revell USA had been sold to Hobbico quite a few years ago.......I believe it or some of its assets have been sold since then, but in 1981, I think it was still Revell USA. I was fiddling with the fuselage and I saw another date stamp on the inner surface of one of the halves: Revell INC Venice Calif. 1957. so apparently, this kit was produced using two sets of moulds.........interesting we'll never know now.......the fuselage is together. ....but that's coming up so.....with the subject locked in, and the parts have been made ready, it's time for paint the bottom wing and the middle wing are assembled, since they will be all one color....... the top wing still needs rigging, so it hasn't been assembled yet...... dry fitting after the paint has dried........you'd think I was building the Batplane! I did some more last evening and this morning.
- 100 replies
-
- 10
-
-
hey there Mike I've never built a model from either one of those companies, so I'm not too familiar with them. I do get notifications from Eduards and a few others, so I see what they are up to. I have heard a lot about Wingnut........tempted to try one of 'em. I'm an old creature of habit........usually building more domestic kits.......but with how fast things out there are changing, the domestic aspects seems to have gone out the window I do love nostalgia though.......I like to retry older kits, seeing if I can do better with them, since I've gotten older and I hope smarter. Eduards had one coming out.......I like the looks of it, but haven't pulled the trigger...........yet this thing about the modifications that this plane had gone through is kinda interesting. as a young lad.....I never gave it a thought. now that I'm older and the resources are vast, it's raised my curiosity level
-
can't say anymore that hasn't already been said..........your village is coming out superb! some really nice shots too..........sweet!
-
I own the living room.......I am having a bit of trouble throwing the furniture out though she won't let me you have quite a collection there.........I don't have near that many! ....now........if you want to talk about active projects.................well............
-
gett'in pretty good with painting the figures look'in sweet!
-
was there any areas on the wing that one shouldn't walk on?
-
thanks OC and Ed.........thanks to all who hit the like button I finally painted the horizontal stabilizers...I ended up painting it completely flat black. I don't like the way they present the color scheme diagrams....half the plane is the upper, the other half is the underside. I didn't realize that the topside of the stabilizer was to be painted half black and the other half white. not to mention that when I painted it the first time, I had bleed through from the underside paint. it would have been hard to hide. the rudder will still be flat white.
-
thanks Egilman.......as long as the decals work. so far so good the differences in the top wings is the aileron issue I've been looking into. Jacob's plane has the single rib curvature also........just something I have to live with I believe that this was a modification change they made when they rolled out the Dr 1. later Dr1's produced had the single rib curvature.
-
hope you can save it.........the body looked darn good
-
should prove to be quite interesting.........I'm in
-
such a superb model Grant..........if I could afford one of these cars! looks absolutely gorgeous!