popeye the sailor
-
Posts
16,007 -
Joined
-
Last visited
Content Type
Profiles
Forums
Gallery
Events
Everything posted by popeye the sailor
-
 late to my own party... thanks all for the kind comments........ when I put the Belle in her place, I couldn't help noticing the differences in green. been fidget'in with a Glenco kit today........I'll show ya tomorrow yep Mike...that's the General I have a log in her somewhere.......thanks for the kind word
 -
....I had to ask.....
-
catching up with your exploits........I must say, that is one shiny finish {so far}. looks great! you should be happy with it........if not, you can always bolt it to your car hood
-
Can't say that I can...............{can't wait to hear this one }
-
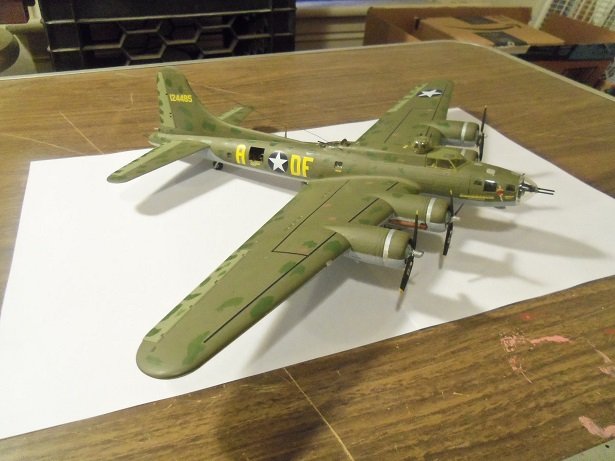
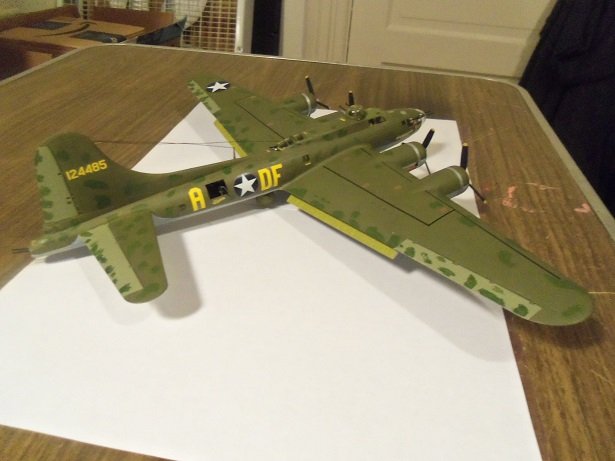
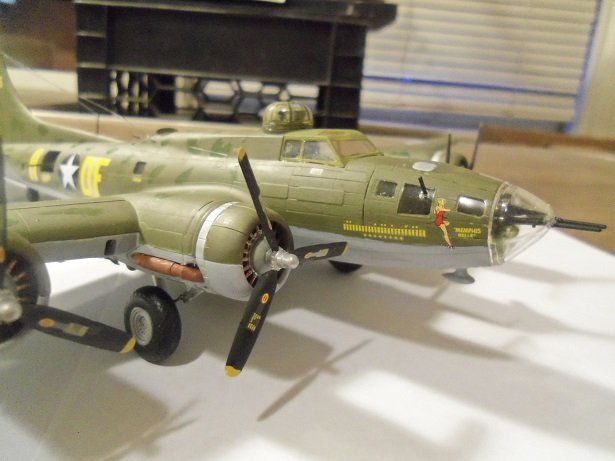
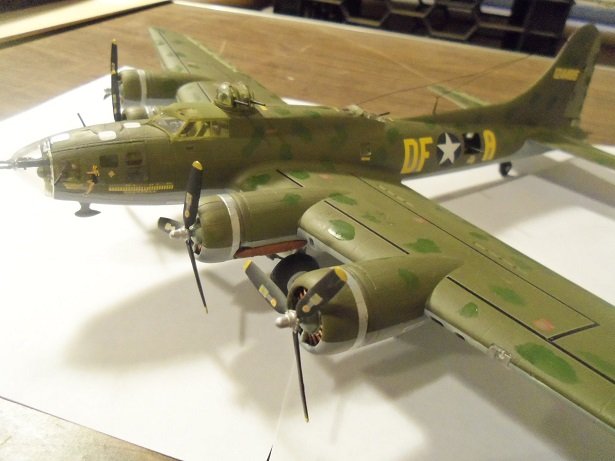
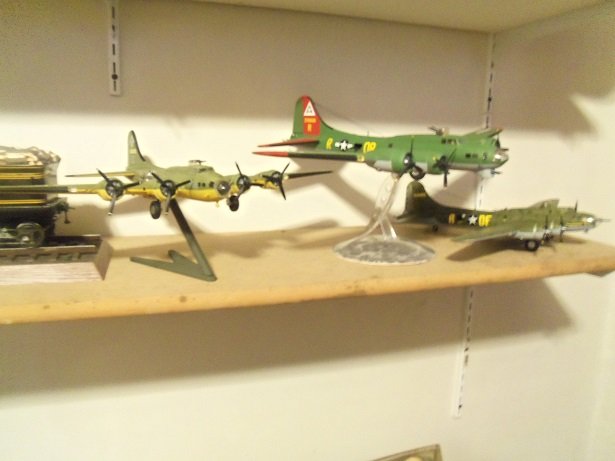
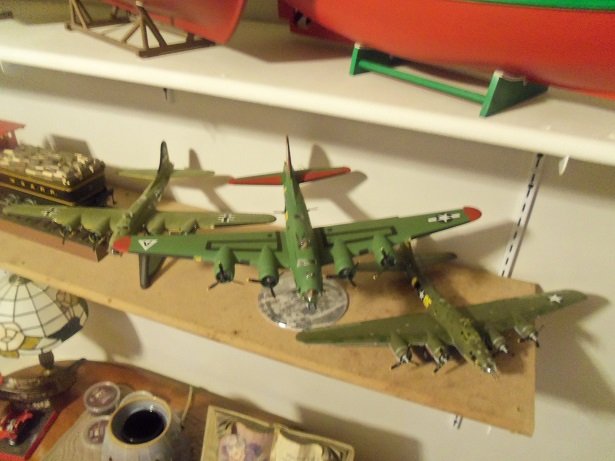
....and here are the gallery pictures I wanted to print pages of asphalt and tape them together to put the plane on..........but apparently, the ink cartridges must be dust by now. I haven't used the printer for some time now it's a bust, but I saved the images for future projects. this is a very good kit......can't stress this enough. I could have gotten closer to the subject.....there are some mistakes. this plane is a great subject....worthy of taking another stab at her...........but not at this time I have a few more projects I'd like to do.........but the call of the boat is getting stronger......I recently started the Steingraber twins, but the room is pretty warm {been hot here}, so I haven't wanted to spend a lot of time in there. I hope I did the Memphis Belle some justice. with the project finished, she will join the other two B 17's..........distinguished planes of honor, of time past. again........thanks for your following along and your many comments and suggestions.......
- 247 replies
-
- 11
-

-
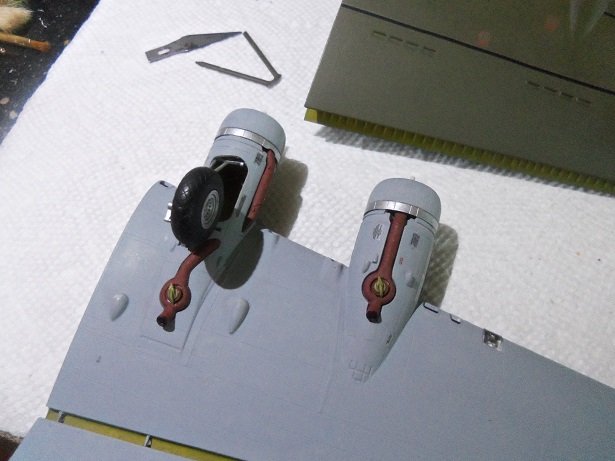
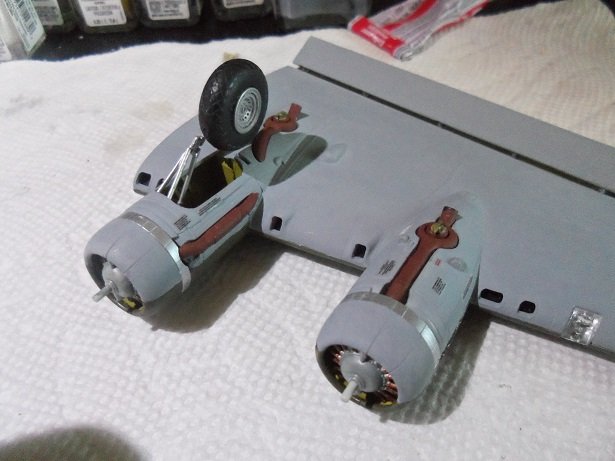
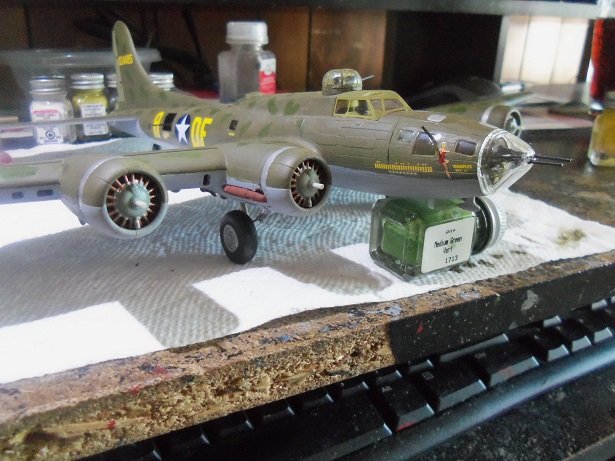
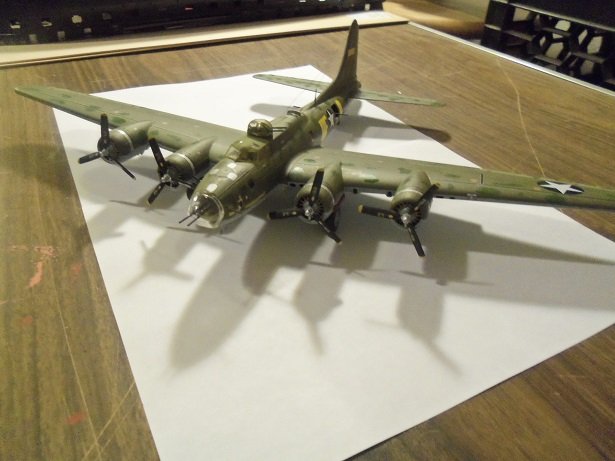
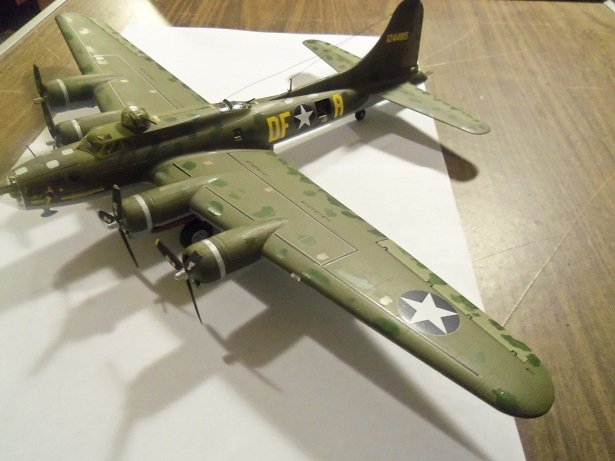
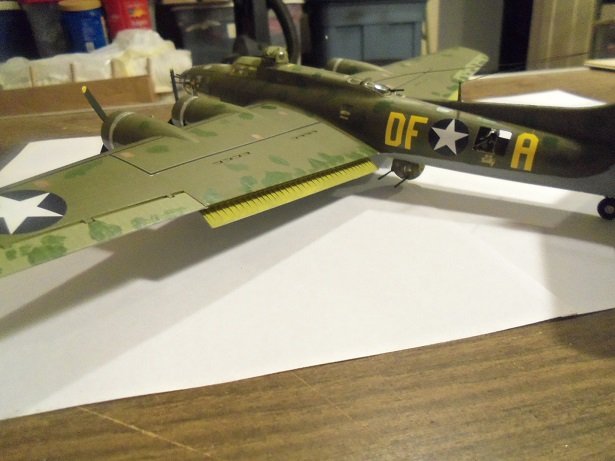
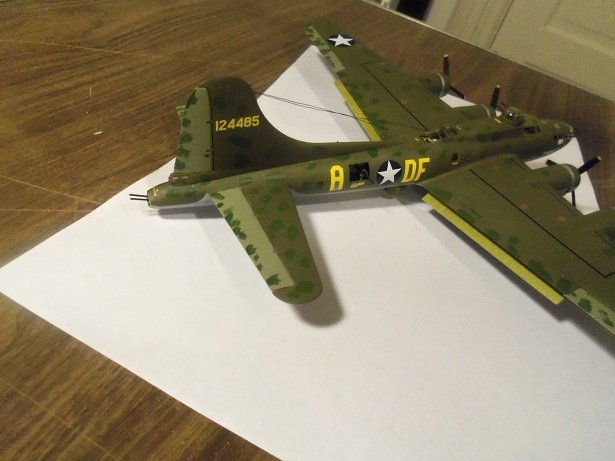
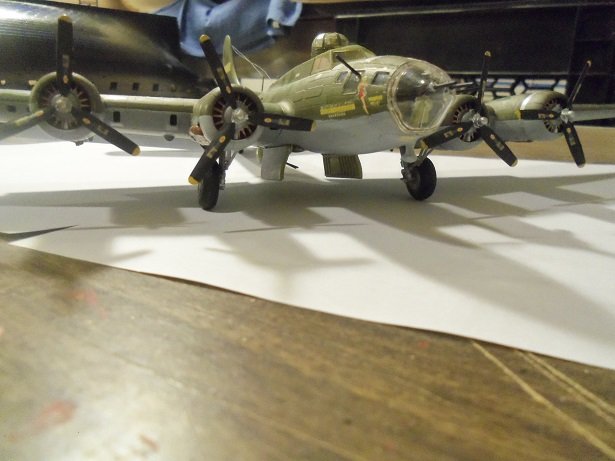
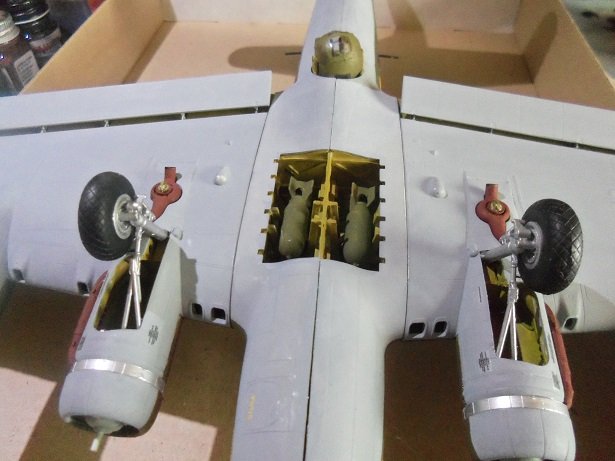
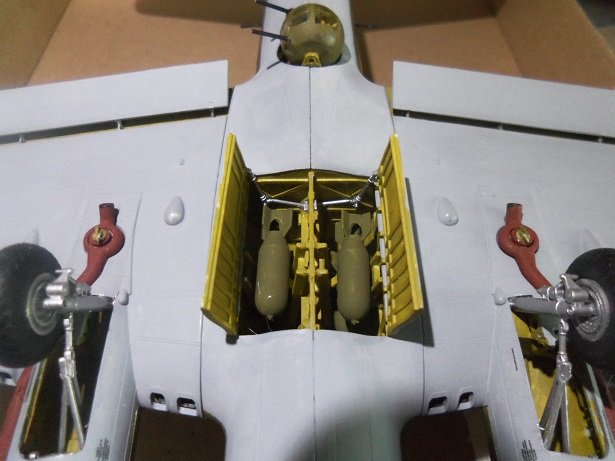
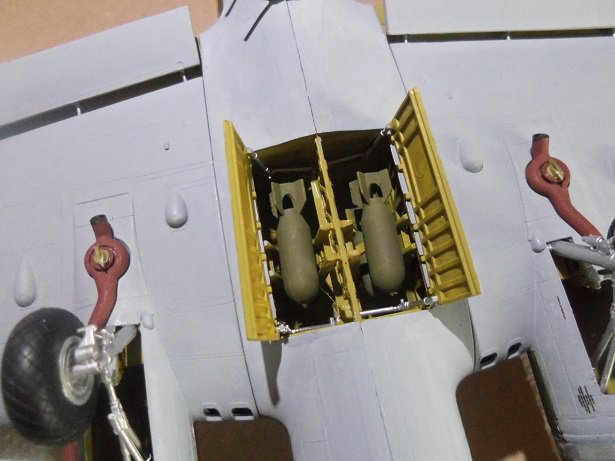
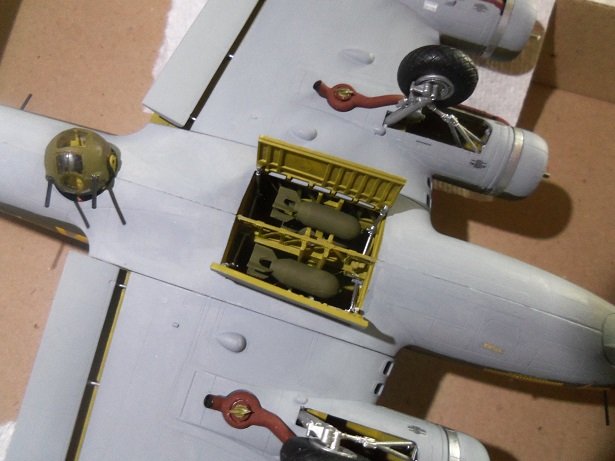
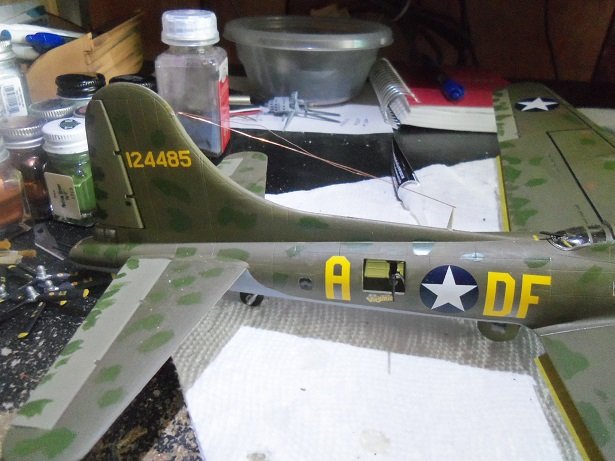
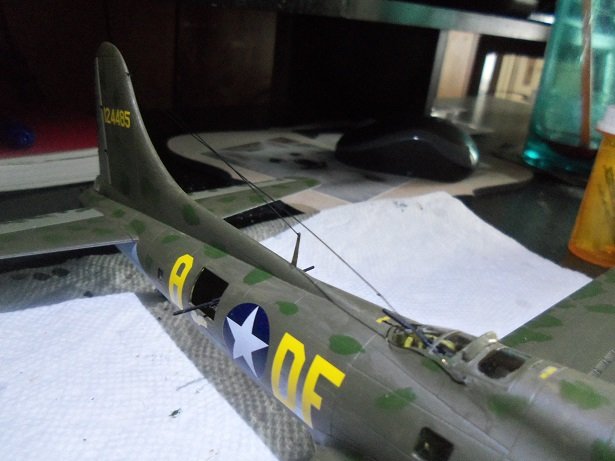
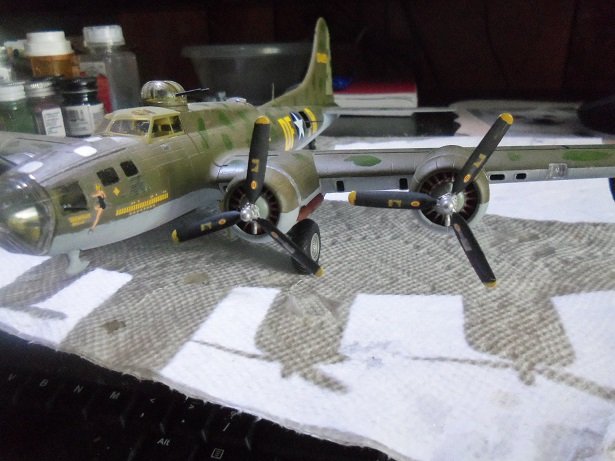
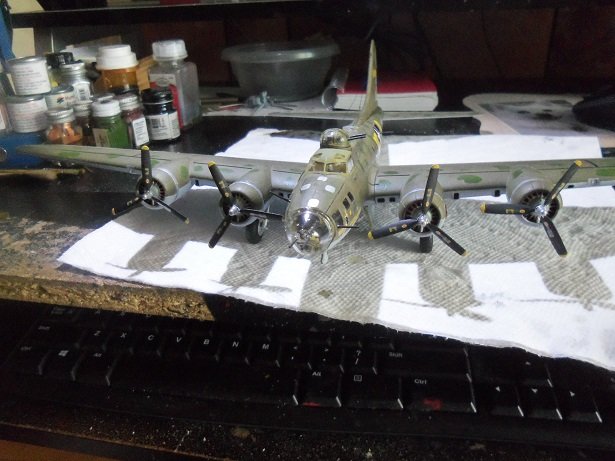
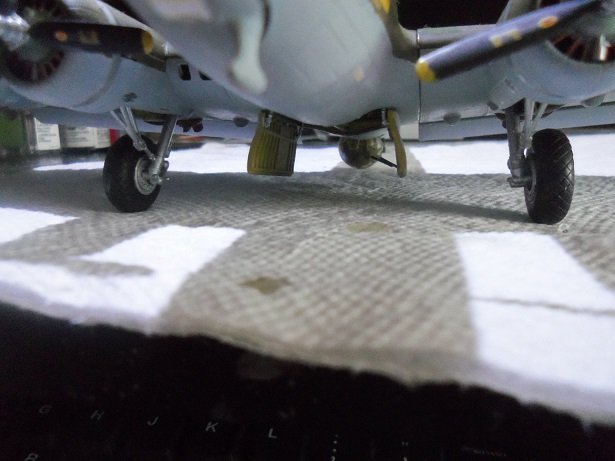
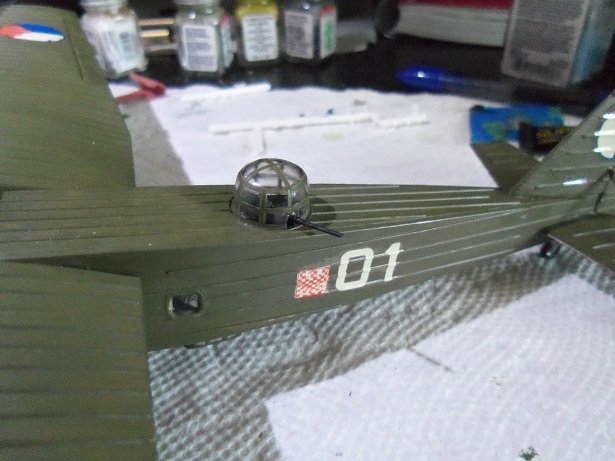
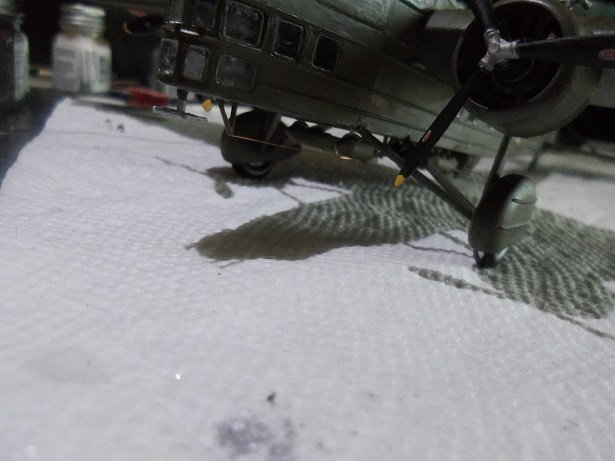
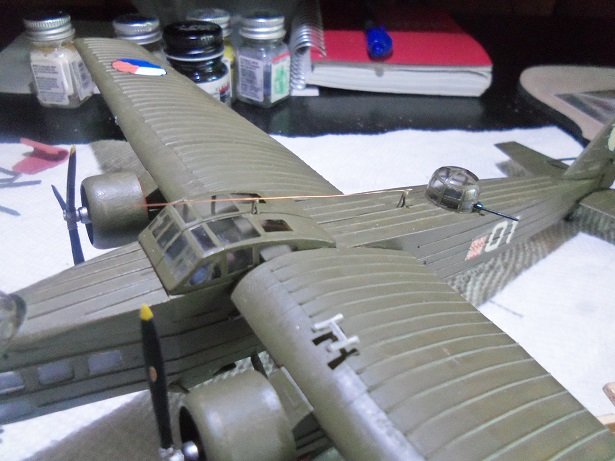
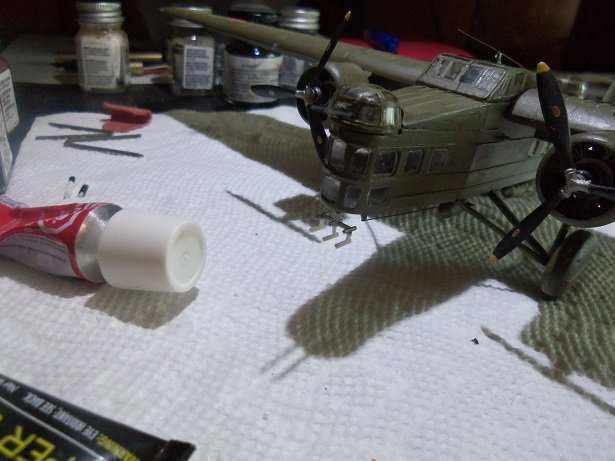
I kept to my word today..........the Memphis belle was back on the table. of course there was a short interlude with another project, but I'll get to that one when I really start to build the model. flipping her over, once I got a sturdy box to lay her on, I got a better look at the gap along the mating of the nose. I couldn't pull the nose together when it was time to join the halves.......likely something to do with that round part under the bombadier's station. I'll fill it with window maker and touch it up......should do well in getting rid of it the bomb bay doors are the focus here........the two doors and the four arms that open and close them. yup!........heard ya gasp! I know........the belly turret is an eyesore........not too much thought in the color dept. too late to change it now.......pretty sure the colors are what the instructions said.......I'll look it up, if only for future reference. the gun barrels are installed, as you can see. the tail guns are too. closed up the gap reasonably well.......could add another layer, but since no one I know will be looking at the under belly, it passes muster hey........we're done here.........let's go do some dorsal work. the antenna has been cemented in place already.........now to drill a hole in the vertical stabilizer and CA in some thin wire, my old stand by a hole was drilled through the starboard side wall of the navigator's station, and the second line was run to it. I kept the feed end short, or it would be seen through the dome glass. it was painted flat black and the rest of the job was touched up. now........we move onto the wings and put the props on the engines. this too a whole ten mins............if I'd stop dropp'in stuff. with a quick look over, I call this plane done you can't really see how close, but this is how close the belly turret is to the ground in the lowered position. the gallery is next......want to do something special. I'll have a better picture of this then. thanks for look'in in and following along

-
amazing progress 1:1 detail!
-
the seafire came out super OC. there is a difference in the type of decals used.......I've found this with different model companies. some supply a thicker decal......some decals have a form of flashing around them, and some are thin. I was over at Pheon decals, looking over some of their information / directions, and they suggest not using some of the decal solutions available. some are too strong and will tend to melt and distort the decal. it's probably best to test them first
-
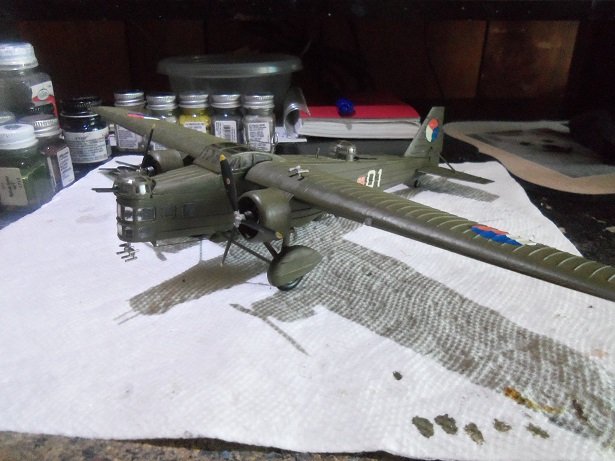
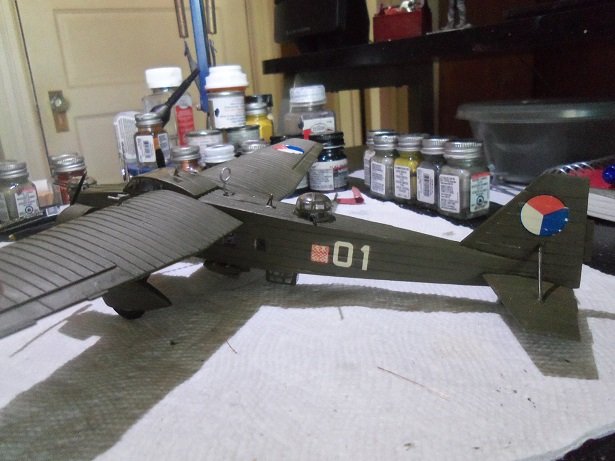
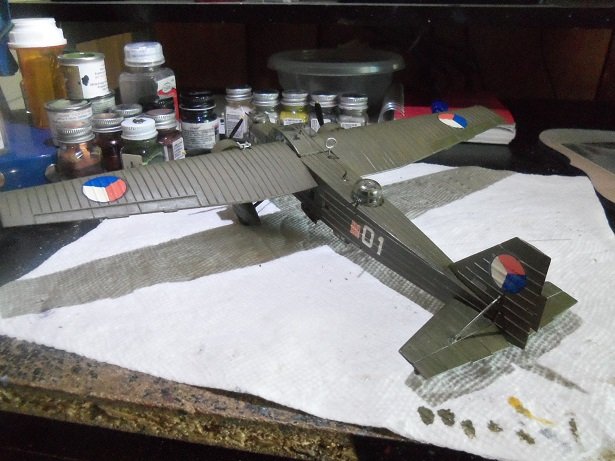
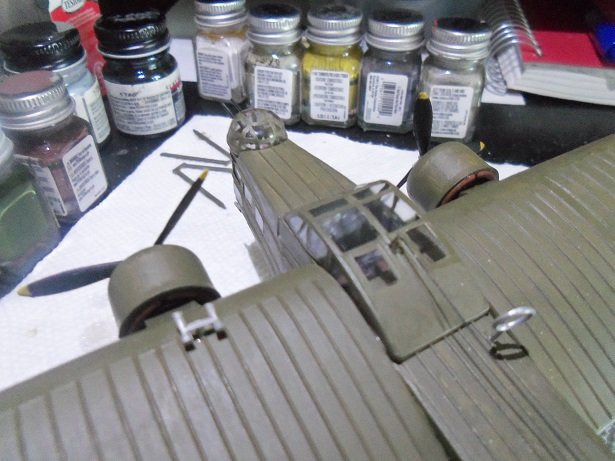
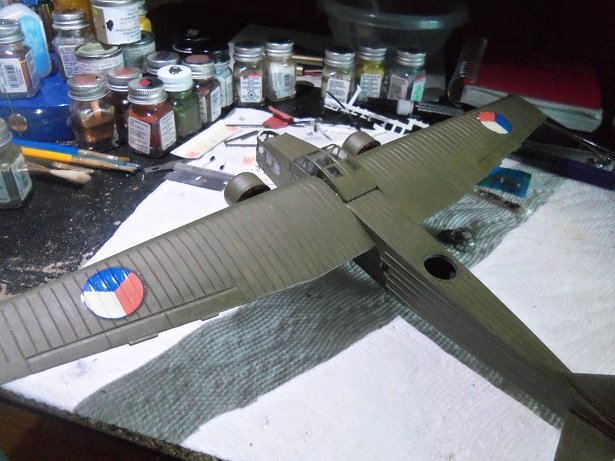
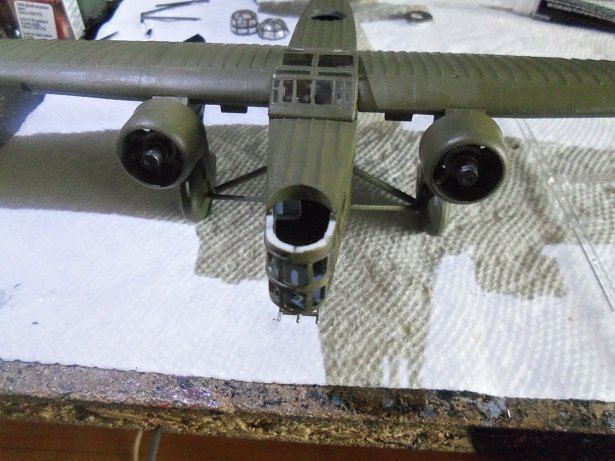
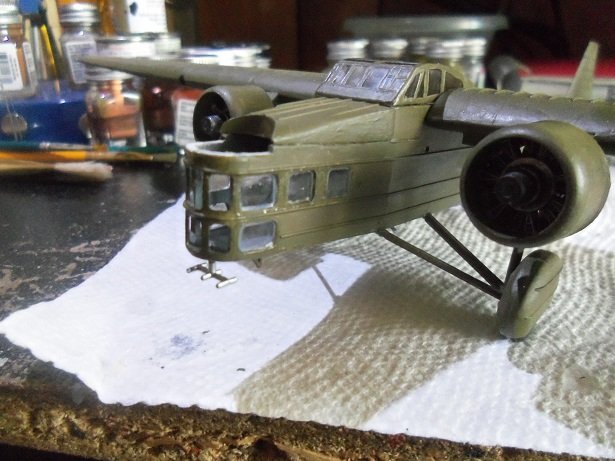
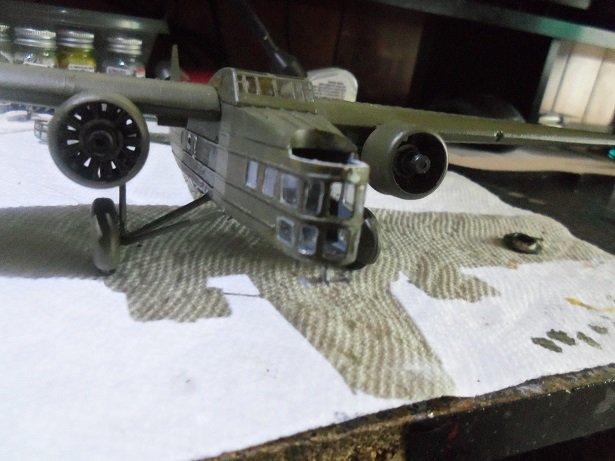
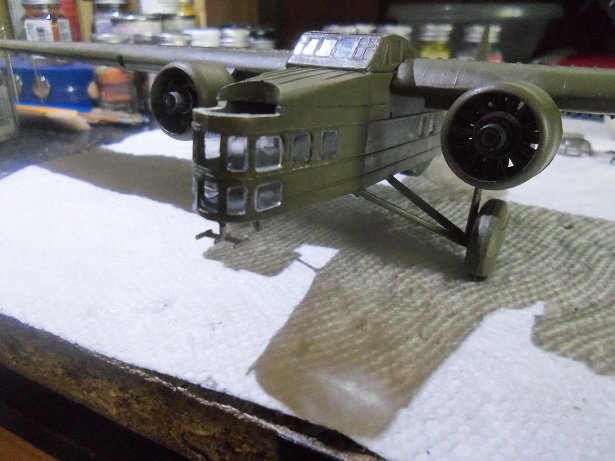
thank you to all for the kind comments odd one for sure.........it's nice when you buy an older kit and it builds well. usually they are the ones that give the most problems. indeed Ed.........a Junker JU 52.......got my eye on a Savoia Marchetti SM 81.......an Italian tri-motor that can be built as commercial or military. I've got my eye on a few others. Mike.....the glamor shots are the last post I did........if you want to view her in a different setting, let me know. I'll post a few more that the interesting part Lou.......they built these planes....boxy look'in things, but you can also see when aircraft design began to get more and more complex, yet refined. .....the rounded fuselage, the more streamlined leading edges of the wings, and the changes in the materials used... thanks again for the likes and comments...I'm glad you enjoyed following along I'll get on the Belle........and Kempf's Dr 1.........I'm sure I can scare up something else
-
thanks for the good word gents I would have done something on her today, but I got saddled with a couple outside chores. I did get the broken gun back on though. I hope to get her back on the table tomorrow........good chance I can finish her off thanks again for all the interest!
-
splendid job.......very nicely done lighting it was a very nice touch. I showed it to the admiral, as I've done with every update.........I may get to do a doll house yet great job.........5 ⭐'s
-
here's the gallery of the model. it's really wasn't a terrible model.......some holes needed to be drilled out, flash wasn't too bad, and fit was reasonably good. the clear parts is about my only dig.......could be better quality. I believe I mentioned it before.......I found that there is actually a masking set for this model......Eduards put it out. oh well.......no matter.....I think I did a fair job of outlining the glass frames the antenna wires were painted flat black, along with a few touch ups, and it's now ready to show. so..........look'in like an early model Volvo, is the MB 200 I hope you enjoyed the build.......thank you to all who followed along. I appreciate the company!

-
thanks Egilman and OC..........this stuff is handy. I've used it to fill in portholes in ships.......it does have some limits though. if the opening is too large, it won't work too good. I used to be really good with it. commercial airliner models and HO really benefits from the use of it thanks for all who hit the like button
-
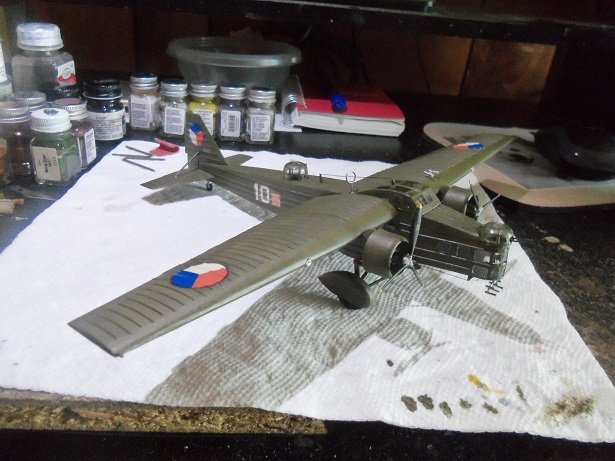
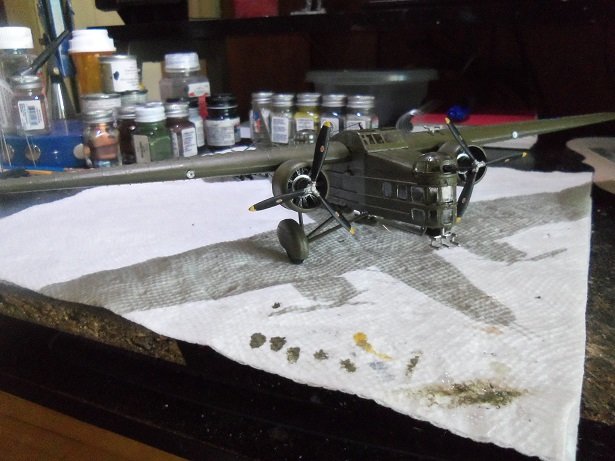
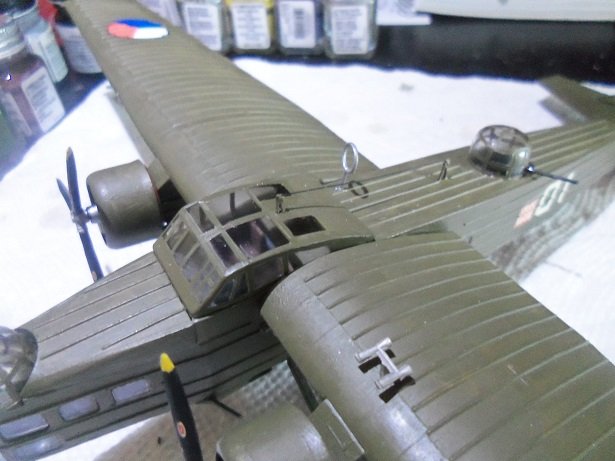
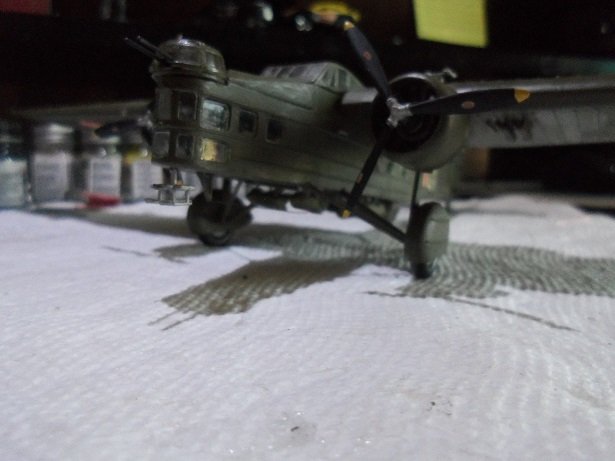
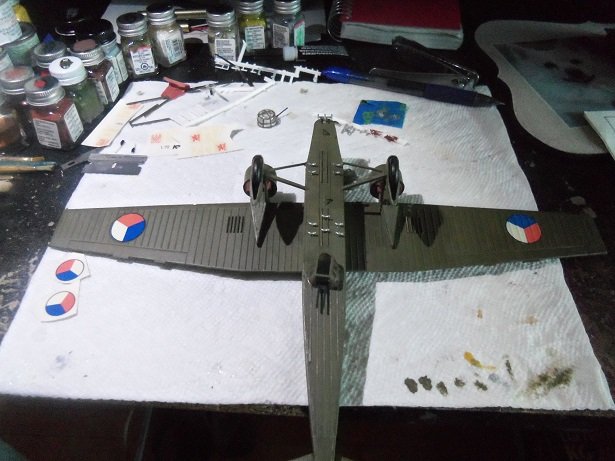
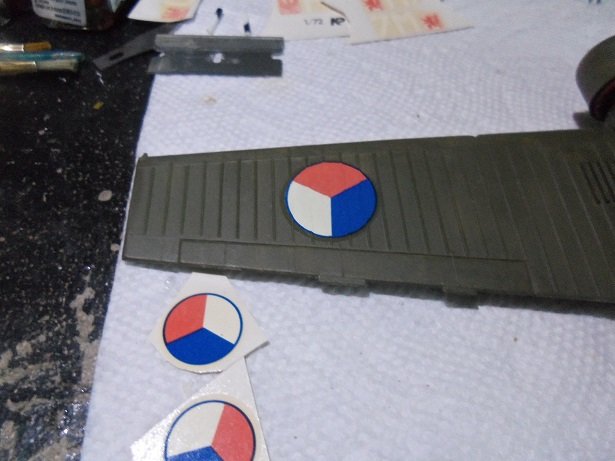
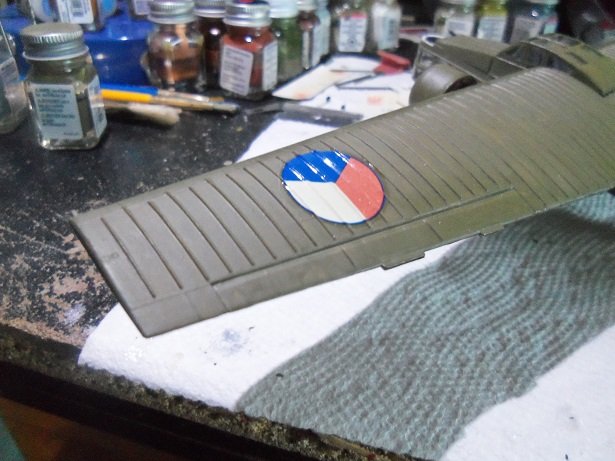
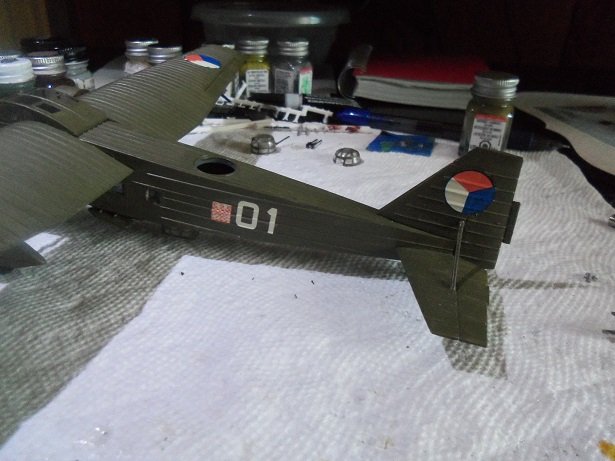
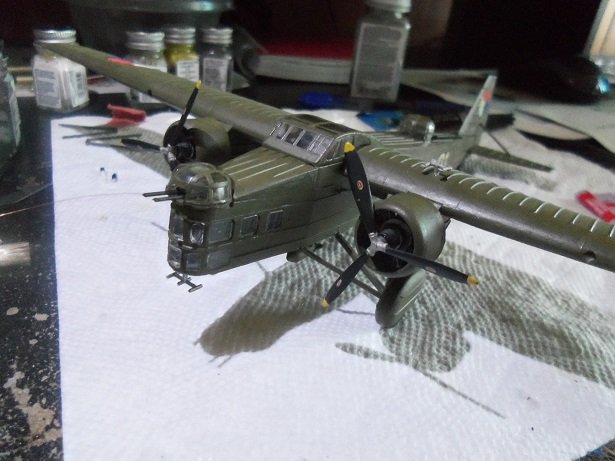
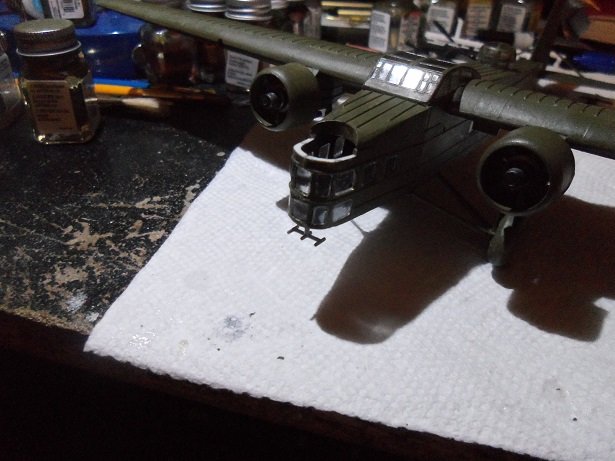
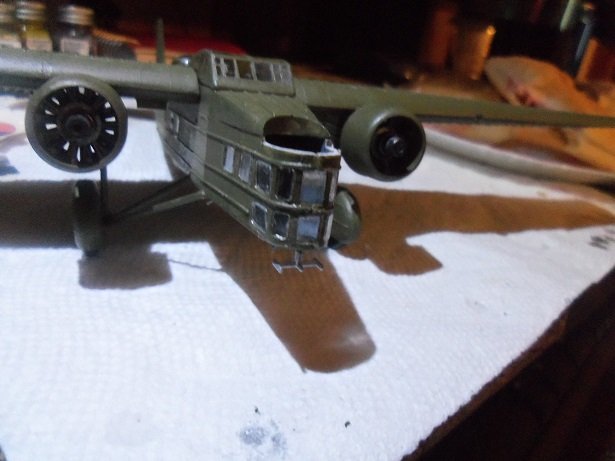
it was time to work on the decals.....I had put them on a window sill a couple of time, to see if the sun could bleach out the yellowing. this was fairly successful.....good enough to use them. the one thing I was concerned with, was becoming brittle. if they weren't useable, I'm sure I have some I can scare up. I began with the wings...... they conformed to the ribbed wings rather well.......I didn't need to use decal set {Testor's} to soften them. after the decals were applied, all the small loose parts could be added......the props, the bombs, the antenna brackets. the antennas were strung with the thin wire I like to use. it's pliable and could be adjusted to straighten it. there is the one on the belly, and there will be one on the top. this one was a bit tedious........it just didn't want to center itself on the brackets. two types of radar masts are also shown.......one under the 'chin', and another near the navigator's station. well.........looks like there are no more parts...........the model is complete! all that is left is a few small touch ups. the gallery is next
-
I got into a frenzy with this model........but first I had to back up a tiny bit. I removed the turret platform from the front of the fuselage. this way, I was unobstructed installing all the windows. I would have continued with the window maker.....but I was a little rusty with the process, and I felt I was getting more inside the fuselage, than filling in the window openings. the first four were done........sanding the flash from around the panes and making sure they would fit OK........ the six front panes were next....the bottom center window was the worst one to fit into place. it was also good that I removed the platform too.......I was able to repair the gap along the top border. I do need to touch it up some....... I removed some of the window maker that had dried around the frames.

-
I'm still here......catching up on your exploits very nice finish you've created. should look sweet on this large scale model
-
here in the states, we rob Peter to pay Paul ....all means the same though. the spit is looking great........the camo and decaling really makes the difference
-
look'in good KP! the paint finish came out great.......have you done the rest of the body yet?
-
superb transformation! really nice job KP
-
really good info gents
-
thanks OC & Lou........one more day of work........I might be able to finish it I should say anything, butt the existing guns have faired well...haven't broken any off . actually, all of the B 17's so far have been good in that respect. near the end of the last session, the luck failed on the nose guns.......one of them broke off. there's still the belly turret and tail guns to add to the mix. they will be the last part to be put on. thanks for all the likes
-
coming along really good
-
looks great.....glad to see your getting to roofing
-
nice look'in car
-
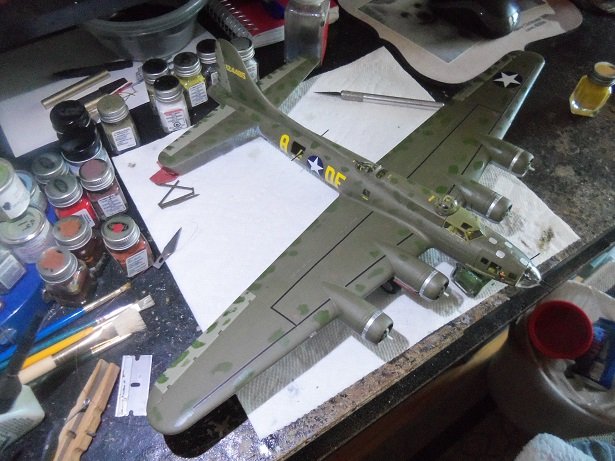
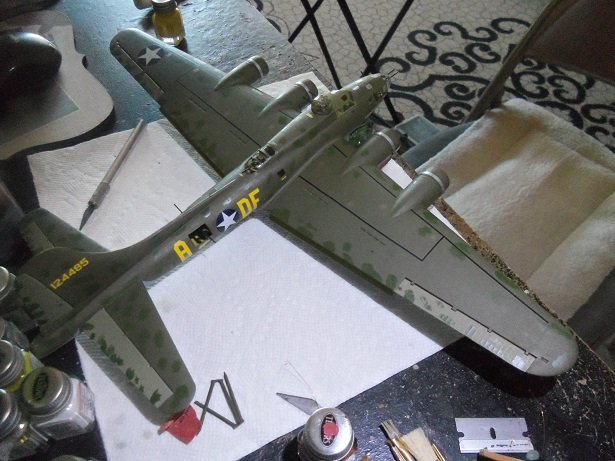
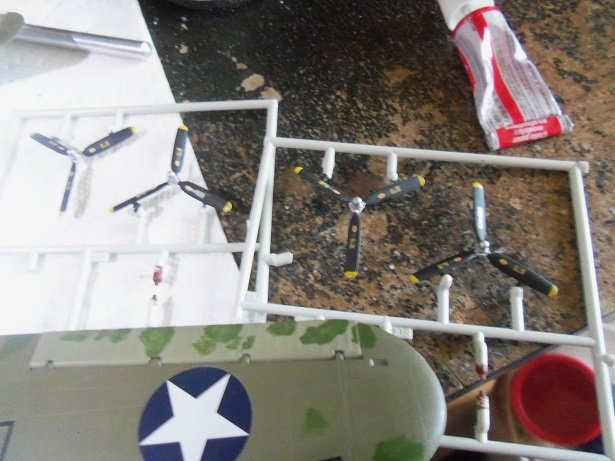
knocking them on the floor with my arm actually, Ed.........I had them in a pile off to the side. I have been very lucky with the wind aspect........even have the ceiling fan going I use decal set OC.........I use it when there is a lot of panel lines and contours. I have an update on her progress. as mentioned, I've added more decals around the engines and the fuselage. the decals are now cleared up.....a little less clutter on the desk.........the wings are assembled onto the fuselage. one of the nose guns broke off.........so that will be repaired. here are the props