HOLIDAY DONATION DRIVE - SUPPORT MSW - DO YOUR PART TO KEEP THIS GREAT FORUM GOING! (Only 75 donations so far out of 49,000 members - C'mon guys!)
×


popeye the sailor
-
Posts
16,007 -
Joined
-
Last visited
Content Type
Profiles
Forums
Gallery
Events
Everything posted by popeye the sailor
-
 off to a good start!
 -
your really moving along OC.........the figures look great! really nice detail
-
get better my friend...........meanwhile.......are there any pictures?
-
the silver looks really good........you must use gloves look'in forward to see the wings.
-
look'in really sweet.............first picture, I thought it was in your driveway
-
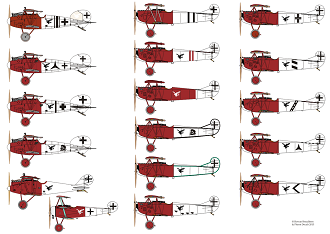
thanks OC......and thanks again EG really glad I chose to go with this subject..........I had the decals. I kinda wish I could get another one.........I'd try and go the other way and make the ailerons look the way they should.......single rib curvature.
-
thanks EG some believe that the Baron wasn't fully recovered from his last injury...........I think he got a shoulder wound. the D VII had it's fuselage lengthened by one bay {probably equates to a couple feet} trim on the wings, and added surface to the stabilizer {they gave it a triangular look}. yep........it's too bad Richthofen didn't get to retest the D VII.........he might have changed his mind keen to note that there were problems with the D VII. the ammo boxes were nestled within the front of the fuselage.........there were times that the intense heat would cause the shells to go off prematurely. to stop this from happening, cooling vents were fashioned into the sides of the fuselage. others were plagued with poor workmanship. a useful feature other than it's good maneuverability, was the that it could 'stand' on it's prop, so the pilot could hone in on his pyey and spray it with a concentrated barrage of bullets
-
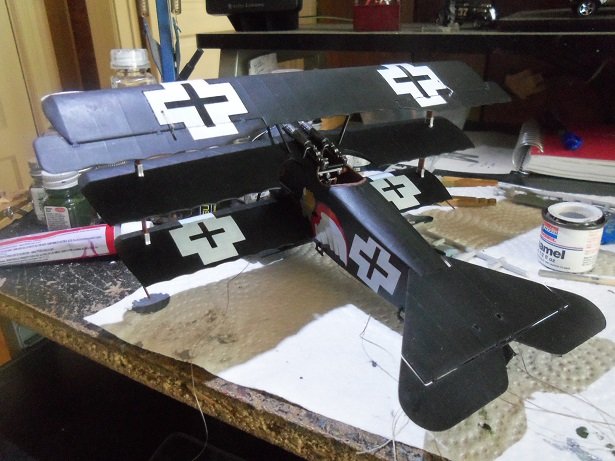
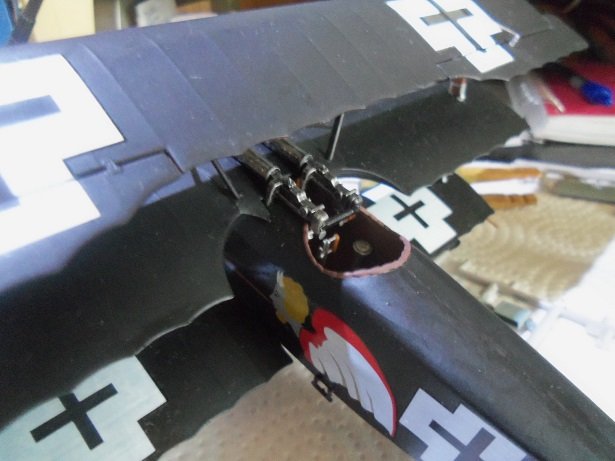
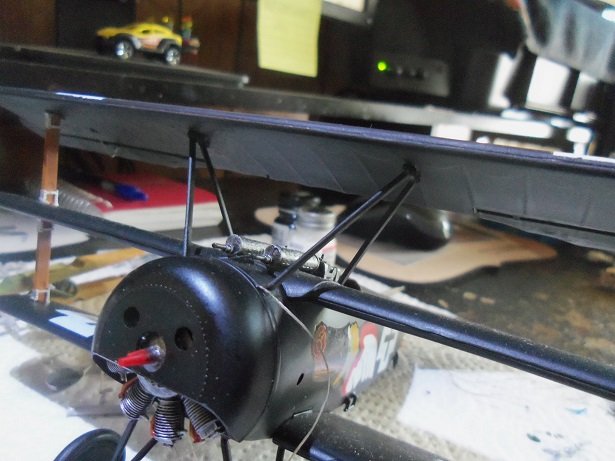
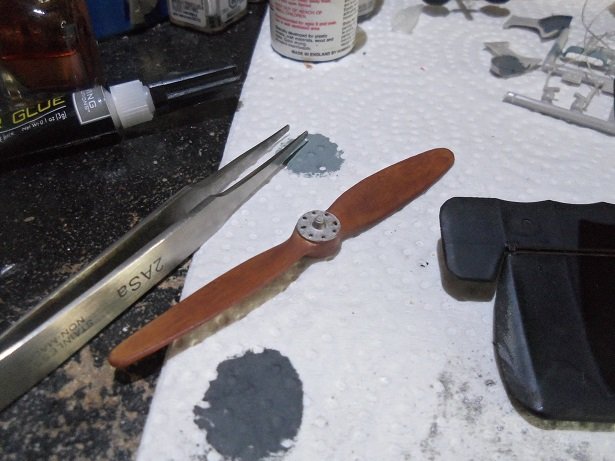
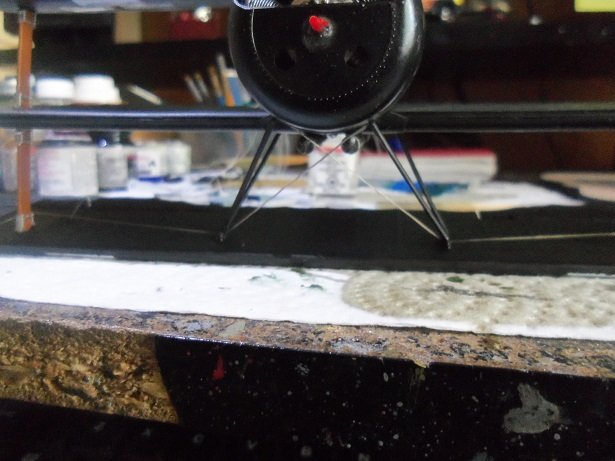
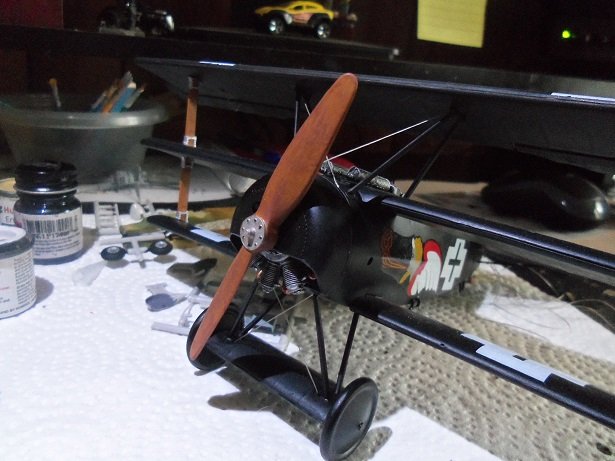
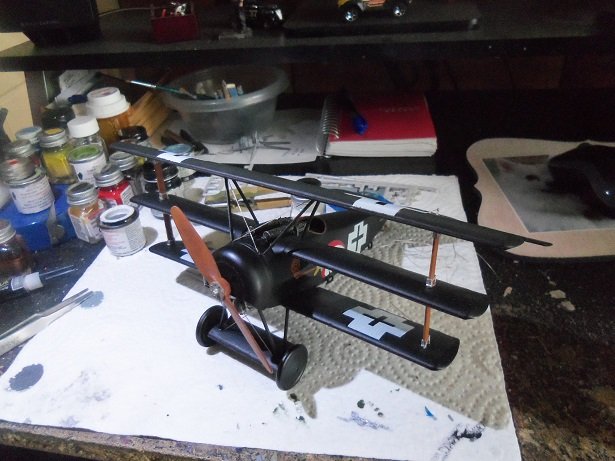
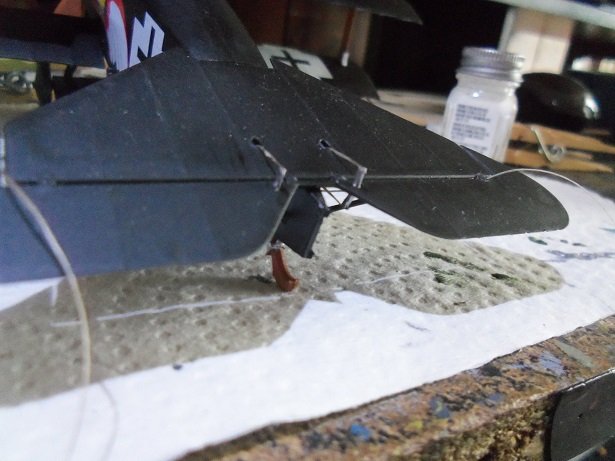
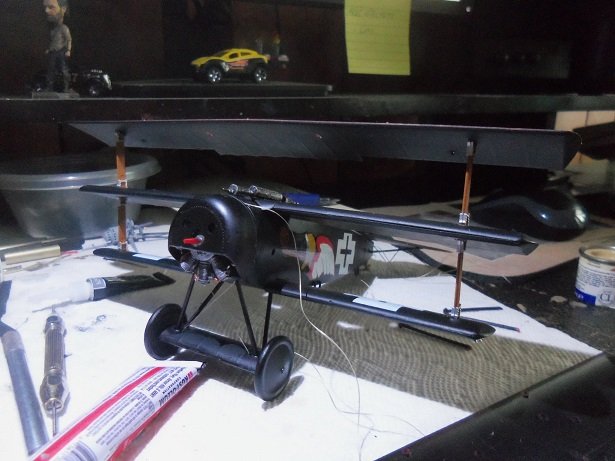
I would have gone to work today, but my foot was bothering me, so I took the day off. I'm set up to have the procedure done on Sept 8th, so there's light at the end of the tunnel here's what I've done so far.........it's a huge jump not too many Dr 1's were left by the war's end. they likely had parts to keep them flying, but I think they gave up on them, having other planes to utilize. signing the armistice agreement at the end of the war, the only planes mentioned were the Fokker D VII's. they were to be handed over to the allies. Anthony Fokker move his entire operation to the Netherlands, to escape paying the back taxes he owed. he didn't leave empty handed though...along with the factory, he took a number of plane with him as well. with the control levers in place on the top wing, the other cables were connected as well. after the touch ups were done, the wing was added to the model. it was set up with tape to hold the wing in place so it could have time to dry and set aside. later, the cabane struts were added.........I didn't take any photos. I didn't get too far before I realized it the prop was given the final bit of detail paint as mentioned earlier.......I wasn't too keen on how the control cables were connected to the top wing, but it works. upside down, the cables were rigged through the holes and cemented. the prop was added after the cables were trimmed. the prop does rotate along with the engine the control levers were added to the elevators.......these were later rigged and touched up. the last to be added to the plane, is the rudder...........I still need to paint it.

- 100 replies
-
- 13
-

-
your making some nice progress....the figures will add to the diorama
-
looks good I have a '60 Chevy Impala Hardtop kit that has decals like that and lots of chrome mouldings. I wanted to do it as a '59, but the tail lights are different and they don't supply them in the kit. that would be my mother's car when I was a kid............she called her Agnes my Dad had a black '60....funny story....... we had a barn...I grew up on a small farm. we as kids used to go up in the hay loft, and my Dad threatened that if he caught us up there, we'd spend the night up there. well........he caught me up there and he made good on the threat. that evening, I was sent up there.......think I was 9 or so......... there was lofts on the right and left, and a ten foot area that joined the two side together. down below, was where Dad parked his car. well sir, we used the area in the center for old stuff we were not using any more...one being my old tricycle........all beat up from use and the pedals were gone. all that was left were the center pegs that the pedals rotated on. I decided to ride it, to pass the time before I went to sleep. it was fun for a while......until I was making a turn and one of the rear wheels went off the edge of the platform! I didn't have time to catch myself, and over I went..........right down on the hood of my father's car! our impact put a huge dent in the hood! I ended up on the floor........the trike was still on the car..........my Mother and Father came runn'in in! Mom checked me out.........I was fine.........I wasn't hurt ......but after Dad pulled the trike off the hood, he found that the pedal peg went through the hood, and into the valve cover {it had an L6 engine}. He was pretty ticked off......but it got buffered by my Mother giving him a piece of her mind I ended up back in my own bed the next day, we went to Currier's junk yard to buy a hood and valve cover. this happened back in the mid '60's. it was good that the car was there....if not, I would have landed on the concrete floor!
-
this should prove to be a better kit for you
-
agreed.........I'm working on one right now. not so much the fit, but the subject was all off........very easy to change but you are right.......there are some kits out there that aren't worth the time. I've never done a Matchbox kit.
-
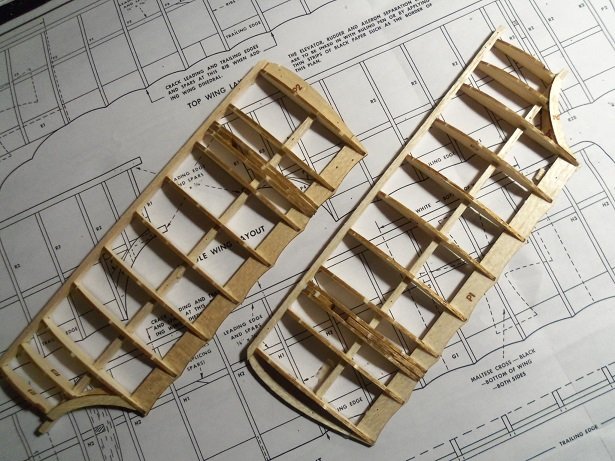
looks good when I build balsa planes, I use a pine board to pin the plans to. it's pretty soft wood and I cover it with clear plastic wrap to protect the plans.
-
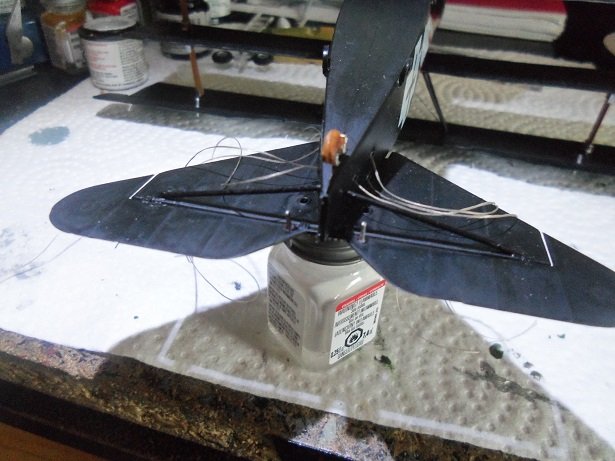
considering that this was before radar, it was all dead reckoning not sure if you understood what I meant EG........the D VII and the F 1 {actually the V 4} were tested around the same time period. both were rejected by Richthofen due to bad handling. the V 4 mods weren't very extensive, and was first to be retested as the V 5, later to be designated the F 1.........the D VII had more modifications to be done on it, which held it retest off till later. Richthofen was pleased with the F 1, and recommended the order for the first 20 planes. I was gonna hold off on the sad part till later.........a short time after the jastas were supplied with the Dr 1's, they began to experience problems with the top wing coming off. Richthofen's brother Lothar, was injured when his top wing came off.......I believe he actually landed the plane too! they inspected the other planes and found that the connection joints were rotted and coming apart.......that halted flying them until the repairs could be made. I don't have my notes with me, so I'll have more on this later..........it explains why only 320 of them were produced. the D VII took over after that. these plane were the result of the Sopwith Triplane.....I mentioned that at the beginning of the log I did get more done on Ltn. Jacob's plane. the cable control levers had more than enough time to dry. I'd have more on Ltn. Kempf's plane, but I had painted the cables with metallic paint, and it flaked off on the fuselage and wings and it stuck to 'em........having to clean up the mess. anyway........I used thread with this one, so I didn't have that problem. I did buy a thin cable -like wire from Michael's, but the darn stuff wouldn't behave and I didn't use it. it might work better on ship models........we'll have to see. what?????? oh darn.........time for sack time ....gotta work tomorrow. well......here's one picture of the upper wing.......I rigged one of the cables show ya the rest tomorrow! ...might even have something extra for yas!

-
I see the diagram to connect the track together......did you assemble them like that? looks like a recipe for breakage. looking really good
-
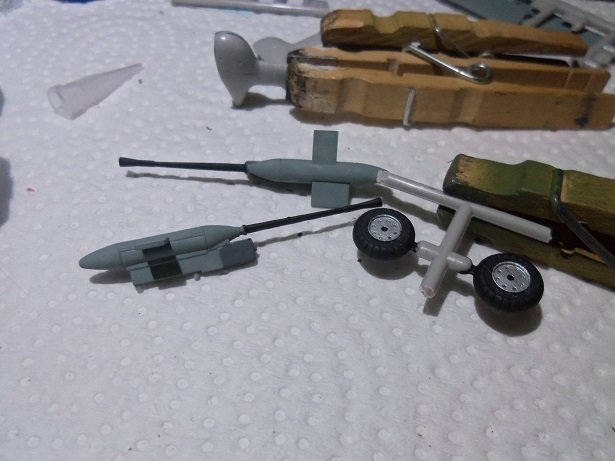
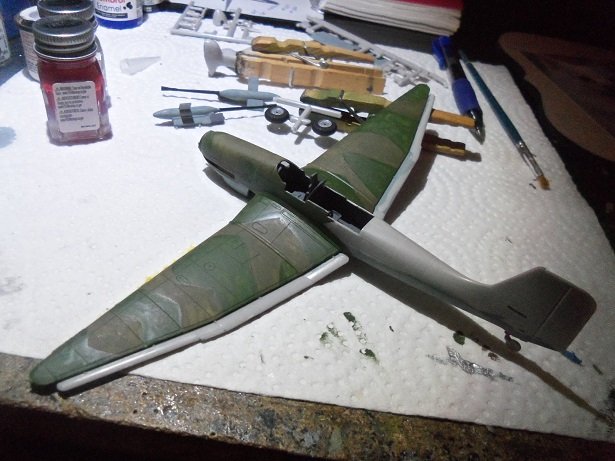
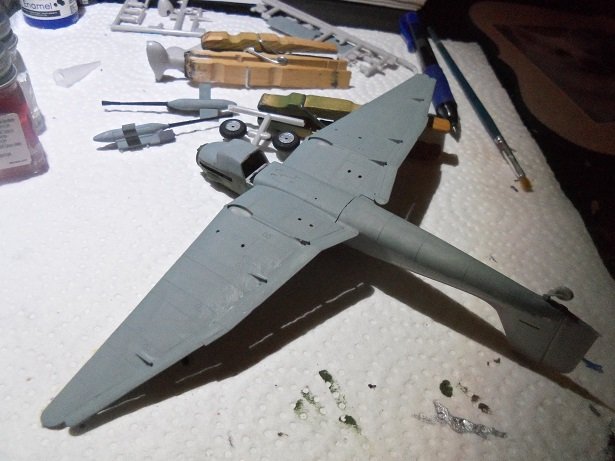
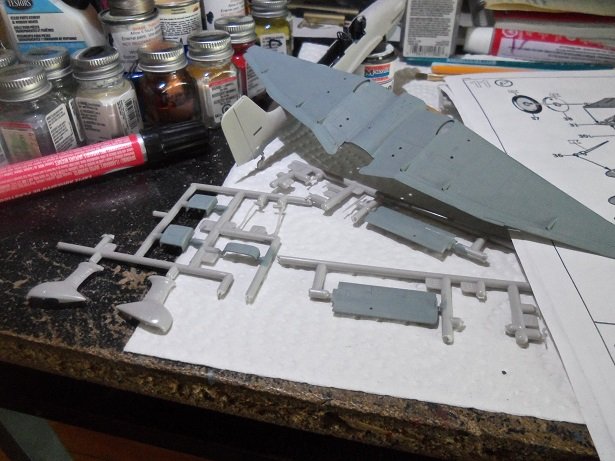
hey there.........I haven't been in model mode of late.......but I did get a little done on this one. .....kind of here and there really. I did a bit more painting on some of the small bits, and I assembled a bit more on the fuselage. I was going to paint the landing gear housings....never got around to doing it. I did the final touch ups on the wheels. sometime during the week, I started to paint the upper wings, later assembling them to the lower wing and adding it to the fuselage. the painting of the fuselage is partly done. I really wish the dive flaps were separate parts.......it would make this a lot easier. the underbelly was painted first, after the wings were cemented in place. from here though, I got distracted with another project, and this is where I left off. more to come soon
-
there are others on the back burner Ed.........I have a very strange rotation
-
they all had their issues.......the biggest thing about the Fokker D VII, was that it was introduced too late. had it been tested before the F 1/Dr 1, I think the D VII would have been the go to aircraft.......along with the Albatross and the Halberstadt. more on the sage of the Dr 1 later.......the sad part is coming up for how good the 'jet' was.....the ME 262 was rather 'plain jane' compared to the jets we have today. I started to do the cable levers........I painted them 'steel' and had to wait for them to totally dry, being a metallic color. more on this project soon
-
thanks Egilman....I think they are nice kits too. the detail is very good, but future one will have me insuring that the location holes fit........I didn't drill them out. I dunno.........I think my plastic skills have laxed since I turned to wood models. it's quite a kudos coming from you
-
the body came out great! how you got the spacing on the stripes is really nice......a lot more to scale than if you were to have used decals. what I meant by colored plastic, is some companies use colored plastic as a way to market to folks who don't do a lot or painting. I've found though, that after sanding to get rid of mould lines and injection pin marks, this is really not possible......just doing a clear coat shows them like a sore thumb. white and yellow are the two worst colors to paint over an existing color....you did well on the body....fingers crossed on your redo of the hood
-
good to see your still working on the sub Yves the conning tower and the gun looks terrific! really nice detail.....will look great on deck
-
you've made some really good progress since I last looked in great job!
-
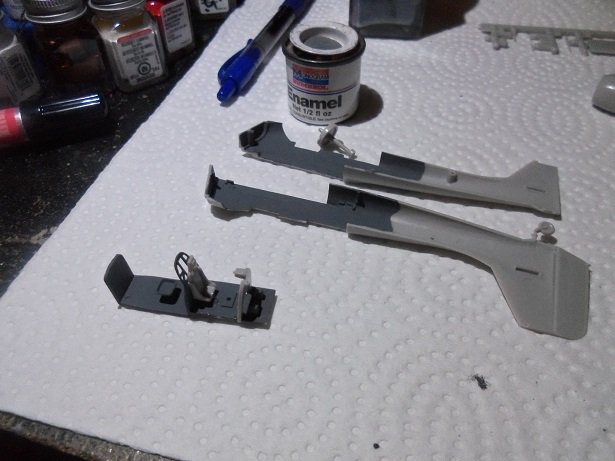
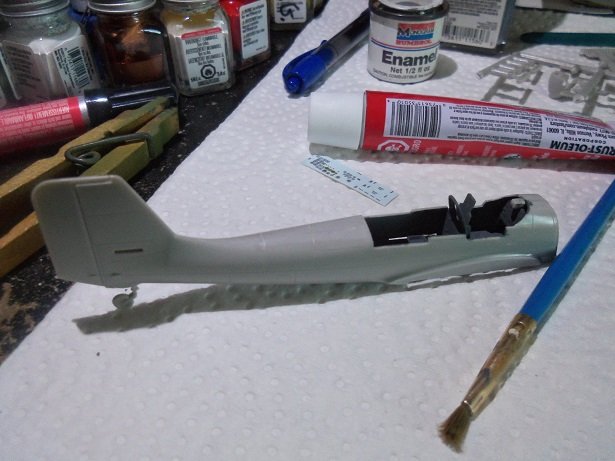
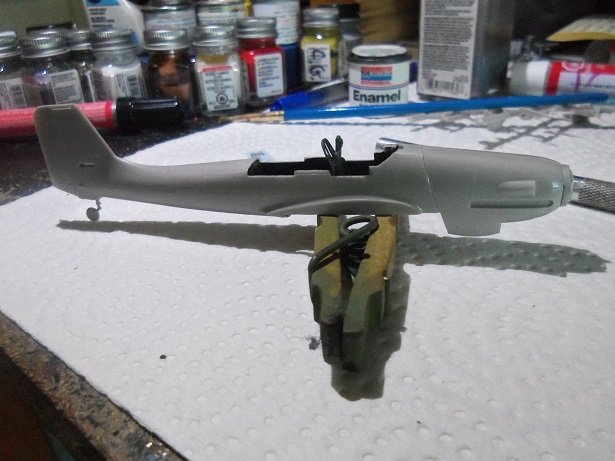
I poked at this one a couple of times......not enough to constitute a real update event. I have some paints that translate to the German equivalents....I tried to stay close. I guess the best word to describe the model, would be pette........really slim fuselage.......it's a small model. there was a bit of a problem fitting the cockpit into the fuselage......kept wanting to miss the tabs on the other side and cock over to one side, but it is assembled now....... the prop root was fitted into the cowl and it too was assembled.......the prop will turn the under belly is to be paint something of a blue/gray...... Humbrol #87 is a steel gray, which looks close to Humbrol's #248 , which is called Himmelblau. both of these color has the blue/gray quality, but I don't have #248. the latter will have to do. I'll start with painting most of the parts.......and assemble more later. more soon friends!
- 89 replies
-
- 11
-
-
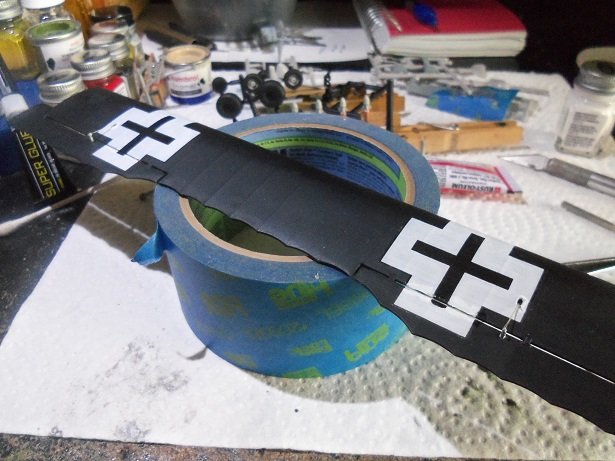
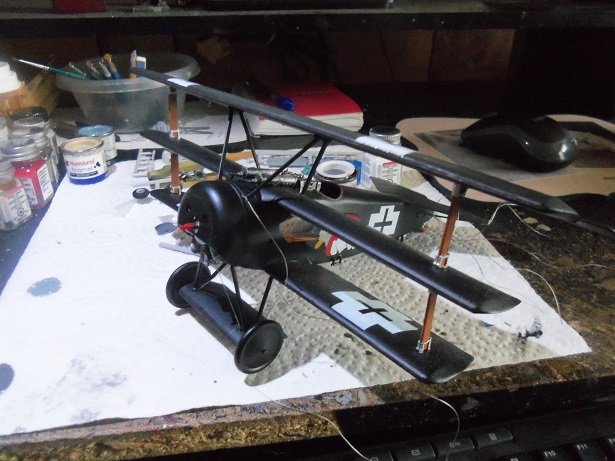
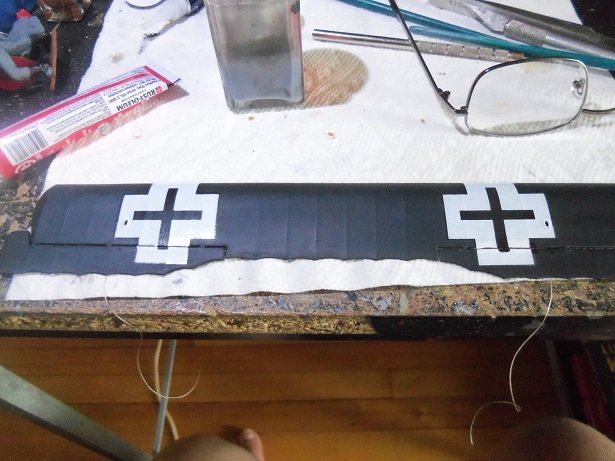
I did do a little on the Fokker.......it's been too hot 'round here lately.......I've only been dabbling. before I can assemble the top wing, the cables need to be cemented into place. I did the decal work to the top half......still need to refine it at this point. I cemented the cabling in place and made a mess with the left insignia. little did I realize, that I could pull the thread back through the holes and then do the decaling {which I did with the right side}. the interplane struts were cemented to the middle wing.......at this time, I put the bottom part of the top wing on to see how it would look. really adds to the size of the model I will add the cable levers once the two halves are put together
-
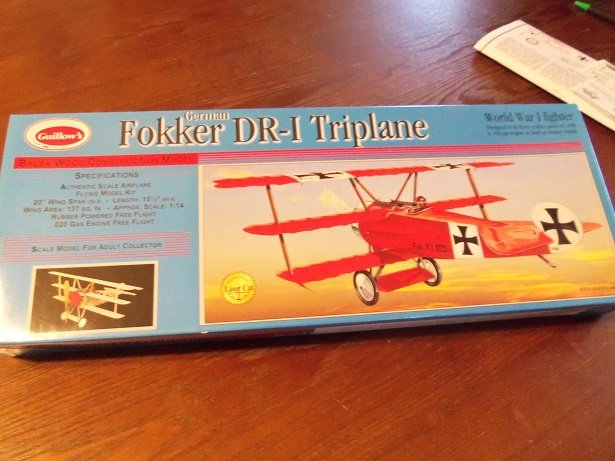
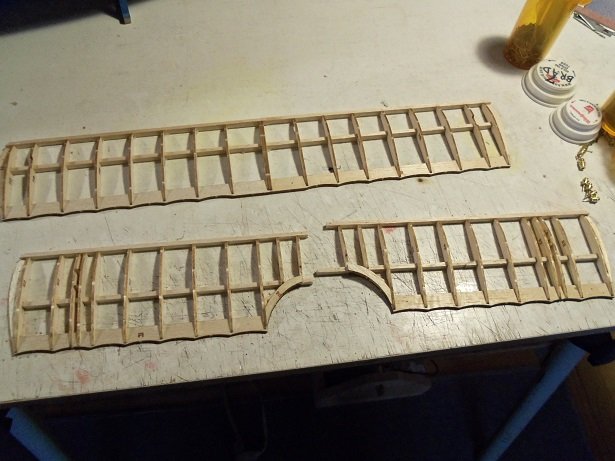
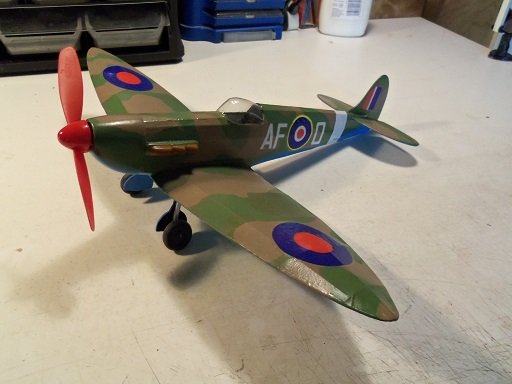
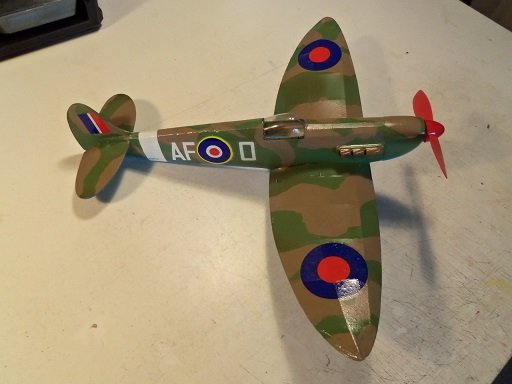
hey Ed thanks for the kind word........the kit was terribly misrepresented. it's common knowledge that Richthofen few a Dr 1 when he died........and evenI found out that very few F 1's were ever built. I could prattle on, but the problem is moot now, and yes, I agree.....deciding to do Jacob's plane was the best choice. of course, that leaves me with a full set of F 1 decals........I'll have to find another kit ............ yup....that looks like an Entdecker........I believe that was the German's experiment in the development of single wing fixed aircraft. the early wing design didn't give the wings enough strength, so they suspended it with the truss cables. there was the E III and the E IV variants. I used to build a lot of 'stick and tissue' model planes. Comet and Guillow's were my favorites. another fine model is the Fokker D VIII.........that was my best flyer even after exhausting the rubber band, it would glide further. I use to have pictures of it, but when I moved back to New Hampshire from Florida, they were lost. hadn't built any others until a year or so ago........I built a Guillow's Spitfire MK1. in the closet though, I have a Fokker Dr 1......a Guillow's kit in 1:14 scale I started it early last year..........I've yet to sand everything and start the tissue. I plan on doing it after the Raben's Ravins Dr 1 bottom wings I should post a log on what I have so far.........might even make me continue it they are a great endeavor Ed....... here's a picture of the Spit......my first one in quite a while...