WBlakeny
-
Posts
252 -
Joined
-
Last visited
Content Type
Profiles
Forums
Gallery
Events
Everything posted by WBlakeny
-
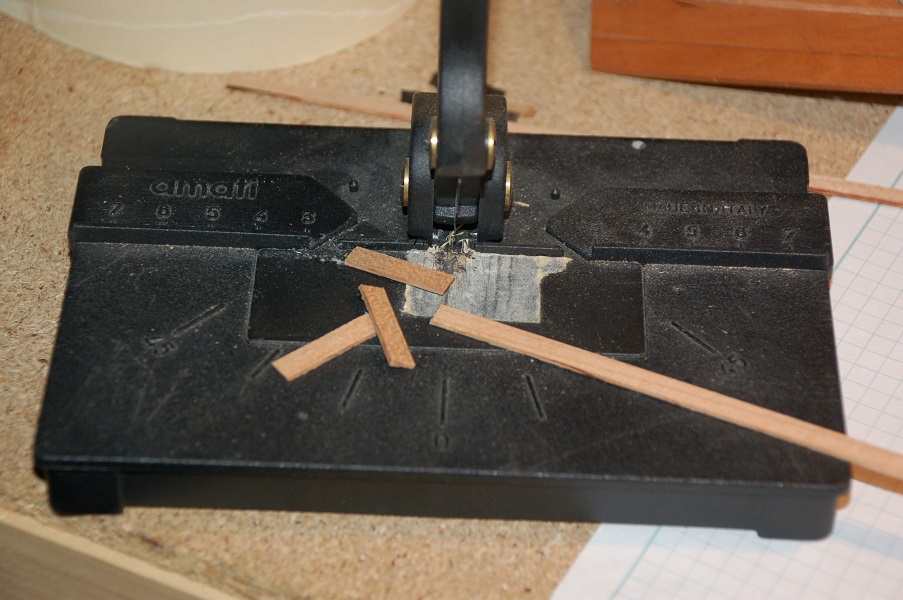
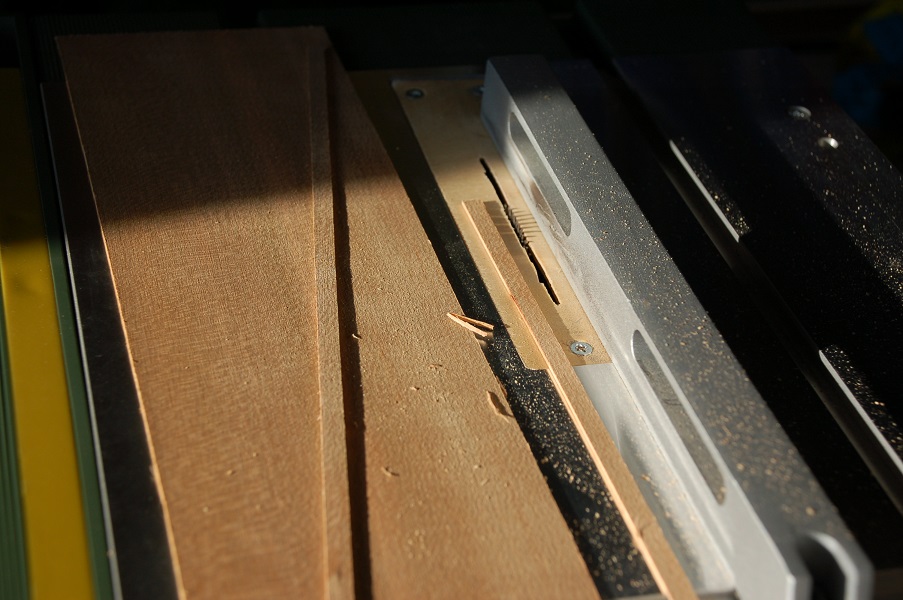
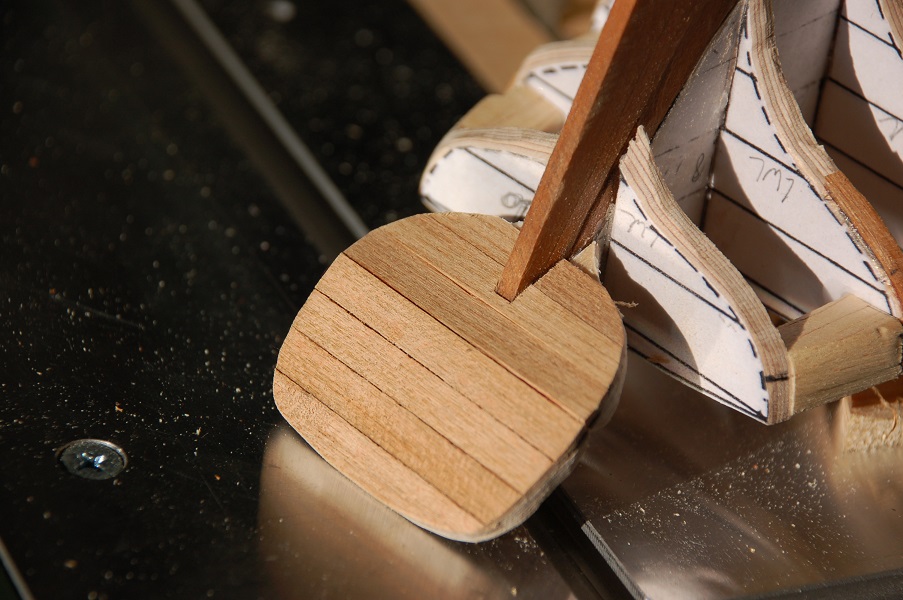
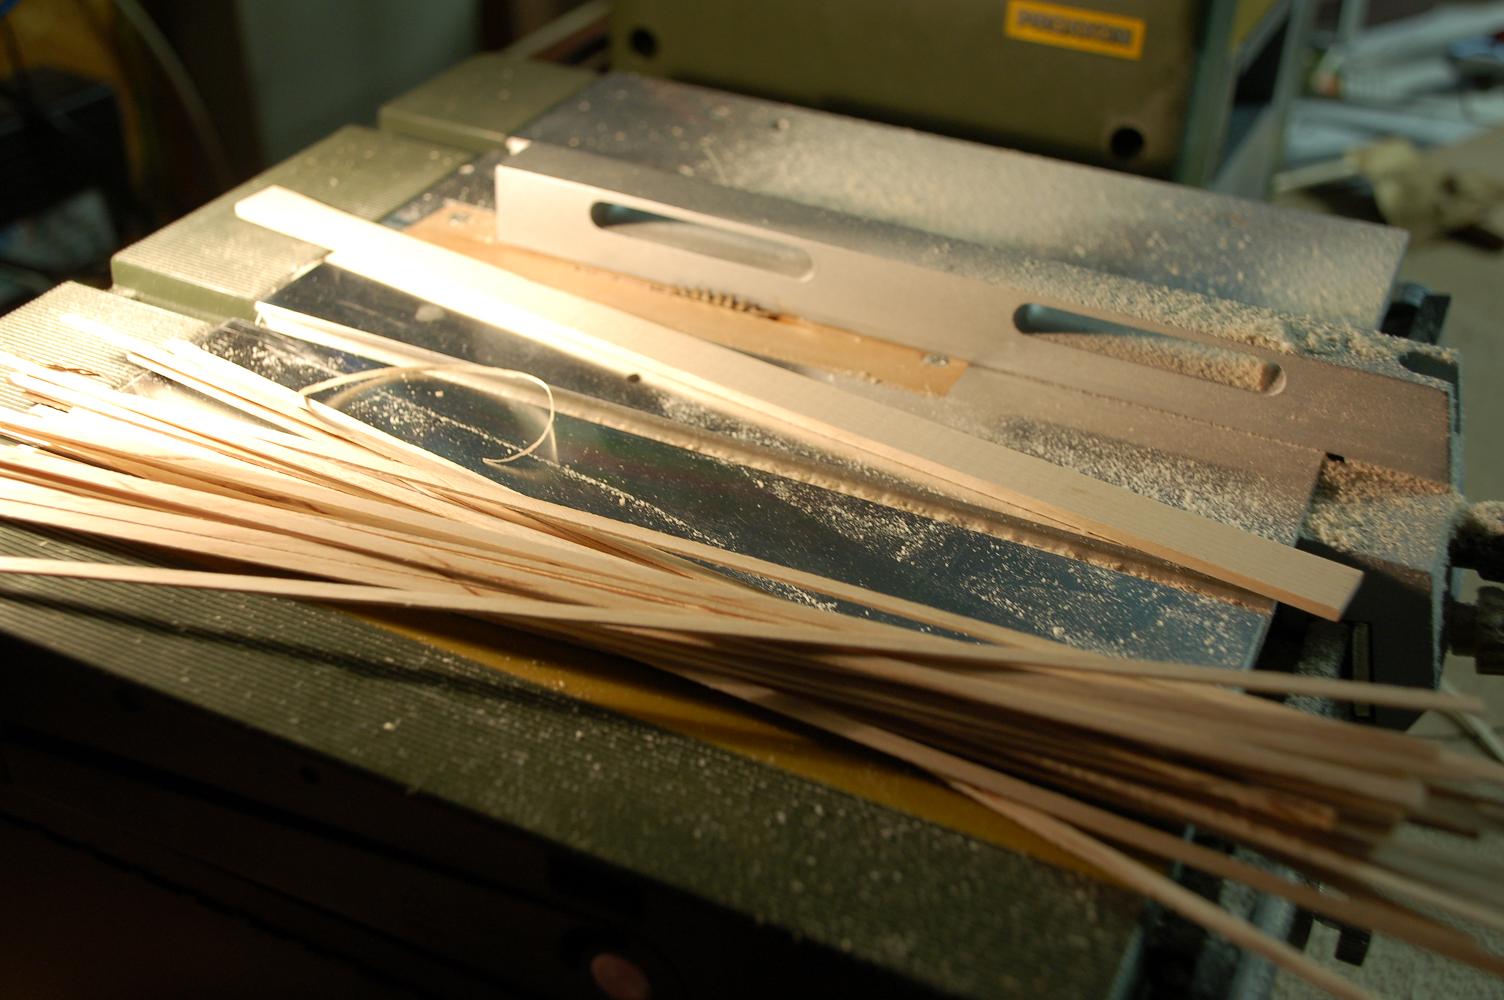
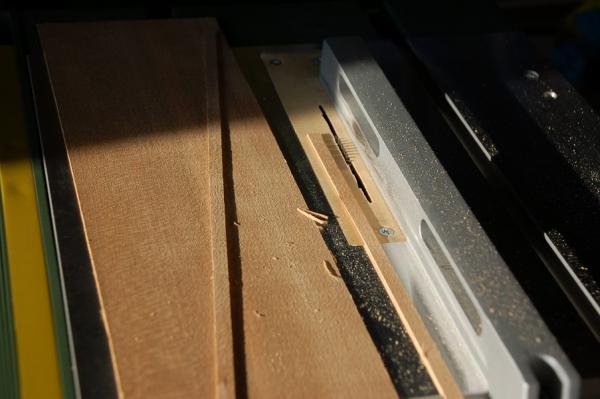
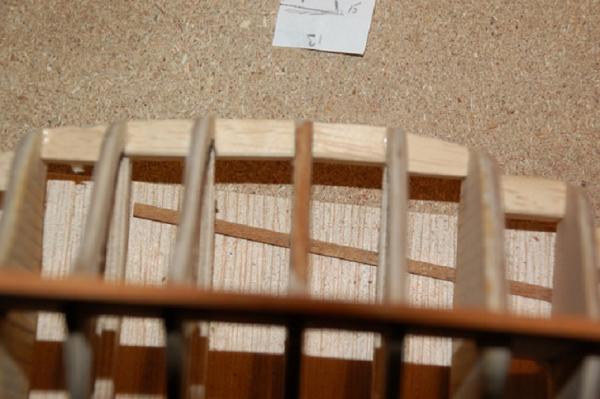
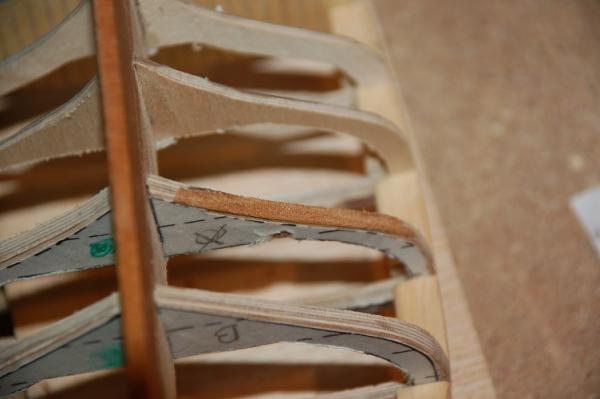
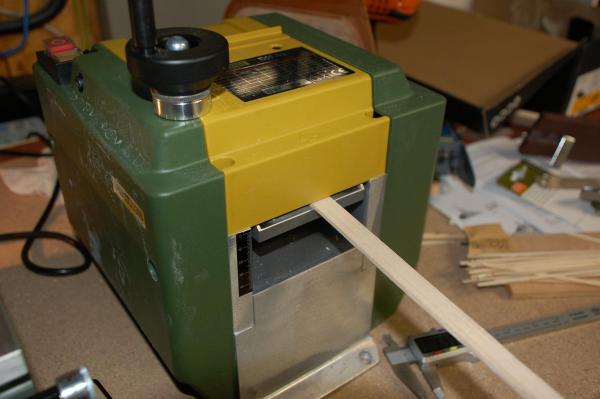
 Hi David I've never used a sander, so i couldn't compare. I'm happy with my planer but it's not perfect. Sometimes the finishing is't as smooth as i'd like it to be. If you look close in the picture underneath, then you'll see tiny marks of the planer on the wood. I get that result if i only want to take off a little of the plank. (a 10th of a mm or something like that) If i want to take off more then i have no marks like these. I could imagine this being a great disadvantage versus the sander. Another thing is, i have to be very careful when pushing a plank through it. Because sometimes the beginning of the plank gets easily chopped in multiple pieces. But i like my tool, it has been handy. I have it since this year though, so i image i'll get better at using it.
-
ancre La Belle 1684 by Nenseth - 1:36 scale
WBlakeny replied to Nenseth's topic in - Build logs for subjects built 1501 - 1750
Nice work! I'll be following. La Belle is also on my wish list. -
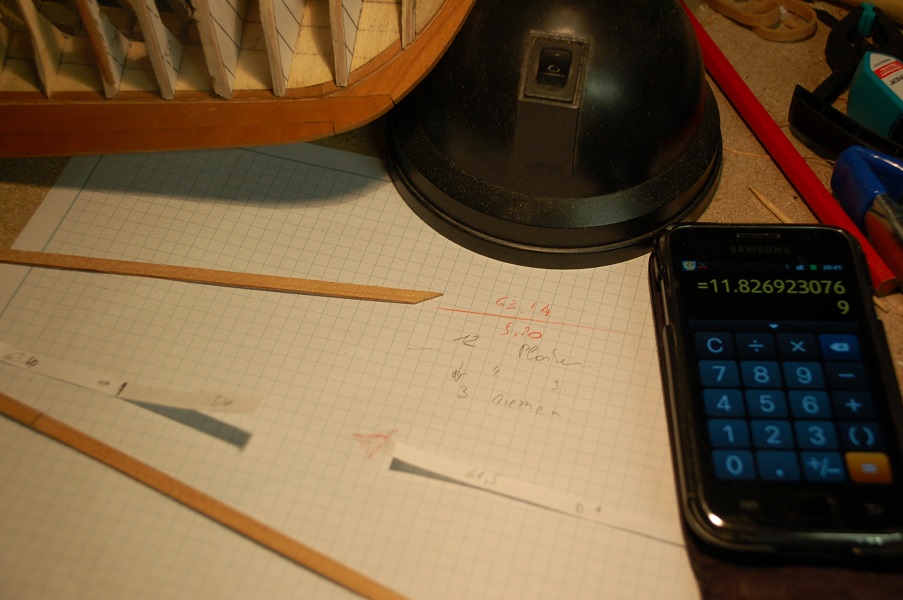
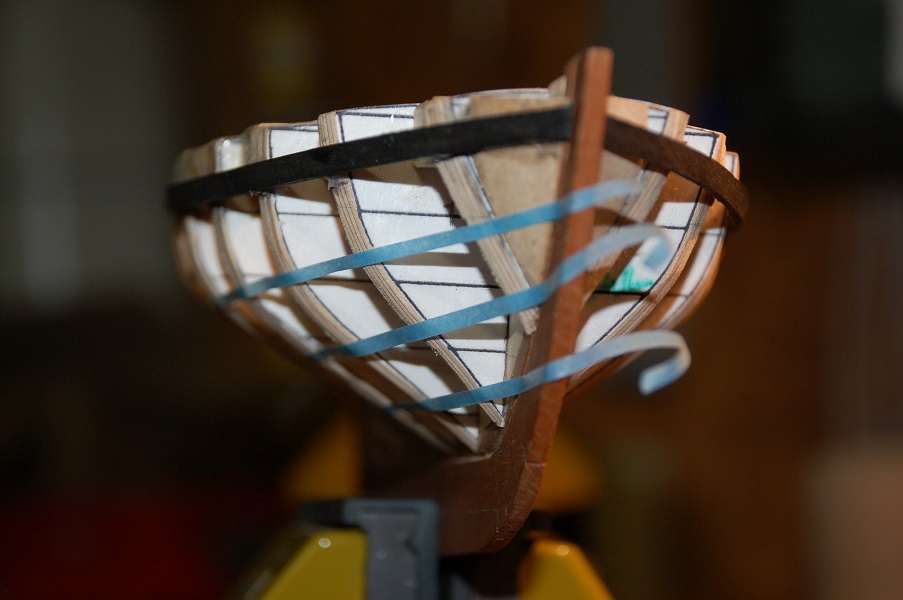
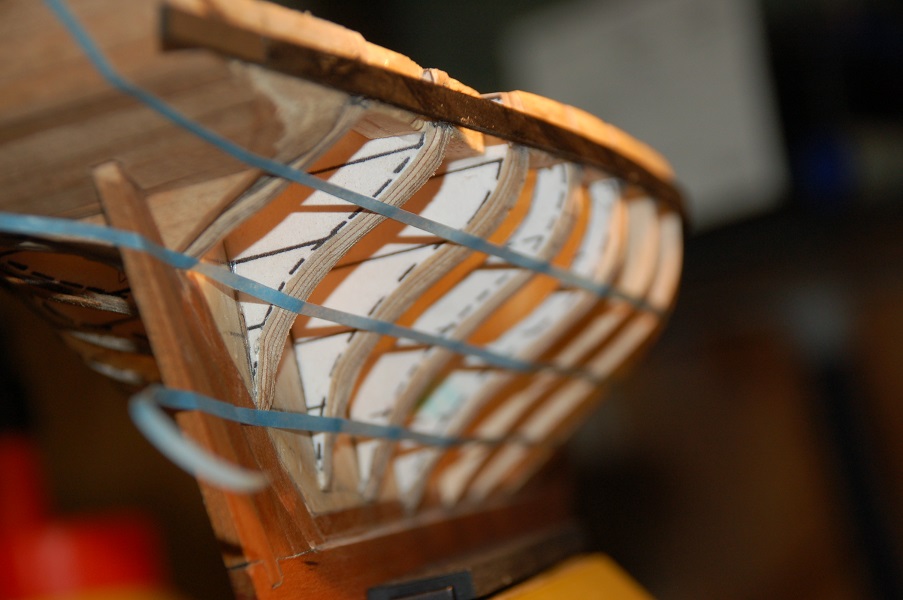
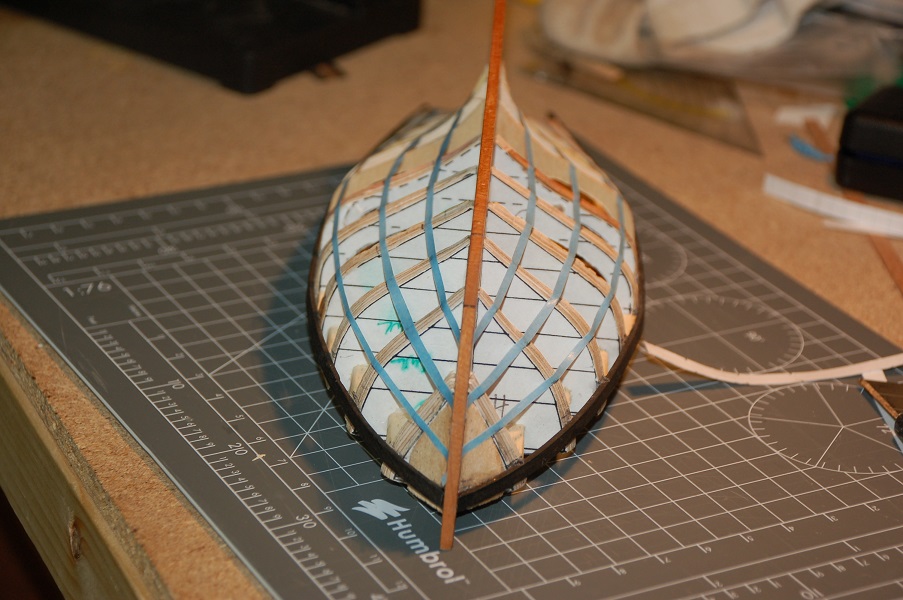
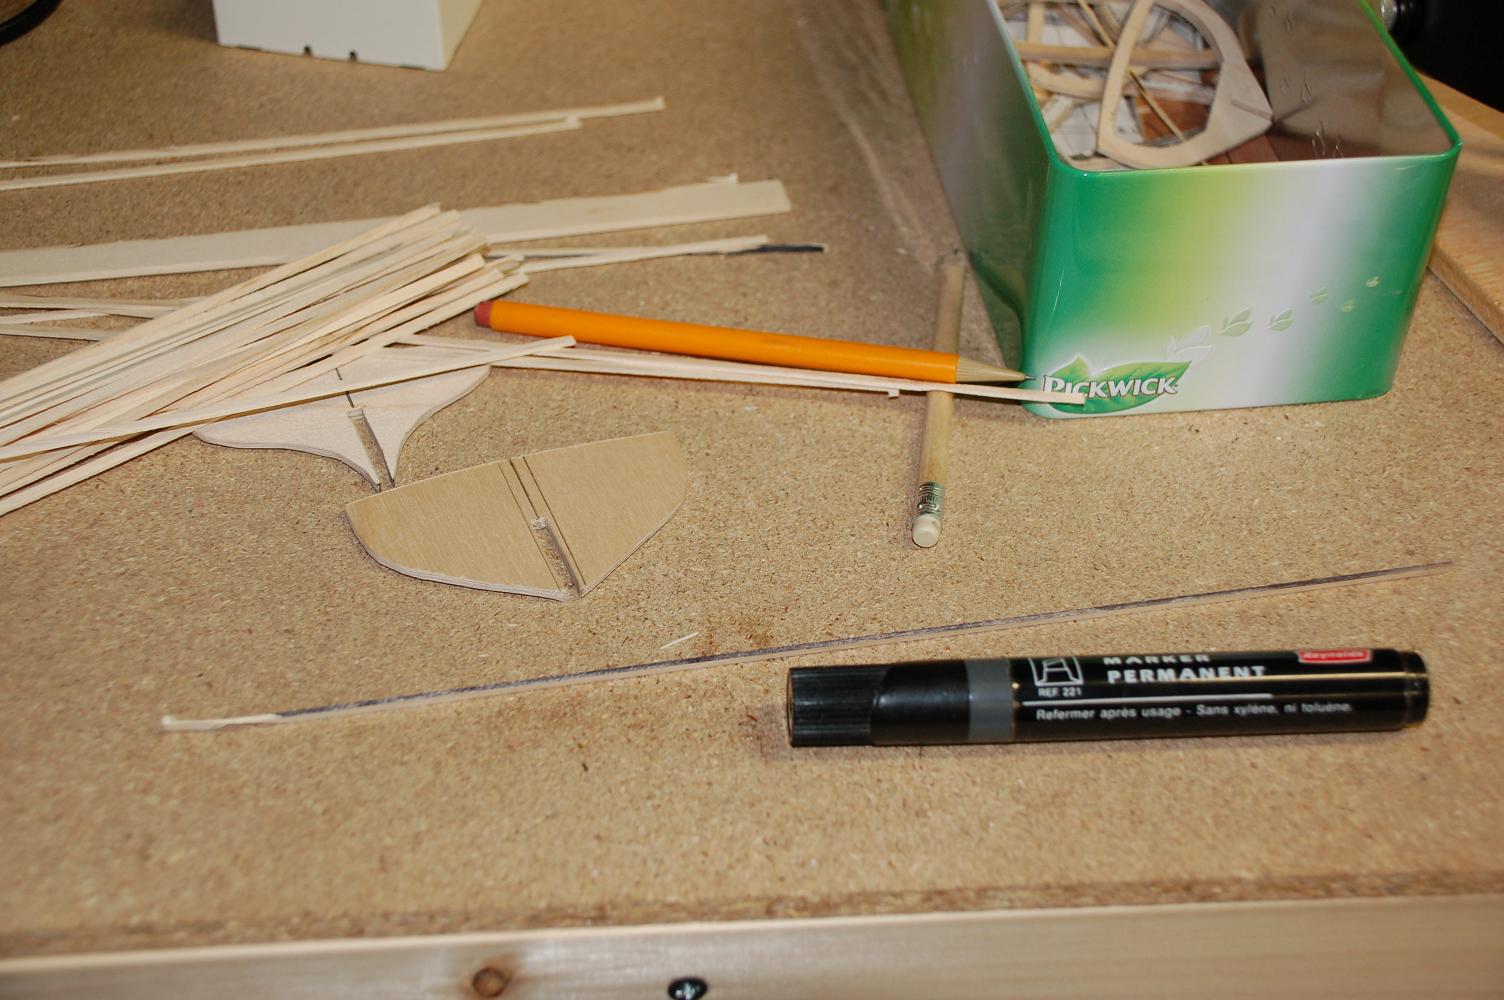
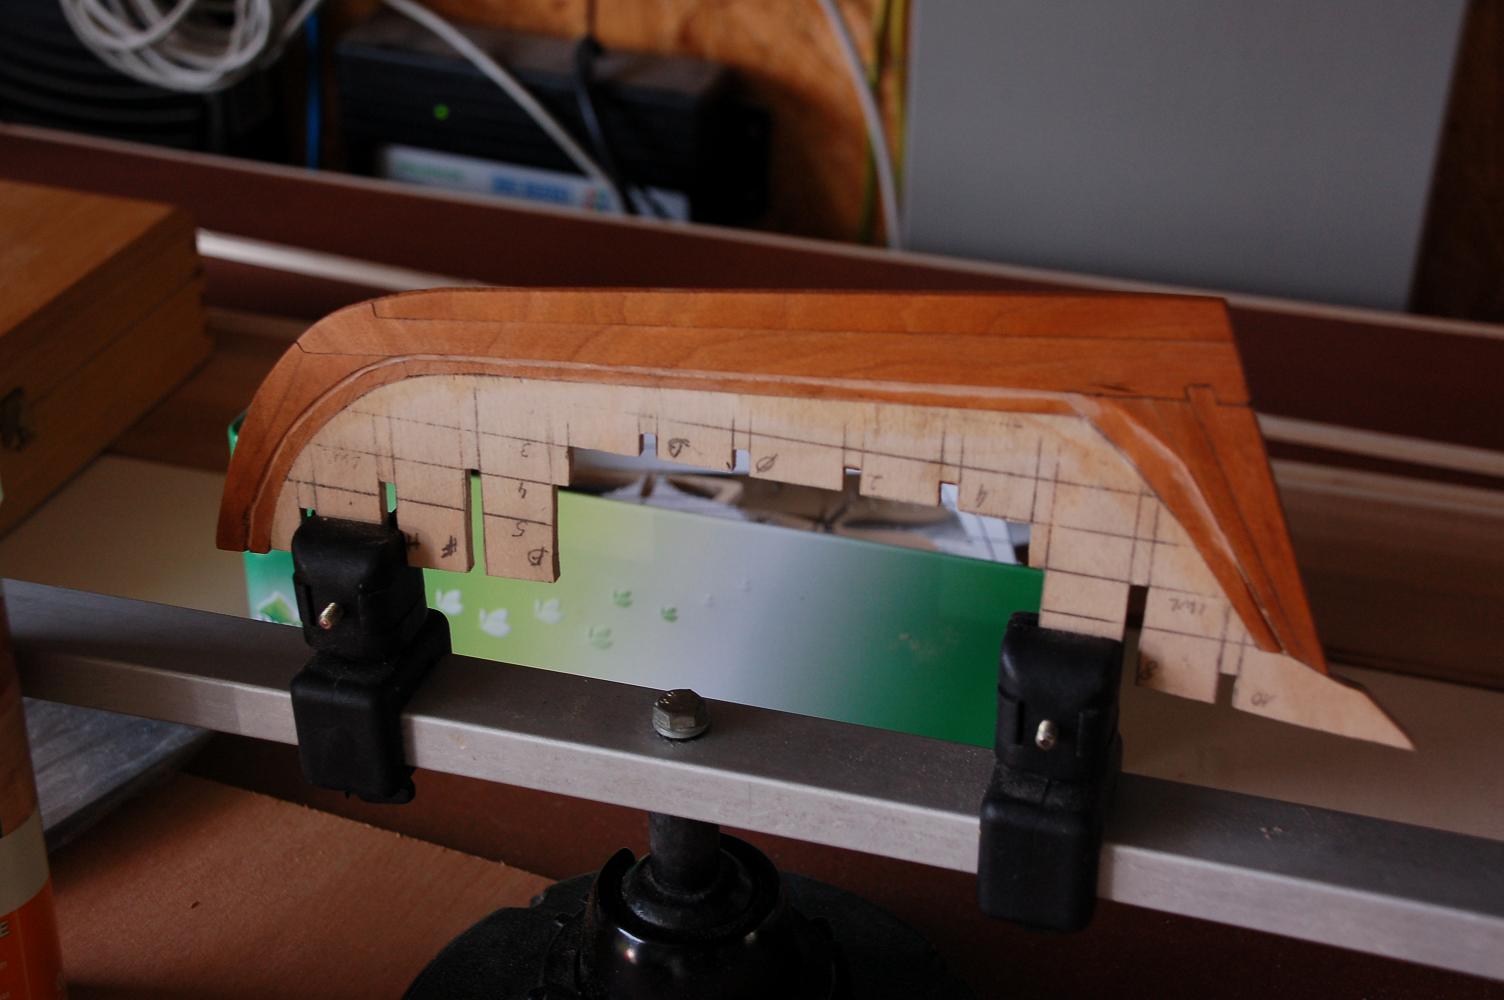
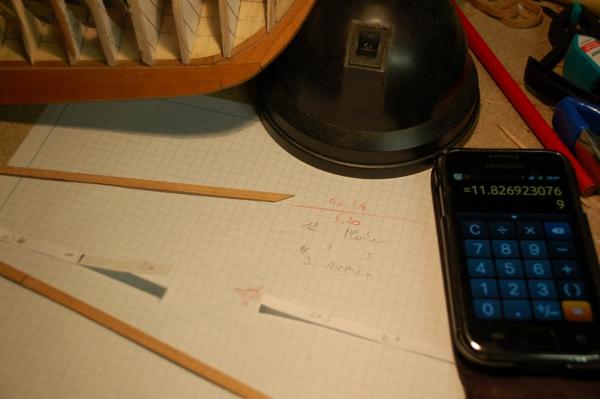
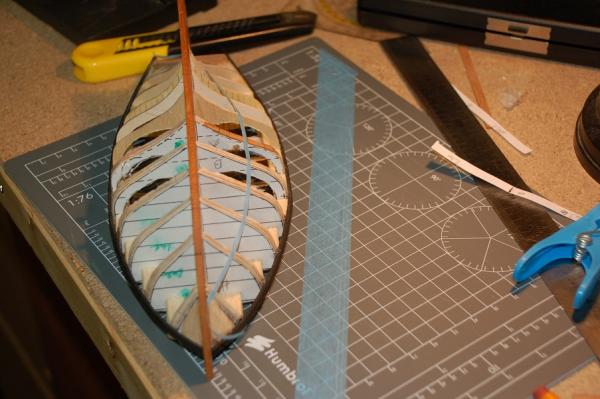
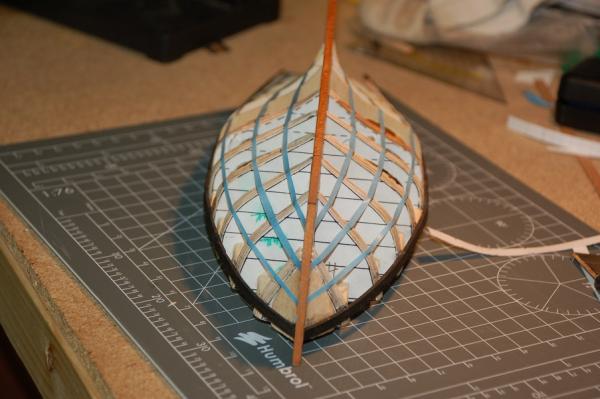
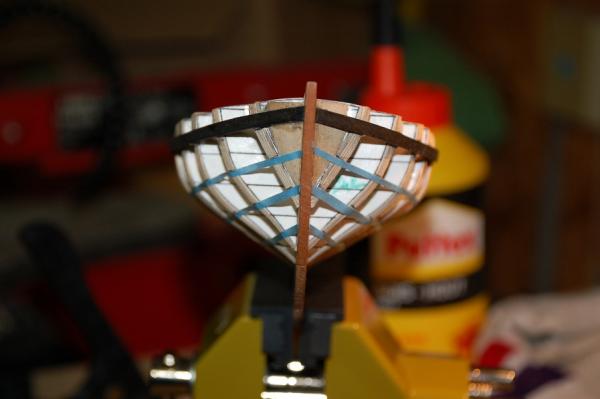
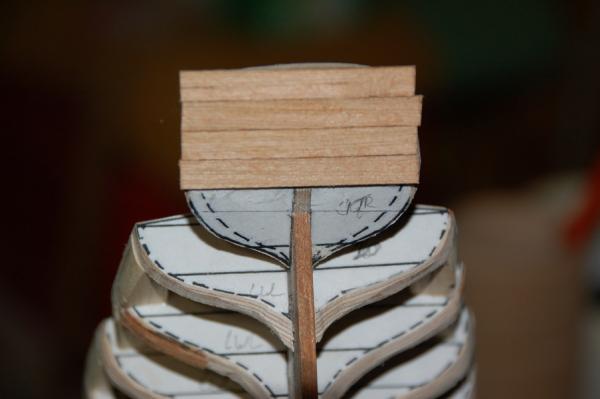
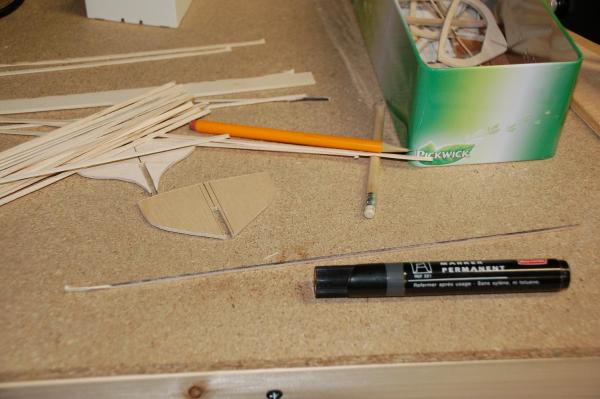
Finally, i'm at the planking stage! I've never been able to do some nice planking without the need to conceal it with paint So, i decided i wanted to try out for the first time, to plank with the method Chuck described using the planking fan. First prepare everything. I calculated the number of planks midships. It's something above 12 (don't mind the number on the calculator in the photo beneath, it's got the wrong calculation) So i'll have 4 belts of three planks. The garboard strake will be a bit larger than the normal planks. In then took 3 pieces of a plank and glued them on a piece of paper. With that i marked the positions on the midships frame for each belt. Then i took some tape from which i cut off long strips. With one such strip i divided the hull in two, starting from the mark on the midships frame. Afterwards i dived each belt again in two, making sure that there's never a space which is less then half the space i've got on the midships frame. On the last belt at the stern at i'll have to insert a stealer or make a larger garboard strake. I then carefully copied the positions of each belt to the other side. Still need to do some tweaking at the bow, but i'm almost there.


- 144 replies
-
- 7
-

-
- corsair
- bermuda boat
- (and 1 more)
-
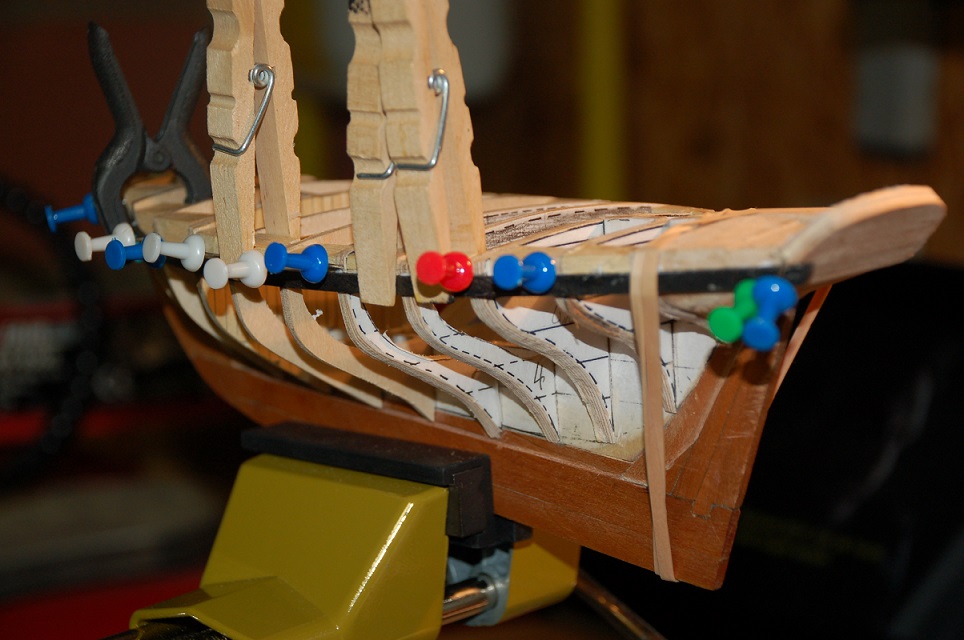
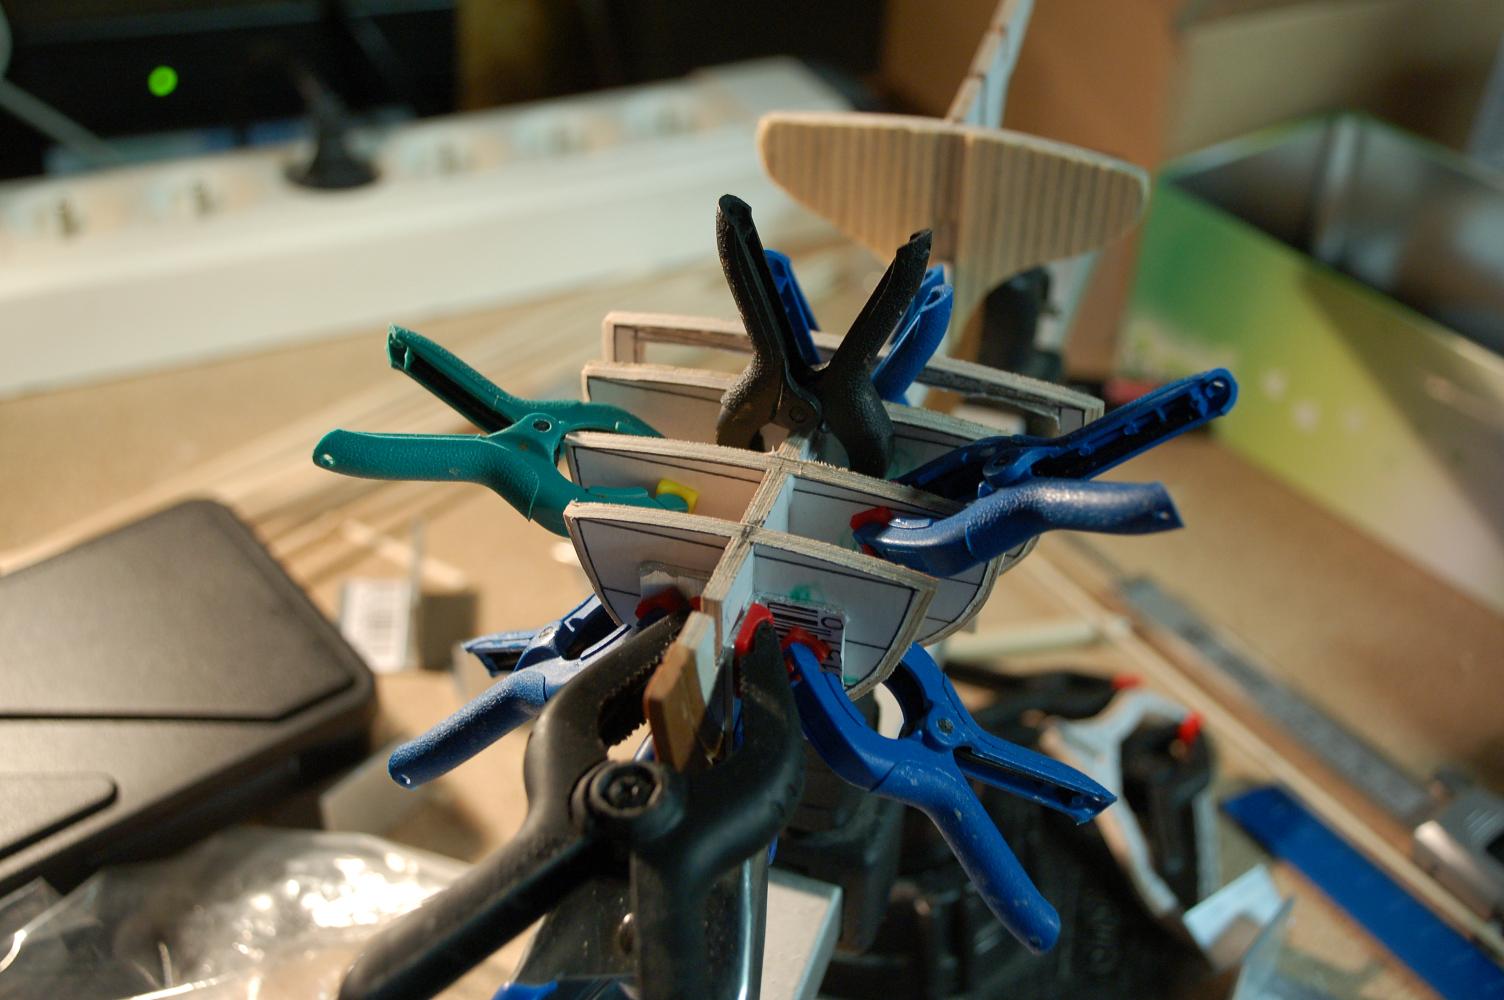
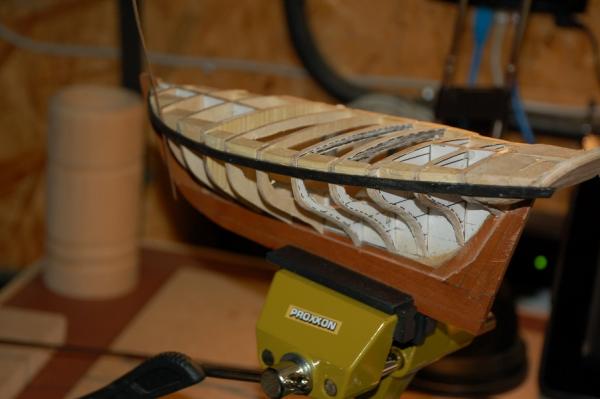
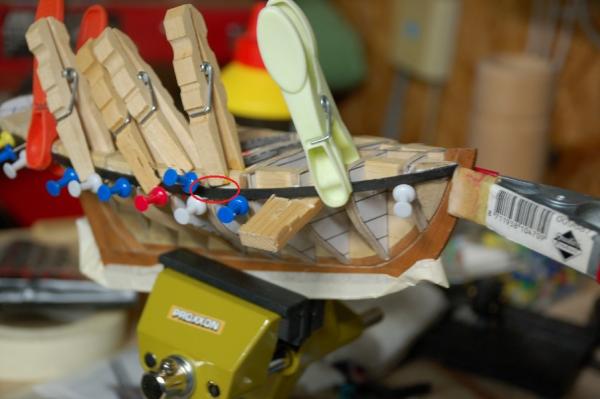
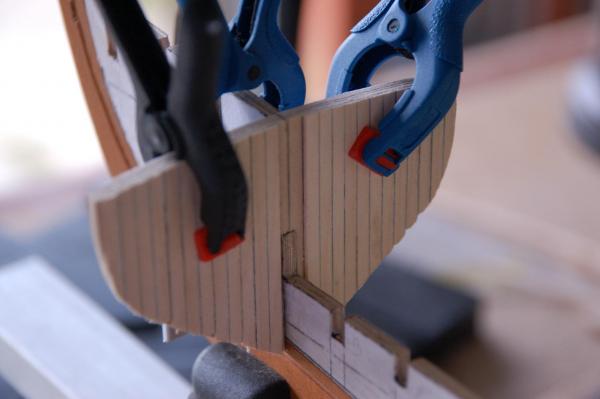
Time to put on the wales. I first glued the wale on one side. I then copied the location of the wales with paper templates from the keel to the other side. And rechecked with an adjustable waterline marker between both sides. Afterwards pins were pushed on the spots just beneath where the wale should come. And installed the wale above those pins, using them as a guideline. I made sure with the help of modified wooden clothing pegs (don't let the admiral know) that the wale is pushing against the pins.


- 144 replies
-
- 6
-
-
- corsair
- bermuda boat
- (and 1 more)
-
Amen to that.
-
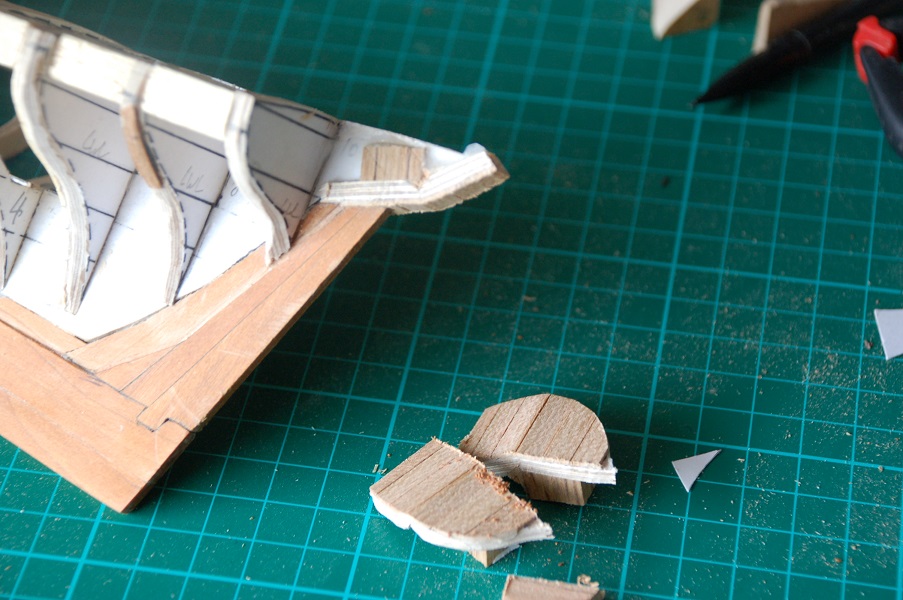
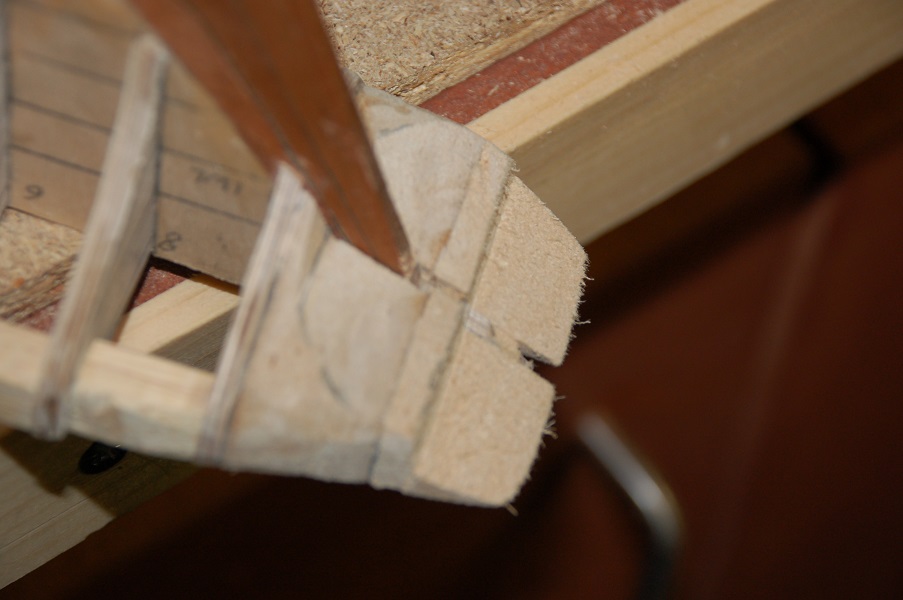
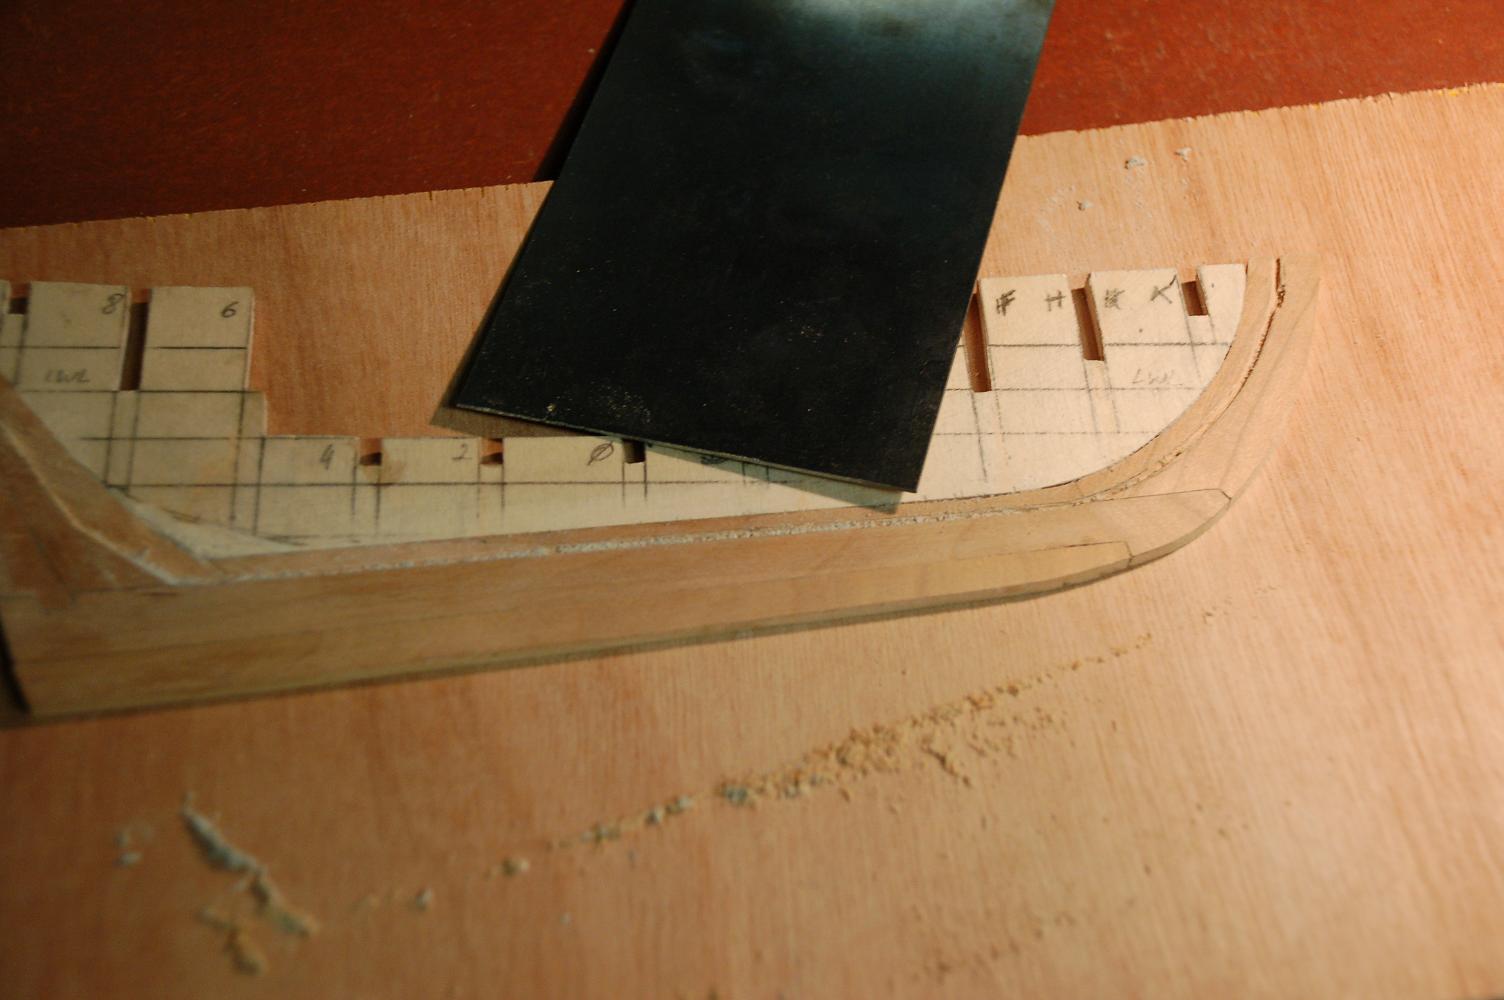
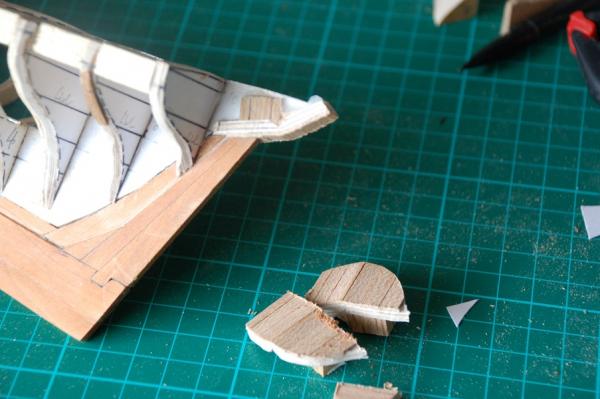
I'm afraid that if i don't correct the counter, i'll always will look at the model for the place where i went wrong. And since there's not a lot of work, I'll be rebuilding the stern. I put the saw into my counter and transom. I removed the excess of wood still glued on. I decided to remodel the stern with the use of MDF. I used the dremel to shape the stern according to plan. Checking with paper templates. Then i glued a new transon out of ply. And sanded flush. Afterwards replanked the whole stern.


- 144 replies
-
- 5
-
-
- corsair
- bermuda boat
- (and 1 more)
-
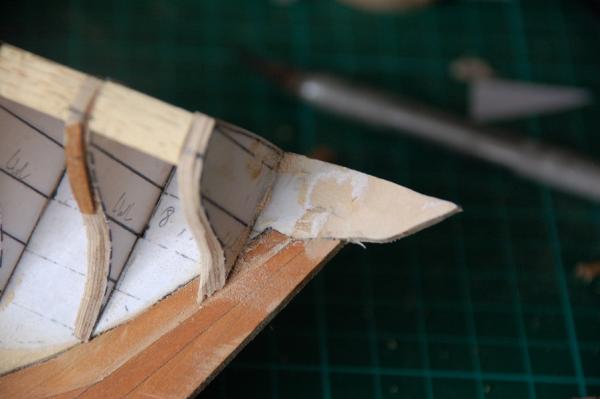
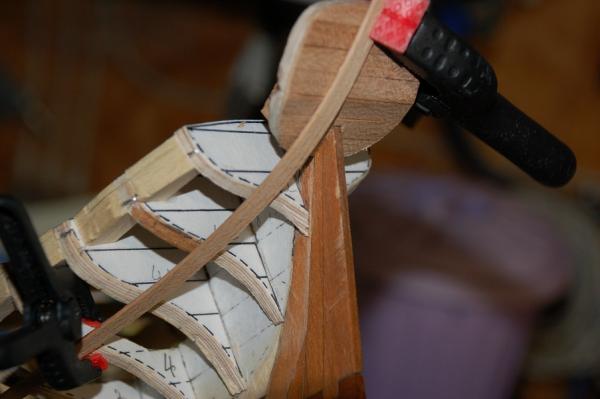
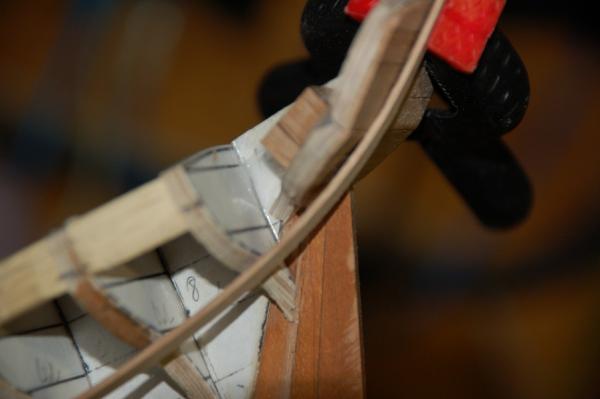
I've made a serious mistake!! When checking with a wooden plank, my plank goes over the counter instead of against. After checking it with the plans, i noticed i have the angle of the counter all wrong. I thought i had to follow the line according the plywood. Which now obviously isn't the case.
- 144 replies
-
- 1
-
-
- corsair
- bermuda boat
- (and 1 more)
-
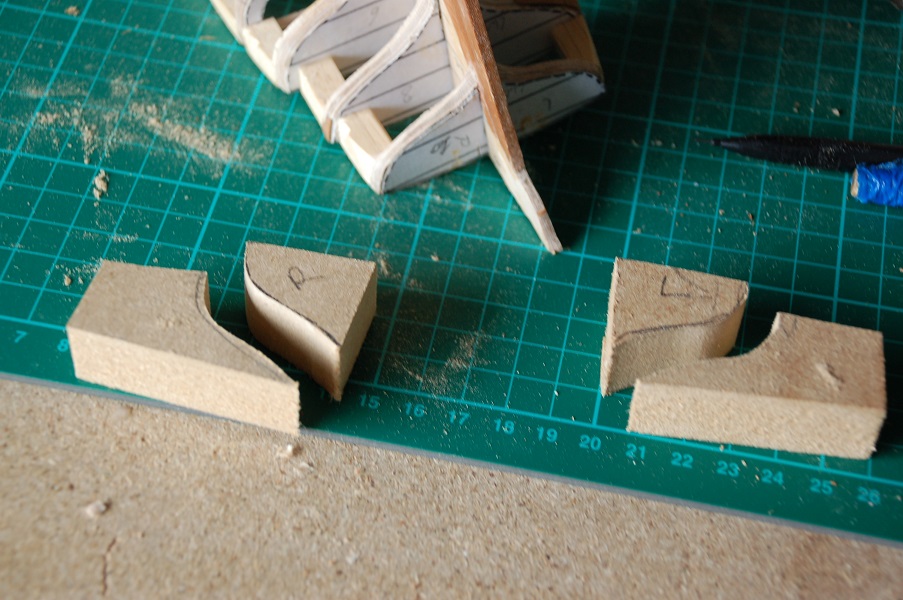
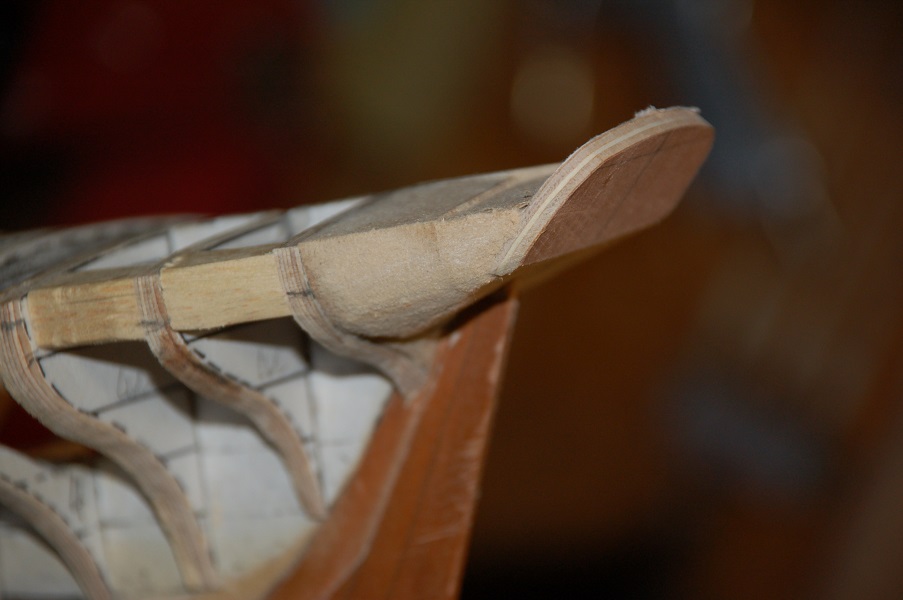
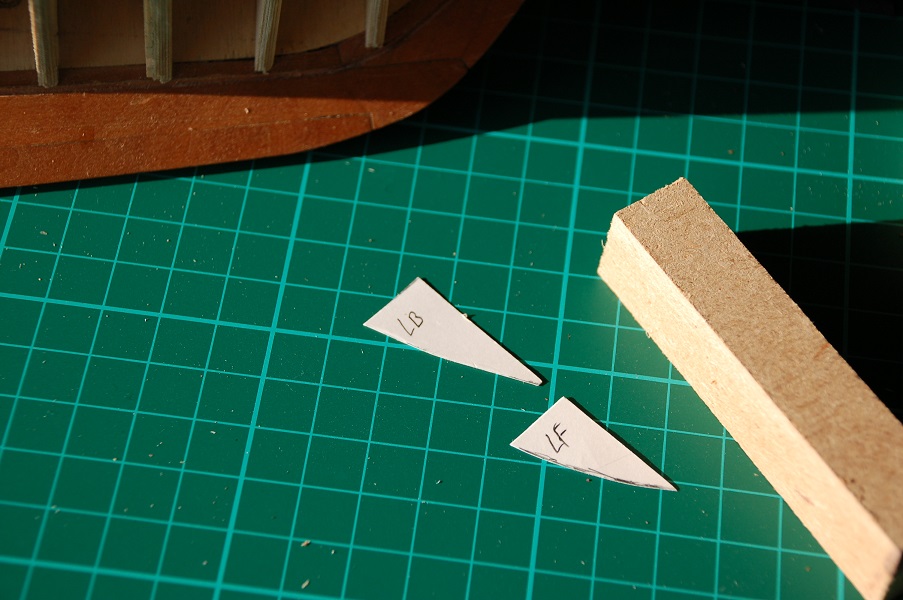
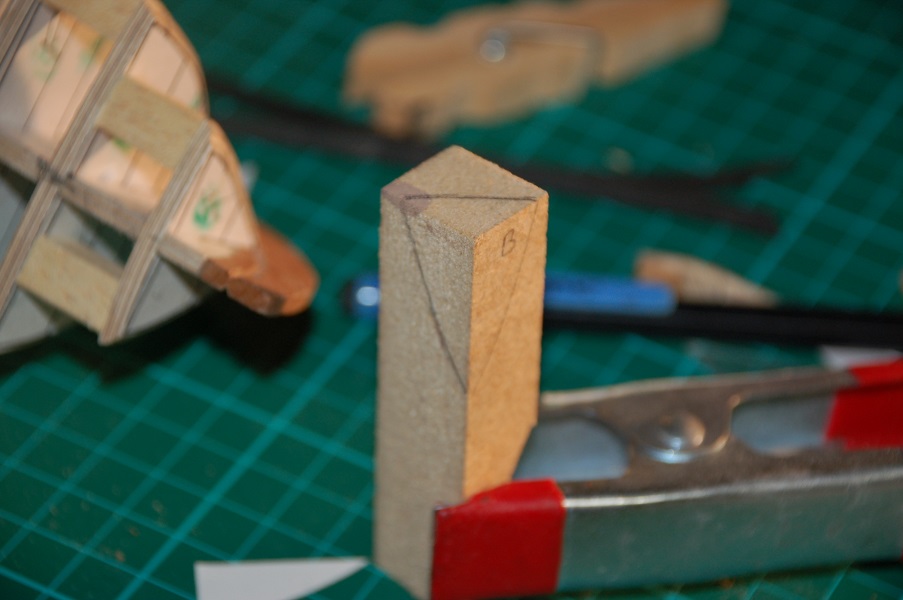
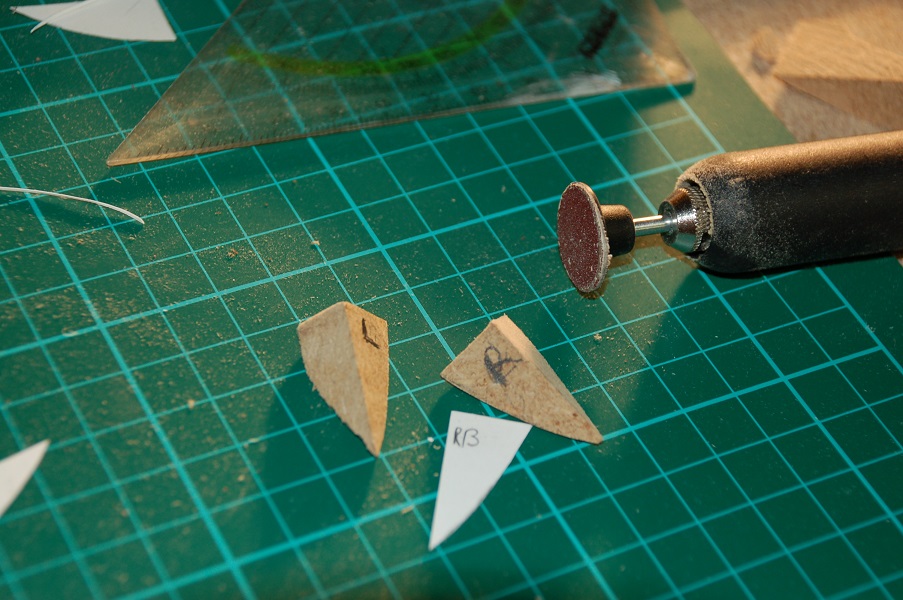
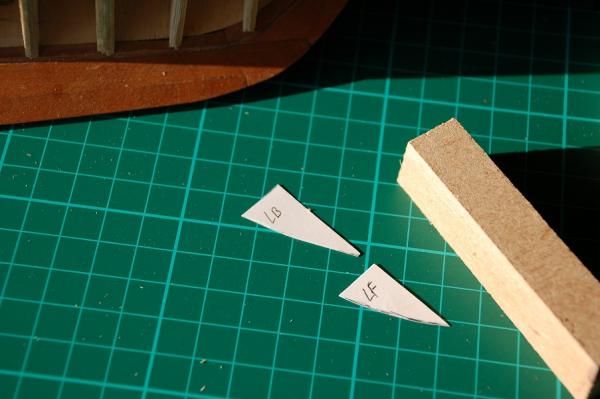
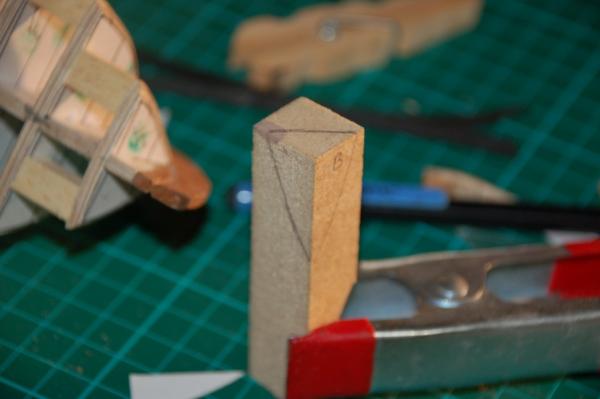
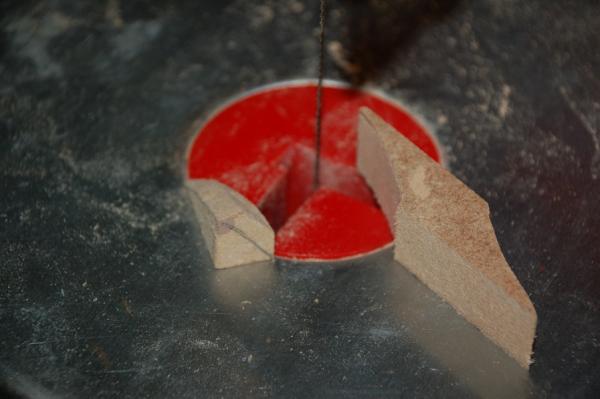
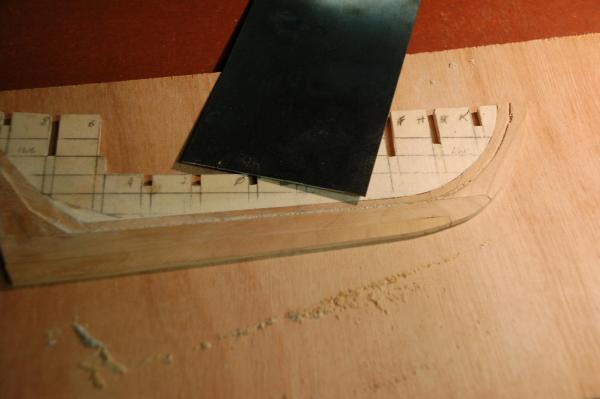
I want to add a filler block at the bow. I first took some templates. I then copied on the templates on a piece of MDF. With the use of a dremel i sanded it to the right shape. (after checking it about a 1000 times )

- 144 replies
-
- 4
-
-
- corsair
- bermuda boat
- (and 1 more)
-
That thicknesser sure is a great tool but it is makes a lot of noise. I always have the plan when i'll be using it, with my two little sons in the house that need to go to bed early
- 144 replies
-
- 1
-
-
- corsair
- bermuda boat
- (and 1 more)
-
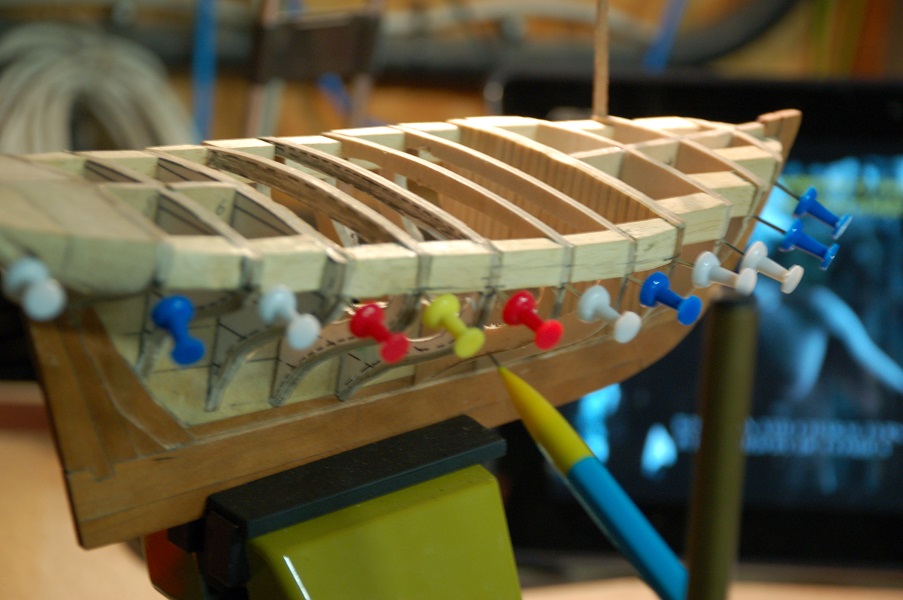
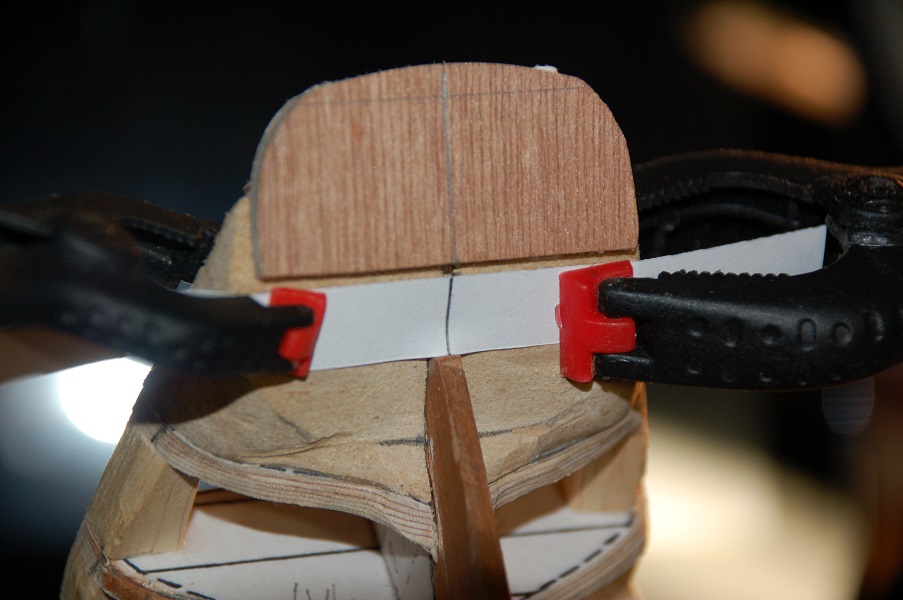
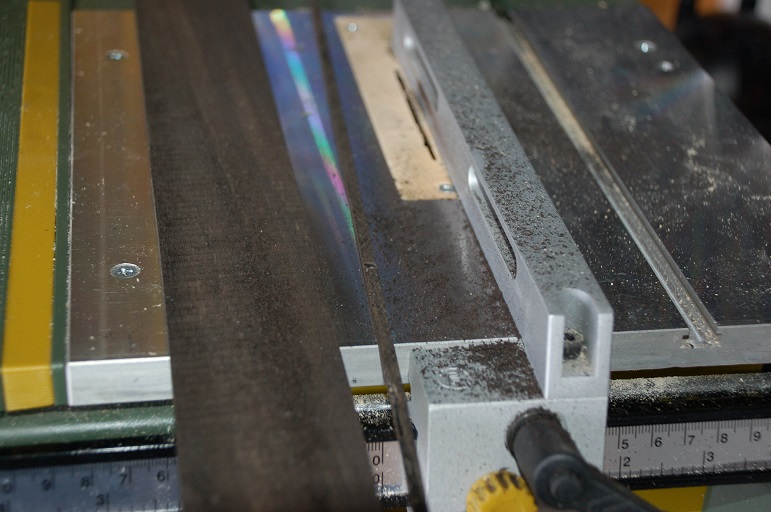
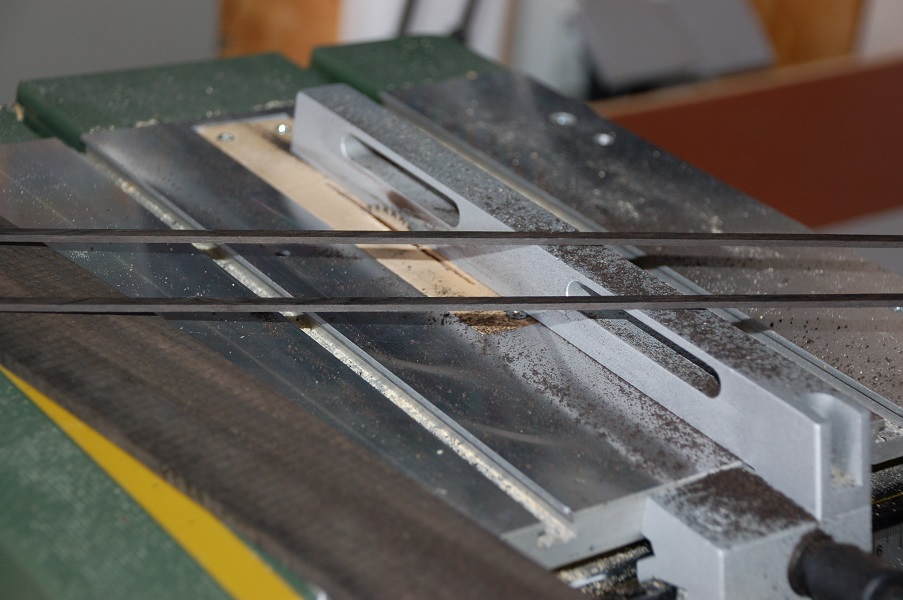
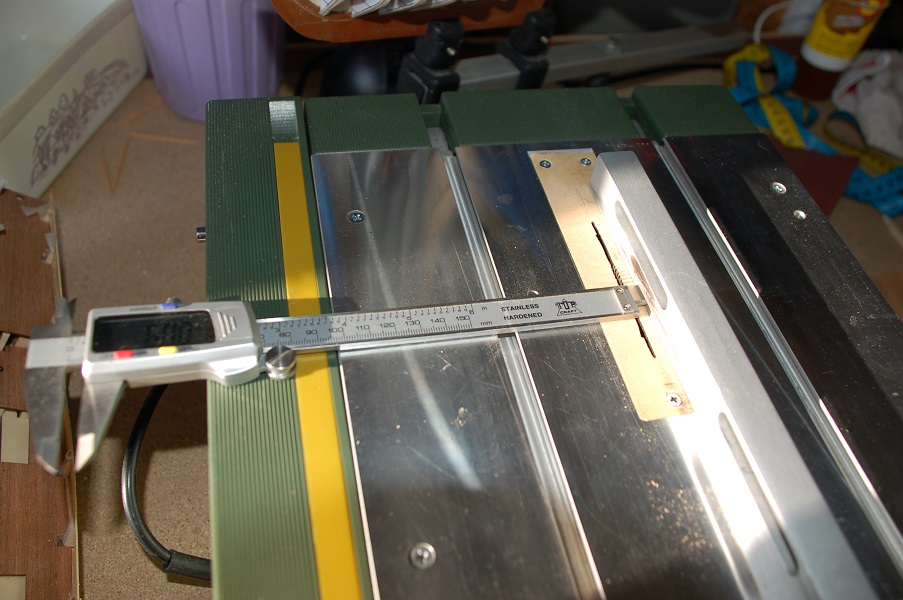
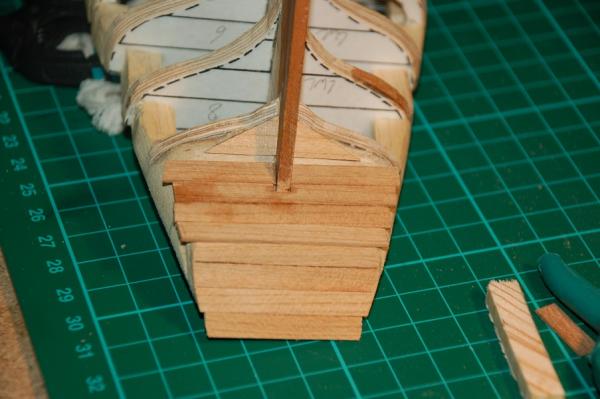
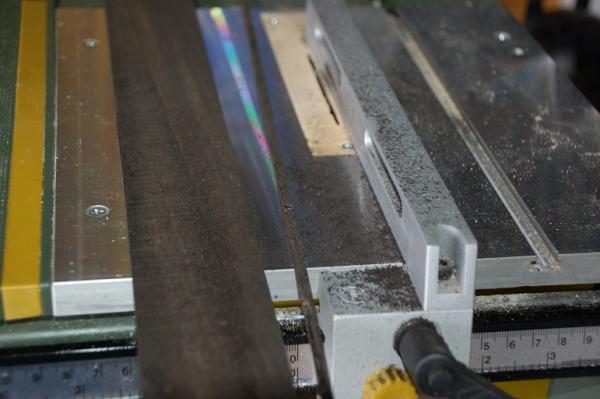
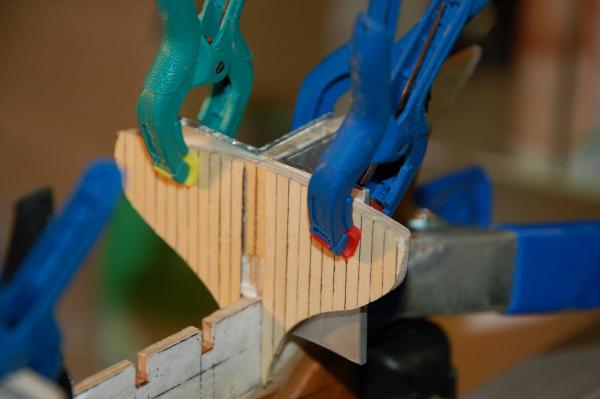
Time to prepare the wales and the planks. Cutting the wales from a piece of Ebony. And passing them through the thickness planer to get a smooth surface. Setting up the width for the planks. And cutting them from Cherry of 1mm thick. Planking the transom and the counter After sanding.


- 144 replies
-
- 6
-
-
- corsair
- bermuda boat
- (and 1 more)
-
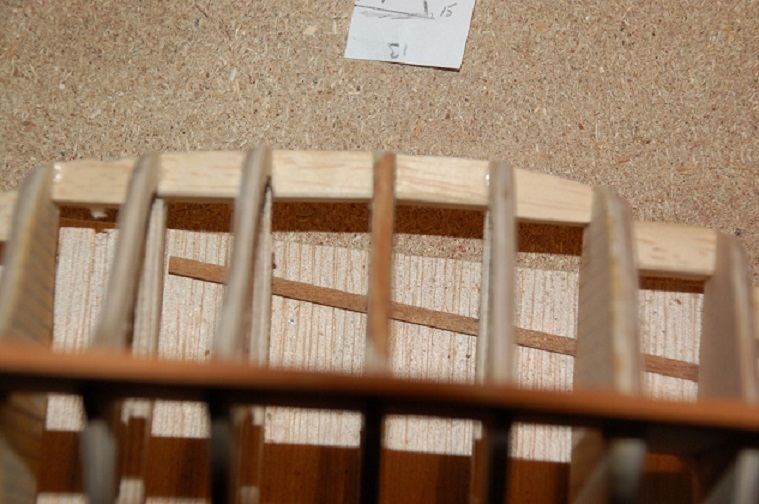
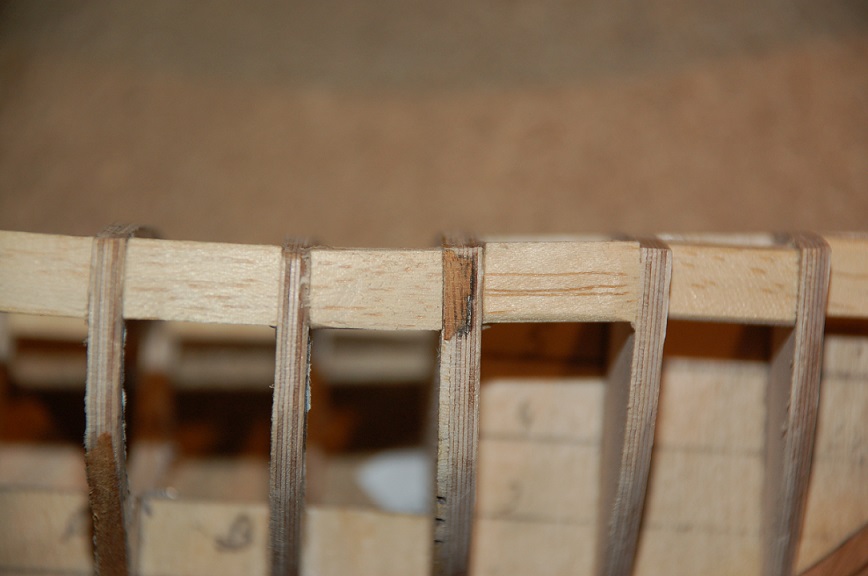
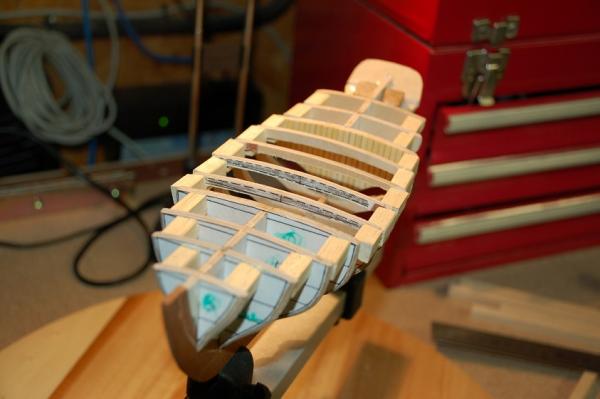
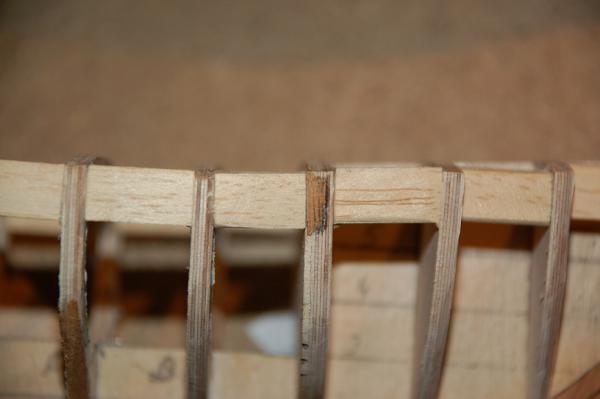
Summer is gone, and all the summer chores done! Time to get back to my little corsair. I've added some wooden blocks between the bulkheads for strength. With the aid of a wooden strip i checked the bulkheads. There were some gaps i've needed to correct. I used a left over strip of wood from an old kit and glued it to the bulkheads. Afterwards i sanded it flush to the bulkheads. Gaps are all gone now.
- 144 replies
-
- 4
-
-
- corsair
- bermuda boat
- (and 1 more)
-
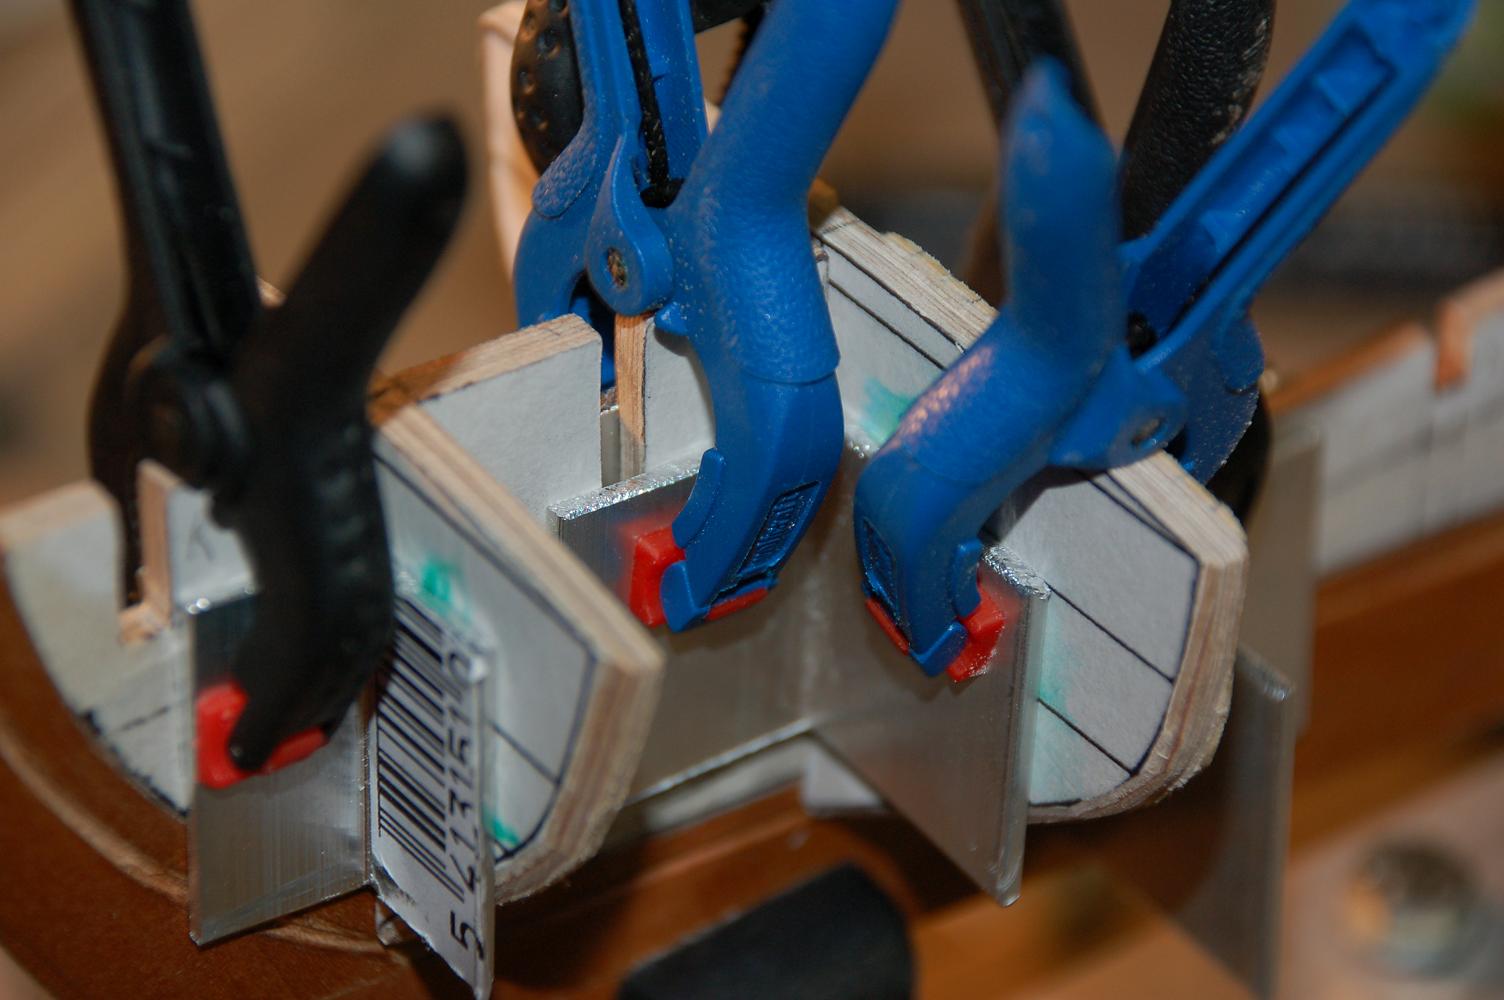
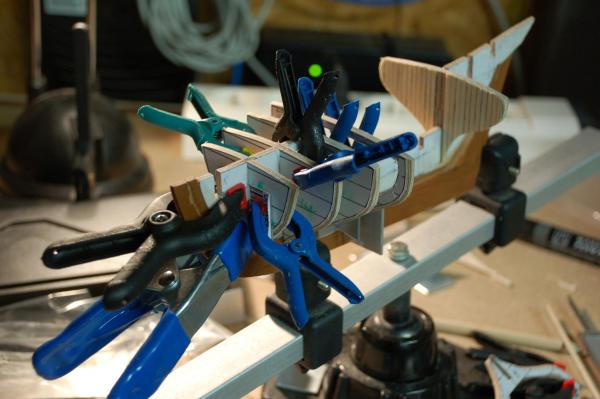
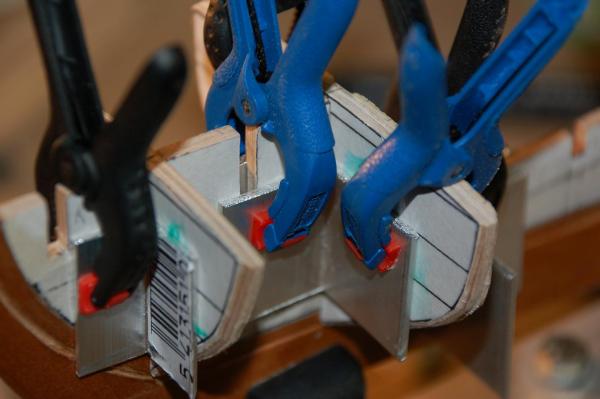
True enough, i love those little clamps. They've come in handy many times.
-
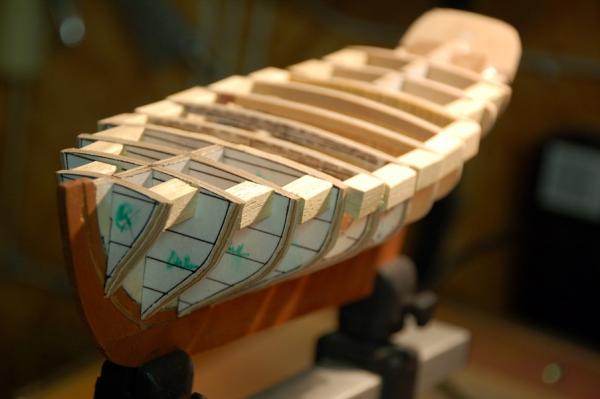
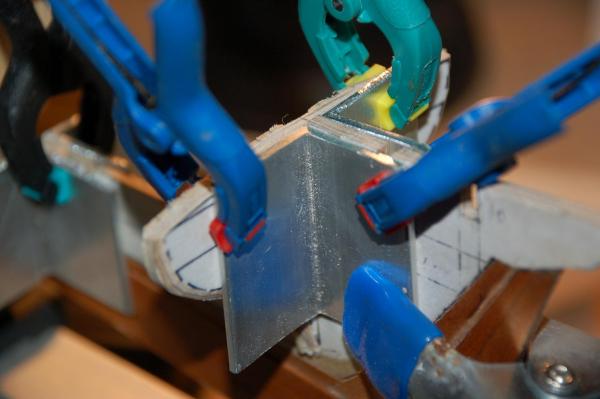
Next, the bulkheads will be glued to the (false)keel. First checking that the waterlines of the bulkhead correspond with those on the false keel. Then checking symmetry between starboard and larboard. Then as an aid, i use a corner profile in aluminium. I have different sizes and cut them in small pieces. Those are an enormous aid in aligning the bulkheads on the false keel. I saw their use in someone else's log on this forum, unfortunately i don't remember who it was, so don't know to whom the credit is due. I align them on the false keel, with the cut to fit in the bulkhead. Slowly, with time enough to dry the bulkheads, i progress through all the bulkheads, to glue them to the false keel.


- 144 replies
-
- 3
-
-
- corsair
- bermuda boat
- (and 1 more)
-
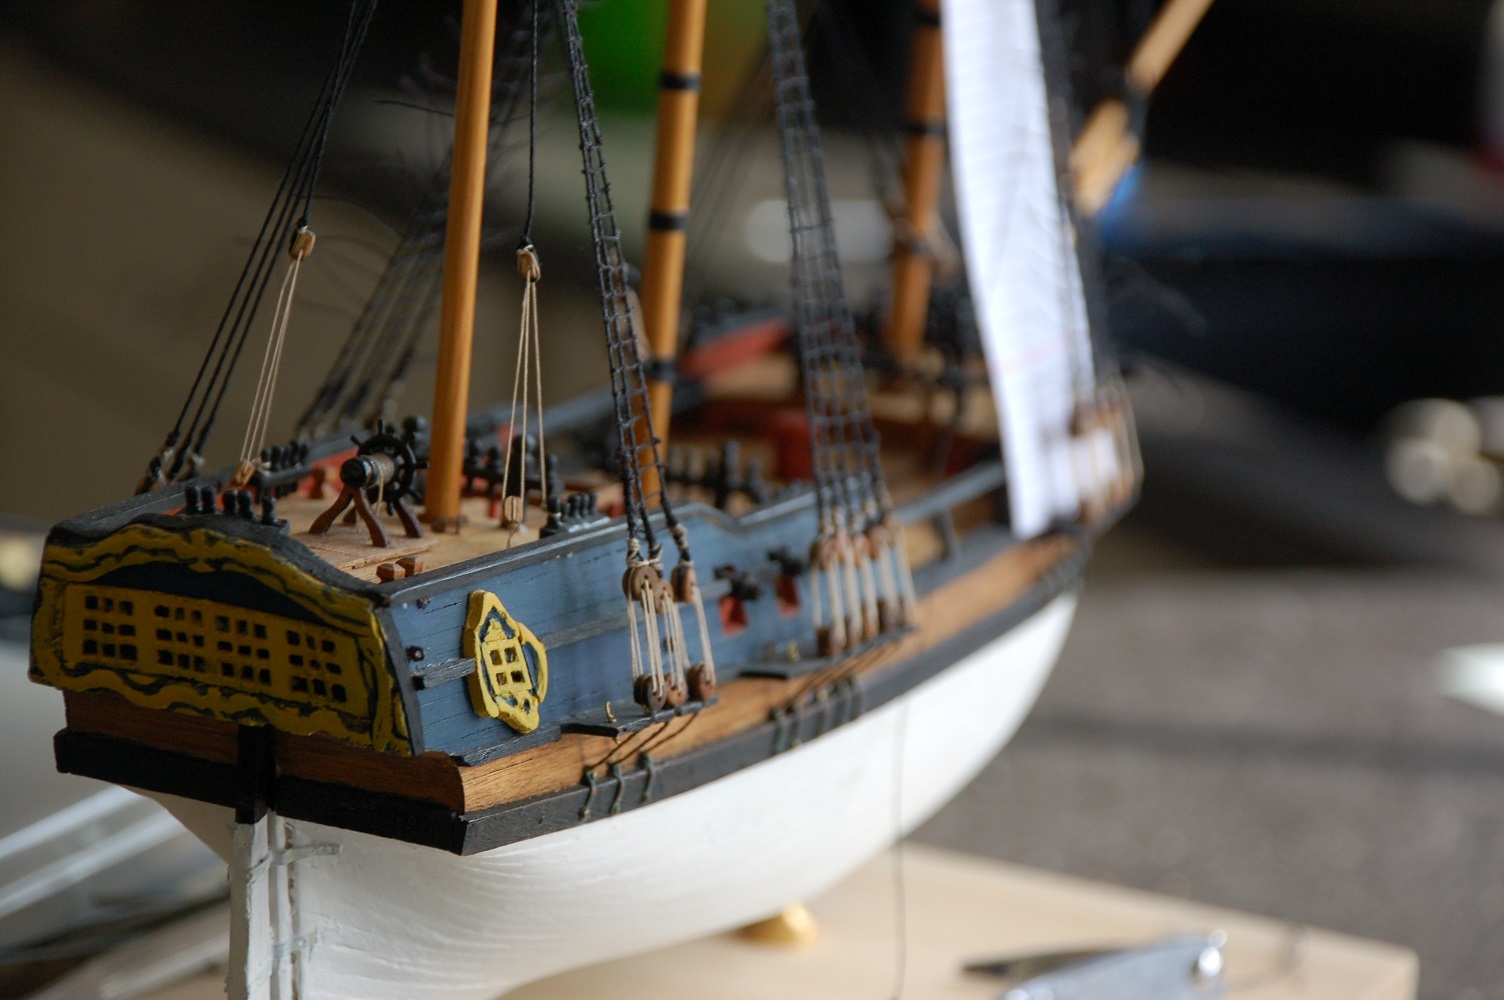
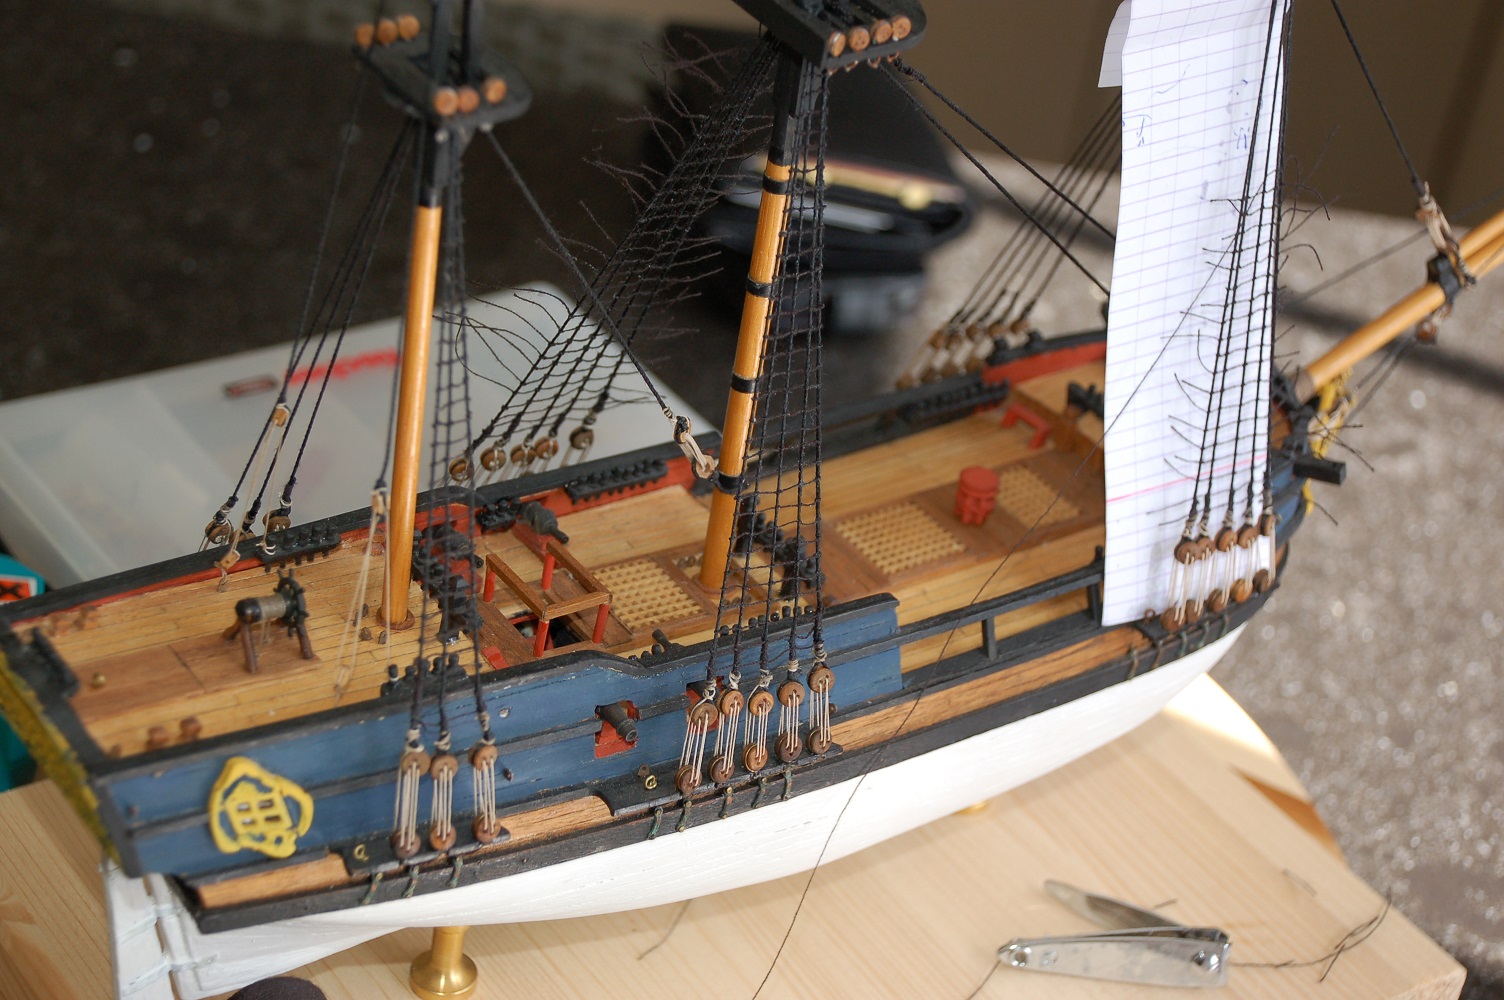
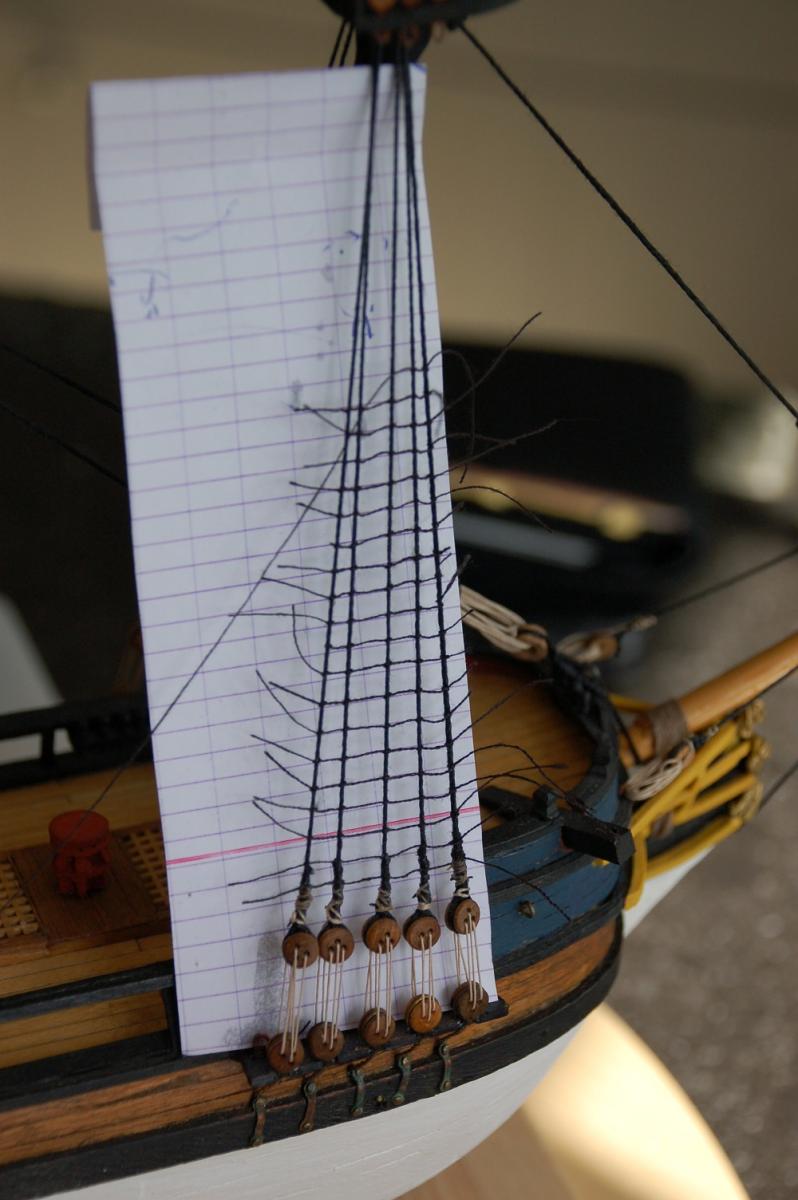
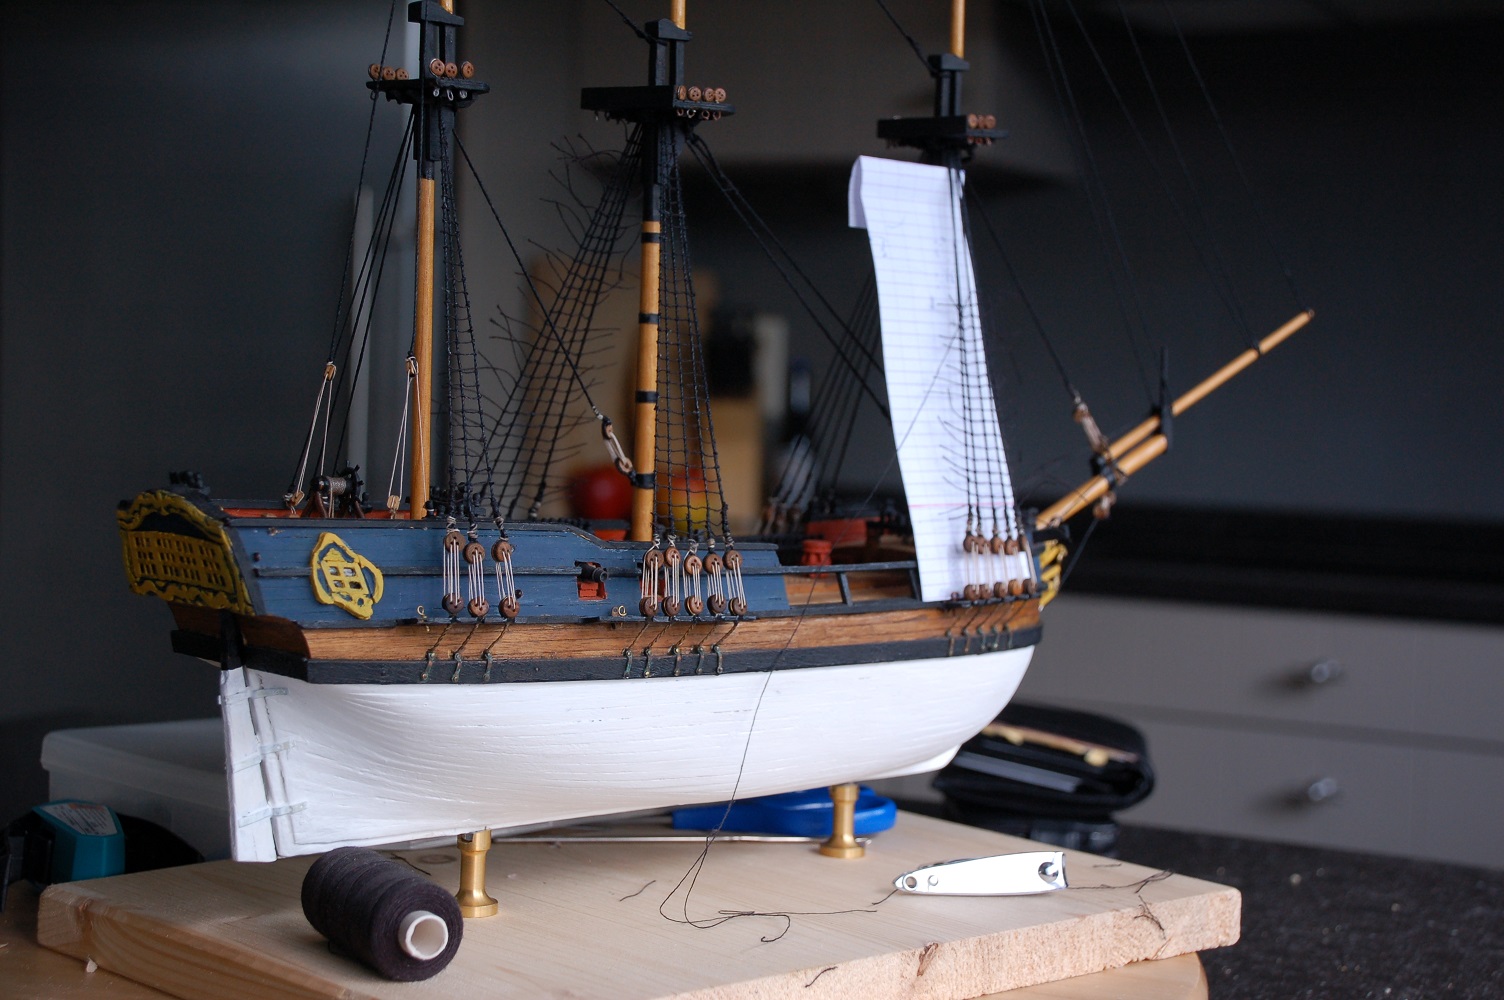
Hi Ray No worries, i really like my little Corsair, but I'm dividing my time between her and my President. I'm in the stage of rigging her but unfortunately, i don't like rigging too much, i prefer building. I didn't start a build log for the President since i was already this far in her building process, but perhaps i should start one, don't know. Some pictures of her where i'm at the moment.


- 144 replies
-
- 6
-
-
- corsair
- bermuda boat
- (and 1 more)
-
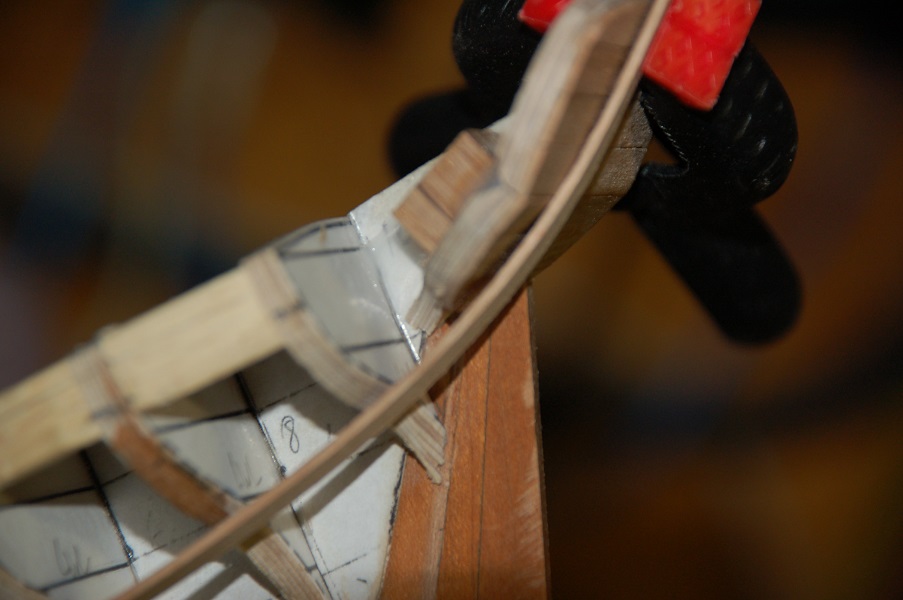
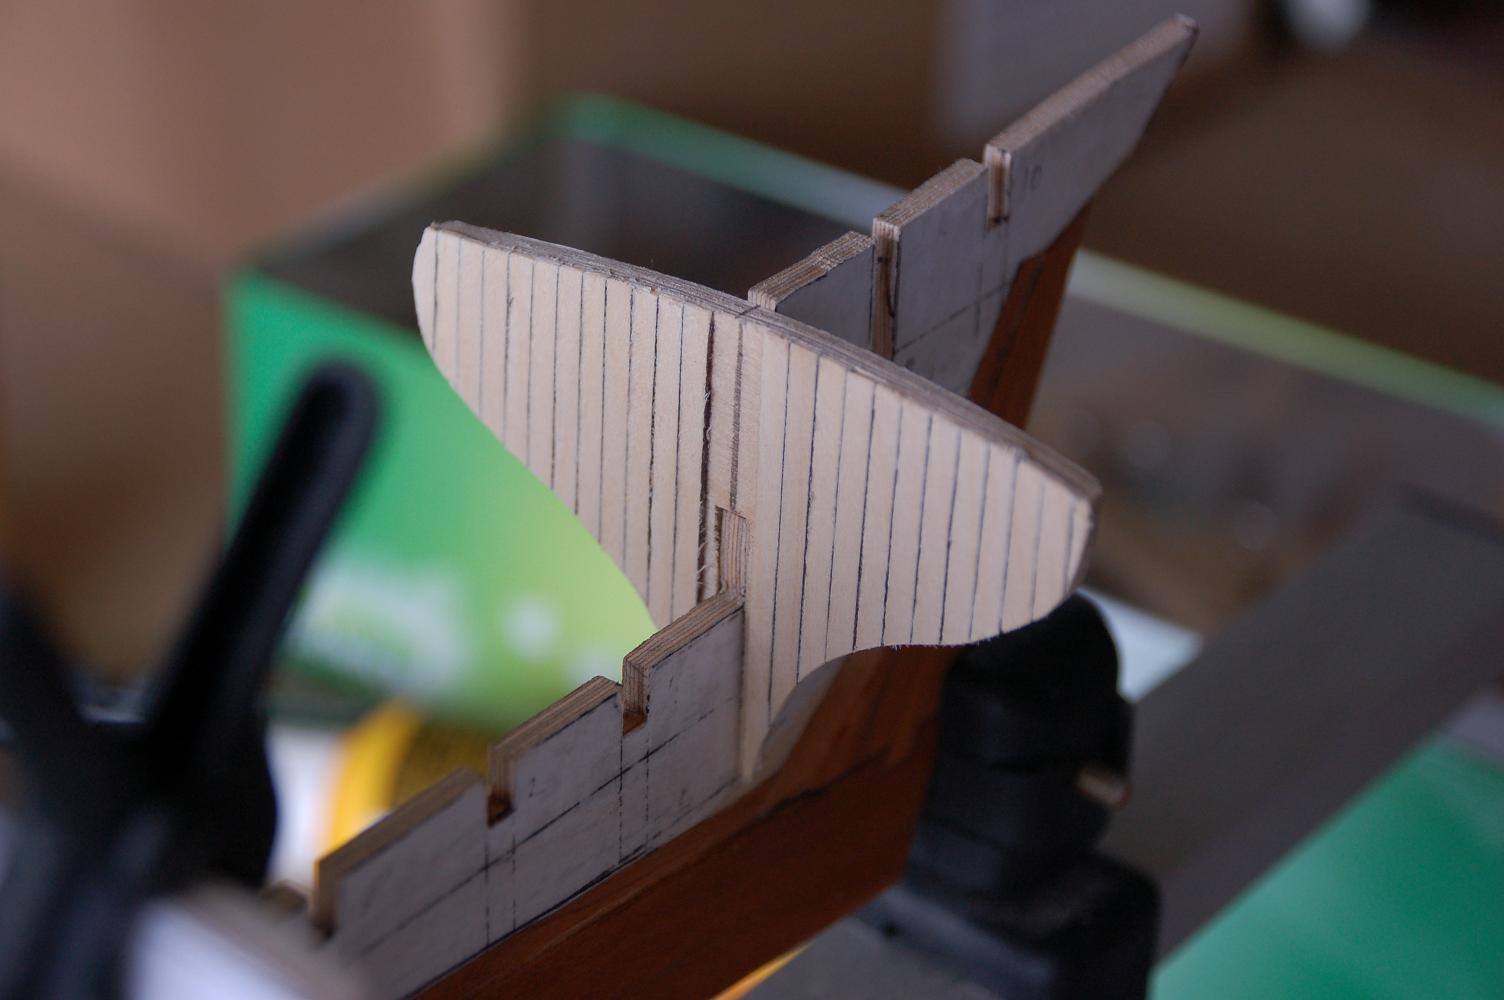
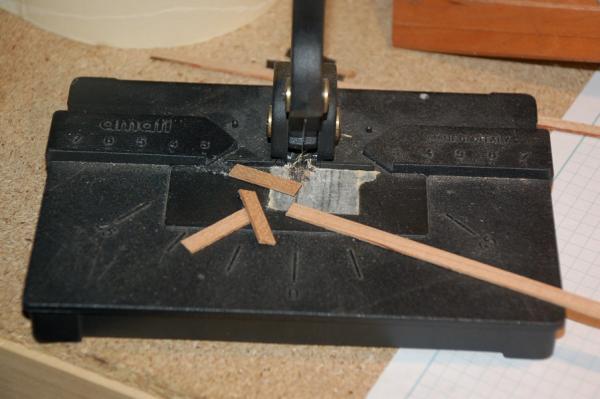
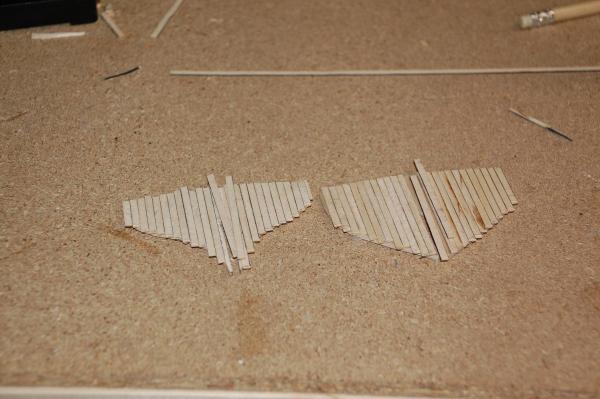
Before finally installing the bulkheads, bulkhead number 6 and bulkhead F needed to be planked. They'll form the cabin walls. I took a piece of maple and passed it through the planer to obtain a nice piece of wood with a flush surface. Afterwards i cut off the planks after testing it on a piece of scrap pine wood. Afterwards i passed the planks again through the planer to get a smooth surface. First plank i passed got cut into pieces, i learned that you have to pass it through in multiple times and always "very" little. With the planks ready i could start planking the bulkheads. I used a black marker to simulate the caulking. I marked the middle of the bulkhead, and left the two middle planks open. I needed to leave a gap for fitting the bulkhead on the keel. I used a drum sander on the drill press, to sand the contours of the bulkhead to remove the planking ends. Before glueing them, i dry fitted the middle planks and used a scraper for a nice even finish of the planking. Afterwards i gave it a coating of oil finish.


- 144 replies
-
- 4
-
-
- corsair
- bermuda boat
- (and 1 more)
-
Hi David When i tried mixing the India ink with the white wood glue, there was some strange chemical reaction. The glue was hardening, and almost impossible to properly apply to the test pieces to be glued. Also in wiping of the excesses, a black stain was left behind, as if a dirty piece of wood. I really didn't like the result, it was rather messy. I didn't try the method like Ed did on his Naiad yet. He used an artist pigment.
-
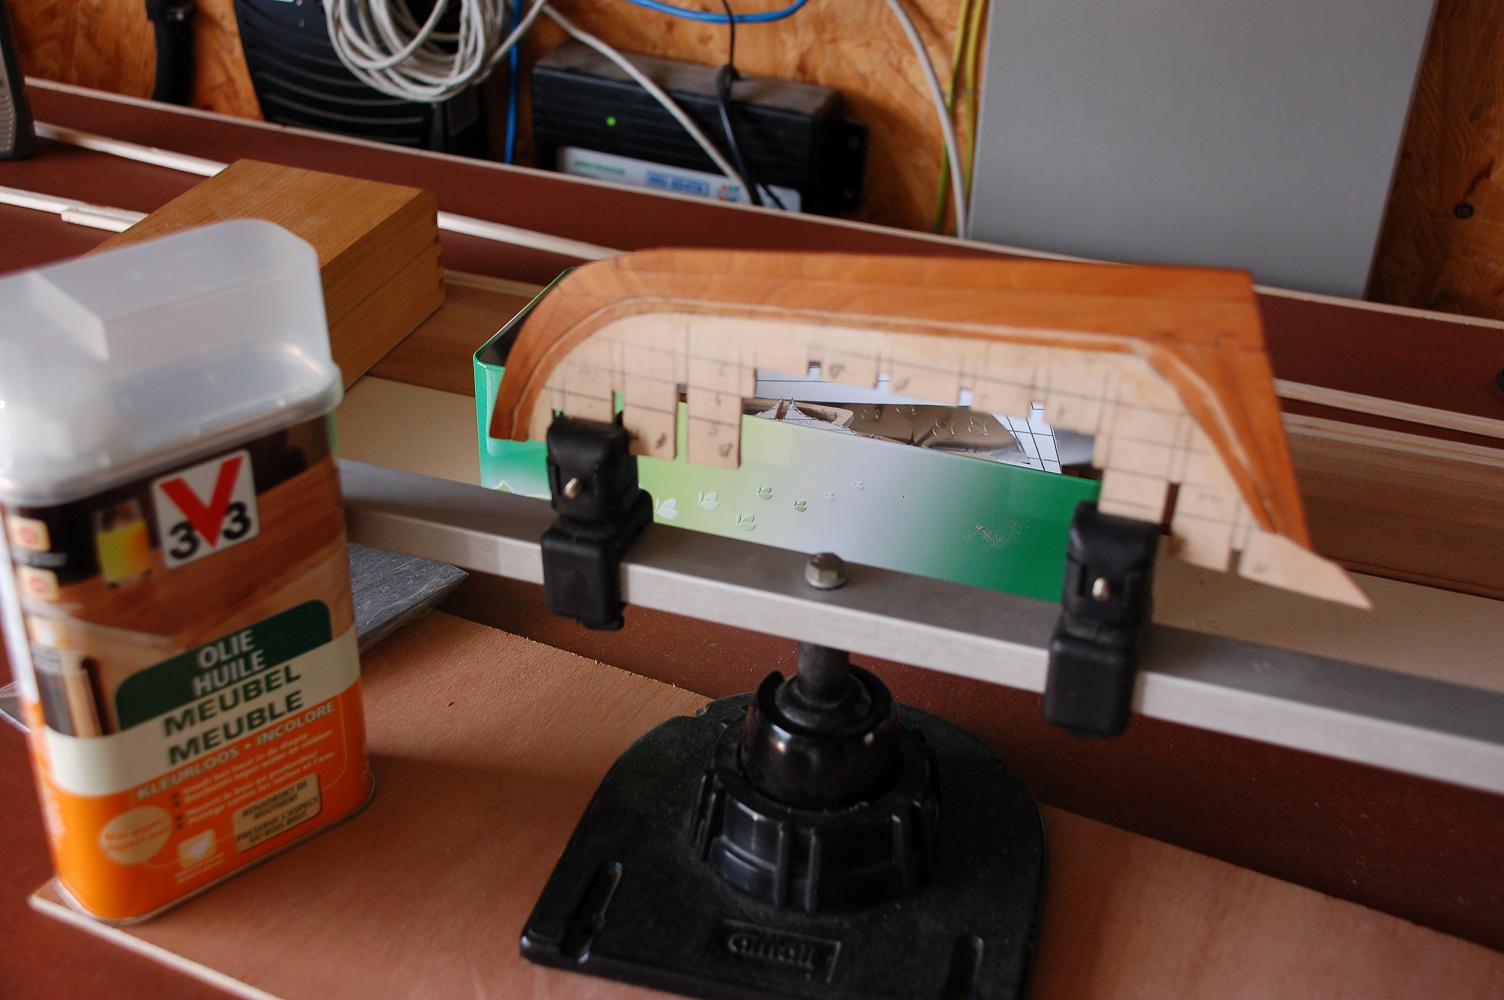
Next thing I wanted to do is give a coating of oil on the keel. For that i first had to remove a bit of glue excesses. I used a scraper for that, which dealt with it rather quickly. Then after giving a light sanding i gave the keel a coating of oil. (Based on tung oil) After it dried i gave it another coating. I like the color of the cherry wood with that oil.


- 144 replies
-
- 4
-
-
- corsair
- bermuda boat
- (and 1 more)
-
Bravo! Superb looking cross section. Really interested in what your next project will be.
-
Thanks for the explanation about the planking fan. Very clear with the examples. I'll use that in the future as well Great build so far, this one is also on my list. I've studied the plans but didn't dare to start this one yet.
-
Bravo on those guns!! You can't tell it's wood anymore.
-
Nice looking hull and deck, beautiful planked. I really like your caulking of the deck.
-
We threw some boxes away last year from our last move, and that was 10 years ago. Guess we didn't need that stuff anymore. Good luck with your move!
-
Batavia by *Hans* - FINISHED
WBlakeny replied to *Hans*'s topic in - Build logs for subjects built 1501 - 1750
Nice! -
Hi roberto. I never regretted having bought that CD set from seaways. It has a lot of information and the plans for three nice ships. All in the format of PDF files. The only thing i regretted is that the plans are not directly on the CD but are also in a .PDF file. (Perhaps that's changed by now, since i got that CD set, a long time ago) To print them, there's no problem. But if you want to use them digitally in a photoshop or CAD program, you'll have to extract the pictures from the .PDF files. Luckily there are tools for that
-
Ooh, count me in, i'd like to see her coming together. !!