WBlakeny
-
Posts
252 -
Joined
-
Last visited
Content Type
Profiles
Forums
Gallery
Events
Everything posted by WBlakeny
-
 Thank you Nils @ Christian I'm wondering myself It has always been my problem, i want to start too much models. I have a Deagostini SotS and a hms Victory here. I also started a Jacynthe of which i have all the bulkheads ready. And on top of that i have a Hachette Bismarck also ready to start. I must confess, I'm a shipmodel addict!
- 144 replies
-
- 3
-

-
- corsair
- bermuda boat
- (and 1 more)
-
Thank you Patrick. You're right, my little Corsair has been neglected. The Yamato has kept me busy, but now the planking is finished of her hull, i'd like to continue on my Corsair.
- 144 replies
-
- 3
-
-
- corsair
- bermuda boat
- (and 1 more)
-
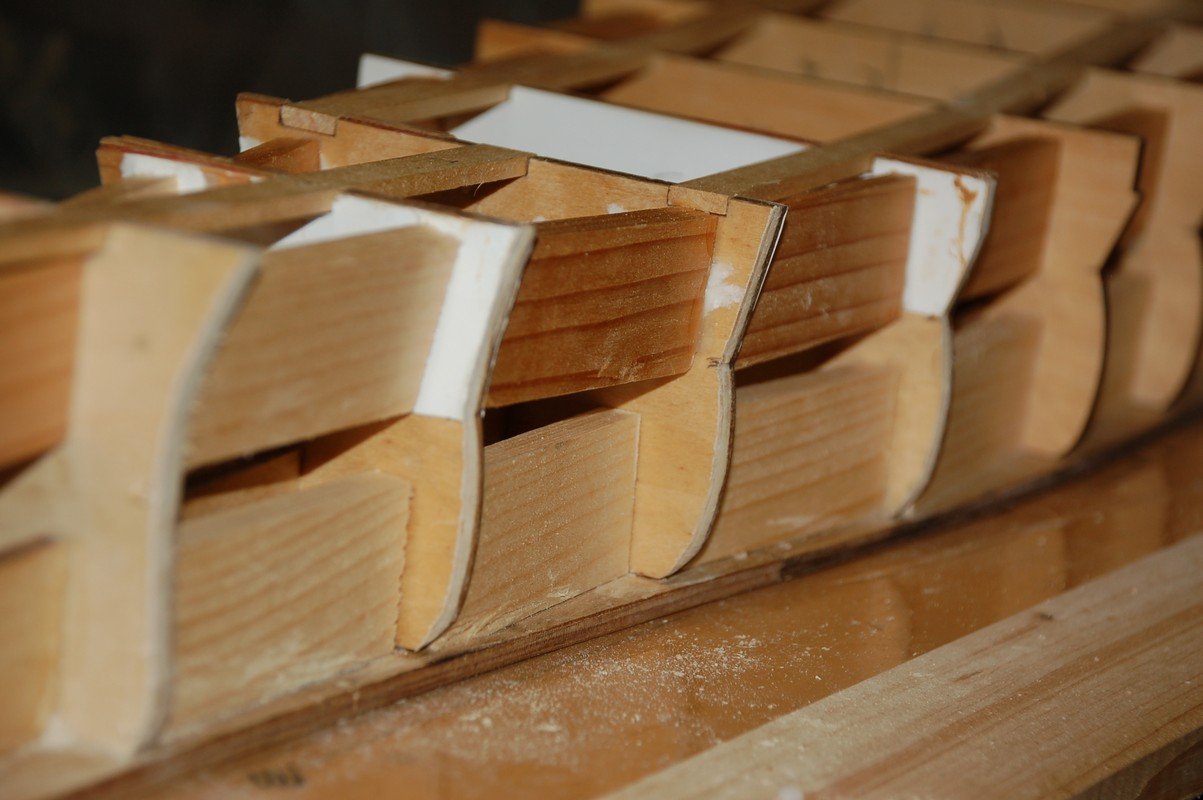
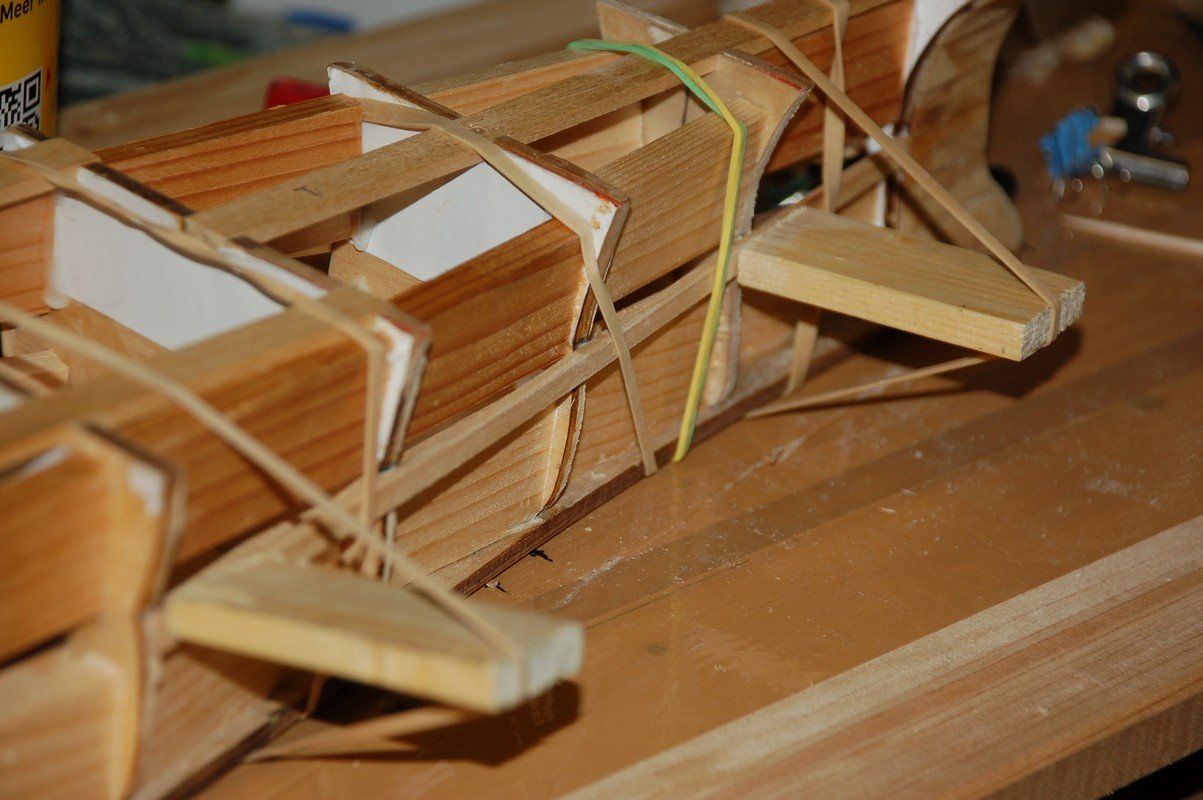
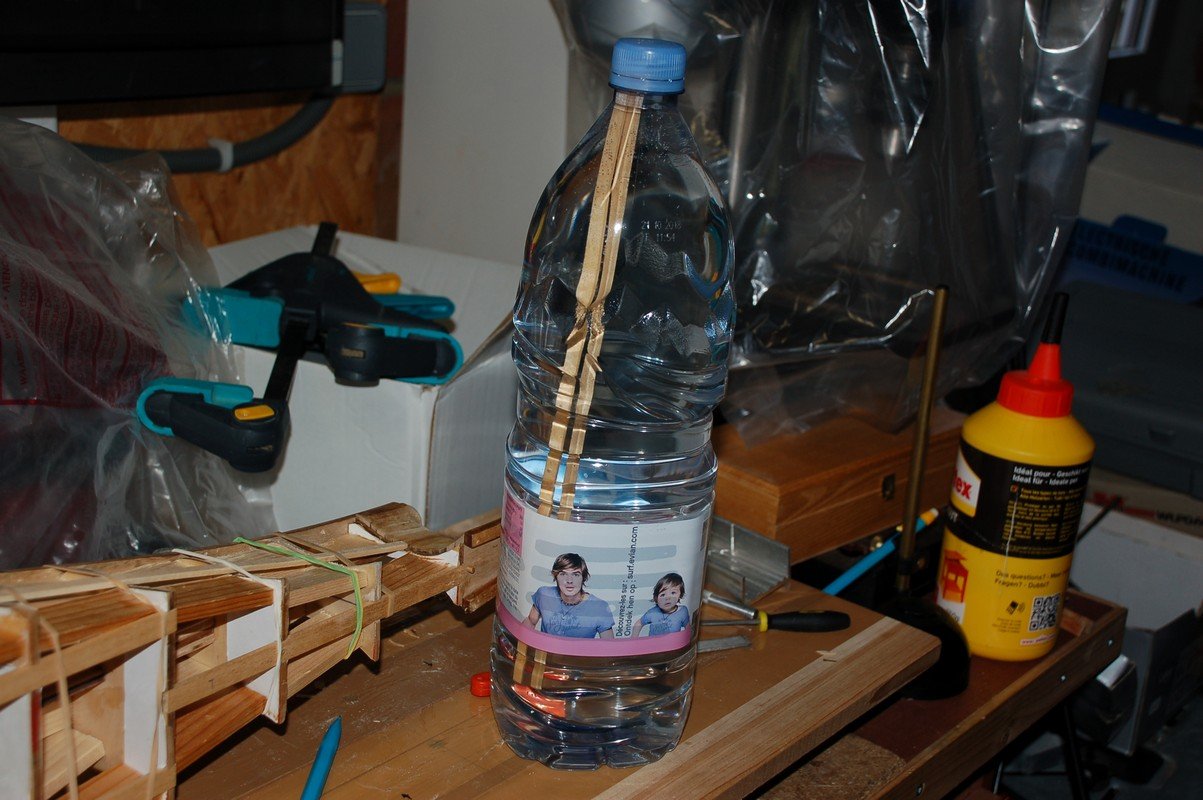
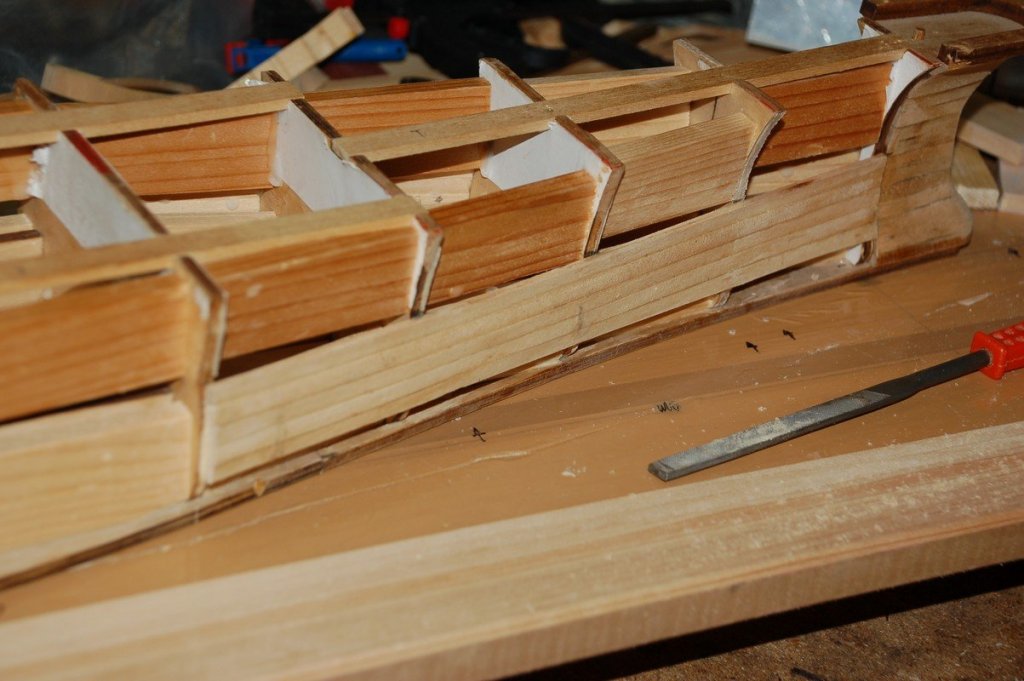
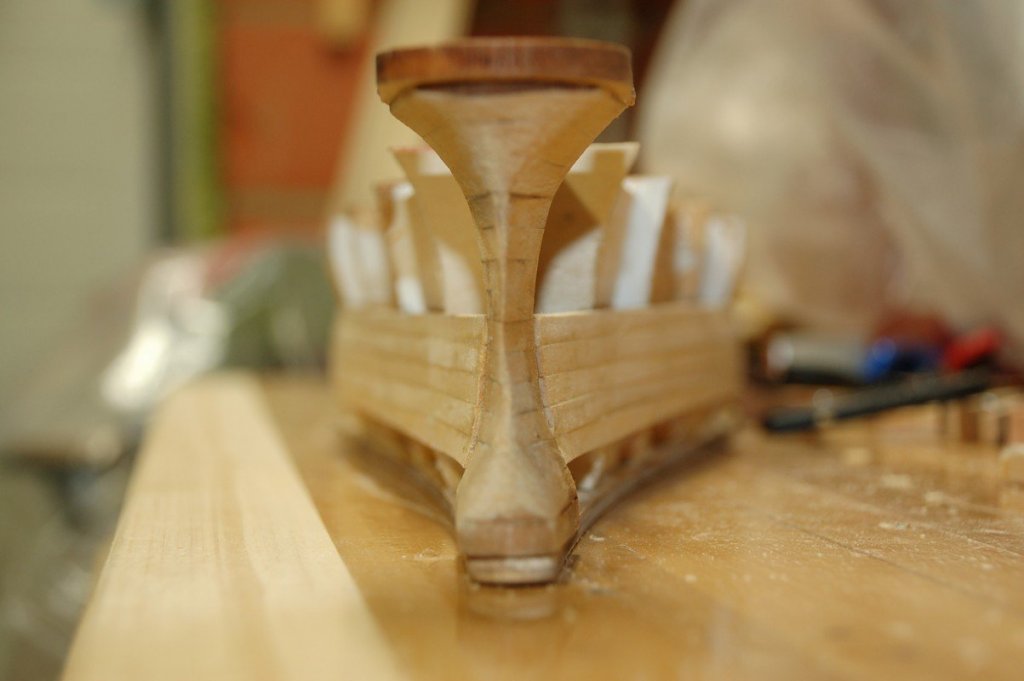
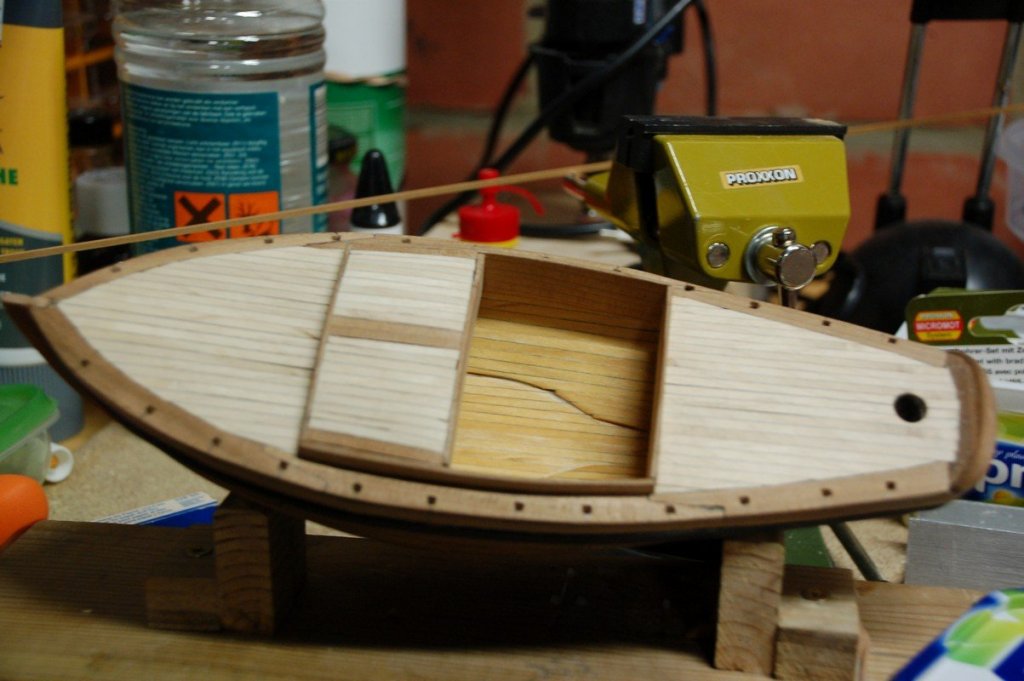
Start of planking! First we need to sand the bulkheads so that the planks can rest completely upon the bulkhead. Then placing the first plank on each side. Using wooden spacers, i keep the pressure upon the plank while drying. After the first plank, i need to bevel each adjacent plank. I do this using a file or a sharp knife. To reduce the pressure upon the planks, i soak them in a bottle of water. Afterwards i place them upon the ship and let them dry overnight. First 5 planks in place.


-
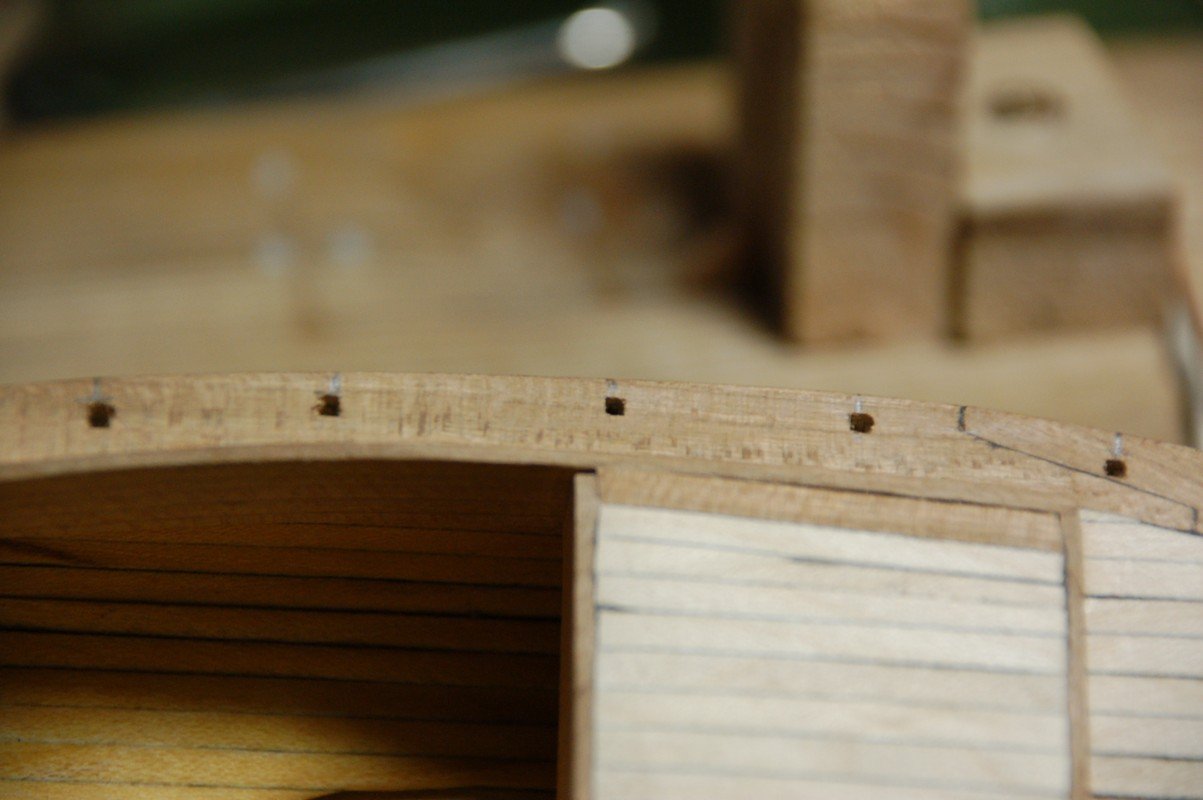
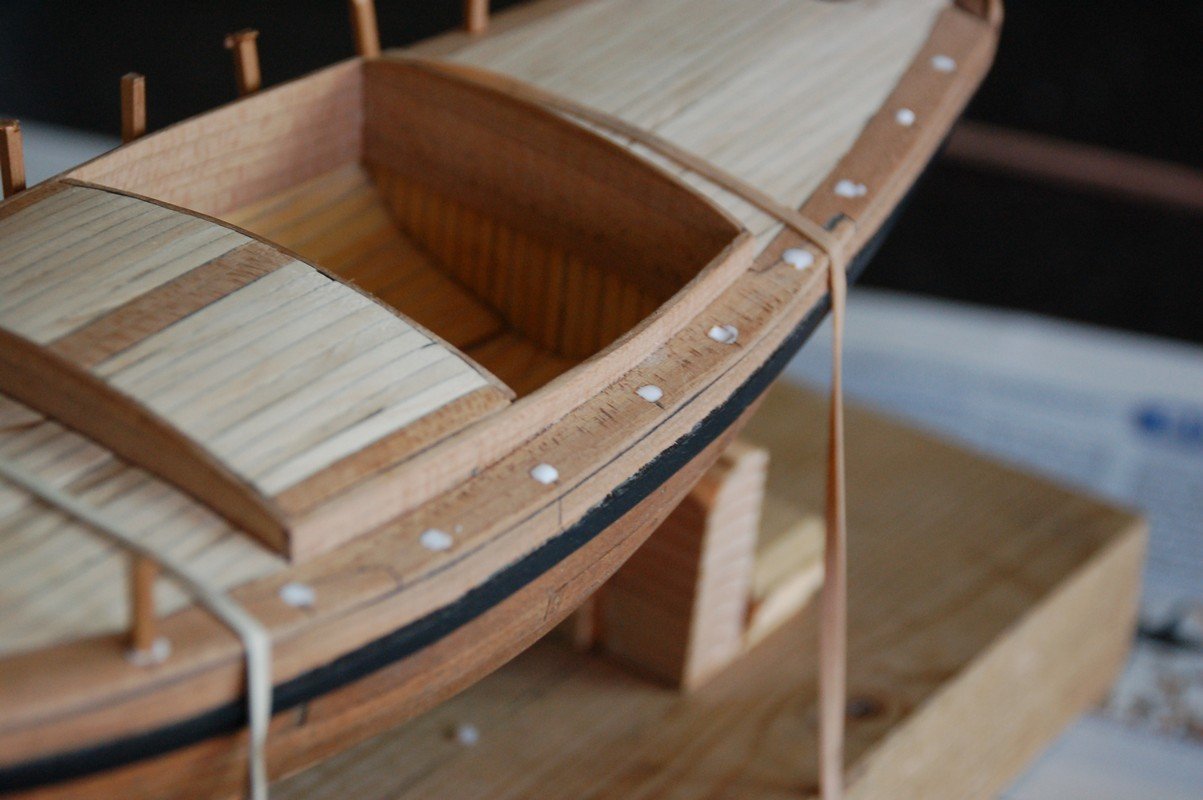
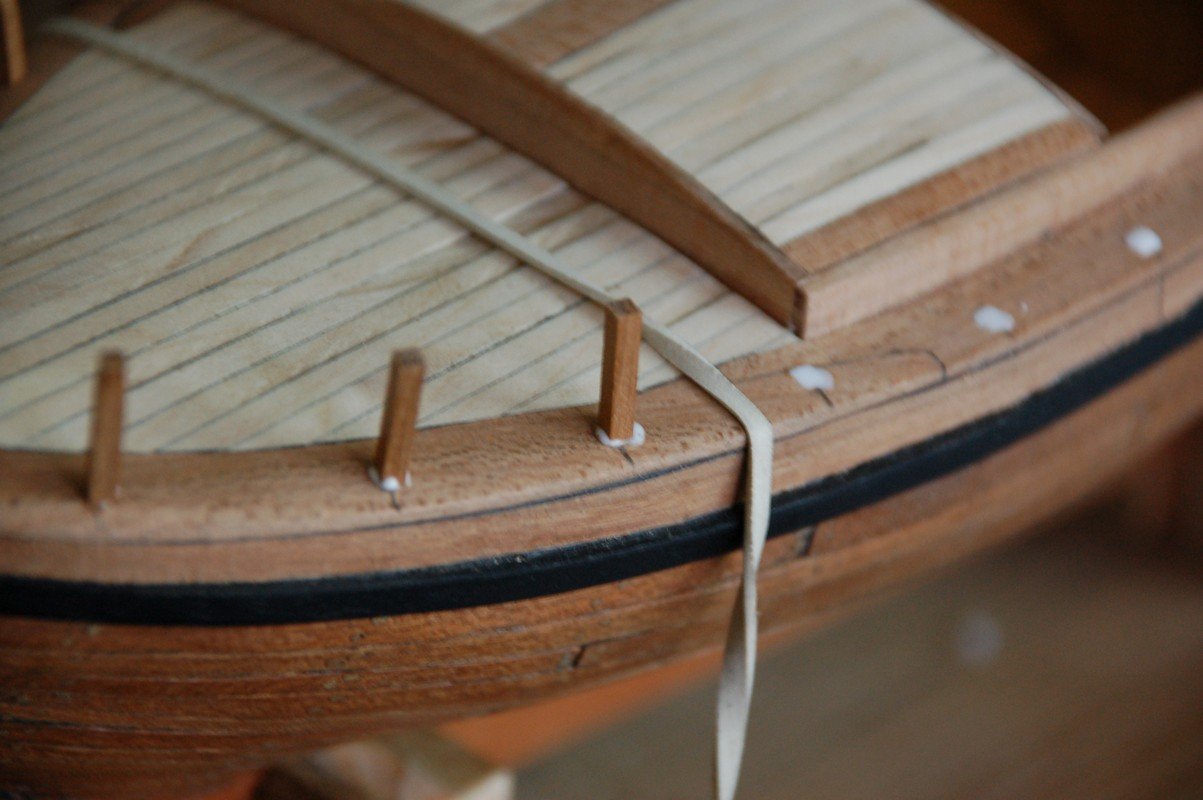
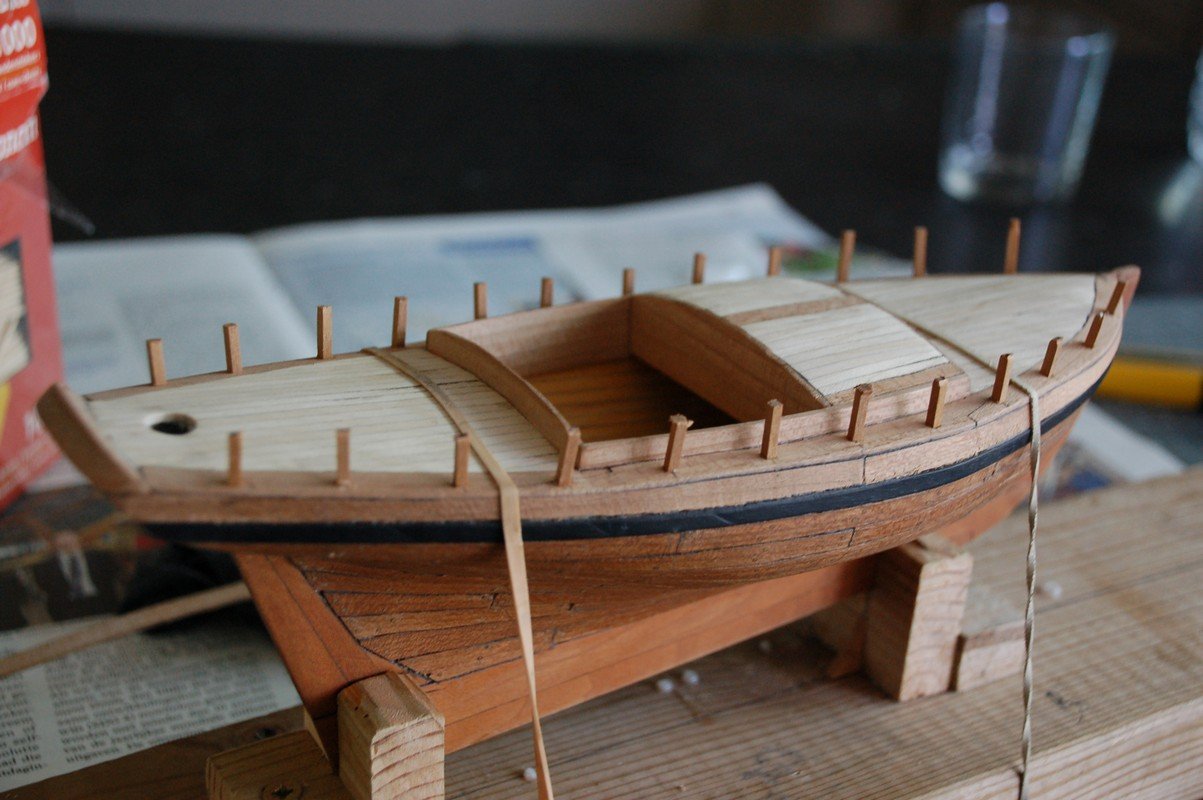
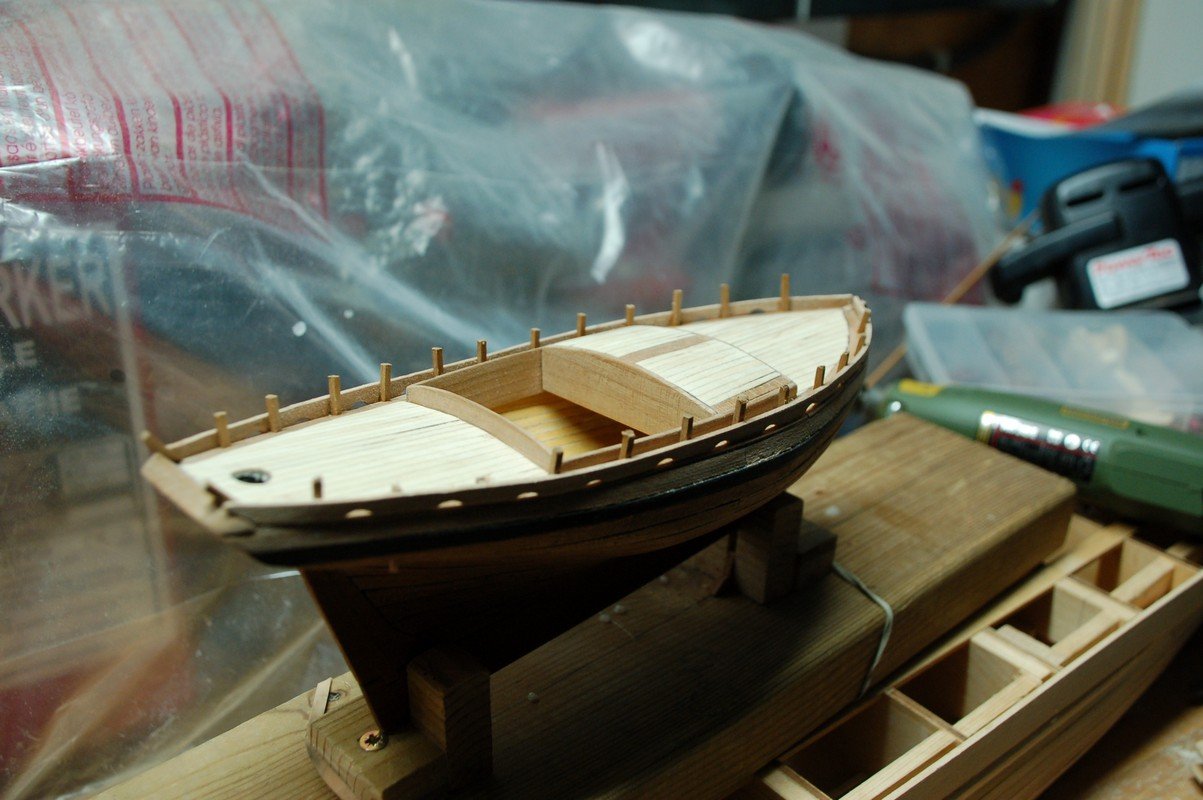
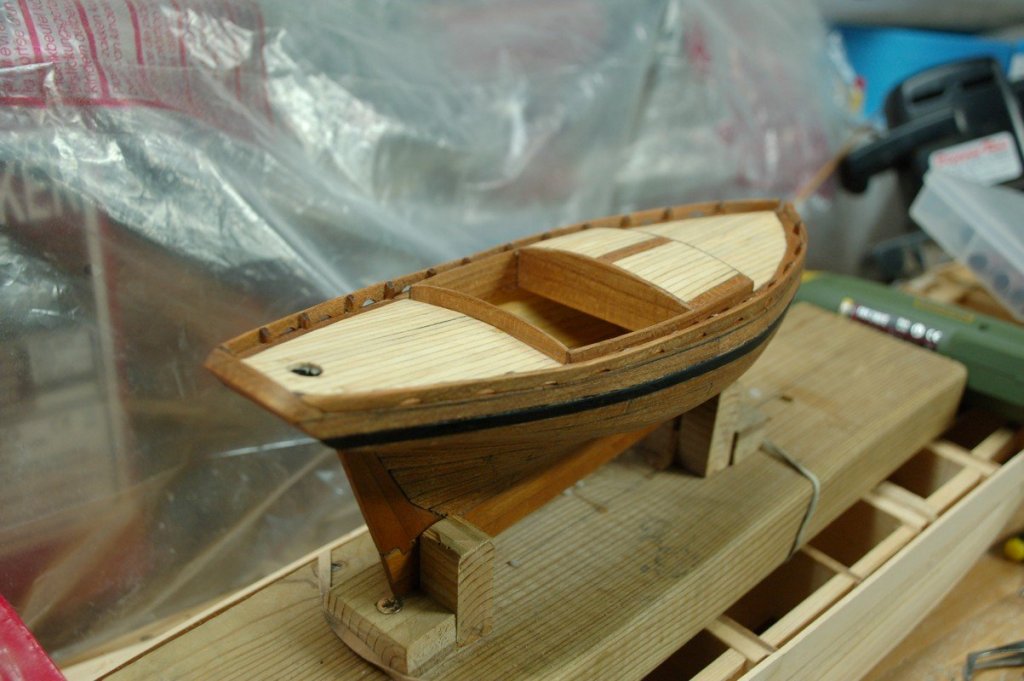
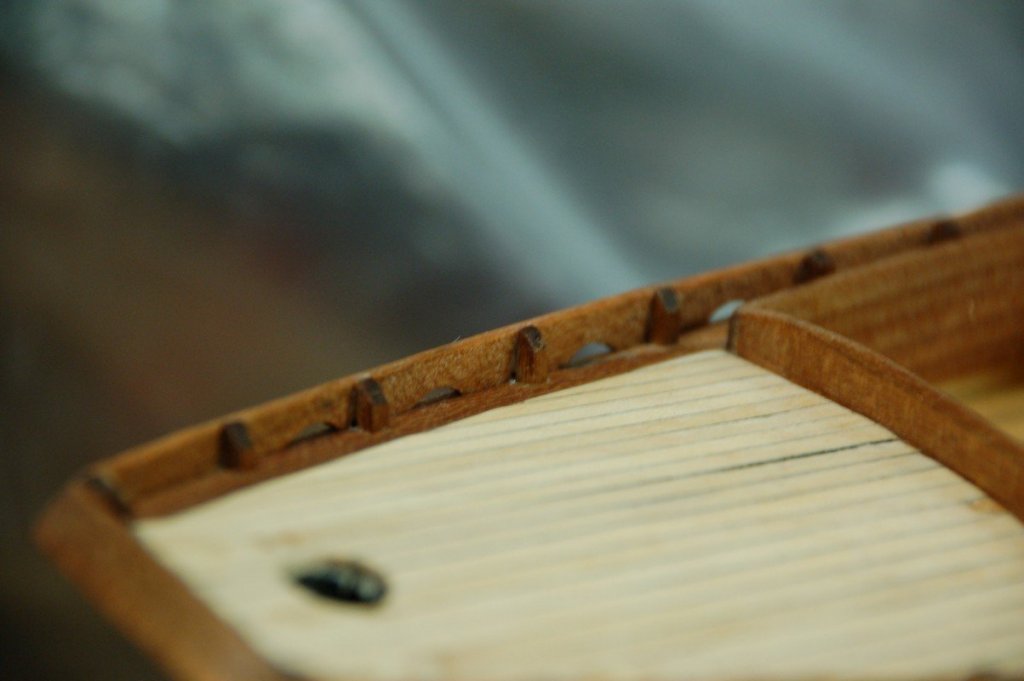
Pfew... my little corsair has been gathering dust for quite a while now. Next is the building of the "toe rail". First I've drilled a whole on the place where i want the supports for the rail. Afterwards i squared them out using a square file. Then the glue goes into the wholes and the supports are put in place. I've used some walnut i had lying around. After drying overnight, i put in the toe rail. To make that rail I've first drew a template from the profile of the hull. After everything dried, i sawed of the extents of the supports and sanded everything smooth. Afterwards I treated the wood with oil.


- 144 replies
-
- 10
-
-
- corsair
- bermuda boat
- (and 1 more)
-
Nice work on your Prins Willem. That youtube movie really shows the beauty of her.
-
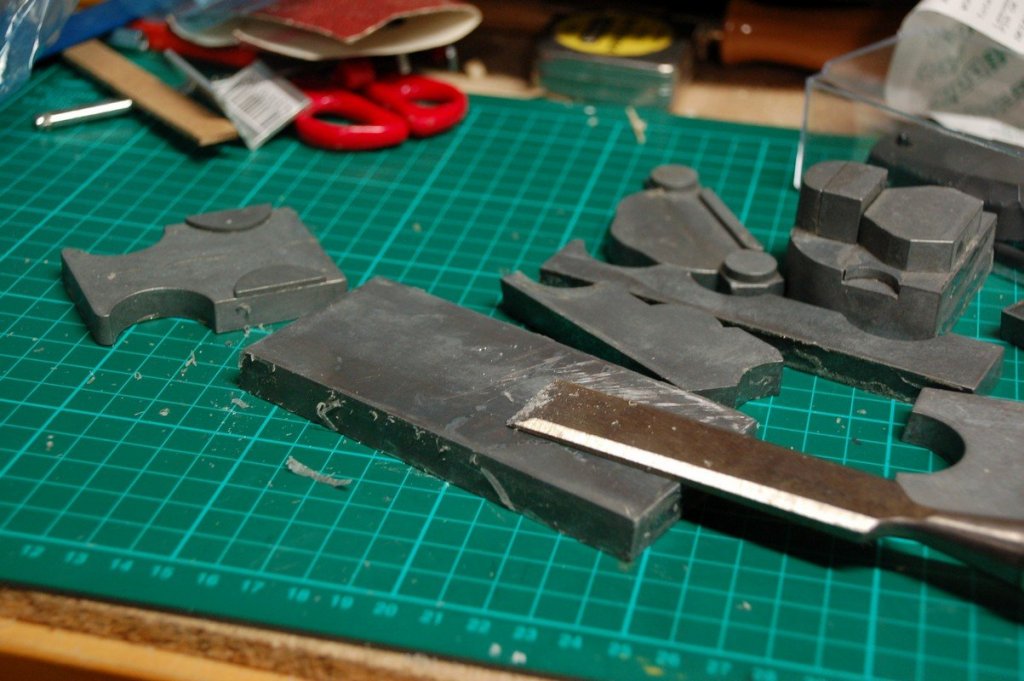
@ Carl, yes, i had much precleaning to do, but it's done now. Now i can start the building without looking backwards again. @ Daddyrabbit, thank you, i like your schnellboot. I'd like to build one, in the future as well. They are remarkable crafts.
-
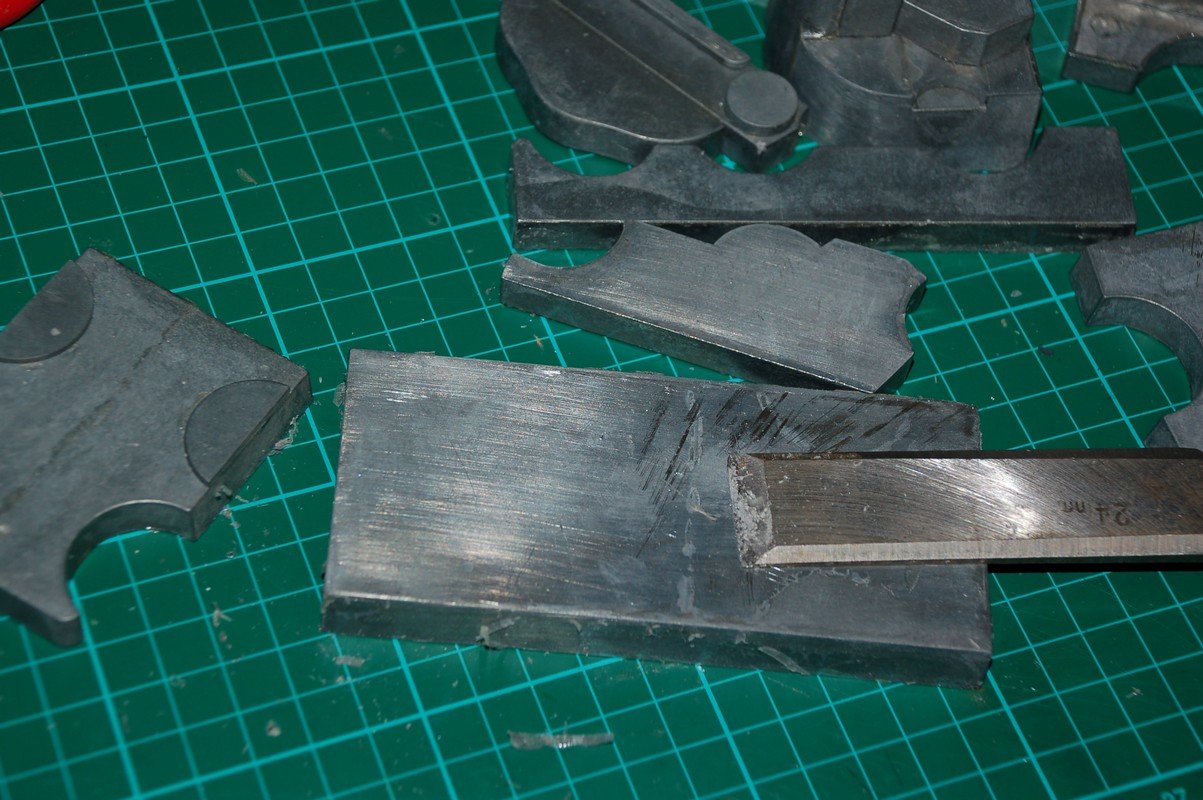
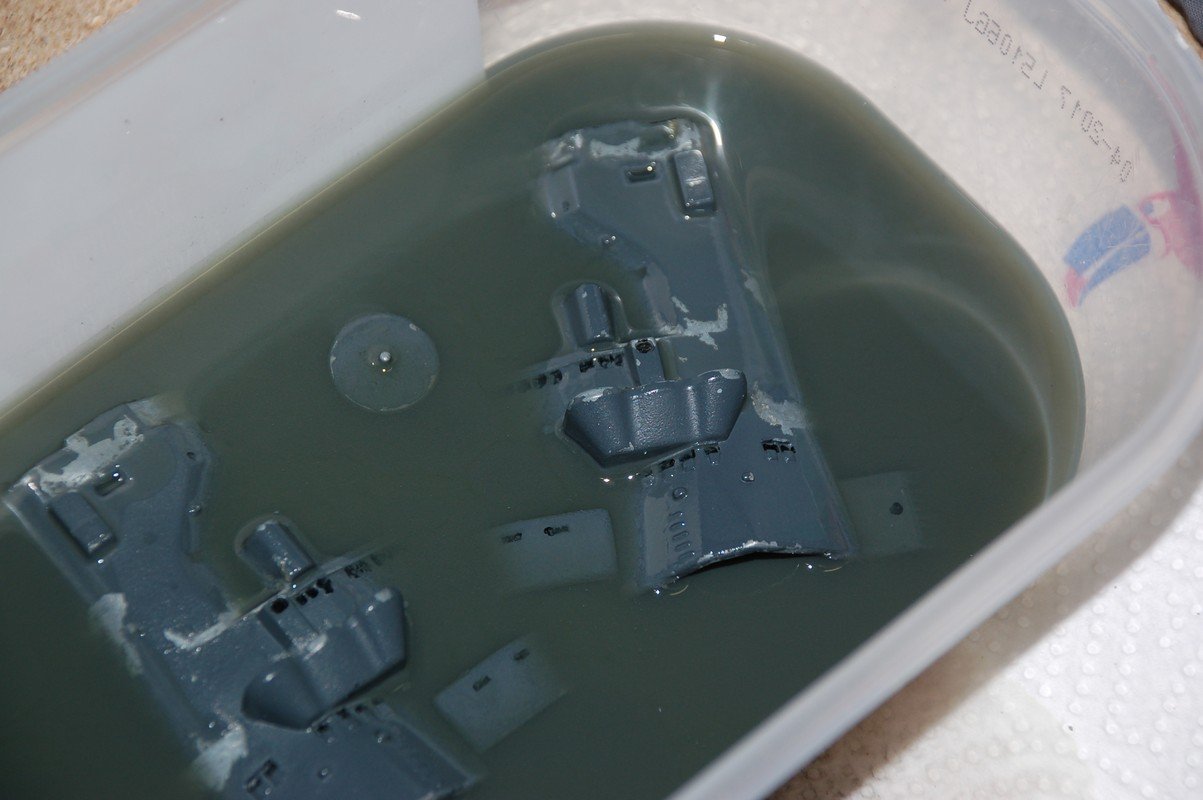
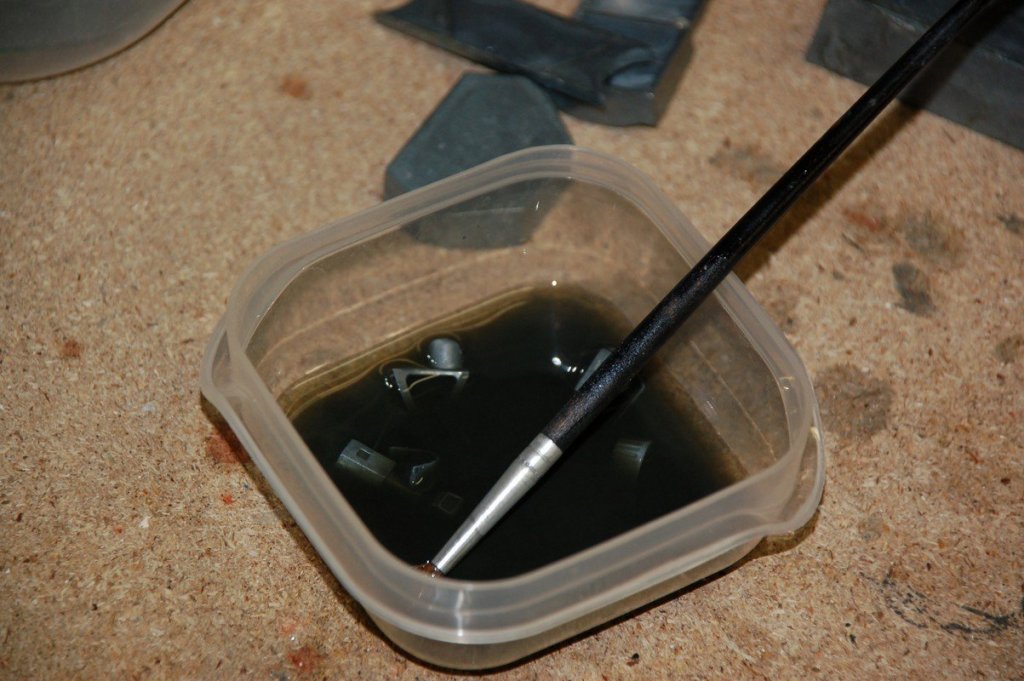
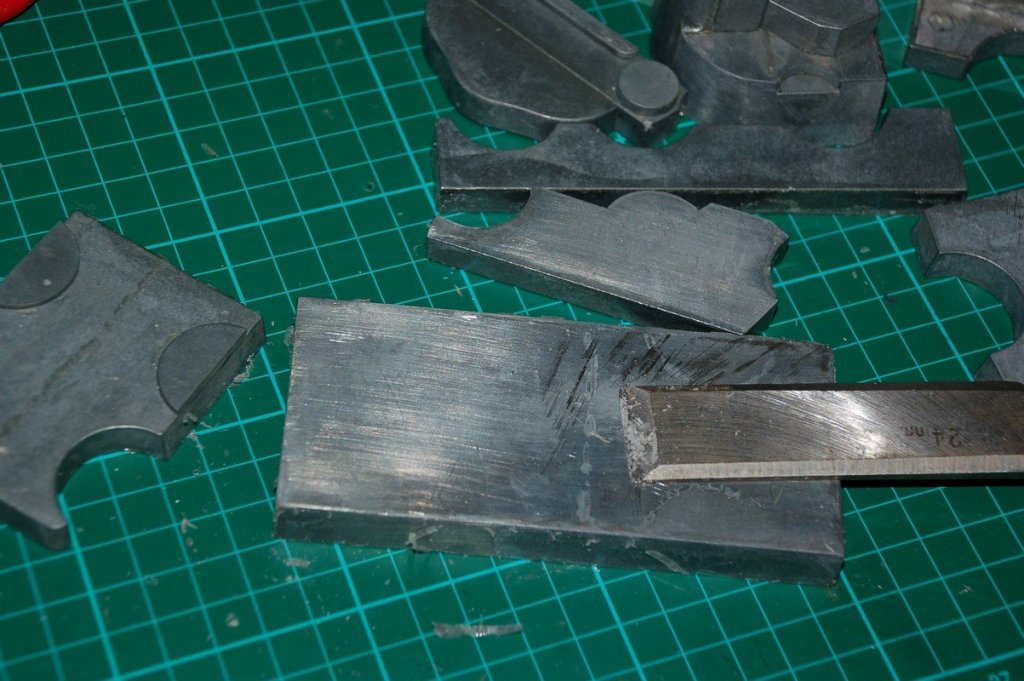
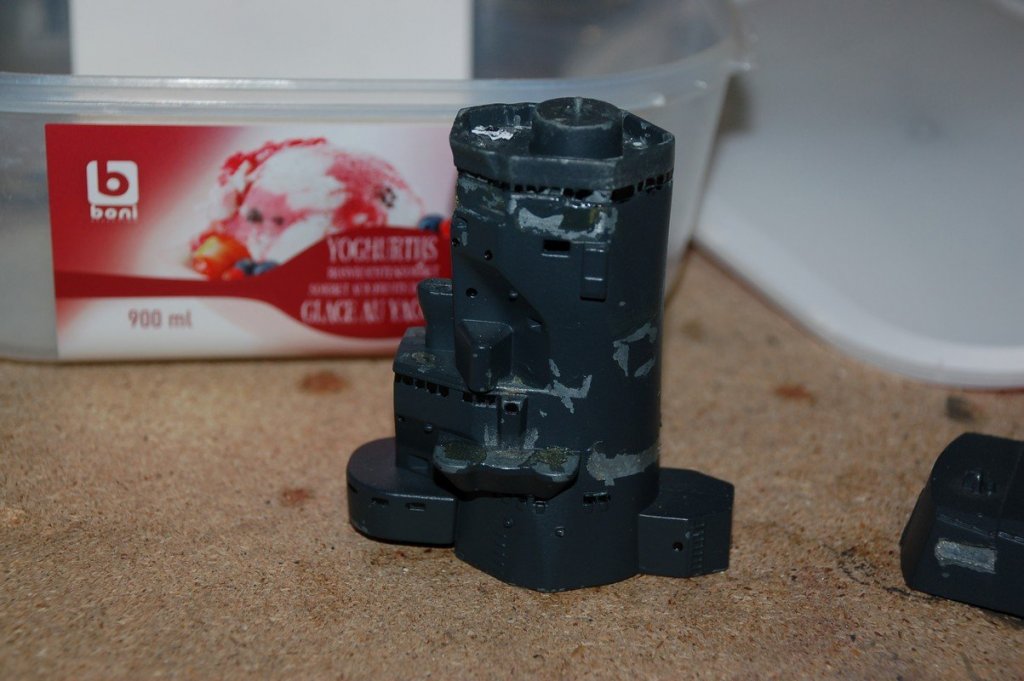
Cleaning up the superstructures. The pieces of the superstructures were glued rather messy. So i used isopropanol to unglue the components. Afterwards i use a sharp chisel to remove the glue remnants of the components. The former builder has used a color which is not correct and which is too dark to my liking. With Acetone i removed the paint. And for the smaller parts in a smaller container.

-
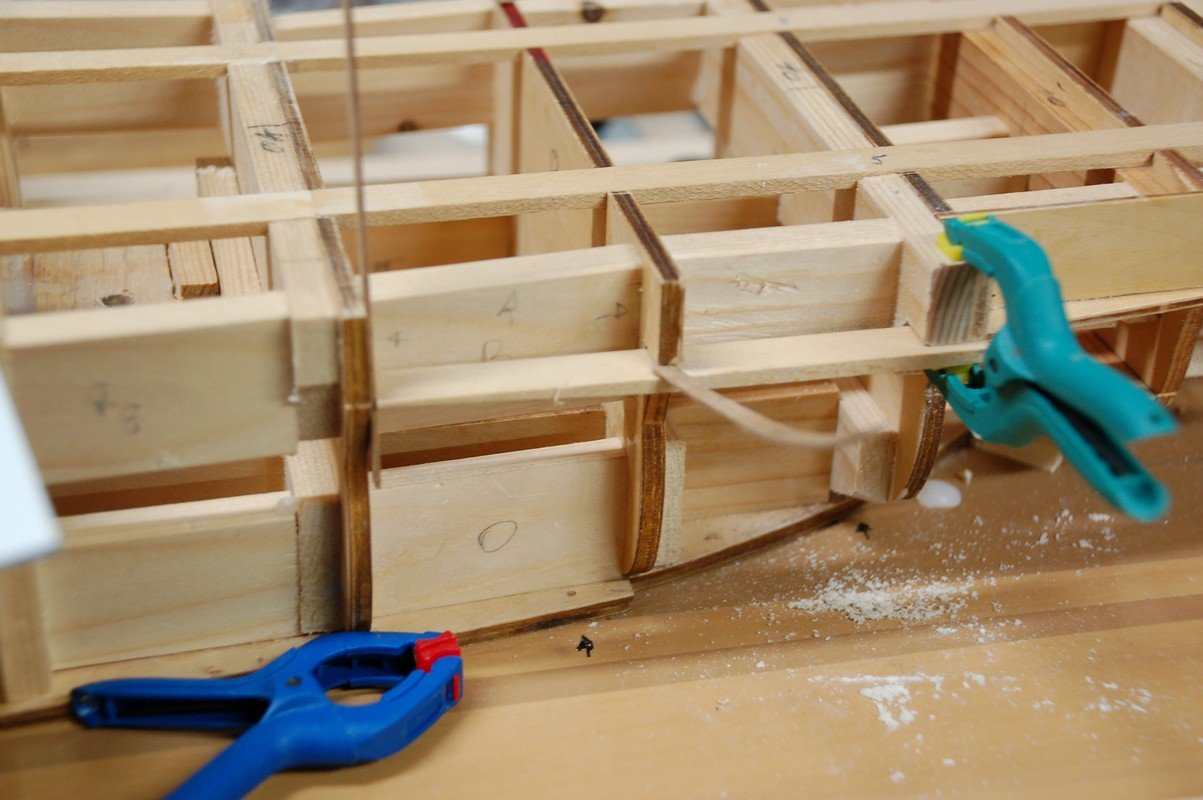
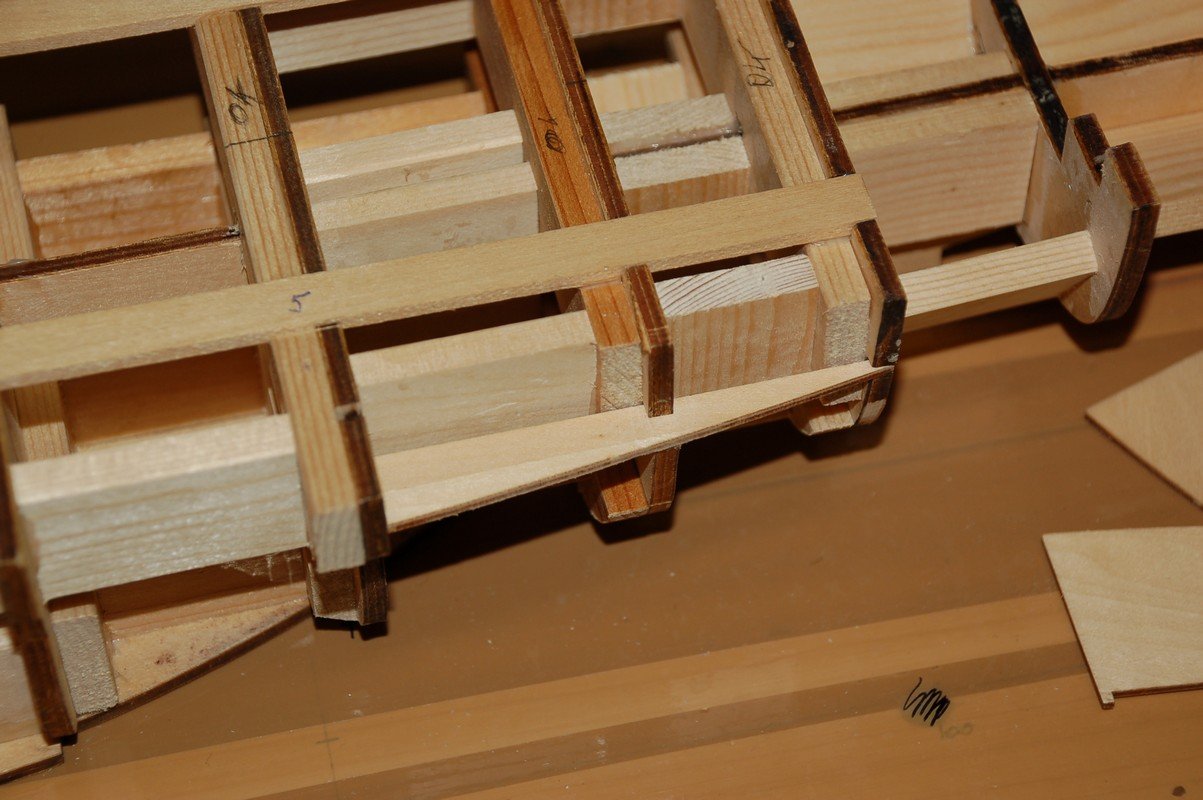
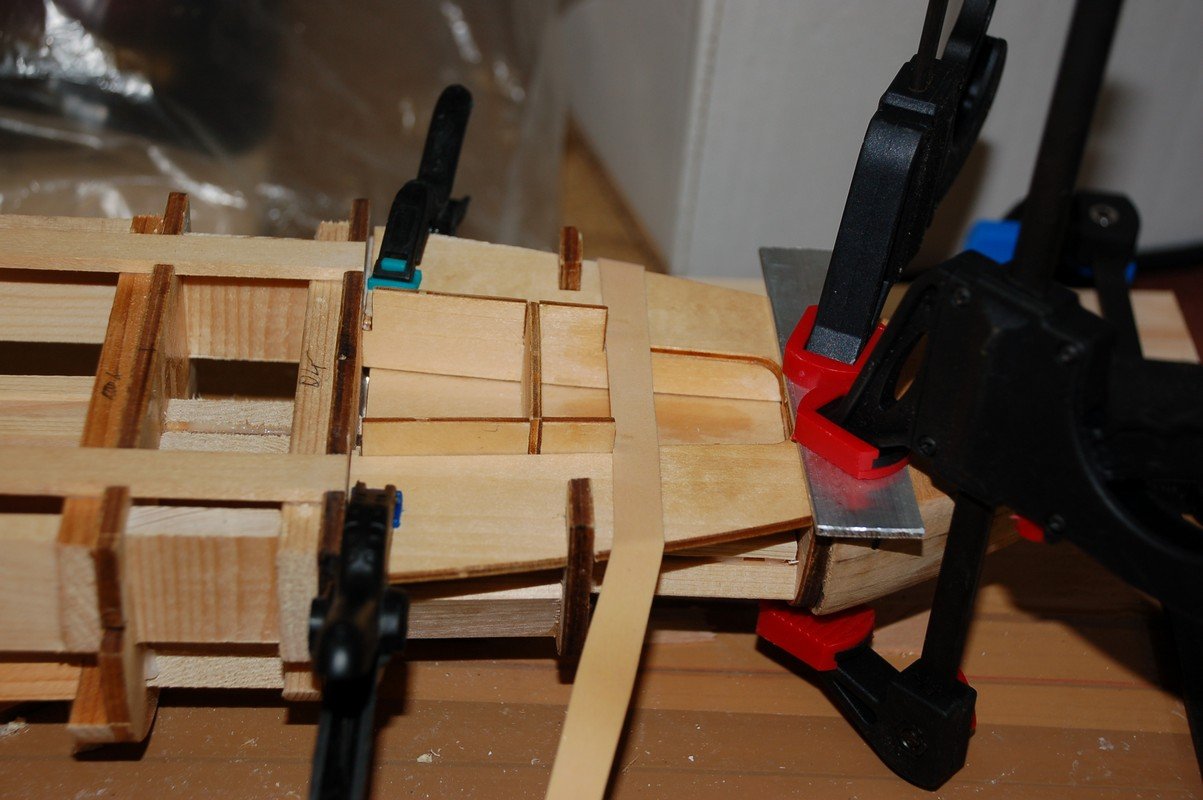
Next are the boat and aircraft hangars/decks. First the platform outside the boat hangar is put in place. The parts for forming the aircraft hangar and the boat deck are seriously warped as well. For the boat deck i want to put in a support at the right height, in order to get that deck straight. So i glued a piece of scrap wood. By glueing an clamping them on all the points, i'll straighten the deck. The sides of the boat hangar glued in place. The floor of the boat hangar is put in place, with a little plank as a spacer to keep the floor on its place.


-
SAT BERLIN ׂPROXXONׁ
WBlakeny replied to michael101's topic in Modeling tools and Workshop Equipment
Oh, that's a pity. I've ordered quite a lot of proxxon at SAT BERLIN in the past. -
I ordered mine from amazon.co.uk and got it last week. Greg's right, if you're thinking about doing the Yamato or the Musachi, then you can't go without this new edition. The detail it's got is amazing and i had the older edition as well. You can't compare the two editions, the new one has answered a lot of questions i had. It has given me new worries though as well. The stern has completely changed and i don't know if should change it to my model.
-
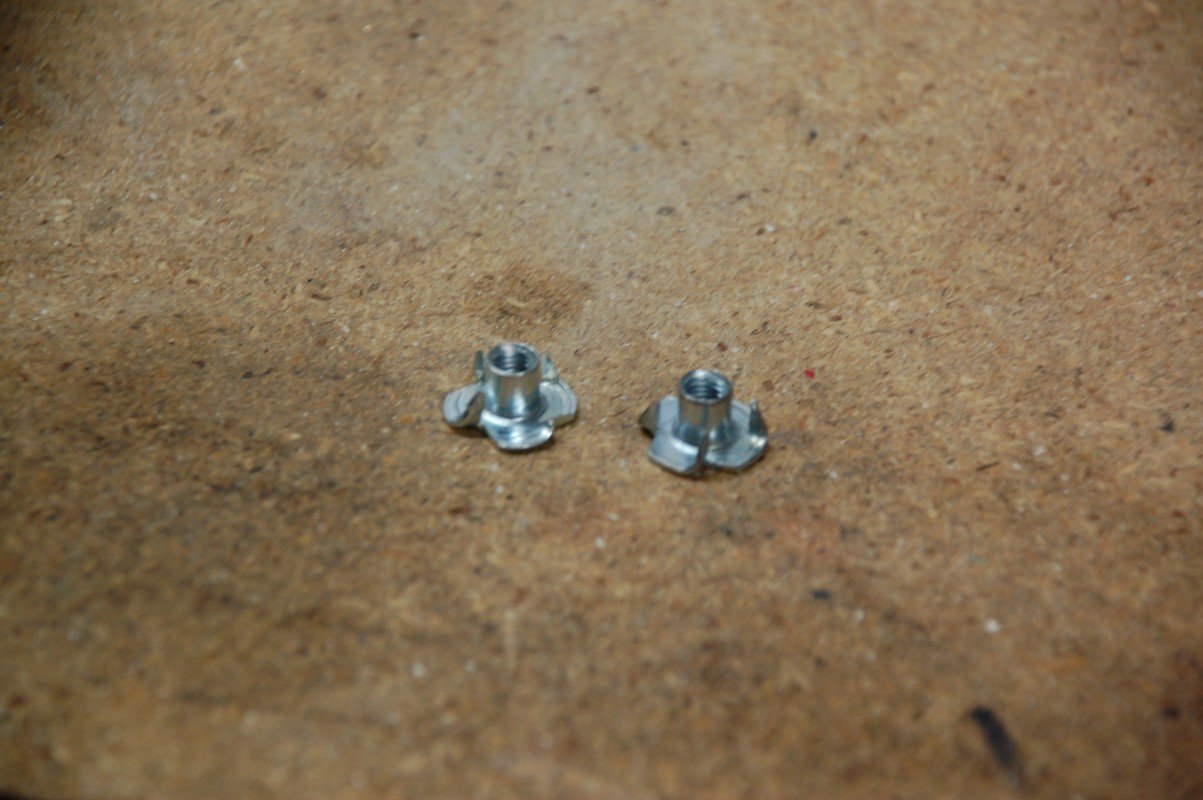
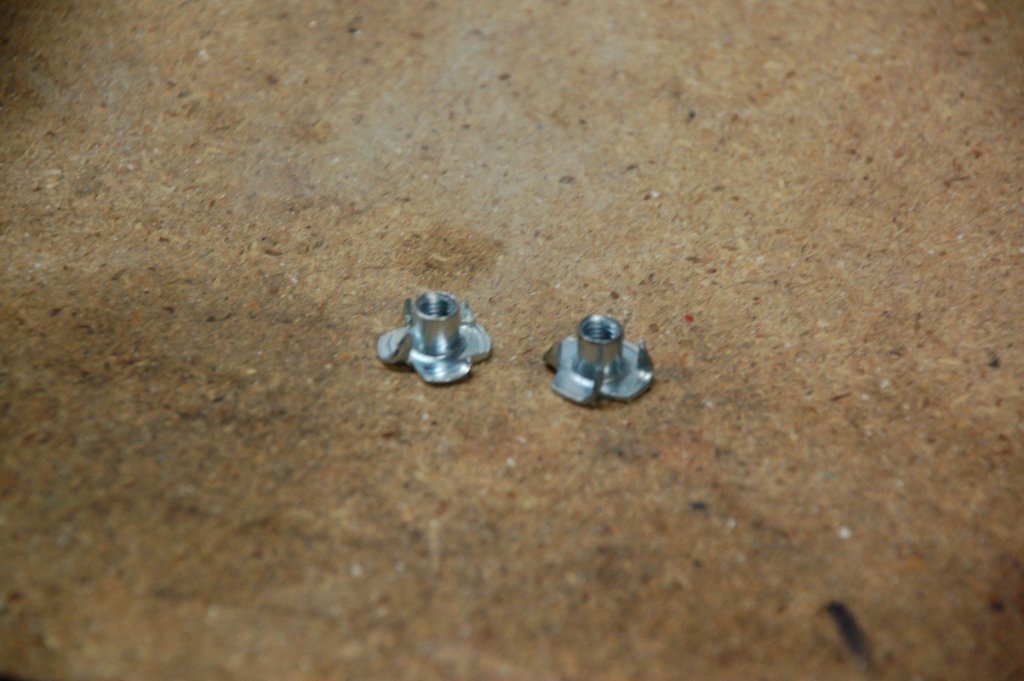
Ah, that are those T nuts. Thank you Ken.
-
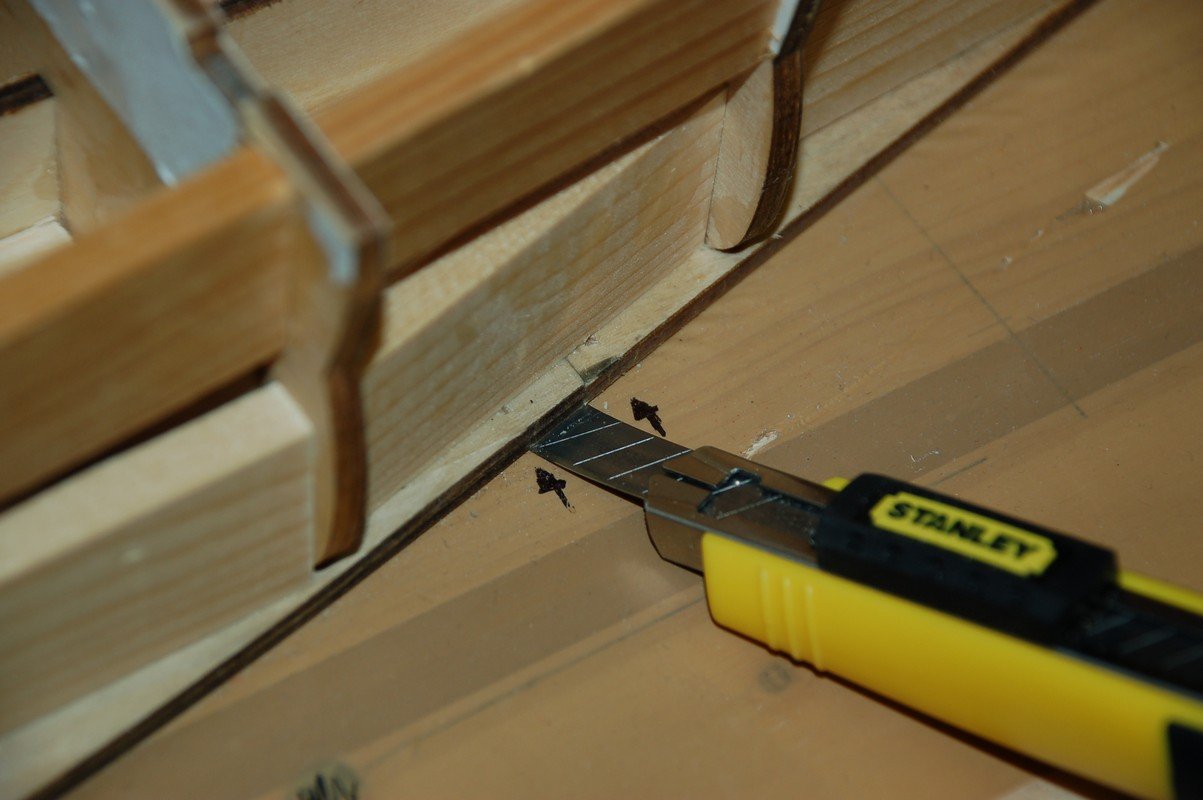
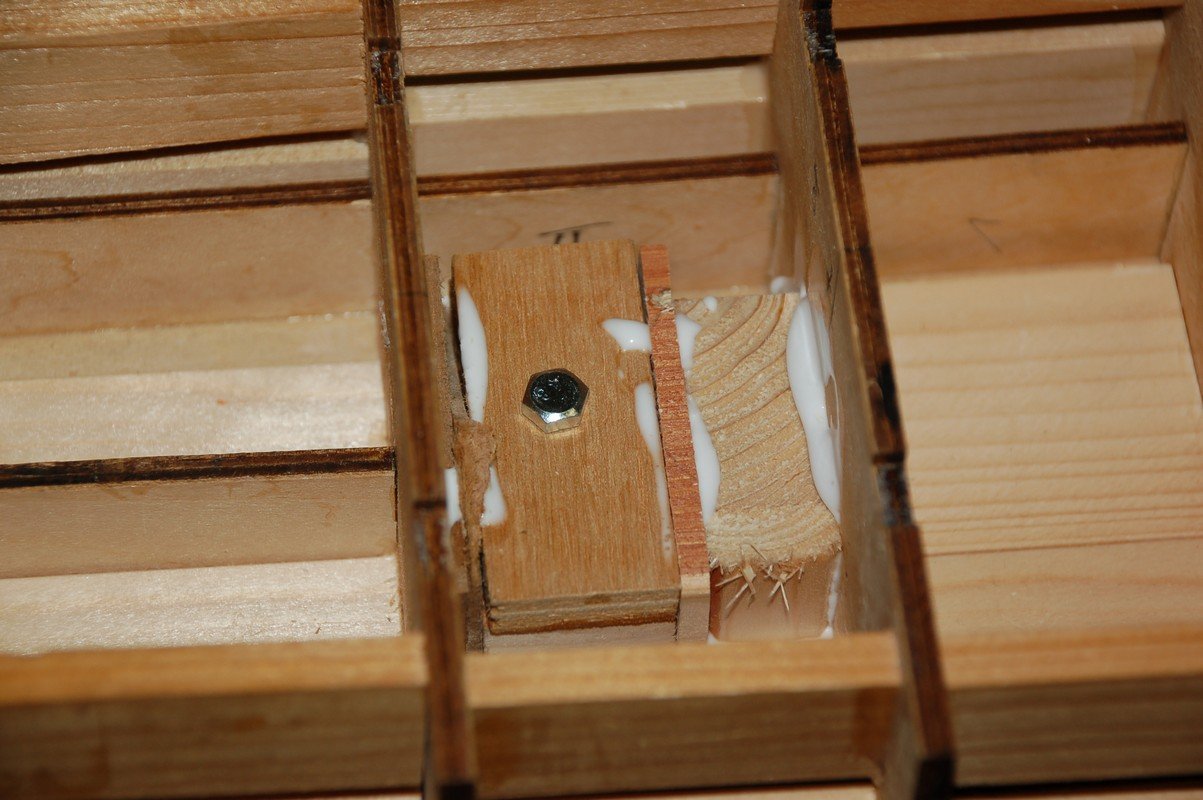
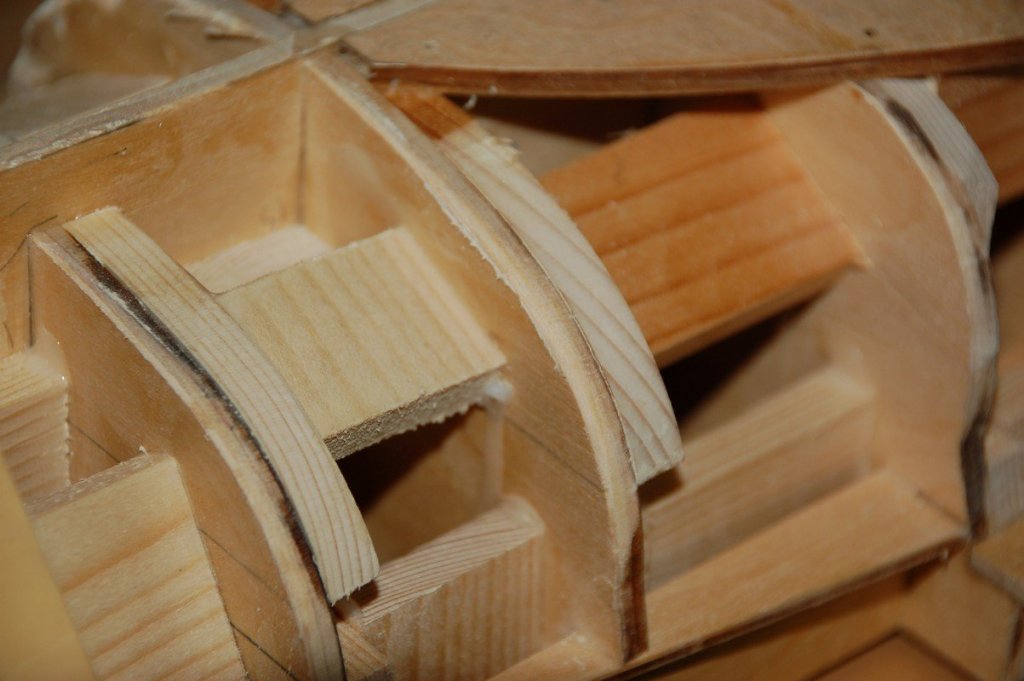
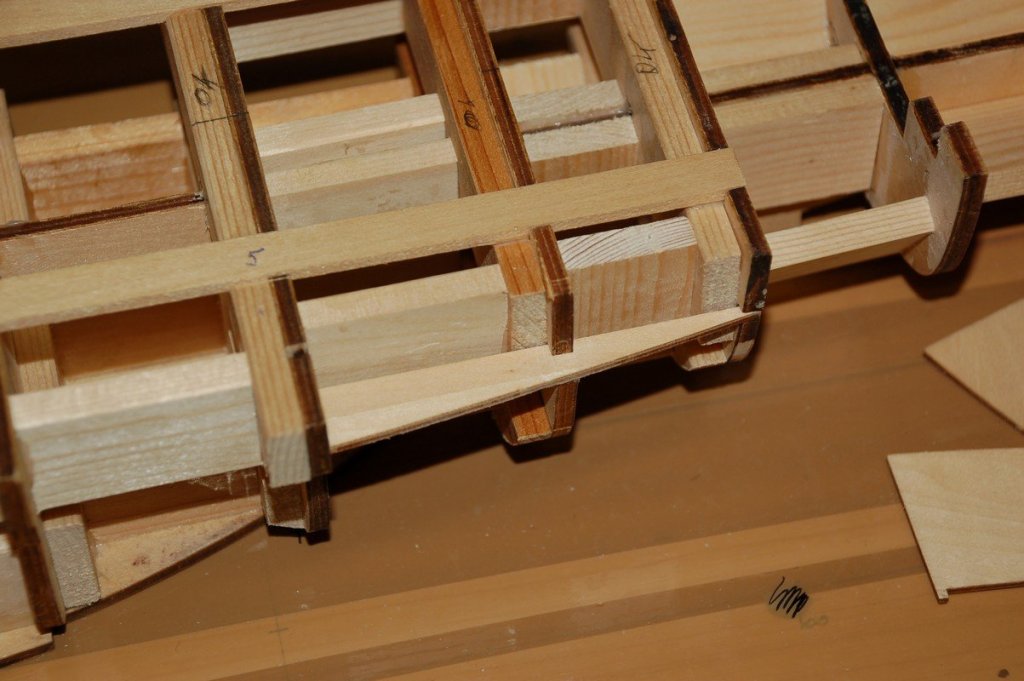
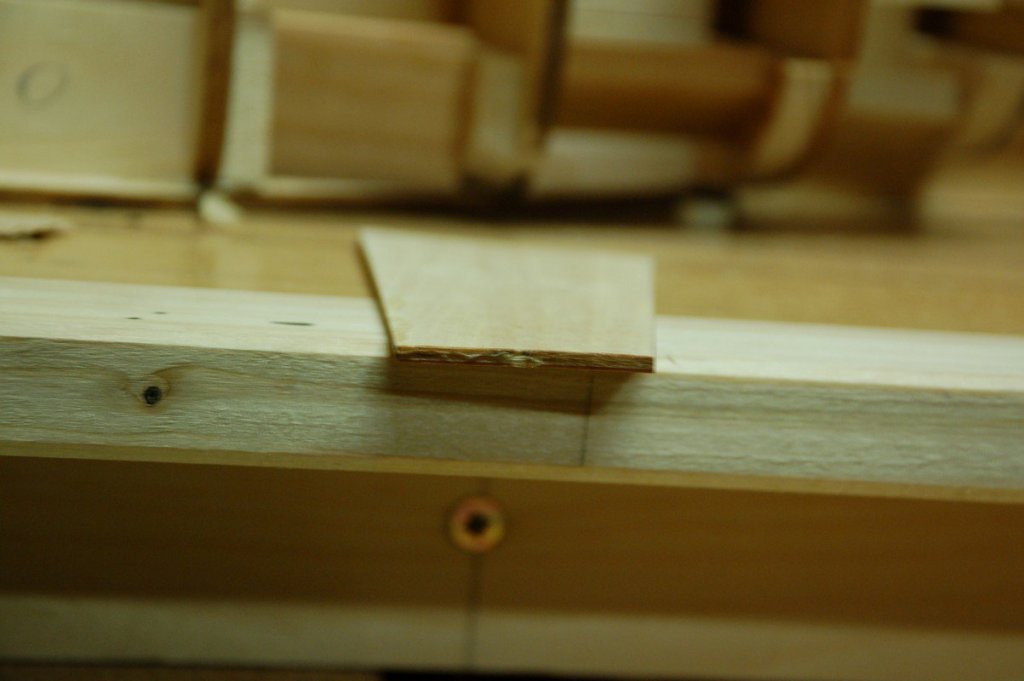
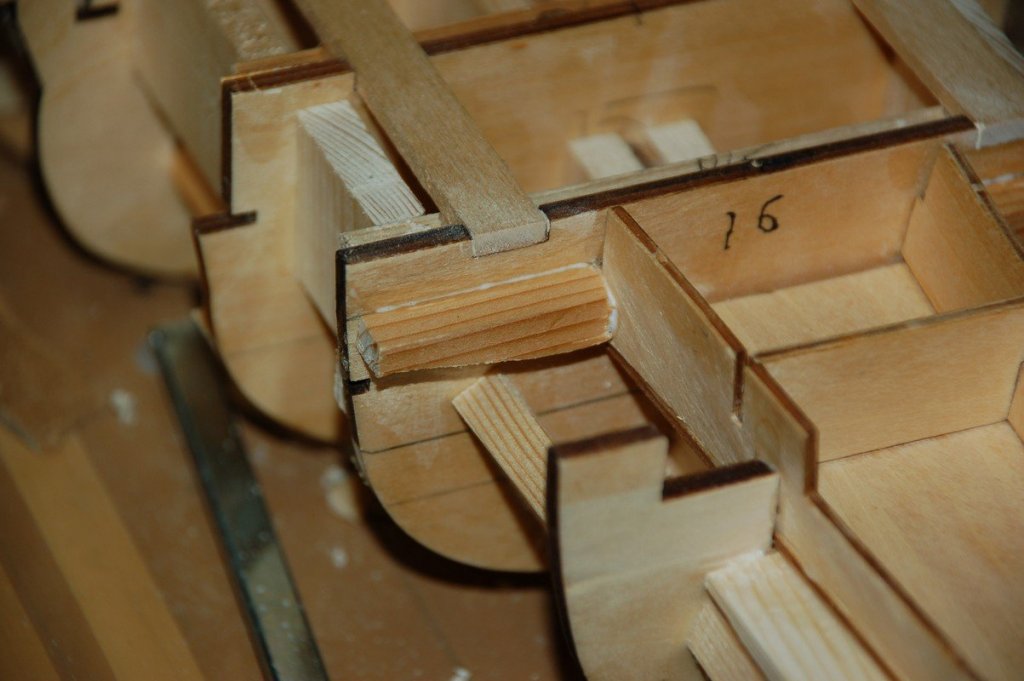
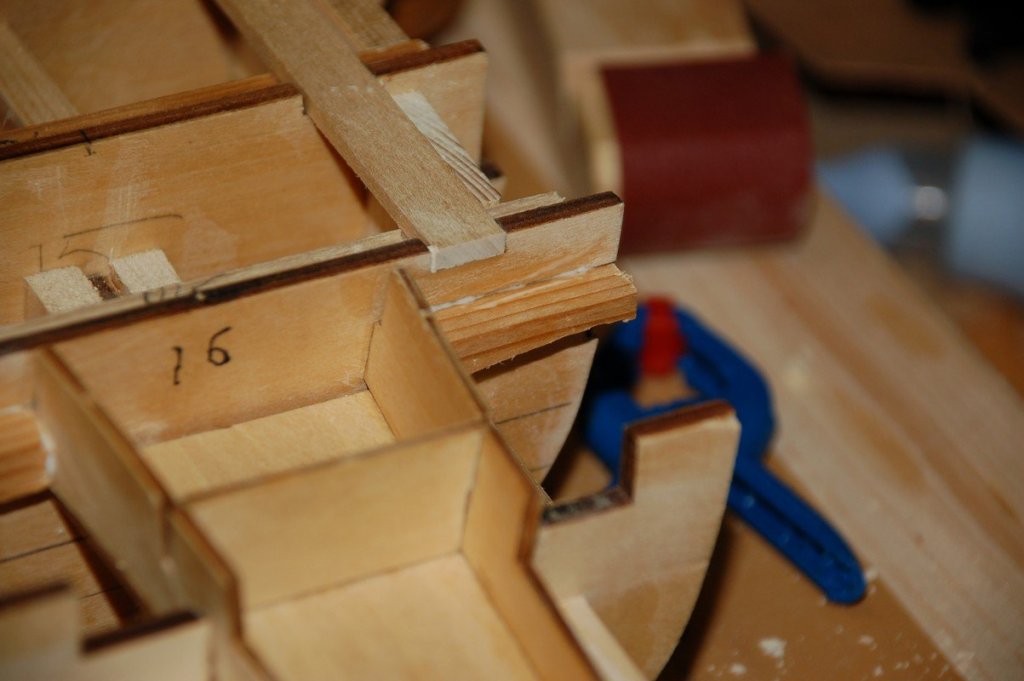
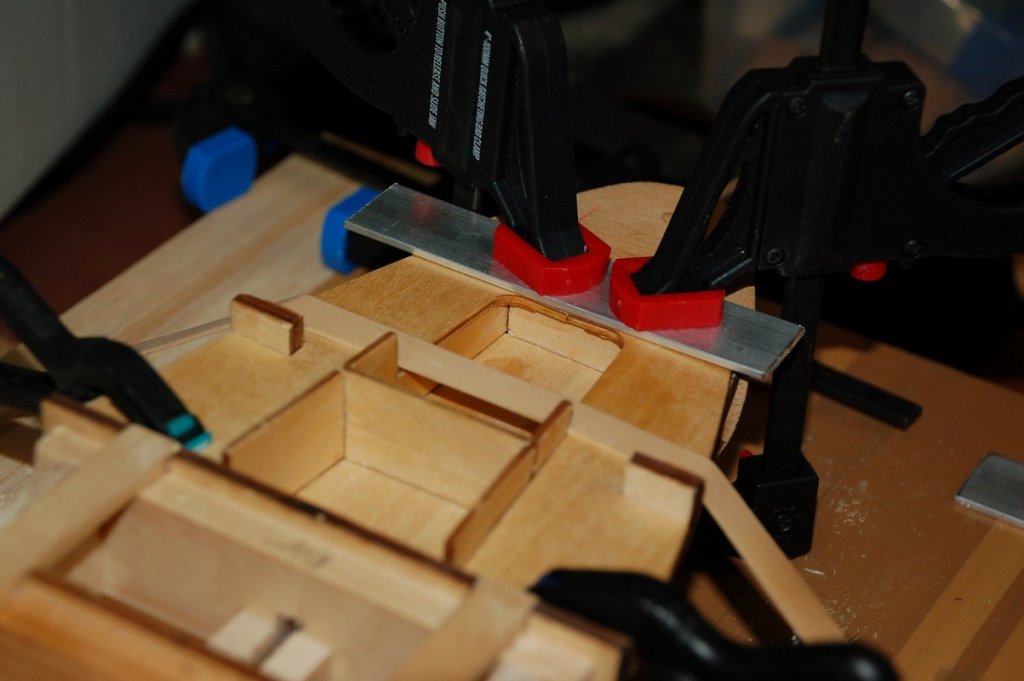
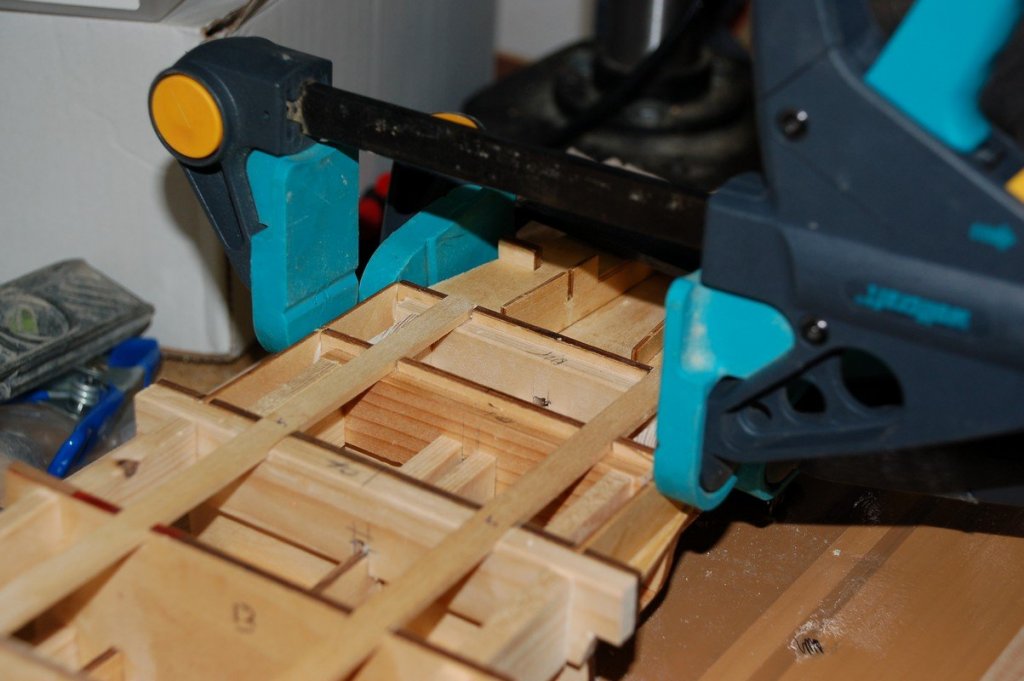
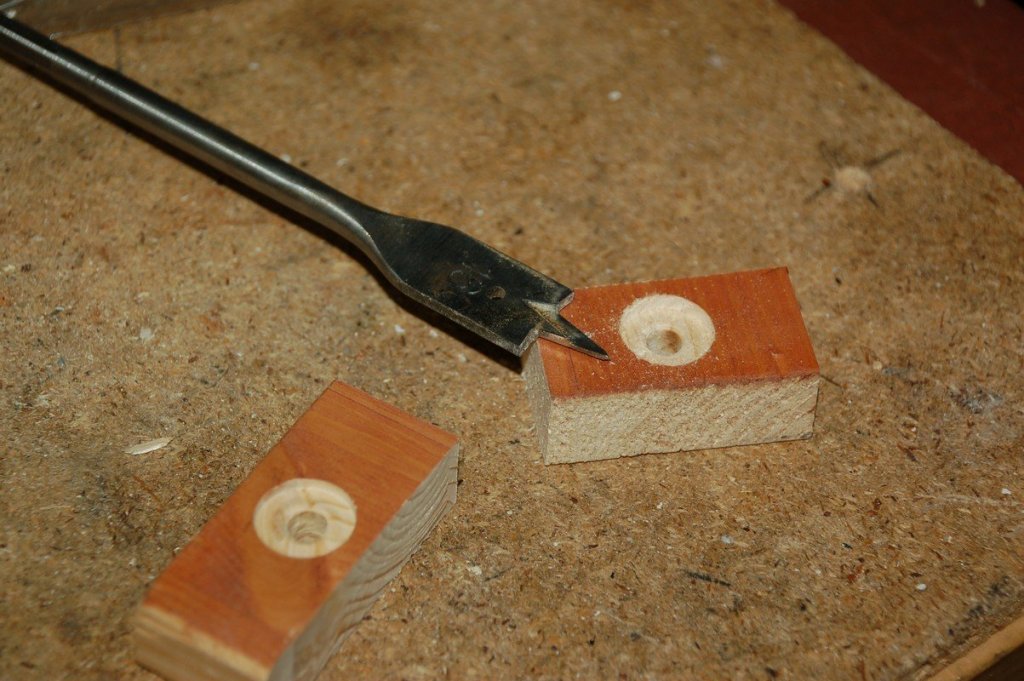
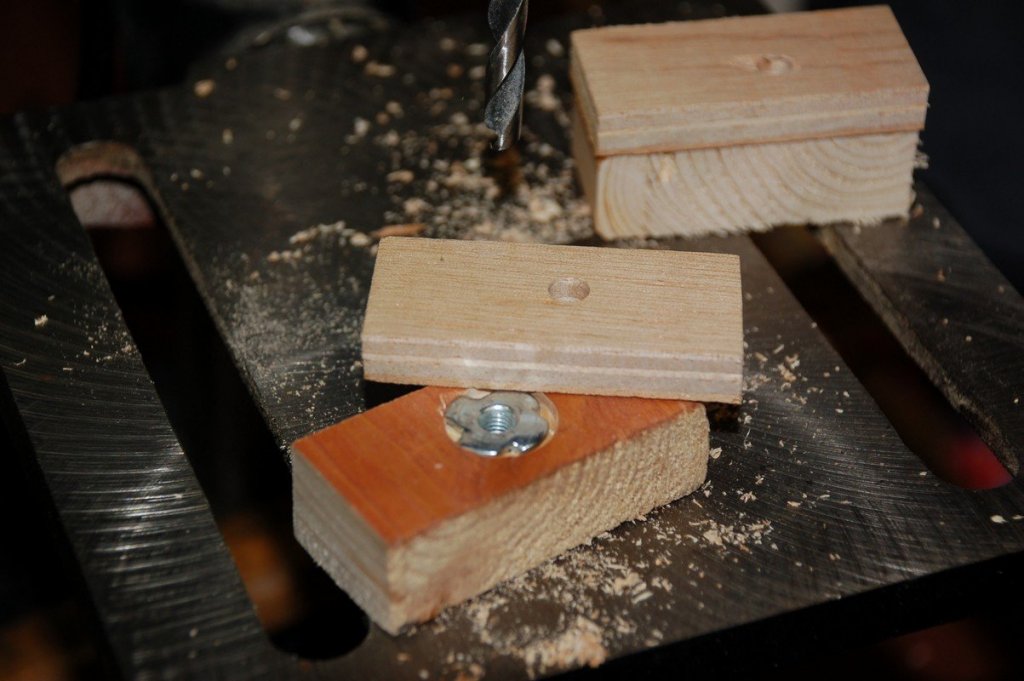
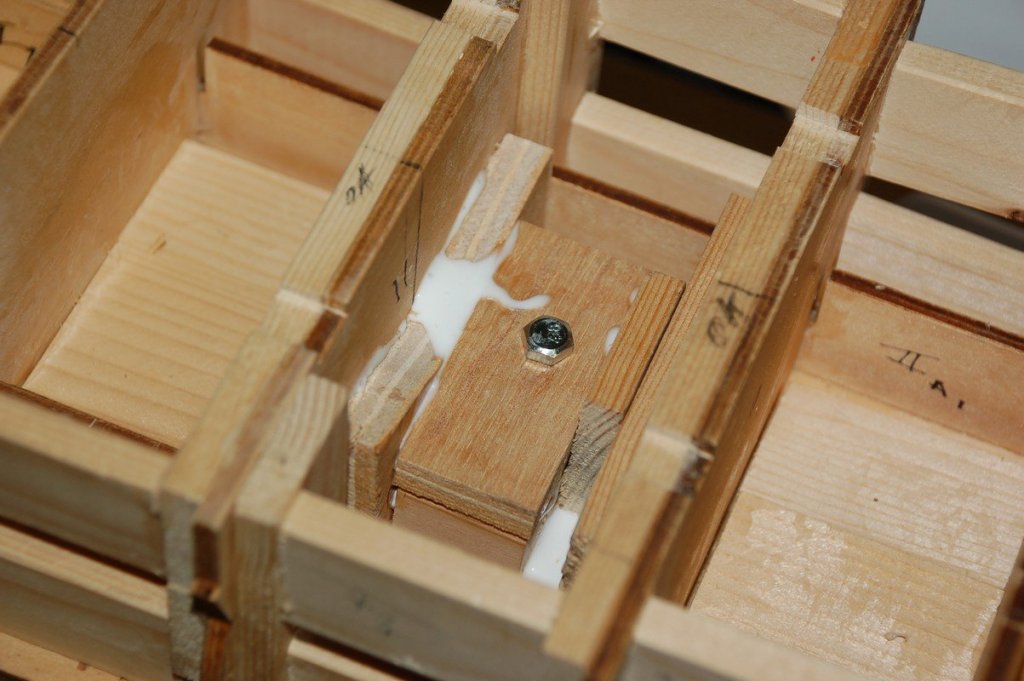
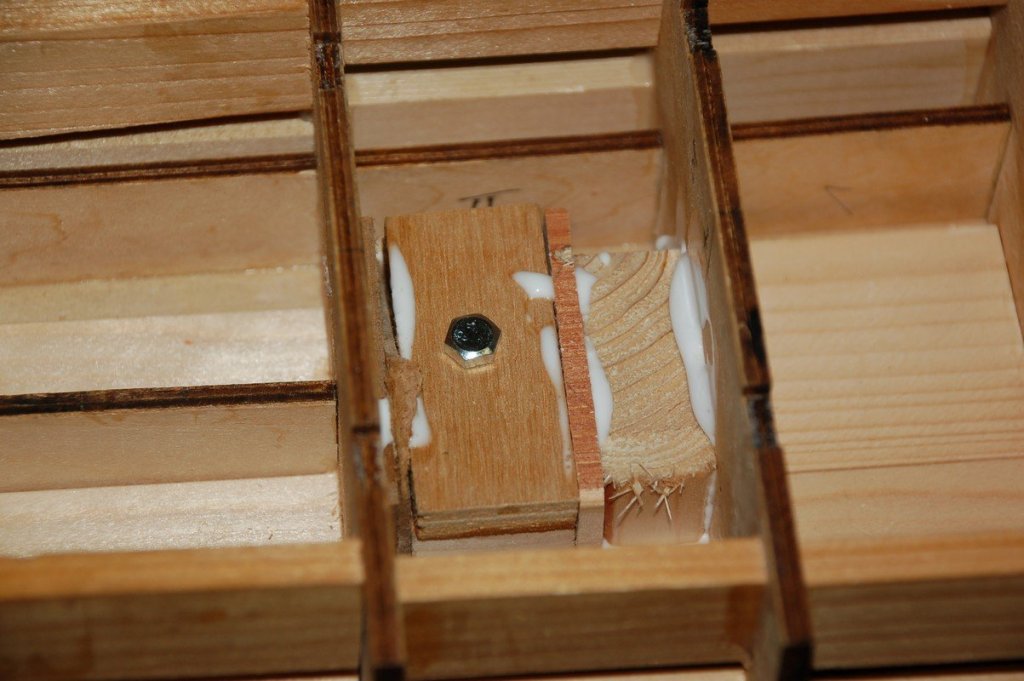
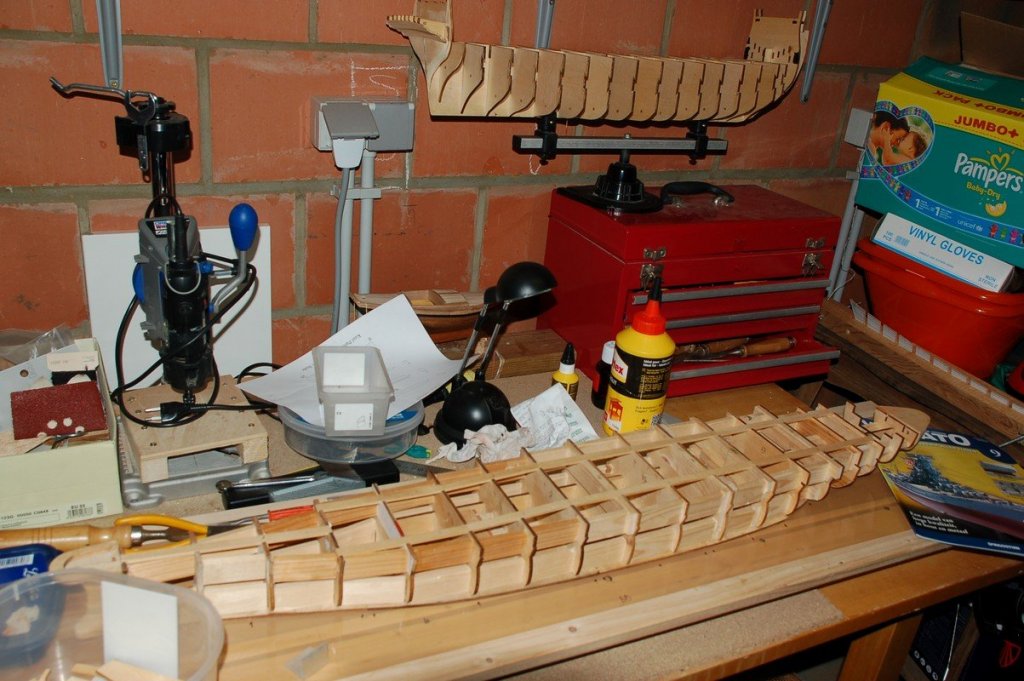
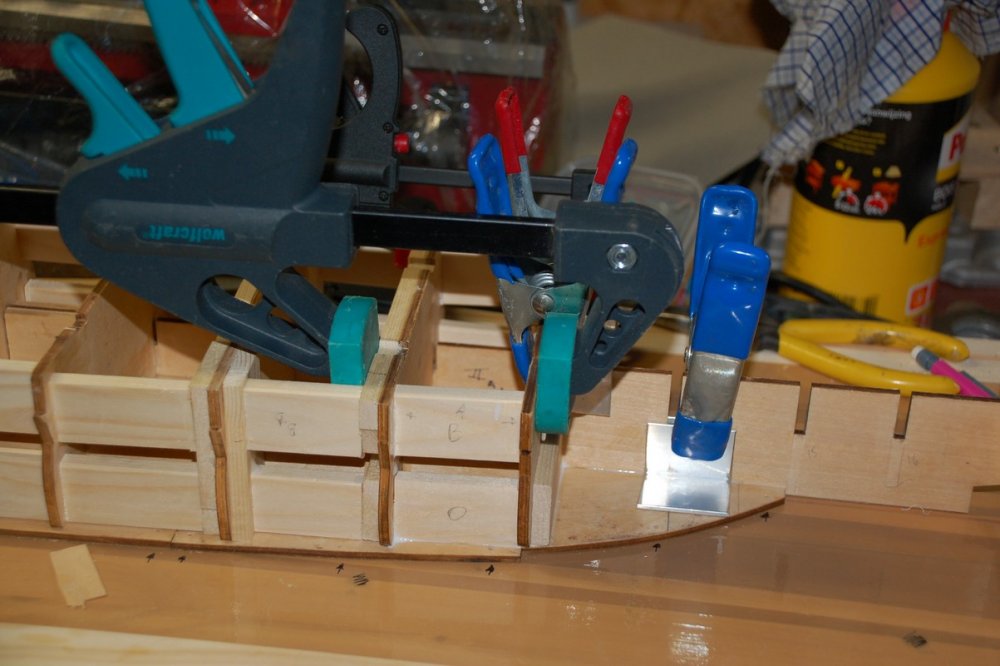
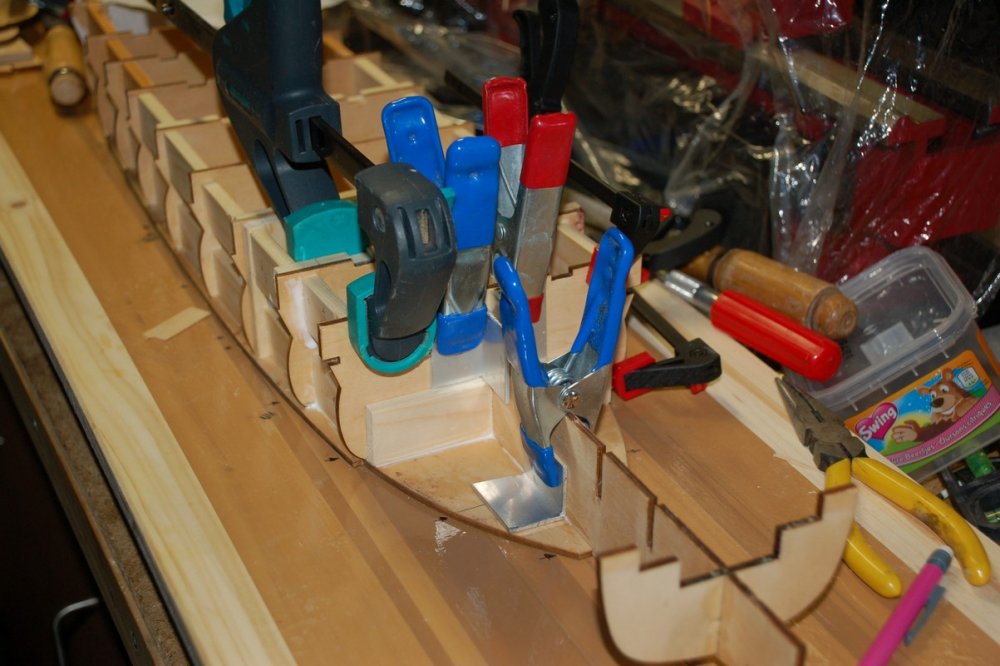
Time to get the ship of the the building board. In want to be able to fix the ship securely to the building board again later on. Or on the final stand as well. First i draw the middle line on the bottom plate and indicate two spots to drill the wholes. Making sure that i'll drill them between the bulkheads. I'm using two "inslagmoeren" called in dutch. Don't know the english term for it? Impact bolts ? I'm securing those between wooden blocks. Yamato-91 I glue the finished blocks between the frames, and securing the spaces between them with scraps of wood. The yamato lying around in the shipyard.


-
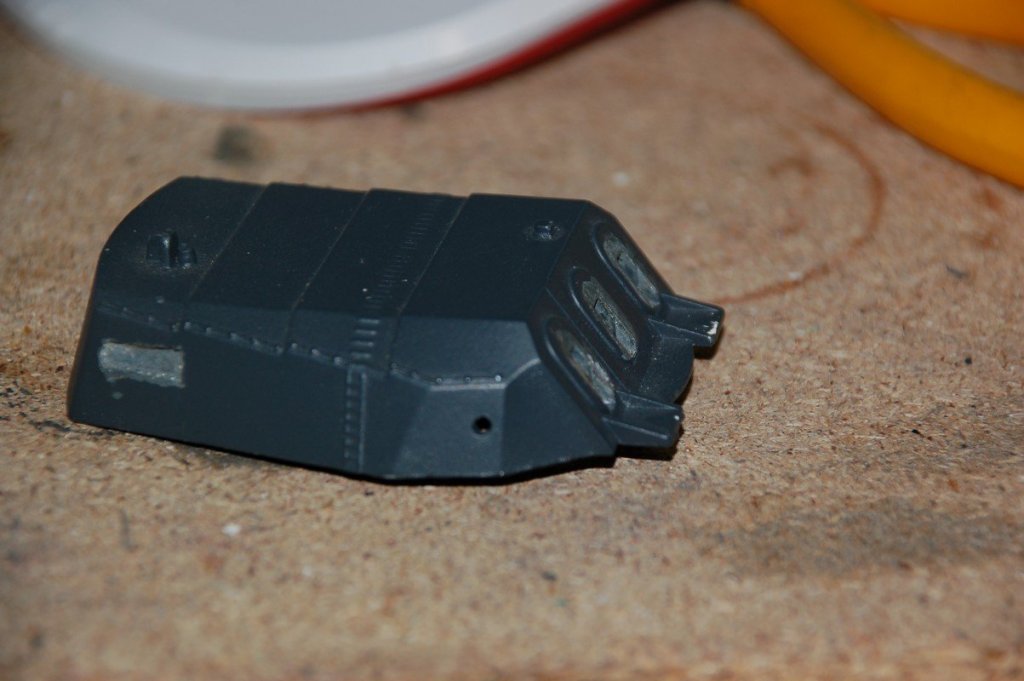
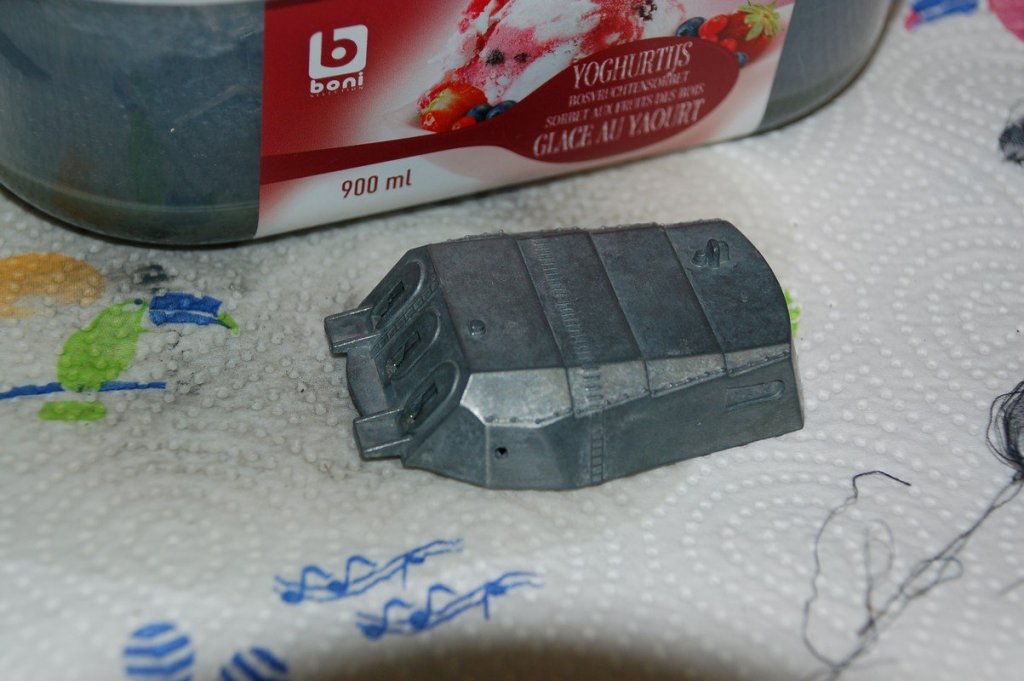
Hi Christian, this is a single planking. But the planking is much easier versus the planking of the period ships. And yes, there's going to be a lot of sanding and filling afterwards. Also i'm trying to figure out how i'm going to simulate the plating. I've been thinking of different stuff, like yoghurt cans, soda cans, paper, copper tape... I guess i'll have to try them out on a piece of wood and then decide what to use. Daddyrabbit, concerning your question of the PE. There's already a lot of PE along with the kit. But there are some things missing. Like the platforms on the backside of the tower for instance. I'll be buying some other PE to build up the details. Another example are the ladders, i don't like the ones that are given along. I'll definitely change them as well.
-
Thank you daddyrabit
-
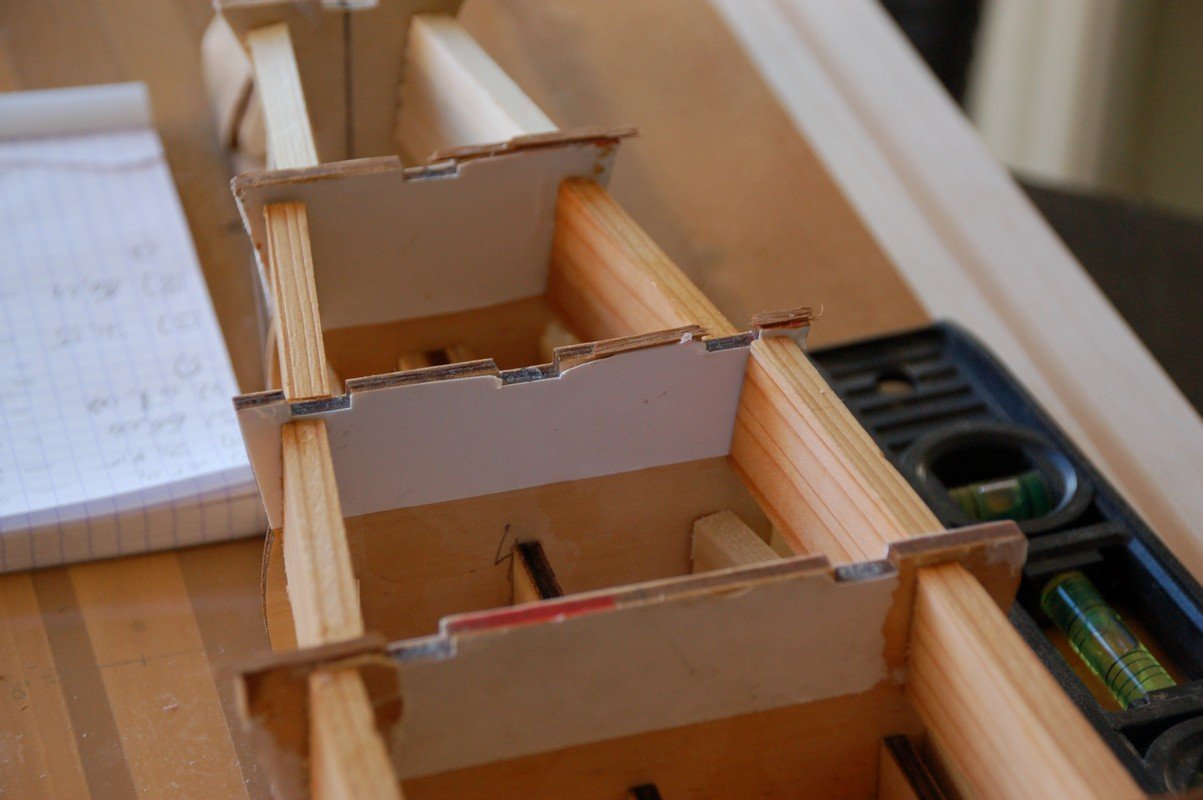
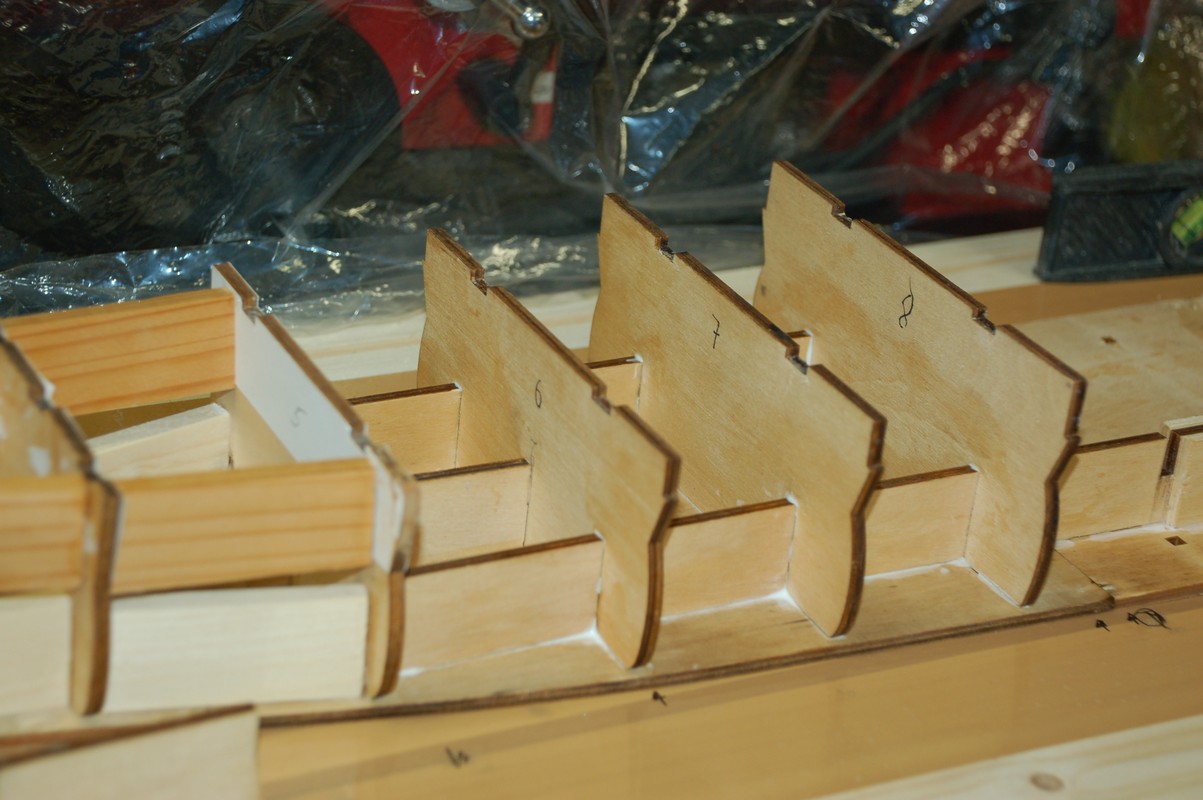
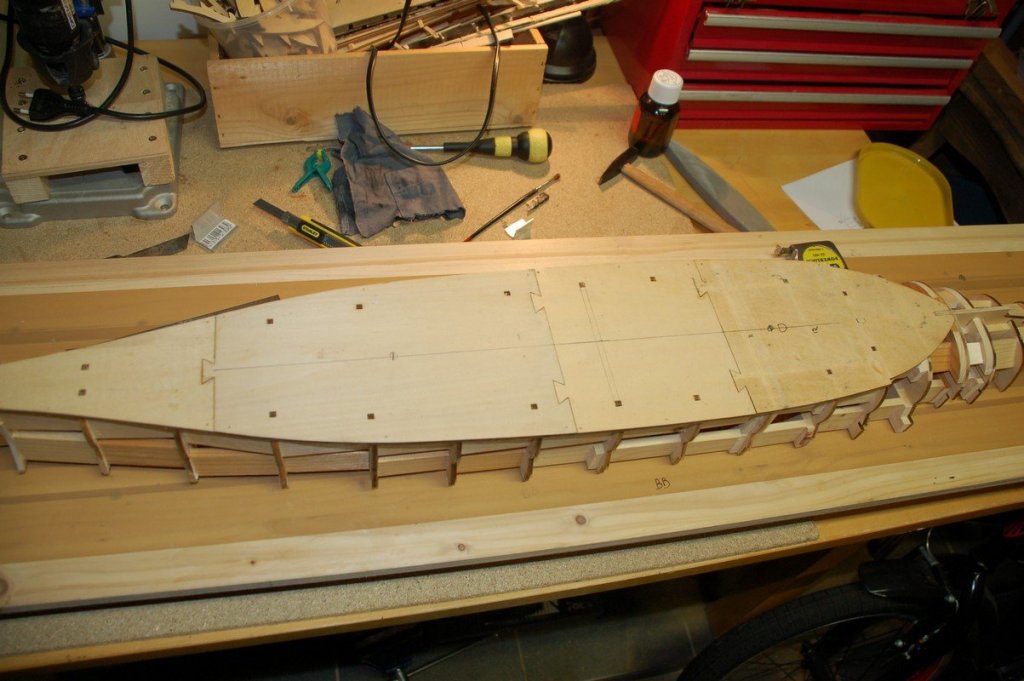
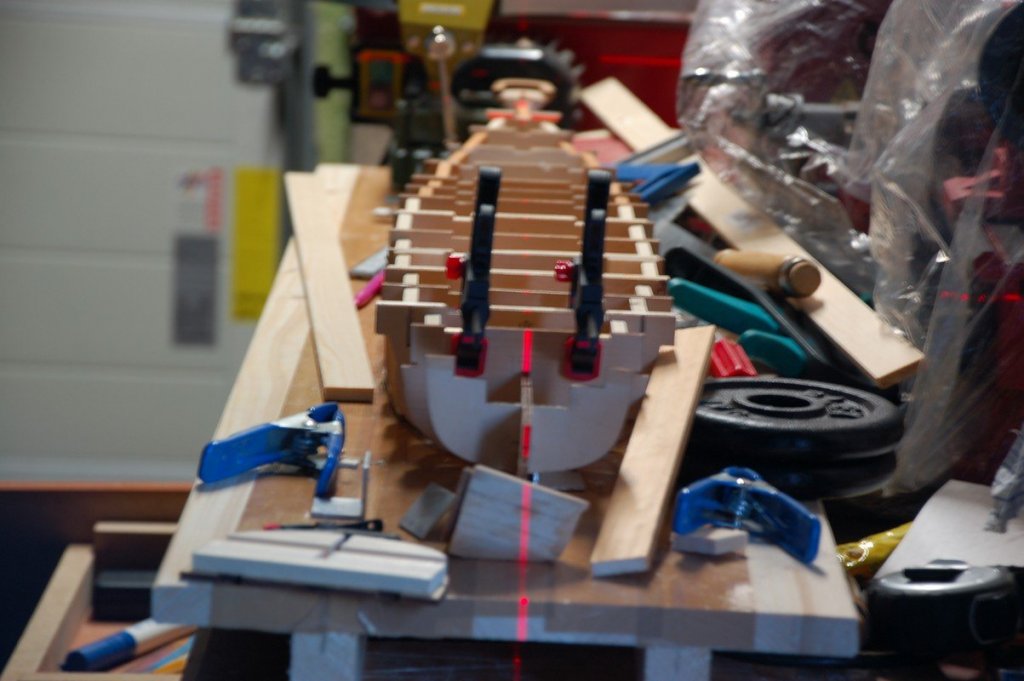
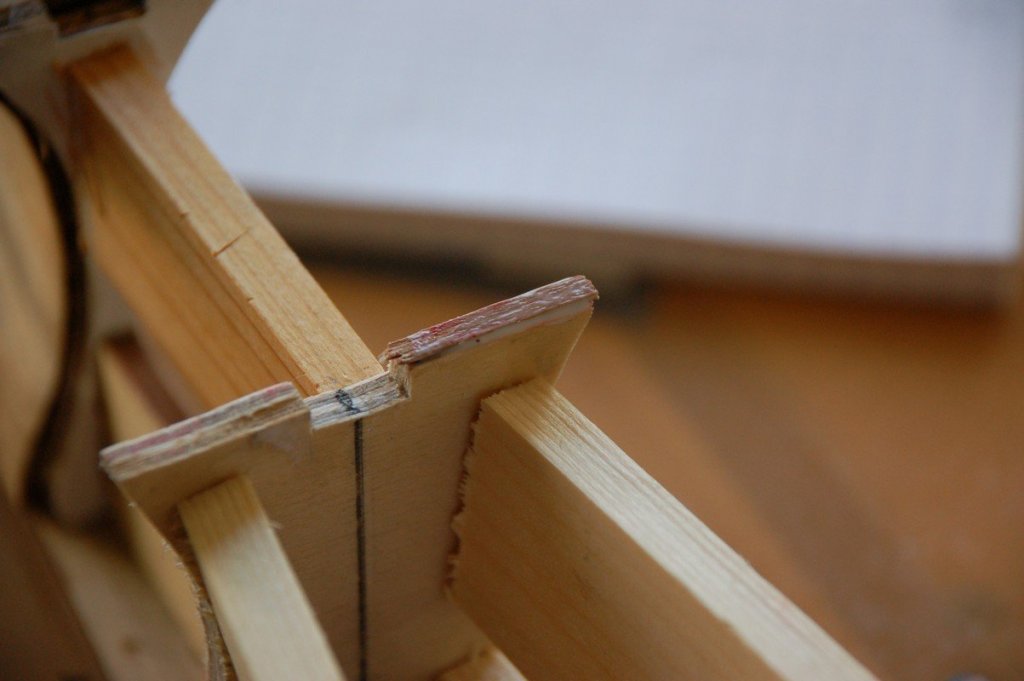
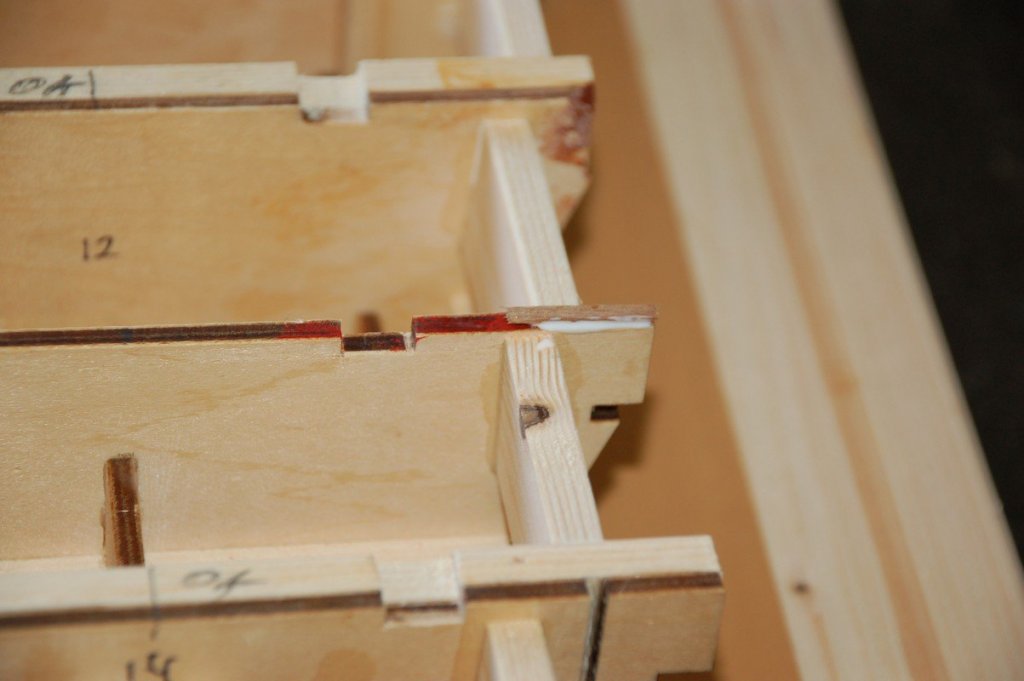
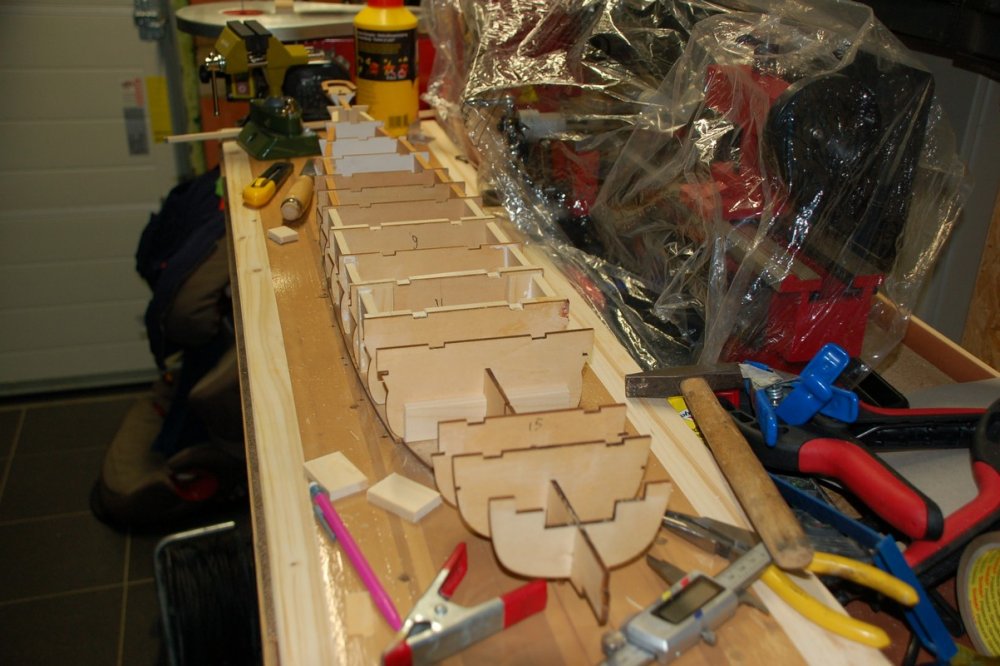
I've finished building up the frame. With the aid of a laser i've checked of the stern is still in the good alignment with the stem. Then i've checked the bulkheads with starboard versus port. I've noticed some errors here and there of approx 1 mm. Perhaps negligable, but i wanted them corrected. I've marked the errors in red. To correct these flaws, i used some old planks of 0.5 mm i had lying around from old kits.

-
Thank you Carl, it's what i'm trying to achieve.
-
Thanks Christian I've progressed on the frame of the ship. Almost there.
-
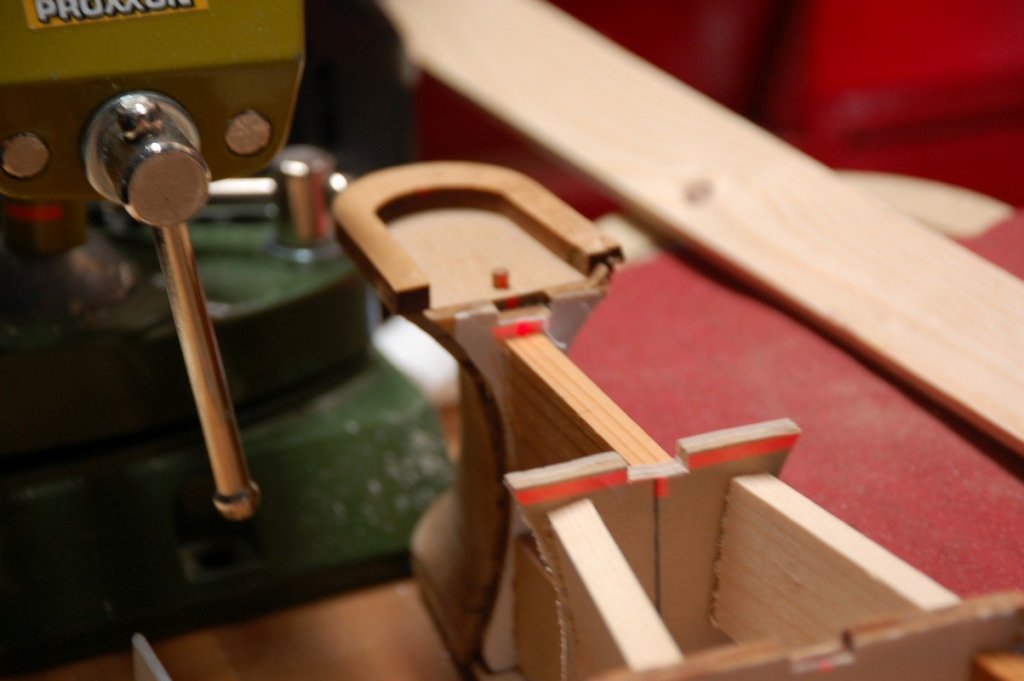
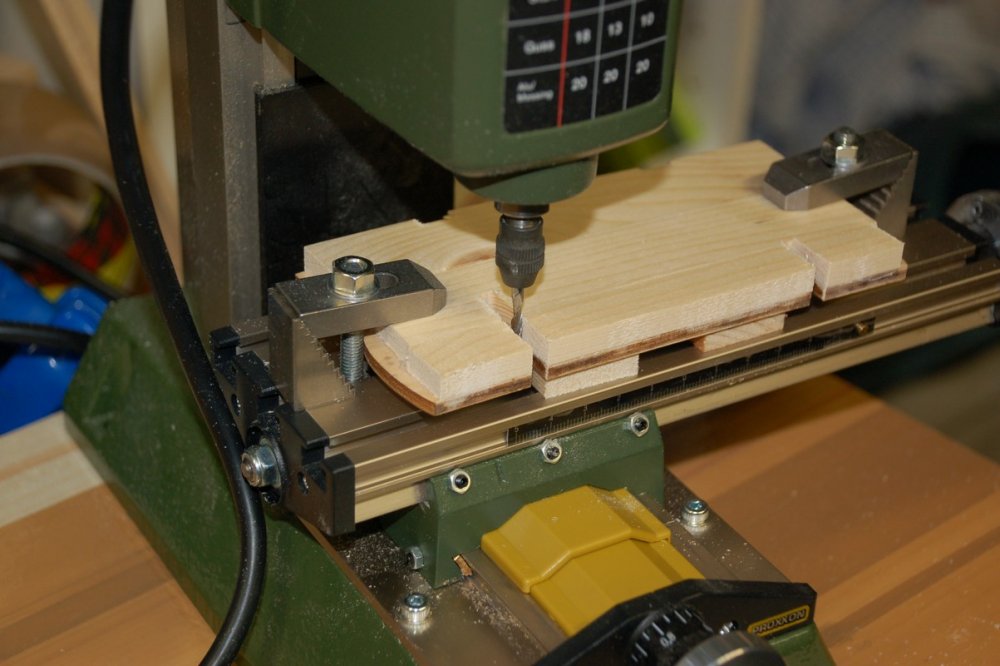
A few bulkheads have warped as well, some even in two directions. I tried to straighten them with some wooden battens. Some needed one on the upper side, some one the lower side of the bulkhead. Some needed one above and below. I used my mill to make to make the slots to fit it all on the skeleton.

-
Superbly done!
-
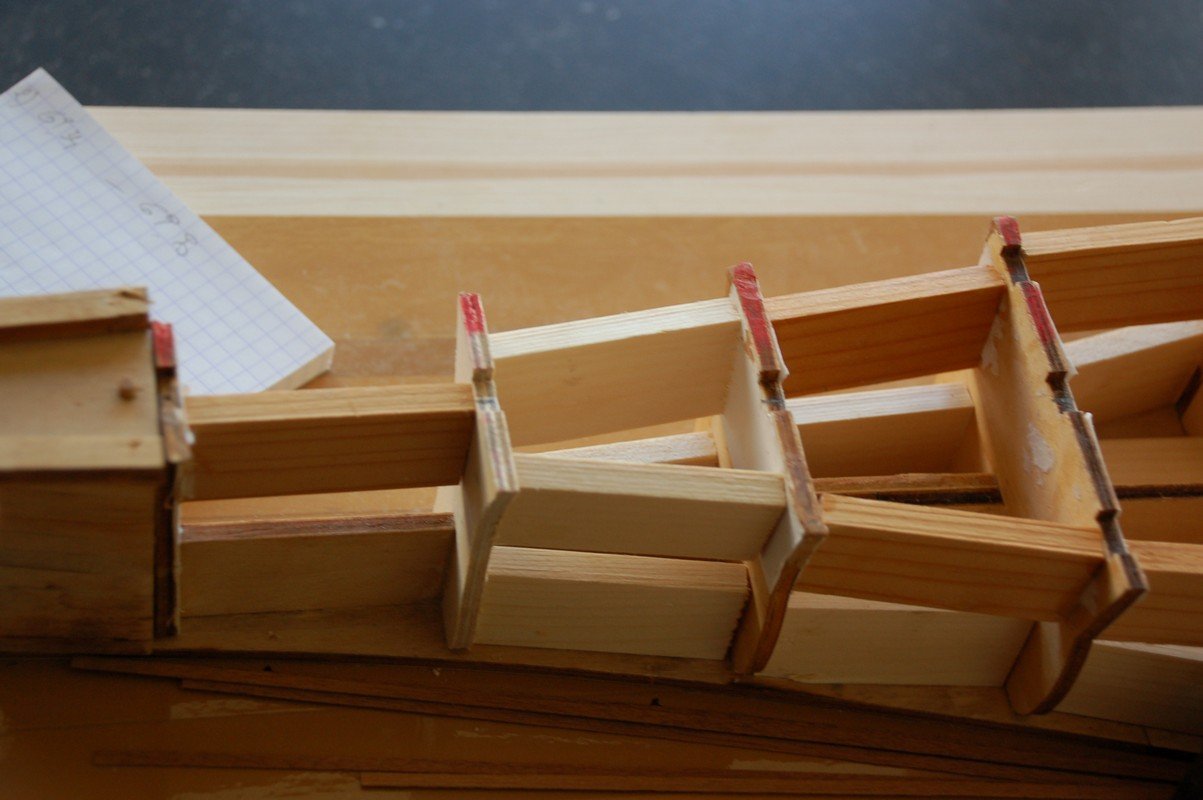
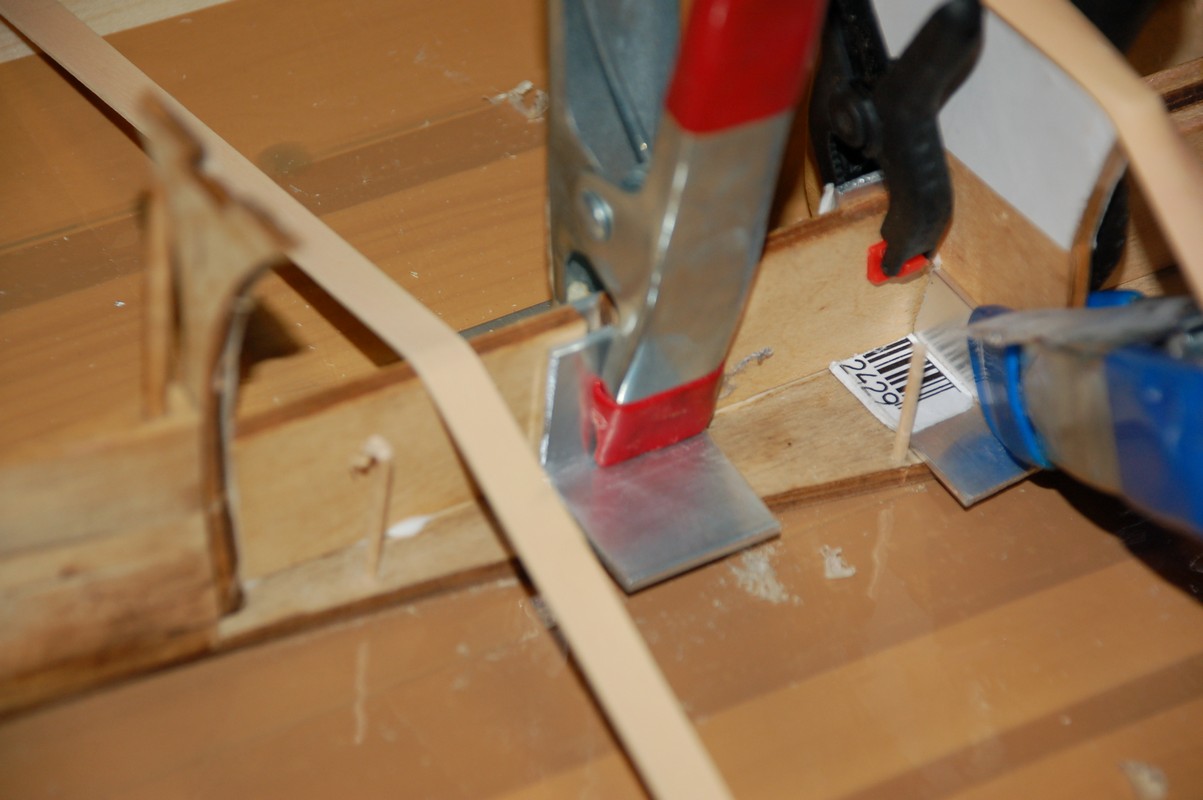
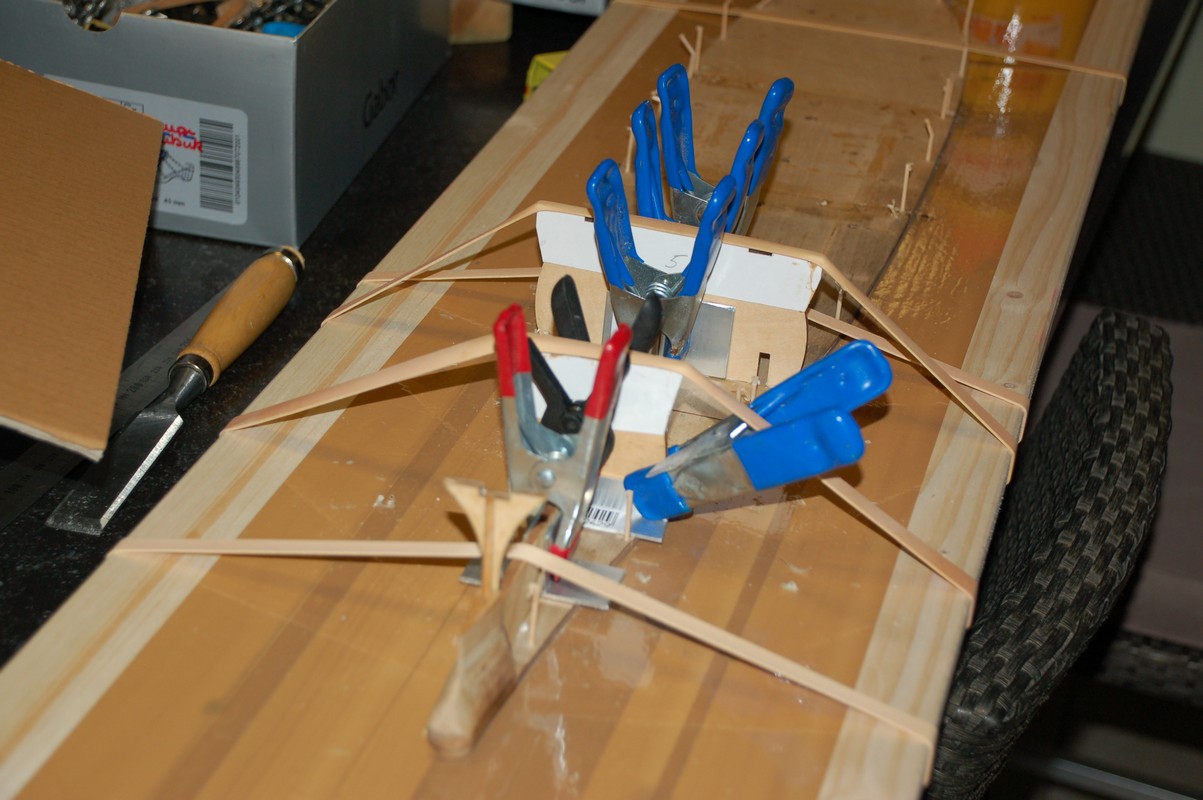
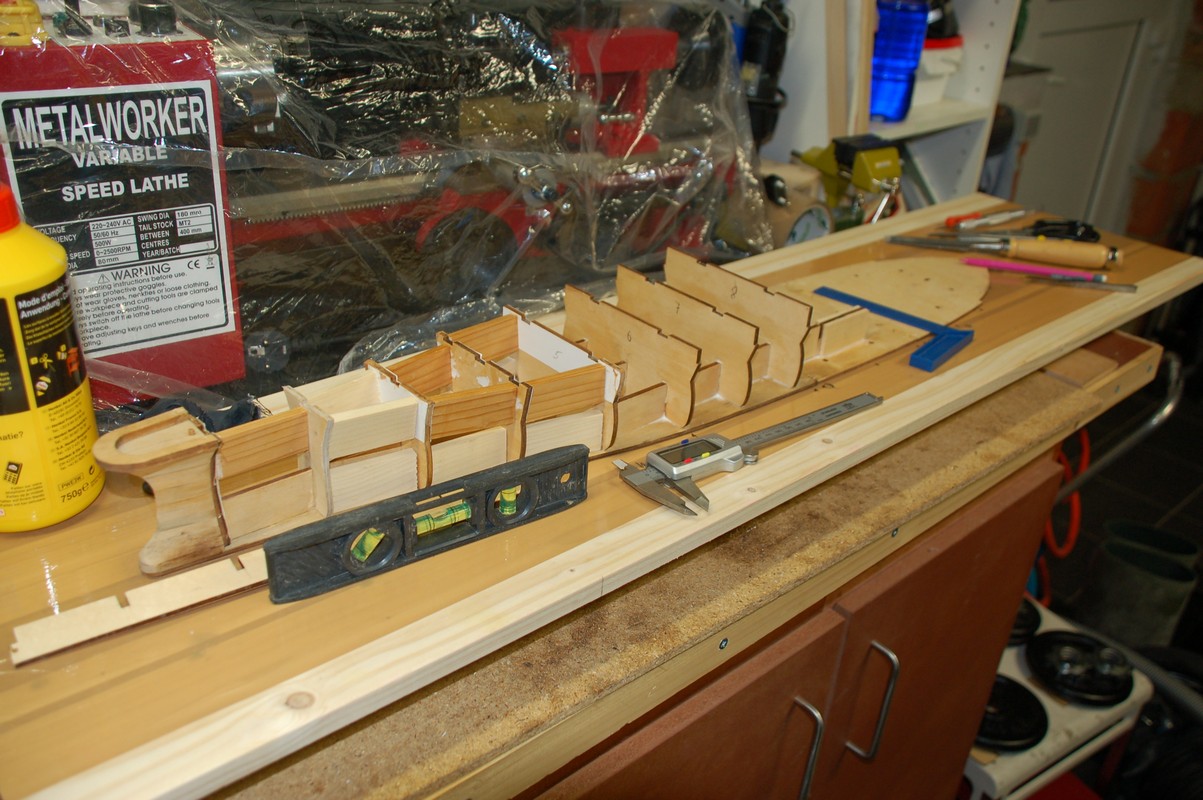
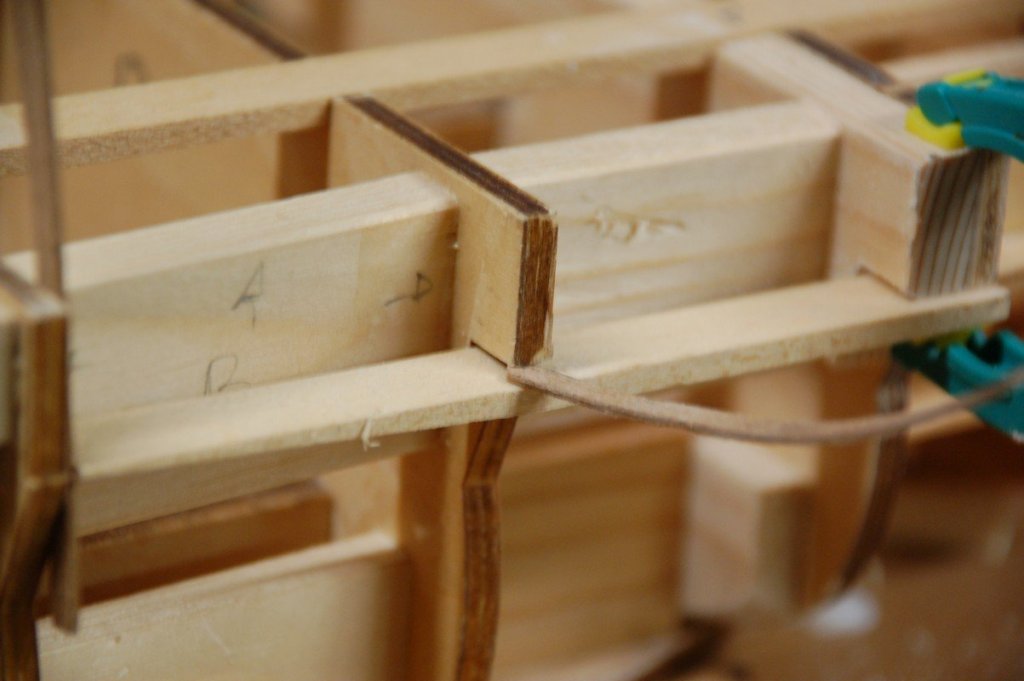
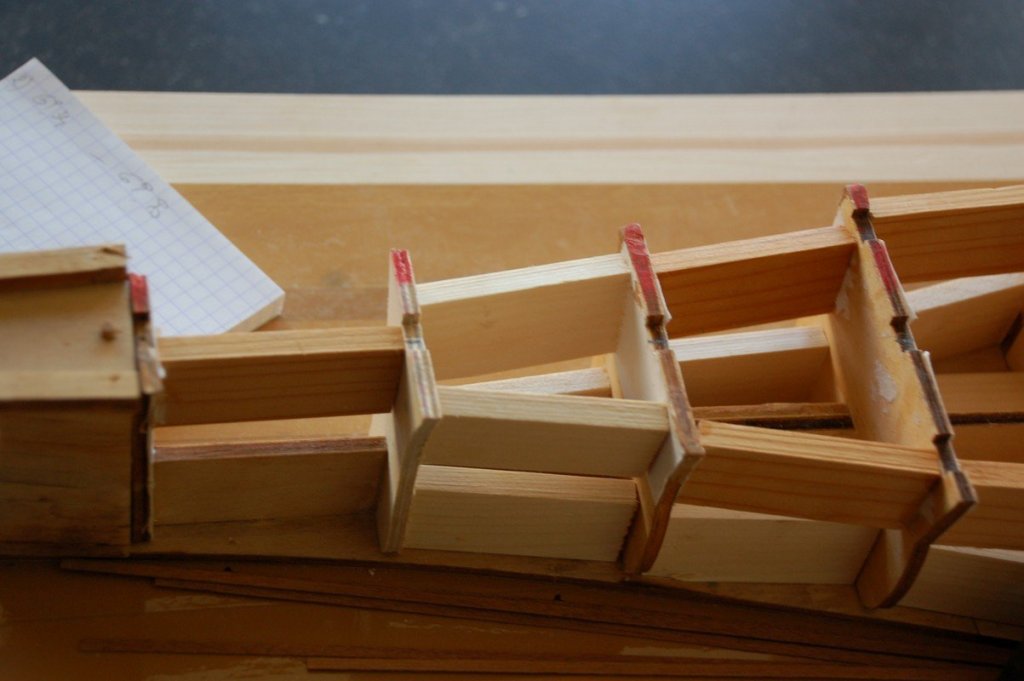
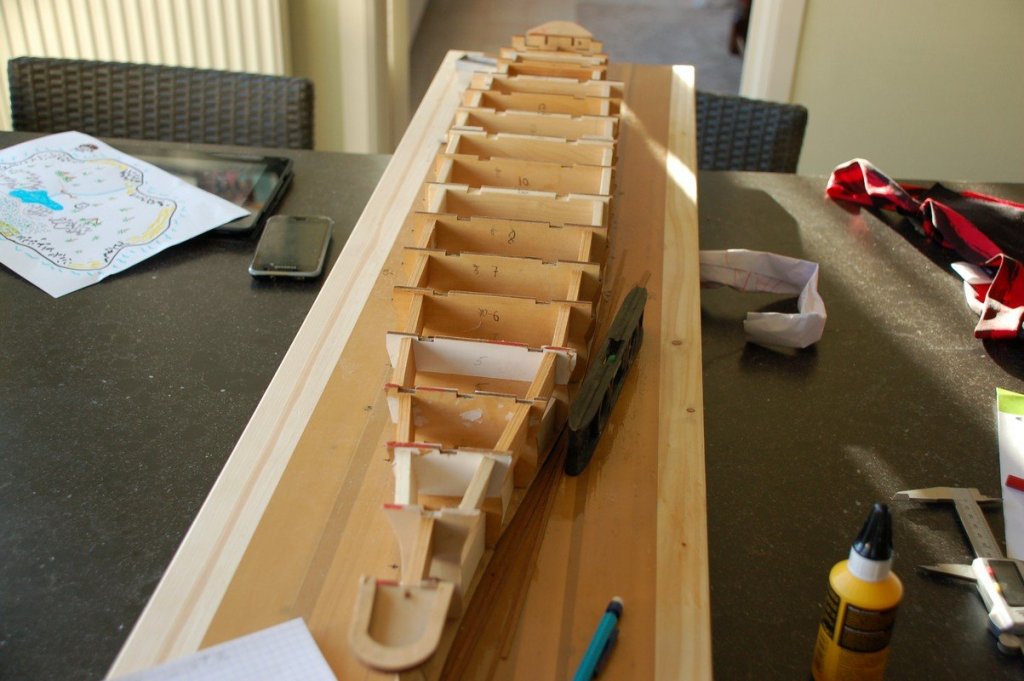
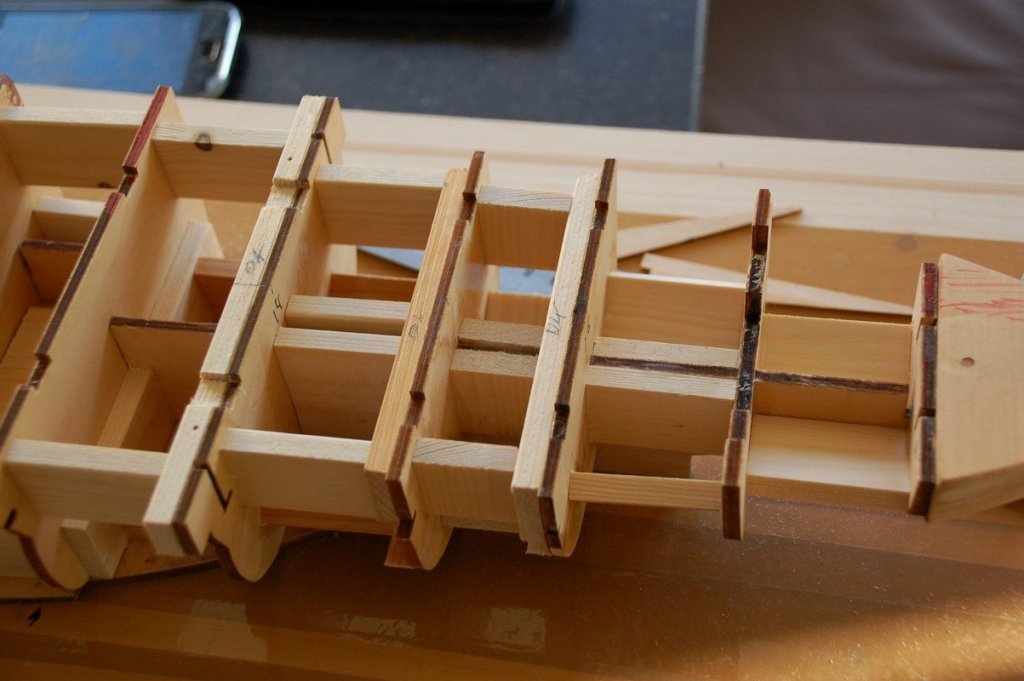
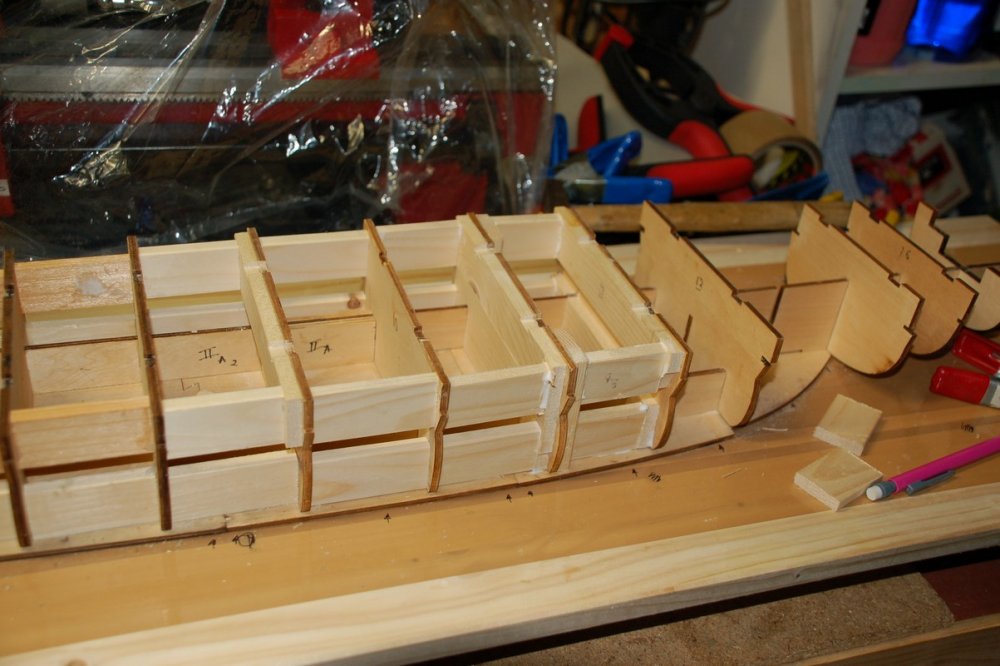
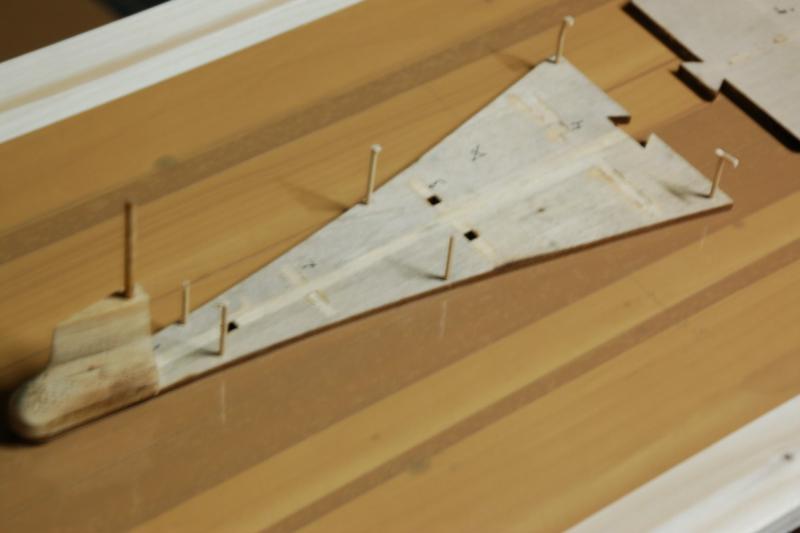
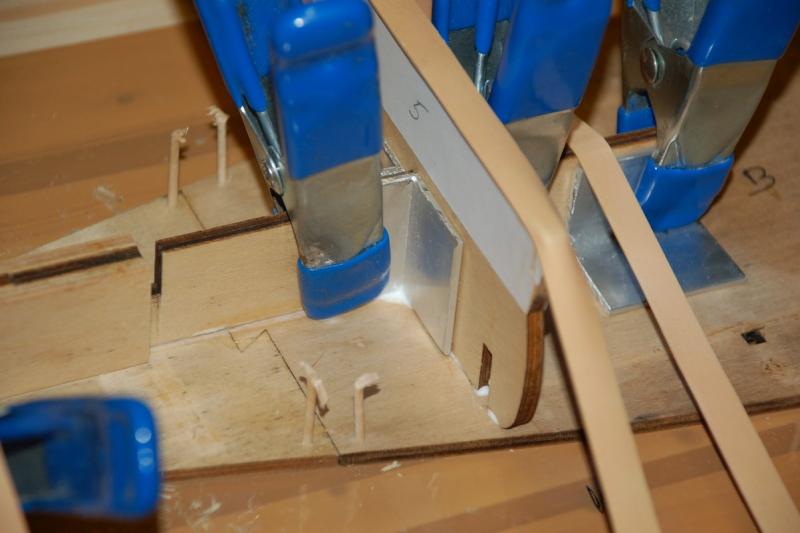
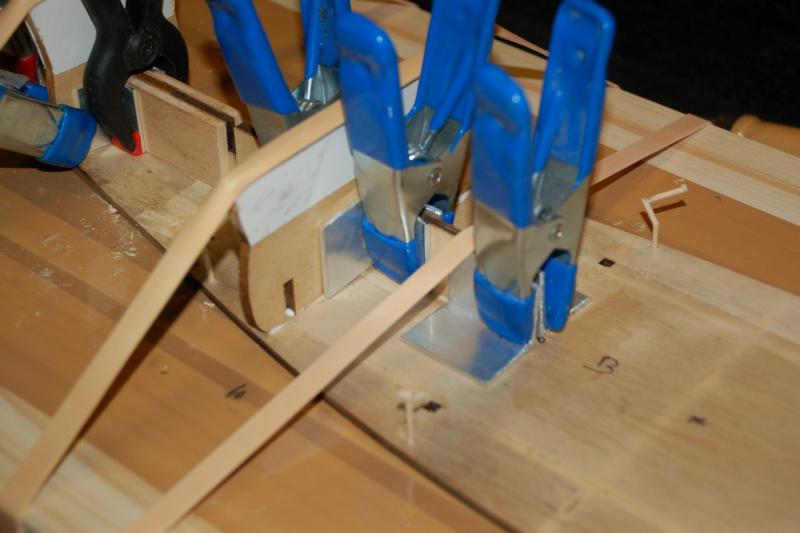
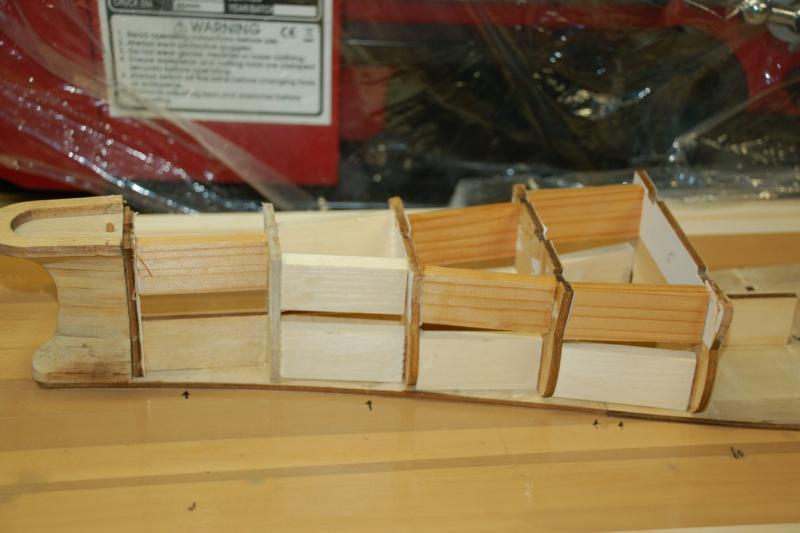
I've started rebuilding the ship. First i've made a building board. Then using toothpicks i've attached the bottom of the ship to the building board. I'm hoping it will stay straight this way. Afterwards i've been adding the bulkheads onto the bottom plate. I've used aluminum L-profiles to ensure straight corners and rubber bands to keep te pressure downwards. Between the bulkheads i've added some strength using pieces of pine. I hope to achieve a rigid skeleton this way. I continue building the skeleton this way, every few bulkheads with afterwards the wooden pieces in between.


-
Hi daddyrabbit and welcome to my log You always can look at the forum of ModelSpace for additionnal information about the construction of this kit. It has helped me already sometimes to figure things out. I've noticed some errors here and there in the instructions.
-
Great work an that painting. I really like how you did the "plating". It's giving me headaches in wondering how i'm going to simulate that.
-
It's breathtaking! This no longer is a shipmodel but a work of art. (What a bunch of amateurs we are in comparison....)
- 728 replies
-
- 4
-
-
- le fleuron
- 64 gun
- (and 1 more)