WBlakeny
-
Posts
252 -
Joined
-
Last visited
Content Type
Profiles
Forums
Gallery
Events
Everything posted by WBlakeny
-
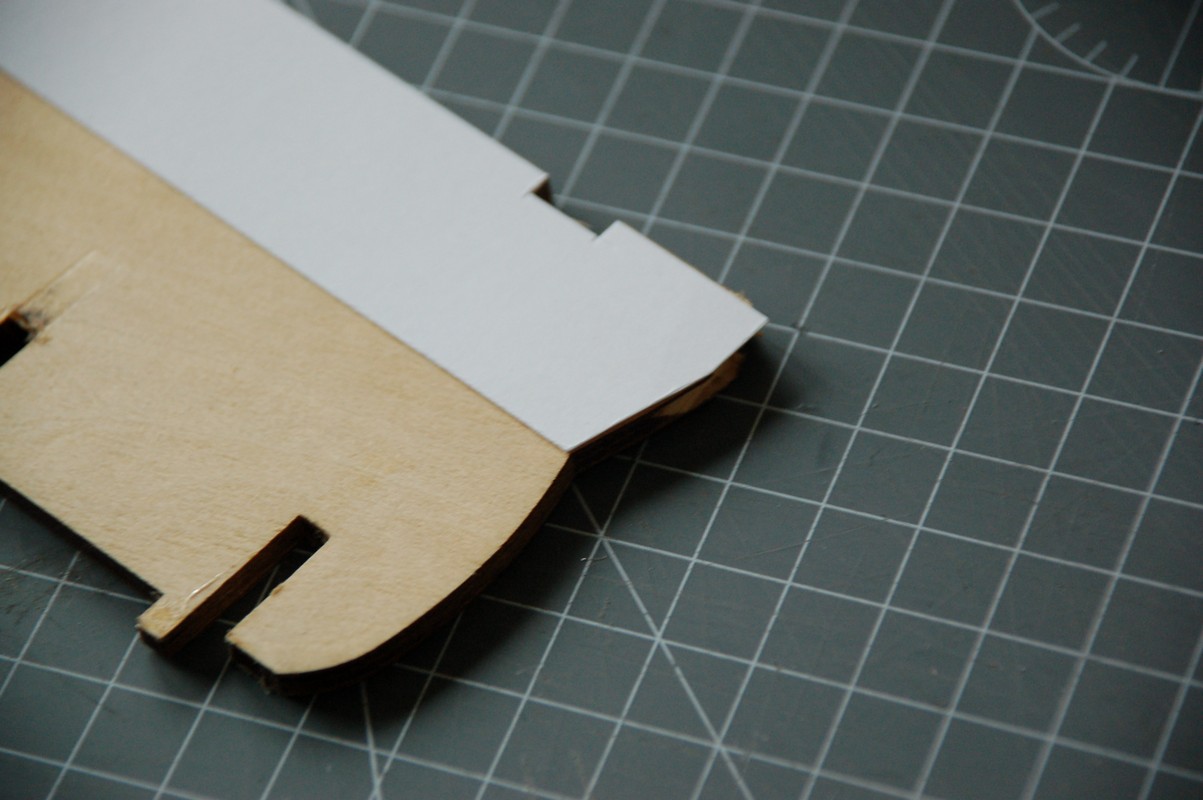
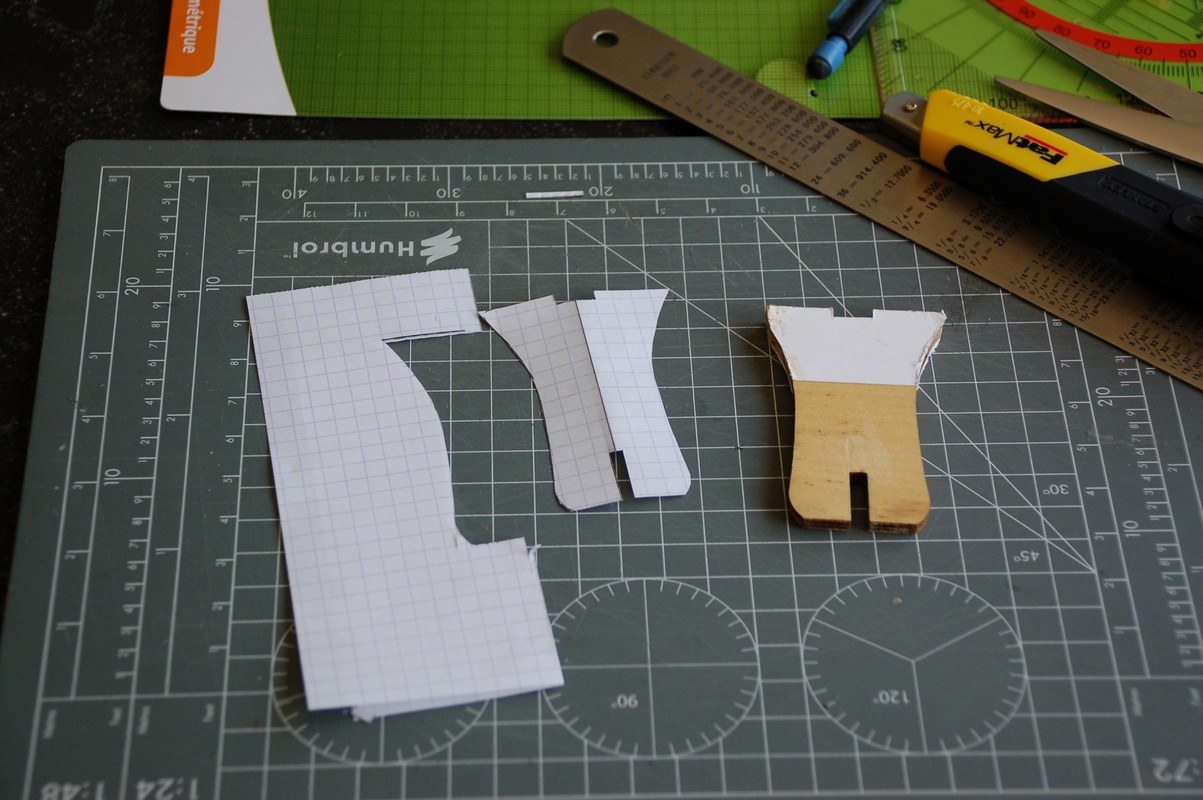
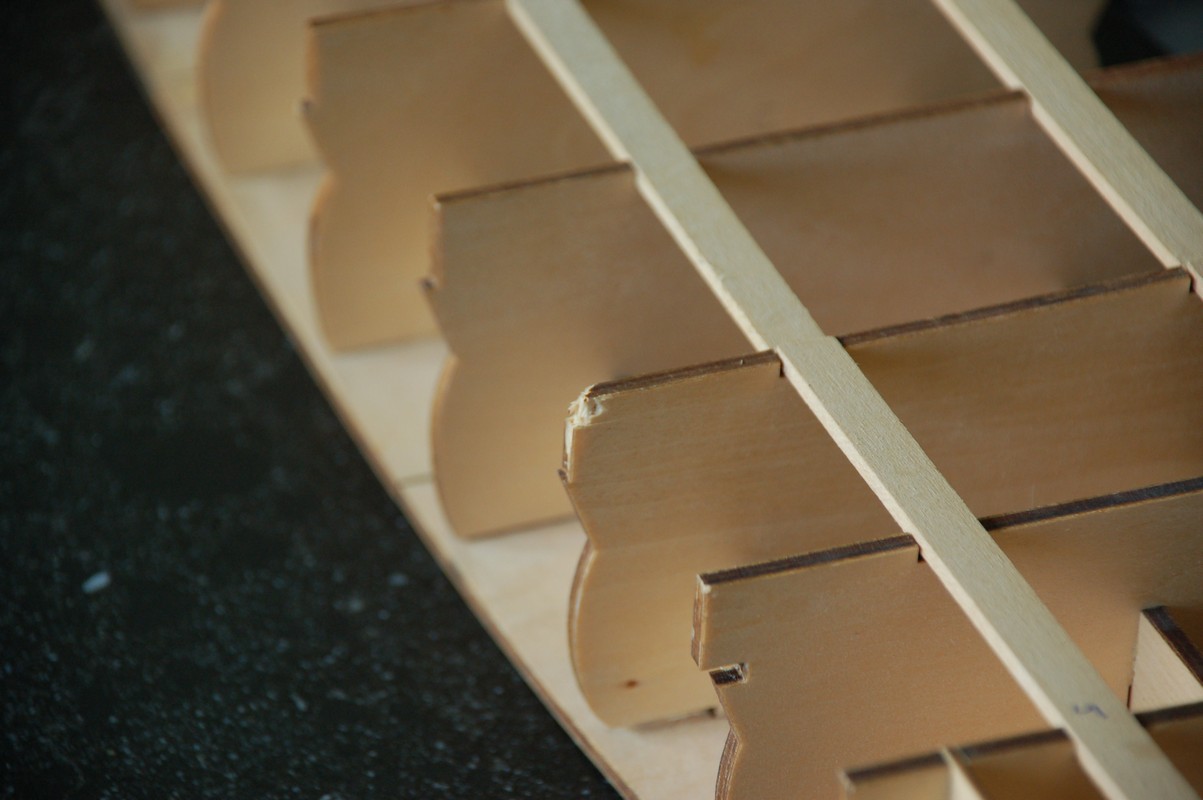
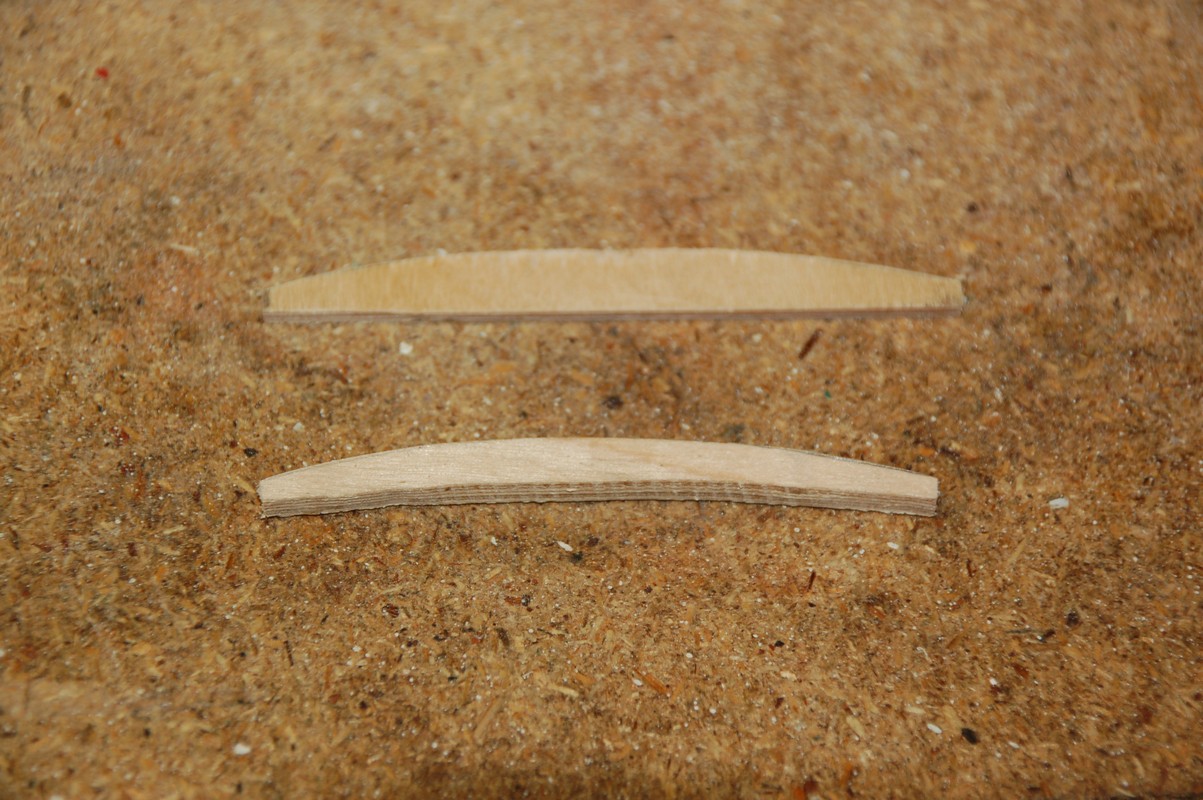
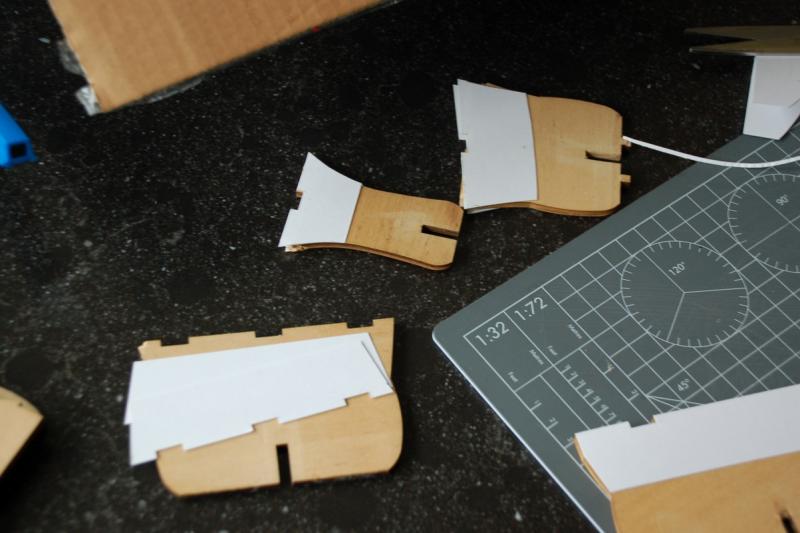
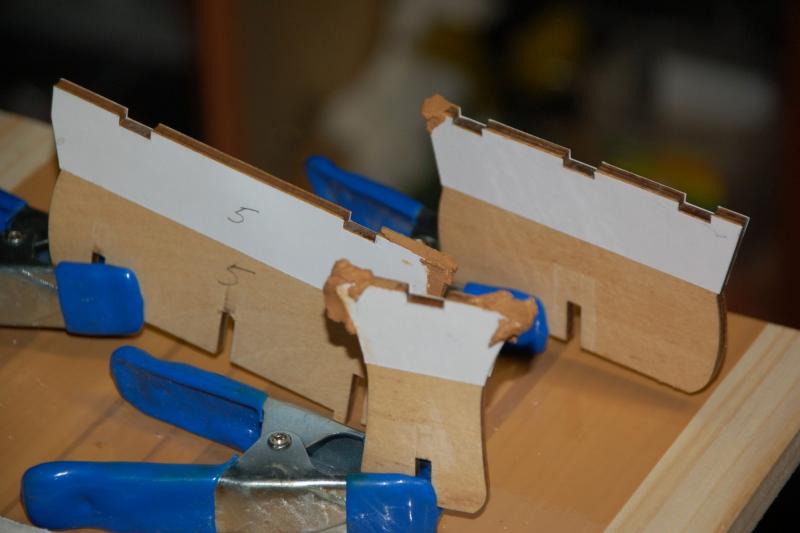
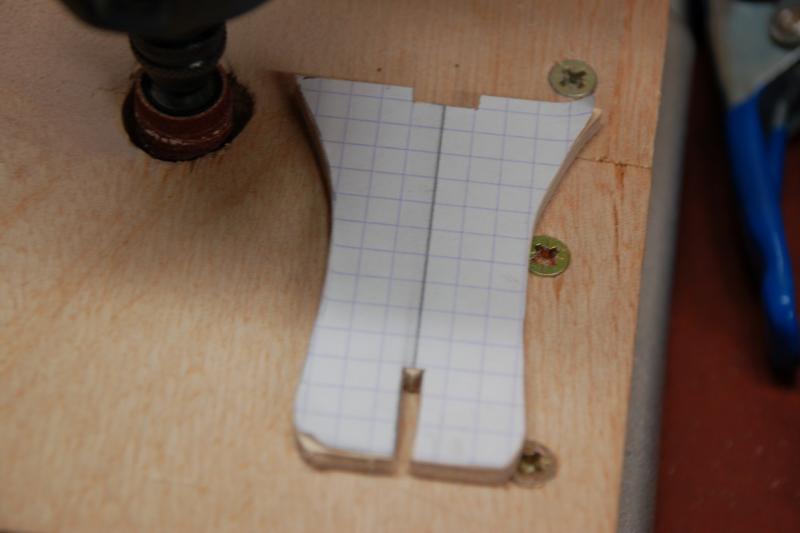
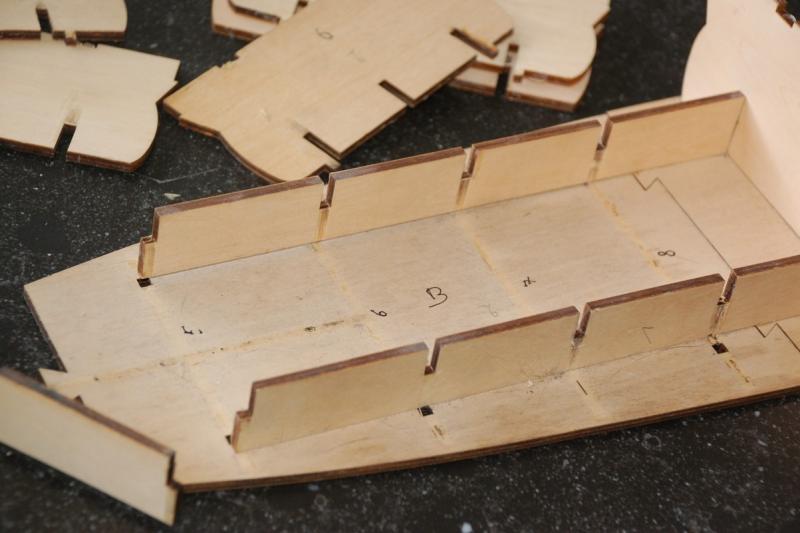
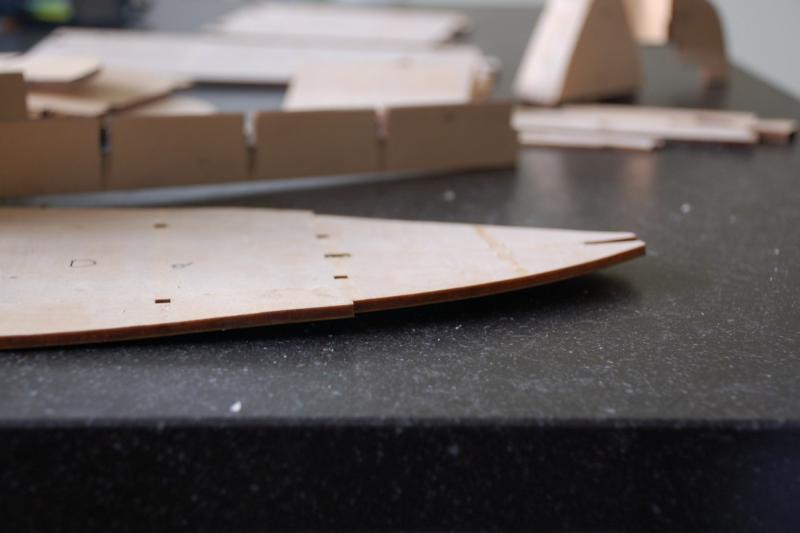
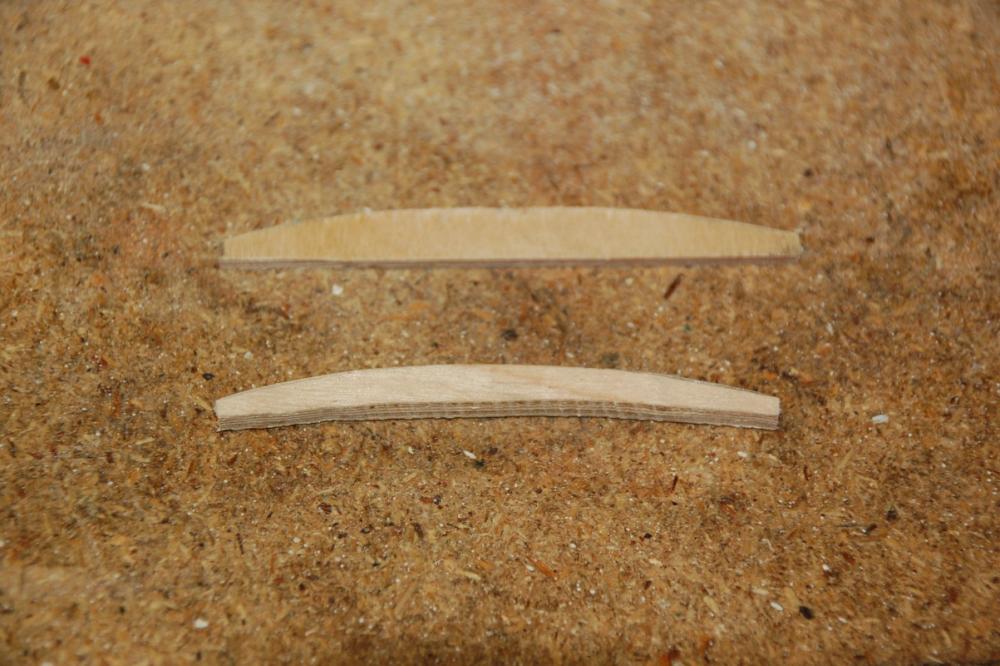
 To fix the bulkheads, i first made a cart template using the side which was not damaged. Afterwards i glued the template on the bulkhead. I then filled the voids at the corners with some wood filler. Once dry, i sanded the corners smooth. I remade the part that was to much damaged, using some old plywood i had lying around.
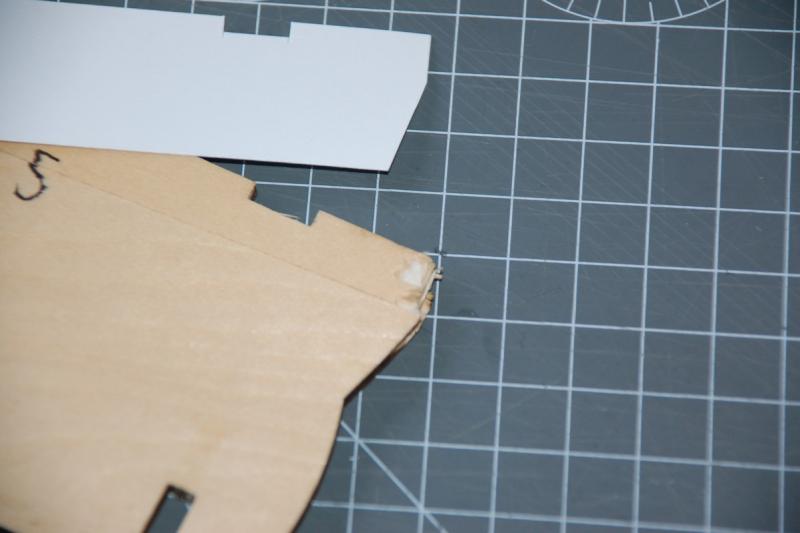


-
That's right. It sure is worth the discount And Bob, you may make all the noise you want.... all help is appreciated.
-
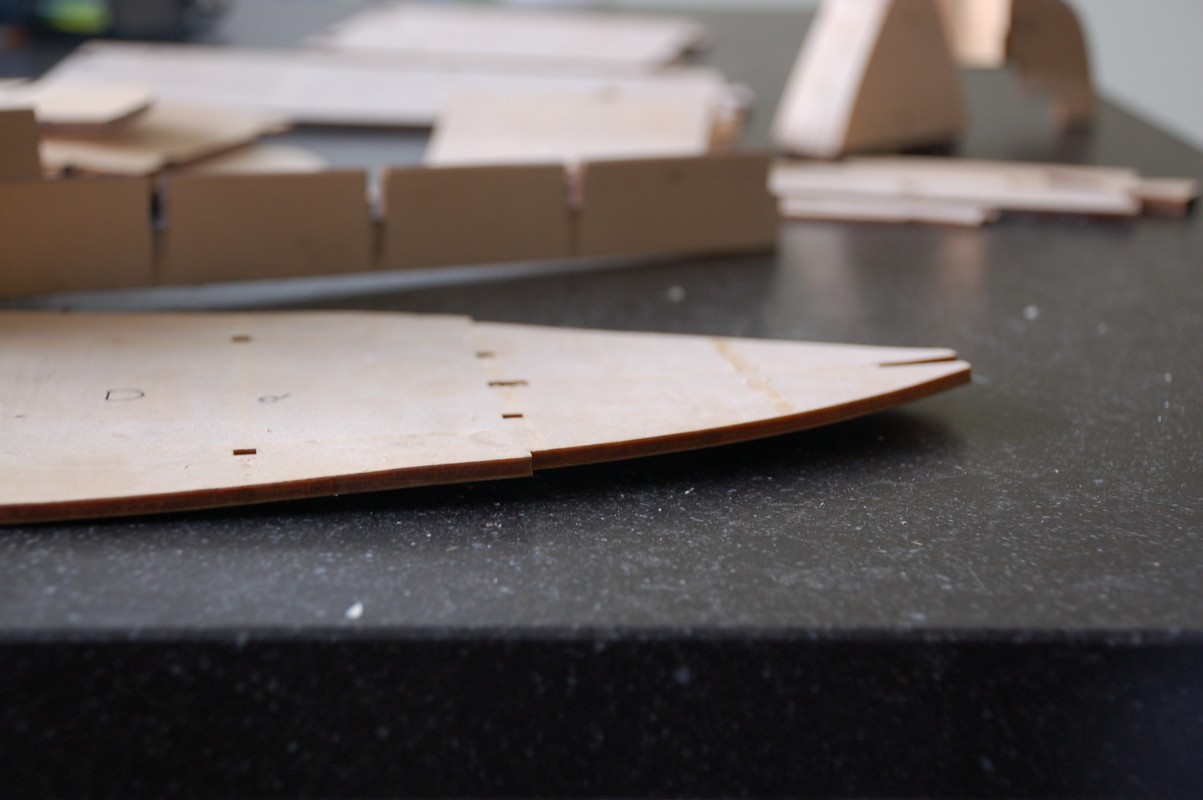
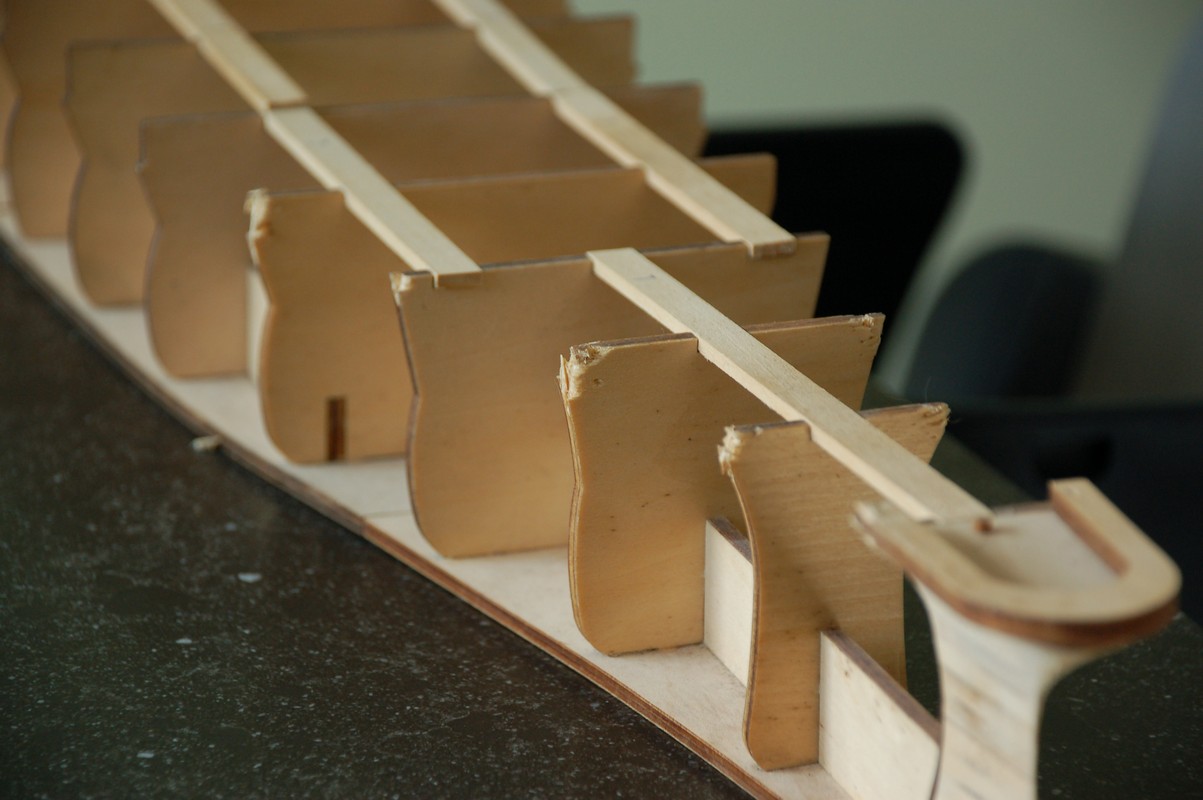
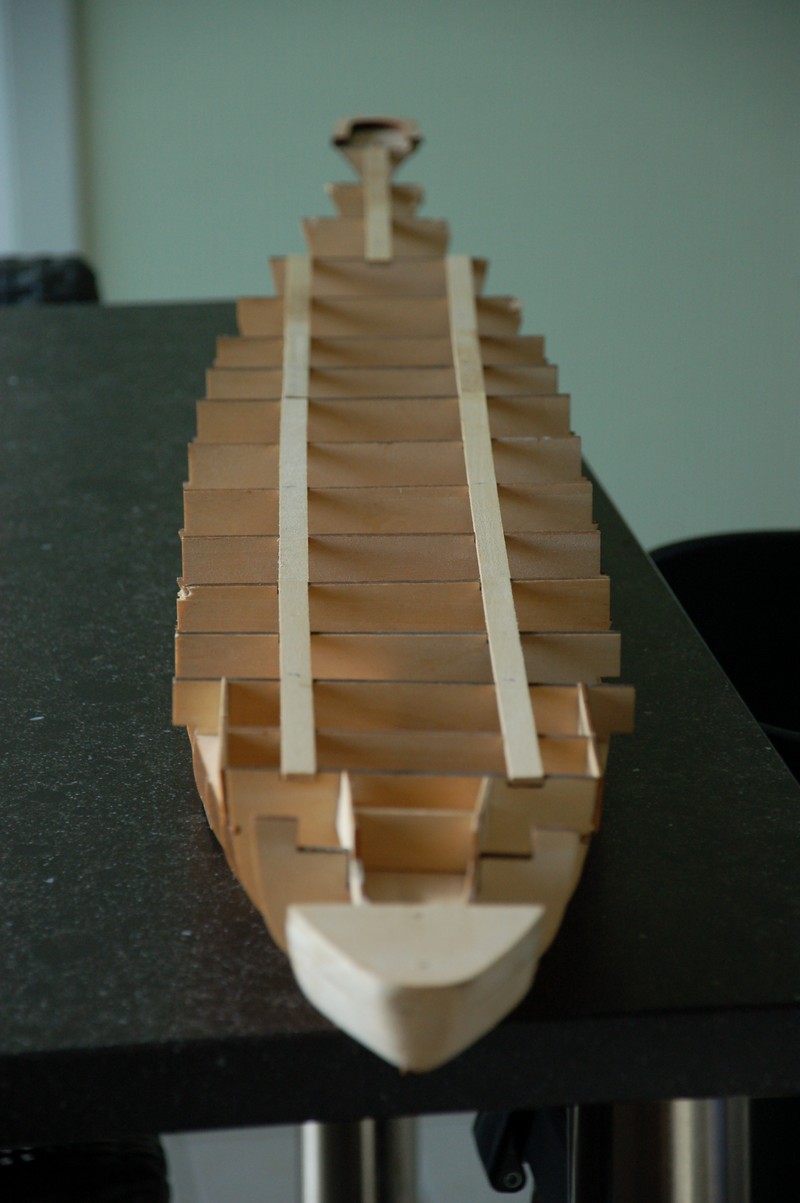
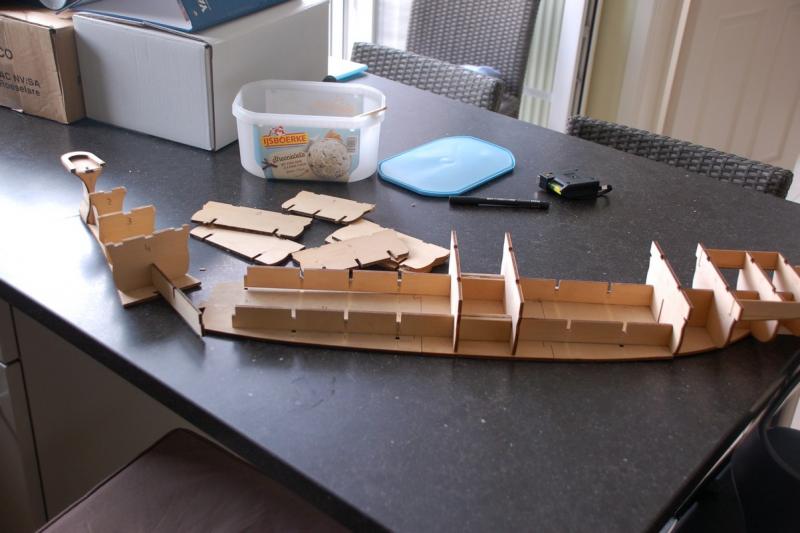
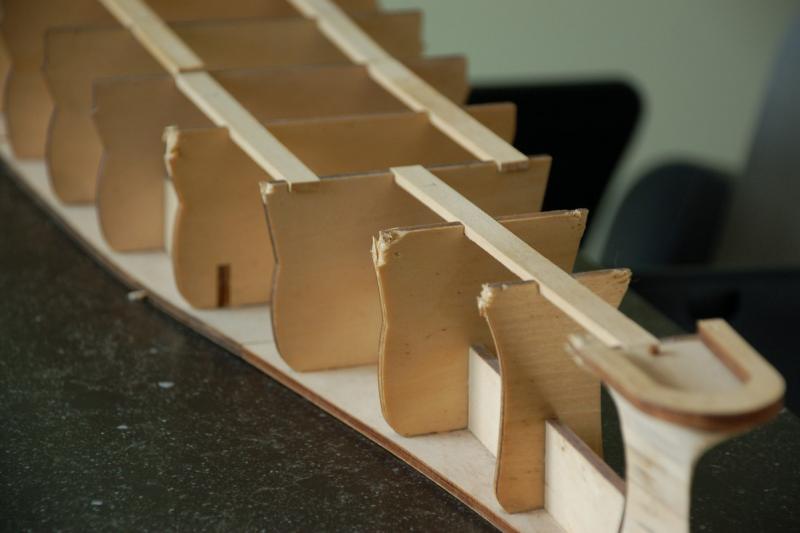
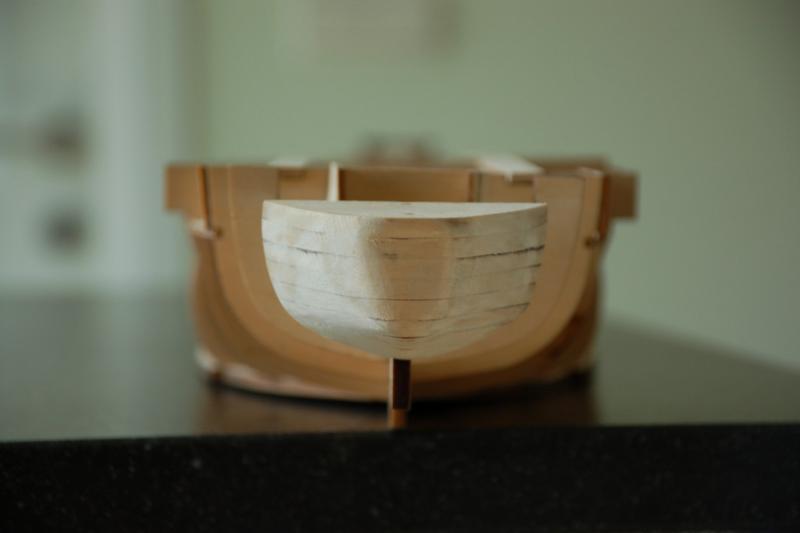
To fix the warped hull, i decided to rebuild the hull. I carefully took apart the components. Luckily it proved to go rather well, i think the former builder didn't use wood glue but a simple contact glue. Once the parts got separated, the degree of warping became very obvious.
-
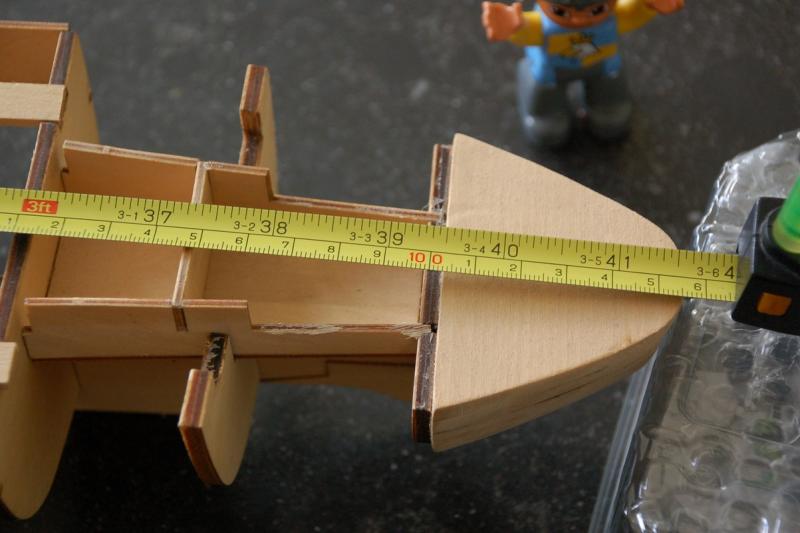
The first inspection of the already built hull, reveals that she has seriously warped. There has also been some damage to some of the bulkheads. I also measured the hull, she'll be quite a size! Over 3 feet or 1,05 meter.


-
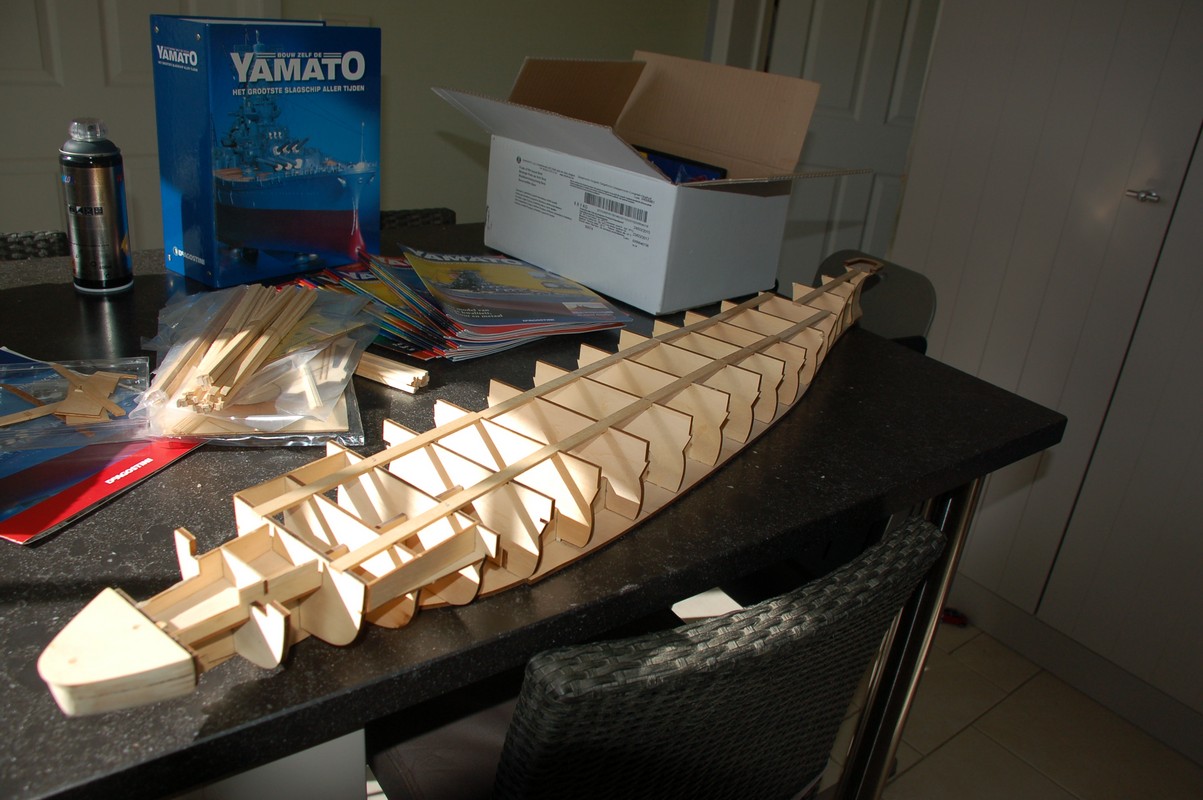
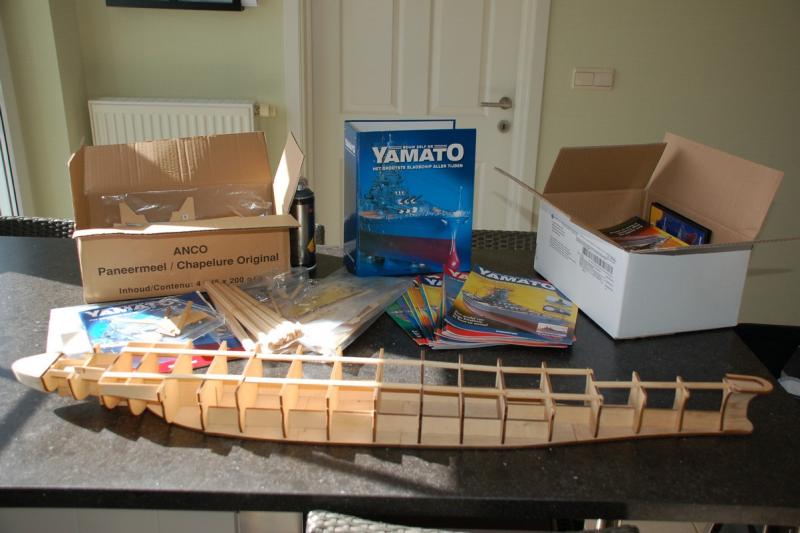
Hello everyone I'd like to start a new log for the Yamato. This kit is the one DeAgostini brought out a couple of years ago here in Belgium. I was able to buy this kit from anoter shipmodeller who had lost intrest in building her. He let her go for only 50 € so this was really a bargain This is what i got : I must admit i'm a little terrified of the adventure ahead of me, after watching the the superb logs and builds of Greg's Yamato and Carl's Musashi. The latter being the Yamato's sister ship. I hope i can do her credit by building a nice model of the greatest warship of her time.


-
Wow... beautiful!
-
A nice model. Well done!
-
What an enormous amount of details! I've started a Yamato by Deagostini and will be looking at your model a lot. It's so inspiring.
-
I'm a huge fan of your work, superbly done!
-
Good luck with your build, i've had lots of fun building mine.
-
A stunning result! That nameplate really puts the cherry on the cake.
-
Hope you don't mind having me along. Interesting project! The Revell "Golden Hind" was one of the first models i've built as well, about 25 years ago.
- 756 replies
-
- 4
-

-
- galleon
- golden hind
- (and 2 more)
-
What a nice result for that carronade. Great work!!!
-
Thank you Ray for the compliment!! And BIG thanks to you all for the likes and following my little boat.
- 144 replies
-
- 2
-
-
- corsair
- bermuda boat
- (and 1 more)
-
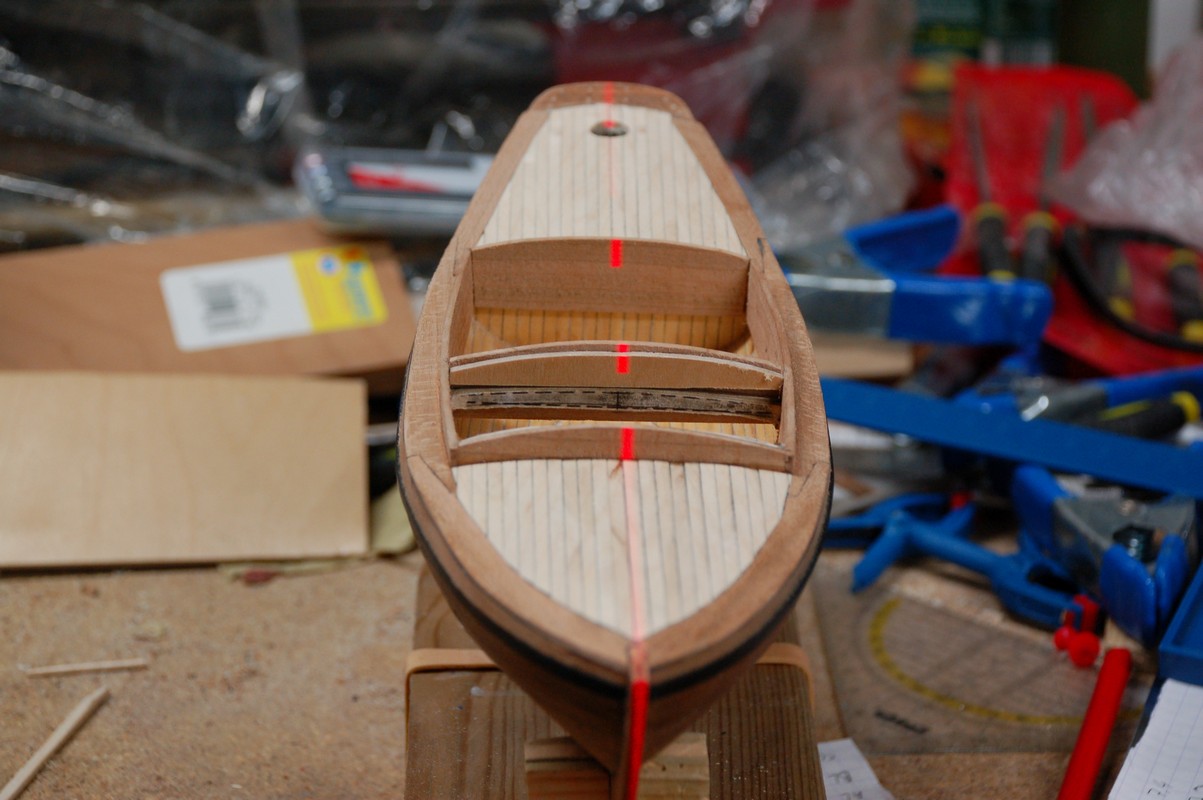
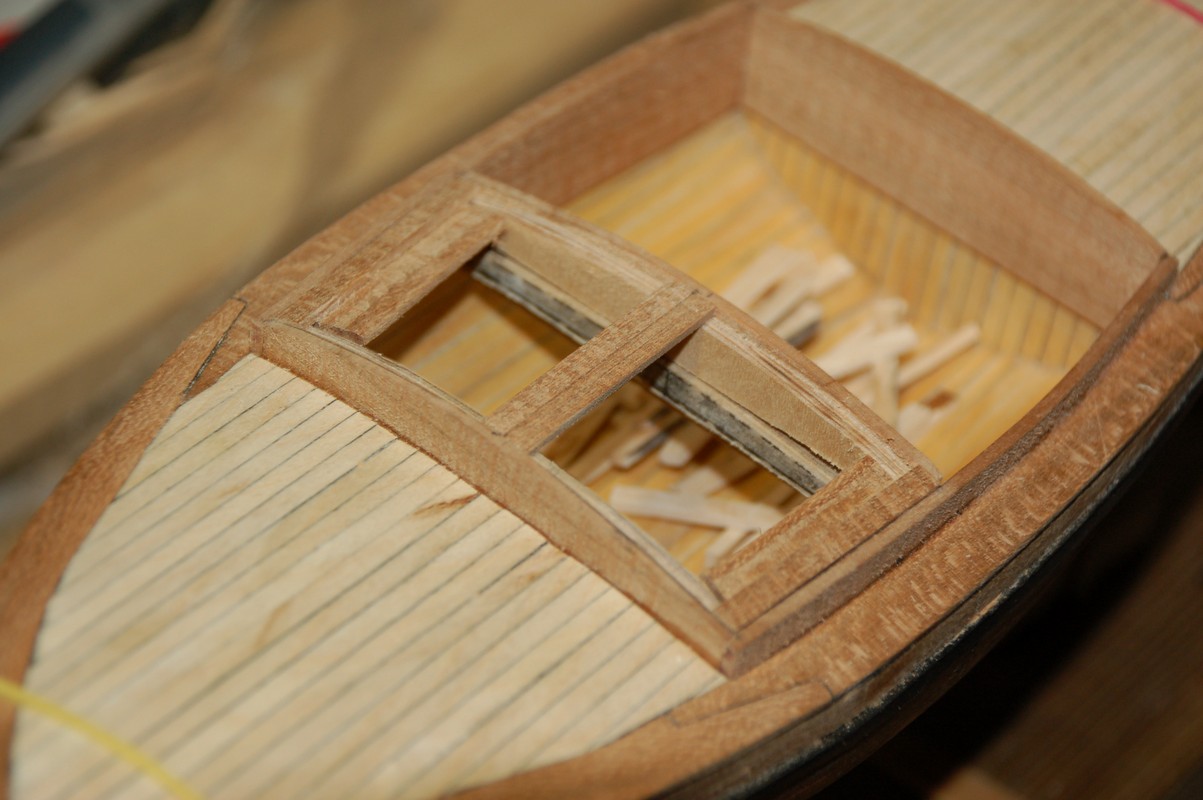
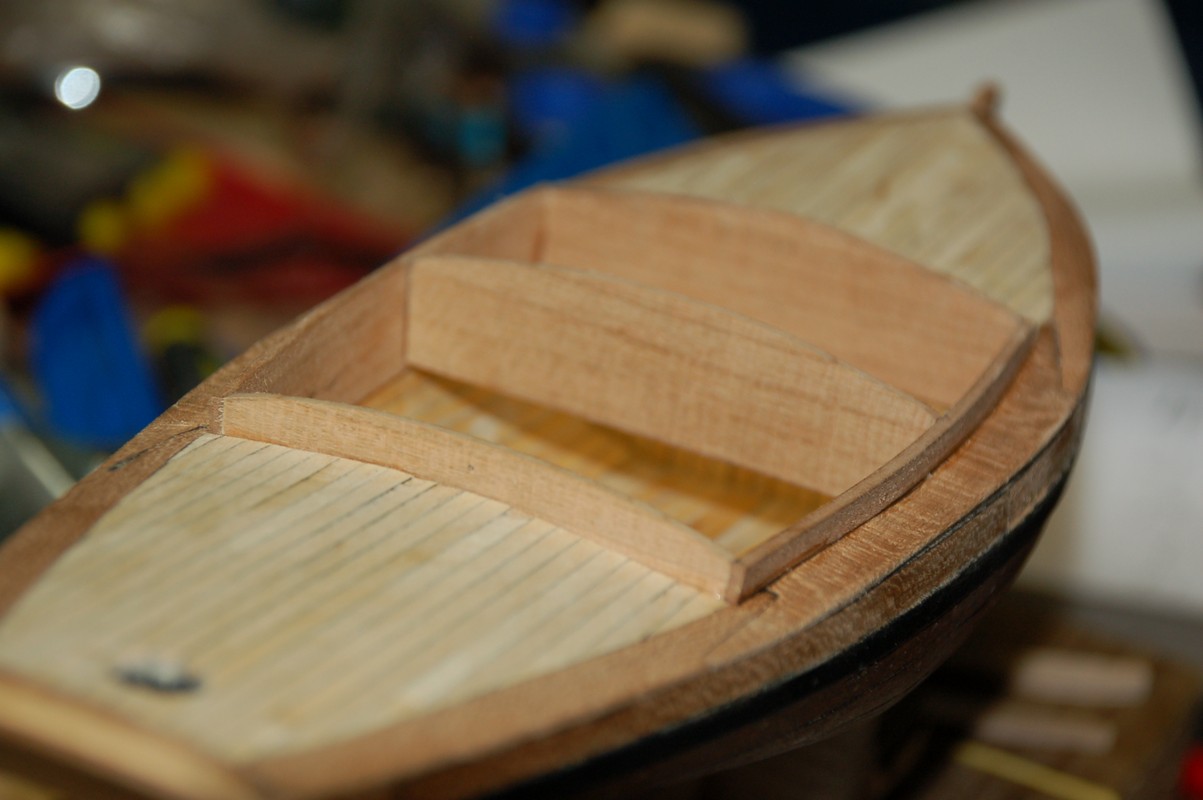
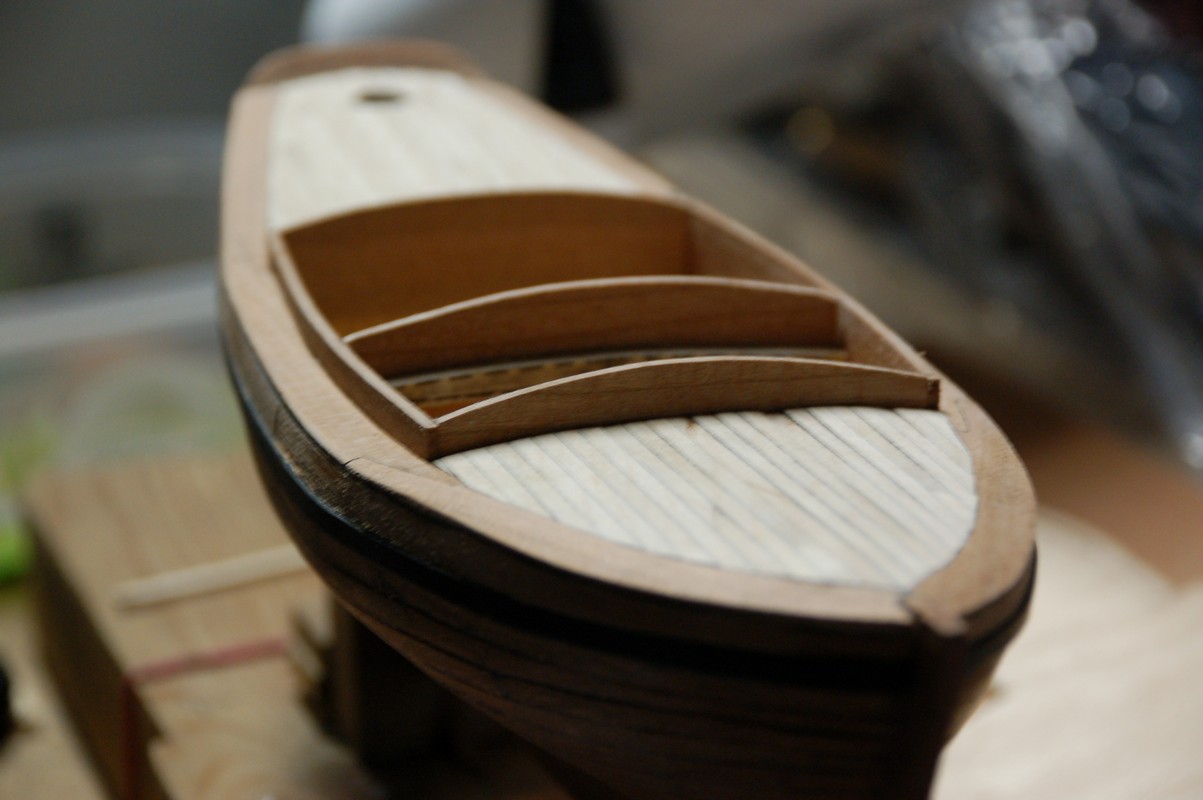
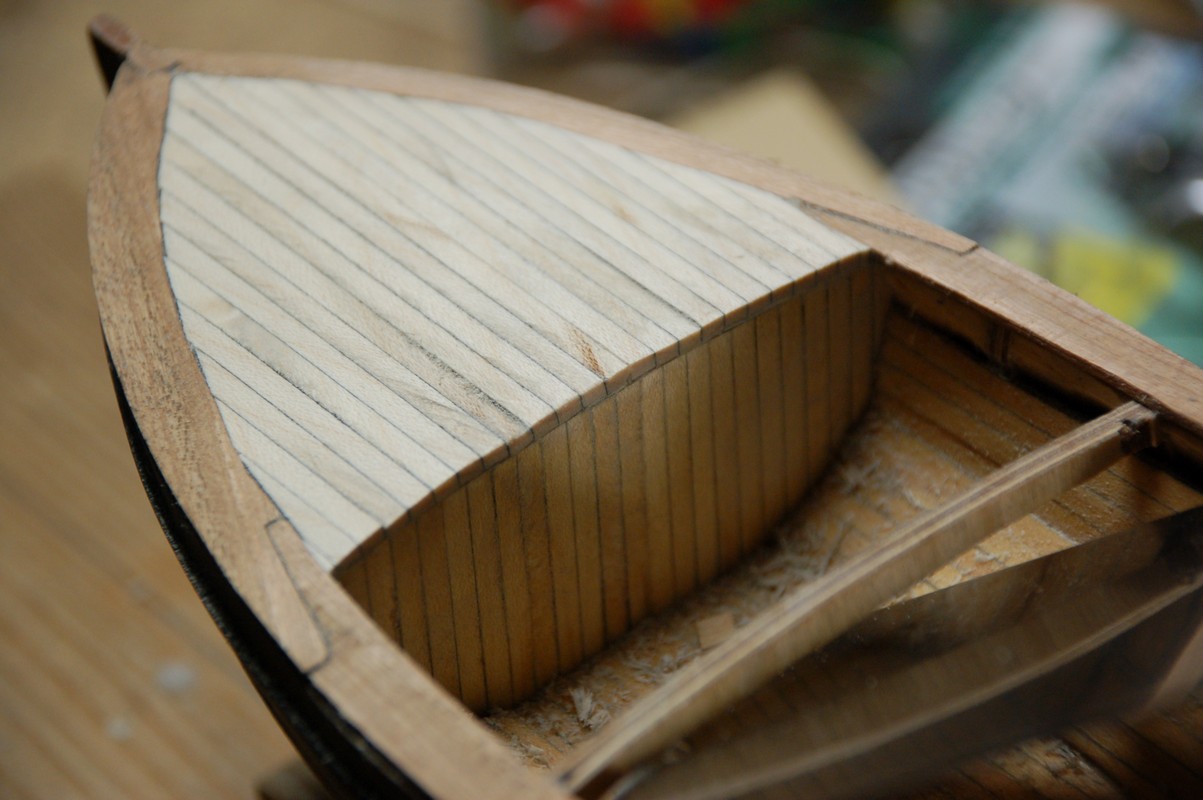
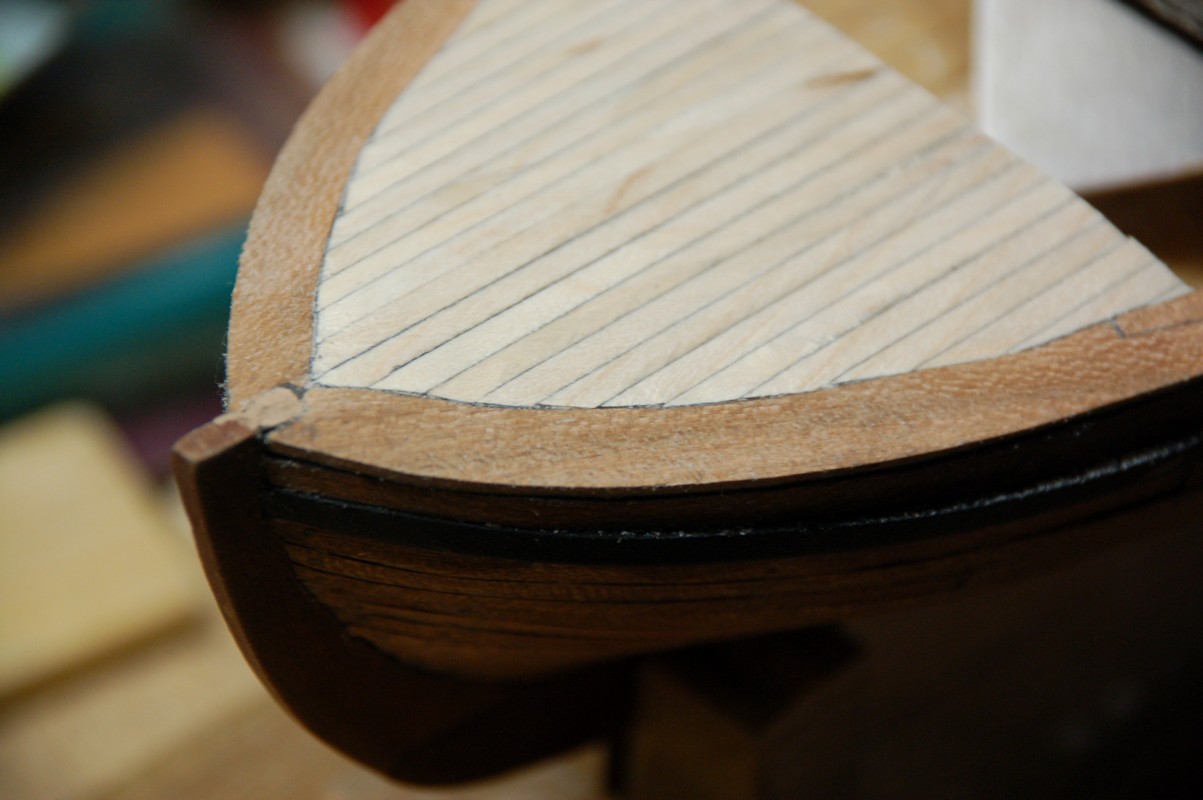
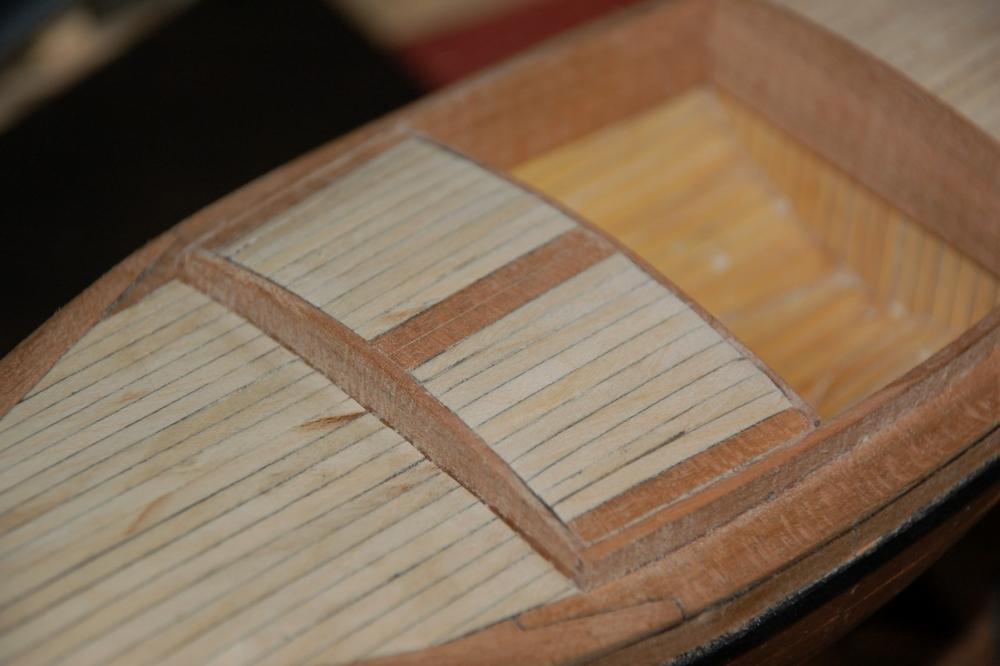
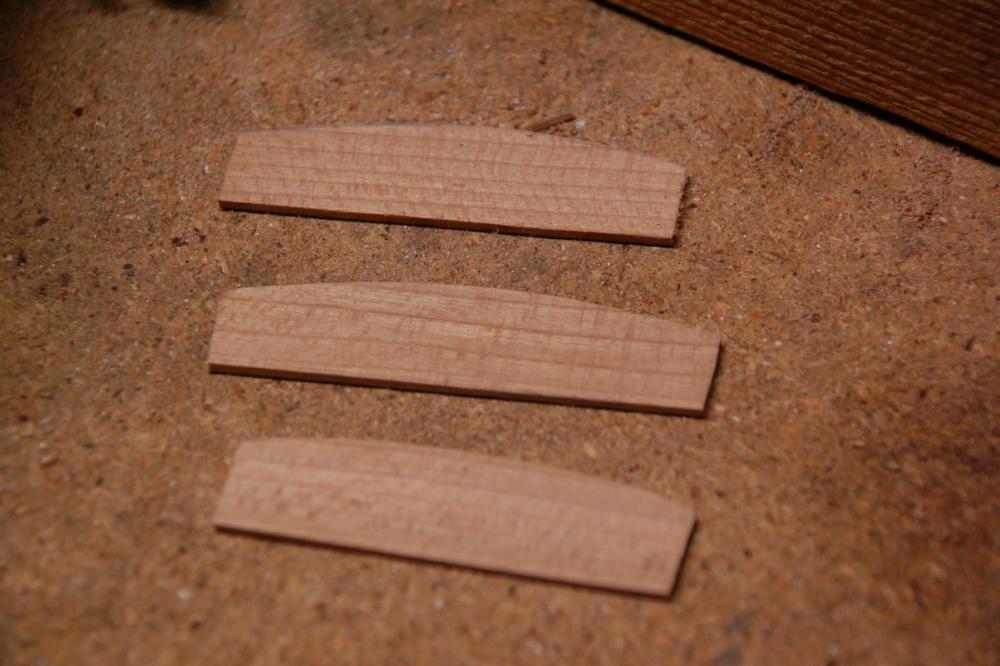
I progressed on the cabin. I made the hatches. They were used to store the cooking gear and other stuff. First i had to make some dummy beams to provide some support for the hatches. I made those from some scrap plywood on which i matched the curve of the cabin walls. I glued them in place and let them dry overnight. After marking the middle of the cabin with the laser i placed some cherry planks. Then i filled the open spaces with the maple planks. I had to to taper 5 planks on each side in order to fill it up nicely. Then using a scraper, and sanding with different grits, I obtained a smooth result.


- 144 replies
-
- 7
-
-
- corsair
- bermuda boat
- (and 1 more)
-
Thanks Christian It is appeasing indeed, although i have to do things a couple of times sometimes before i get it right.
- 144 replies
-
- 2
-
-
- corsair
- bermuda boat
- (and 1 more)
-
No, here it comes out in 130 issues, i've been saving them up now.
-
MONTAÑES by Amalio
WBlakeny replied to Amalio's topic in - Build logs for subjects built 1751 - 1800
Wow. Superbly done. Beautiful... -
Hi Dominic and welcome back. I'll be following your build as I'am also on the verge of starting mine.
-
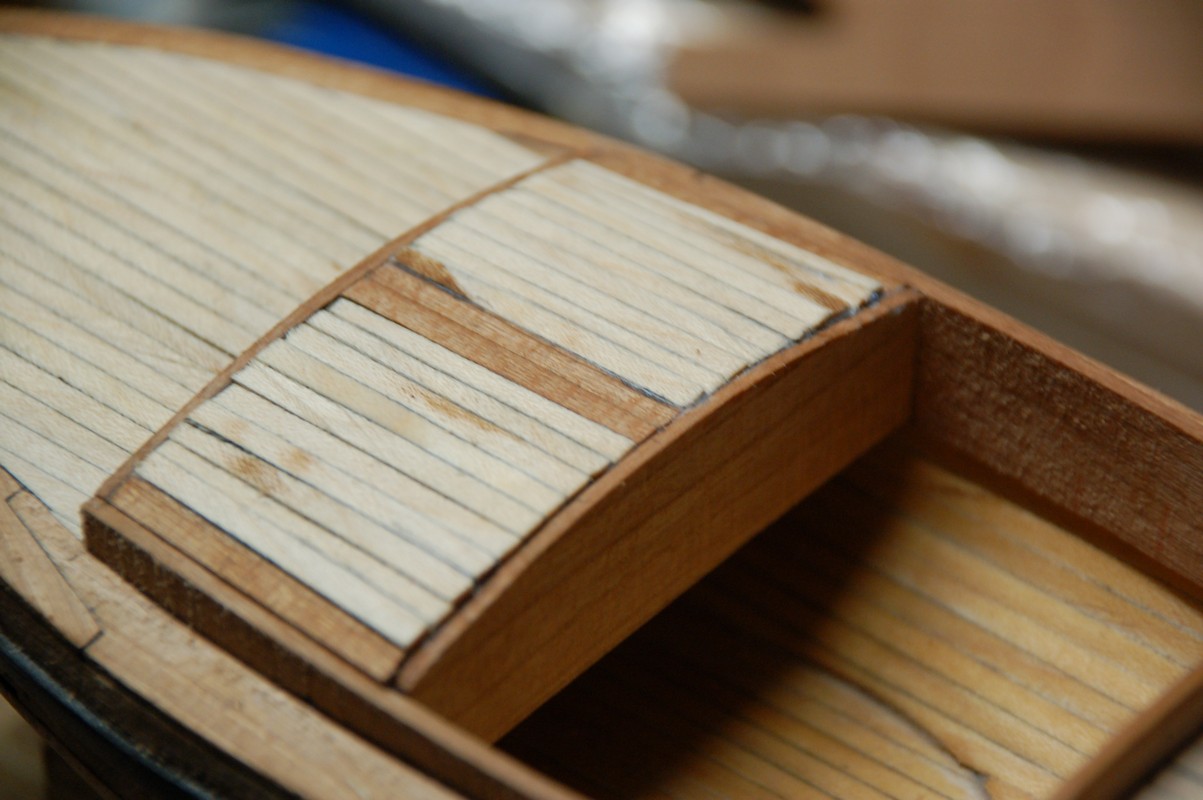
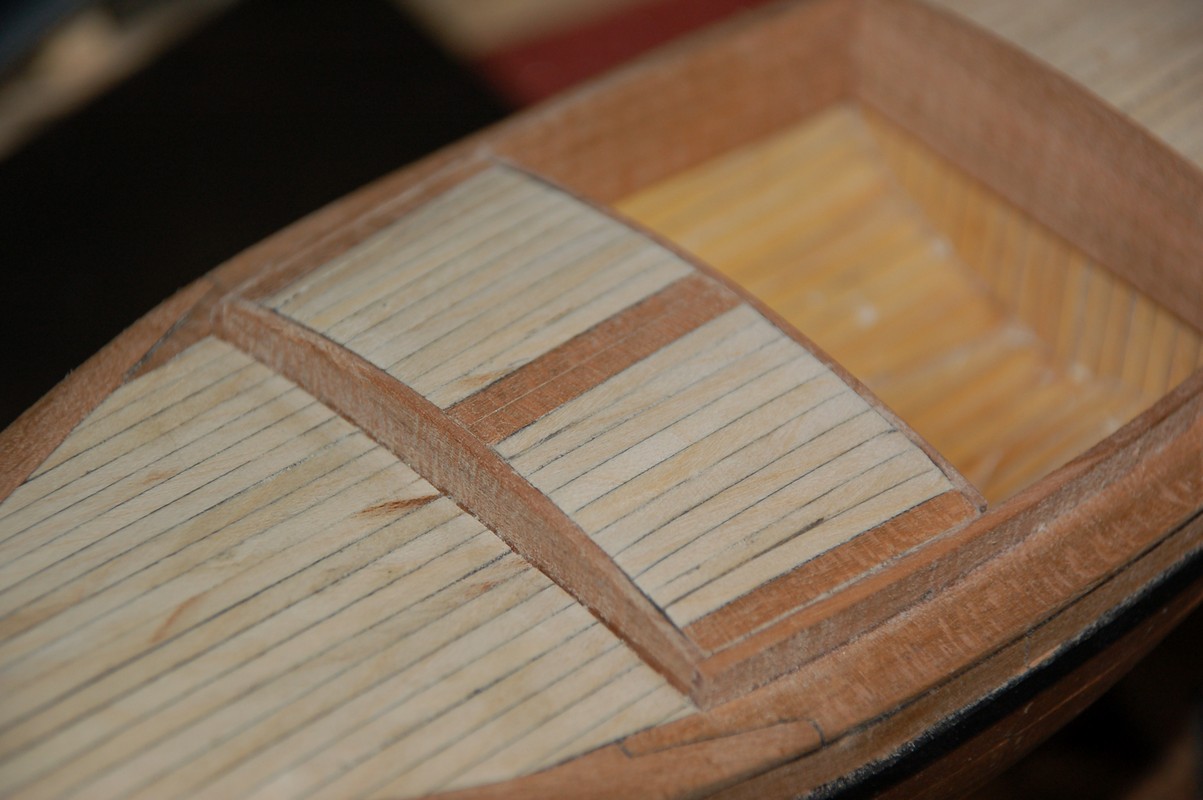
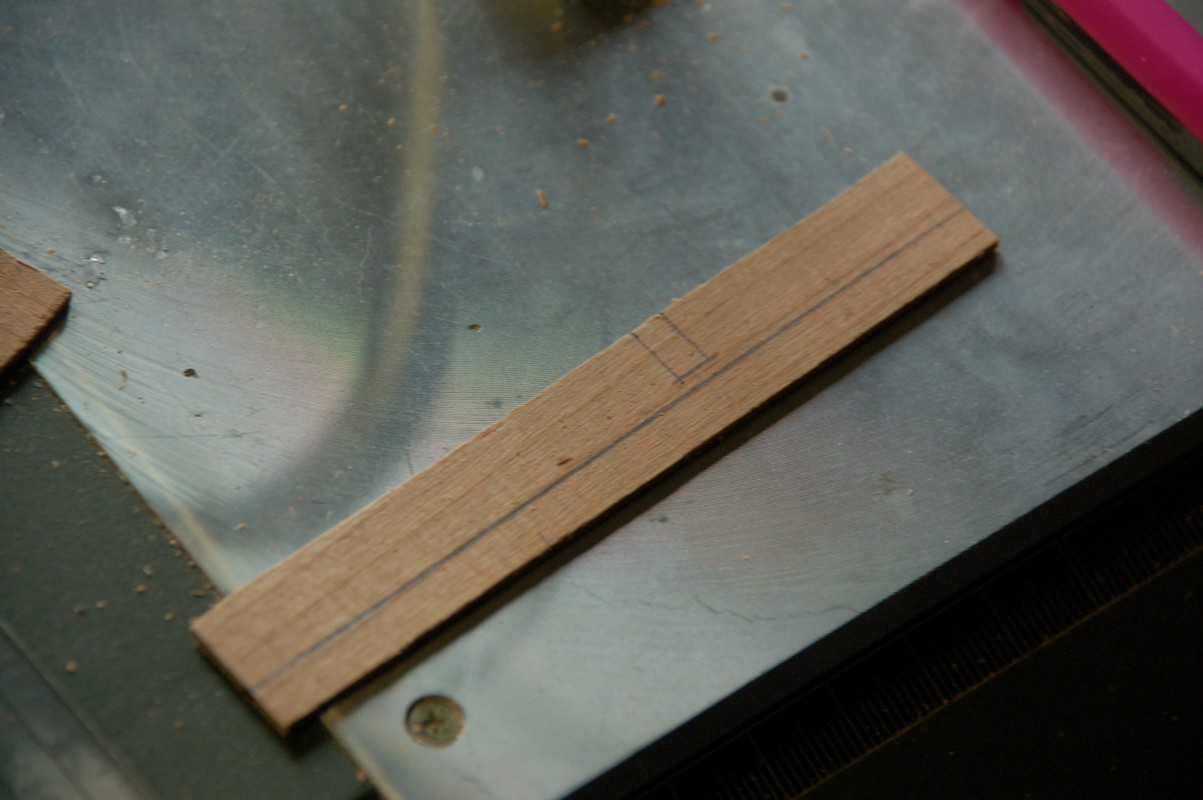
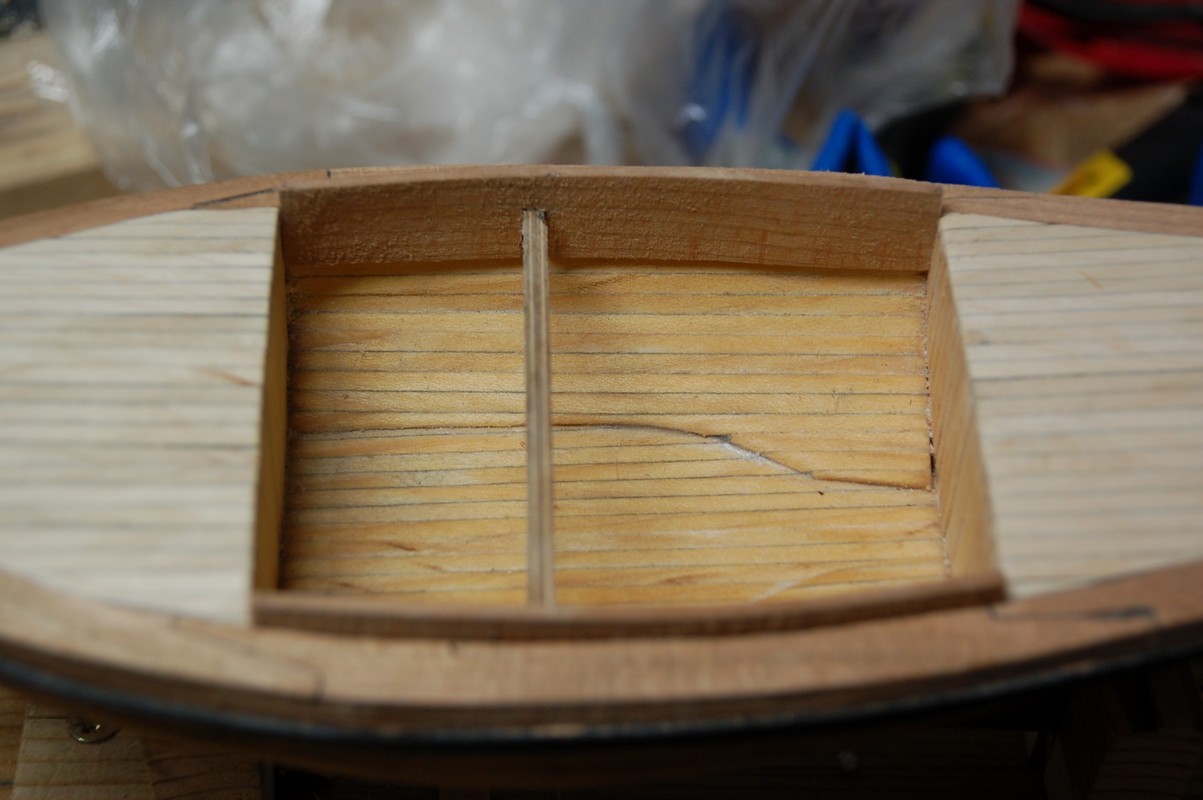
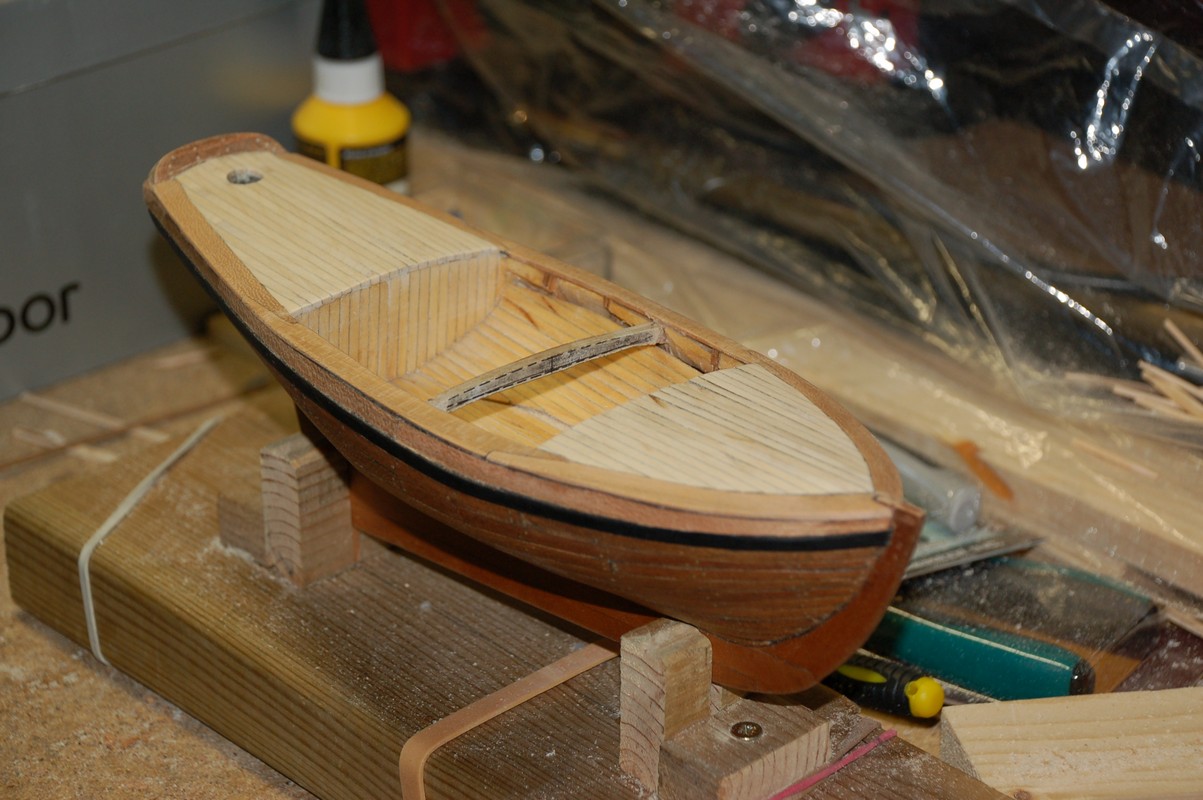
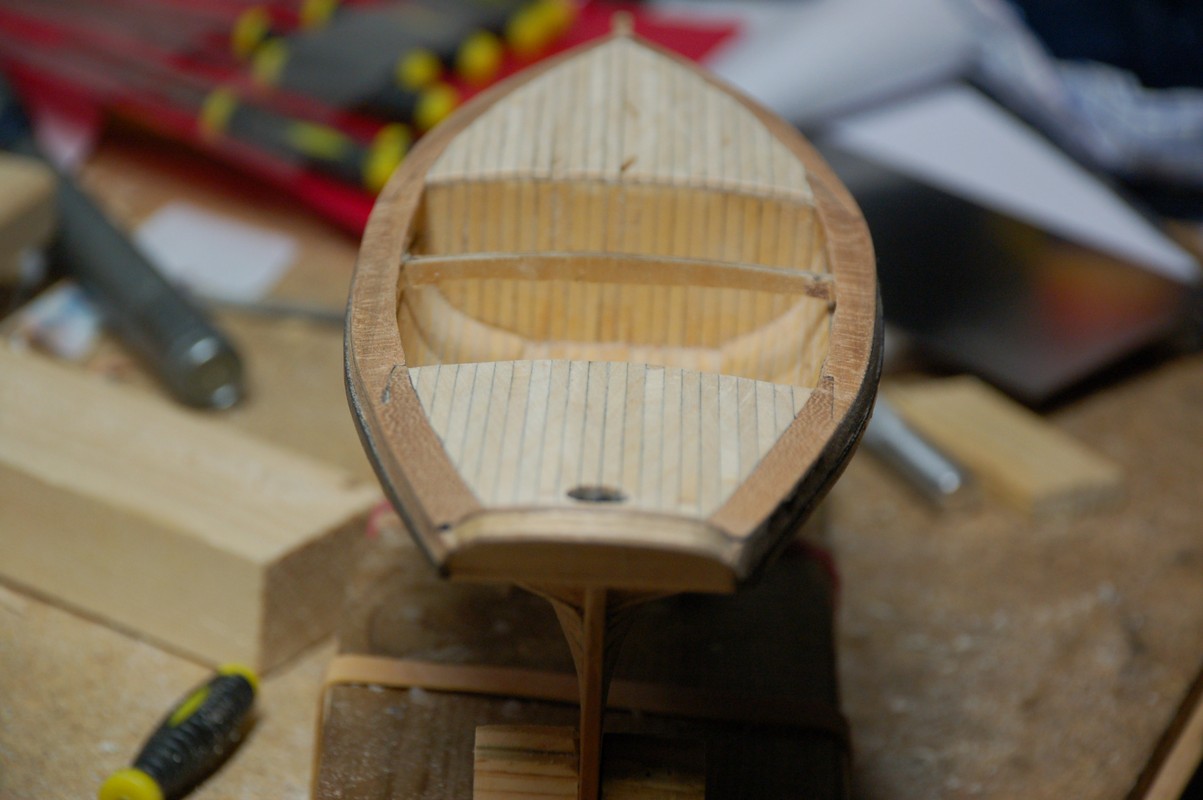
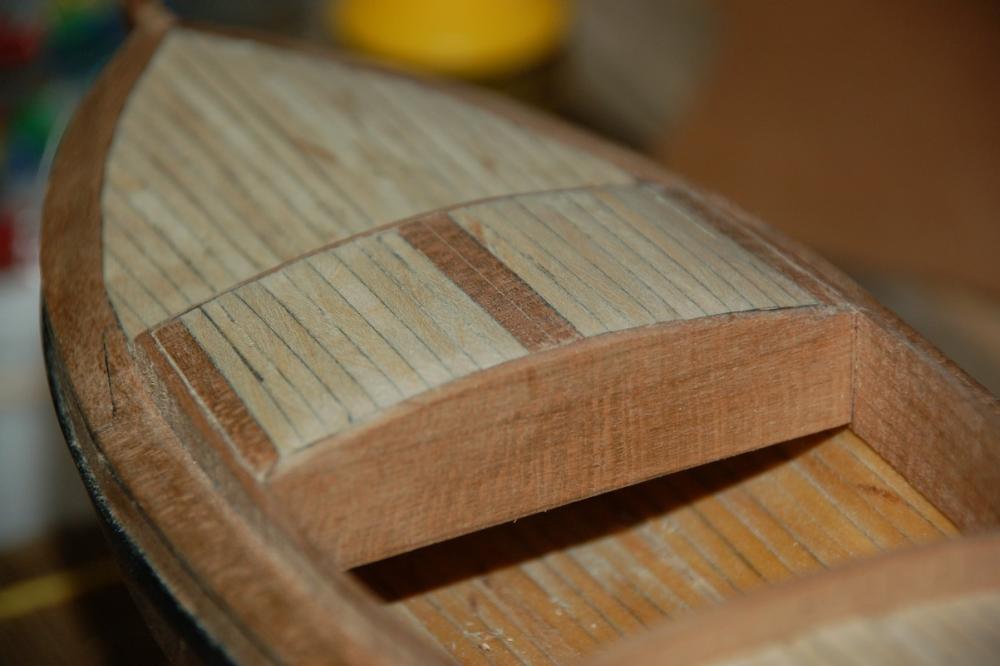
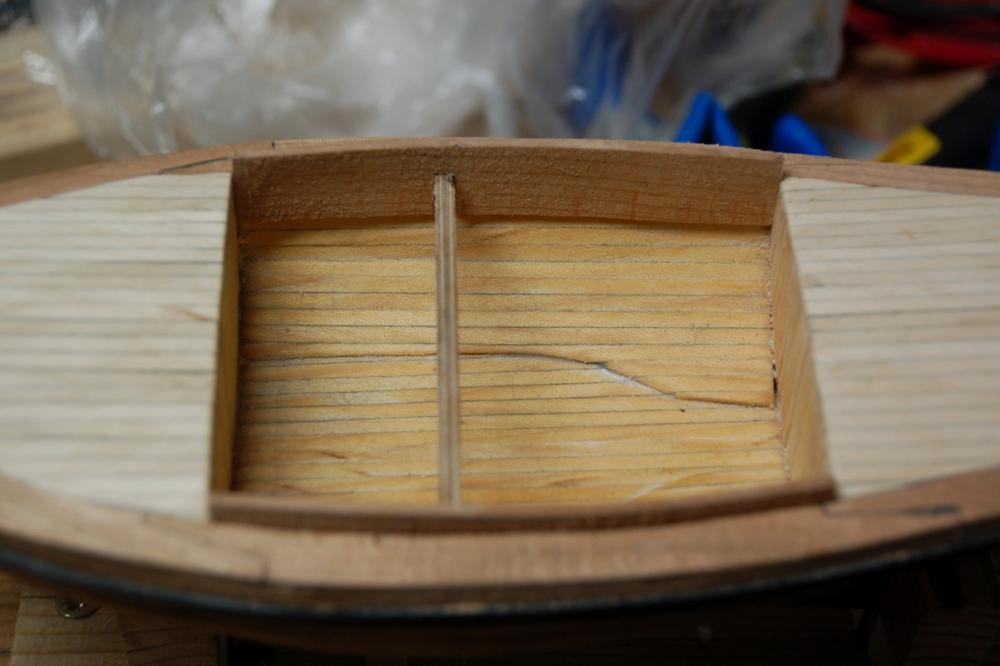
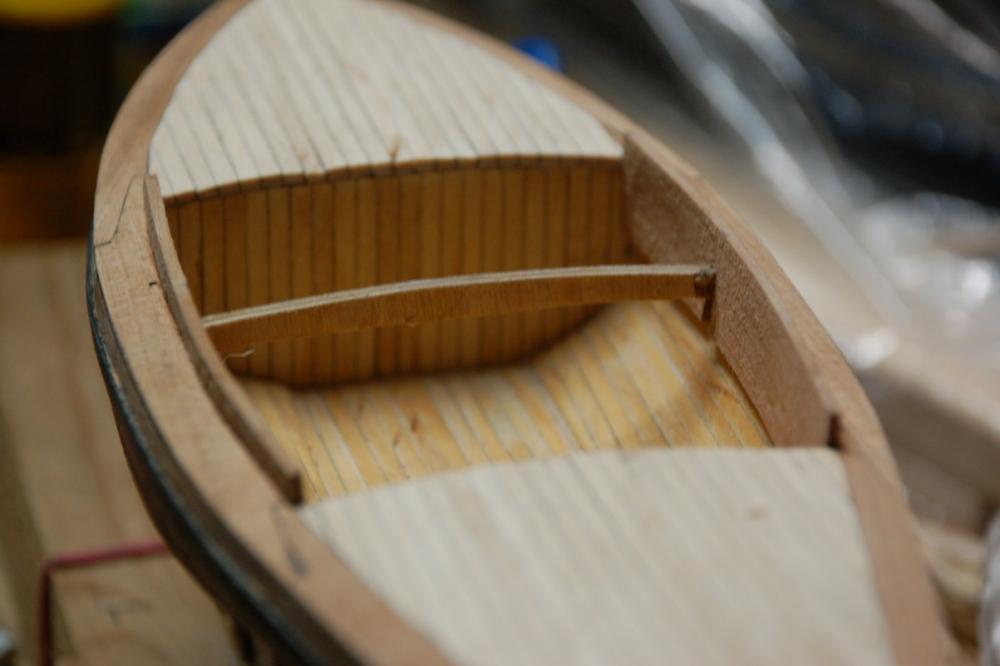
I've continued working on the cabin. I measured the place where the crossbeam must fit in the planks. Afterwards after sawing i glued both planks in place and let try dry overnight. I then made the tree pieces to cross the cabin. And glued them in place.


- 144 replies
-
- 5
-
-
- corsair
- bermuda boat
- (and 1 more)
-
Thank you Bob. She's certainly starting to look like a boat
- 144 replies
-
- 2
-
-
- corsair
- bermuda boat
- (and 1 more)
-
Some criteria for starting a new group project
WBlakeny replied to Chuck's topic in Group Projects on Model Ship World
I also would definitely join a group build on making figures.