WBlakeny
-
Posts
252 -
Joined
-
Last visited
Content Type
Profiles
Forums
Gallery
Events
Everything posted by WBlakeny
-
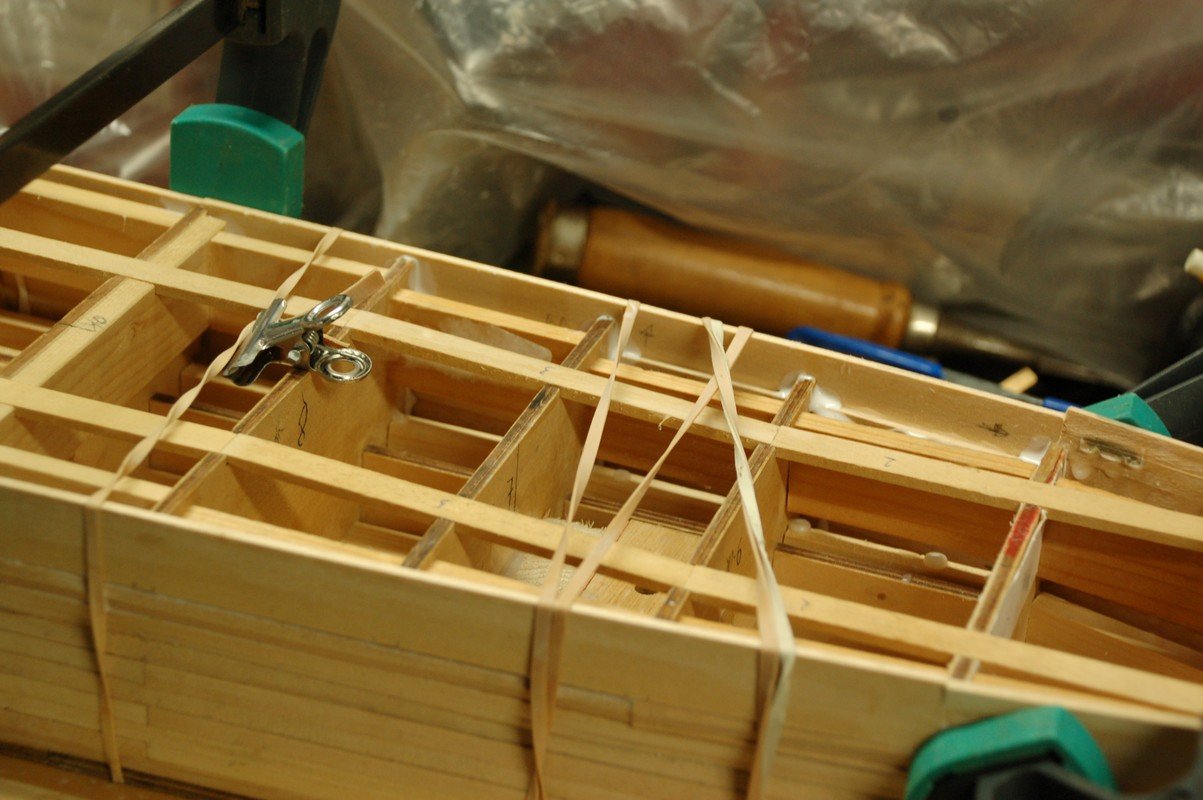
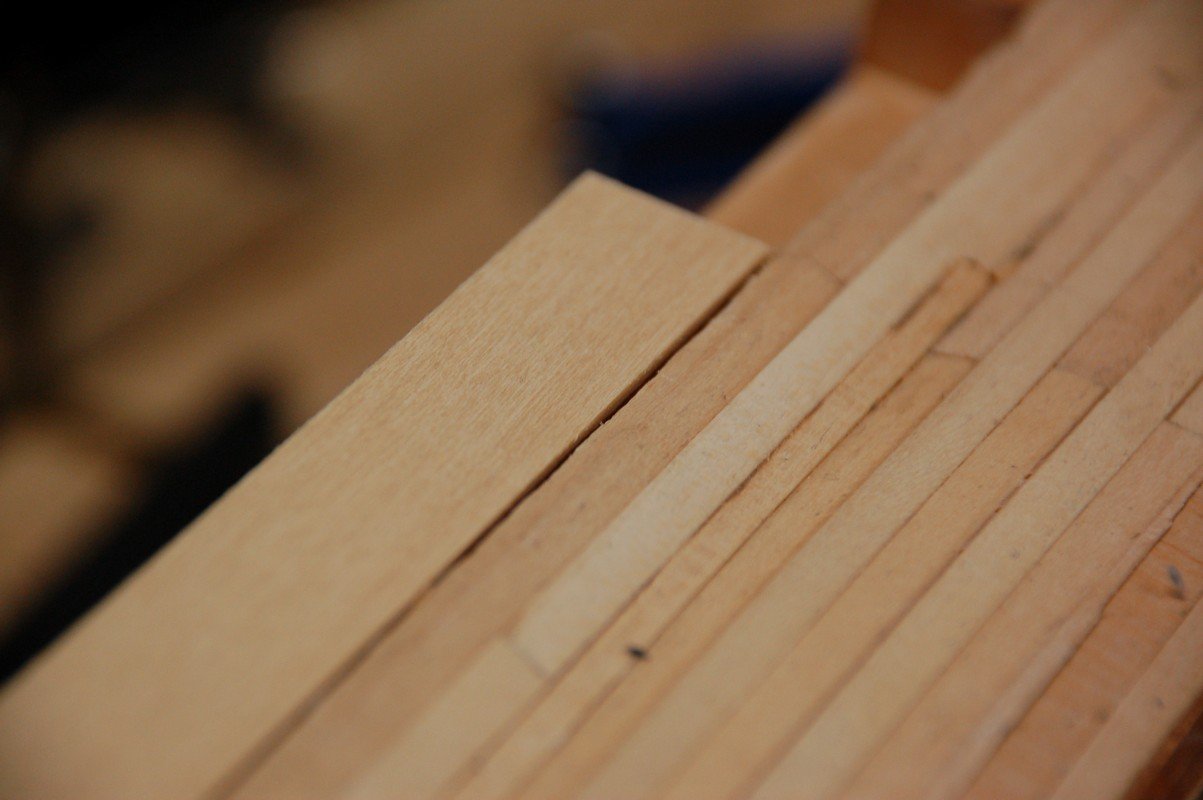
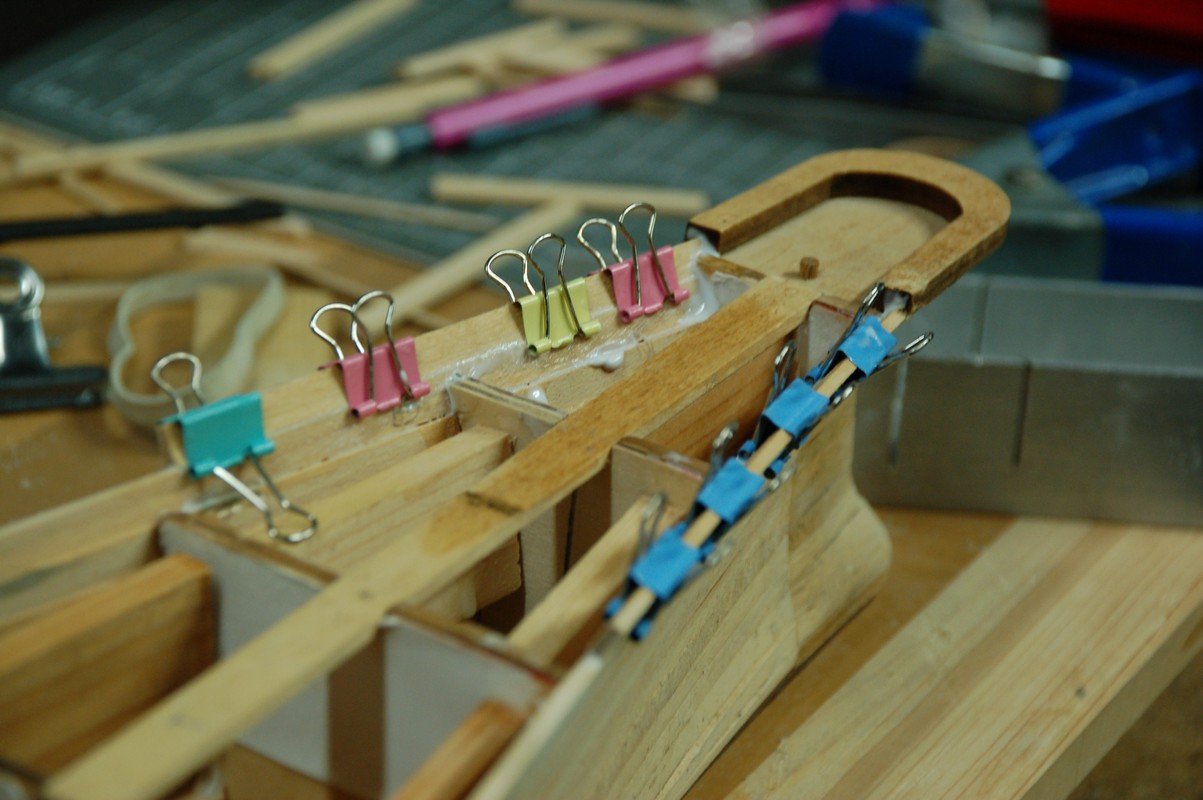
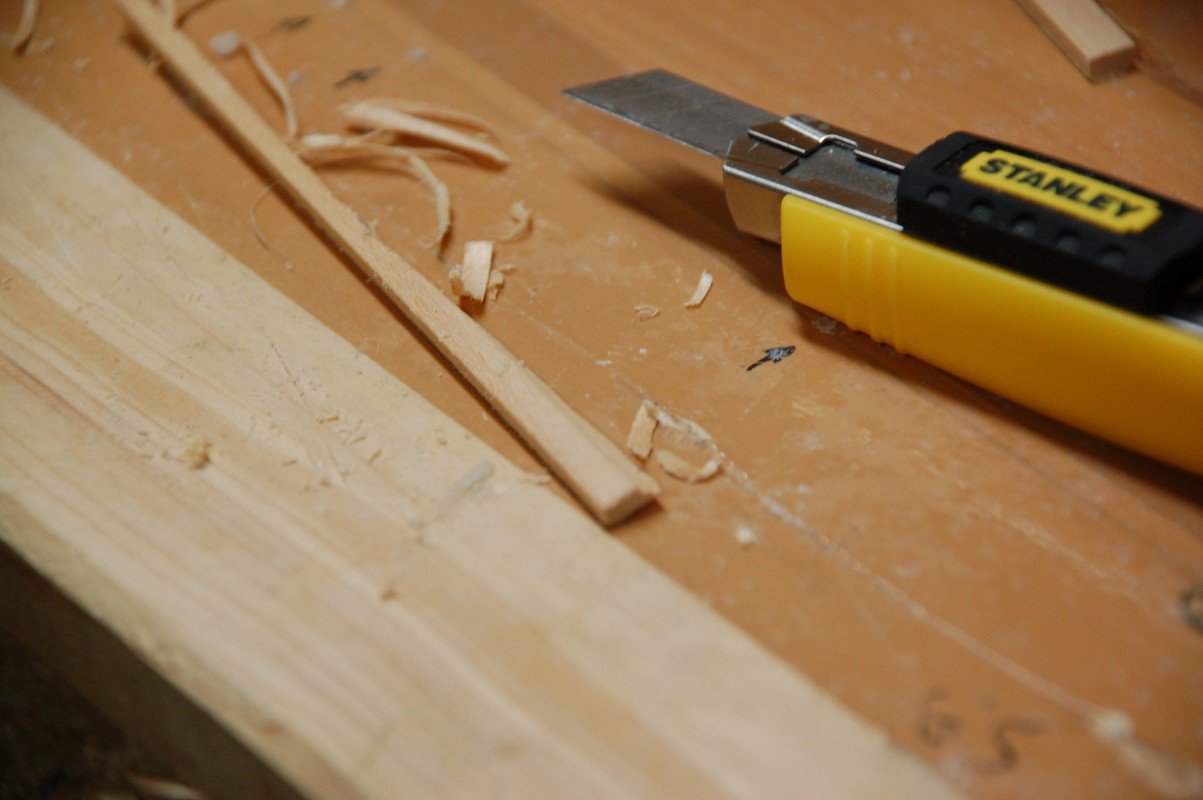
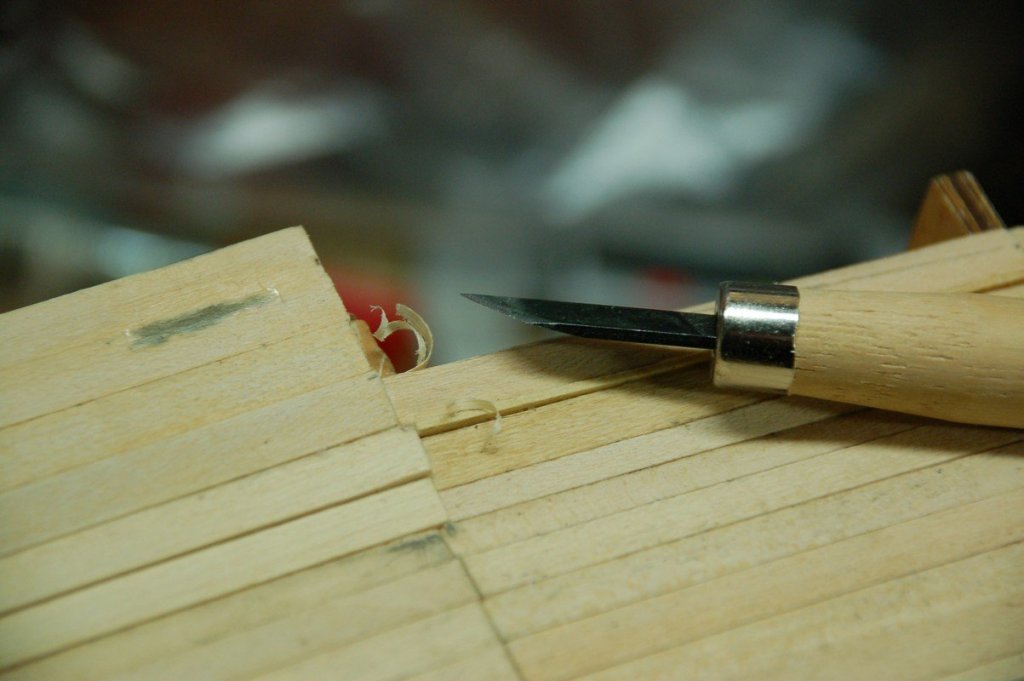
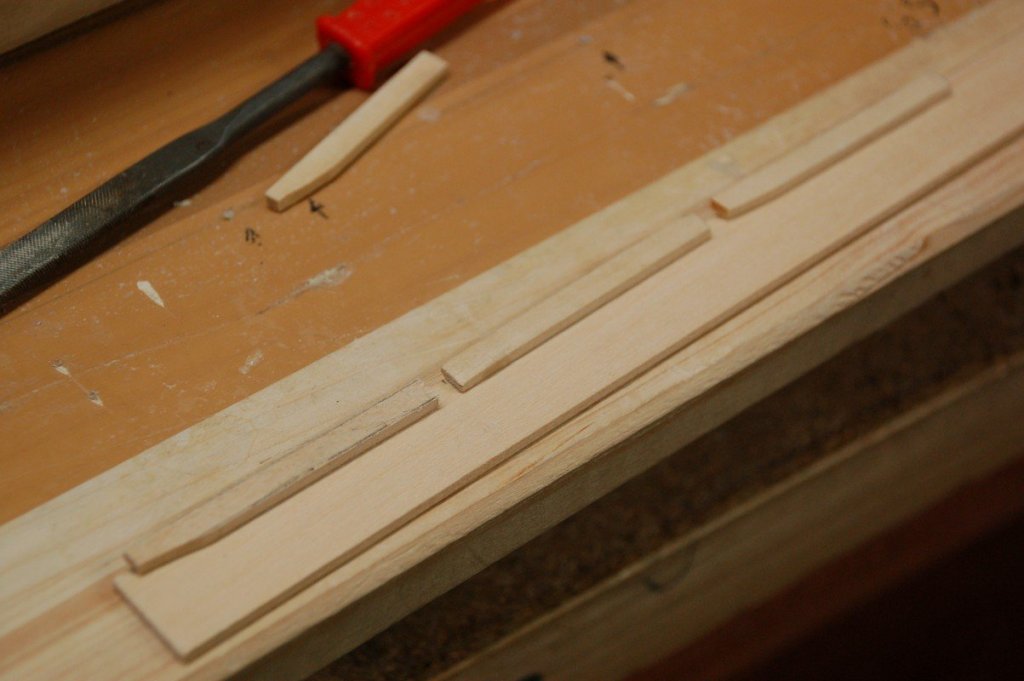
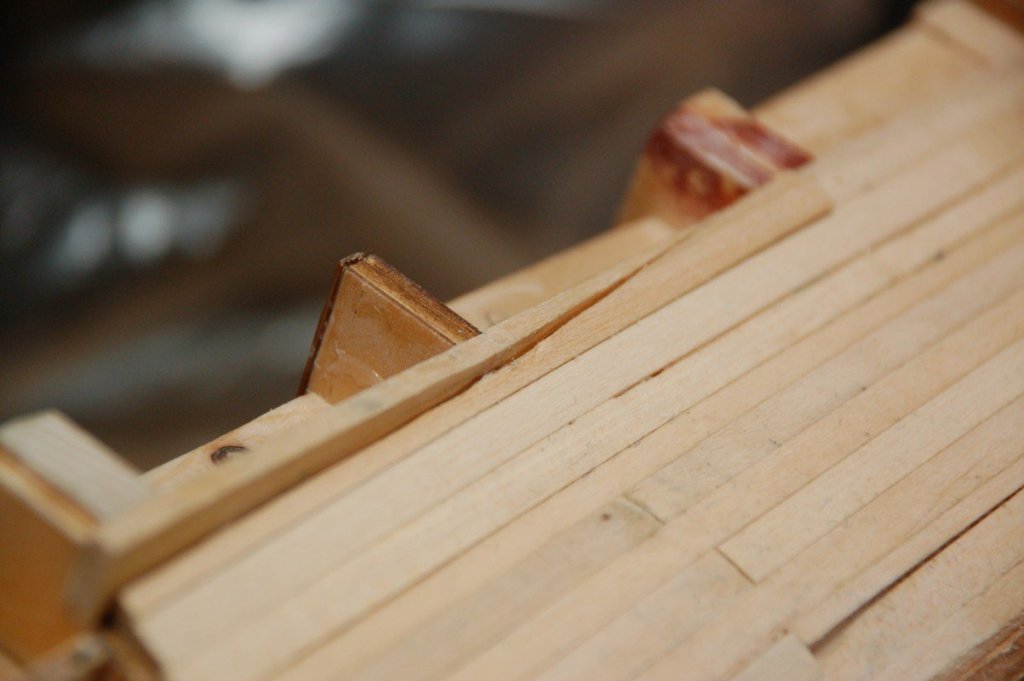
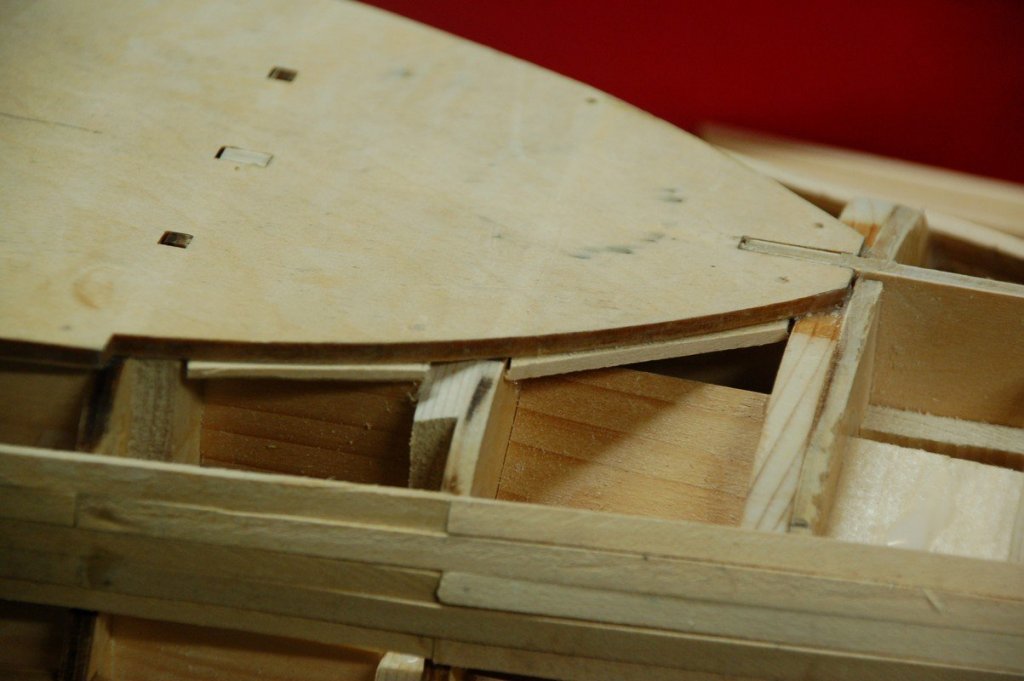
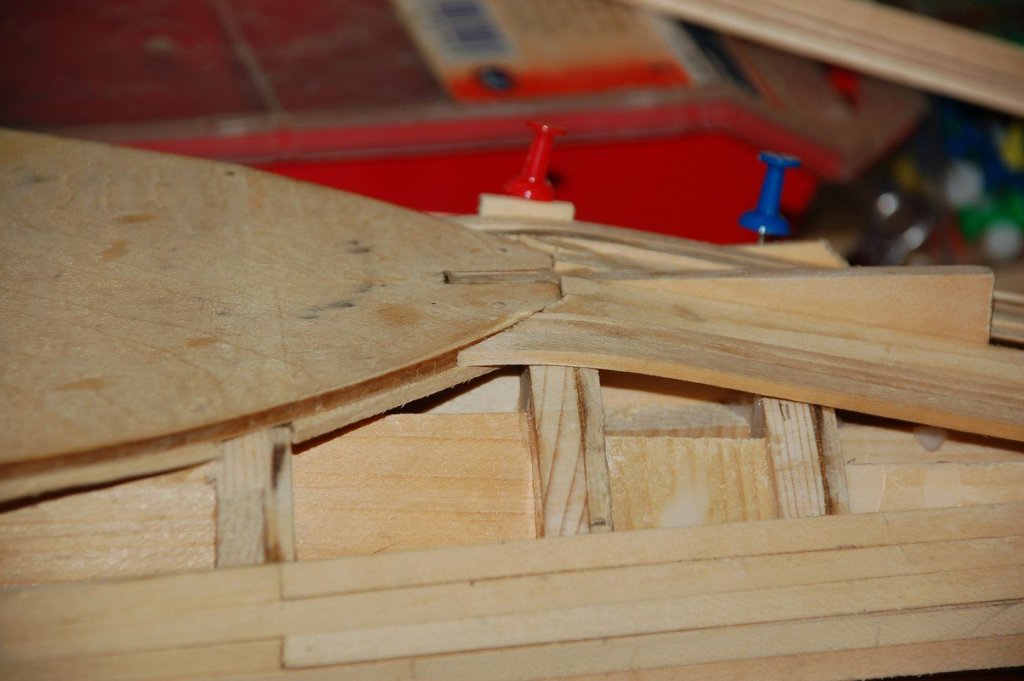
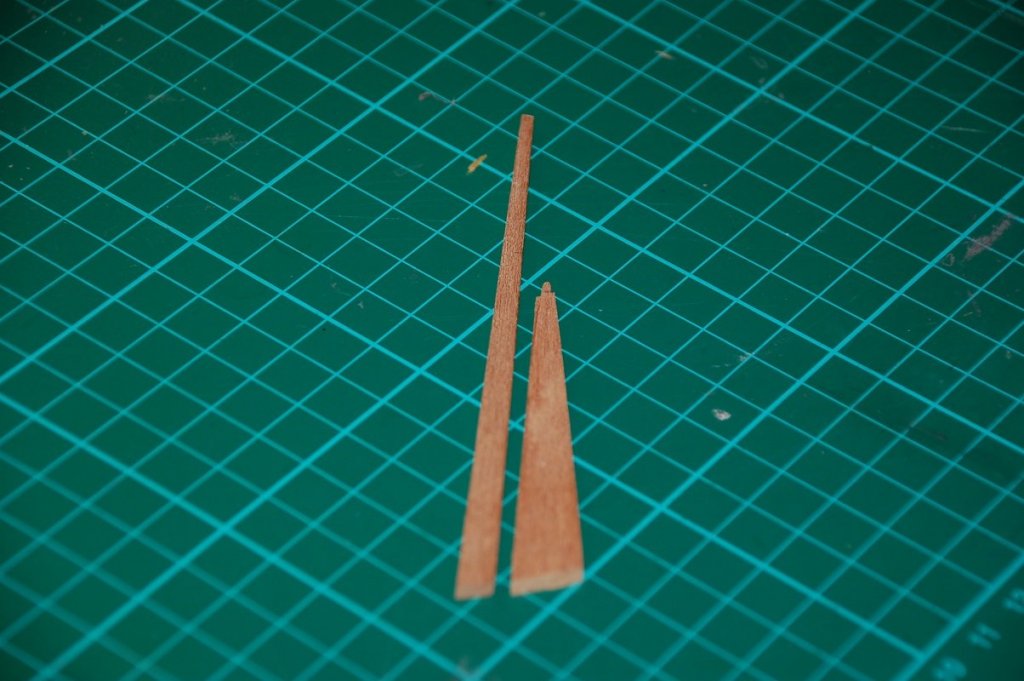
 Last thing to do is the beginning of the armour belt at the front of the ship. Therefore a plank needs to be tapered. Putting it all in place.

-
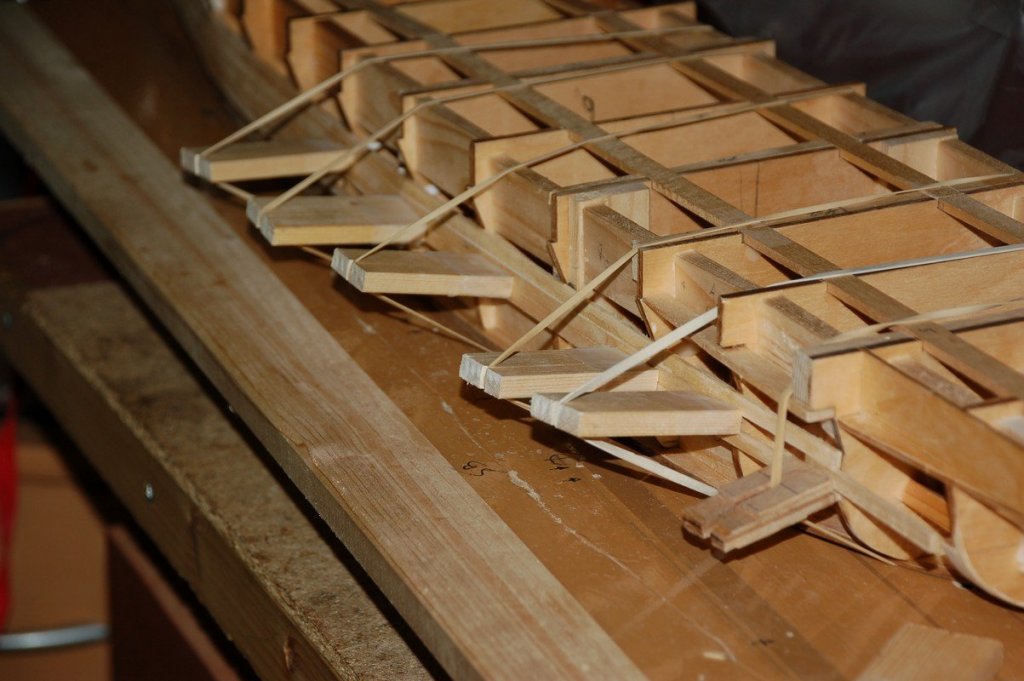
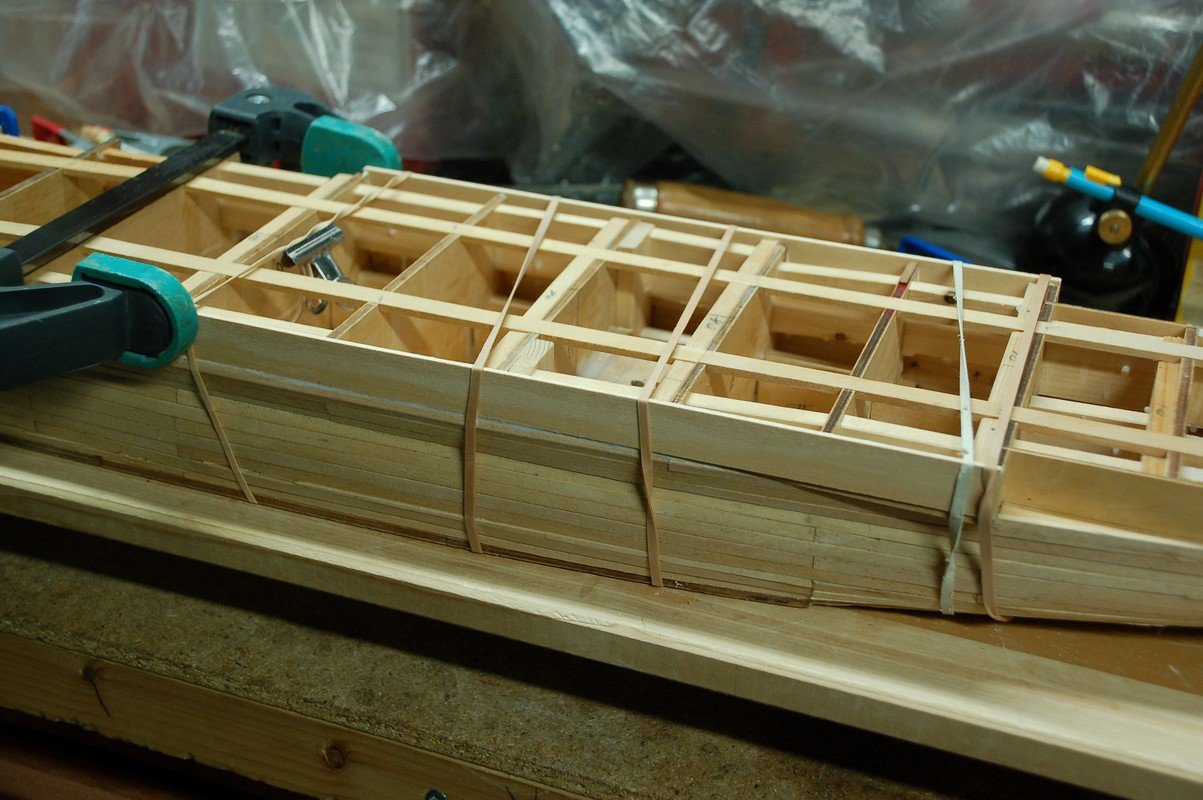
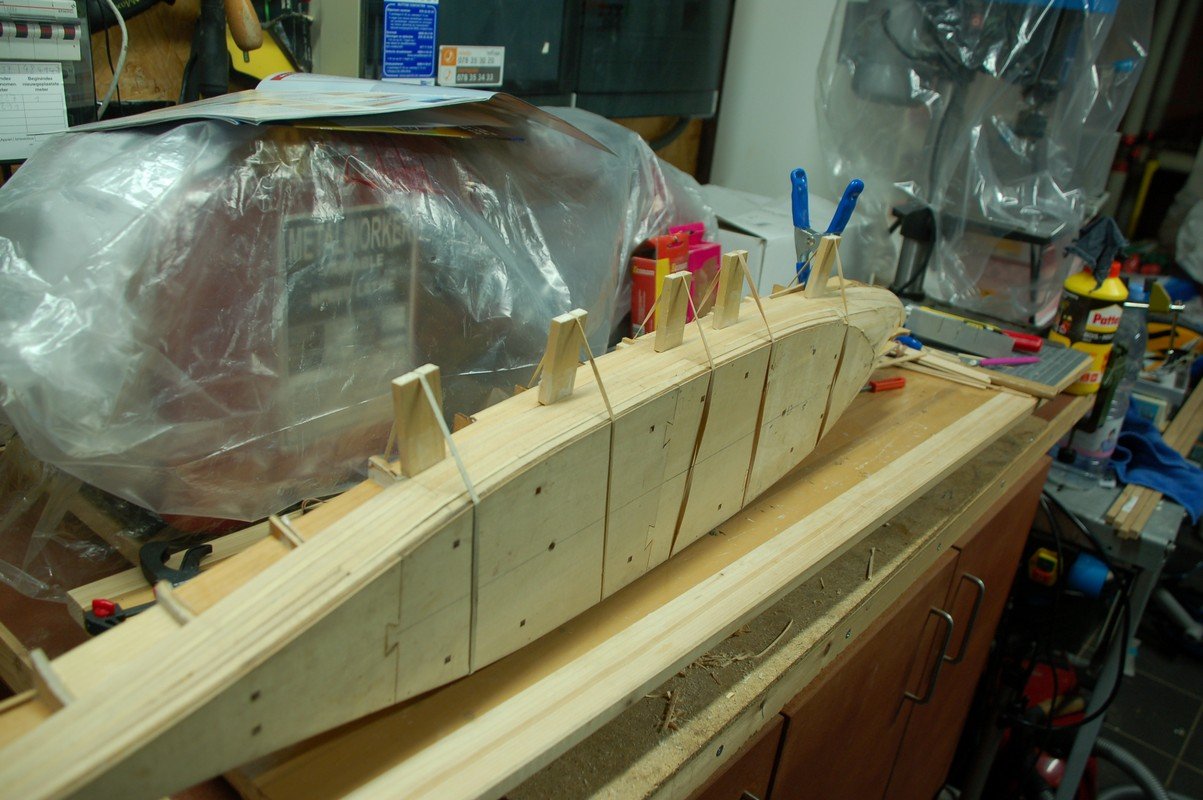
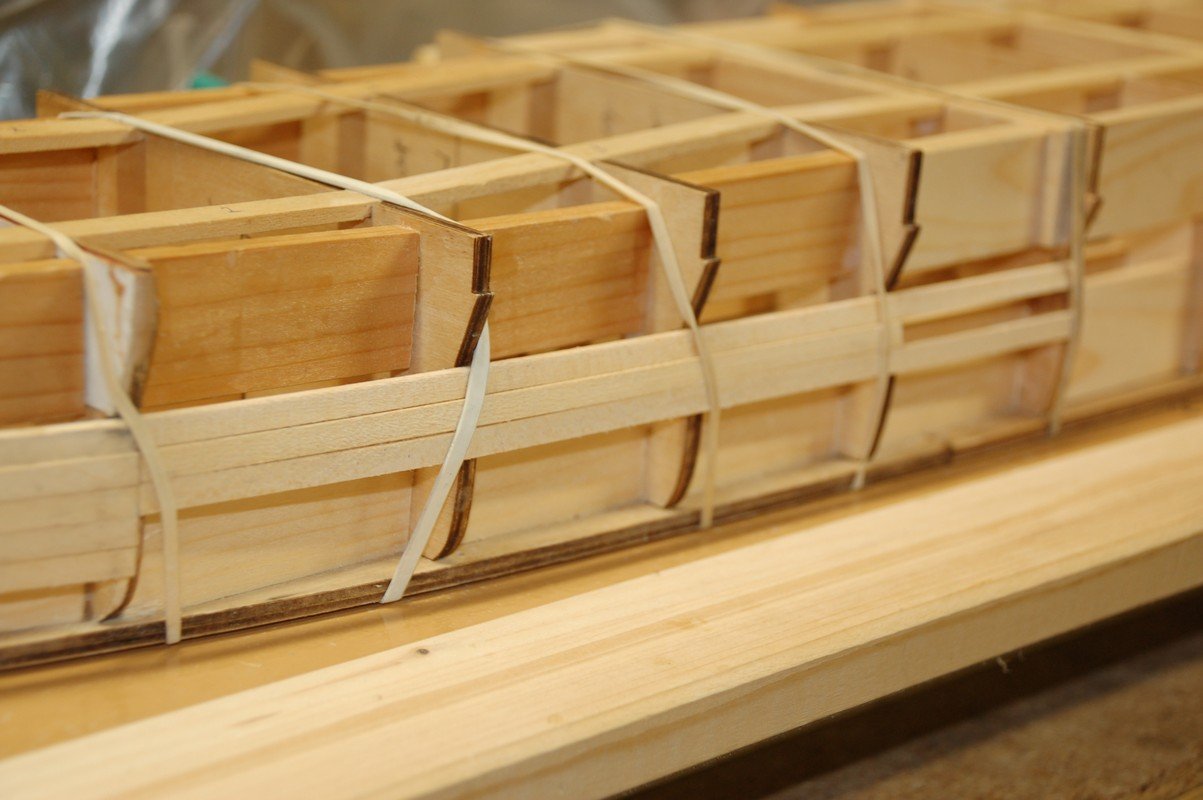
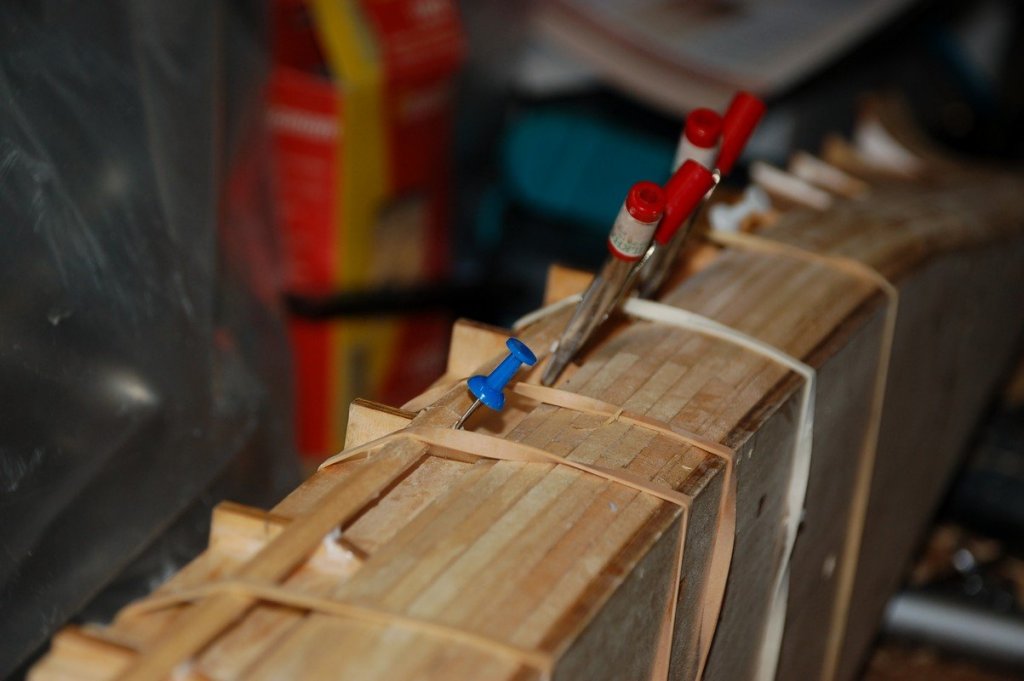
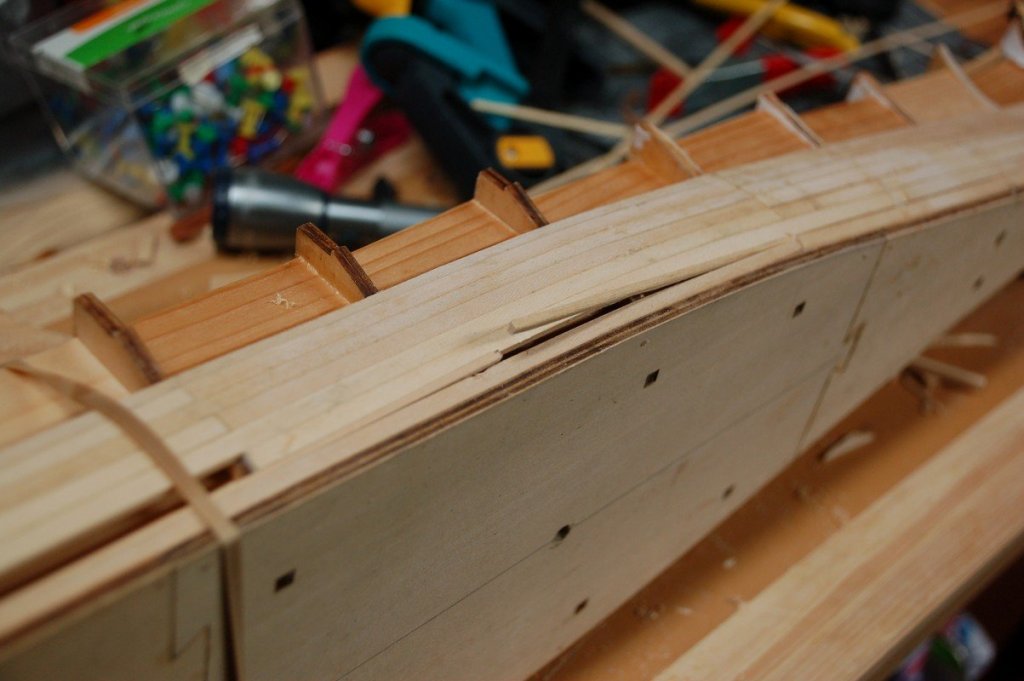
Continued planking. I've started on the last belt of planking, just above the armour belt. There are some gaps appearing between the pretapered planking provided by DeAgostini and the plank that needs to be placed just above. To provide a support underneath the gap, so i can fill it up later, i glued some scrap pieces of wood behind the plank. Making sure they don't rest again the bulkheads. Then glue the plank on its place.


-
A nice result already, your Victory is becoming a beauty!
-
Nice job on the planking! You've created a beautiful hull.
- 756 replies
-
- 3
-

-
- galleon
- golden hind
- (and 2 more)
-
SOLEIL ROYAL 1669 by michel saunier
WBlakeny replied to michel saunier's topic in - Build logs for subjects built 1501 - 1750
Bravo! Just another example of where this is no longer a shipmodel but a work of art! I'd better stop fooling around and choose another hobby -
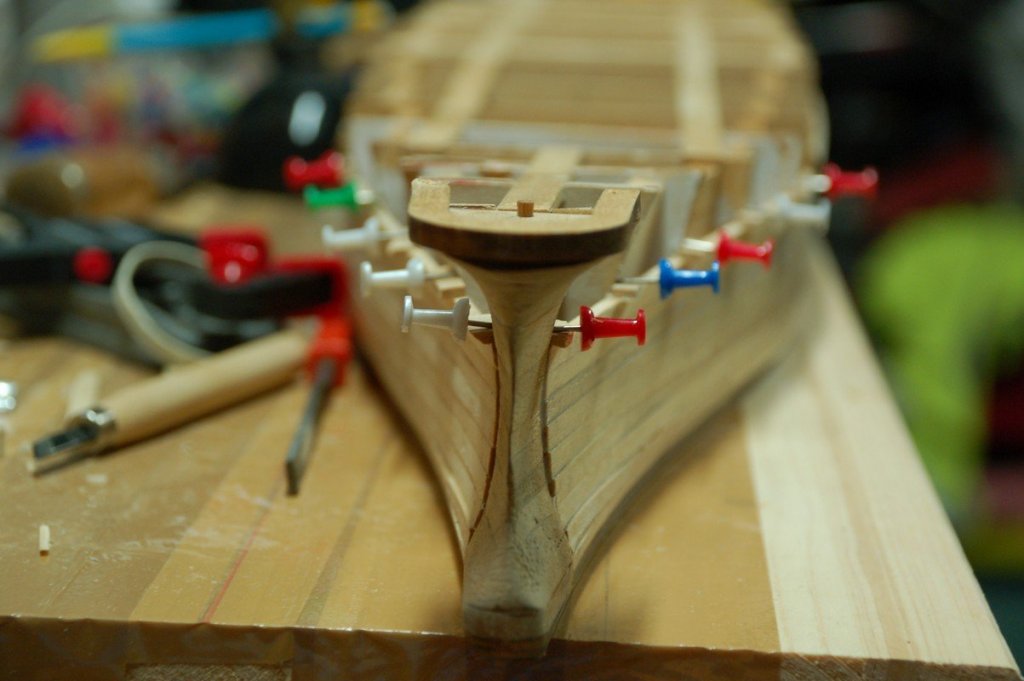
Continued planking on the bow.


-
No problem, that's the reason why i have a build log, to get some advice and information about stuff i can use... So thank you!
-
Thank you for the tip on the paints Jörgen. I'll look into it.
-
Yep, i'm with you guys on the quality of the kits. There's always need for some kit-bashing or replacing wood. Or like in this case, strengthening the hull. In this case, i will also change the wood of the deck planking. I'd like to use some cedar wood for it. I'll not paint it black but leave it natural. I already ordered some extra PE for more detailing, as i've noticed DeAgostini uses wood (too thick to scale) for the platforms on the superstructure. Unfortunately there's not much choice in detailing sets for the scale 1/250. Another thing, i will do, is simulating the platings of the hull. I was thinking of using copper tape. I intend to do a tryout a piece of scrap wood. For the painting, i'd like to imitate Greg's SUPERBE Yamato. But i've never used an airbrush before, so i'll have to test it on something. I'll be getting an H&S Evolution, a birthday present from my wife.
-
Welcome aboard Popeye!!
-
I've started on the armor belt. There's need for special care for the armor belt at the boat hangar.


-
Wow, beautiful work on those anchors and the sails are superbe!
-
Welcome Cedric, you'll see this is a wonderful place to hang out!!
-
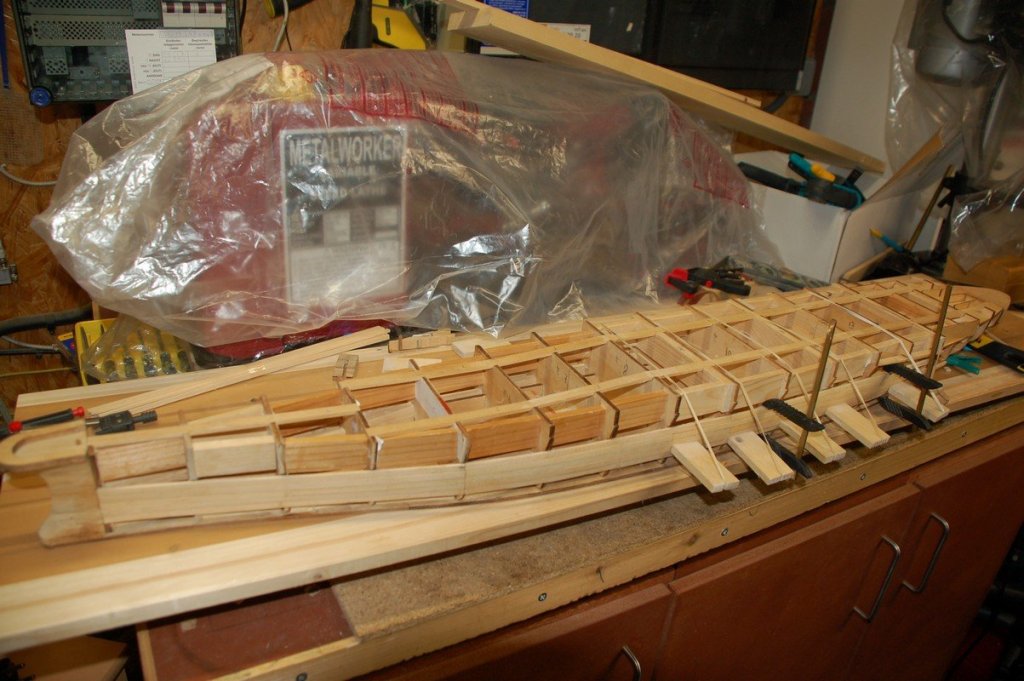
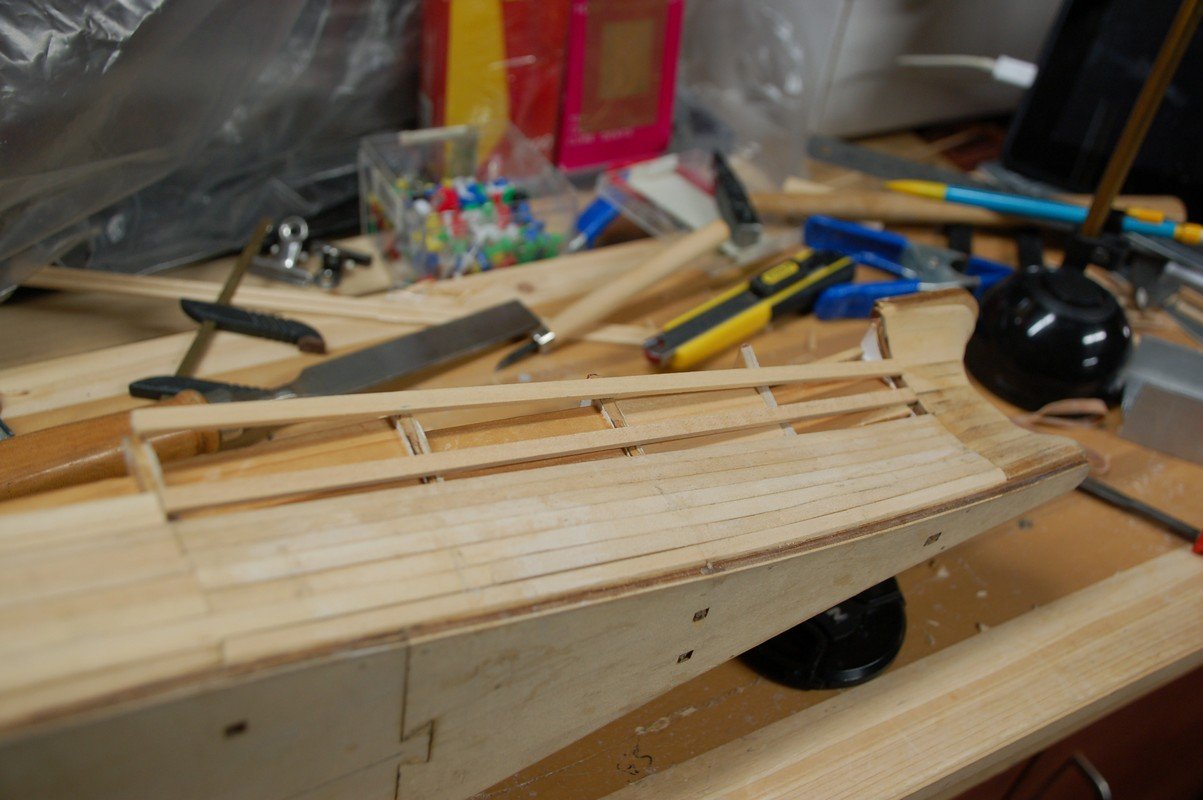
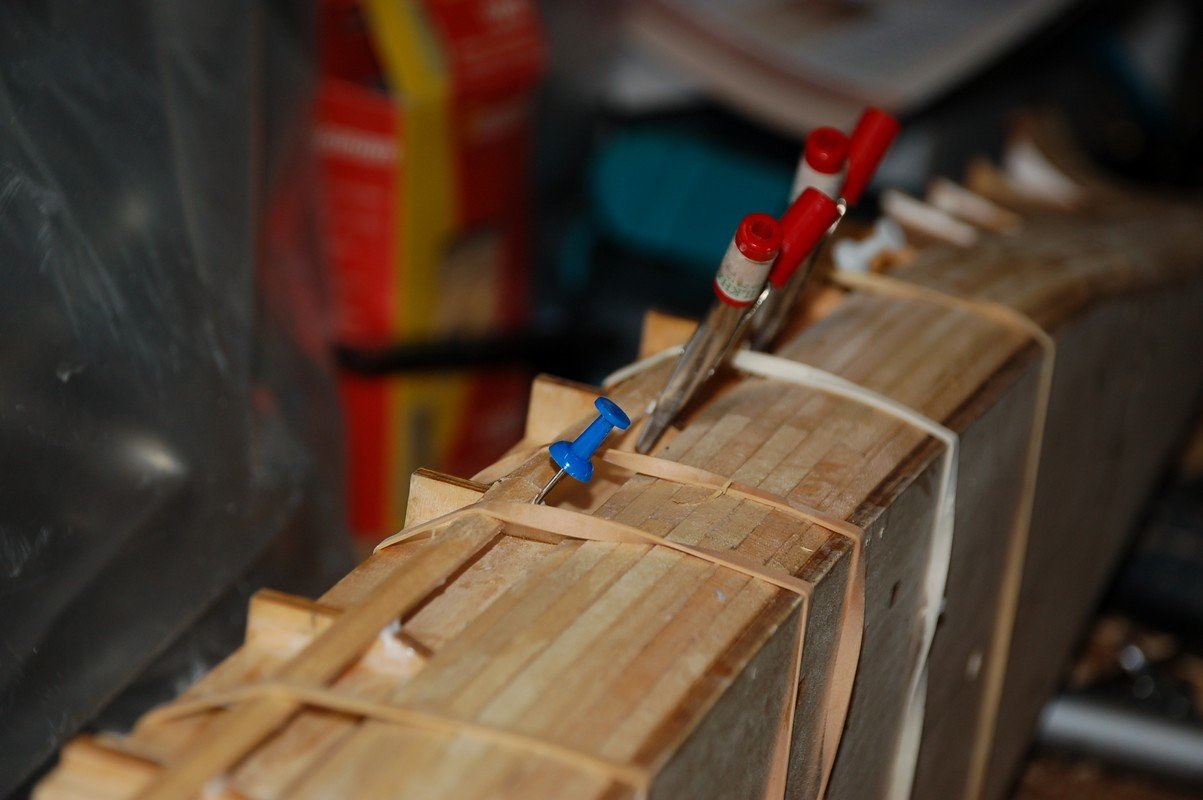
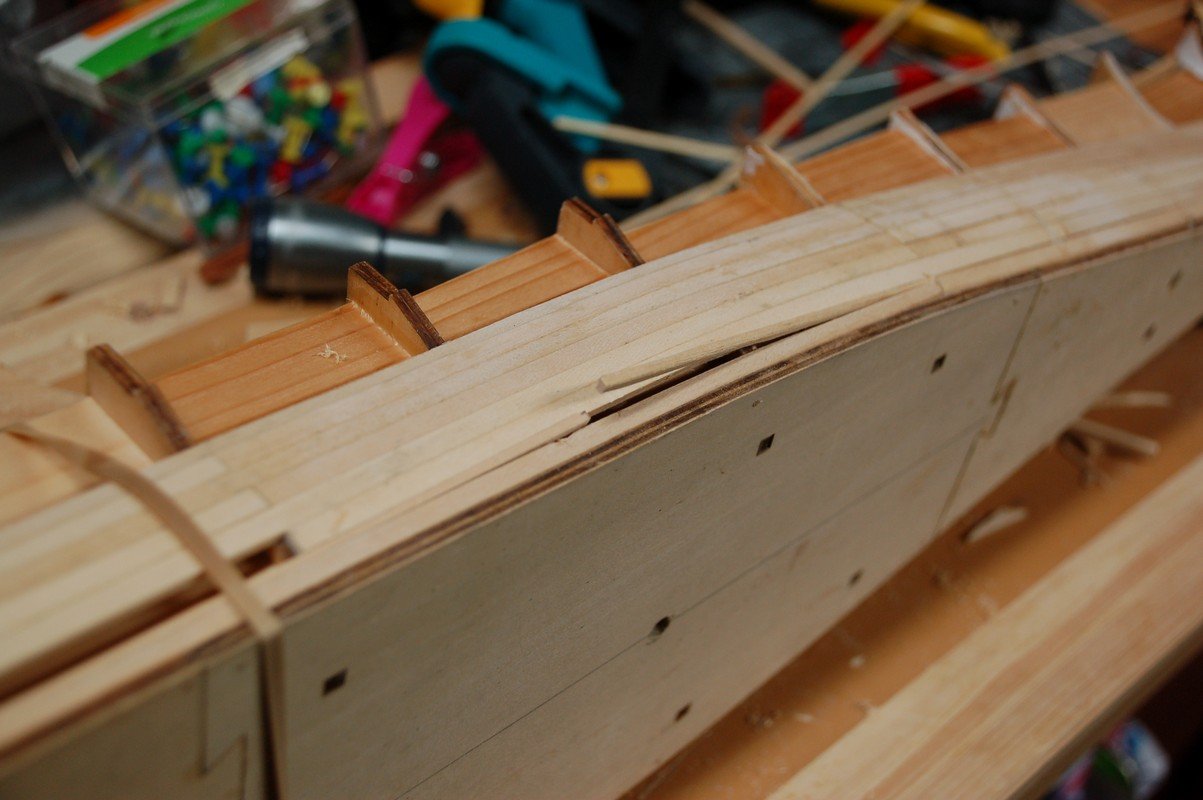
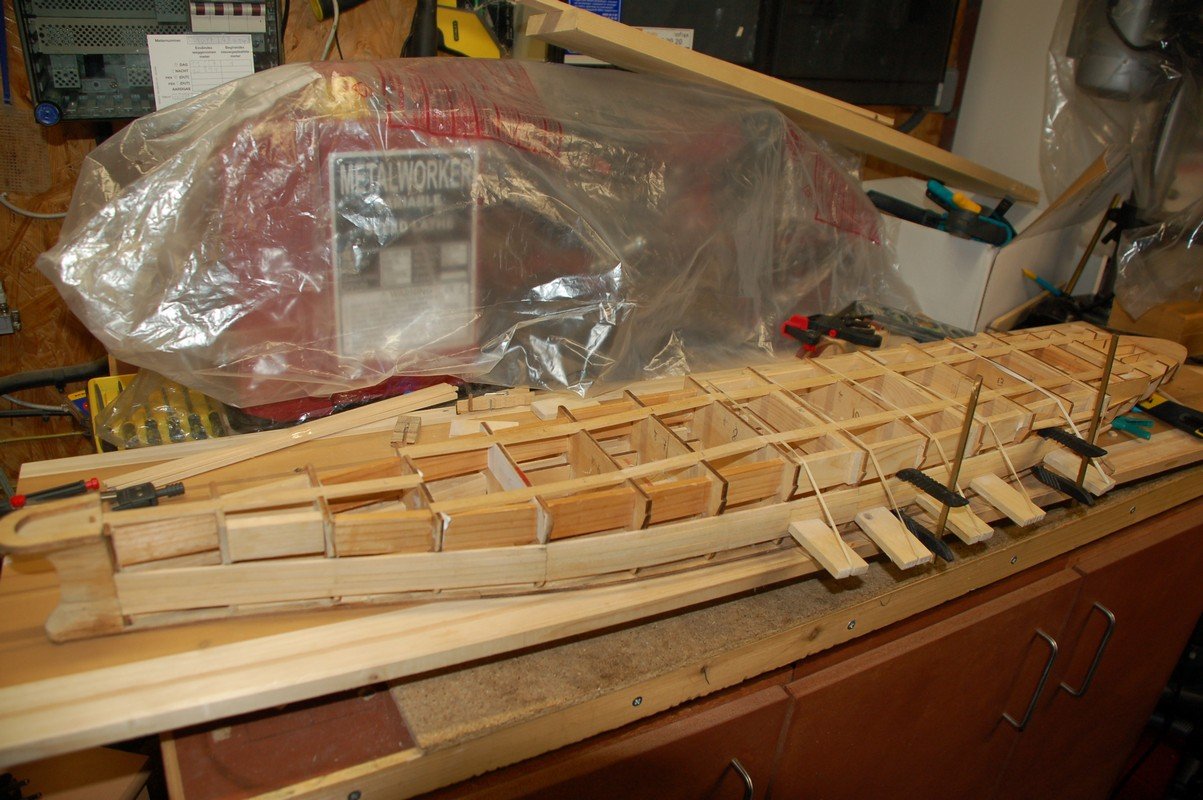
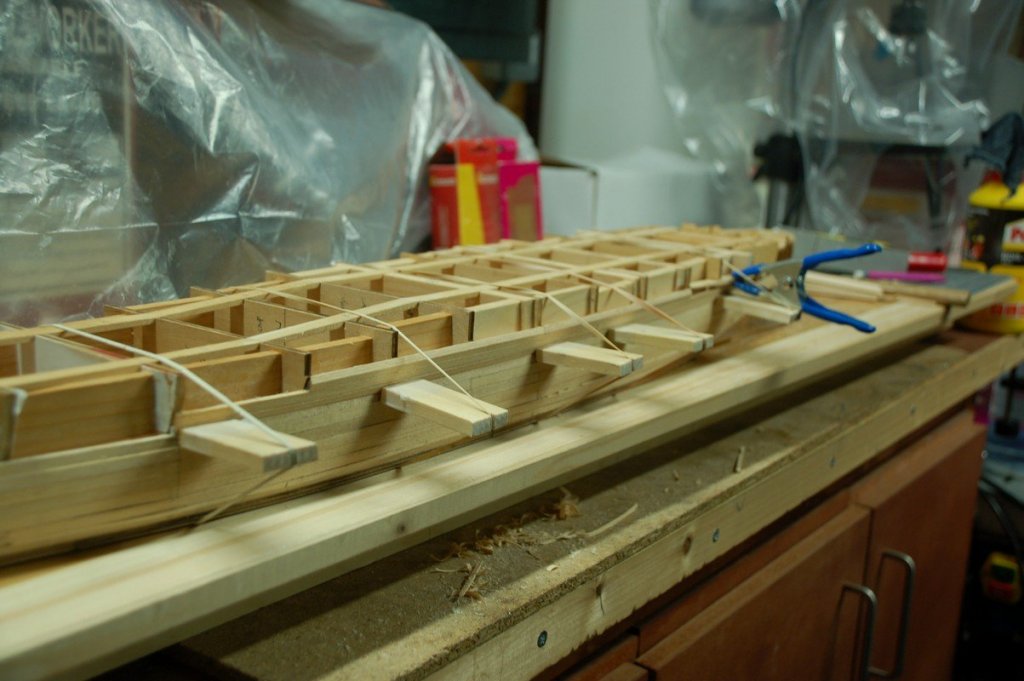
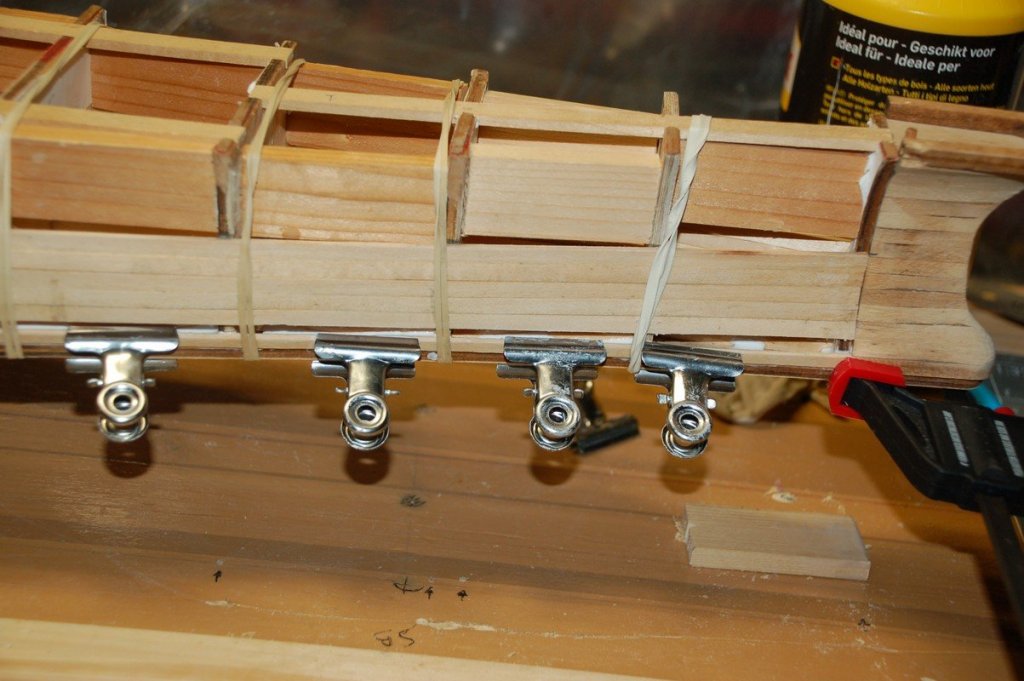
Continued planking To provide more support for the planks on the stern, i glued a plank on the inside of the ships bottom plate. Using my electric plank bender, i preformed the curvature of the plank at the bottom. Continuation of the planking at the stern. I've started also to fill up the gaps created during the planking.

-
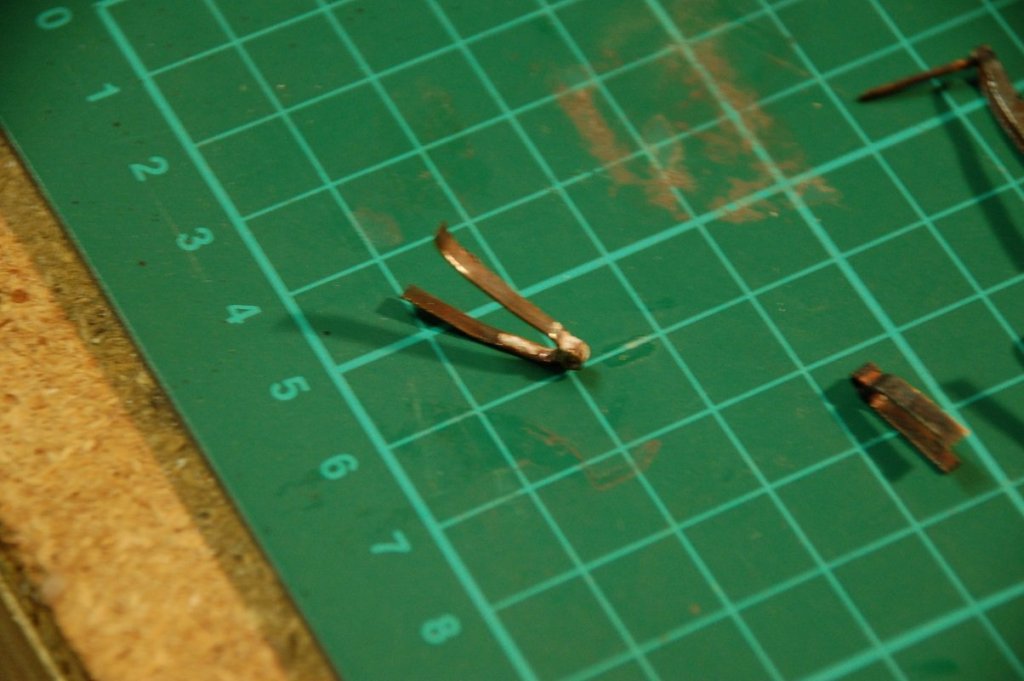
I've started on the rudder. I prepared the necessary pieces for it. I also blackened the pintles and gudgeons. On one piece I've noticed a sort of white residue ? Anyone an idea what that might be? Too much flux used during silver soldering?

- 144 replies
-
- 2
-
-
- corsair
- bermuda boat
- (and 1 more)
-
Bravo! What a stunning result. If my yamato will look only half so beautiful as yours i'll be a happy man. You've put the bar quite high for us, other yamato builders. A new benchmark
-
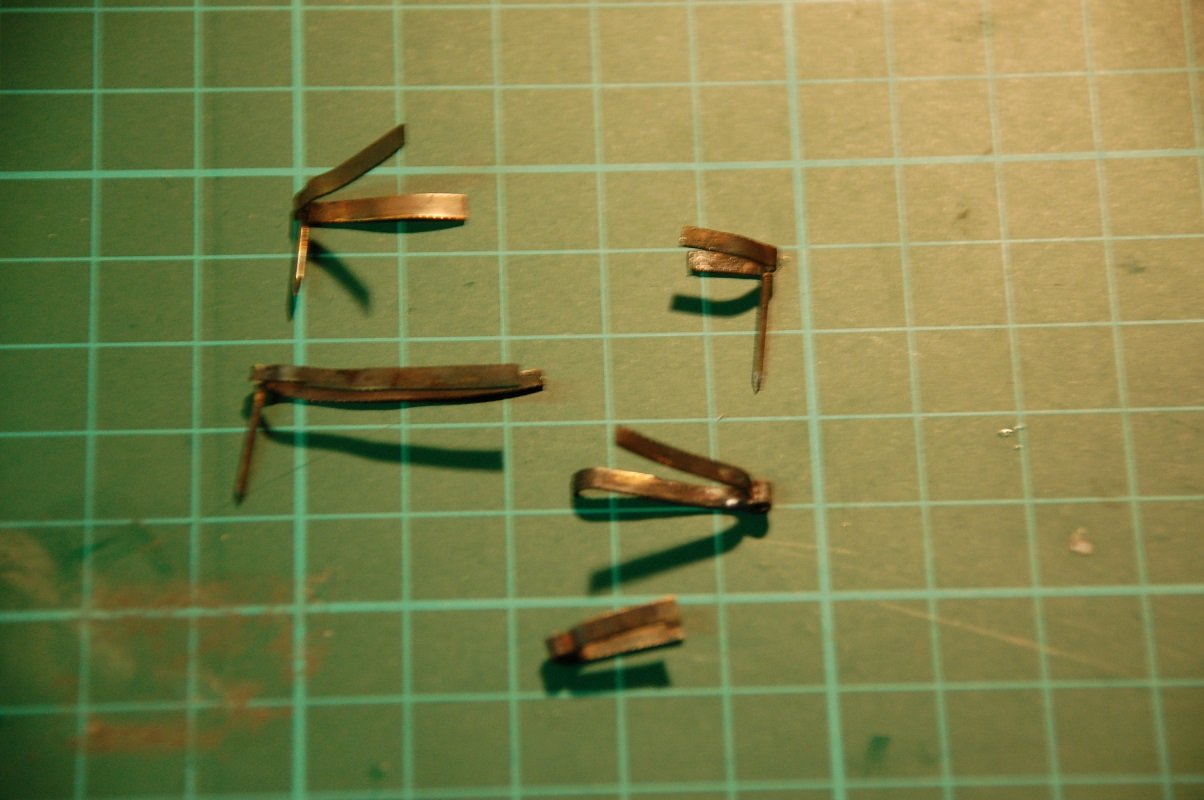
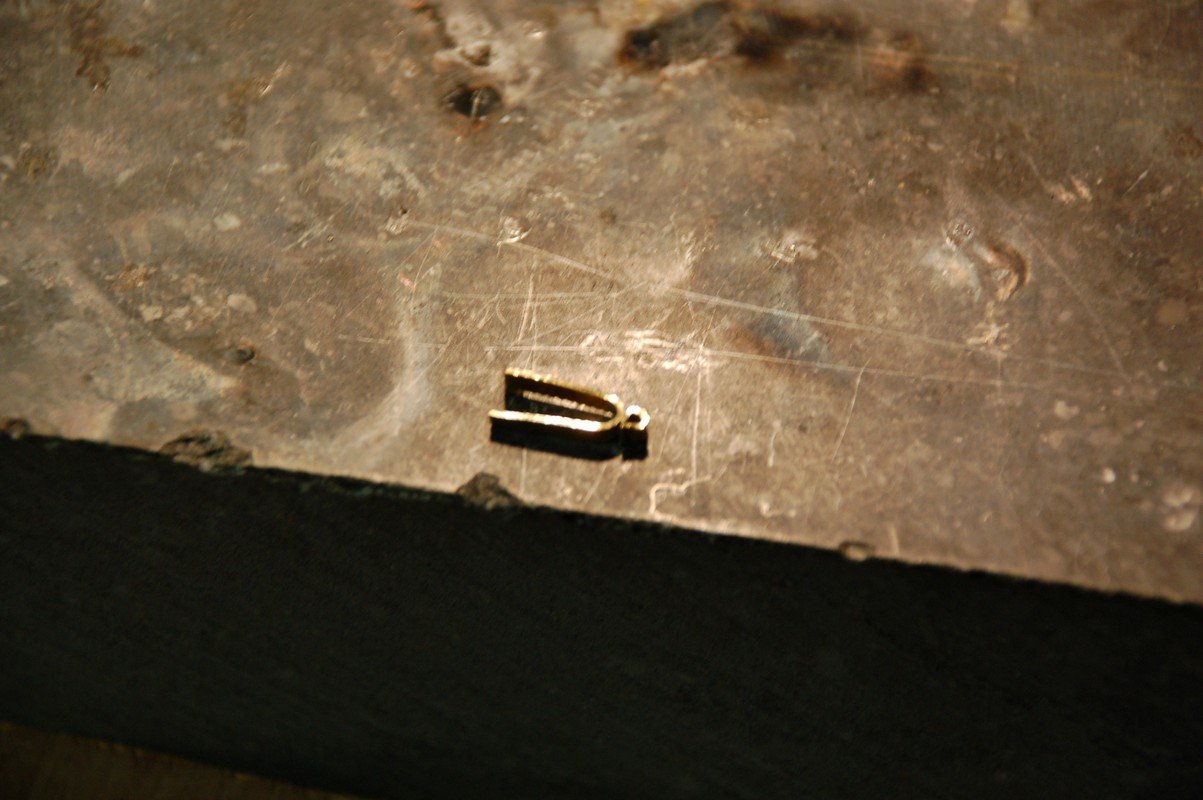
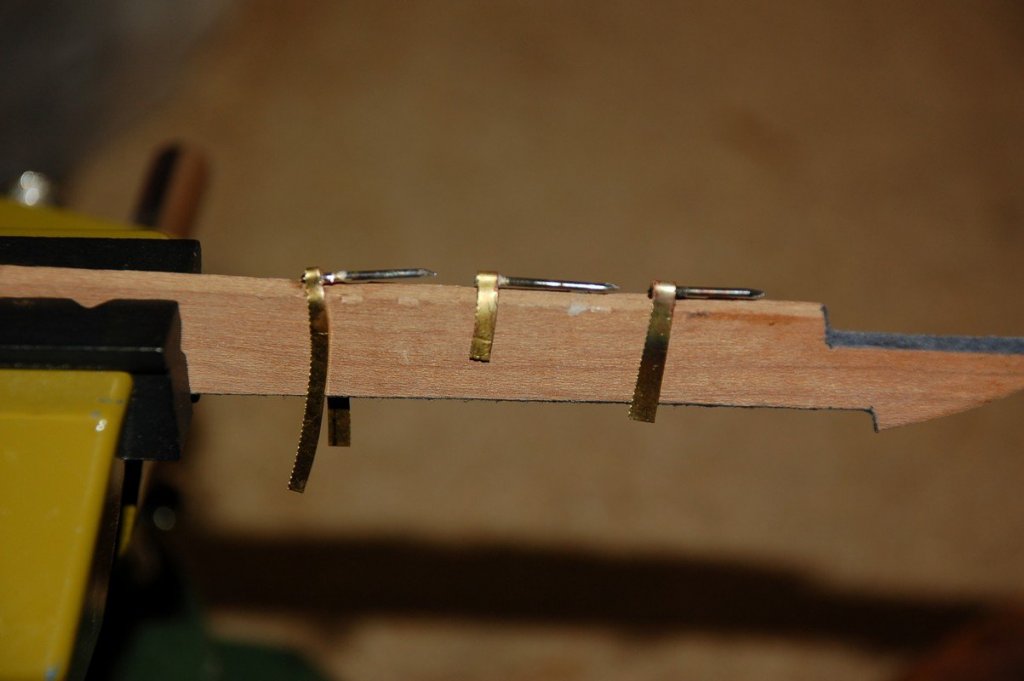
Now on to the gudgeons. First, i formed the strip around the nail, then i silver soldered the piece. Afterwards i cut it off. Then i silver solderd it to another strip. The finished pairs of gudgeons and pintles.


- 144 replies
-
- 4
-
-
- corsair
- bermuda boat
- (and 1 more)
-
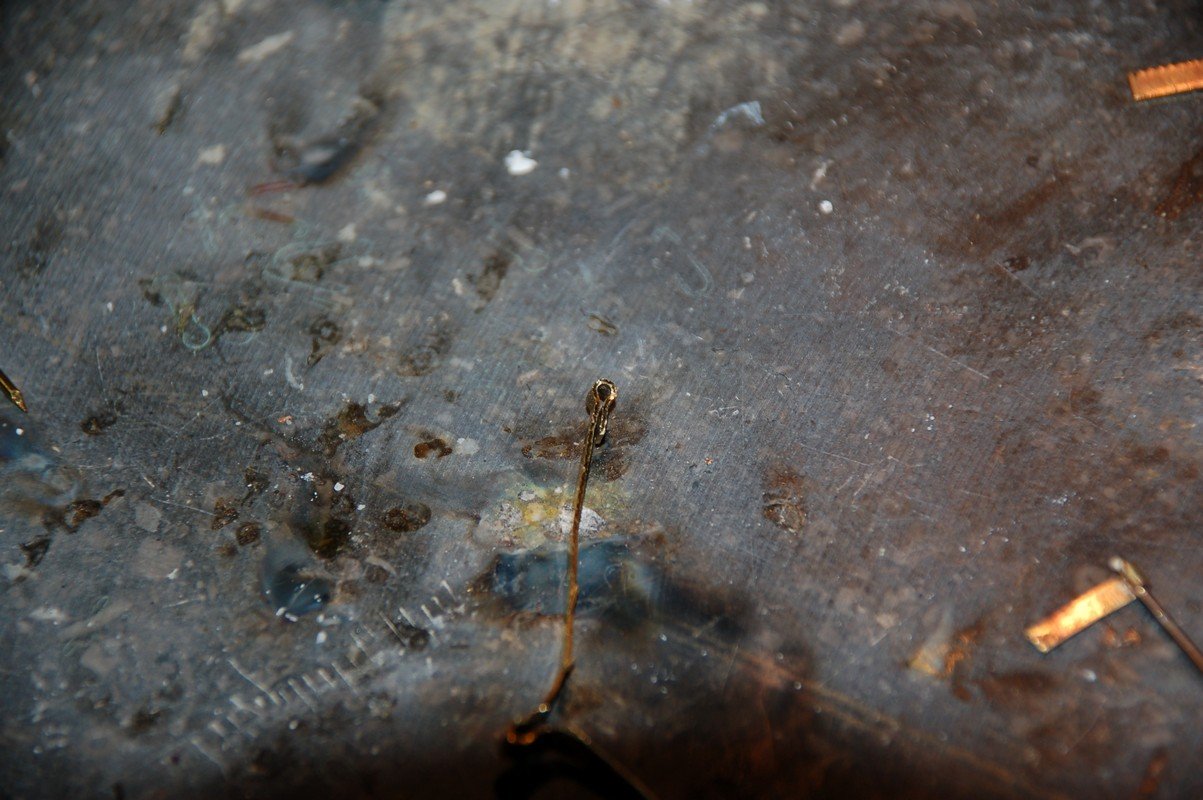
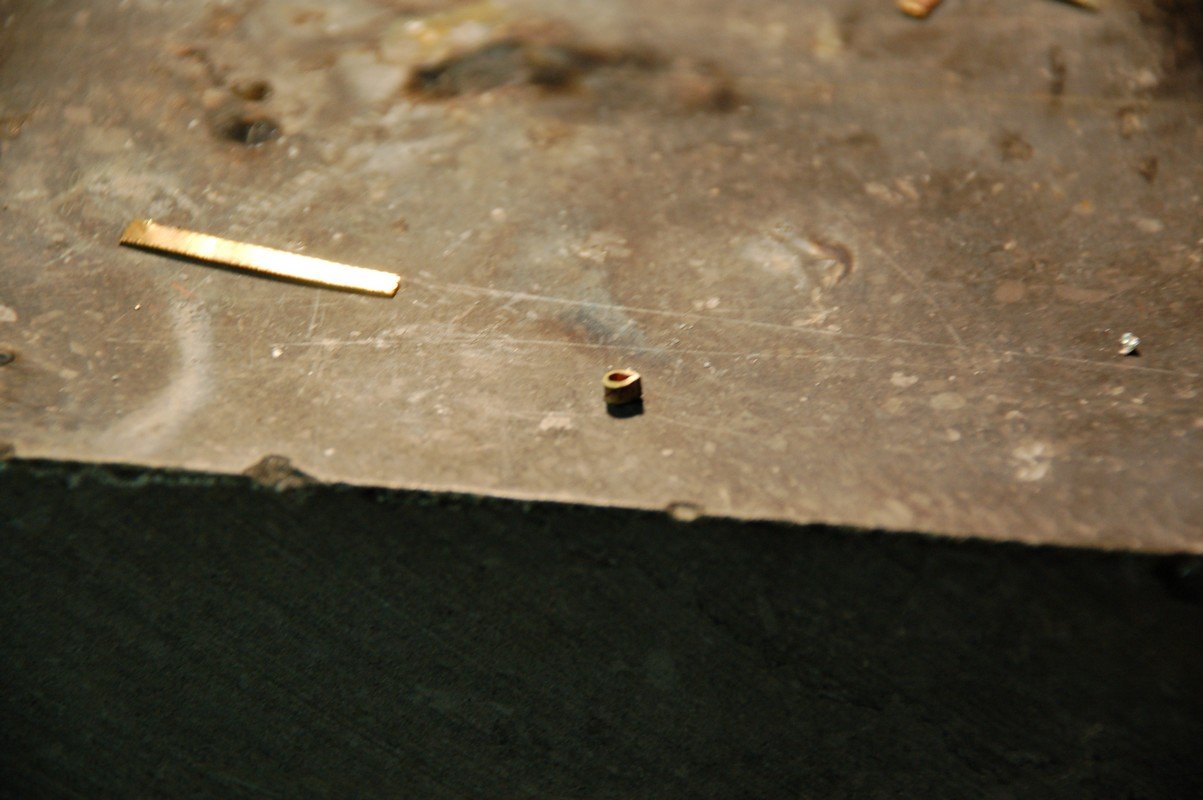
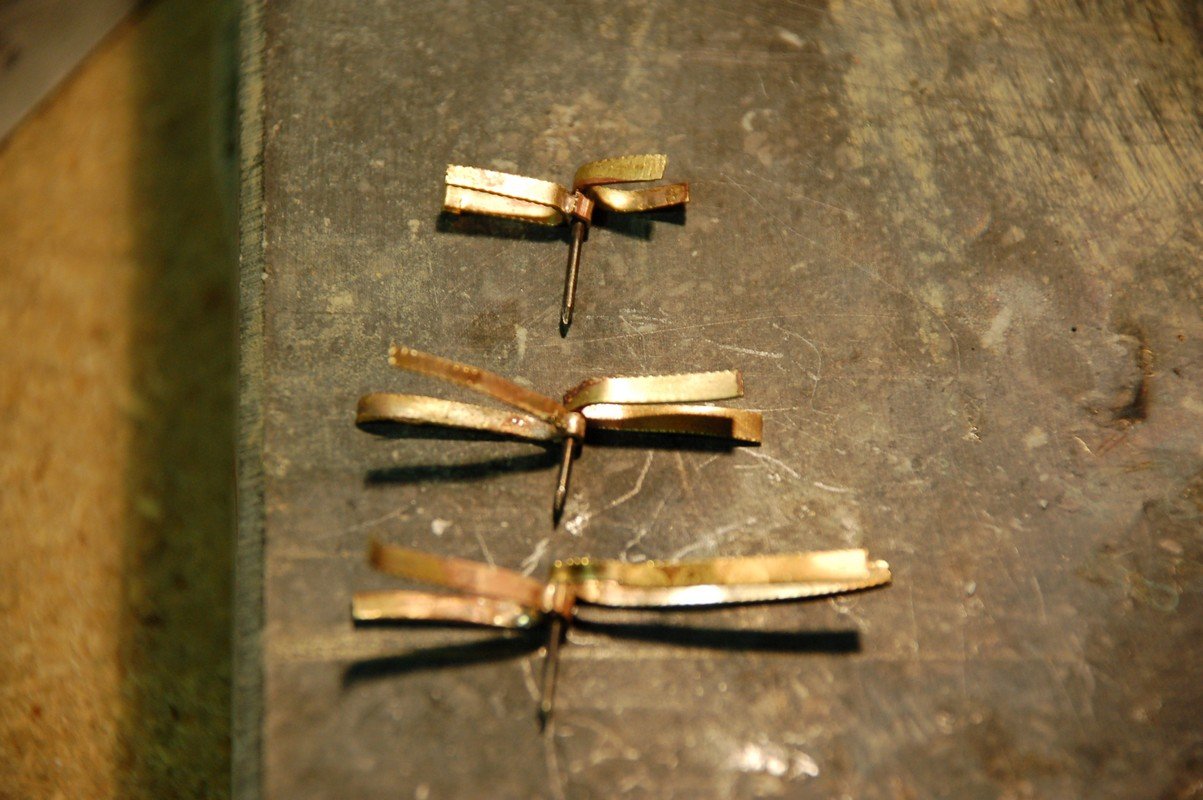
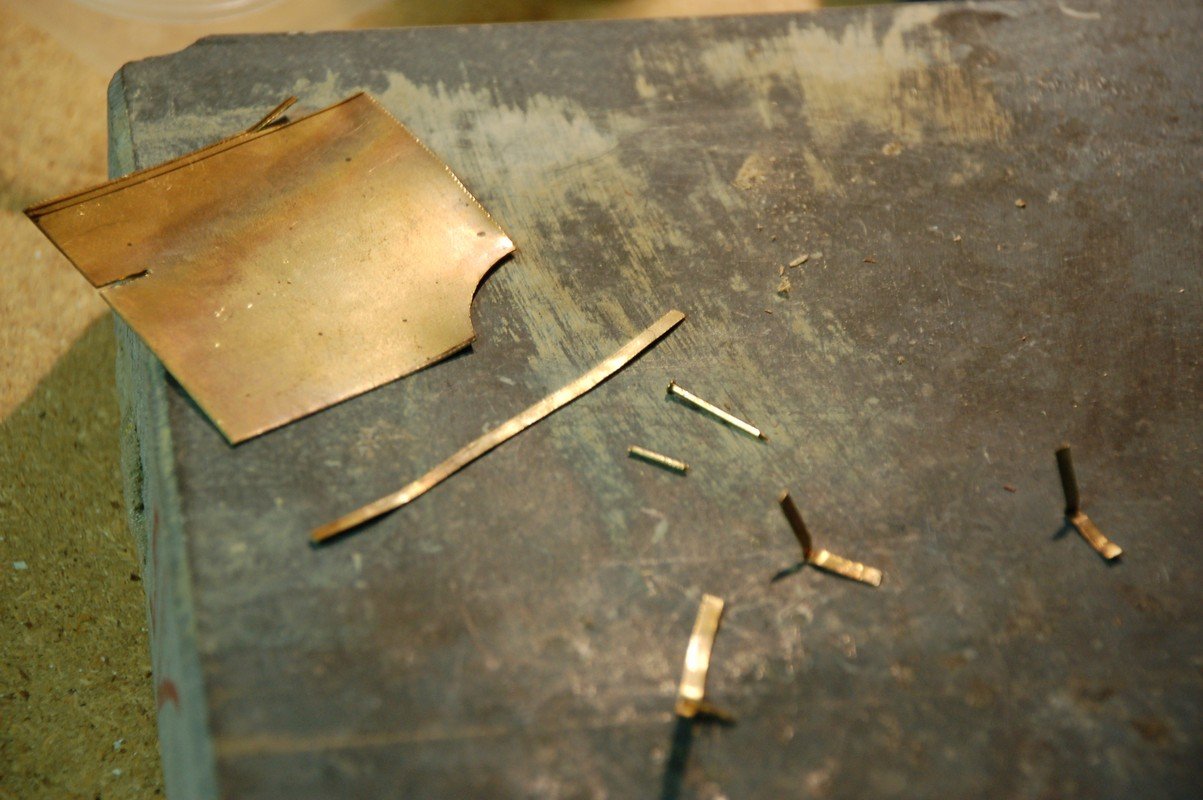
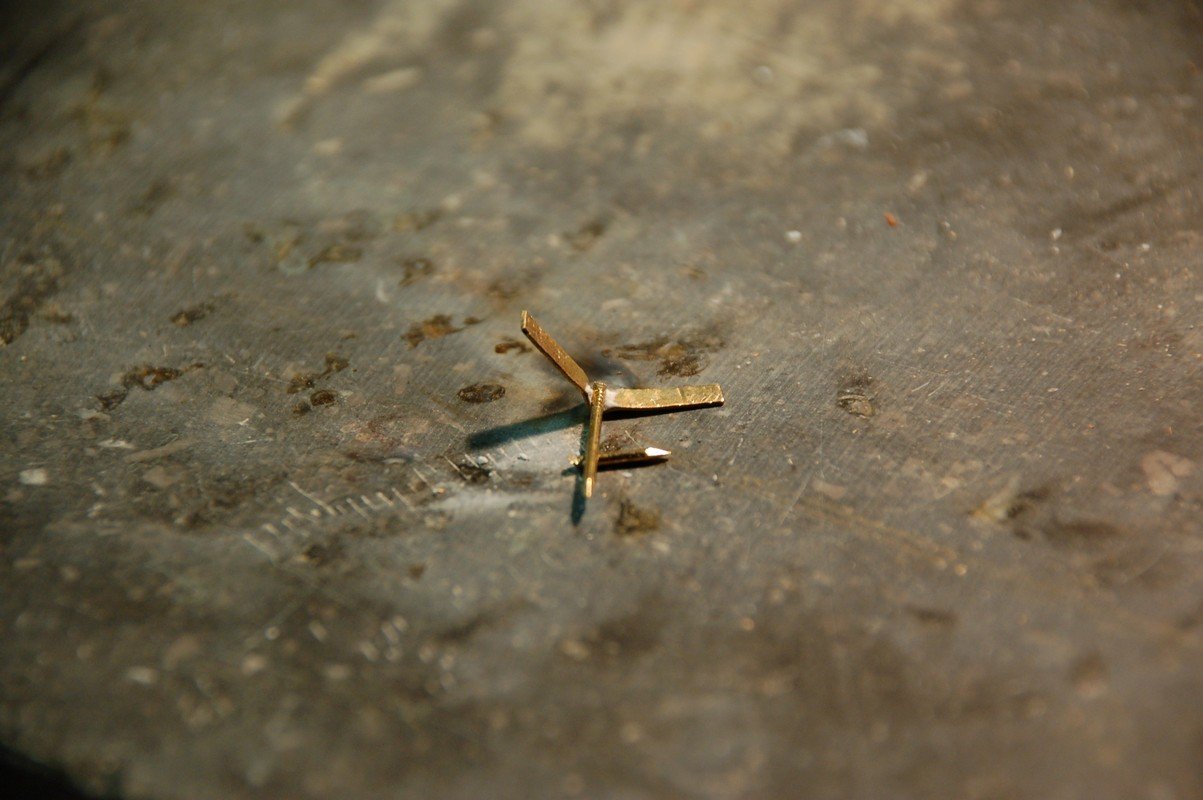
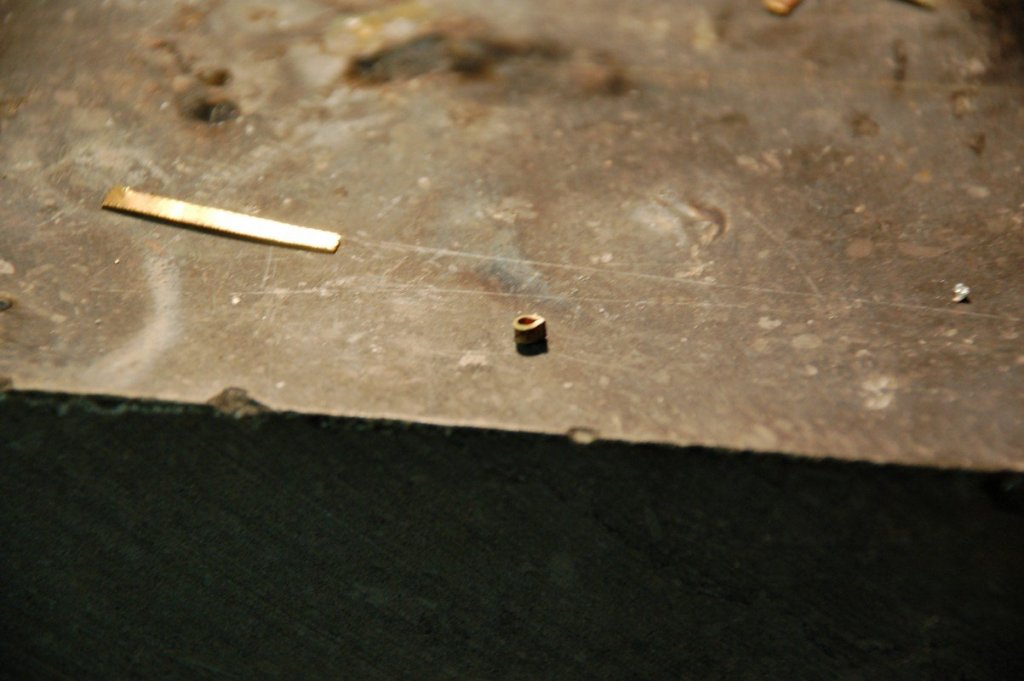
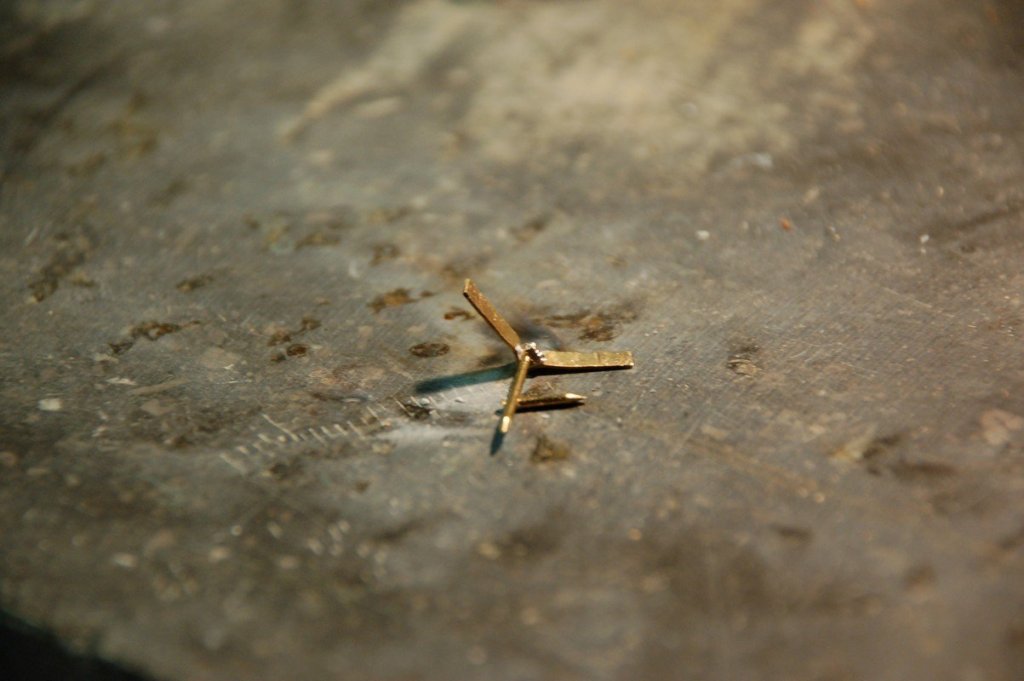
I made the pintles and gudgeons for her rudder. I started with cutting off some strips of brass. I plied the strip on which i applied some flux. On the flux i put the nail which i want to silver solder to the strip. On top of it all i've put a tiny piece of silver solder. The three pintles ready.


- 144 replies
-
- 1
-
-
- corsair
- bermuda boat
- (and 1 more)
-
I'm in as well. I have this monographie lying around as well.
-
It's amazing what you can do with card and paper.
- 1,035 replies
-
- 6
-
-
- royal katherine
- ship of the line
- (and 1 more)
-
All neat and crisp! Beautiful job on the head, Christian.
-
Beautiful Greg! I like your binoculars and voice tubes, all those details make your Yamato really stand out.
-
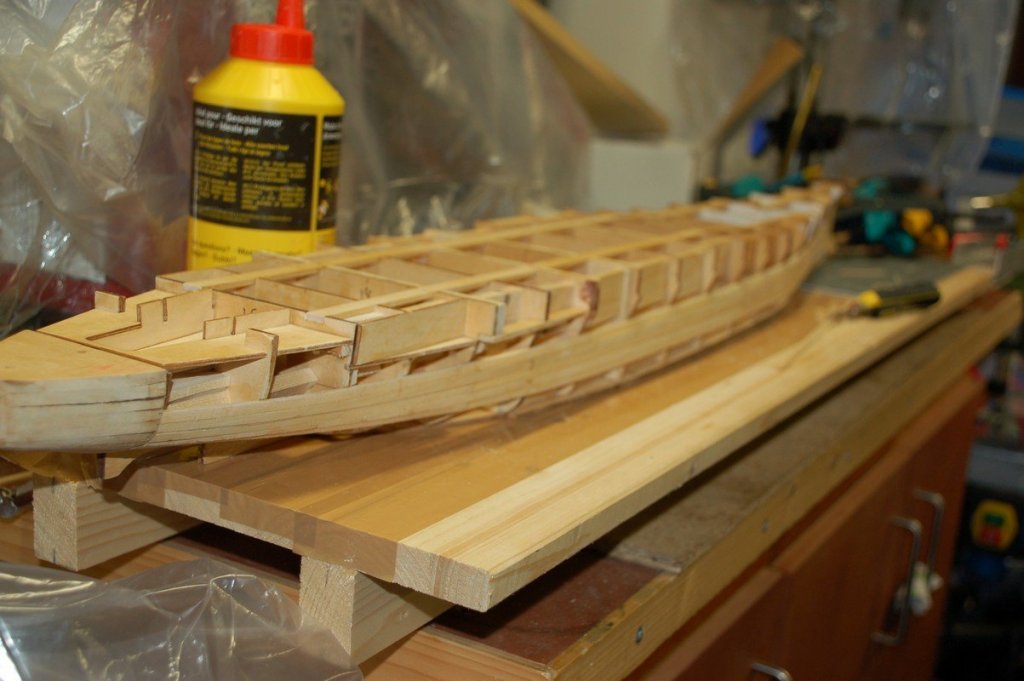
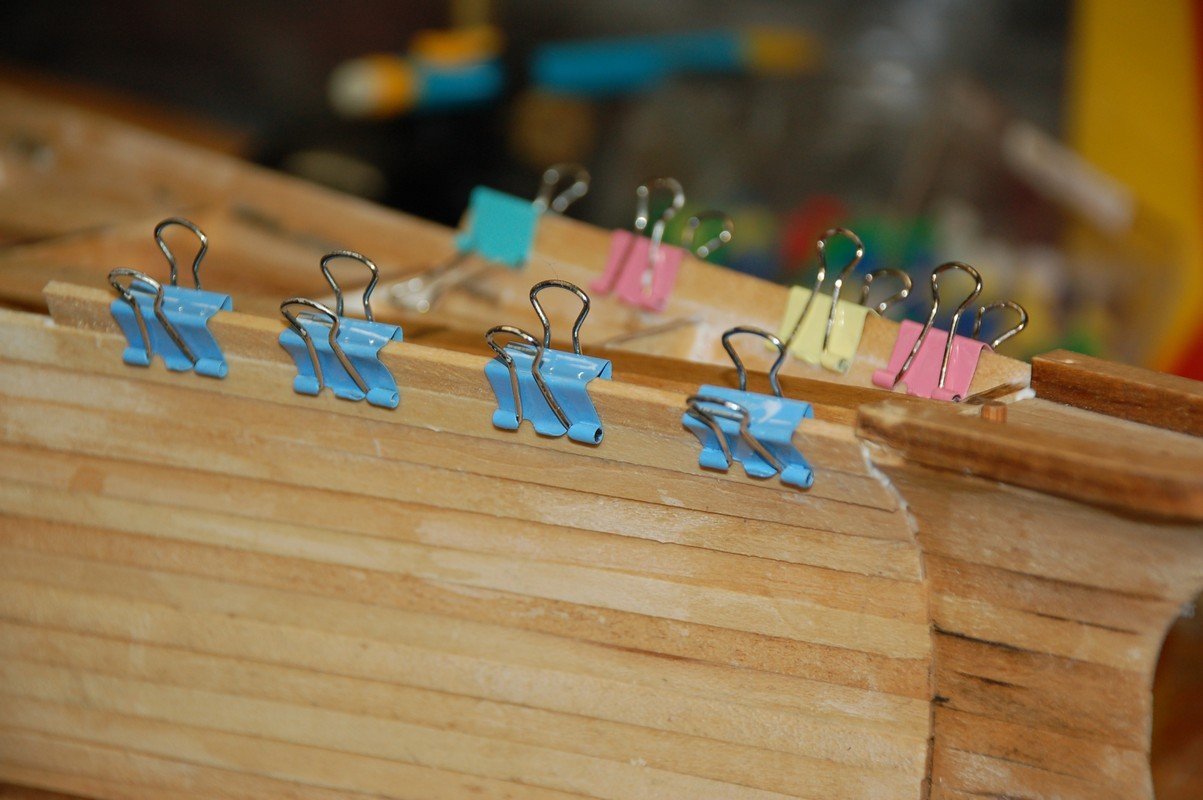
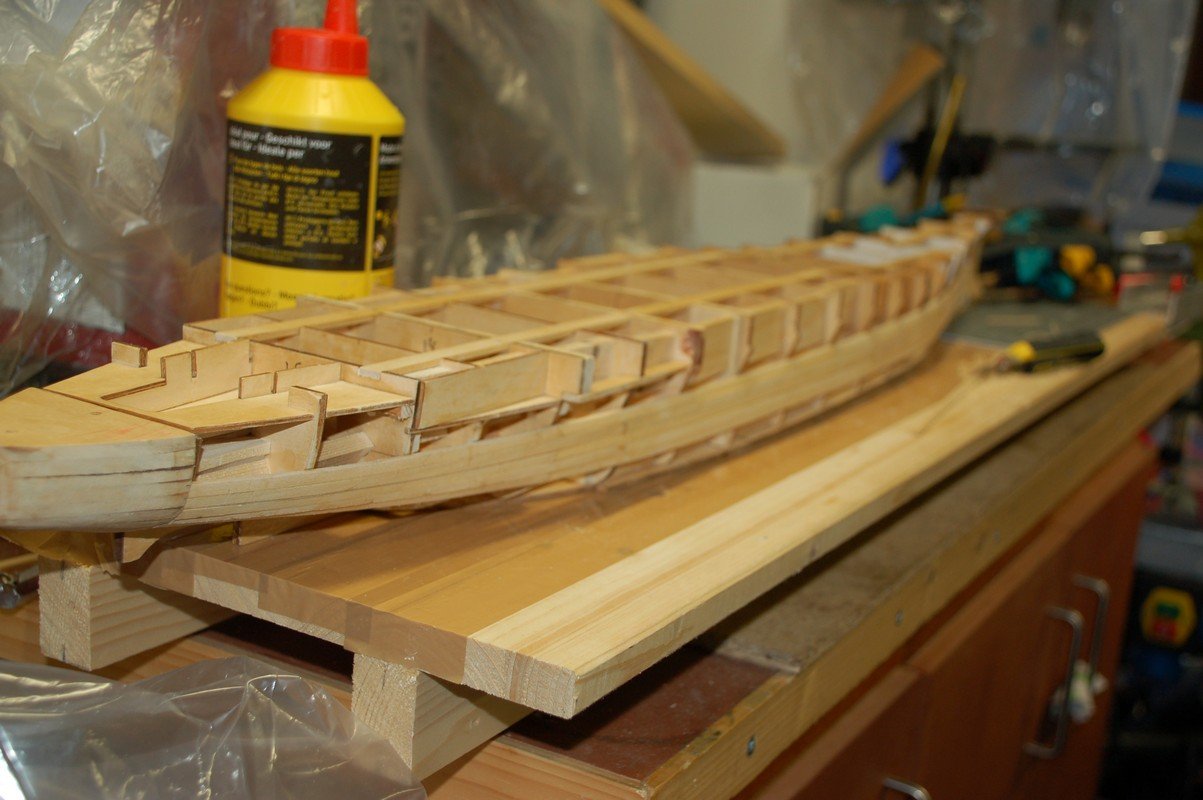
Continued planking the first belt of the ship. First belt of planking completed.