JesseLee
-
Posts
1,694 -
Joined
-
Last visited
Content Type
Profiles
Forums
Gallery
Events
Everything posted by JesseLee
-
 Thanks for all the likes & comments. Sal, I looked at the stem knee. I had started tapering it late one night. The next day I thought I had finished but had not. Thanks for catching that for me.
- 1,306 replies
-
- 4
-

-
- syren
- model shipways
- (and 1 more)
-
Patrick, I'm not sure. I just try it to see if it works. I assure you, they don't always work the first time. Somehow it worked. Also it doesn't have to hold up to much, just to get the ship built & in the bottle then they will never be moved again. Mark, thanks- I'll try that
- 71 replies
-
- 5
-
-
- pirate ship
- bottle
- (and 1 more)
-
Keith, I wondered about that but the kit instructions show it straight so I went along with it, still wondering........
- 1,306 replies
-
- 4
-
-
- syren
- model shipways
- (and 1 more)
-
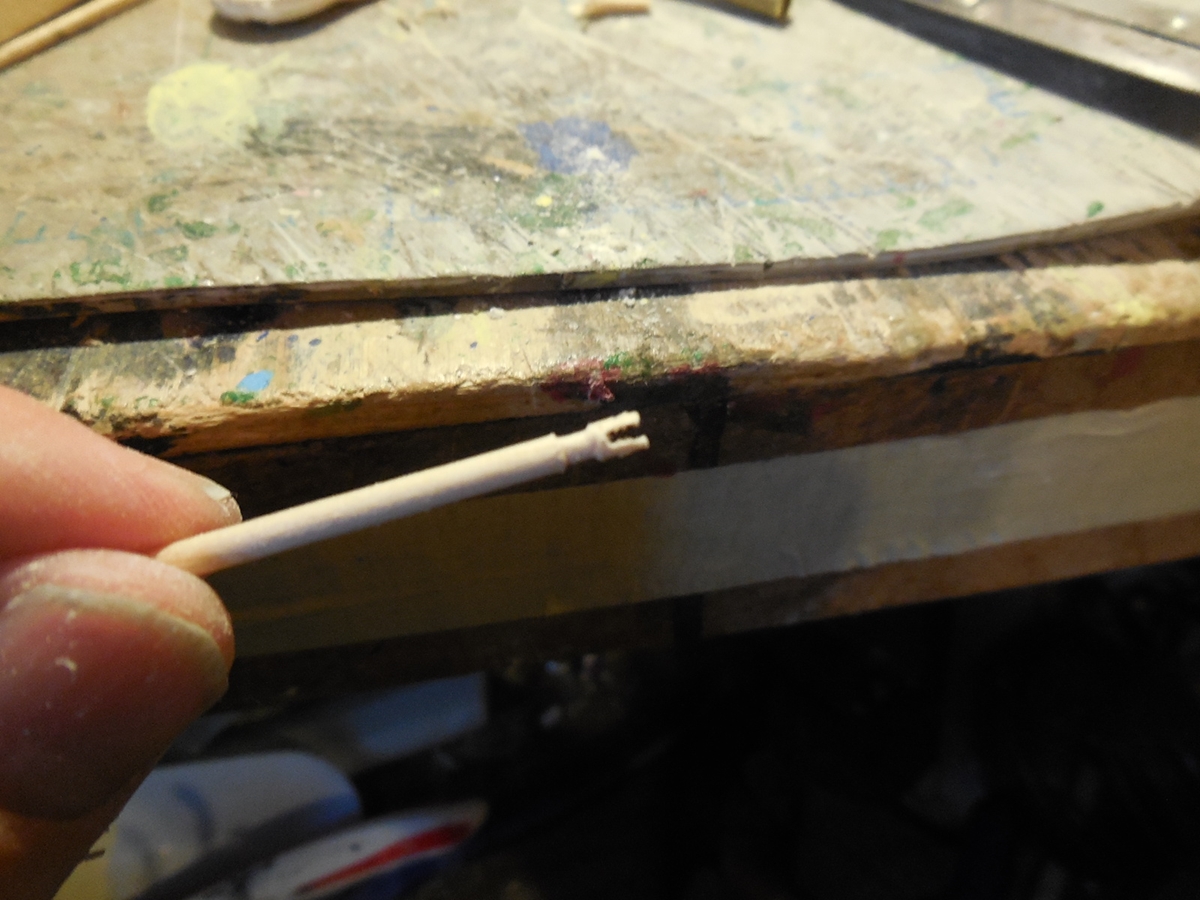
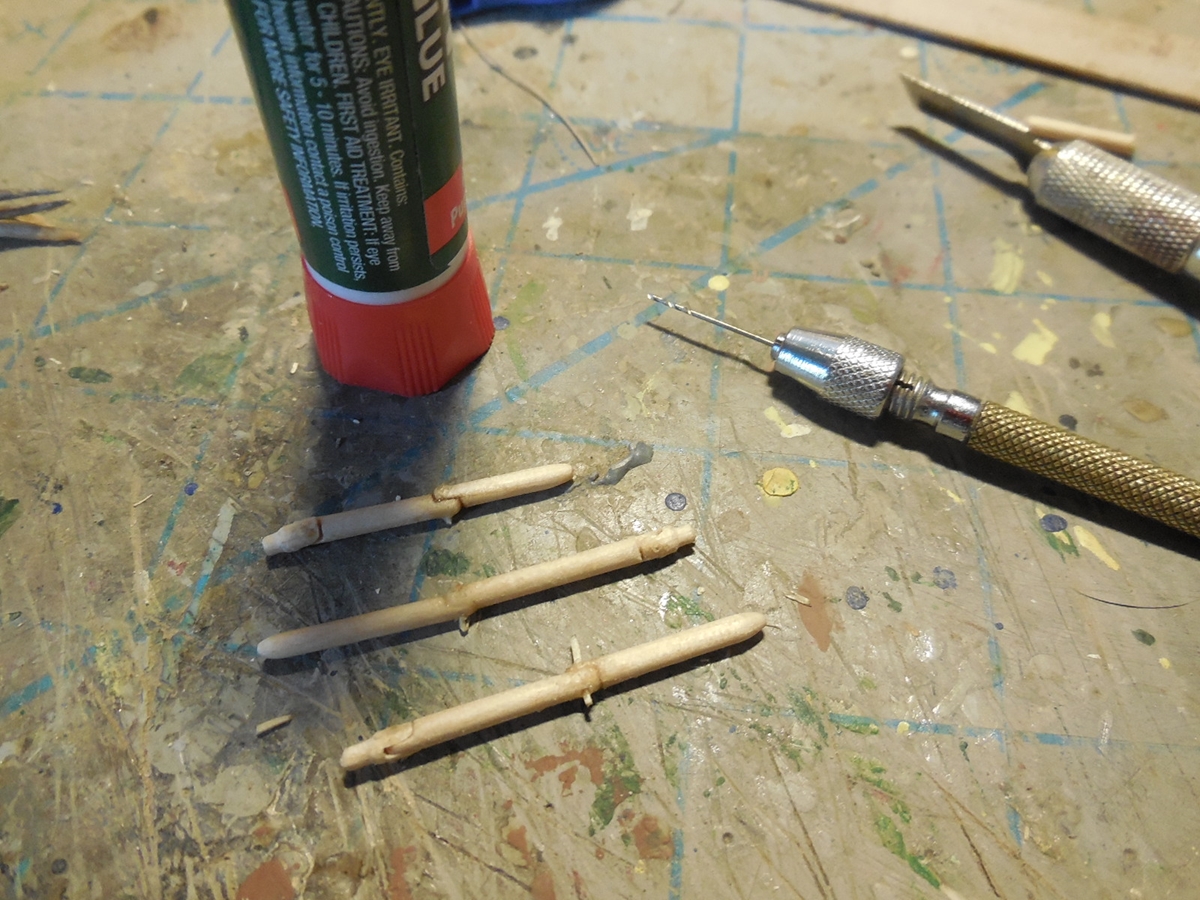
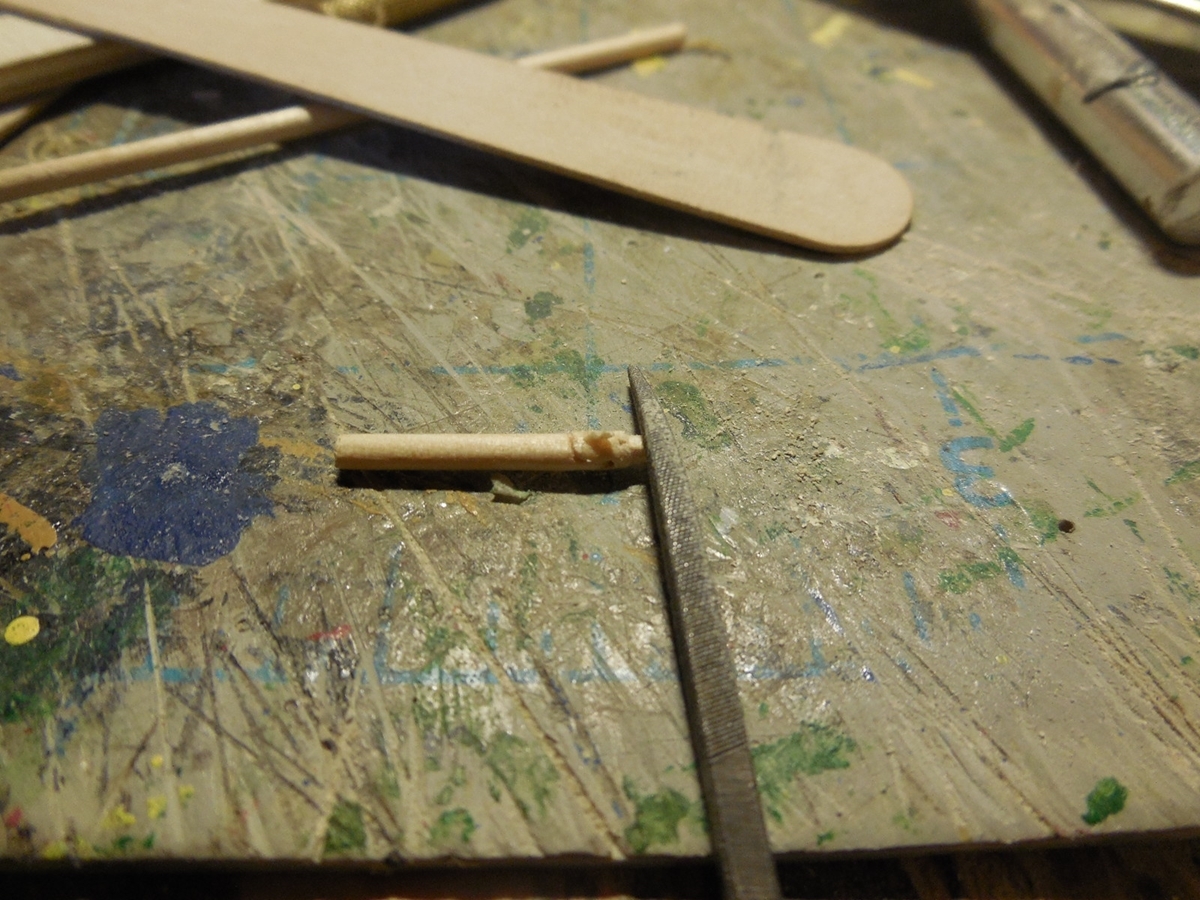
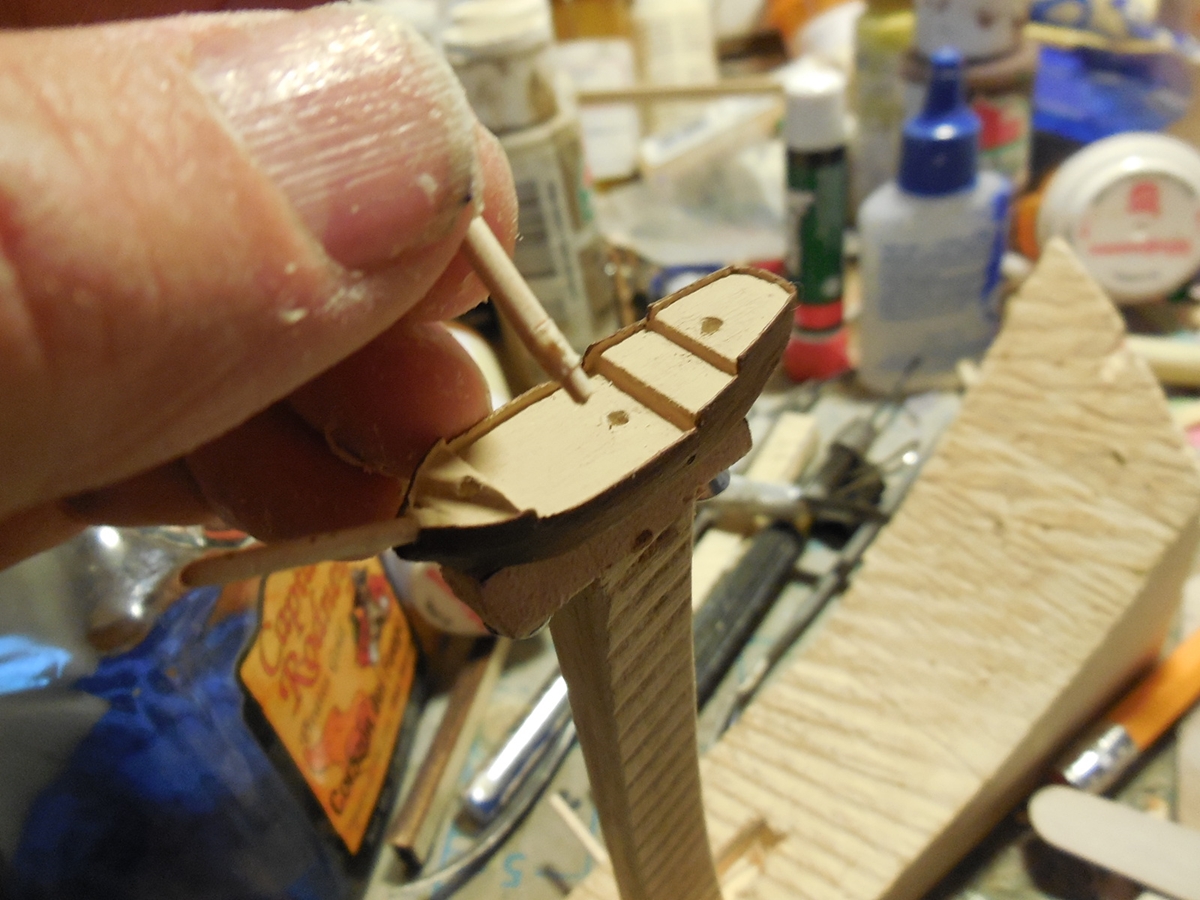
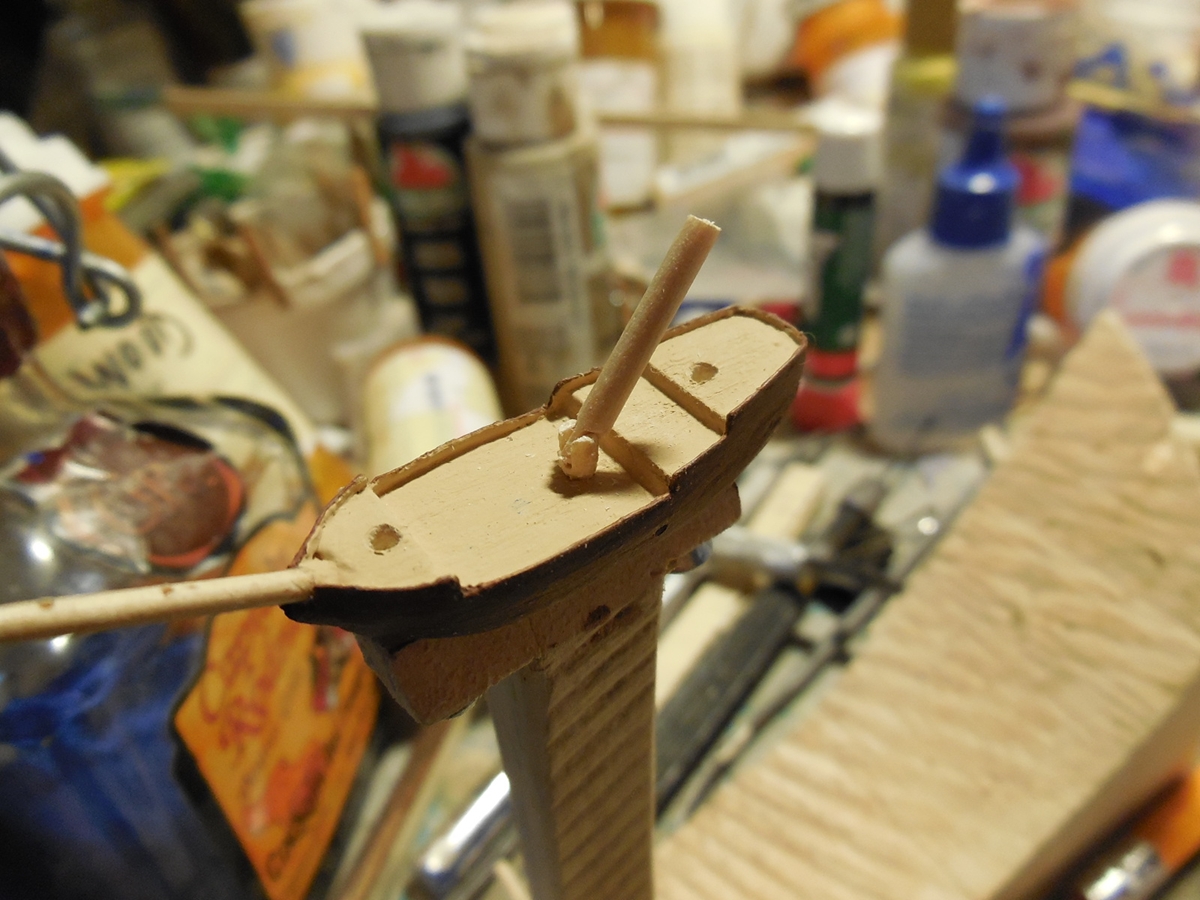
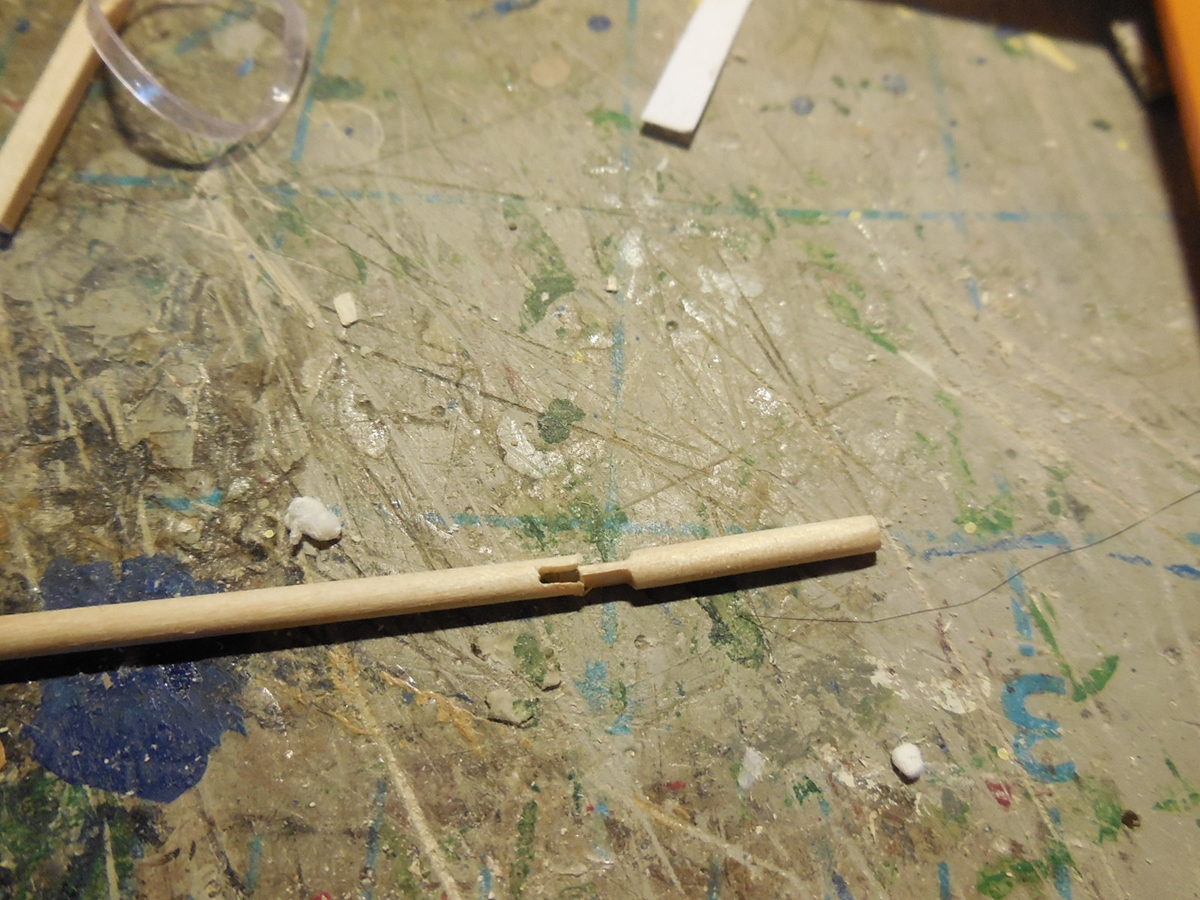
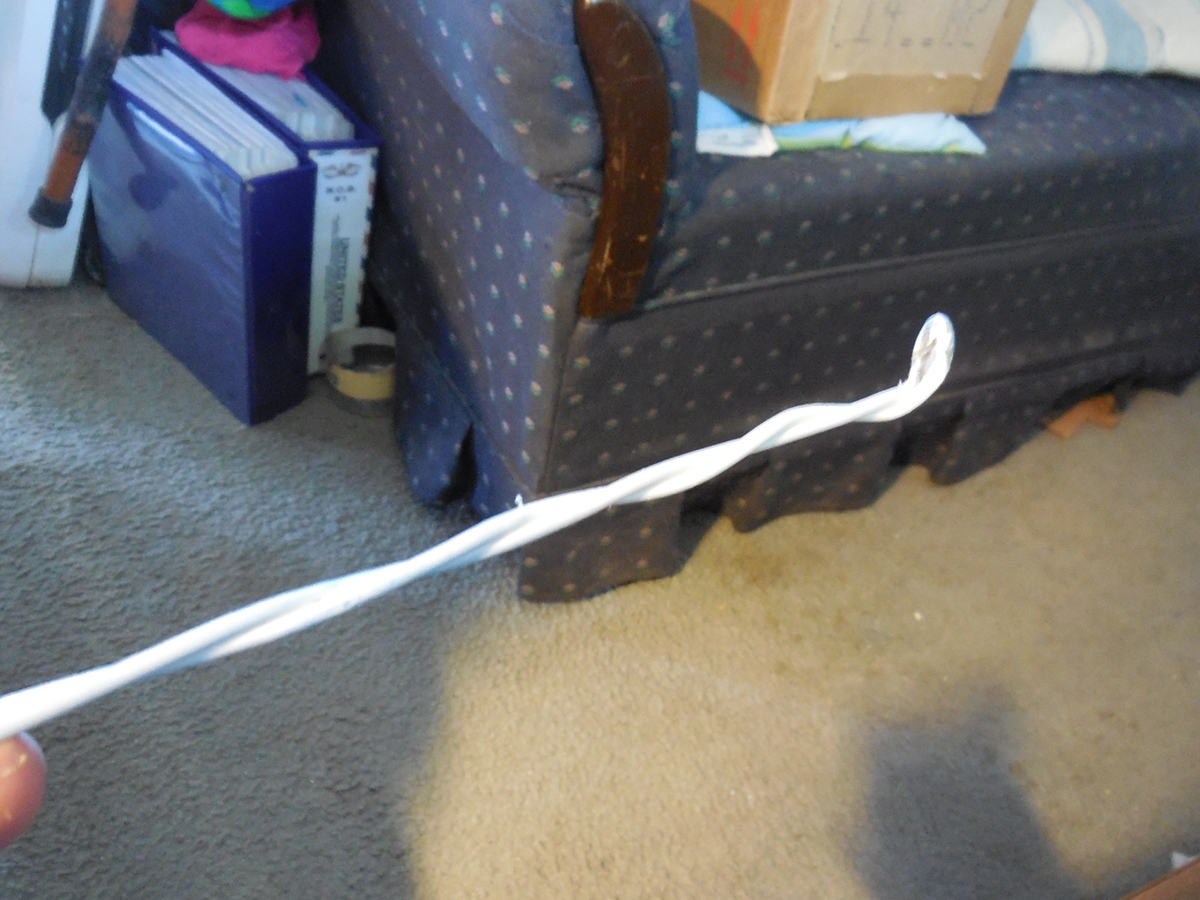
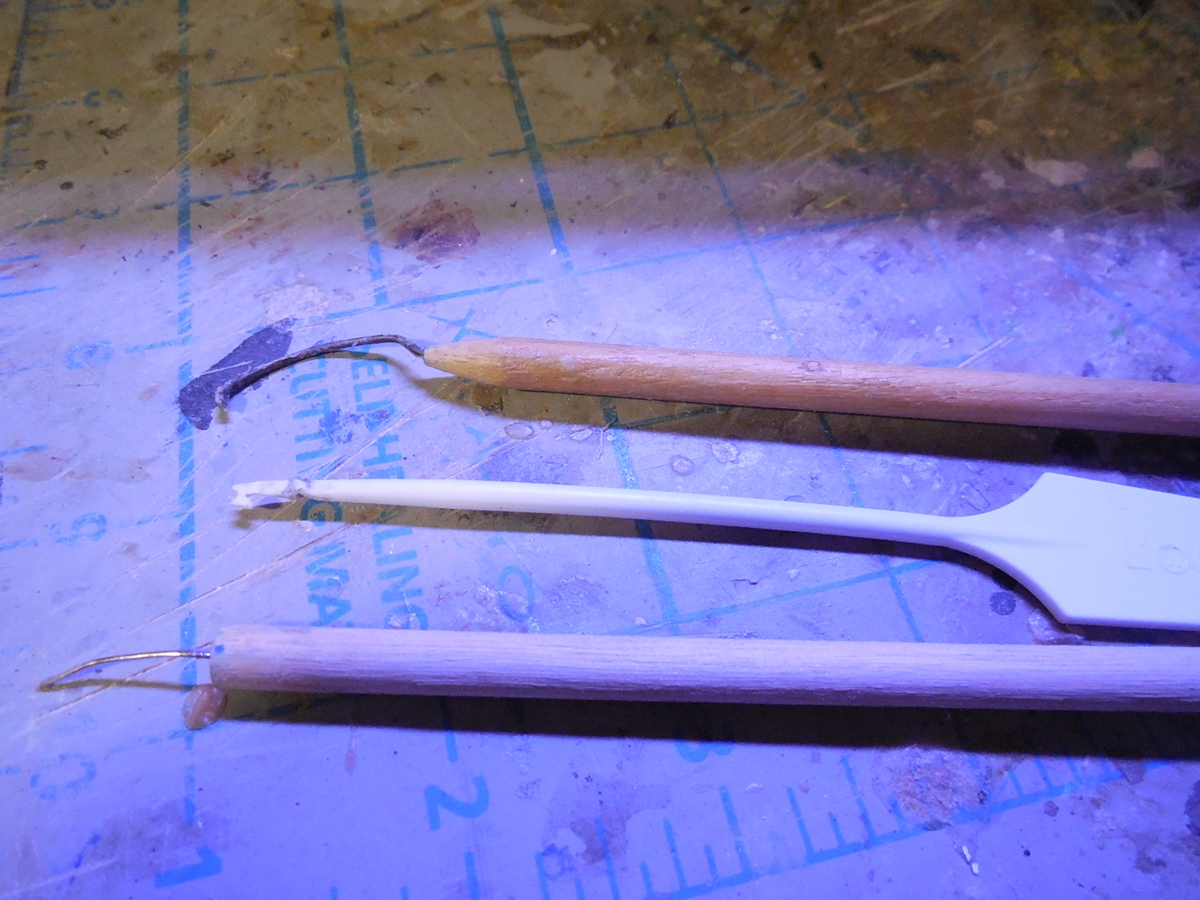
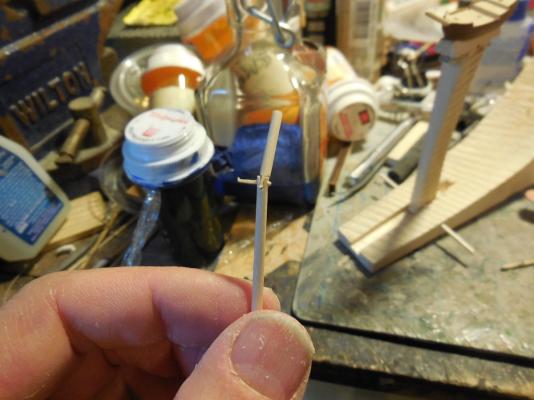
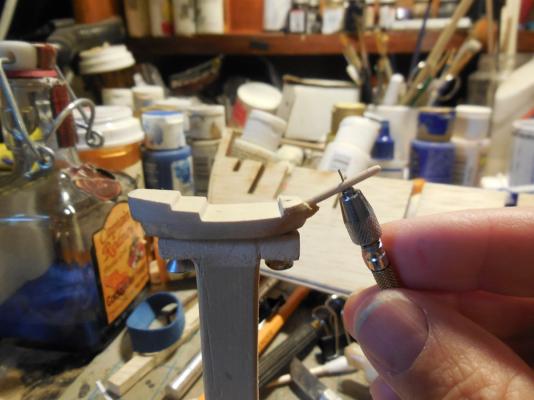
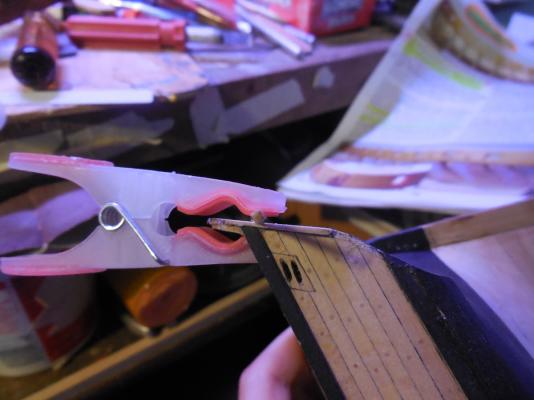
Wow, thanks to everyone commenting & following along! Next I started working on the masts & how I would hinge them. I have seen the wire hinge method but I wanted to challenge myself & see if I could make a wood hinge in the mast itself. It took a few tries but it worked out. I drilled the small hole after shaping it & used wood splinters cut out with razor edges. When they raise up they will look more like a solid mast going into the deck. My computer is scrambling the photos out of order every time I try to load them now so I will have to post a few pictures at a time several times. here are the 1st 2. The next 2-3 will follow - then the next until I can get all 7 posted

- 71 replies
-
- 8
-
-
- pirate ship
- bottle
- (and 1 more)
-
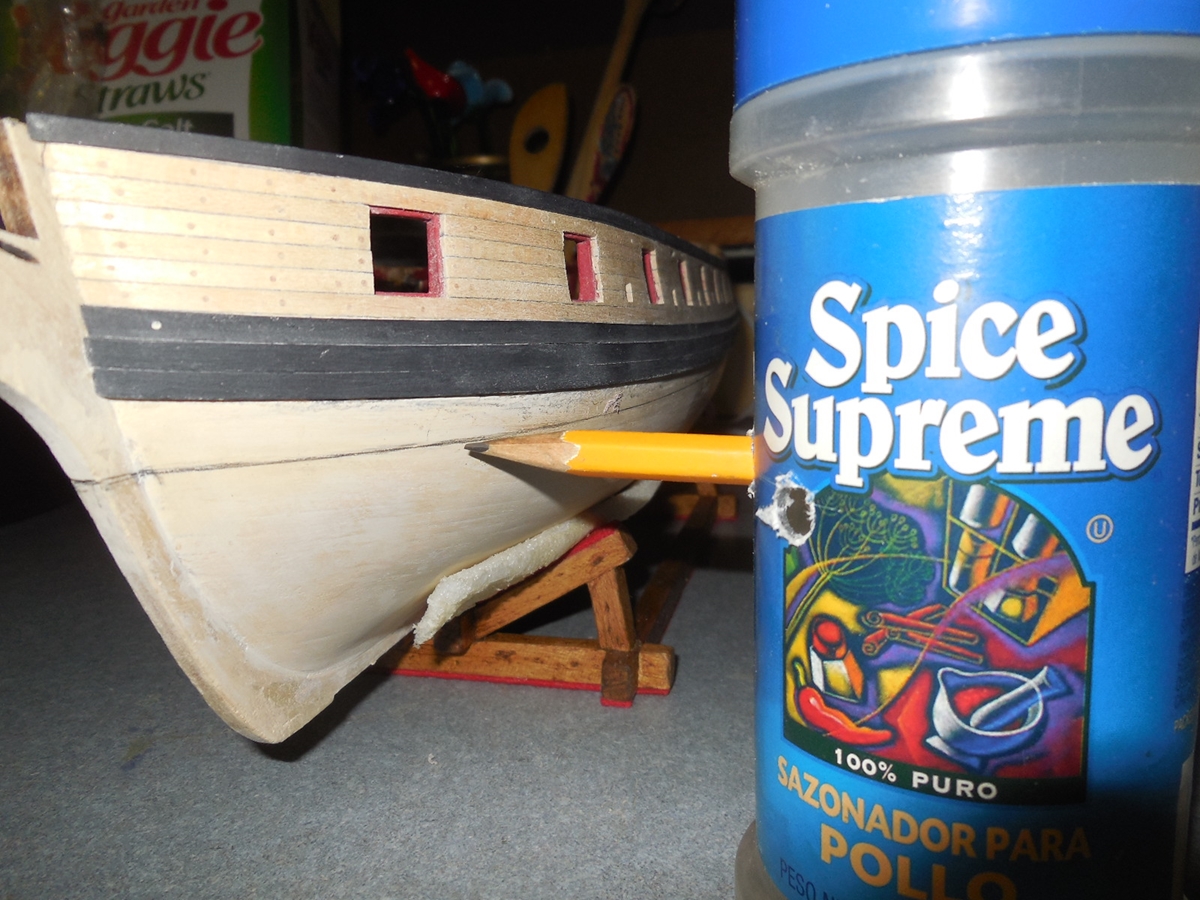
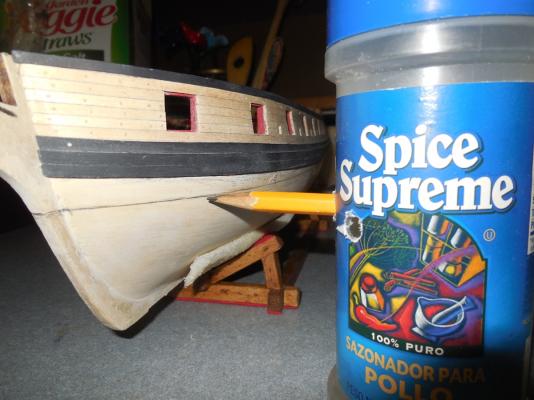
Thanks Gary. The hard part is getting the hole the right height. It took several tries & more than one old spice container before I got it right.
- 1,306 replies
-
- 4
-
-
- syren
- model shipways
- (and 1 more)
-
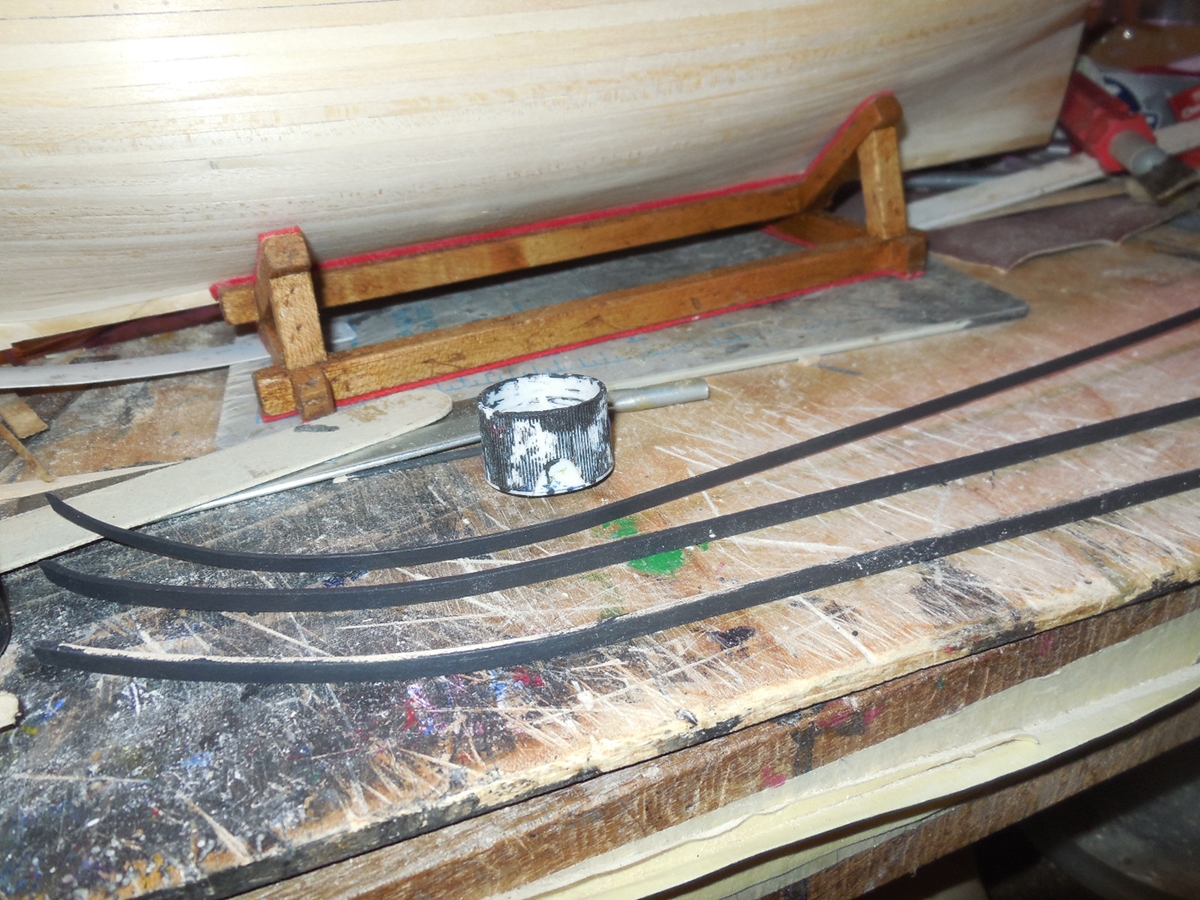
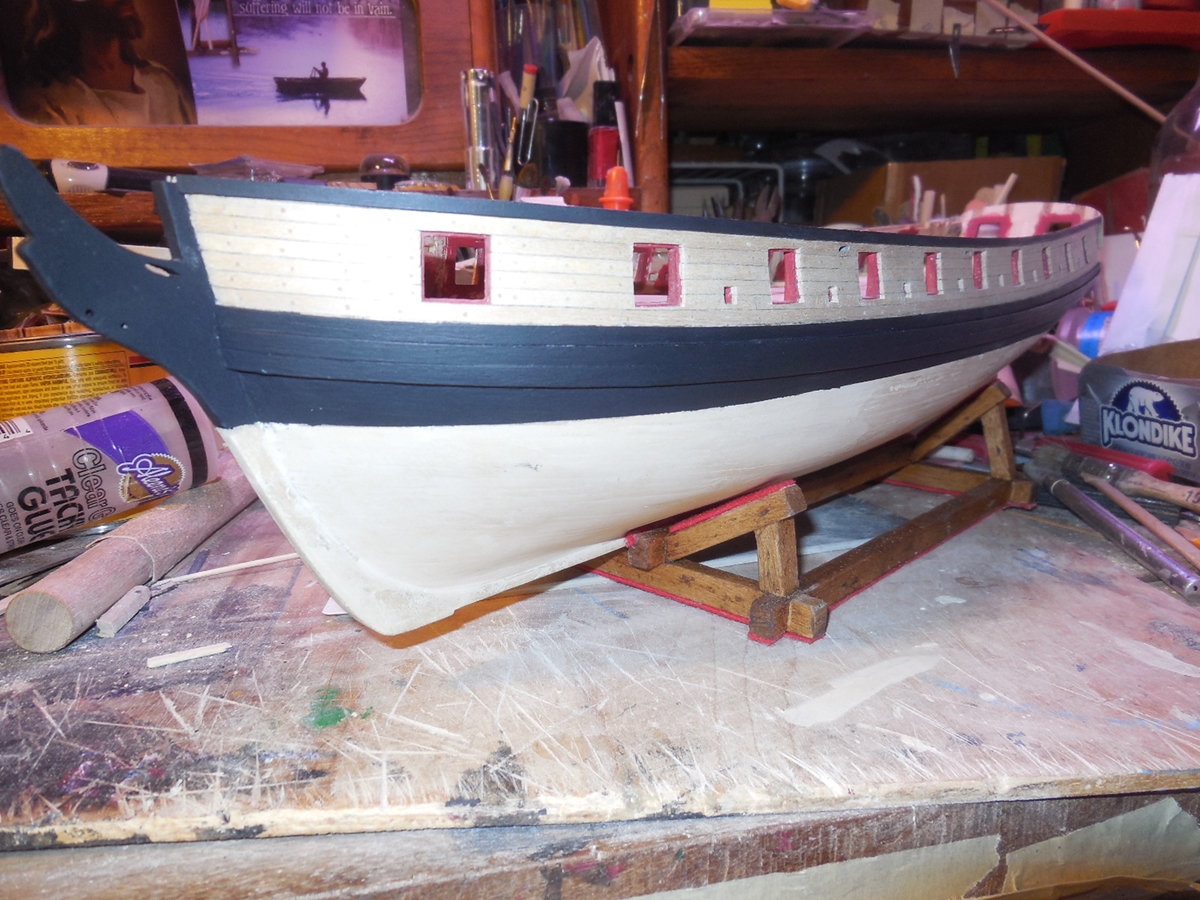
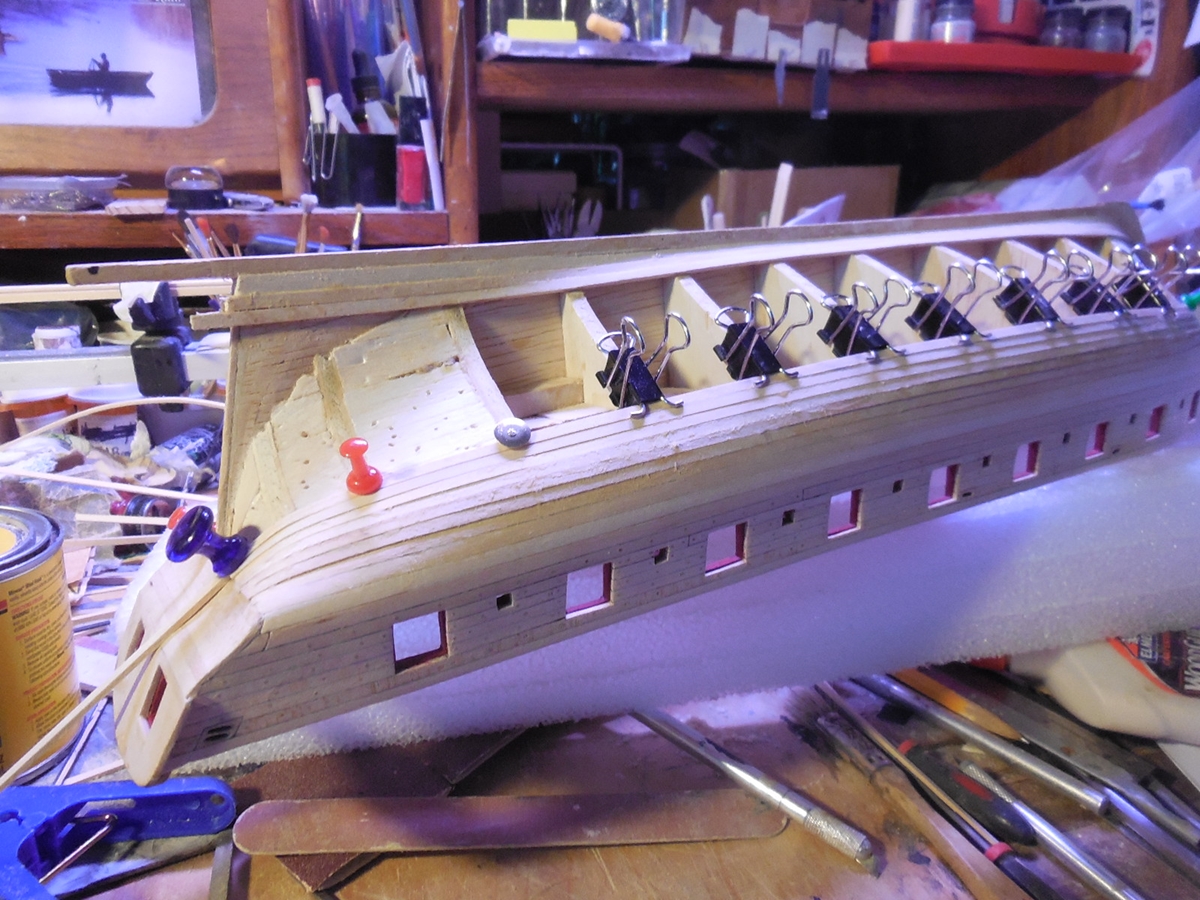
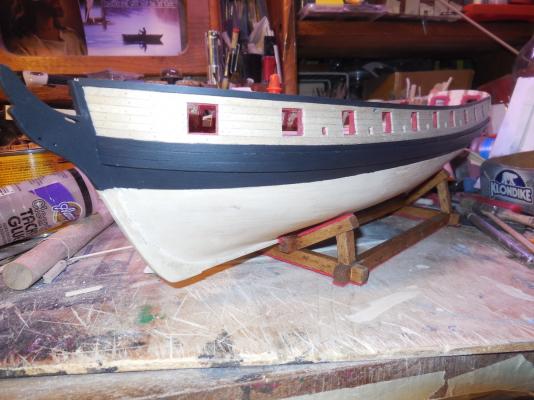
Thanks for all the kind words & all the likes. This is a great group of people here at MSW! The instructions say to add the extra layers of wales & sheer strakes earlier & paint them afterwards. I pre-painted mine because I knew I would make a mess of it trying to keep a good straight line between the painted area & the stained area. Rigged up a simple jig to mark the waterline & painted all the areas that are black. I did use some wood filler on the hull planking to fill in some minor dips & cracks that will be covered with the copper plating.

- 1,306 replies
-
- 22
-
-
- syren
- model shipways
- (and 1 more)
-
Drilled rigging holes in bowsprit & glued paper bulwarks on.

- 71 replies
-
- 10
-
-
- pirate ship
- bottle
- (and 1 more)
-
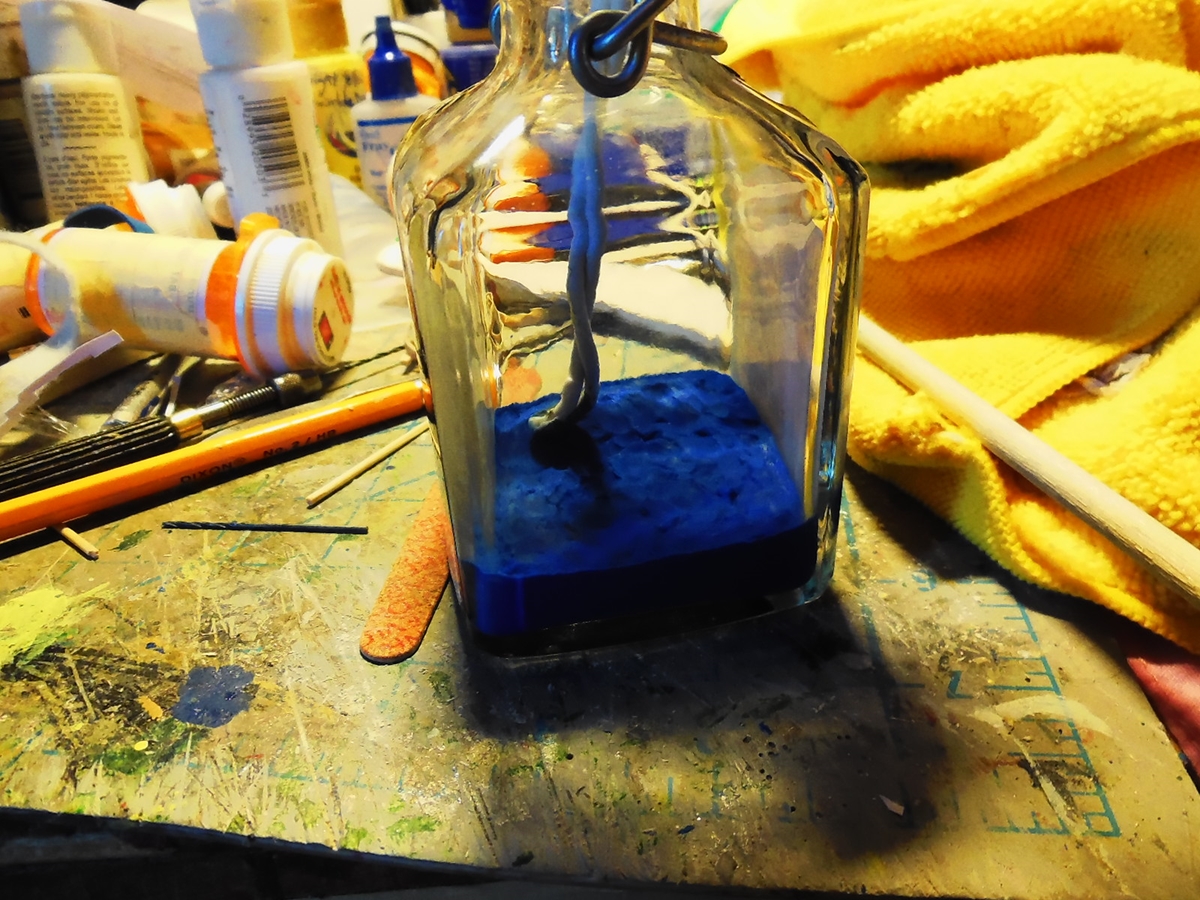
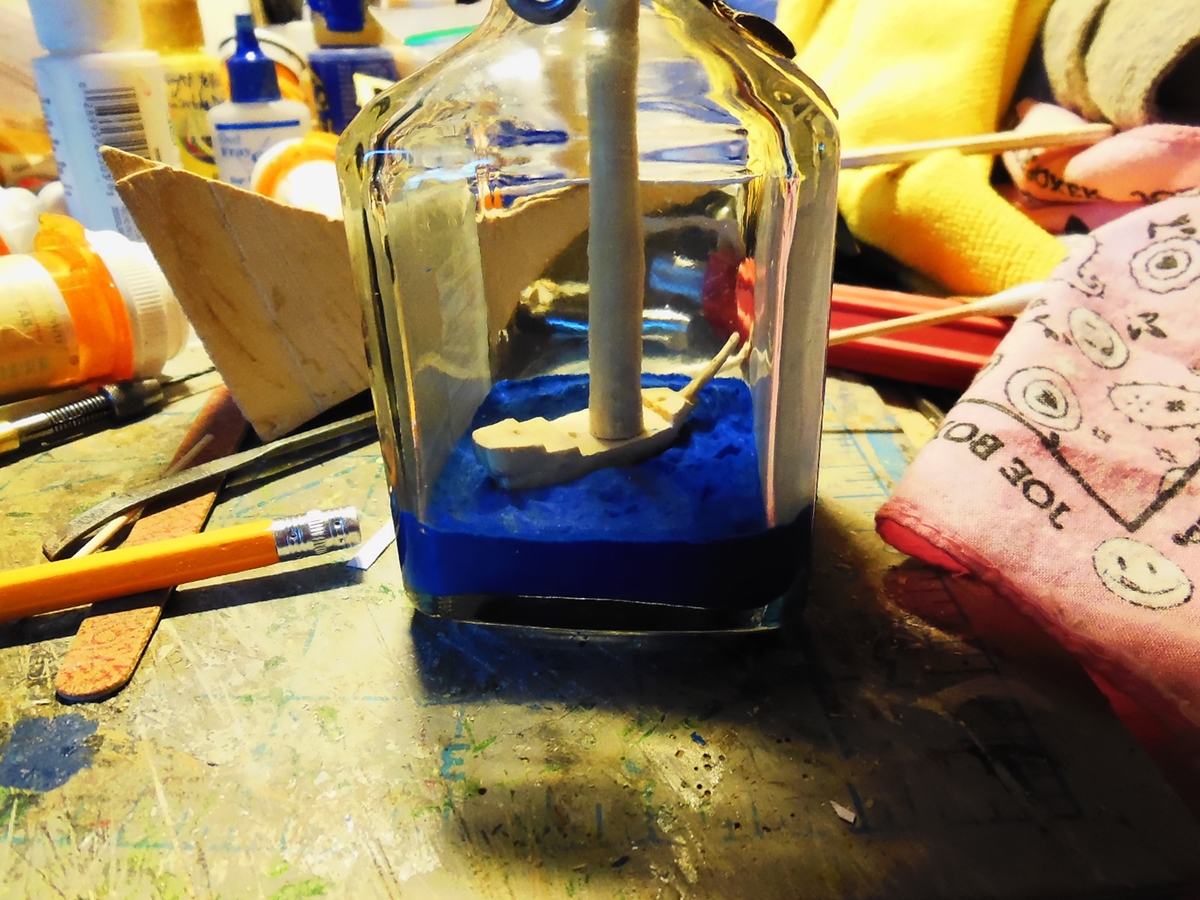
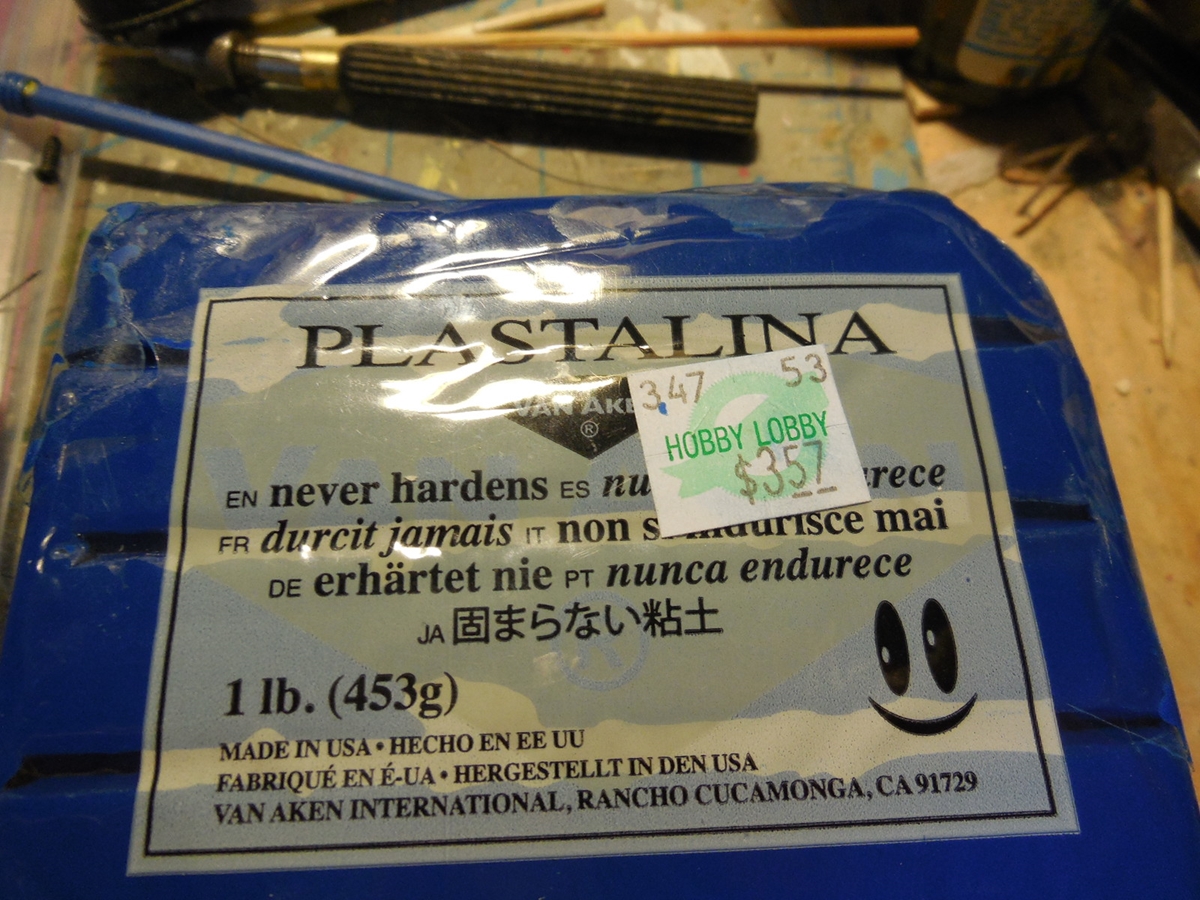
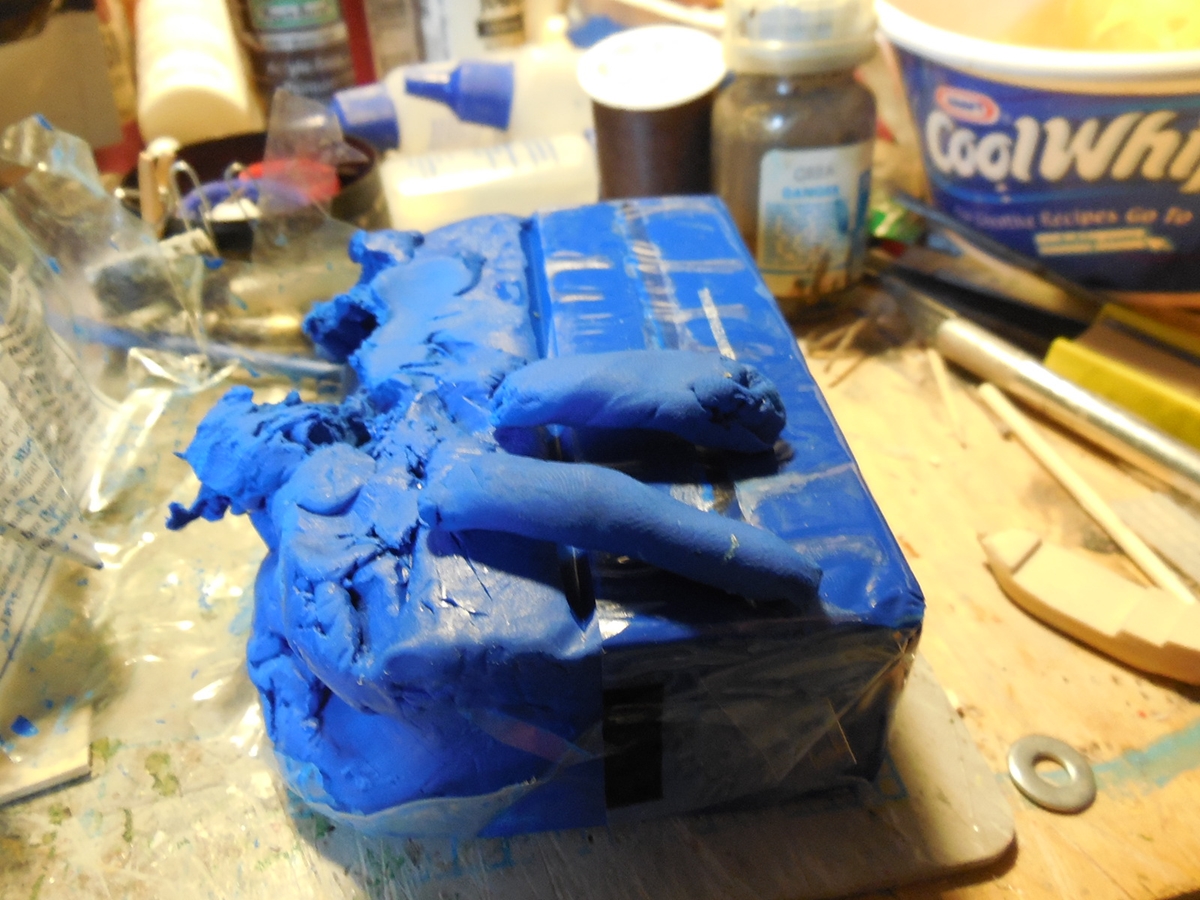
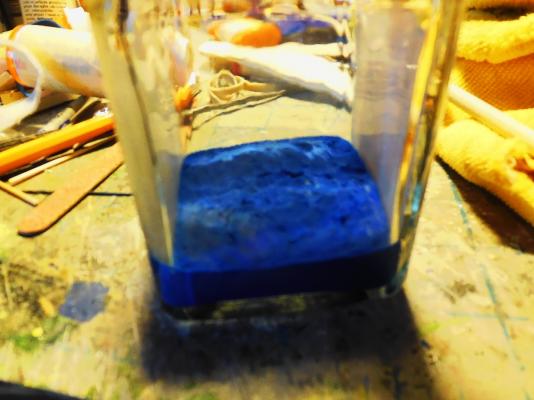
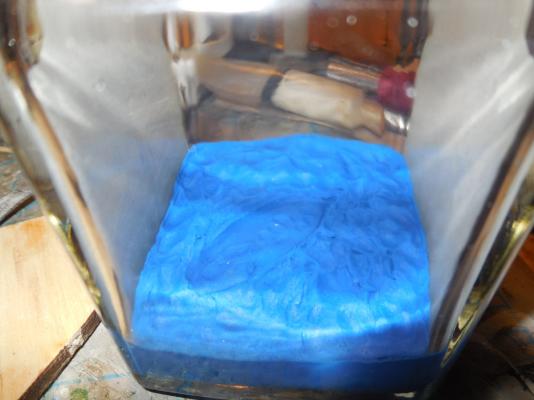
Went on & put the putty in the bottom of the bottle now. Heated it on the stove to slightly melt & seal it down to the bottle better. Shaped the waves some & pressed the ship in the putty where it will rest.


- 71 replies
-
- 10
-
-
- pirate ship
- bottle
- (and 1 more)
-
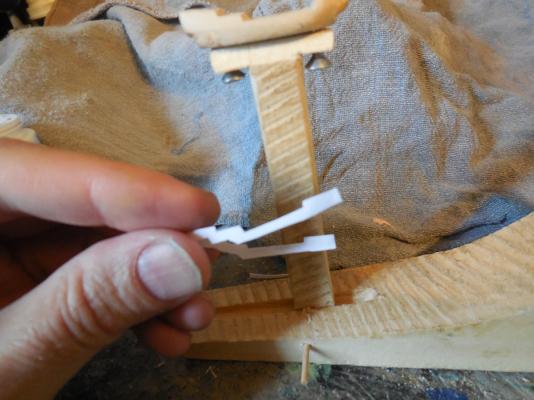
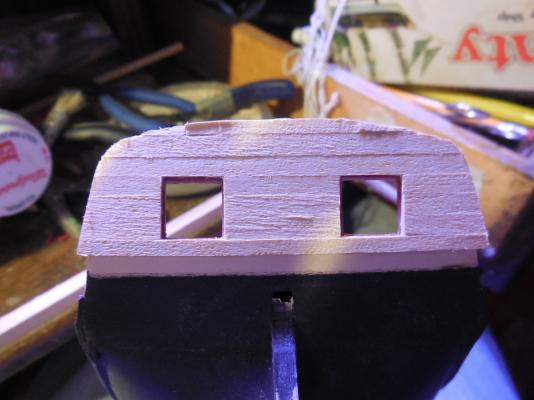
Will make the bulwarks out of thick paper to keep them from looking too thick. Cut them out & checked for proper fit. They will be one strip wrapped around & glued on.

- 71 replies
-
- 9
-
-
- pirate ship
- bottle
- (and 1 more)
-
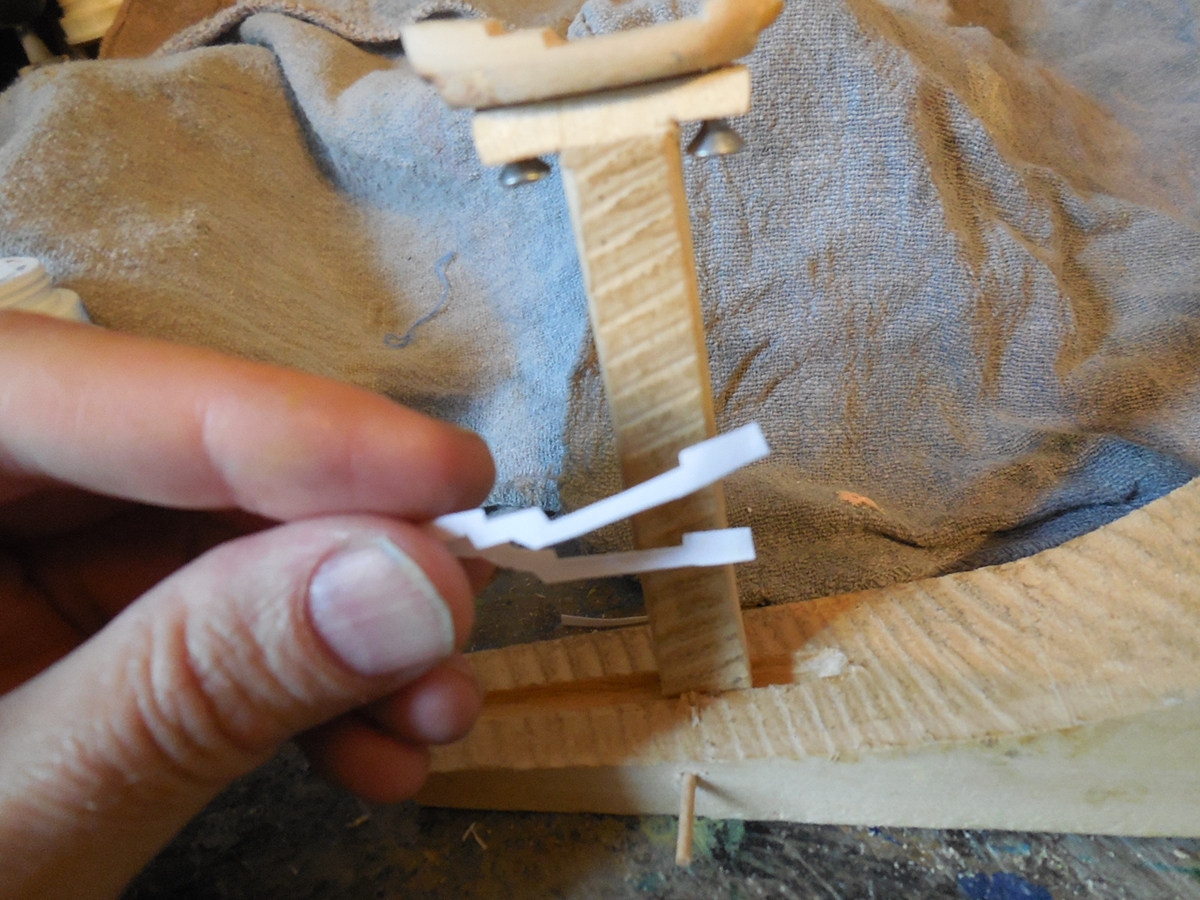
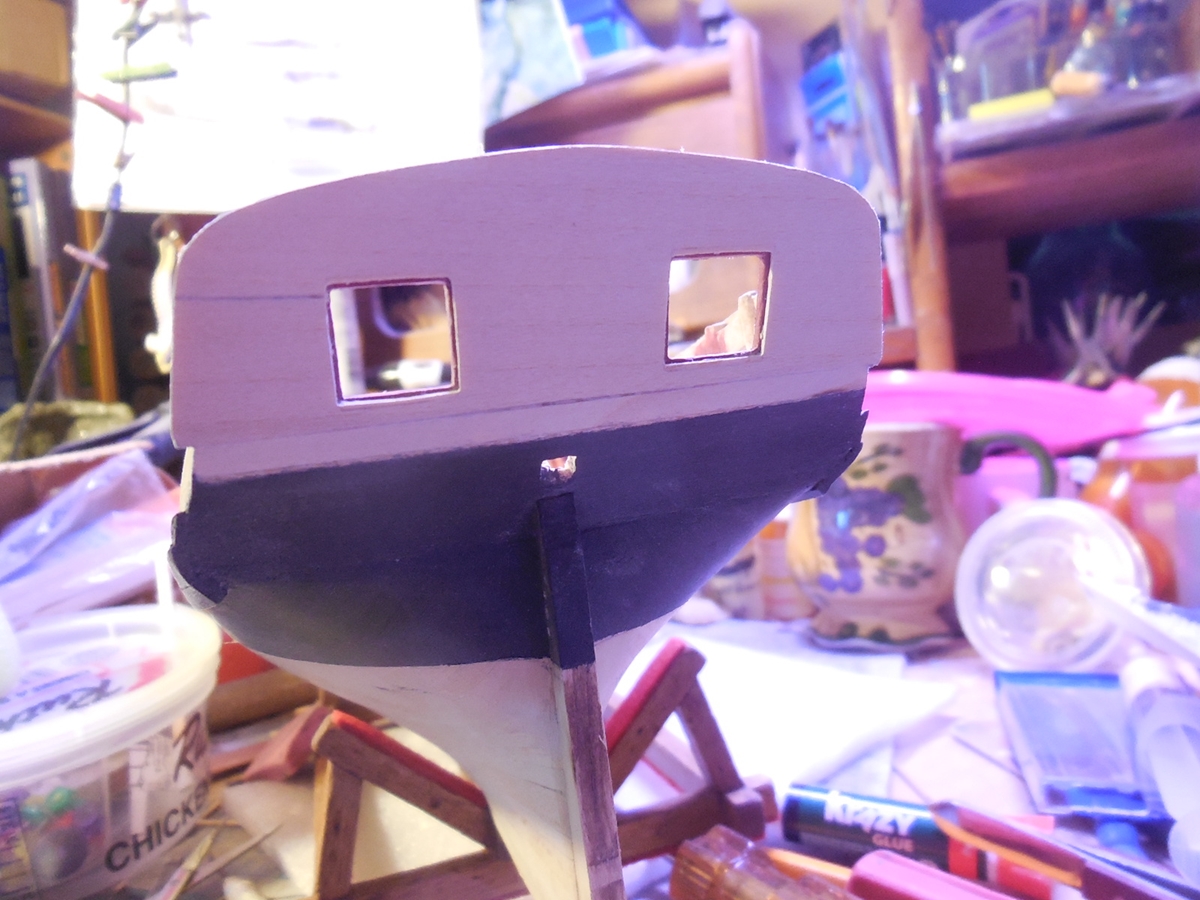
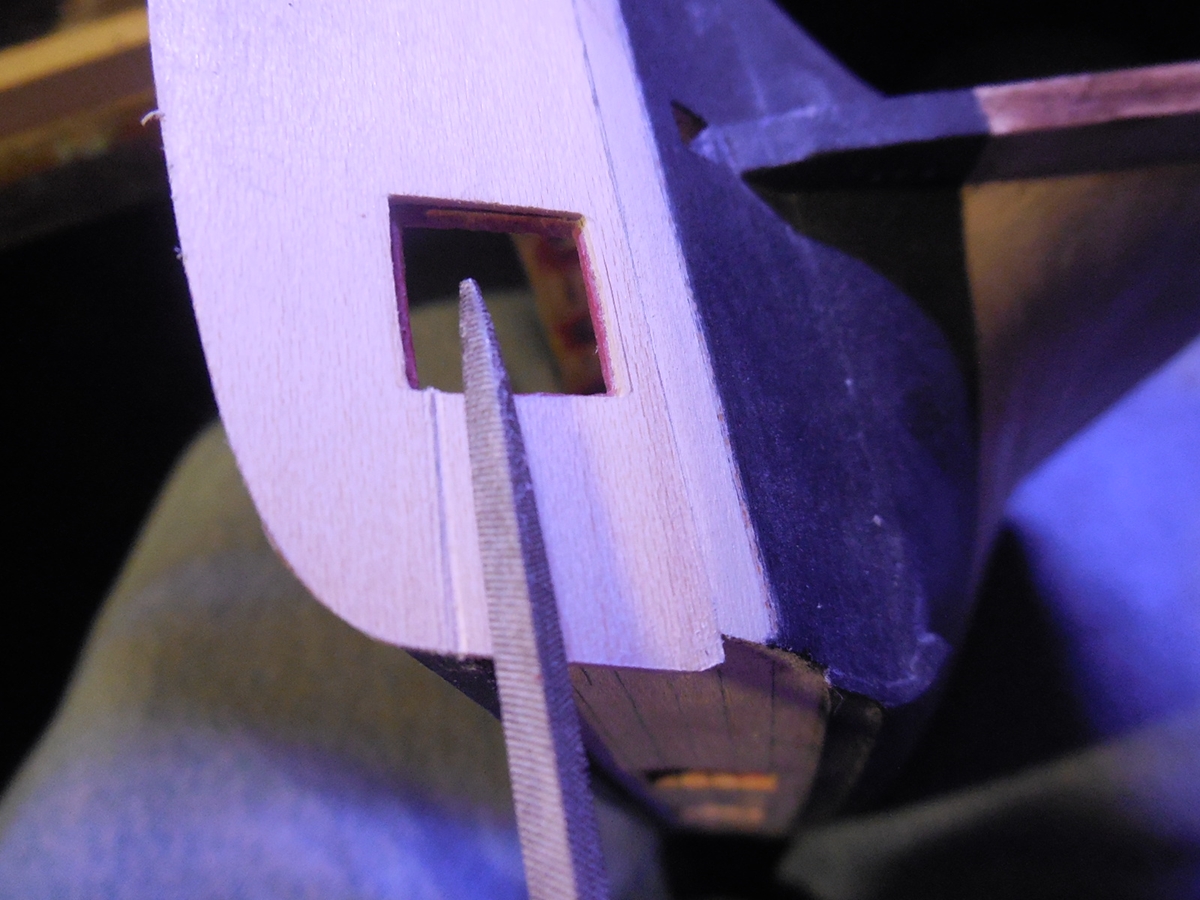
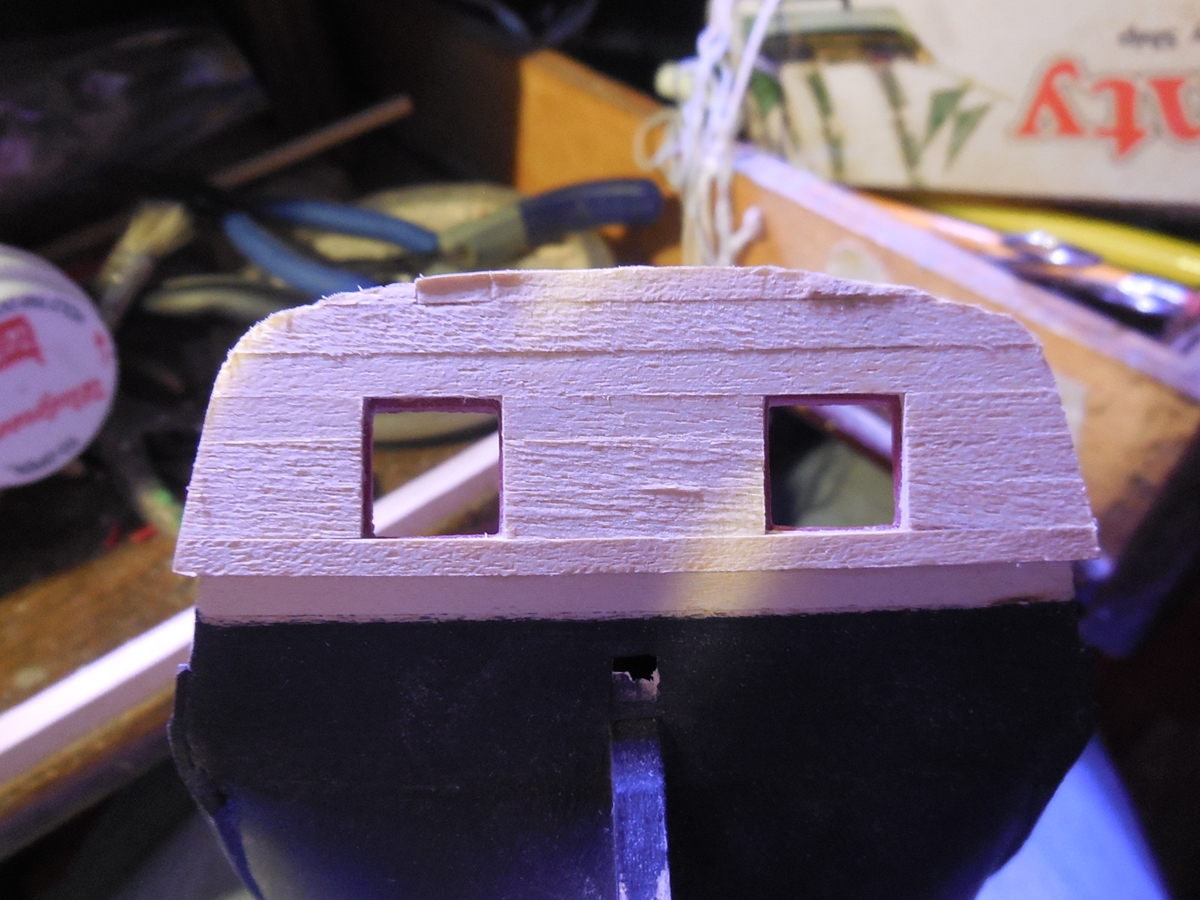
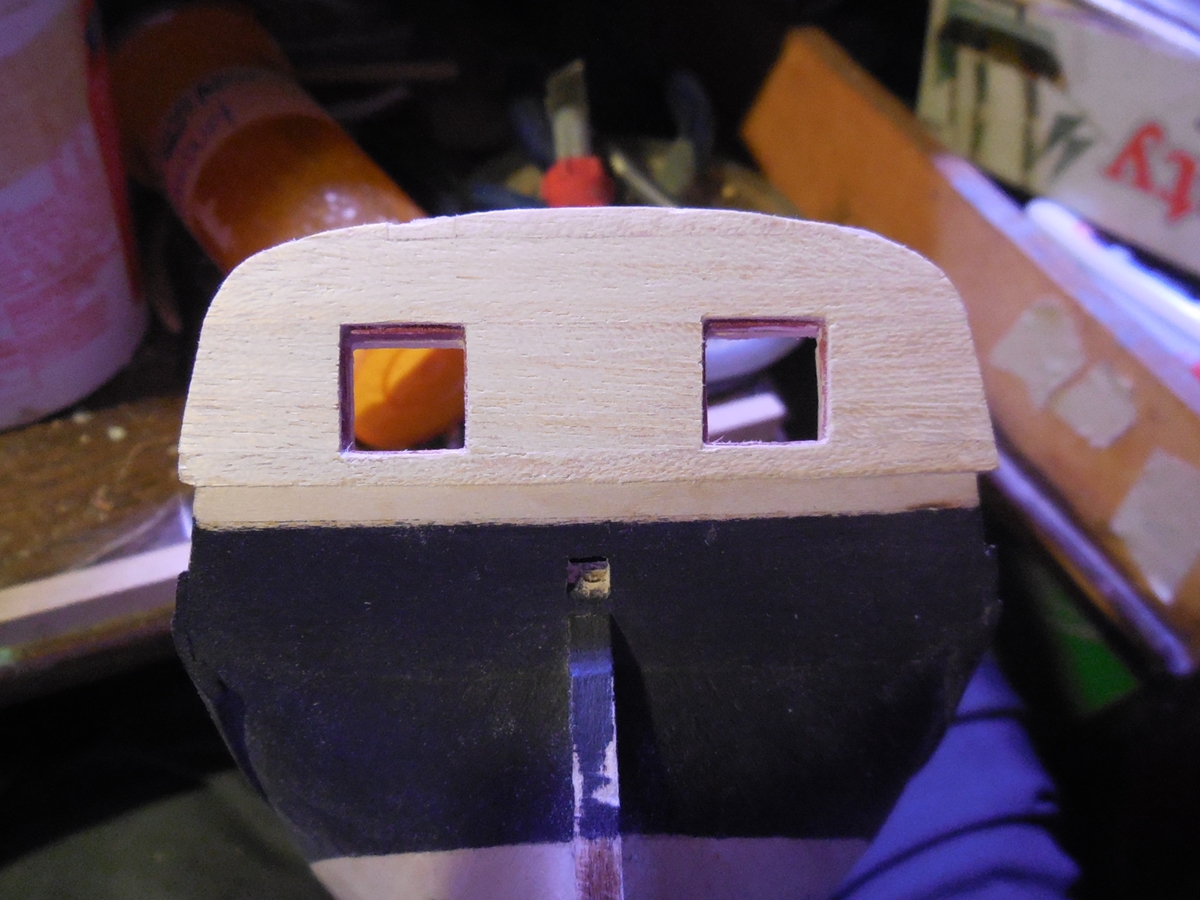
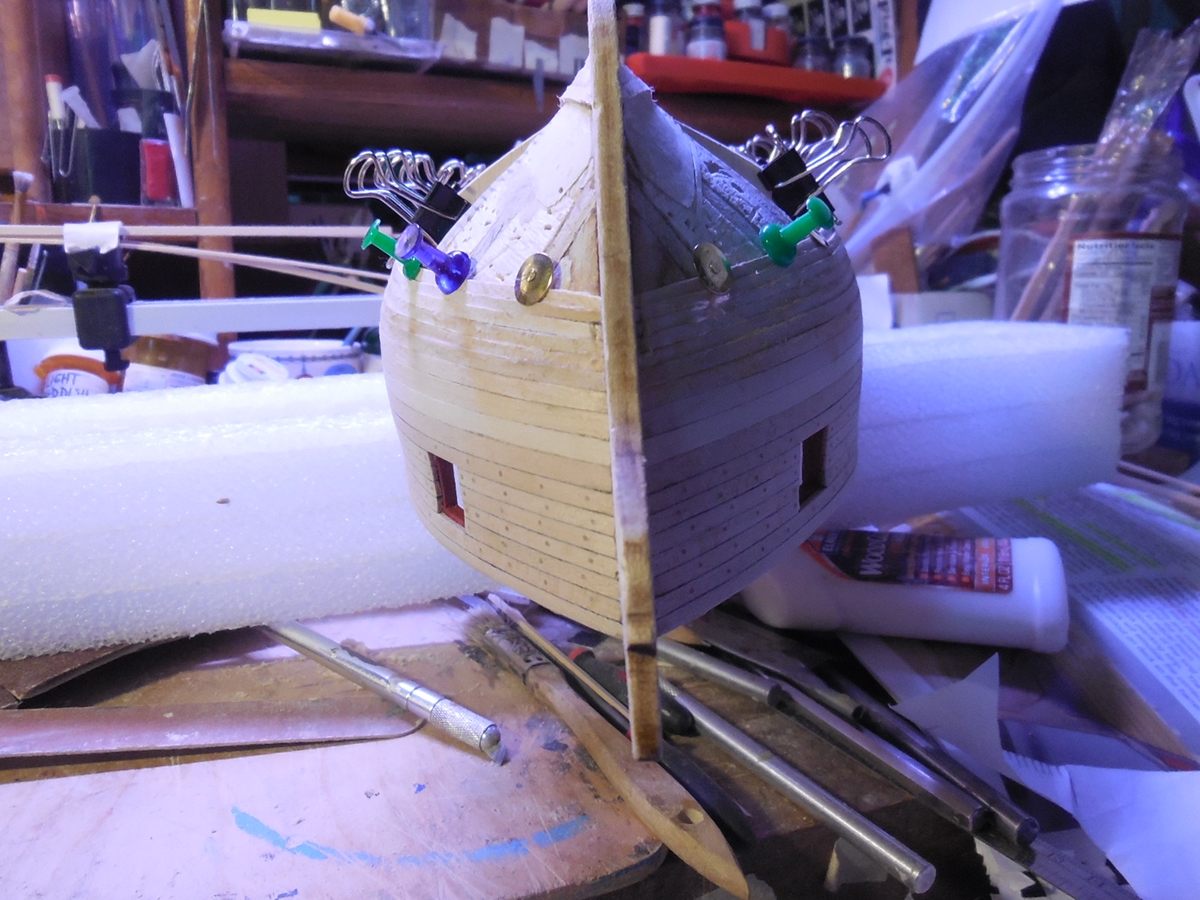
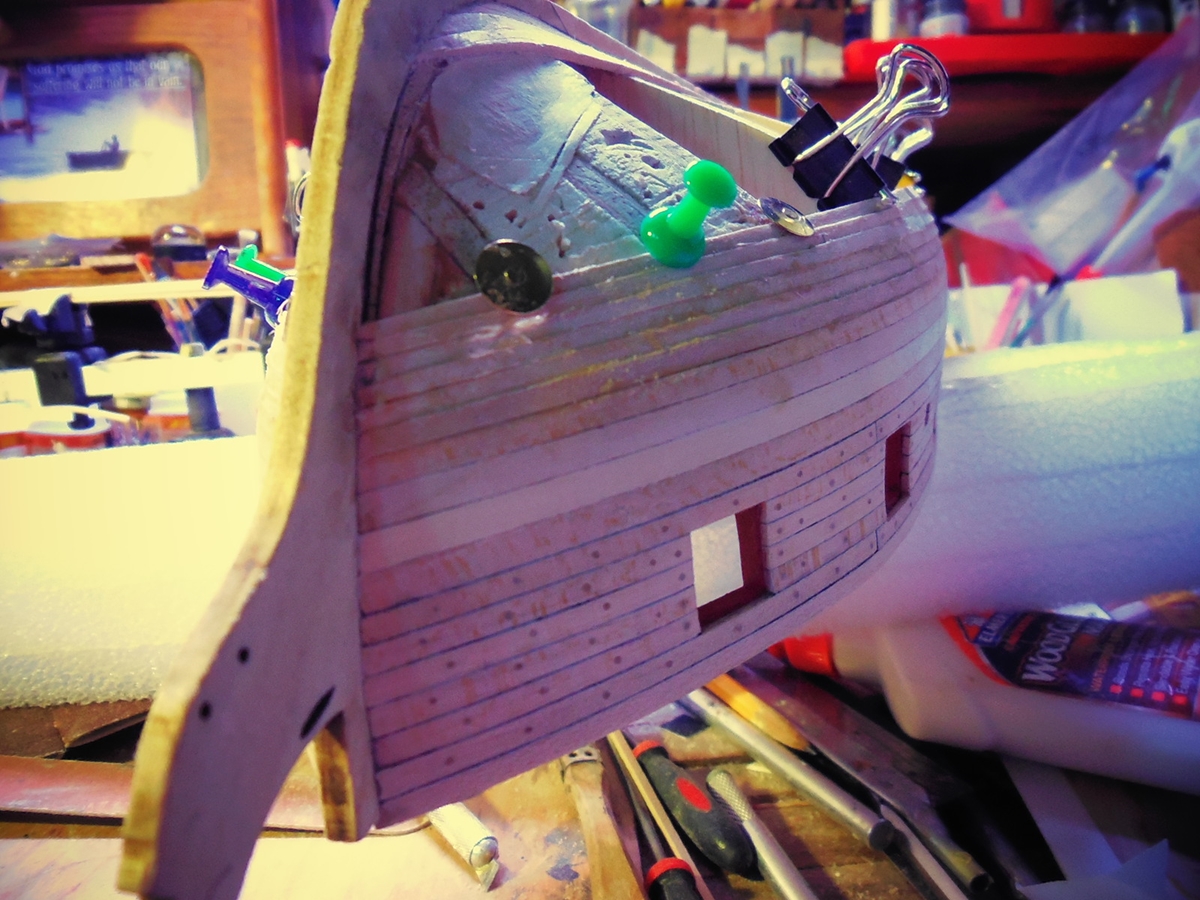
Some how I missed a crack in the transom. It showed up when I sanded it. My 1st idea was to file a wedge where the line is & glue a piece of wood in the wedge. When I sanded it now 2 lines showed. I had some thin planks left from other builds so I decided to plank over the transom. It worked well. The bad place at the top is ok because it will be covered by another piece of wood later. (the last 2 photos keep loading in reverse order)


- 1,306 replies
-
- 19
-
-
- syren
- model shipways
- (and 1 more)
-
I have tapered it- maybe it needs to be done some more?
- 1,306 replies
-
- 2
-
-
- syren
- model shipways
- (and 1 more)
-
Welcome David ,Mark, Omega & Piet- it's always good to have you around my friend!
- 71 replies
-
- 5
-
-
- pirate ship
- bottle
- (and 1 more)
-
Thanks Robb. Yes she is a bit bigger! David, I might actually use that method on the deck.
- 1,306 replies
-
- 3
-
-
- syren
- model shipways
- (and 1 more)
-
Made a stand. Tried to make it look like timbers used in dry dock. George, It will be copper plated so no more tree nails till the deck
- 1,306 replies
-
- 15
-
-
- syren
- model shipways
- (and 1 more)
-
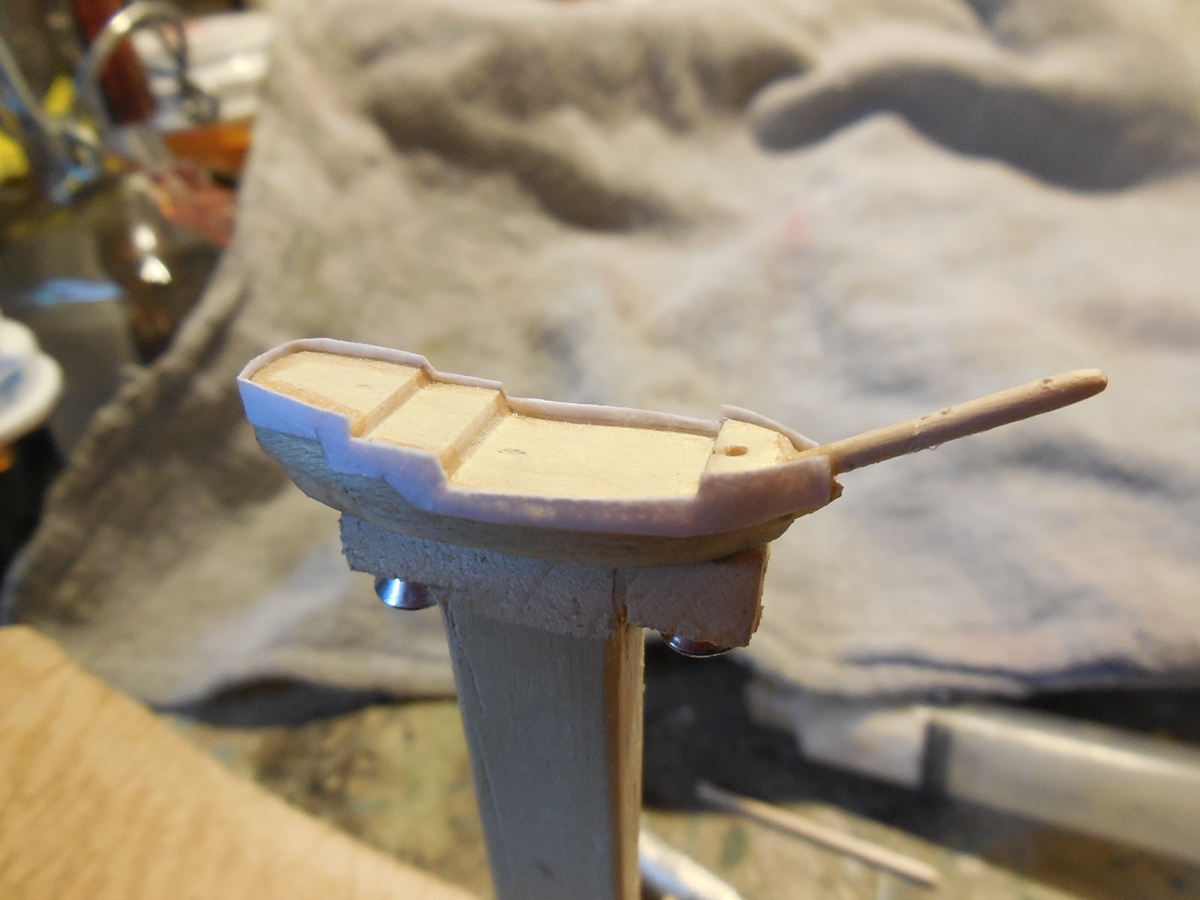
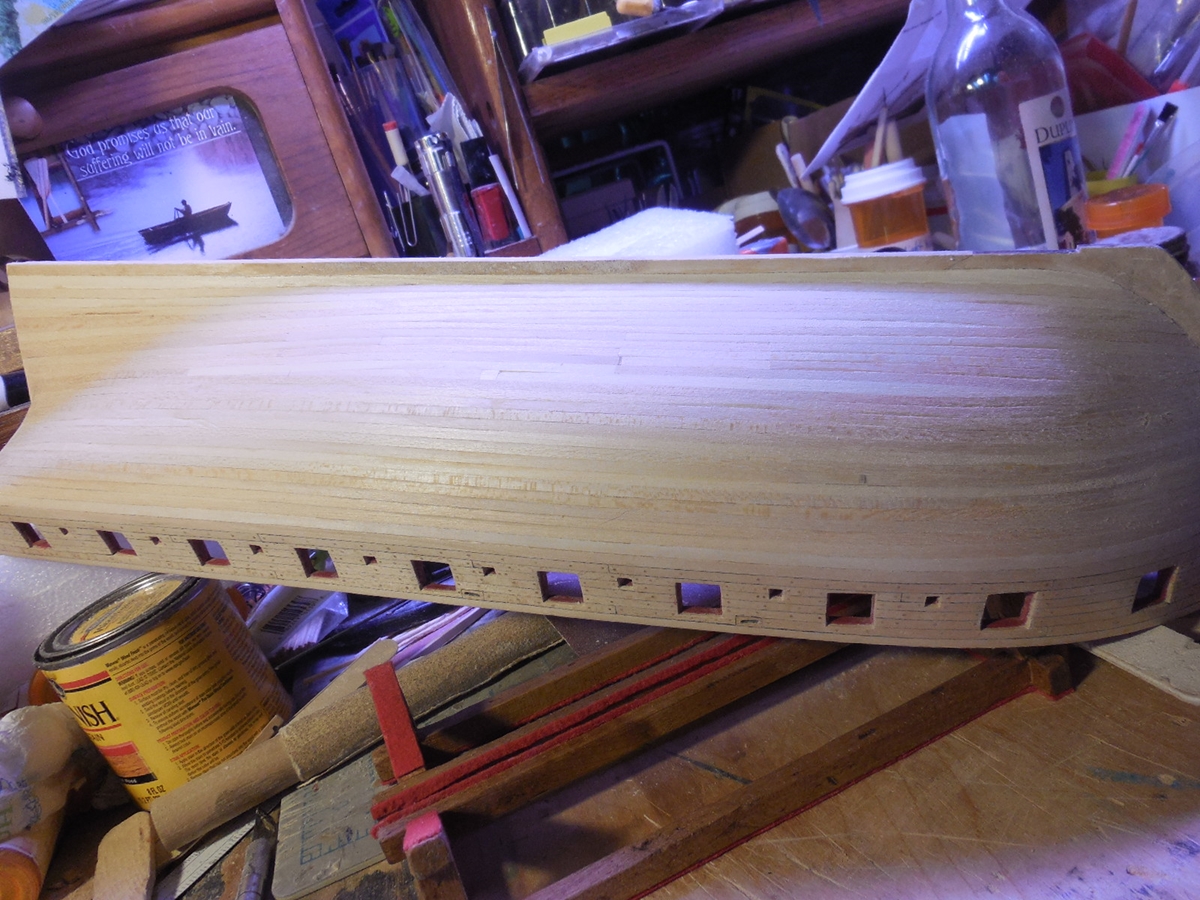
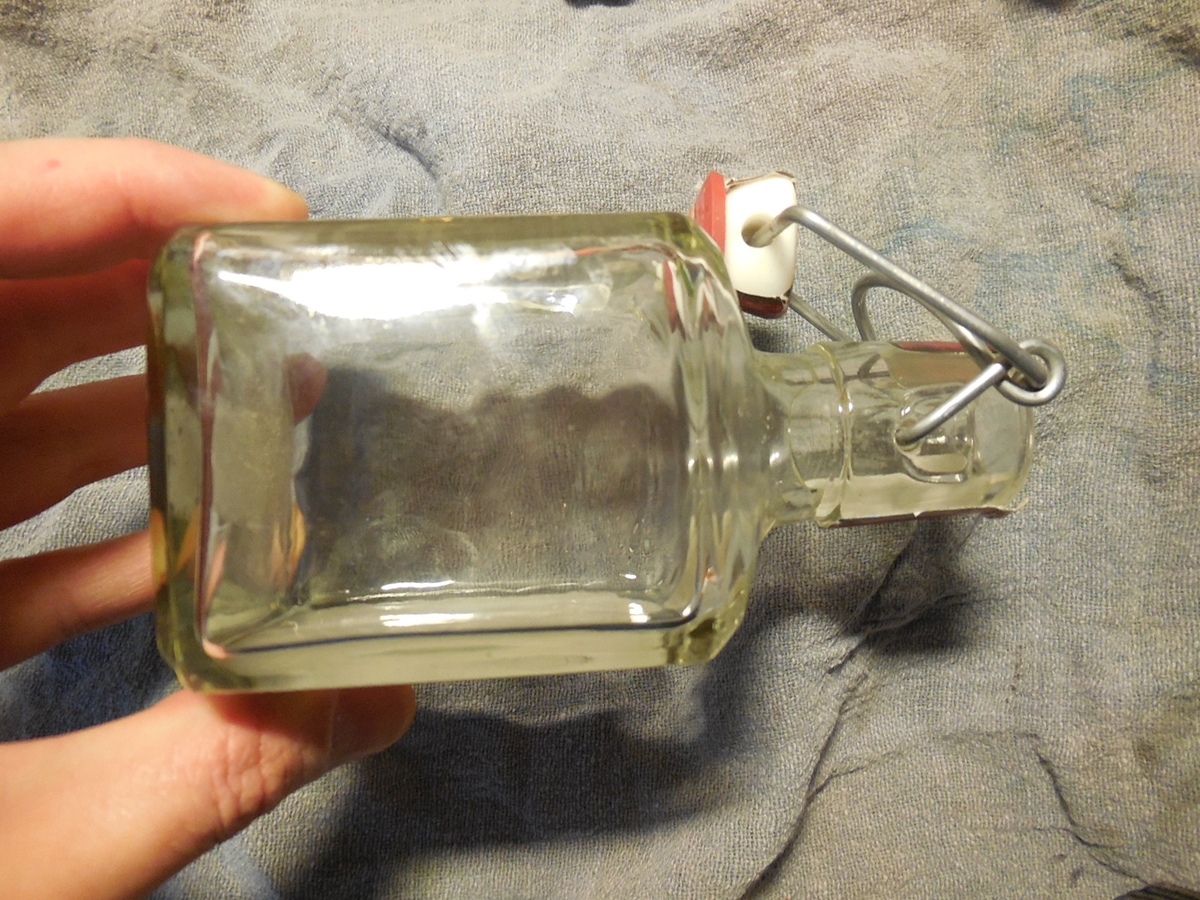
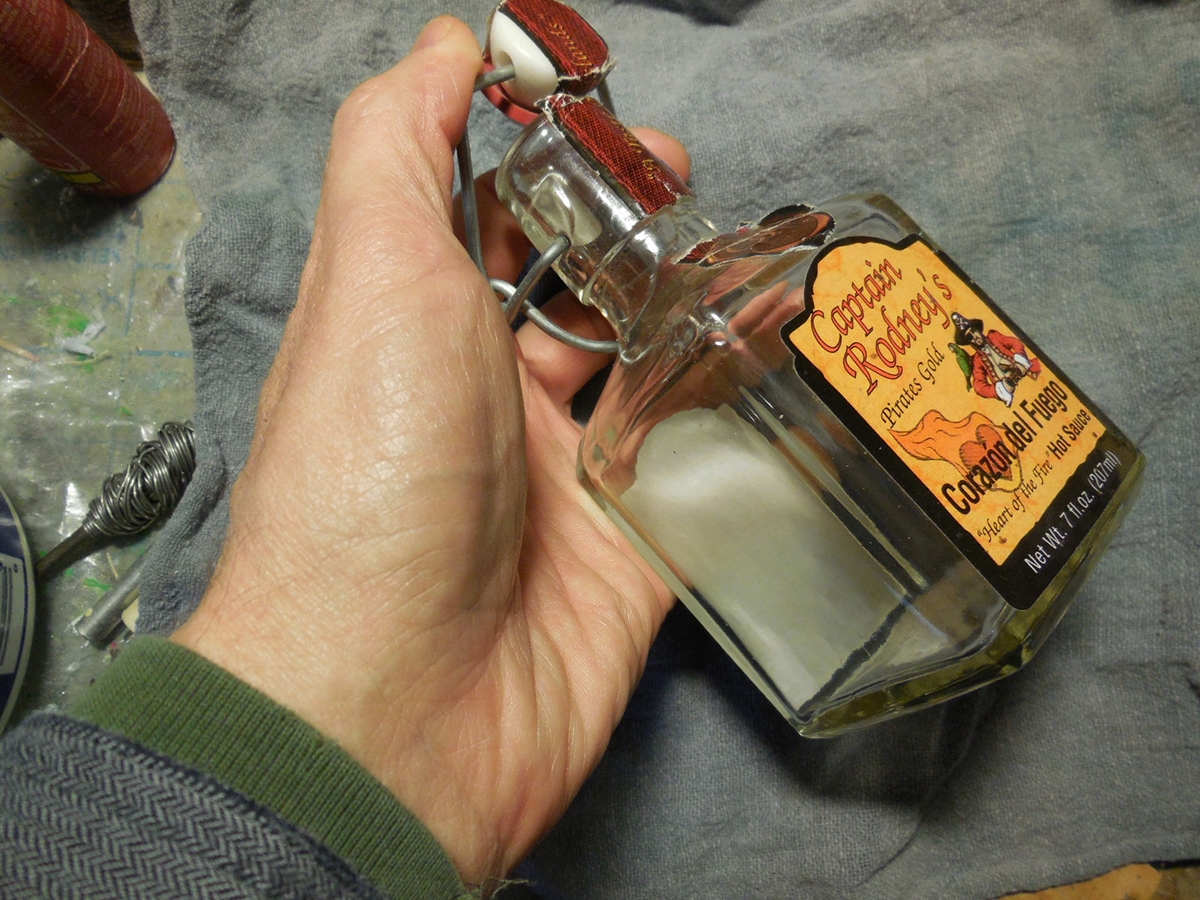
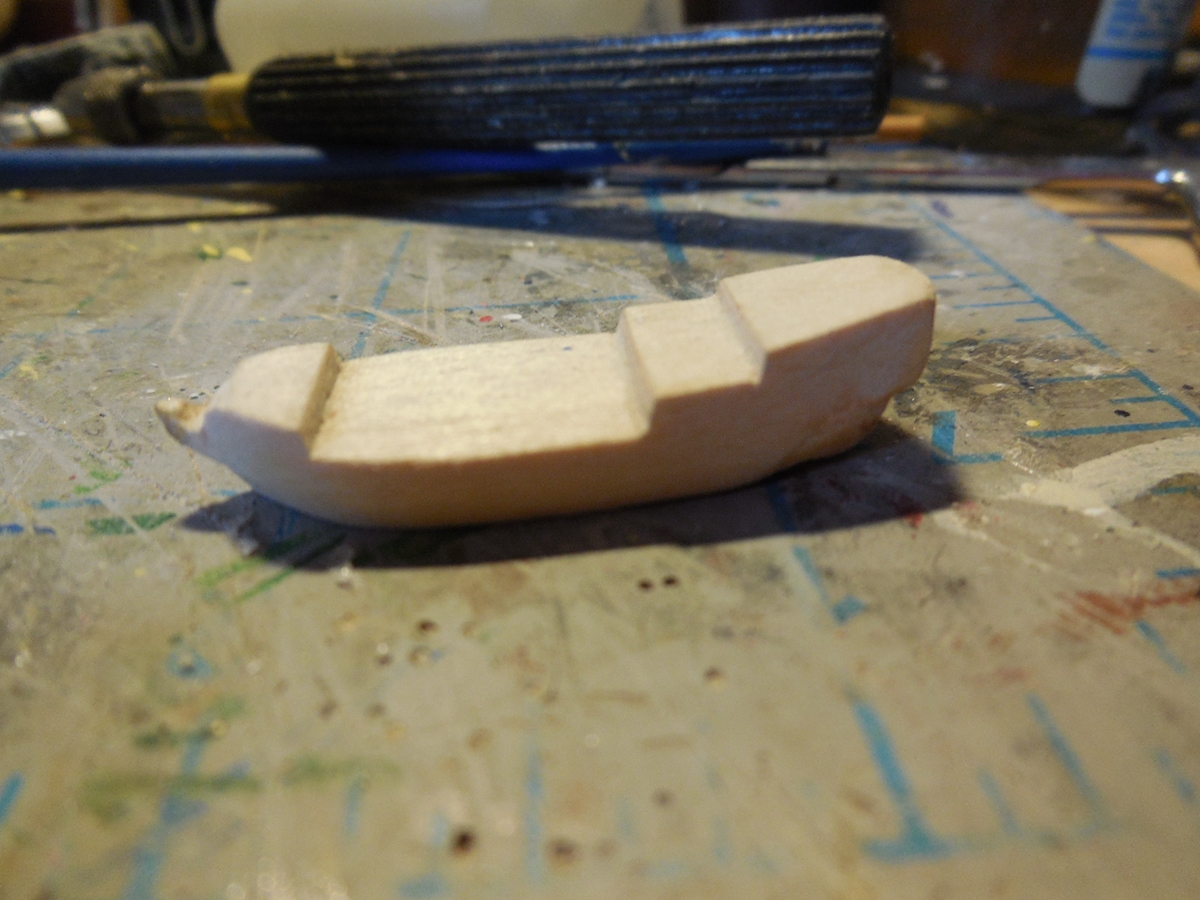
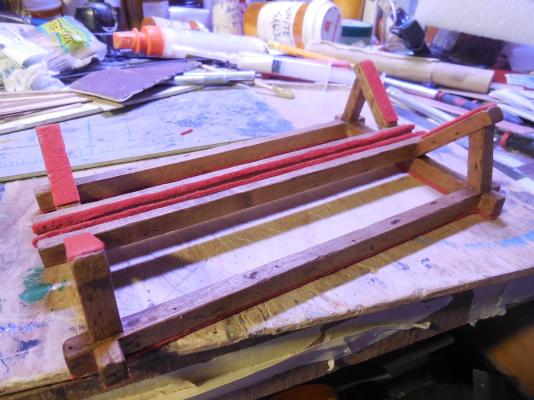
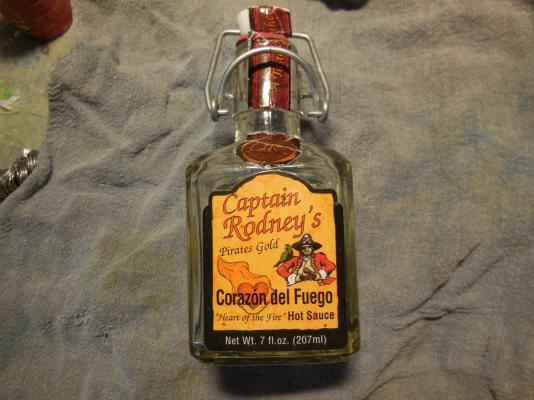
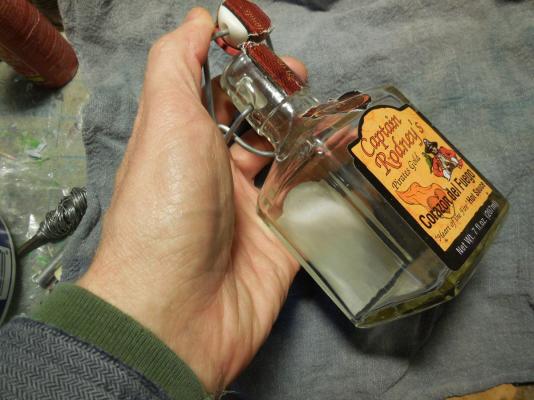
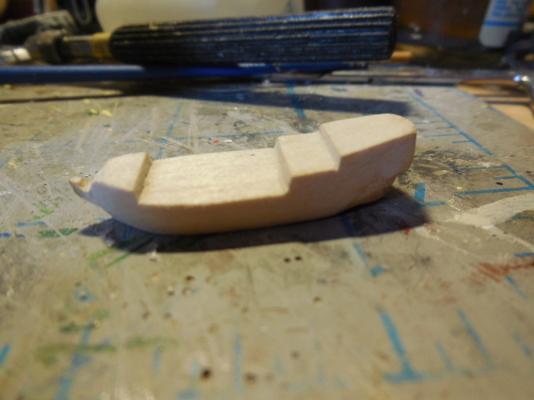
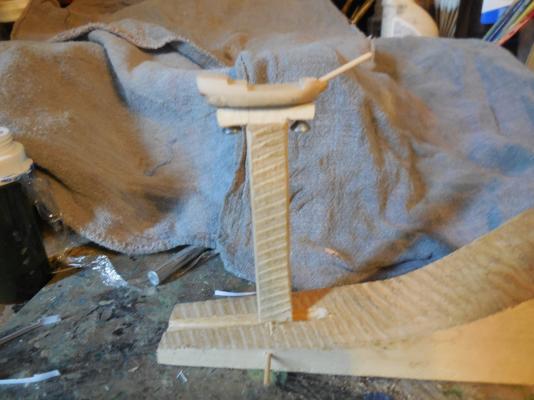
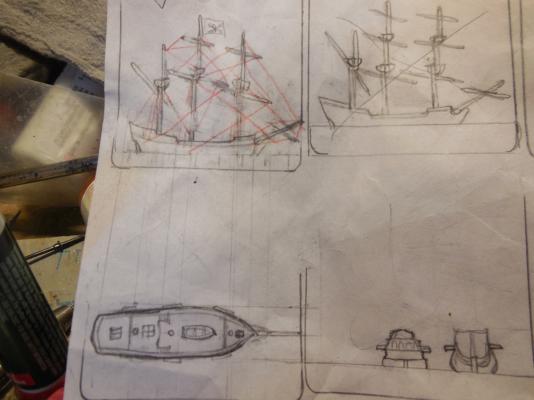
Since my Syren build will be a very long term project I will work on some smaller builds on the side starting with this one. I love hot sauce & save bottles of every different kind I try. This one has a pirate Captain Rodney on the label. I though it would be cool to put a pirate ship in it. The bottle will stand up on this one because the label is staying on. It will be one of my hot sauce bottles & a ship in a bottle at the same time. Because of the labels the ship will only be able to be viewed from 2 sides instead of all the way around. Thought it would be fun to do something a little different in between the steps of my big build. Here are some pics of the bottle, the basic shape of the hull block, the ship on my flimsy jig with bowsprit cut & fitted on & my very sketchy plans.

- 71 replies
-
- 16
-
-
- pirate ship
- bottle
- (and 1 more)
-
That's one area I didn't check out on my build. Don't know if it is right or wrong. That's the problem with this ship. All the records were lost to fire- not much to go on now.
- 389 replies
-
- 2
-
-
- scottish maid
- artesania latina
- (and 1 more)
-
Sorry, he used different names. My computer wont copy links on this site for some reason. Look up : Scottish Maid by Fraser - Hall's 1839 Clipper Schooner
- 389 replies
-
- 3
-
-
- scottish maid
- artesania latina
- (and 1 more)
-
Look up the Scottish Maid build by guillemot. It is one of the best SM builds I've ever seen- I leaned heavily on that build for help with mine. He went with the alternate rigging plan.
- 389 replies
-
- 3
-
-
- scottish maid
- artesania latina
- (and 1 more)