JesseLee
-
Posts
1,694 -
Joined
-
Last visited
Content Type
Profiles
Forums
Gallery
Events
Everything posted by JesseLee
-
 Off to a good start. This is a good choice for a build. I want to build this one myself sometime.
- 100 replies
-
- 2
-

-
- model shipways
- 18th century longboat
- (and 1 more)
-
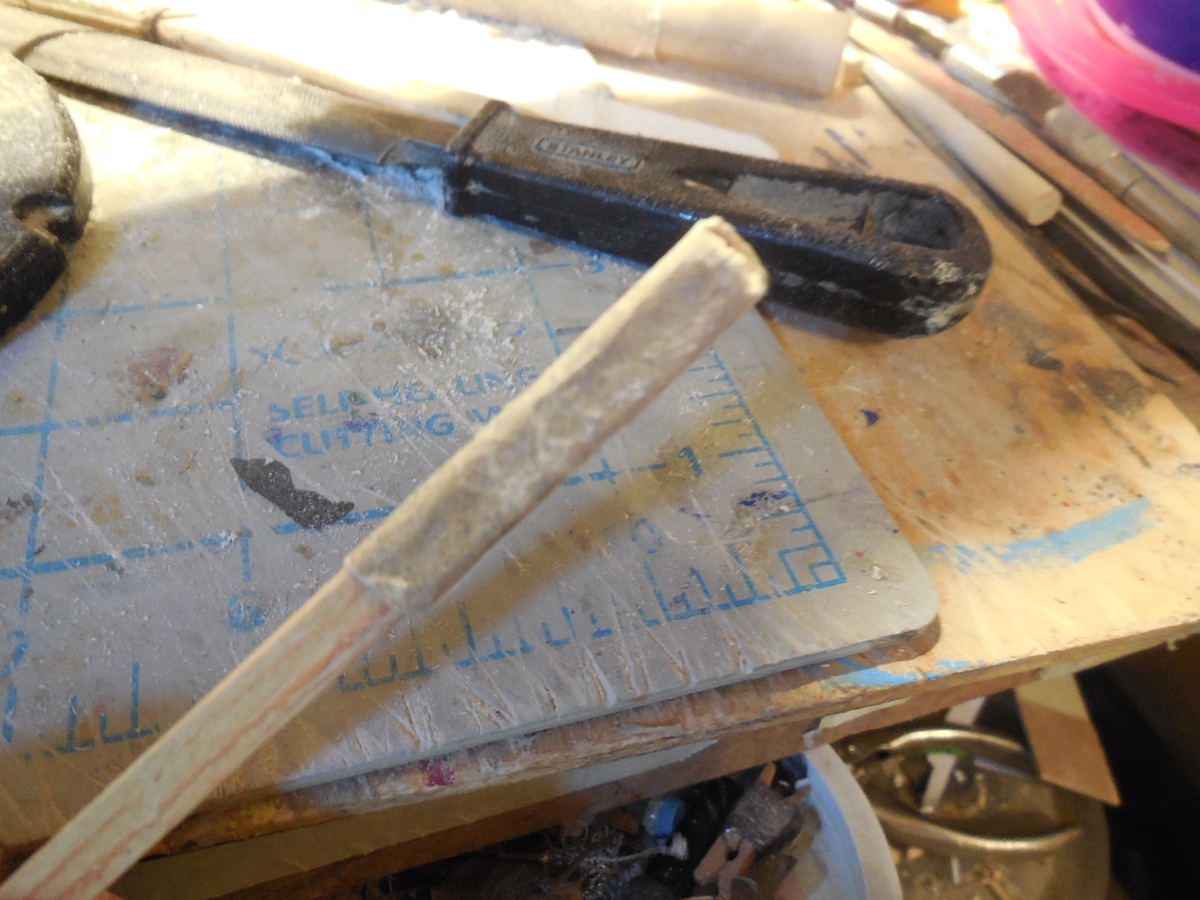
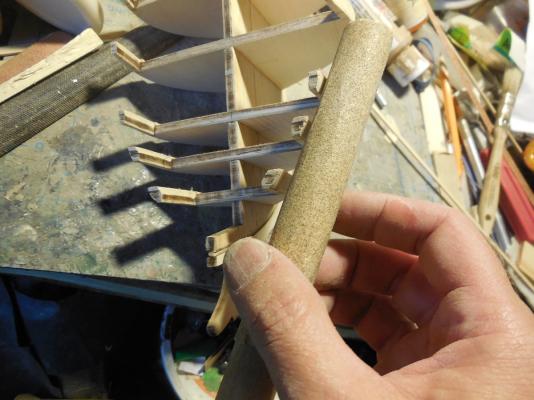
Shaved the extra wood sides down with a small carving blade. Started sanding. Was having trouble sanding the inside corners so I made a homemade sanding stick with pointed wedge on one end by gluing sandpaper to a stick with contact cement. This got down in those corners better. Have them all sanded to shape on port & starboard sides. Ready to start the gun port lintels.


- 1,306 replies
-
- 18
-
-
- syren
- model shipways
- (and 1 more)
-
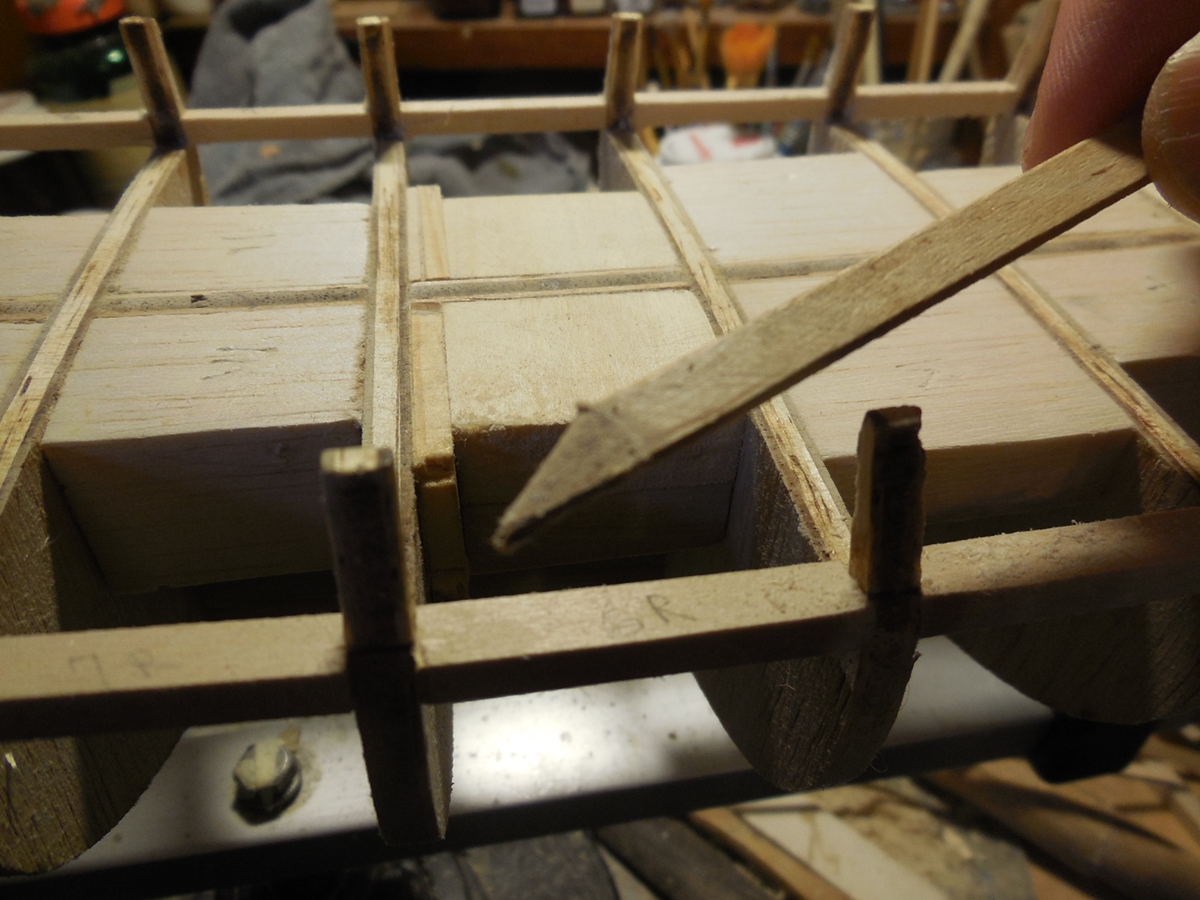
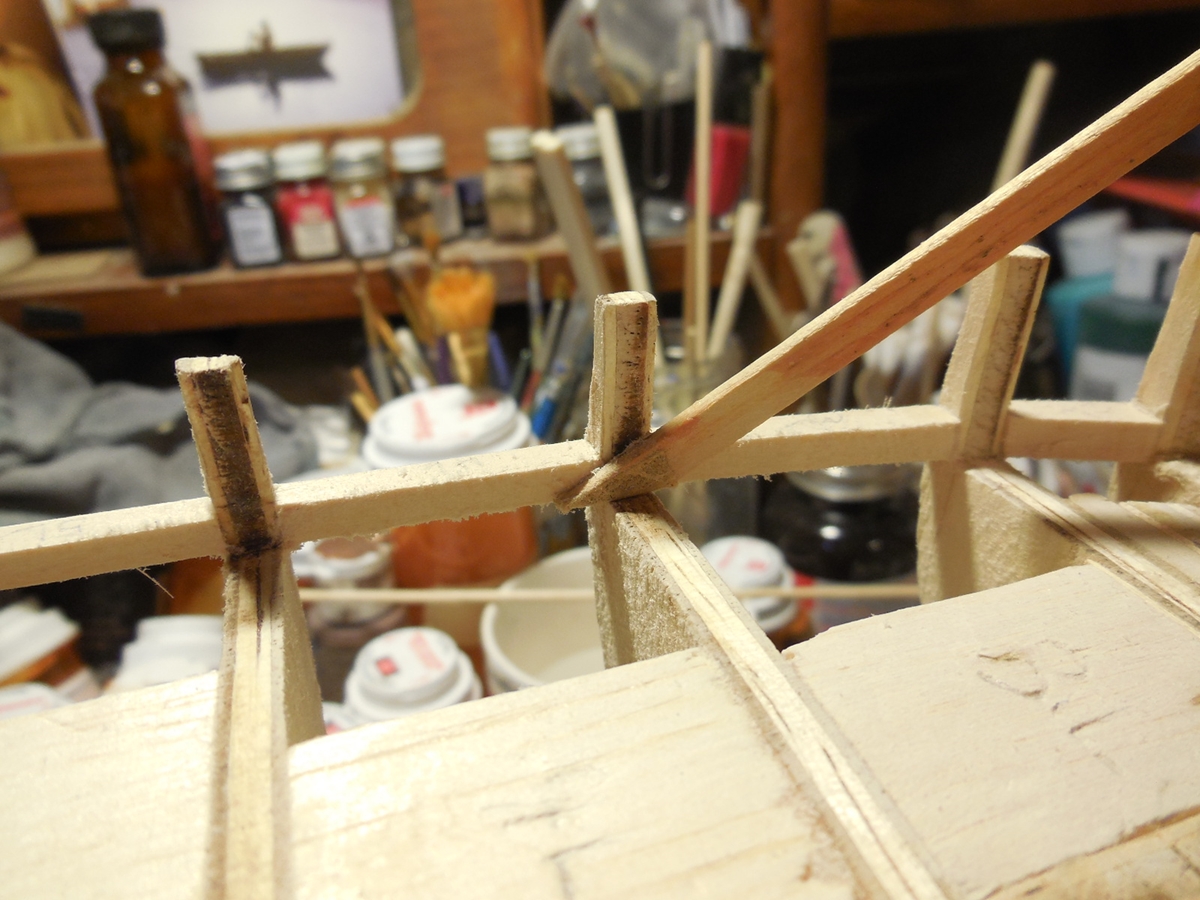
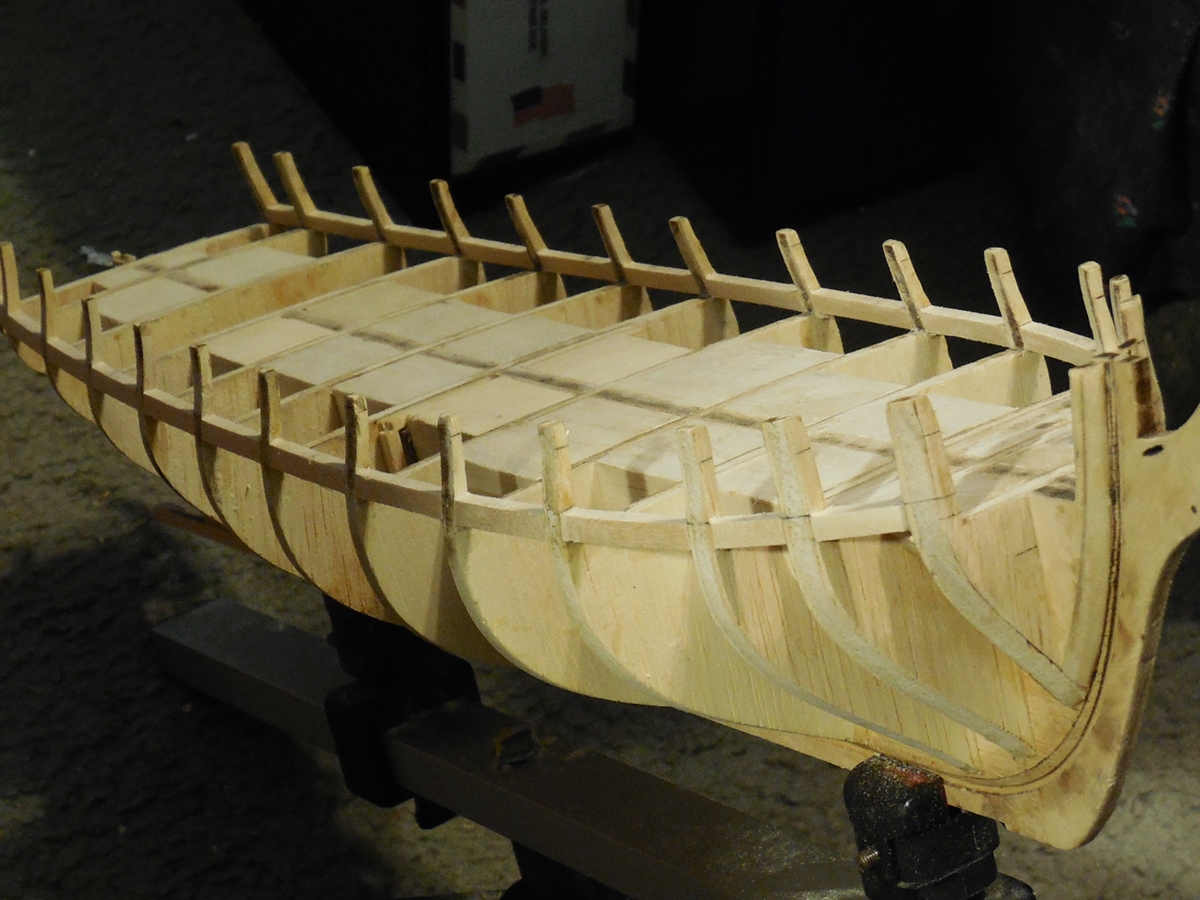
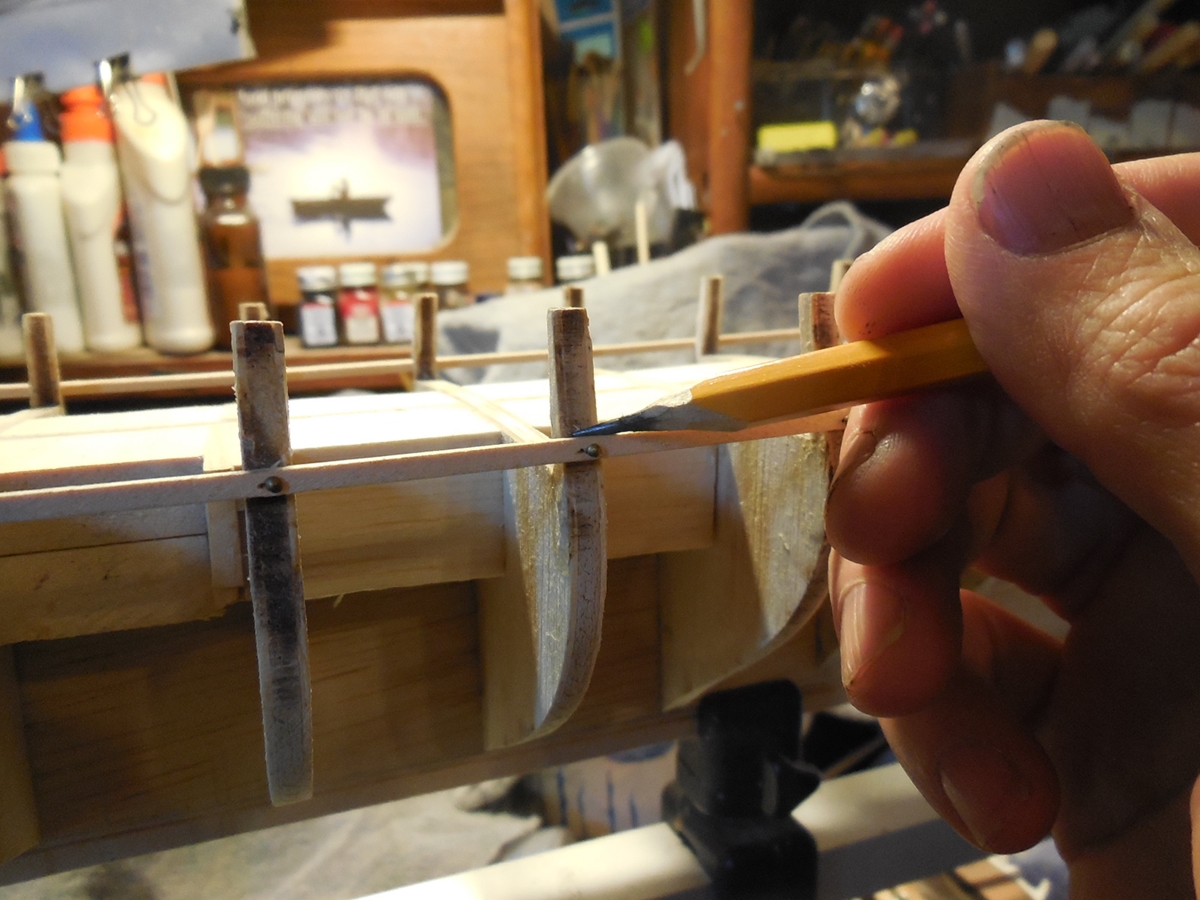
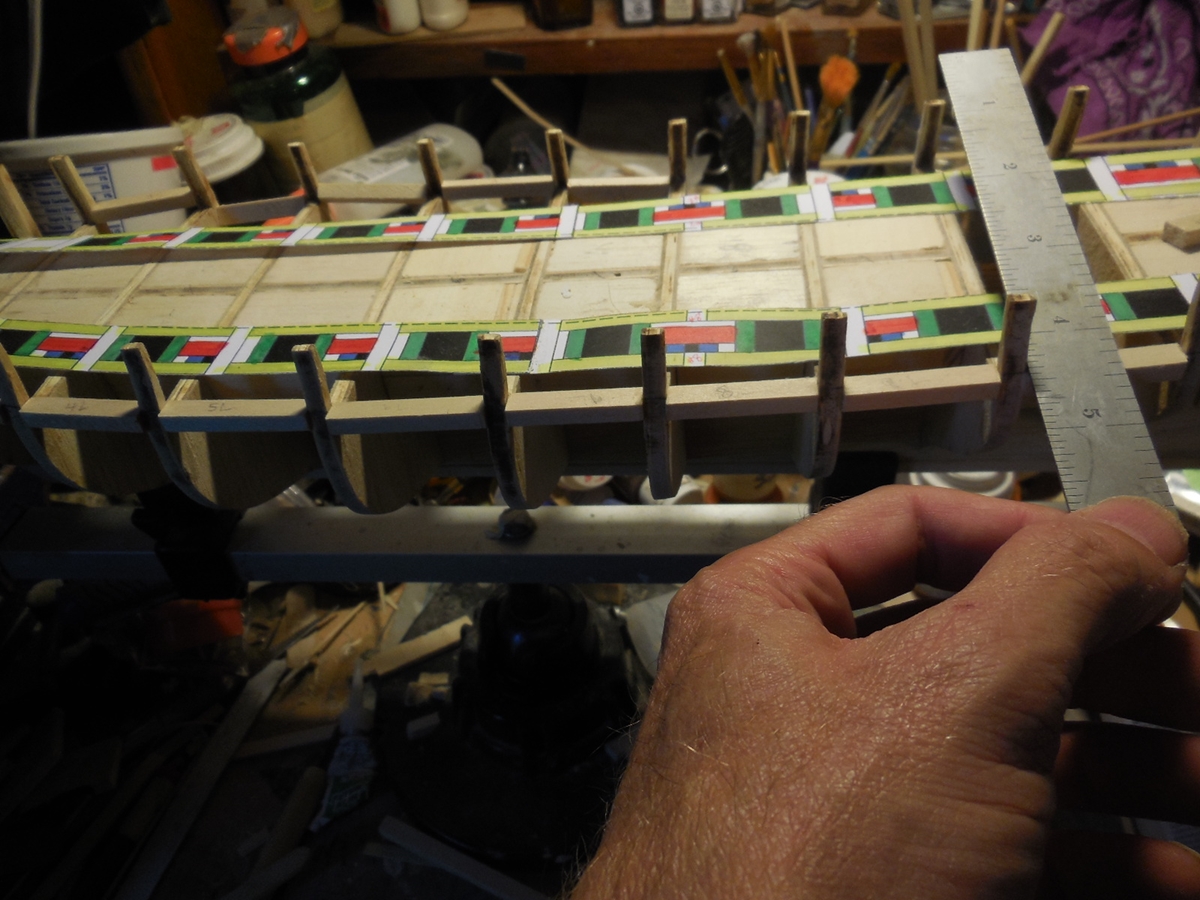
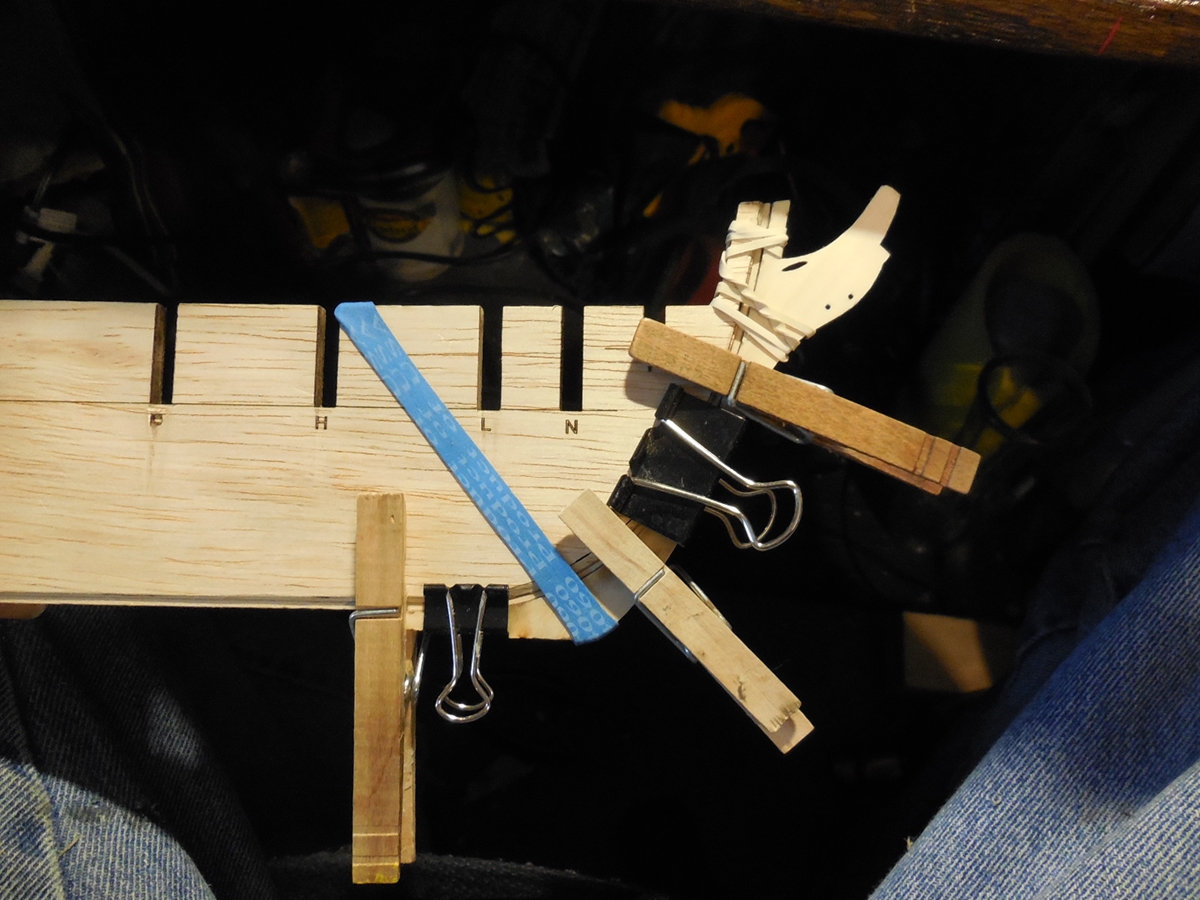
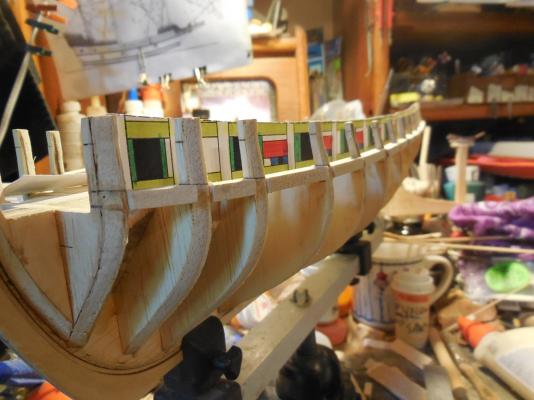
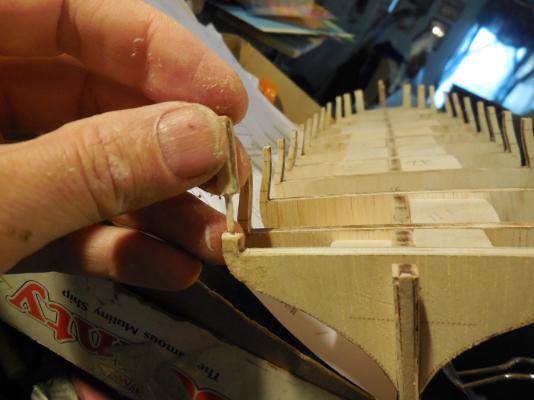
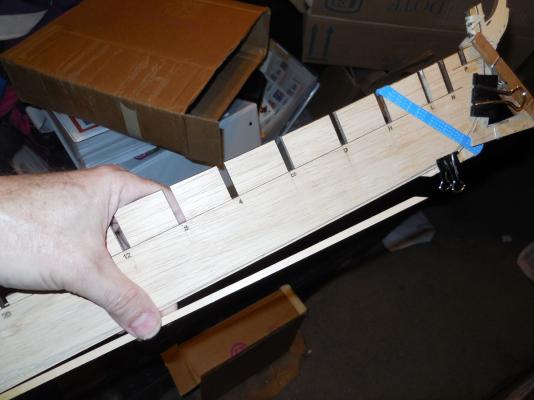
Fastened the temporary batten to line up the gun port sills. Got it lined up good & marked the line. Cut out pieces of wood & fitted them making sure they all flow in a smooth line the whole way. Had to re-cut a few of them but once I had them all right I glued them in both port & starboard. Used a metal ruler to check that they were equally level on each side.


- 1,306 replies
-
- 16
-
-
- syren
- model shipways
- (and 1 more)
-
Thank you all for your comments, likes & encouragement. Thanks mrangus, the Scottish Maid was a special build for me.
- 1,306 replies
-
- 4
-
-
- syren
- model shipways
- (and 1 more)
-
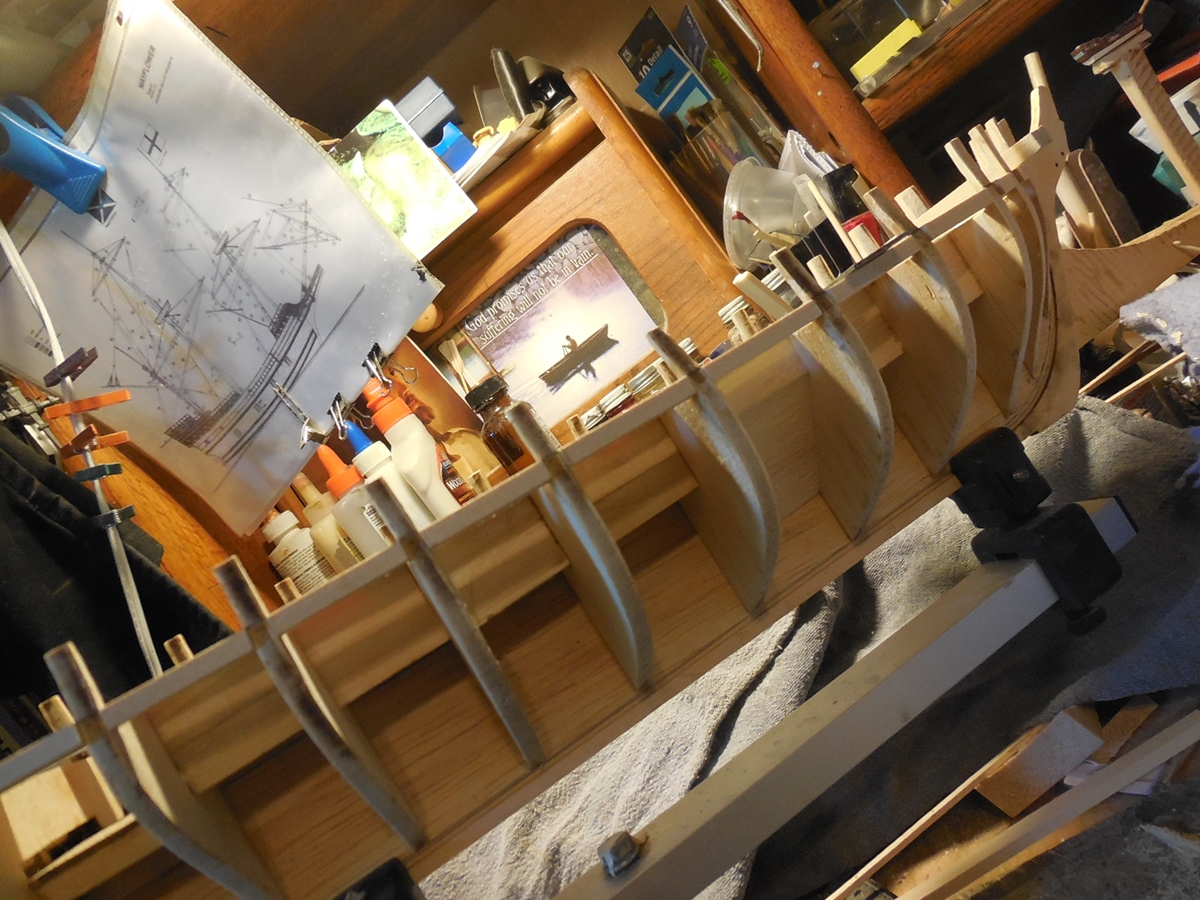
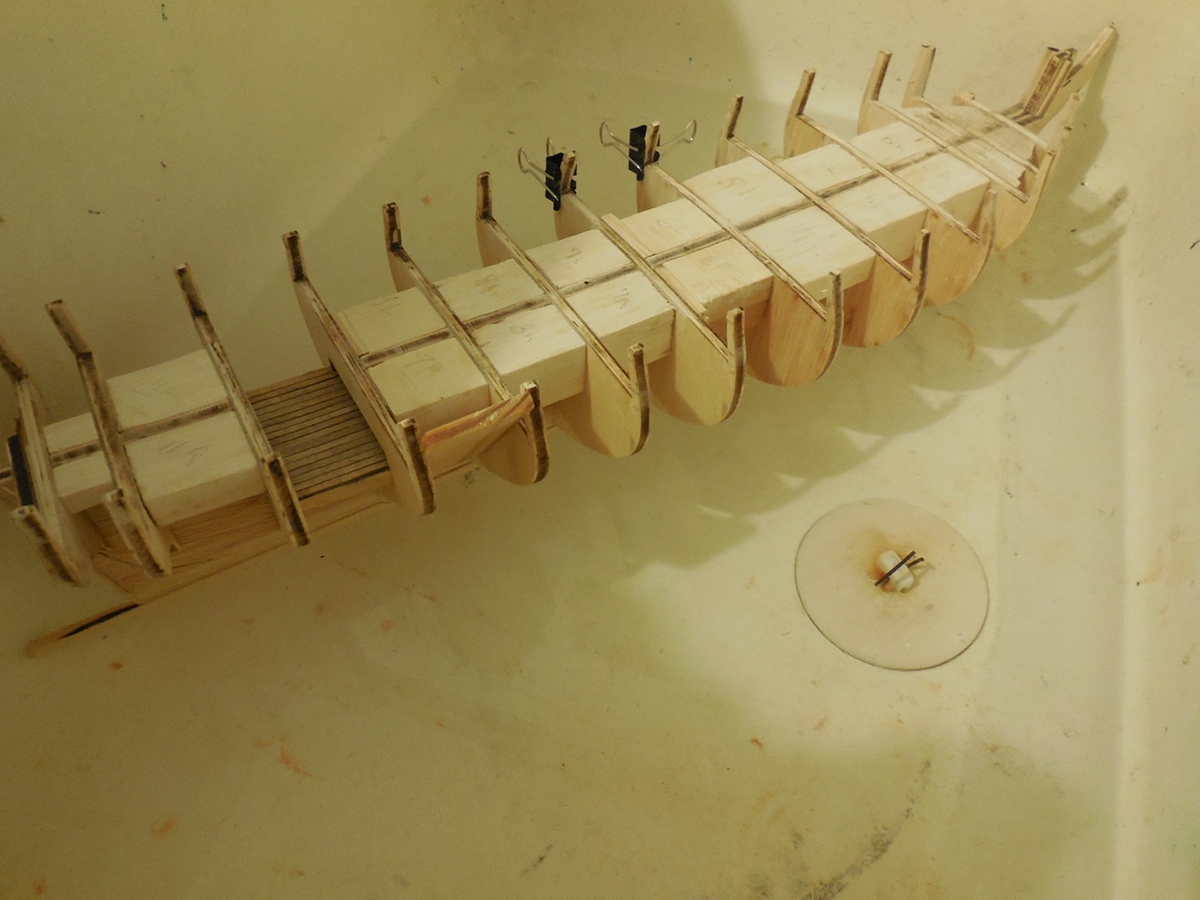
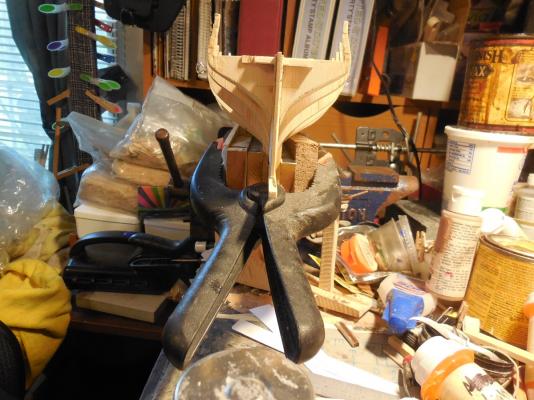
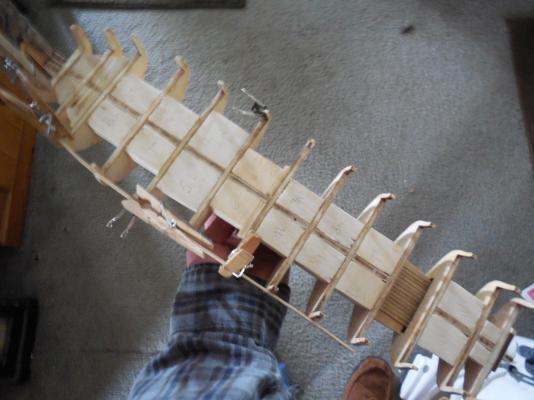
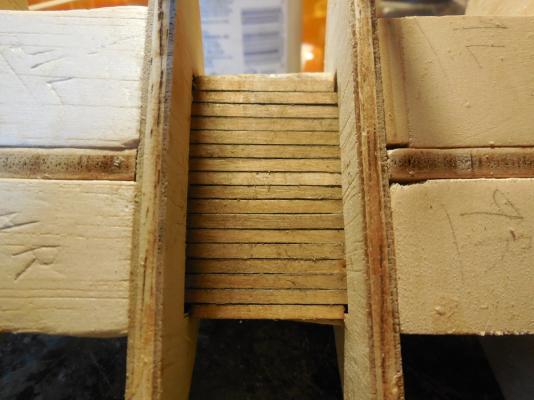
Ok! Well, it worked! (mostly). There was only a very, very slight warp left. I cut thin slits in the spacer blocks in the middle where the slight bend still was. Scraped & shoved glue into these slits as best as I could & clamped them. ( those bulkheads are not warped as it looks in the pic- the camera angle makes it appear that way) This made it all straight! I did have to remove the keel strip & re-glue it on straighter & all is well. I can now move on to the gun port framing.

- 1,306 replies
-
- 16
-
-
- syren
- model shipways
- (and 1 more)
-
Very creative Dave! I like how you made the window arches with twine stiffened with glue.
- 962 replies
-
- 3
-
-
- sovereign of the seas
- ship of the line
- (and 1 more)
-
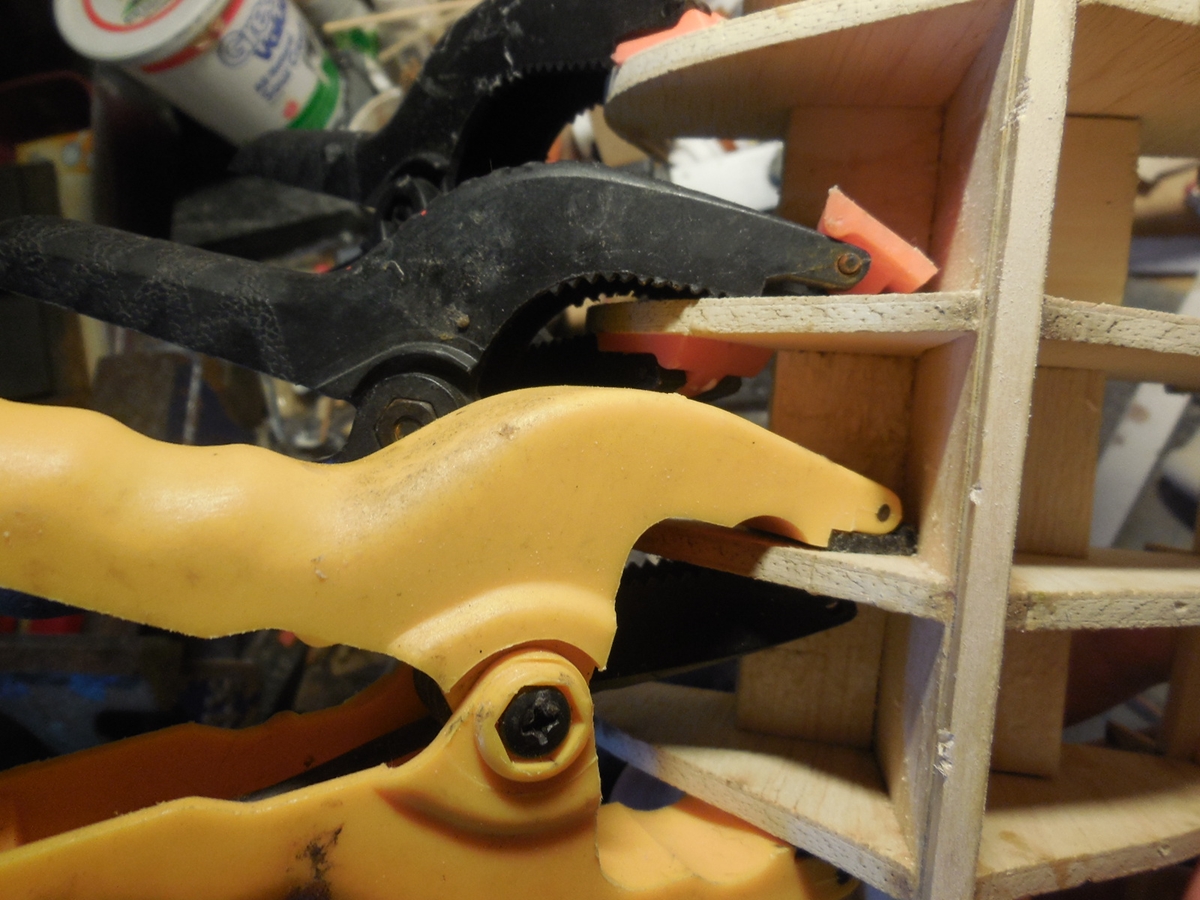
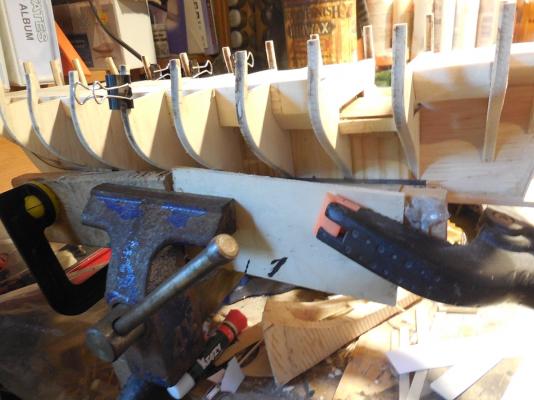
I made a major mistake. I forgot to check to see if the bulkhead former was warped before I started gluing in all the bulkheads. I laid it (what little bit of the bottom edge that I could) on the edge of the kitchen counter & saw that it wasn't as straight as it should be. Now I have the dilemma of how to deal with this with everything already glued onto it. I came up with this idea. I sat it in about 1/2 inch of water just enough to soak in (as you can see I've had a few more breaks).I rigged tis wood brace with pieces that reach in between each bulkhead. I clamped this all into a bench vice. I will leave this in for about 48 hrs. The warp was very slight so I hope this will work. Been wondering. My kit instructions call the frame pieces bulkheads. I see some on here are calling them bulwarks. Which is right? Are these 2 labels interchangeable?

- 1,306 replies
-
- 10
-
-
- syren
- model shipways
- (and 1 more)
-
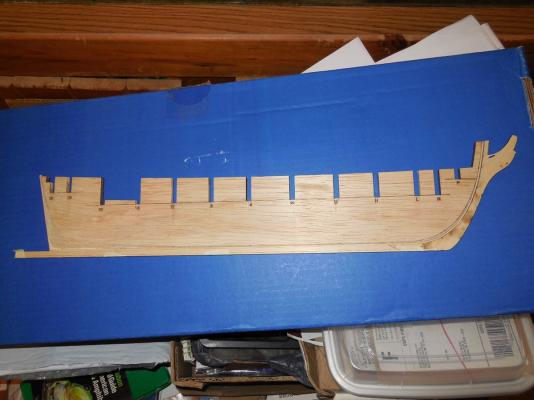
It must be the angle & way the picture is taken. It's about 19 inches long
- 1,306 replies
-
- 3
-
-
- syren
- model shipways
- (and 1 more)
-
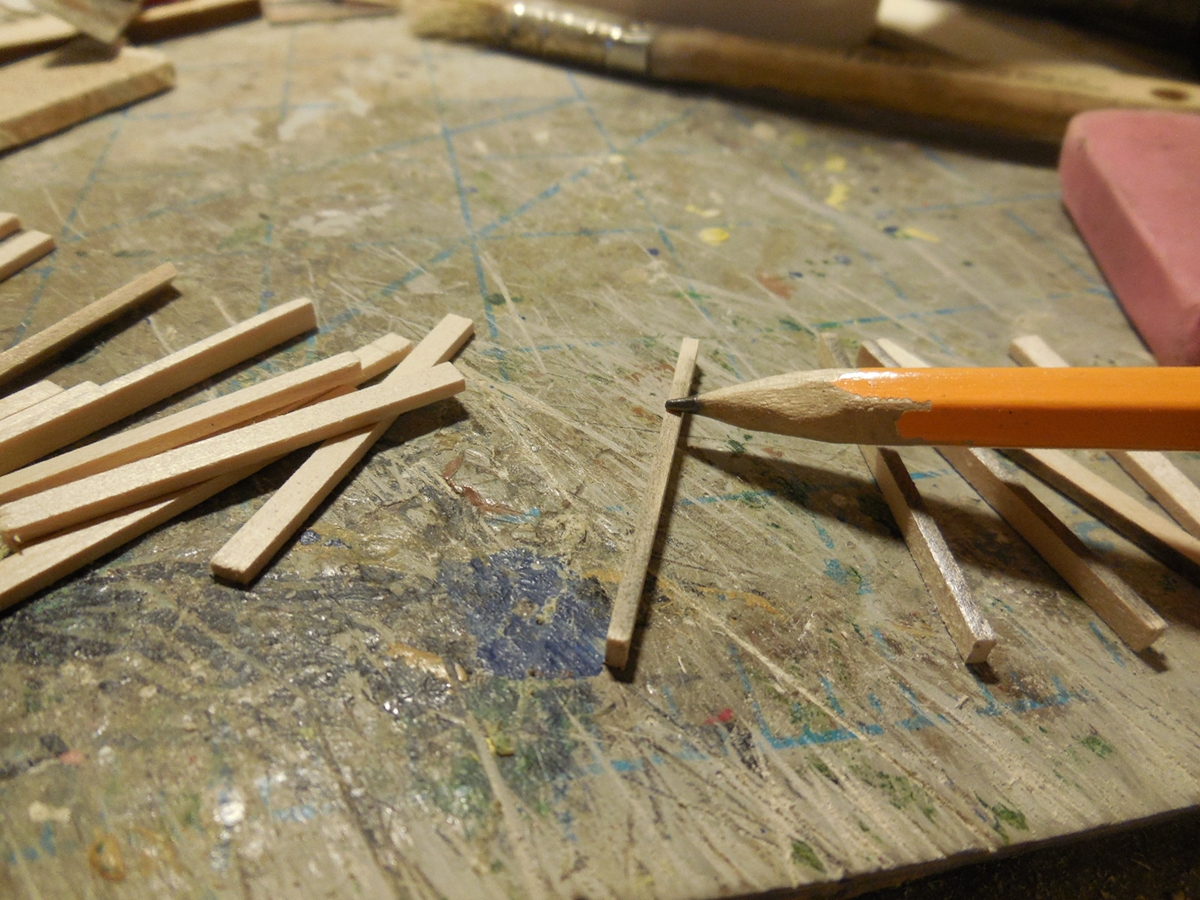
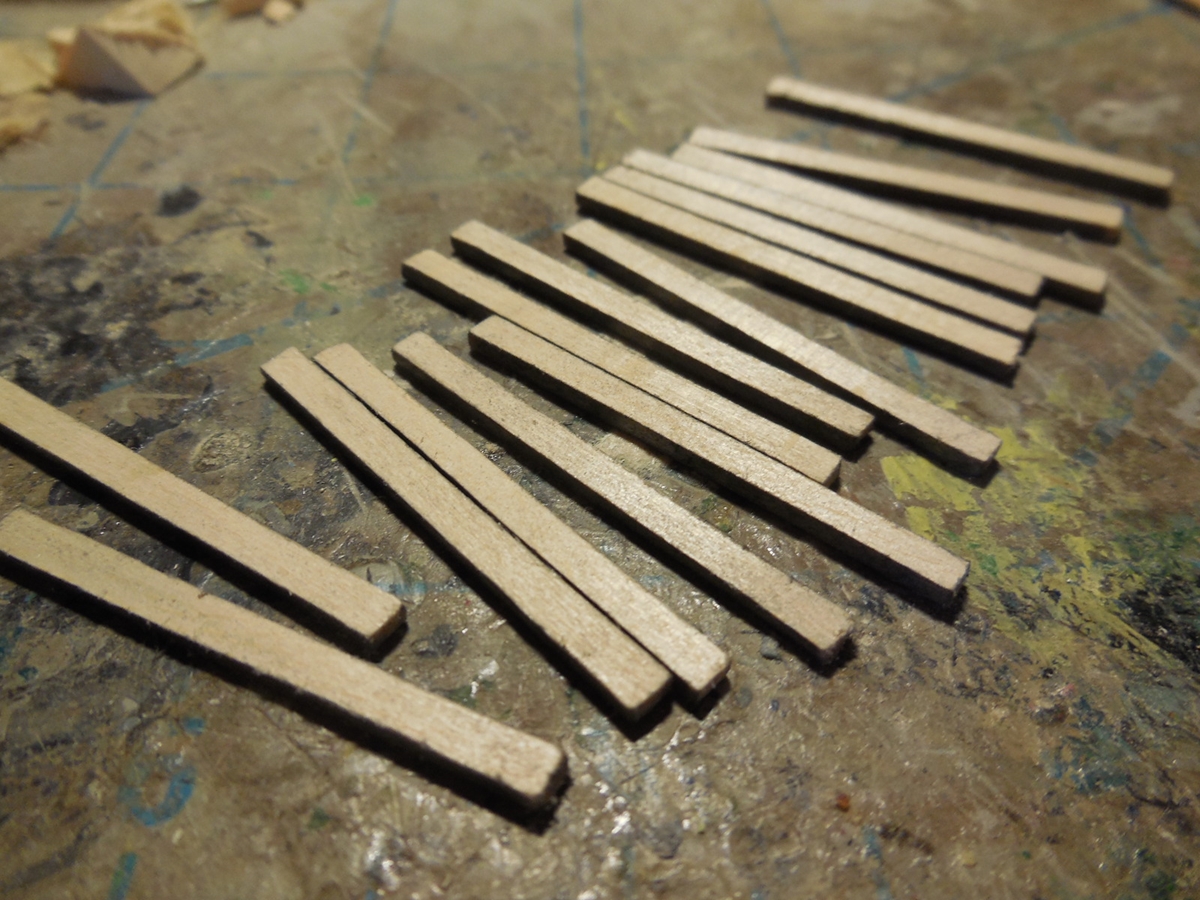
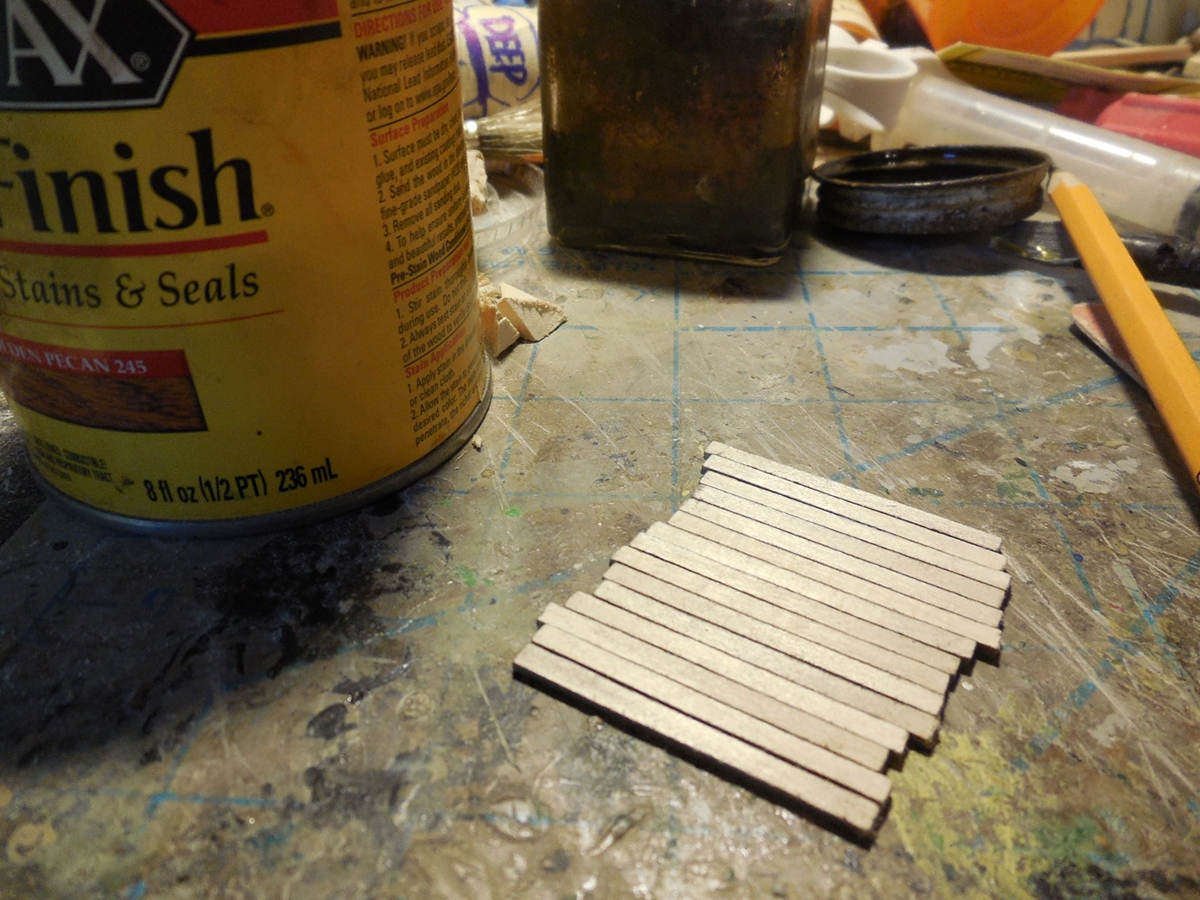
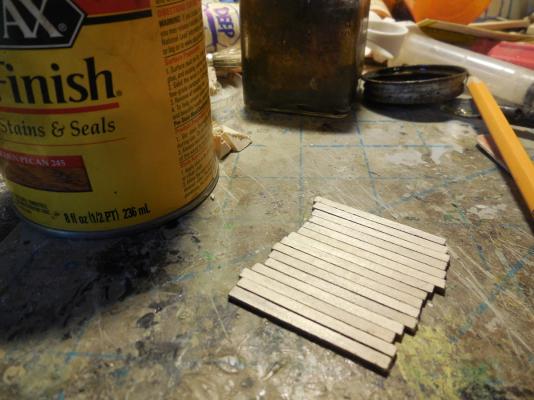
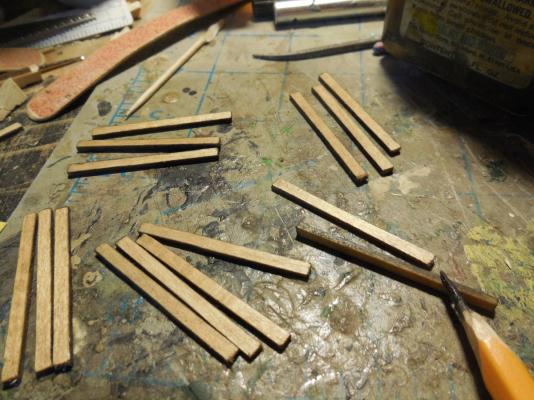
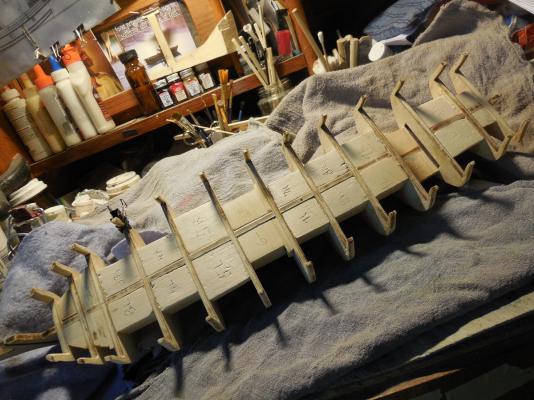
Got all the frame pieces & spacer blocks glued in place. Cut planks for the partial lower deck. Penciled the sides for caulk lines. When I stained the planks it seemed to have washed the lead off the edges & didn't show much so I penciled them again after the stain dried. I know it doesn't matter much right now but I'm testing this out for the upper decks later.


- 1,306 replies
-
- 14
-
-
- syren
- model shipways
- (and 1 more)
-
Welcome to my log Marty, Thomas & Larry! The pics usually do right but I'm having glitches in my computer today. Murphy's Law is always reminding me of it's authority with me but it just makes me more stubborn!
- 1,306 replies
-
- 4
-
-
- syren
- model shipways
- (and 1 more)
-
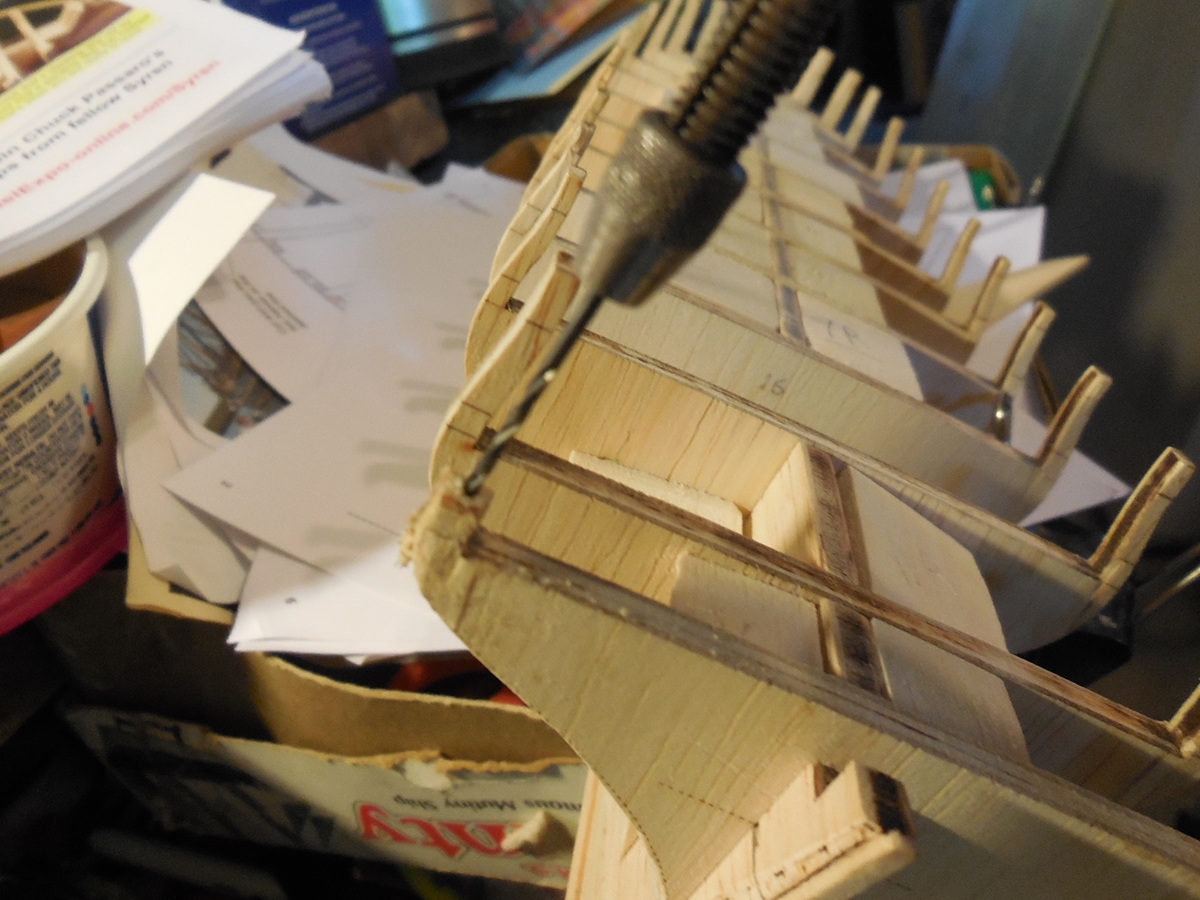
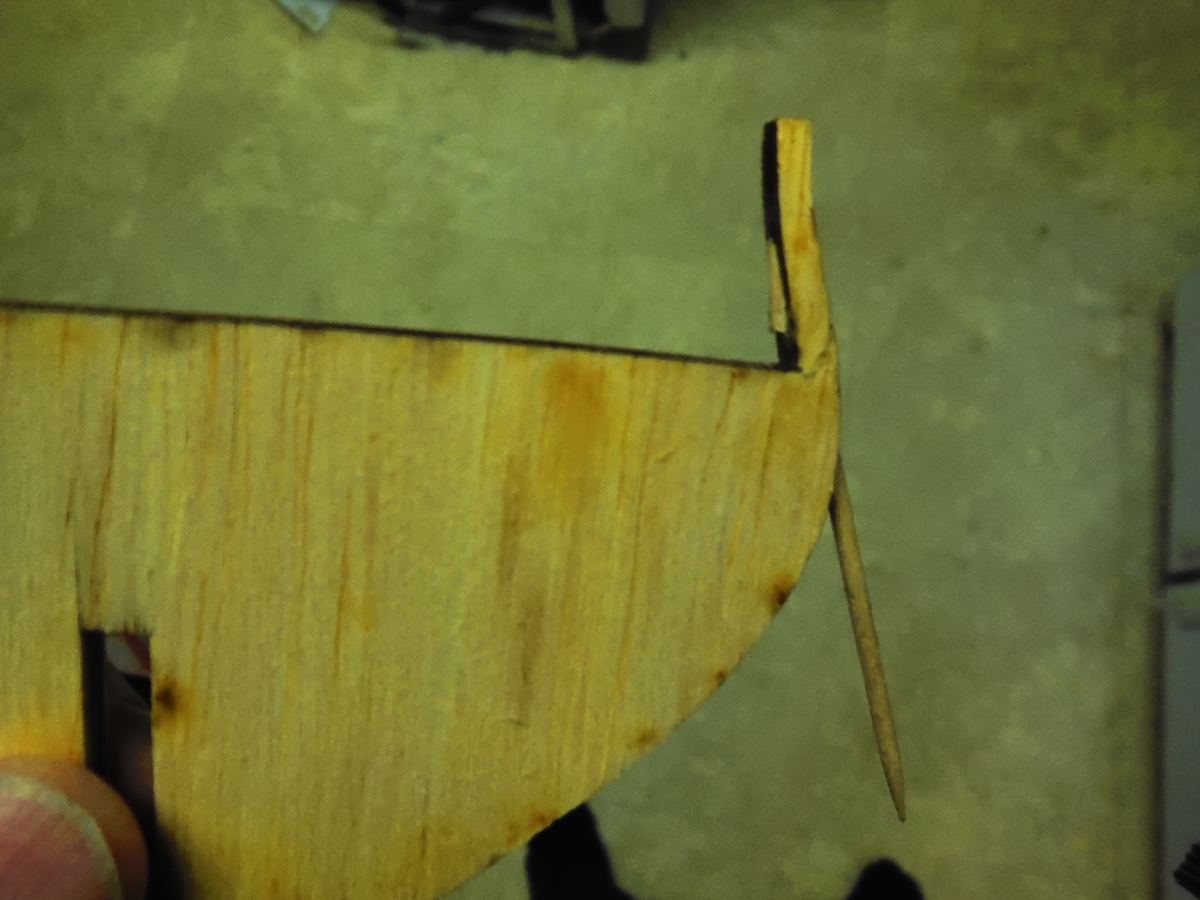
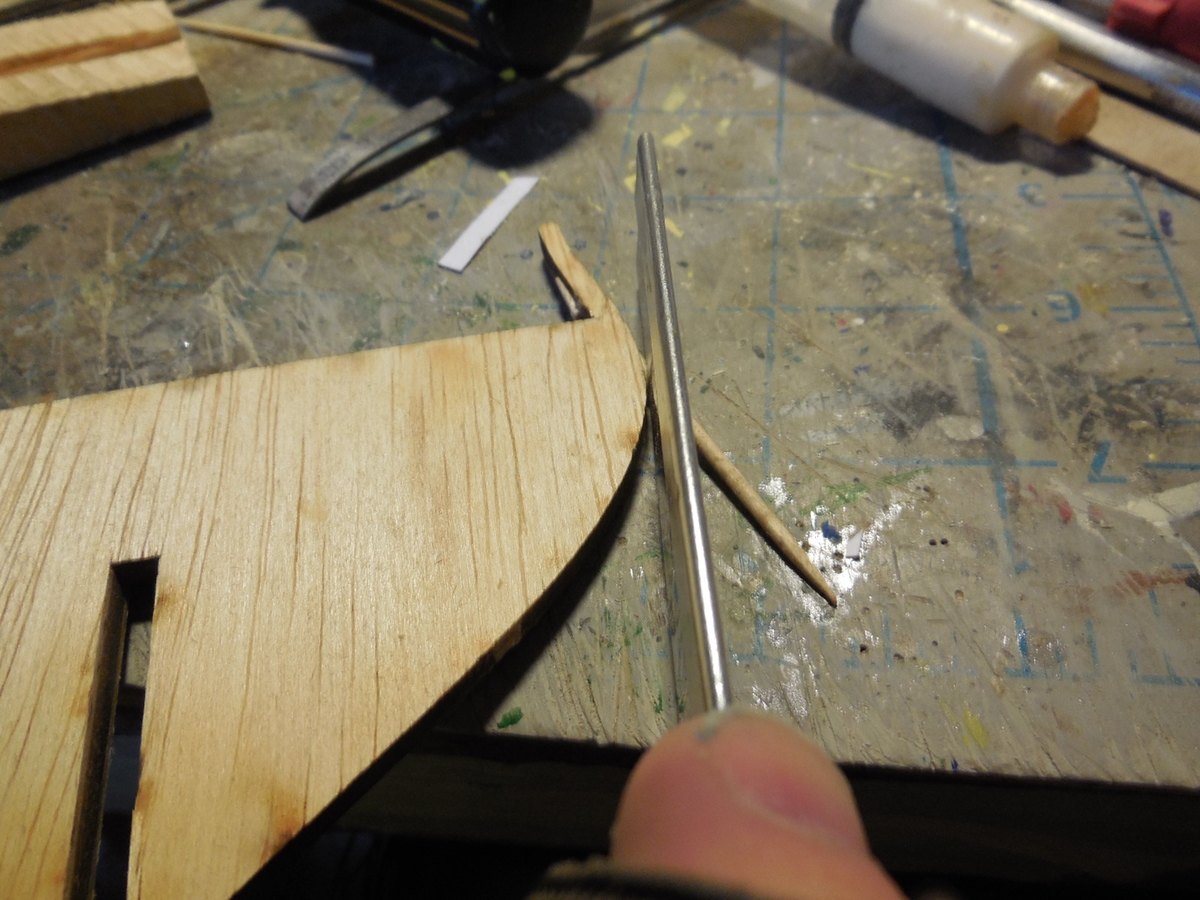
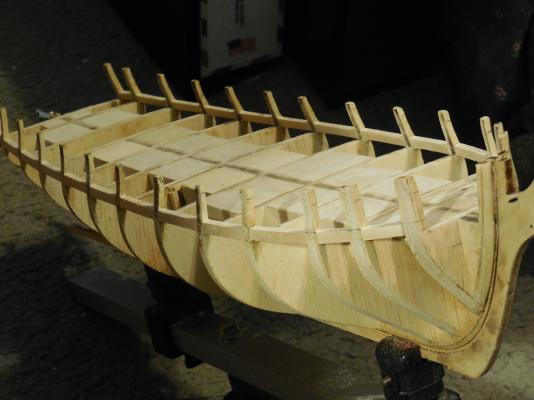
Well, getting very frustrated with the computer. I wont put the pics in the correct order for some reason but you can figure it out. Same bulwark broke again so I pinned it with a toothpick. Got the filler blocks all cut out & dry fitted.

- 1,306 replies
-
- 22
-
-
- syren
- model shipways
- (and 1 more)
-
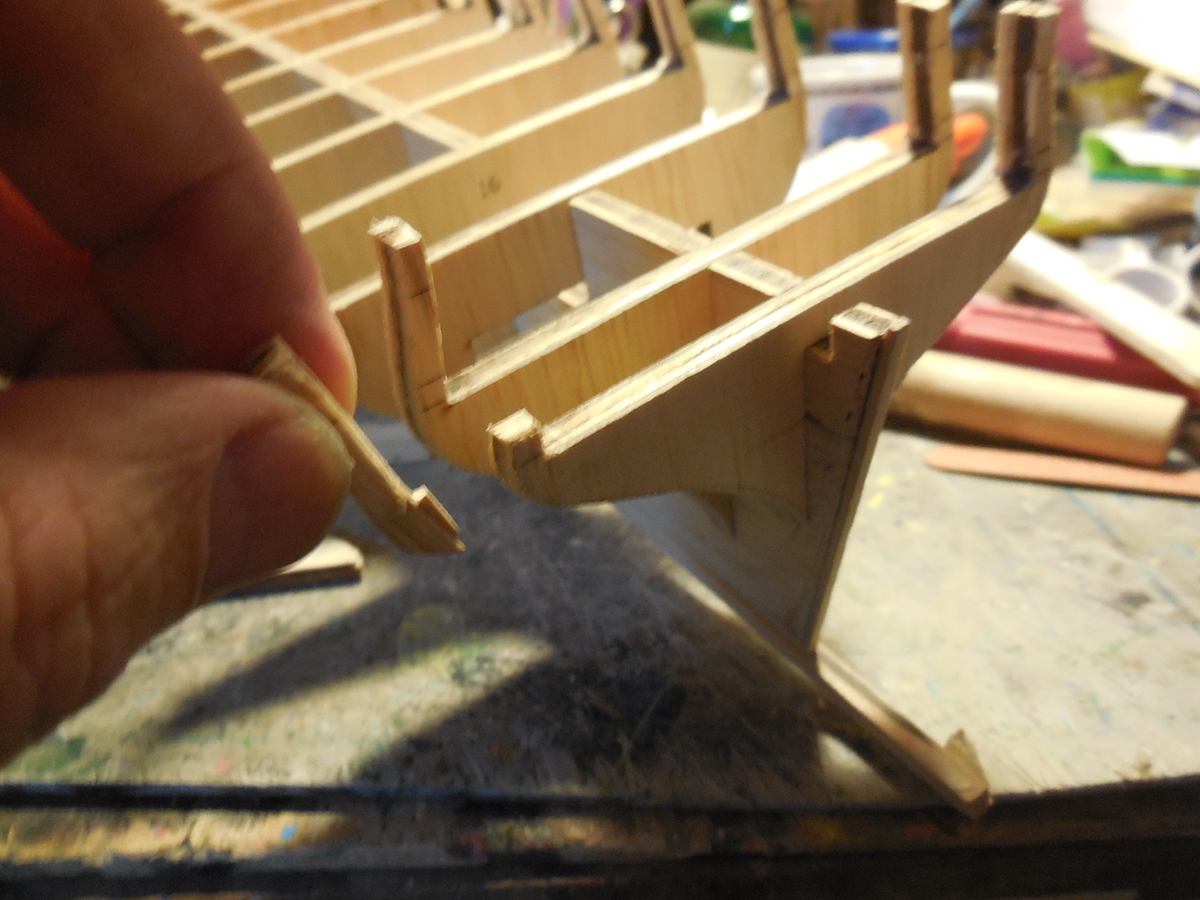
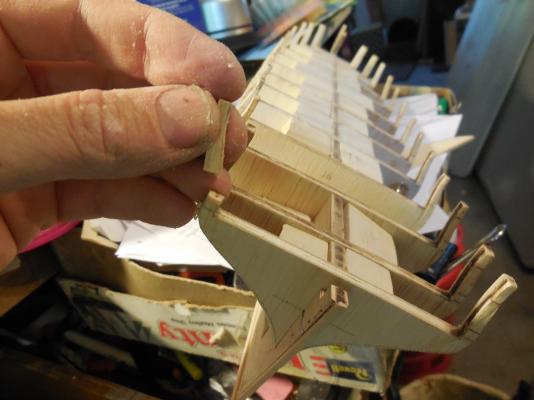
Began dry fitting & beveling/fairing the bulkheads. They were very tight & I had to do a lot of sanding to get them to fit. Had to be careful not to sand too much since these things were VERY tight. Of coarse another break as usual!


- 1,306 replies
-
- 16
-
-
- syren
- model shipways
- (and 1 more)
-
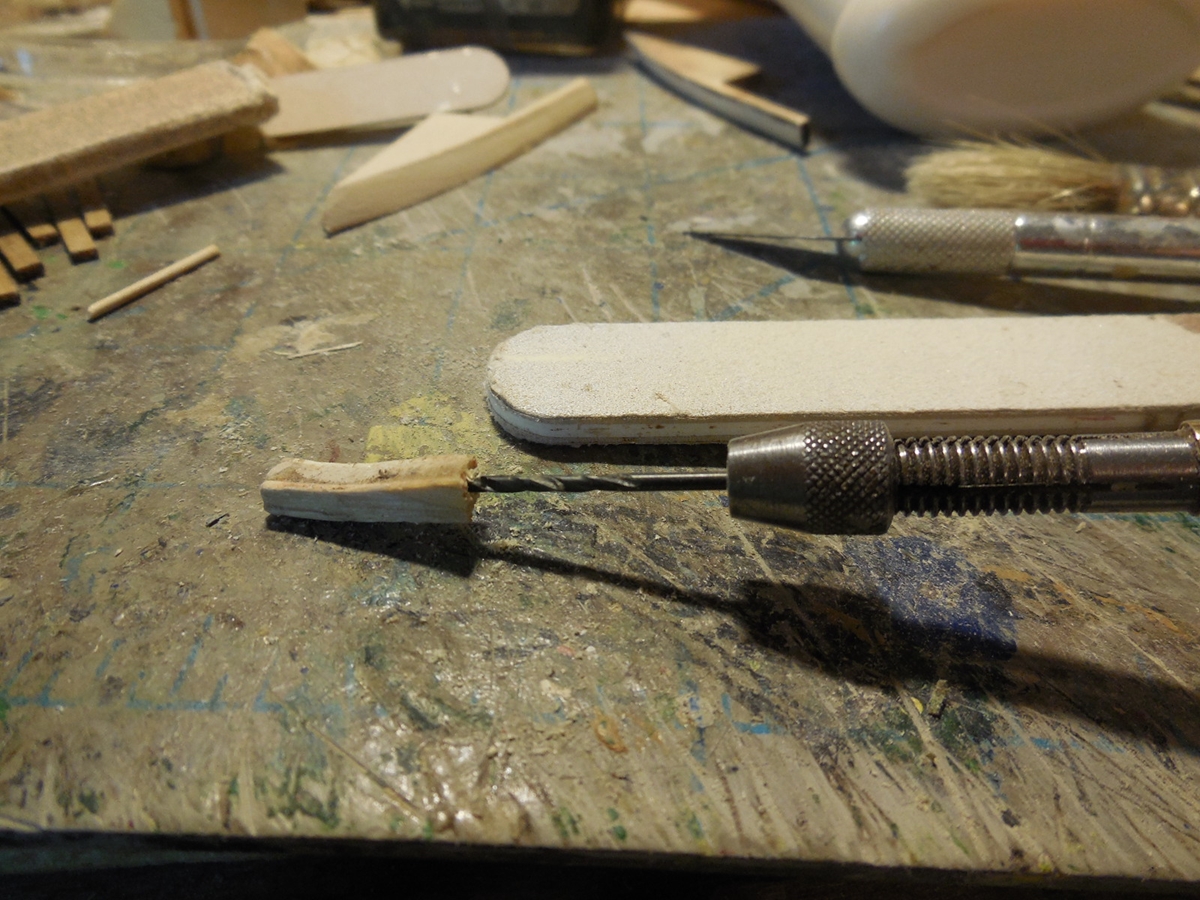
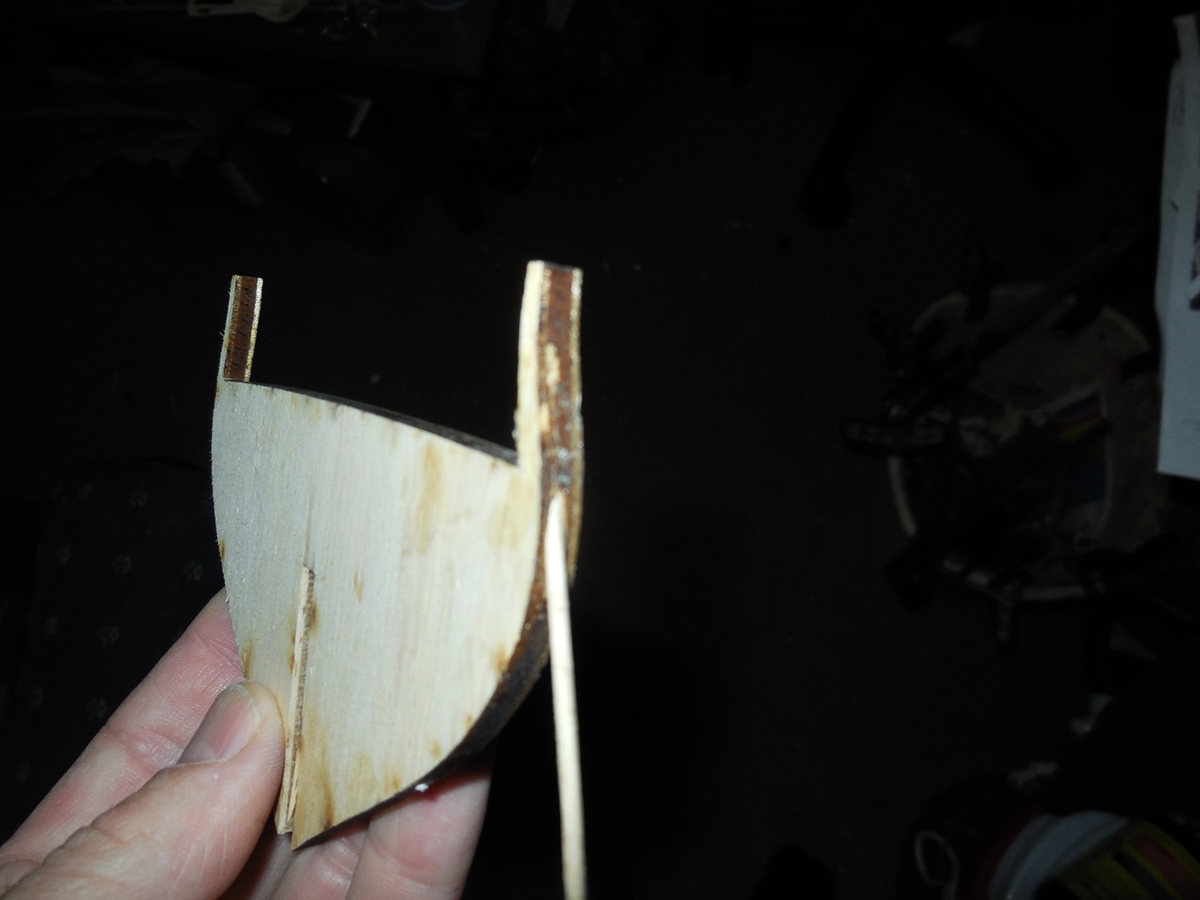
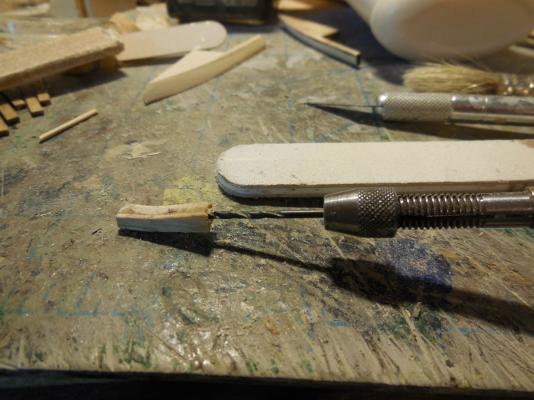
Cut the bulkheads out to start the dry fitting & tapering the angles on the sides. Barely got started & I can tell I'm losing my touch. This stupid disease makes anything manual difficult for me & I already broke my first bulkhead. Drilled a hole through each piece & glued a toothpick through it with wood glue.


- 1,306 replies
-
- 20
-
-
- syren
- model shipways
- (and 1 more)
-
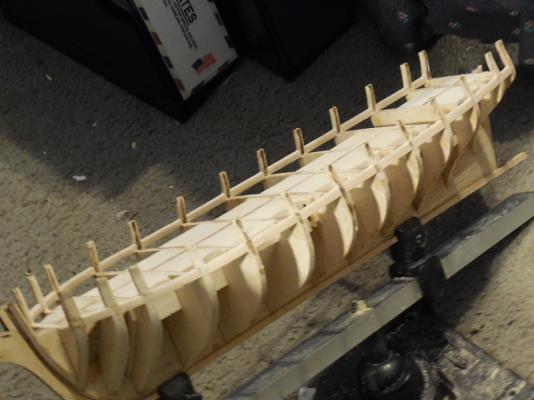
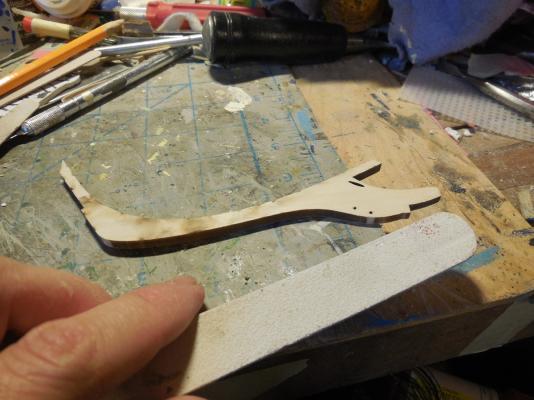
Sjors, Mark, Piet, George- glad to have along! popcorn sounds good to me too! Popped the old way right? Not this new fangled microwave crap? Well after every imaginable delay possible ( & a few unimaginable) I finally got started!!!!!!!!!!!!!!! Somehow I missed getting pictures of my beginning steps of gluing the rabbet strip on the bulkhead former & cutting the bearding line but I did get these steps done. I like the way the instructions have you make a rabbet. My other kits didn't have this. Tapered the stem knee & glued it & the keel to the bulkhead former. Taped the temporary false keel on now ready to move on to the bulkheads.

- 1,306 replies
-
- 19
-
-
- syren
- model shipways
- (and 1 more)
-
Welcome aboard Steve! As bad as I want to get to work in the shipyard, I had to get an epidural & they told me to lay down for 6-7 hours so I'll have to wait.......
- 1,306 replies
-
- 4
-
-
- syren
- model shipways
- (and 1 more)
-
Welcome sygreen, Augie, Thomas, Sal, Grant, popeye the sailor, Pythagoras & Ken! Glad to have you along. I'll probably need some advice as I go along so it's good to have others around to ask for help. Will try to start posting first steps after I return from a Drs. appt. this morning. I'm looking forward to this build. I know anything coming from Chuck is high quality, I love his rigging rope so I know plans designed by him has got to be good!
- 1,306 replies
-
- 3
-
-
- syren
- model shipways
- (and 1 more)
-
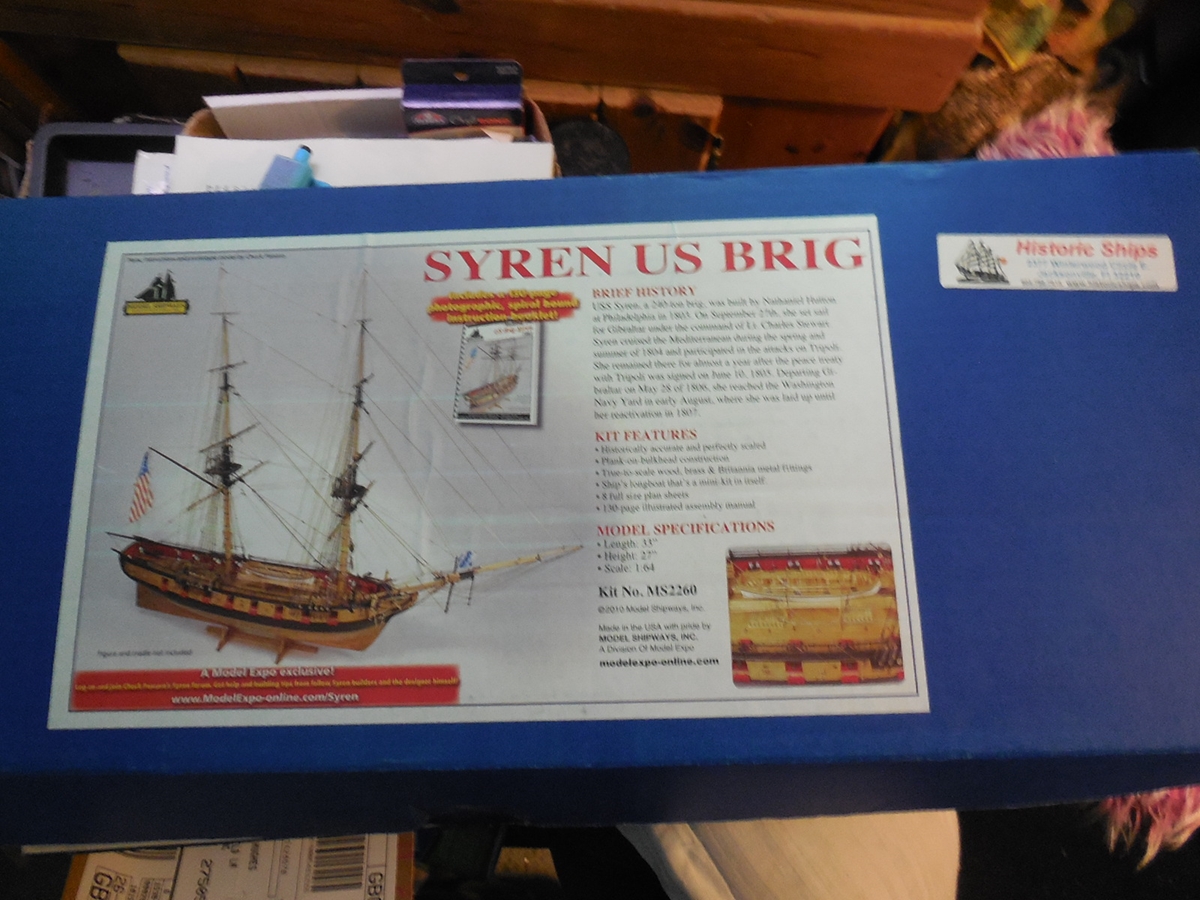
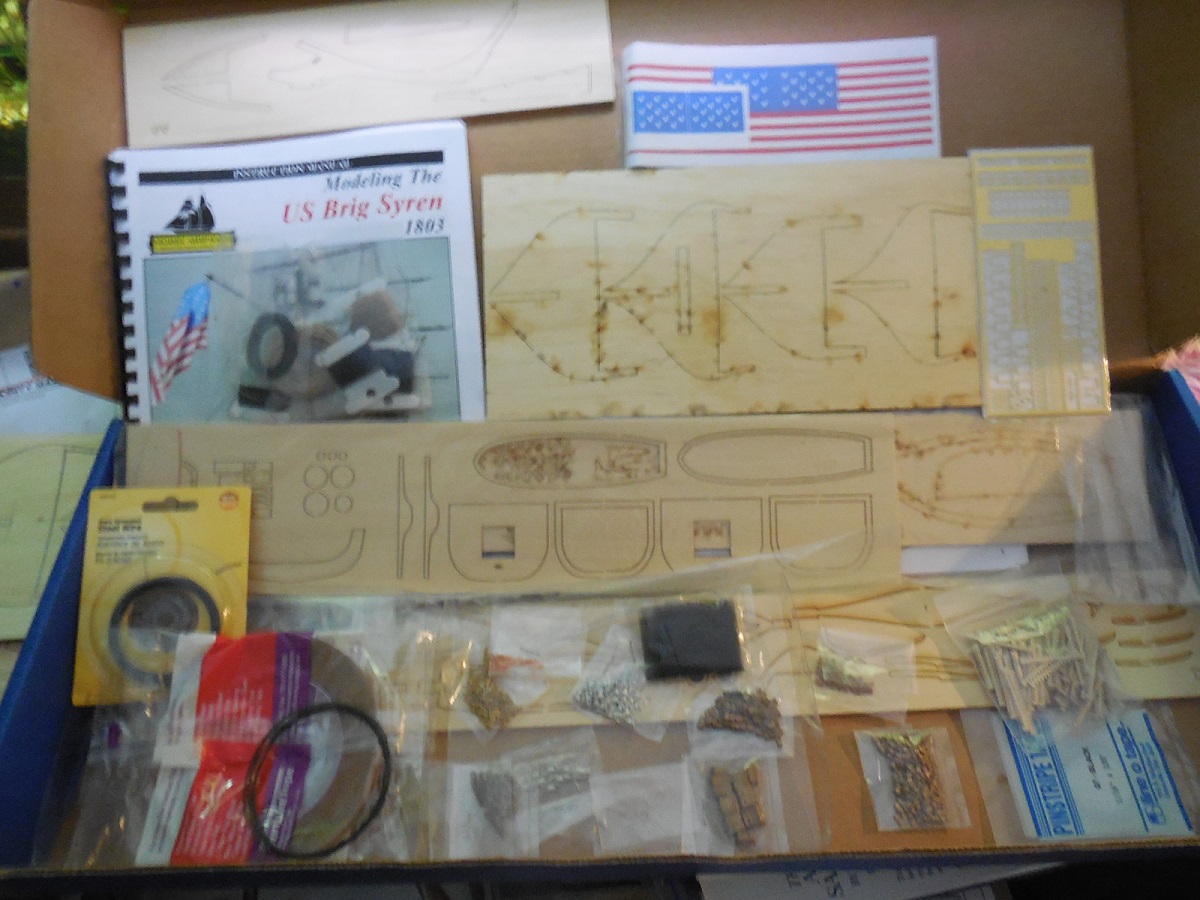
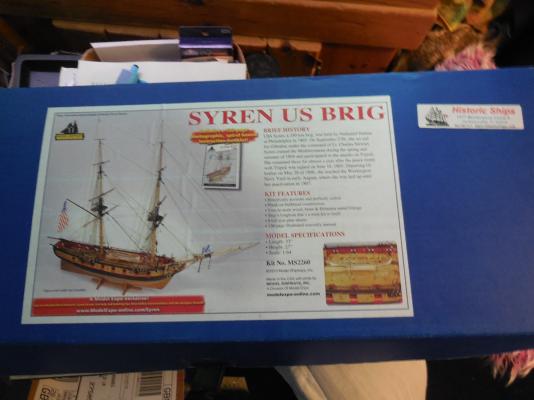
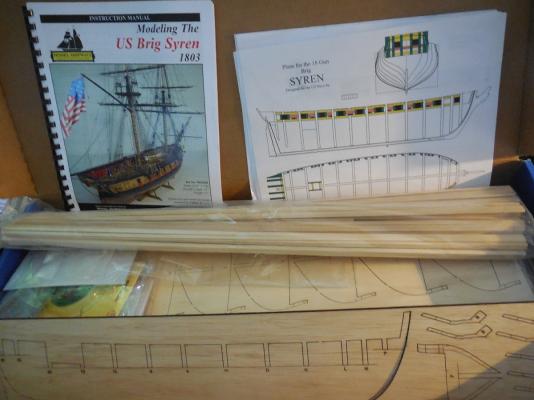
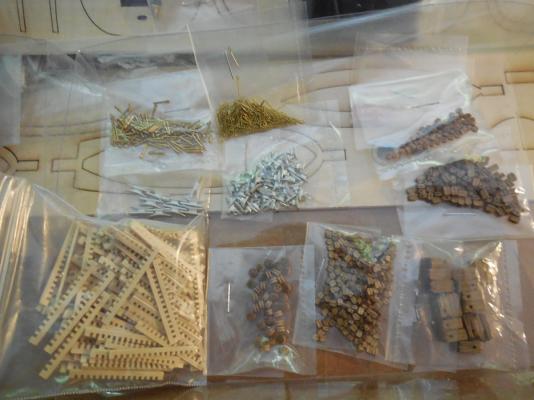
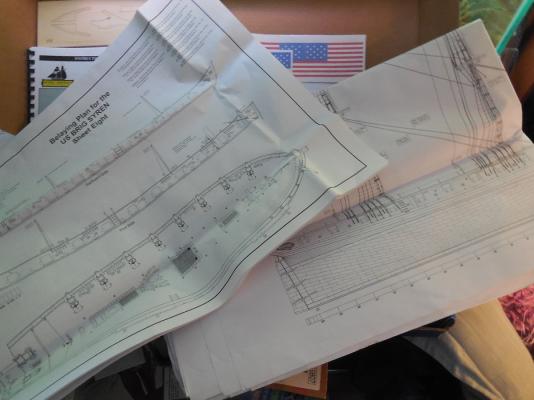
I received this kit as a gift. Very excited about it. Here are pics of the box & contents. Pre-reading over the first part of the instructions. Everything I've done before has been more simplified so I know this one will take me longer but I am ready to dive in!

- 1,306 replies
-
- 24
-
-
- syren
- model shipways
- (and 1 more)
-
Wow Dave, you got featured on the Tarheel Traveler! Good to see our hobby get some recognition.
- 962 replies
-
- 5
-
-
- sovereign of the seas
- ship of the line
- (and 1 more)
-
WOW!! I have never seen so much detail in such a small block!
-
Very nice! What wood are you using for this?
-
I just received this kit as a gift. I'll be following along as a guide for my build which I plan to start soon.