JesseLee
-
Posts
1,694 -
Joined
-
Last visited
Content Type
Profiles
Forums
Gallery
Events
Everything posted by JesseLee
-
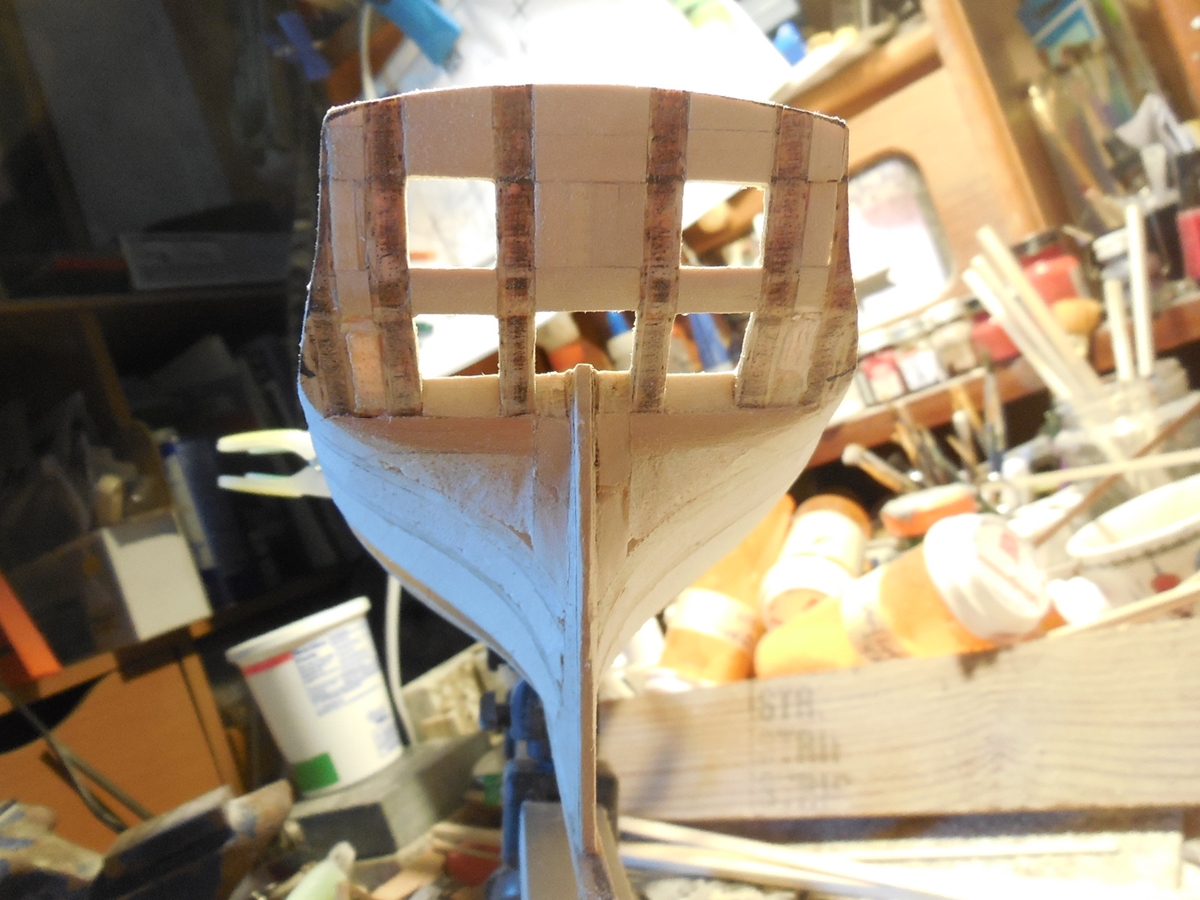
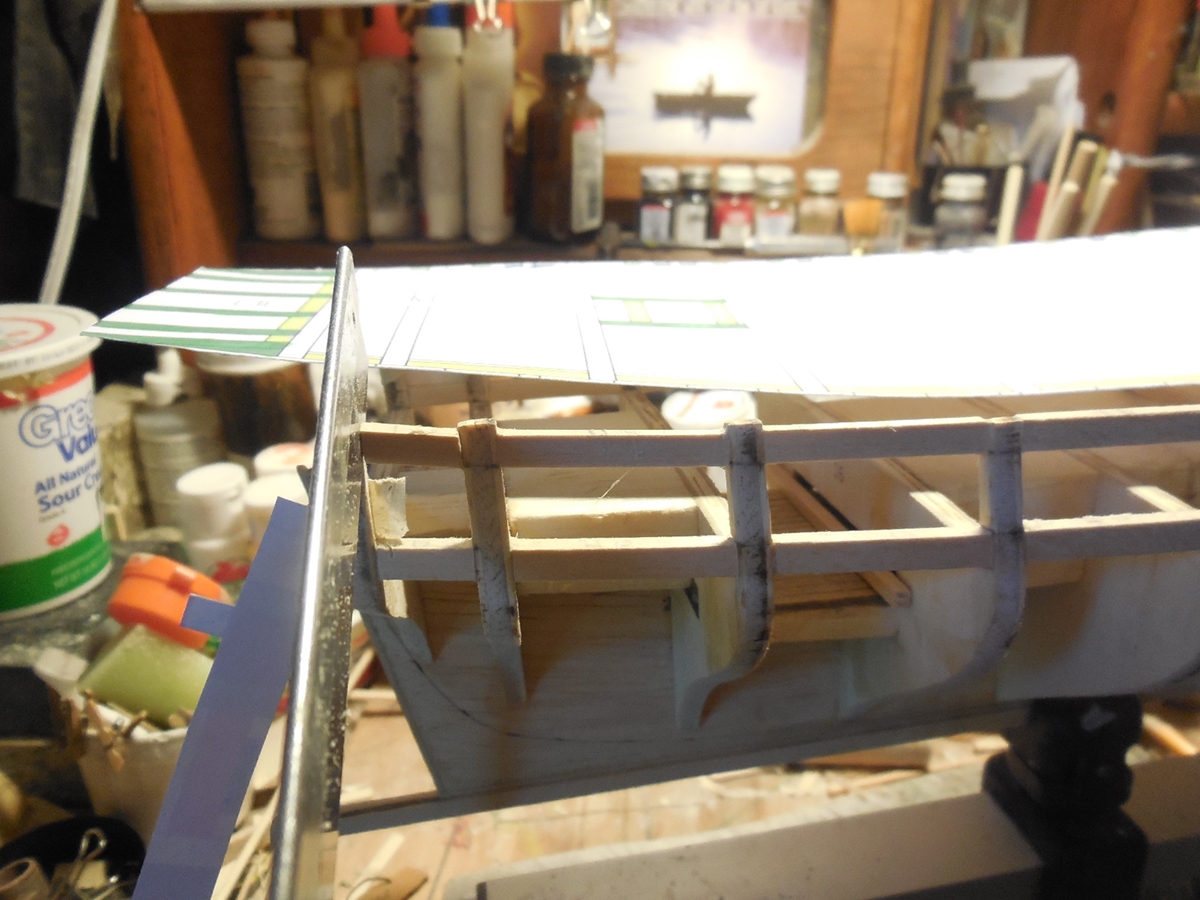
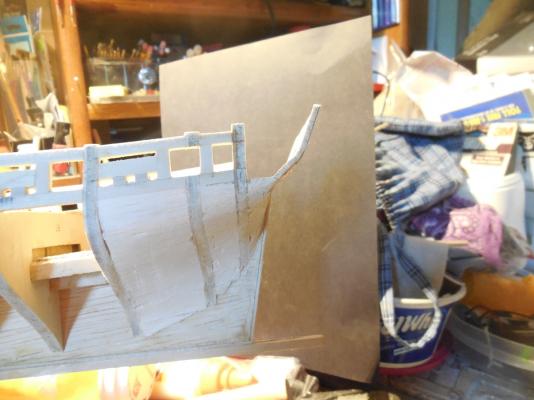
 Been through another bout with my health keeping me from getting much done. Feeling a little better now. Decided to fill in more where the curving is the greatest at the bow & stern. It helps me see better if I have the fairing right. Continuing work on the stern framing & gun ports. The only problem I'm having is determining if I have the right curve/shaping from the last bulkhead up to the bottom of the stern framing.
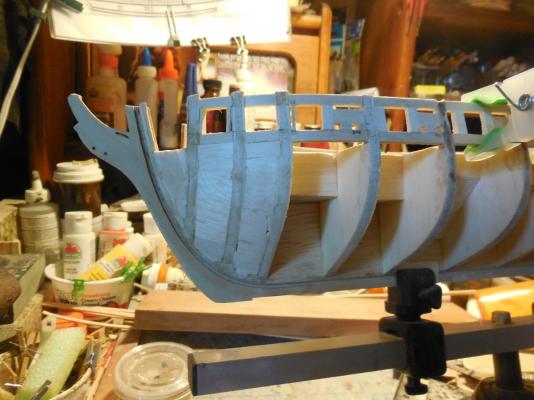
- 1,306 replies
-
- 14
-

-
- syren
- model shipways
- (and 1 more)
-
Excellent work Jason. I love following your work!
-
That turned out great Sal. I've been studying your log today back at the steps where I'm at on my Syren. It's helping me out a lot. I'm sure I'll have a few questions for you along the way.
- 659 replies
-
- 3
-
-
- syren
- model shipways
- (and 1 more)
-
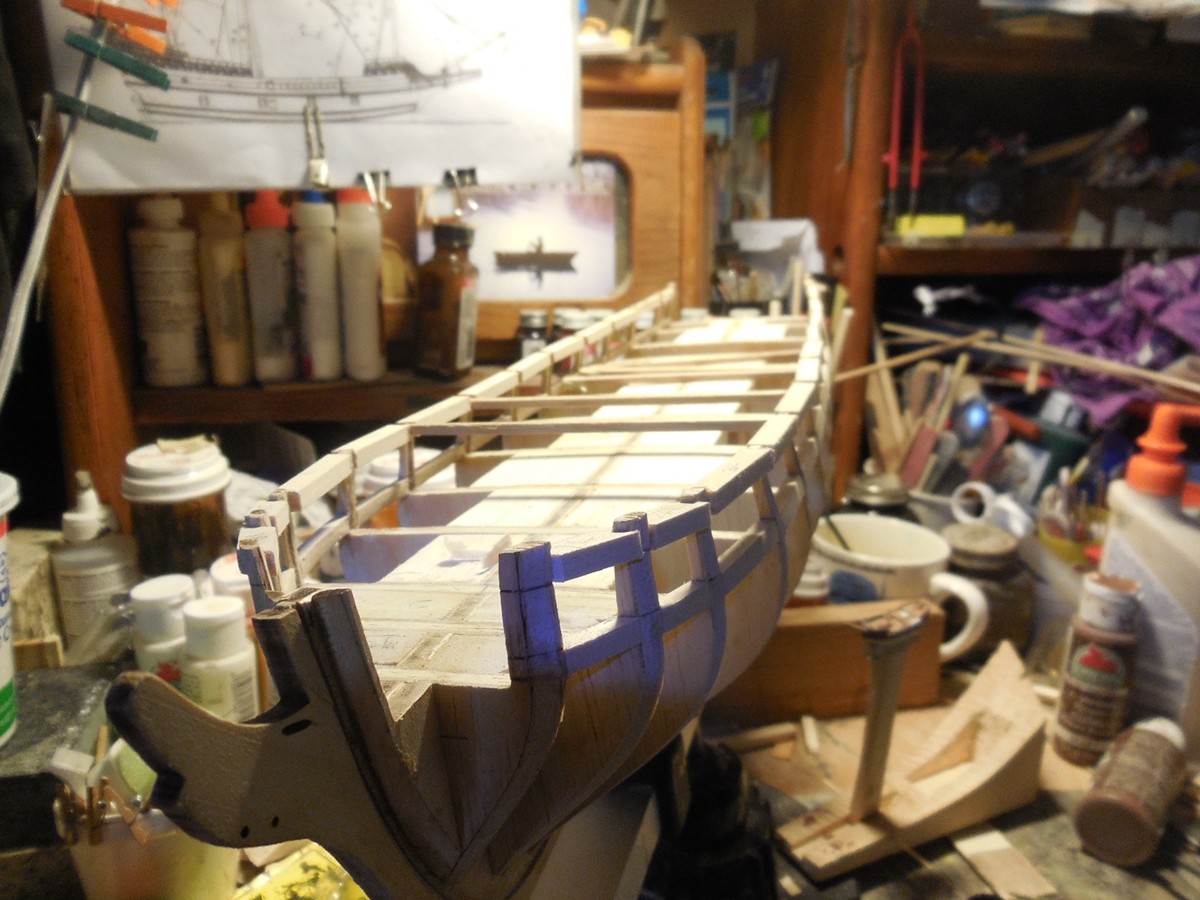
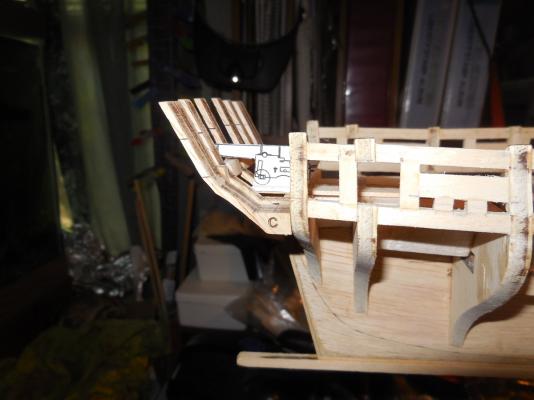
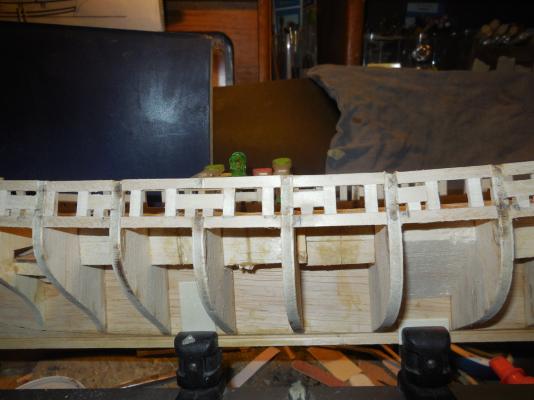
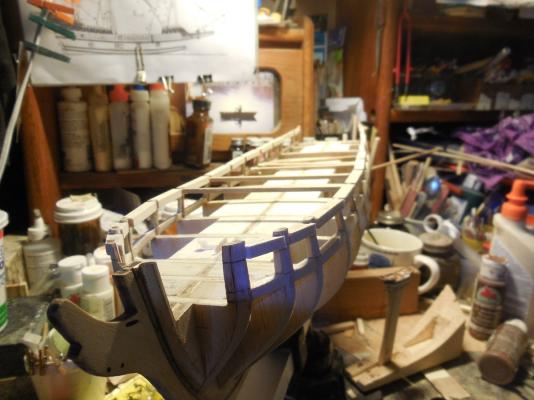
Everything seems to be trying to keep me away from the shipyard but I have been able to start the stern framing. Glued the filler & frame pieces in place. Started gluing in the port sills, checking the height with the cannon cut-out.
- 1,306 replies
-
- 16
-
-
- syren
- model shipways
- (and 1 more)
-
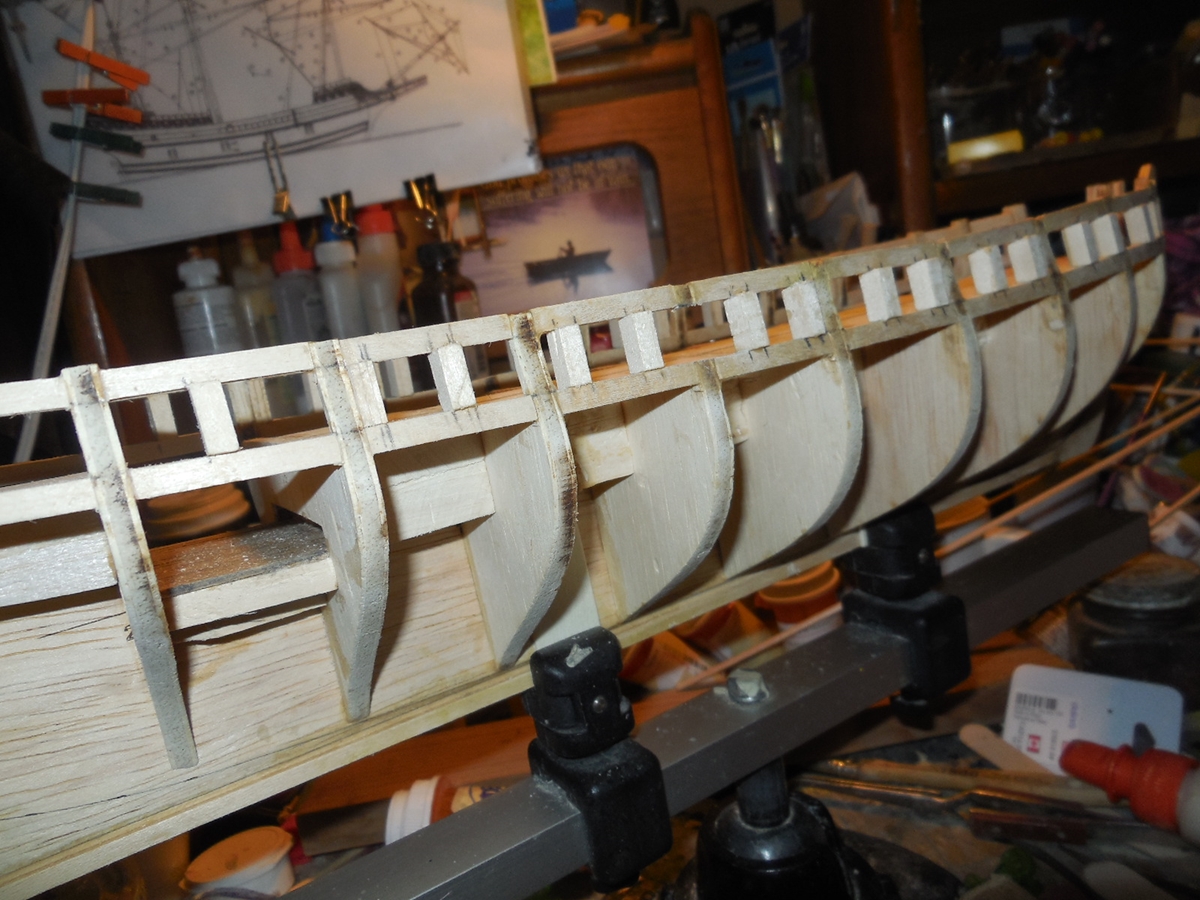
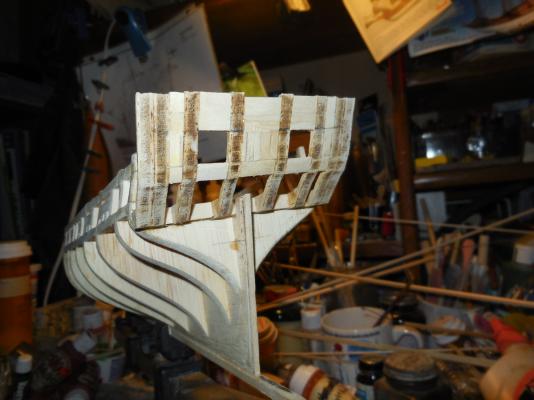
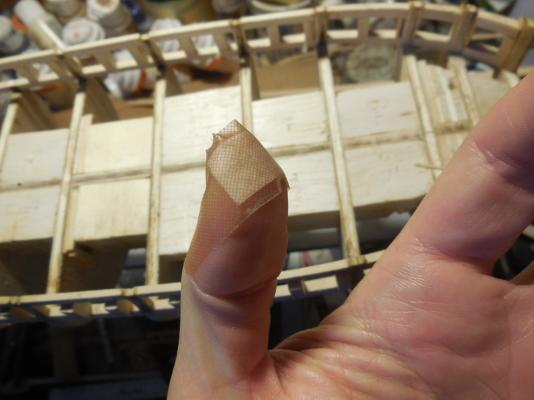
Added the gun port sides. Got my thumb cut because before I sanded I used a blade to remove more wood quicker & of course I can never do this without catching the blade at least once with a finger or thumb. Added pieces for the sweep port tops. Measured sweep ports & added the sides. This finishes the gun port & sweep port framing & completes chapter 3 of the instruction manual.


- 1,306 replies
-
- 17
-
-
- syren
- model shipways
- (and 1 more)
-
The oil looks good. I did the hole exactly the way George suggested.
- 389 replies
-
- 2
-
-
- scottish maid
- artesania latina
- (and 1 more)
-
Just found this build. Wish I had seen it earlier. I recently started the Syren myself. More complicated than anything I've ever done before. I'll be studying your build a lot to help me along! Looking great!
- 659 replies
-
- 3
-
-
- syren
- model shipways
- (and 1 more)
-
Looks great! I didn't put treenails on my hull because of scale & it looks fine.
- 389 replies
-
- 2
-
-
- scottish maid
- artesania latina
- (and 1 more)
-
George, yes that's always nice isn't it? Hey Steve, glad to have you with me here!
- 1,306 replies
-
- 3
-
-
- syren
- model shipways
- (and 1 more)
-
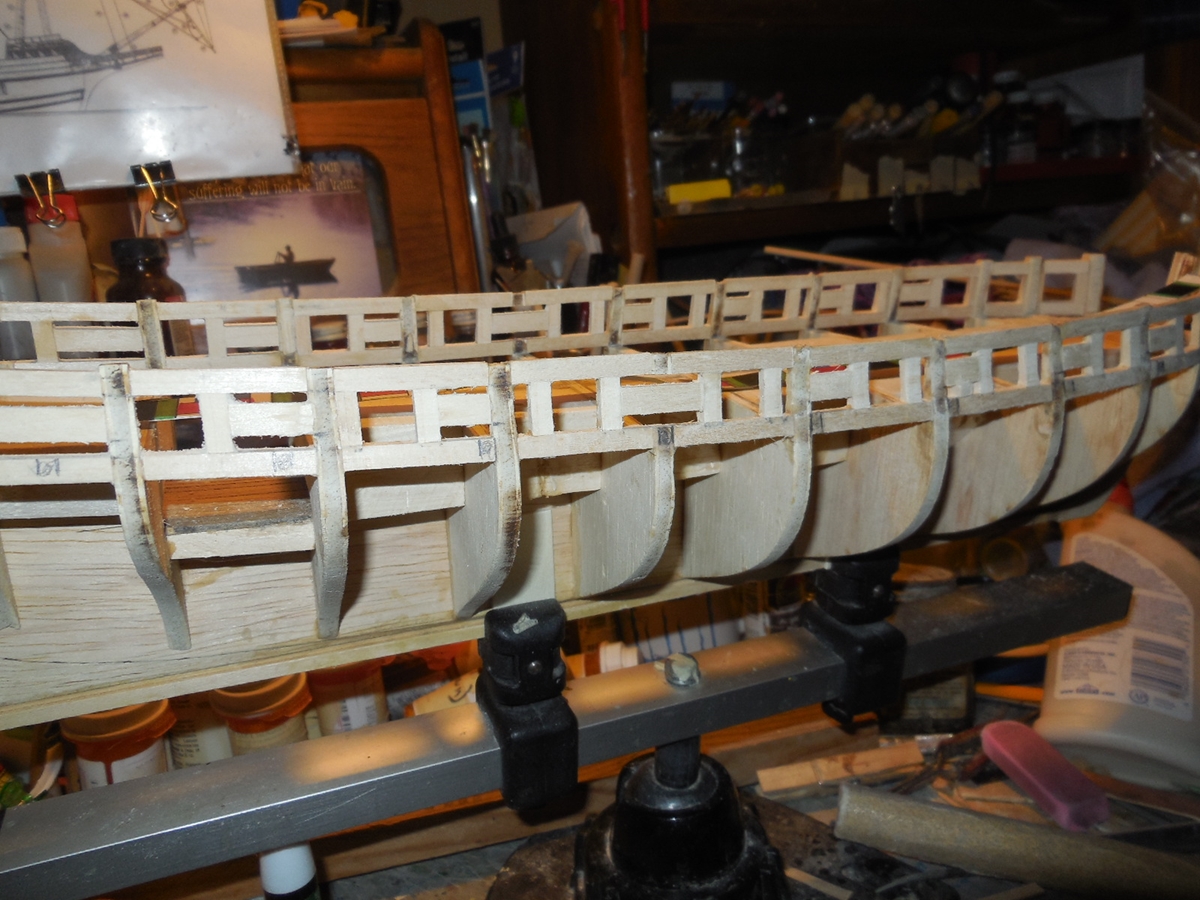
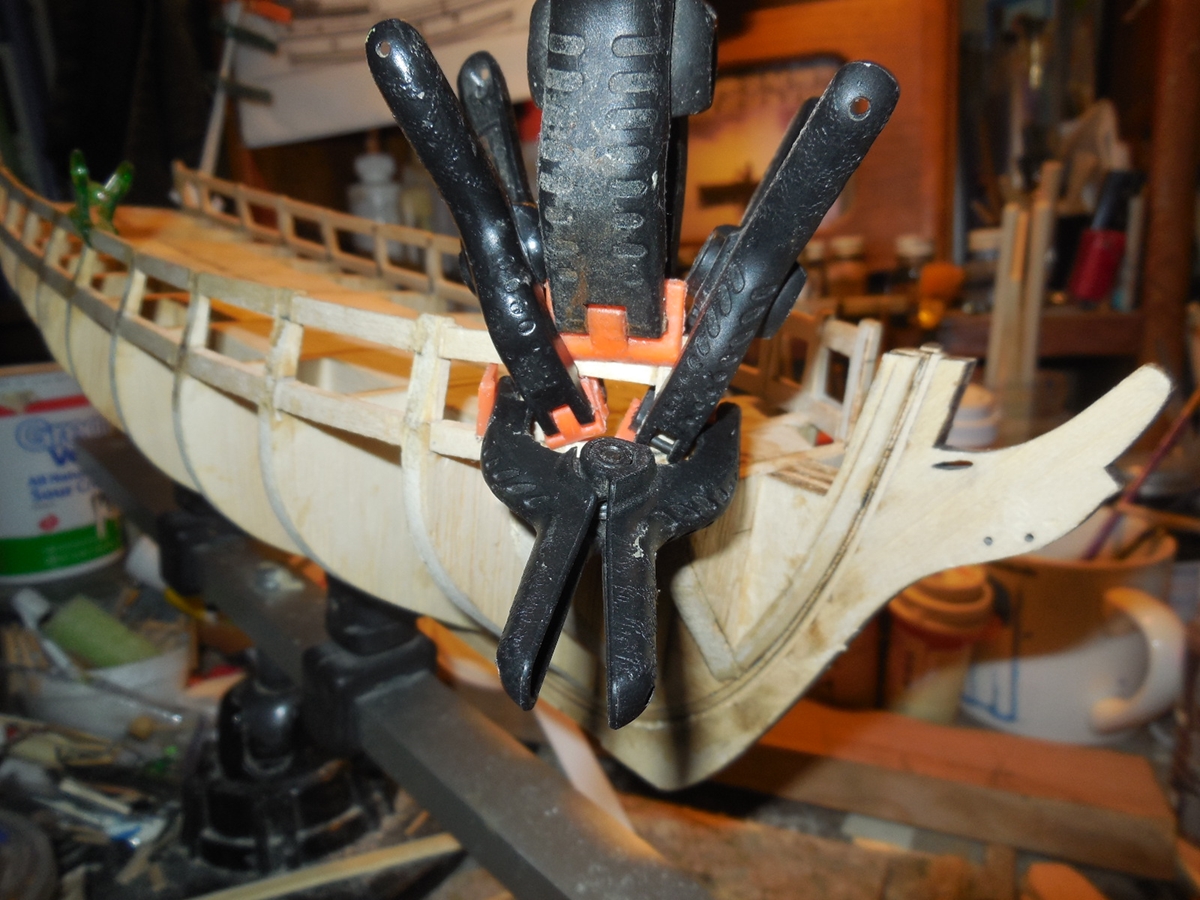
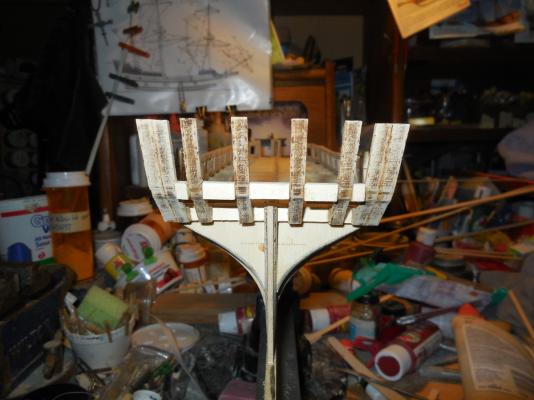
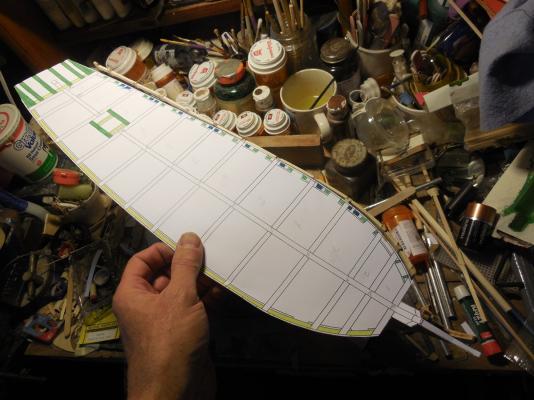
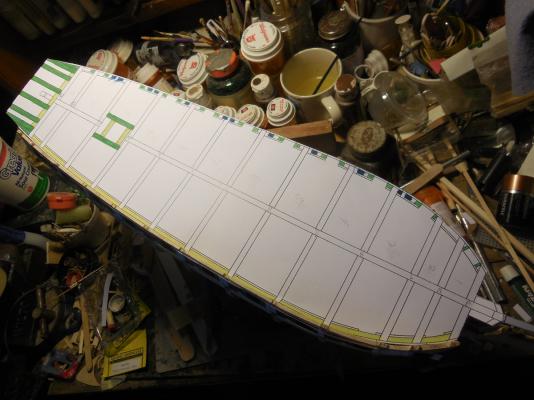
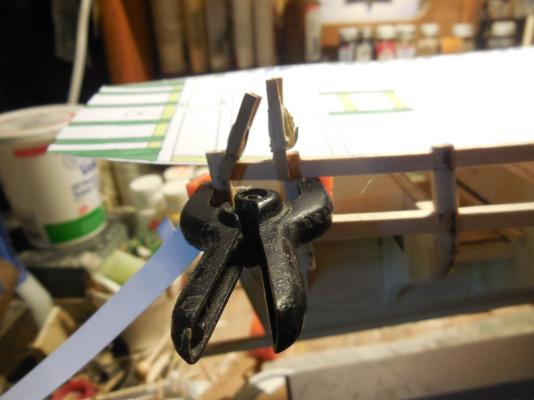
The watered down PVA worked very well- thanks for the tip Mark! I got the overhead template to check to see if all the lintels are equal lengths on both sides. There were three on the starboard side that were a hair longer. I cut through them with a fine saw then re-glued & clamped them. The very first one fore was a little bit longer. These adjustments along with evening out the bulwarks as I was doing before fixed it all. Now the templates line up the same on both sides. It all looks better overhead too.


- 1,306 replies
-
- 13
-
-
- syren
- model shipways
- (and 1 more)
-
I've seen some of your work in person Dave- you ARE a great modeler! I am still marveling at the one with the extensive rigging!
- 962 replies
-
- 6
-
-
- sovereign of the seas
- ship of the line
- (and 1 more)
-
Would probably be best to remove the planks over that area. It's easy to glue thin strips & pieces of wood to build up where needed or you could mix carpenters glue & fine sawdust - use it like a wood putty. Its hard to do this without getting it on the outer planks. These planks are so thin trying to sand something off the surface of them might sand right through them & you would have to replace them anyway. I used varnish but that is because it's what I had on hand. I've heard of great results with the oil- I just have never had it to try.
- 389 replies
-
- 2
-
-
- scottish maid
- artesania latina
- (and 1 more)
-
I'm noticing that many of the re-glued bulwarks are not hard & stiff like they should be. I glued them with PVA(carpenters) but they feel spongy? They are more flexible than the others. I know you can harden wood with CA glue. I'm wondering if I do this will PVA bond to the CA wood surface when I get to the planking? Or maybe the rest of the gun port framing will take care of this anyway....
- 1,306 replies
-
- 3
-
-
- syren
- model shipways
- (and 1 more)
-
Just found your build. I just finished this kit recently. I like her sleek hull design. You are doing nice work. Like your deck planking!
- 389 replies
-
- 2
-
-
- scottish maid
- artesania latina
- (and 1 more)
-
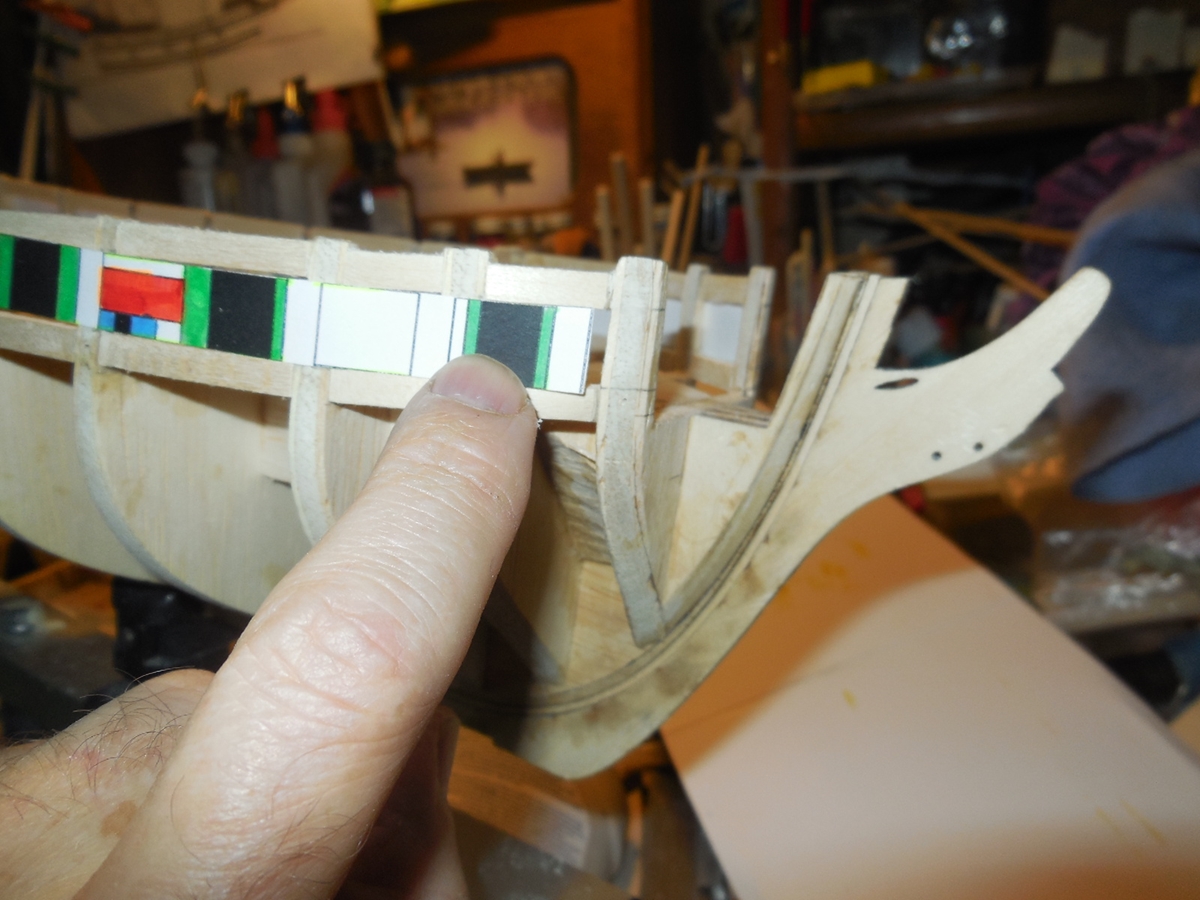
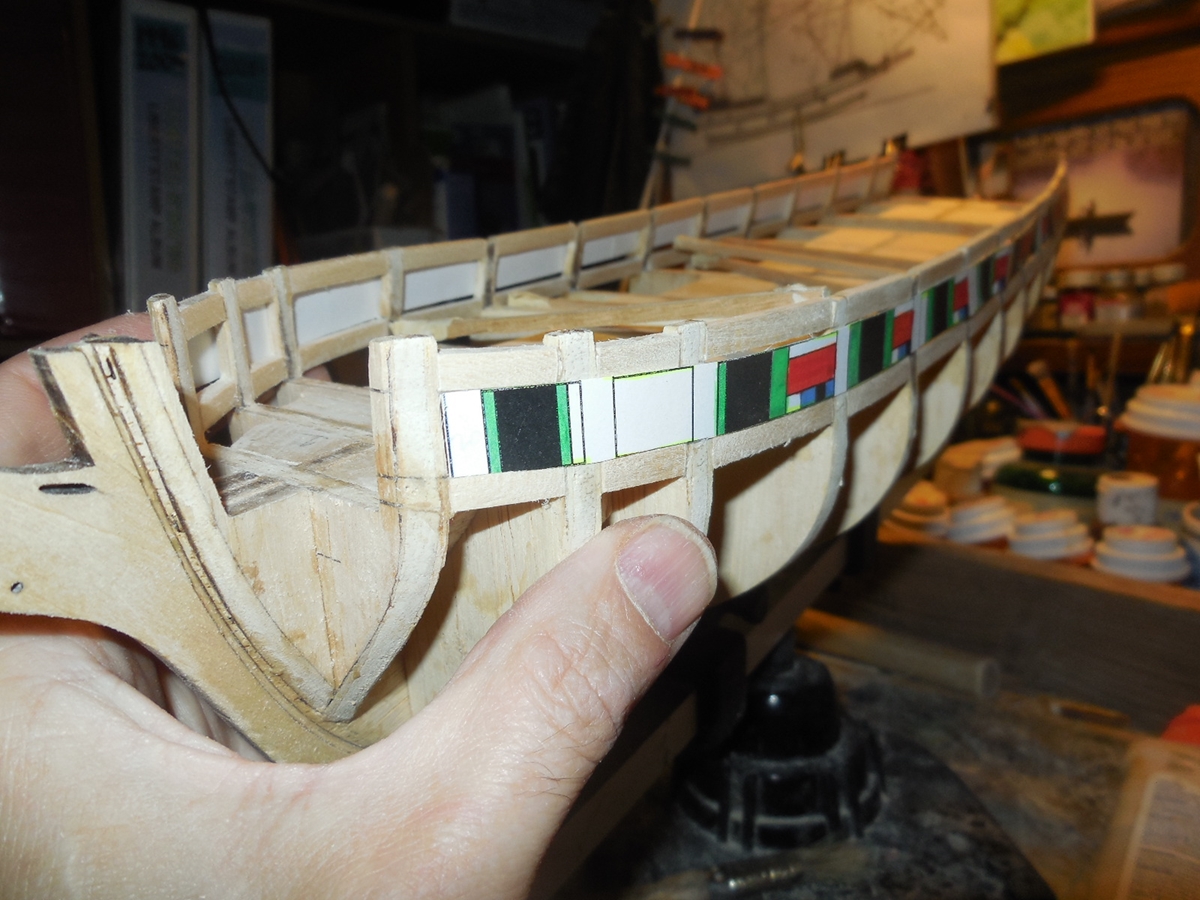
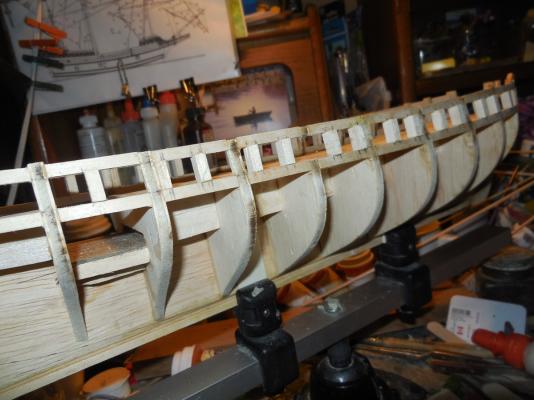
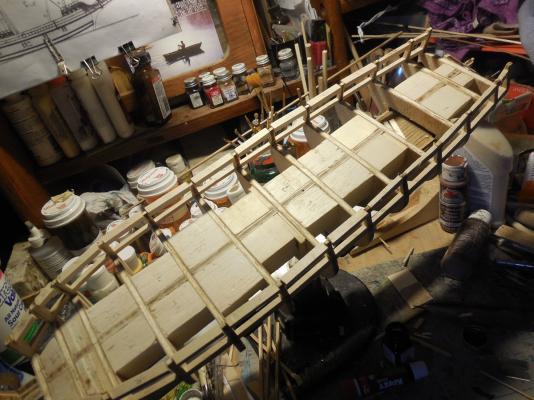
The next step is to use the template to mark where the gun port sides will be. Checking this out ahead of time I see that the one on the starboard side doesn't end up as far as the one on the port side. After scratching my head a bit on this one I recall how I broke almost every bulwark during the last steps. Looking this over I see that in gluing these back on over & over I failed to notice they didn't all end up the exact same angle as they ha started out. Some a little bit too far in & some a little bit too far out. More out on the starboard side. I will be attempting to right all this using the overhead template as a guide. I counting on most of them being able to be bent after brushing them with water & being held in place as they dry. I figure some may have to be re-glued. This I hope will make up for the very slight difference on each side. We'll see how it goes! Looks like this build is going to be like my last one. Over half the time being used for problem solving. That's ok- it builds patience! (along with anger some times- lol)


- 1,306 replies
-
- 13
-
-
- syren
- model shipways
- (and 1 more)
-
Just ran across this log. I LOVE IT! I love the shape of the hull & your work is spectacular!
-
Oh, ok. I pre-read over each section ahead of time several times over because he does go into a lot of detail. It looks like a lot when you first see it but it is actually very awesome. Other kit instructions I've had were very vague & left me wondering about a lot of things. Chuck covers everything. It takes some time but it is very, very helpful!
- 1,306 replies
-
- 10
-
-
- syren
- model shipways
- (and 1 more)
-
Original Ship in Bottle Methods, Materials, Tools
JesseLee replied to DSiemens's topic in Nautical/Naval History
And people think it's difficult to build a ship in the bottle now! Didn't know about the shark skin for sandpaper or boiled down fish parts for glue- wonder how well it held? I have done a sea bed out of wood before. It doesn't look as well as putty but it works & it is easy to glue the ship to the wood sea. I actually did a better job with the wood sea than I did with the ship but that was my first attempt many years ago. -
Where are these practicums at?
-
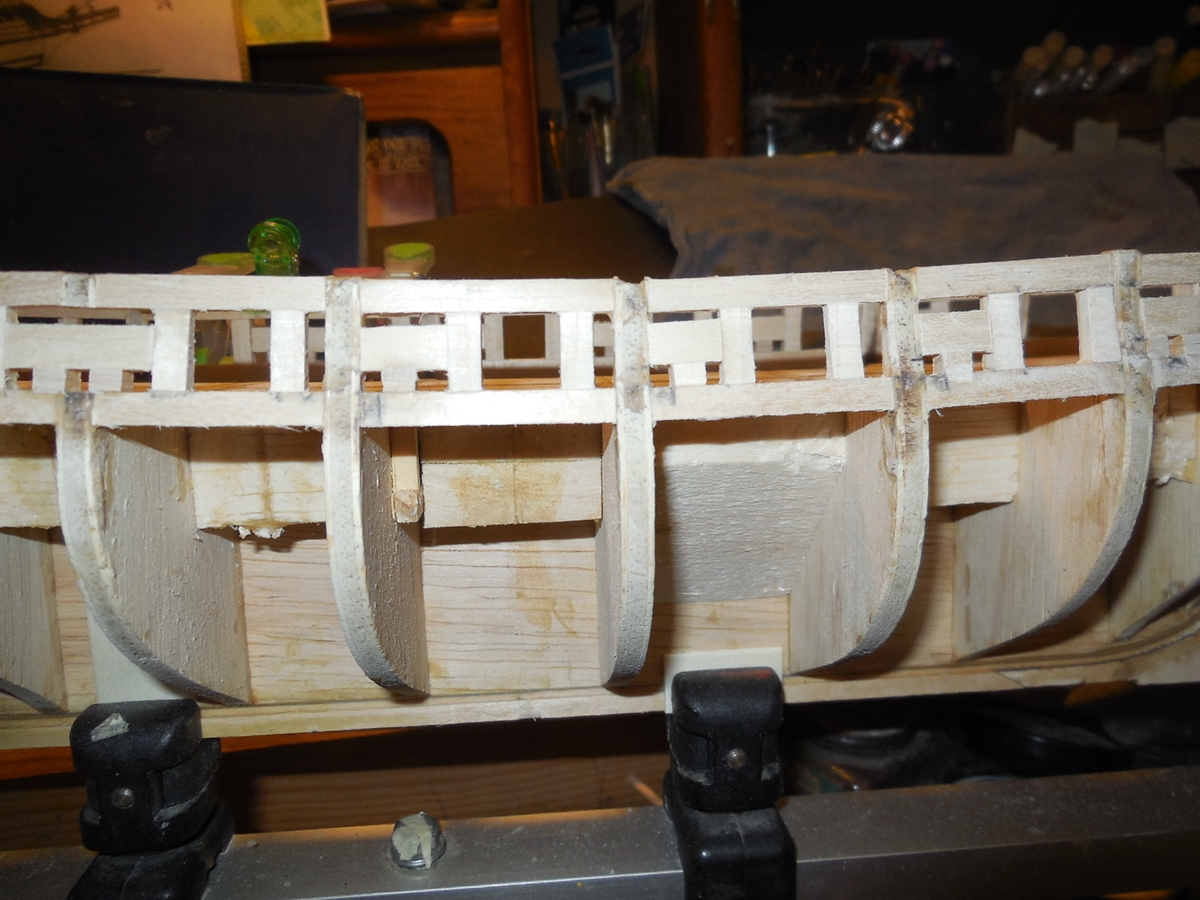
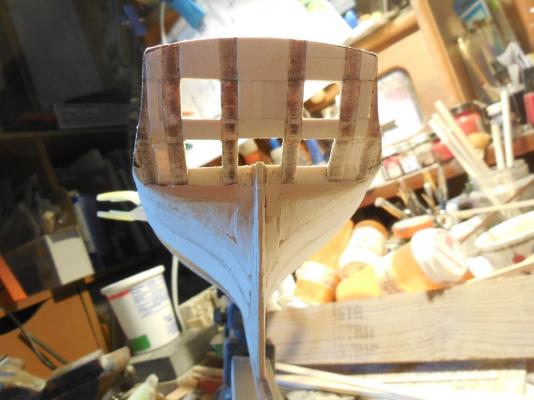
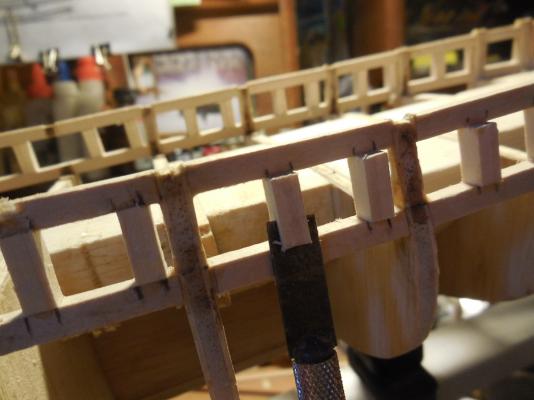
Cut out & dry fitted all the pieces for the top of the gun ports. Glued them all in place- ready to sand the sides down.
- 1,306 replies
-
- 13
-
-
- syren
- model shipways
- (and 1 more)