JesseLee
-
Posts
1,694 -
Joined
-
Last visited
Content Type
Profiles
Forums
Gallery
Events
Everything posted by JesseLee
-
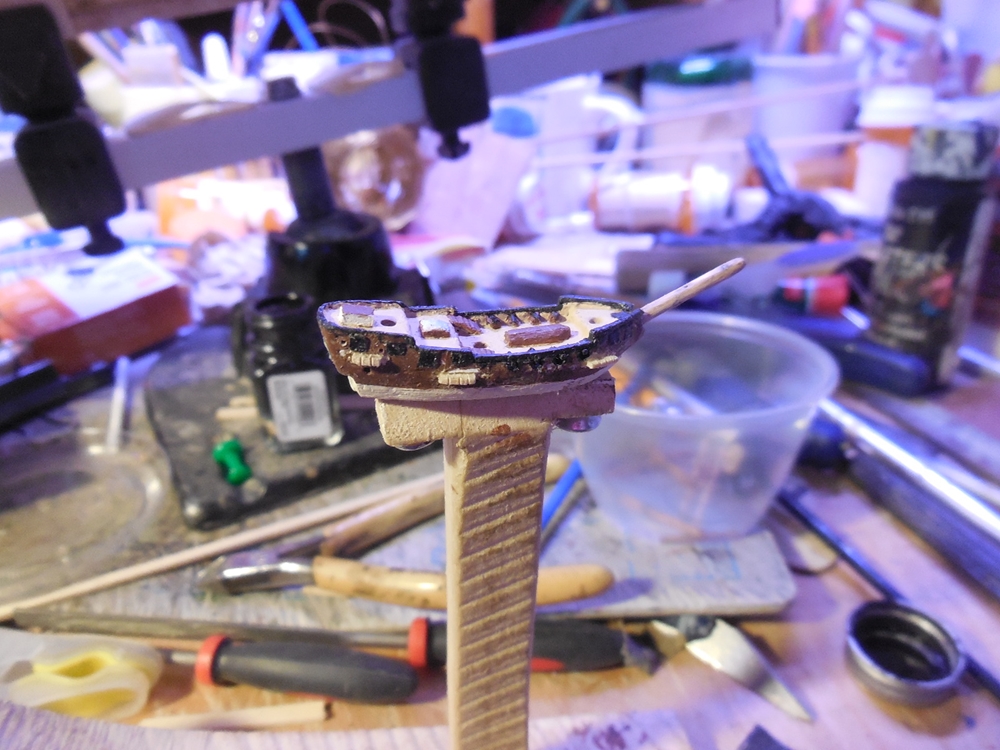
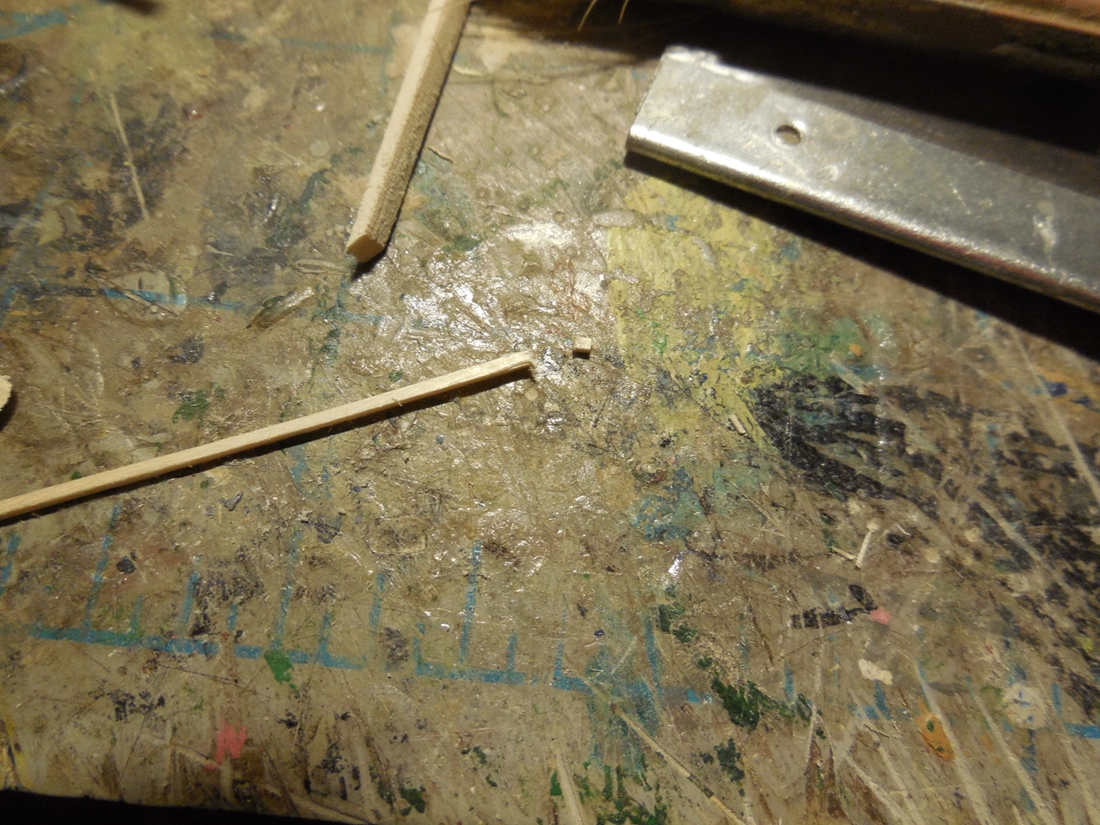
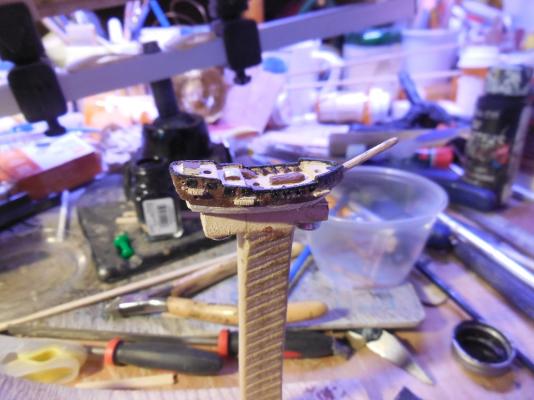
 The glue didn't bond the brass wire & wood base on the cannons very well so I cut out card stock bases instead. Glued several layers till it was thick enough, glued the wire on, snipped it off, filed end & painted. This worked pretty well & at this scale looked ok. Added wood channels & cut slots for shroud lines.
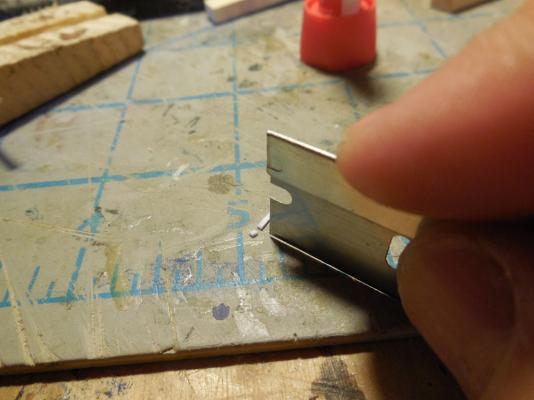

- 71 replies
-
- 8
-

-
- pirate ship
- bottle
- (and 1 more)
-
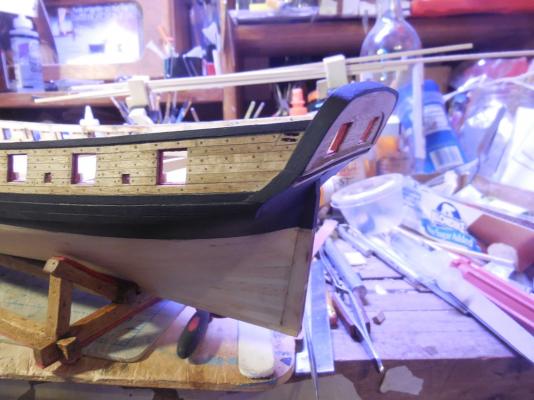
Getting confused & frustrated a little. Already glued my margin planks on but thinking it would have been better not too yet. Seems it would be easier to cut notches out for joggled plank ends if the margin planks are removable. The instructions are a little vague on the planking pattern. It mentions the four butt system but doesn't show any planking patterns at all. They show good pics fore but no clear deck shots aft. Looking over other builds. Some have tapered the planks going toward the bow. The instructions don't seem to show this but it is not clear. I'd rather not have to do this because of having to figure out the exact width would drive me insane. If not wouldn't the planking be joggled aft also? The instructions miss this. Getting concerned about the cast metal parts supplied in the kit. I don't have that kind of carving skills & have no idea how to make metal look like wood & also match the wood color. Don't know what I'm going to do.
- 1,306 replies
-
- 5
-
-
- syren
- model shipways
- (and 1 more)
-
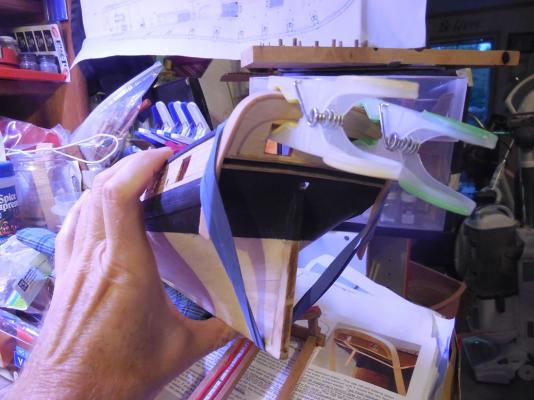
Think I'm going to wait on the cap rail until after I plank the deck & copper plate the hull. I have already dented up the stern cap rail doing all this other work. The deck planking is next. Trying to figure out a planking pattern. This is one of the most difficult steps for me. Trying to look over other Syren builds. Seems everyone takes a different approach. Will probably do whatever pattern will butt up to the actual bulkheads that are with the model to make it simpler for me but just not sure.
- 1,306 replies
-
- 7
-
-
- syren
- model shipways
- (and 1 more)
-
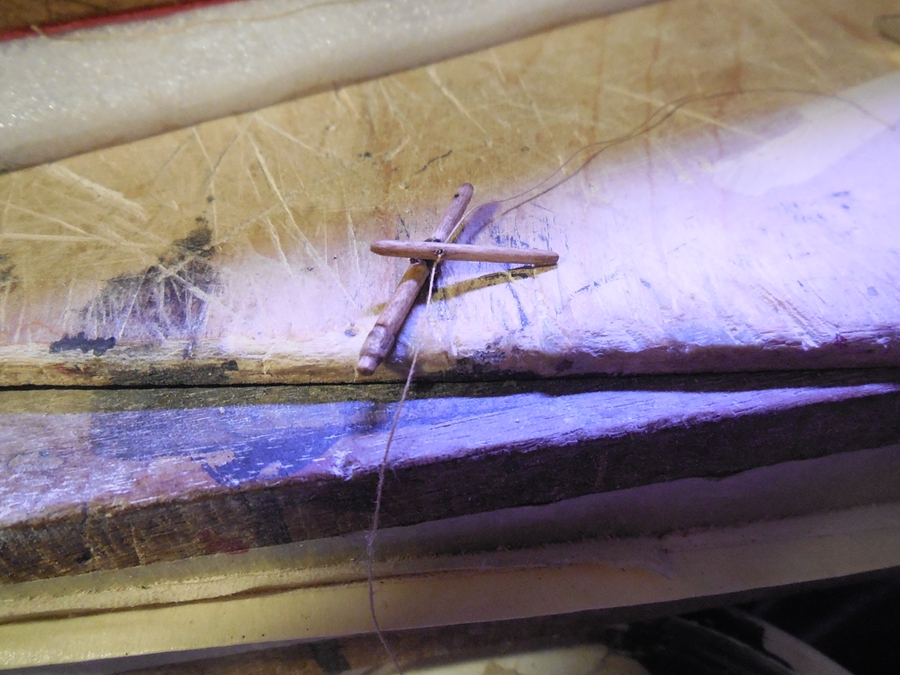
I decided against the wire staples for channels. As you can see I have removed them & I am carving out notches for wood channels to be glued on.
- 71 replies
-
- 4
-
-
- pirate ship
- bottle
- (and 1 more)
-
Yes, it is a hole drilled through the mast that a rigging line will feed through later. The instructions don't explain this at all. It took me a long time to figure it out myself.
- 389 replies
-
- 3
-
-
- scottish maid
- artesania latina
- (and 1 more)
-
Thanks Peter. I broke a lot more bulkheads than I showed in this log! I seem to be awful heavy handed & clumsy with them.
- 1,306 replies
-
- 6
-
-
- syren
- model shipways
- (and 1 more)
-
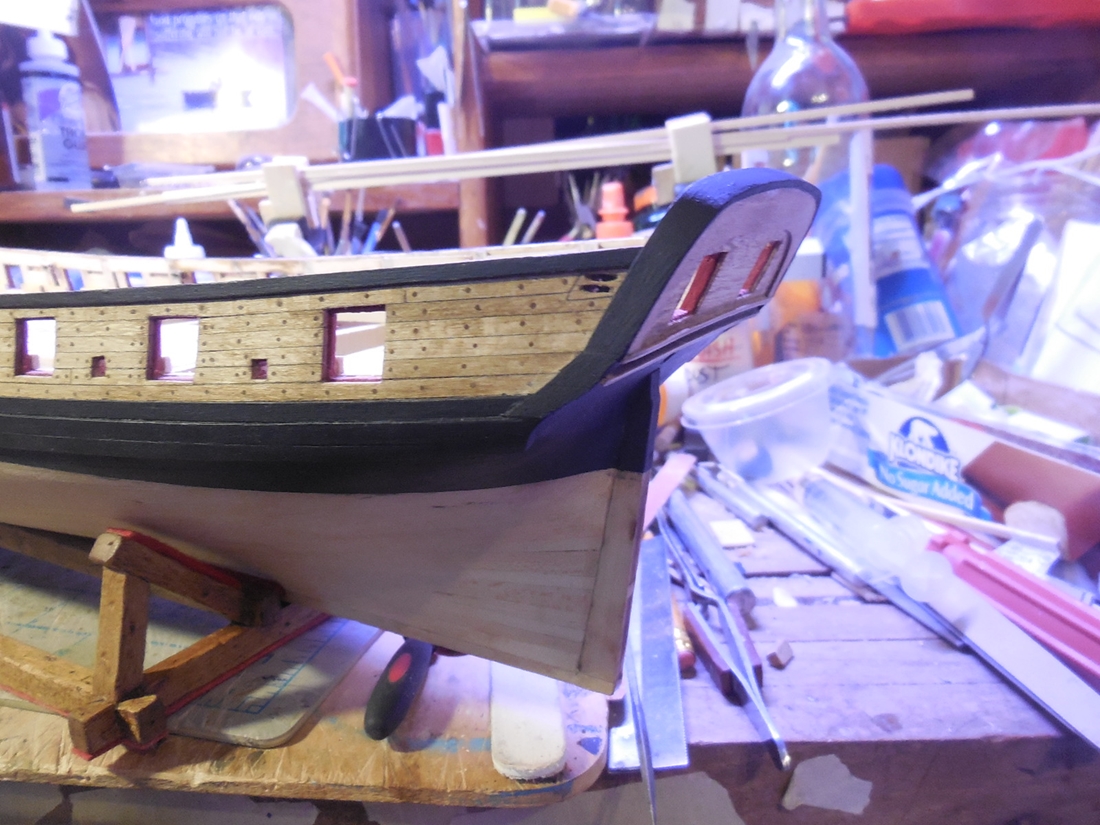
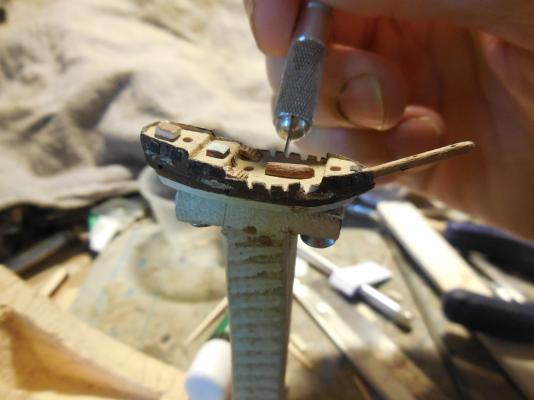
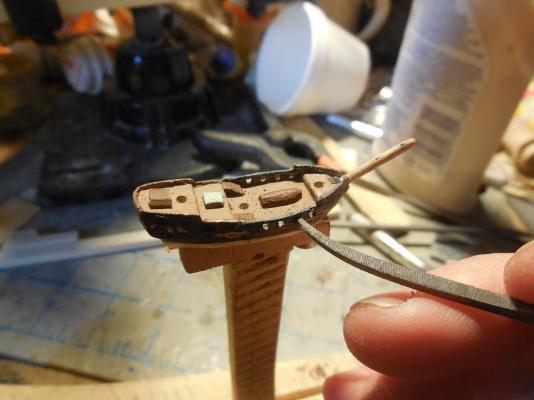
Cut out the gun ports. Applied a glue soaked tread to close in the top & serve as the cap rails.

- 71 replies
-
- 11
-
-
- pirate ship
- bottle
- (and 1 more)
-
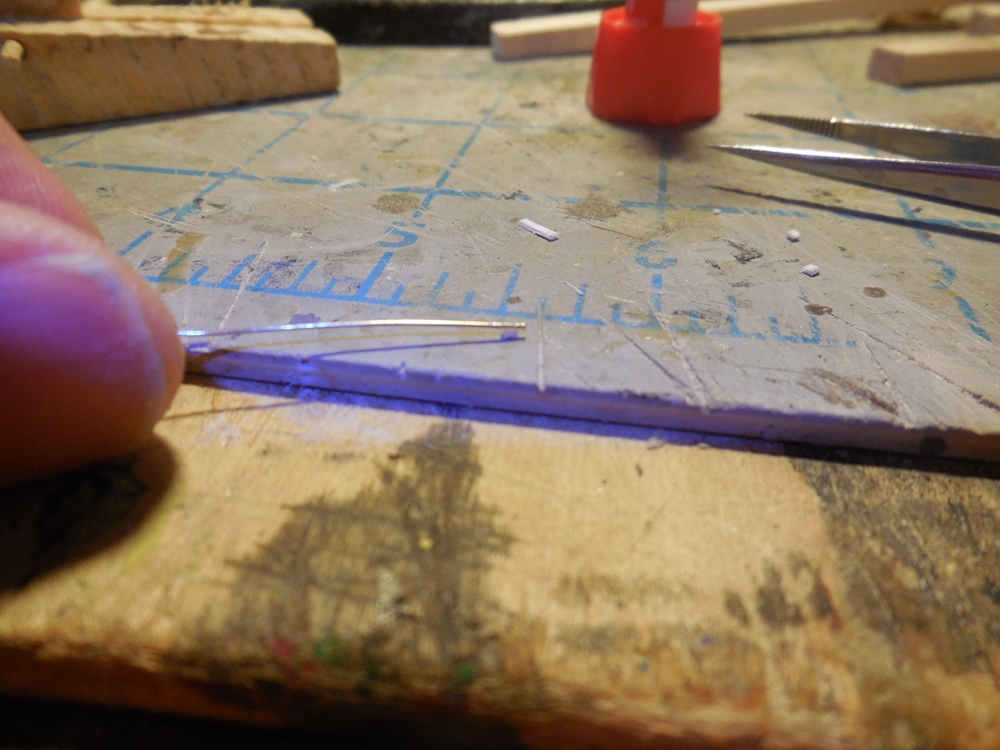
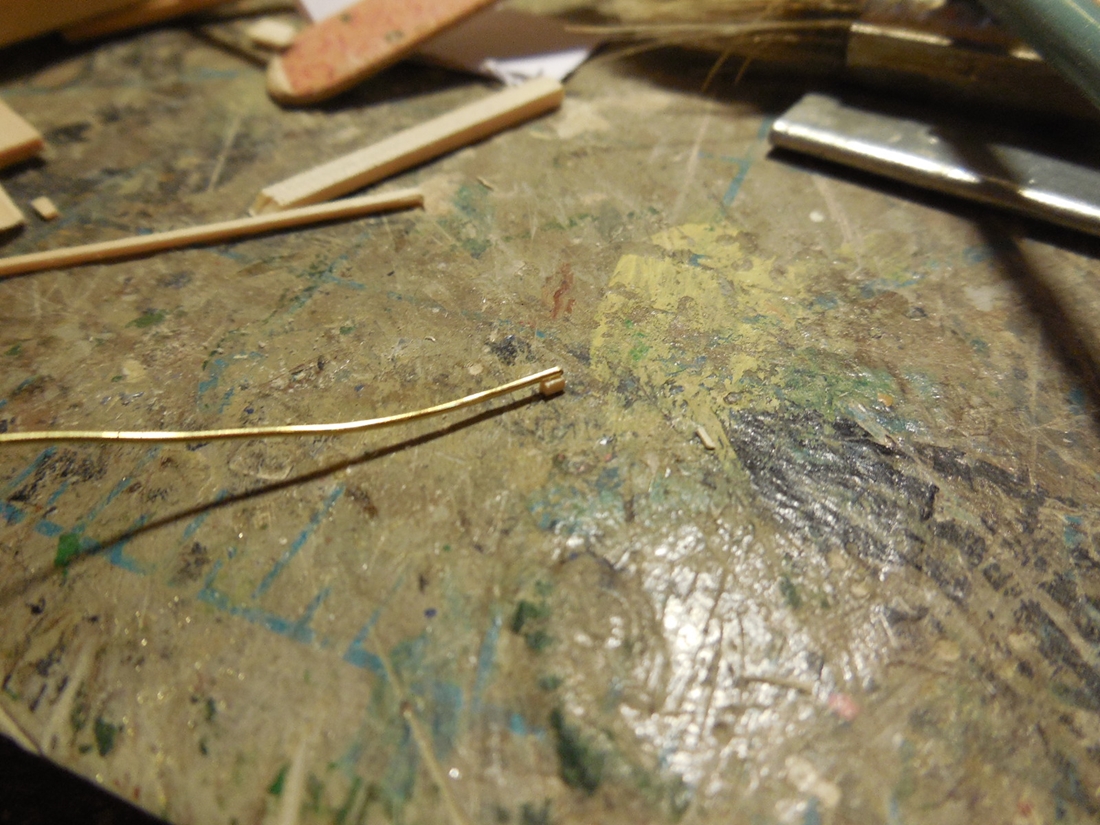
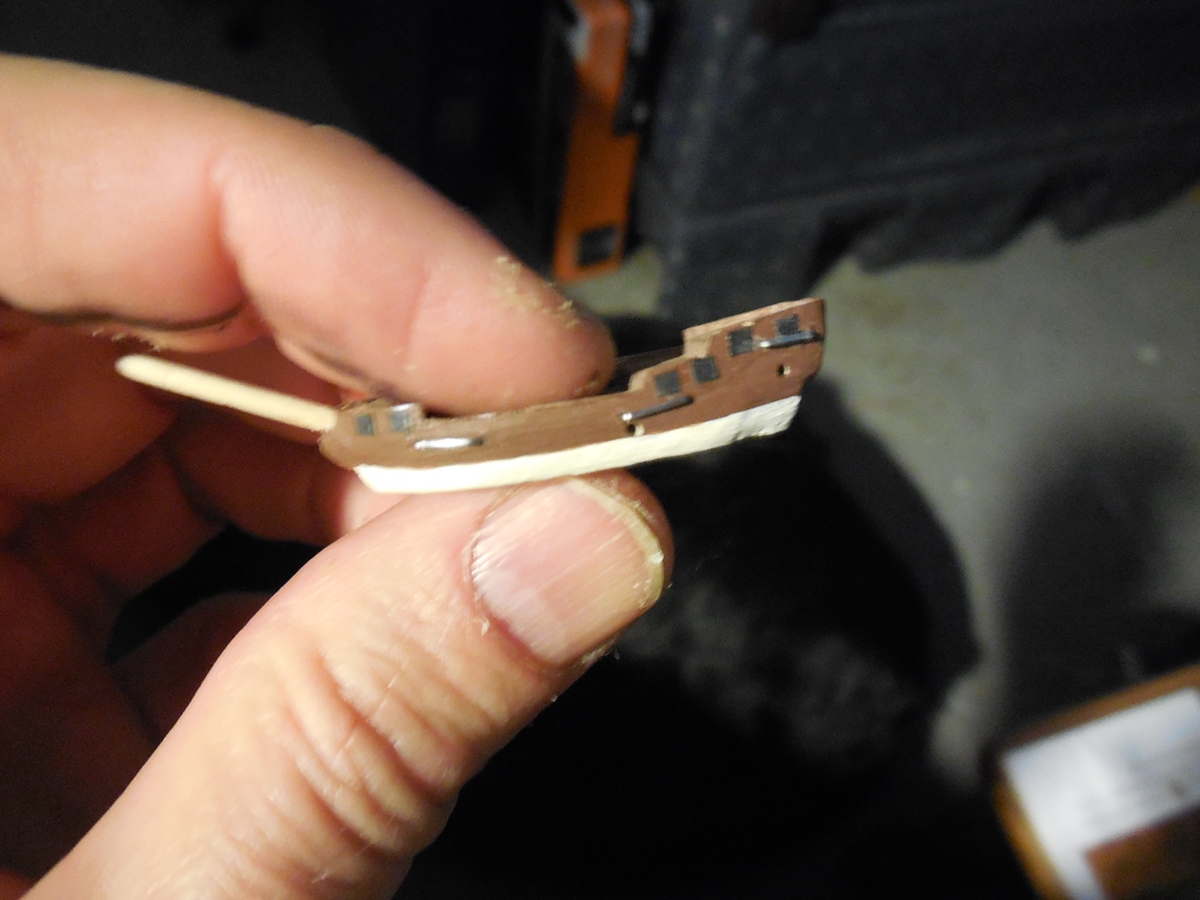
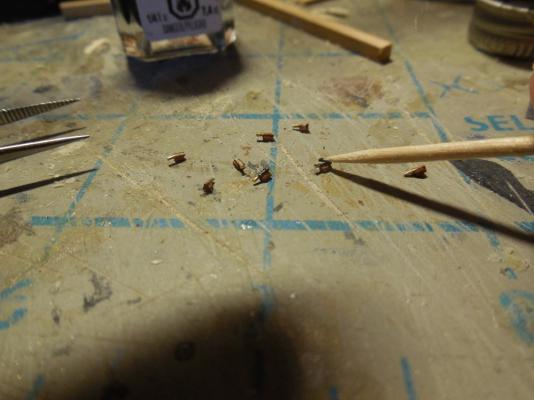
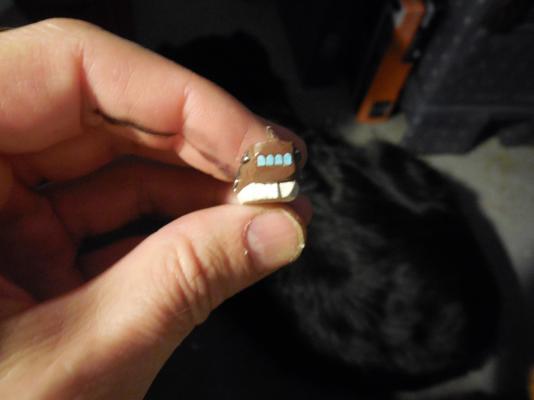
Will try to make mini cannons. Cut out tiny wood chips for the bottom & very thin brass wire for the barrels.
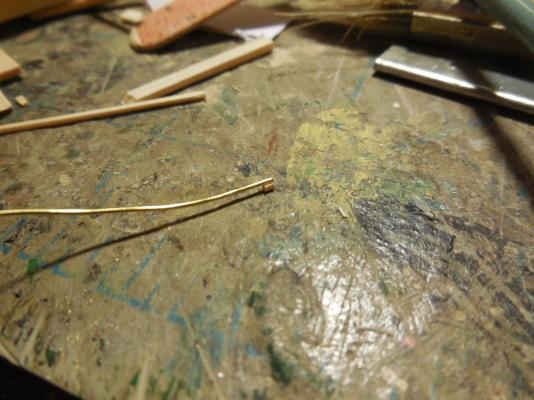

- 71 replies
-
- 8
-
-
- pirate ship
- bottle
- (and 1 more)
-
Thanks George, Jason & Carl ! Those clamps are some new plastic clothes pins that are out now. They have rubber padding & work great for clamping wood. I forgot to show the molding strips. Somehow I forgot to take pics of the process. I cut the groove in them with small needle files. I found this worked better for me than using the awl like the instructions said. I soaked them & made the curve with an old curling iron the wife doesn't use anymore. Glued them on & stained them. I spaced them by using a scrap piece of wood between them that was the right size. Sorry the pic quality isn't that good.

- 1,306 replies
-
- 11
-
-
- syren
- model shipways
- (and 1 more)
-
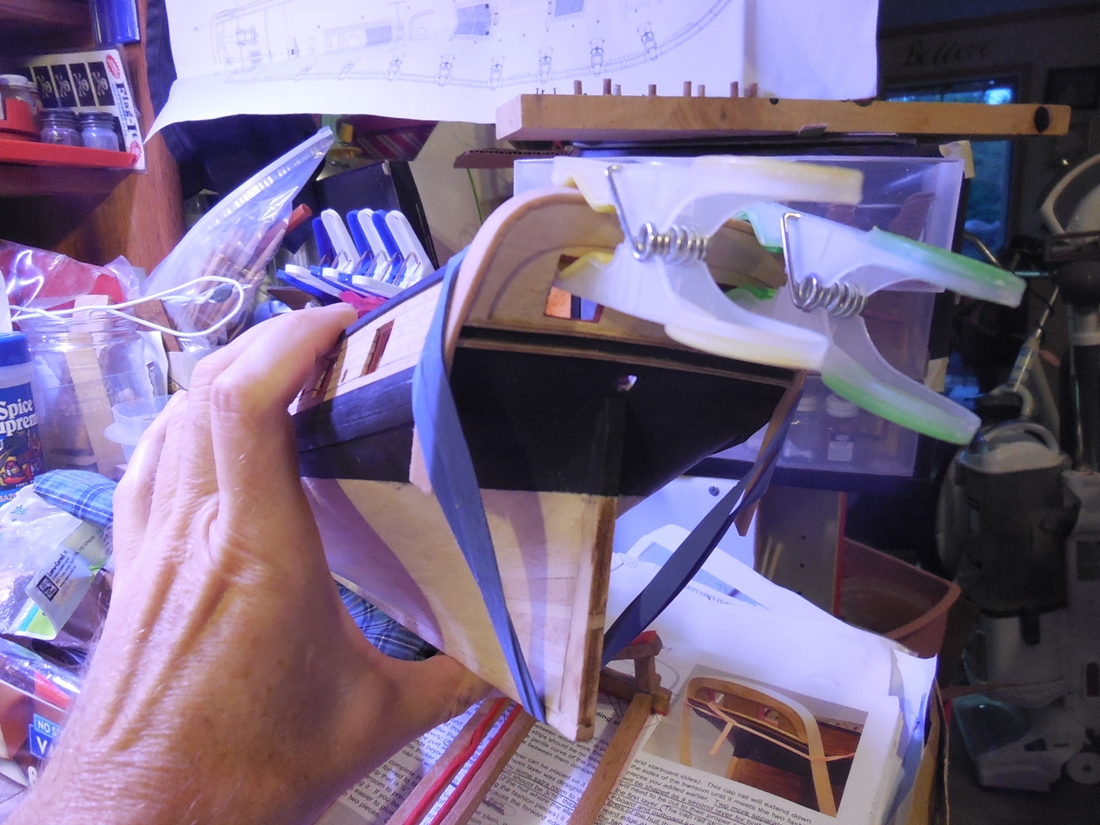
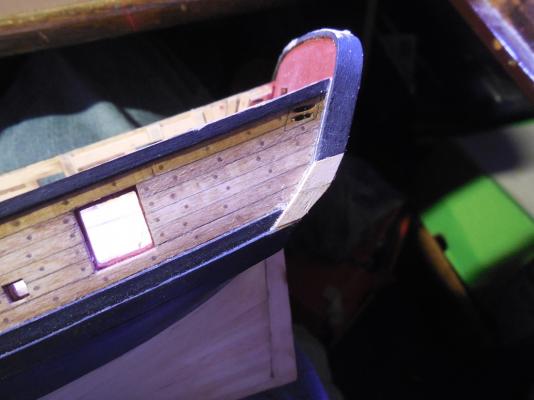
Got the stern cap rail constructed & painted. Stained the unpainted outer hull planks with a golden oak/golden pecan mix. painted the inboard stern red.

- 1,306 replies
-
- 25
-
-
- syren
- model shipways
- (and 1 more)
-
Wow Piet, great job on the cannons!
-
Not sure how that happened. My camera has different settings & the same one doesn't always focus right so I have to change it sometimes to get the shot I want. Different picture modes show the light different. I'm no expert on all this techno stuff so I never know how these things will turn out.
- 1,306 replies
-
- 5
-
-
- syren
- model shipways
- (and 1 more)
-
I like the idea too
-
Best wishes for a speedy recovery Dave!
- 962 replies
-
- 3
-
-
- sovereign of the seas
- ship of the line
- (and 1 more)
-
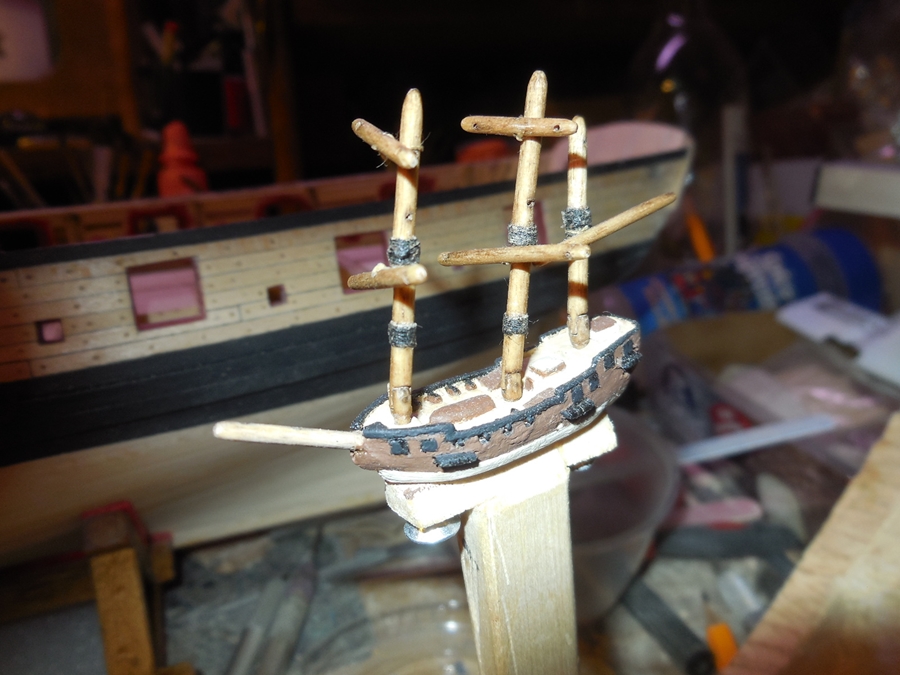
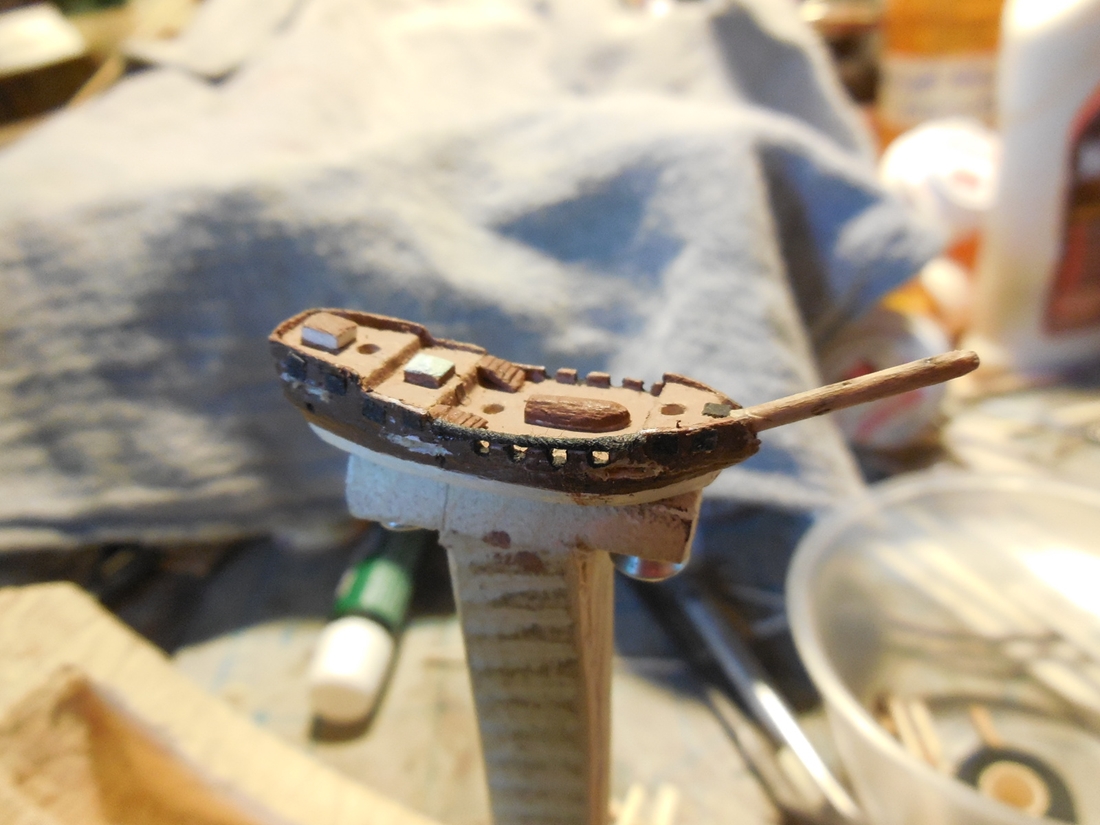
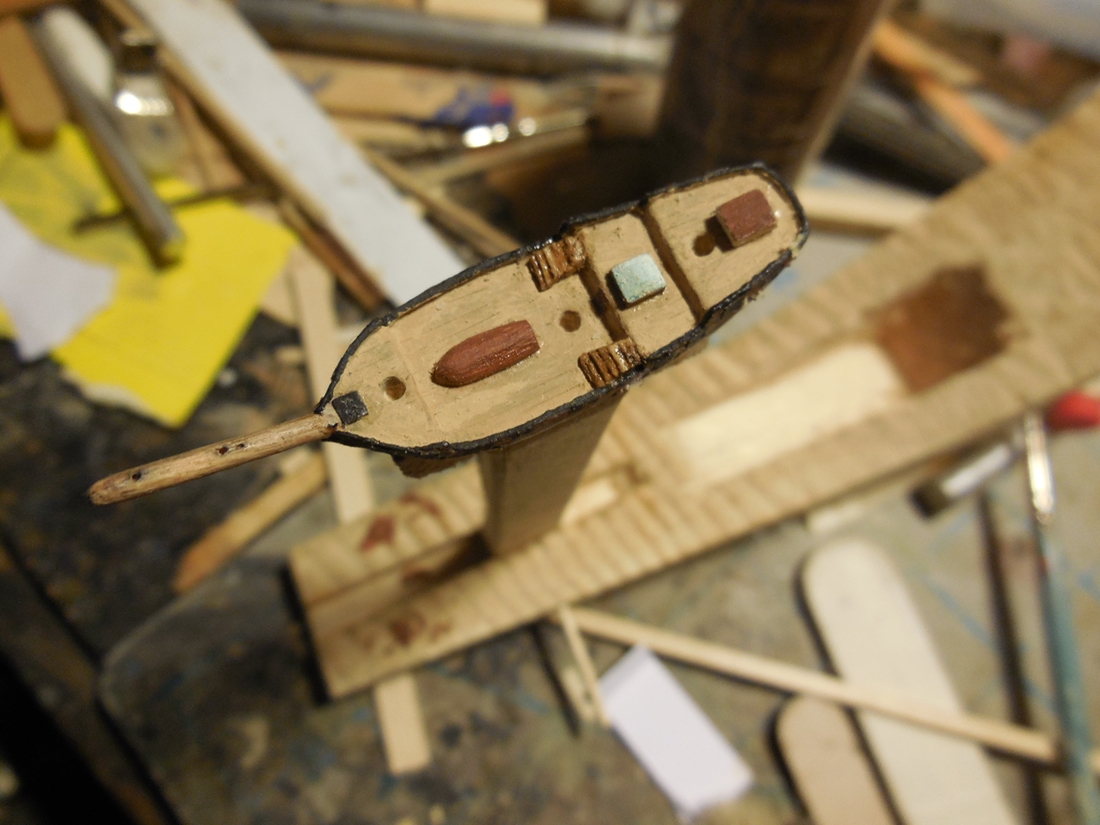
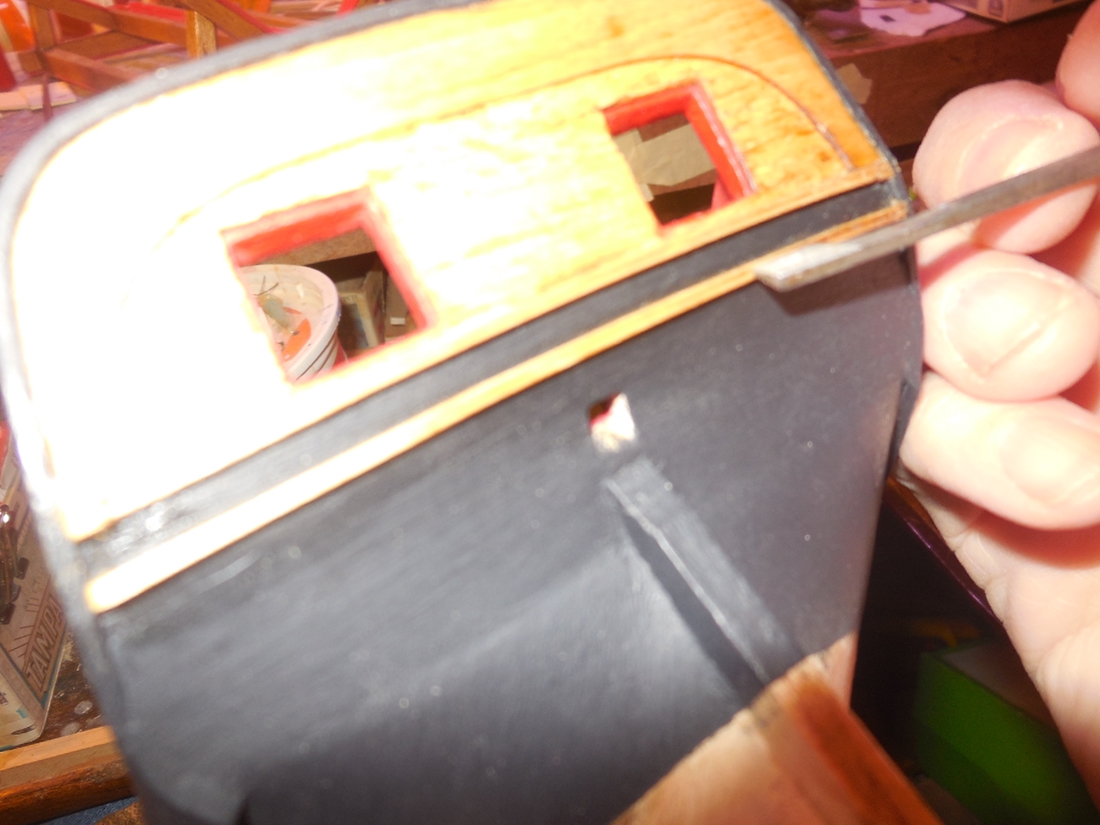
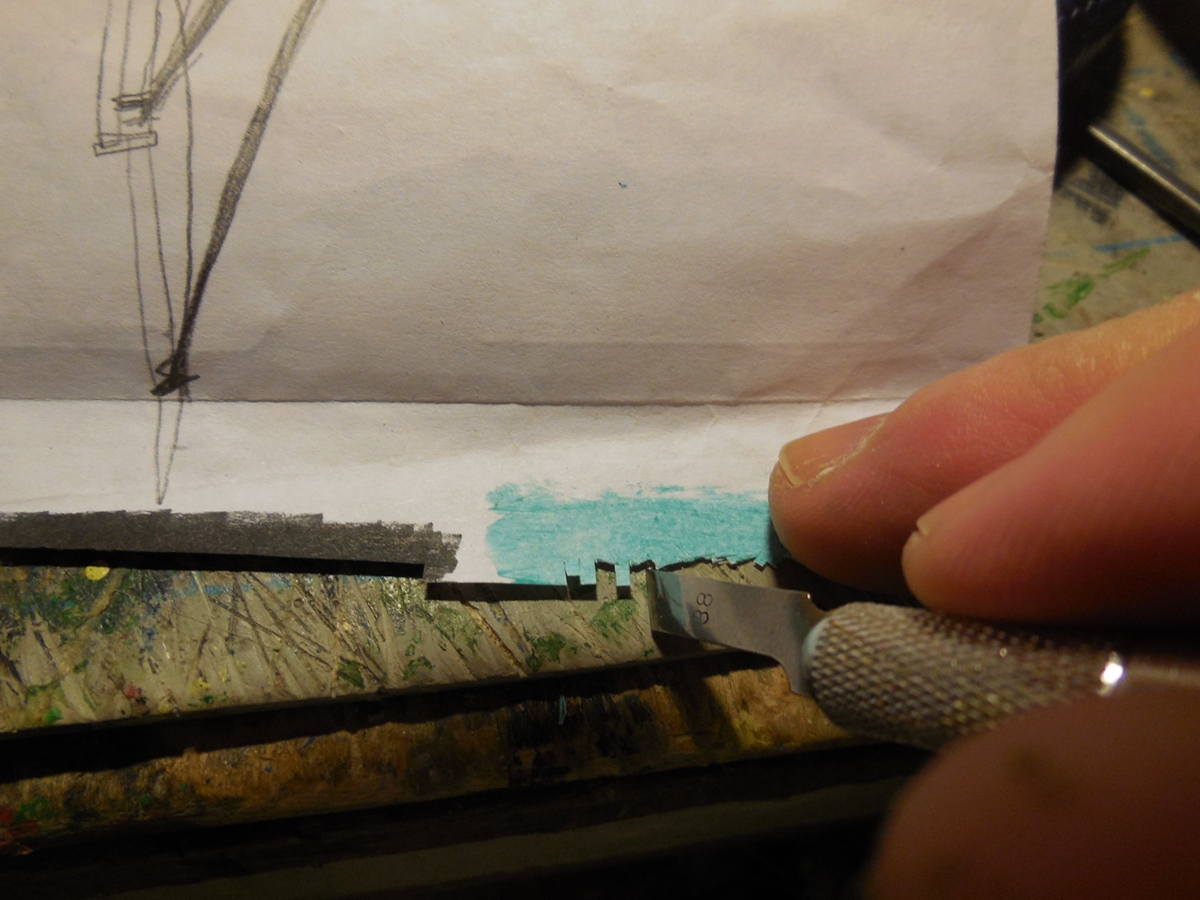
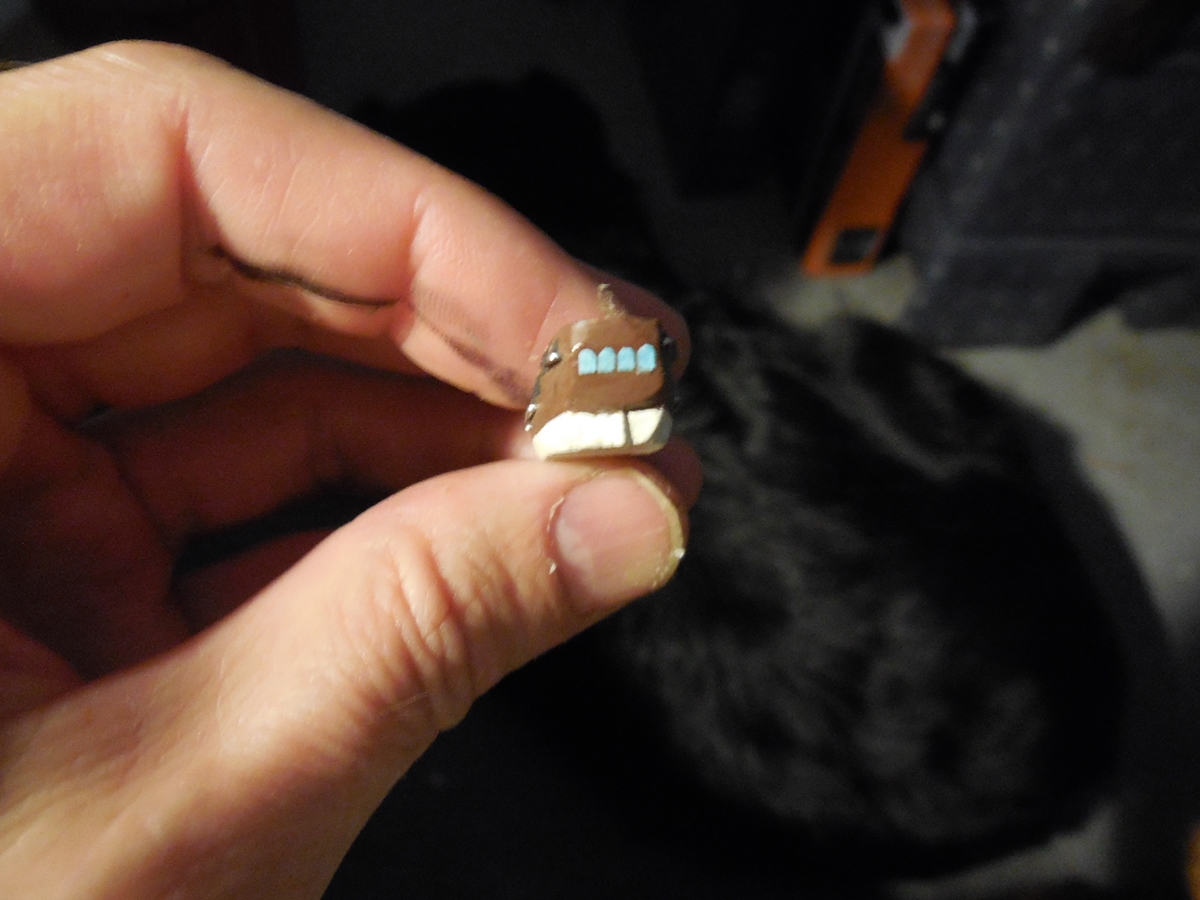
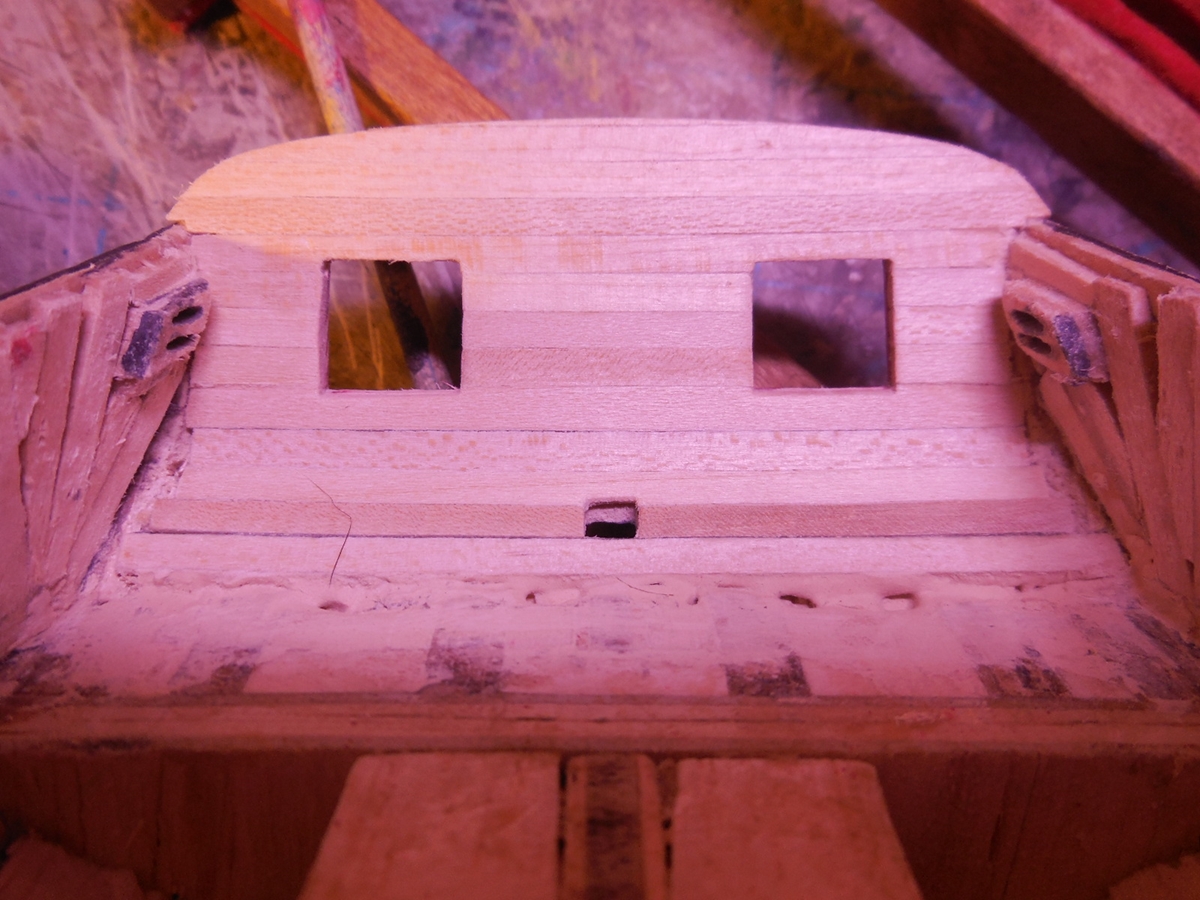
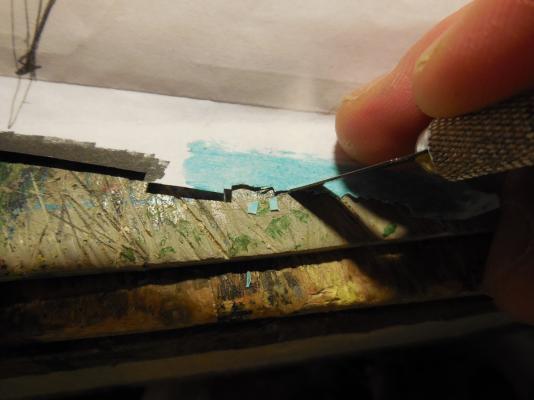
First painting stages of the hull. Put wire staples in for shroud lines to be tied to later. Pre- drilled a few rigging line holes. Made windows for Captain's cabin. Painted on paper, cut out to shape & glued then on.


- 71 replies
-
- 12
-
-
- pirate ship
- bottle
- (and 1 more)