MrBlueJacket
-
Posts
1,314 -
Joined
-
Last visited
Content Type
Profiles
Forums
Gallery
Events
Everything posted by MrBlueJacket
-
 Wanted to do another angle, but the file upload is failing. Will take another photo tonight.
- 64 replies
-
- 1
-

-
- laughing whale
- trawler
- (and 2 more)
-
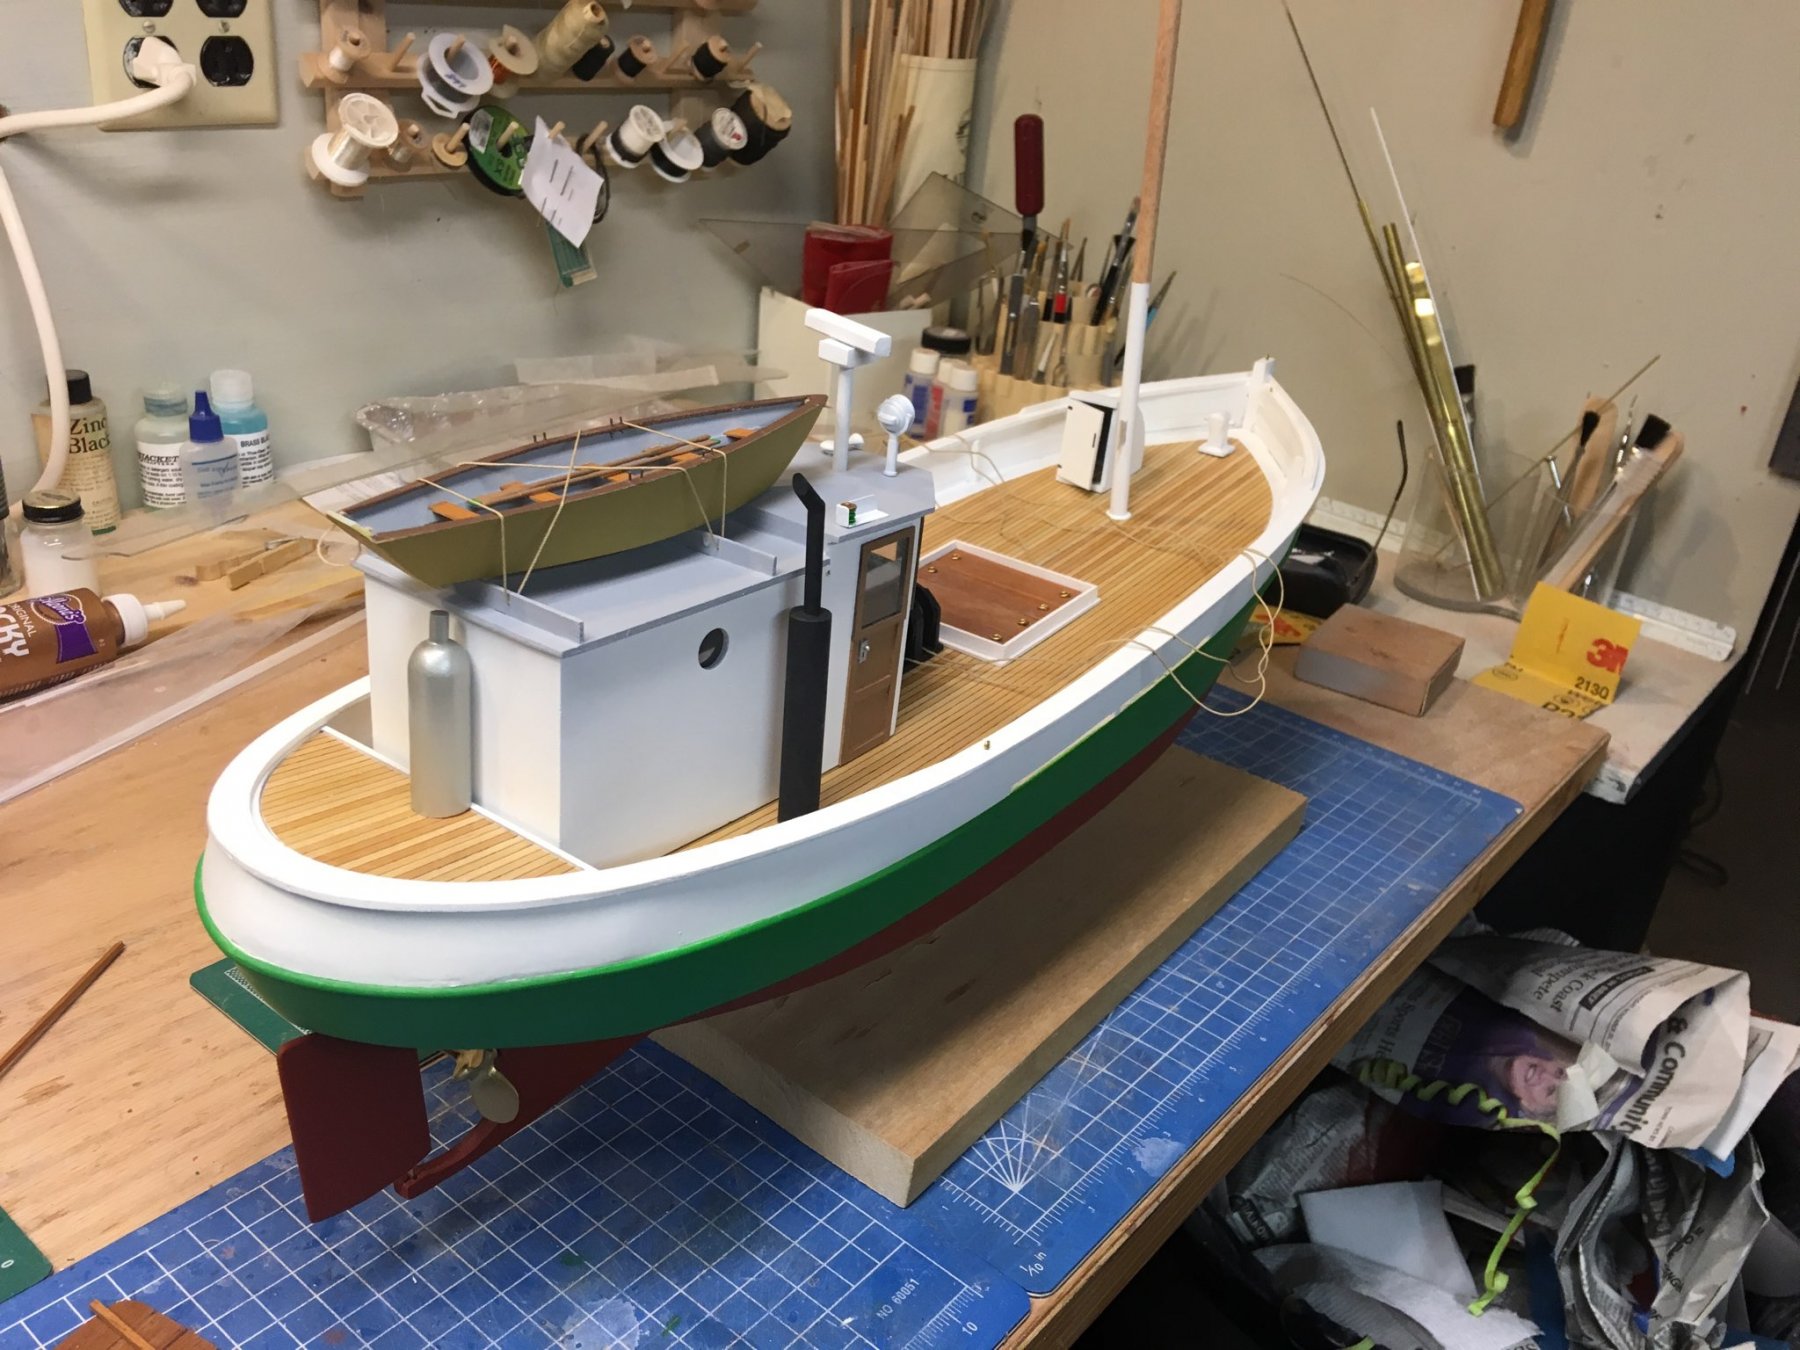
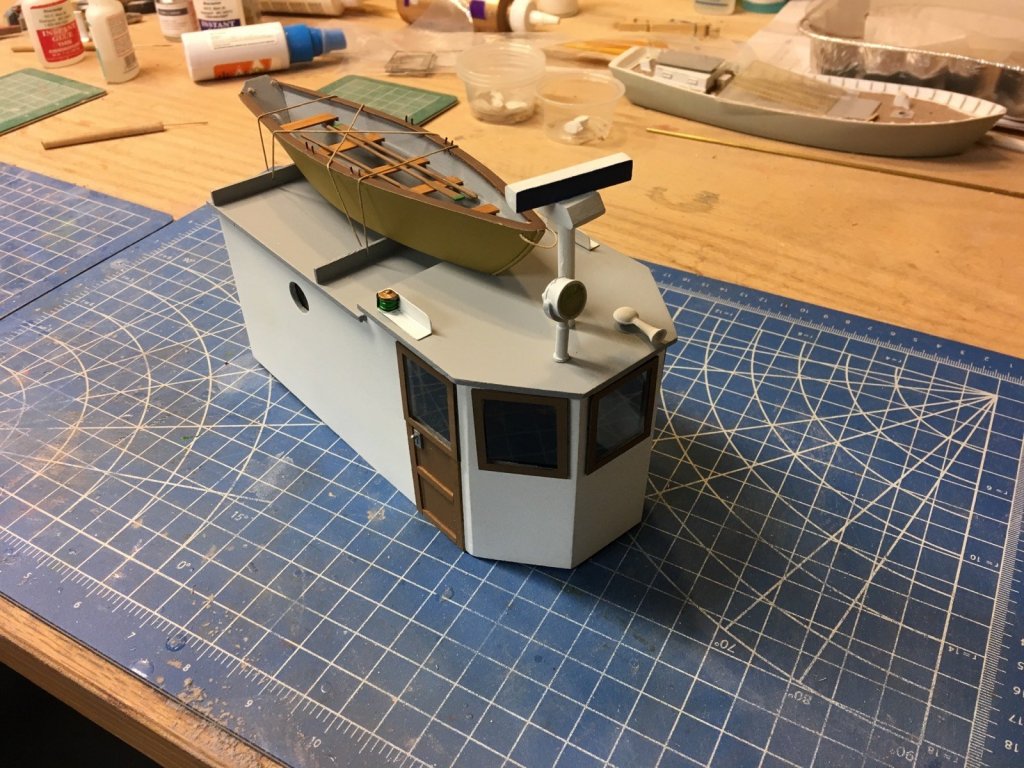
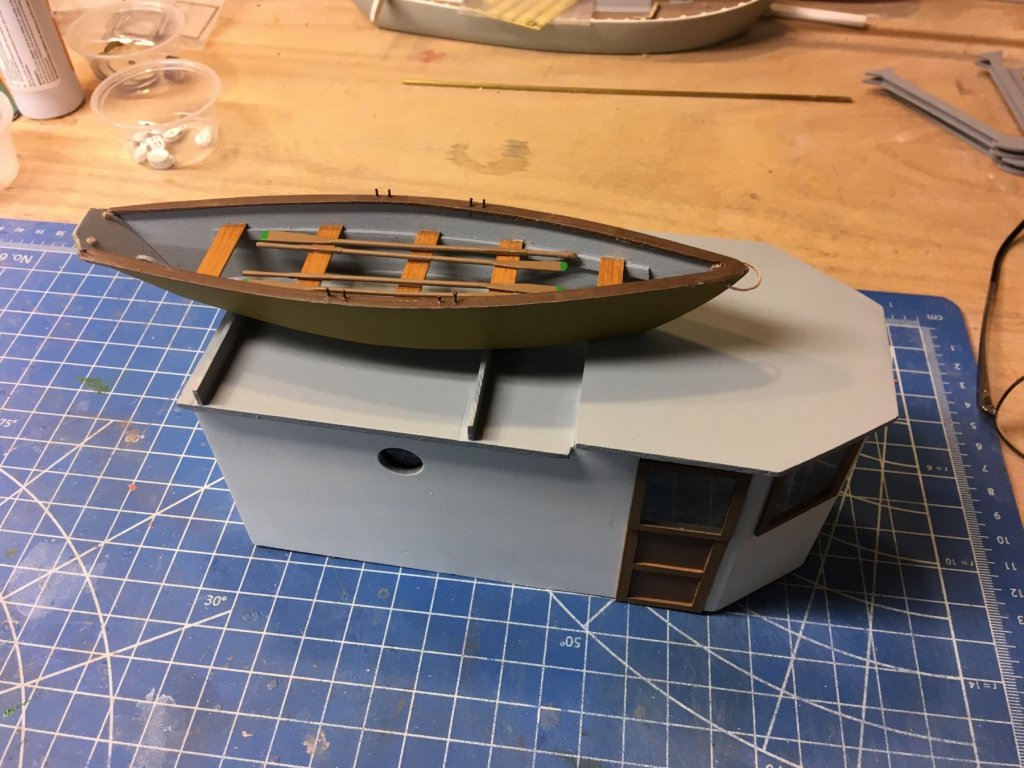
Starting to put it all together now. Added registration numbers, everything you see is glued down. What's left is the gallows, fish racks, rigging, and fish nets.

- 64 replies
-
- 8
-
-
- laughing whale
- trawler
- (and 2 more)
-
Beginner's class in rigging techniques
MrBlueJacket replied to MrBlueJacket's topic in Masting, rigging and sails
Someone just pointed out to me that I neglected to tell people HOW to sign up. It's not on the web, so you either have to send a letter, fax, or call us. 800-448-5567 Please do NOT send an email with your cc information. -
MAY 20TH THROUGH THE 24TH 2019 (MON-FRI) BlueJacket's rigging class is a popular event. We run it from 9 to 3 for 5 days (although some people leave early on Friday.) IT IS A CLASS FOR NOVICES. We don't assume you know anything about rigging a ship model. All tools and materials are provided with the class fee of $400. You get a hull to work on, all the sticks and dowels, the glue, blocks, deadeyes, threads, wire, beeswax, and the following tools: Excel hobby knife and blades Pin Vise Assortment of drill bits tweezers needle nose pliers flush cutters cuticle scissors (best for clipping rigging) and probably some other things I forgot If you use magnifiers for your modeling work, you should bring them. By the end of the class you will have learned how to use the tools, tie a multitude of various knots, and will have completed what you see in the picture below: You can see shrouds, backstays, bobstays, gammoning, vangs, topping lift, ratlines, hearts, throat halyard, peak halyard, sheet tackle on a traveler, lifts, braces, forestays, etc. Obviously, we don't waste a lot of time to make the model look pretty! We want to concentrate on the rigging. At the end of the class, BlueJacket will ship your model and materials to your home, again all part of the tuition cost. Monday will include a pizza party for lunch and a behind the scenes tour of the BlueJacket facility. In addition, all students will receive a 10% discount on anything they buy during that week. Kits, tools, books, gift items, you name it! The hours of 9-3 are flexible, we have the hotel conference room available 24 hours a day for the week. If you bring a family member, the 3:00 PM cutoff lets you do some sightseeing around the area. But if you need to catch up a bit, the room is yours! Classes will be at the Fireside Inn in Belfast, 4 miles from BlueJacket on Route 1, tel# 207-338-2090. You can ask for the BlueJacket corporate rate if you choose to stay there. There is a pool and Jacuzzi, exercise room, a decent breakfast bar, and all rooms have an excellent view of Penobscot Bay. If you are the camping type, Searsport Shores is also nearby. Class is limited to 12 people with payment in advance. Full refund up to 2 weeks before, 50% refund up to 1 week before. Unfortunately, cancellation less than a week in advance cannot be refunded except by extreme circumstances, which we reserve the right to determine.
-
So after several coats of primer/putty/sanding, the hull is smoothing up nicely.

- 356 replies
-
- 8
-
-
- red jacket
- finished
- (and 1 more)
-
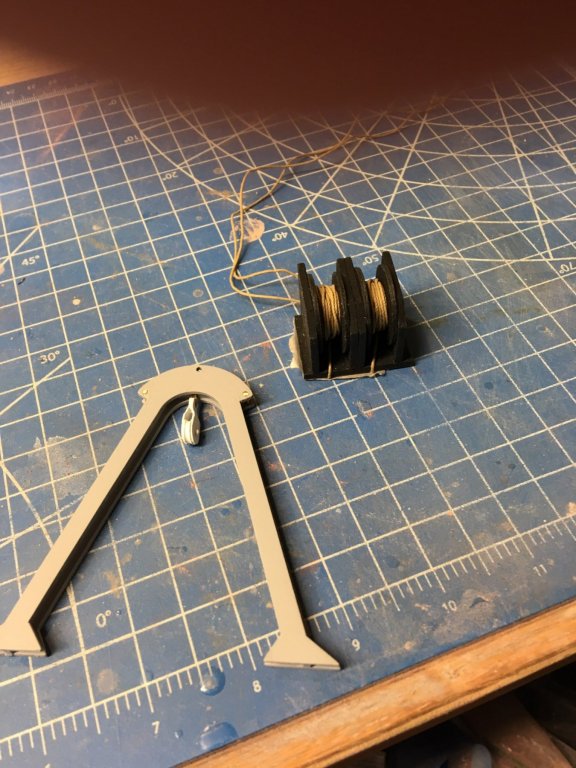
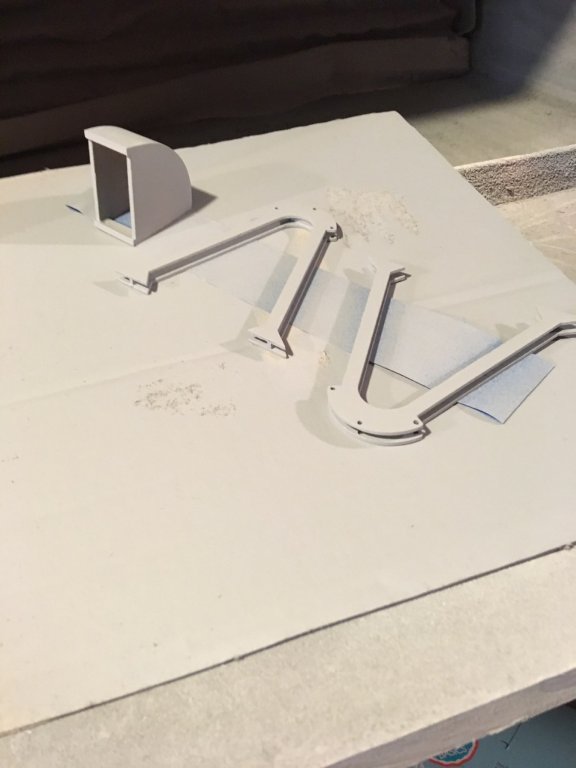
Did some work on the deck pieces. Hung the pulley from the gallows, and made the winch reels.
- 64 replies
-
- 2
-
-
- laughing whale
- trawler
- (and 2 more)
-
BlueJacket's kit of the Young America was 39 inches long, at a scale of 1/8" = 1' It was discontinued around 1980.
-
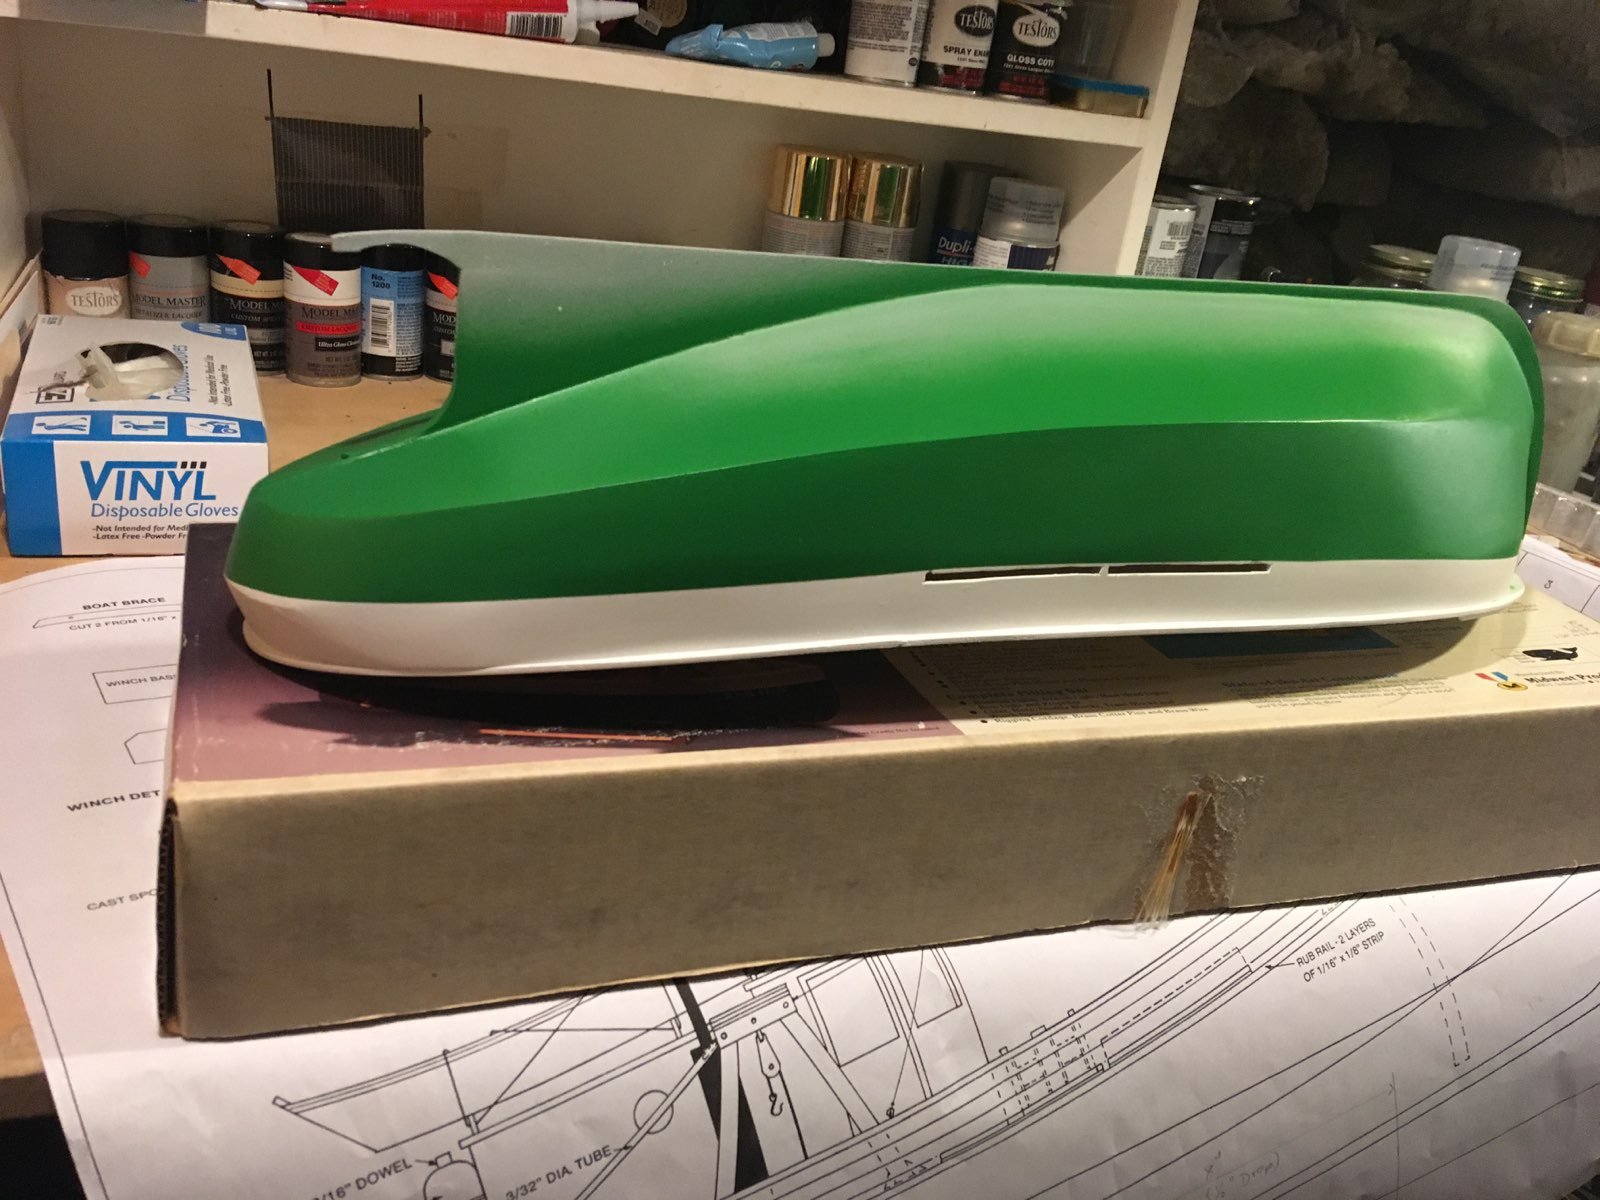
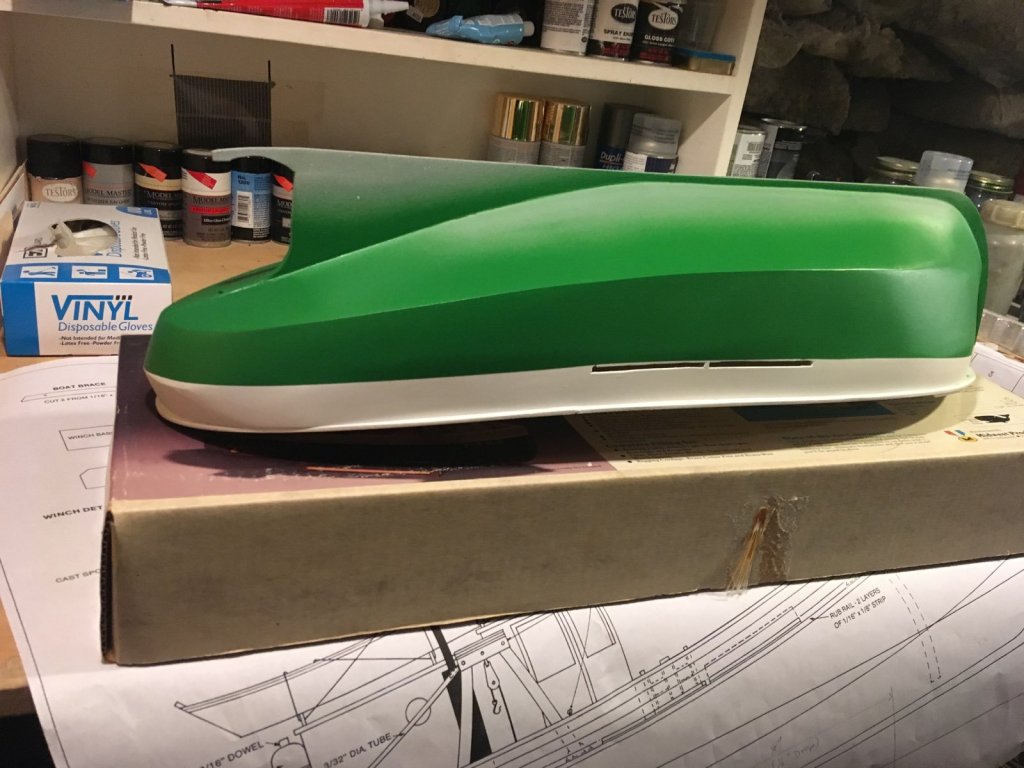
But on the other hand, I am happy with the way the pilot house finished up.
- 64 replies
-
- 4
-
-
- laughing whale
- trawler
- (and 2 more)
-
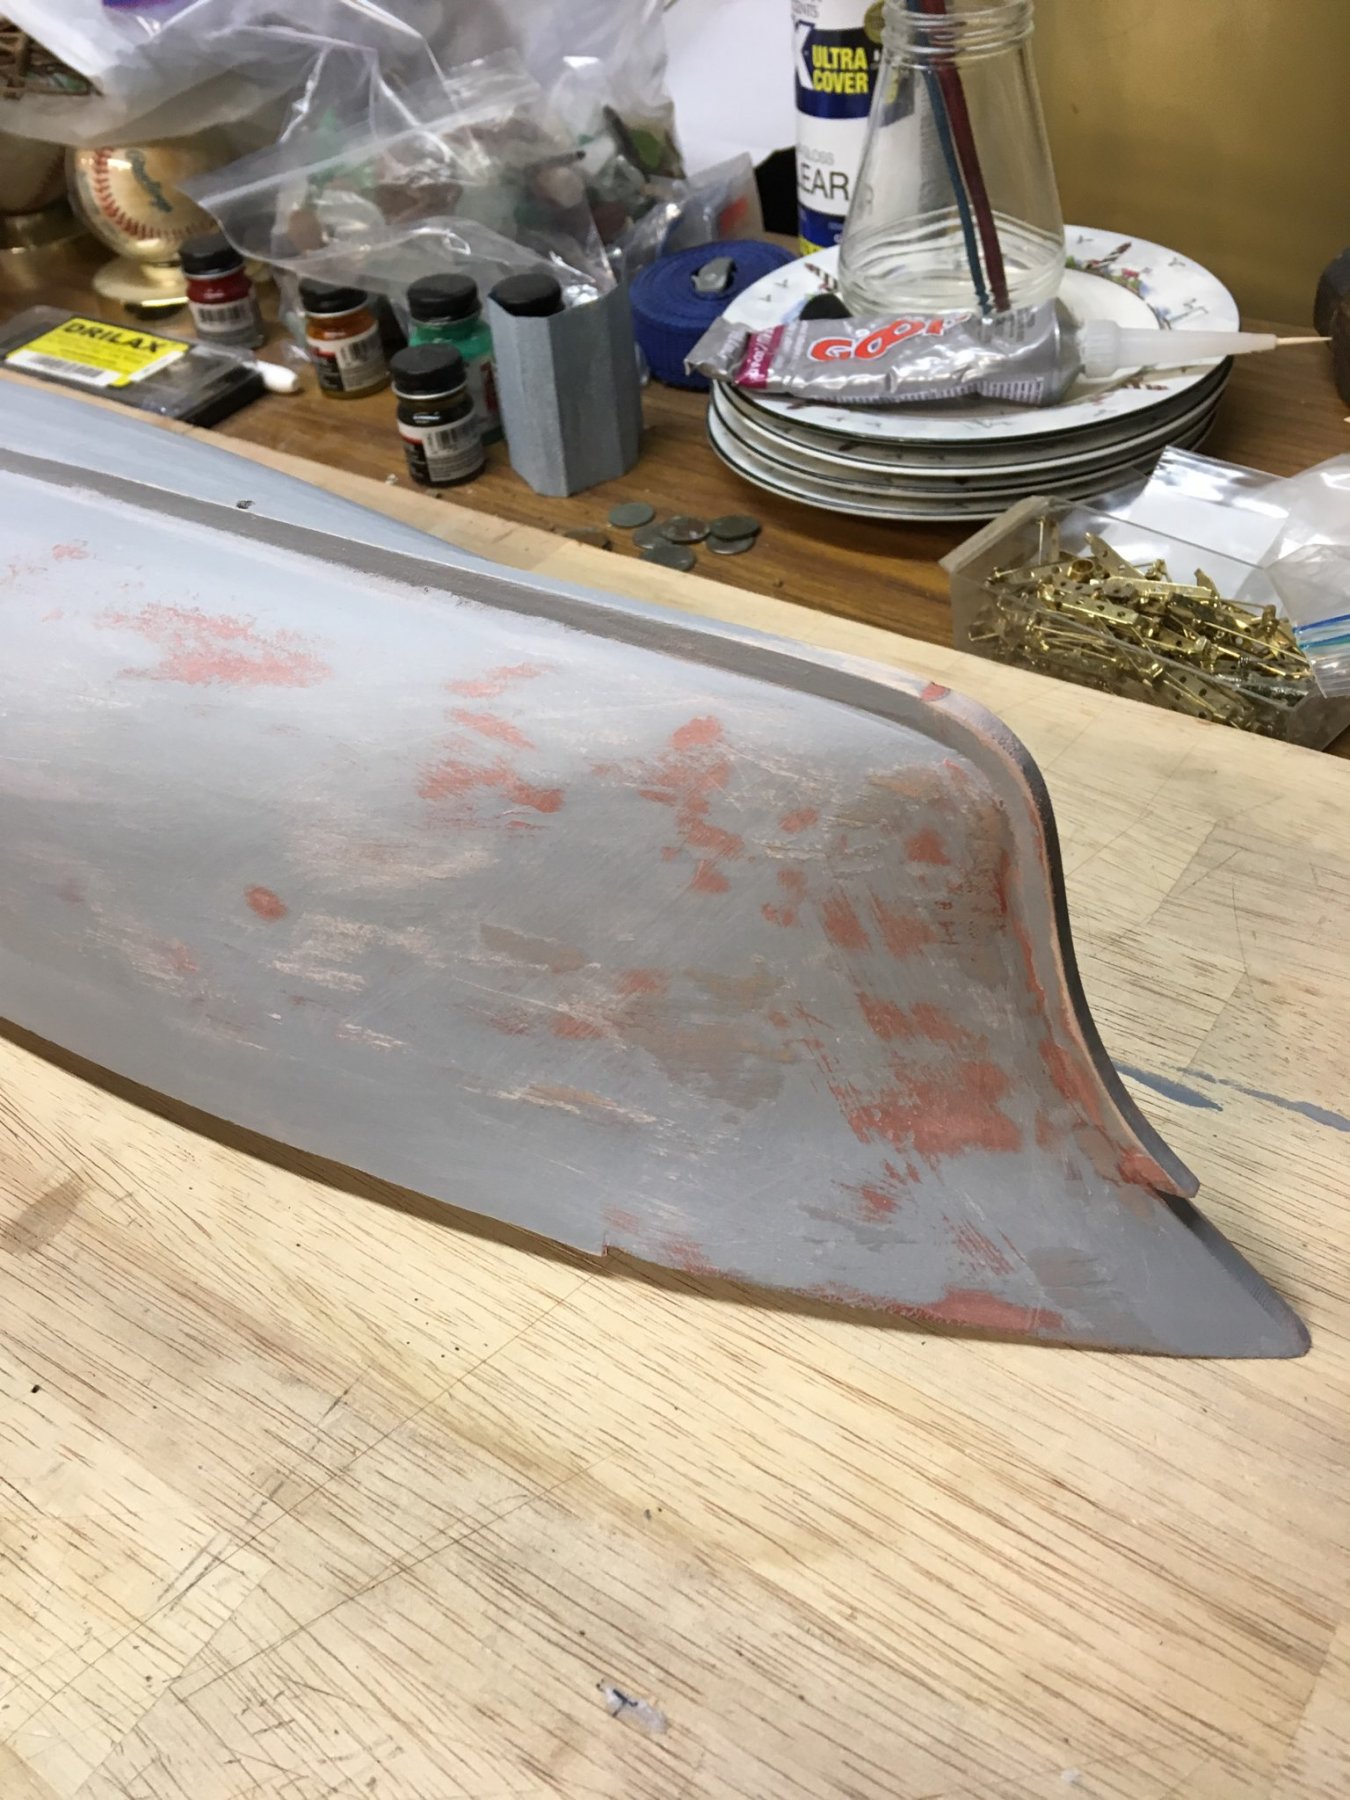
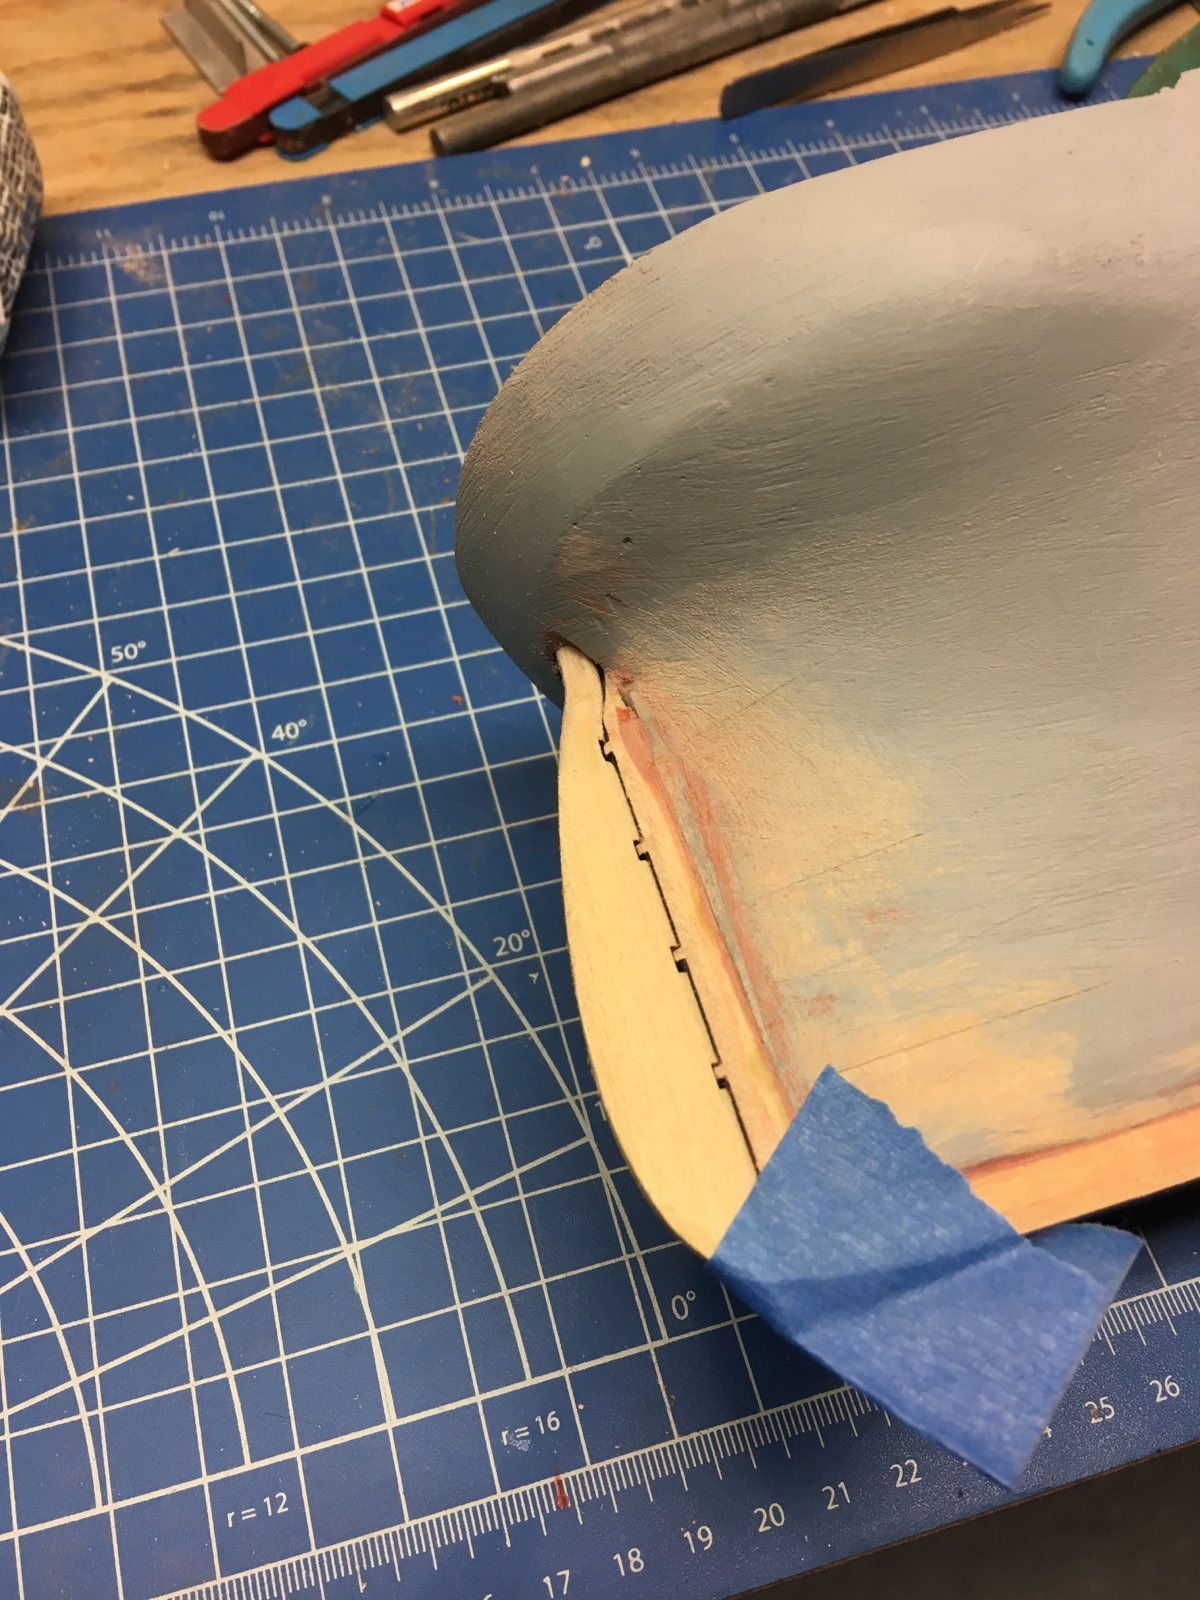
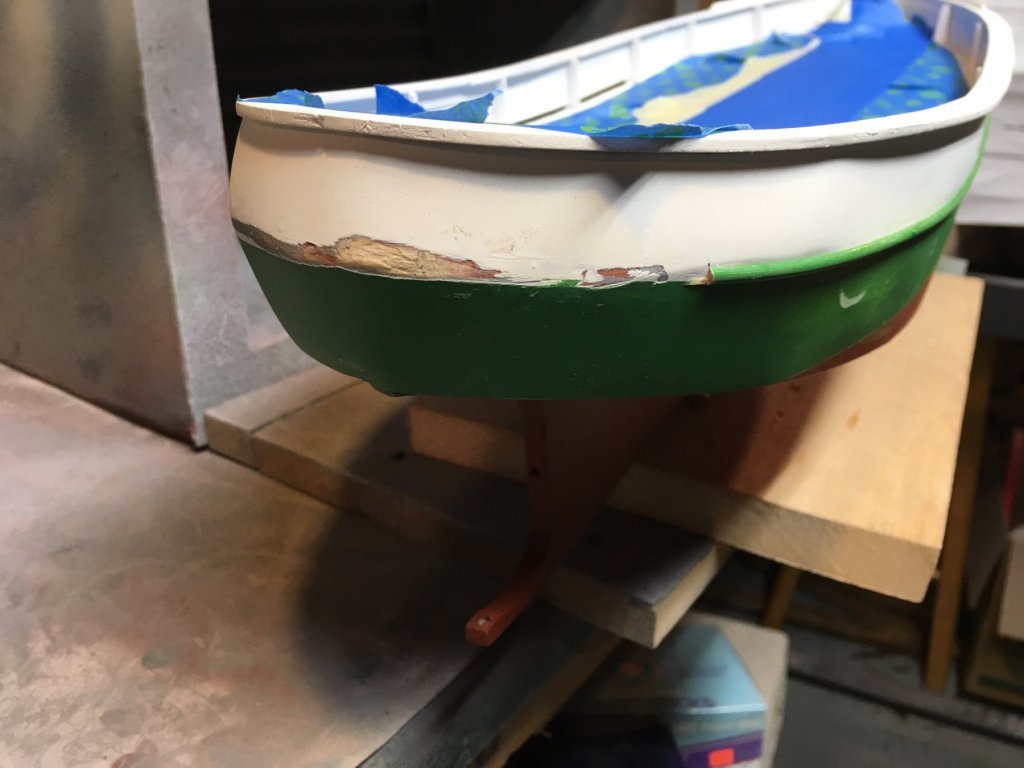
In putting on the rub rail, I was unhappy with my work around the stern, so I ripped it out to re-do it. I hate it when that happens.......
- 64 replies
-
- 2
-
-
- laughing whale
- trawler
- (and 2 more)
-
Jon, Fantastic! You prove once again that a model kit is just a rough canvas for the imagination of the modeler. When you're done, I will definitely be asking you for photos and comments to make it a "model of the month" in my newsletter. Nic
-
I think you did an excellent job, and your build thread will be very useful to others.
- 104 replies
-
- 5
-
-
- constitution
- BlueJacket Shipcrafters
- (and 1 more)
-
Glad the piece arrived !
-
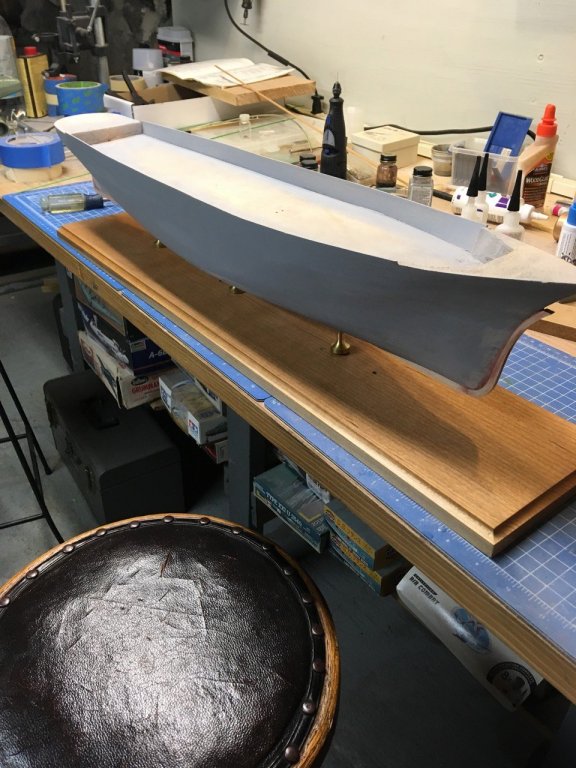
Now I mounted the hull on the workboard. Ready to start all the deck furniture. Really coming along quite nicely!
- 64 replies
-
- 6
-
-
- laughing whale
- trawler
- (and 2 more)
-
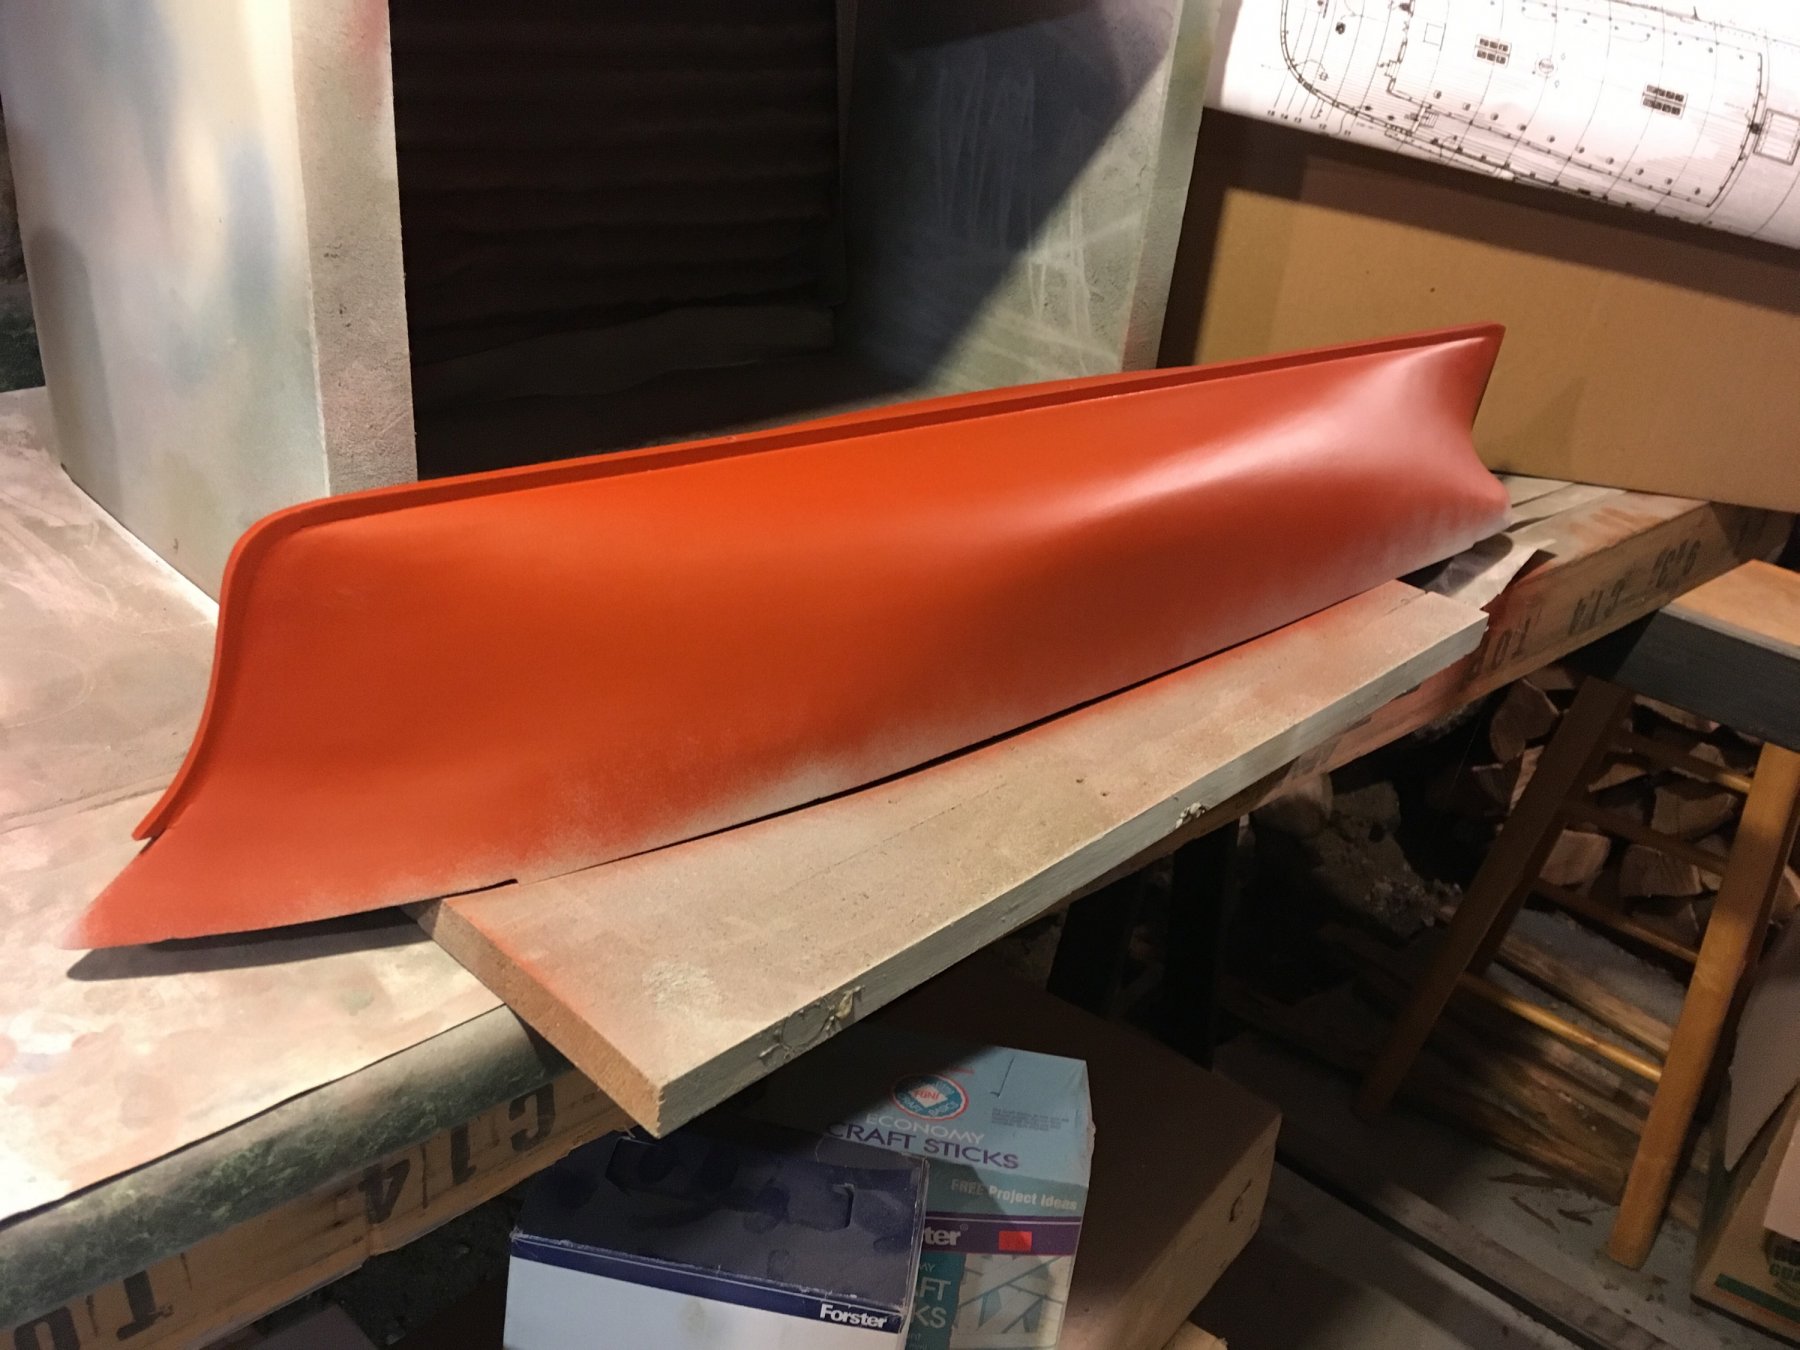
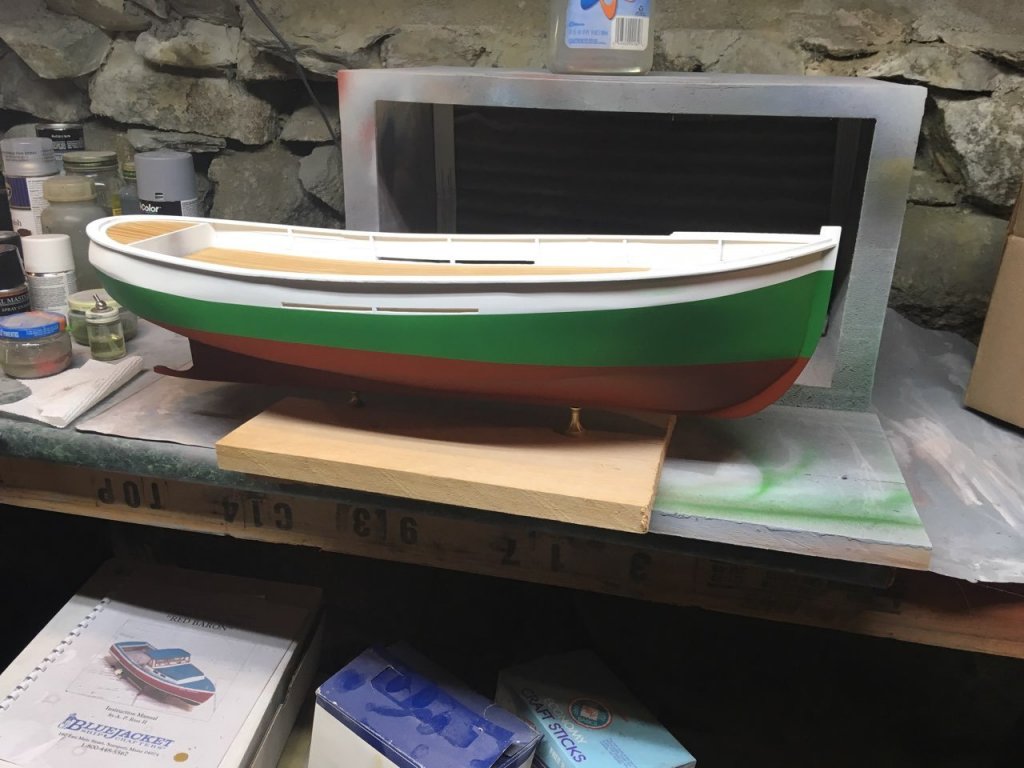
And painted. I used red oxide automotive lacquer primer for the color.

- 64 replies
-
- 4
-
-
- laughing whale
- trawler
- (and 2 more)
-
Here's the hull, masked off at the waterline, ready for paint.
- 64 replies
-
- 2
-
-
- laughing whale
- trawler
- (and 2 more)
-
So here's the dory, all finished and placed on the pilot house.
- 64 replies
-
- 4
-
-
- laughing whale
- trawler
- (and 2 more)
-
Added: Jgodsey - Mary Taylor John Gummersall - Lincolnville Wherry
-
Of course you can always call me up. I've added this build to the list of people who will get 10% off their next build when completed! Nic
- 60 replies
-
- 1
-
-
- mary taylor
- solid hull
- (and 2 more)
-
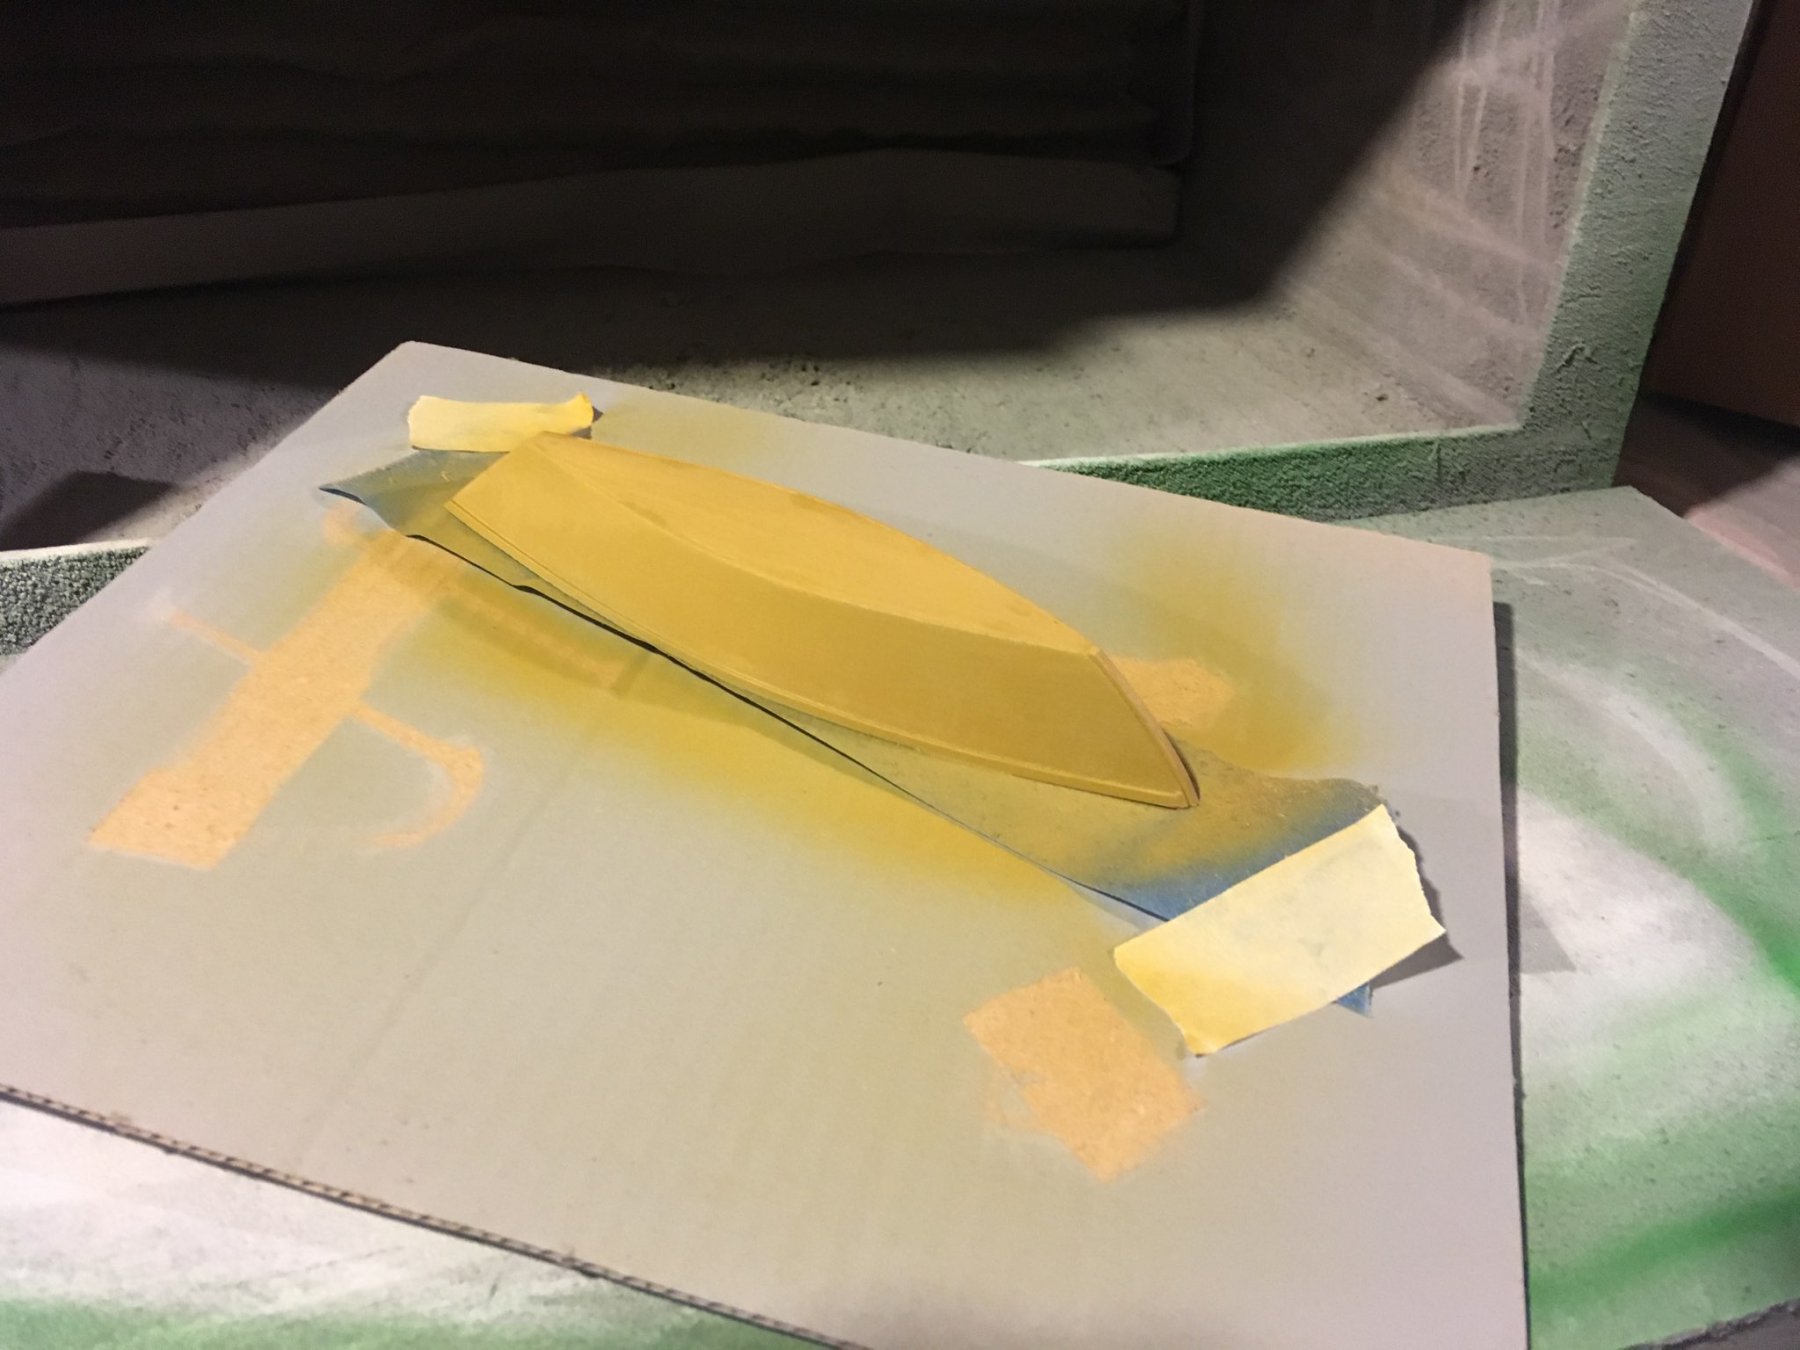
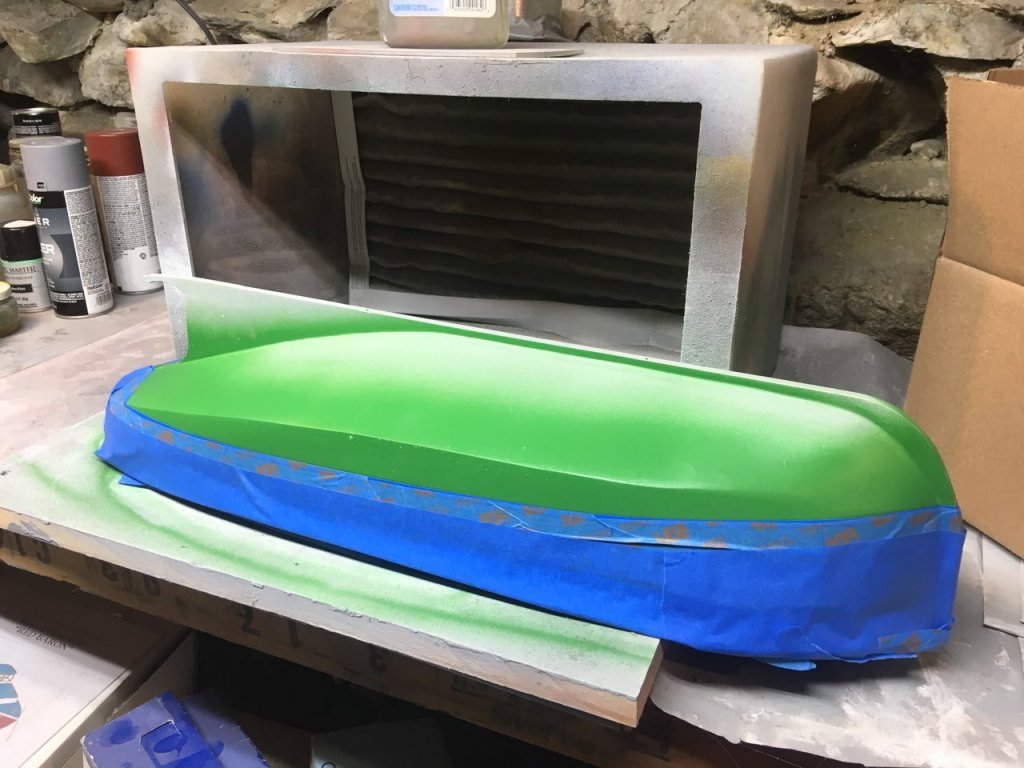
And while the airbrush was out, painted the bottom of the dory with Depot Buff color.

- 64 replies
-
- 4
-
-
- laughing whale
- trawler
- (and 2 more)
-
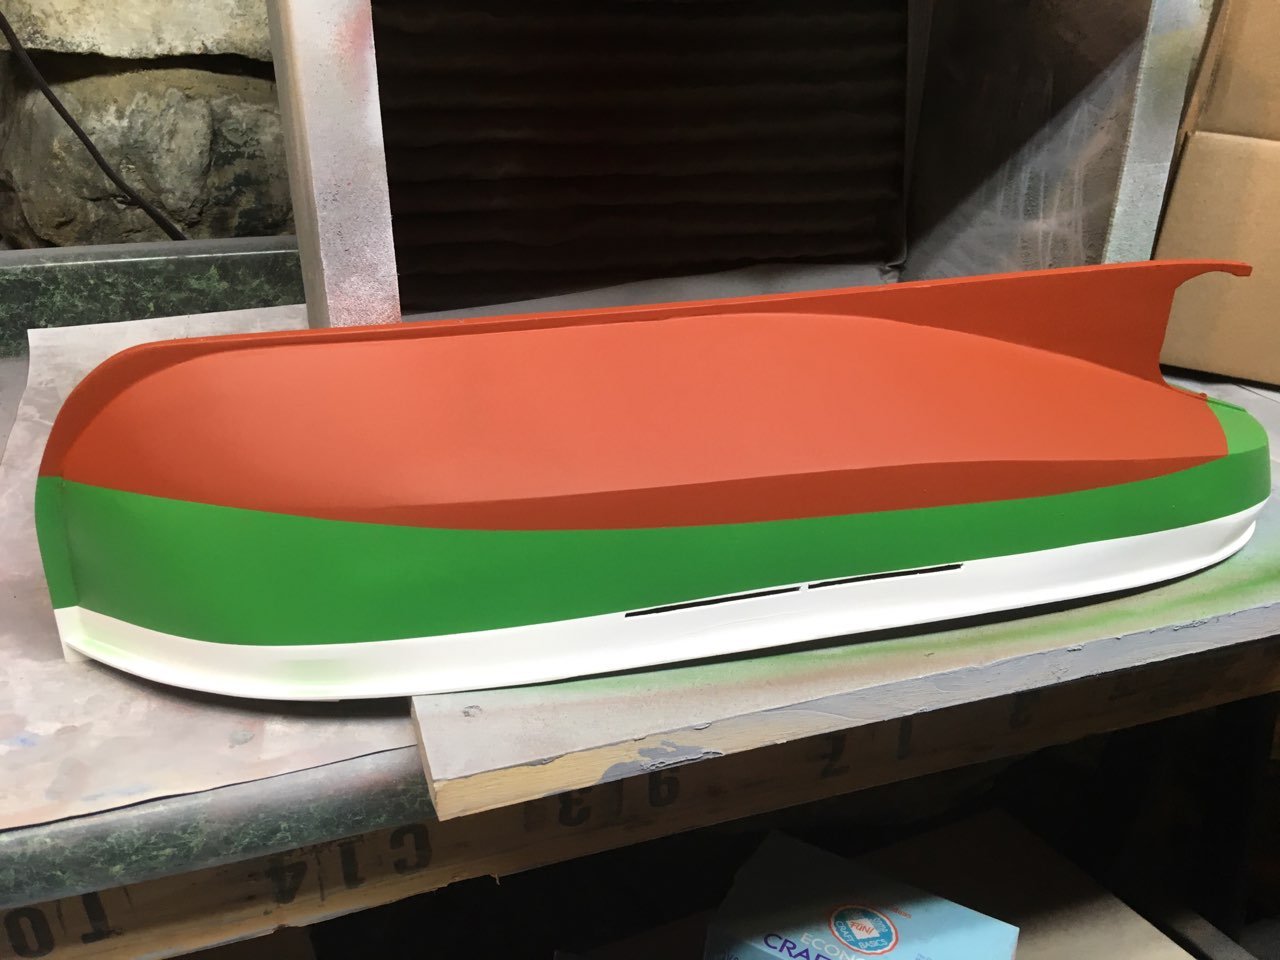
So I finally bit the bullet and taped off the hull and painted the green. Next will come masking the waterline and painting the anit-fouling red.
- 64 replies
-
- 6
-
-
- laughing whale
- trawler
- (and 2 more)
-
Yes, the workboard was an old baseboard that got ruined.
- 356 replies
-
- 1
-
-
- red jacket
- finished
- (and 1 more)
-
Here's the companionway and the gallows getting painted. The gallows will stay grey, and the companionway will be white.
- 64 replies
-
- 6
-
-
- laughing whale
- trawler
- (and 2 more)
-
And its time to drill the keel and get the model mounted before doing any more finishing, just in case I have to make surgery to mount it. luckily, it mounted just fine on the workboard.
- 356 replies
-
- 10
-
-
- red jacket
- finished
- (and 1 more)
-
Next step is fitting the rudder to the sternpost. The plans call for tapering the sternpost a bit, then tapering the back edge of the rudder as well.

- 356 replies
-
- 9
-
-
- red jacket
- finished
- (and 1 more)