giampieroricci
-
Posts
908 -
Joined
-
Last visited
Content Type
Profiles
Forums
Gallery
Events
Everything posted by giampieroricci
-
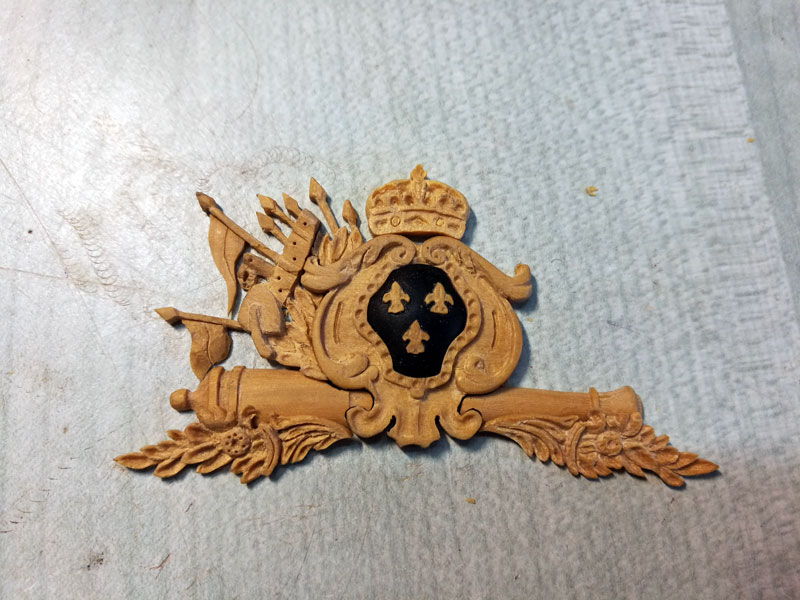
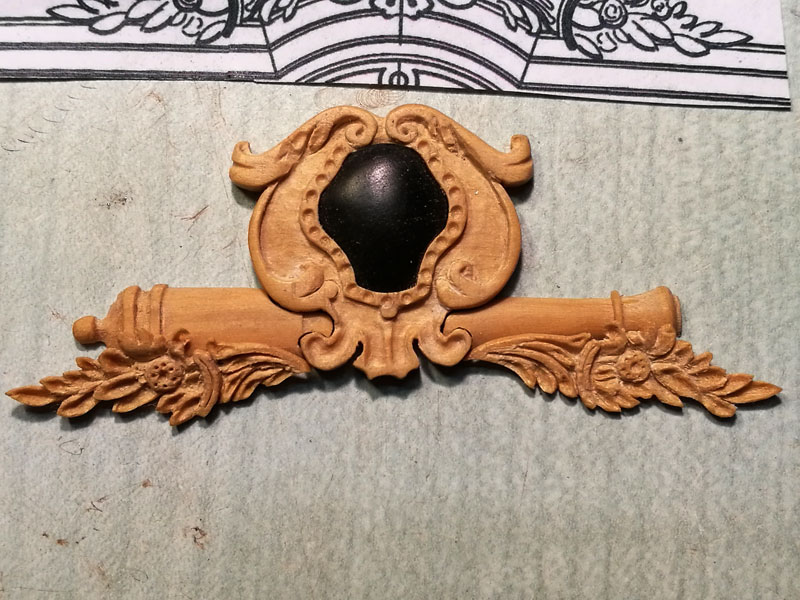
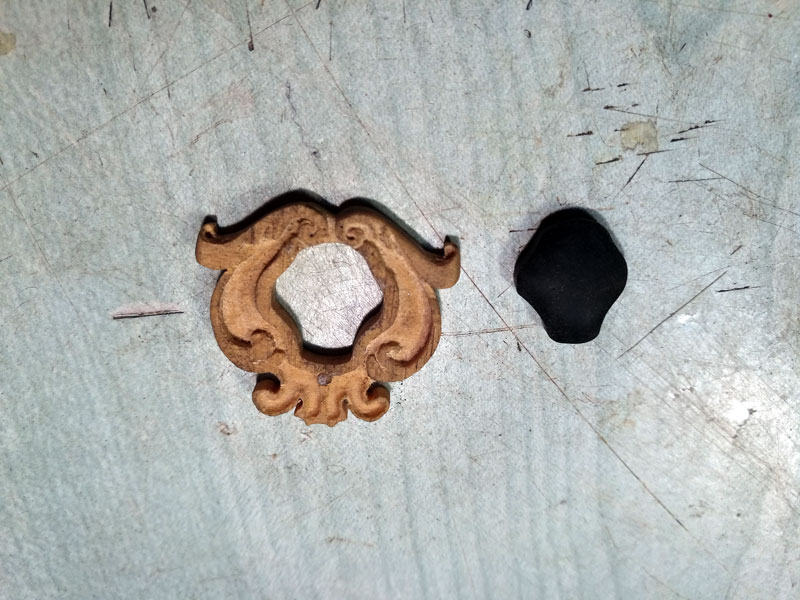
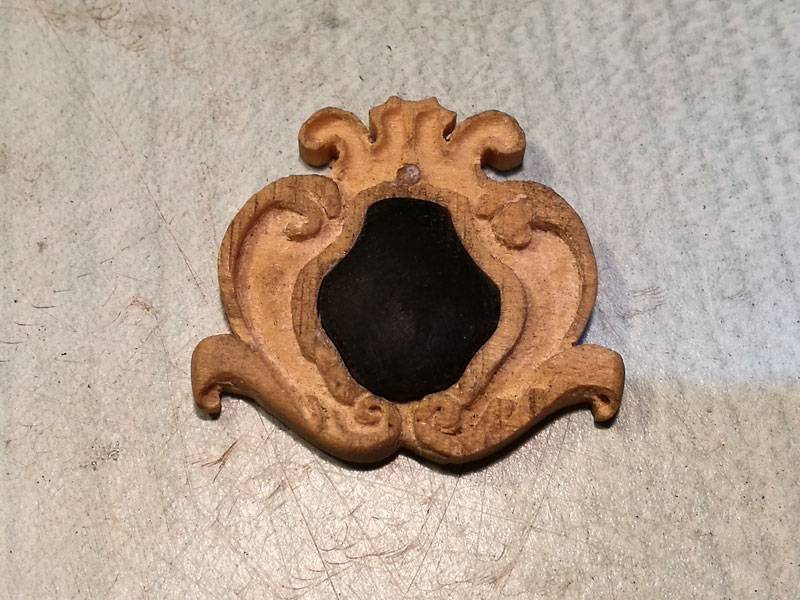
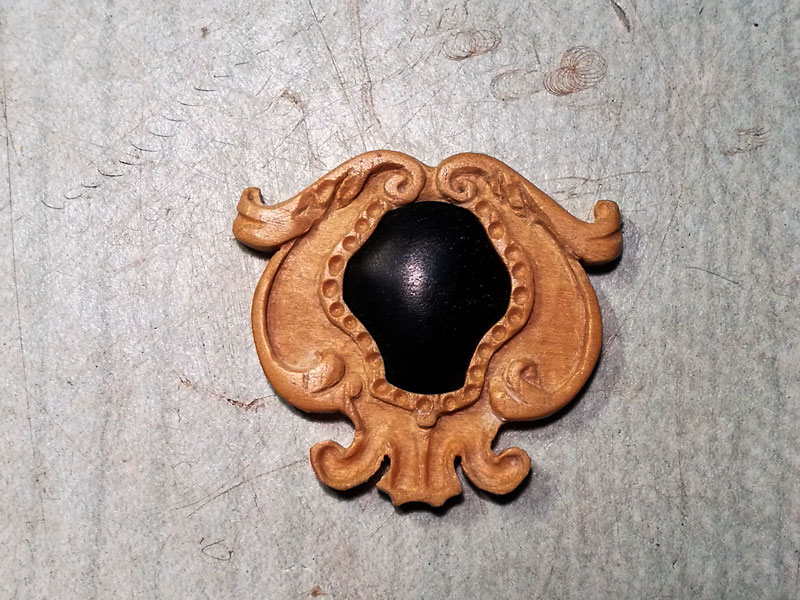
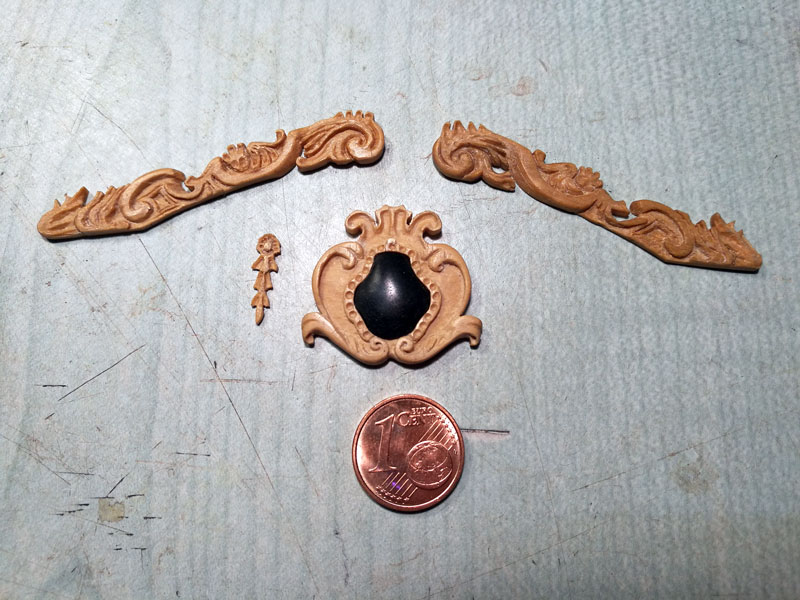
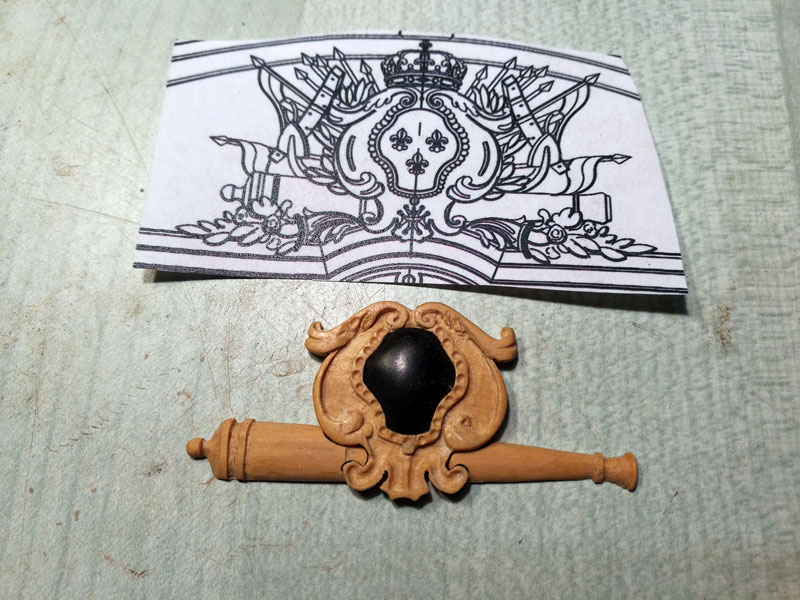
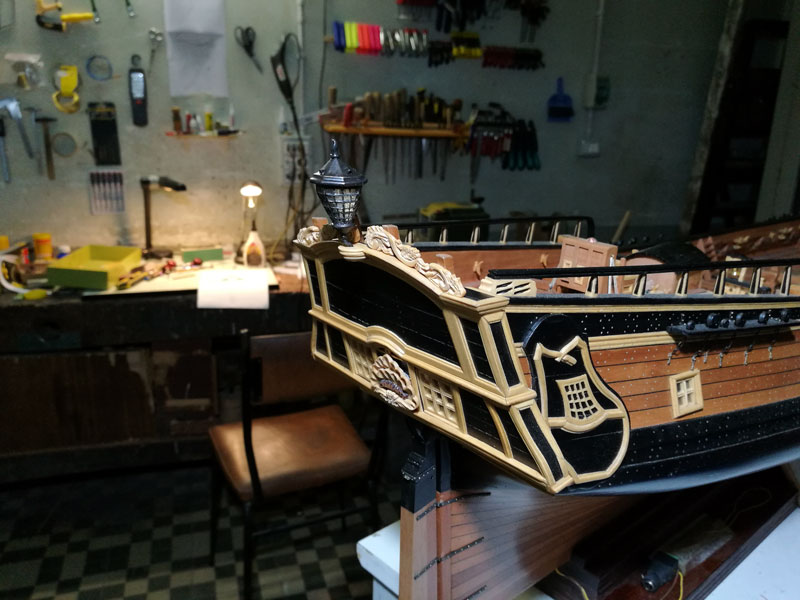
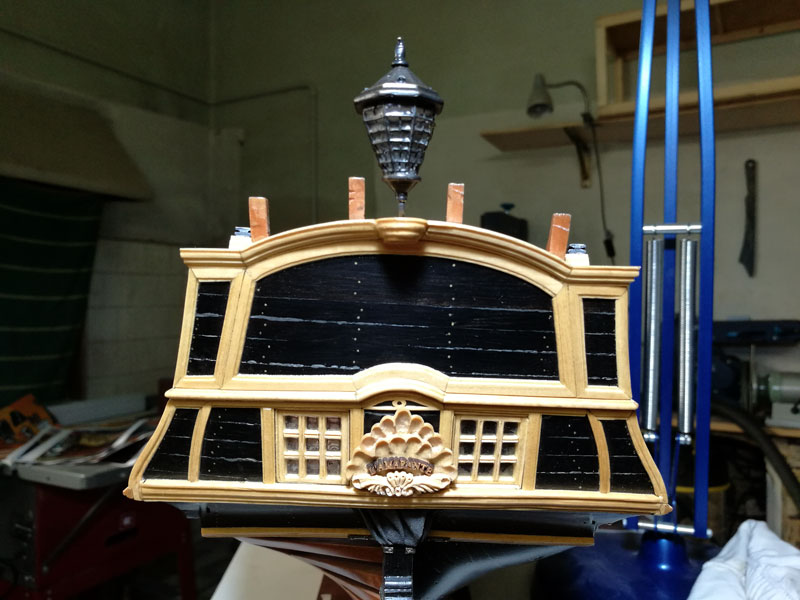
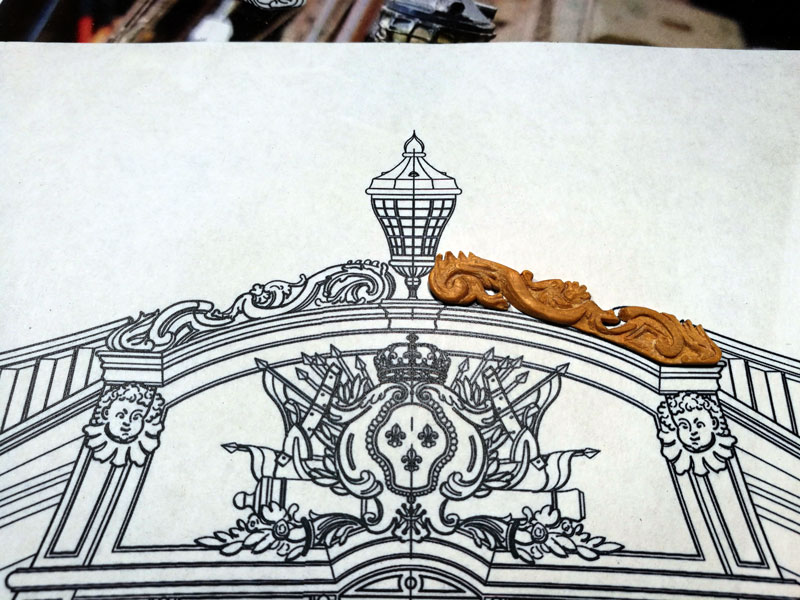
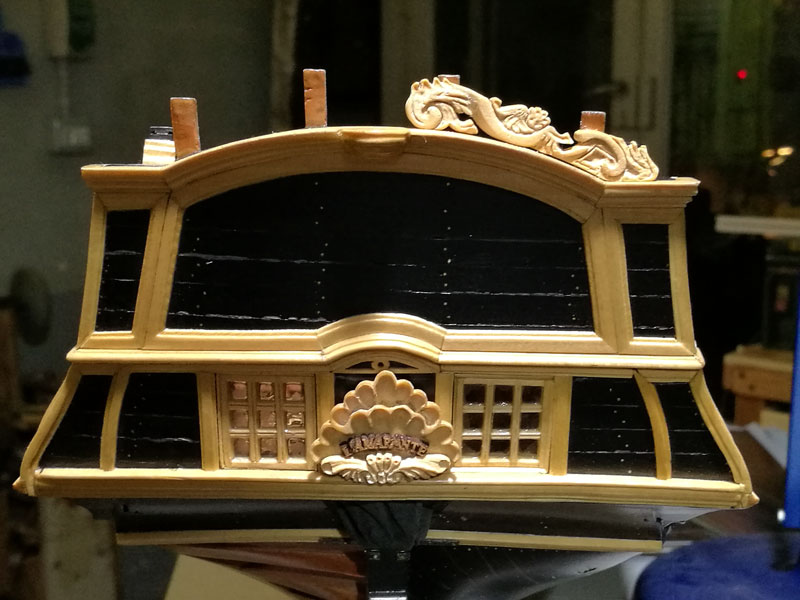
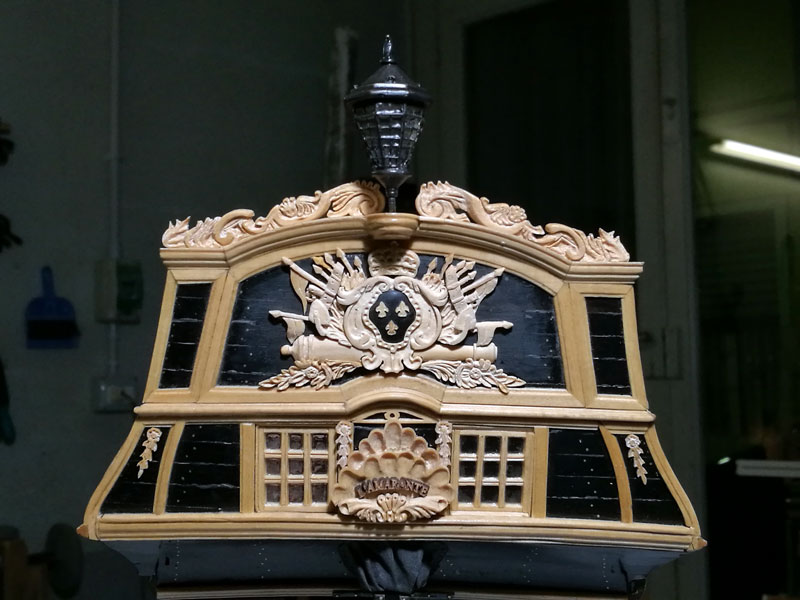
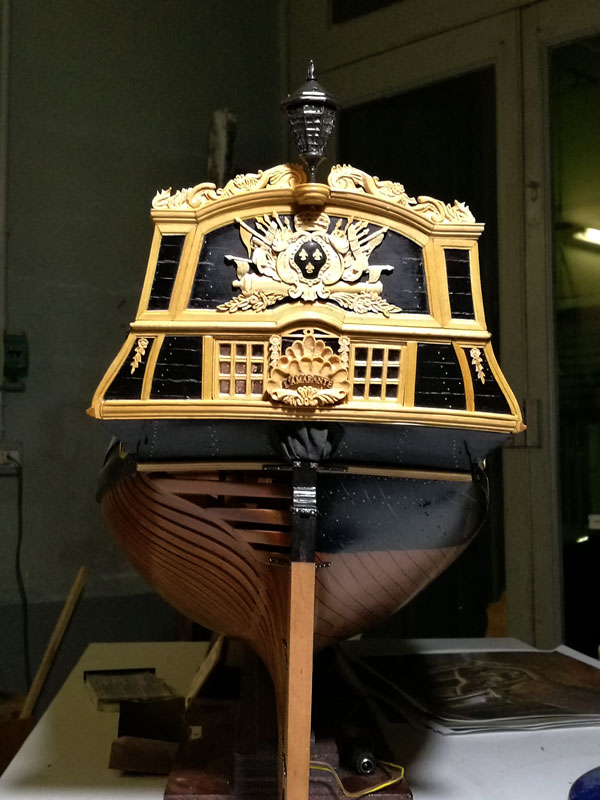
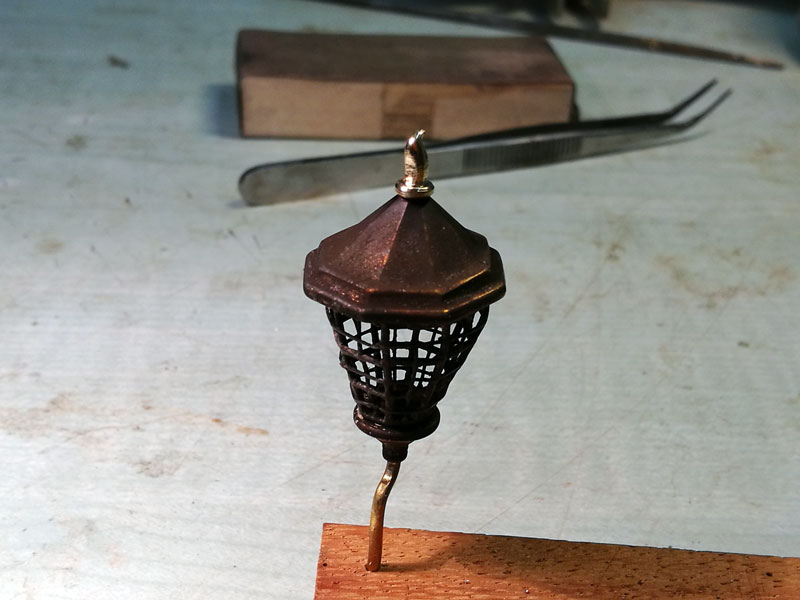
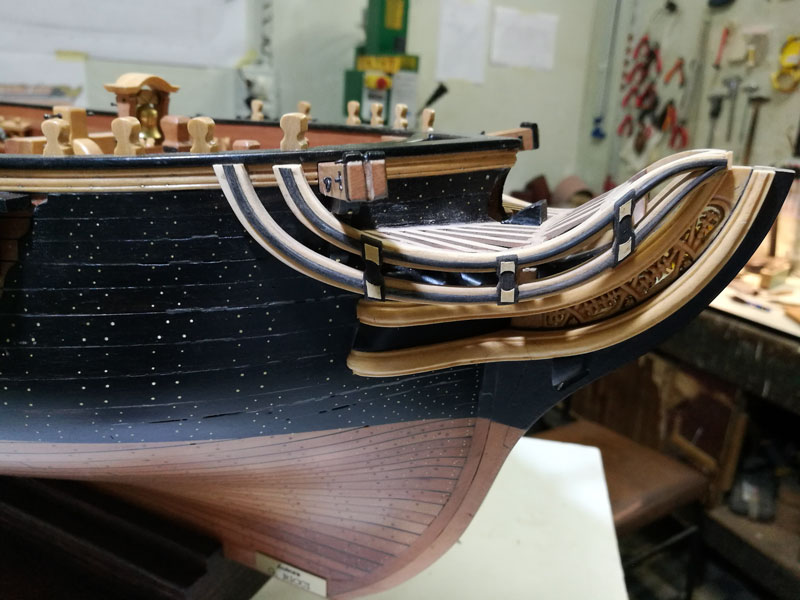
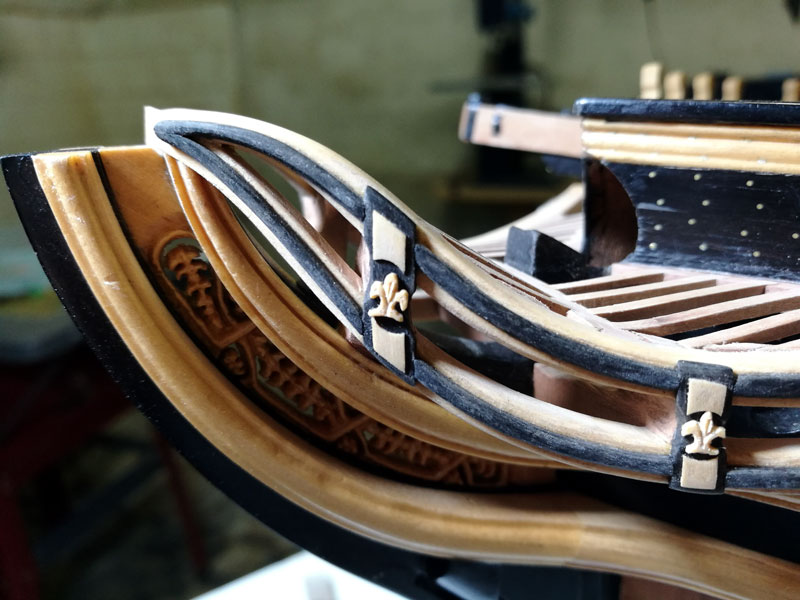
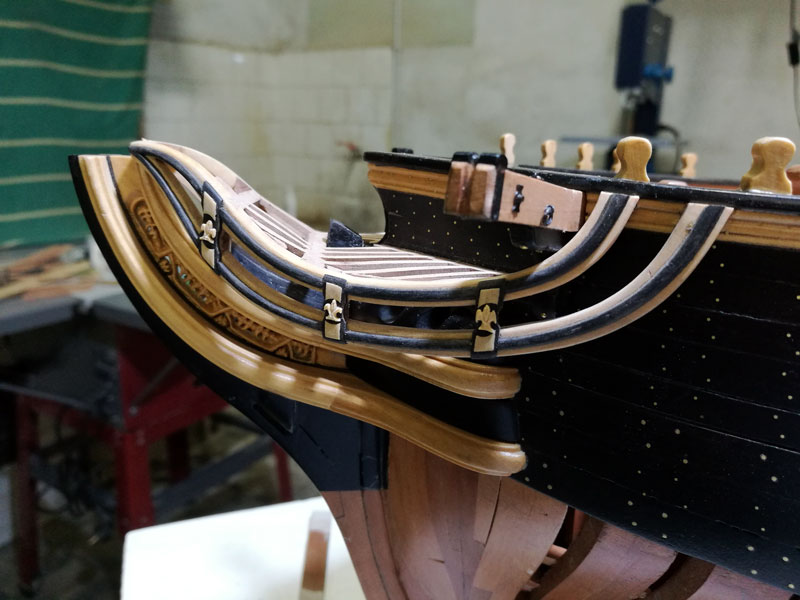
I fixed the decoration in place. Now I just try to polish it a bit 'and pass a coat of clear varnish
- 738 replies
-
- 38
-

-
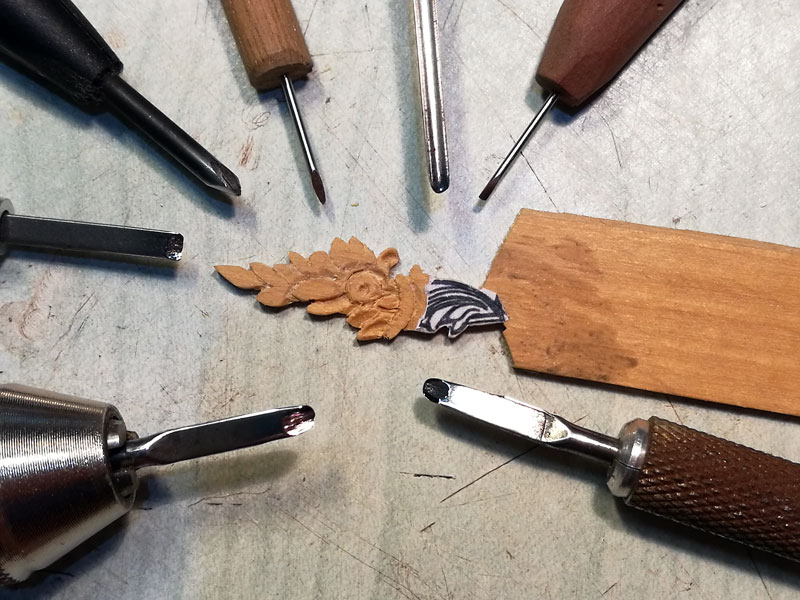
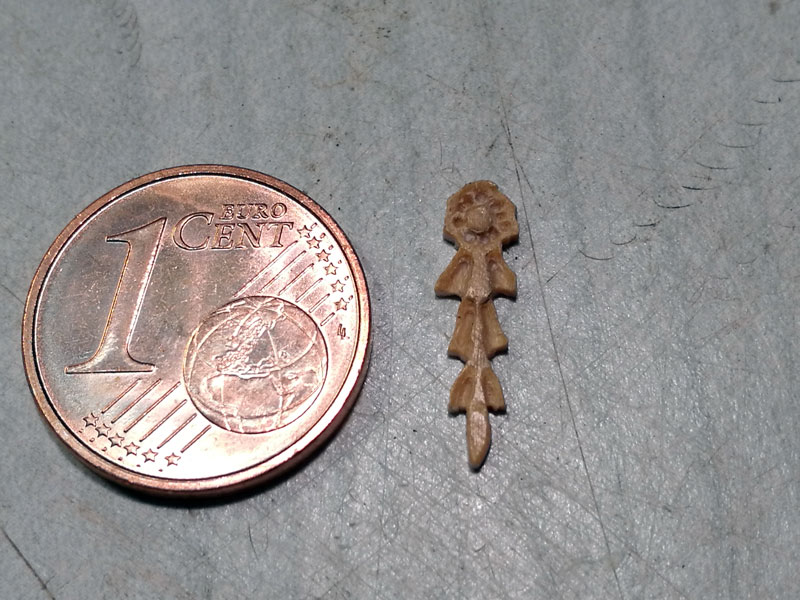
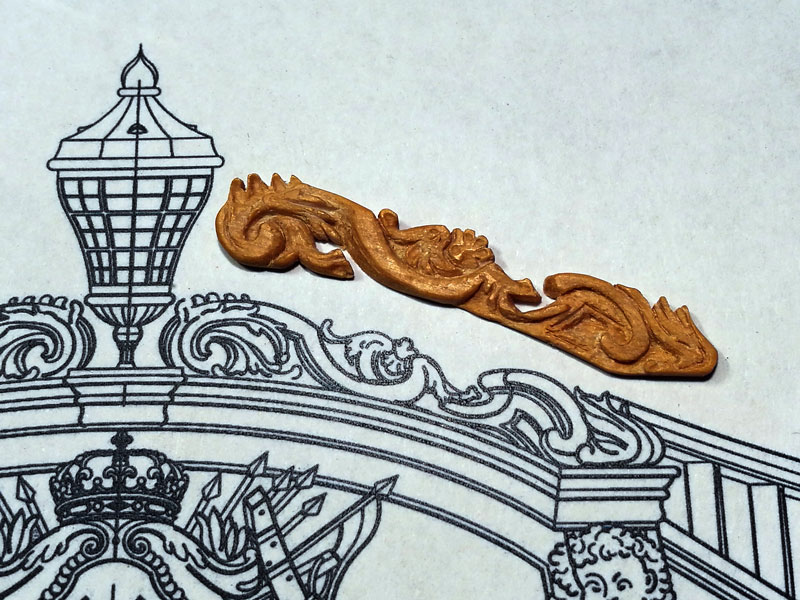
gouges I use are self-built using old screwdrivers and cutting pieces .... Your work of sculpture is truly exceptional, believe me!
-
Pandora by marsalv - FINISHED - 1:52
giampieroricci replied to marsalv's topic in - Build logs for subjects built 1751 - 1800
Very nice figurehead! How have you made? -
Pandora by marsalv - FINISHED - 1:52
giampieroricci replied to marsalv's topic in - Build logs for subjects built 1751 - 1800
Beautiful work!!! -
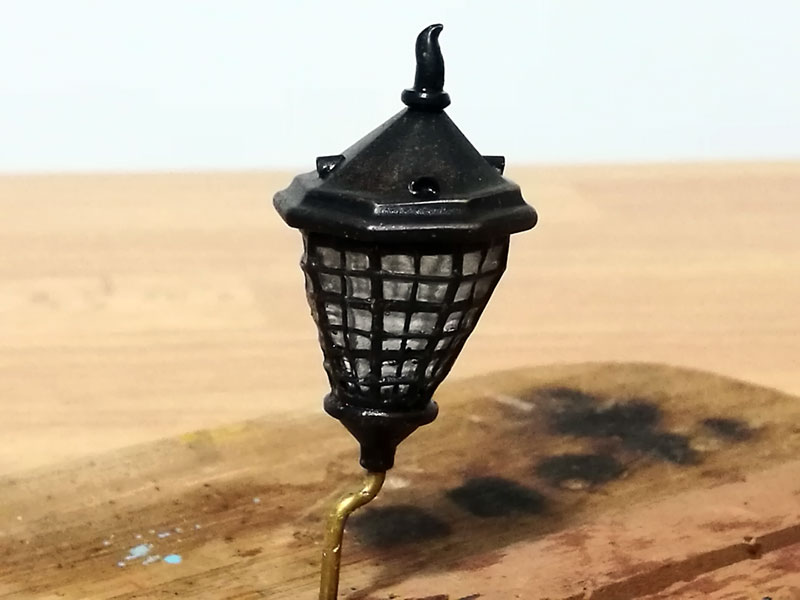
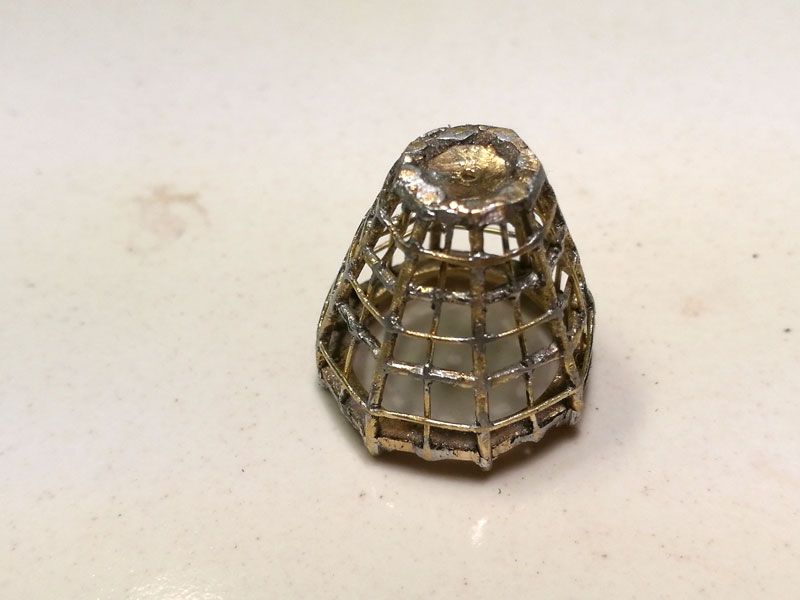
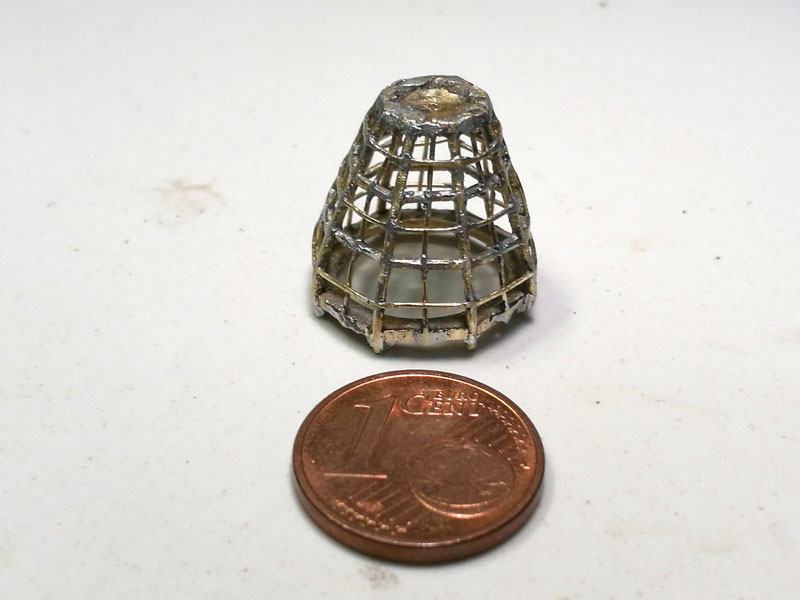
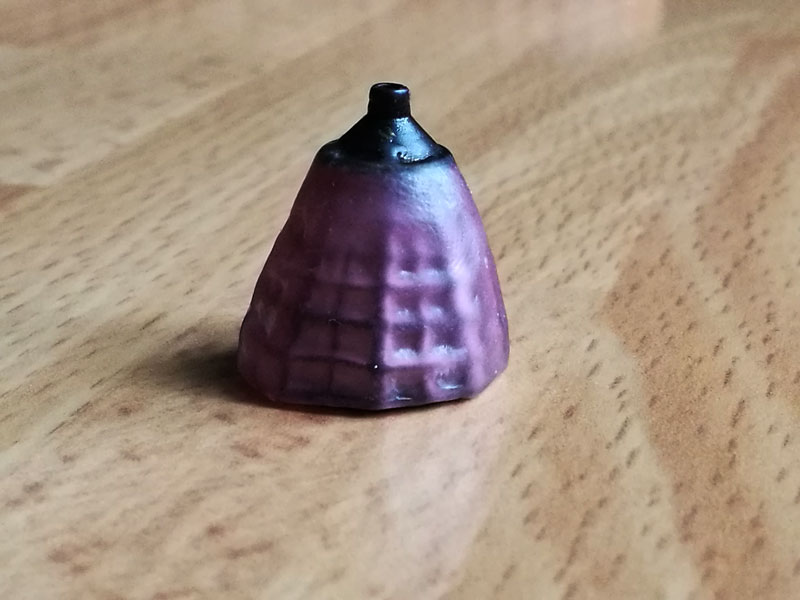
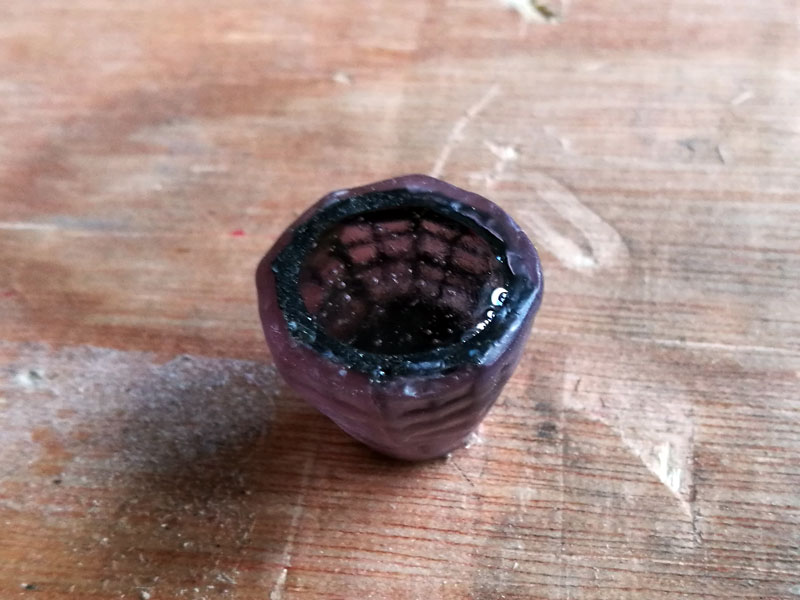
The wax is applied on the outside of the lantern, warming it slightly to be modeled. Then I mixed the two components of the resin and I filled the lantern. The resin takes about 12 hours to dry. When the resin is hardened, it is easy to remove the wax with a bit 'of hot water
-
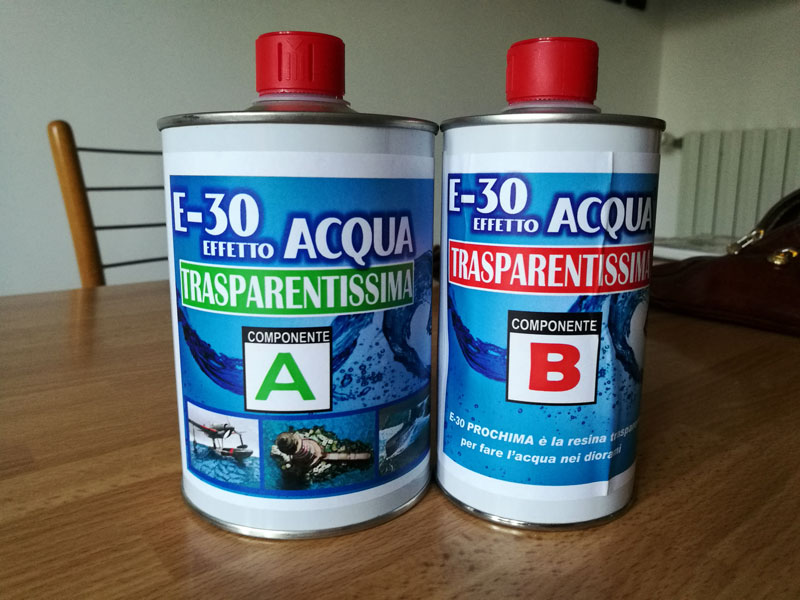
for the lantern glazing I thought of a transparent resin that use rail modellers to reproduce the water: I prepared the lantern covering it with wax, to allow casting of two-component resin

-
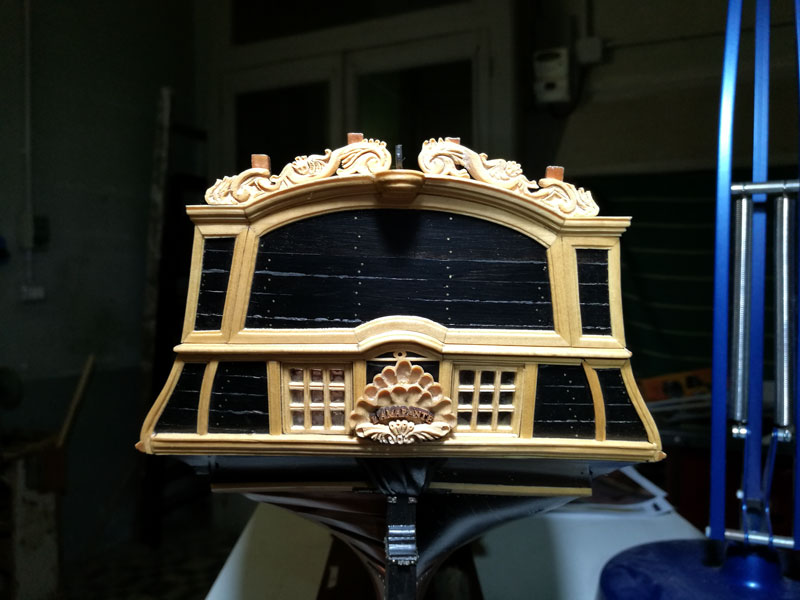
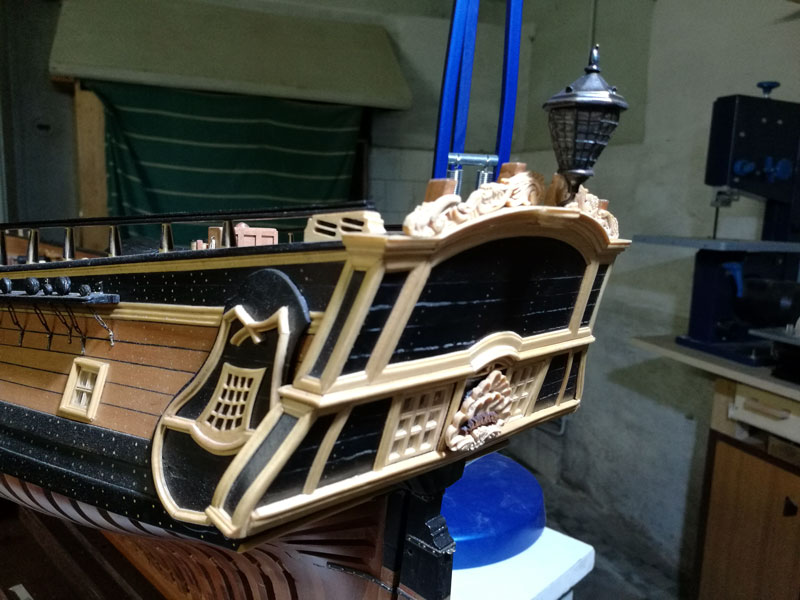
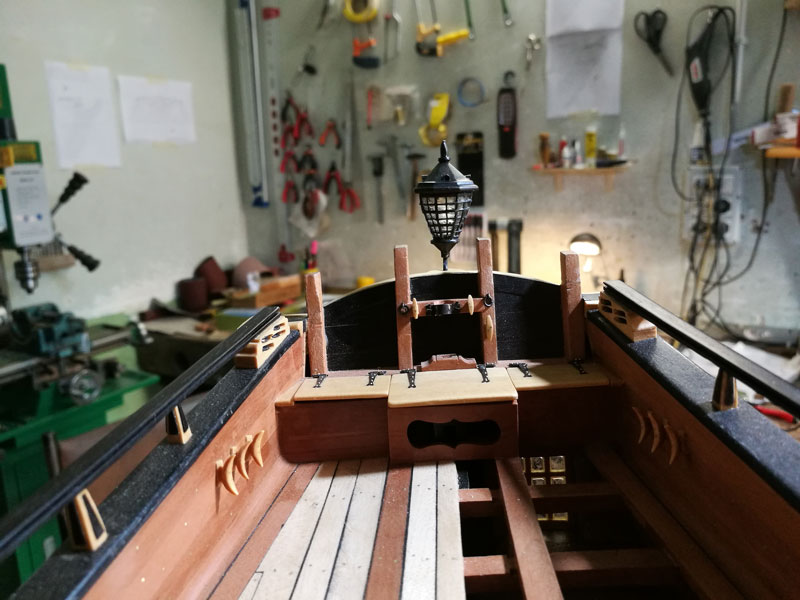
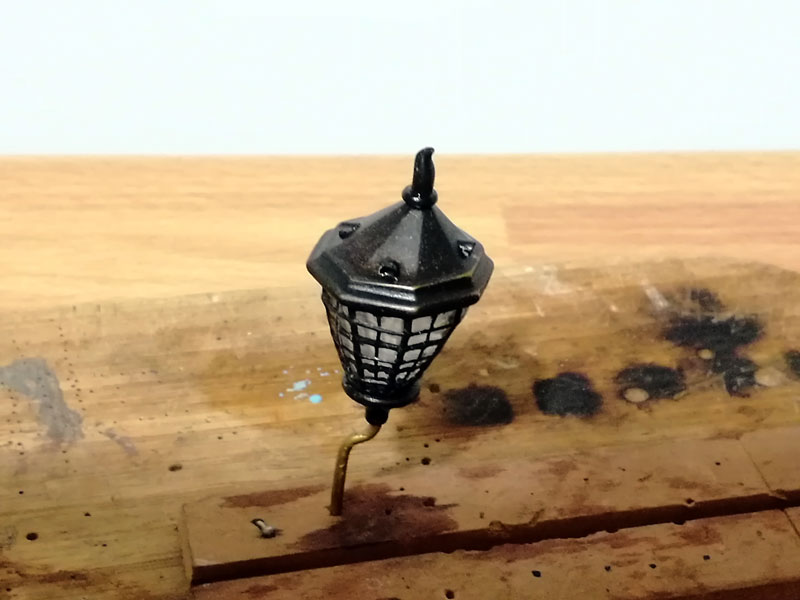
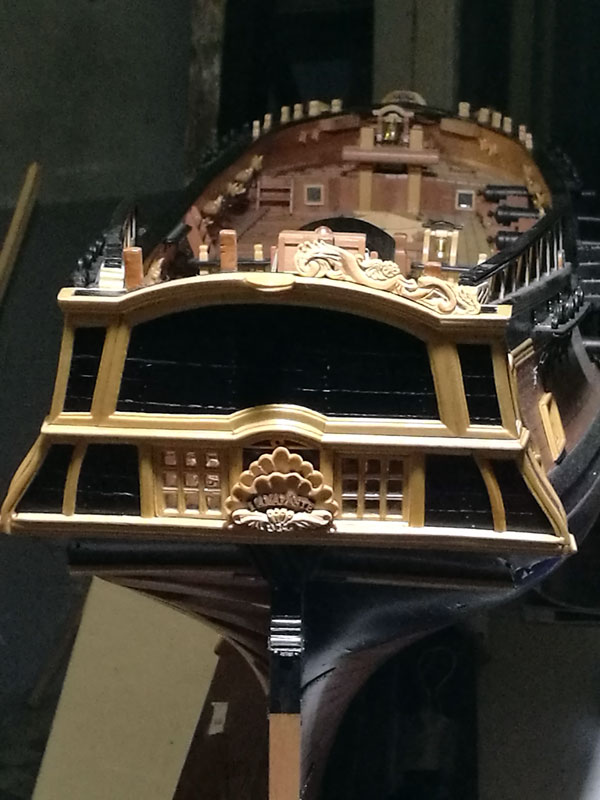
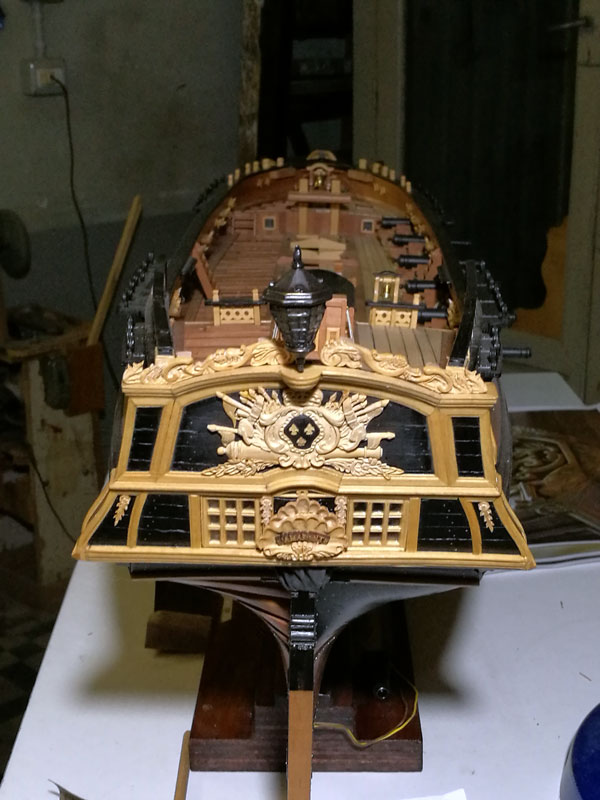
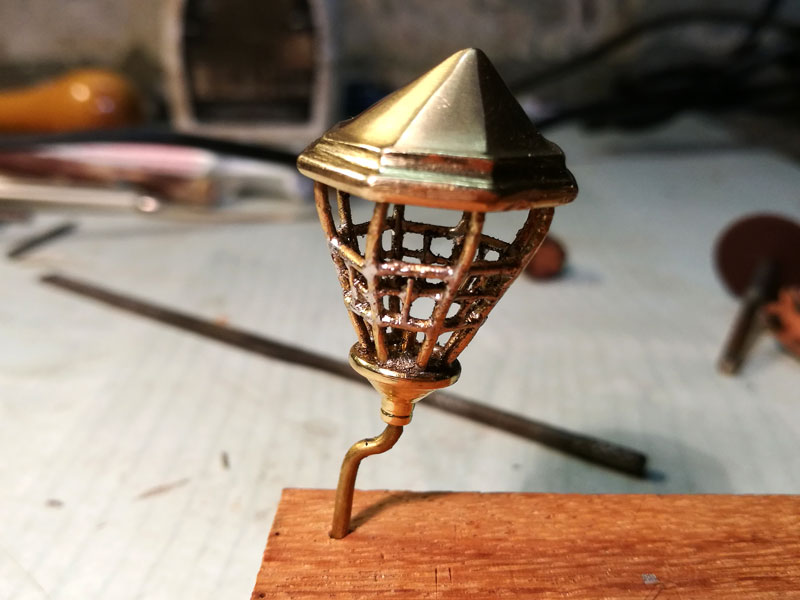
Some small step forward; there is nothing yet fixed, everything is provisional: I would try to do the glazing, but I do not know if I can!
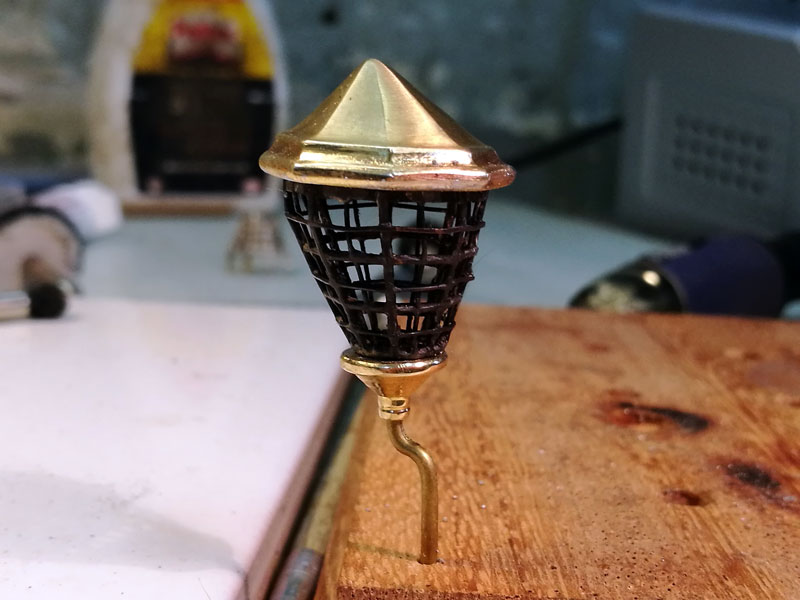
- 738 replies
-
- 23
-
-

-
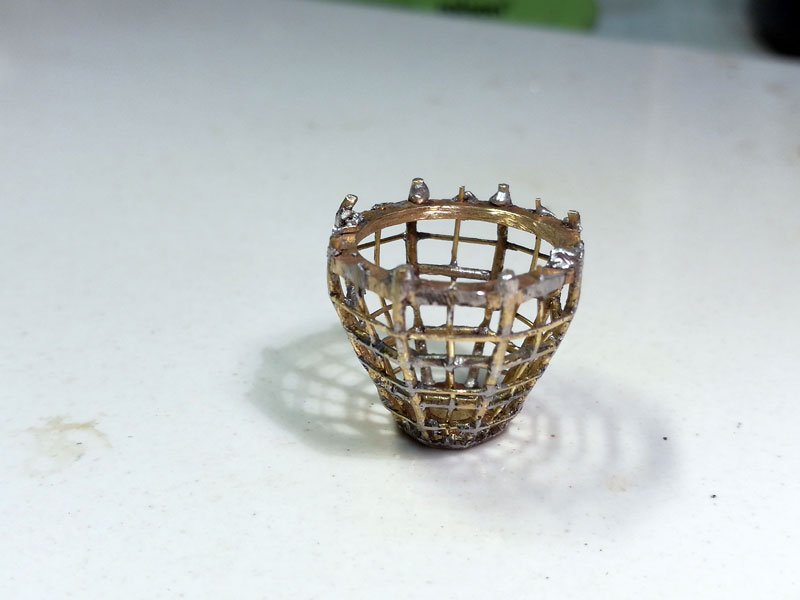
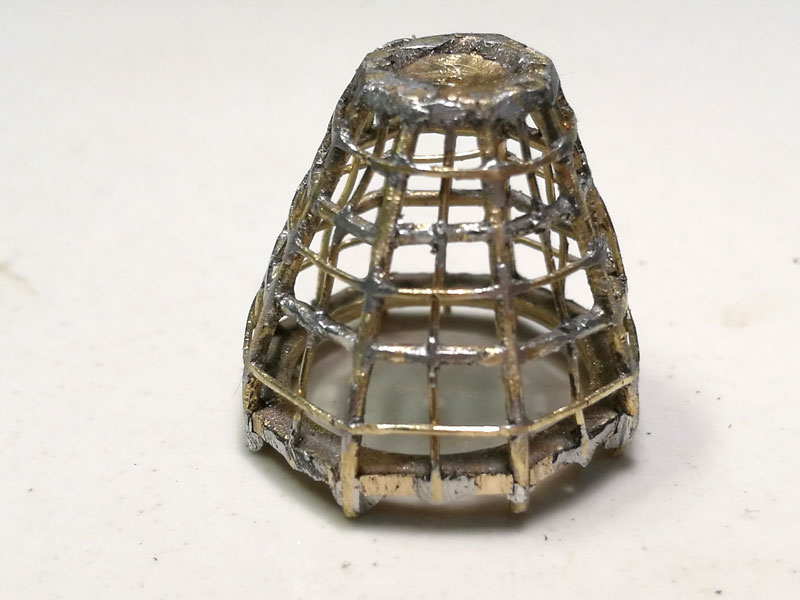
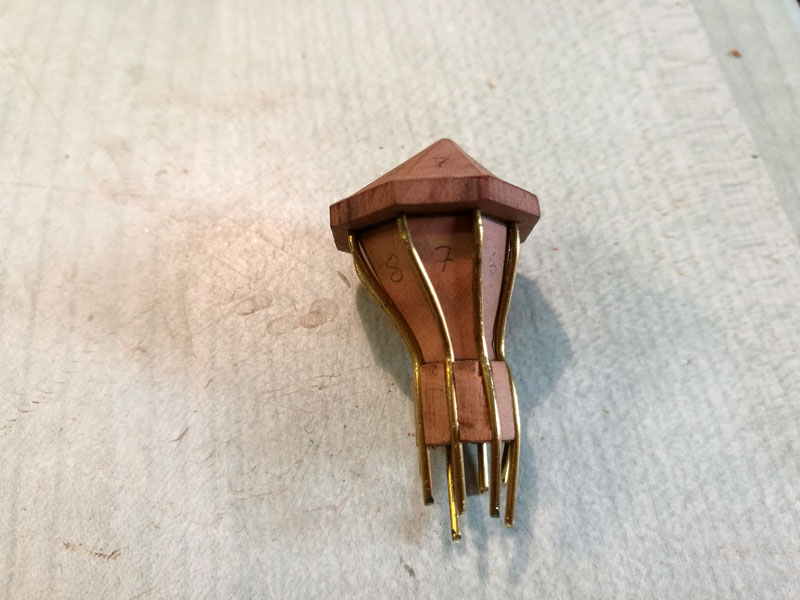
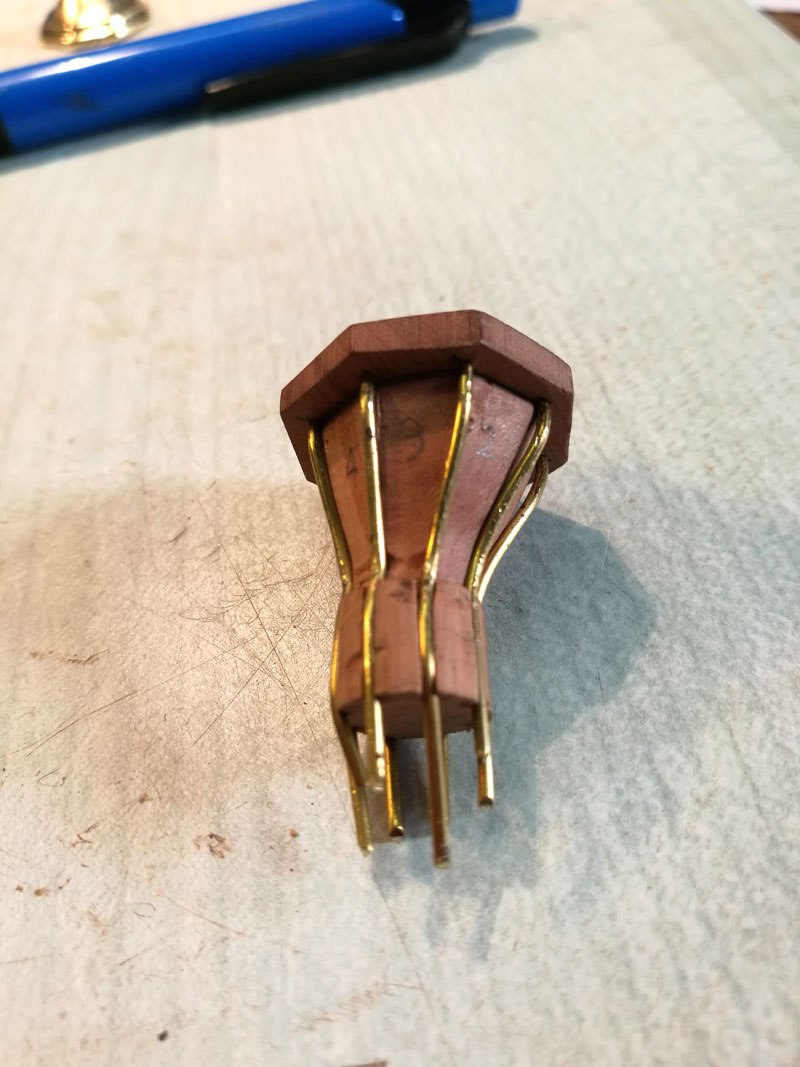
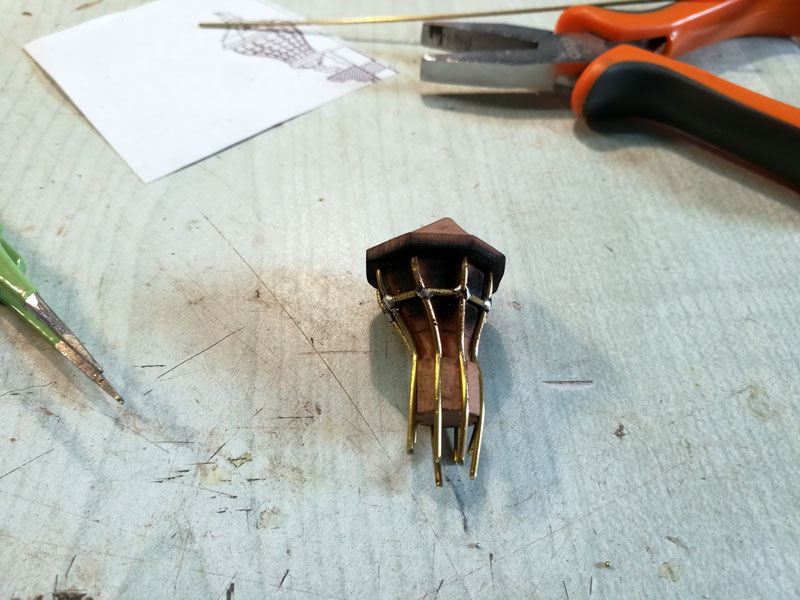
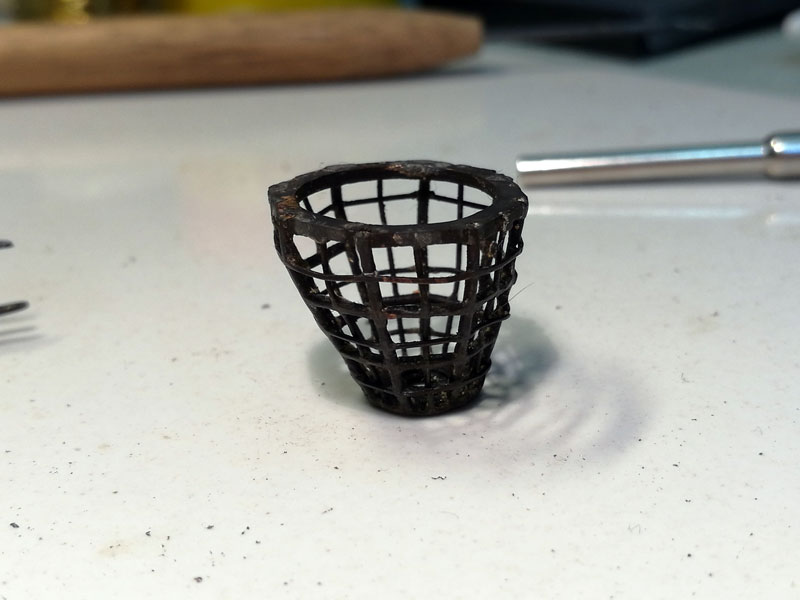
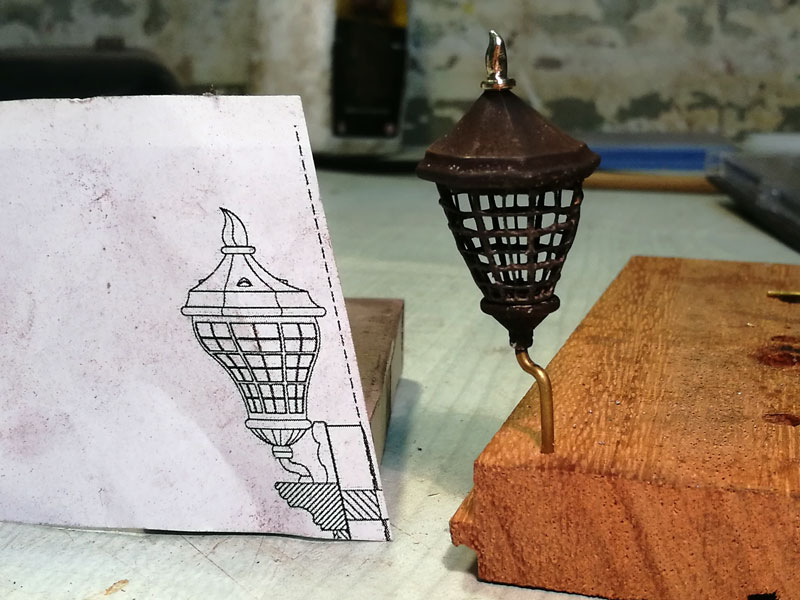
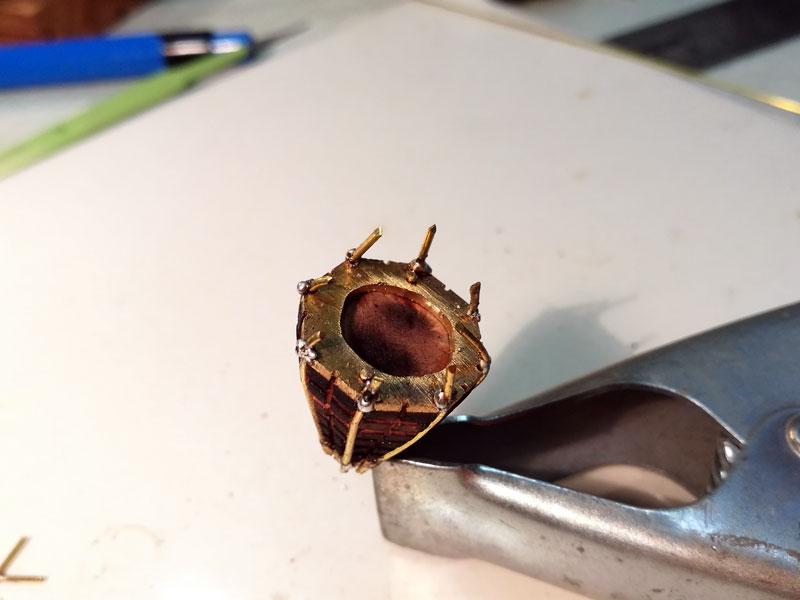
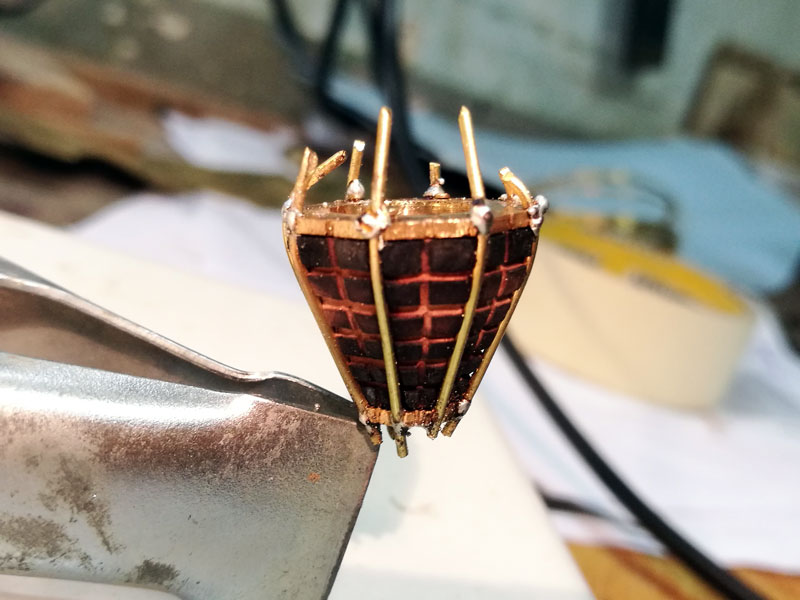
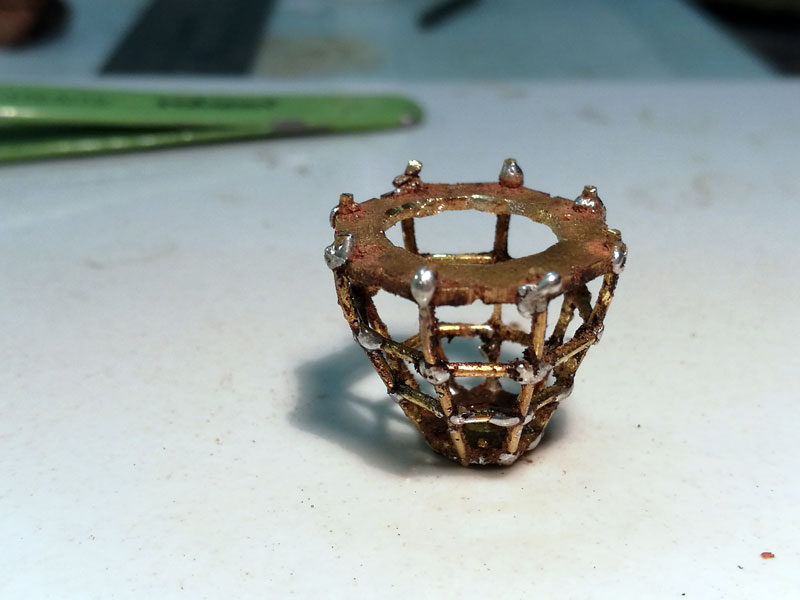
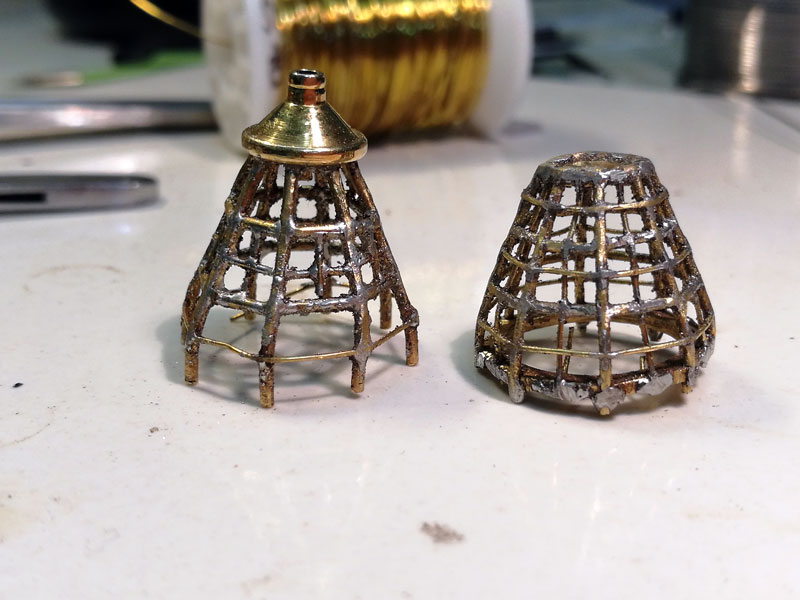
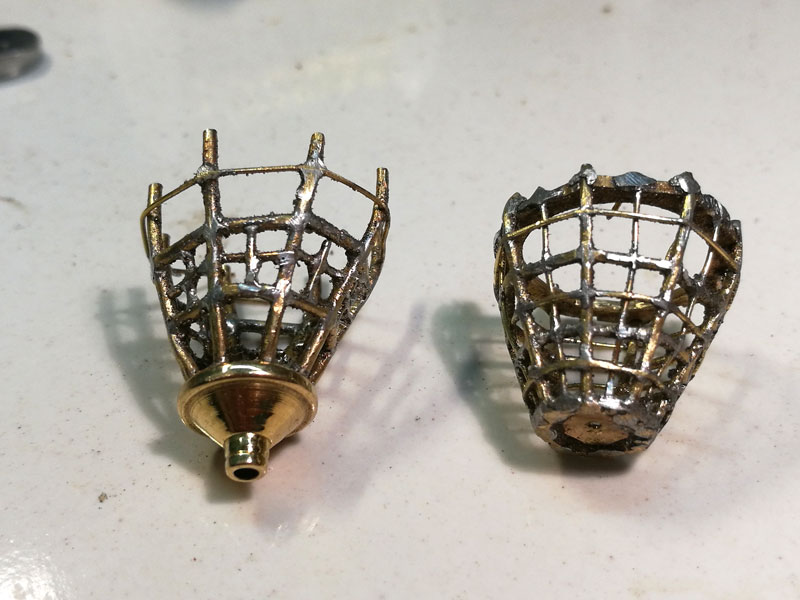
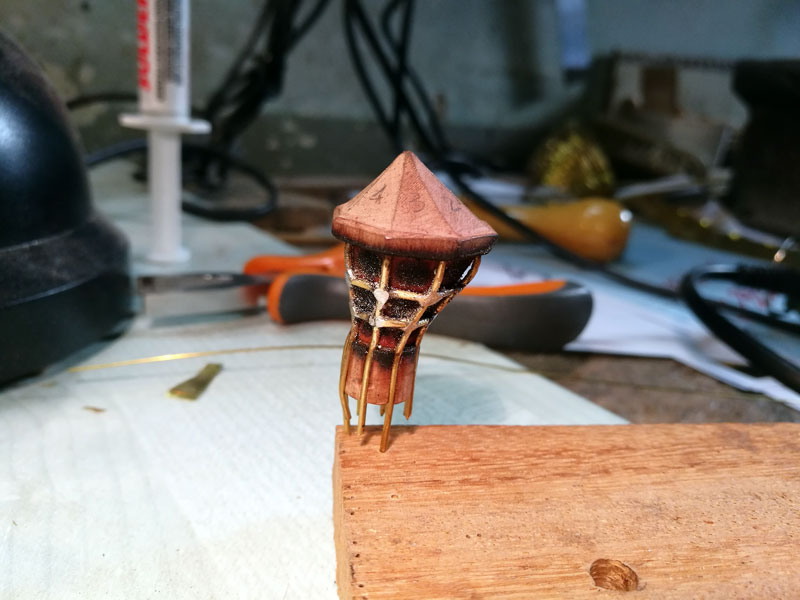
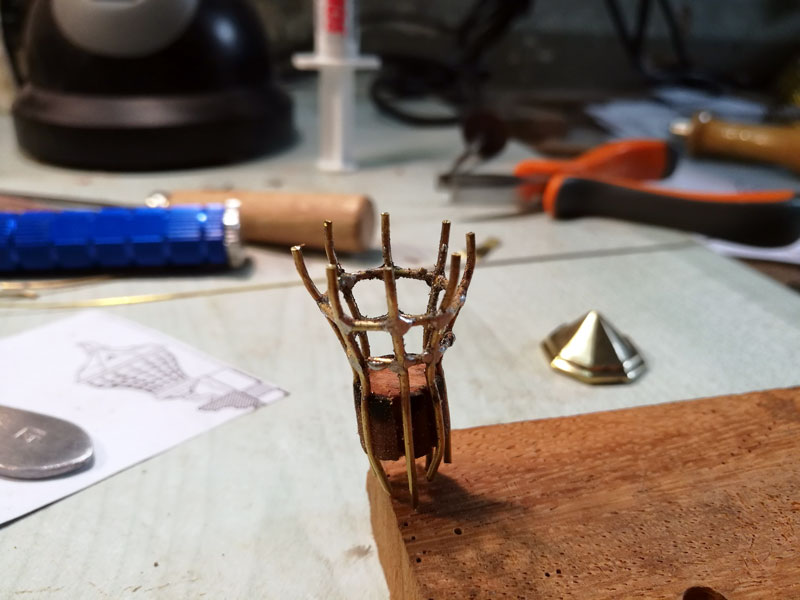
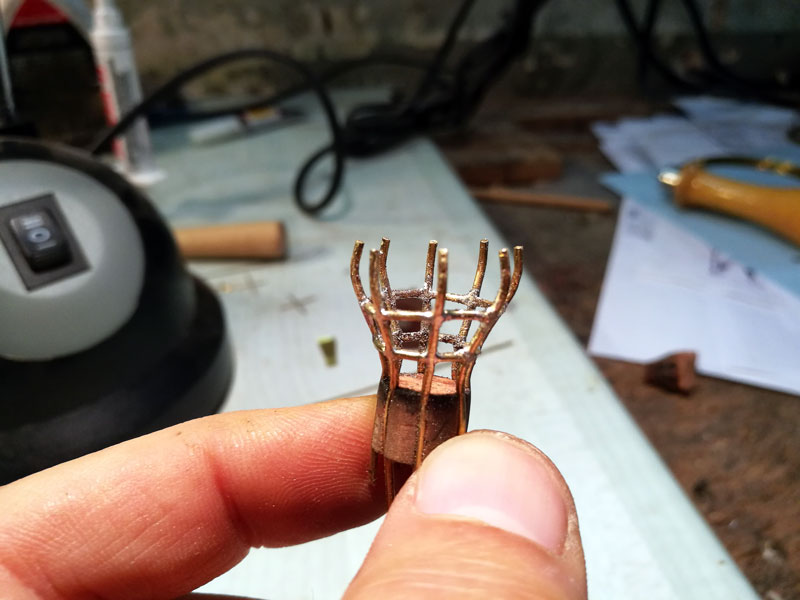
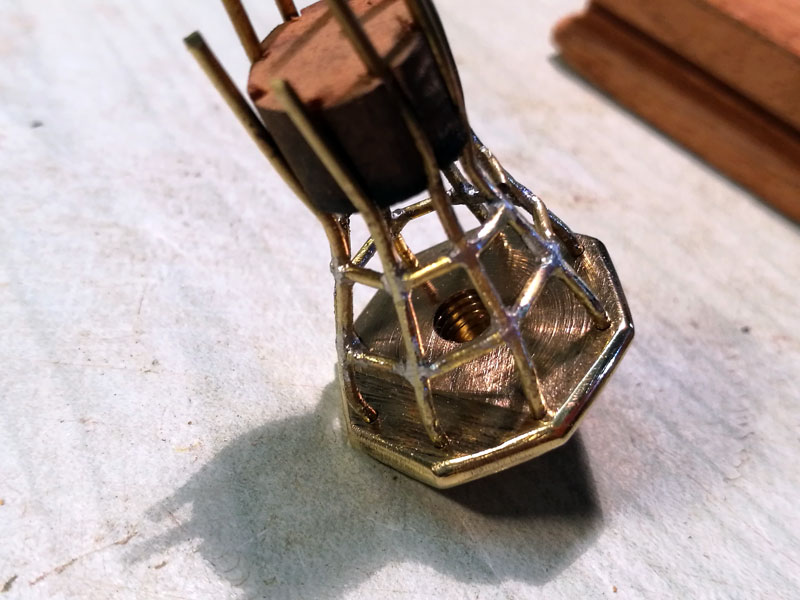
I remade the central part of the light, with a different technique. I didn't like the previous light. I made a wooden counter-form on which to secure the uprights of the light of two brass supports; I also used a thinner wire, 0.8 mm for the uprights and by 0.4 for the spreaders:
- 738 replies
-
- 13
-
-
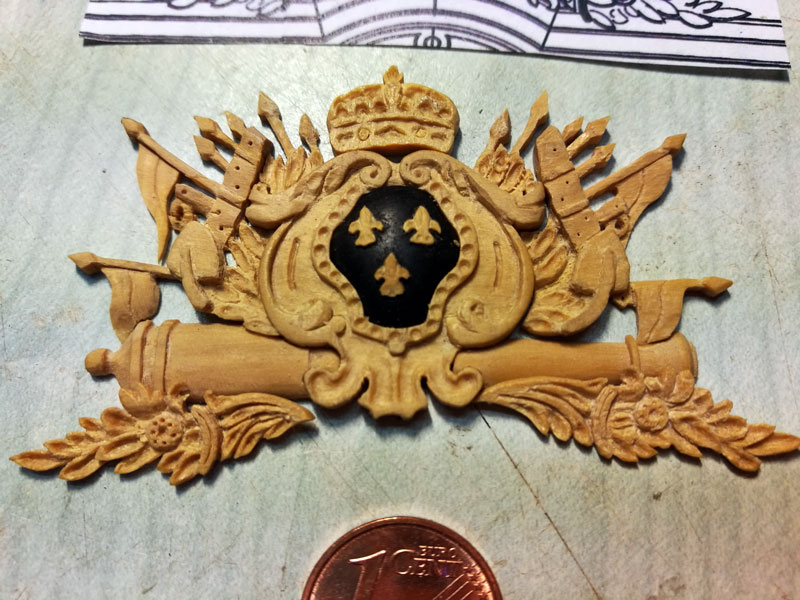
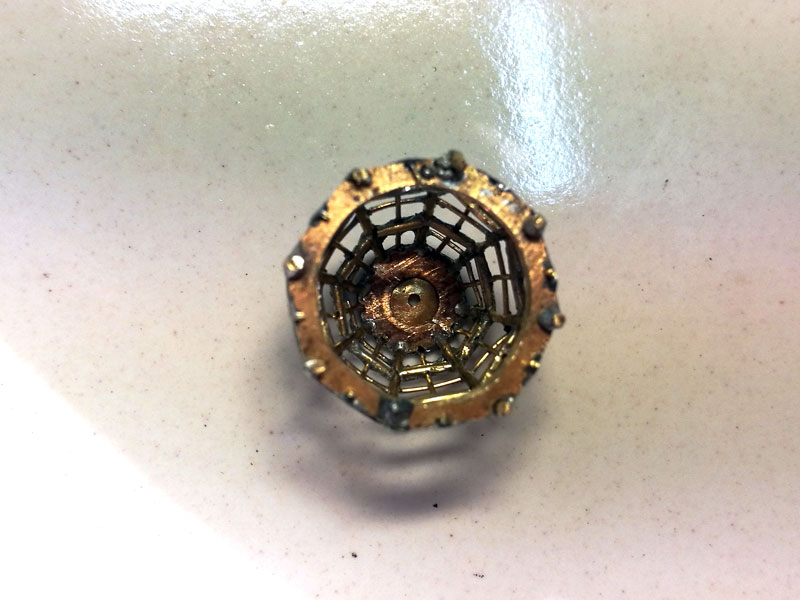
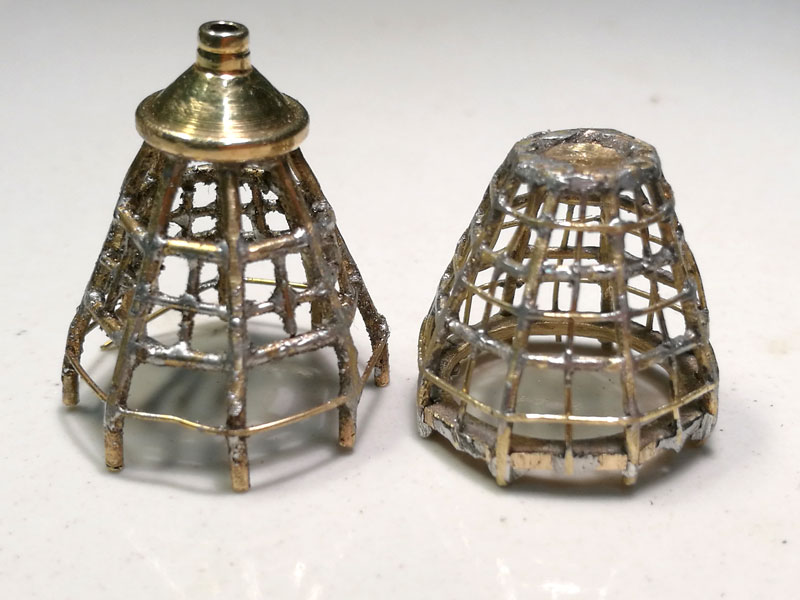
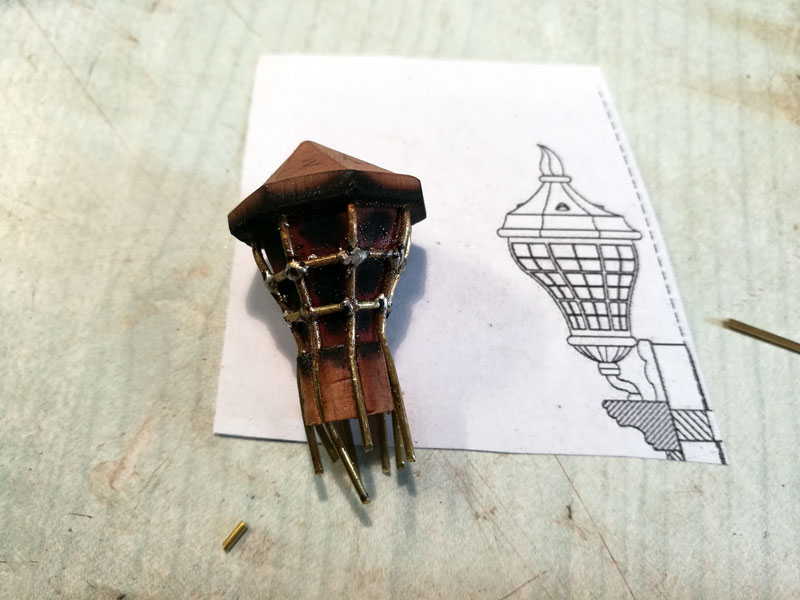
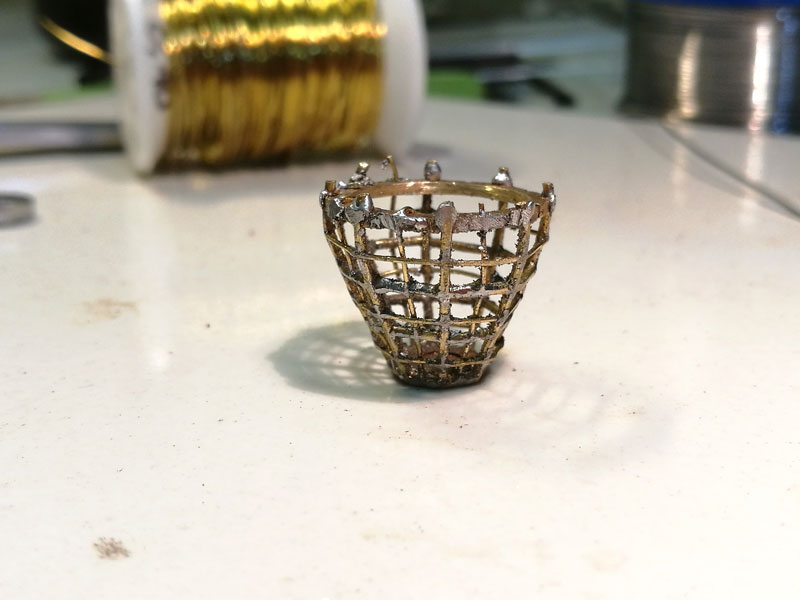
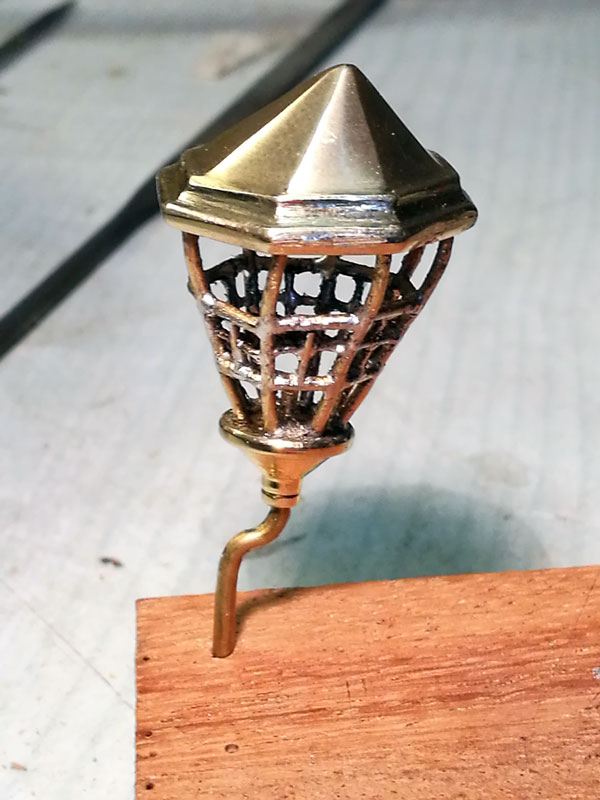
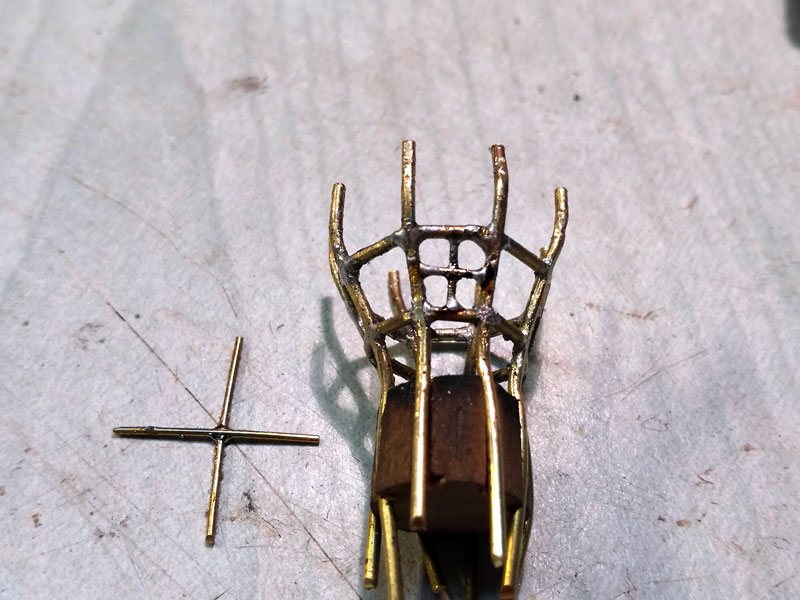
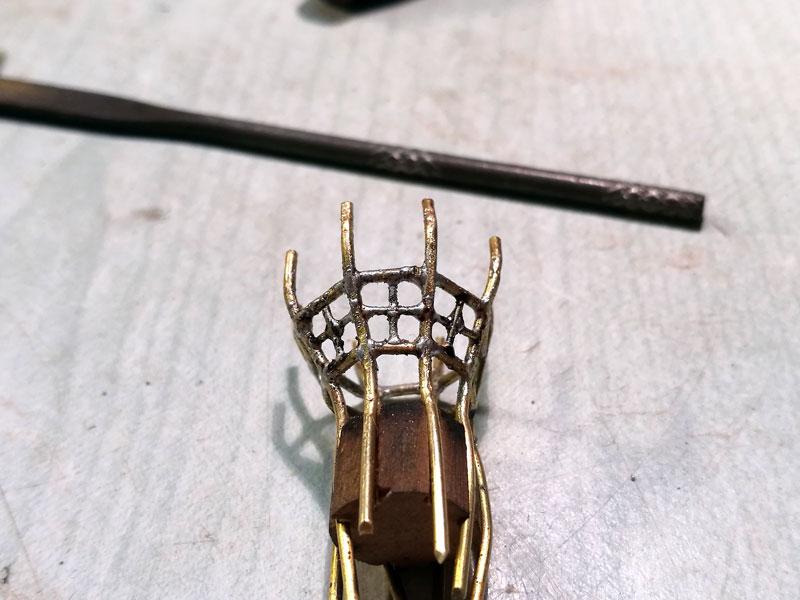
some progress. This work is really difficult. Especially I can not get the little crosses at the bottom of the third lap; I don't like how it is coming. I'm afraid that I have to look for alternative roads ......


- 738 replies
-
- 13
-
-
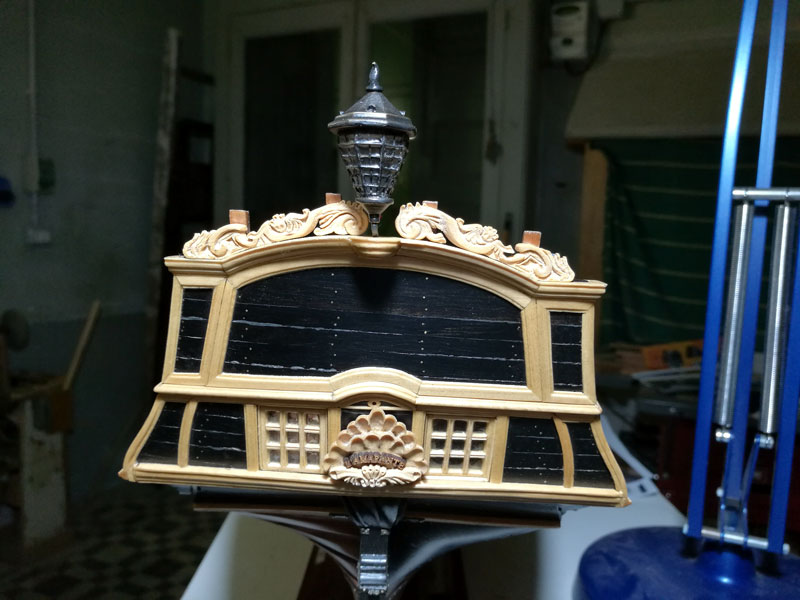
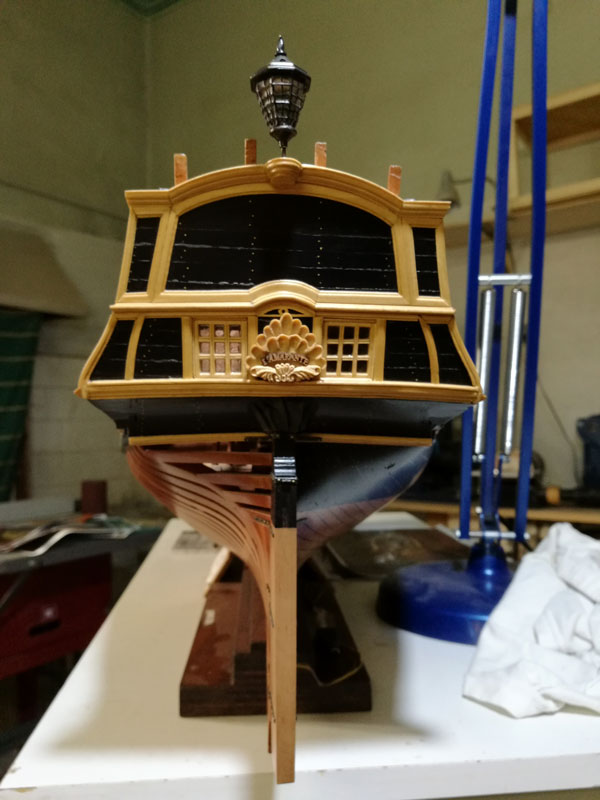
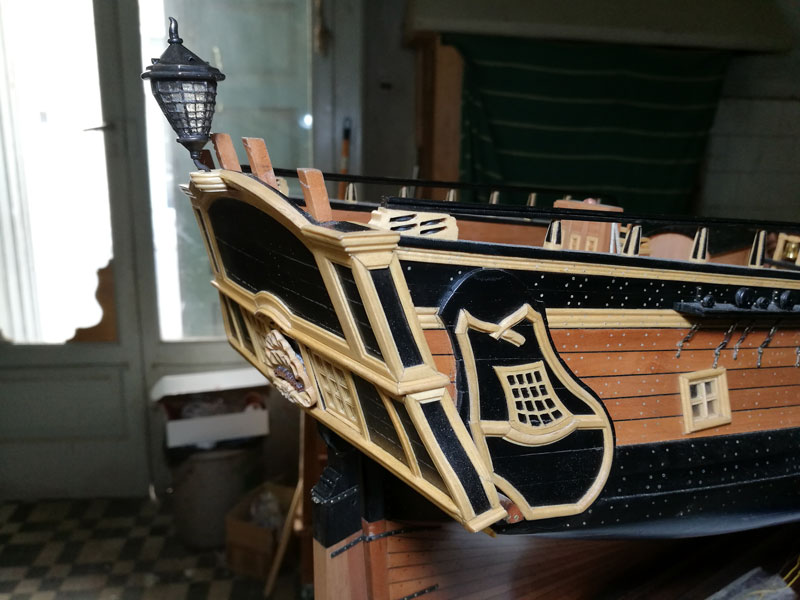
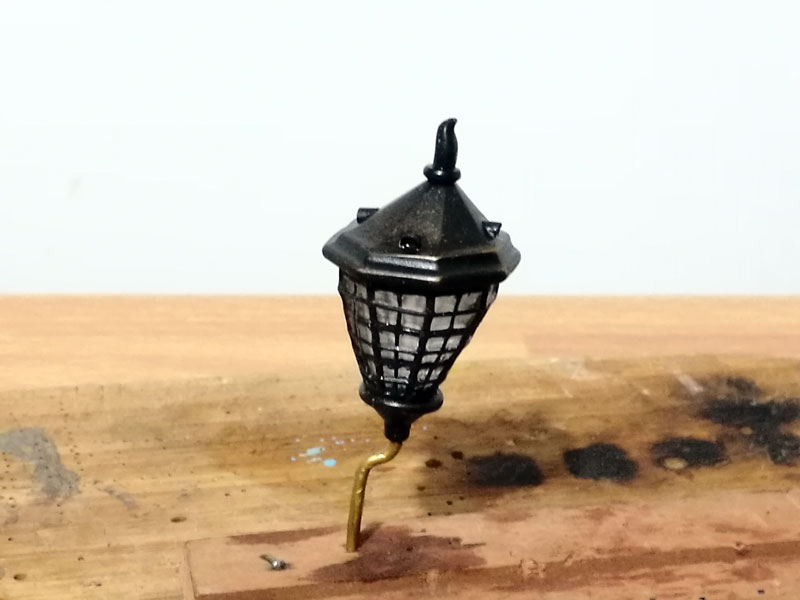
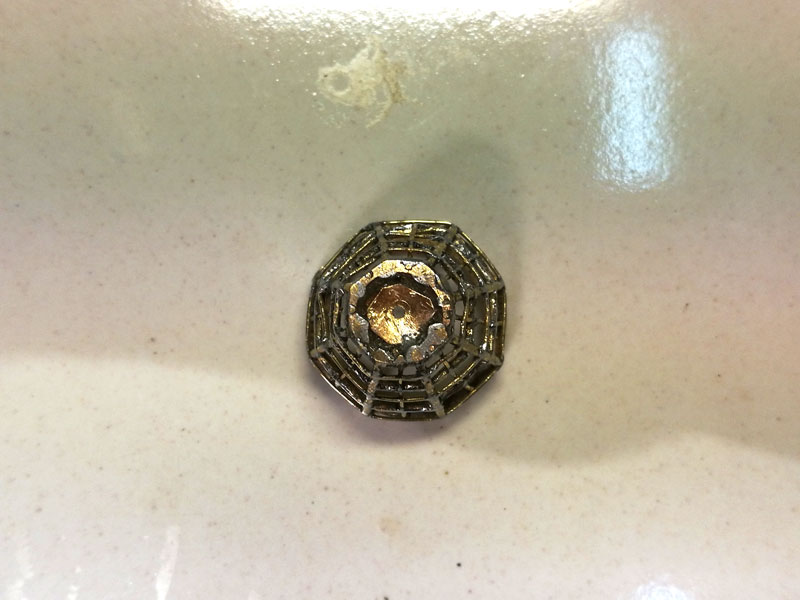
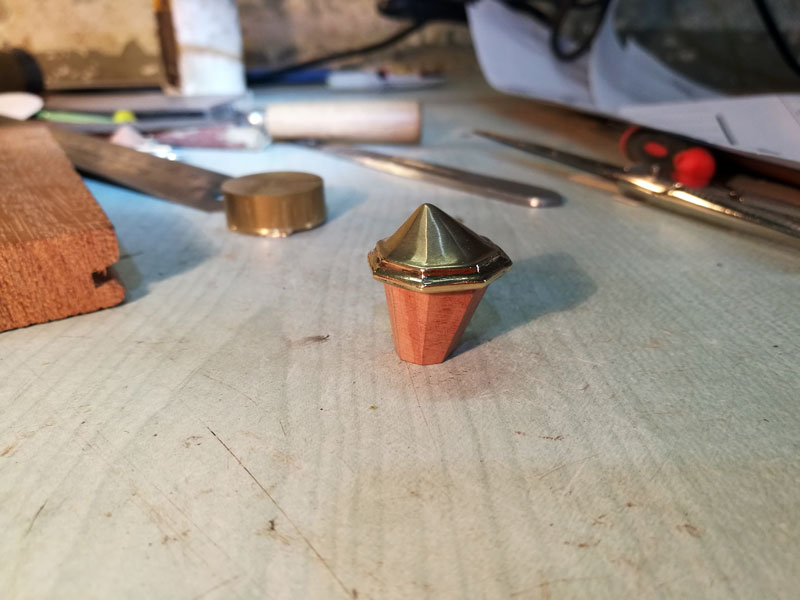
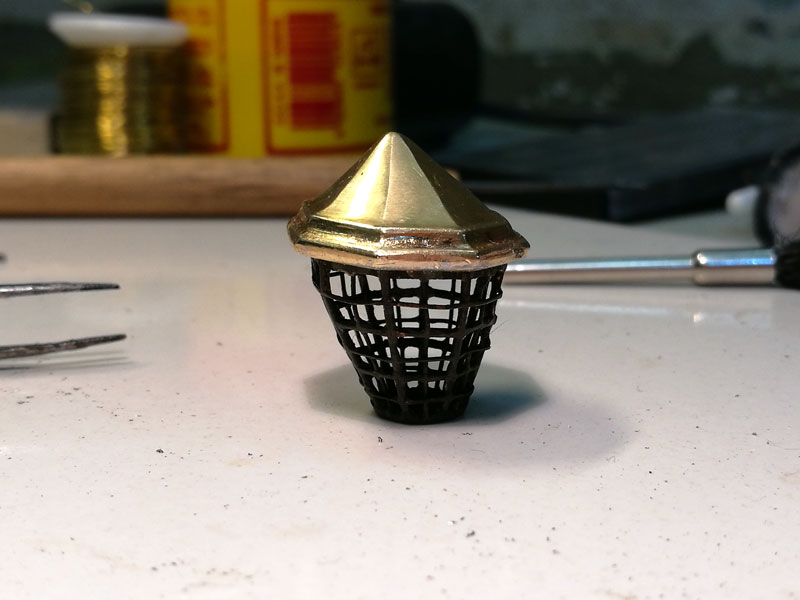
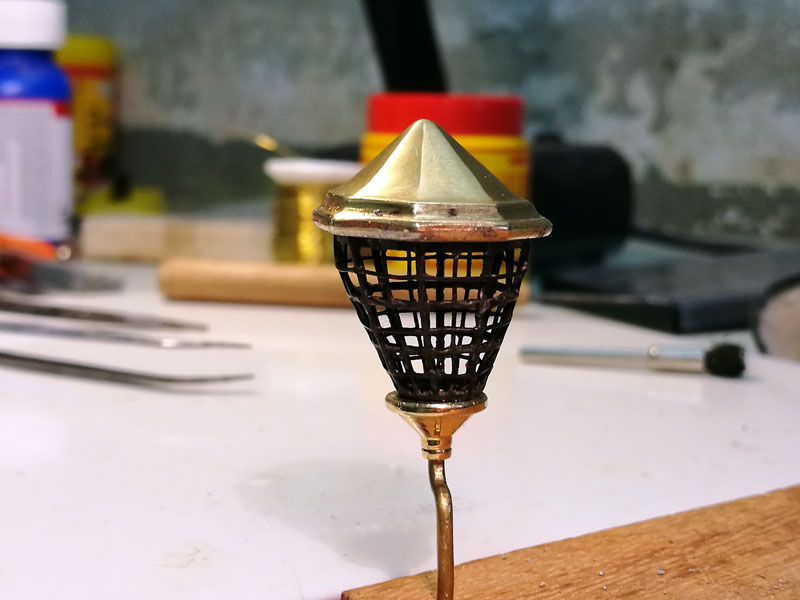
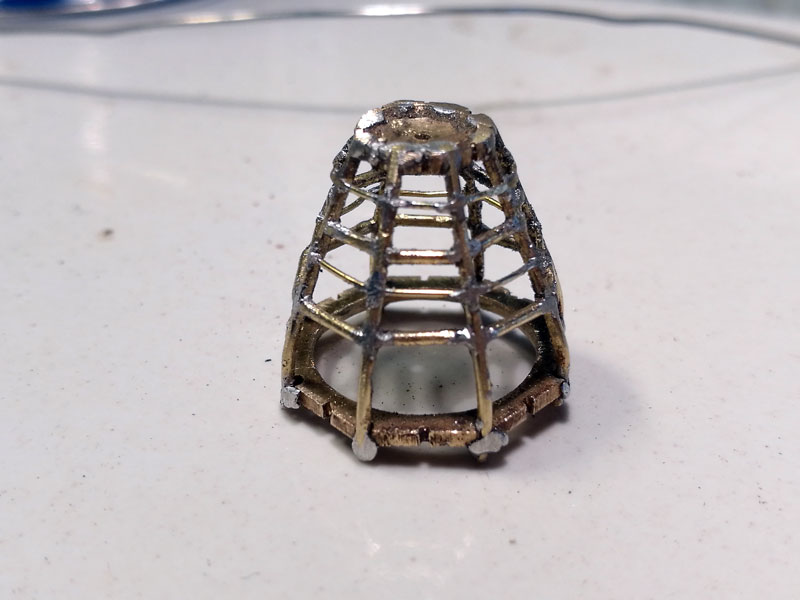
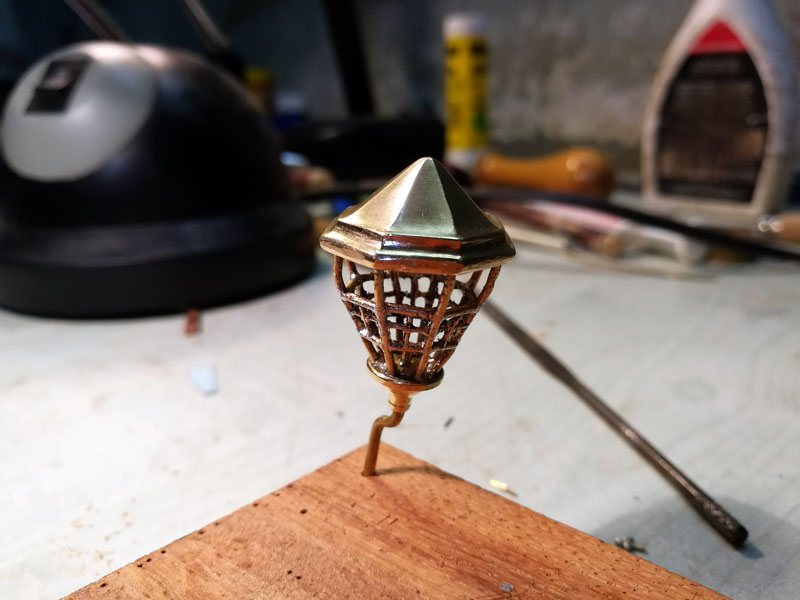
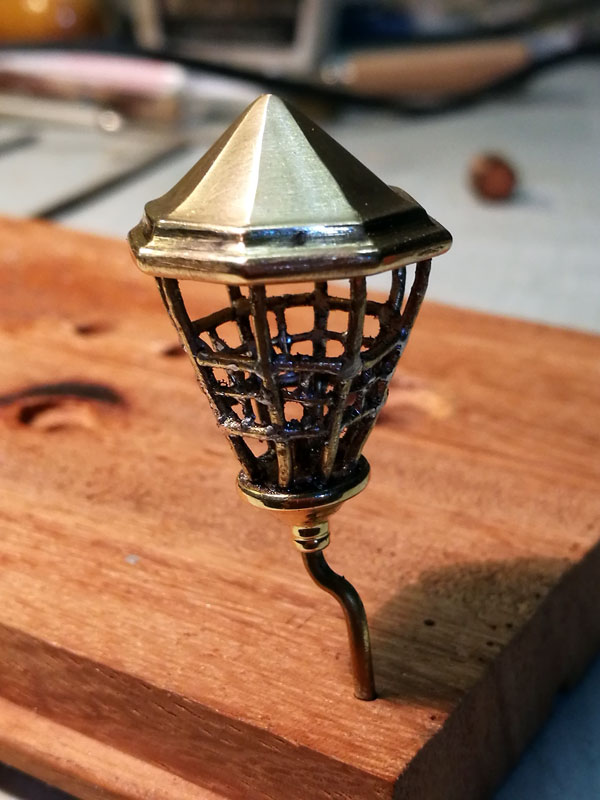
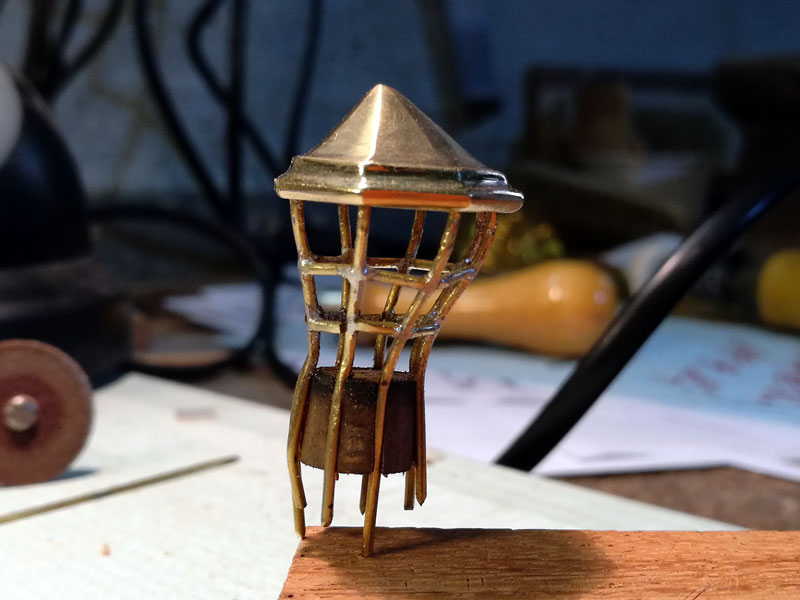
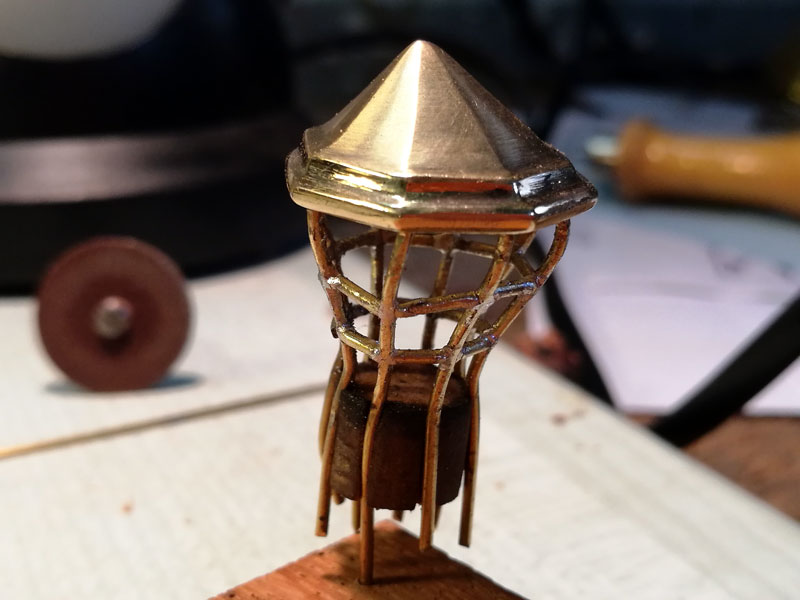
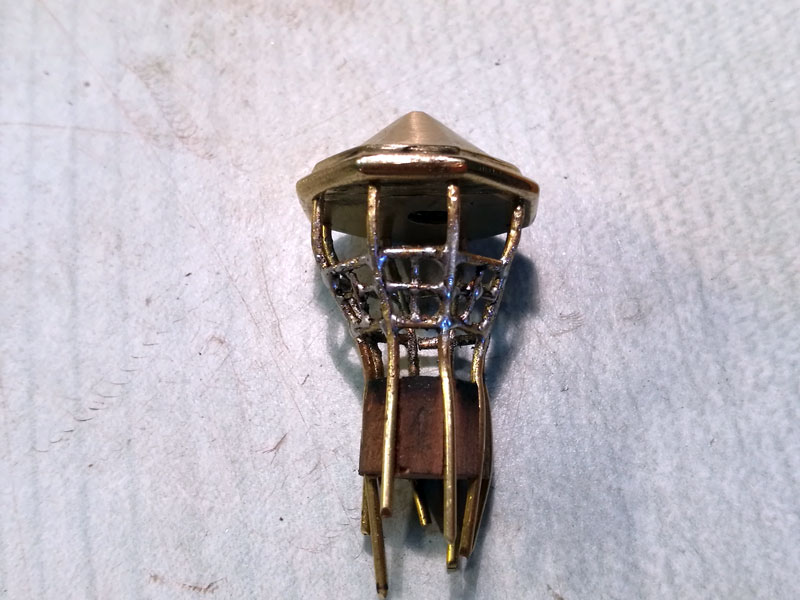
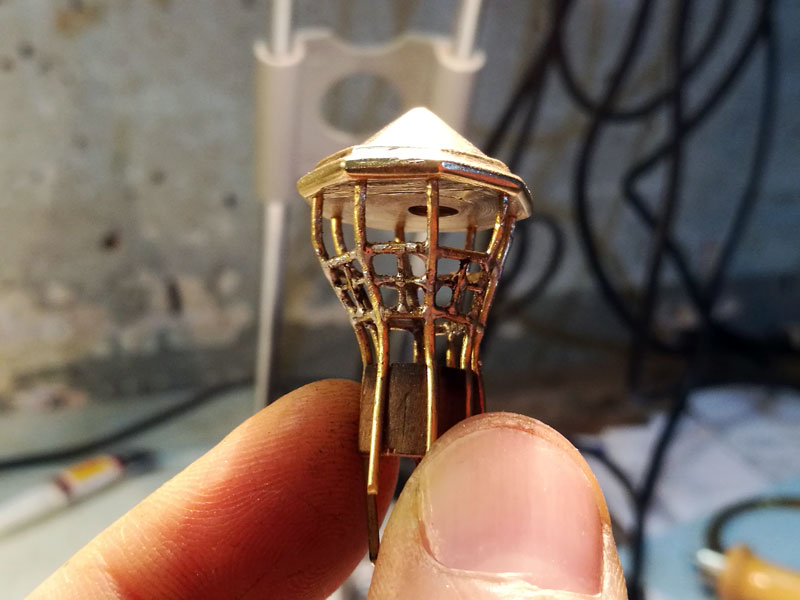
Continue I realized that I have mounted the hat of the light on the contrary, but fortunately it's only temporary, to make pictures....
- 738 replies
-
- 23
-
-
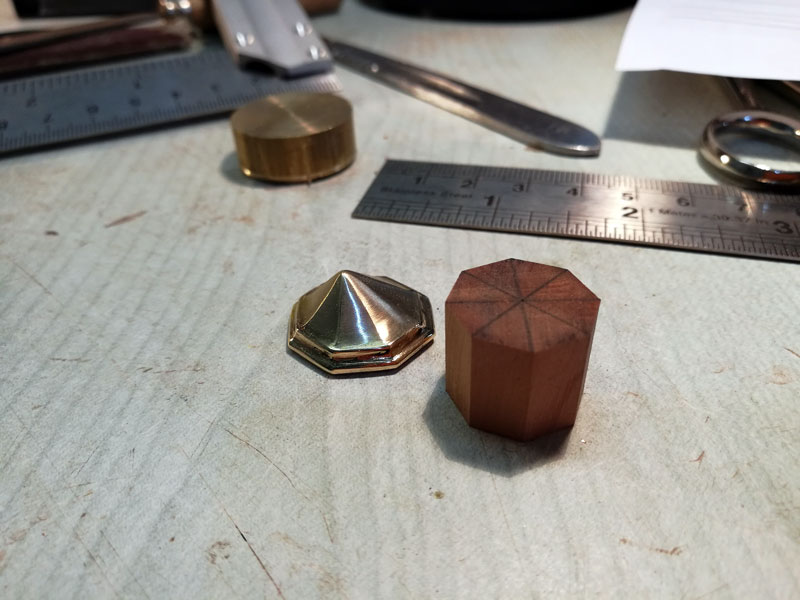
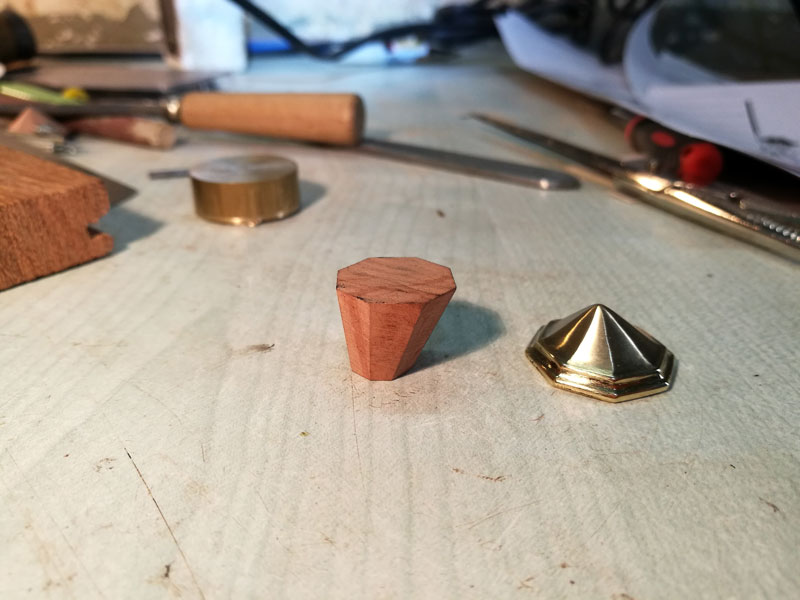
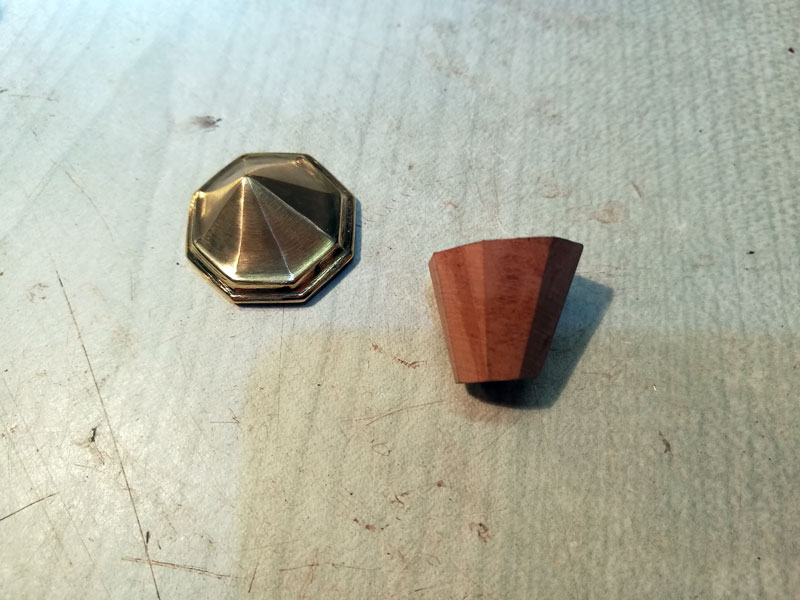
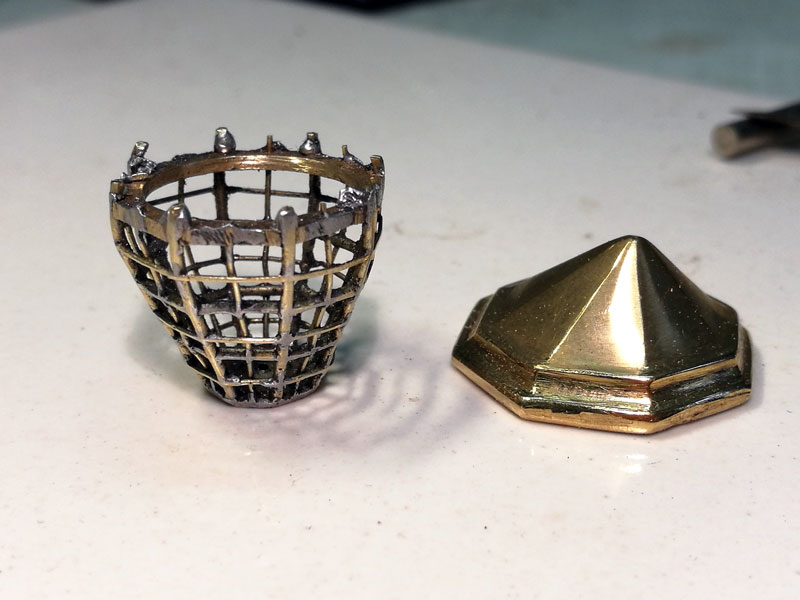
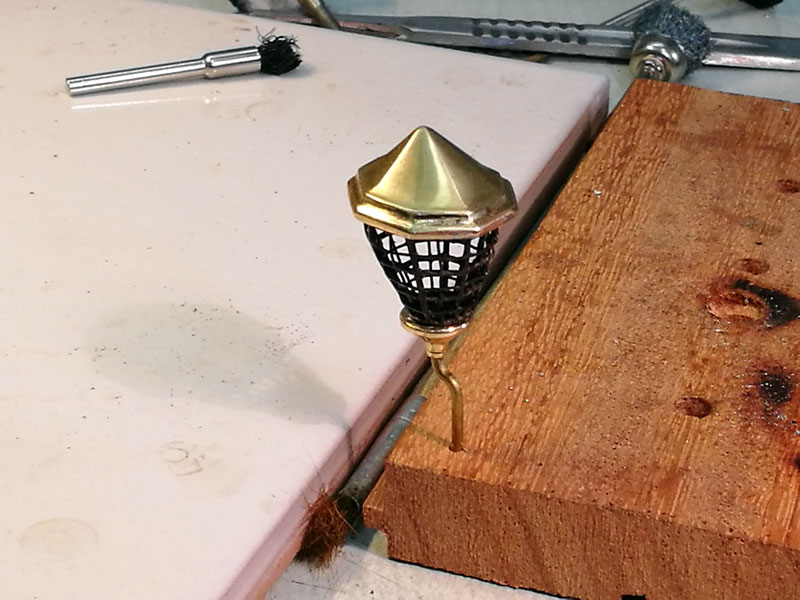
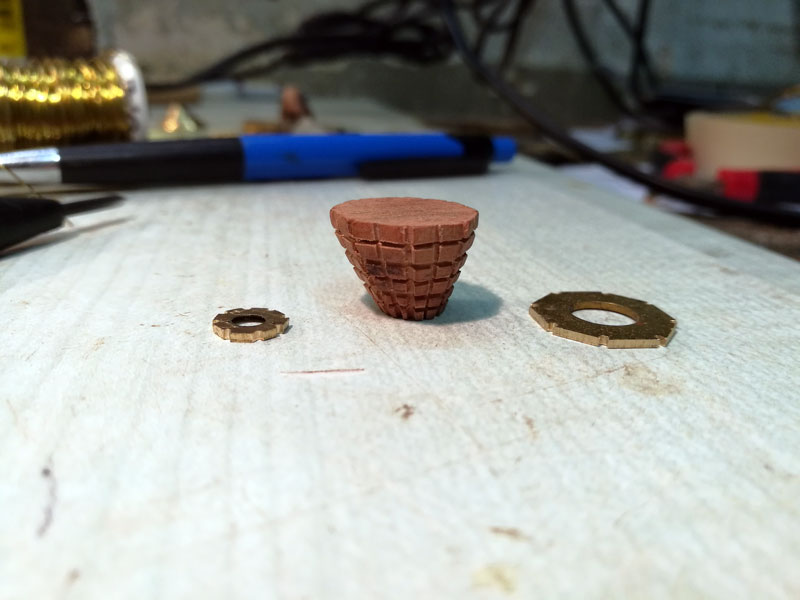
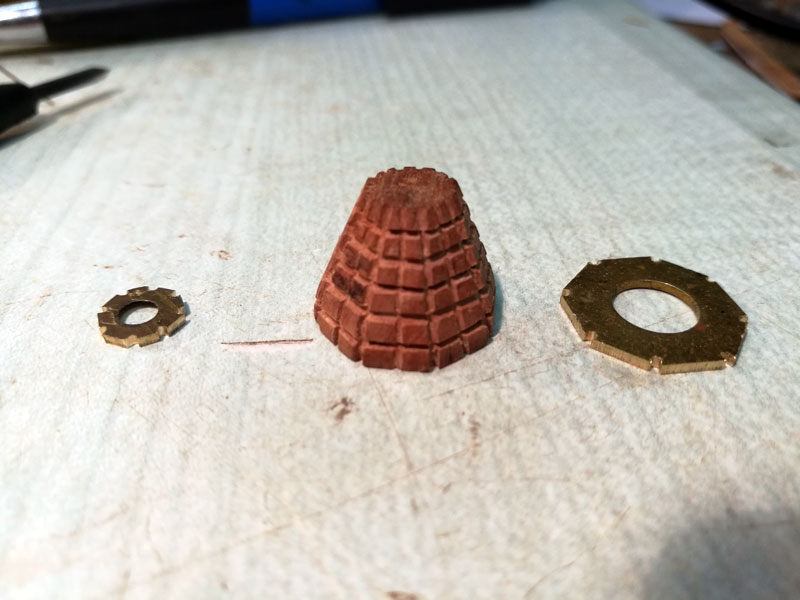
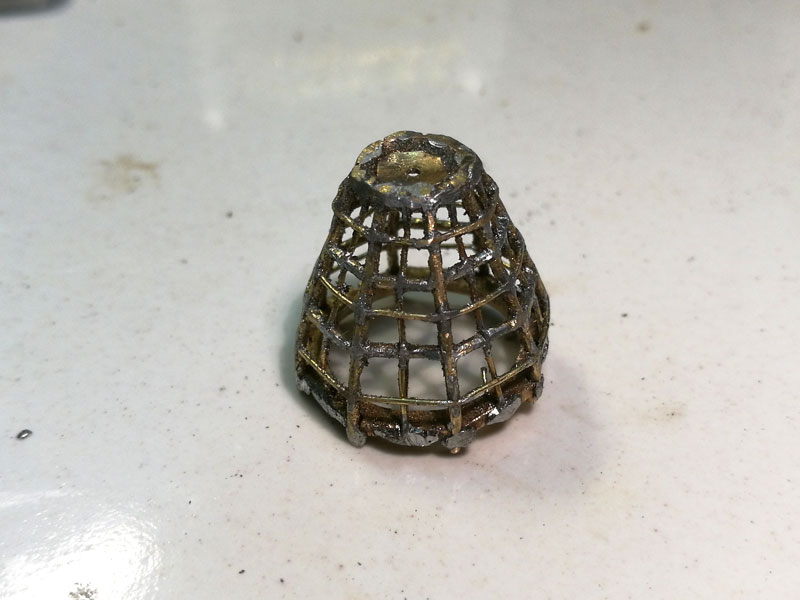
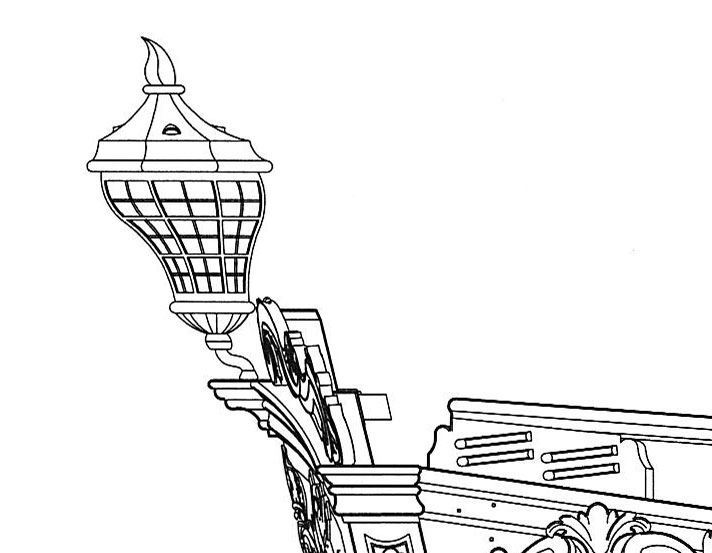
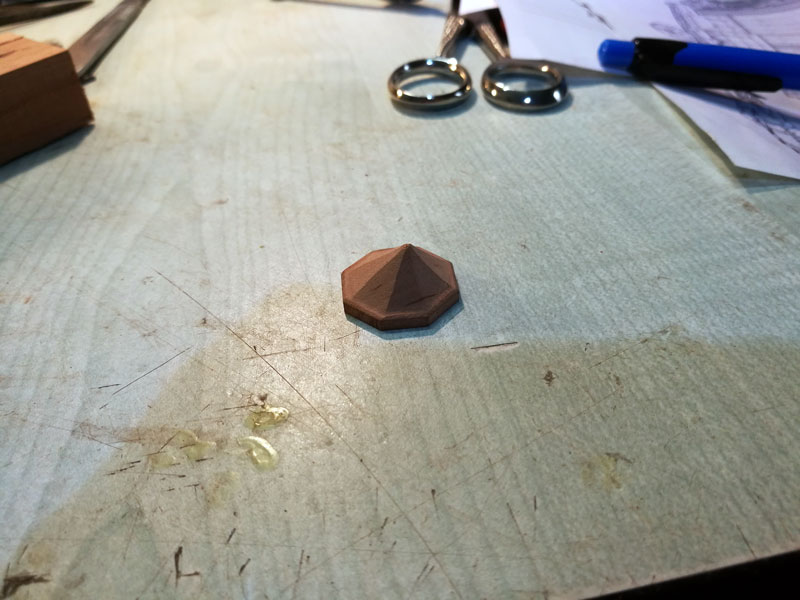
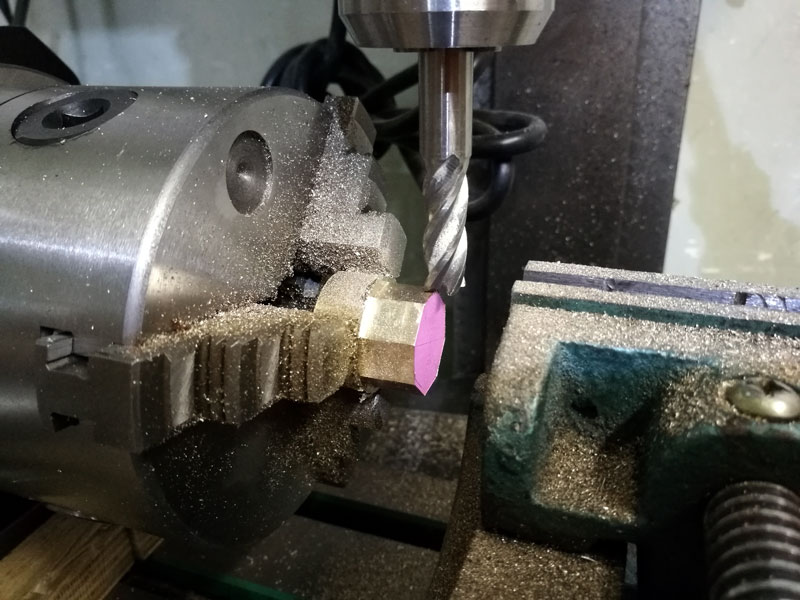
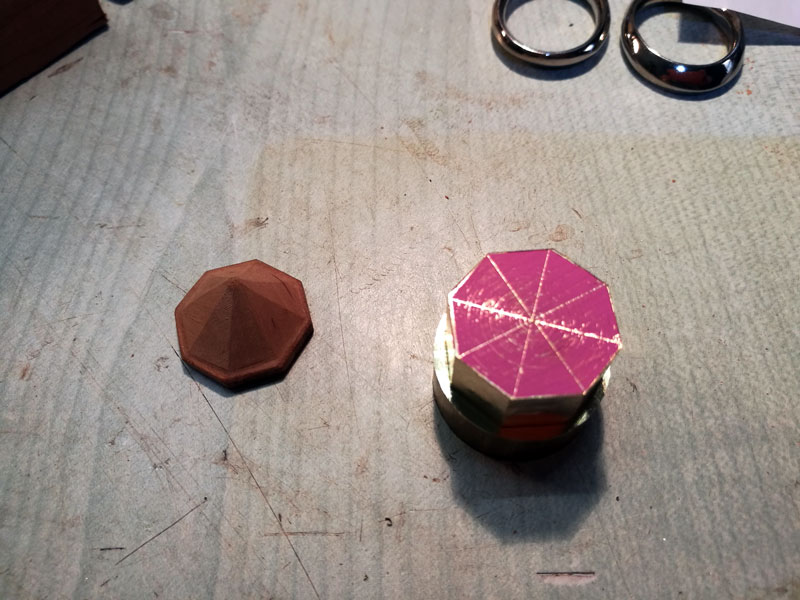
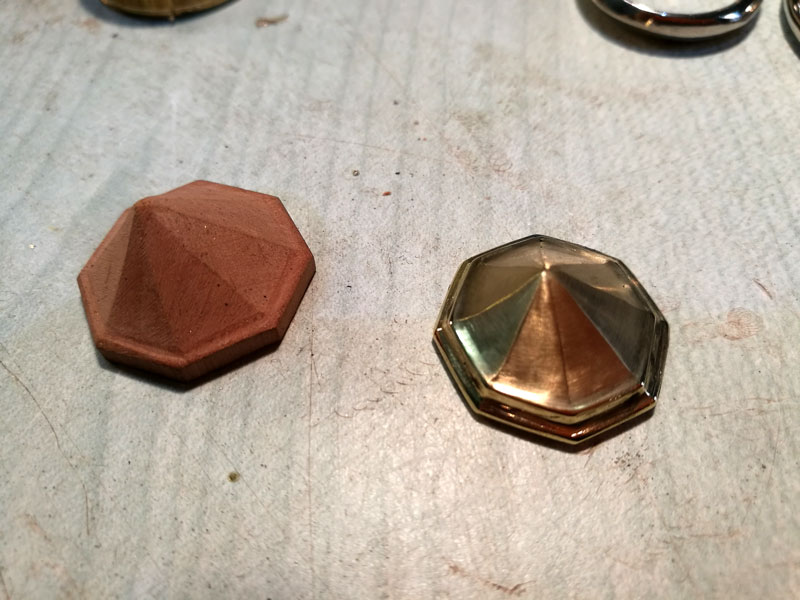
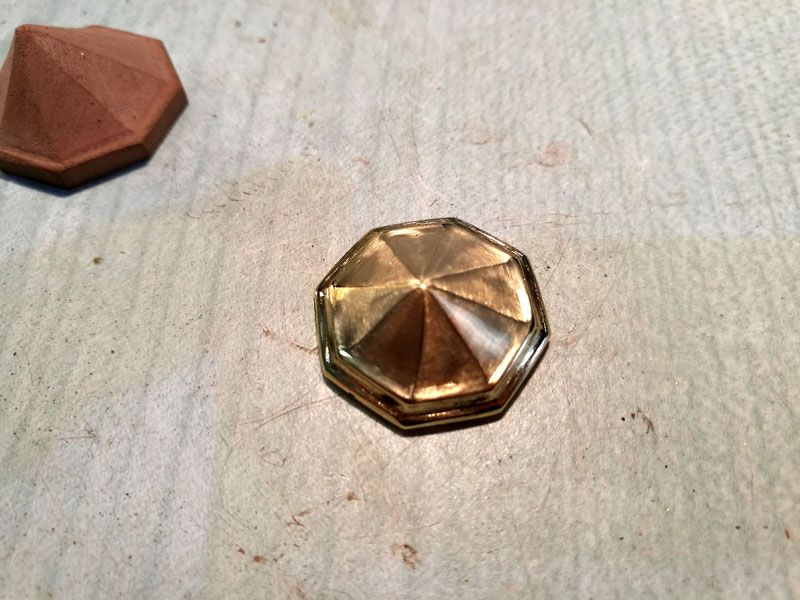
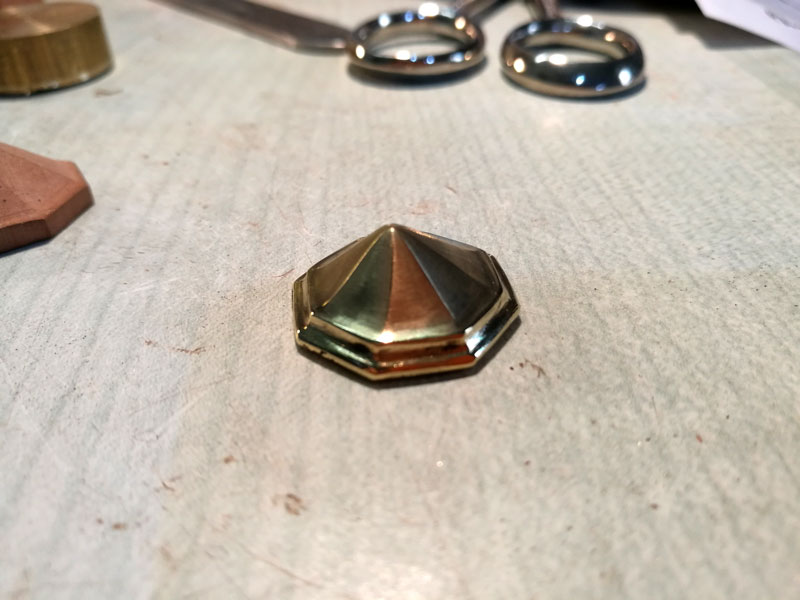
These days I am trying to build a sternlight. I began by its cover I first made of wood, in order to understand the forms, and then I tried to make brass.

- 738 replies
-
- 10
-
-
-
Wellcome back!!
-
Great job!!! Pure art!! Could you show a little more detail the implementation of the ruling wheel?
-
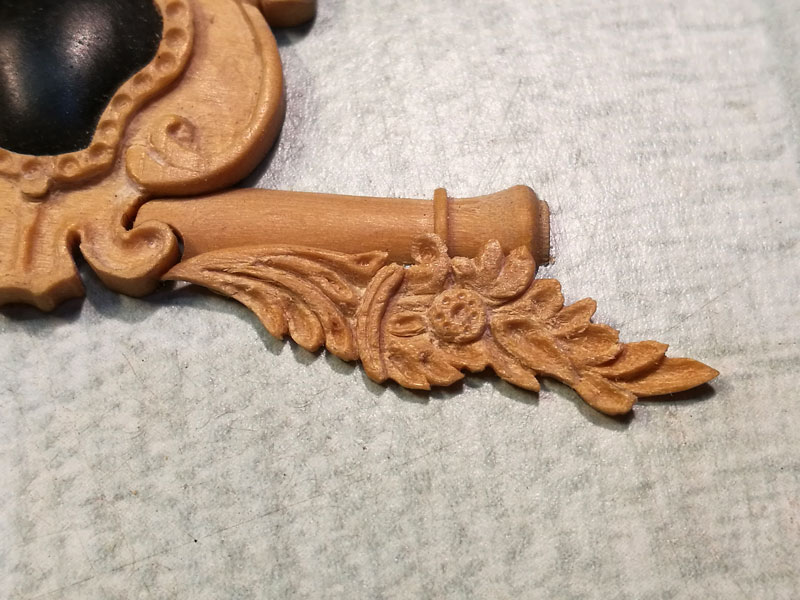
Thank you for your likes, friends! I also completed the serpents of the starboard side


- 738 replies
-
- 29
-