Old Collingwood
-
Posts
12,104 -
Joined
-
Last visited
Content Type
Profiles
Forums
Gallery
Events
Everything posted by Old Collingwood
-
 Amazing work - truly wonderful work. OC.
 -
That is looking mighty fine Mike - and love the tools - some of those scribers are worth thier weight in gold. OC.
-
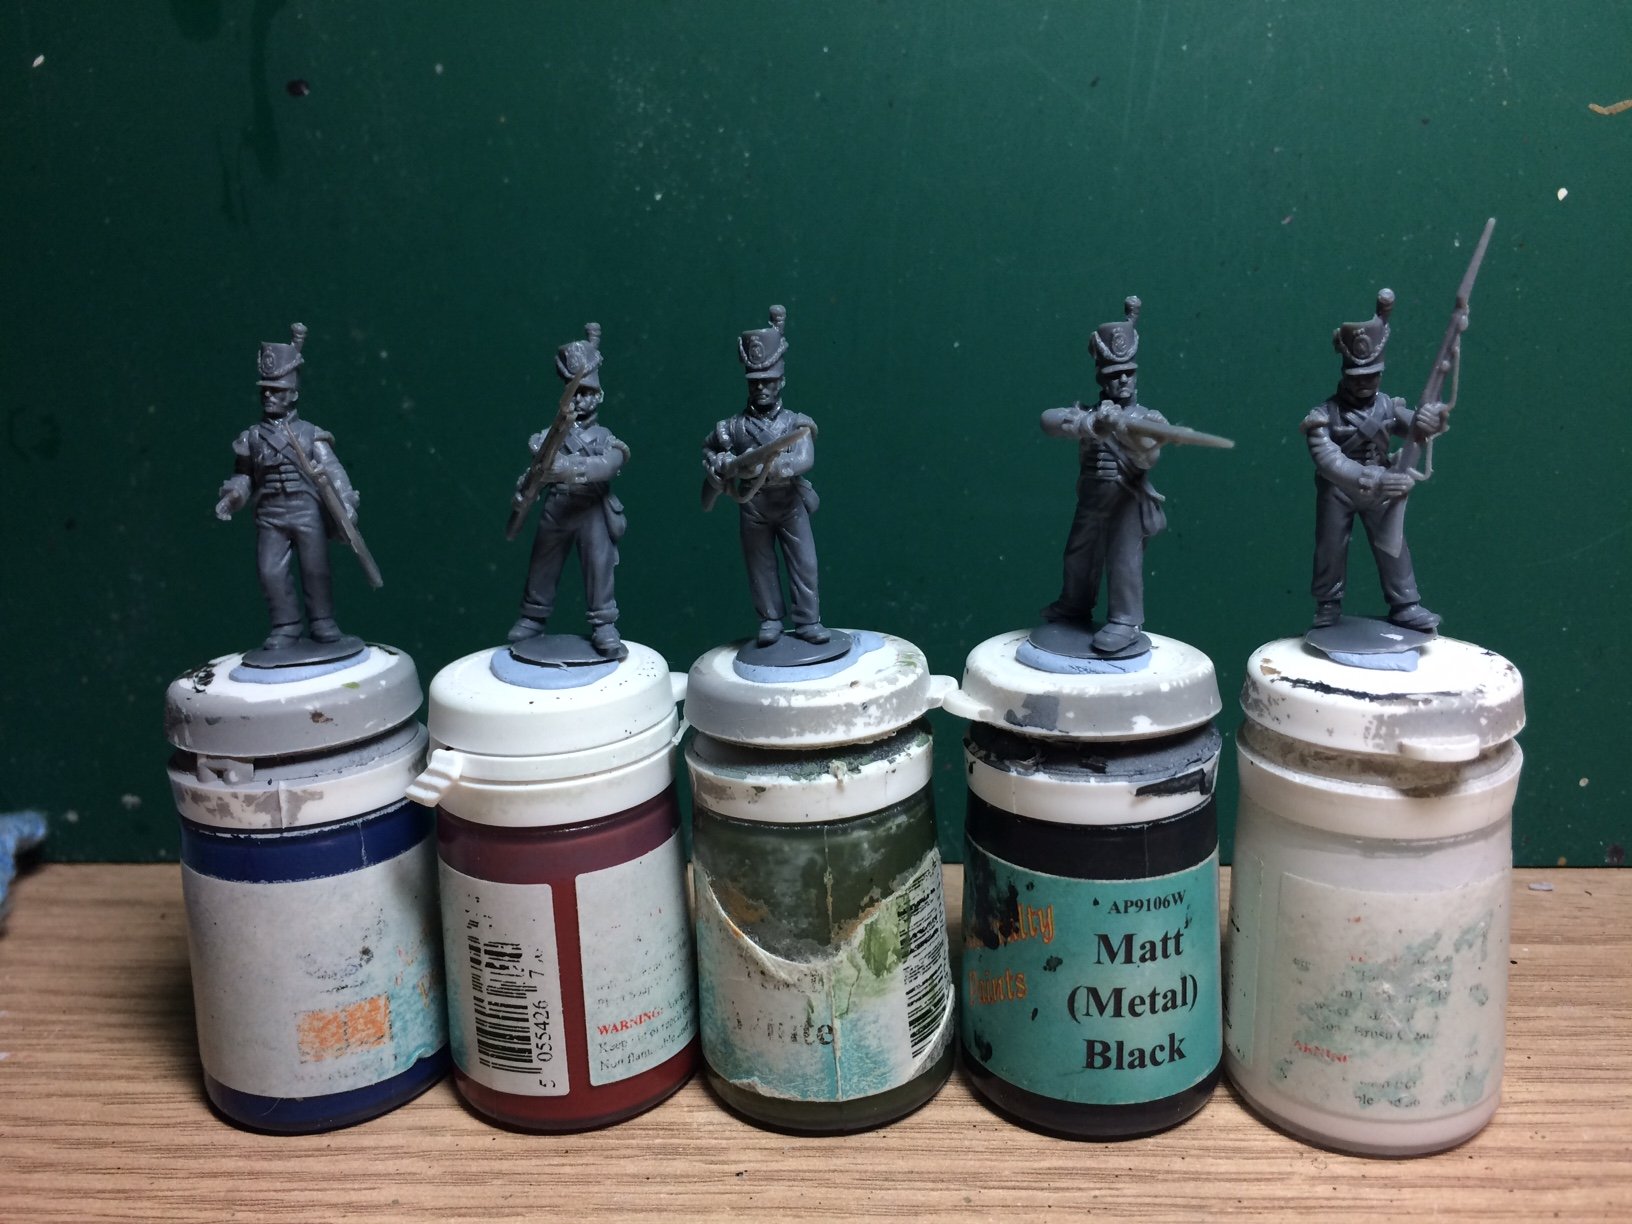
Evening all, Five more KGL assembled with arm positions varied same with the heads - careful application of heat and a bit or persuasion to get the pose I want. OC.

-
Panzer II by jct - Tamiya - 1/35 - PLASTIC
Old Collingwood replied to jct's topic in Completed non-ship models
That really looks the part - figures are not the easiest things to do a good job of, he looks splendid. OC. -
Great work coming along here - just cant beat these simulated brick builds - by the way is that Prussian Blue I see in your paints behind - how do you find it regarding its Flat Matt finish? OC.
-
Sorry mate - my sense of humour,🙃 I too have looked into sprayers but have fell back on rattle cans as my most convenient medium for spraying for me. however brush painting can still produce some amazing results. OC.
-
That is looking rather nice Kevin - I think if it was me building her I would be trying to super detail her also. OC.
- 322 replies
-
- 5
-

-
- enterprise
- caf
- (and 1 more)
-
Thank you so much. OC.
-
Loverly work - and very helpful with your explanations. OC.
-
Thank you for your imput Lou, always welcomed and appreciated.👍 OC.
-
Looking really nice smooth paintwork and shasis looks like a good fit. OC.
-
You still on oil mate? I have had a conversion part fuel part static - mind you the later is from me dragging my slippers on the floor as I walk. OC.
-
You could always get a model of an airbrush to start with - then get an airbrush to paint the model airbrush - "Gonna stop there - just getting too weird"😁 OC.
-
You know you can't resist Mike - neither of us can. OC.
-
No worries mate. OC.
-
Thank you kindly Edward. OC.
-
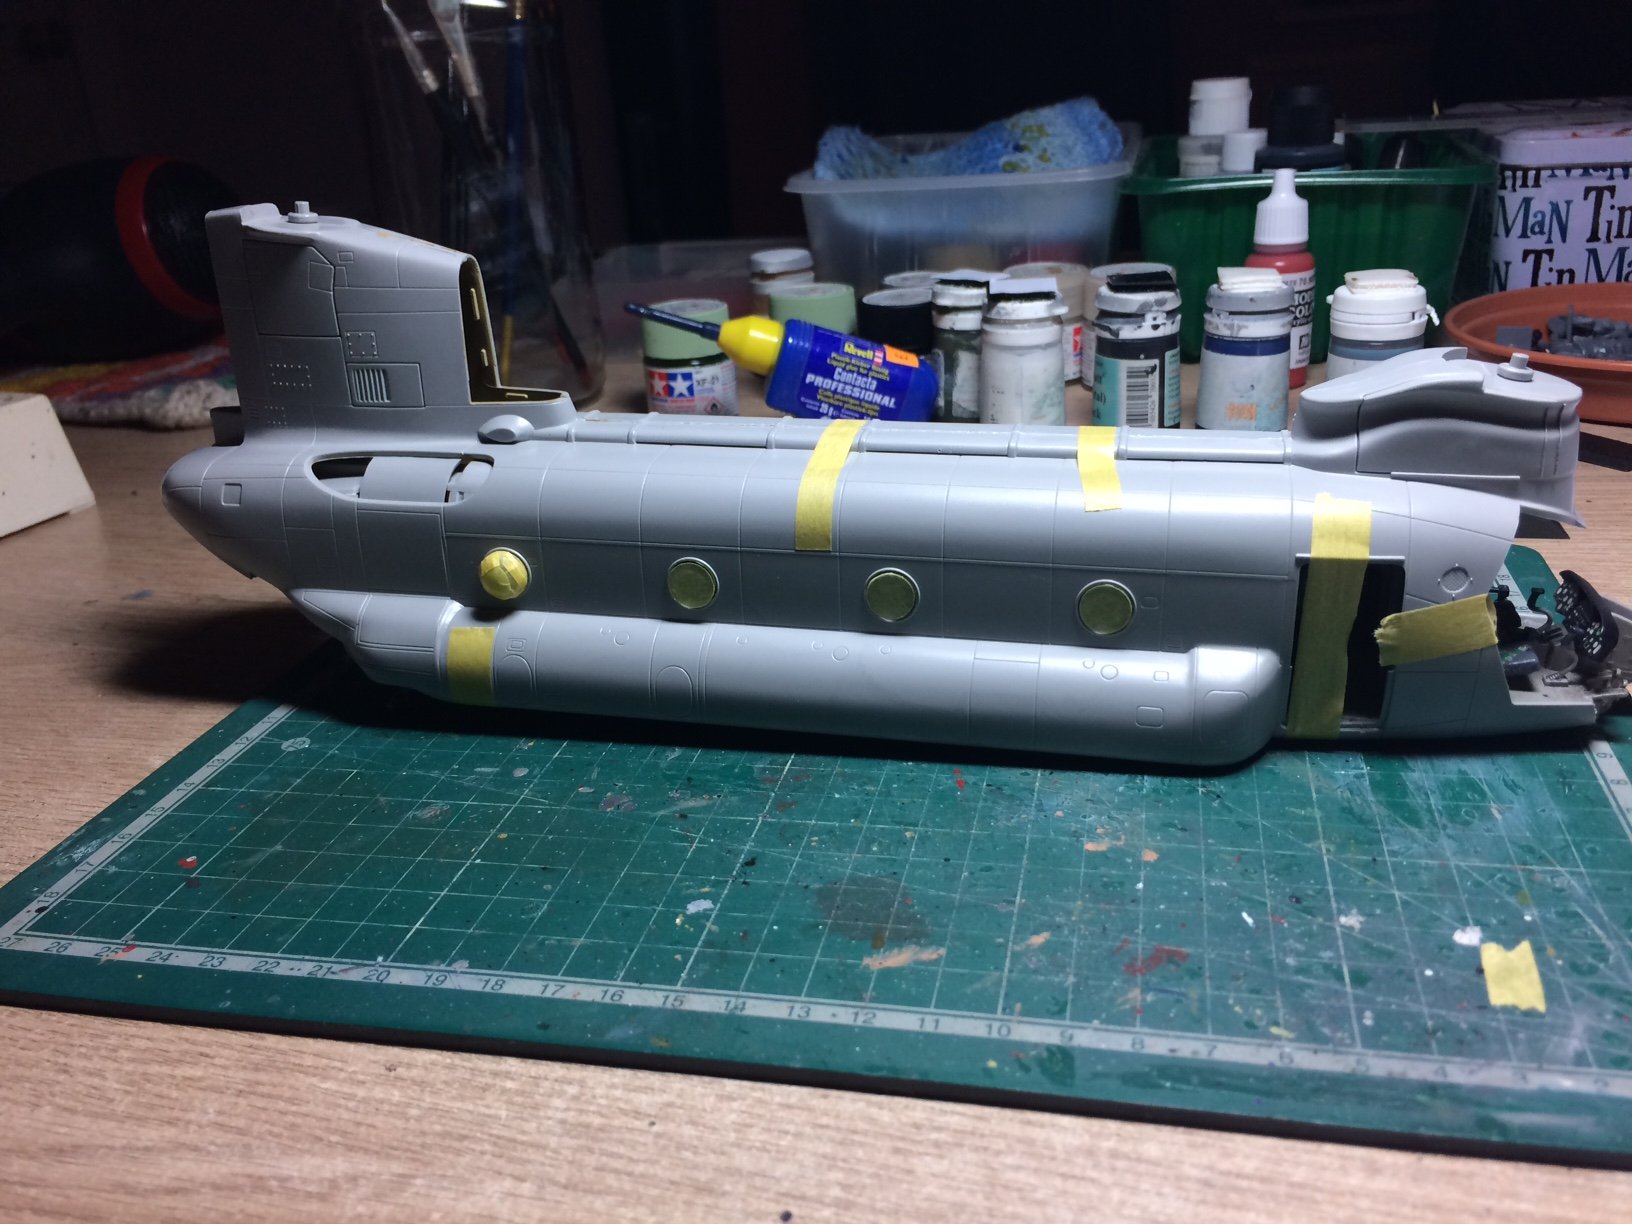
Thanks Mark, I wonderd that - even went searching for modified chinooks RAF ones in the field, but all had the windows intact, I dont know it these windows could be opened or are fixed in place. OC.
-
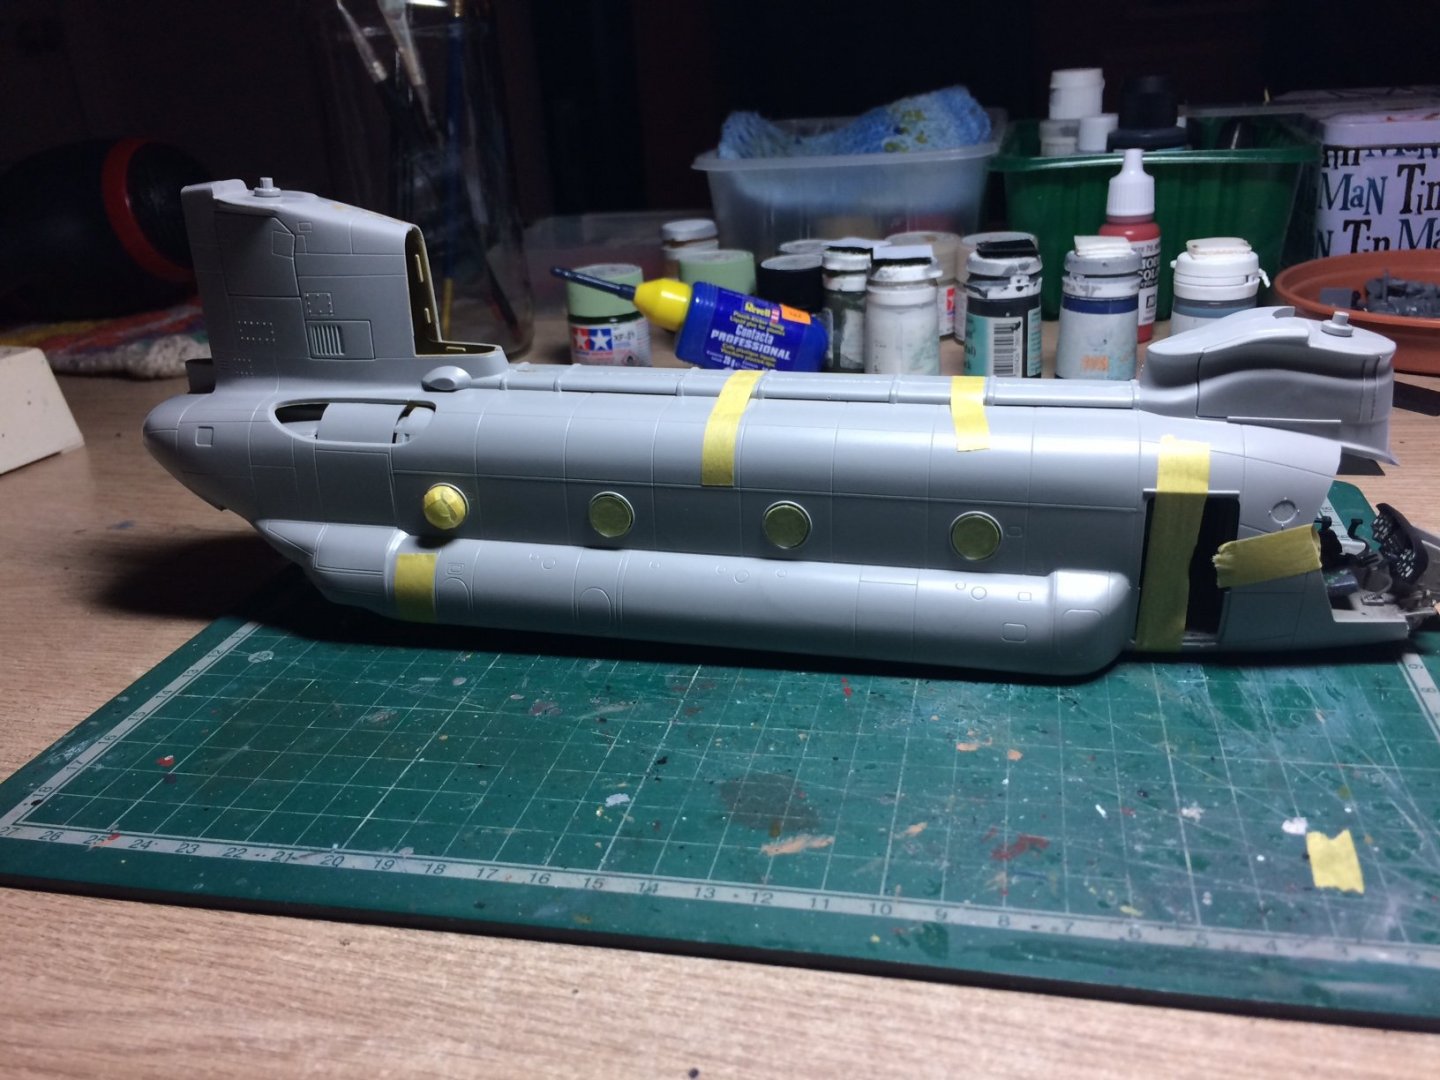
I think I have rescued it - I have masked the windows including the domed ones at the rear, then I attached to Two rotor head mounts - then I was able to glue the other outer shell in place, it will need some tidy up work along the spine of the hull roof. So this is where I am at the moment. OC.
- 283 replies
-
- 11
-
-
Thats a good heads up Mike thank you, and thank you for the good wishes. OC.
-
Very clean smooth finish mate. OC.
-
Thanks Lou. OC.
-
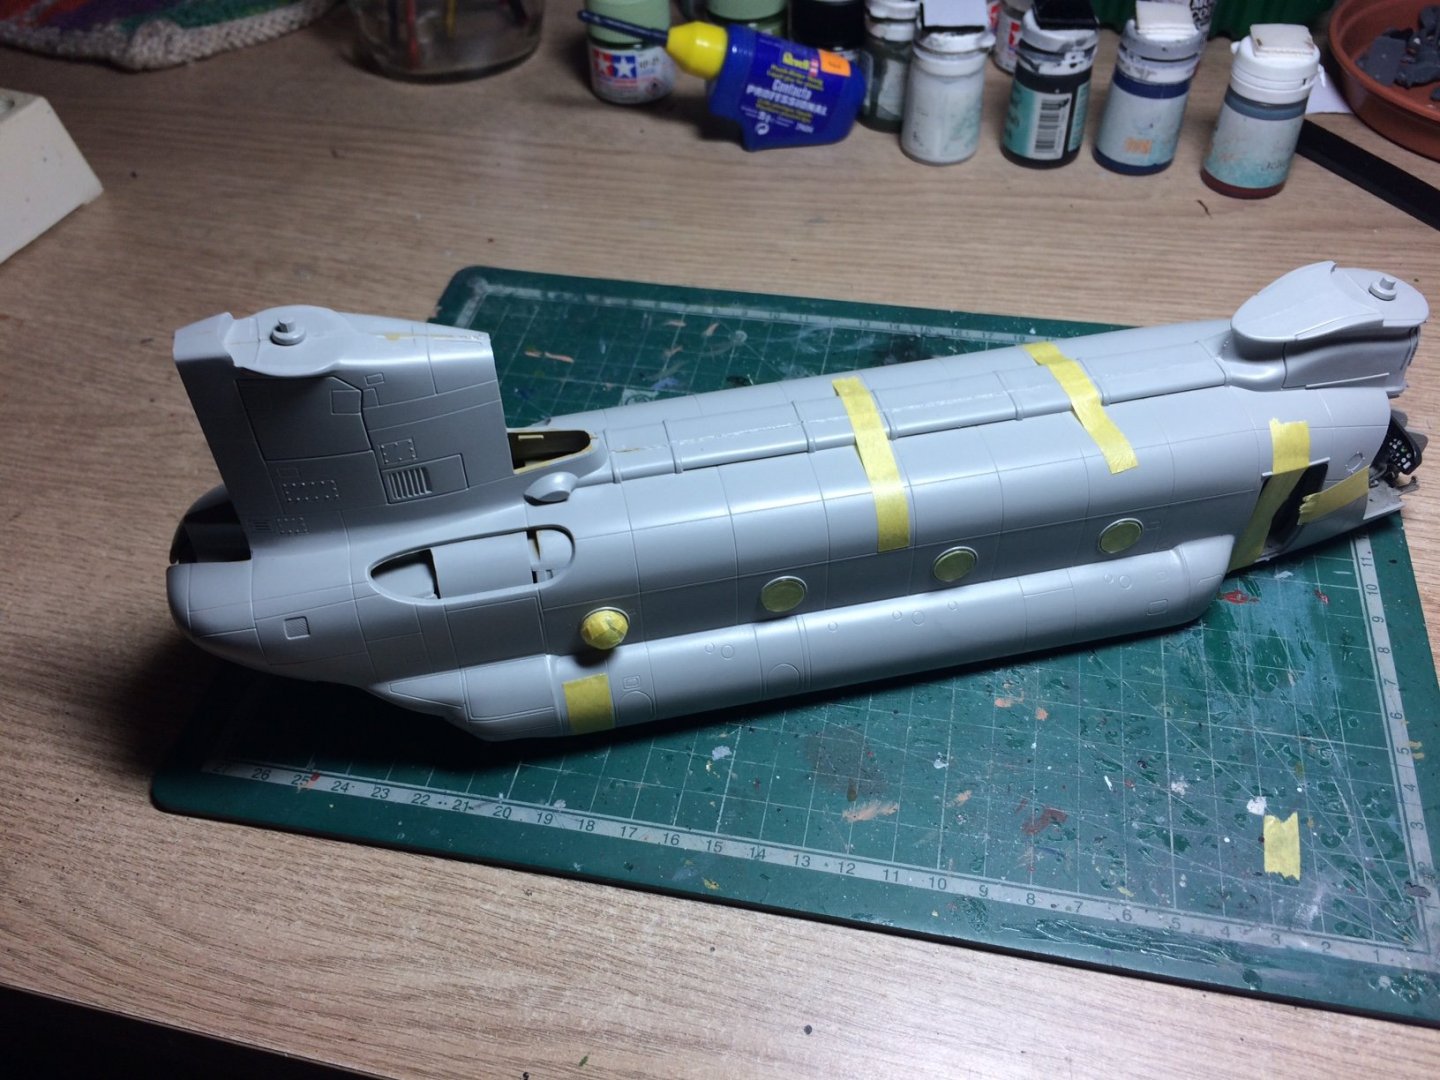
I think I may have rescued it................I dragged it out of the cupboard and remembered I had some fine wire I used to use for dabbing on ca glue, anyway as the Inner section is only joined to teh outer on one side, I was able to push the wire through and push the windows back into place, then run some poly around the outside frame - it wasn't the most ideal but I have some masks and will see if I can cut them a mil or so smaller to allow paint to cover any glue around the edges of the glass, its going to be rattle can primed then colour coat painted anyway, so that combination might cover my errors. "I Hope" OC.
-
Hi Mark, trouble is I only have whats to hand and thats only revell poly. But...................... Read below. OC.
-
I shall jump straight back into this tomorrow and do some more KGL infantry, trying to get my head round if I can change the stance of a few of them, as a few (well more than a few) were lying on the slanted roofs, and there are no figures in that stance in my stash - will have to see what I can do. OC.
-
Im here mate - looking forward to this. OC.