Old Collingwood
-
Posts
12,106 -
Joined
-
Last visited
Content Type
Profiles
Forums
Gallery
Events
Everything posted by Old Collingwood
-
 Thanks Ken. OC.
 -
Thanks Ken, yep the rear roof area in the kit is a bit "basic" you can get update sets that include that area - but just as good to fo it yourself. OC.
-
Hopefully - we will see you back at full pelt - its been fairly quite around here. OC.
-
Sincerley warm welcome back mate - hope all is good and well with you and the family, its great seeing you back in "Plastic World" OC.
-
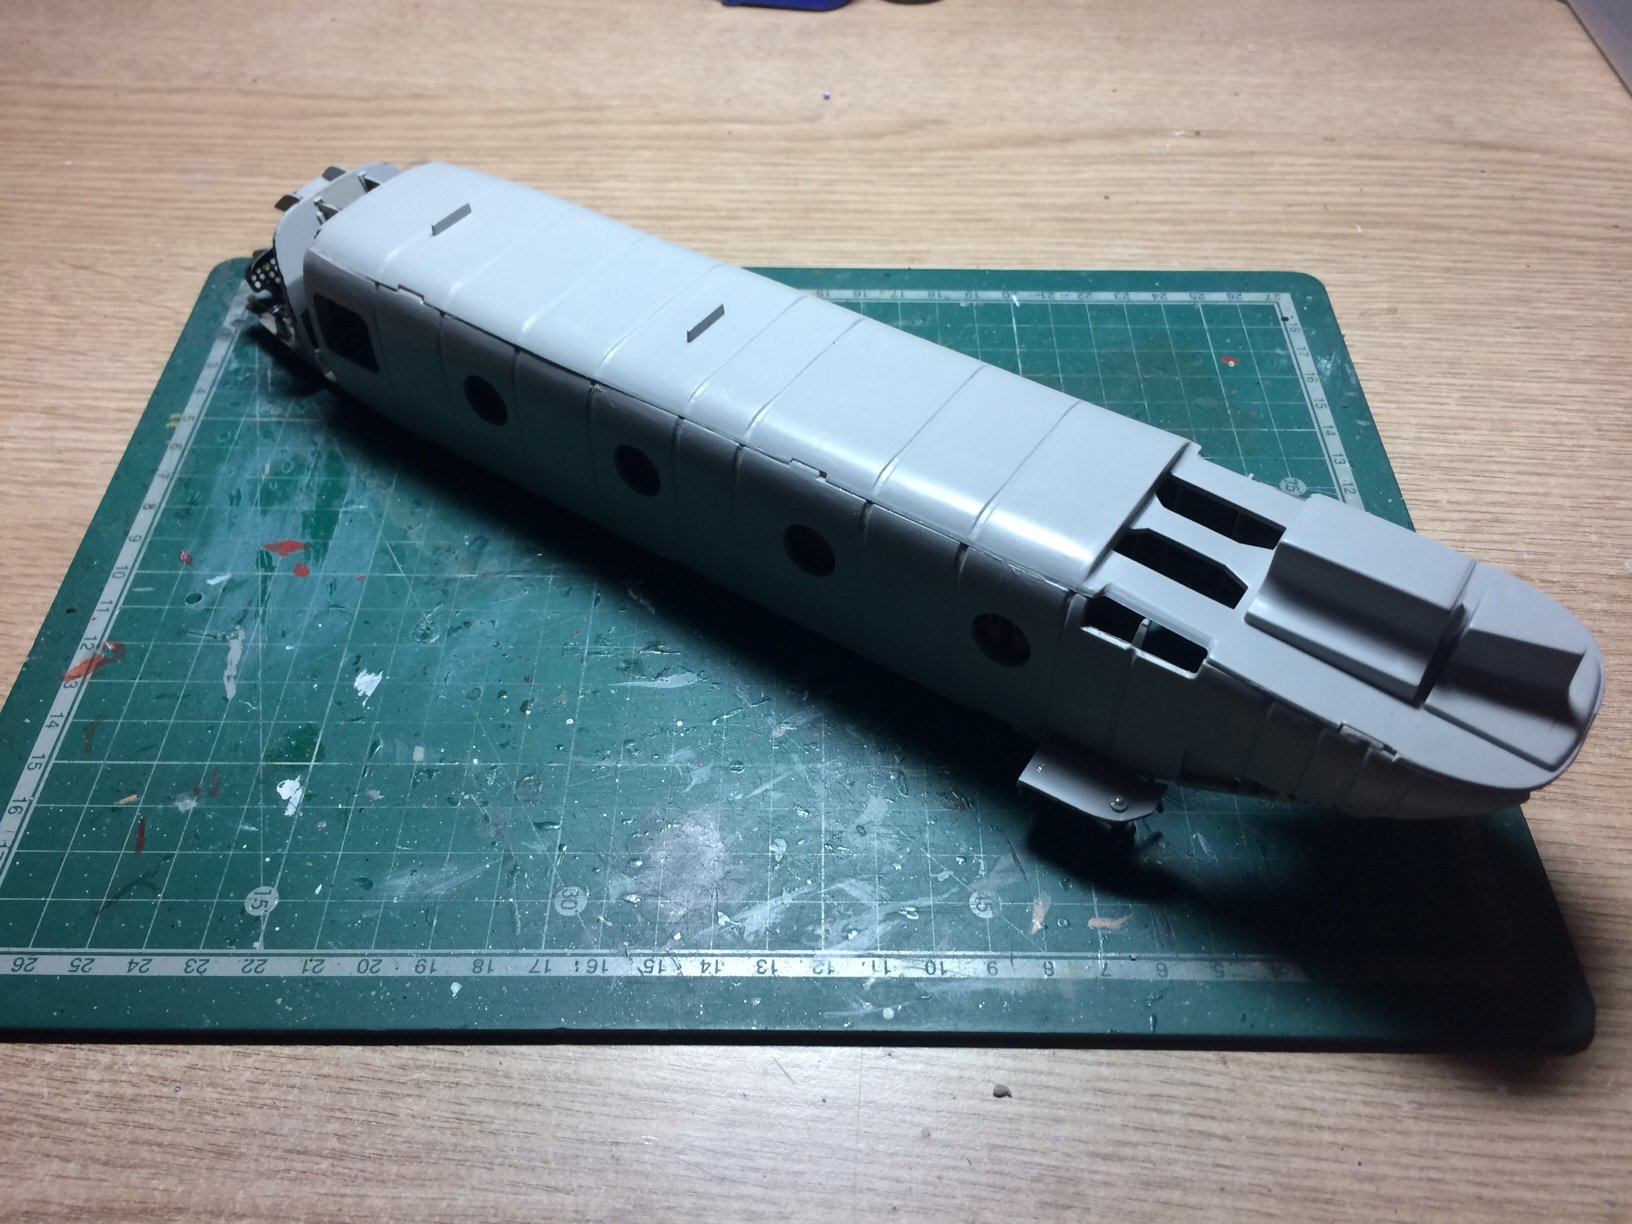
Evening all, I made some good progress today - I started on the rear roof area above the ramp, this area in the kit is a little bit bare of any detail, so after looking at some photos online - some scratch building was called for, so some card and a few other pieces later and I had a plate to be glued to the roof, I also added another one slightly smaller - then a few coats of paint and a bit of shading and this is the result. OC.


- 283 replies
-
- 11
-

-
Thank you Edward. OC.
-
Thank you Lou, yep it was probably a requirement to amke sure they were tidy inside. OC.
-
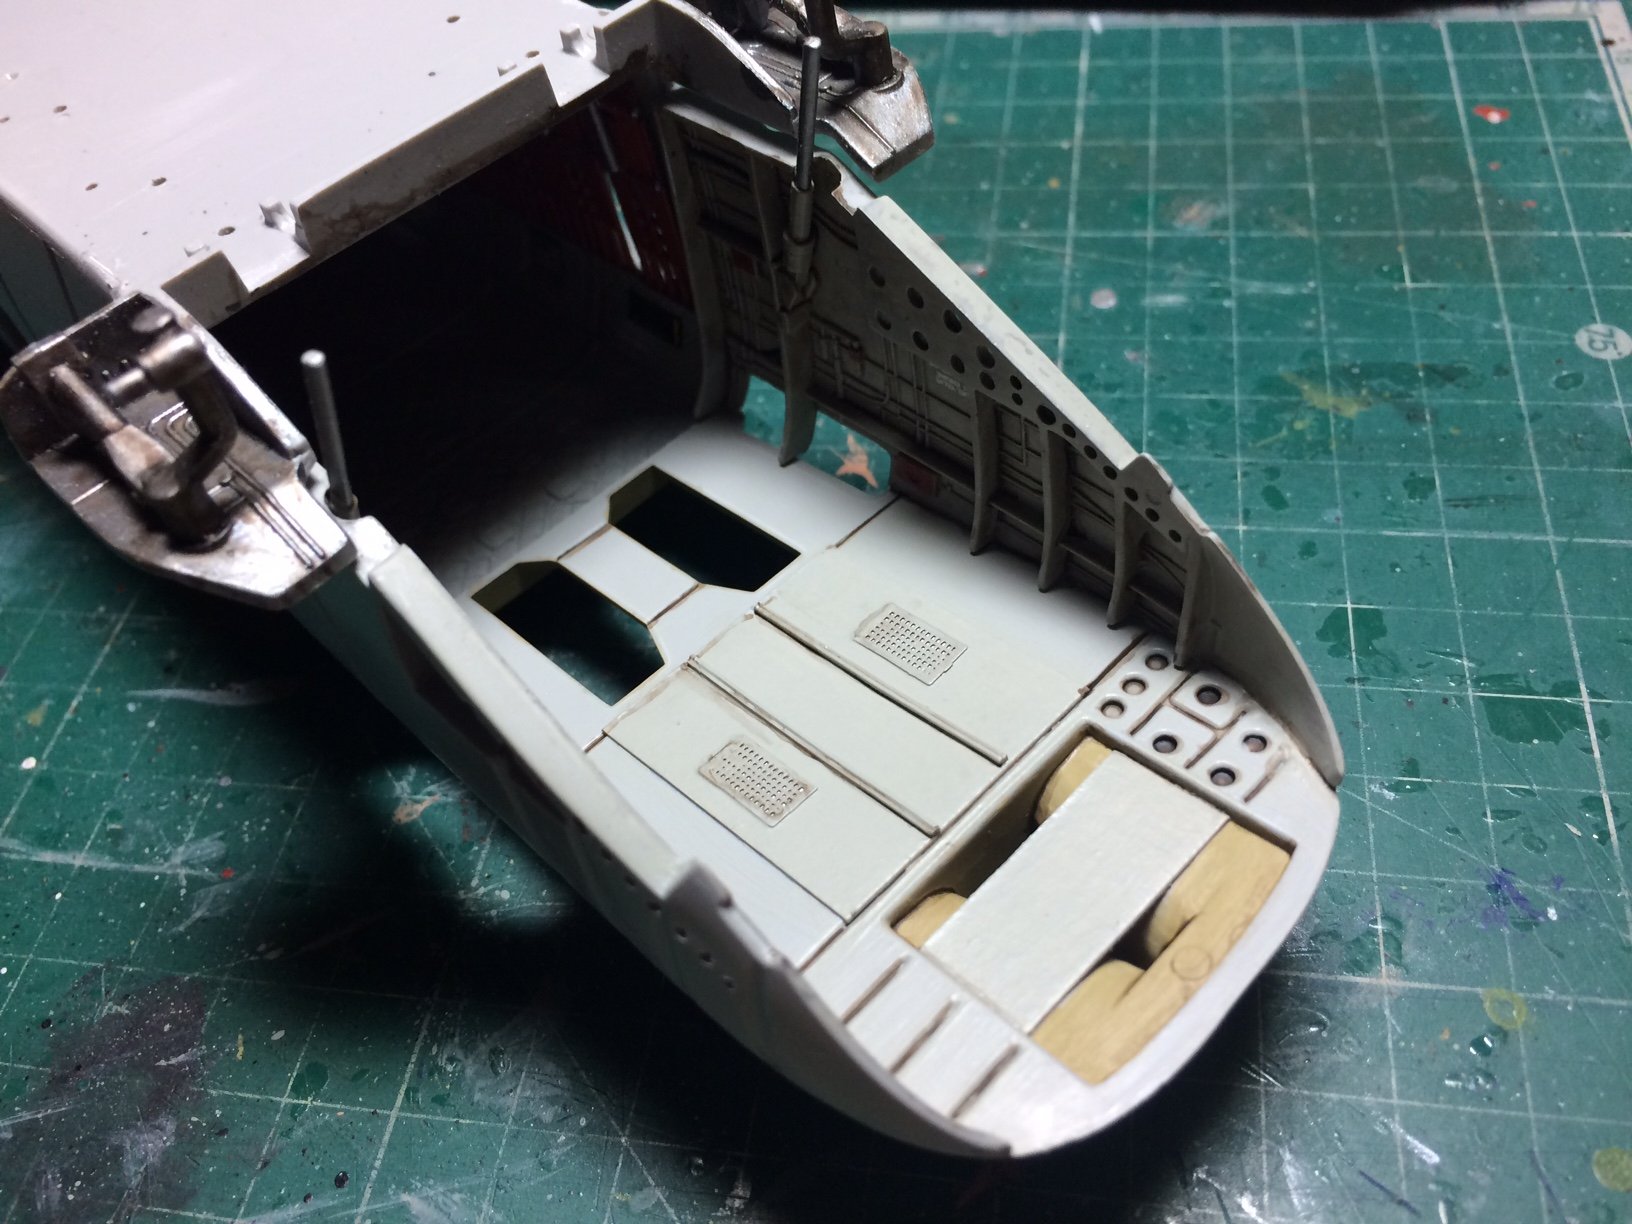
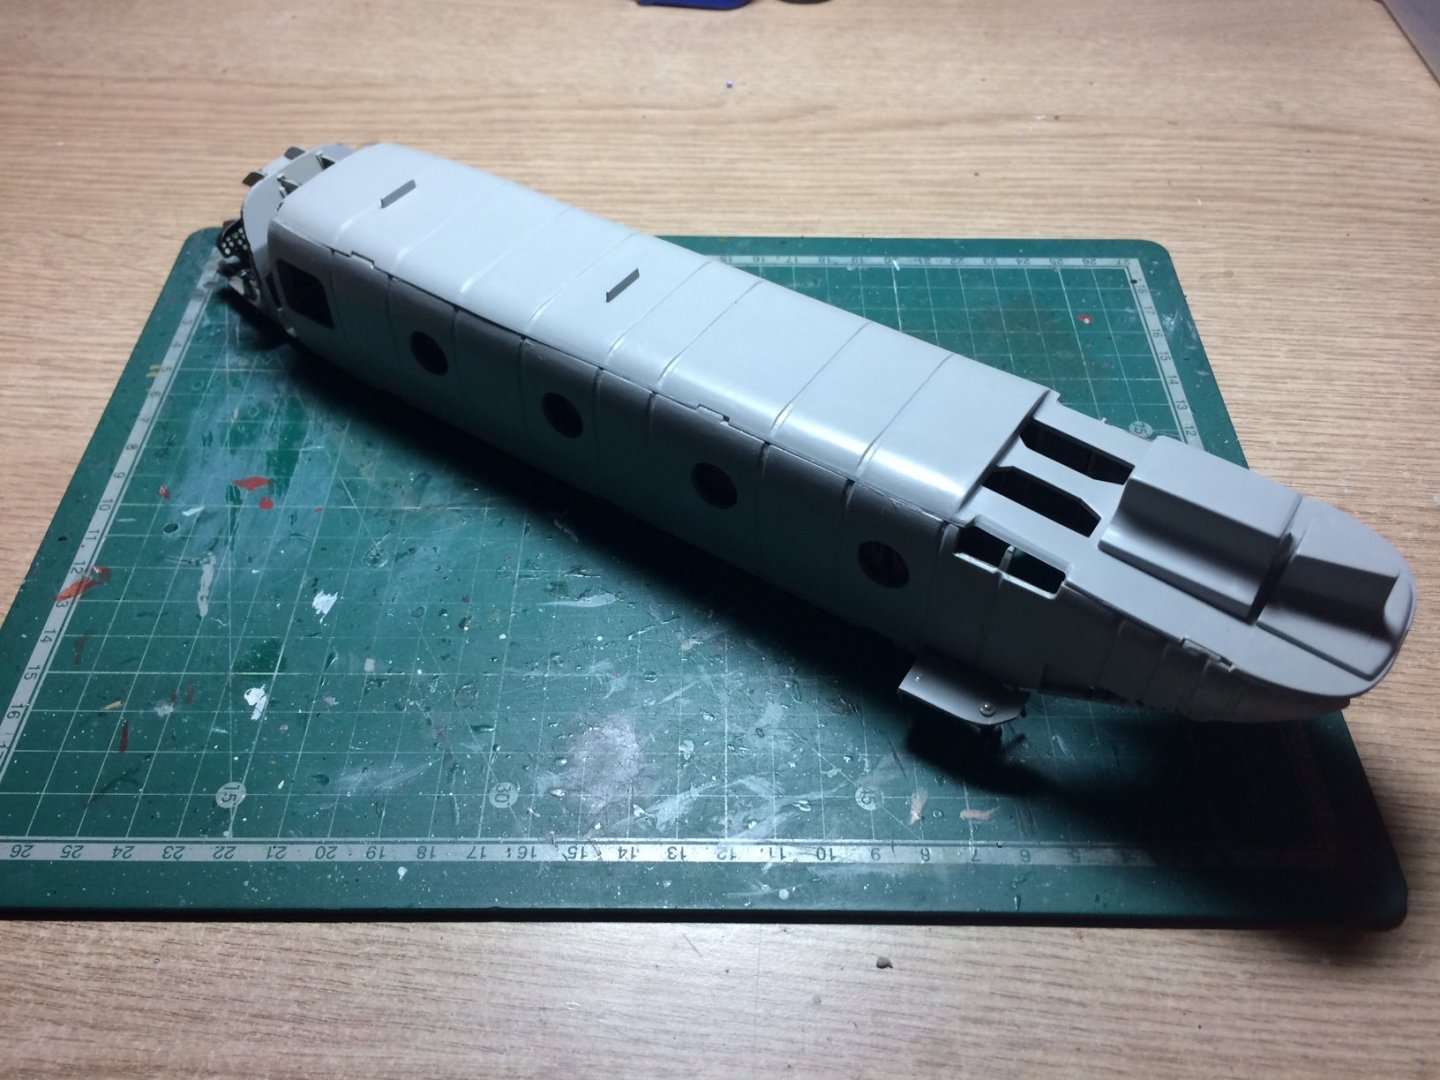
Evening all, I got some good progress done today - I finished off attaching the the other folded seats - then I glued both side walls to the floor, this was a fiddly operation getting the position right while not damaging the seats, I left them to set for a few hours then I located the roof part - this was dry fitted and I soon dicovered it needed a bit of wiggling to get it to lign up with the lugs and wall edges, after moving the side walls slightly I was able to glue the roof down - while positioning it while the glue was setting. So this is the inner section boxed together just needs some detail painting to the inner ramp roof area, before I can fit both outer sides. OC.

- 283 replies
-
- 10
-
-
Wood glue
Old Collingwood replied to H March's topic in Building, Framing, Planking and plating a ships hull and deck
Good advice Ken - you have covered all there is realy. OC. -
What I would be tempted to do with the end fraying is to keep it taut then serve it with fine thread near where you want the end to be to stop it fraying, you would only have to do about 5 -10mm. OC.
- 436 replies
-
- 2
-
-
- vanguard models
- alert
- (and 1 more)
-
Thank you so much Bob. OC.
-
Just found this - Wow that Ice machine looks amazing - never seen anything like that before. Hope you continue on a speedy recovery Jack. OC.
-
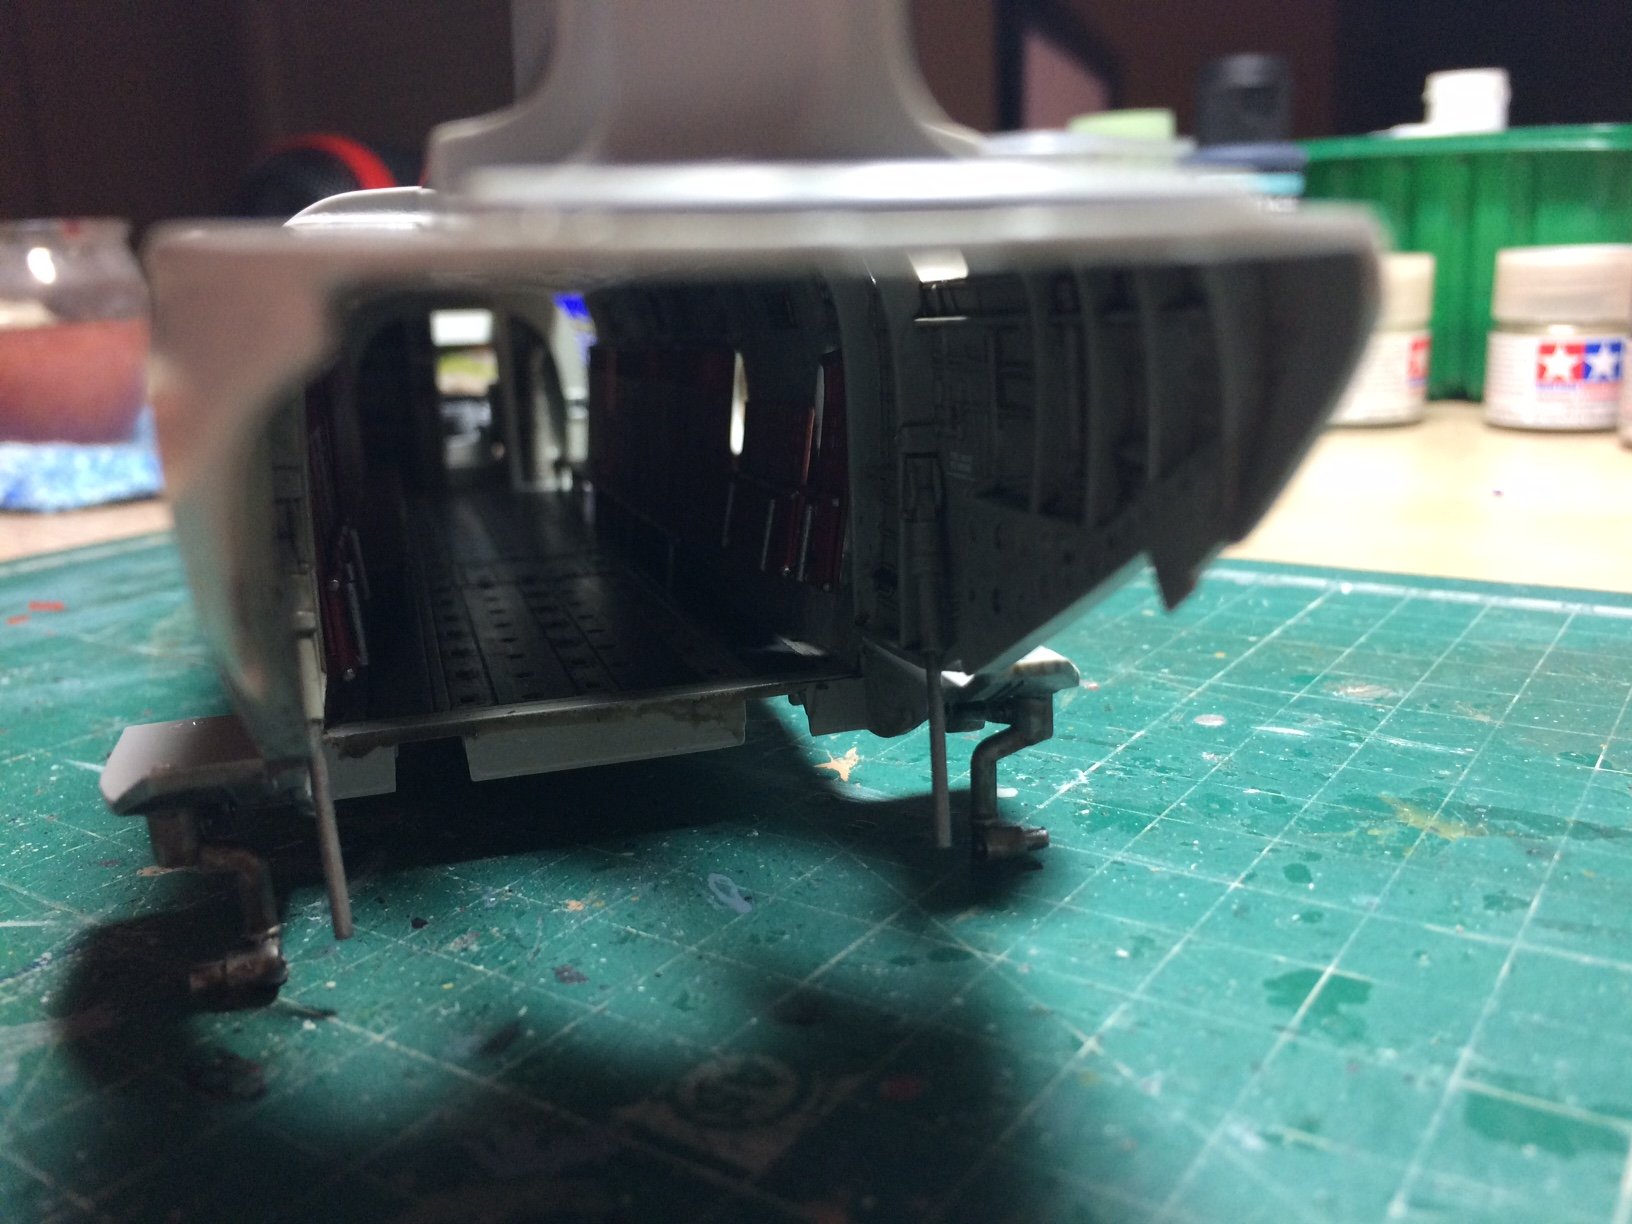
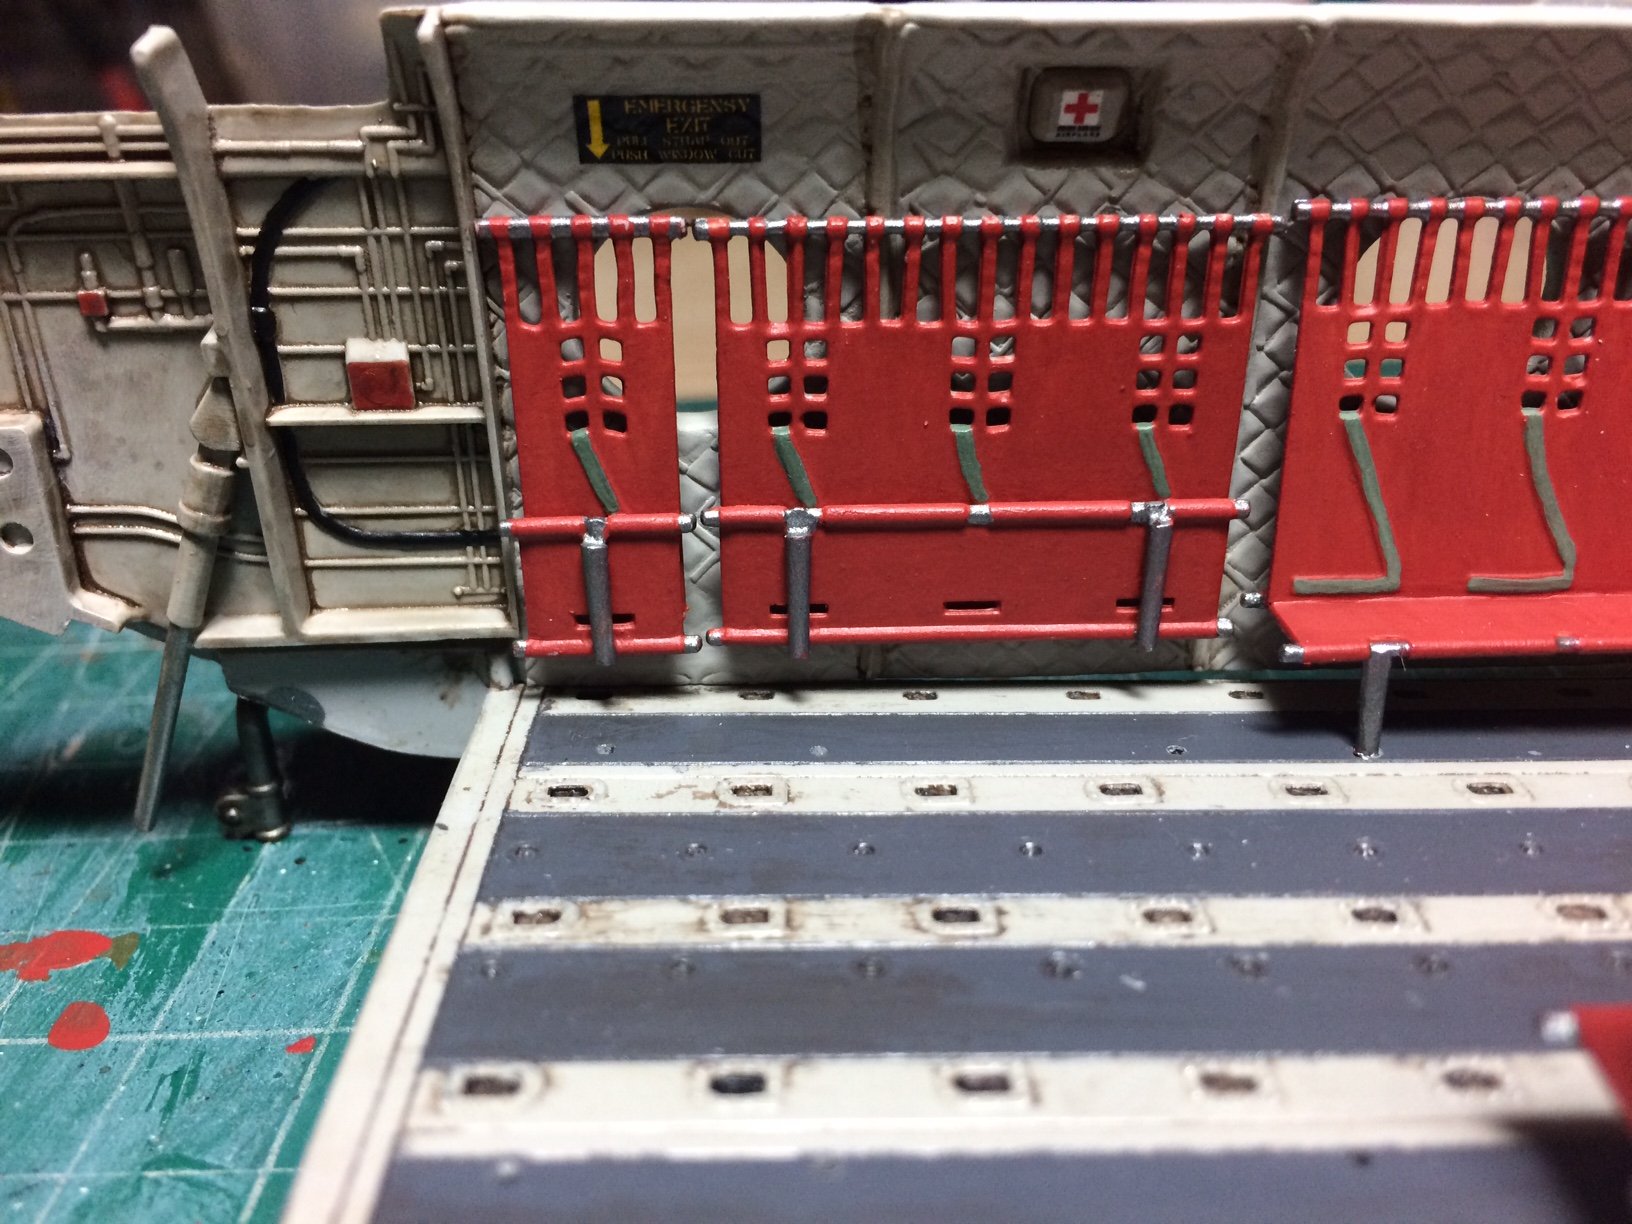
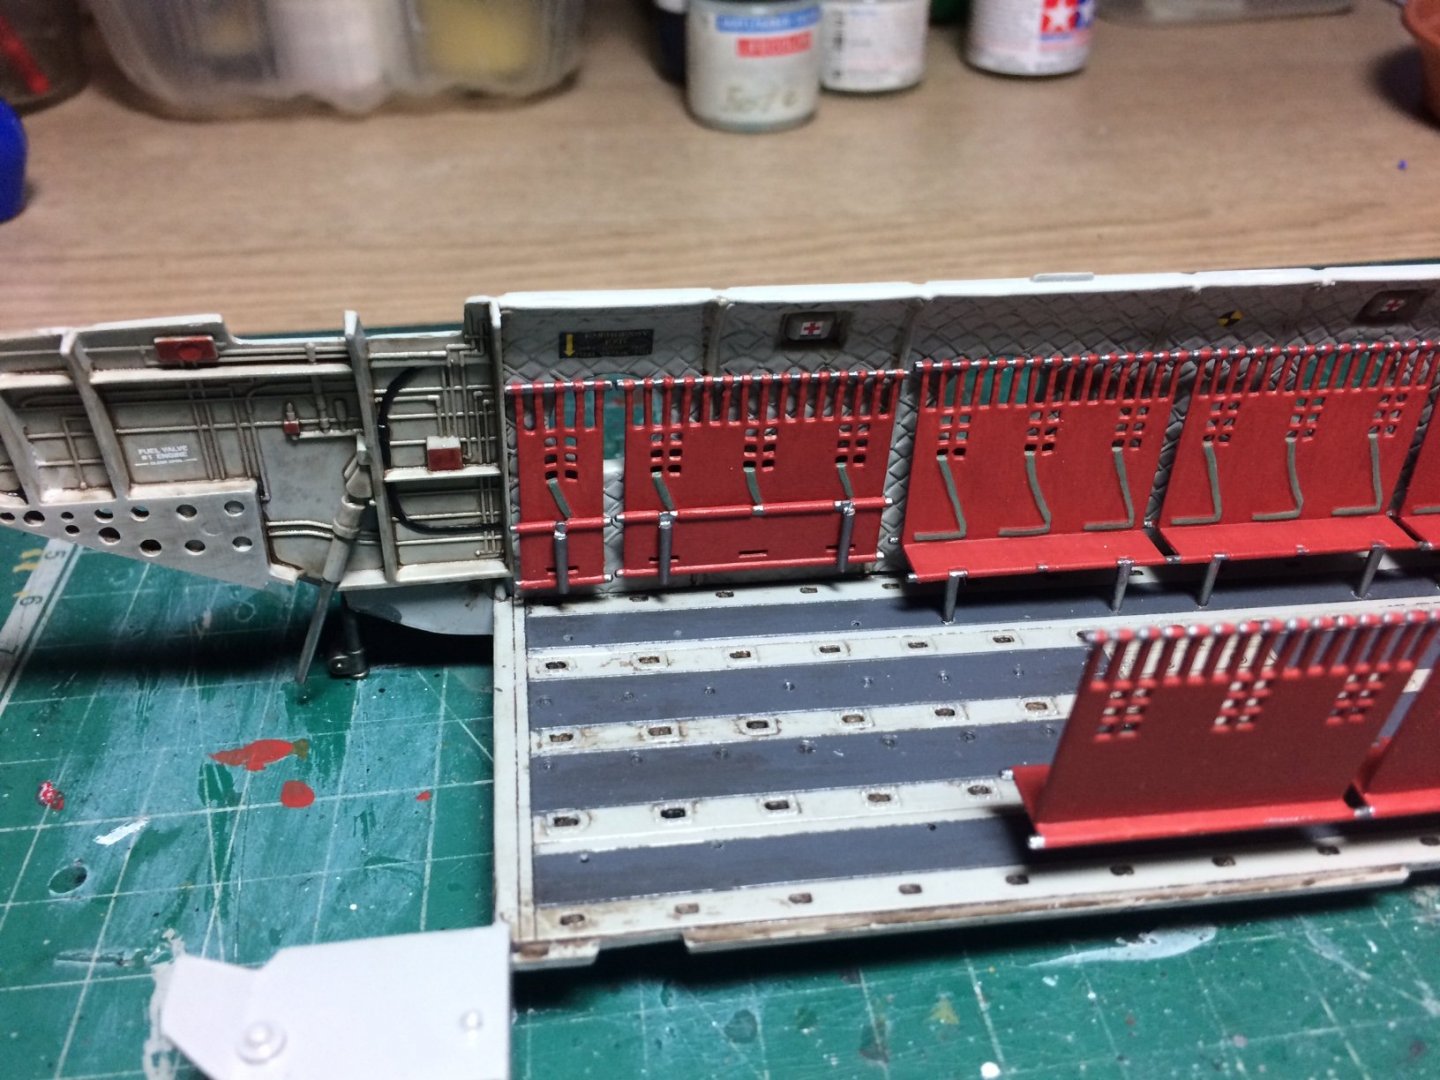
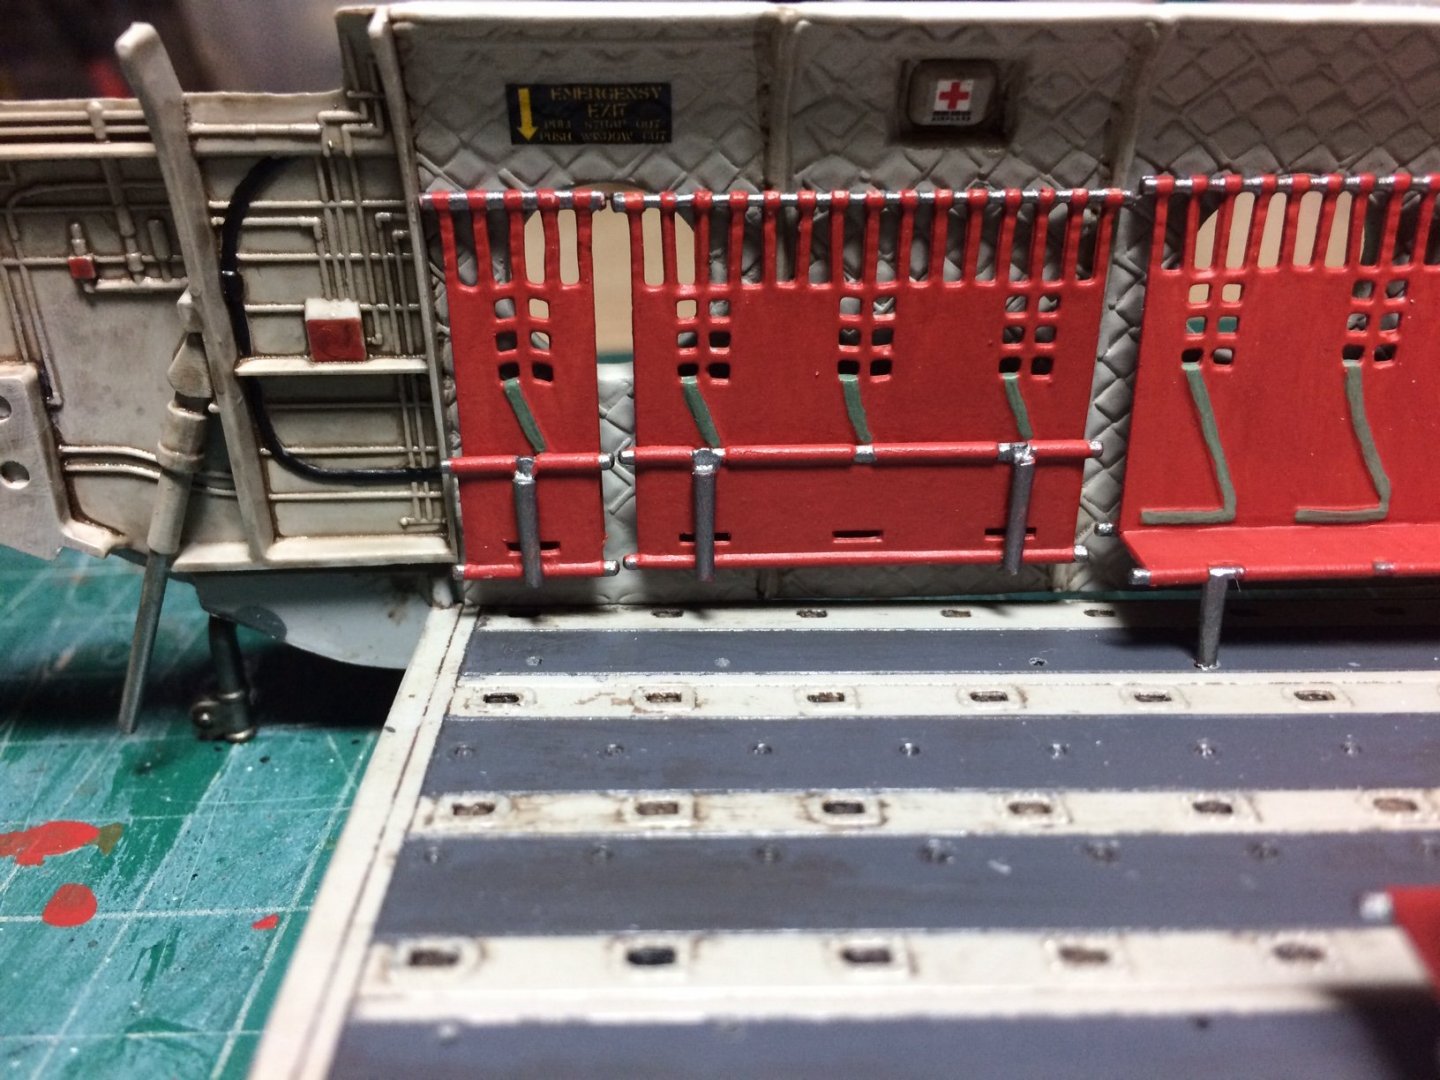
Evening all, next stage in my train build - I mean wokka build is the inner side wall details - this starts with applying a few decals for the emergency exit and first aid boxes, after these were on I put a few coats of micro sol on to settle then down in to the curves of the padding on the walls, then I worked on the last section of bench seating - this was constructed to represent then in a folded up position (they needed a bit of chopping here and there) they were then painted then glued in place. They are not glued to the floor yet - just placed to show how they will look. OC.

- 283 replies
-
- 13
-
-
Hello my friend - how did I miss the start of this build - excellent work, consider me well and truly following now (even brought a chair) OC.
-
Looking forward to it bro, you are collecting some excellent stuff there - should make your build really jump out the screen. I too have a little plan for next year to bring me back into some ship building in 1/350 scale - but that wont be till late 21. I have a few builds planned for next year .........😉🙂 OC.
-
Thanks bro, I'm sure it was a kit - a friend past me over one some years ago - but I can't remember. OC.
-
Wasn't there a scale metal kit of this to build in the same scale? OC.
-
Wire it up to some Very Very loud Speakers - the wires wont be too much of a head ache as you walk around with the phone in your pocket.😛 OC.
-
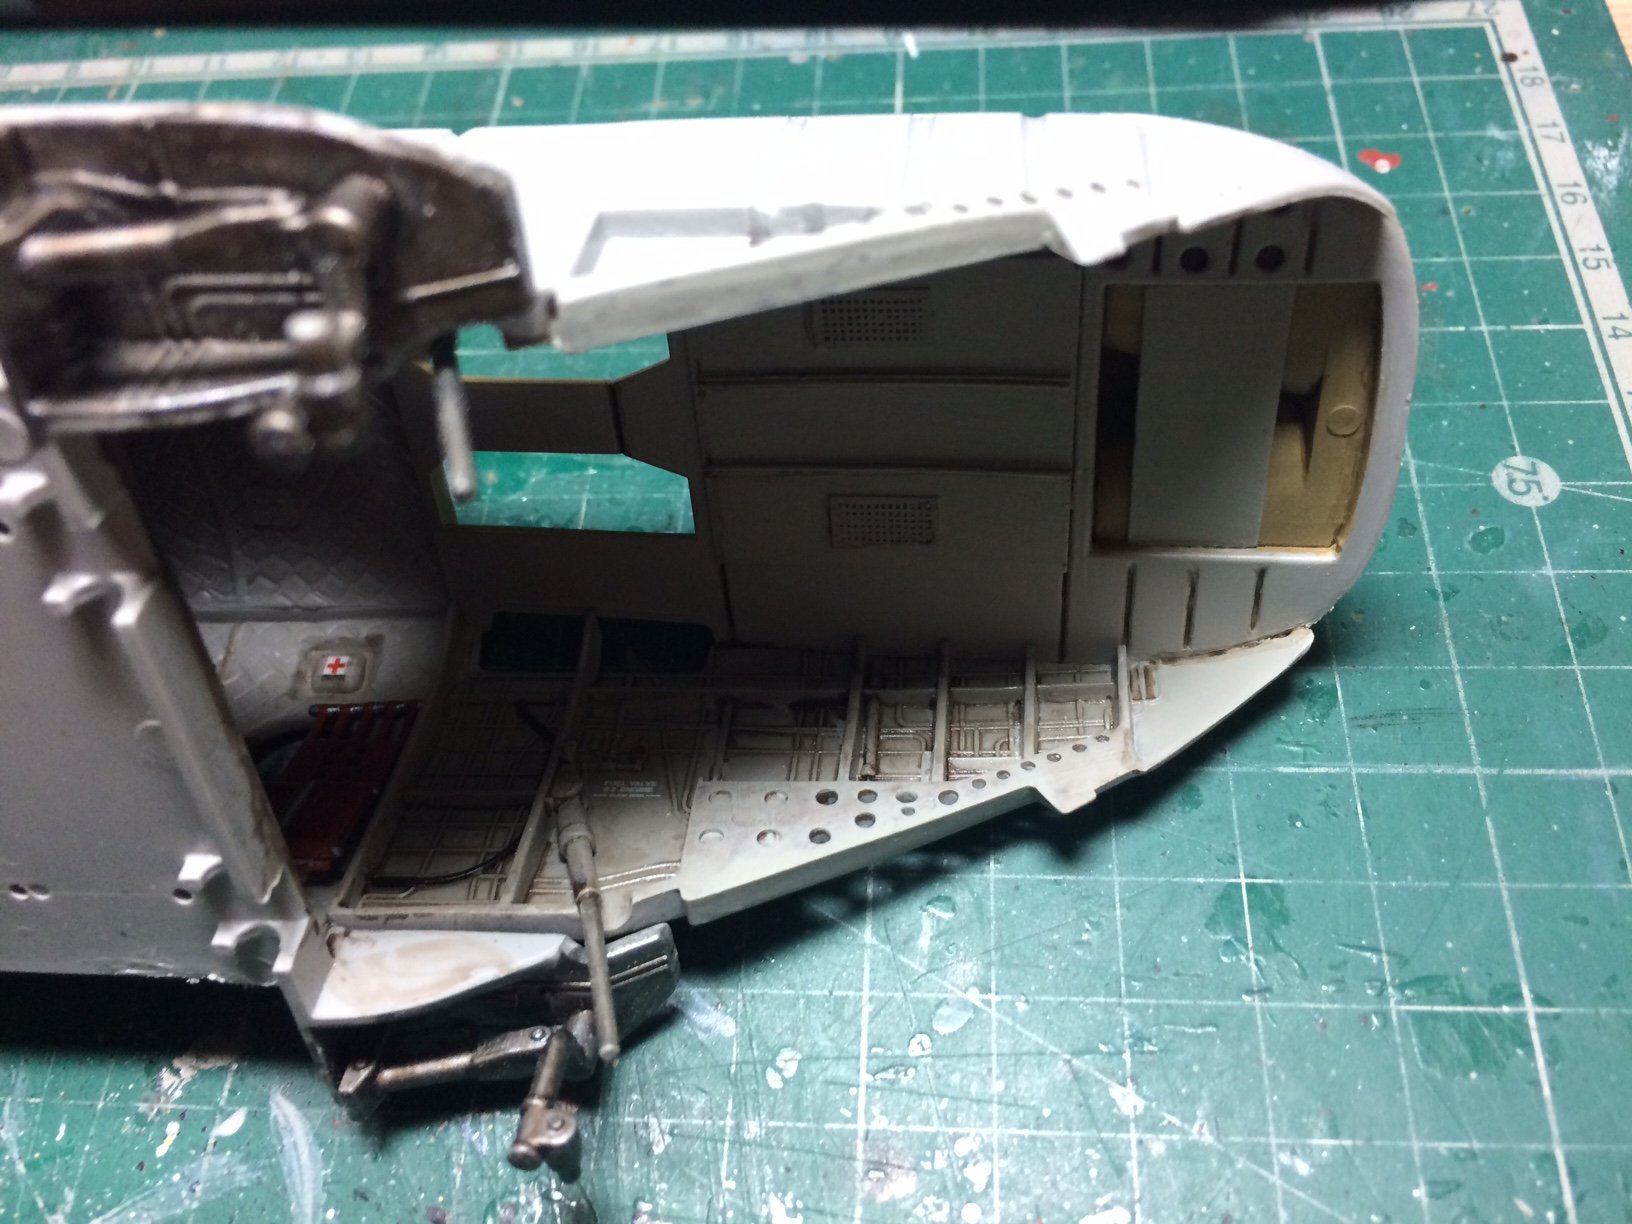
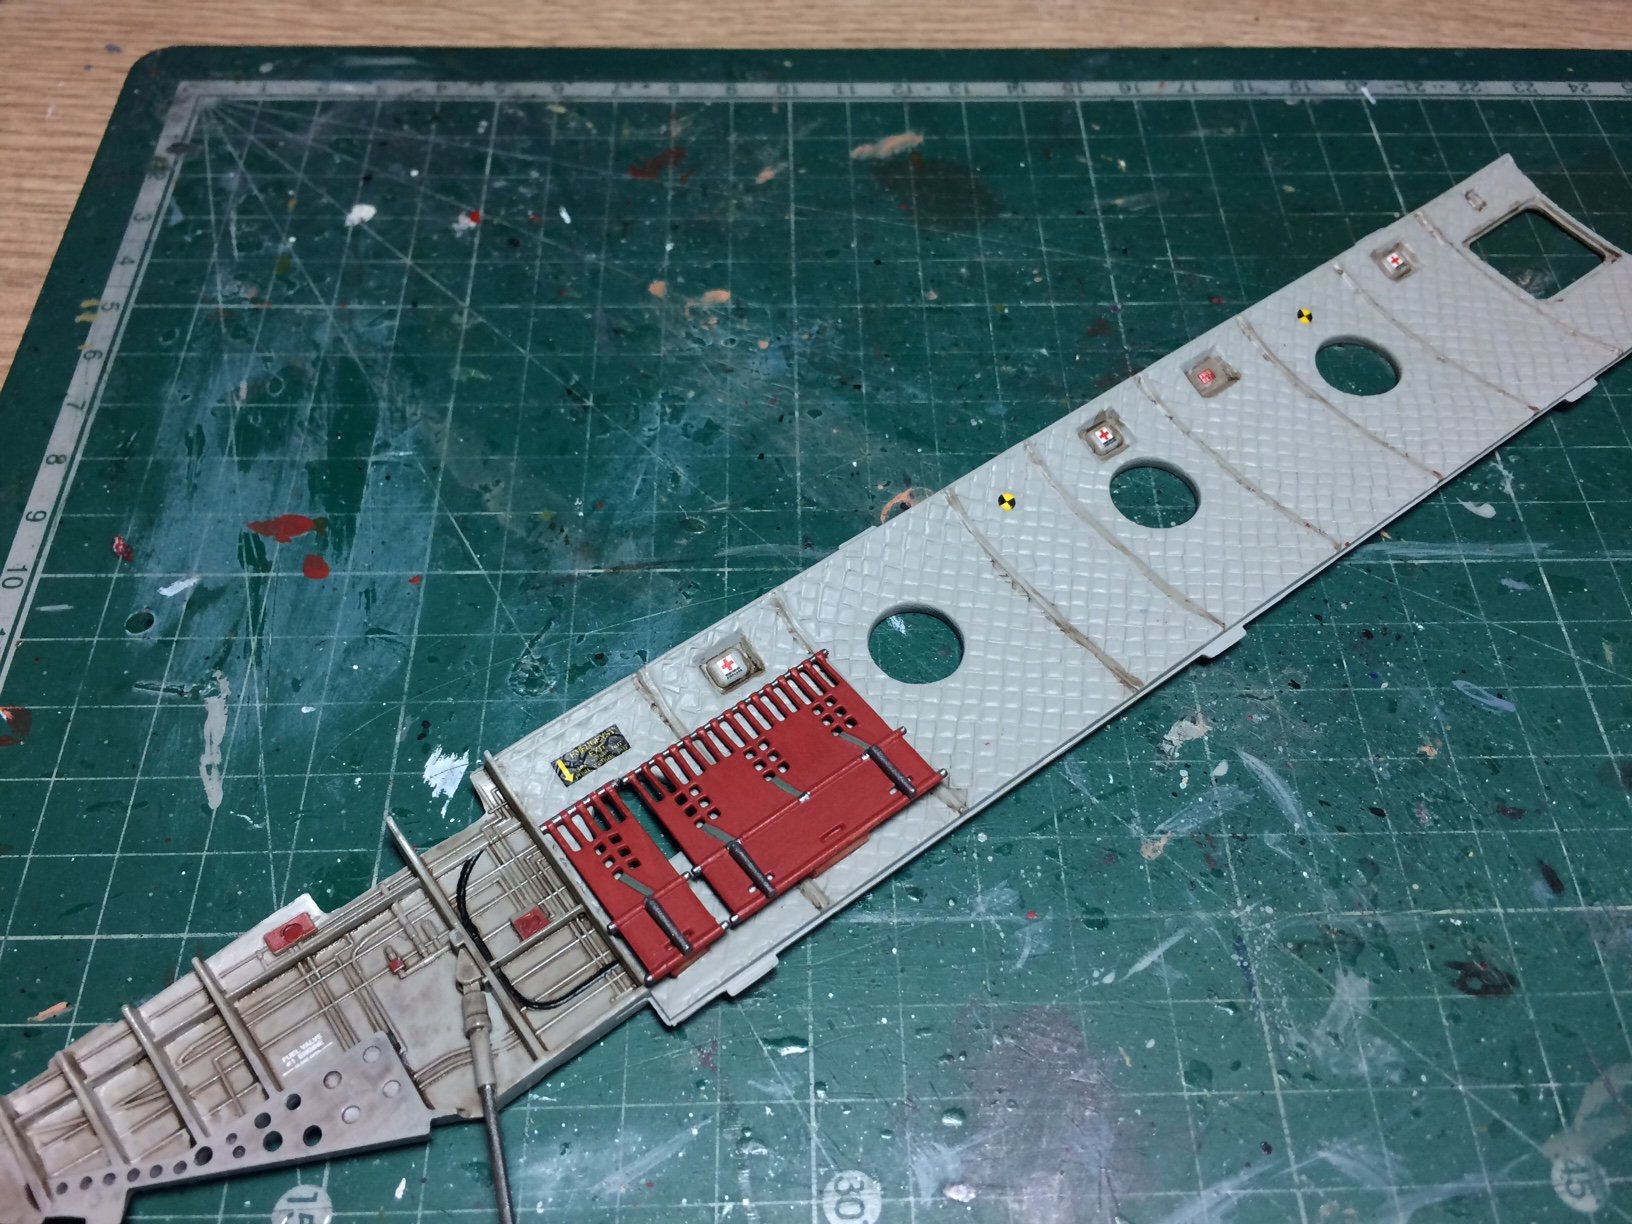
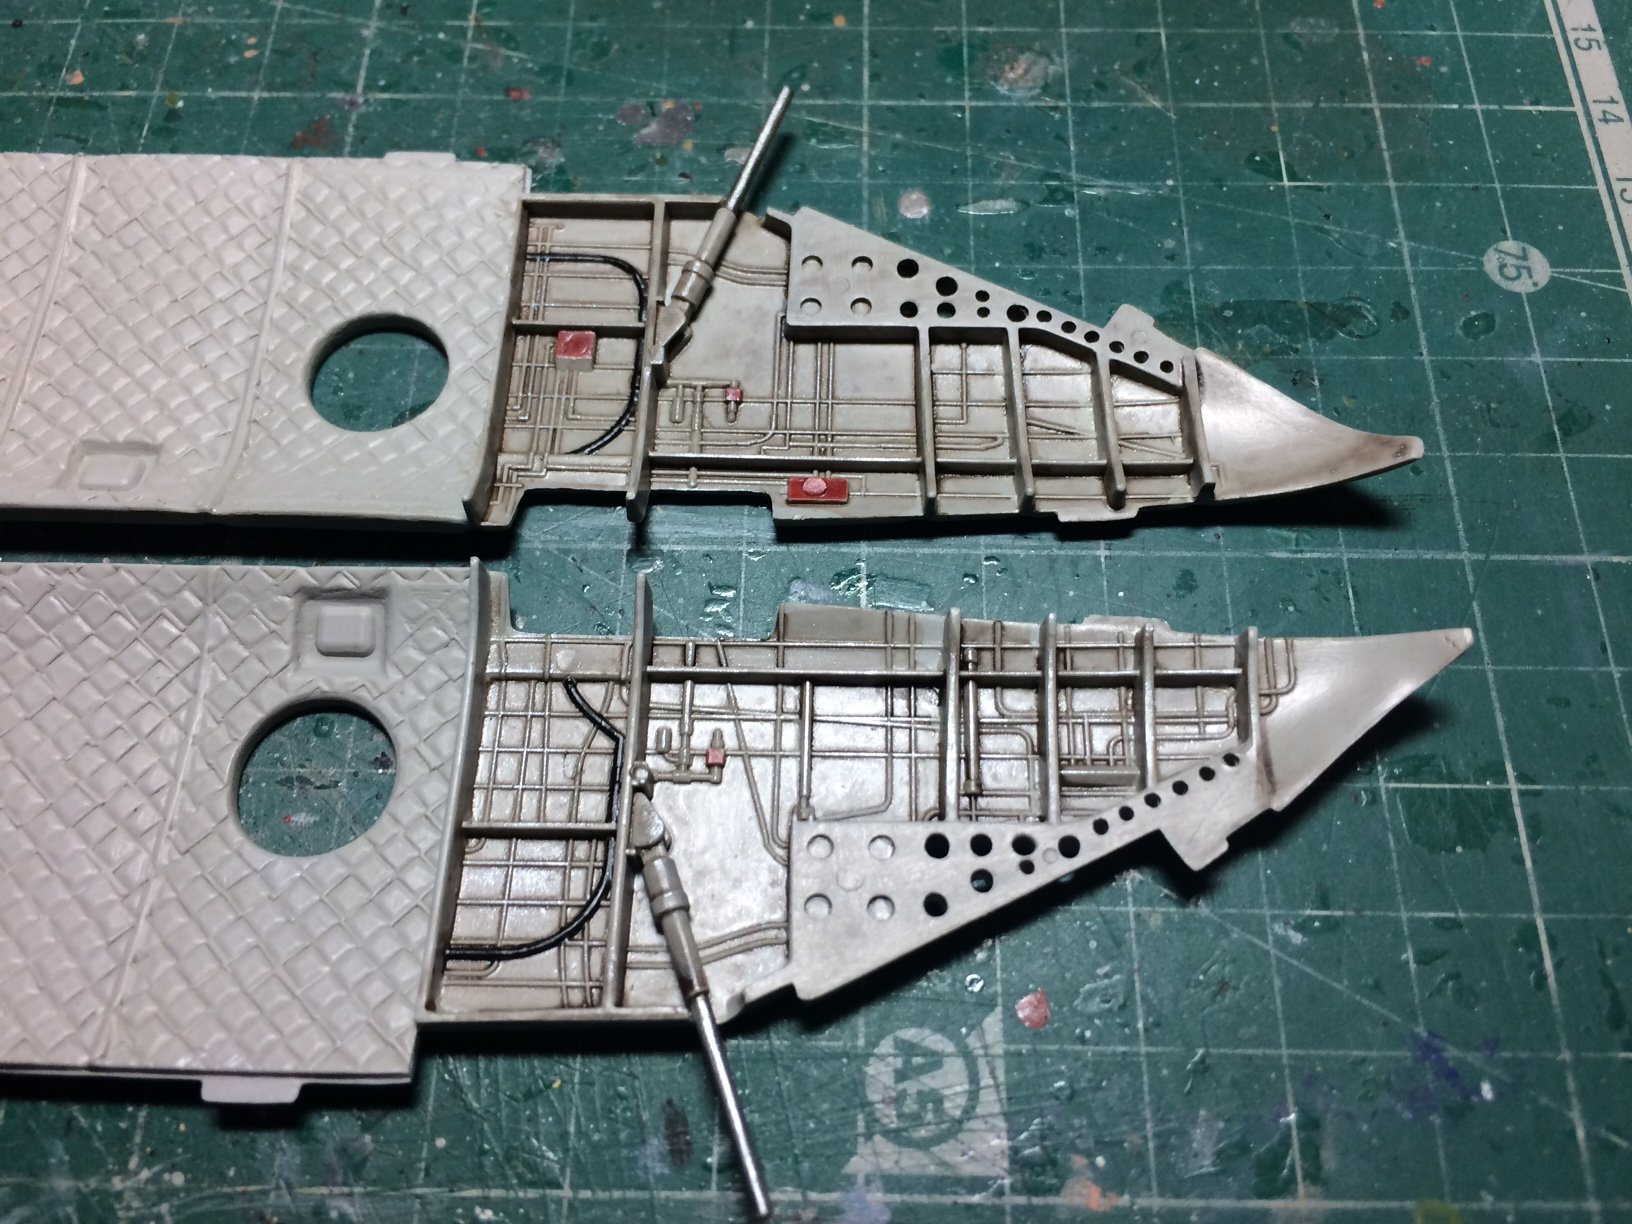
Evening all - so the work carries on, in order to complete the inner section some detailing is needed on the rear most cabin walls above the rear ramp, all the detail is molded on but needs painting/shading and highlighting, some decals need to go on the inner padding then they can be glued to the floor. Oh - I drilled out the framework holes also - they were there but not very deep. OC.

-
Boeing 747 SP - loverly Jubbly. OC.