Old Collingwood
-
Posts
12,104 -
Joined
-
Last visited
Content Type
Profiles
Forums
Gallery
Events
Everything posted by Old Collingwood
-
 Thank you Kevin. OC.
 -
Thanks Ken, oh well win some loose some - I used to bin far more when I was younger. OC.
-
Indeed Mike, trouble with this was - the galzing windows are slightly undersize so they need a reasonable amoubt of glue to hold them, then when its bolted up - theres nothing taht can be done if they are loose. OC.
-
Nice start mate - looks a good moulding from what can be seen. OC.
-
I have scrapped this after a disastrous attempt to fit the cabin windows - they supply twice as many round windows as is needed (can understand why now) anyway first attempt drop them in then carefully apply liquid poly (as its the only glue I have) but it was so thin it ran down and hazed the glass, so I was able to push them out, second go but using even less glue - I gave them a couple of hours before deciding to attach the one outer shell to the inside unit, that went well glued and secure, but...................the (enter rather cross word here) windows had not secured and had pushed in with absolutley no way of getting to them to push them back or re glue as it would have gone over the glazing - so I have no choice but to scrap it and put it down to one that beat me. Oh well - back on with my figures. OC.
-
Thank you kindly, there is Plenty more to come yet - when I start on the building (next year) then the Real diorama building will start, the farm buildings come in a kit its an MDF kit that needs putting together and painted, I will also be working on creating a base with simulated grass, trees and a stone road (I have read sand paper makes good roads when painted). OC.
-
Its looking really good - the frame around the acess panels look really impressive - deffinatley worth all the effort. OC.
-
In the UK we have a series called "Top Gear" its a car test program - anyway they tried to Kill a Toyota 4x4 dropped it - set fire to it and it just would not die, it was bashed up but still ran. OC.
-
Yep, thanks mate. OC.
-
Thank you kindly - appreciate you having a look. OC.
-
Just seen this "Upss re my other comment" now I see your next project - this will be cool. OC.
-
I used to love going round toy shops in the 70s where I used to live we used to have giant one over Three floors - they used to have a whole floor just on Action Man range of figures, Cloths and equipment/vehicles including a tank and jeep. OC.
-
So whats next - car, plane, ship or what - always love watching your builds. OC.
-
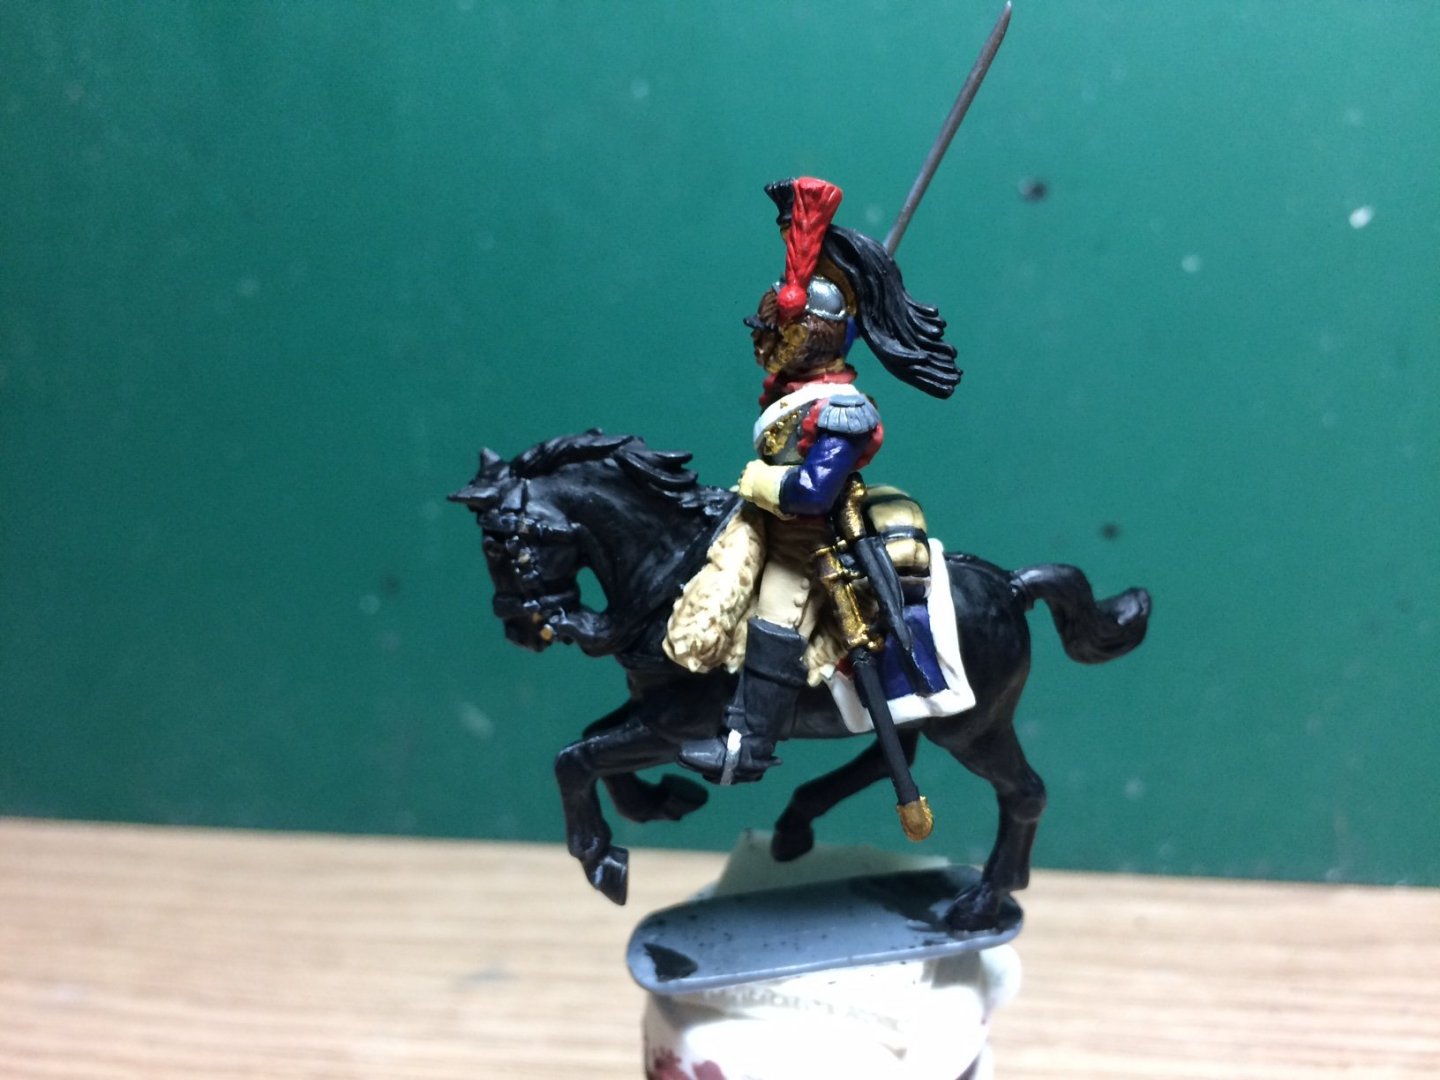
We could call him "Ken the Cuirasier" like Conan the Barbarian but on a horse. OC.
-
Very nice Denis, from a slightly different stance I am Into the Film Lost Boys (speak to Corey Feldham and Jamison Newlander quite abit) hoping to build a kit of one of them from the film when I find a kit. OC.
-
Christmas, "When was Easter" - don't remember it. OC.
-
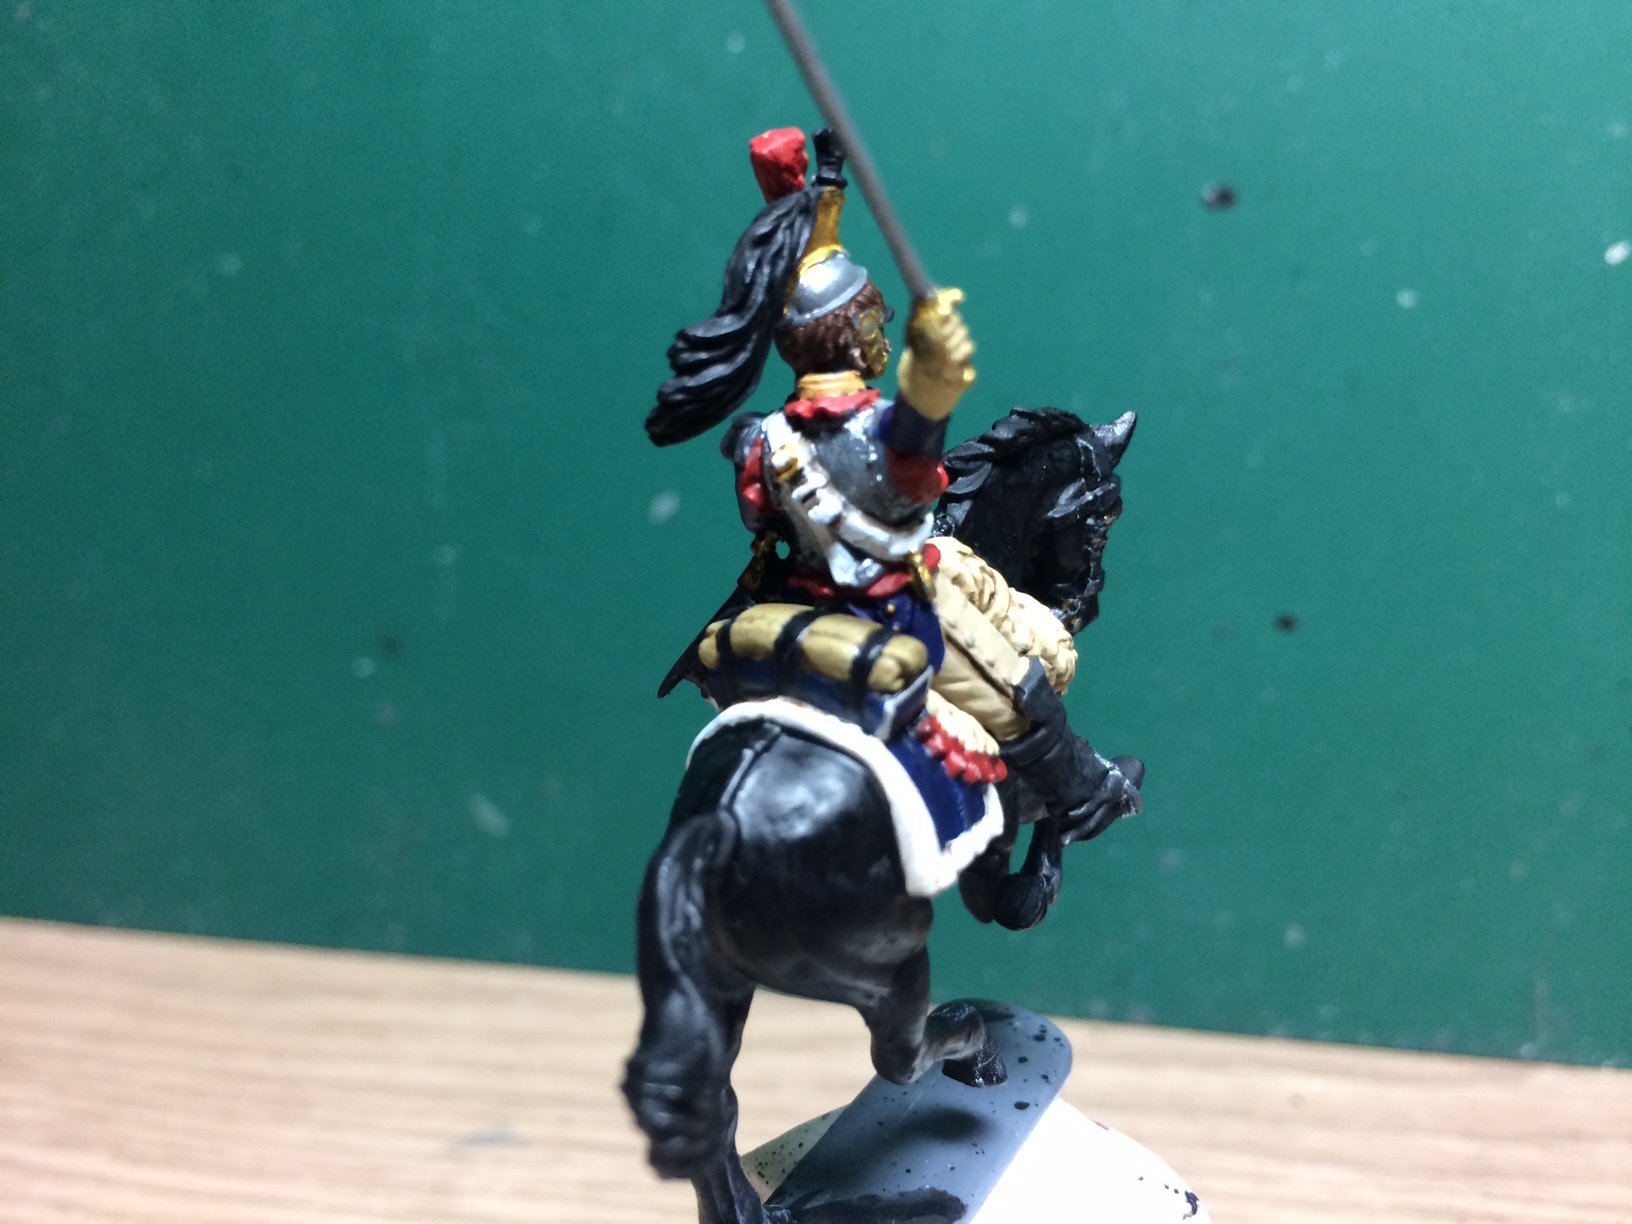
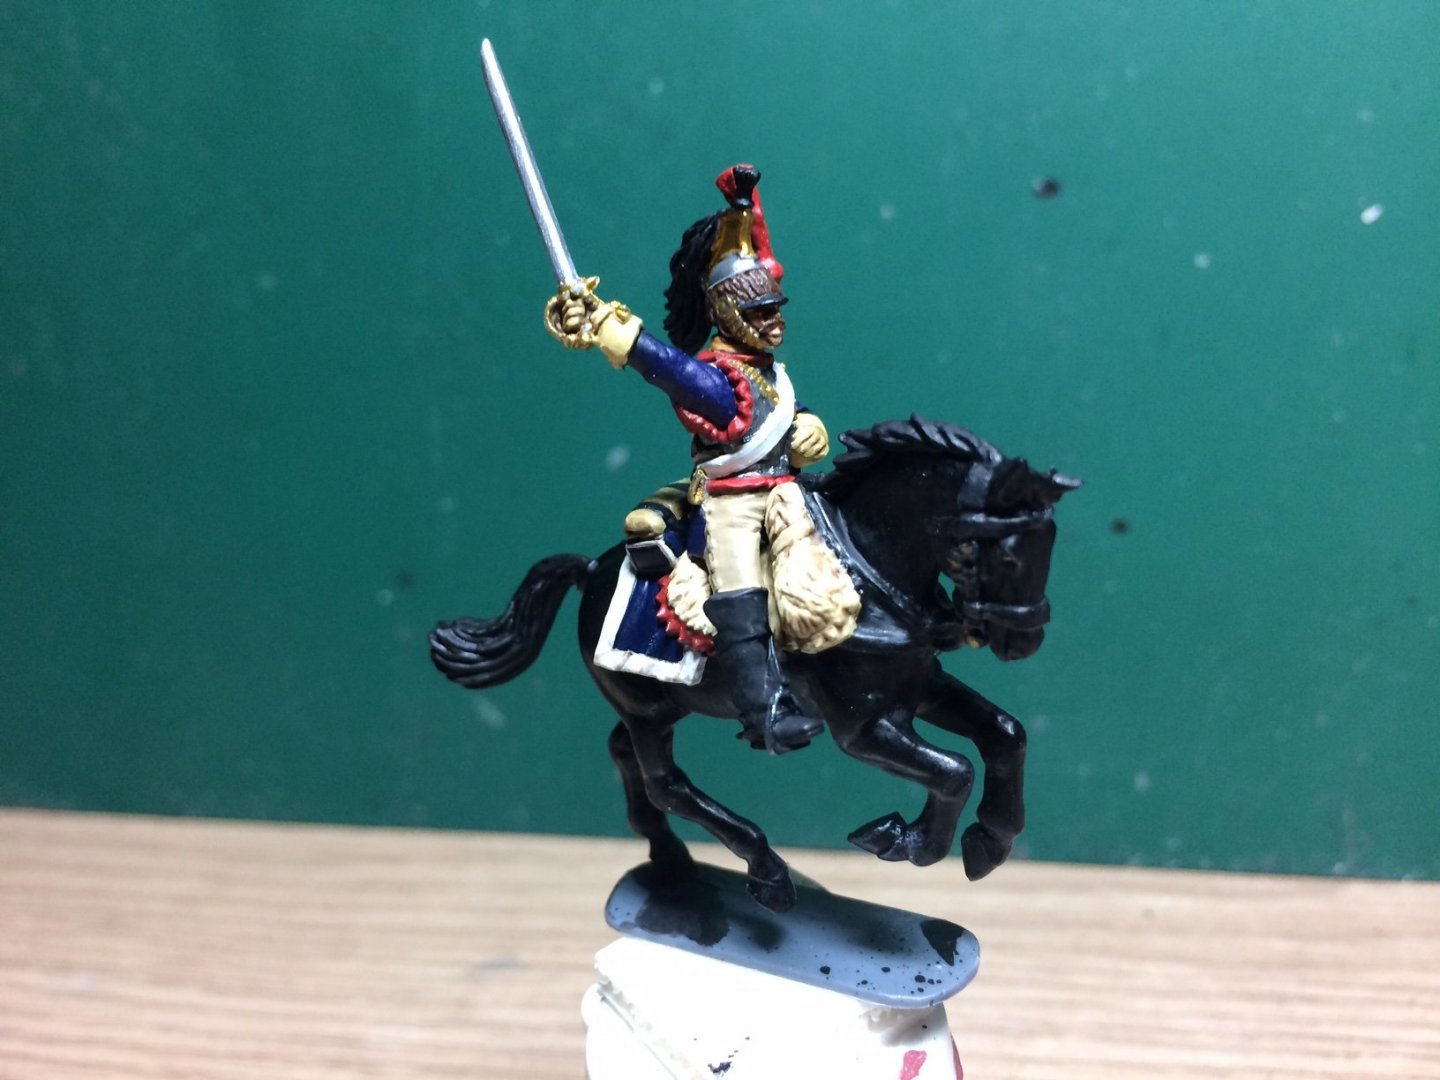
Evening all, I have finished the Cuirasier Officer and placed him on his horse - just needs the finishing flat coat. OC.

-
Fine work mate - she does look attractive in that paint finish. OC.
-
That is well executed - you did fine correcting those planks. OC.
- 740 replies
-
- 1
-

-
- Tudor
- restoration
- (and 4 more)
-
That is looking so Damn impressive - really worth the effort with the sails. Keep smiling my friend all the best. OC.
-
Looking good - The "Pointy" end is looking well - Pointy - you are doing fine work Not easy at Full Scale all your hard work will be worth it in the end. As an example of a "Not" very good project - my late farther once built me a square wooden paddling pool - it didn't work fell apart but the good news - atleast it watered the plants in the garden. OC.
-
Supprisingly roomy inside the actual ones - about the same size as a family sallon, great work by the way. OC.
-
That is so nice of you to say EG, I guess like all things in modeling - the more practice we get - the better we achieve things, kind of pick up from mistakes from before, I also have a better routine for painting now - before I used to paint directly from the bottle/pot of paint wiping the excess on the rim, now I use a flat dish and just put in a few drops of paint off the brush and dilute with distilled water as required, that way I am able to get thinner layers down. OC.
-
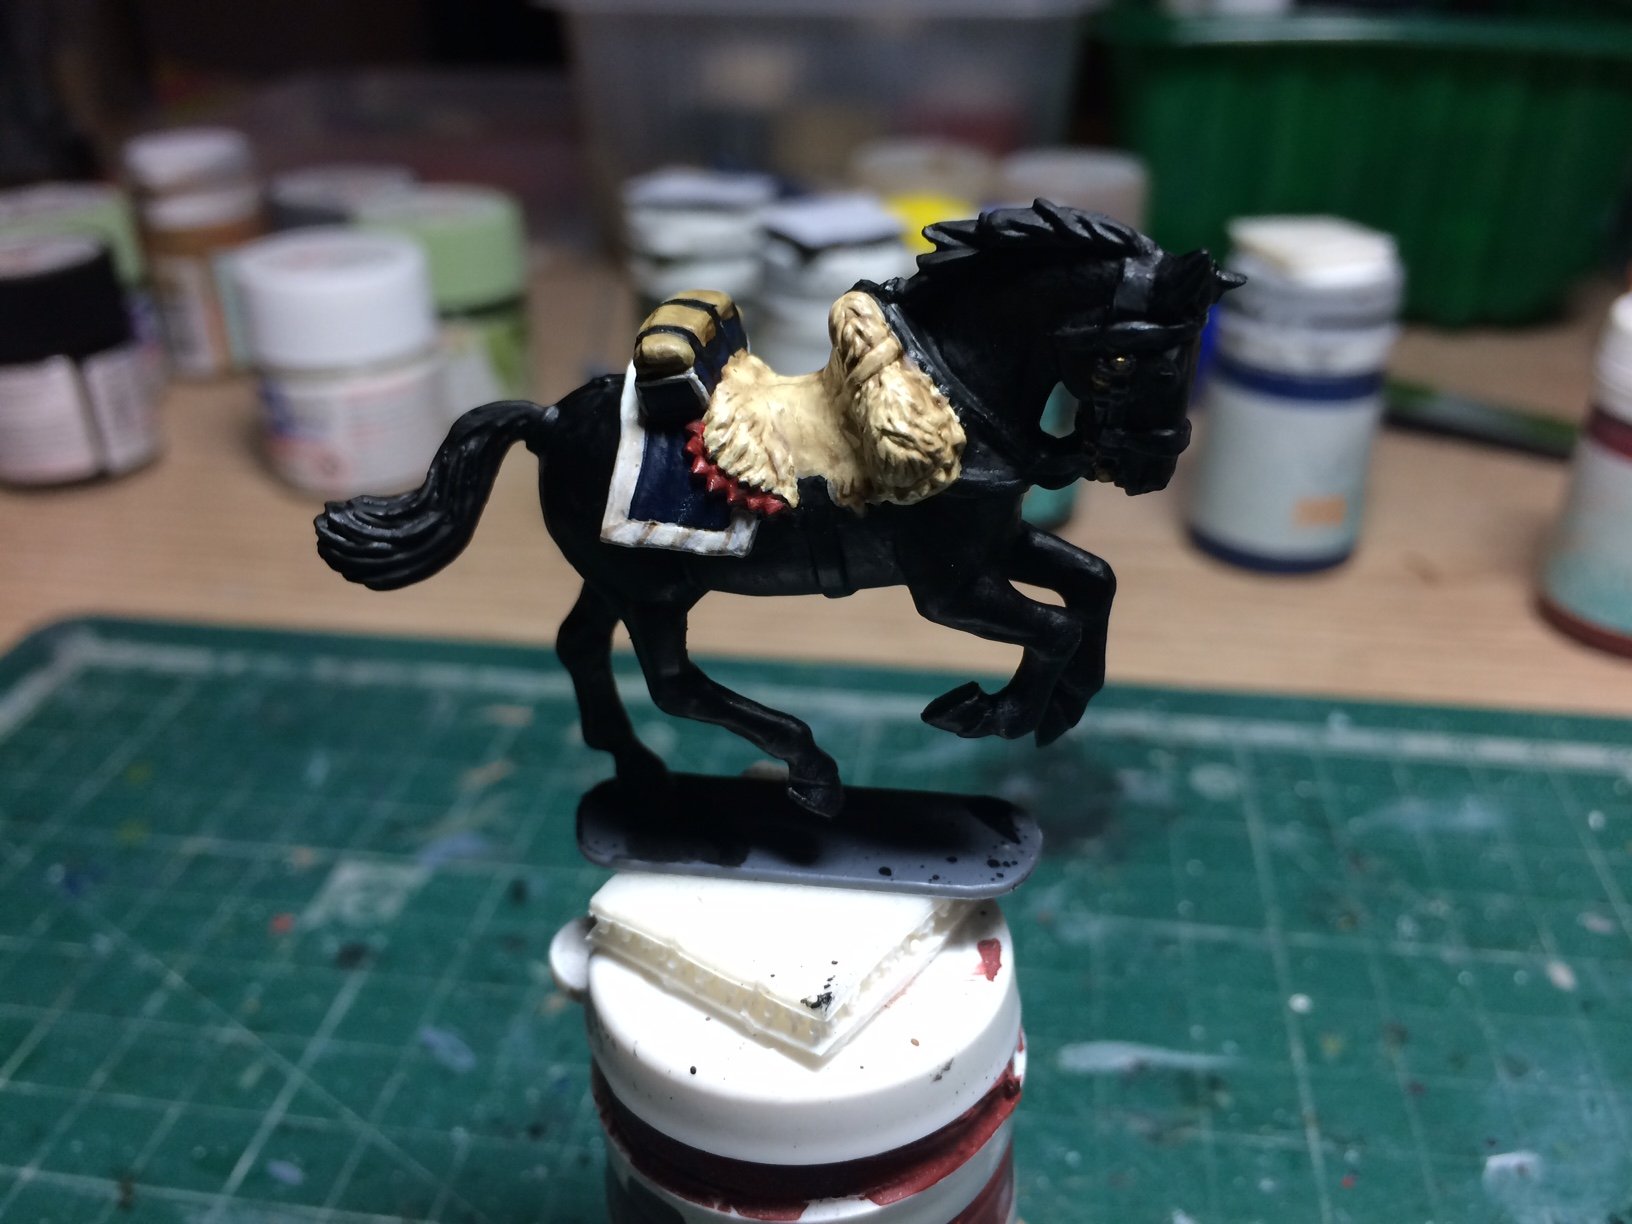
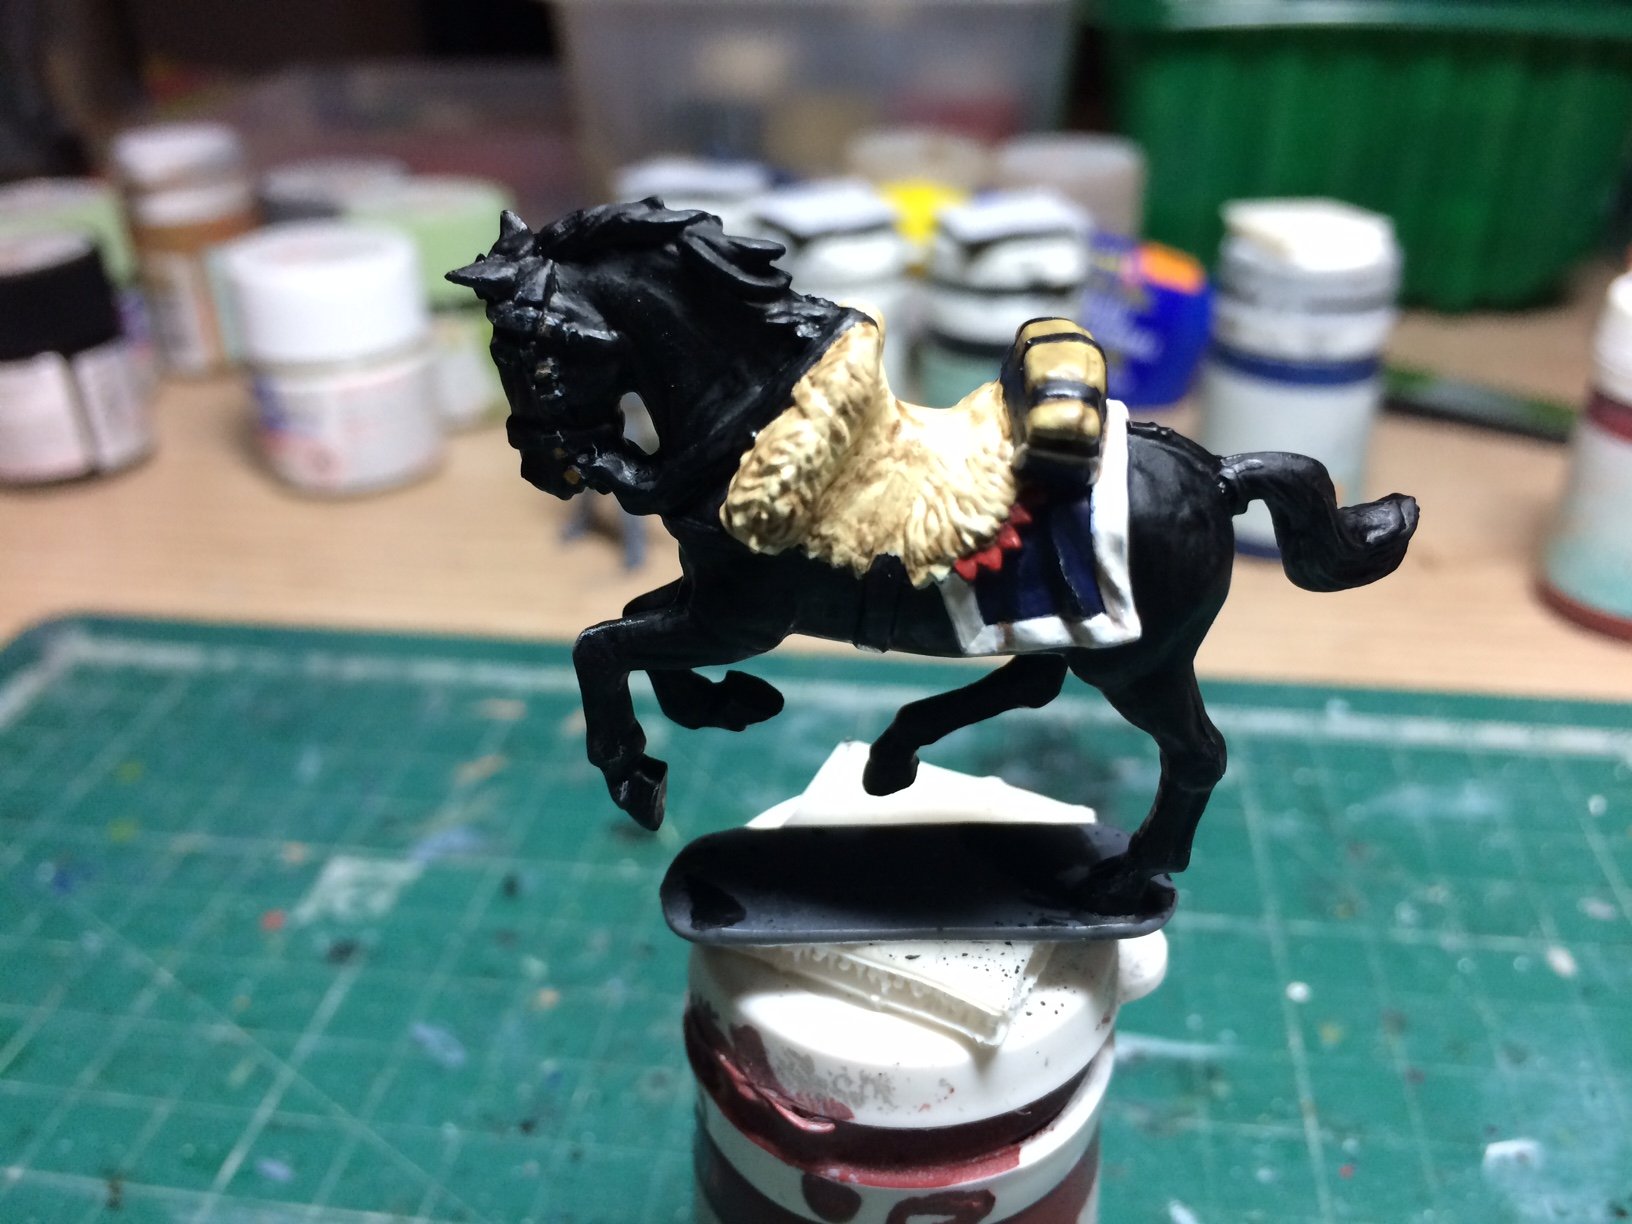
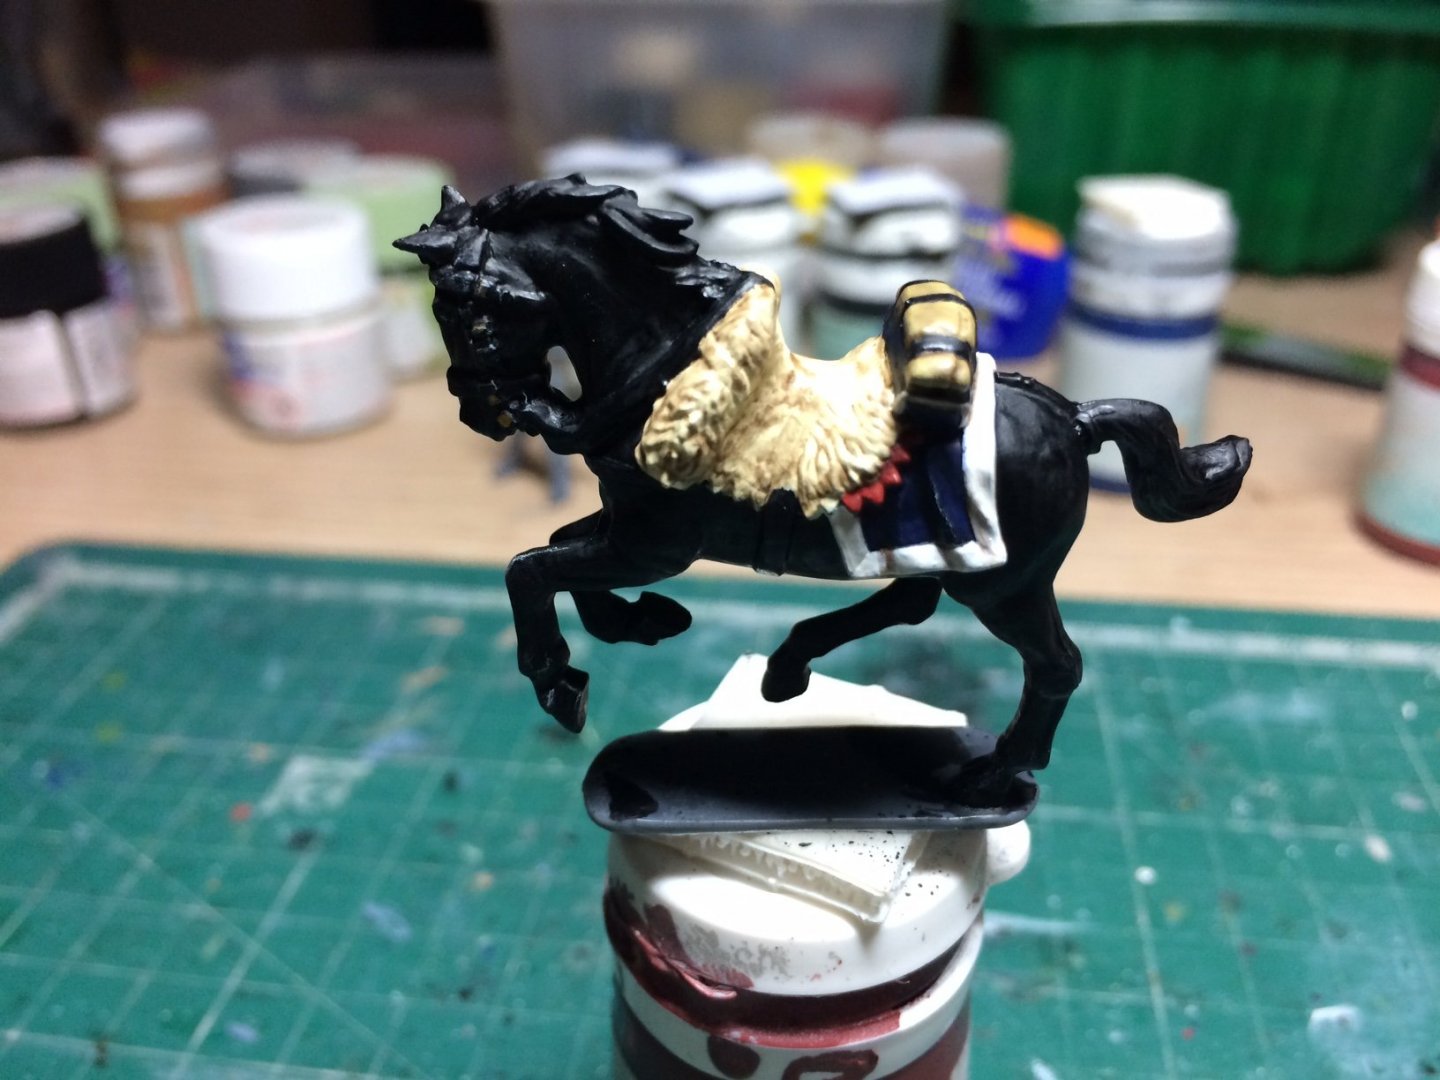
Evening all, right Black steed completed with all its normal attire, just needs a flat coat. OC.

-
Thank you kindly Patrick. OC.