Old Collingwood
-
Posts
12,029 -
Joined
-
Last visited
Content Type
Profiles
Forums
Gallery
Events
Everything posted by Old Collingwood
-
 Right then - I masked her according to the Black scheme I have gone for, then outdoors I got my Semi-Glass Black Tamiya rattle can out - did what the Pros suggested (sat the can in some hot - not boiling water in a cup) this is supposed to improve the flow from the can. Dear I show you ............. OC.
 -
Come on mike - "show us - show us" OC.
-
Thank you mike - will do my best. OC.
-
Thank you, Carl - I thought I had pulled off the towing device 😉 What I might do is to add a tiny amount of exhaust staining - hoe that is carefully applied to black I dont know. OC.
-
She is looking good mark - keep up the momentum not far to go now. OC.
-
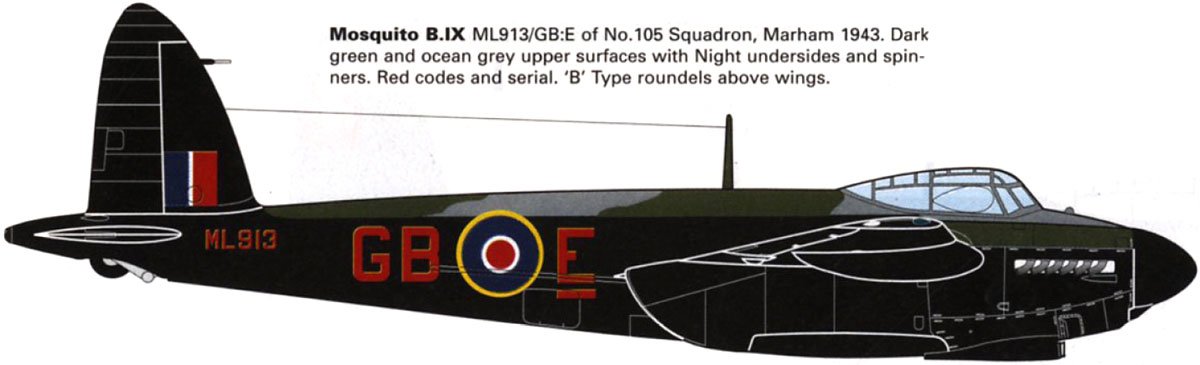
I have worked out what scheme I am going for - it will be the pathfinders night version - Like this one i found on the net. OC.
-
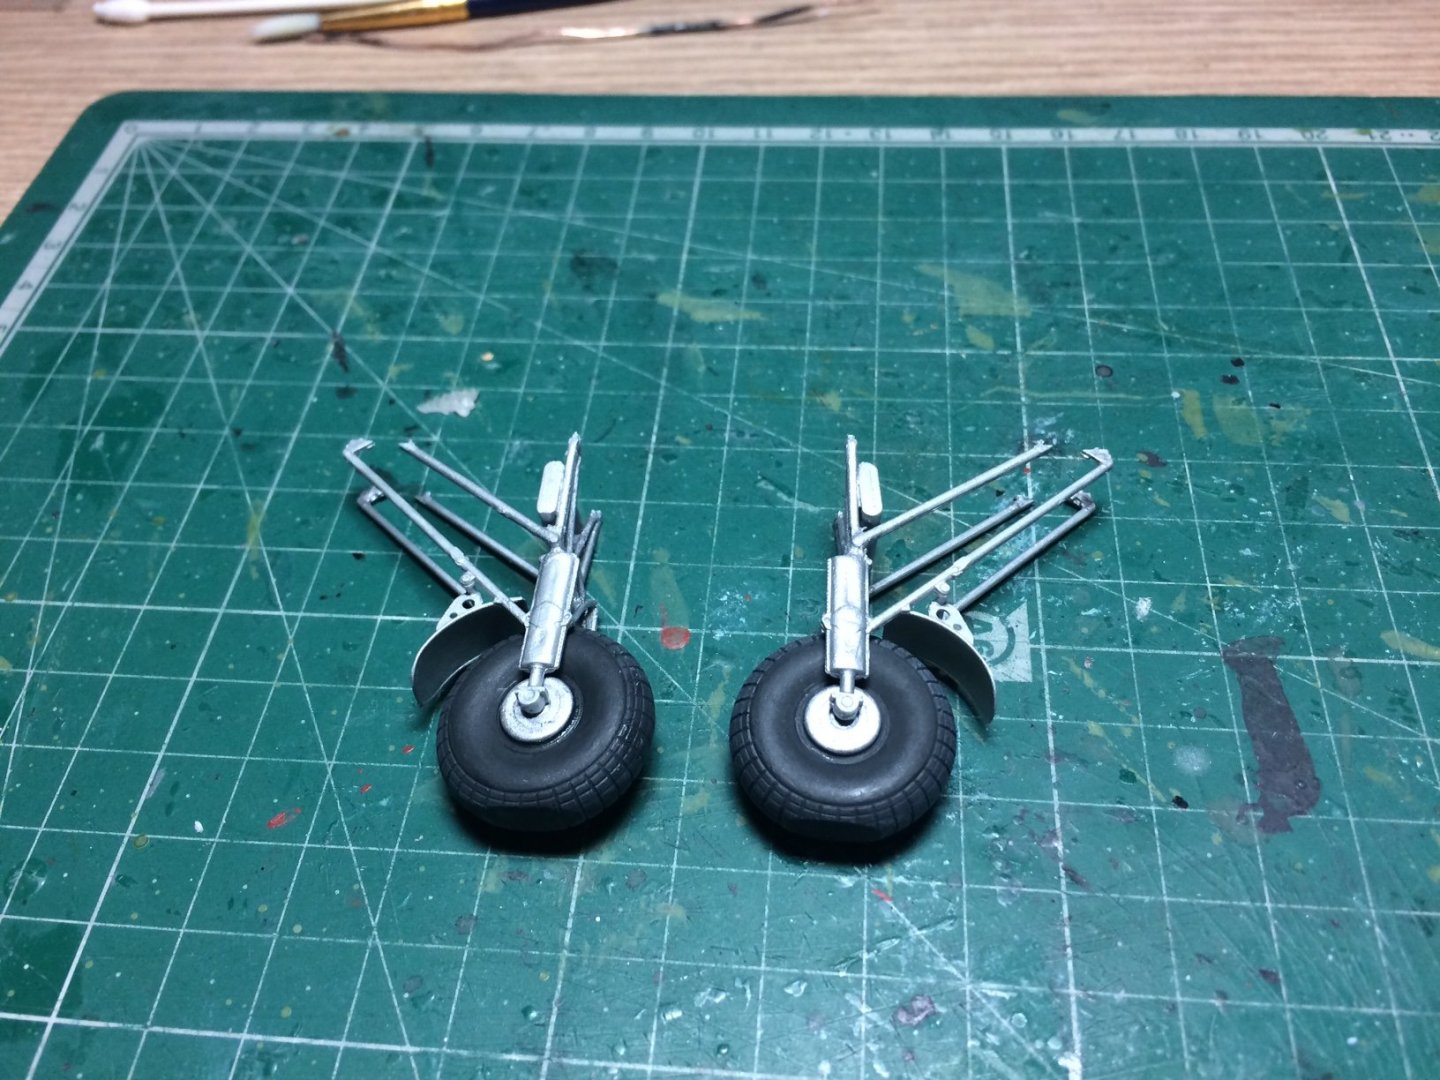
I have attacked it on three fronts - lower the height of the tail wheel - put a weight flat spot on the same tail wheel - and do what I did with the main legs. OC.
-
ICM 1/48 Spitfire MkIX Scrapped.
Old Collingwood replied to Old Collingwood's topic in Non-ship/categorised builds
Wasn't much off a loss - just a bit frustrating - but like I say its in the spares might be able to re build it as another mark of spit, dont know yet. OC. -
ICM 1/48 Spitfire MkIX Scrapped.
Old Collingwood replied to Old Collingwood's topic in Non-ship/categorised builds
Mine will have the same wing as this one had - not the clipped or extended (like in the build James did above) and the pointed rudder as apposed to the more rounded one. OC. -
Thank you denis. OC.
-
Thank you ziggy. OC.
-
ICM 1/48 Spitfire MkIX Scrapped.
Old Collingwood replied to Old Collingwood's topic in Non-ship/categorised builds
Thank you James, I will start a build log when It arrives - would be great if you follows along. OC. -
ICM 1/48 Spitfire MkIX Scrapped.
Old Collingwood replied to Old Collingwood's topic in Non-ship/categorised builds
I have a replacement sorted now - its an Eduard Mk IX (Late Version) it comes with a bit of Bressin/Eduard PE and a canopy mask and decals for six models, it should arrive some time this week. OC. -
ICM 1/48 Spitfire MkIX Scrapped.
Old Collingwood replied to Old Collingwood's topic in Non-ship/categorised builds
That looks superb James. OC. -
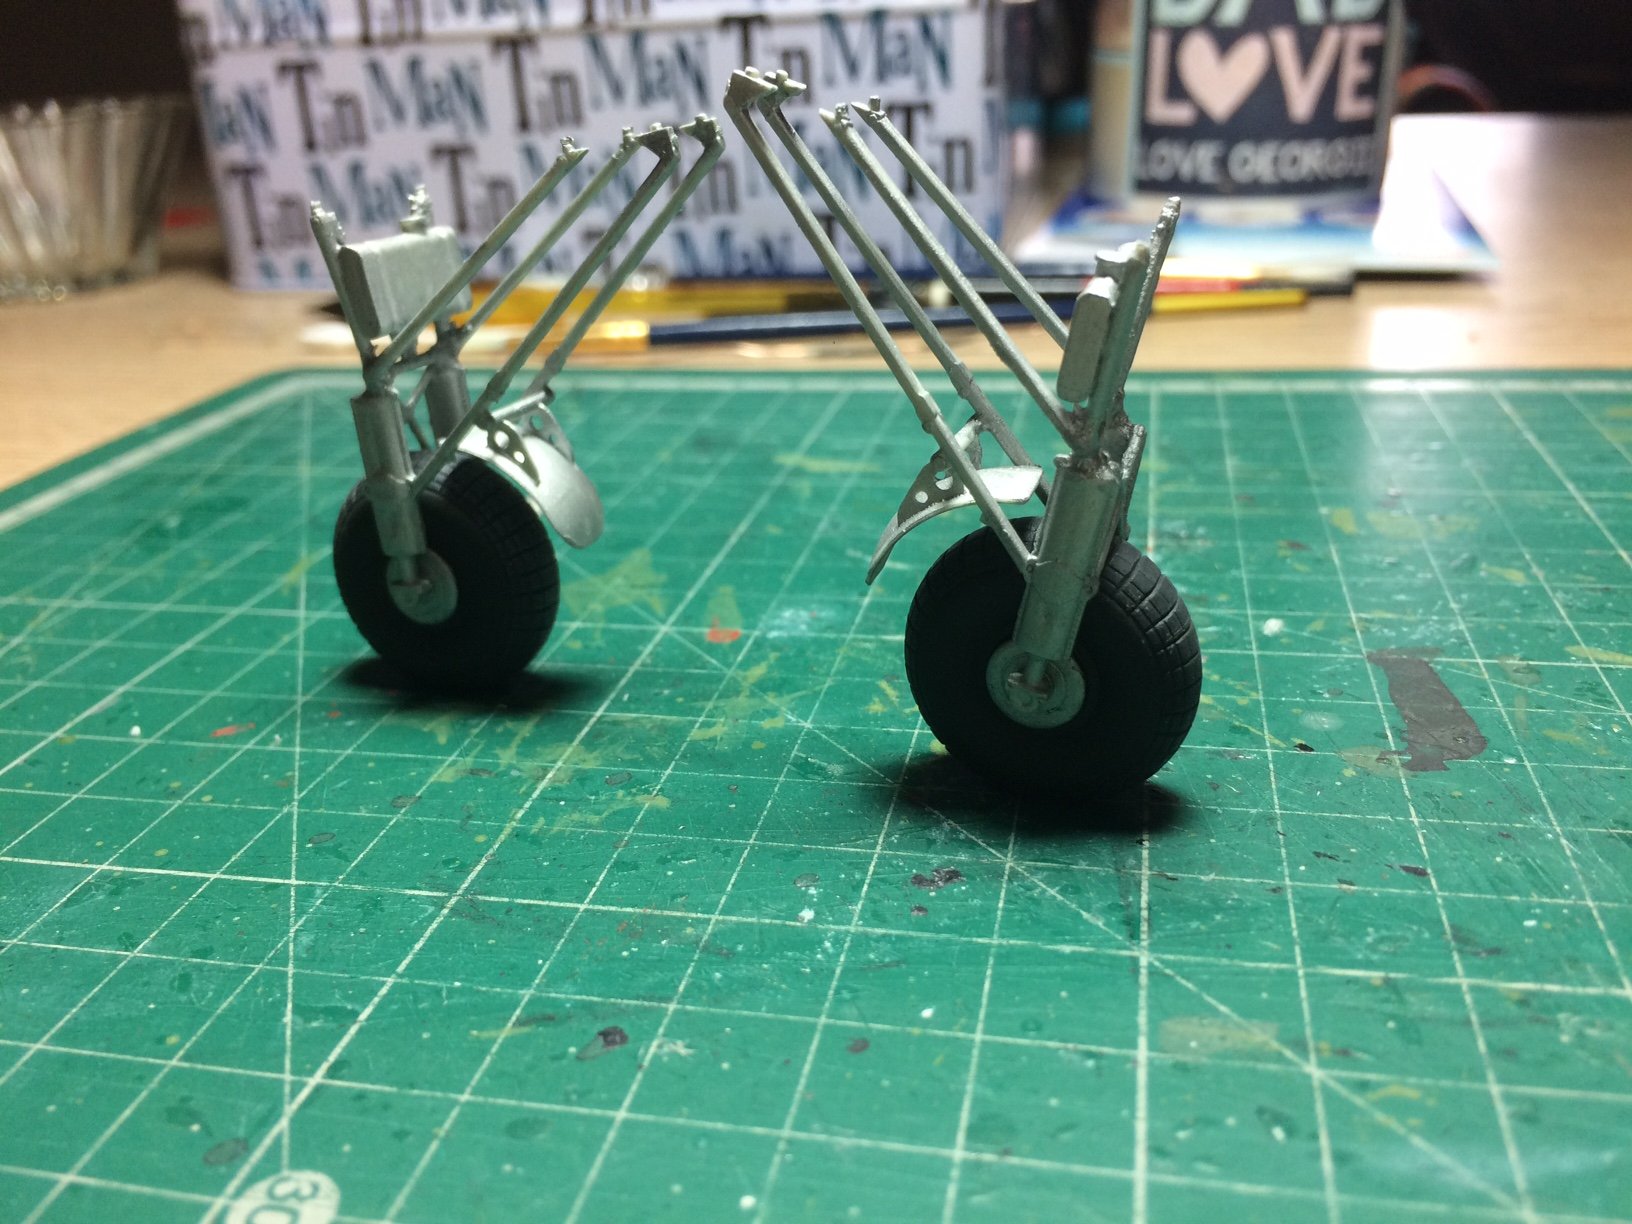
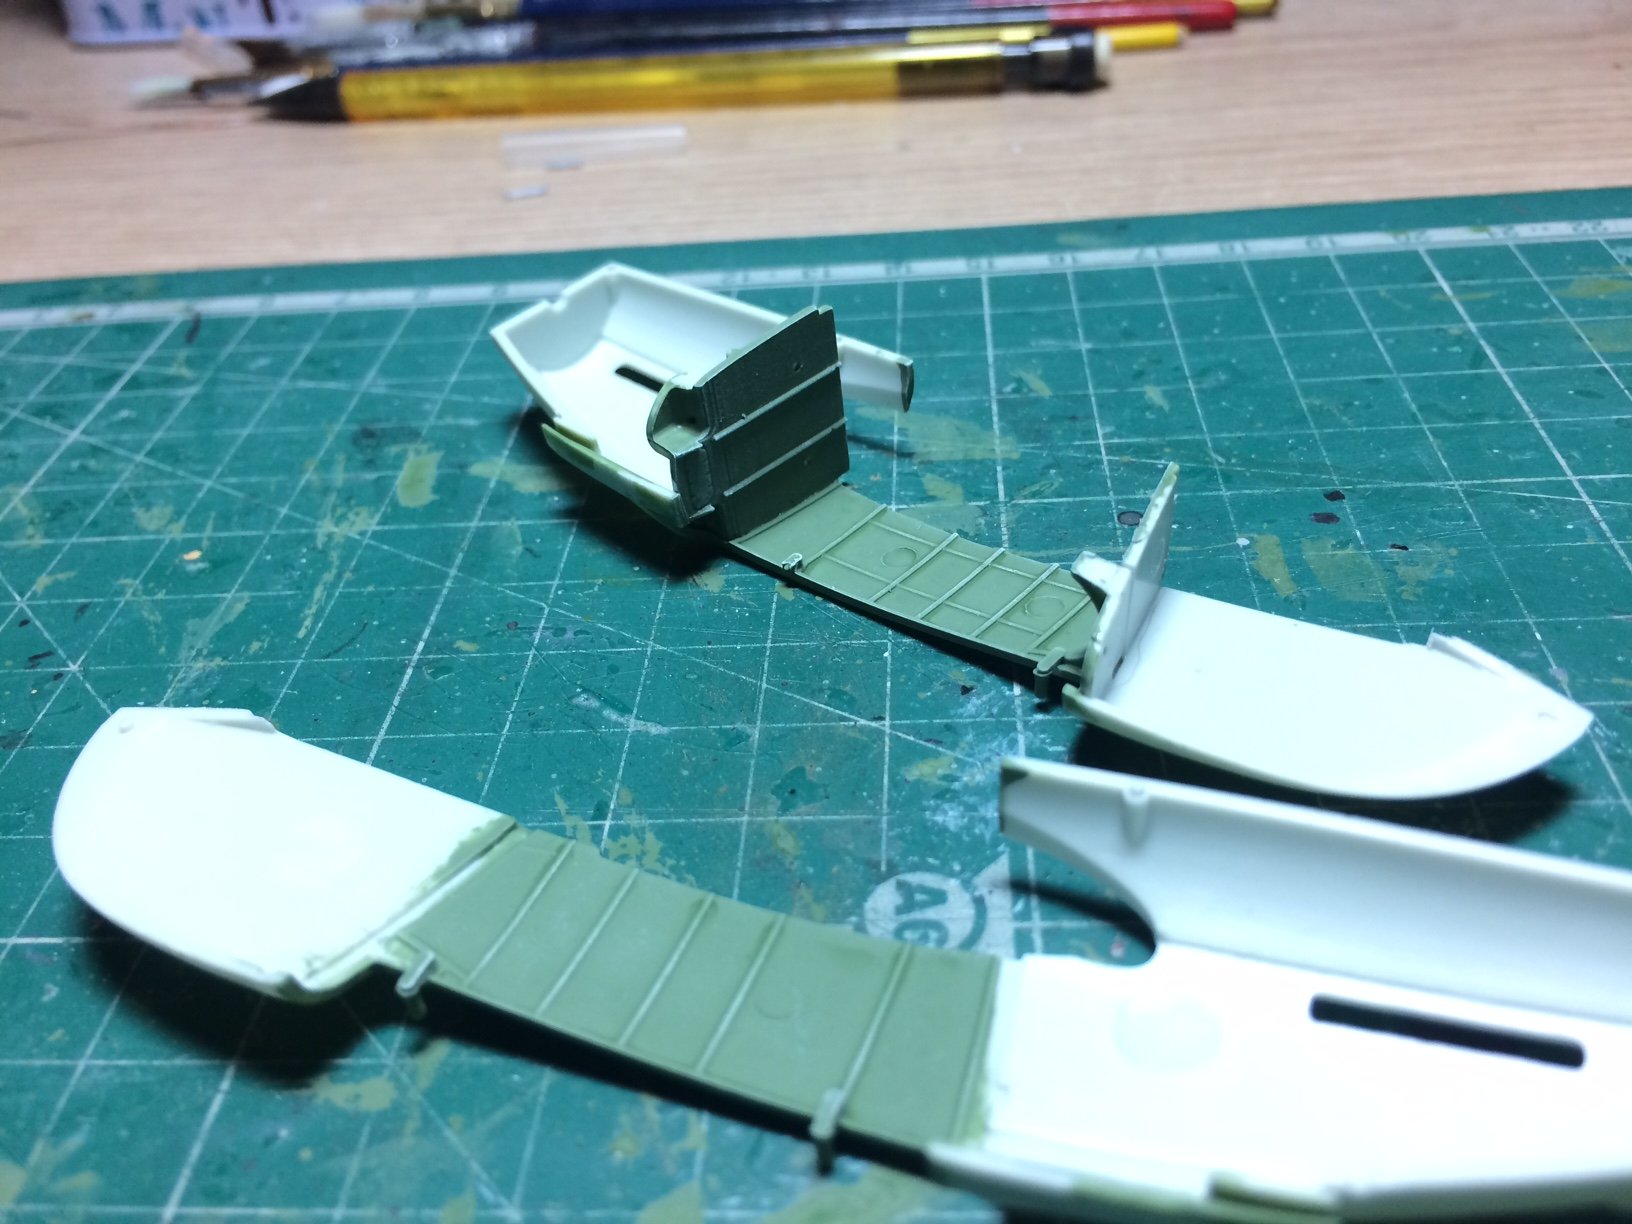
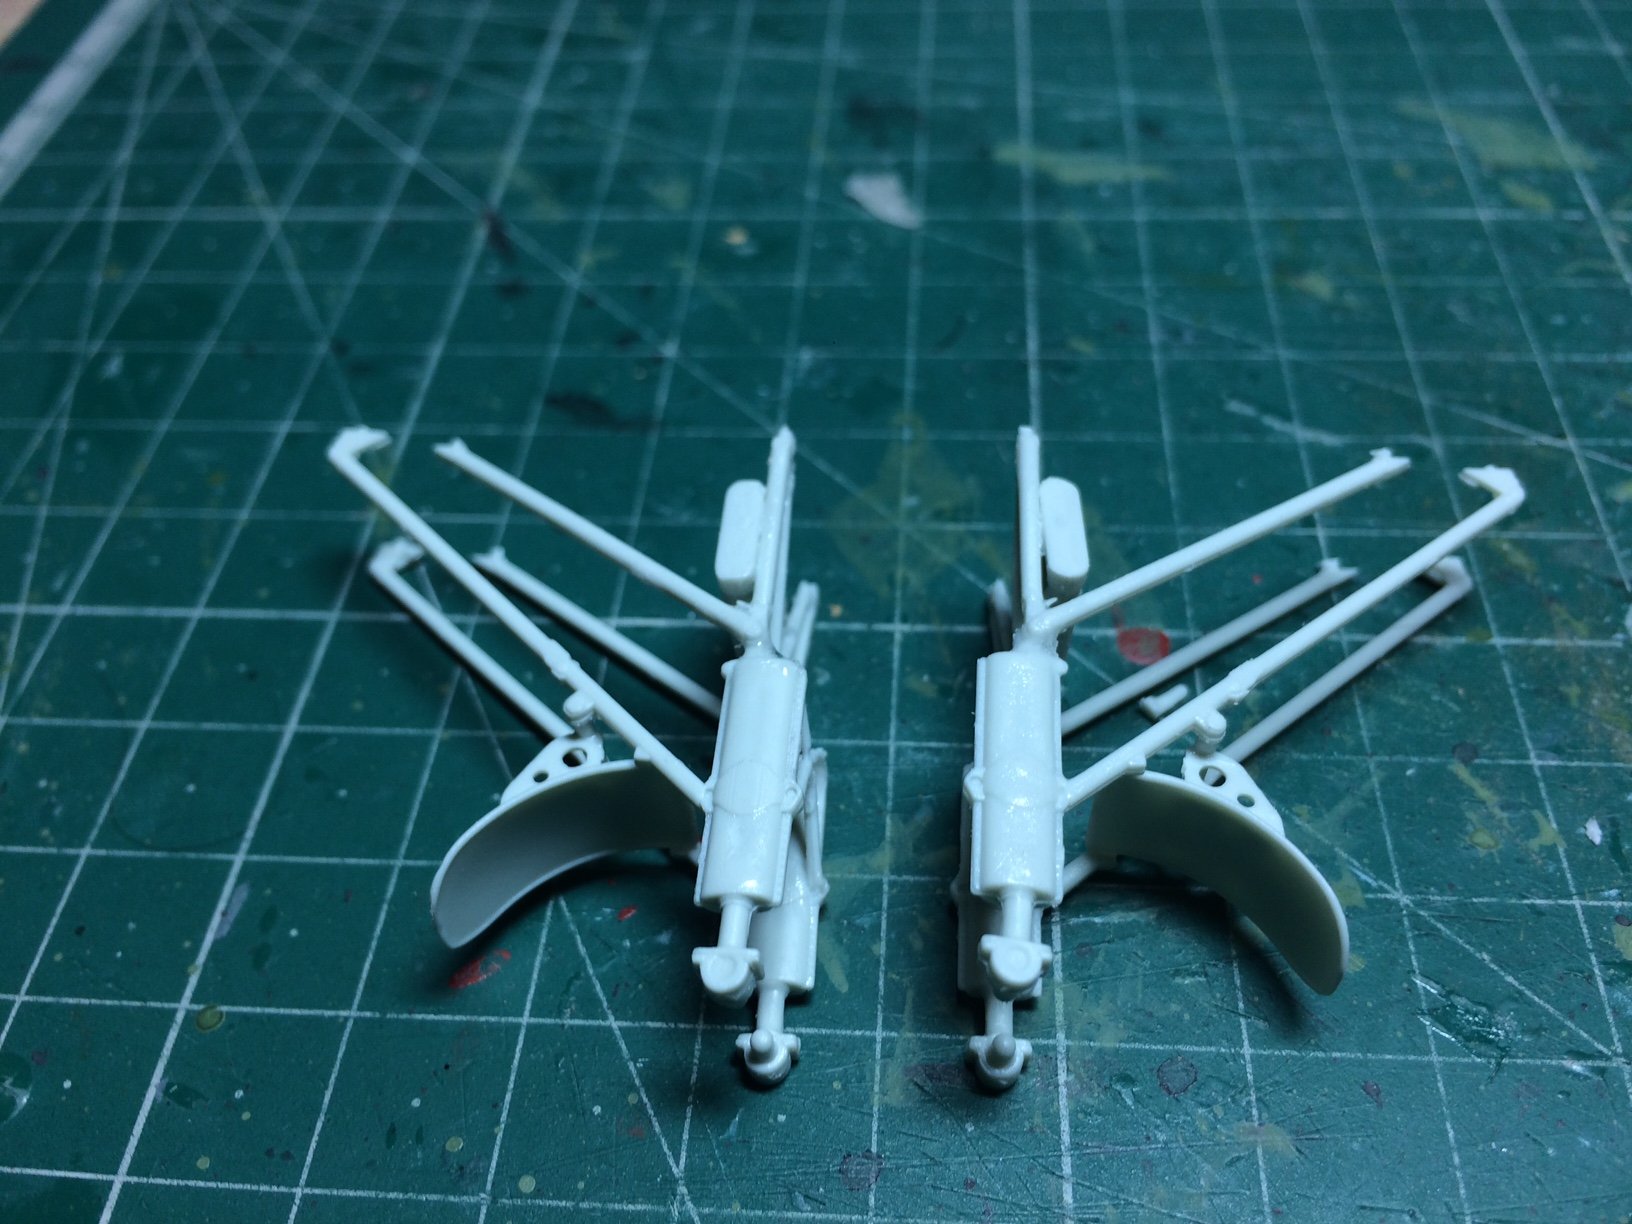
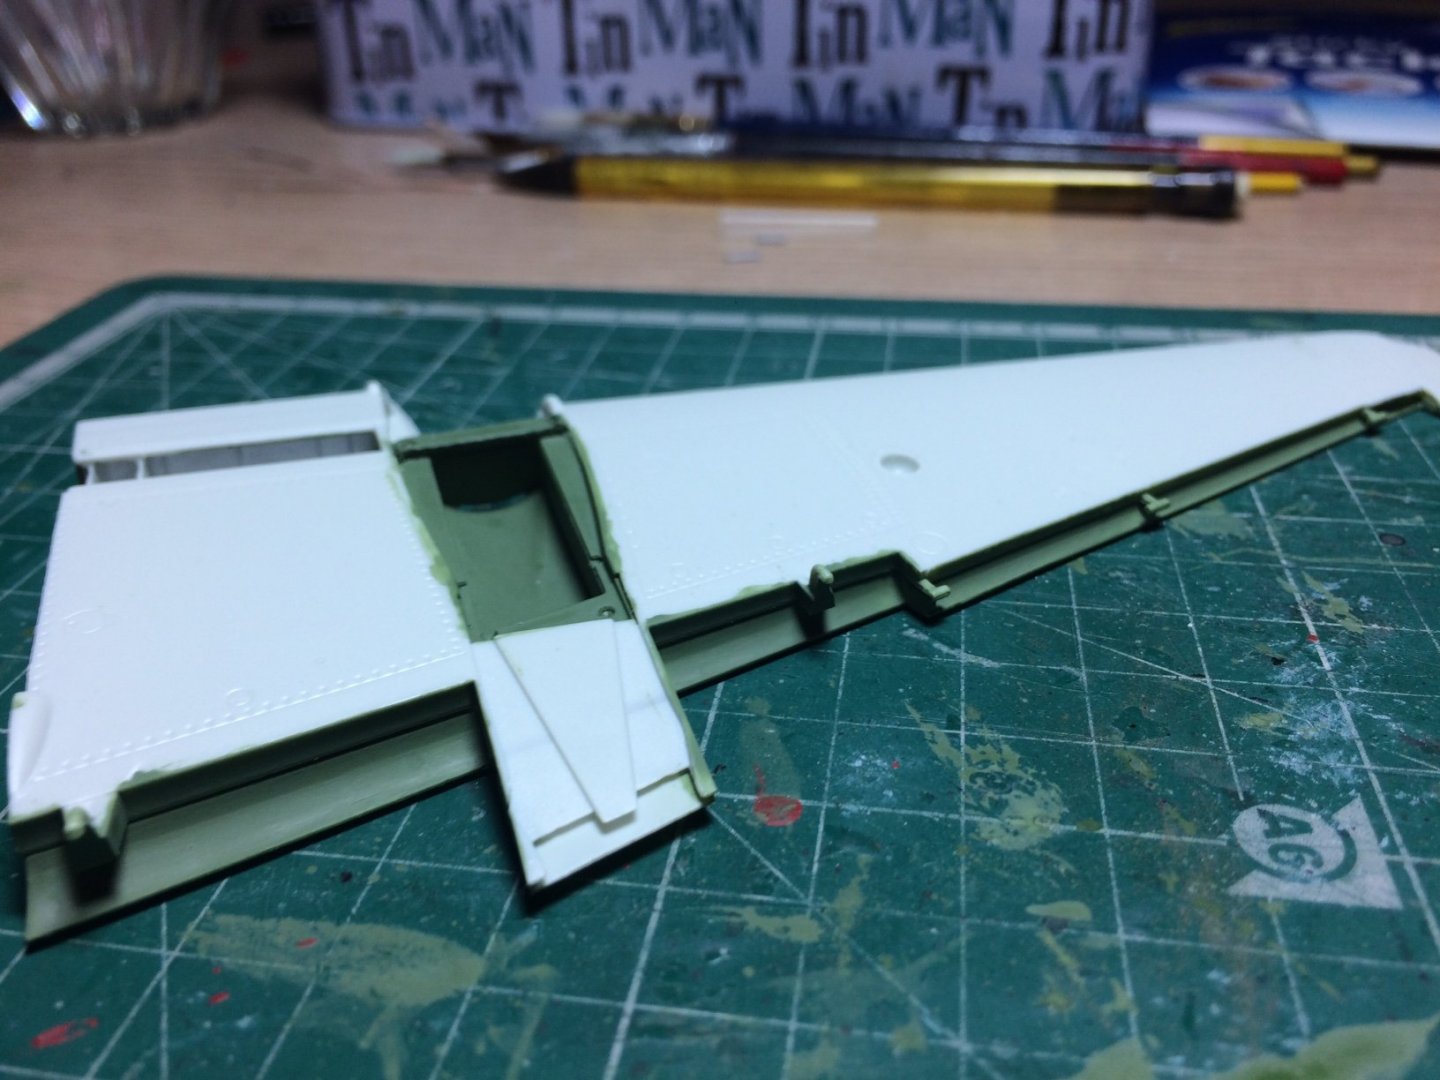
Hi all, a good day today I did the kind of work where you feel your not getting very far - but in fairness a fair bit was actually done, starting with the undercarriage units I painted therm flat alum then I put them aside to dry - then I added a couple of coats of paint to the wheels, after drying with a hairdryer I then highlighted them to bring out the tread details - after I painted the hubs flat alum. I then studied my idea for extending the front units as the Revell ones sit to low, I dry fitted the two engine cowl units and worked out how the undercarriage sits in place, its is a tight space in there and the legs needed to go in at an angle to fit, I then worked out if I used a 1-2mm strip glued it it and bored a couple of holes - it kind of did the trick. They are not fitted yet just dry fitted as there is a system where the whole wing needs assembling first - but the flaps also need assembling and fitting as they are movable surfaces, this all needs doing before the engine cowl/undercarriage units can be fitted together. I also worked on the inside section of the wing that will be in view - like the inner groves when the flaps are dropped - also the rads in the wings were painted then fitted inside the one section of the wing. OC.


- 932 replies
-
- 10
-

-
ICM 1/48 Spitfire MkIX Scrapped.
Old Collingwood replied to Old Collingwood's topic in Non-ship/categorised builds
Thanks Mark. OC. -
ICM 1/48 Spitfire MkIX Scrapped.
Old Collingwood replied to Old Collingwood's topic in Non-ship/categorised builds
Yep I have my eyes on one - been doing proper research this time and found a kit by a company called Eduard they are renowned for doing resin and brass stuff - didn't know they did kits, anyway they do a very good Mk IX in the same 1/48 scale - might have some good news in a day or so - will report back, might be starting a new build put it that way. OC. -
ICM 1/48 Spitfire MkIX Scrapped.
Old Collingwood replied to Old Collingwood's topic in Non-ship/categorised builds
Its ok mark, this and my Mossie have to be right (my farther watches me over my shoulder) so I want to do my very best for him, and I didn't know the ICM kit was going to be such a pig to build or be in such bad shape after closer inspection - and like I said the instructions were total rubbish most of what I was doing was guess work but look where that got me.... OC. -
Thats a great looking piece of furniture denis. OC.
-
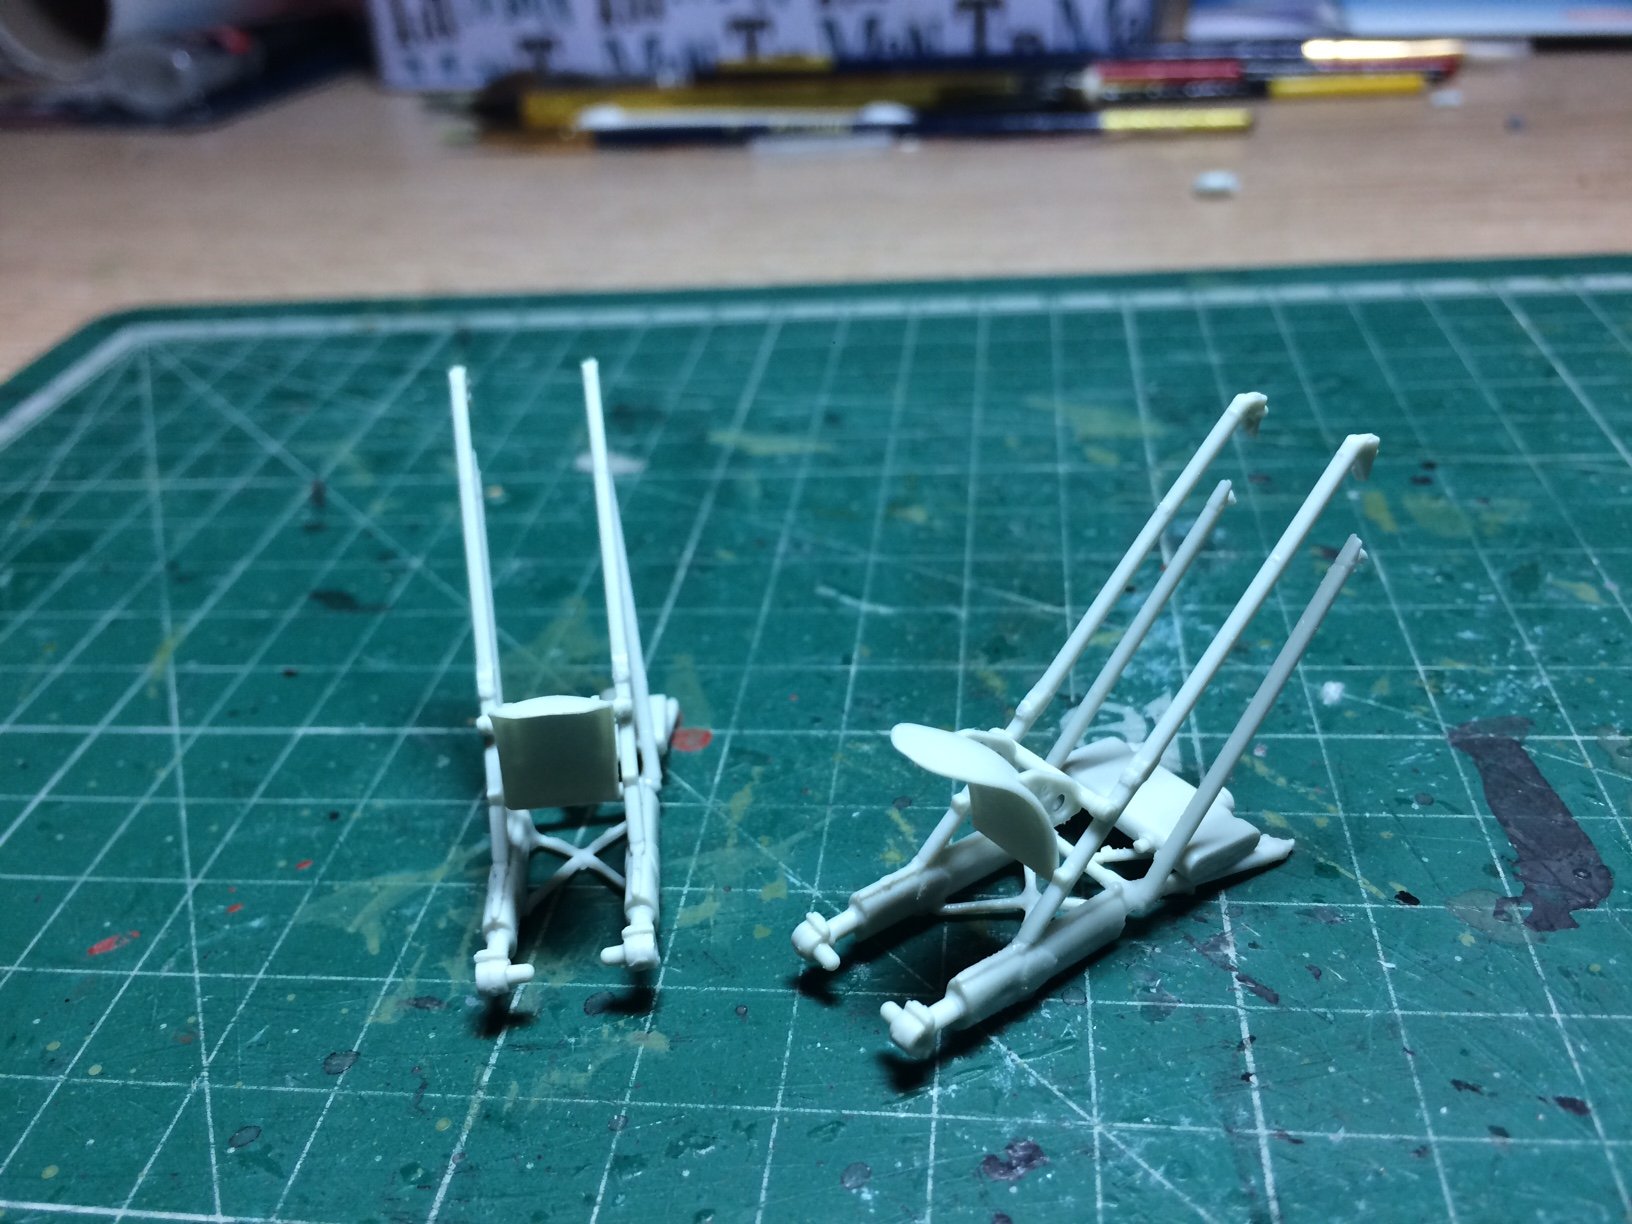
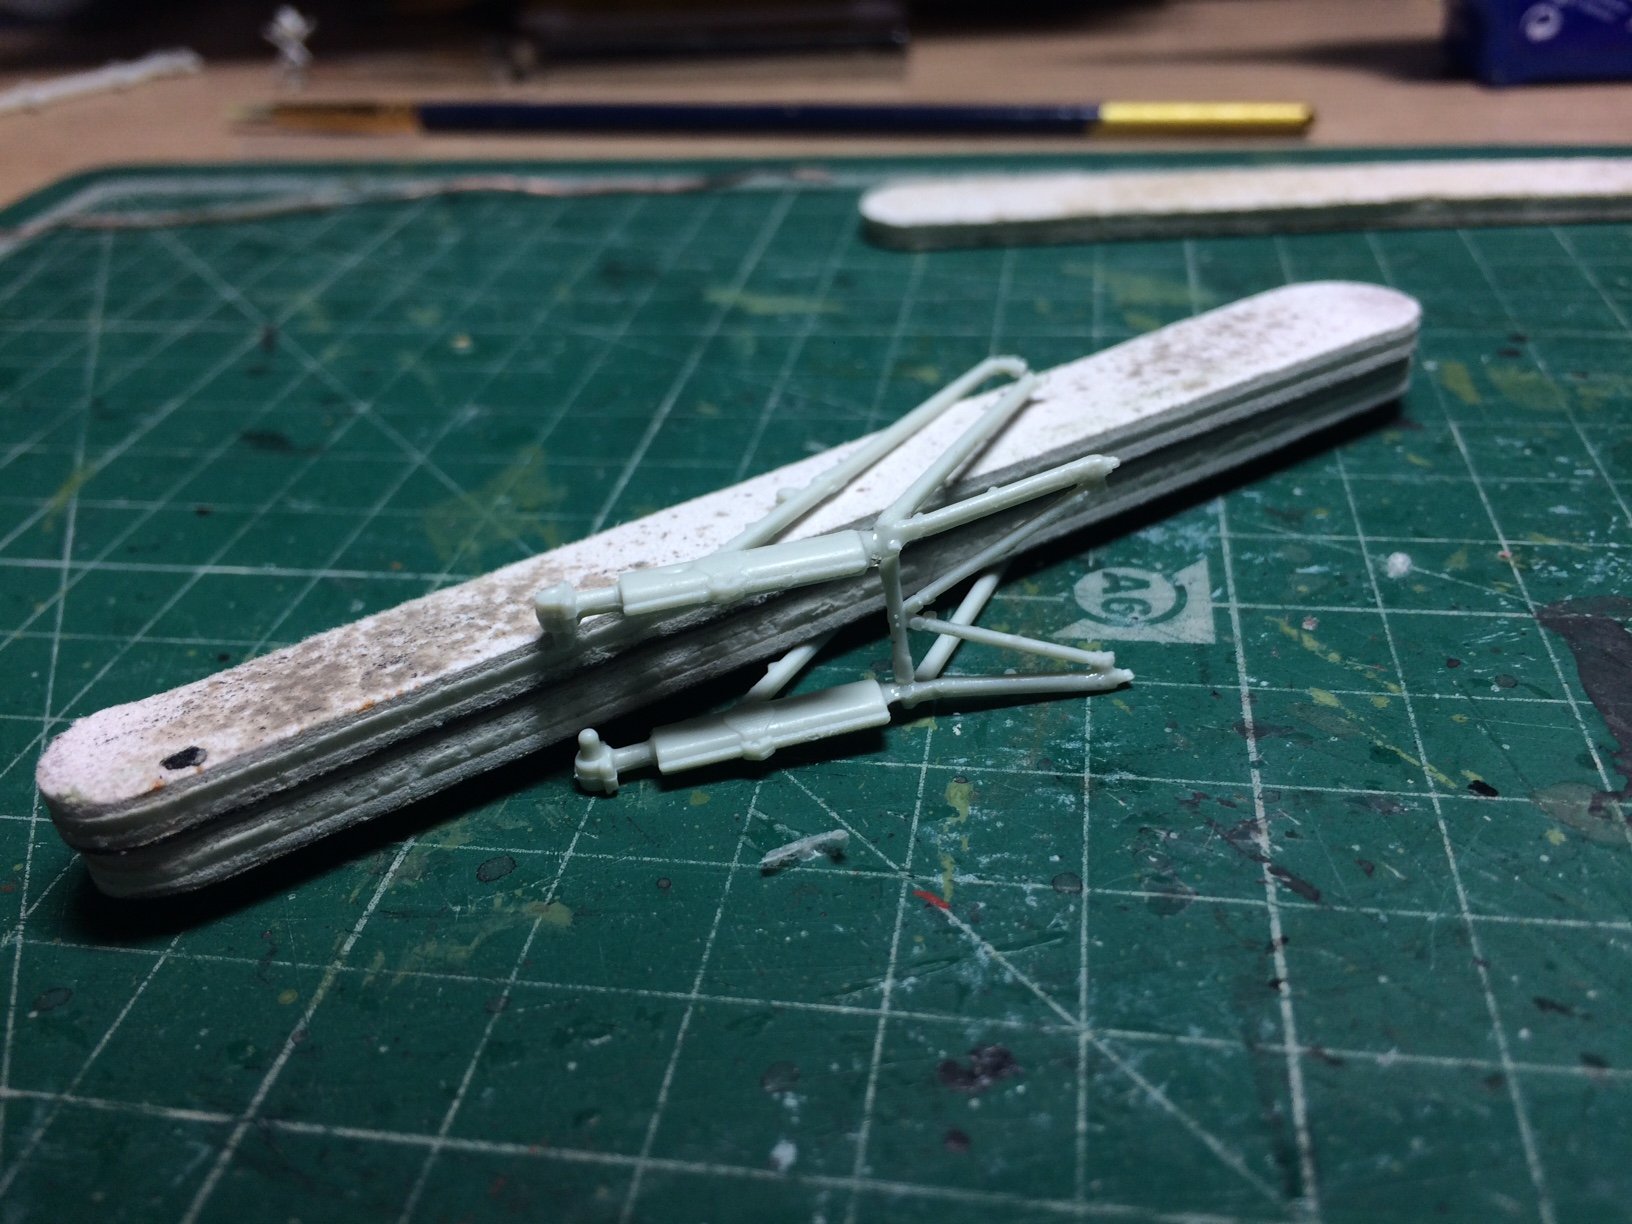
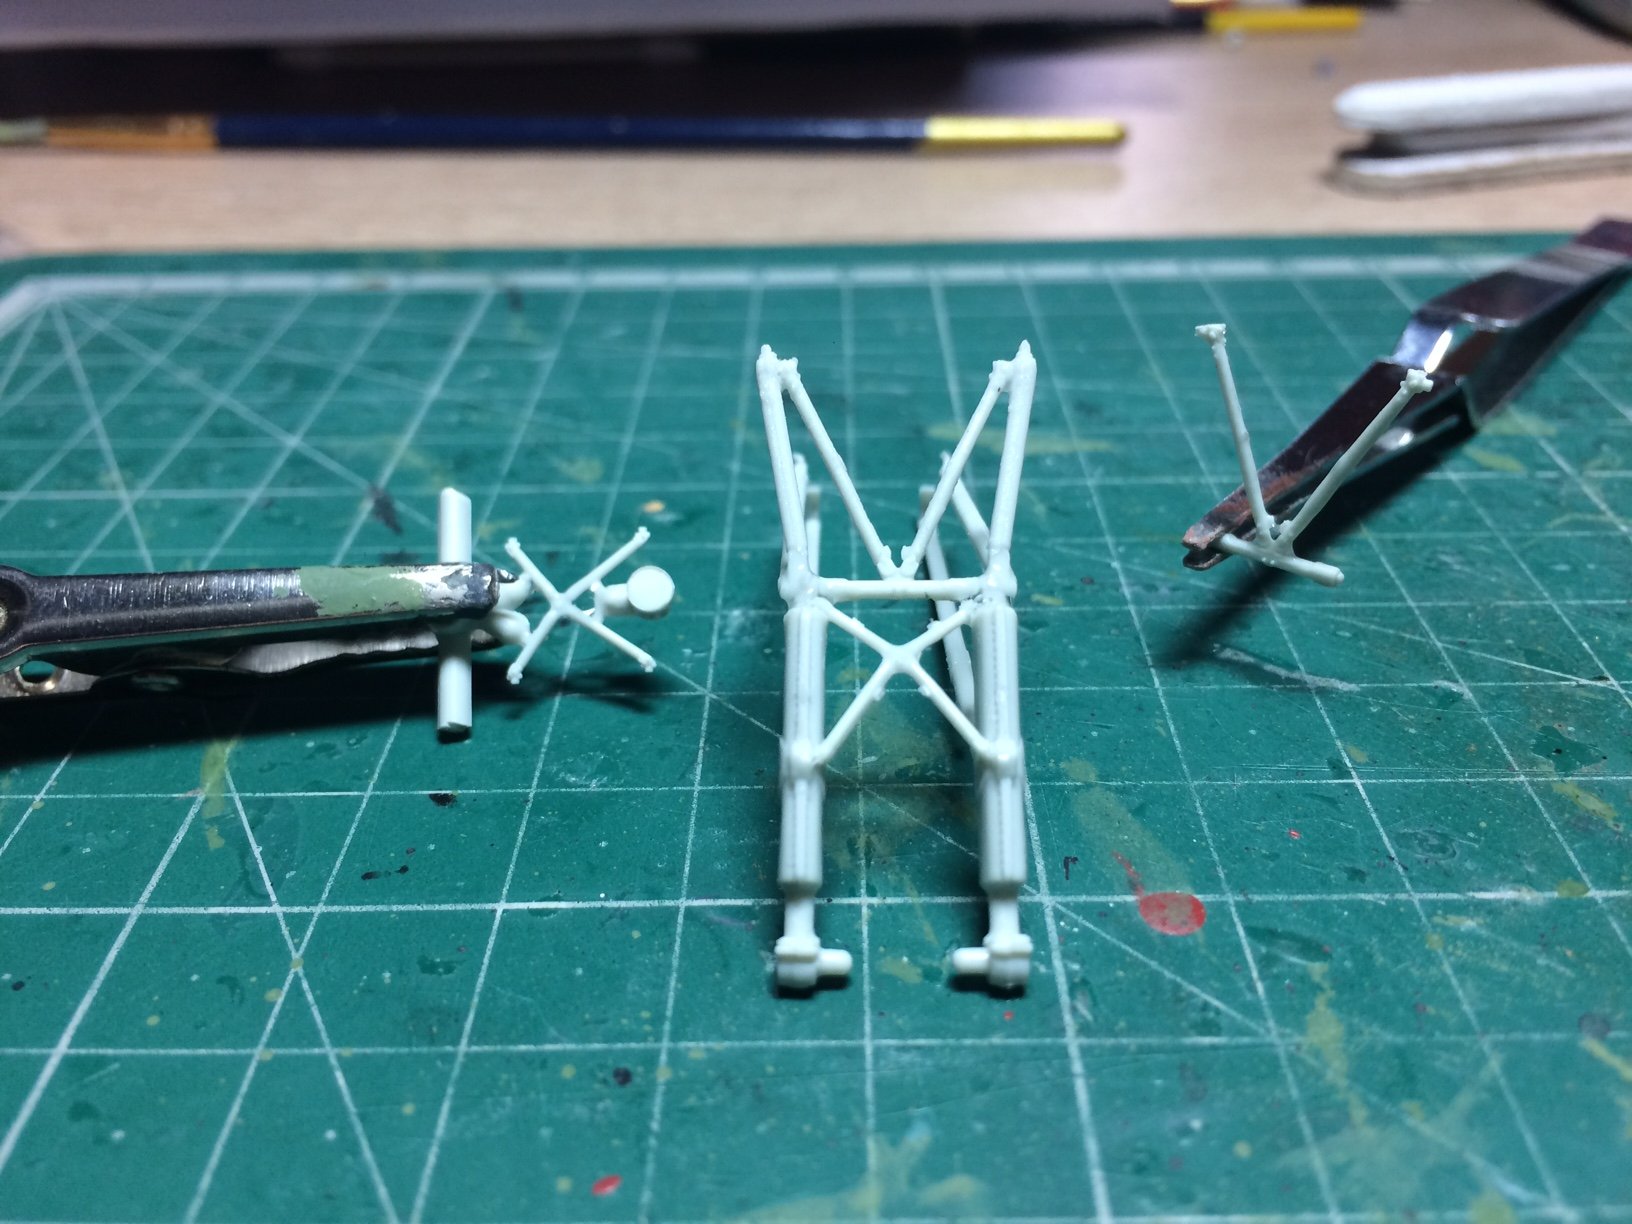
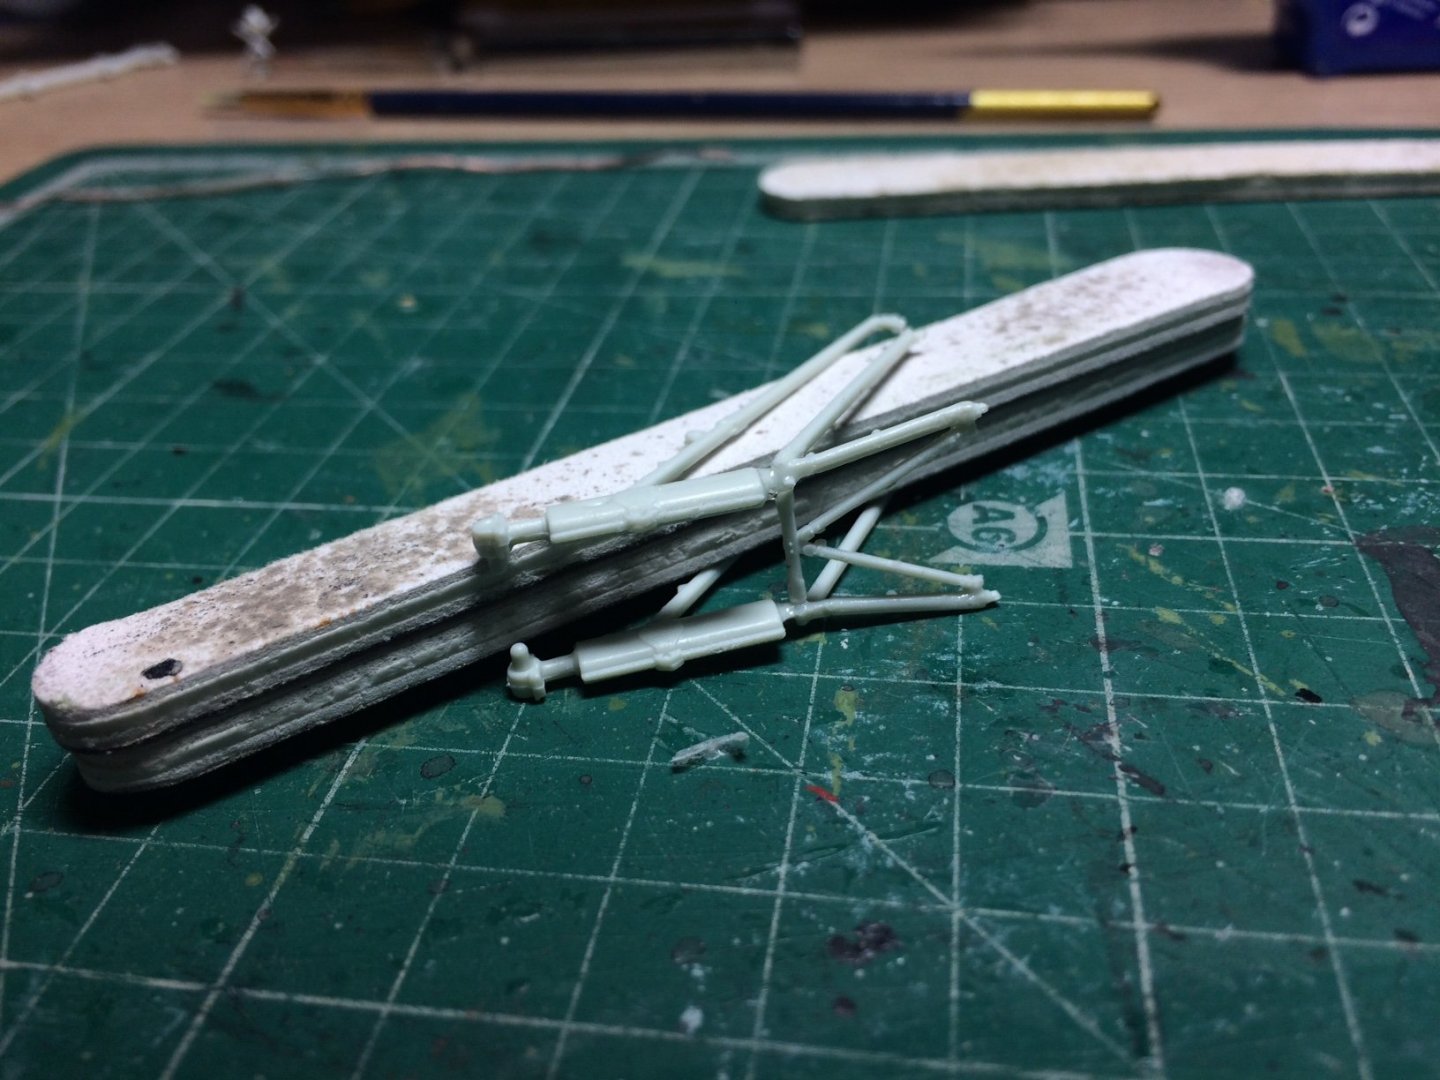
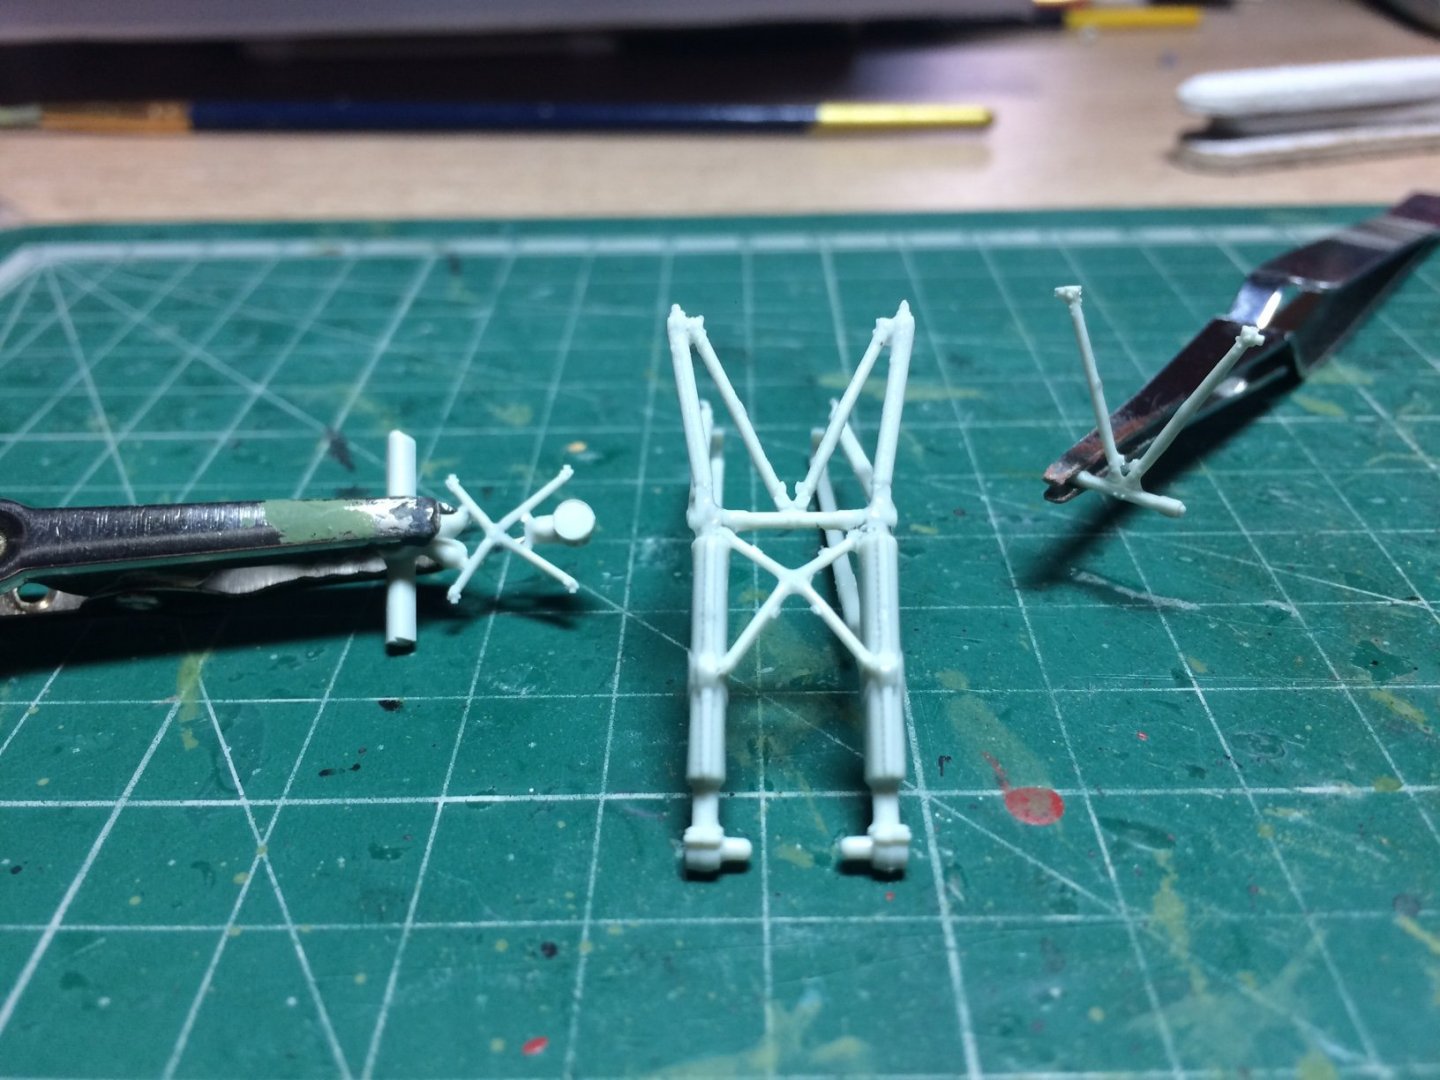
A little trick I found out for myself - to stiffen the spindle parts of the leg assemblies, I work some CA along them with a fine stick/fuse wire then heat it fast with a hair dryer to set the glue quicker, this really seems to make the thin plastic parts a lot stronger. OC.
-
Very nice work indeed kevin - those boats look Superb so worth all the effort. OC.
- 337 replies
-
- 3
-
-
- finished
- mountfleet models
- (and 1 more)
-
Yep, PE bendy boxes - I remember them form my HMS Warpy kit at 1/350 scale hard enough to see them let alone bend them - and yes you are right - its a "one time only go at bending the walls in to make boxes - what I found useful was bending one face at a time against something flat of square then gently do the remaining faces - then if there is an opening dab some CA on a fine stick or fuse wire inside the box to glue the edges. OC.
-
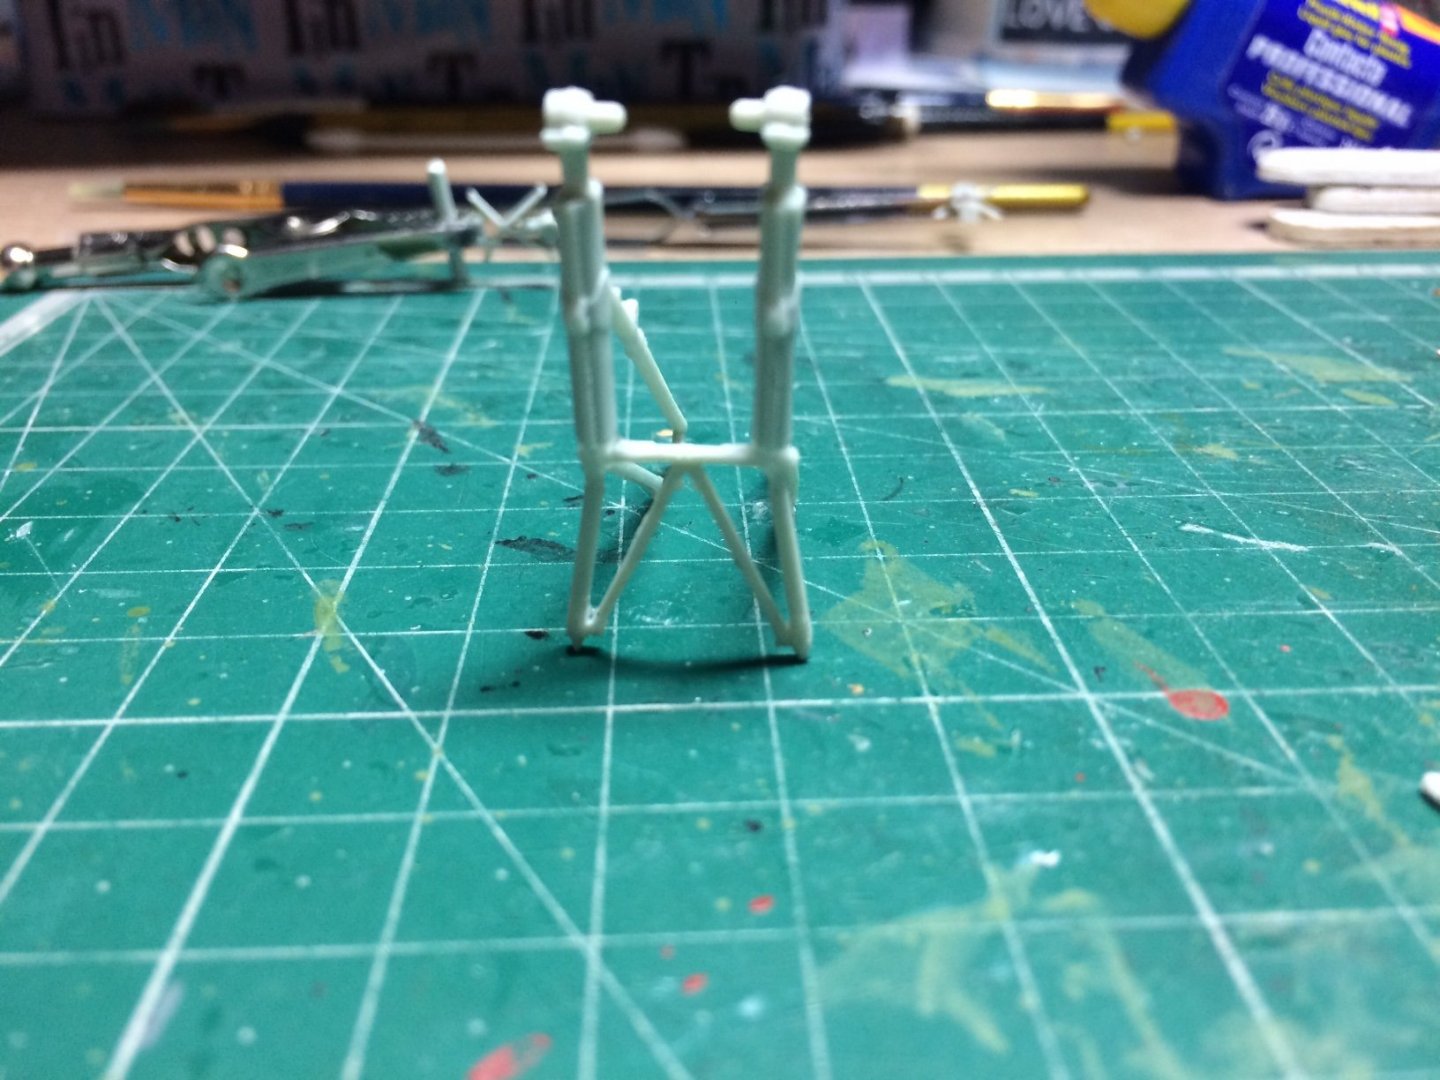
While the fuselage is drying I checked the instructions - they call for the main undercarriage units to be made - they are made up from two side units and a few other smaller sections - its a case of gluing then supporting while they glue, then when complete again support and put on one side. OC.
-
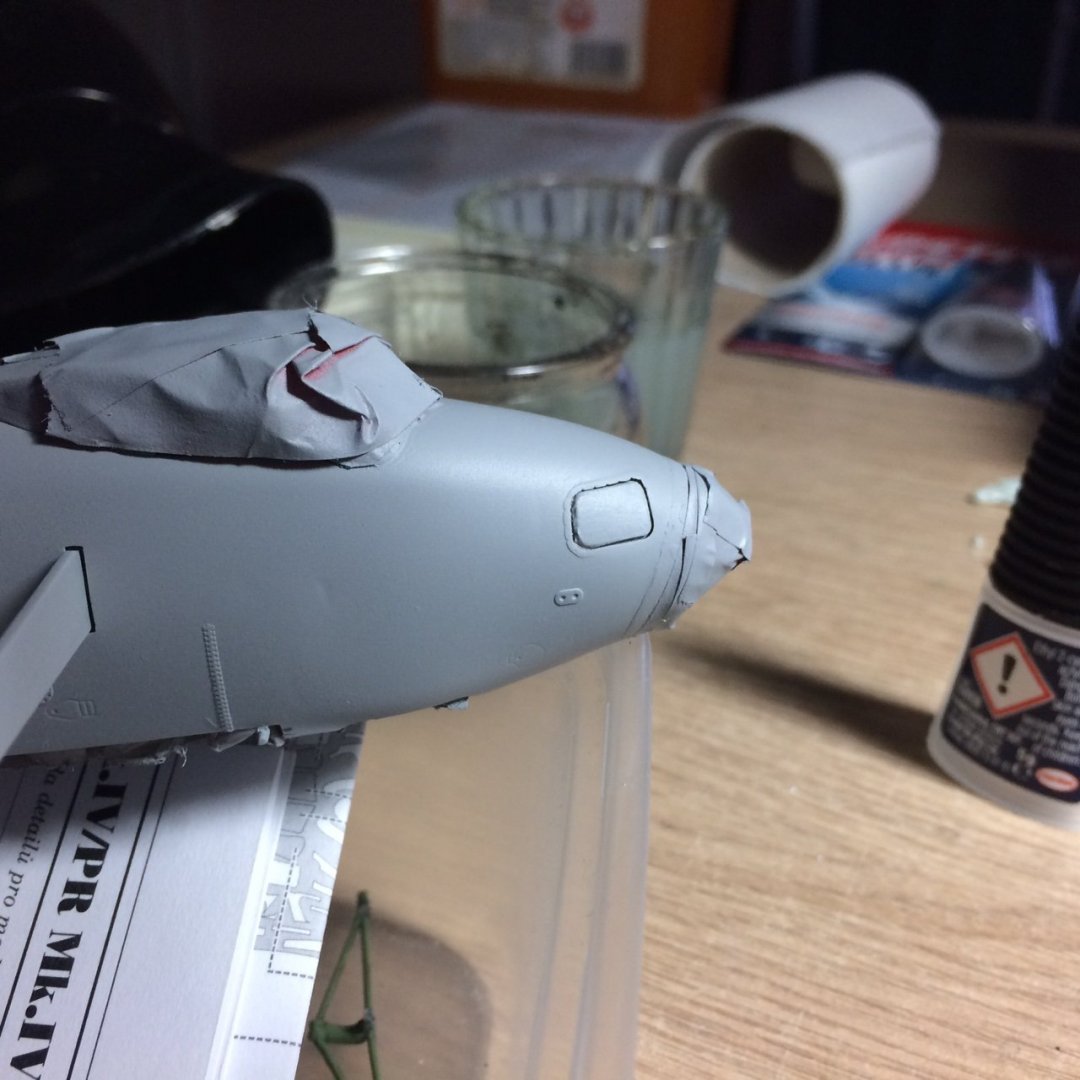
Hi all, with the Spit no resigned to the spares department - its given me more time to work on the Mossie, firstly I attacked that nose detailing that I had done before - I took the masking of the nose and carefully re taped it level with start of the frame nearest the fuselage, then I used a very narrow piece of light sanding stick - and sanded the strip I had put on, this went quite well with the sanding stick piece being only very narrow - I was able to control where I was sanding, after I tacked it with tape to get rid of any dust - then I went out side and sprayed a couple of coats of surface primer just over the front area - job done. OC.