


Old Collingwood
-
Posts
12,106 -
Joined
-
Last visited
Content Type
Profiles
Forums
Gallery
Events
Everything posted by Old Collingwood
-
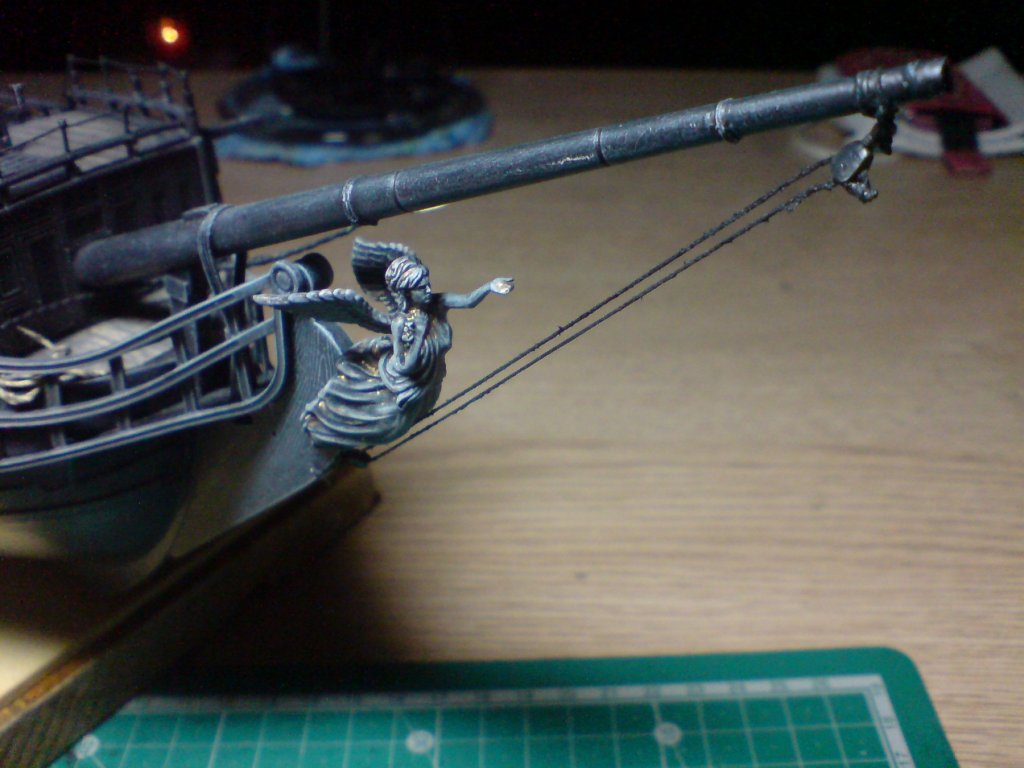
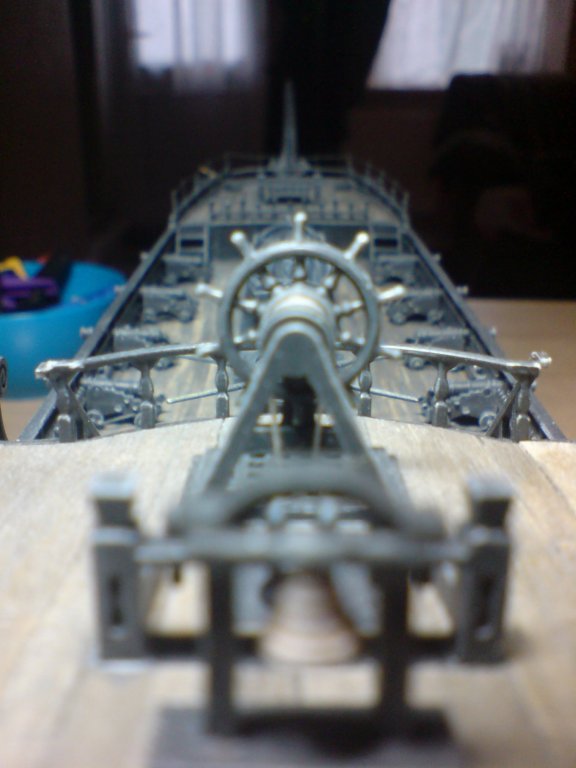
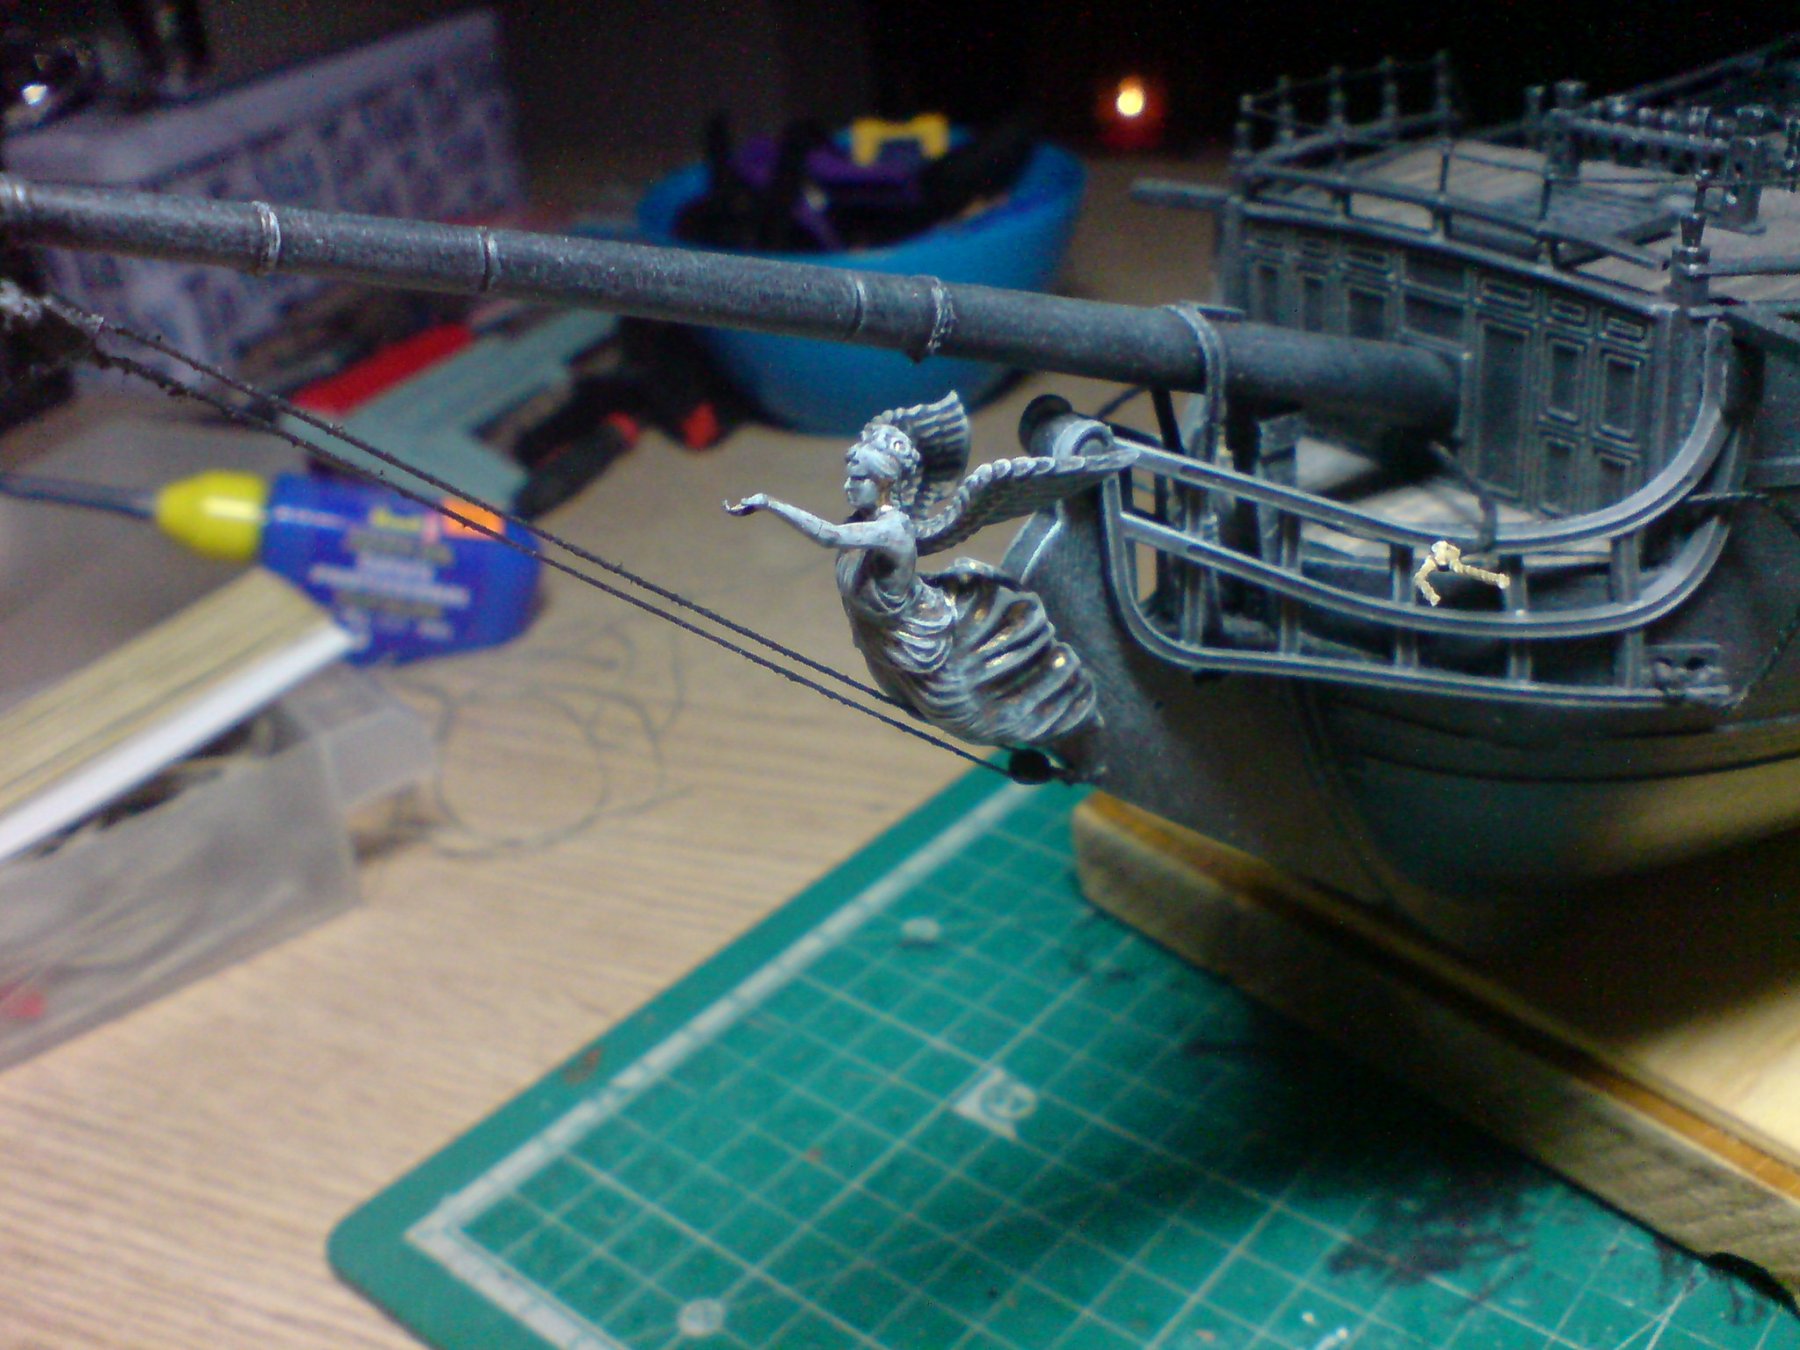
 While on a run - I decided to have a go at the bowsprit and creating and fitting a bobstay and tackle, in the kit there is an assortment of tackle devices in plastic but nicely formed, first off I drilled through the beakhead then secured some thread through it - to this I attached one of the tackle pieces by a simple knot and touch of glue, I did the same to the end of the bowsprit, then I ran a length of thread through the tackles to form a link and glued the end with a small knot. After I touched up with some black/grey just needs weathering. Two more pics - OC.
-
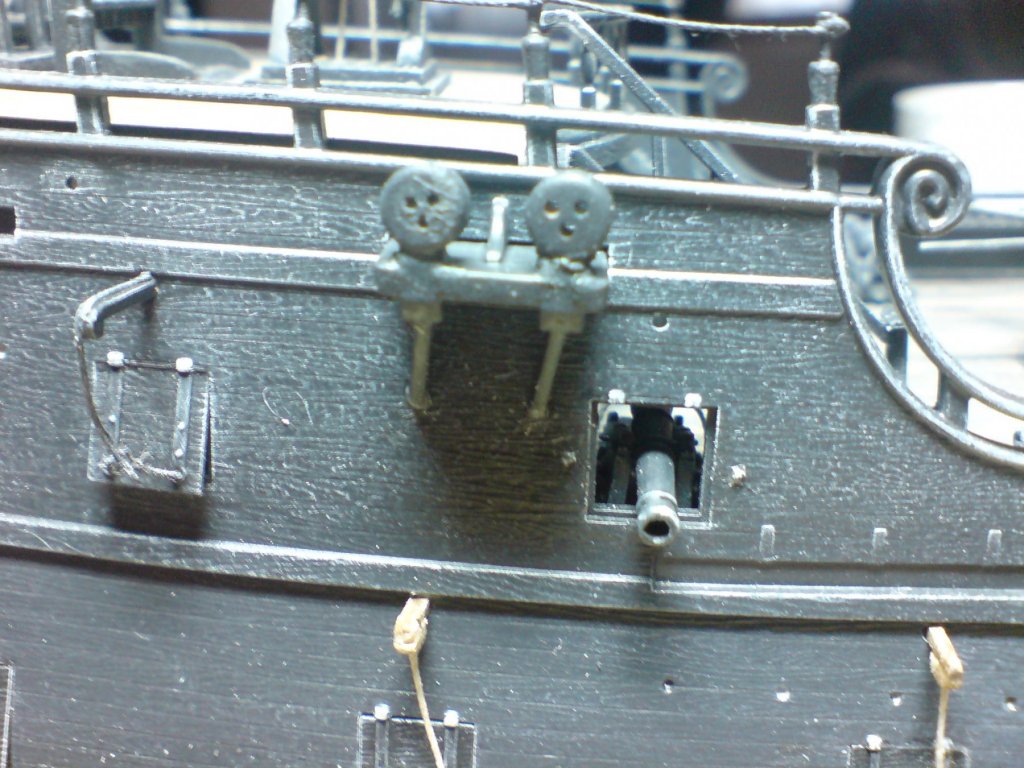
While letting the first small channel set - I turned my attention to the last row of lid lifting rope/devices, I cut off the ends of the rope then touched up the paintwork on all of them - now they are all fitted/painted. Here is a pic and also a few extra deck pics - OC.
-
Evening all, thank you for all the feedback and likes. Right then straight in with it - I put two of my wood deadeyes next to the channel linkages and messed around with different joining methods, I decided not to drill through or use a rope/thread - I decided to file the linkages a bit, then I glued the deadeyes to the linkage using strong super glue, after they had set I applied more glue around the base of the deadeyes to strengthen them. I put the assembly aside to set then I applied a couple of coats of paint - then once dry it was glued to the hull - making sure the support struts linked up with the holes in the hull. Here is the result minus weathering - OC.
-
Thank you kindly mark, yep I thought of that and made sure the cutouts in the hull are free of paint, and also the linkage holes - so it should glue well. OC.
-
Thank you for putting my mind at rest, I guess all the extra bits of work will make it worth it in the end. OC.
-
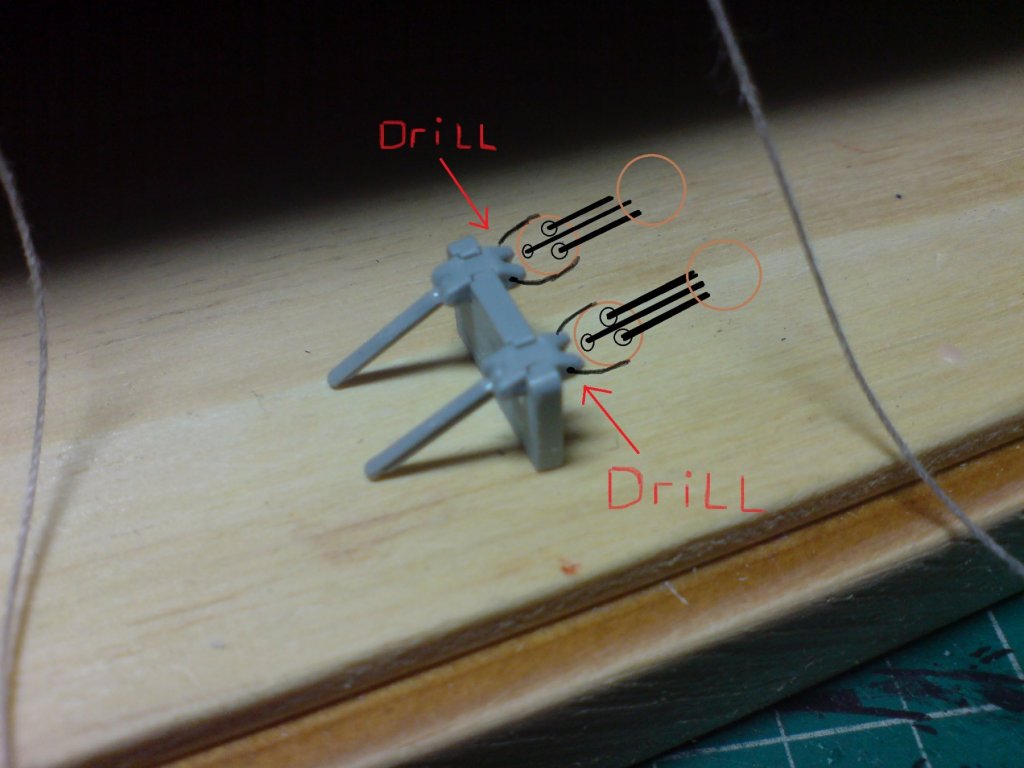
This is how I could possibly attach the deadeyes to the links on the channels - I could drill through the plastic linkages then attach the deadeyes with thick-ish thread around the outer of the deadeyes and through the drilled out linkages - I could then tie them and add some glue to the thread to give it some strength. Here's the idea - OC.
-
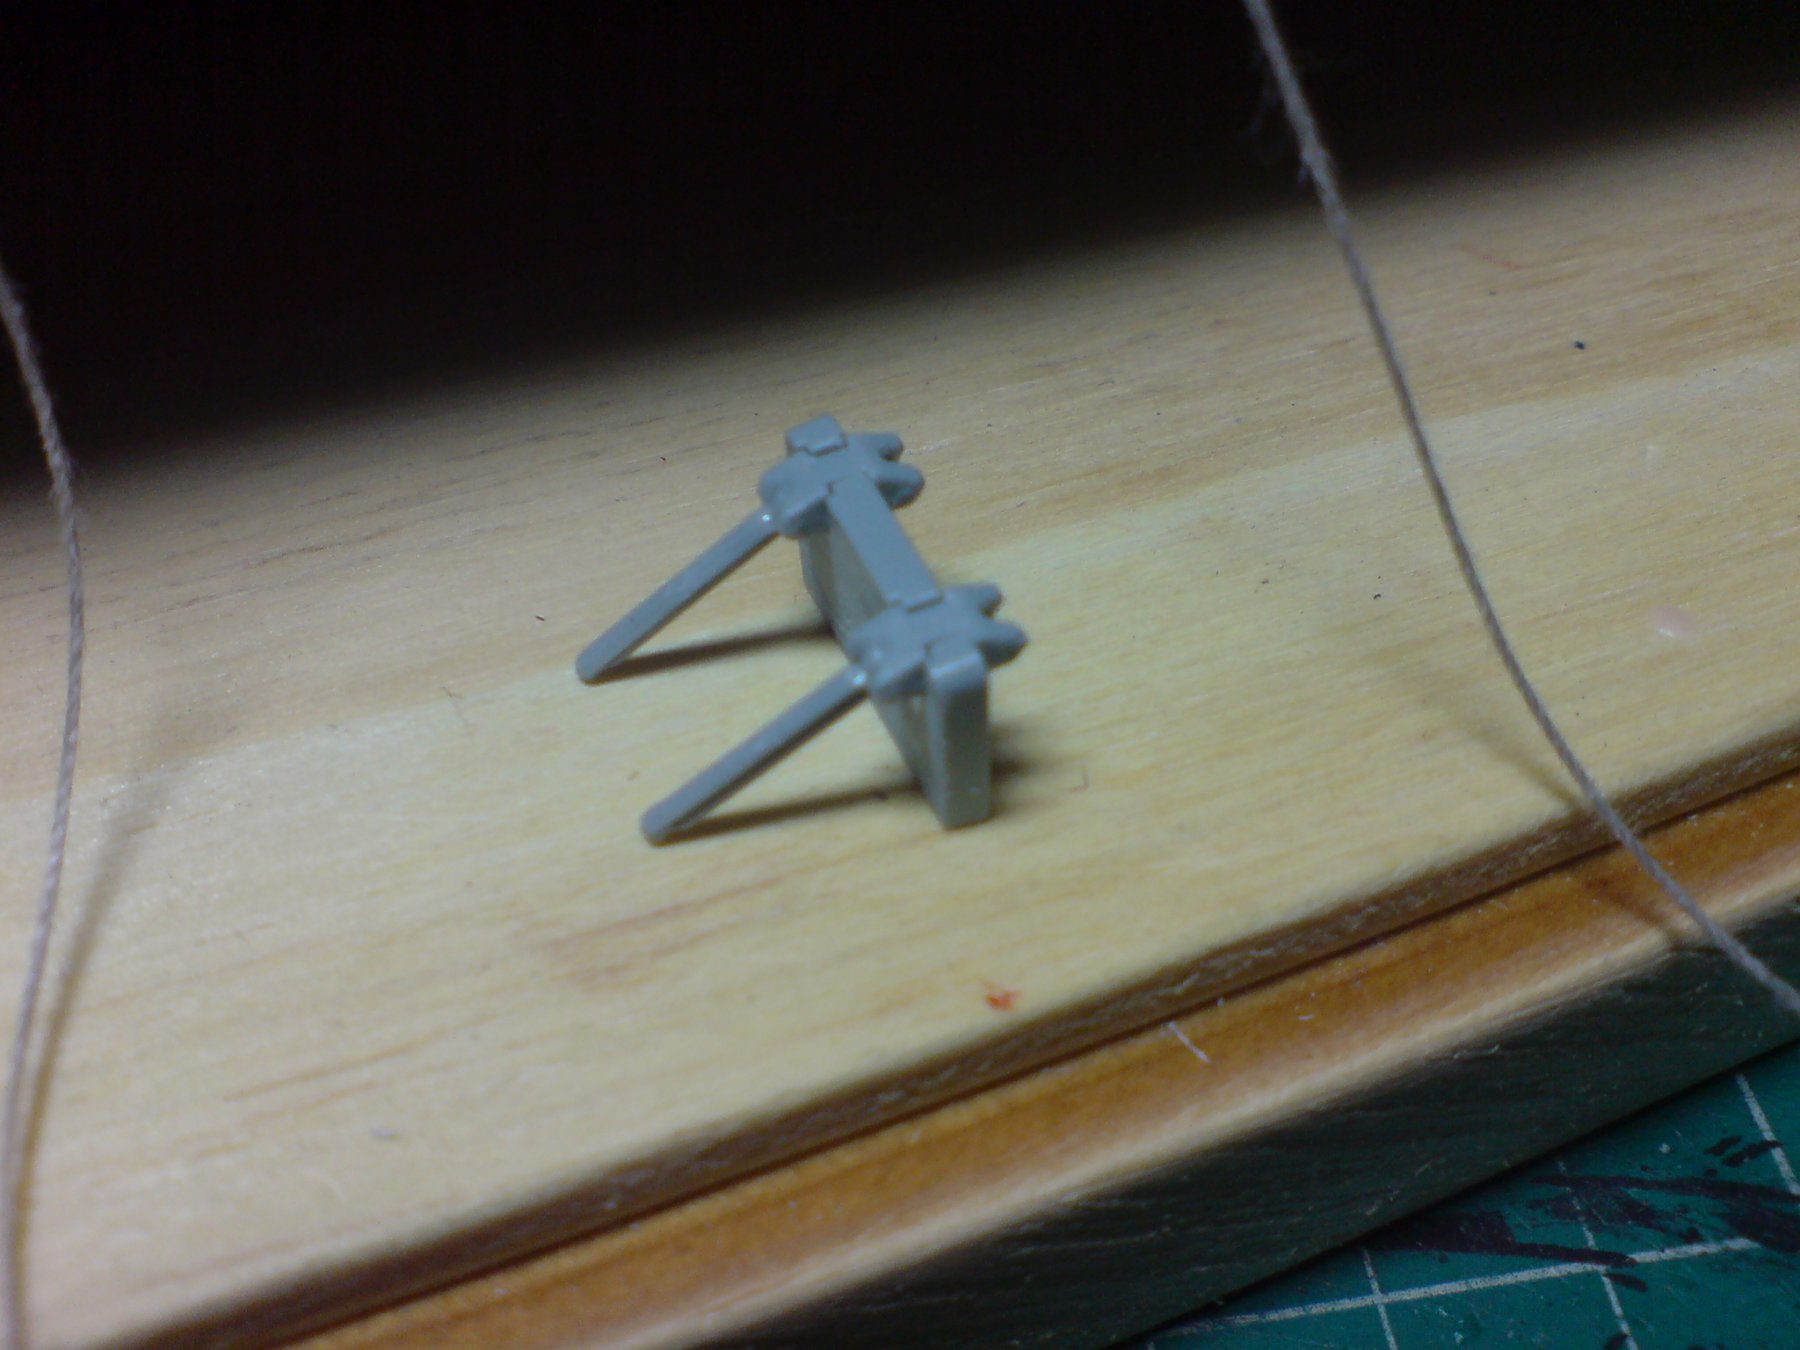
The lower linkage arms below the channels are plastic, they have a ball end that glues into a small hole in the hull, I would hope that these joins being plastic to plastic using poly cement - will bond well and give enough strength (there is no room to pin them you see). The deadeyes will have to attached in a manor I haven't worked out yet - as the push in plastic devices along the edges of the channels are designed for ball and socket type ends of the (kit pre molded all in one shrouds) but I am going to make my own using threads and wood deadeyes that I also have. Nothing like a challenge. OC.
-
Thank you so much for your imput ej, that was kind of my thinking from all the builds I have seen. OC.
-
Thank you mark I will try (I have the admiral keeping a close eye on this one - as its for her she is worth it though) all the best to you and yours also. OC.
-
Just to follow - up, my idea is to carry on making/painting/weathering the channels and fitting the lower deadeyes, then these will be glued to the hull, i will then start with the foremast - glue the lower section in place including the lower masttop, then start on the standing rigging by fitting the foremast stay to the bowsprit, and fit the bobstay. Does this sound ok? as it will be my very first mast/rope work I have ever done. OC.
-
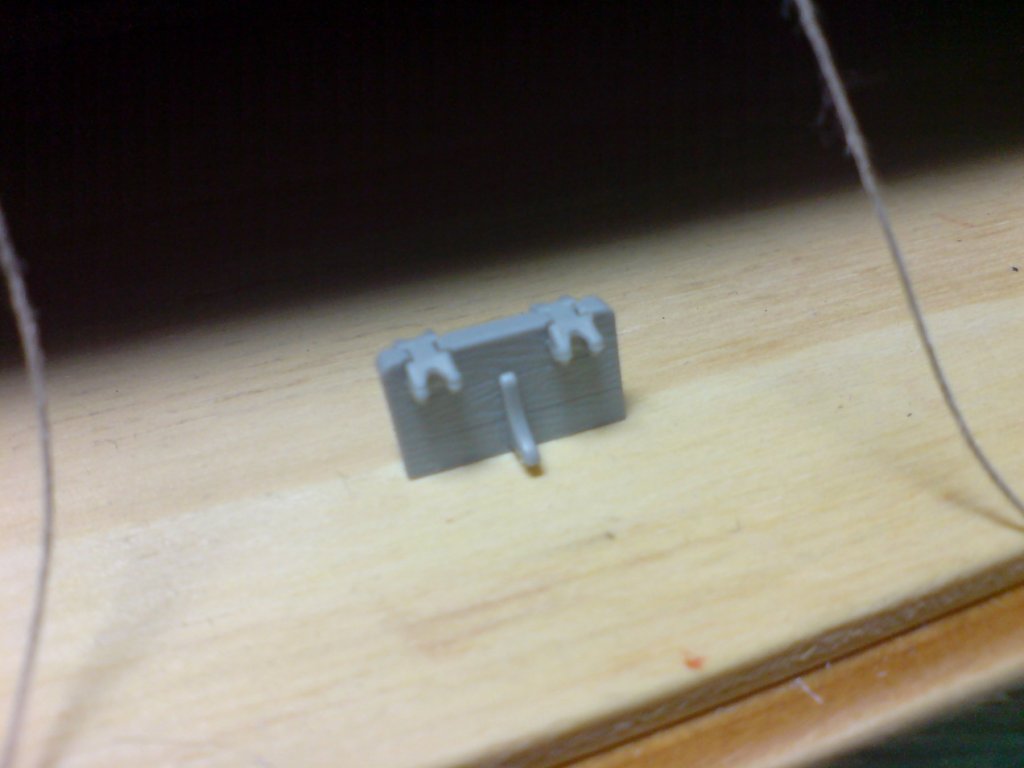
Evening all, slight departure from the work so far - so I turned my attention to the channels starting with the smallest ones for the mizzen mast, these are plastic units of good shape, they have link devices attached then two plastic chain attachment type devices, was glued in place after checking for alignment with holes in the hull then set aside to set. Here is the one I started - OC.

-
Keep up the great work kevin - she is looking splendid. OC.
- 1,319 replies
-
- 4
-

-
- caldercraft
- Victory
- (and 1 more)
-
Truly first class work bob - beautiful. OC.
- 359 replies
-
- 3
-
-
- prince de neufchatel
- model shipways
- (and 1 more)
-
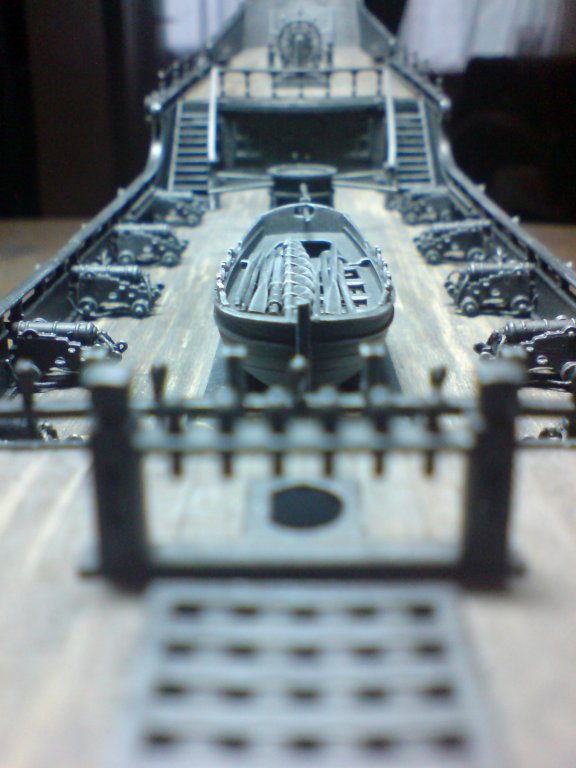
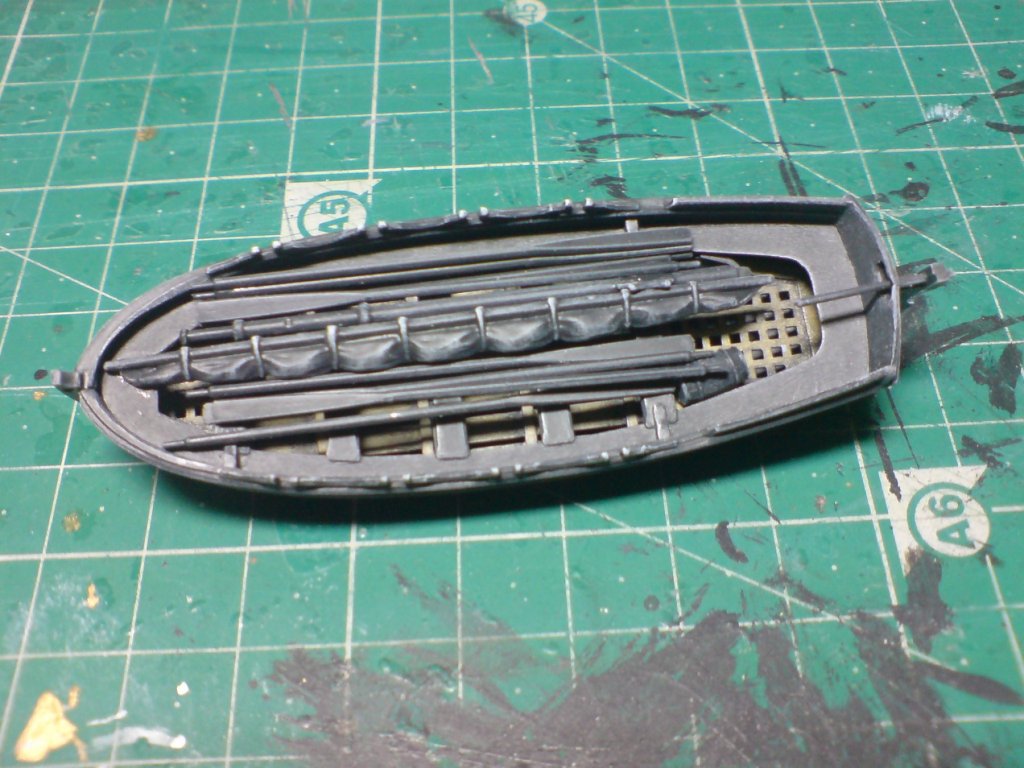
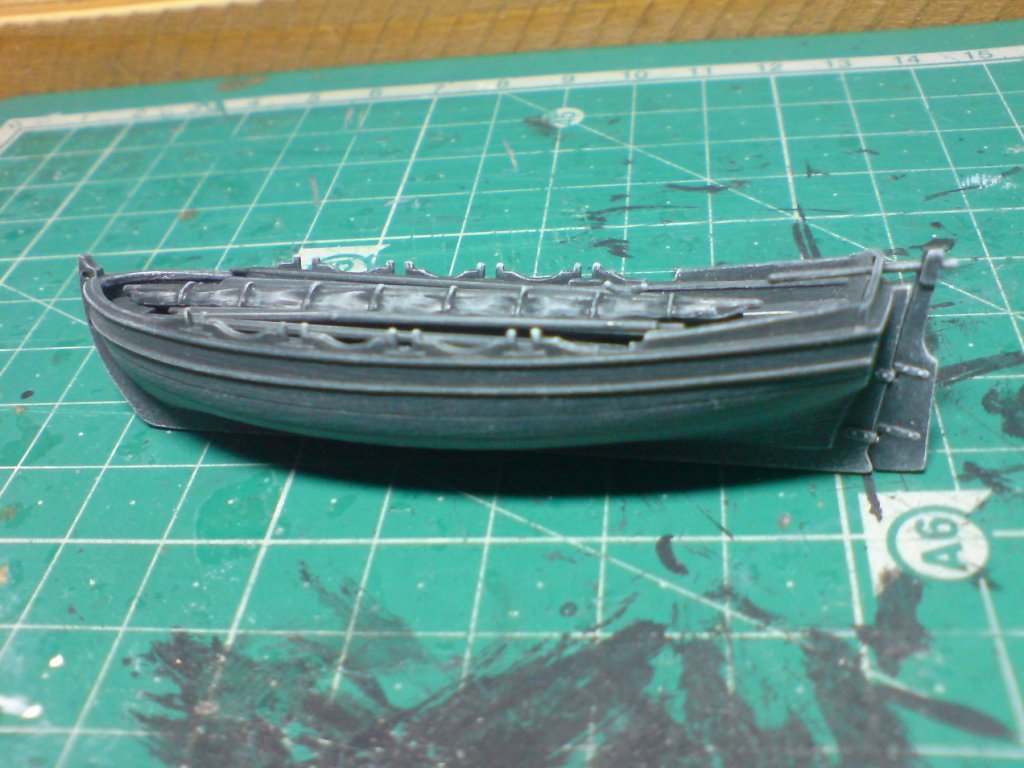
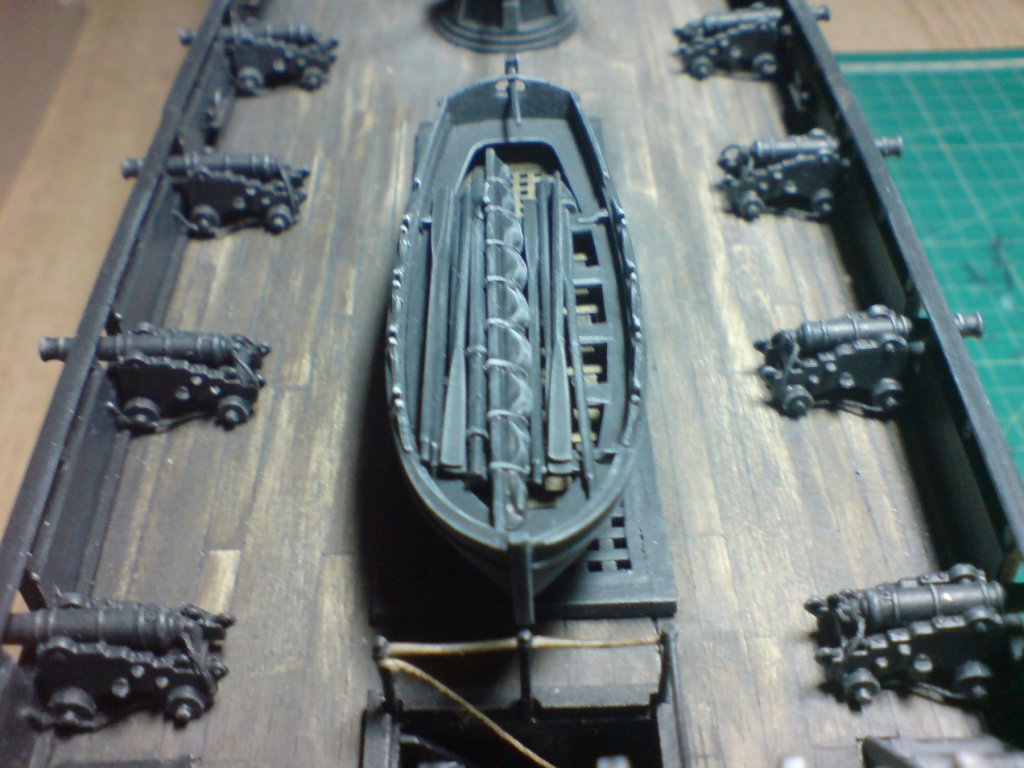
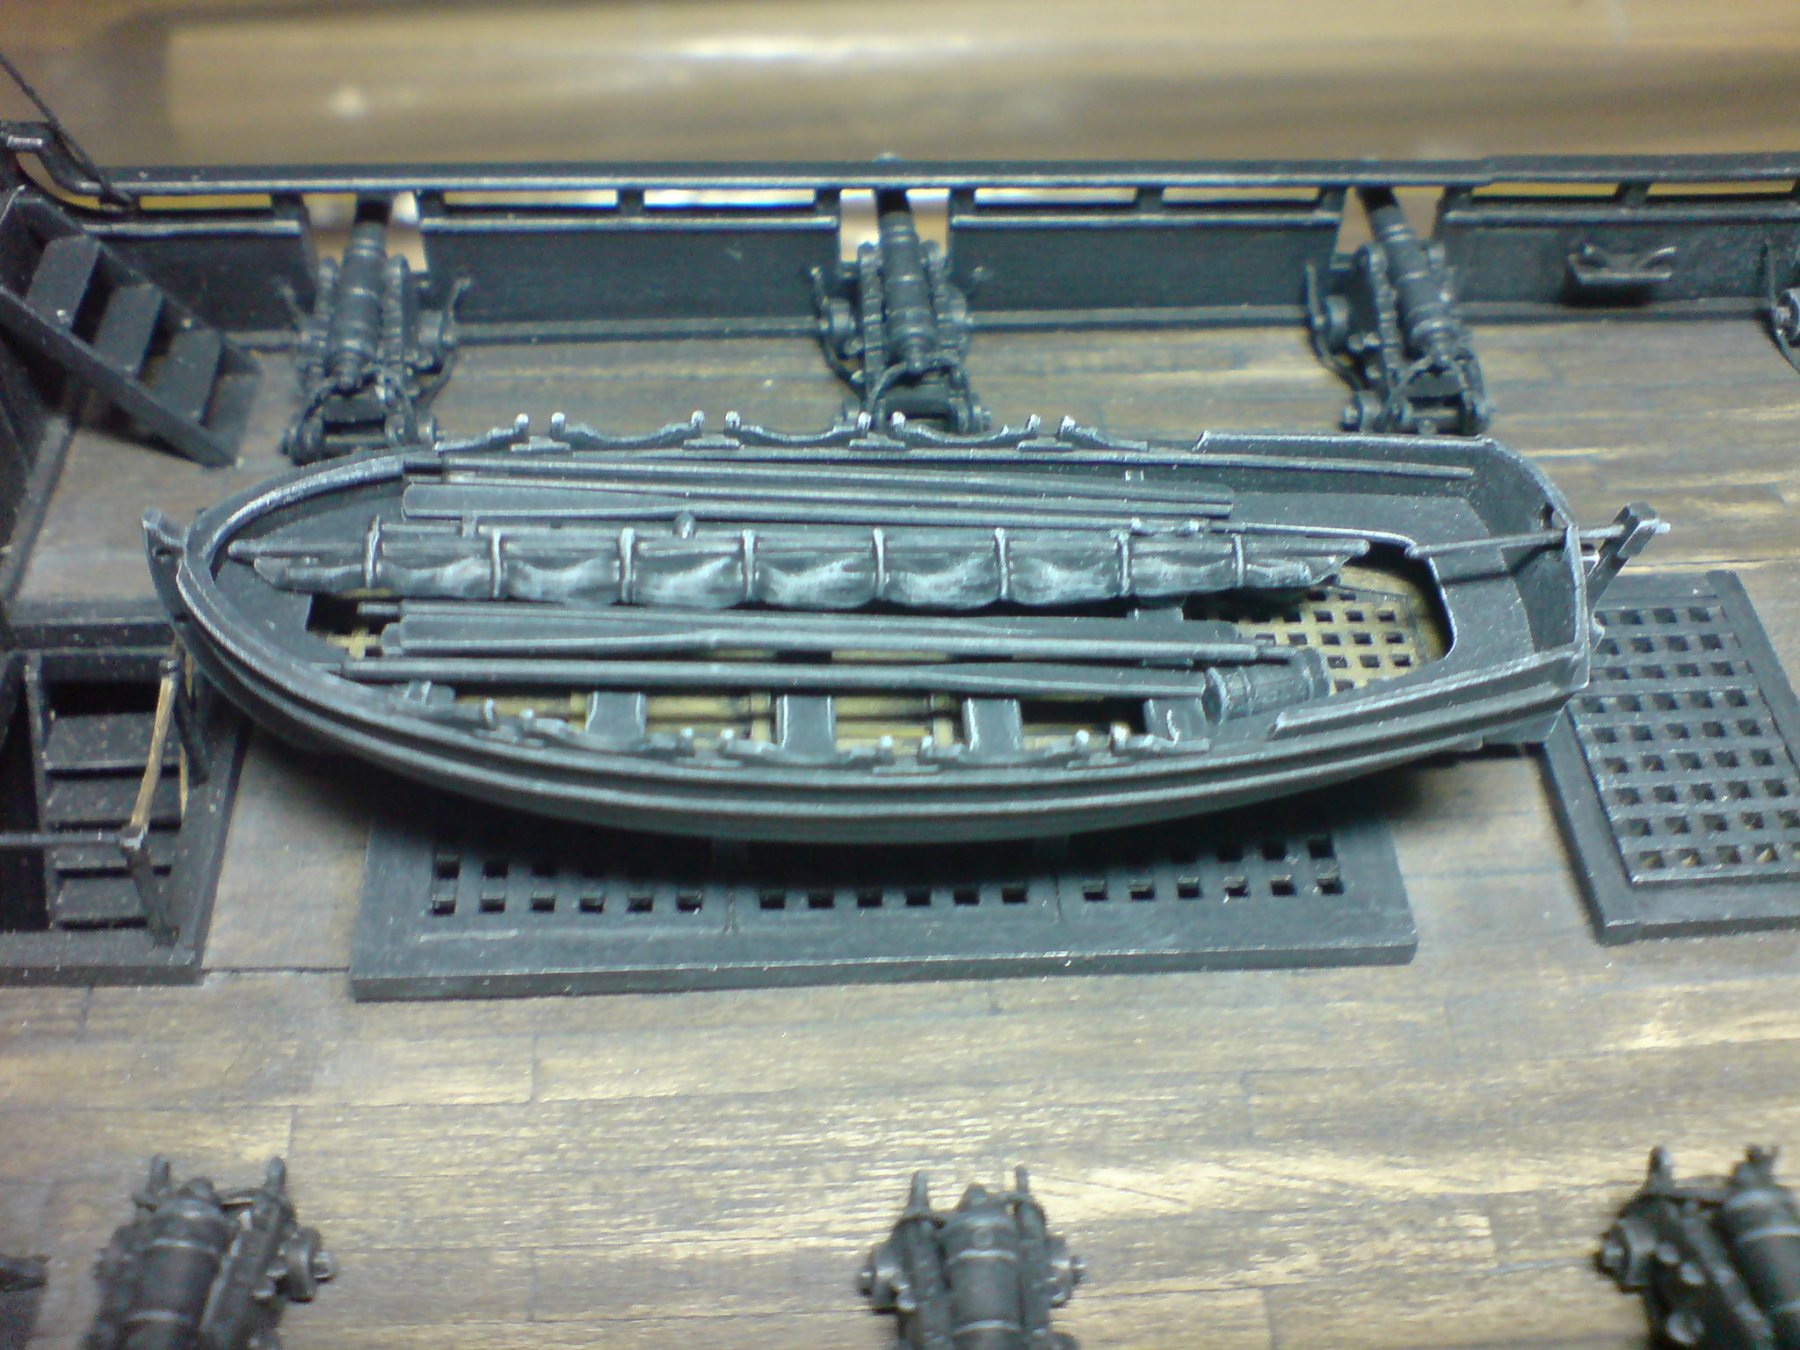
Evening all, the little boaty if finished - I cut the rest of the fitting from the spru then cleaned them up and did my normal - painty - weathering thingy bob, then after fitting the rudder I placed the rest of the fittings to the boat with some small amounts of plastic glue. Here are a few pics including a couple placed on the deck. OC.

-
Thank you lou, just doing my best to do her justice and make her look as life like as possible - im loving working on her. OC.
-
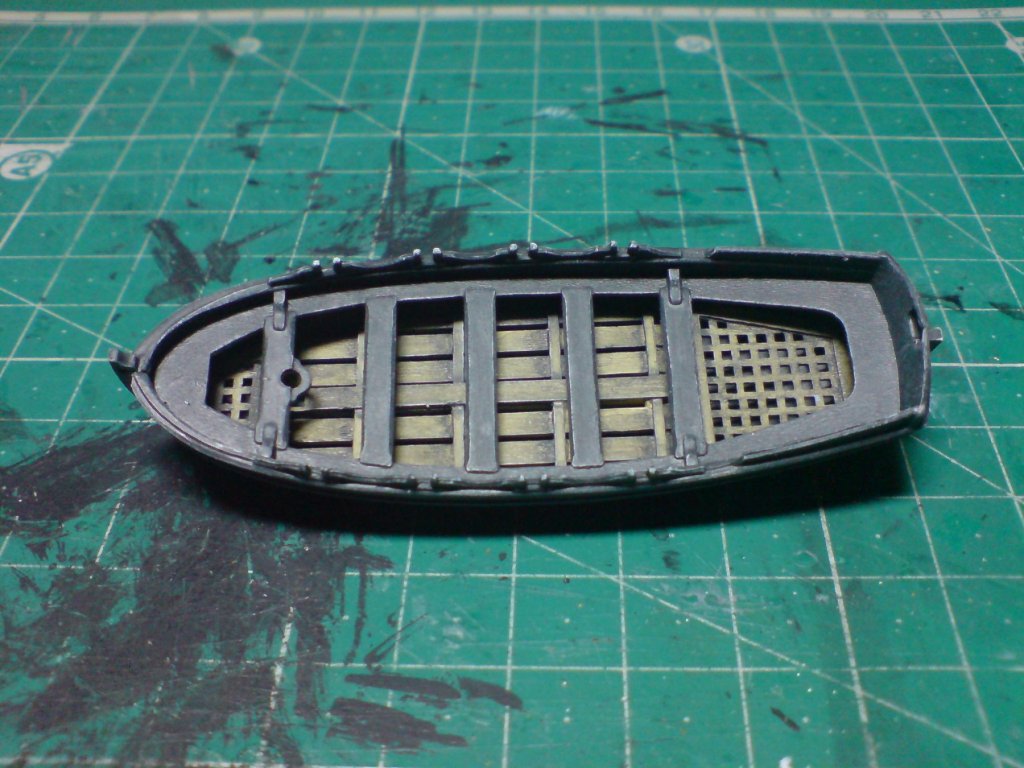
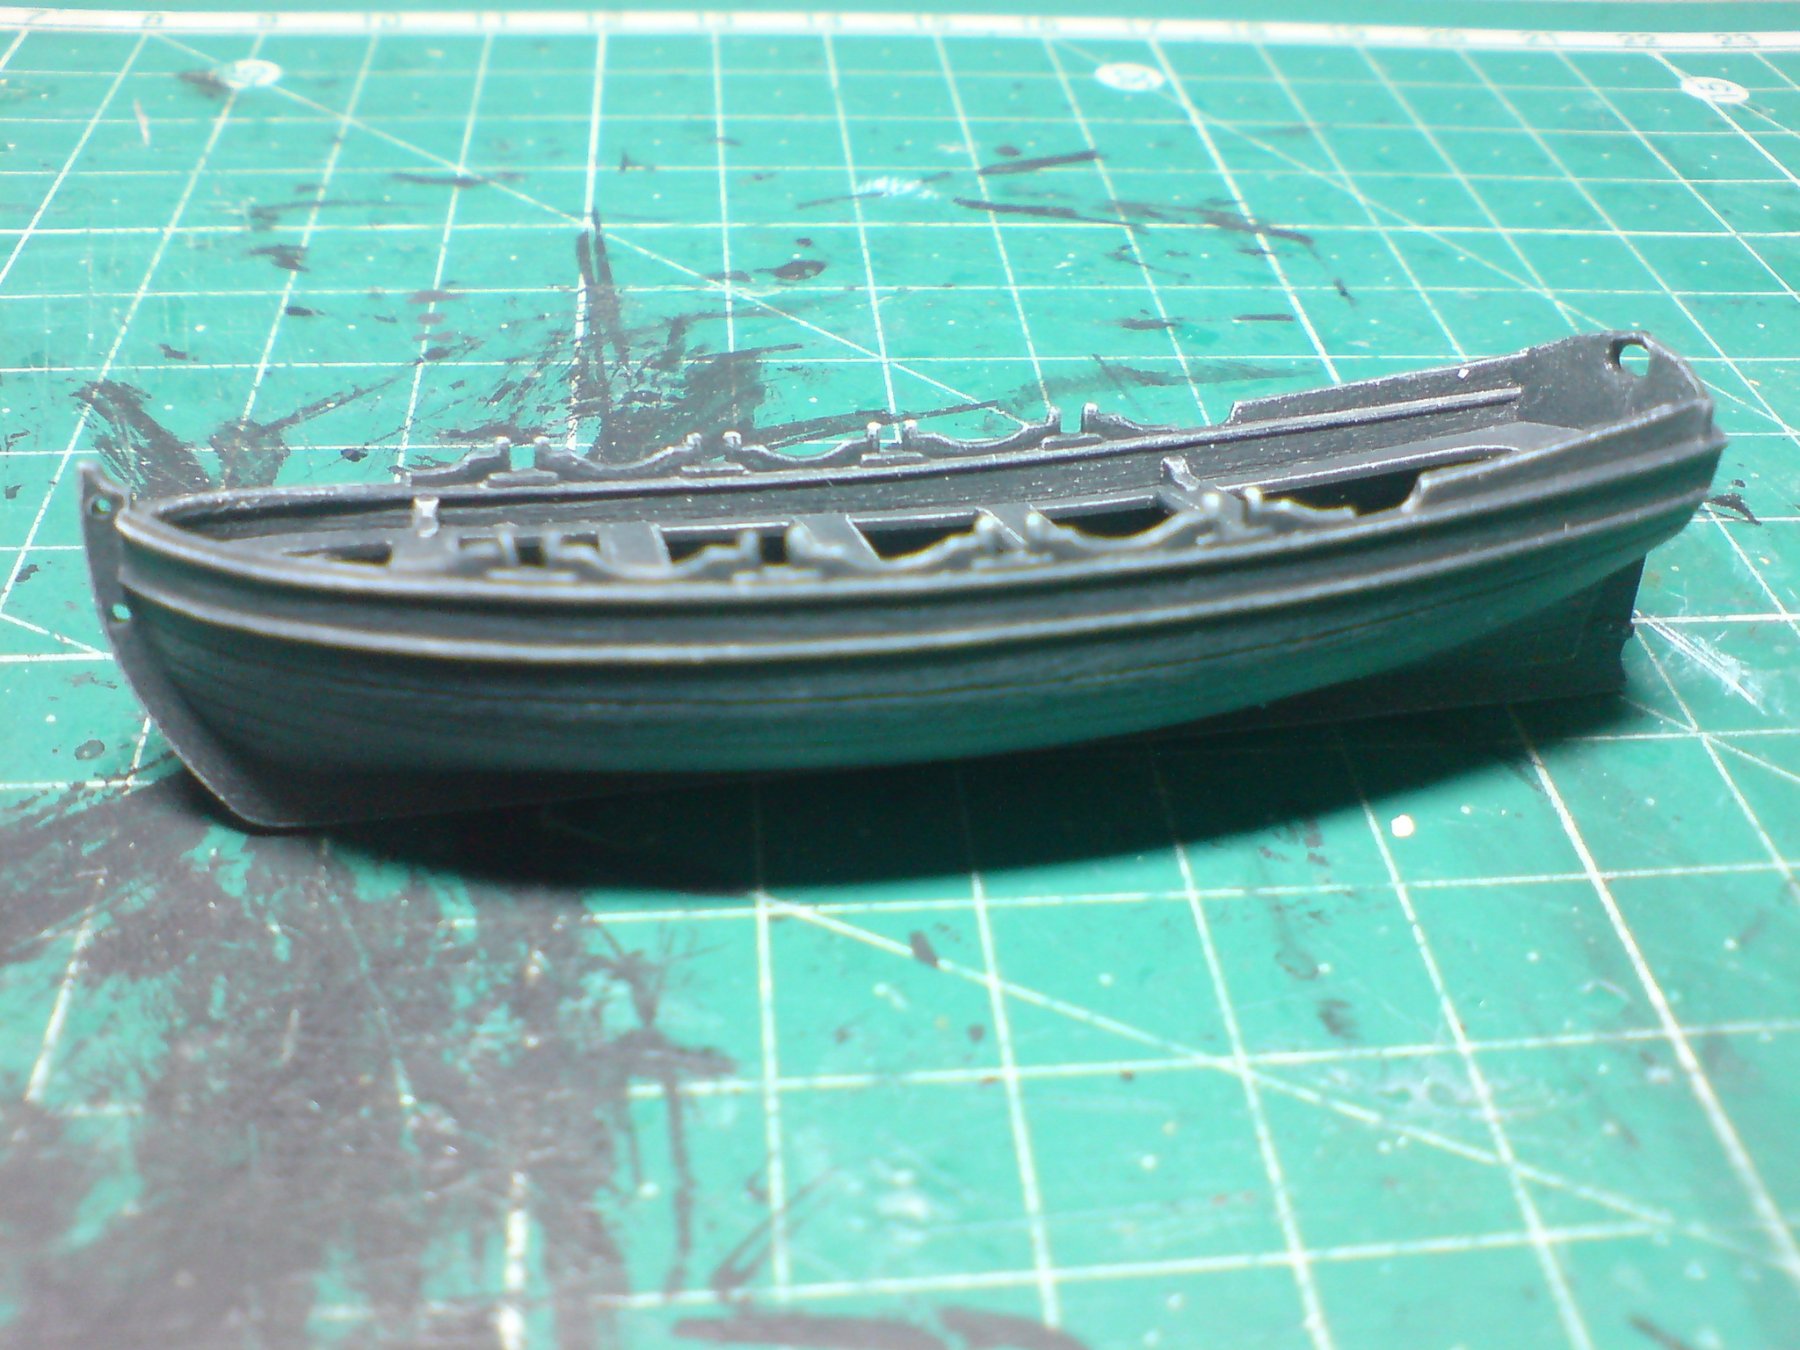
Since thanks for all the likes and replies. More work on the wee boaty - I painted the grey/black all over, then when dry I highlighted ontop including the top framework and a slight amount to the bottom deck section, then I glued the lower deck inplace followed by the top framework. Just a few pics to show this stage. OC,

.thumb.JPG.cf113f7d96c2a7e239ebc7b76720f8dd.JPG)


.JPG.c0061c5d4d6d81a69234e97cb691d081.JPG)