HOLIDAY DONATION DRIVE - SUPPORT MSW - DO YOUR PART TO KEEP THIS GREAT FORUM GOING!
×


Old Collingwood
-
Posts
12,097 -
Joined
-
Last visited
Content Type
Profiles
Forums
Gallery
Events
Everything posted by Old Collingwood
-
 I have been really enjoying the rigging the last few days - its been more pleasurable than I thought it would be, but folks you will have to miss me from tonight till next tuesday as our electric (pre payement meters) is due to run out tomorrow and my laptop needs to be plugged in due to a defective battery so we will have to sit in the dark with our candles, no tely for the admiral either (she aint happy) so dont worry folks like Terminator says - "I will be Back" Roll on tuesday. OC.
 -
All the very best on your new builds bob. OC.
- 359 replies
-
- 3
-

-
- prince de neufchatel
- model shipways
- (and 1 more)
-
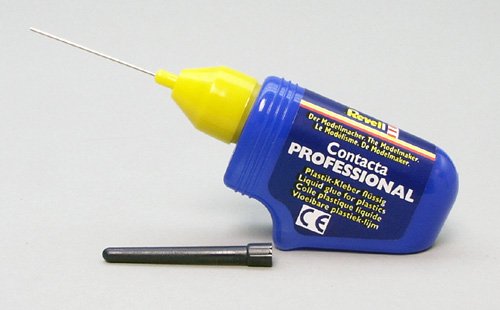
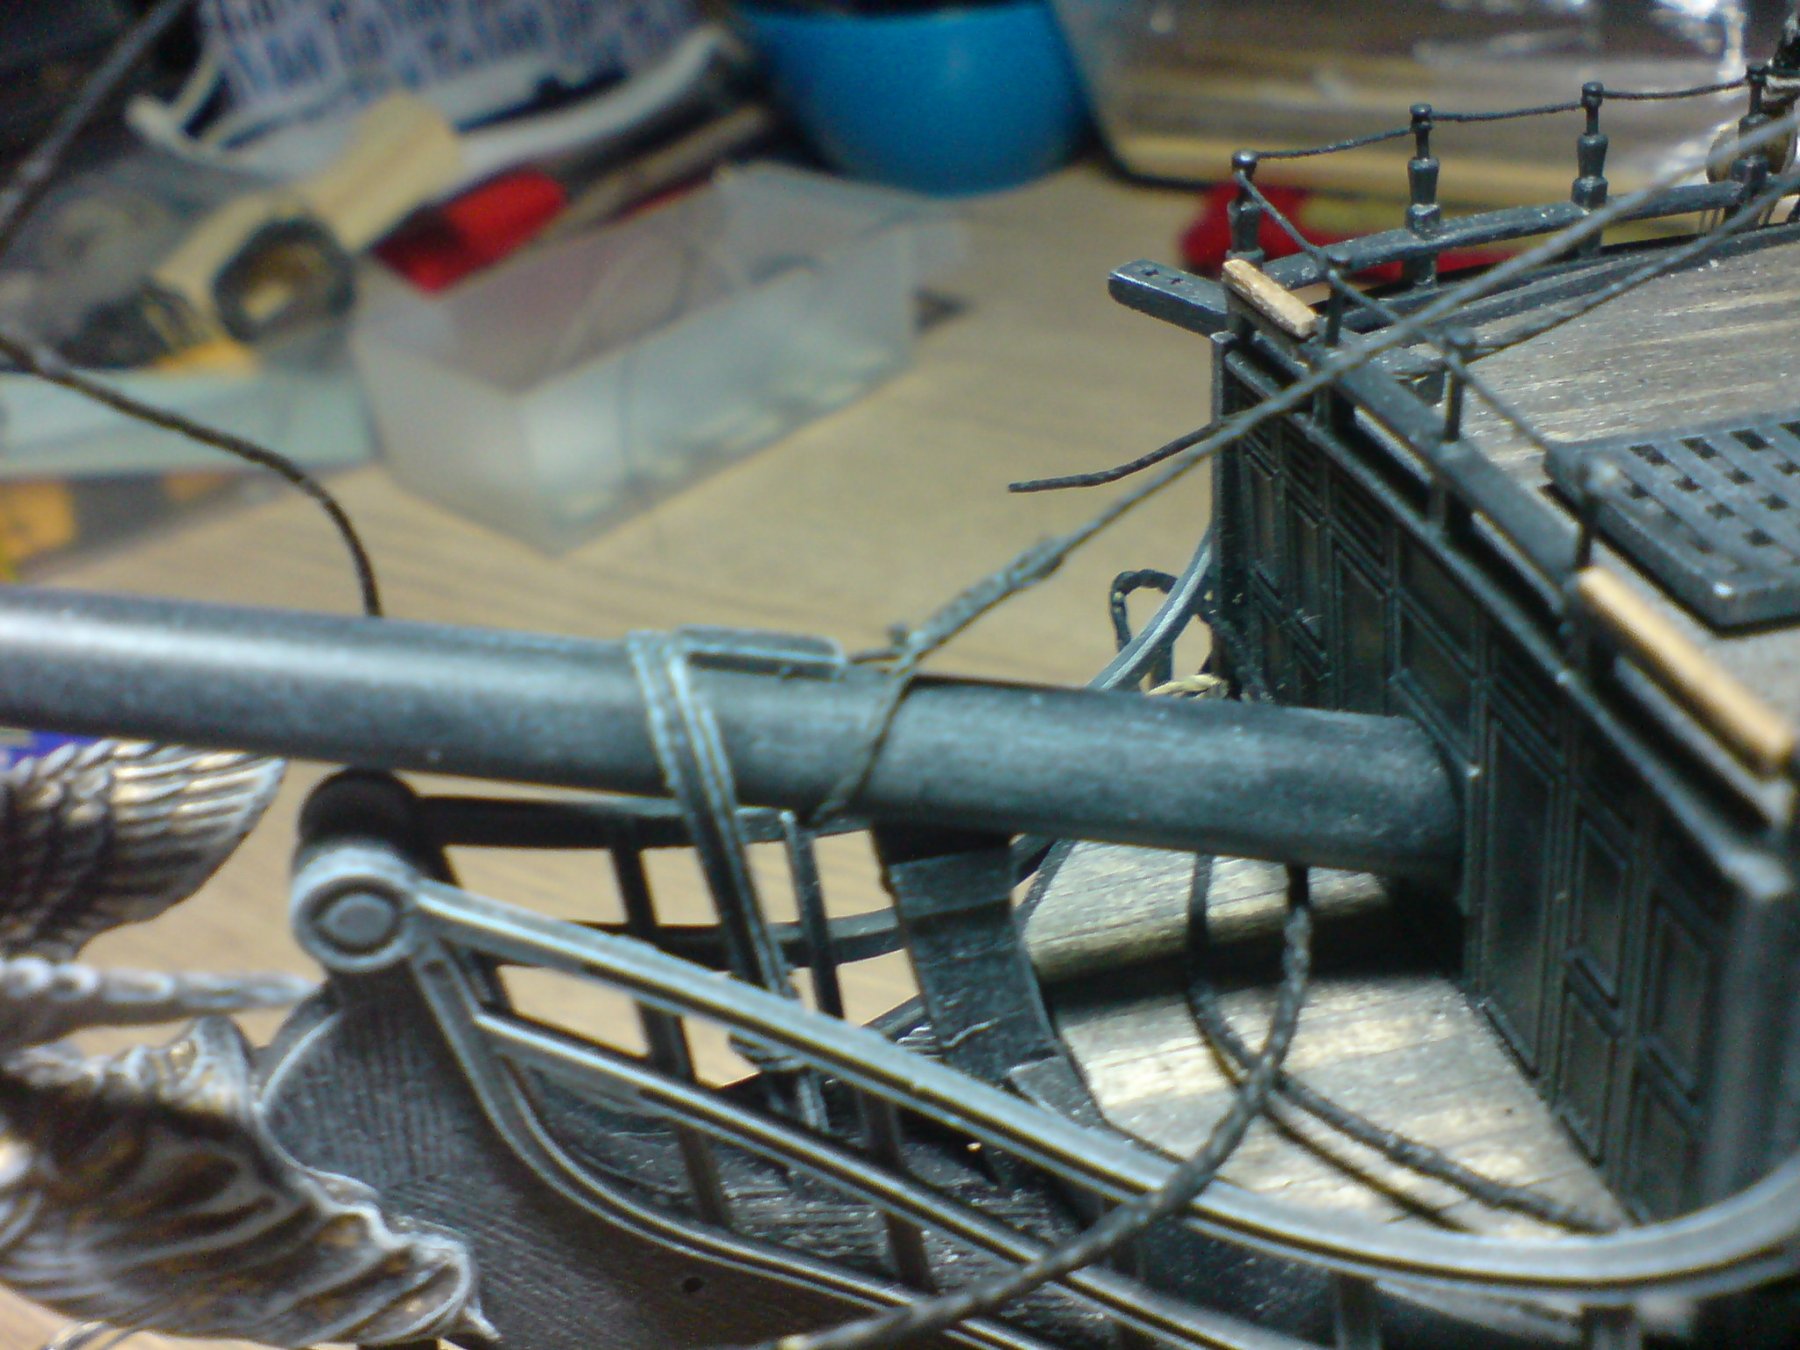
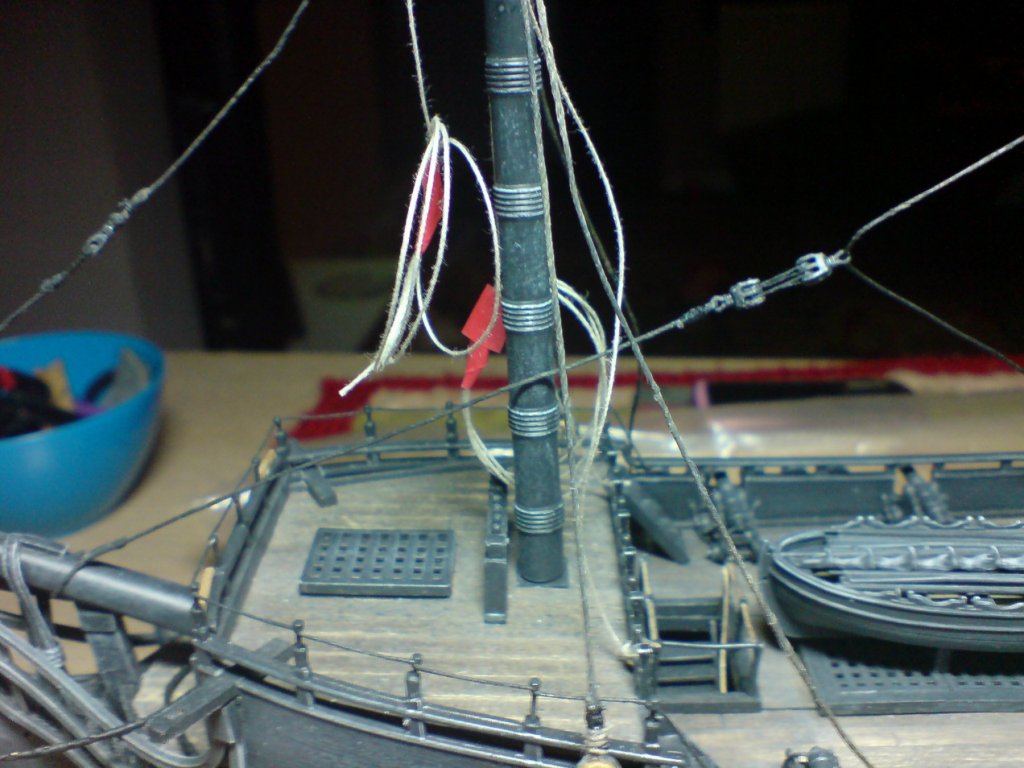
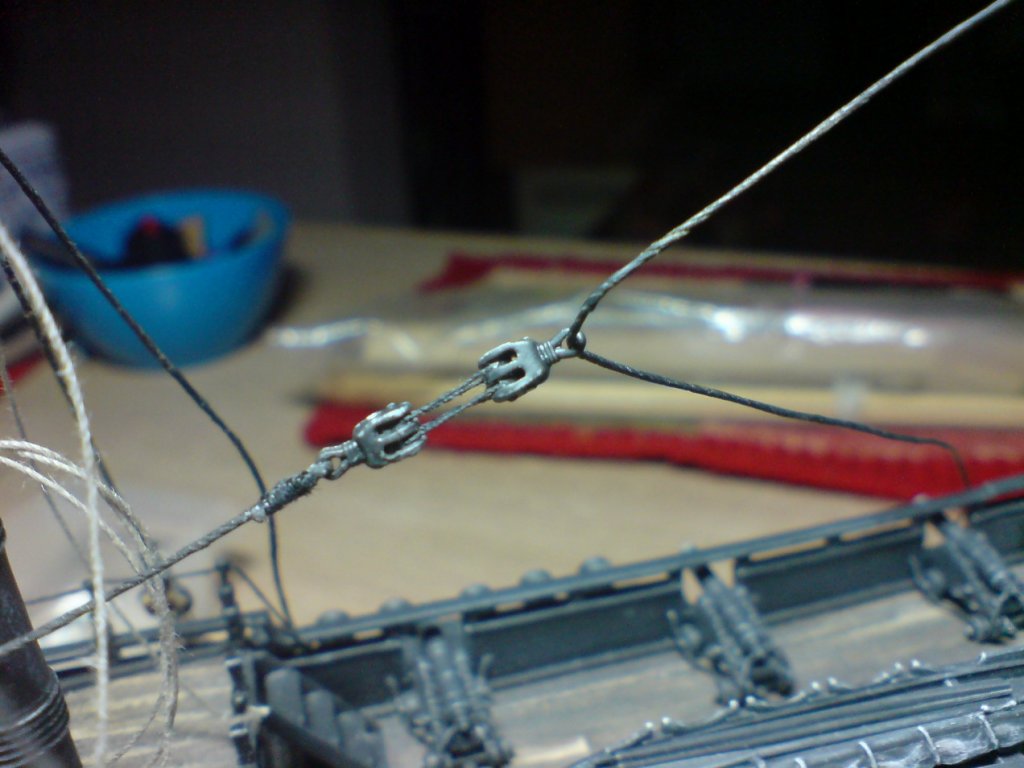
Hi all, some good progress today - I made and fitted the mainmast lift rope, this was tied and glued to the side handrail with a loop hangng down, same as before I then ran the other ends of the rope up and through the blocks, and looped and taped to be connected later. I then turned my attention to the two stays - first I added some thin rope around the block ends, then I tensioned the stay - added a few drops of glue then lashed the ends with thin rope - after I ran a bit more glue and trimmed the ends, so fore and mainmast stays now fitted and tensioned. OC.
.thumb.JPG.fa40314d25227377f2bd75ece7f81774.JPG)
.thumb.JPG.690593986c4736e2d34b482885c098e5.JPG)
.thumb.JPG.44e65c1b78e25554d5b564a2549820a2.JPG)
-
She is looking excellent and that centerline join even dry fitted looks bang on. OC.
-
Welcome aboard sorry to hear about your arm - hope all is good now, you have a great site here full of knowledge and helpful people - looking forward to seeing your progress. OC.
- 30 replies
-
- 1
-
-
- victory
- constructo
- (and 1 more)
-
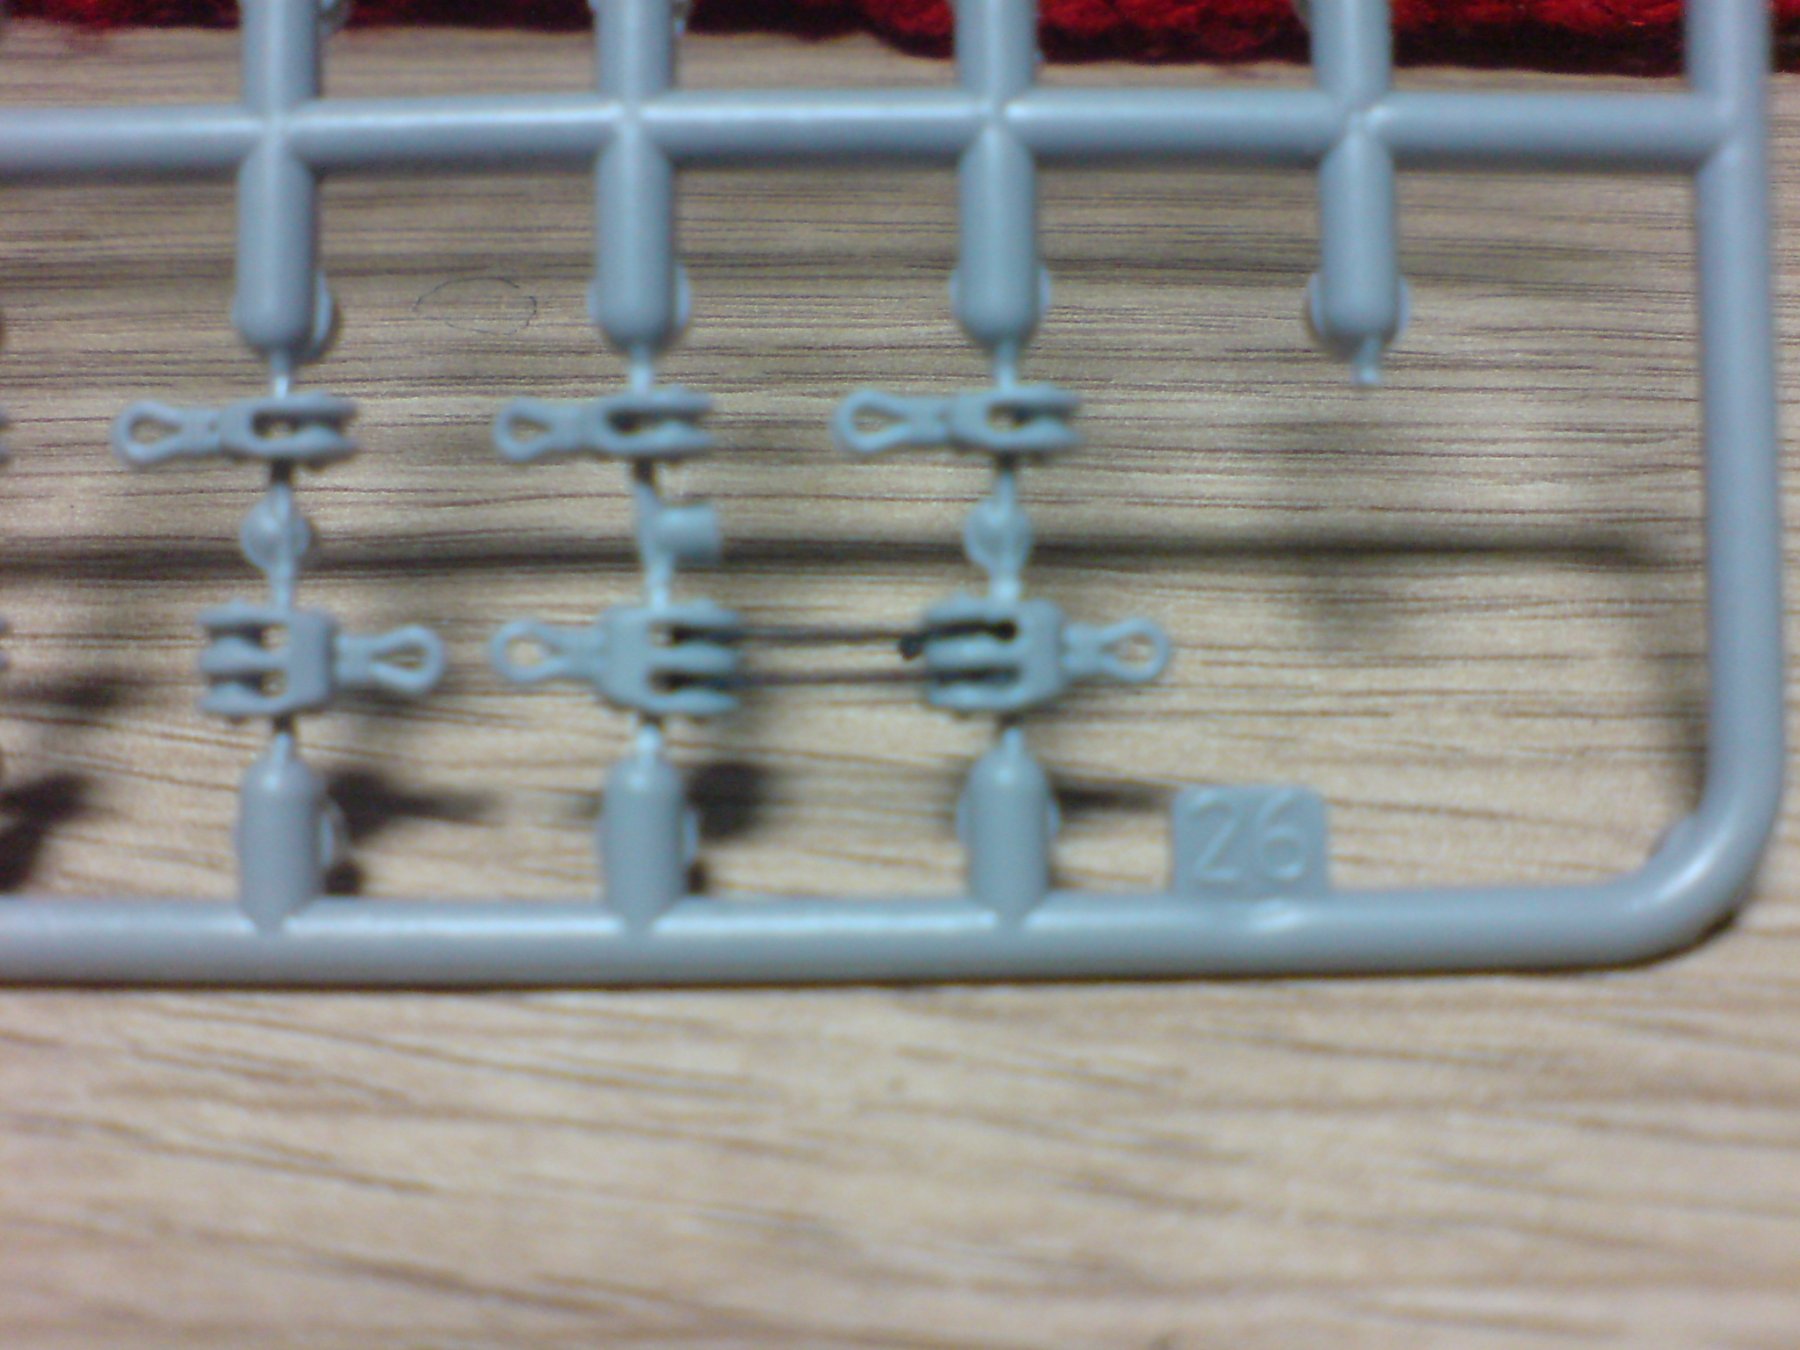
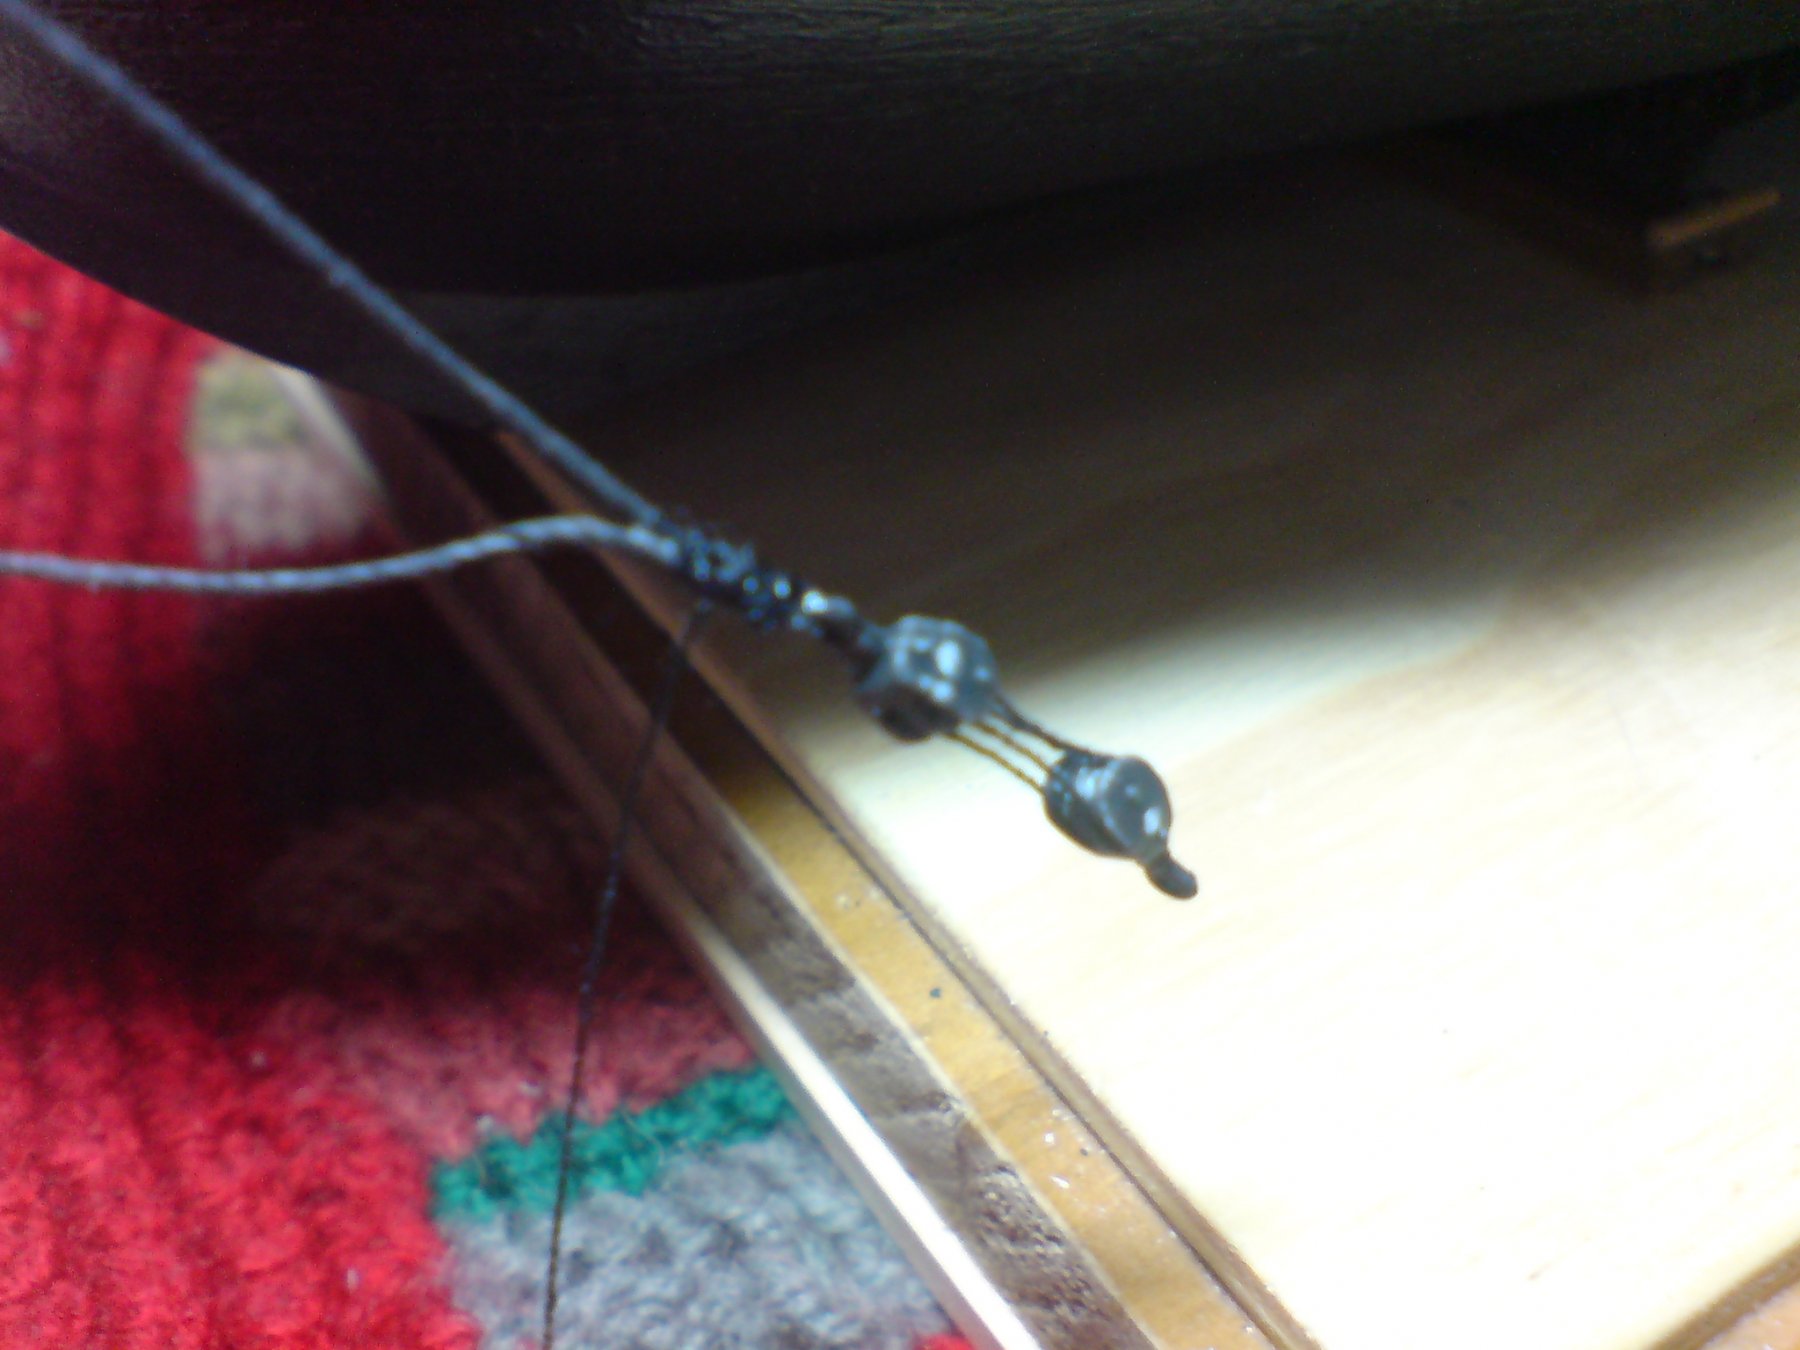
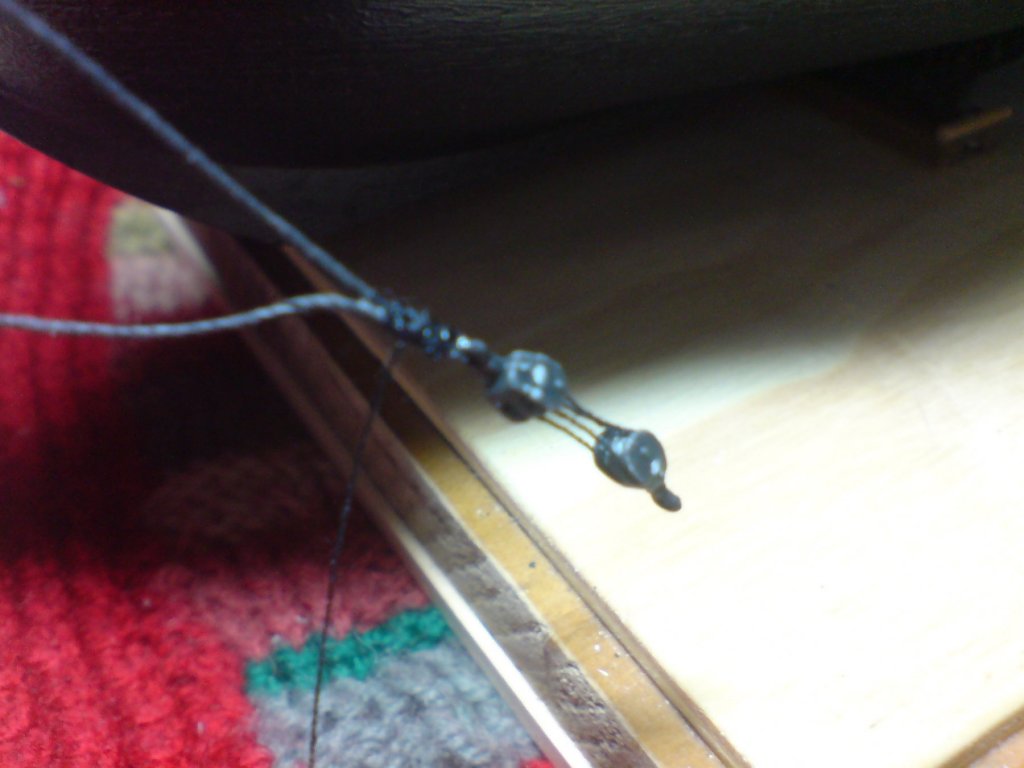
Then I cut the mainstay rope from the rig and placed it around the mast - I then tied and glued the loop and let it set, I then turned my attention to the bowsprit and looped and lashed some rope around it, I then worked on two double blocks still attached to the sprue (I thought it would help working on it still on the sprue) I used some fine thread and fed it through both ends of the blocks then tied a knot in the middle - I then moved the knot along and hid it inside the block holes - this was repeated for the other sides of the block, a dab of ca secured the threads, this assembly was then cut away from the sprue and painted, I then attachetd the double block to the mainstay/bowspit end and tied/glued the end - this was left with mainmast mainstay end dry fitted to the block - hope that makes sense. OC.


-
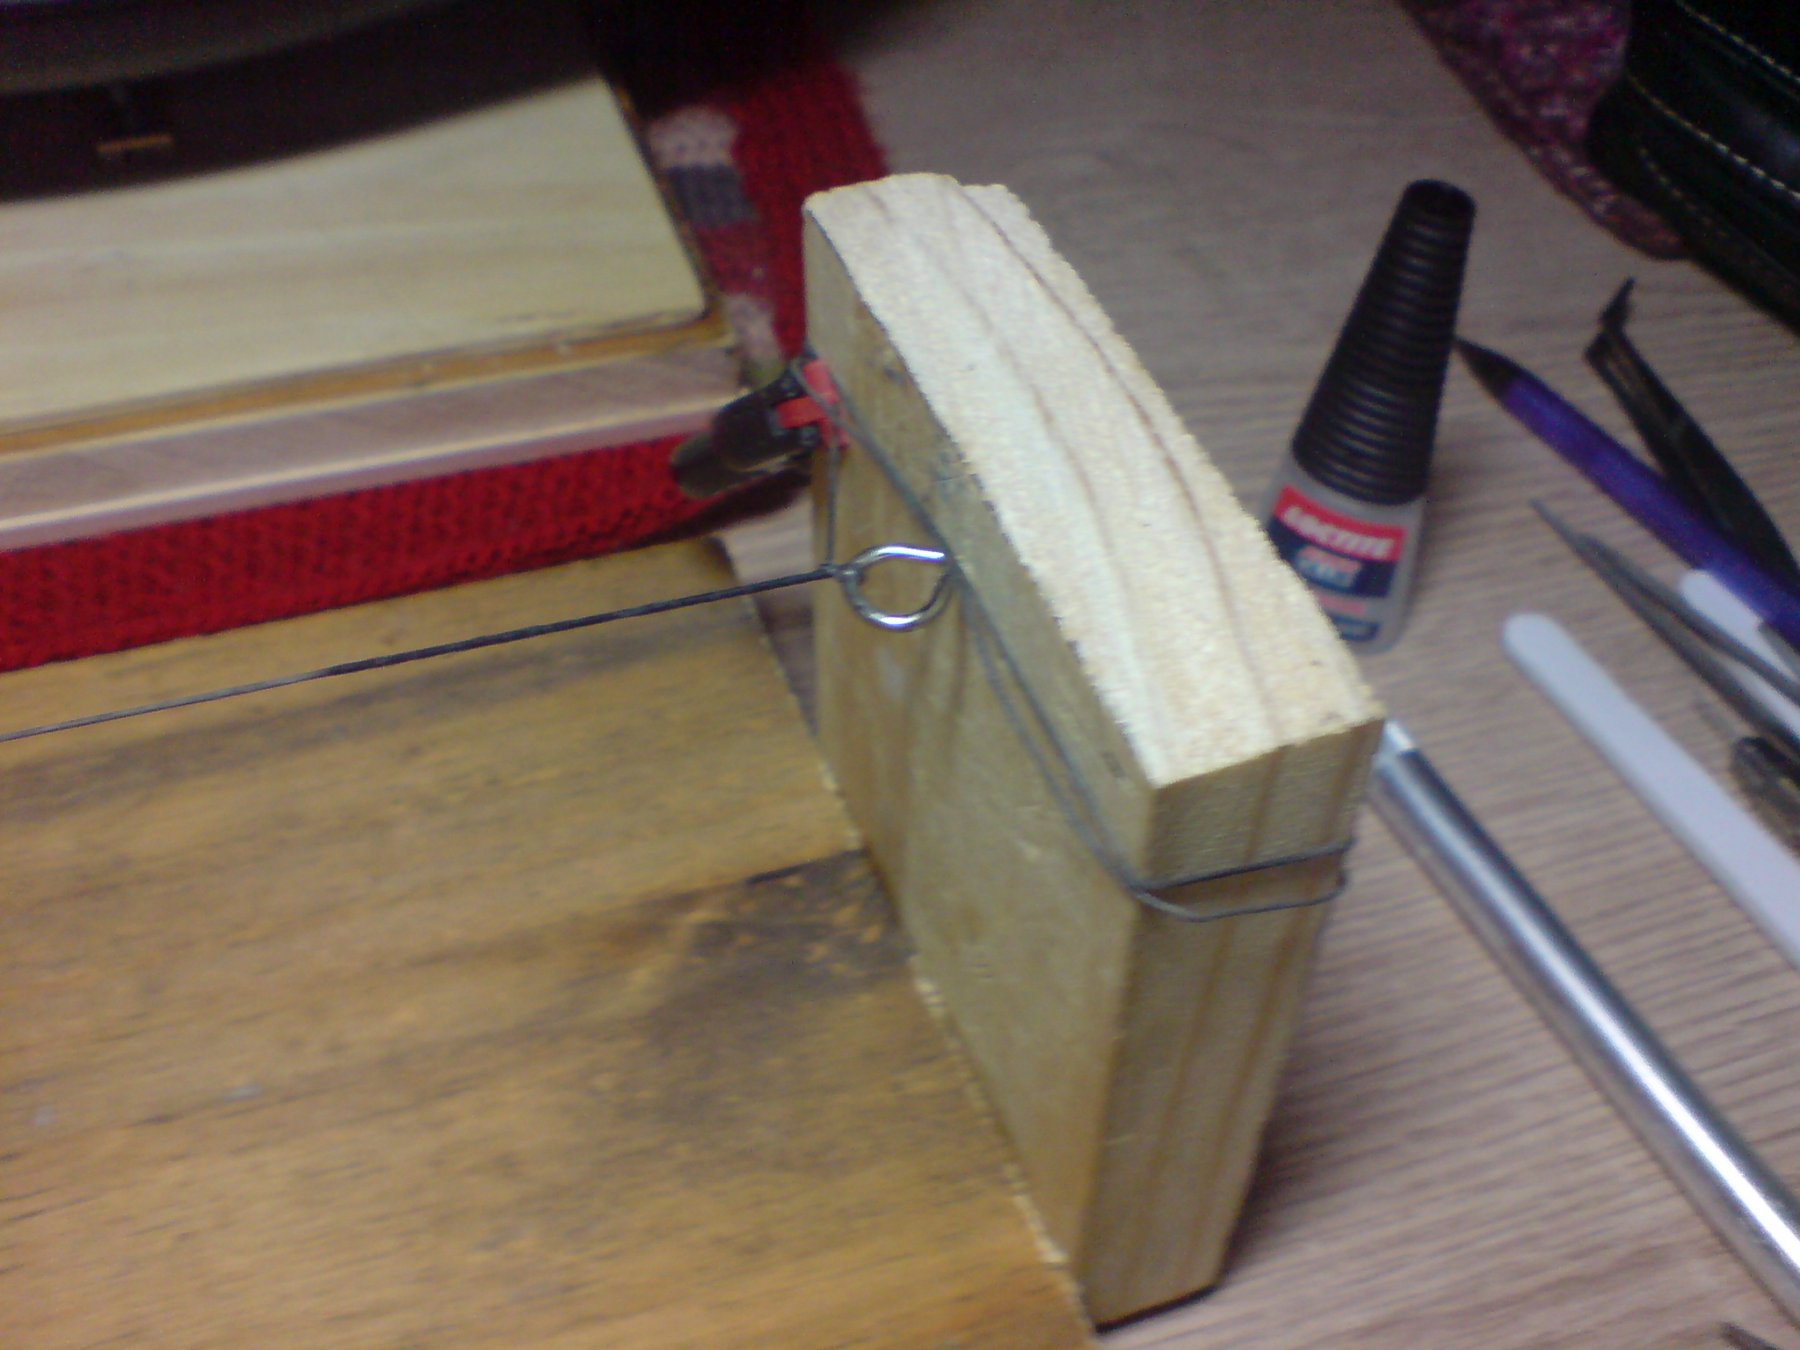
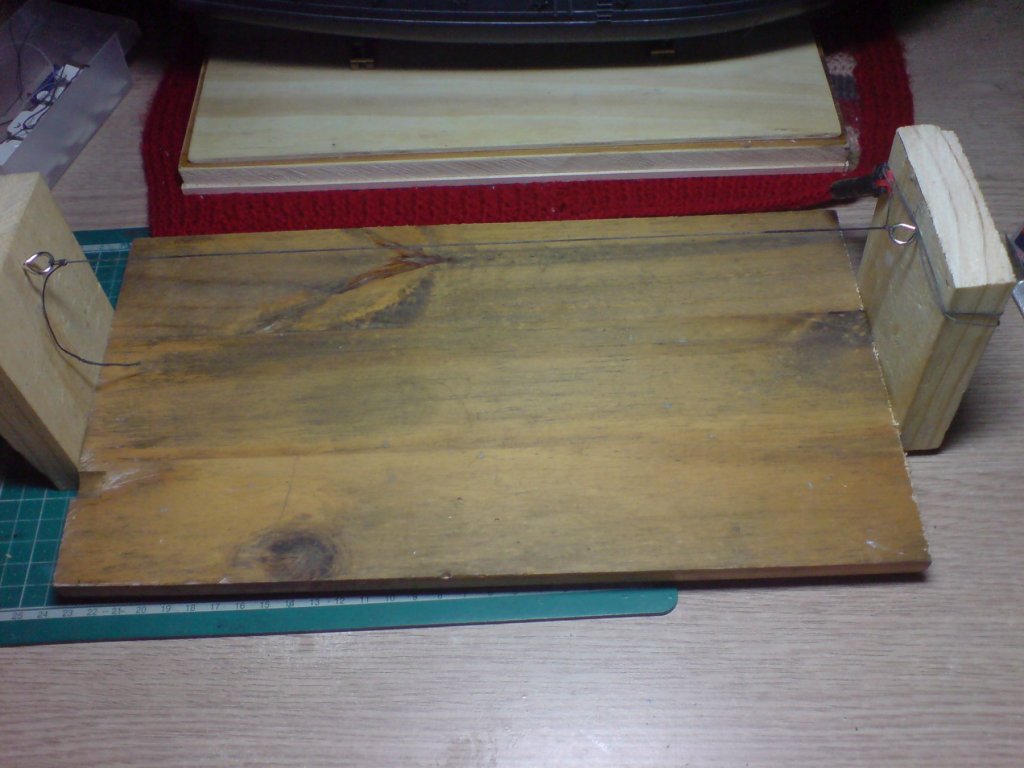
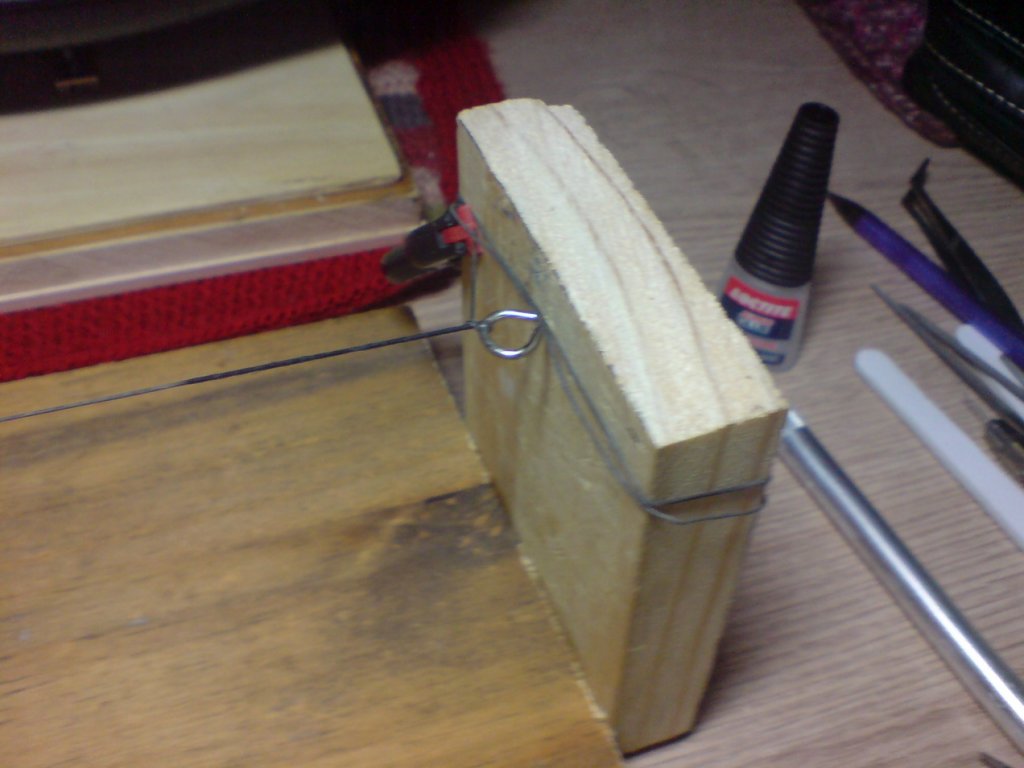
Good day all, more work on spaghetti city (ropes) first I assembled the mainmast mid section, and after painting and weathering I attached the lift rope blocks, then I glued the mast into place and made sure it was square with the foremast, then it was time to work on my rope making rig to serve the end section of the rope - so this was the status as that stage -
-
Can you adjust the intensity of the flash perhaps by half? OC.
-
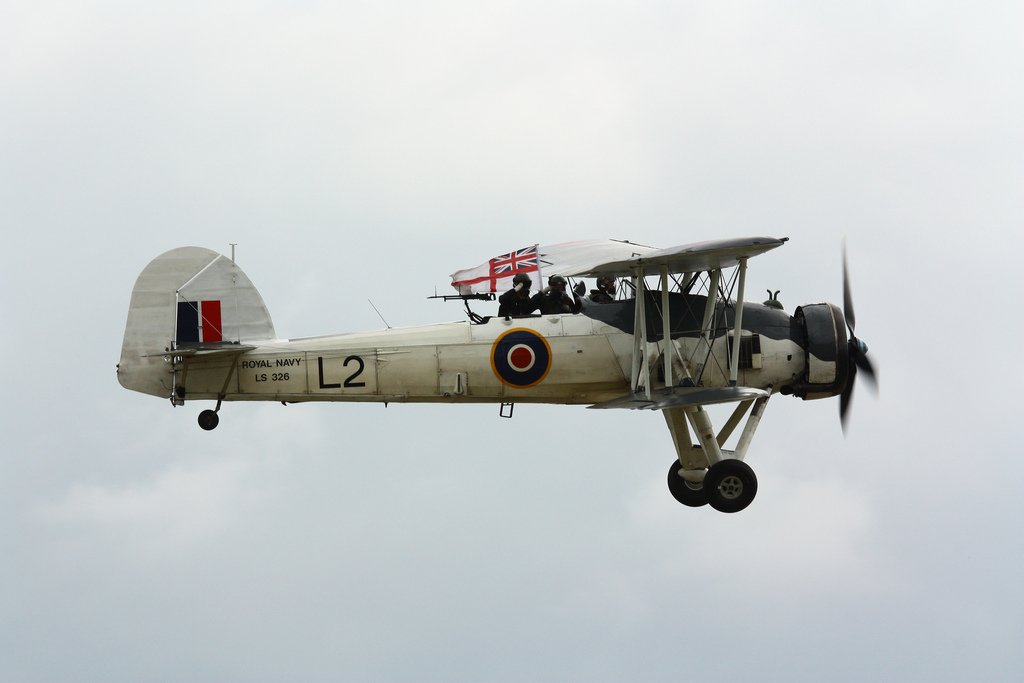
Yep, I have seen 326 about 10 times at different airshows she always used to display that flag, still quite a sight even allowing for more exotic types, I used to have pics from my old film slr days but alas all my old film folders were destroyed years back along with all my spotting logs and folders. OC.
-
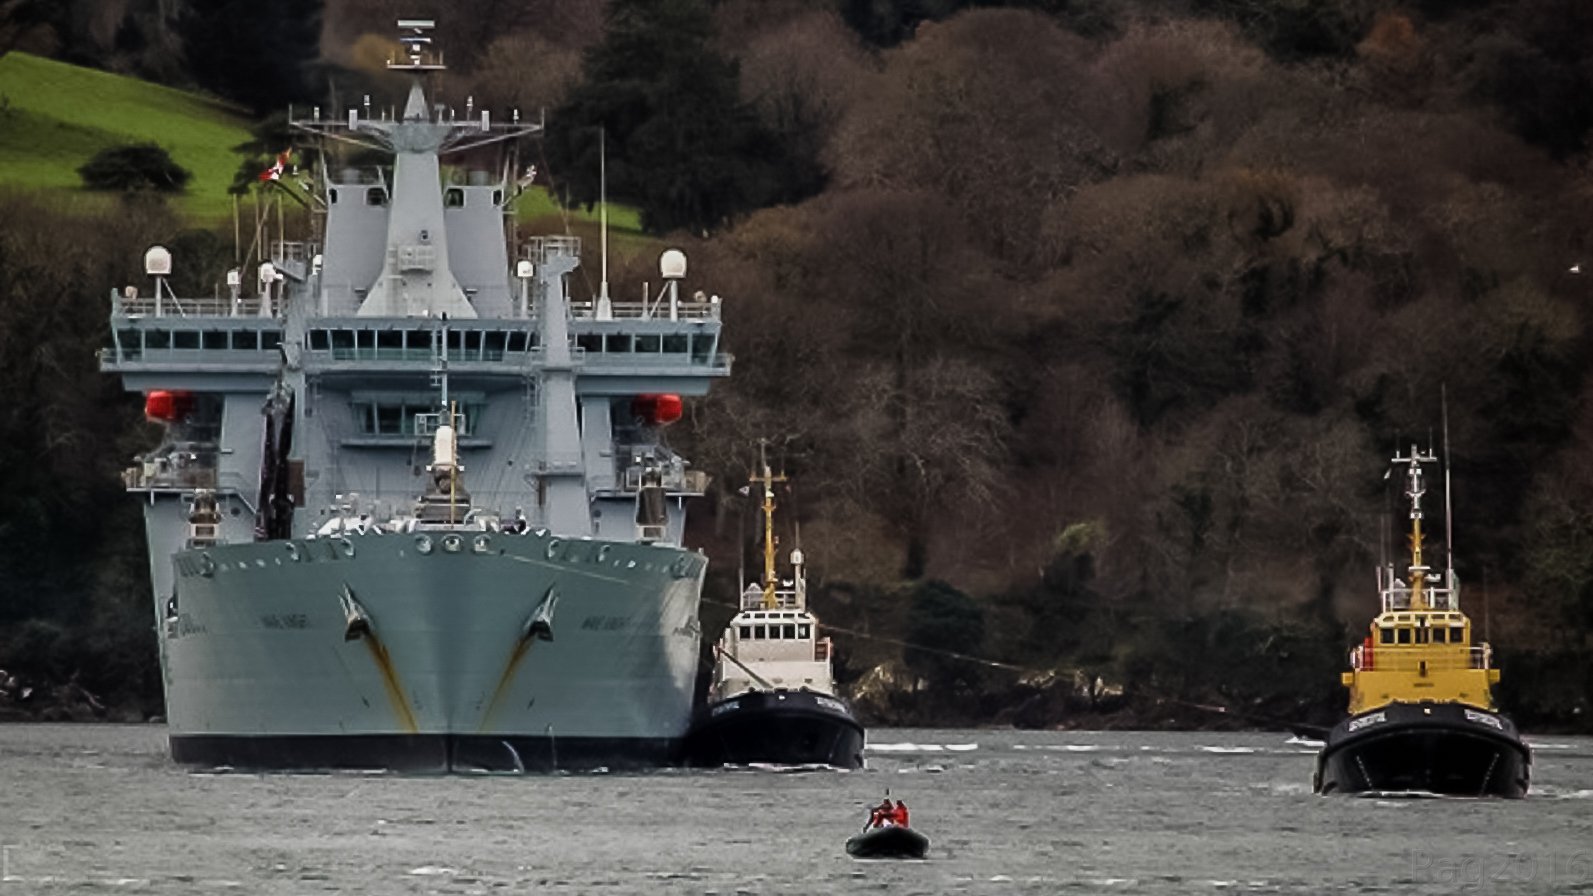
Curtosy of the net LS-326 - OC.
-
This is gonna be good - I'll bring me hammock, you cant beat a stringbag I saw the last flying uk one a few times at airshows LS-326 and a couple in museums over here like FAAM Yeovilton. OC.
-
Lovely job - another one done - now lets see the others on the go...... OC.
- 63 replies
-
- 5
-
-
- revell
- harbor tug
- (and 2 more)
-
Gorgeous work. OC.
-
Very tidy work. OC.
-
Keep up the good work - I dont think there is a kit out there that does not need some form of surgery. OC.
.JPG.7c8c3a2cfaeeb40abd187314482284db.JPG)
.JPG.73578935c25745de2fbb5246505dffdc.JPG)
.JPG.7606e69c939b2be59f8e6486695c605e.JPG)