
HOLIDAY DONATION DRIVE - SUPPORT MSW - DO YOUR PART TO KEEP THIS GREAT FORUM GOING!
×


Old Collingwood
-
Posts
12,097 -
Joined
-
Last visited
Content Type
Profiles
Forums
Gallery
Events
Everything posted by Old Collingwood
-
 And the Most important aspect of our projects is our site here, from my viewpoint is so instrumental and generates such an incentive to build or works of art - That goes for ever single one on here. OC.
 -
Hi EJ, I promise to make lots of nice work and additions to the pearl, so that should keep us all motivated and interested. OC.
-
Hey I like the Netherlands - one of my fave airlines to photograph in my past was KLM. OC.
-
"I must - I must - I must resist the temptation" I have put the new build away under lock and key, and even posted the key off to a key keeping service that also asks me for a 1000 digit security number, so it should be safe for me to continue the pearl. OC.
-
And the very ship herself taken from our fave chilling place 2 mins from our old front door. OC.
-
Think Im gonna finish the pearl minus masts - I'll tell the admiral she had no masts (she was just imagining that she did) think I now the answer to that ####@@@@ etc etc followed by a week sent to coventry.😬 OC.
-
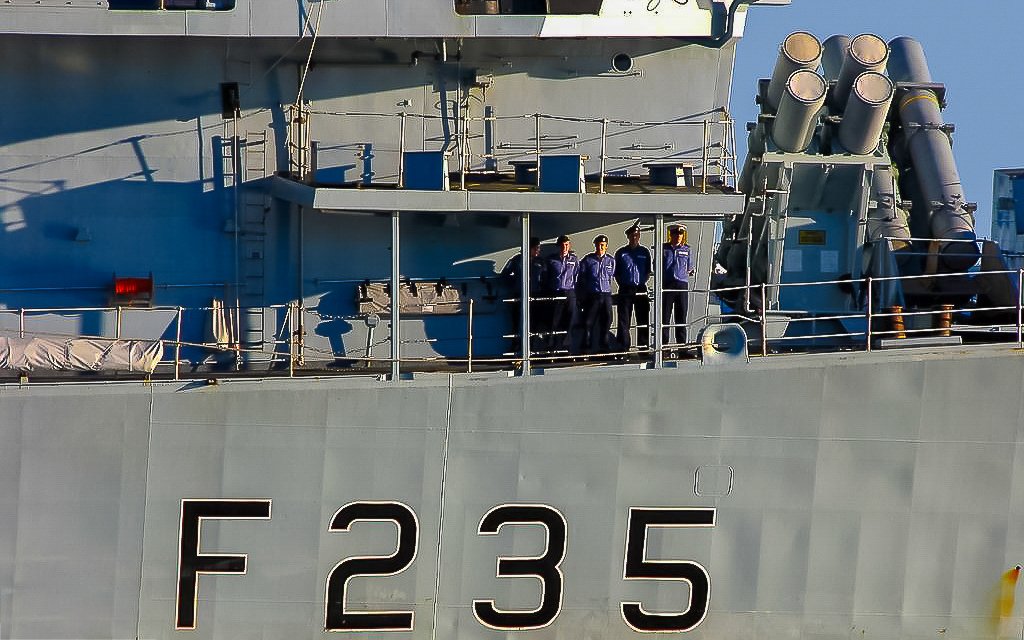
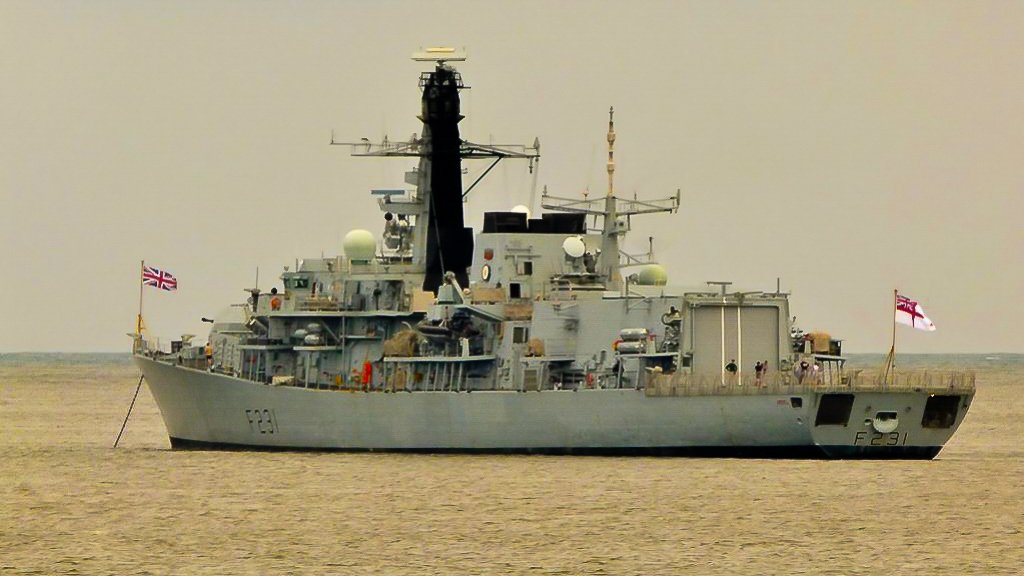
Where we used to live we used to see type 23 frigates almost every day, sometimes more than one movement a day, here is one of my pics taken from that time - OC.
-
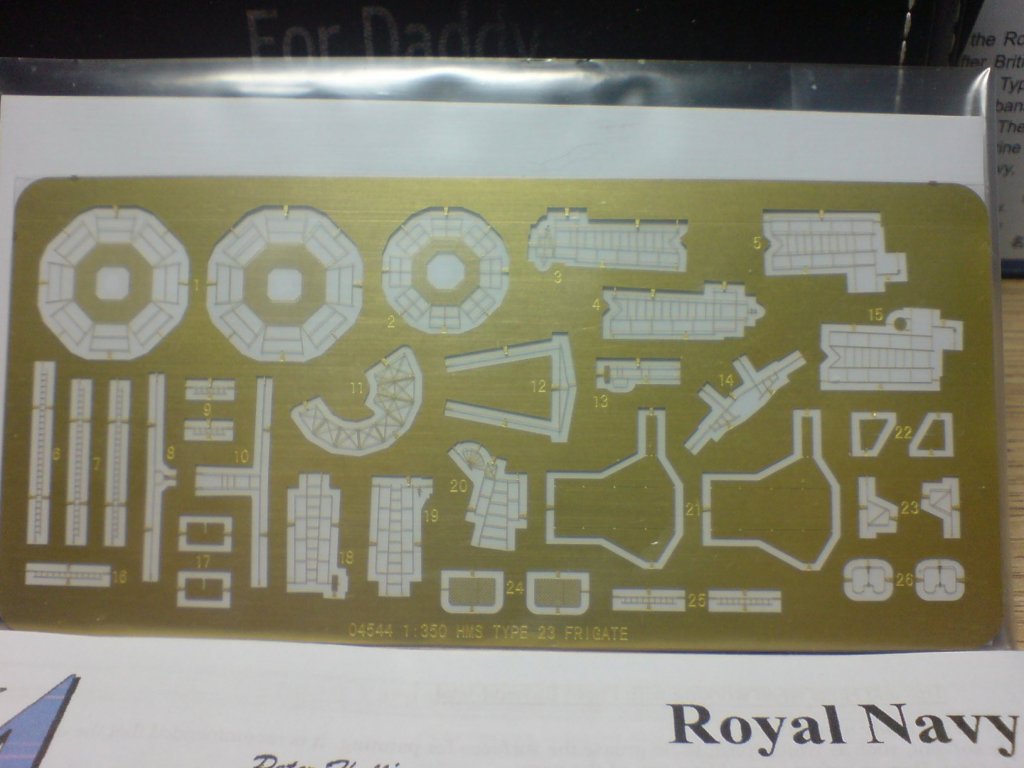
It looks like a Superb kit - very tidy molding - I peeped inside while the admiral wasn't looking.🤪 and all the PE. OC.
-
My little supprise prezzy turned up from my brother (as a thank you he says) to say I was gob smacked is an understatment - Its only the Trumpy 1/350 HMS Monmouth Frigate and a few detail bits.😀 Instruction from the admiral - cant start it till the pearl is finished at a guess 2020 then lol. Here are a few pics of it - OC.
.thumb.JPG.2d64970eb55fc7edc78b7b4a78c3f5ab.JPG)

.thumb.JPG.653a4c2fb16025f7a9cfd99f79e5a7ad.JPG)
-
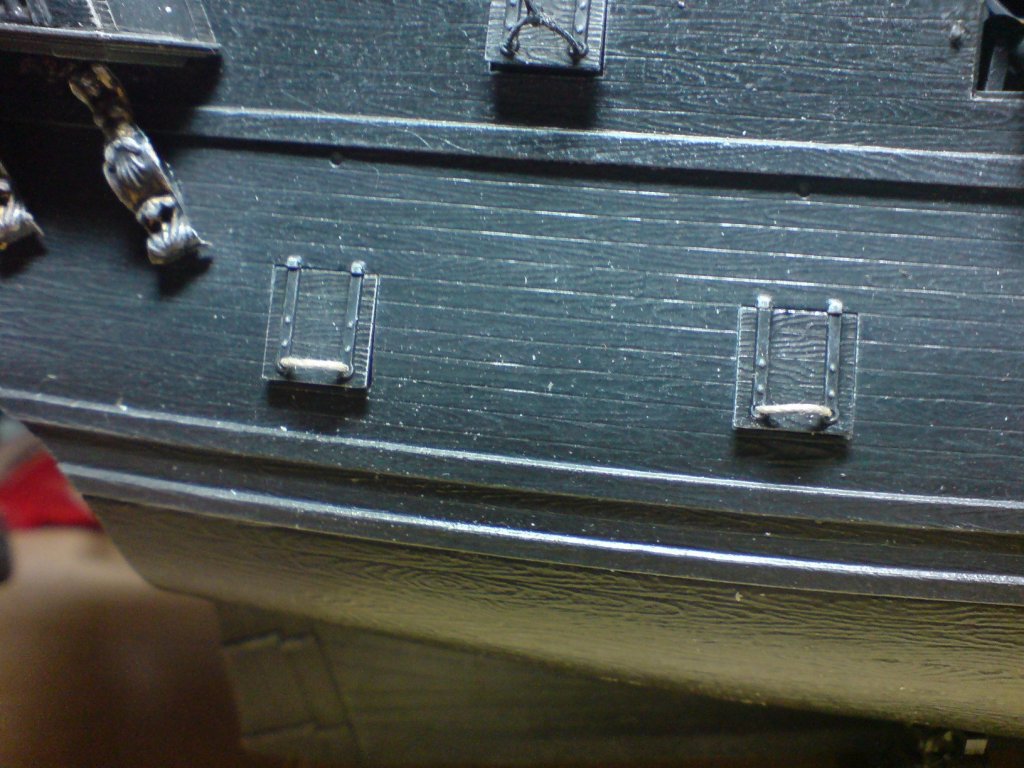
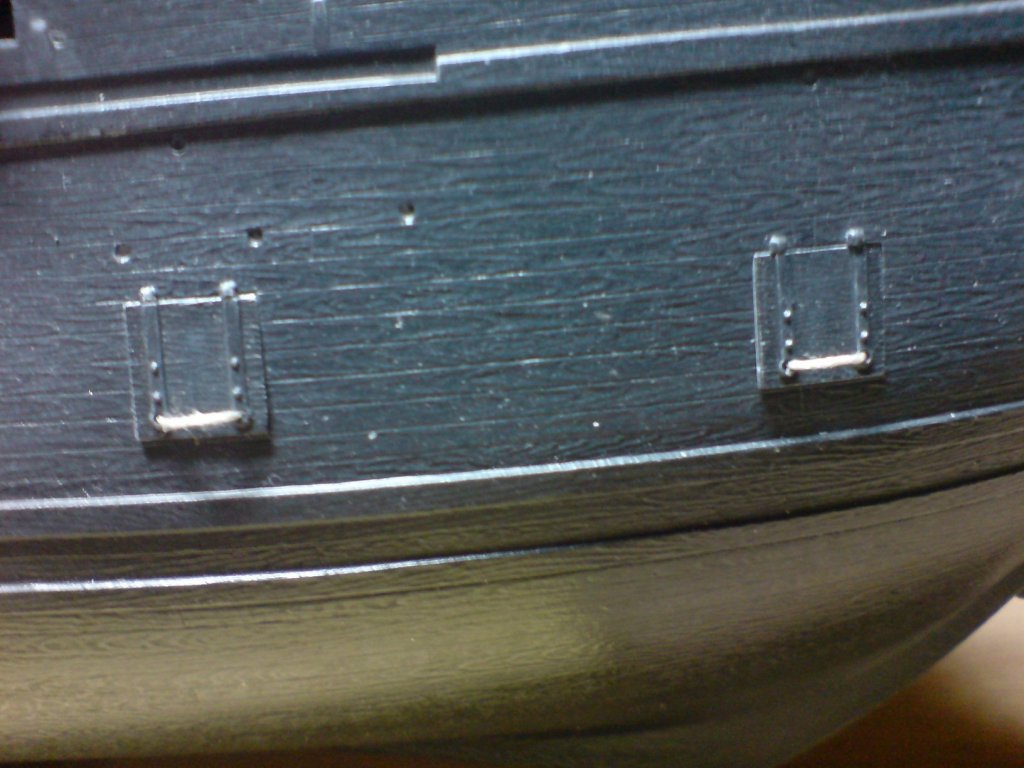
More progress on the pearl but a bit more slowly to be honest, I have started working on and fitting the lids with associated lifting ropes, I have done four on each side so far. Just a couple of pics. OC.
-
Yeah, I have the plastic tackle that is in the kit, might have a go a dropping them on. OC.
-
Thnaks mate, I wondered as I painted the anti fouling on my warpy and the whole of my sub build with rattle cans. OC.
-
My logic is - if you rattle can the frets uisng primer and required color, its easier to hold and get an even spray coat, then seems could be touched up with the same color by brush when assembled. Only an enuiry if you dont have a sprayer. OC.
-
Greg, any advice for painting using rattle cans - as in - spray the parts prior to assembly or assemble first then paint all that is built in one go. OC.
-
Thank you jason - much appreciated, I do have the hauling rope assemblies included in the lit - they are pre molded ones, they could in theory be dropped in place/glued at each end. OC.
-
This is the shade I created for my frigate starting with Admiralty Paint range of Yellow Ocre then I added the same makes Dull White, of about 3 parts yellow and one part white. OC.
-Edit.thumb.jpg.a0cd78f222e497d50e0f8e03c0e982b8.jpg)
-
Excellent - most excellent. OC.
-
With HMS Belfast also lots and lots of good photo material around - not to mention the actual ship in London. (I have been over her) OC.
-
I would be tempted to do what I did with my 18the century Frigate - just lighten the Yellow Ocre by about 1/4 with dull white, to achieve a more sedate dull sandy yellow, over the stock yellow ocre. OC.
-
Bigger and bigger - magnification glasses is the key but also steady hands - oh and support like what artists use to rest thier brush hand, and not foregetting tiny device to hold the thing. OC.

.JPG.3e43482090b53f1b826847c5140ac606.JPG)


.JPG.c6eff1b14a632f34bd7080650ae8a1f8.JPG)


-Edit.jpg.497560865bc7990399263368dfbcd3d1.jpg)