HOLIDAY DONATION DRIVE - SUPPORT MSW - DO YOUR PART TO KEEP THIS GREAT FORUM GOING! (Only 64 donations so far out of 49,000 members - C'mon guys!)
×


Old Collingwood
-
Posts
12,099 -
Joined
-
Last visited
Content Type
Profiles
Forums
Gallery
Events
Everything posted by Old Collingwood
-
 Keep up the good work - I dont think there is a kit out there that does not need some form of surgery. OC.
 -
Indeed lou, dont know what the quality would be like or if there are any others out there? OC.
-
Work for tomorrow - smooth those two lift ropes (as they are a bit fuzzy) using some watered down pva, then I will start work on the main mast - same as I did on the foremast, this is to allow me to make and fit the mainstay (as this will be more awkward with the foremast shrouds completed). OC.
-
Thanks carl, I was chatting with the wife about displaying some figures on her - yep they do jack sparrow and crew figures in 1/72 scale https://www.super-hobby.co.uk/products/Zombie-Pirates-48-figs.html OC.
-
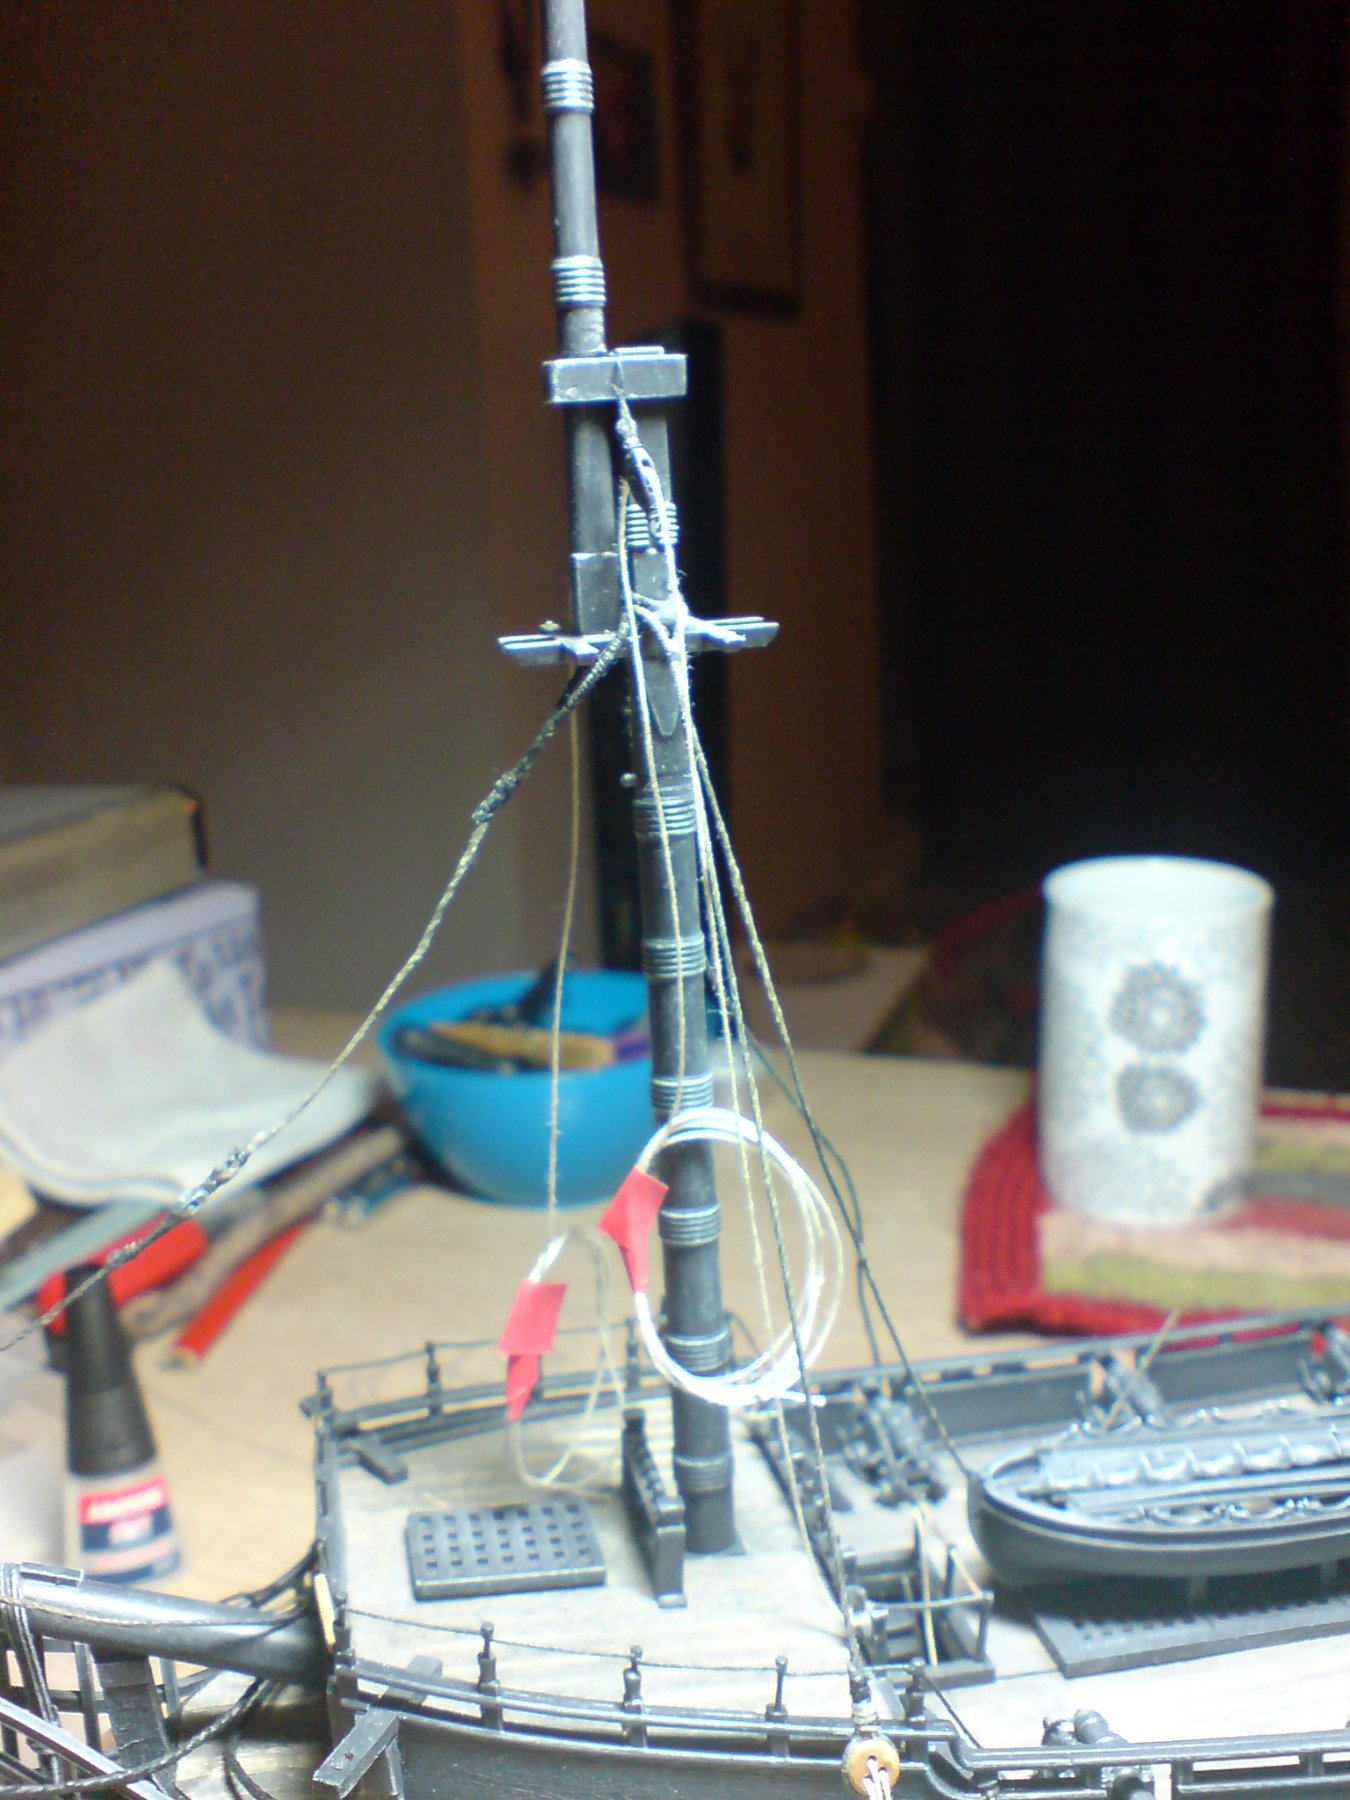
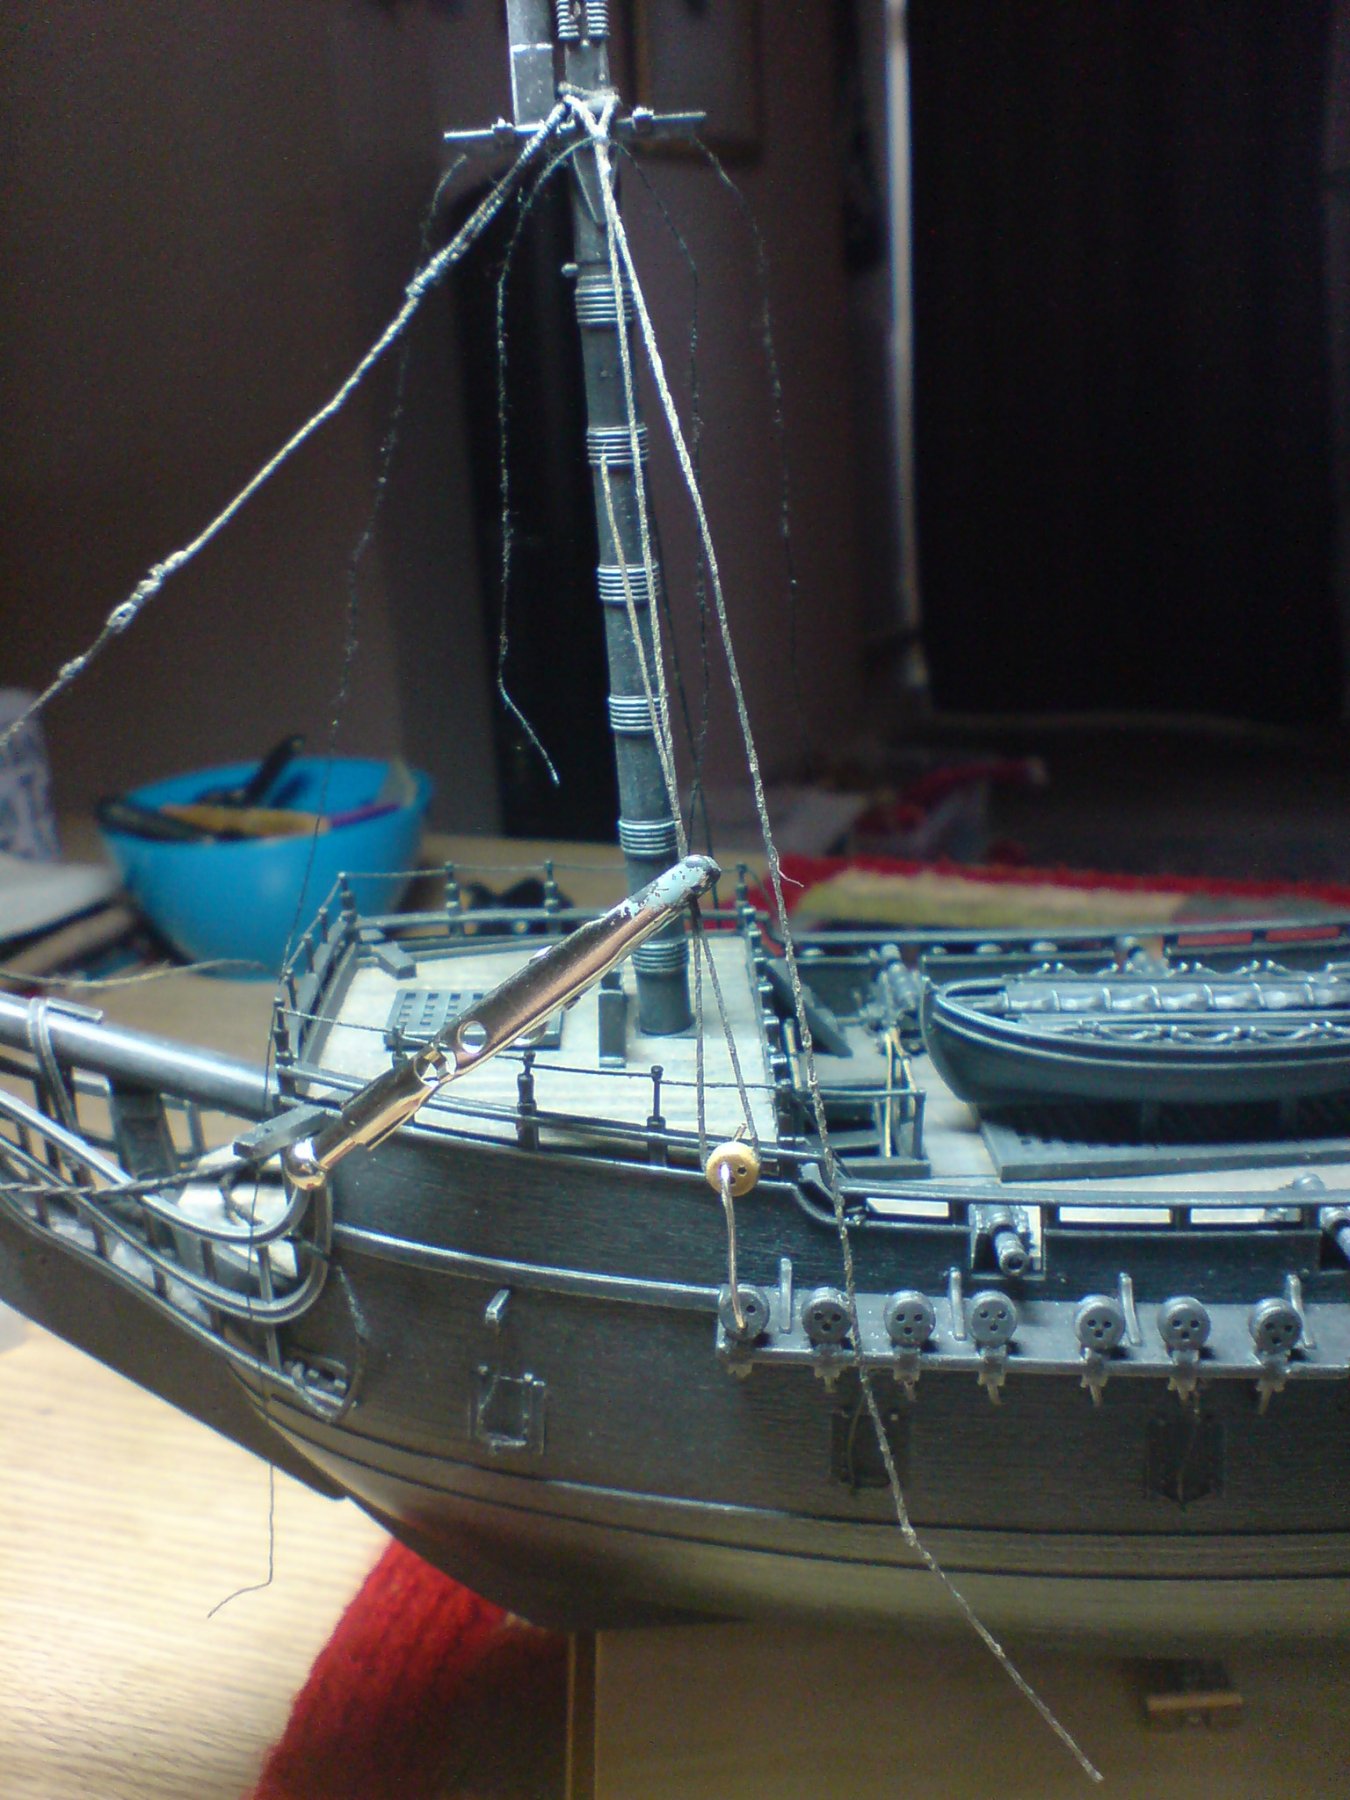
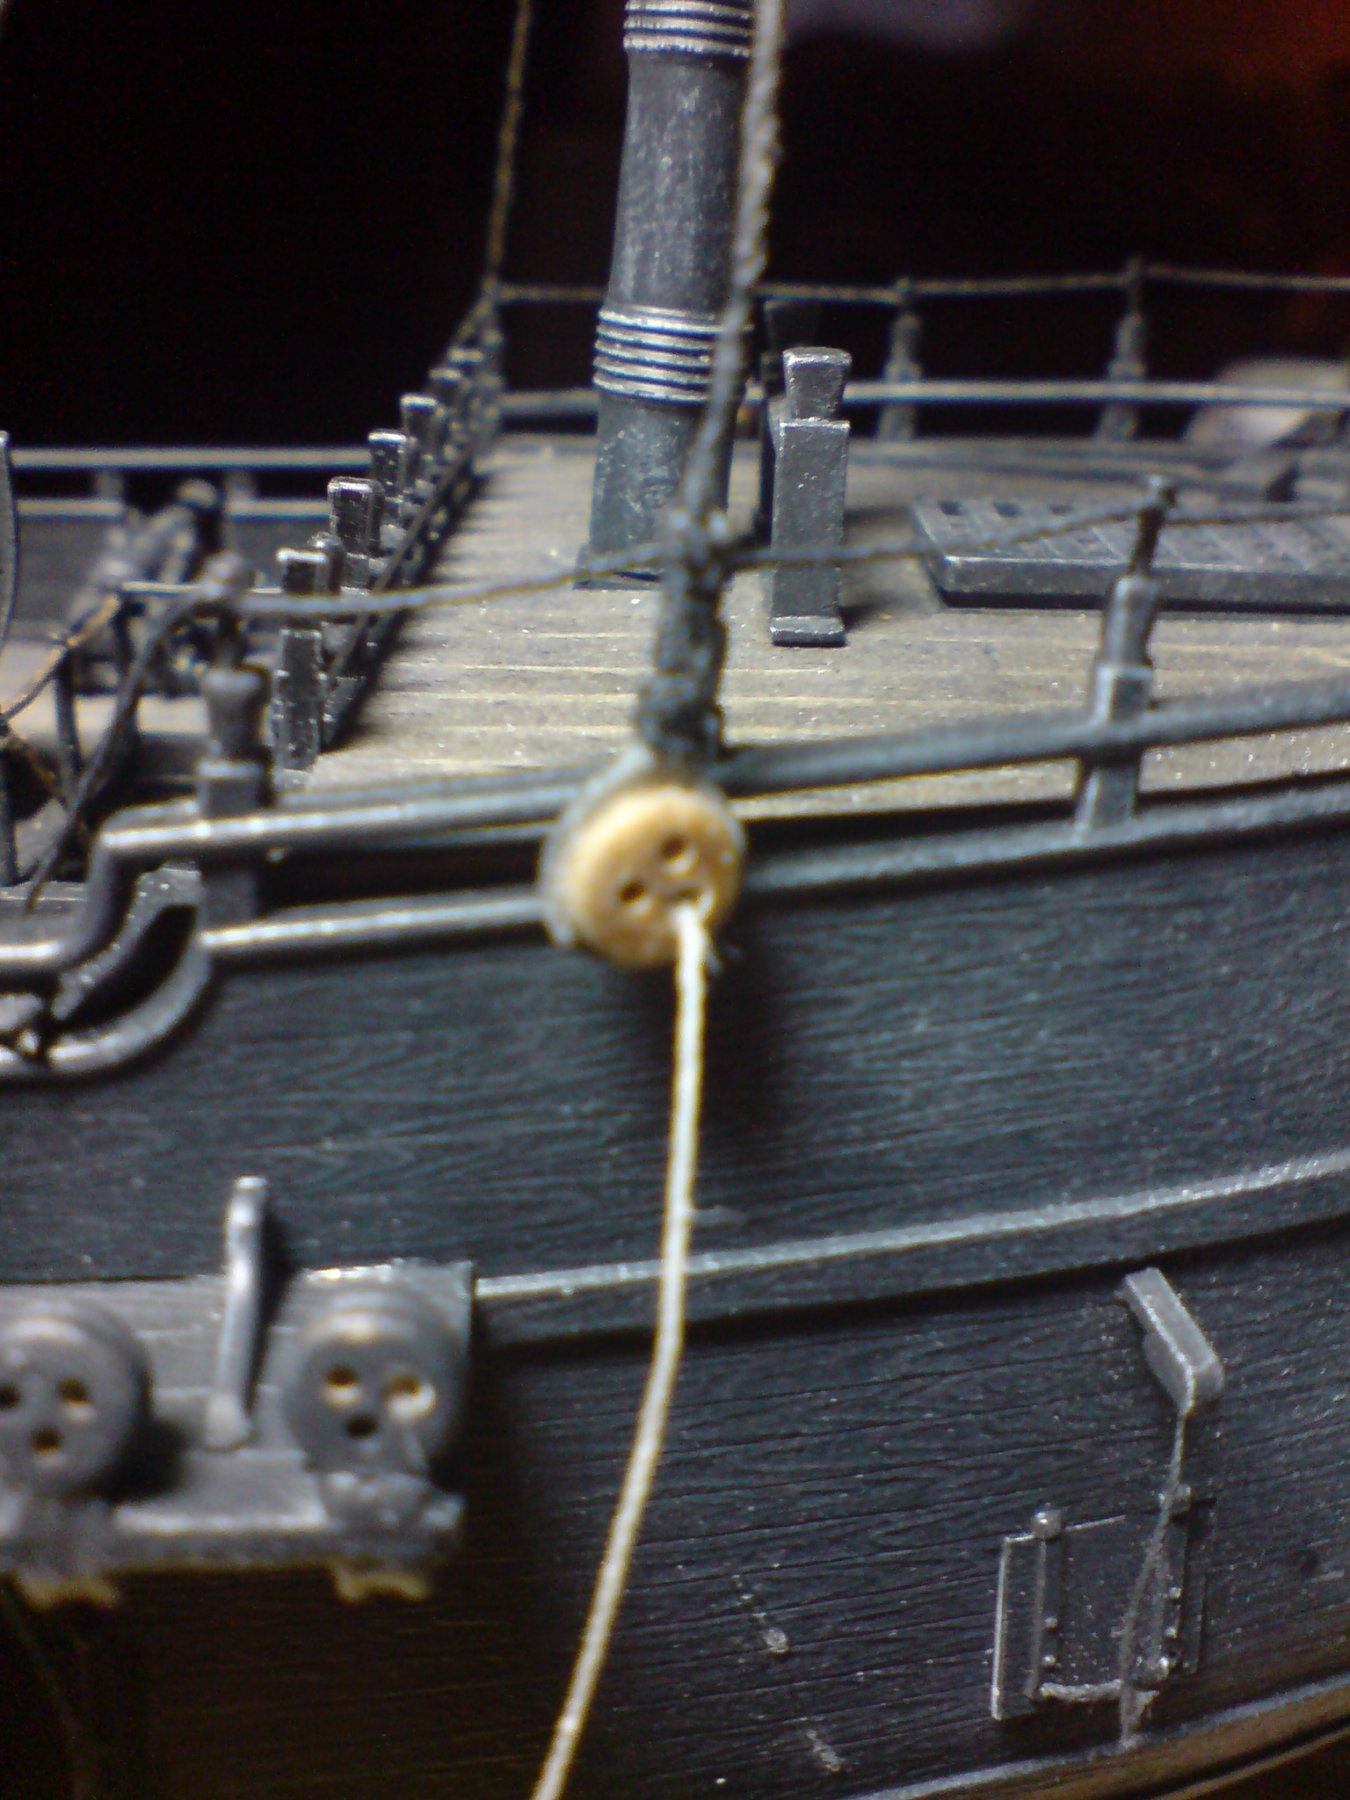
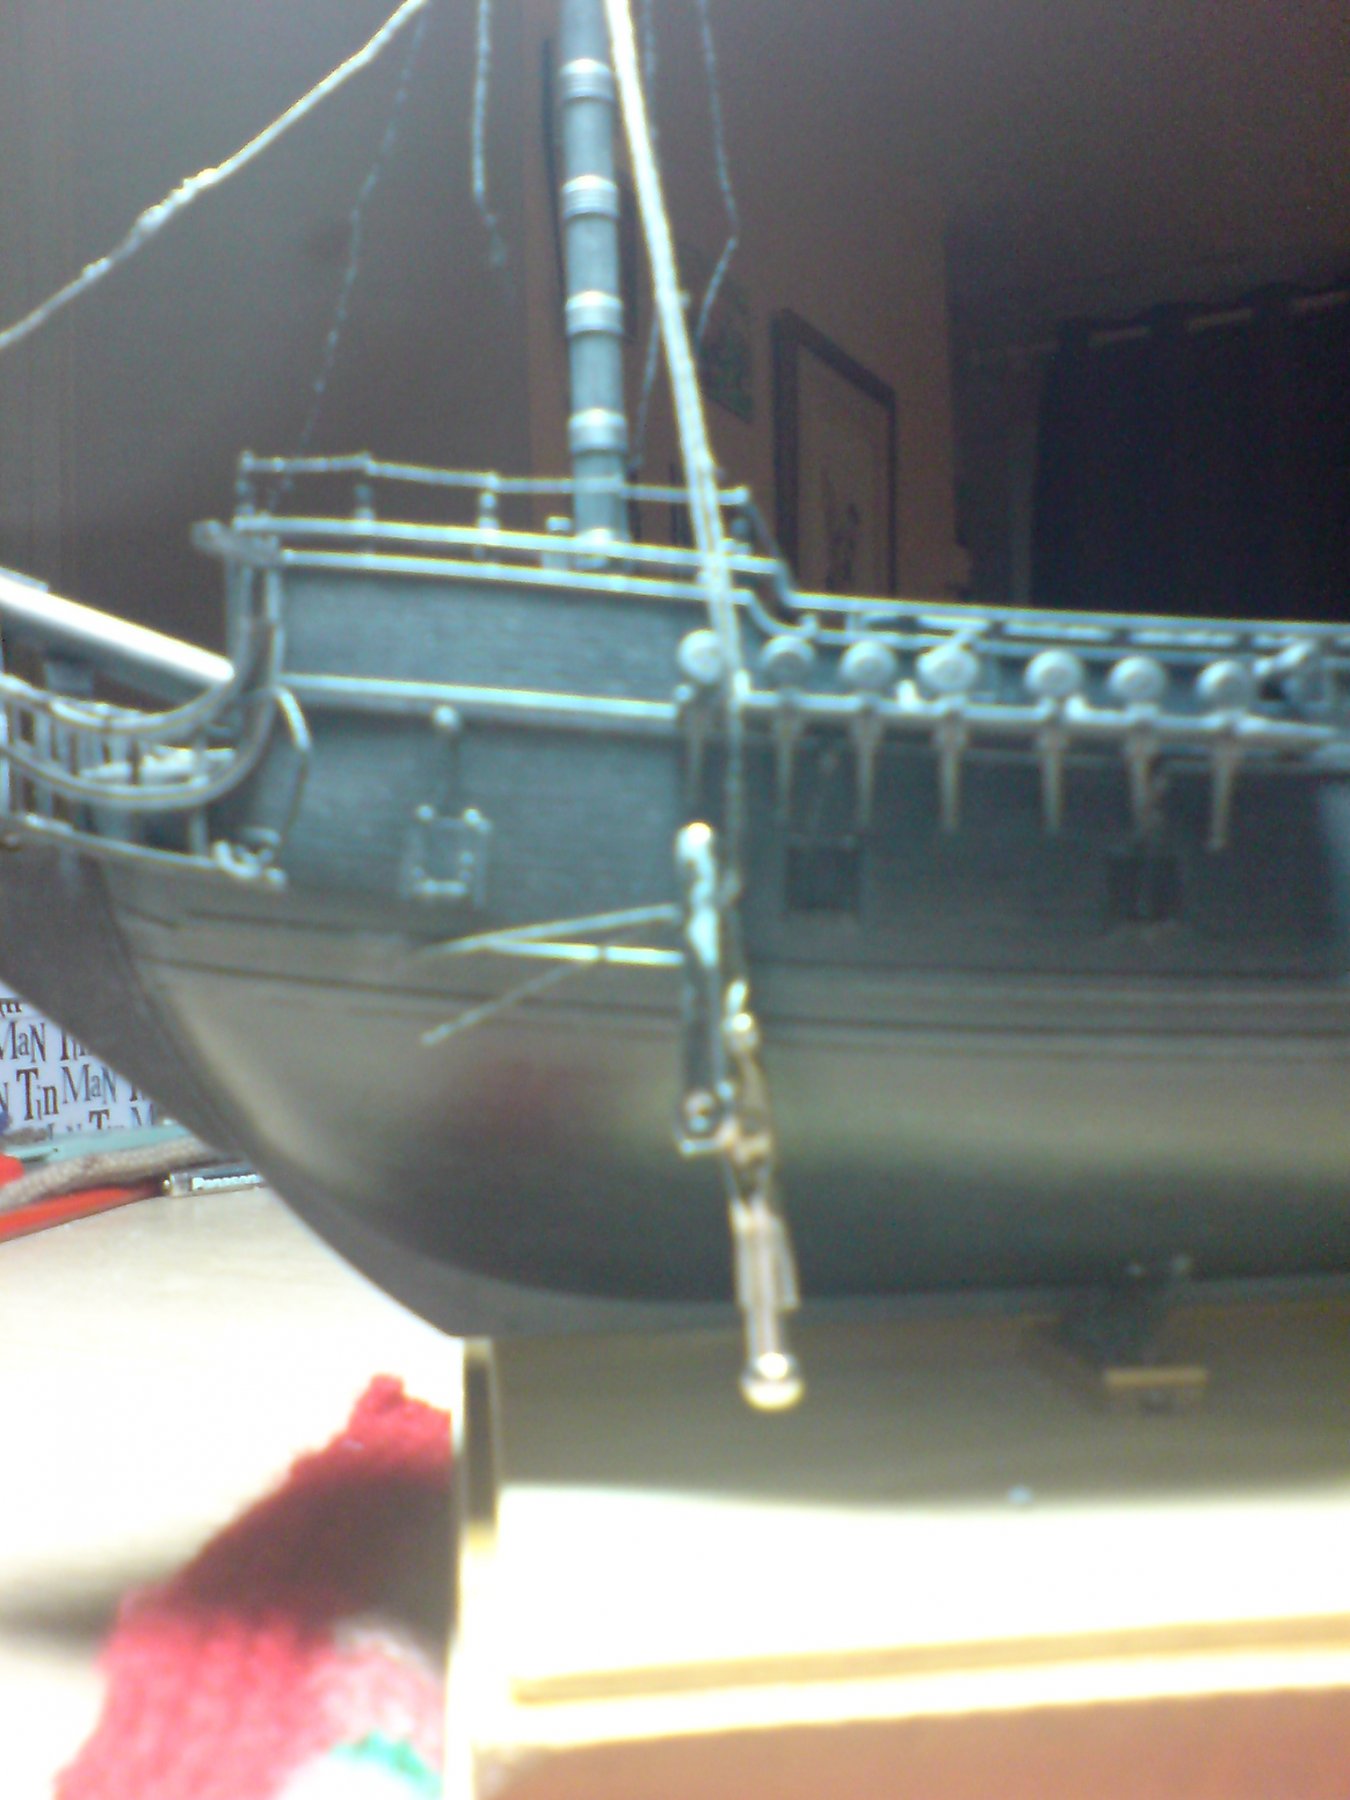
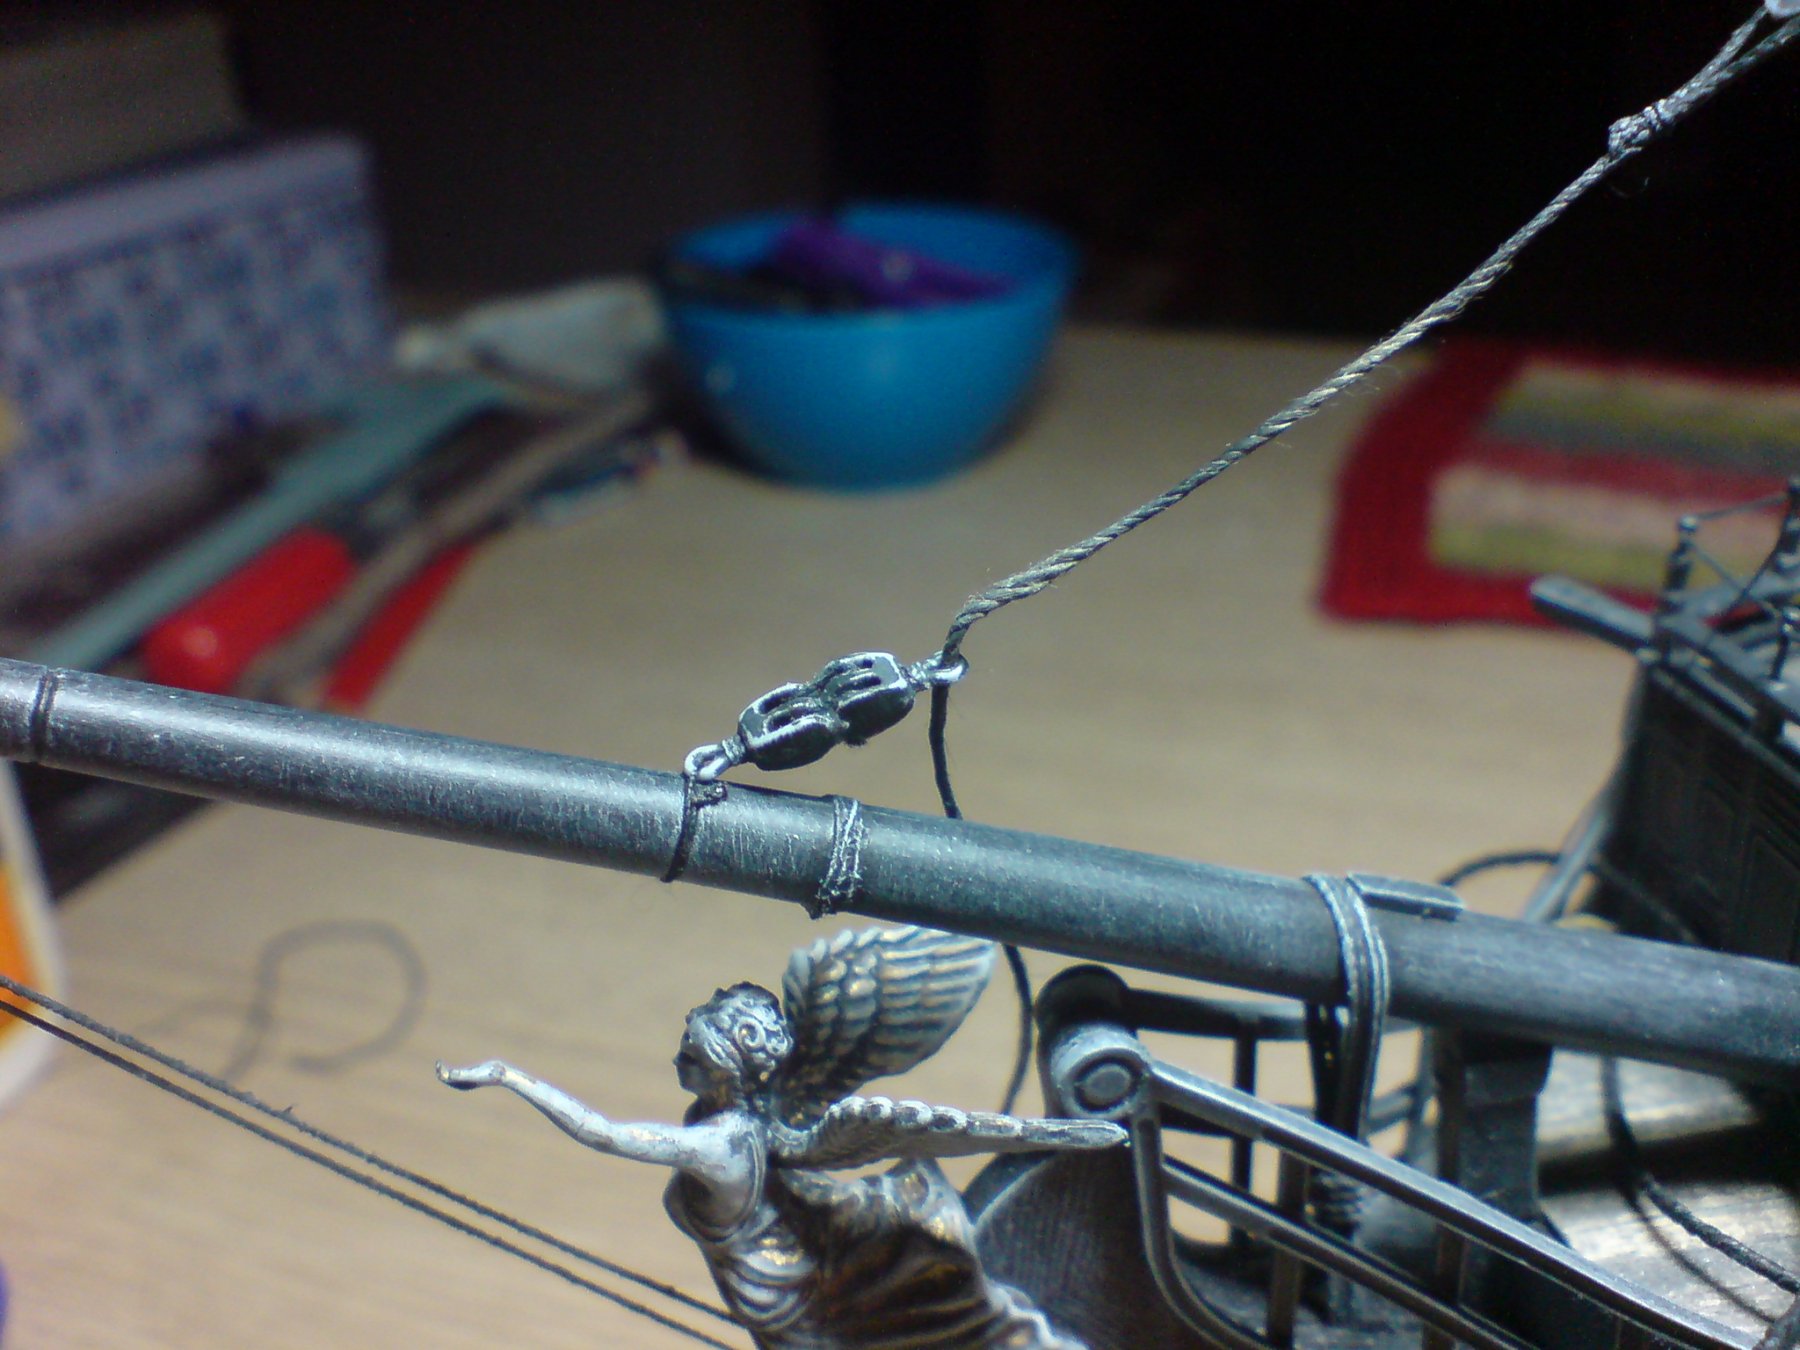
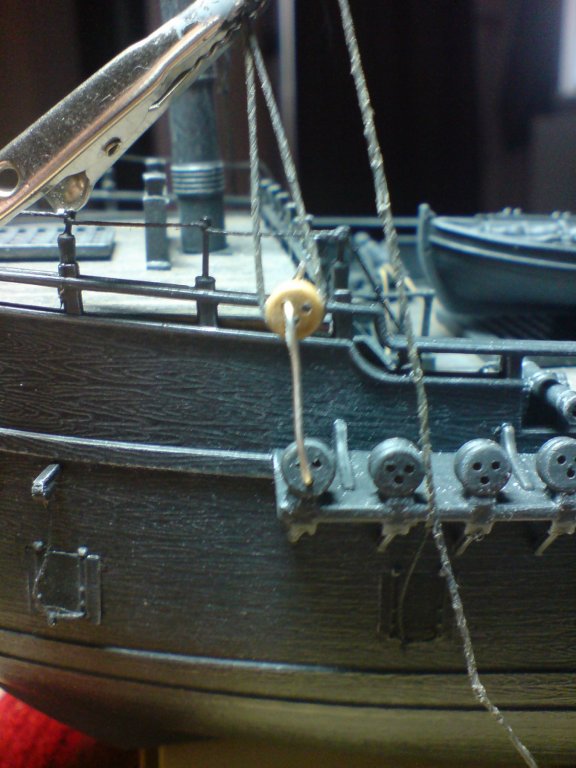
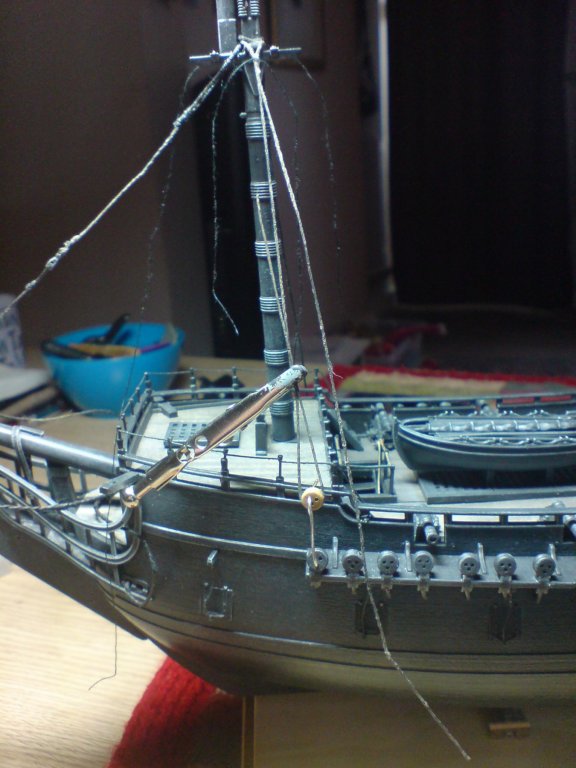
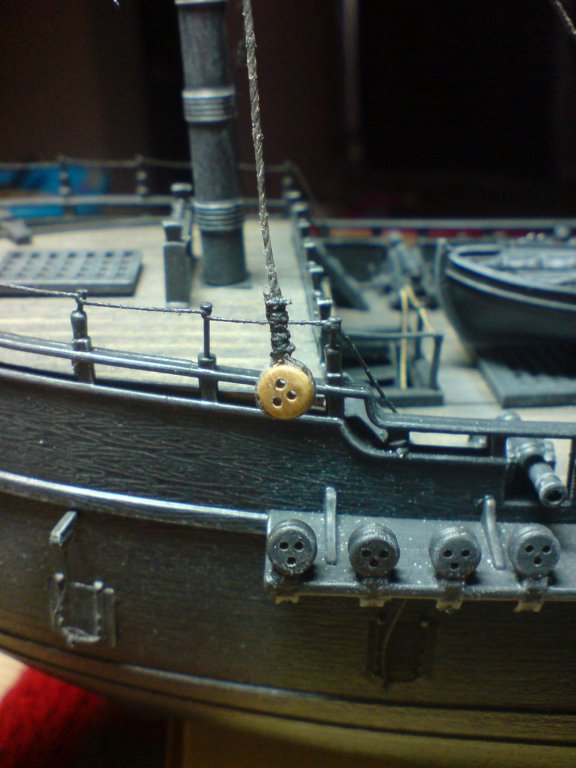
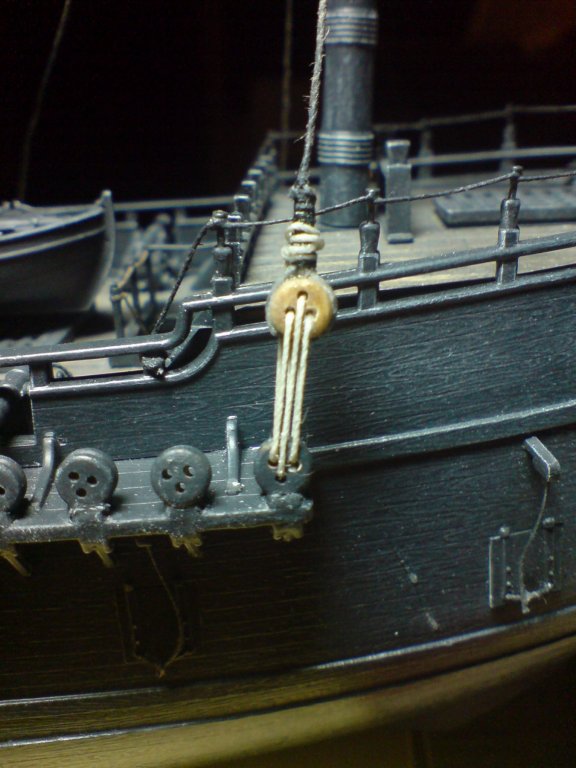
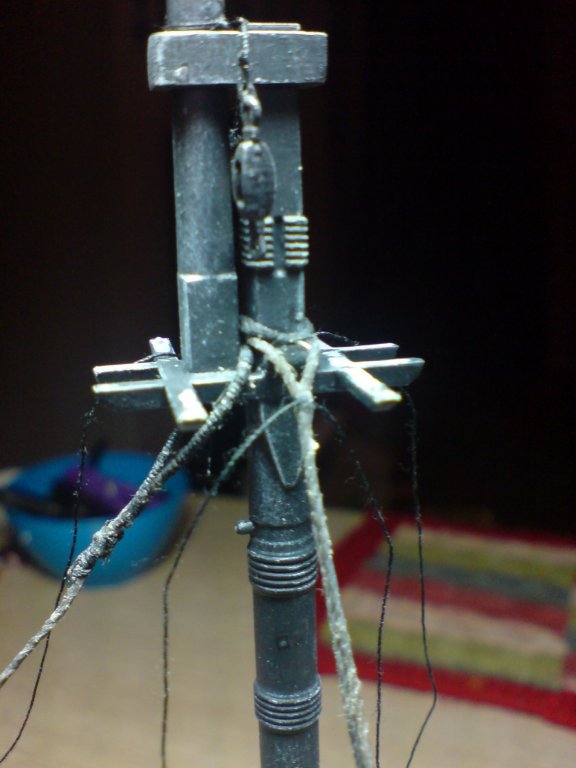
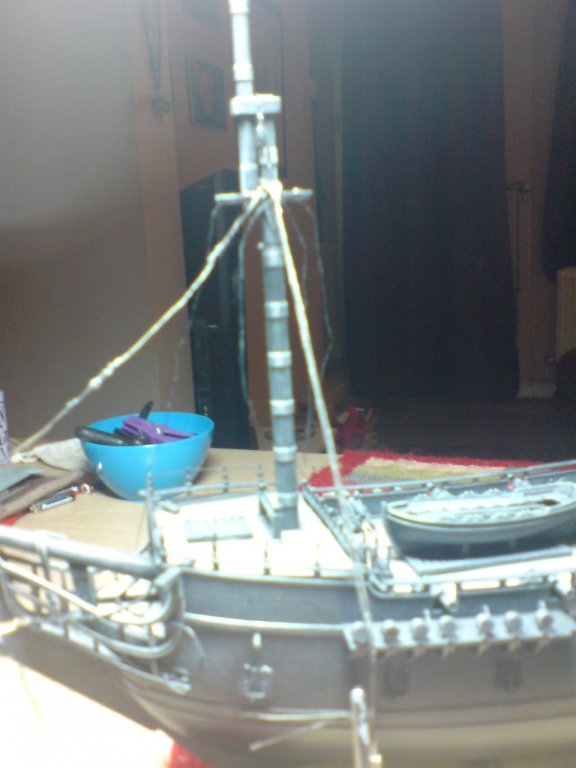
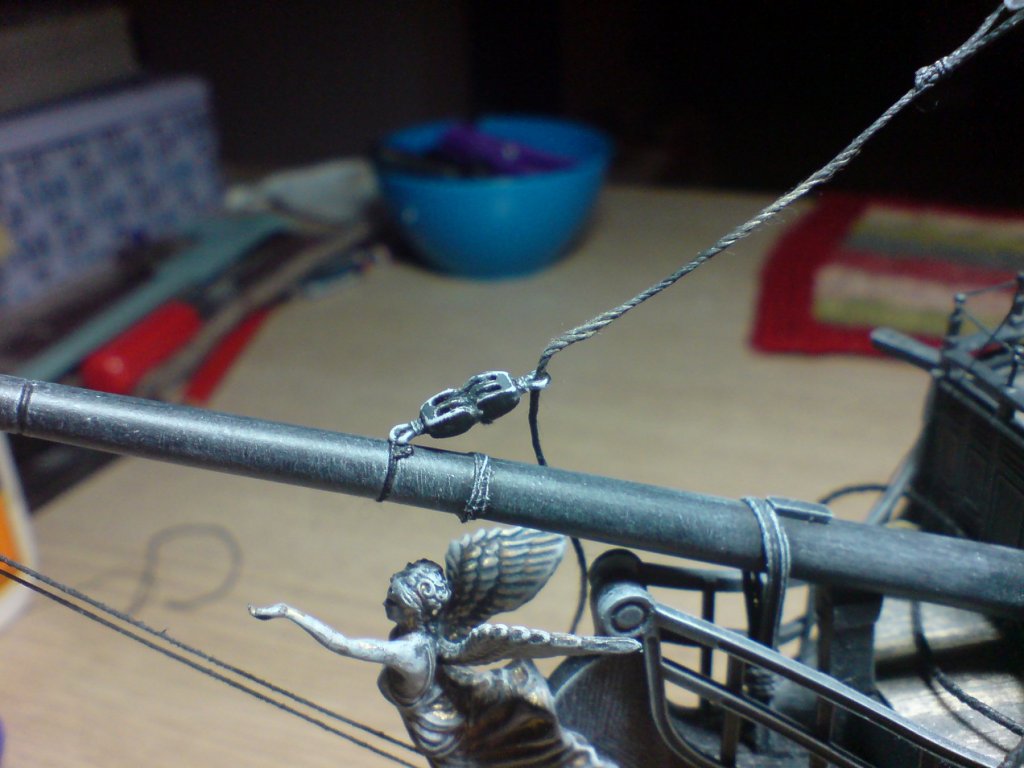
I spent a couple of hours on the pearl this eve - It struck me that the shrouds will obscure and work that needs doing inboard, this included the spar lifting tackle, so after researching how this is done on the pearl - I firstly seperated two lengths of thread found out where they are tied off/lashed on the deck - this is along the front bulkhead railing containg some belaying pins, so I did a couple of twists around the pins and added a dab of ca to secure. I then ran the rope upwards and through the one side of the block - then I rapped the loose end round and secured with some tape till I later when I fit the yard - I repeated for the other side. Just a few pics showing what I mean -

-
Just a piece of fuse wire - I am trying to make up something more substancial though - fuse wire bends a bit too much. OC.
-
Coming together nicely, I love the contrast in colors reminds me of the RN ones used daily when we used to live near a port. OC.
- 63 replies
-
- 5
-

-
- revell
- harbor tug
- (and 2 more)
-
Thank you so kindly - its a learning curve to me, quite litterly learning as I go along - never done anything like this before. OC.
-
Thank you sincerely mark, its one of those "hold your breath moments" I thought I had messed it up when I had a slightly different hight difference to the other side, so I just pulled the rope away from the deadeye slightly re-aligned and re glued. When I do the rest of the foremast shrouds, I will fit all the shrouds around the masthead, but then do the last deadeys on the channel (furthest starboard Not the sole one for the higher masthead) that way I can tension the mast ready to tension the forestay on the bowsprit, and get a tensioned triangle -so to speak. OC.
-
You could do something really wild - you could do a fictional ship - The Flying Dutchman from the VASA kit. OC.
- 106 replies
-
- 5
-
-
- trumpeter
- john brown
- (and 2 more)
-
Evening all - thank you for all the likes and comments, as we all know its the inspiration that motivates all of us, anyway I worked on my first shroud rope assembly - first I made a device for holding the right gap between deadeyes, for this I used some thick fuse wire - when I set the gap I wanted I ran the shroud rope down and round the bottom of the deadeye - holding the return of the rope taut, I added a few drops of ca the applied a bit more to the top of the deadeye - and pushed both ropes together to close the gap where the return of the rope was. I then tied a knot using fine black thread then round a few runs and glued over the fine thread, so first shroud with a deadeye attached and lashed. This was repeated on the other side - then it was the turn to lace the channel deadeyes to the shrouds, first I de-fuzed the thread using some watery pva that I just ran along a length of thread between my fingers - this smoothed the thread and made it slightly easier to pass through the eyes, so I did a few dry attempts but discovered I had to lace it a slightly different way starting from the shroud deadeye and not the channel one - all this means is finishing at a lower hole to run the thread up to lash and glue around the shroud/deadeye link. So I managed to do the very first one both sides inluding trimming the finished ends. Here are a few pics (if they load that is)


-
Thinking ahead - I need to fashion (anyone remember that group) ? back on track - make a guide out of a bent pin to hold both channel and shroud deadeys lined up so I can attach the first shroud - then the same the other side (I know im not lacing the deadeyes together yet) OC.
-
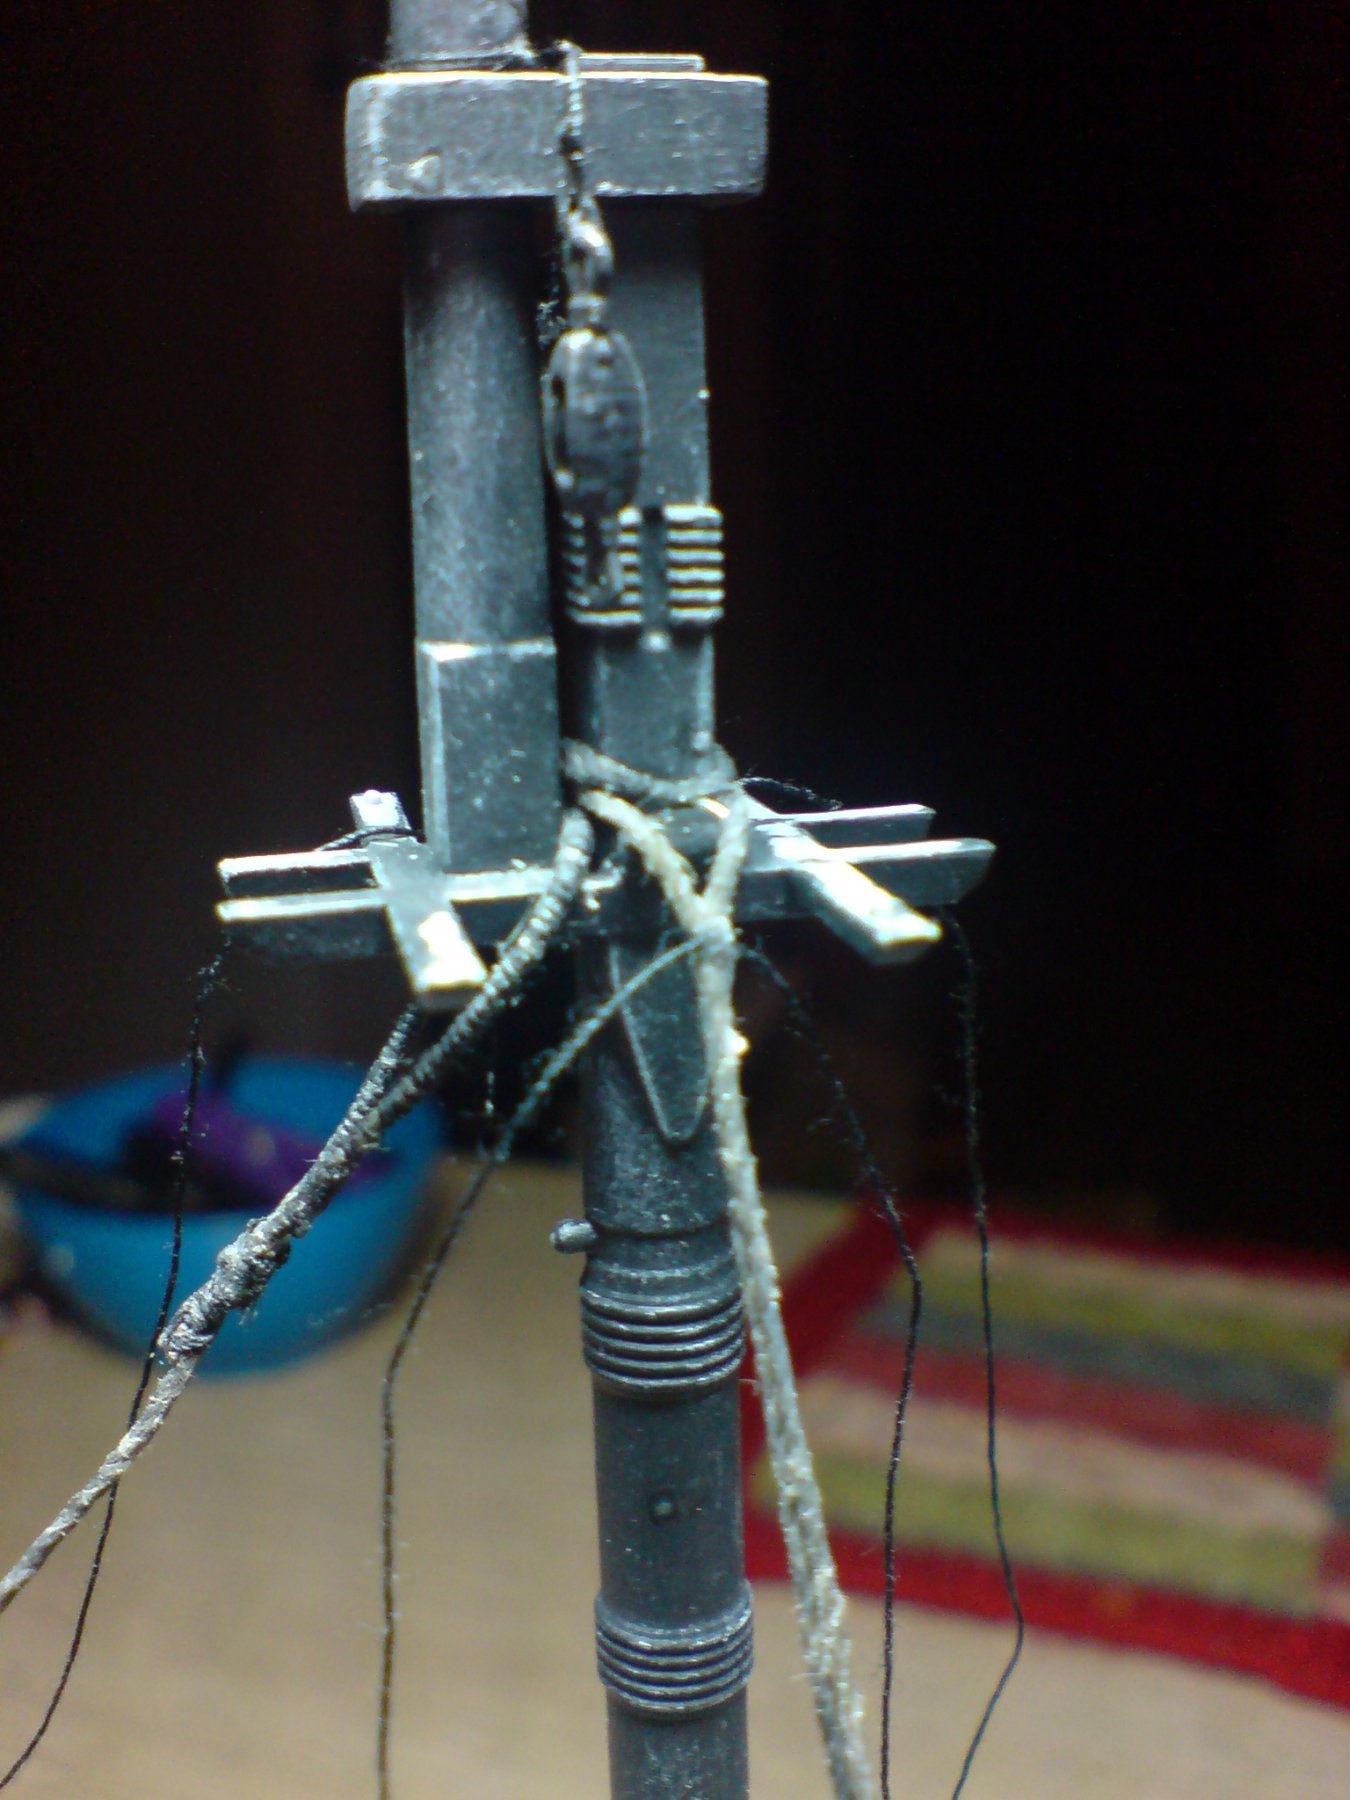
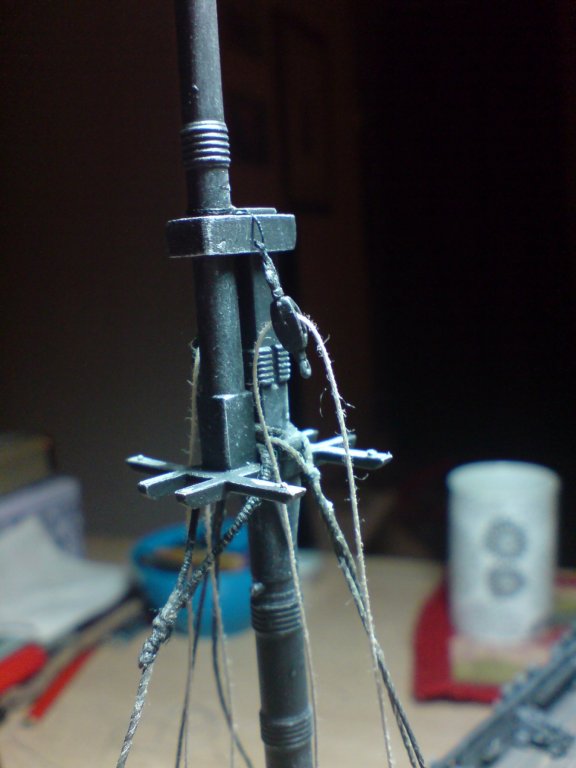
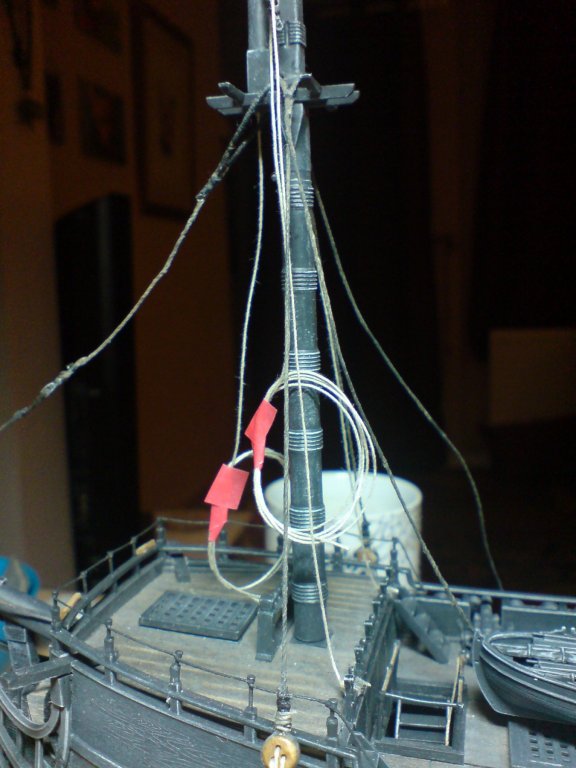
Just adding my little update - so the shrouds have began, I used the same thread I used on the forestay and past it through the gap between the masthead, I then tied a knot towrds the top creating a farly tight loop, while putting some weight on the ends, I repeated the same on the other side the applied a dab of glue to hold then inplace around the masthead. Just a few pics as requested. OC.

-
Right then - all you spud eaters and everyone else, I did a tiny wee bit this evening consisting of gluing the foremast inplace, and trimming some of the forestay excess rope off - then passed it through the loop of the bowsprit block. So next stage I guess will be to start the shrouds ((Gulp)) - I understand I need to do the first two nearest the bow on the one side - then repeat for the other side and repeat moving two deadeyes at a time going towards the stern - fun times me thinks. OC.