HOLIDAY DONATION DRIVE - SUPPORT MSW - DO YOUR PART TO KEEP THIS GREAT FORUM GOING!
×


Old Collingwood
-
Posts
12,097 -
Joined
-
Last visited
Content Type
Profiles
Forums
Gallery
Events
Everything posted by Old Collingwood
-
 I'll take a seat with Lou so we can be naughty and throw popcorn about, looking to be an intersting build. OC.
- 106 replies
-
- 6
-

-
- trumpeter
- john brown
- (and 2 more)
-
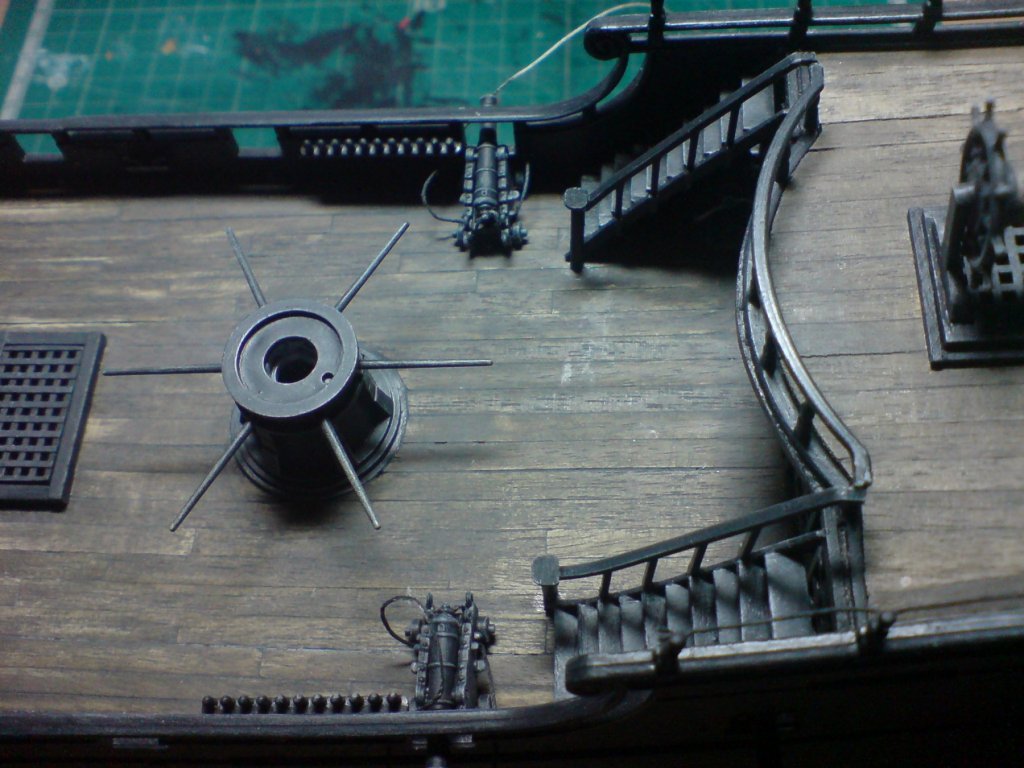
Thank you EJ, its kind of like a mile stone, just need to trim back the breach ropes sticking out of the bulkhead and touch the holes up, then I can move on to the row of lids/ropes. OC.
-
That is one battle weiry ship - looking Superb greg, one of your best to date I think. OC.
-
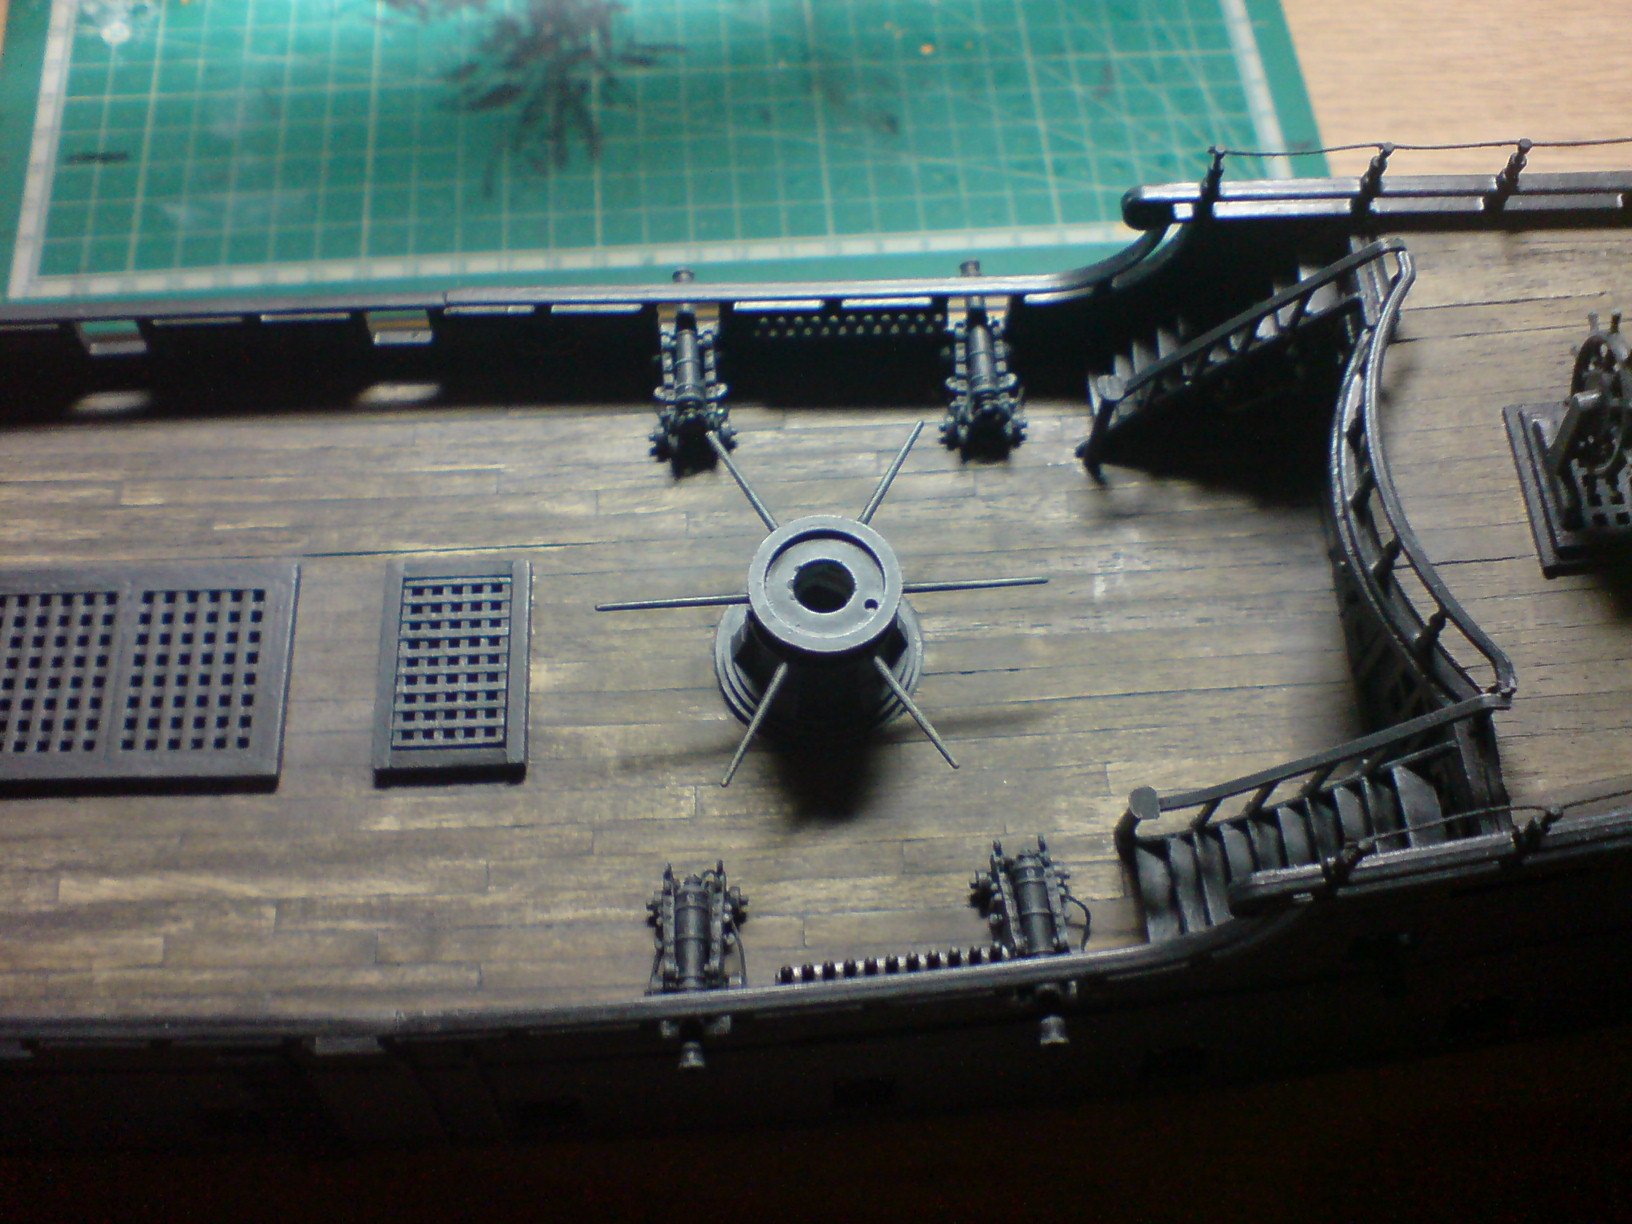
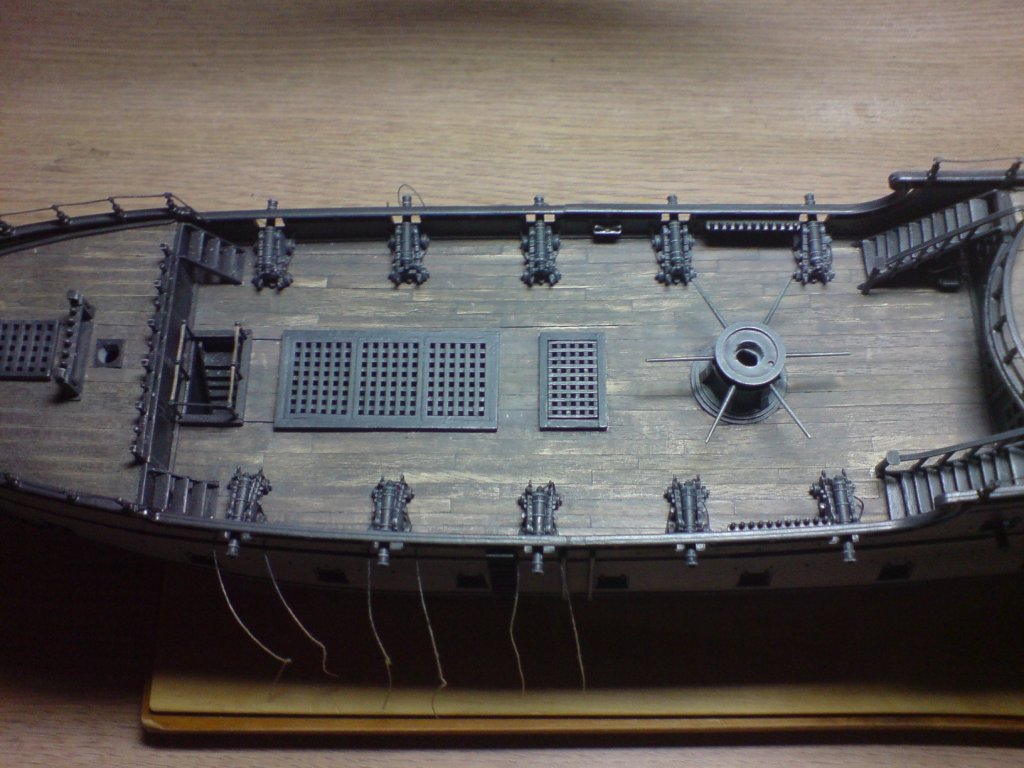
I must be on a roll - more work on the pearl today after our walk with the pooch, so - carrying on with the rest of the canons, carrying on with same procedure I now present to you the canon-ised pearl. OC.
.thumb.JPG.7074a93c5278e8566084125a9645b172.JPG)
-
Your pom poms look the business carl - they will look so sharp when completed, it all helps to bring the ship alive. OC.
-
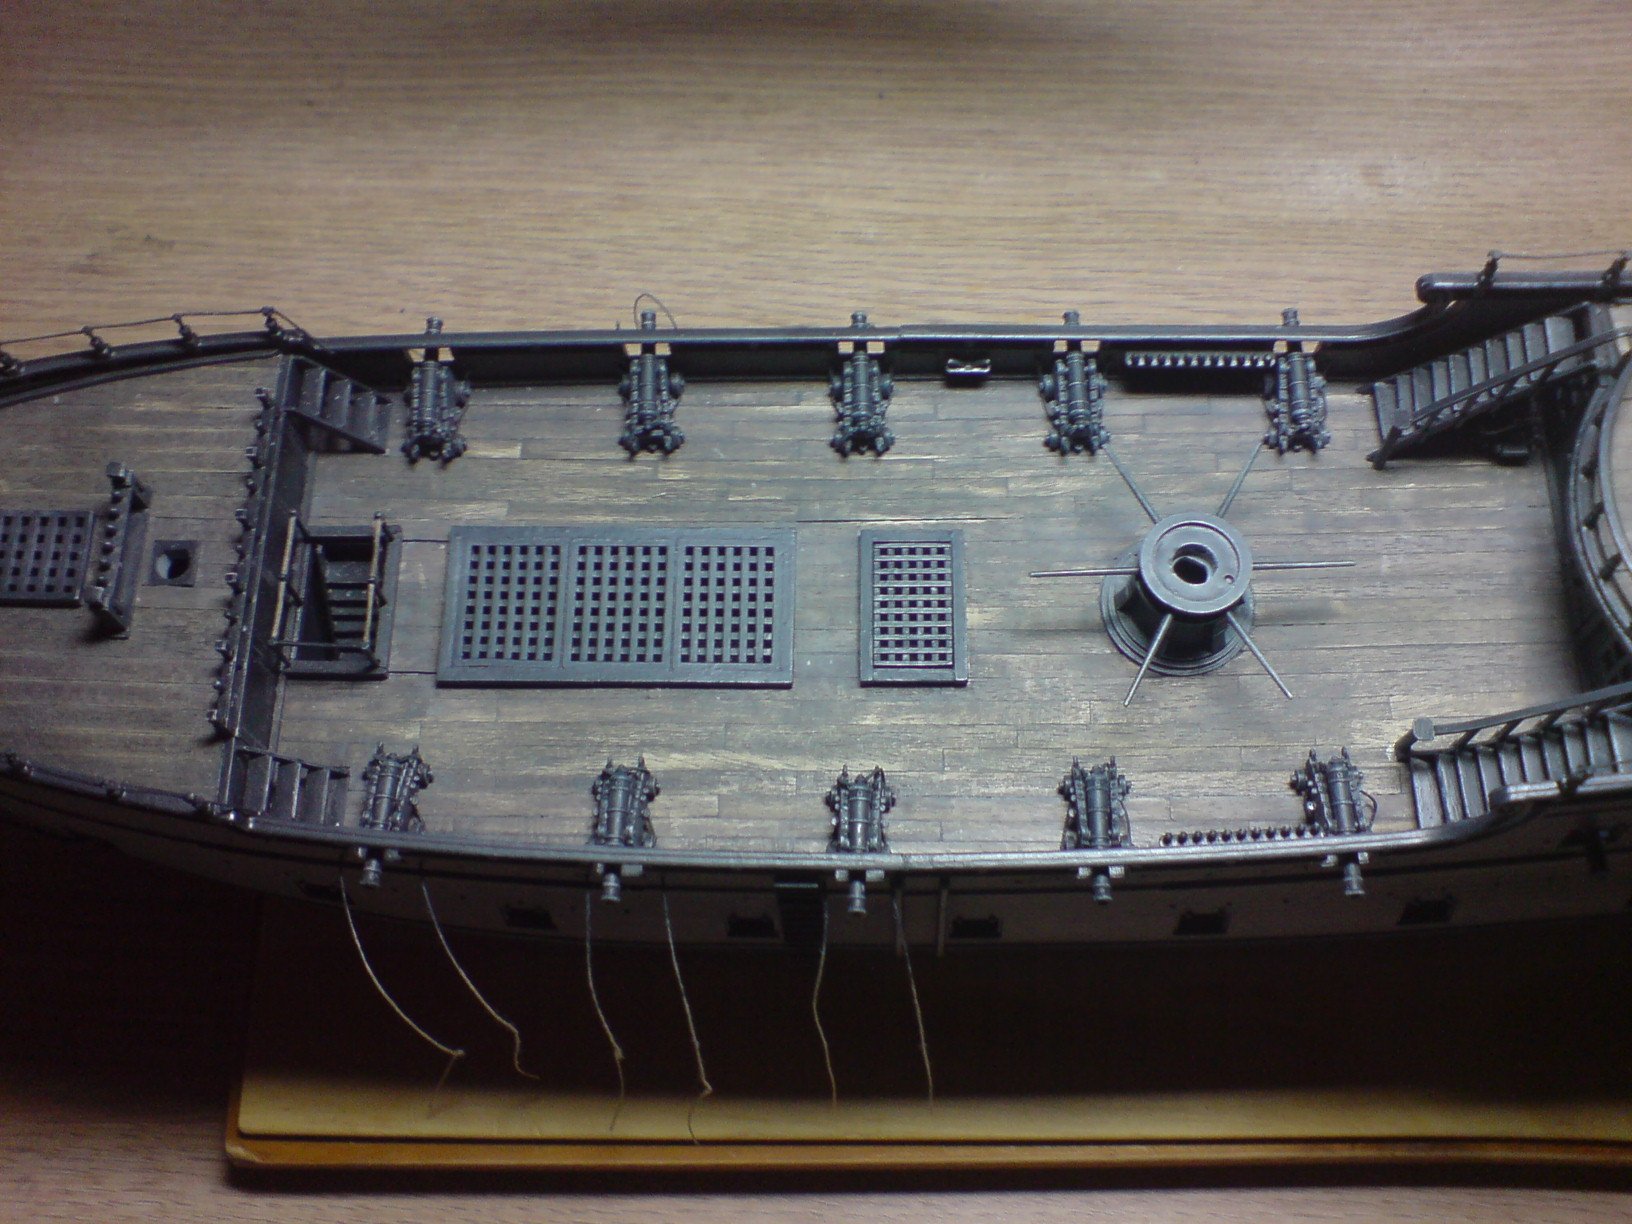
Happy New Year to everyone, I managed to get on the pearl today and continue with the canons, same procedure as before trapping the breach ropes then gluing then inplace - firstly I glued into the place the next two that had been painted and weathered, then I worked on the next six prior to painting. Oh an interesting thing though - my brother tells me he has has a little model prezzy for me coming my way soon, "Im intrigued" OC.

-
Amazing work bob - truly first class, what an inspiration you are to the rest of us. Happy New Year to you. OC.
- 359 replies
-
- 4
-
-
- prince de neufchatel
- model shipways
- (and 1 more)
-
Some very talented people on here - for sure. OC.
-
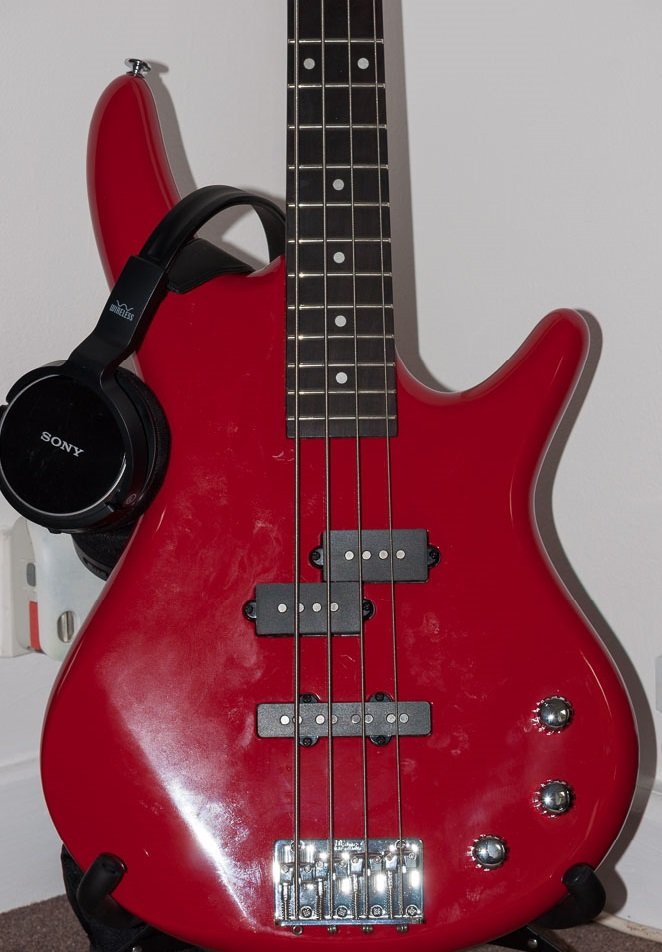
Superb work on all of them - love the detail and the colors. I used to play a bit of bass when I used to own this one, a few years back - I kind of tried to learn bass and sax but my main instrument has always been keyboards I still practice using digital laptop synths with a plug in cheap digital keyboard I have had for years. This was my bass. OC.

-
Slightly off topic - I love the bass set up. OC.
-
Really nice thorough work denis - looking so meaningful and sharp. OC.
-
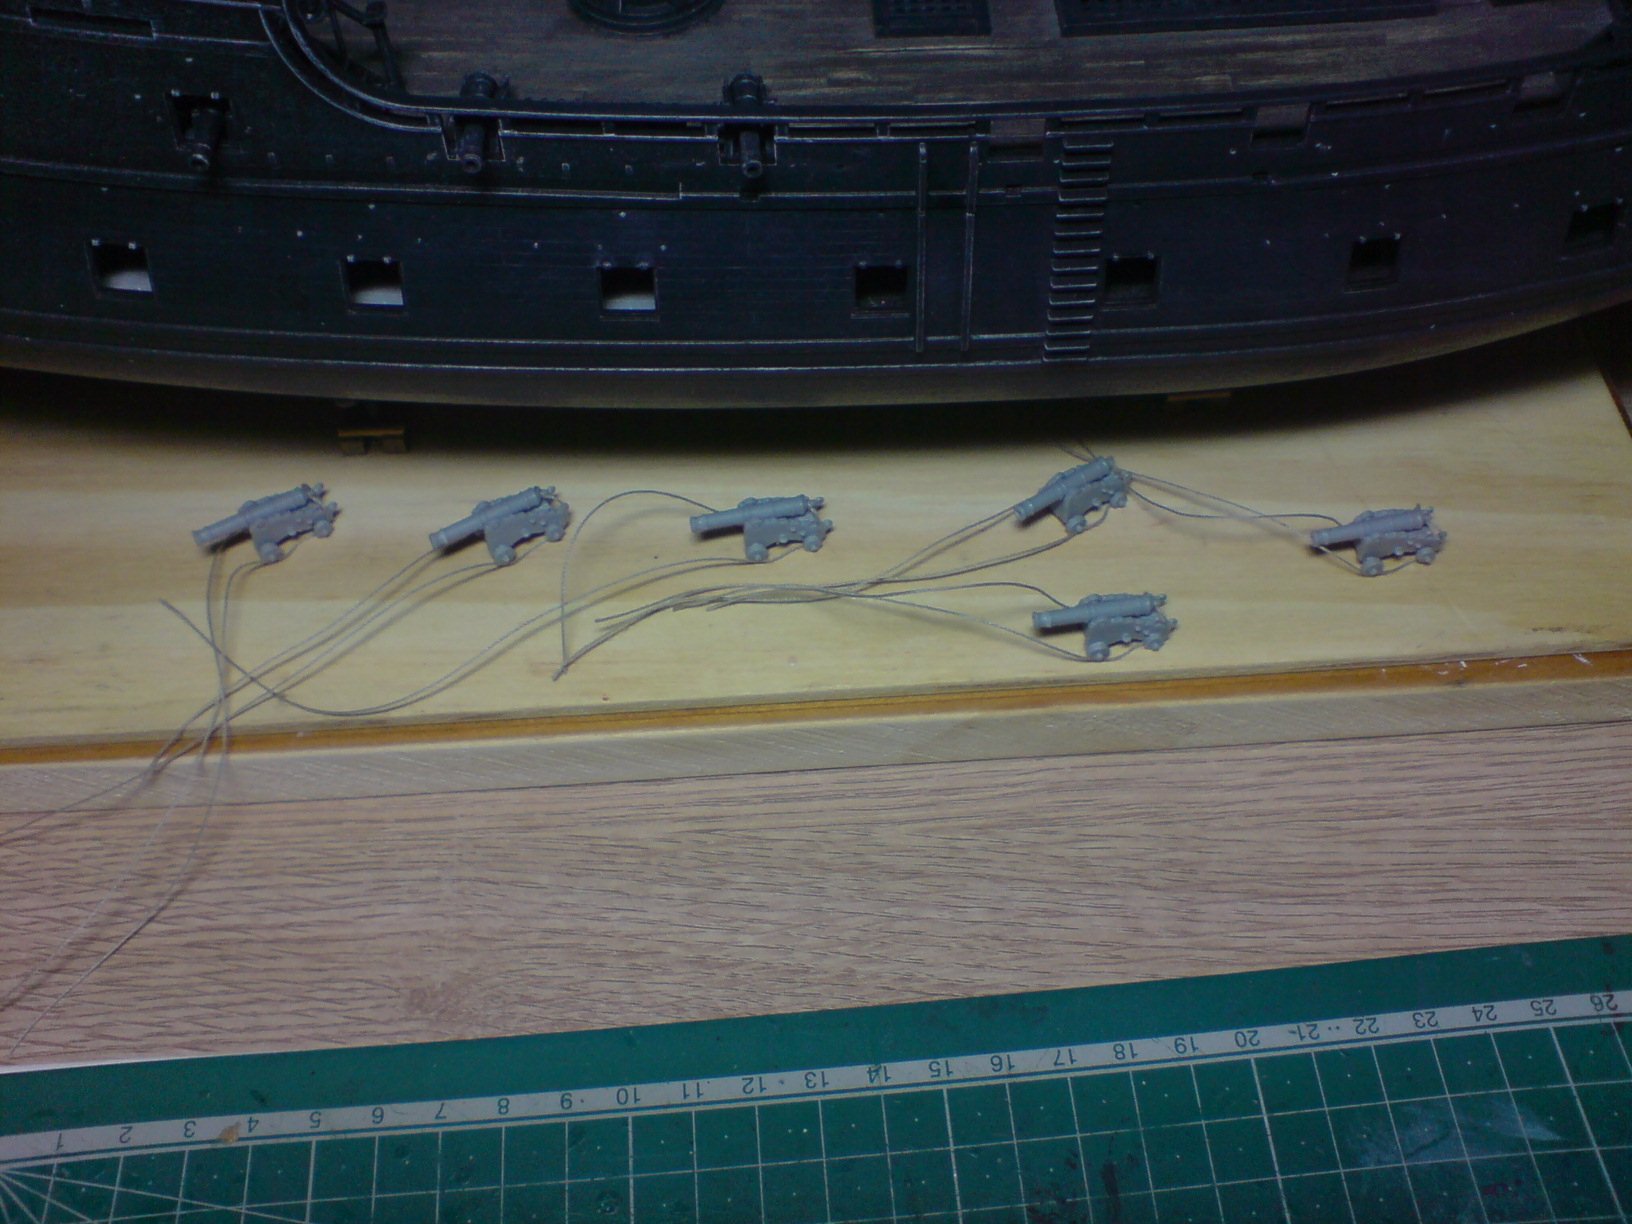
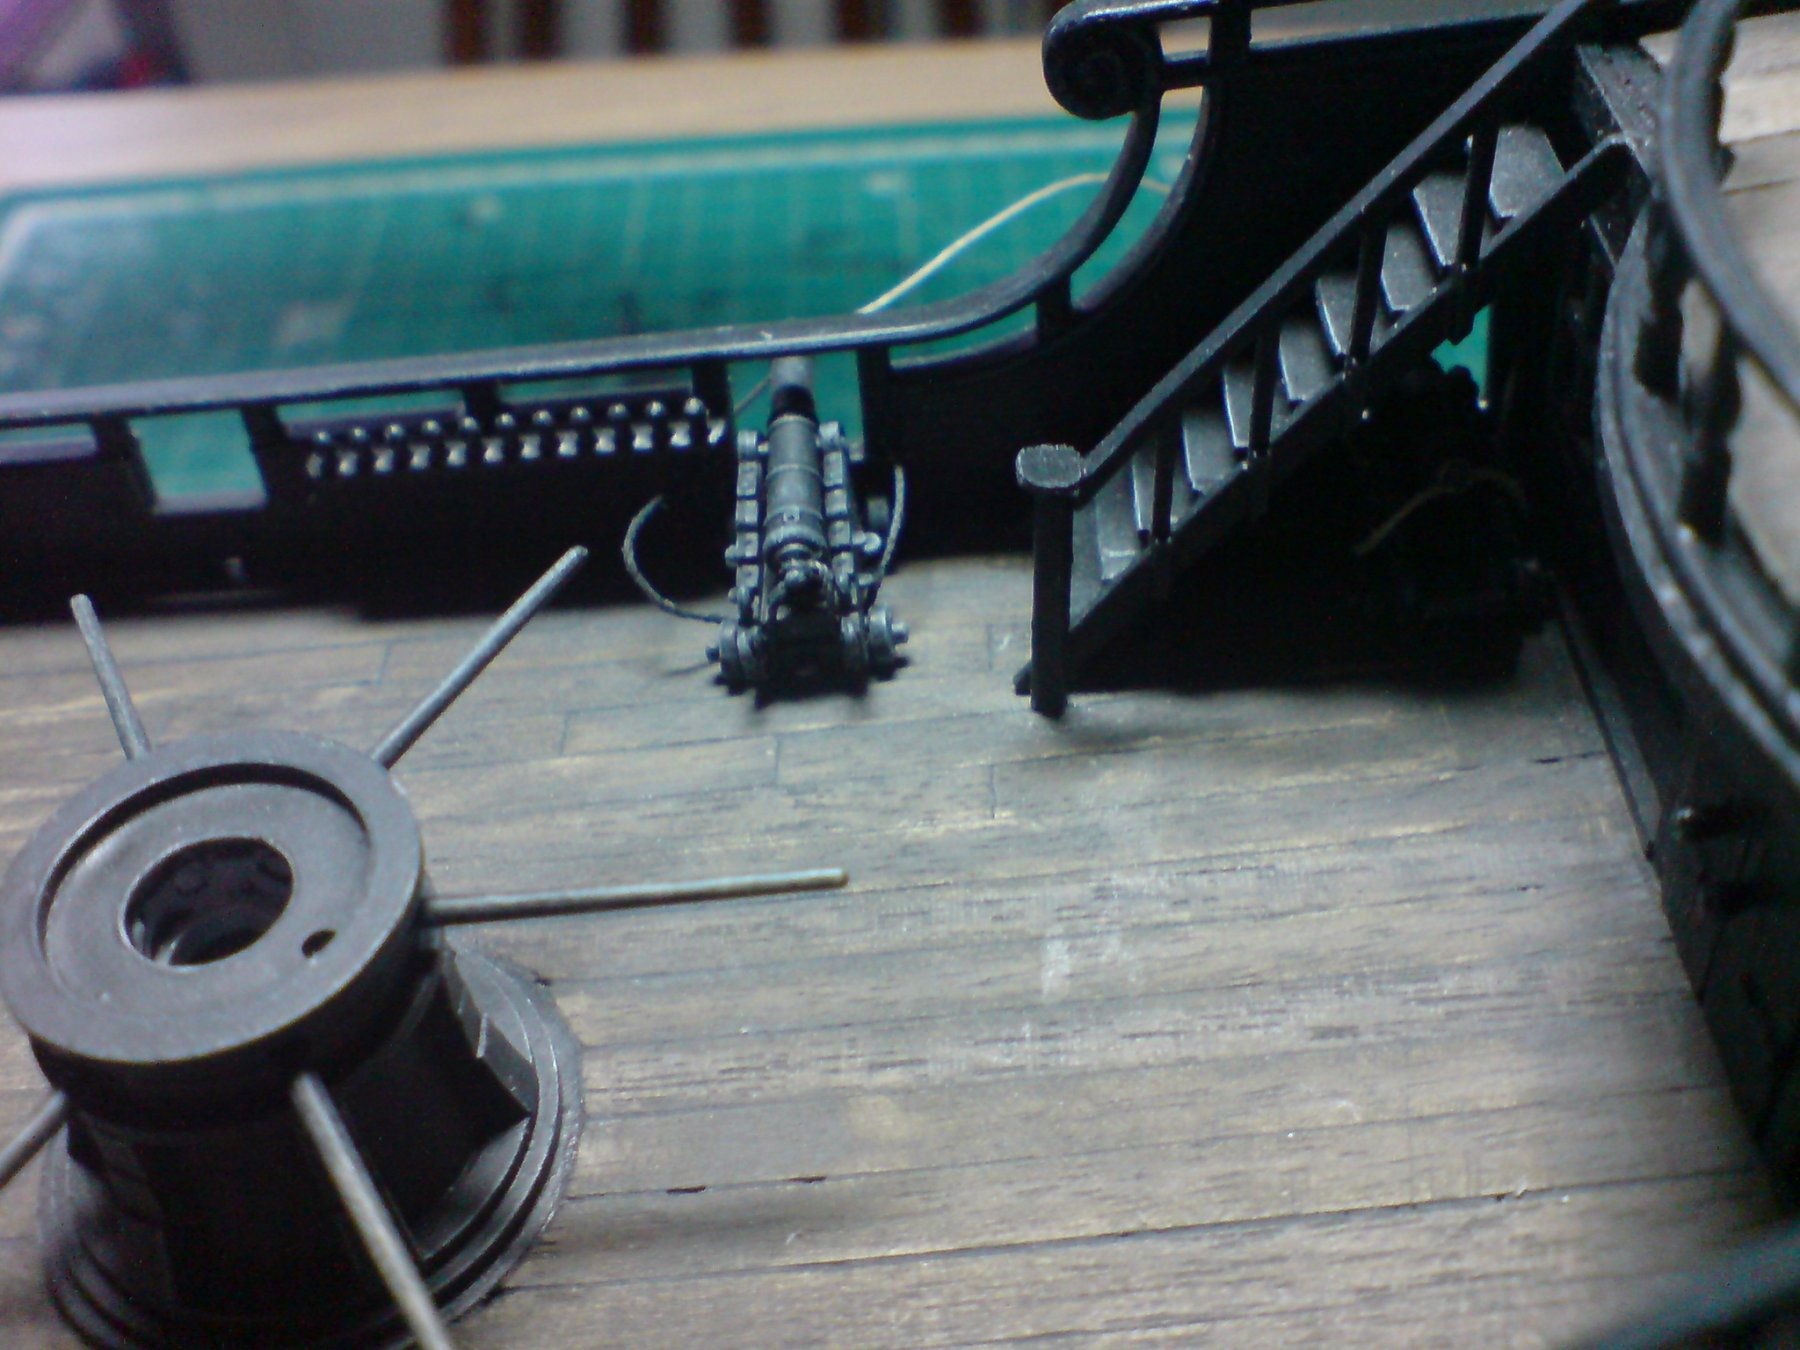
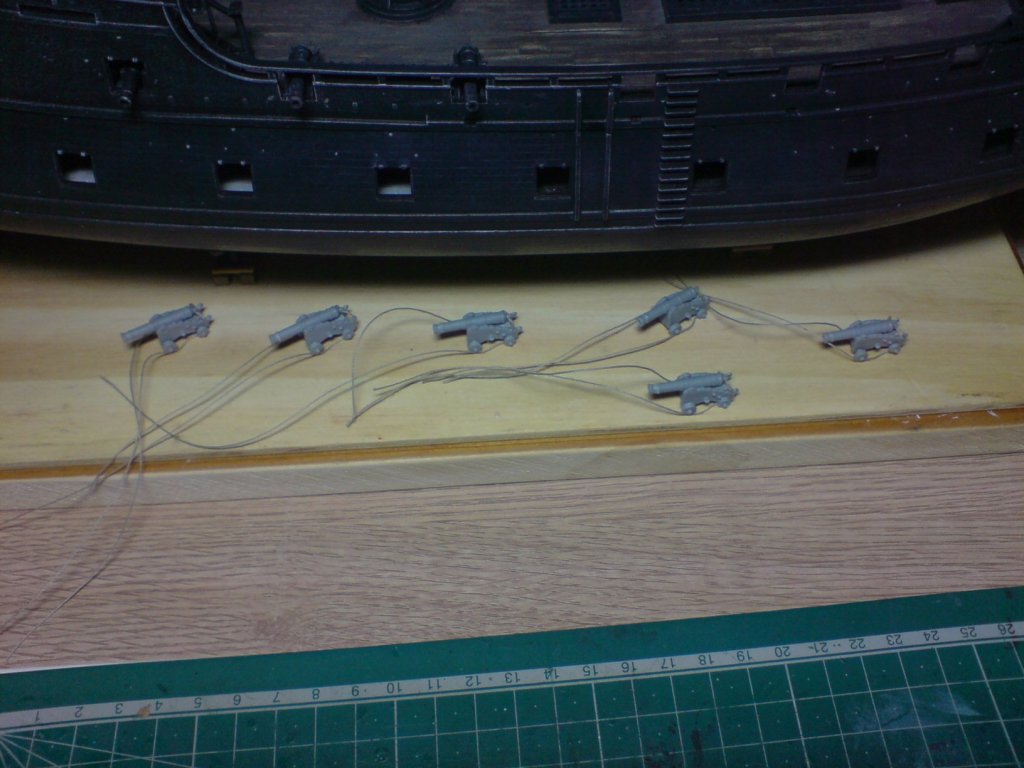
Good day all - Happy Holidays to all, First day back on the pearl in what feels like ages, any way I decided to carry on working from the inside - out, this ment working on the canons starting by assembling the canon/carriages, then I fixed the breach ropes and working on two at a time - I applied a few coats of paint then weathered them, I also fitted a thin strip of wood under the carriage to aid gluing them down to the deck. I used the same trick as the previous canons - I drilled two fine holes through the bulkhead to take the breach ropes. So two have been placed and glued down, when they are fixed I will place the breach ropes with the right amount of sag - then glue them through the holes. Just two pics folks.

-
I have found this - it might help? - https://www.hms-victory.com/restoration-log/hms-victory-repainted-battle-trafalgar-colours OC.
-
I read that they have stripped back some of the paintwork and found traces of the different color - hence why they have re painted her in that color. OC.
.JPG.bb84dd5766553dcea599c71f5407a26e.JPG)