HOLIDAY DONATION DRIVE - SUPPORT MSW - DO YOUR PART TO KEEP THIS GREAT FORUM GOING!
×


Old Collingwood
-
Posts
12,097 -
Joined
-
Last visited
Content Type
Profiles
Forums
Gallery
Events
Everything posted by Old Collingwood
-
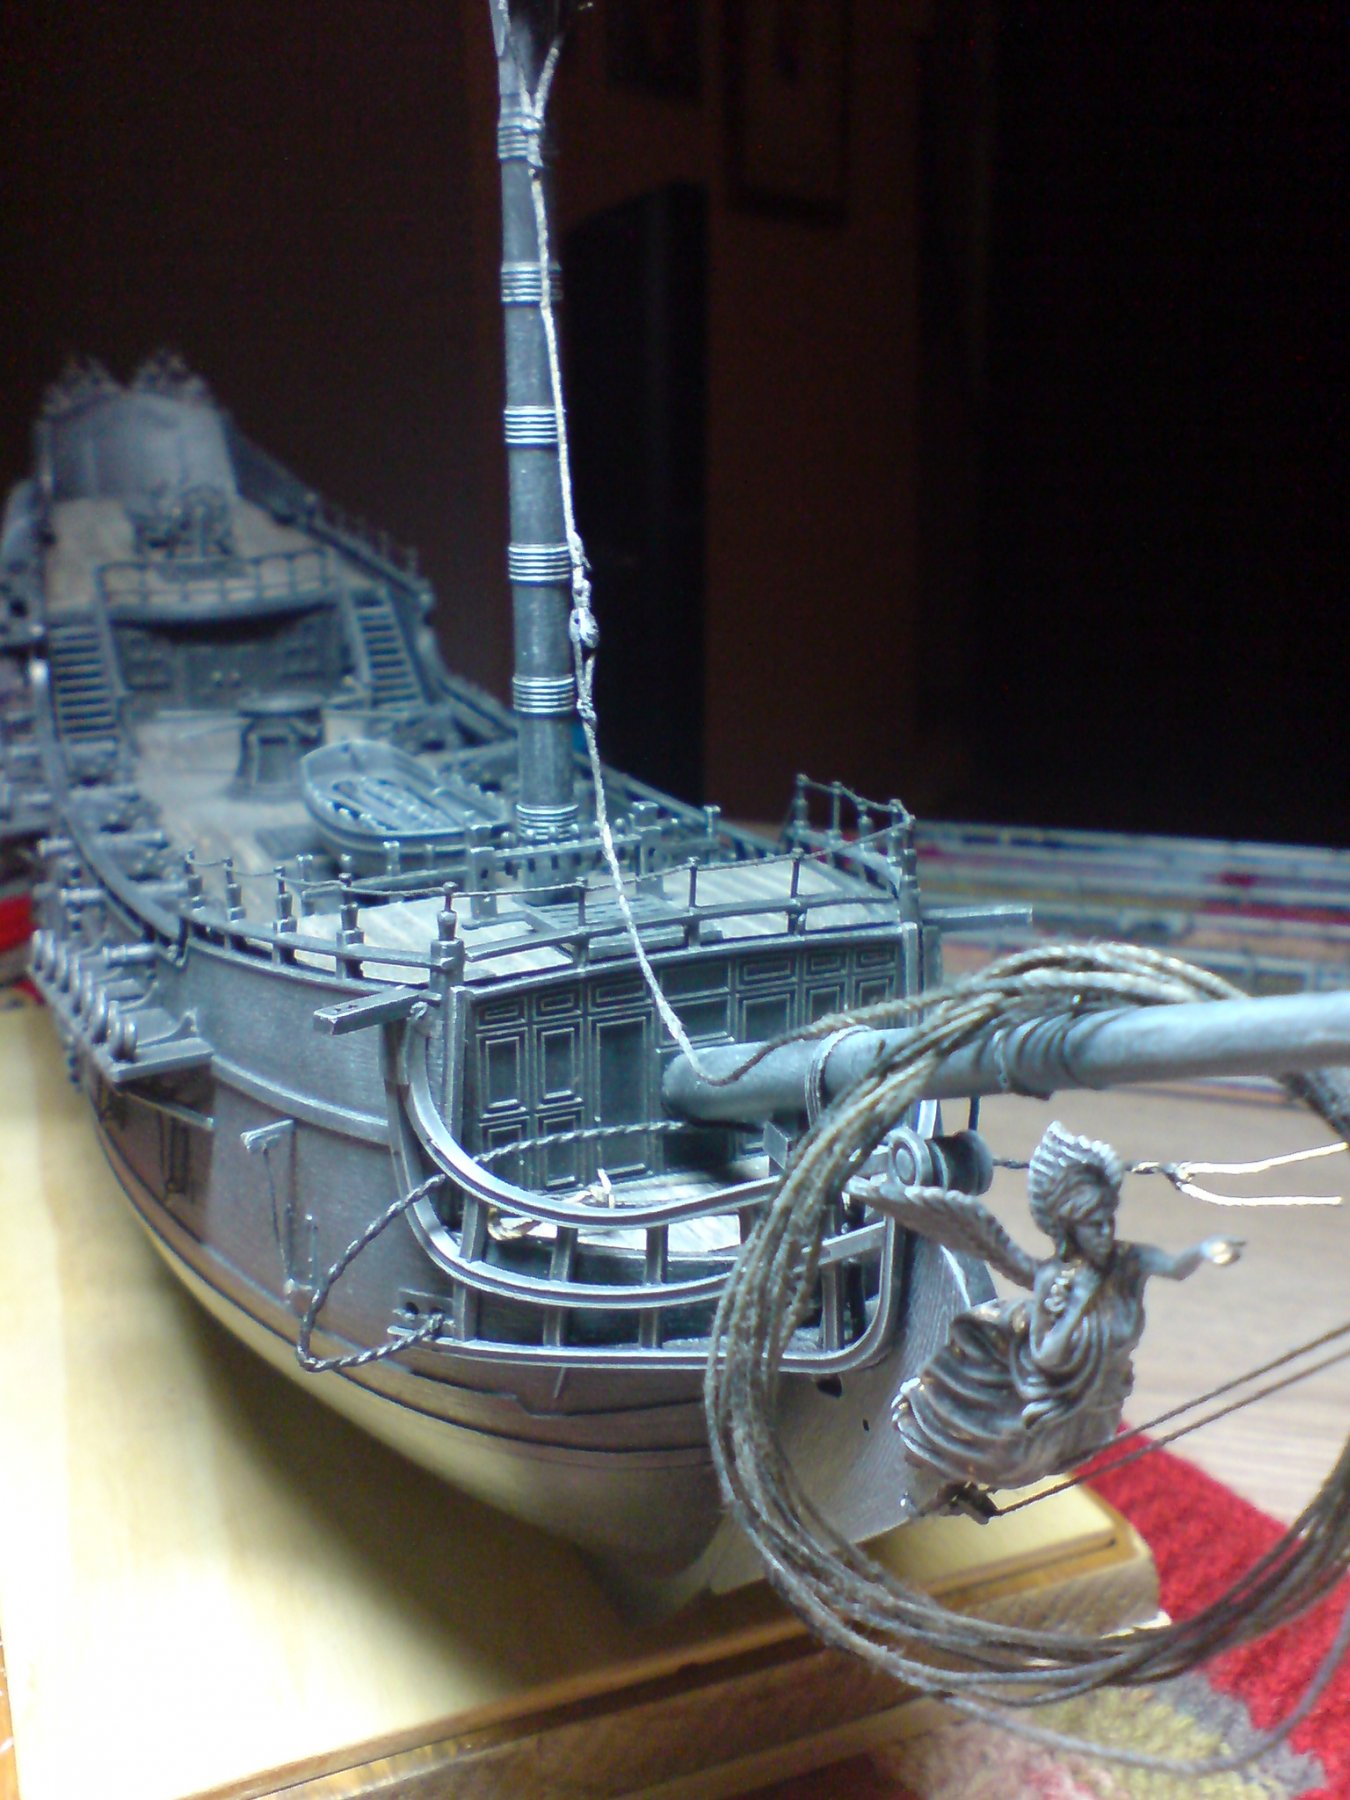
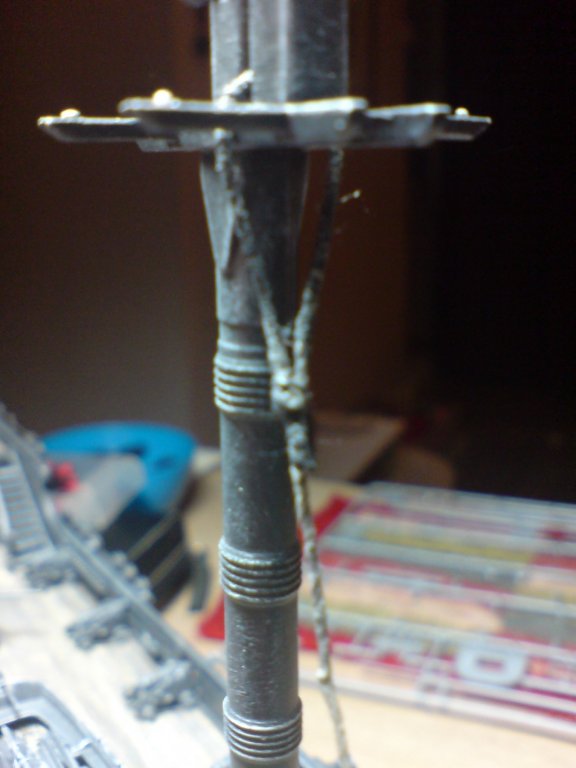
 Evening all, I had a good afternoon on the pearl today - starting by weathering the foremast, I then assembled and painted the forepost main spar lifting blocks - these two were fitted to the lower foreamast mastcap with a short length of thread/rope then tied and glued, next was the painting and fitting of the bowsprit forestay block - this was tied around the bowsprit. I then put the build to one side and set about working on the forestay thread/rope - I cut a legnth and tied it at both ends to the jig I made to do the serving, I then tied some thin black thread about two thirds along to the thicker thread - then started winding it on in tight winds, after I tied at the end and applied a small dab of glue. I then fed the served end around the mast and secured the loop with fine thread and glue - I then trimmed the end but - "horror" I cut the wrong end and was left with a piece of thread too short - all I could do was to fit another block to extend with more thread the length of rope needed. So despite cutting the wrong thread - my first ever rigging has started ok. OC.

-
I honestly think you did an amazing job bob, I hope your health does not get in the way too much and you next build brings you more enjoyment. OC.
- 359 replies
-
- 3
-

-
- prince de neufchatel
- model shipways
- (and 1 more)
-
Another very interesting build to watch - I will of course bring a chair and the food requirements. Oc.
- 63 replies
-
- 6
-
-
- revell
- harbor tug
- (and 2 more)
-
Evening all - just a small update, I have finnished the last channel - its made/painted and fitted, next job weathering the lower foremast then glue it in place - then I will attempt to do the forestay rope with the serving and associated blocks. OC.
-
Very nice work. OC.
-
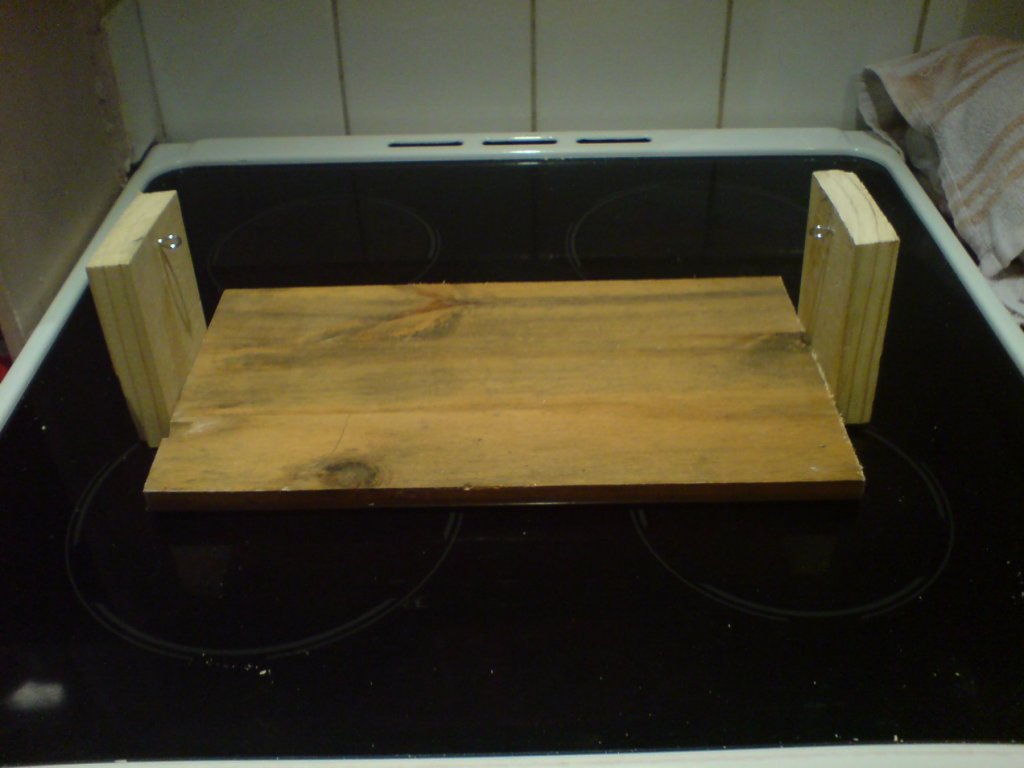
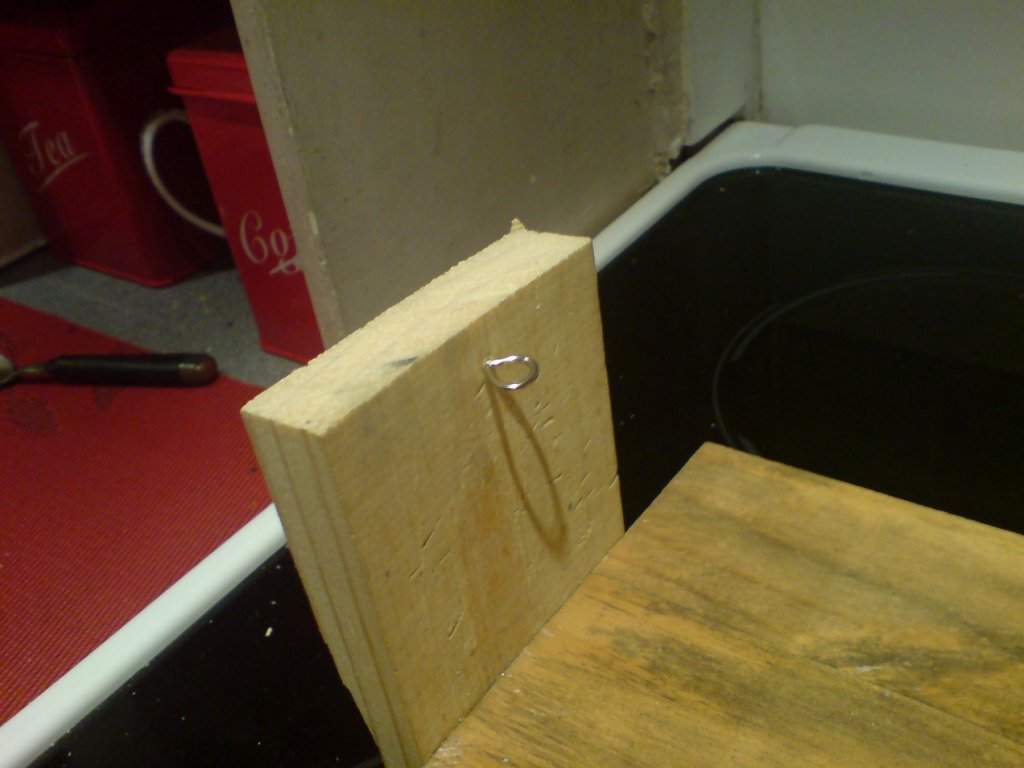
Thank you all for your replies to the rope serving questions @denis the model is quite large being 1/72 scale so I think it deserves a go. I had a go at building a frame - just threw it together out of some scrap wood, I put a couple of net curtain hooks either end - the idea being that I could tie the thread/rope to each end making it taut, then with the finer thread lay part of it ontop of the thicker thread (add a dab of ca) then wind the thin thread over the top (trapping the glued end as I wind it on) then when served add a dab of ca at the end to trap it - then cut off the excess. Here are a couple of pics of the frame - OC.
-
With the serving would this work - trapping each end of the thickest thread I have - then glue one end and tightly bind thinner thread so far along the thicker thread (I asume for the stays the serving only needs to be long enough to form a loop around the foremast/crosstrees and go a little way down where its lashed together) and at the opposite end where its connected to the bowspit - and not the full length of the forestay? OC.
-
Question - How best can I serve the foremast stay thread/rope without one of those thread winding machines? OC.
-
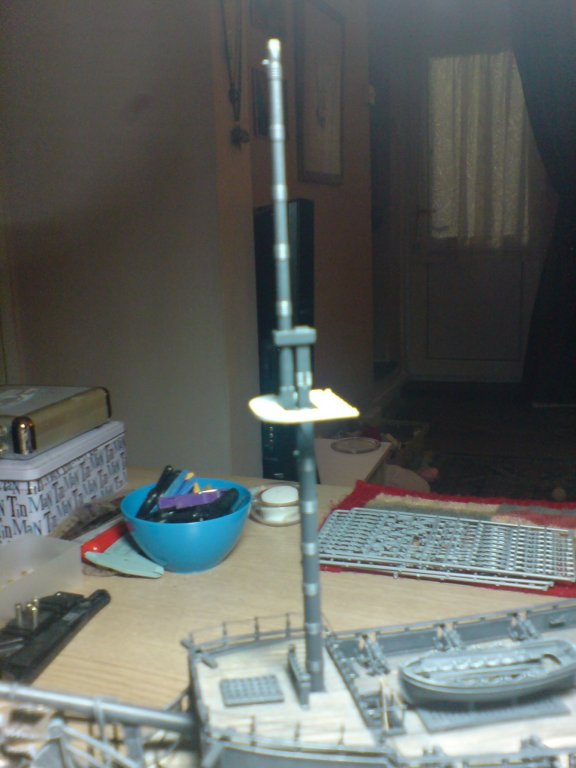
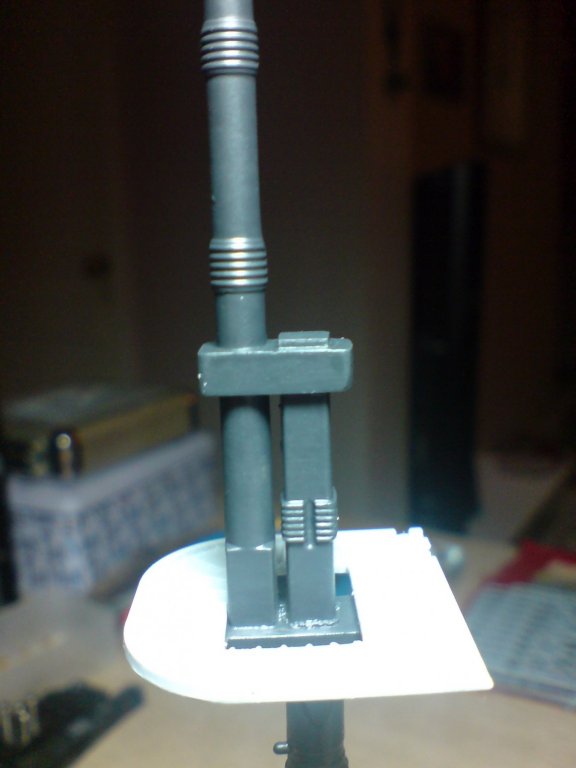
I decided today to have a go at making the topmast and fitting it to the crosstrees, first off I cut the two section topmast and glued some dowel inside it to make it more rigid (as I had done to the lower) then it was glued together then the seems were sanded clean when set it was painted a couple of coats. I also dry fitted the mast tops and dry fitted to the decks. Here are two pics showing the foremast. OC.
-
Thank you for that - I was thinking the same to start from the center and work outwards. OC.
-
Very very nice tidy clean work, the planking and the strakes look realy nice. OC.
-
Just an update on my next stage/s - Assemble/paint and fit the remaining channel, then do a small amount of weathering to them. Then I will turn my attention to the three masts that have already been constructed and strenthened inside with some wood dowel, these need thier tops making and fitting to the masts, then they will be glued into place on the decks. Then I will check the threads that I have and sort out thier use by thickness. After the masts have set I will start with the foremast by working on the forestay rope followed by the main then the mizzen stays, this will be both interesting and a learning curve. OC.
-
Evening all - more work with the channels today, I decided to construct and fit both channels for the main and fore mast on the one side, I also gave then a coat of paint the glued them in place, tomorrow I will weather them. A few more pics - OC.


-
I think we are witnessing the scale king of artistry - next off I bet we will be seeing greg super detailing at 1/1200 scale, 1/700 will be too much like a walk in the park. OC.
-
Thank you denis - gonna be one side better than the other (will show the good side) OC.
-
Thanks for that kevin , yep thats the way I was going to do it - feeding the thread through in the manor shown, then trapping it with some more binding further up, I have quite a lot of thinner thread (around the thickness I used for my port lid ropes) but think I will be a bit short for thicker (shroud runs) or thicker standing rigging, there is a card with some slightly thicker waxed thread - but that wont be enough I dont think. I could trying to join two or three pieces together to make a thicker twine - but think that would be messy by hand and quite tedious for all the shroud drops. OC.
-
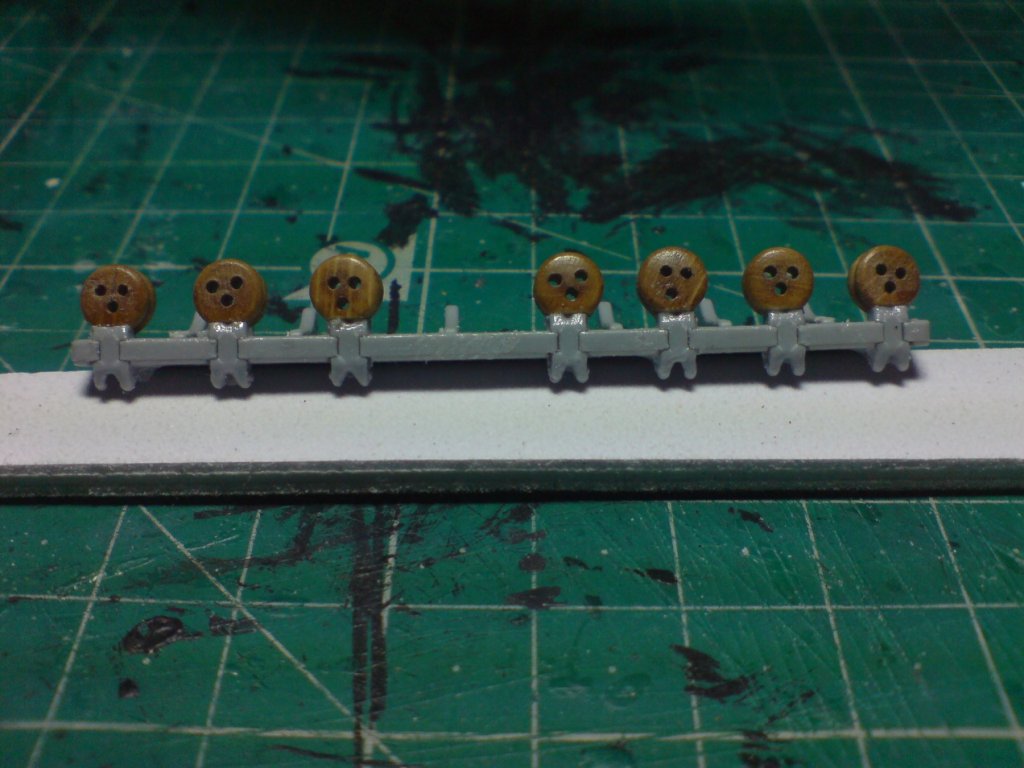
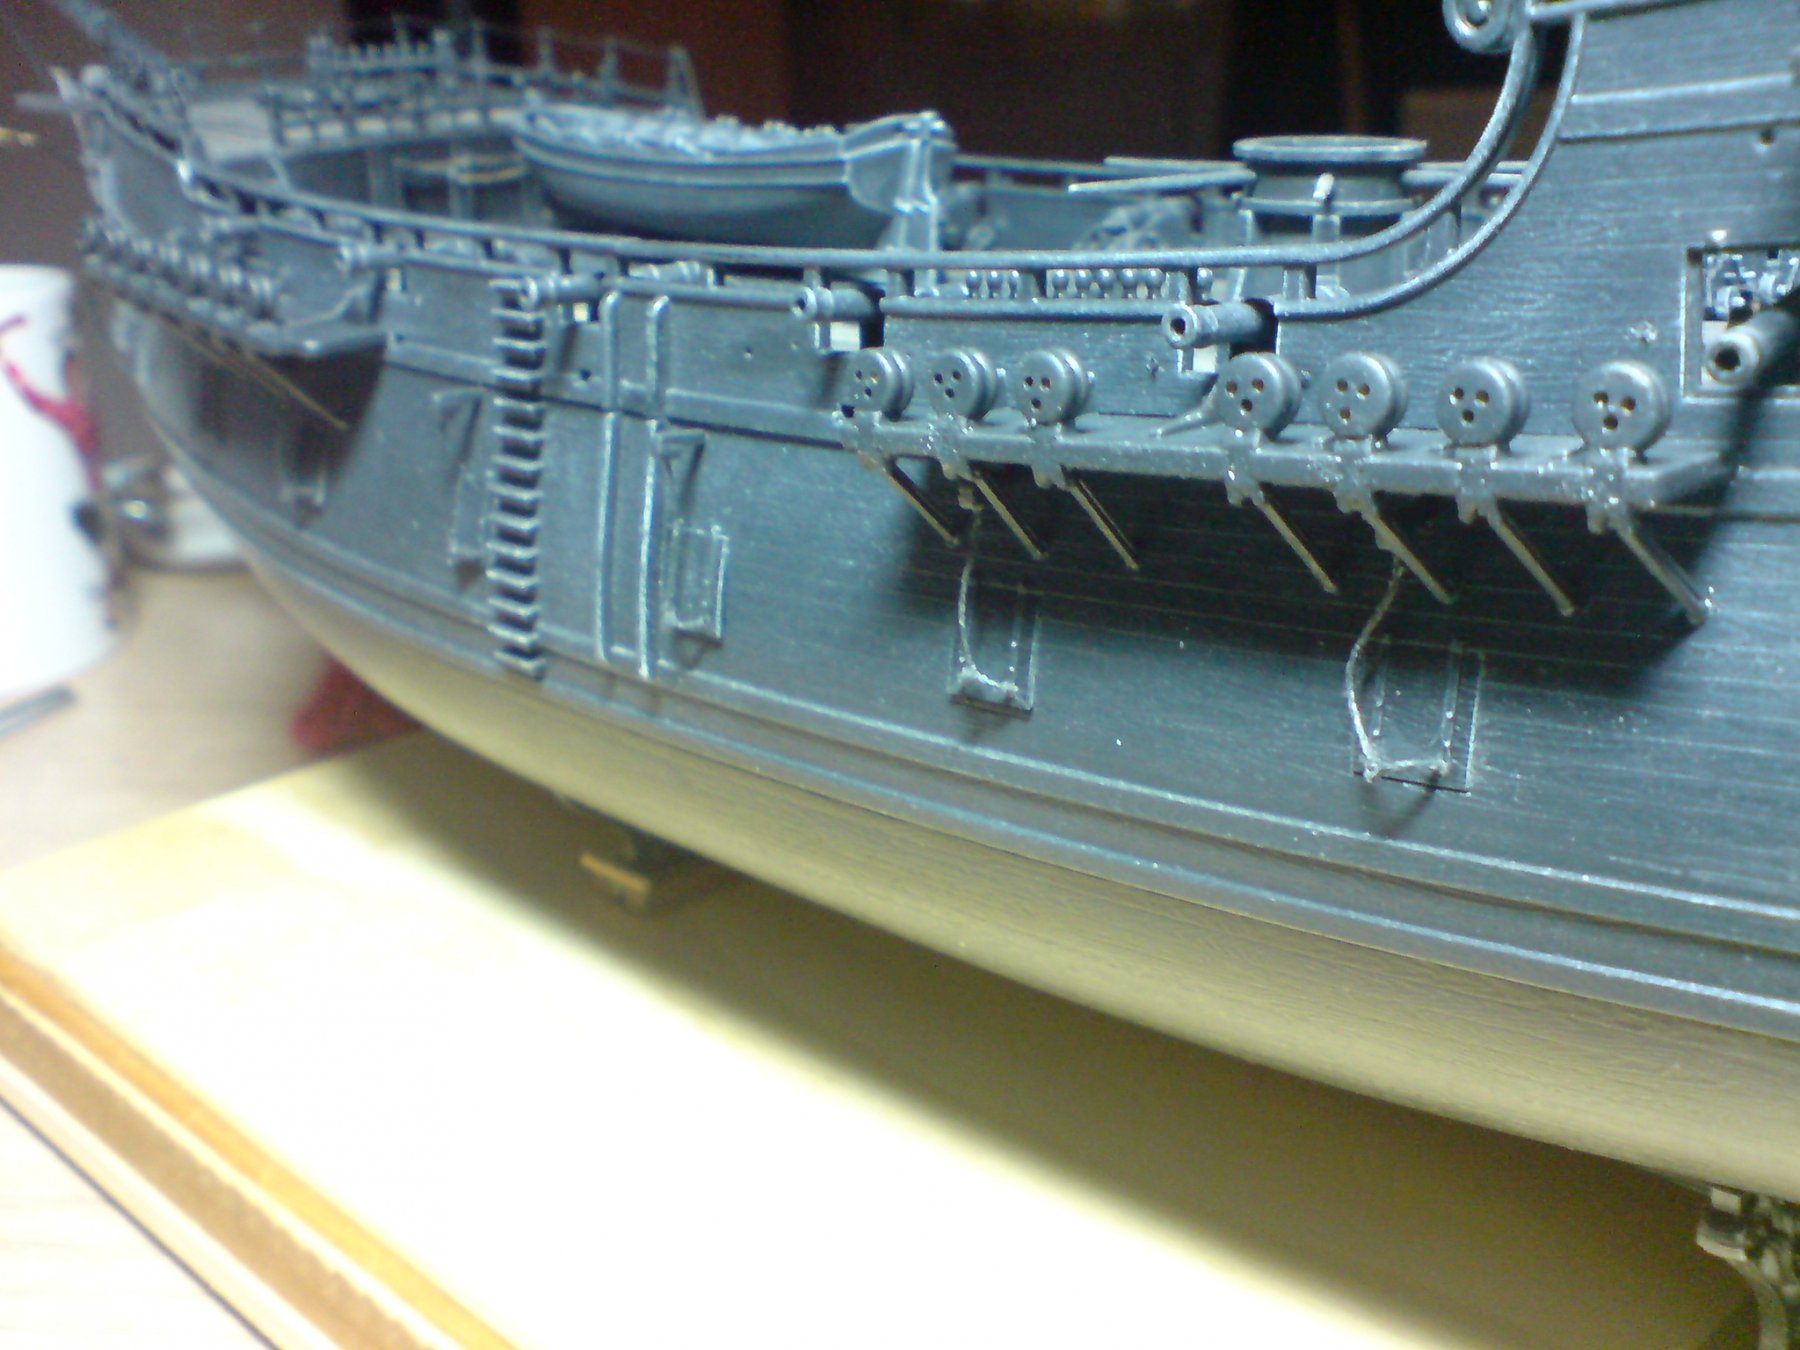
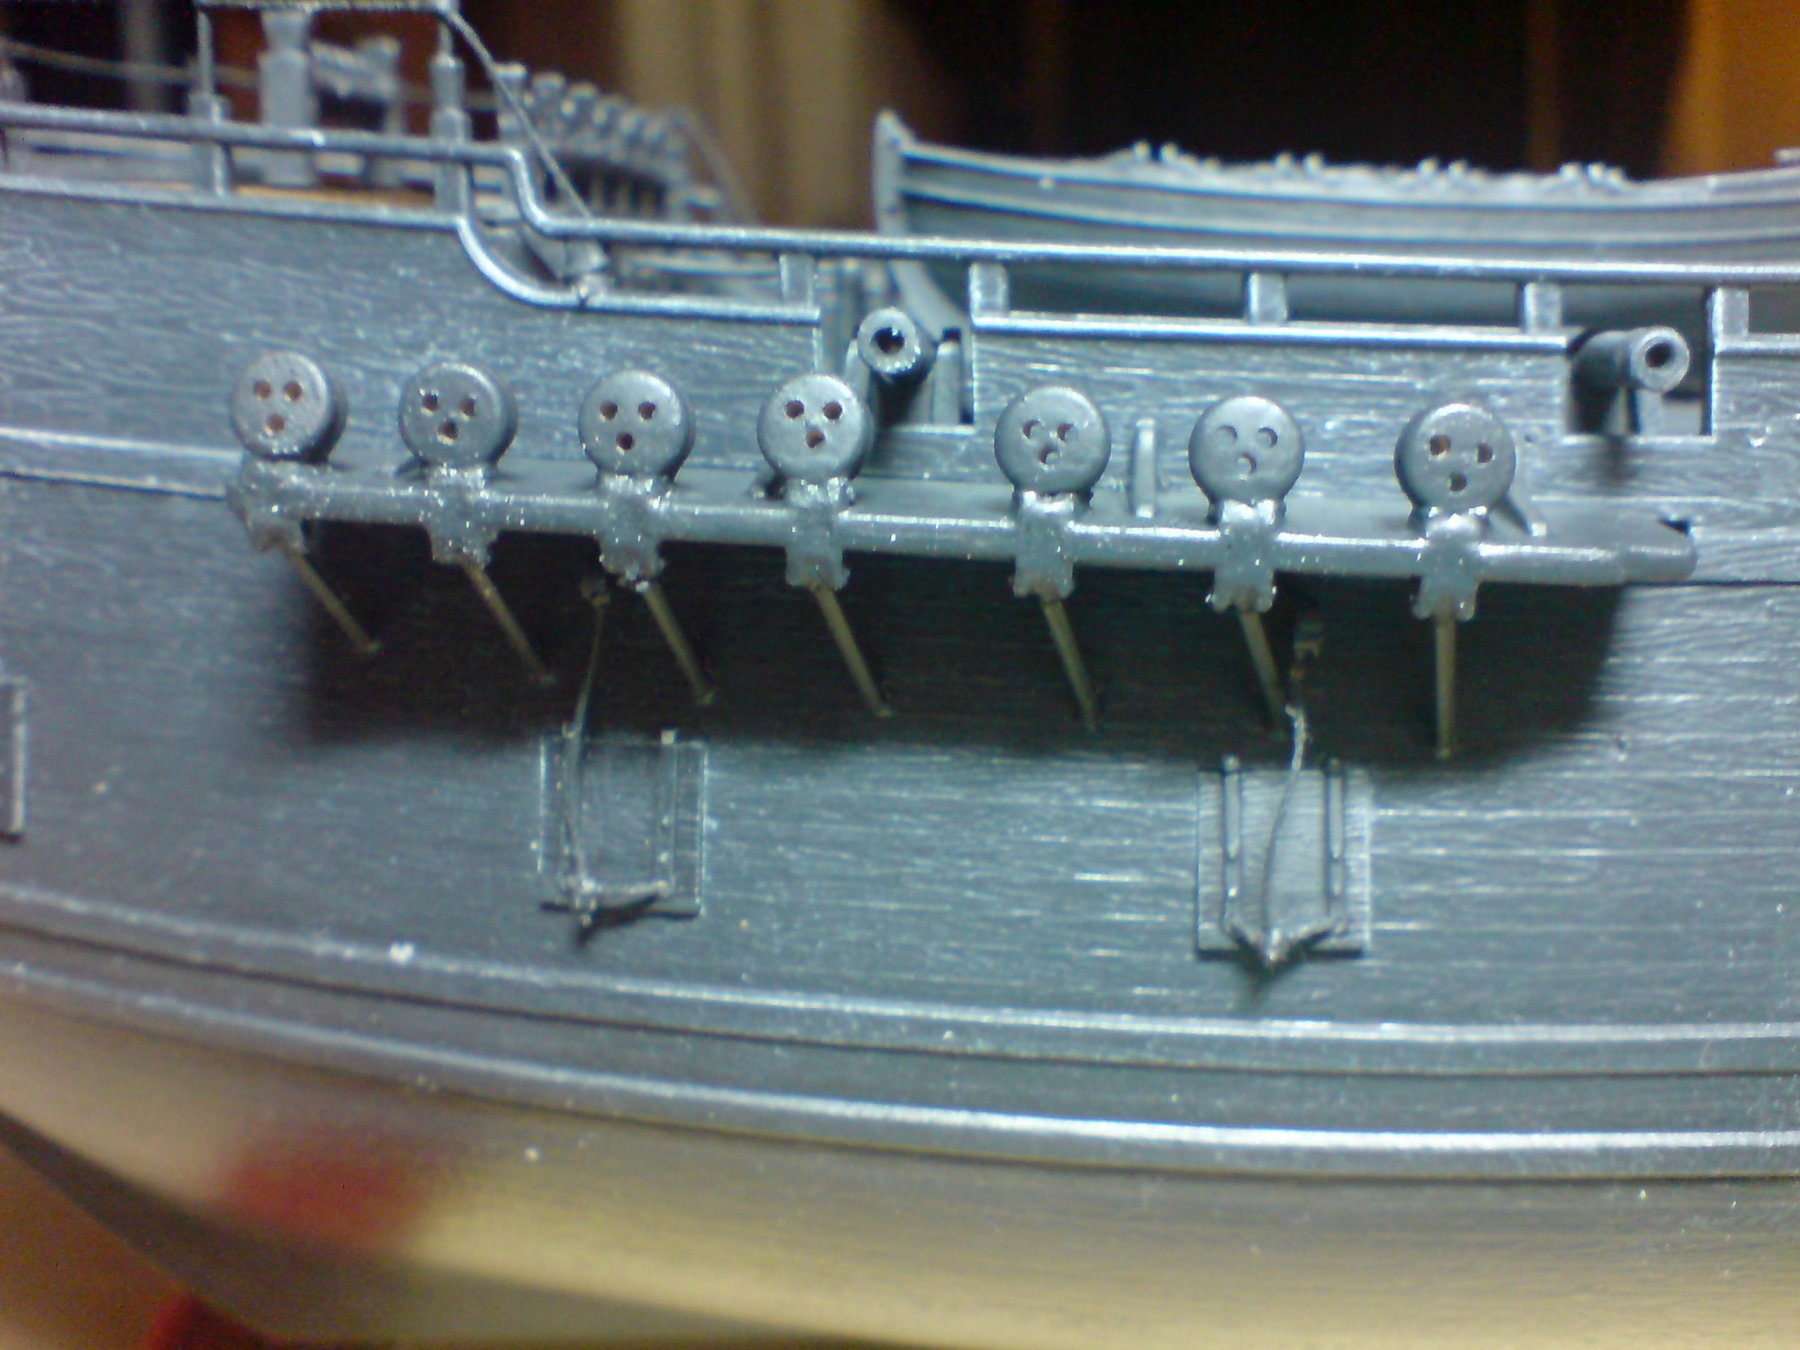
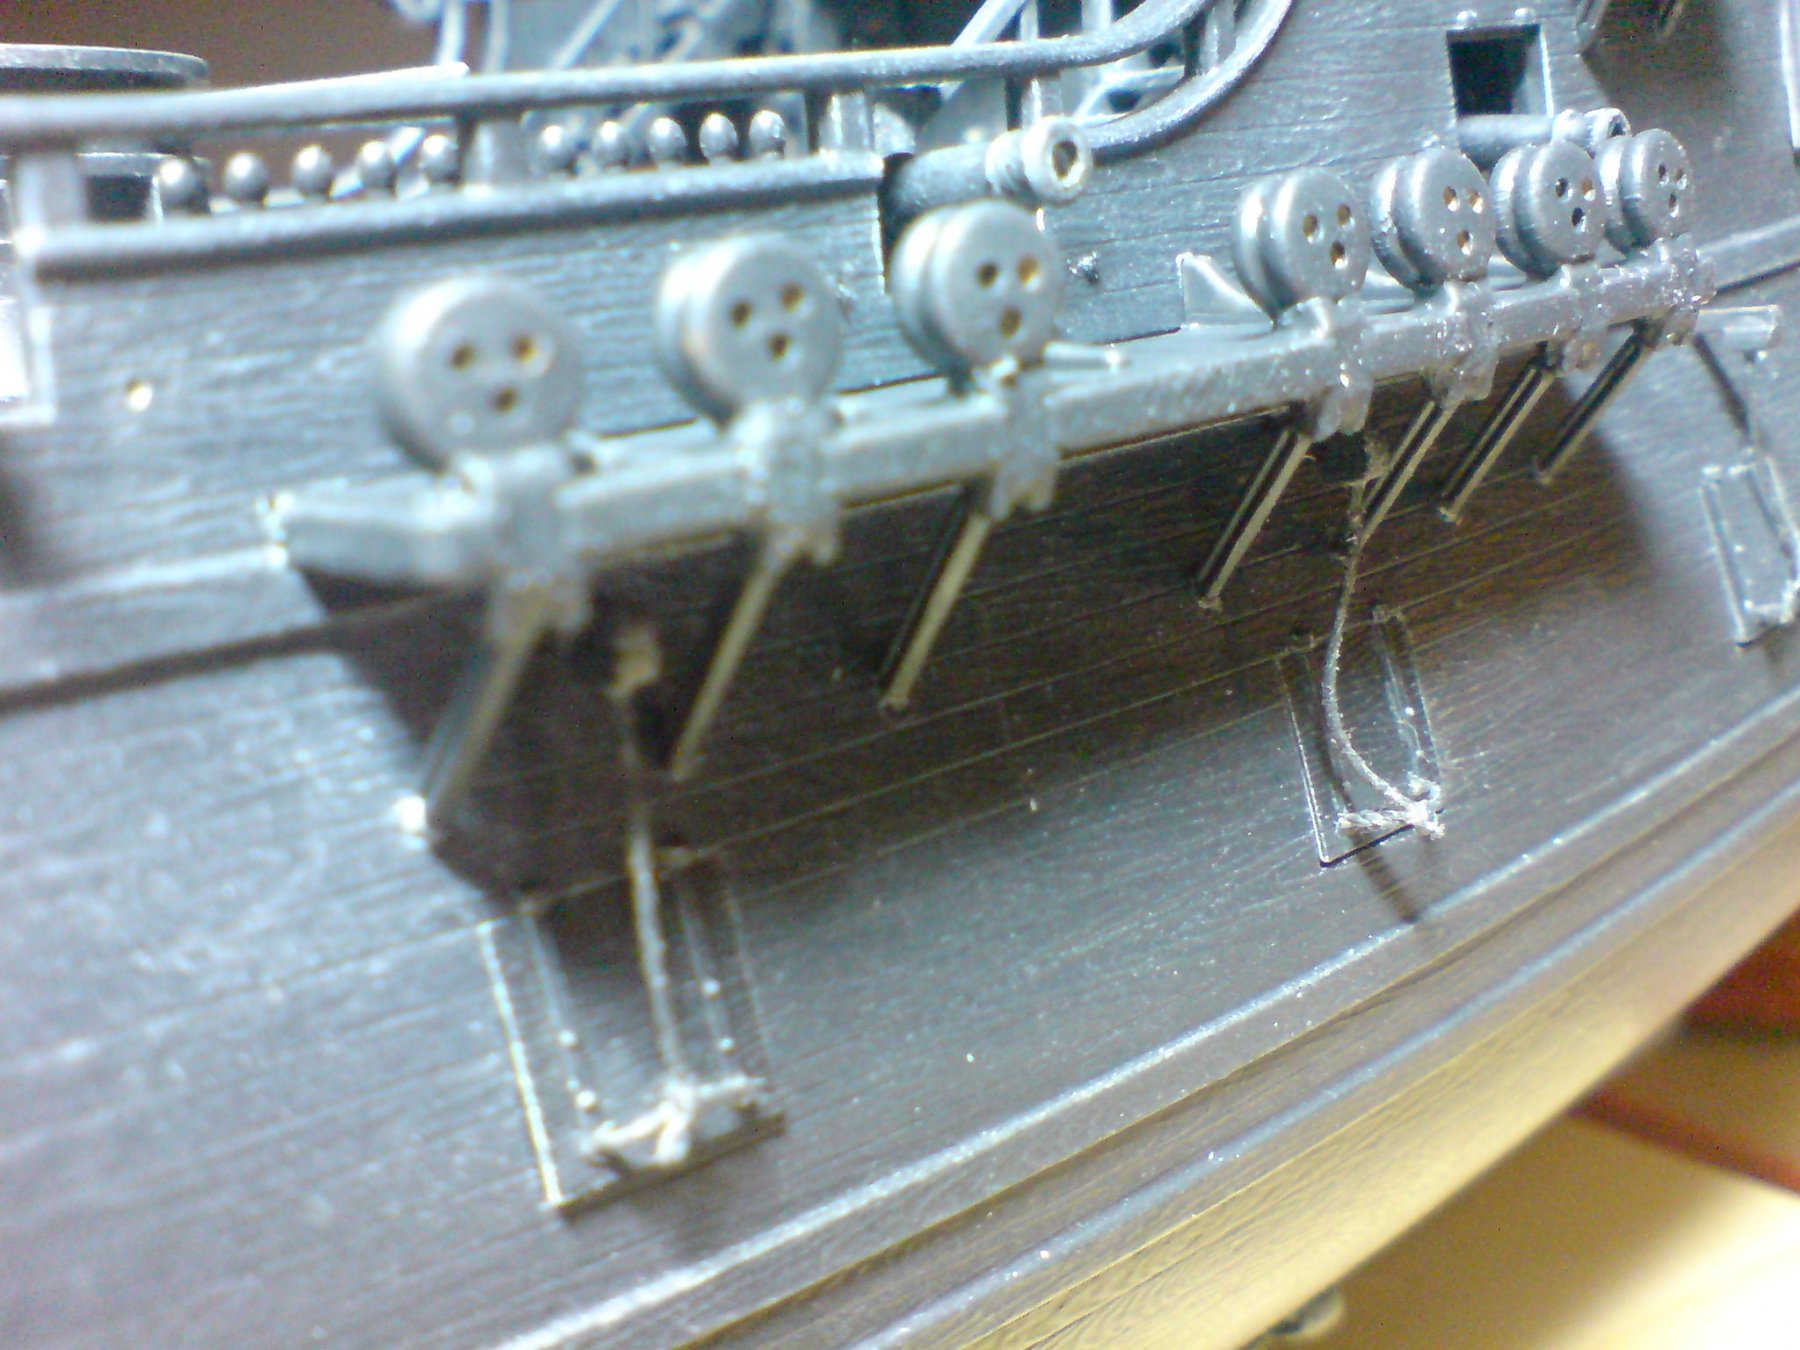
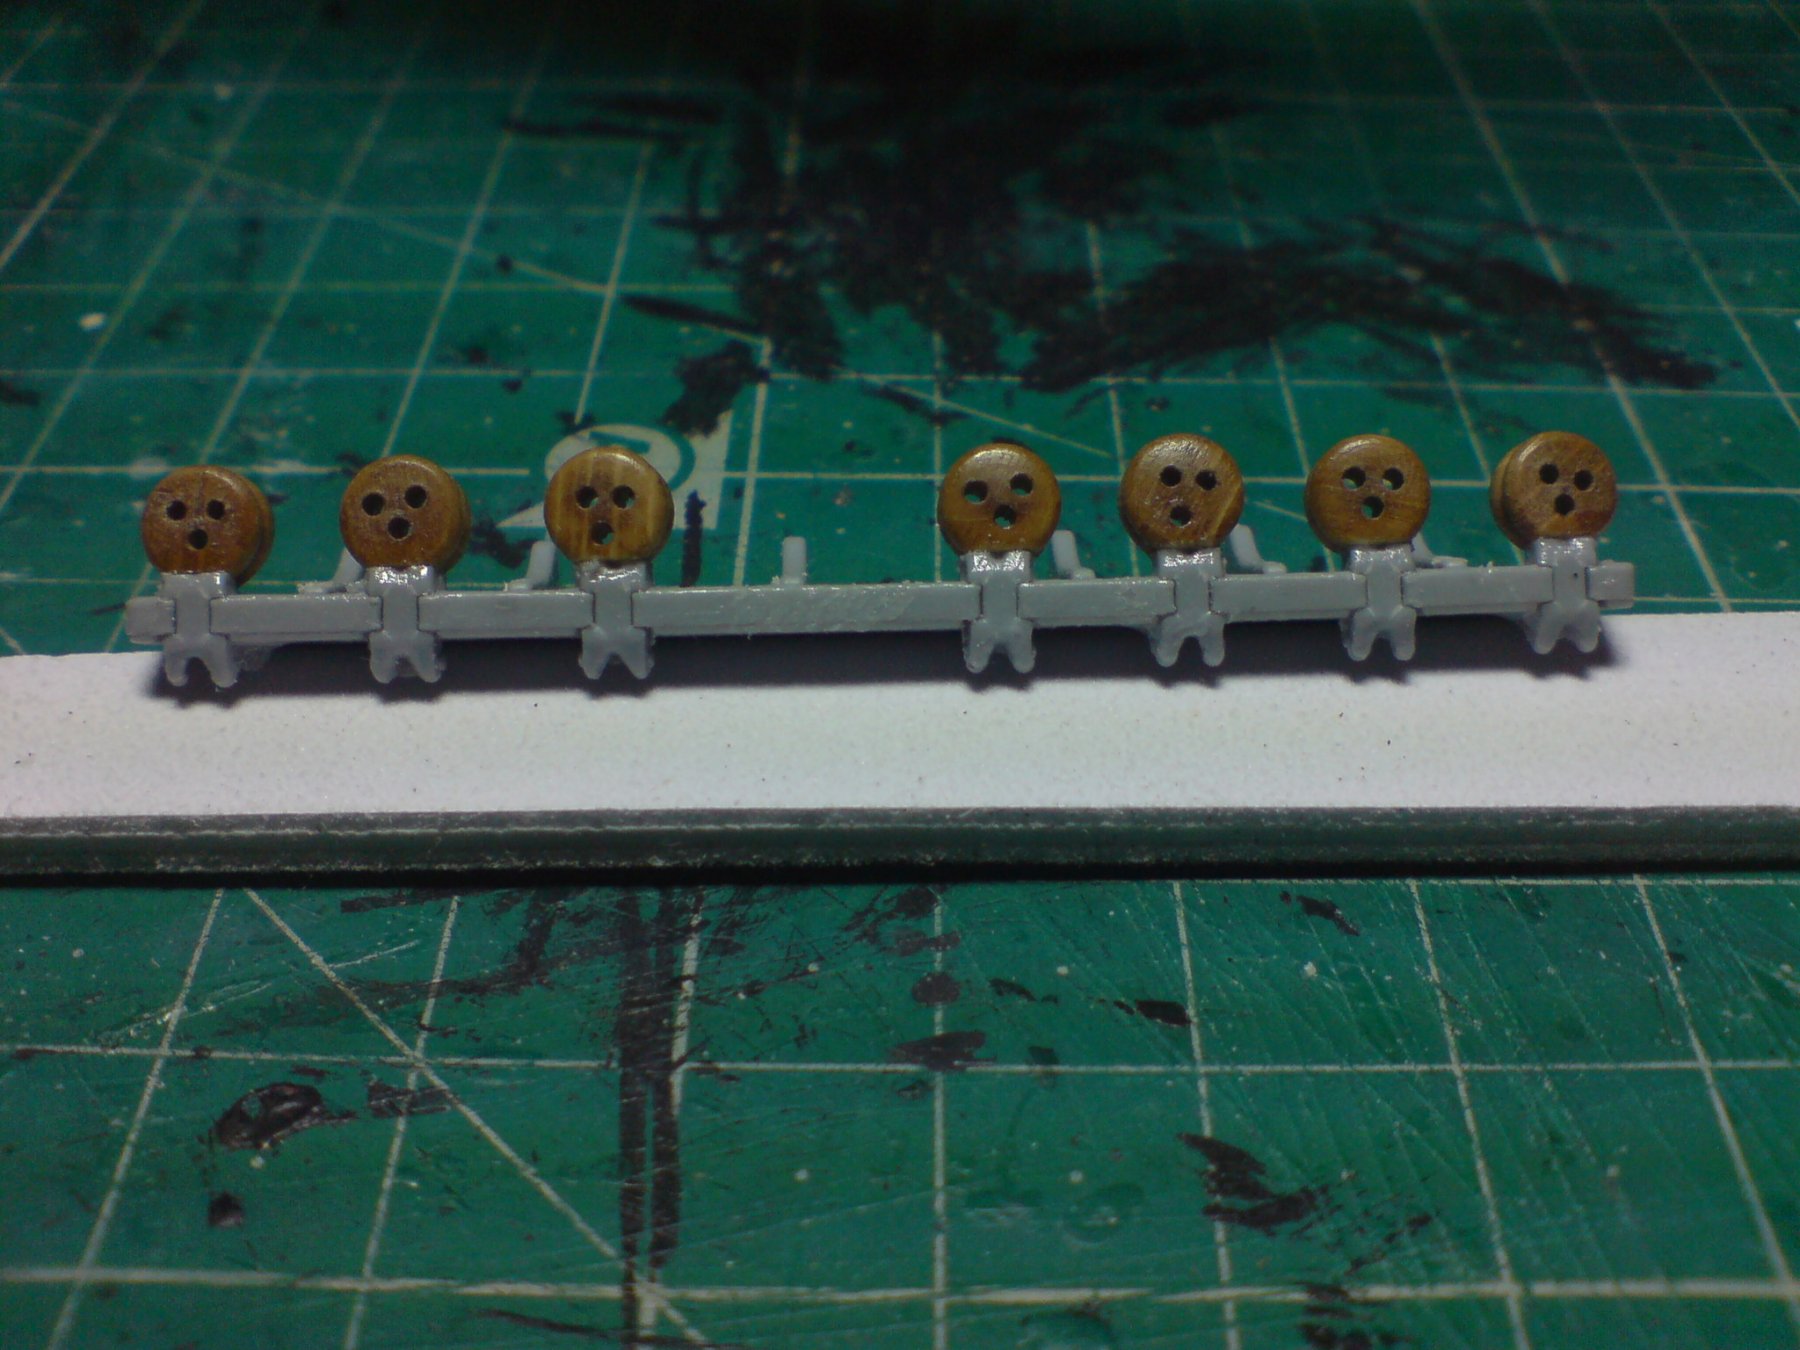
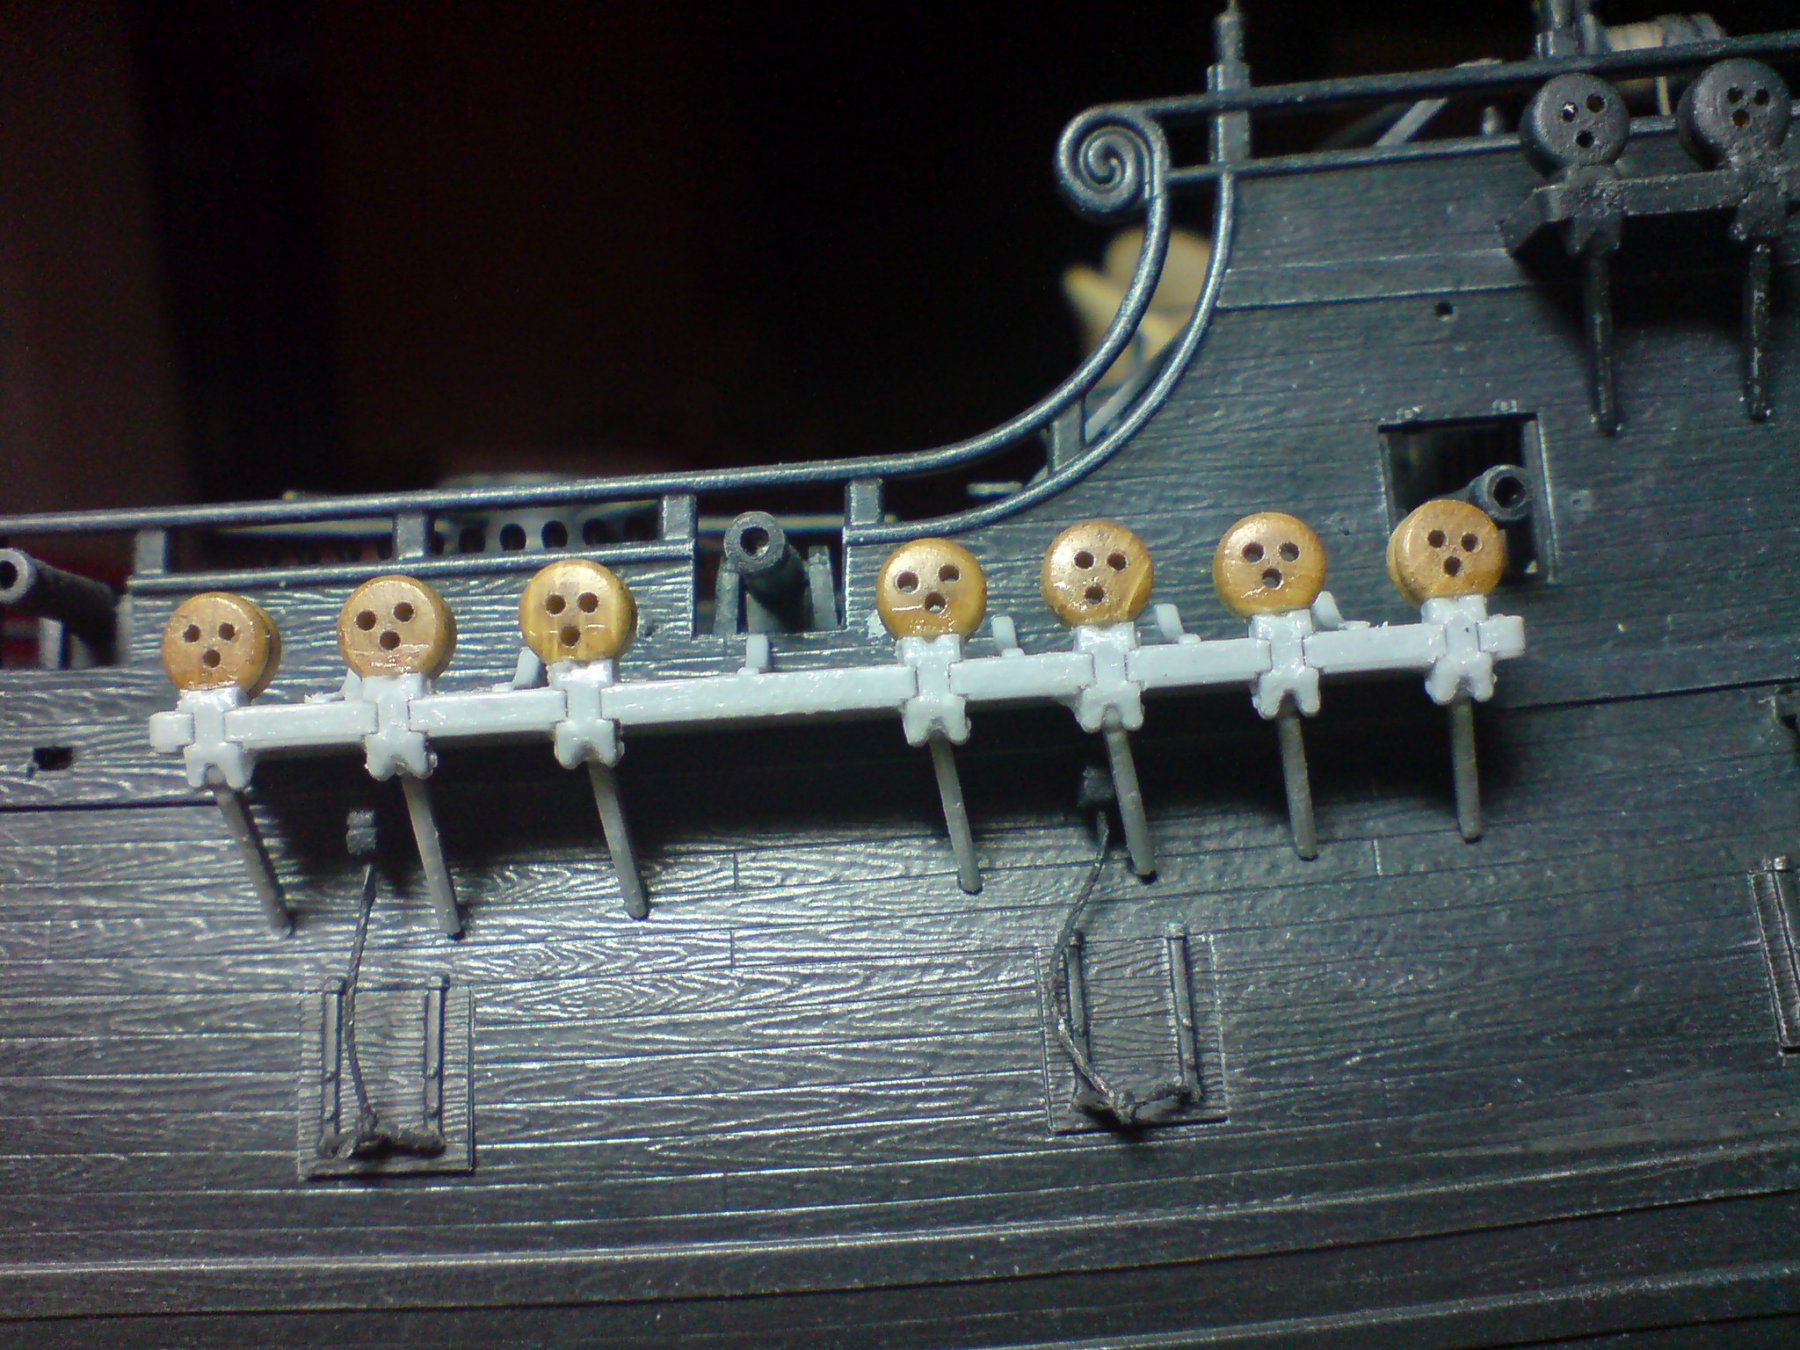
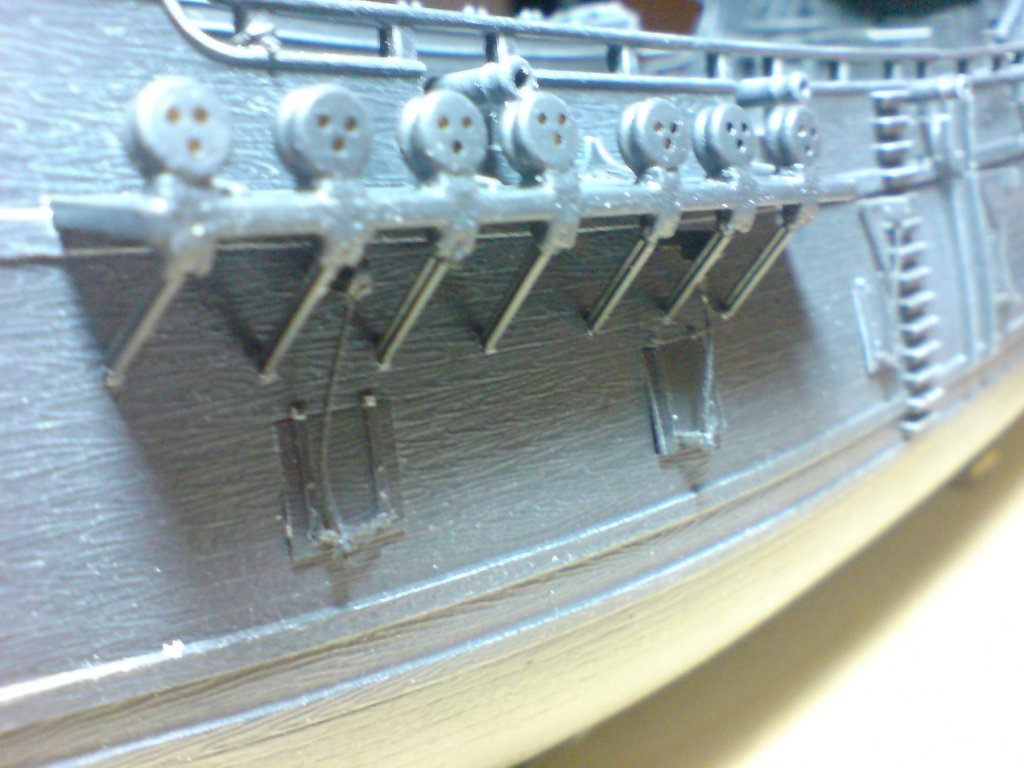
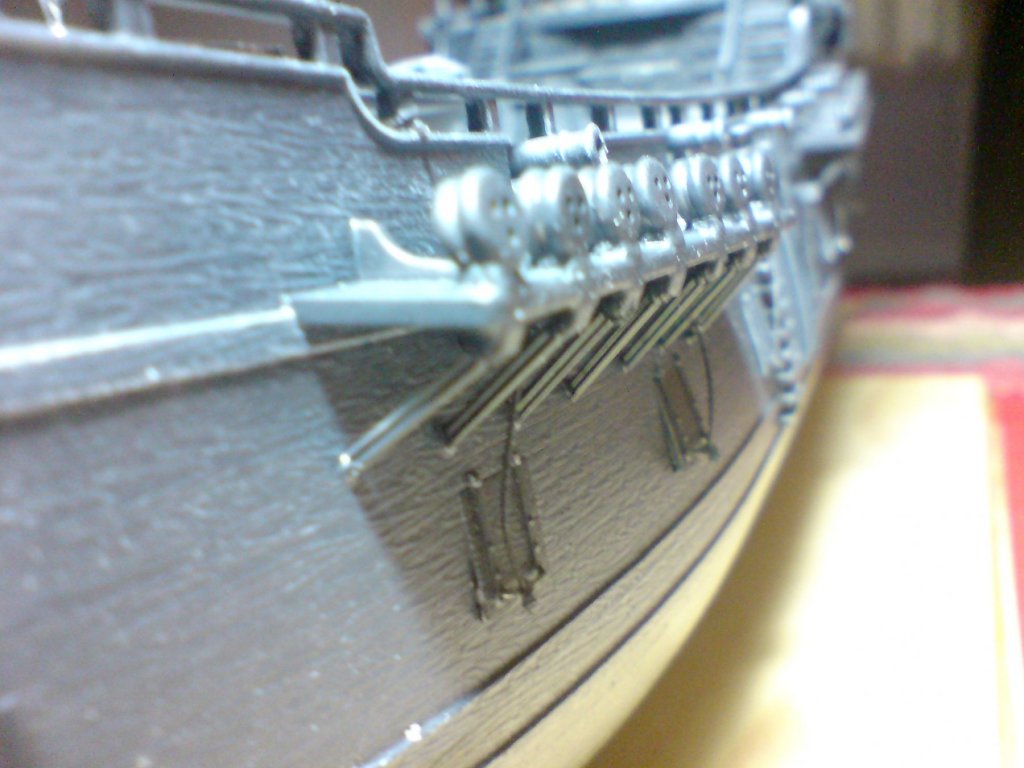
More work on the channels - same as the other main mast one but on the other side, my error with the deadeyes I fitted before - I didn't realise that deadeyes are not omni-directional - or rotateable in three turns (like a triangle) and they have a right and wrong way - the plan from viewing channel/deadeye/shroud plans was/is to fit the channel ones with the deadeyes in thier (smiley face - two holes like eyes at top and one center bottom like a mouth) - so I sorted through the deadeyes I have lined them up making sure they were all the same, then I flatened the edge under the bottom (more carefully this time) So thease were glued down then dried with the venerable hair dryer, then after I glued each chain plate leg while locating the leg against the hole in the hull - did the same with the reamaining legs. So I think they look better -practice practice etc etc. Here are the pics -