HOLIDAY DONATION DRIVE - SUPPORT MSW - DO YOUR PART TO KEEP THIS GREAT FORUM GOING!
×


Old Collingwood
-
Posts
12,097 -
Joined
-
Last visited
Content Type
Profiles
Forums
Gallery
Events
Everything posted by Old Collingwood
-
Welcome tony its a great site with lots of help and convos, LHR - do you like planes also? OC.
-
 Very nice sjors - she is looking majestic and very purposeful. OC.
 -
Thank you paul, the last time I built a period ship it was one of those Airfix plastic kits HMS Victory or Wasa I think - about 45 years ago straight out of the box. OC.
-
Just found your log - fantastic work paul. OC.
-
Thanks paul, I guess there is only so much scratch building you do to a plastic kit - all be it a very very good kit. OC.
-
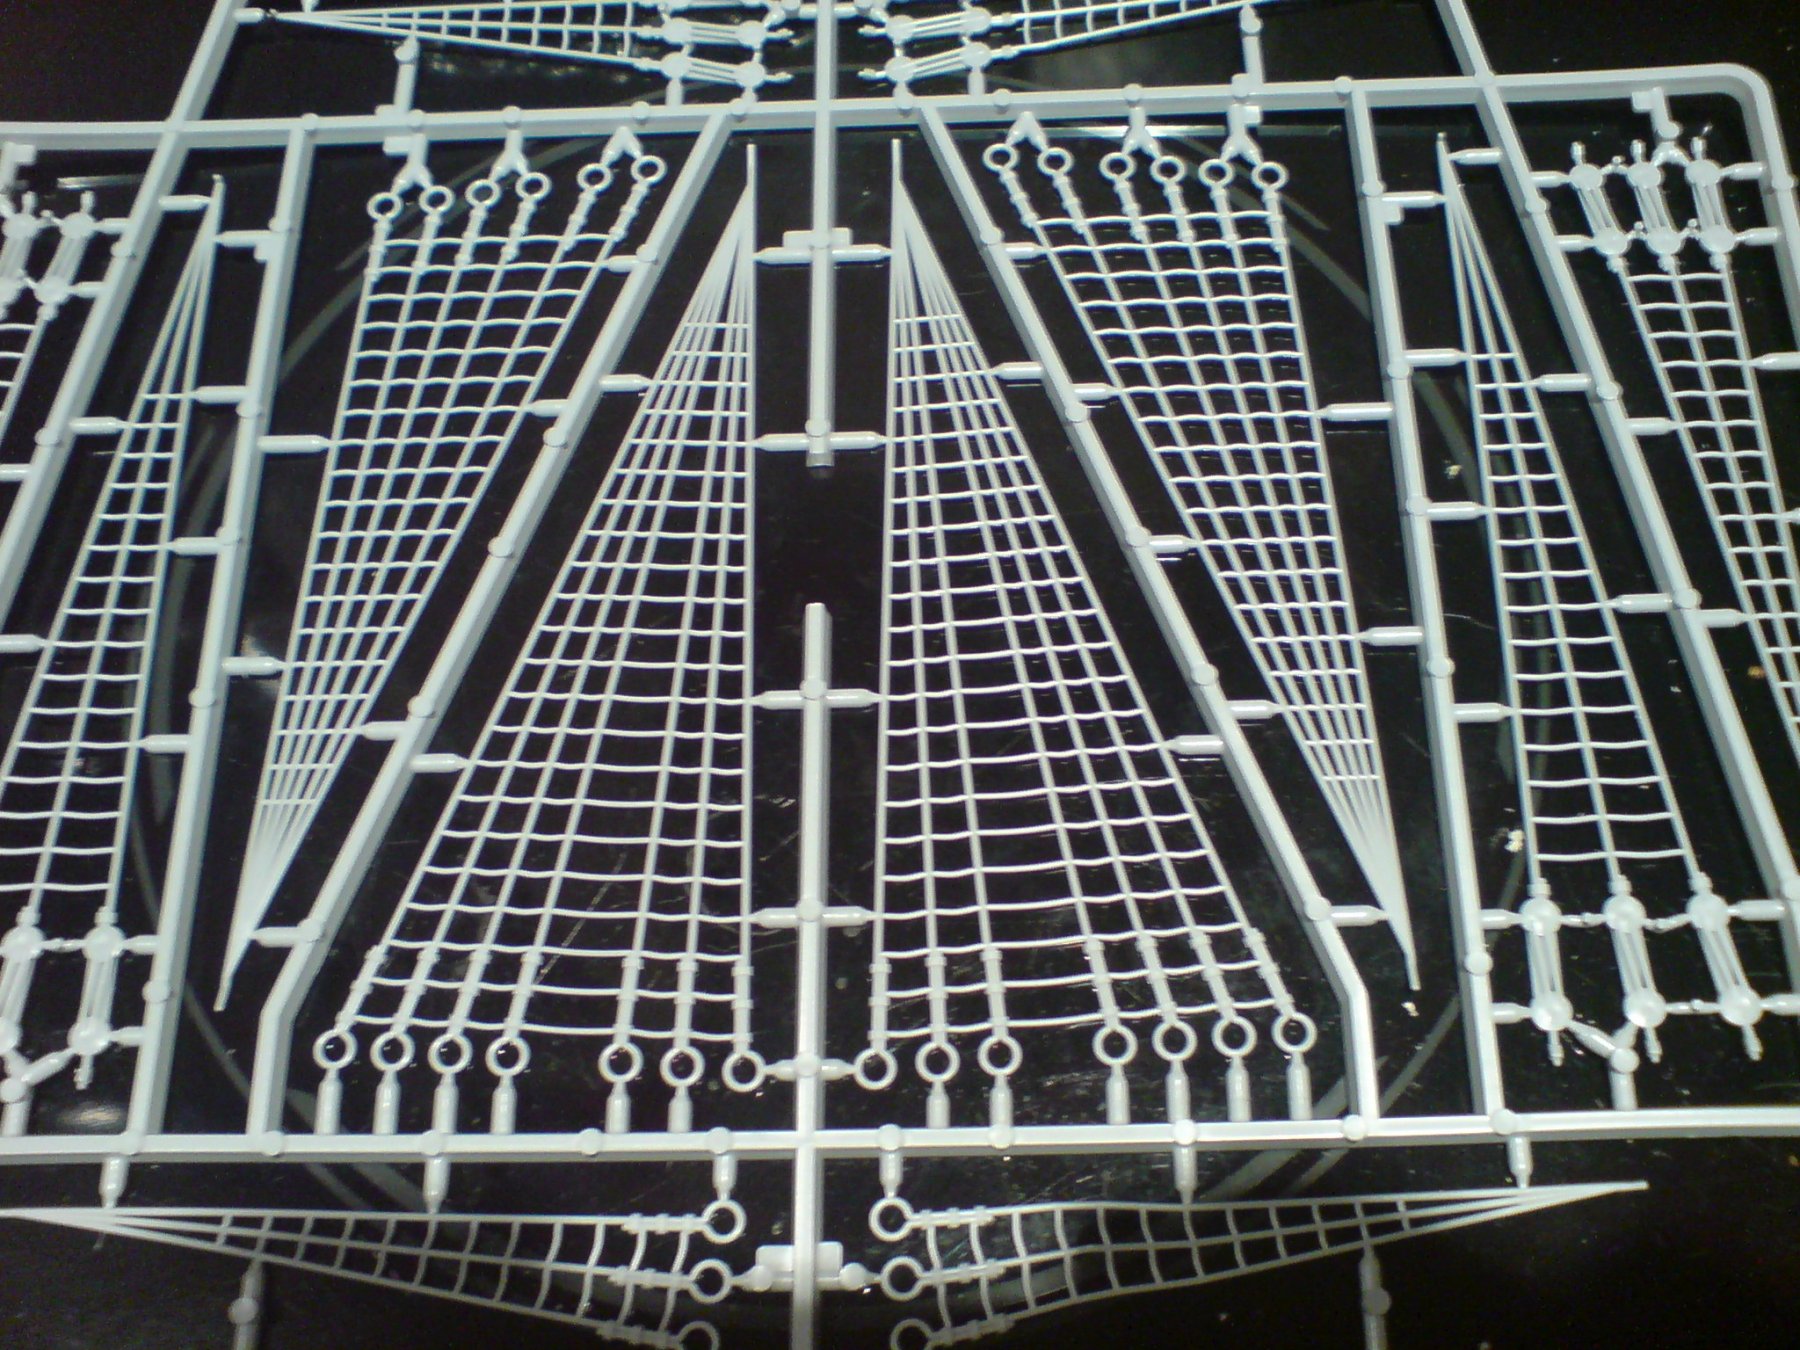
To be honest paul just getting them glued down was a real pig - I tried the best I could to get them the right way up, I firstly had to to try to file a small flat spot under each deadeye to aid gluing them down with no other securing what so ever, the way I look at it even if the ropes between the channel / shroud deadeyes are a bit wavy navy - they will be better than the all in one cast plastic shroud/deadeys assemblies - kind of a better move even if a bit less precise than pure wood kits with deadeye chainplates and etc. OC.
-
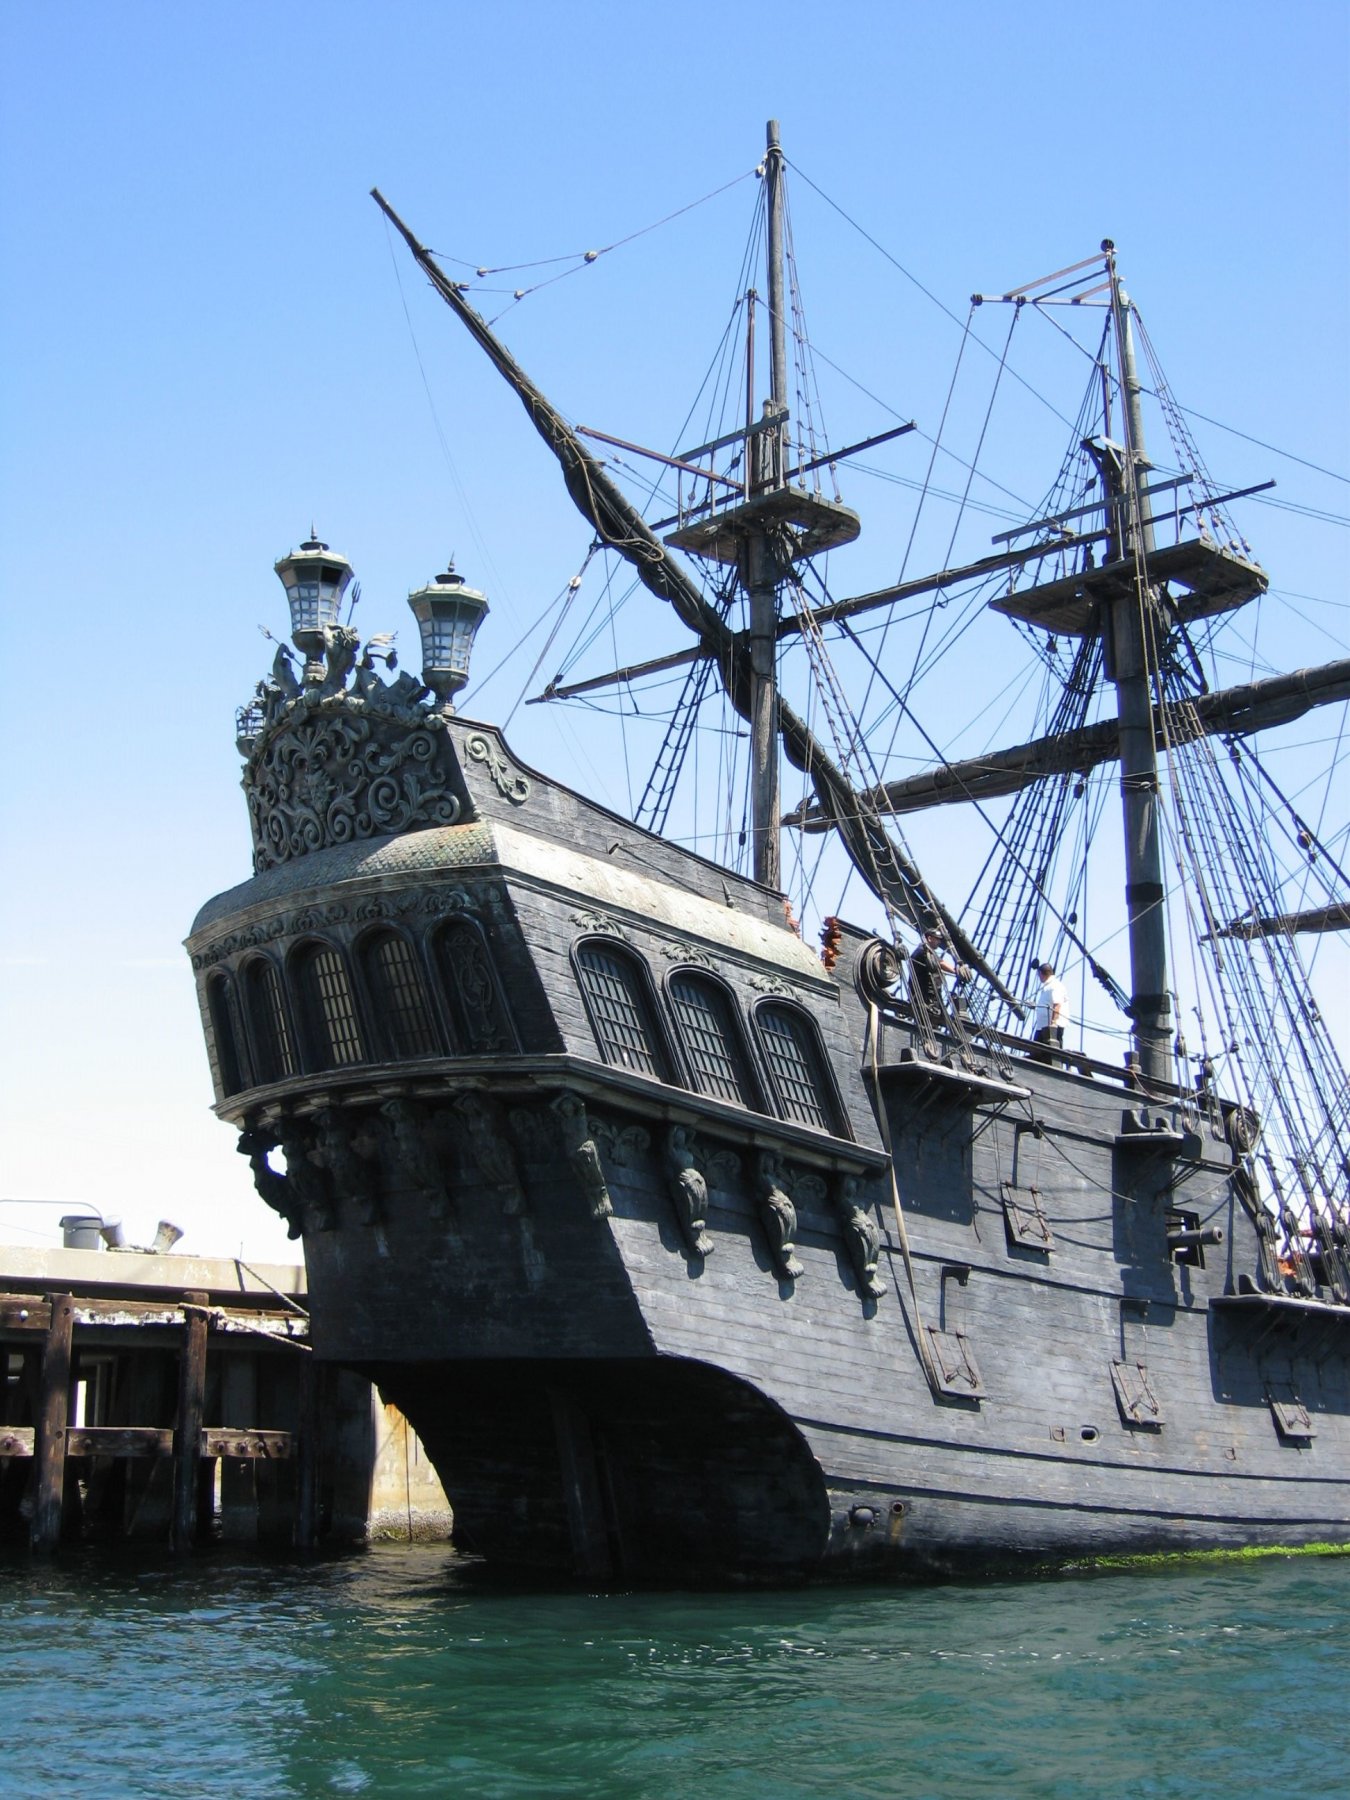
Thank you so much lou, those two ports are left un covered port and starboard - reasons unkwown, but they show it like that on the real thing - OC.
-
Realy nice work. OC.
-
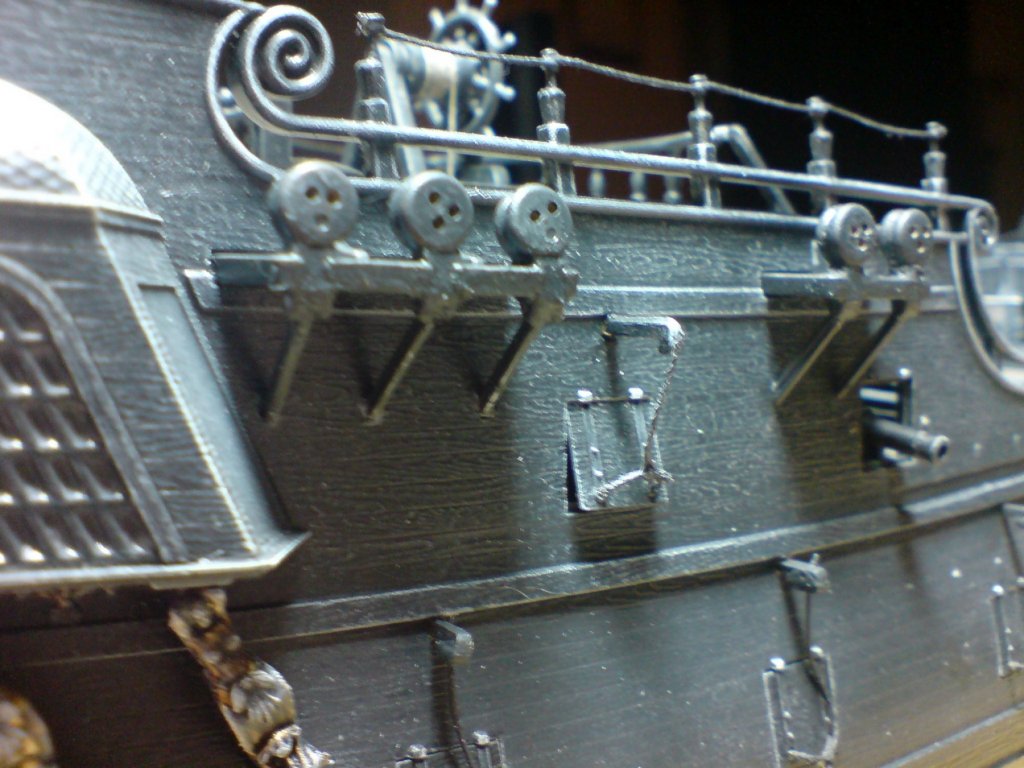
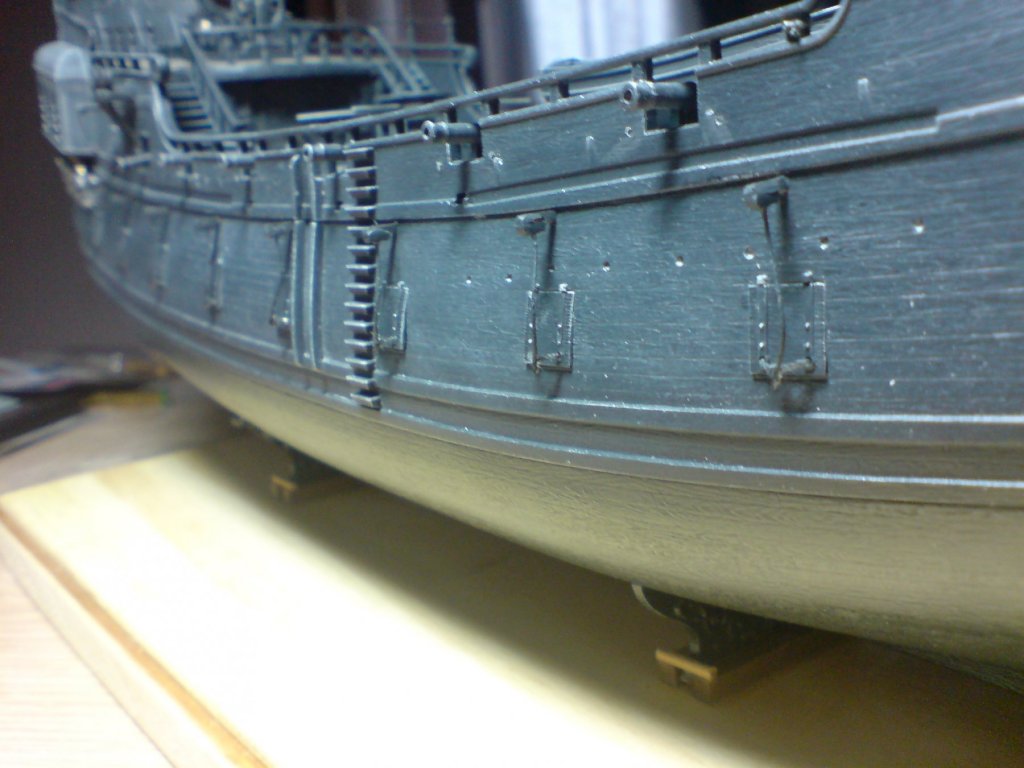
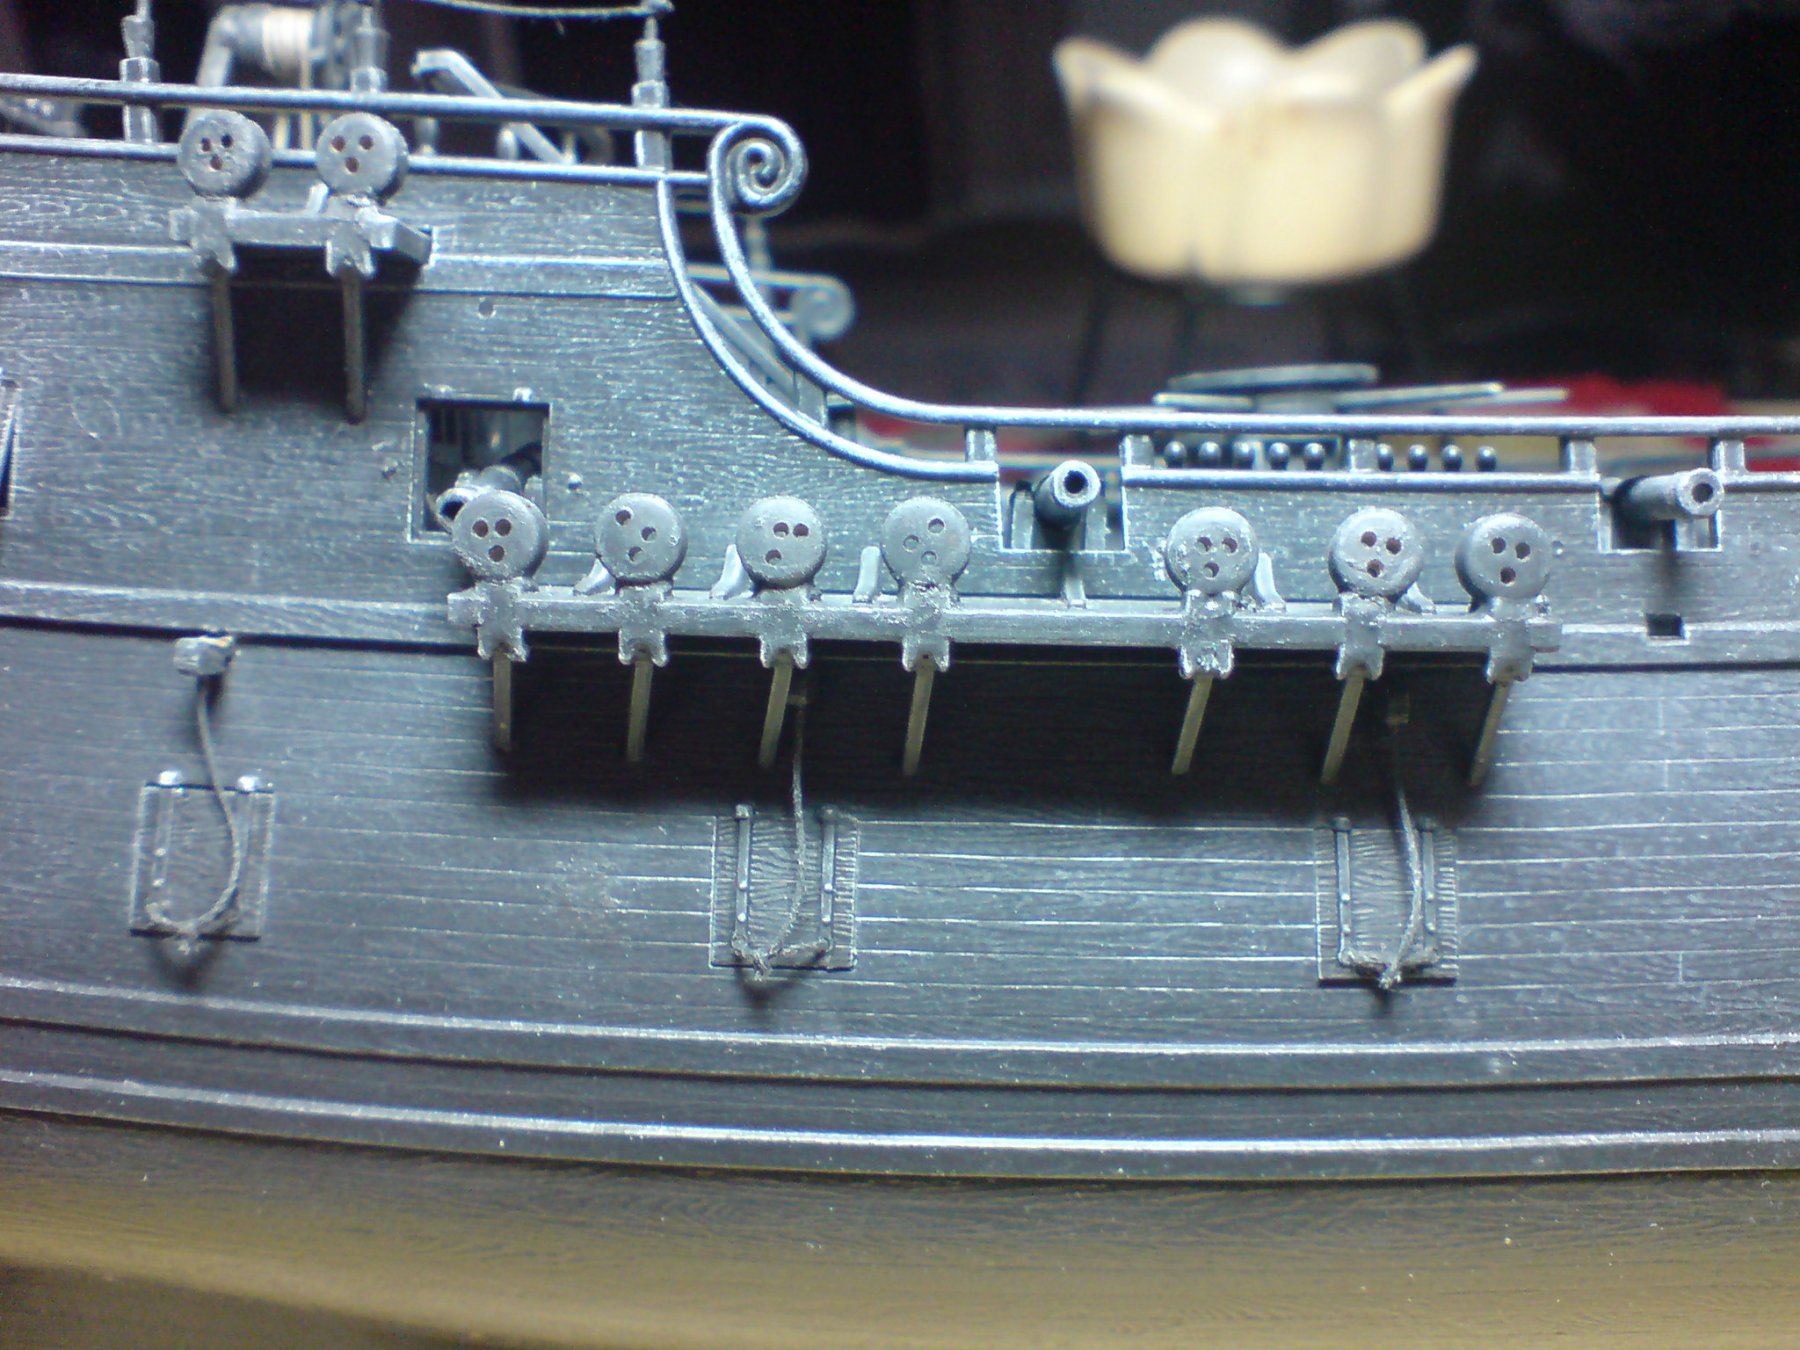
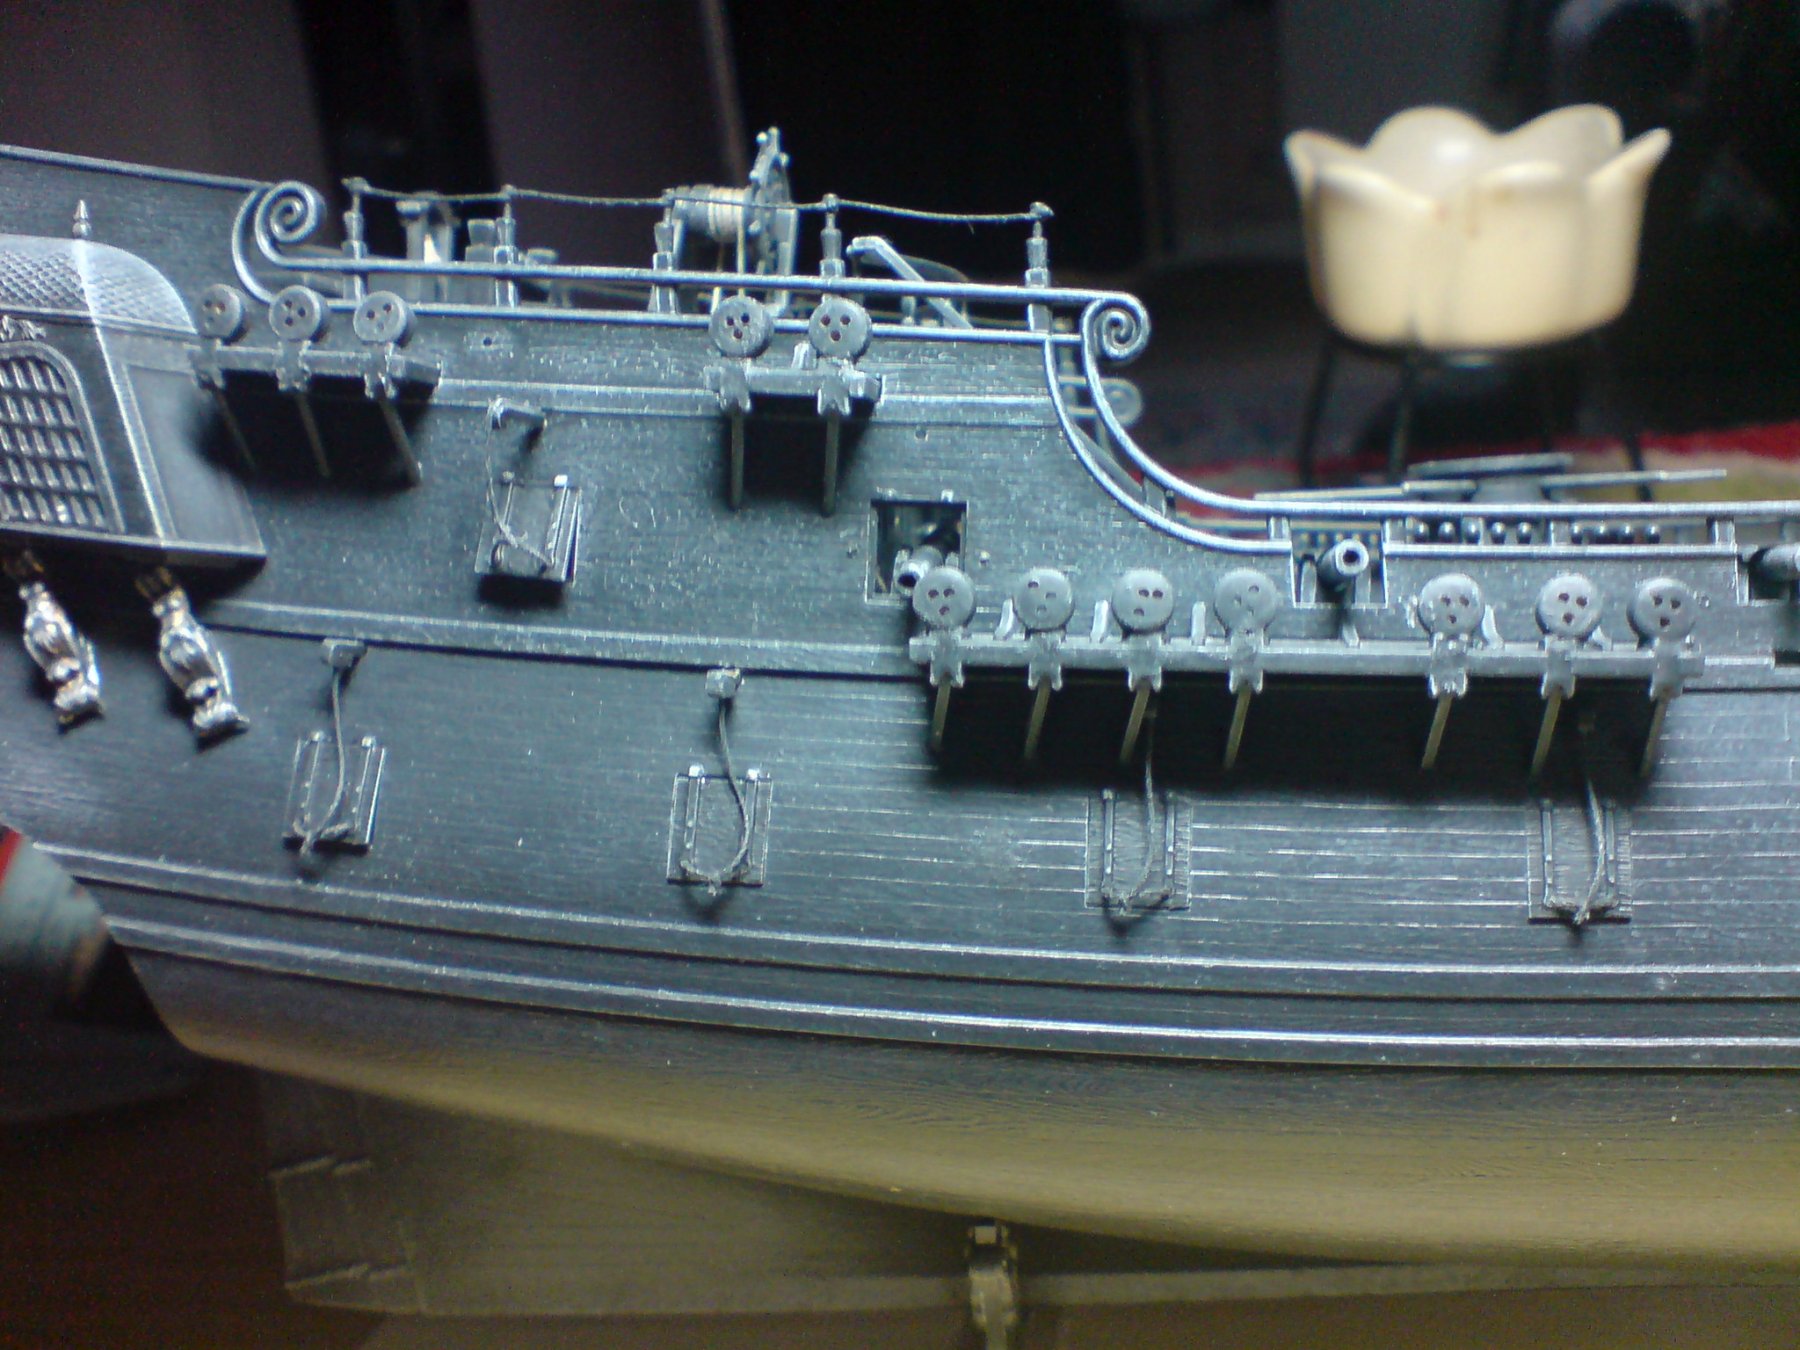
Good day all, as always sincere thanks for all the replies and likes, So onwards with the channels - I continued with my process super gluing the deadeyes to the channels, and attaching the chainplate legs then painting and weathering. I have the two completed on both port and starboard, and also the mainmast channel on the one side. Here are the pics -


.thumb.JPG.6c1b8b908ce3237ef729e54c4de57df9.JPG)
-
Thank you for saying that, she is quite an achievement for me as I have never done anything quite as involved at that scale, my warspite build took some work due to the small scale and pe, but the pearl being larger is more in your face - and screams out any errors, (or is that me being fussy) OC.
-
Superb workmanship - what a smart looking piece of kit. OC.
-
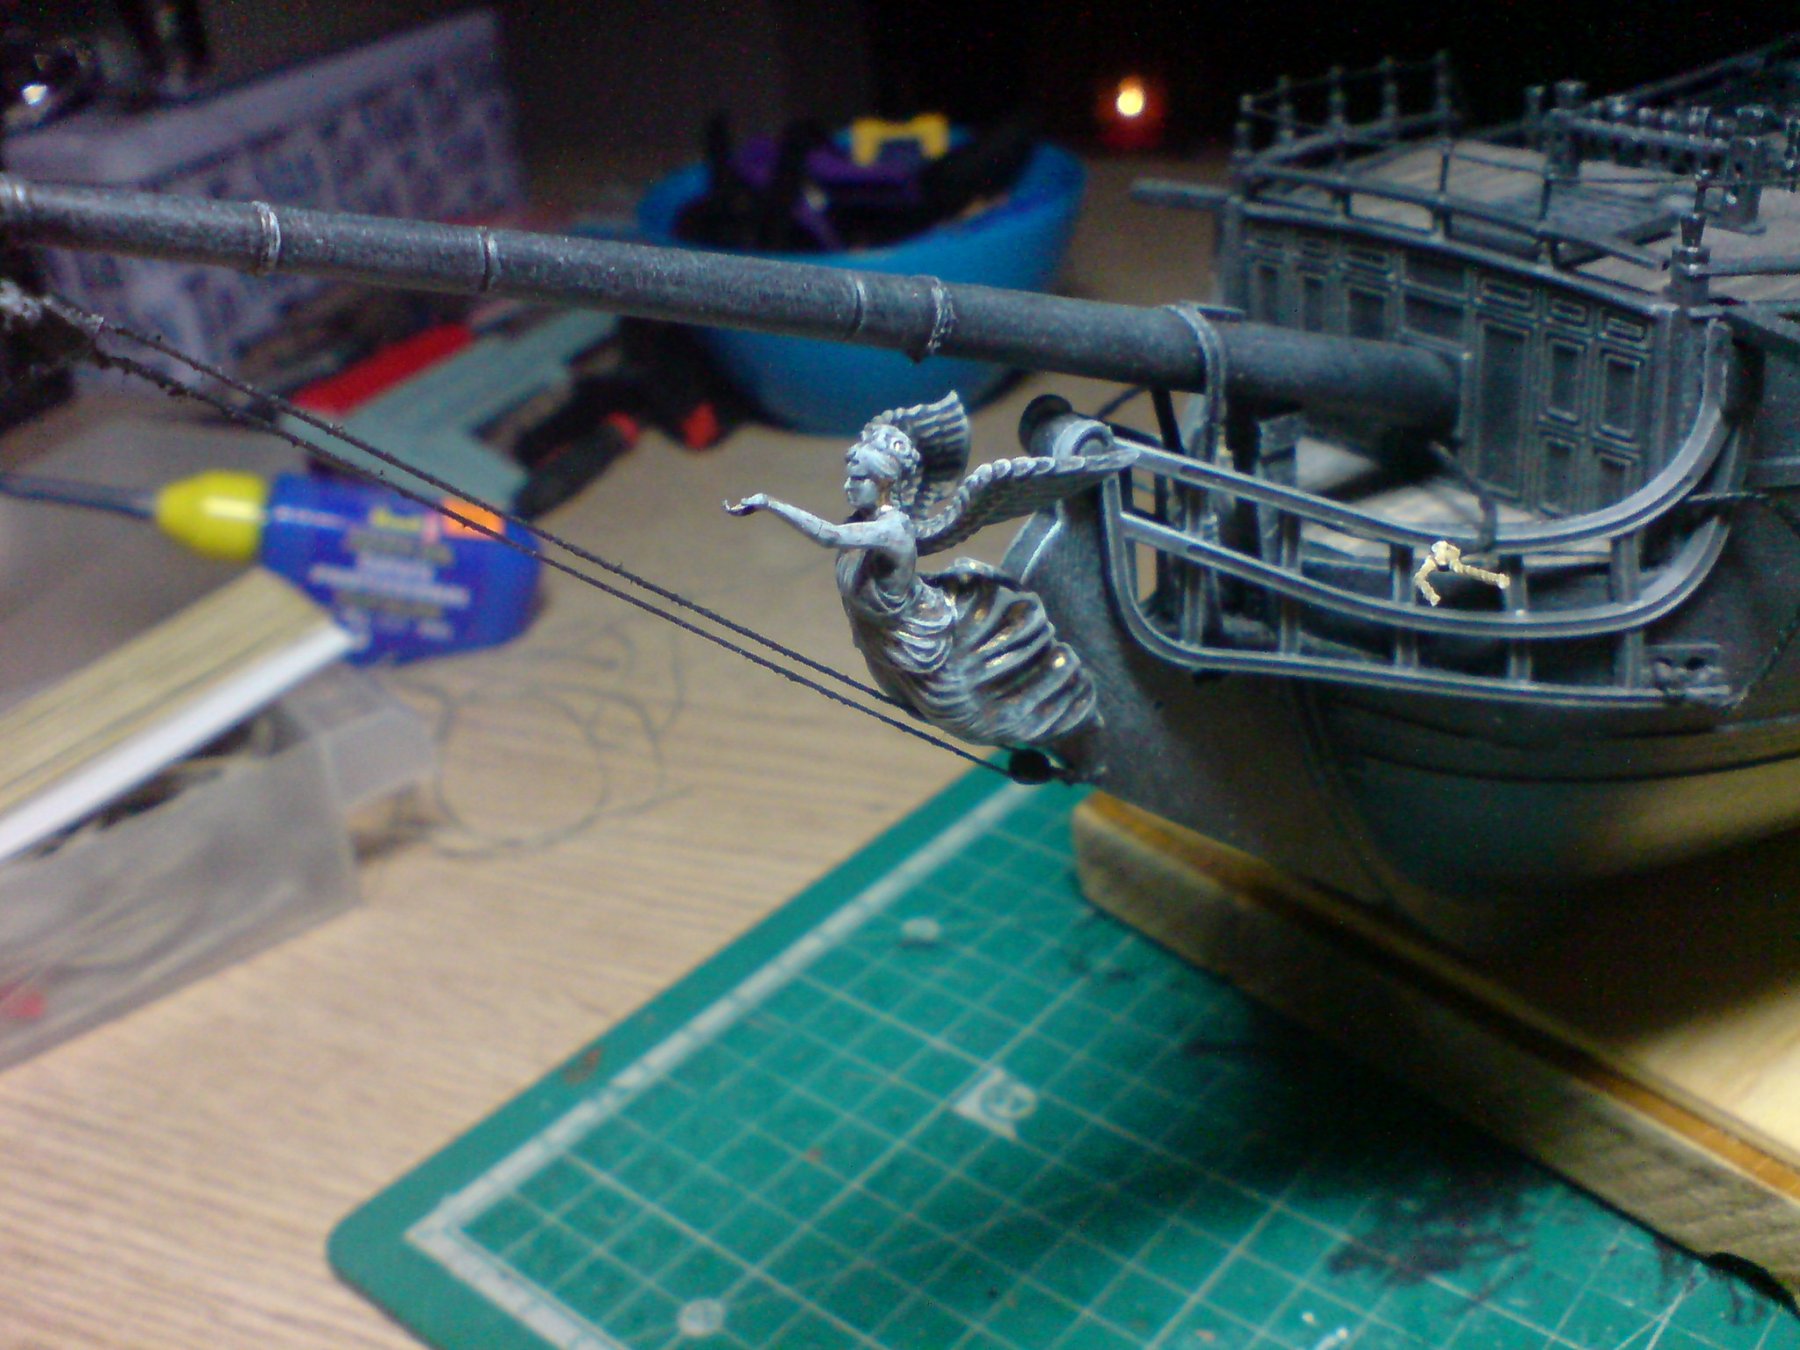
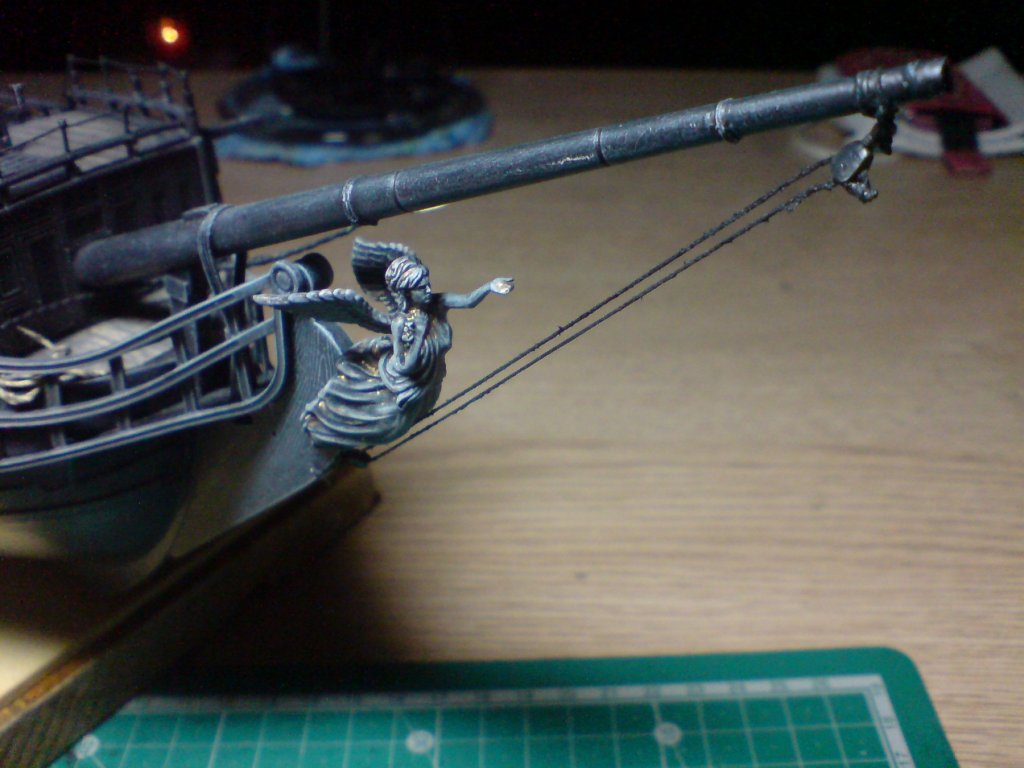
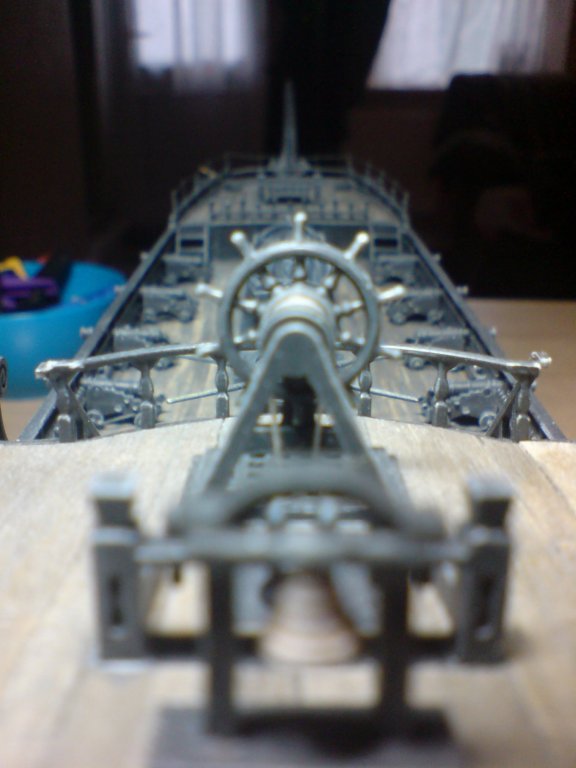
While on a run - I decided to have a go at the bowsprit and creating and fitting a bobstay and tackle, in the kit there is an assortment of tackle devices in plastic but nicely formed, first off I drilled through the beakhead then secured some thread through it - to this I attached one of the tackle pieces by a simple knot and touch of glue, I did the same to the end of the bowsprit, then I ran a length of thread through the tackles to form a link and glued the end with a small knot. After I touched up with some black/grey just needs weathering. Two more pics - OC.

-
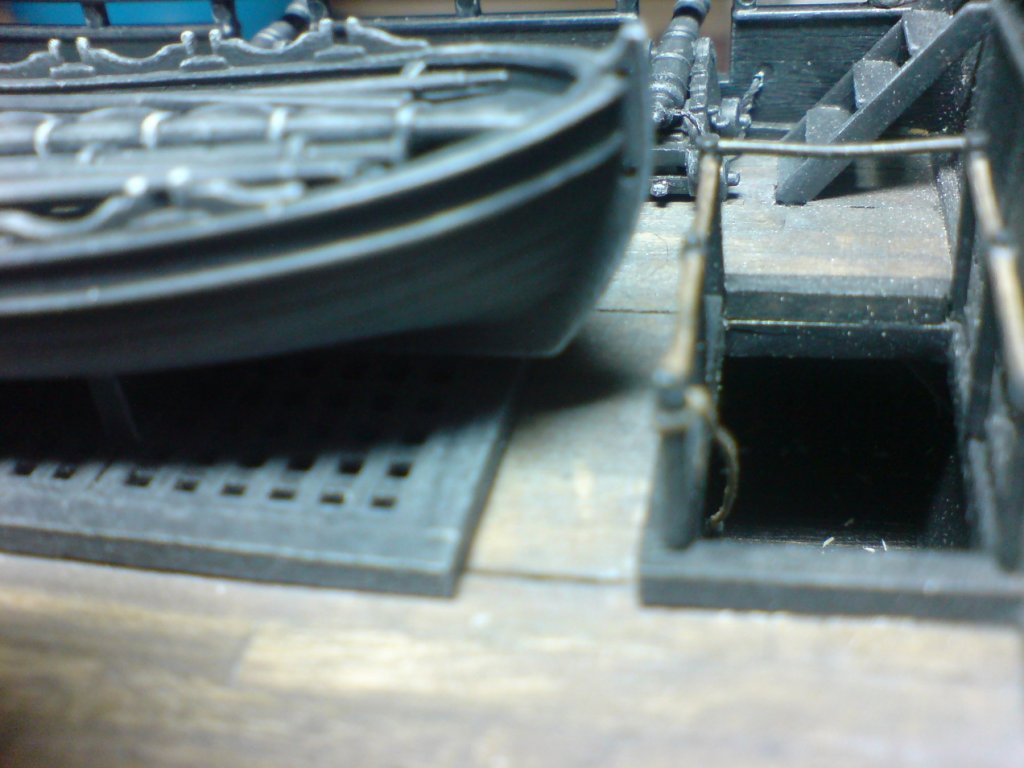
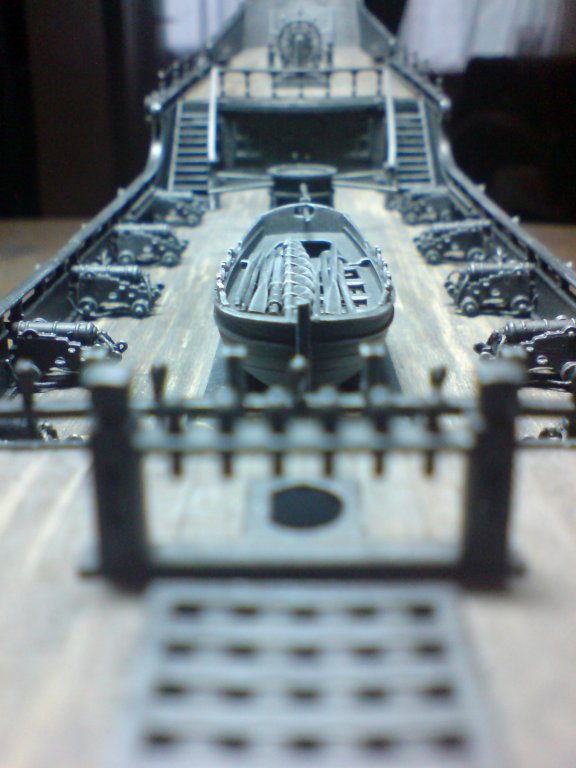
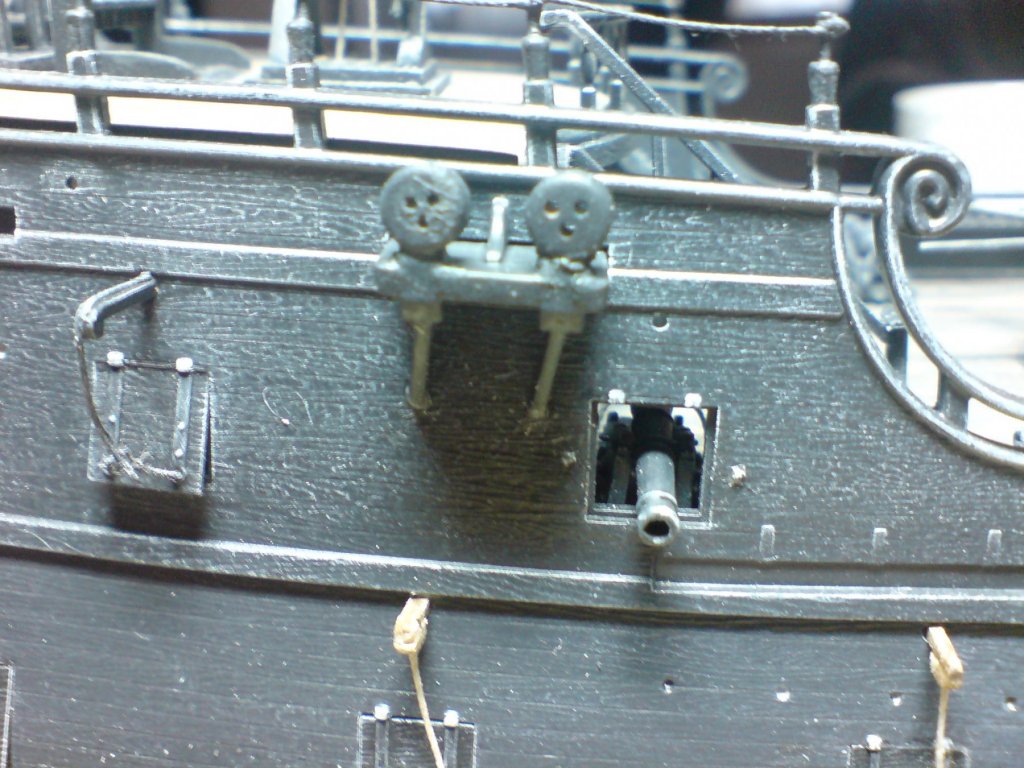
While letting the first small channel set - I turned my attention to the last row of lid lifting rope/devices, I cut off the ends of the rope then touched up the paintwork on all of them - now they are all fitted/painted. Here is a pic and also a few extra deck pics - OC.
-
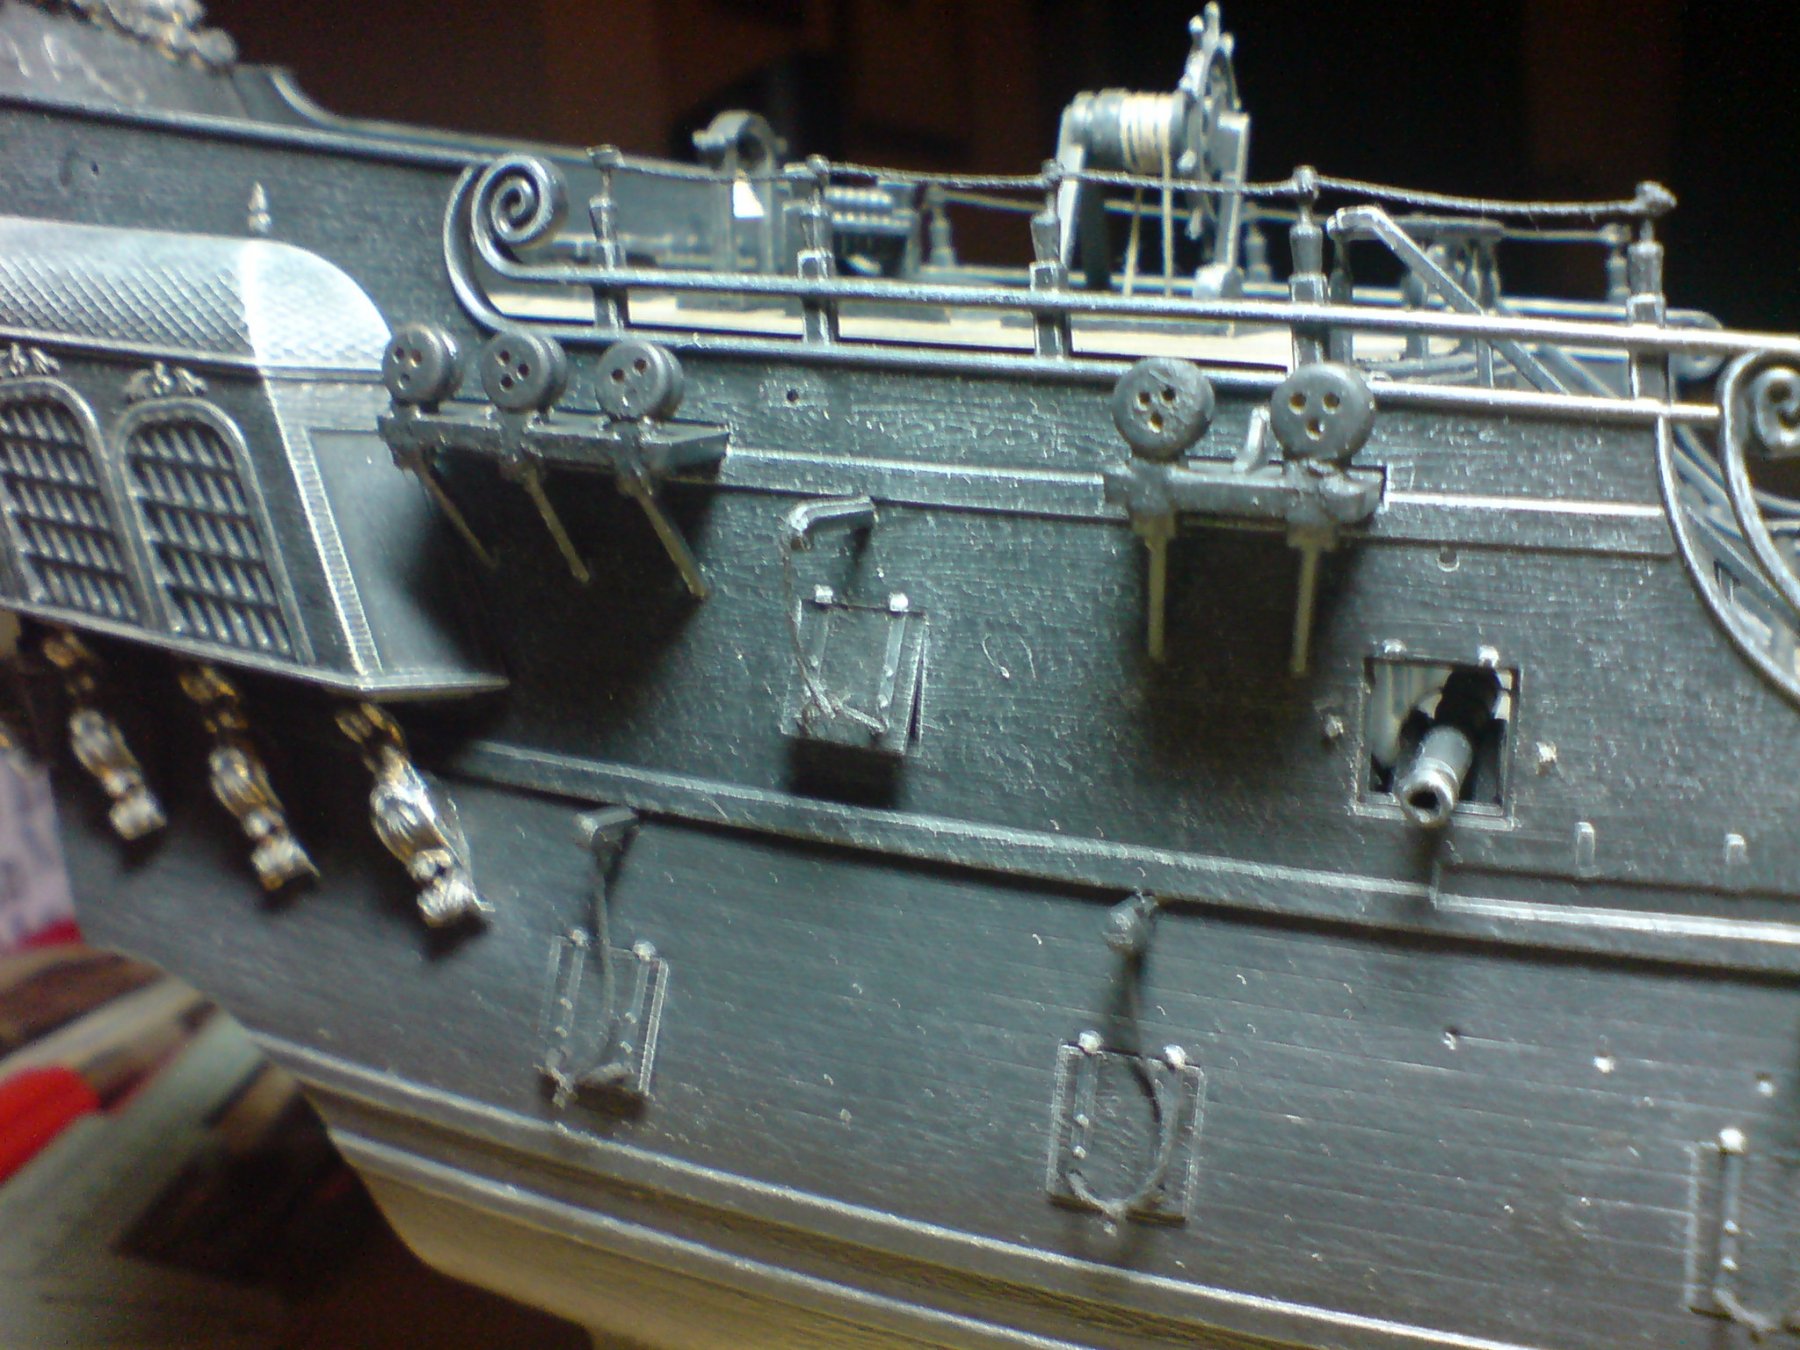
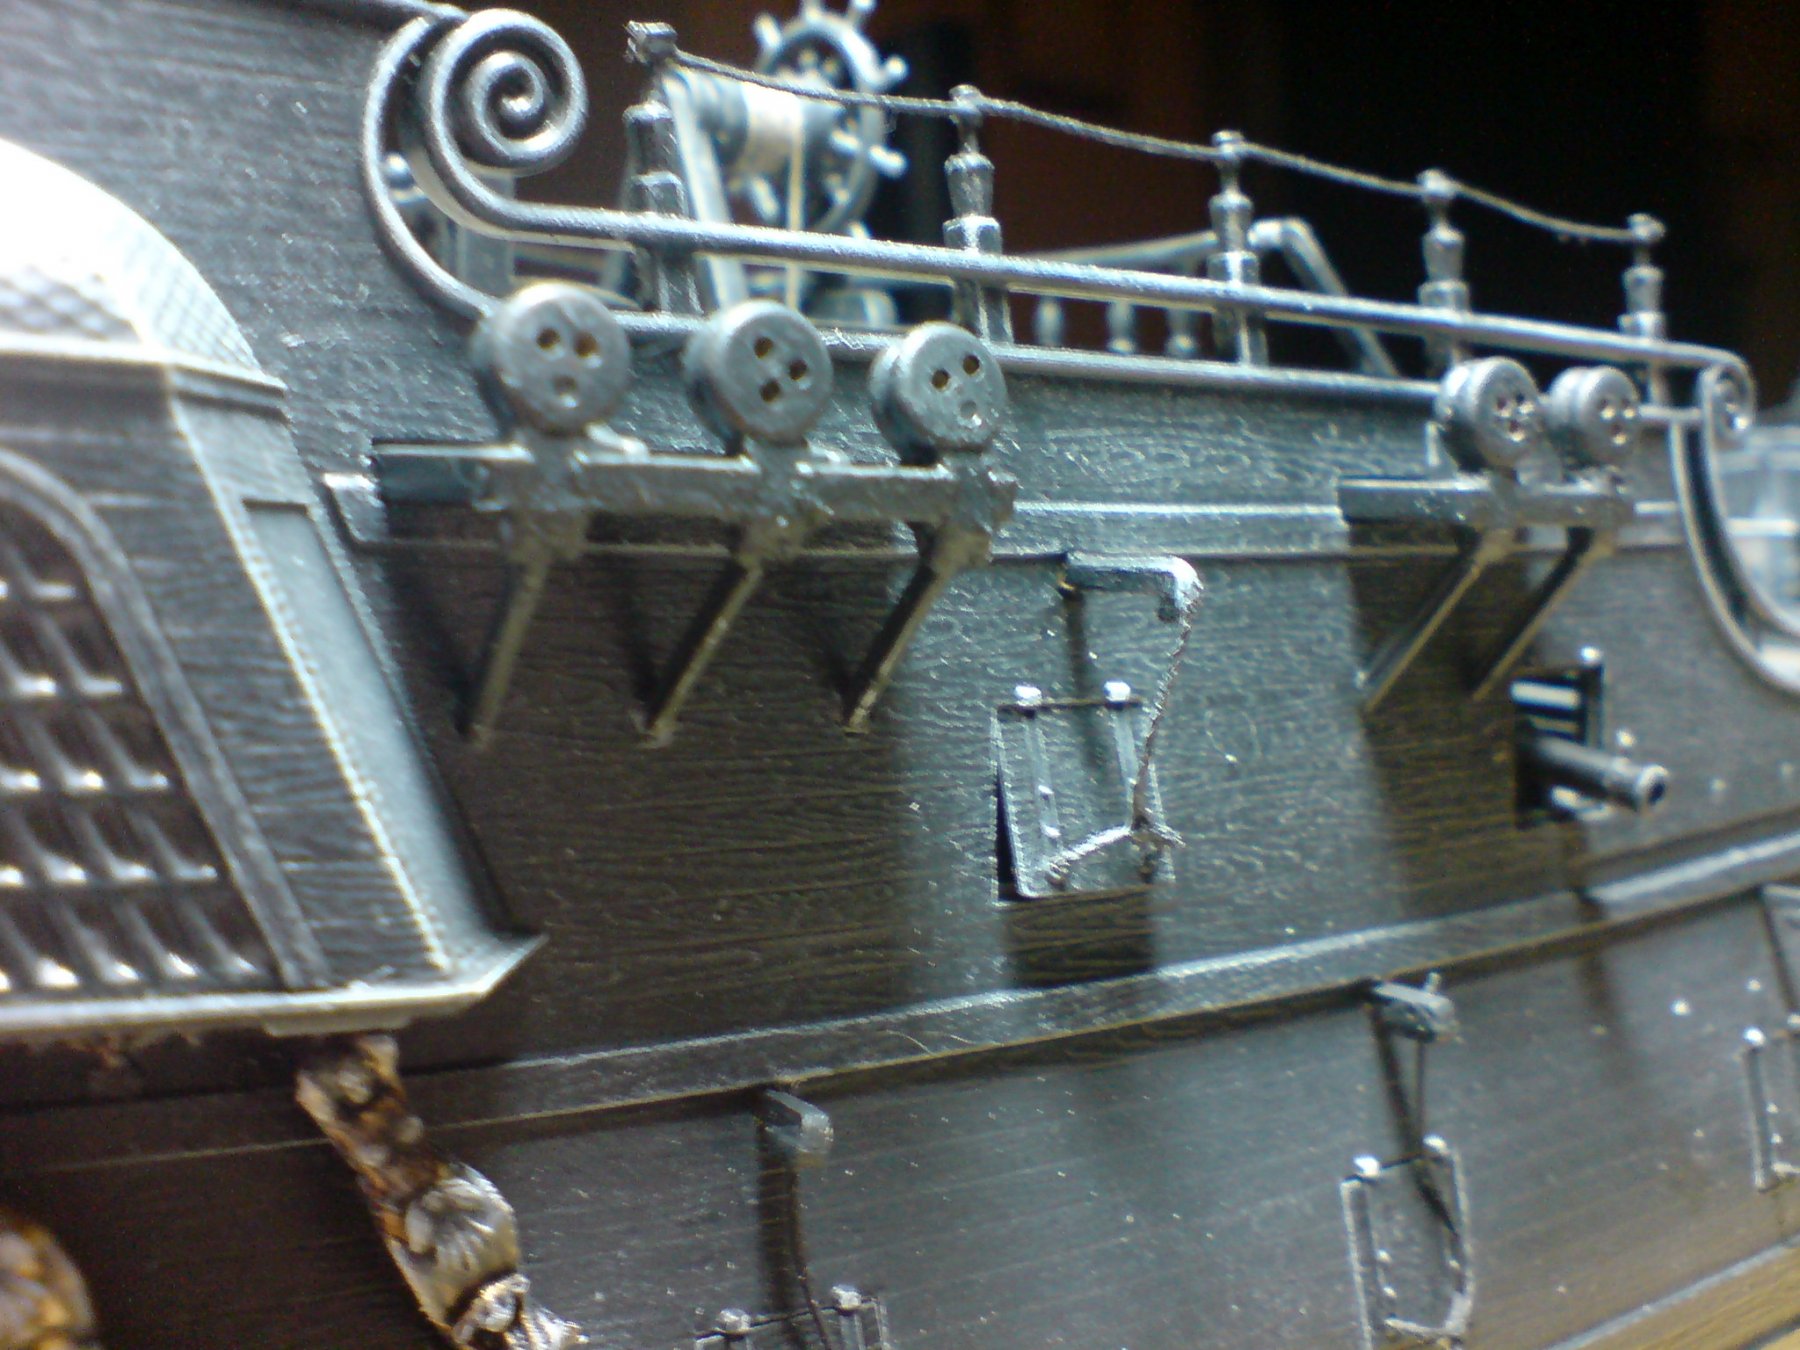
Evening all, thank you for all the feedback and likes. Right then straight in with it - I put two of my wood deadeyes next to the channel linkages and messed around with different joining methods, I decided not to drill through or use a rope/thread - I decided to file the linkages a bit, then I glued the deadeyes to the linkage using strong super glue, after they had set I applied more glue around the base of the deadeyes to strengthen them. I put the assembly aside to set then I applied a couple of coats of paint - then once dry it was glued to the hull - making sure the support struts linked up with the holes in the hull. Here is the result minus weathering - OC.
-
Thank you kindly mark, yep I thought of that and made sure the cutouts in the hull are free of paint, and also the linkage holes - so it should glue well. OC.
-
Thank you for putting my mind at rest, I guess all the extra bits of work will make it worth it in the end. OC.
.JPG.2a2b4329bbe2432c540250dfb6792cba.JPG)

.JPG.b8e31778b235059dd77c4865de41cf3f.JPG)