MORE HANDBOOKS ARE ON THEIR WAY! We will let you know when they get here.
×


Old Collingwood
-
Posts
12,077 -
Joined
-
Last visited
Content Type
Profiles
Forums
Gallery
Events
Everything posted by Old Collingwood
-
 Might be worth a look, or failing that I could resort to using the box the kit came in, turn it on its side and make a clear window for the front, I know that way it would be the exact size and cost nothing except something to cover the front with - clingfilm etc (isnt that stuff supposed to be able to go taught if heated with a hairdryer - or am I thinking of something else?) OC.
 -
She is looking Superb mate - very fine work indeed. OC.
- 467 replies
-
- 5
-

-
- mikasa
- wave models
- (and 1 more)
-
Its just a temporary cover I am after almost like a plastic cake cover, just a temp thing till xmas perhaps. OC.
-
Thanks for you imput lou - im trying to do it from anything I can find around the home. OC.
-
Hi all, just a quiry - does anyone have any ideas how I could cover my model to keep it dust free as I can not afford to buy a display case. OC.
-
Modern days I think they use amplifiers and it goes out all over the ship, when I lived near a naval base we could hear the commands from a few hundread yards away, mind you sound does carry over water. OC.
- 467 replies
-
- 5
-
-
- mikasa
- wave models
- (and 1 more)
-
I couldn't do it - not even close, I have poor enough eyesight as it is need glasses for almost everything and deffo stronger ones for bookwork.laptop building etc, then I have my magnifier under a powerful light just to do my build. OC.
- 405 replies
-
- 6
-
-
- tamiya
- king george v
- (and 2 more)
-
There called Voice Pipes mate, very common in pre electronic versions. OC.
- 467 replies
-
- 6
-
-
- mikasa
- wave models
- (and 1 more)
-
Same for me lou I view using win 7 and firefox, but sofar have not seen any of these pictures that Kp posts, I see them on the other forum he uses. OC.
-
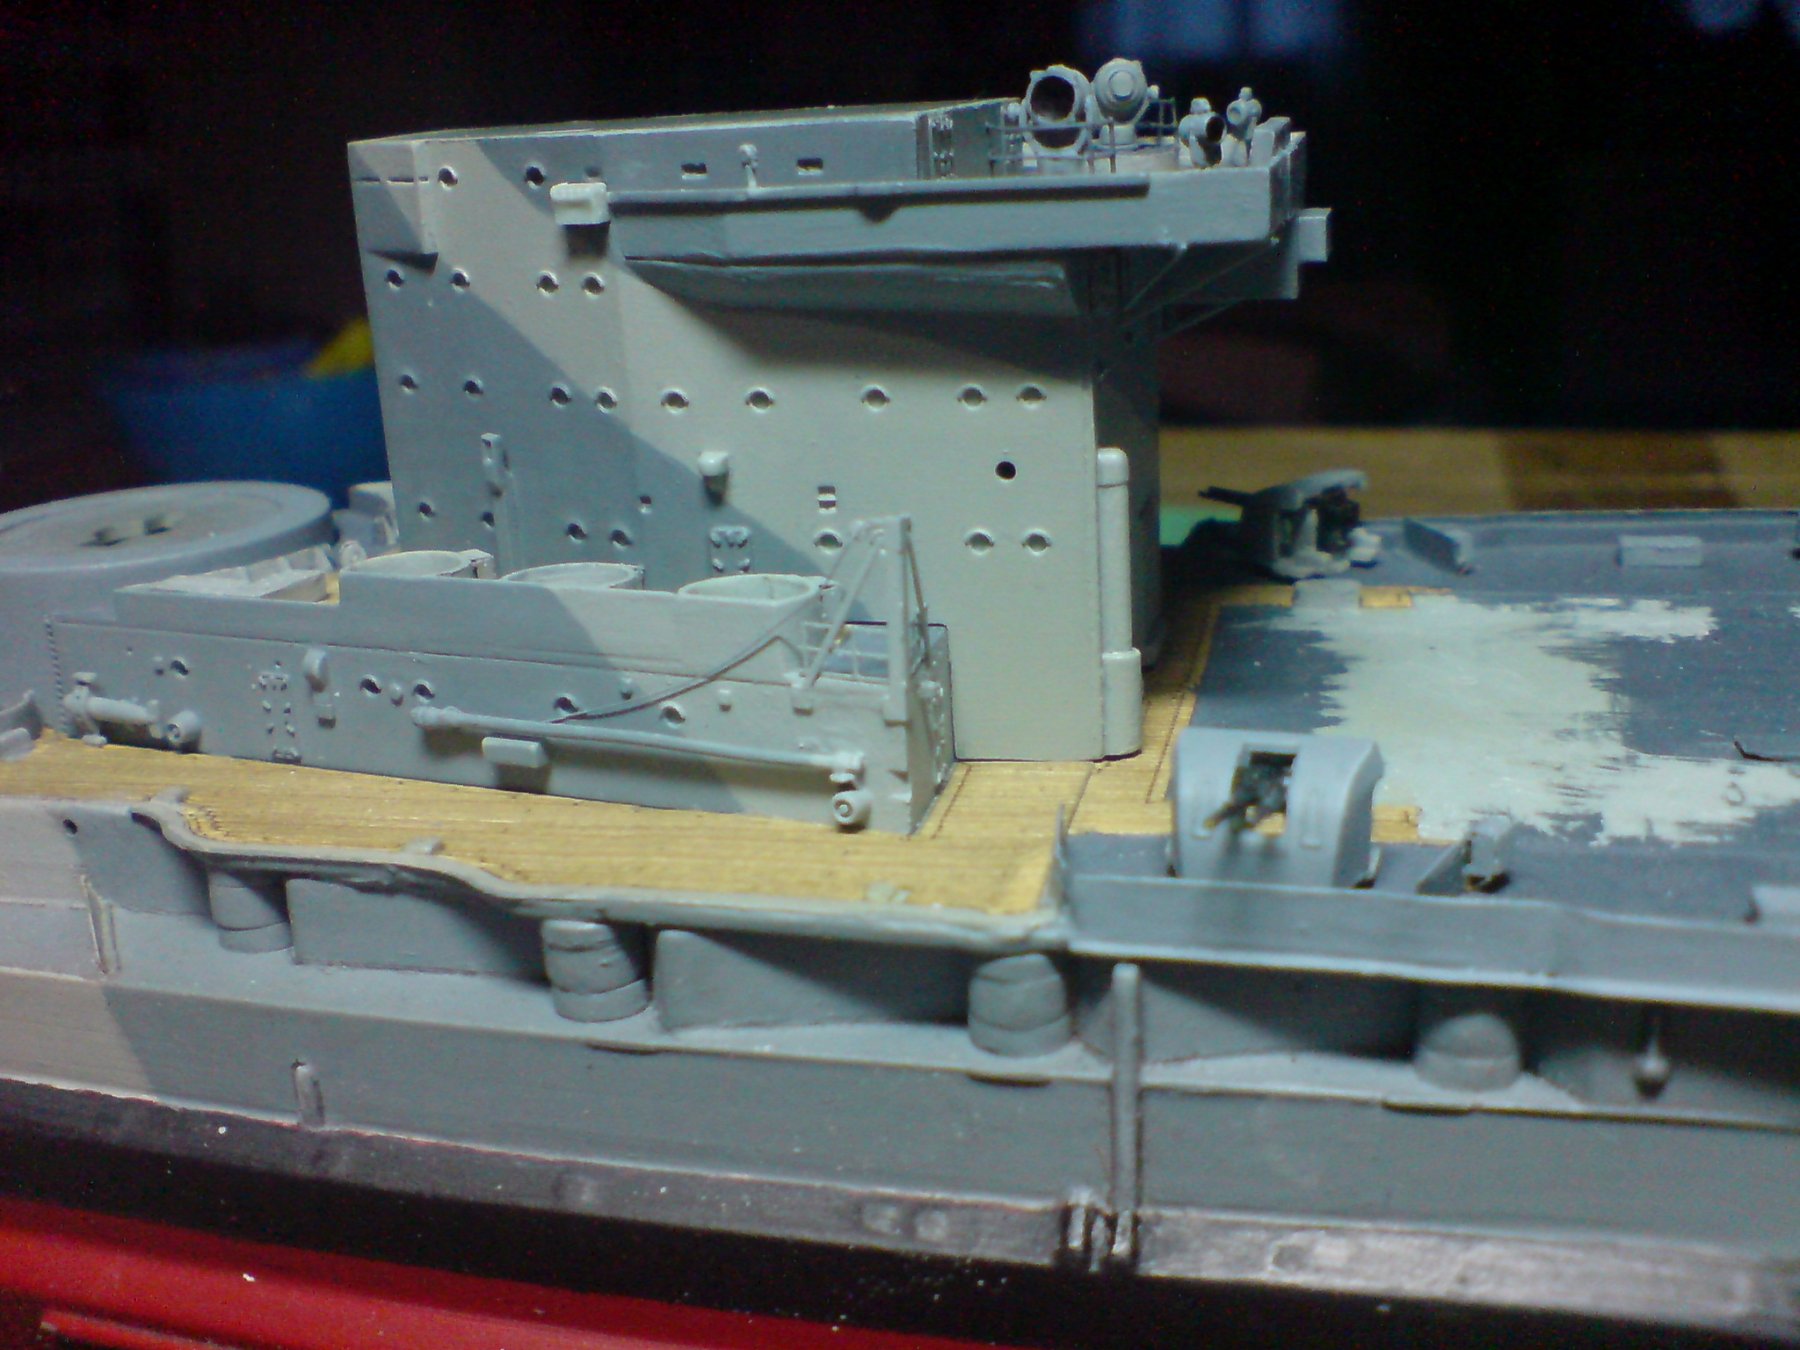
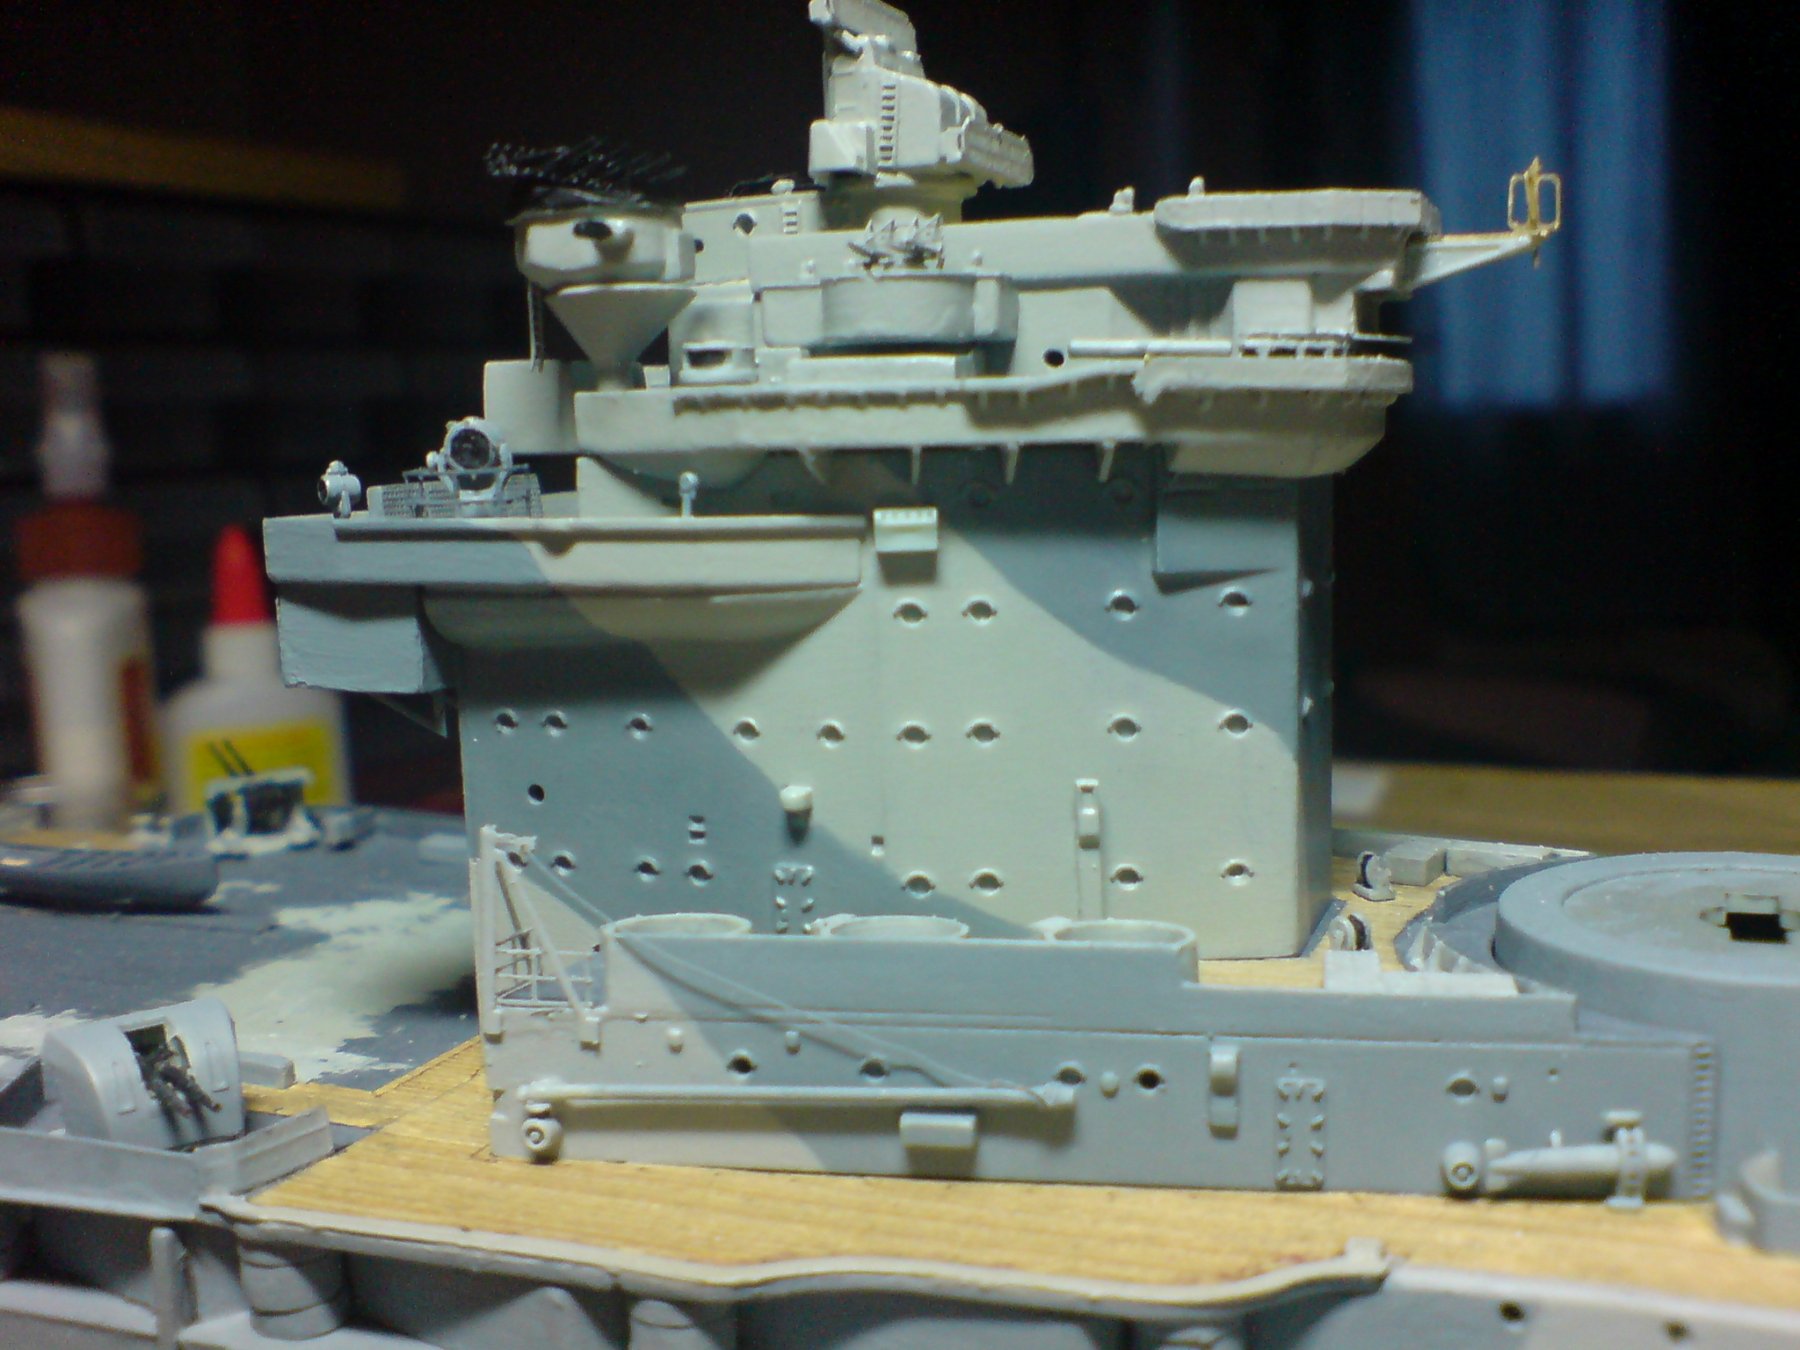
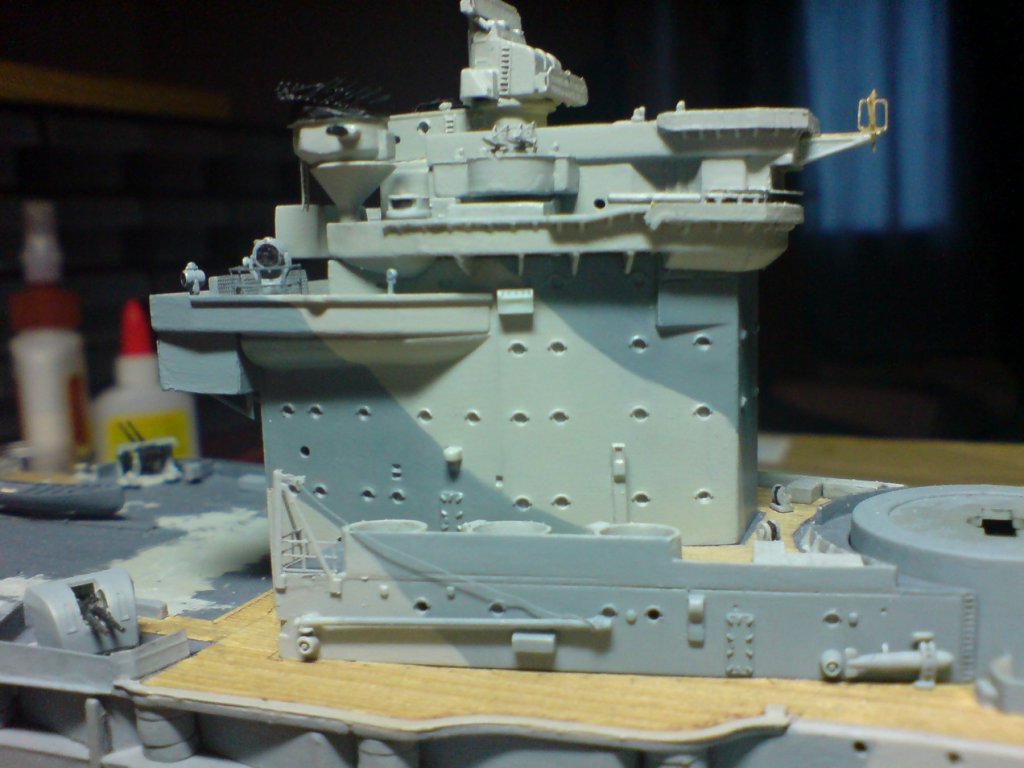
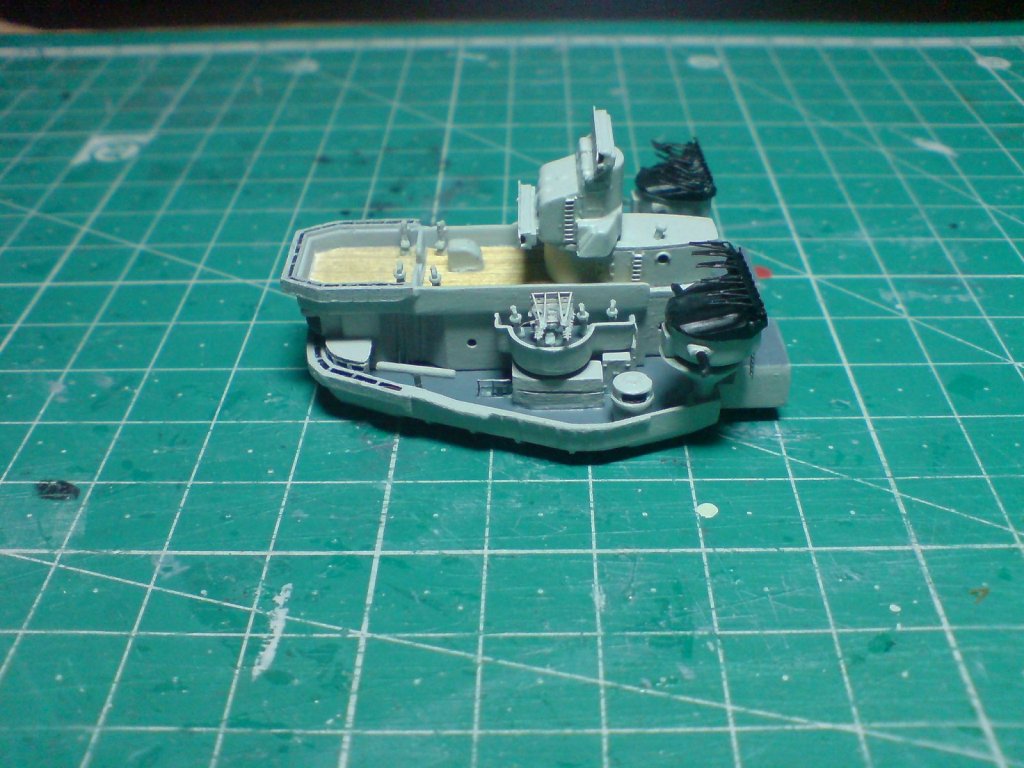
Evening all, more work in the same area - I constructed the RDF office and brackets and glued it in place under the searchlight platform, then I was able to glue the platform to the main superstructure, then just a bit of touch up painting. So - the main superstructure is nealy there. OC.

-
Yap I will drill a few out not all of them just some random ones, I decided to paint first and drill after, saves having to re drill after painting. OC.
-
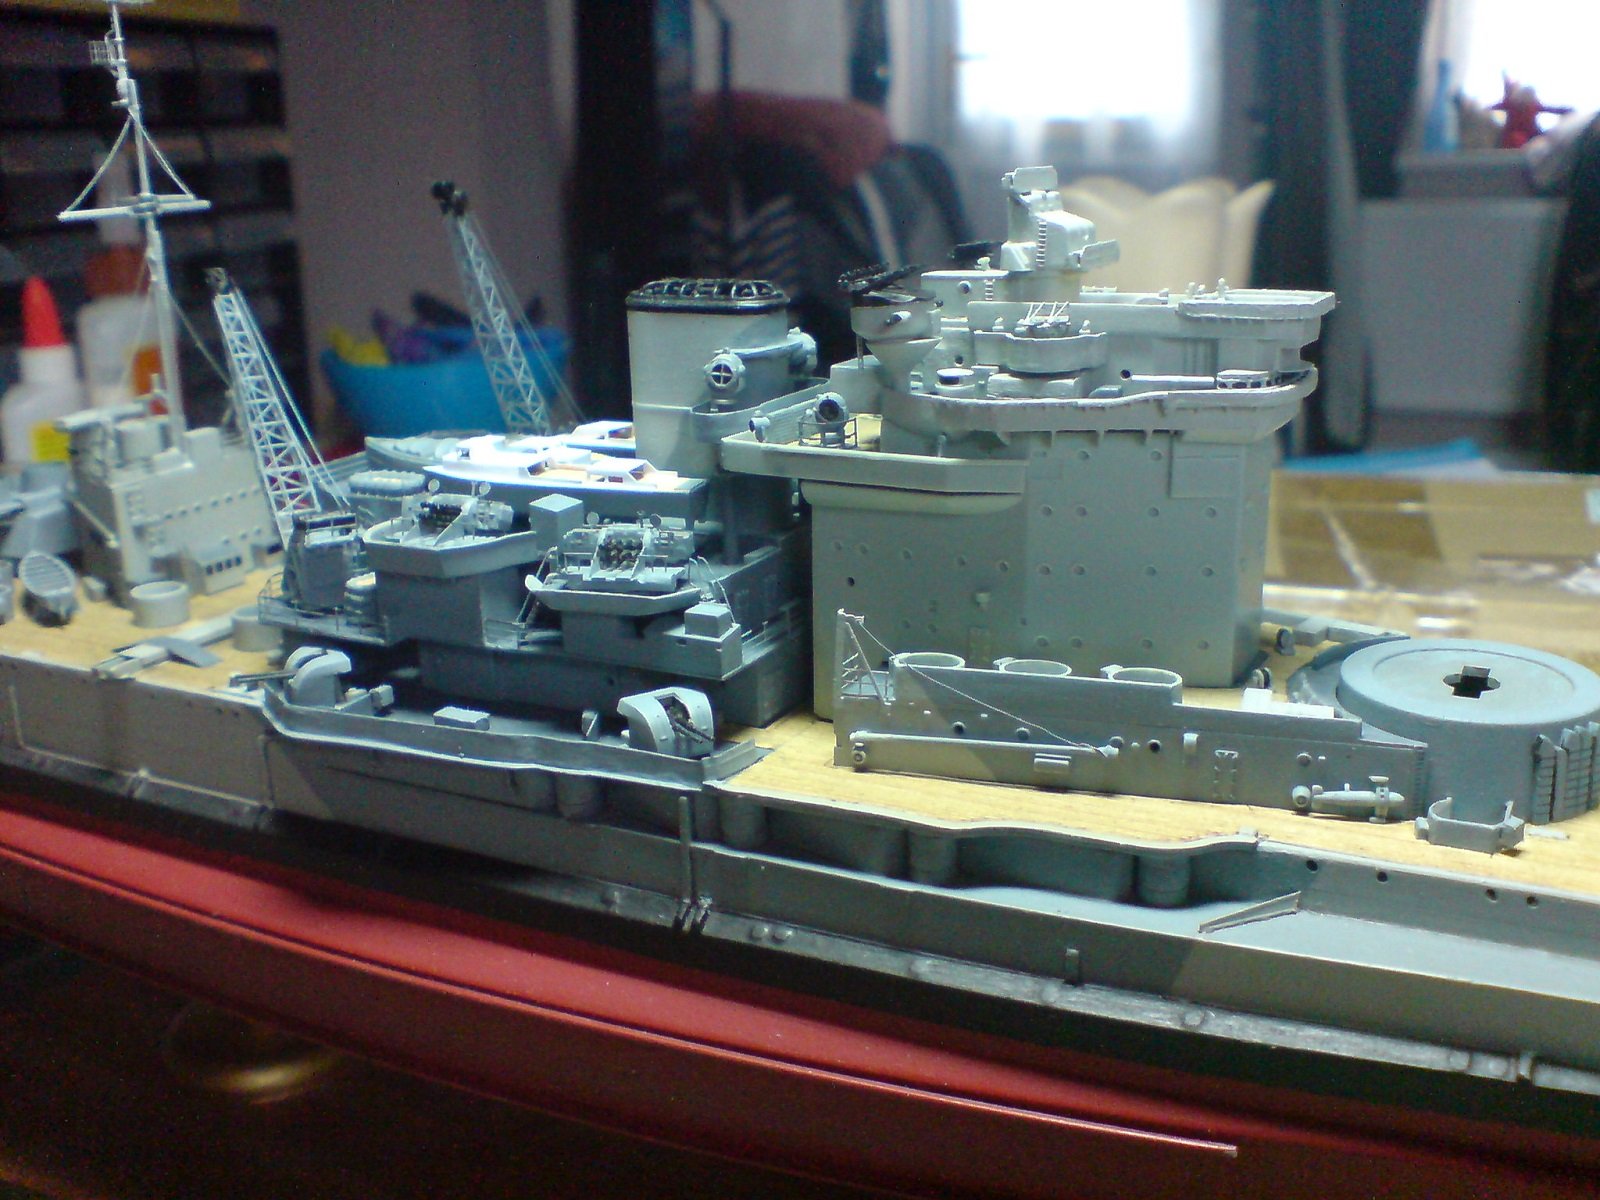
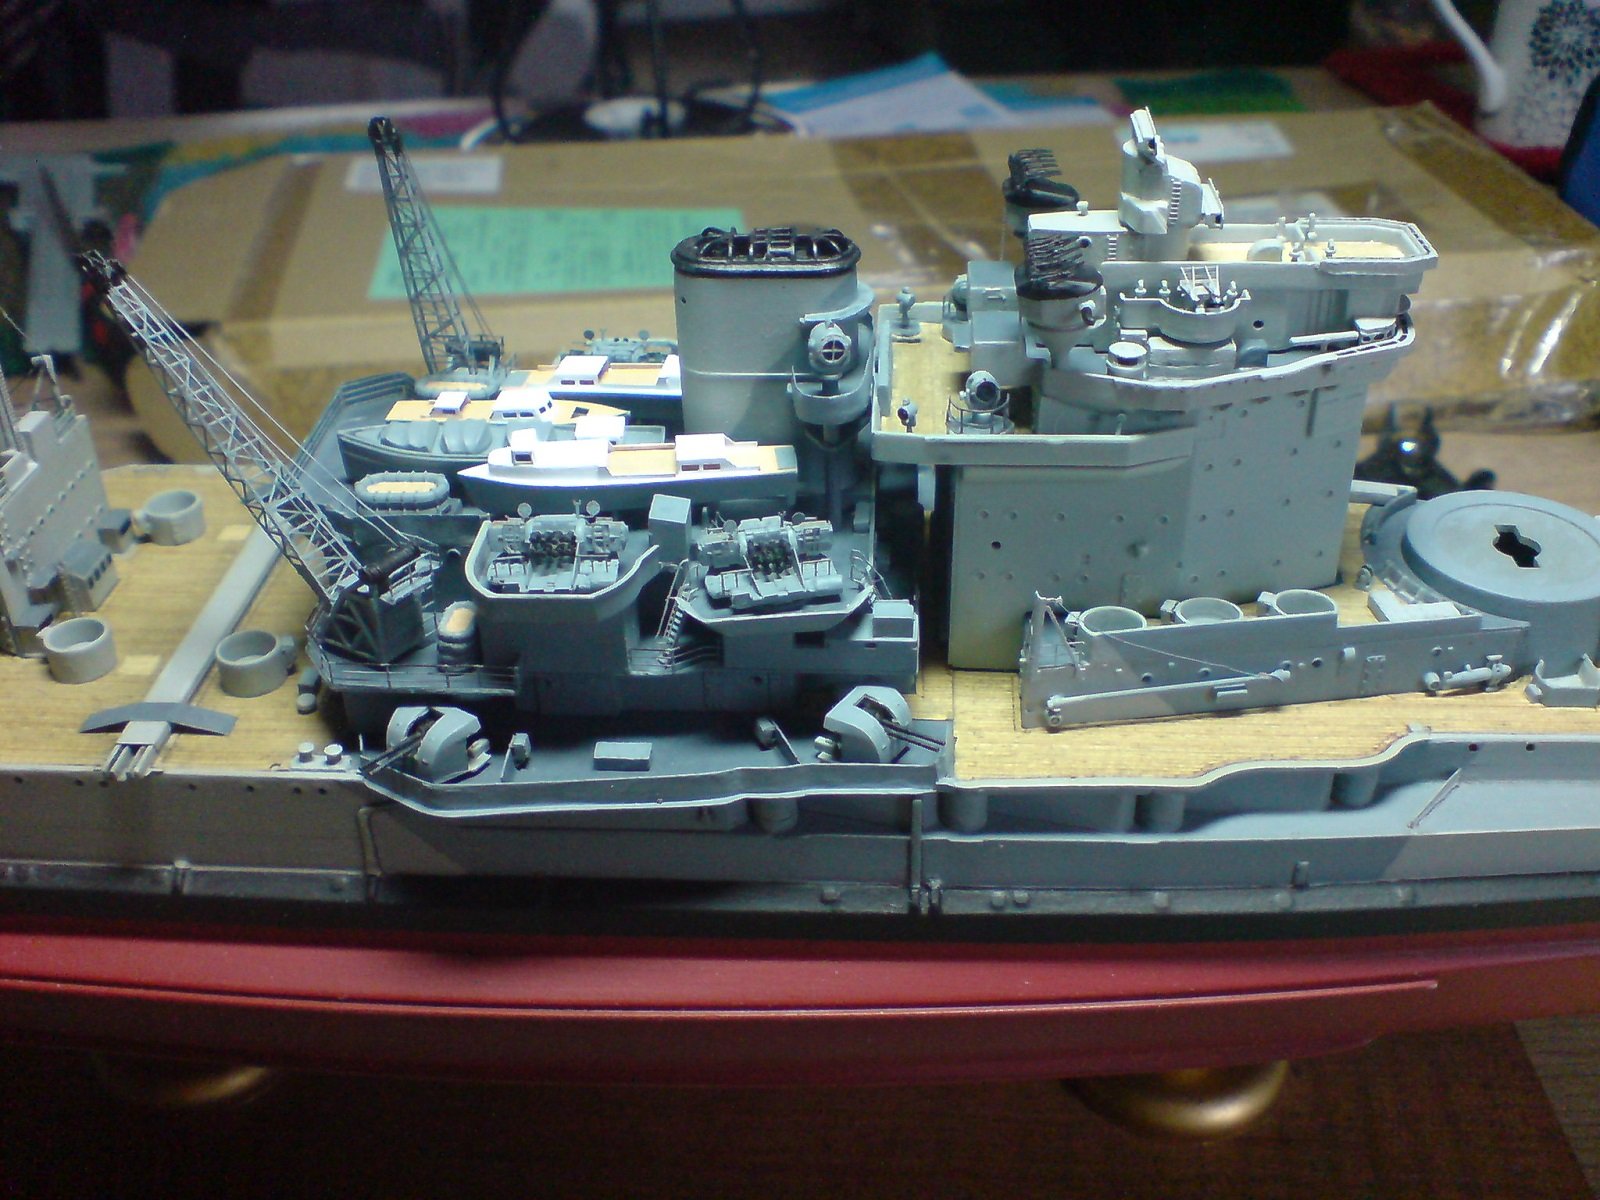
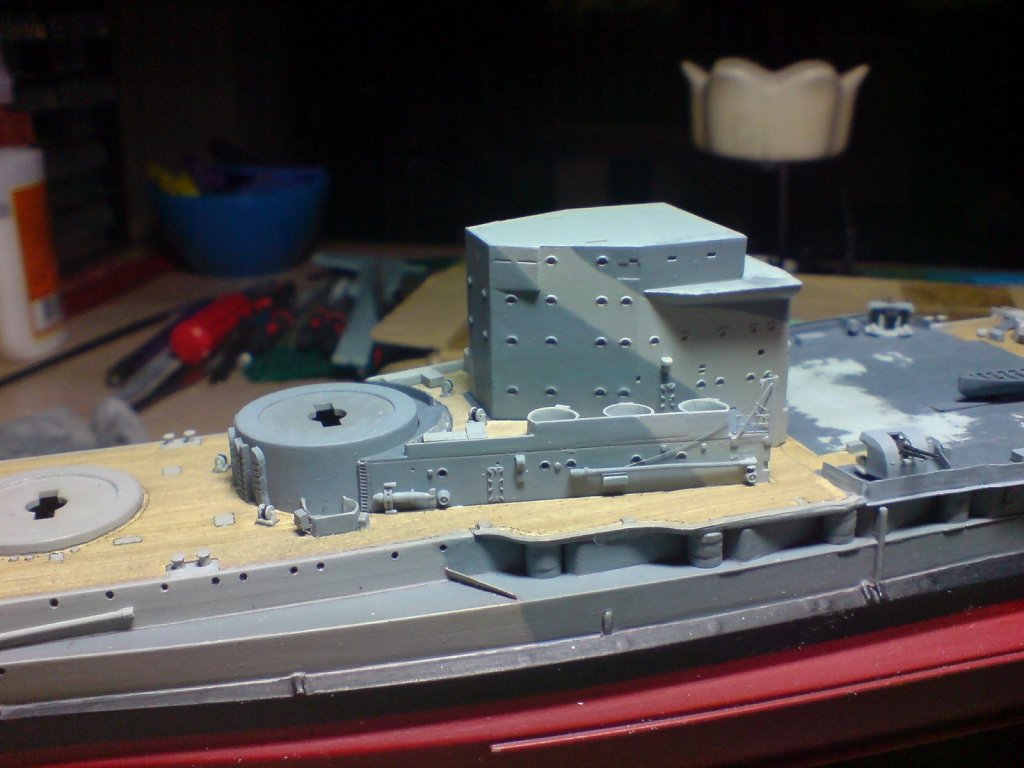
Evening all, Firstly a huge thank you to all the interest and follows. A good day today working on the main superstructure, this was assembled using five sections - once it was jigged together and set, I set about painting the two camo colors AP507B/C, I did my normal brush painting routine of doing the first normal thickness then I added several more thinned down coats at roughly 50/50 consistancy. Here are a few pics firstly showing the dry fit of the parts and the un painted superstructure, and a pic of it painted. OC.


-
I do wonder that with rigging at 1/350 wonder if we could get away without it? OC.
- 405 replies
-
- 3
-
-
- tamiya
- king george v
- (and 2 more)
-
I find when working with pe or rigging its one of those - hold my breath times, and if it goes to plan its a just luck, I could do identicle parts requiring pe straight after each other - one could turn out ok and the second one could be wrong or not as good as the first, to me its the stressful part of the build (sometimes). OC.
- 405 replies
-
- 8
-
-
- tamiya
- king george v
- (and 2 more)
-
Scarily good work greg - its amazing the level of skill you have is amazing - I dont think its even practice to get to this stage, its just pure skill. OC.
- 405 replies
-
- 7
-
-
- tamiya
- king george v
- (and 2 more)
-
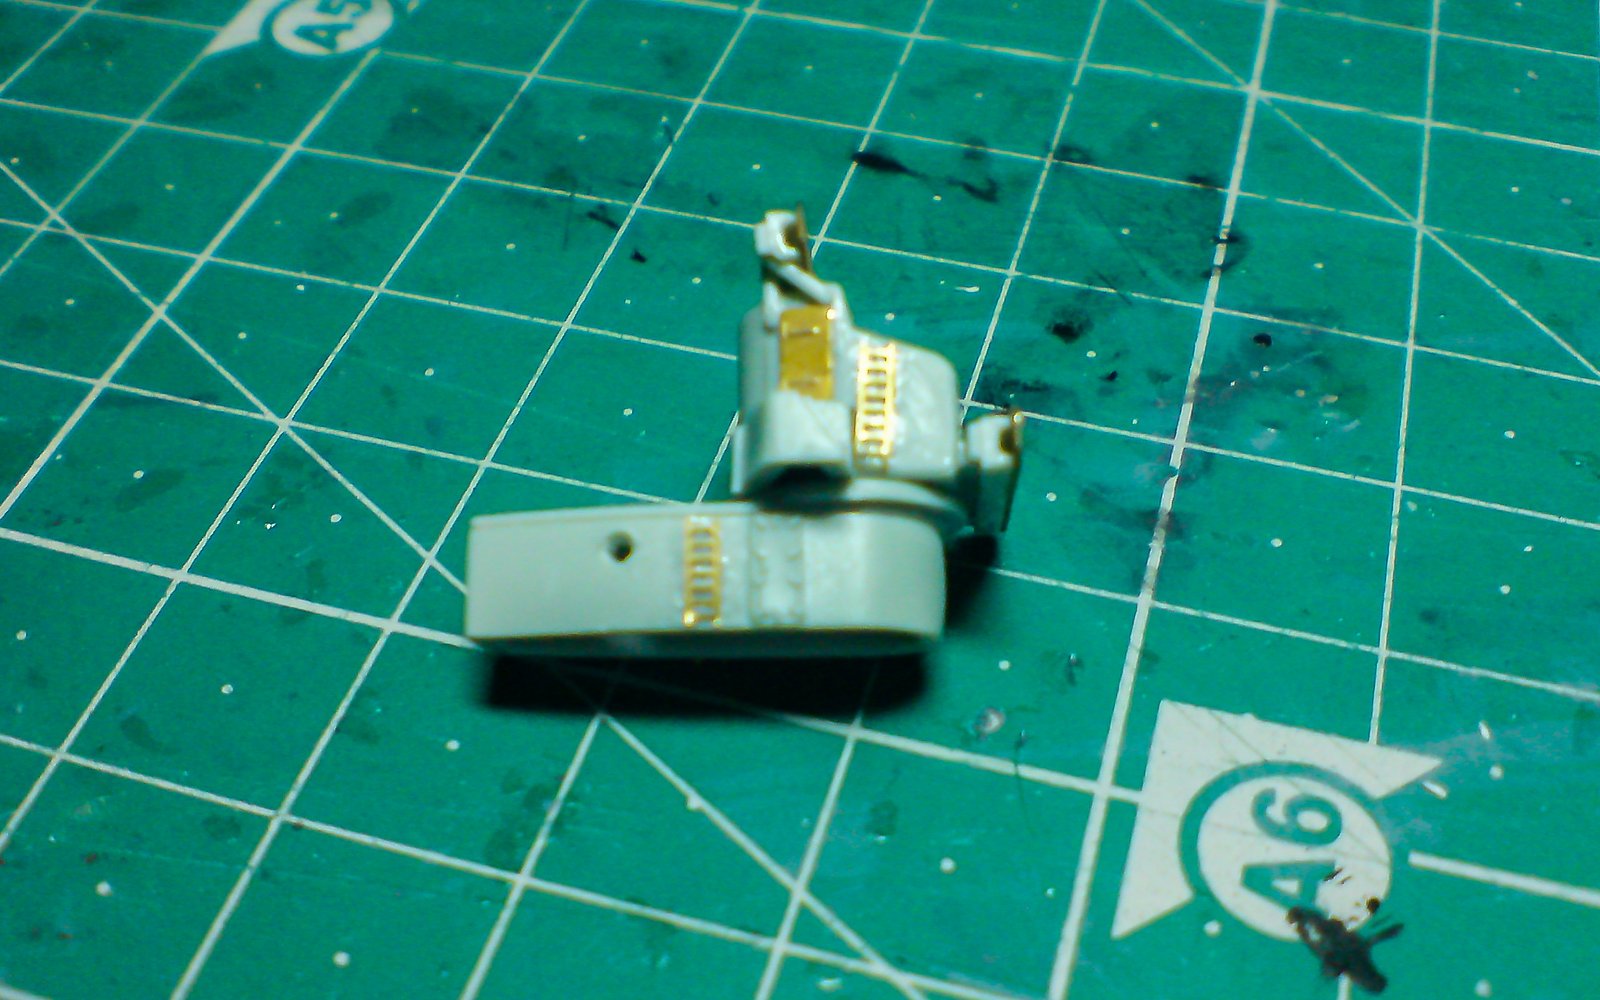
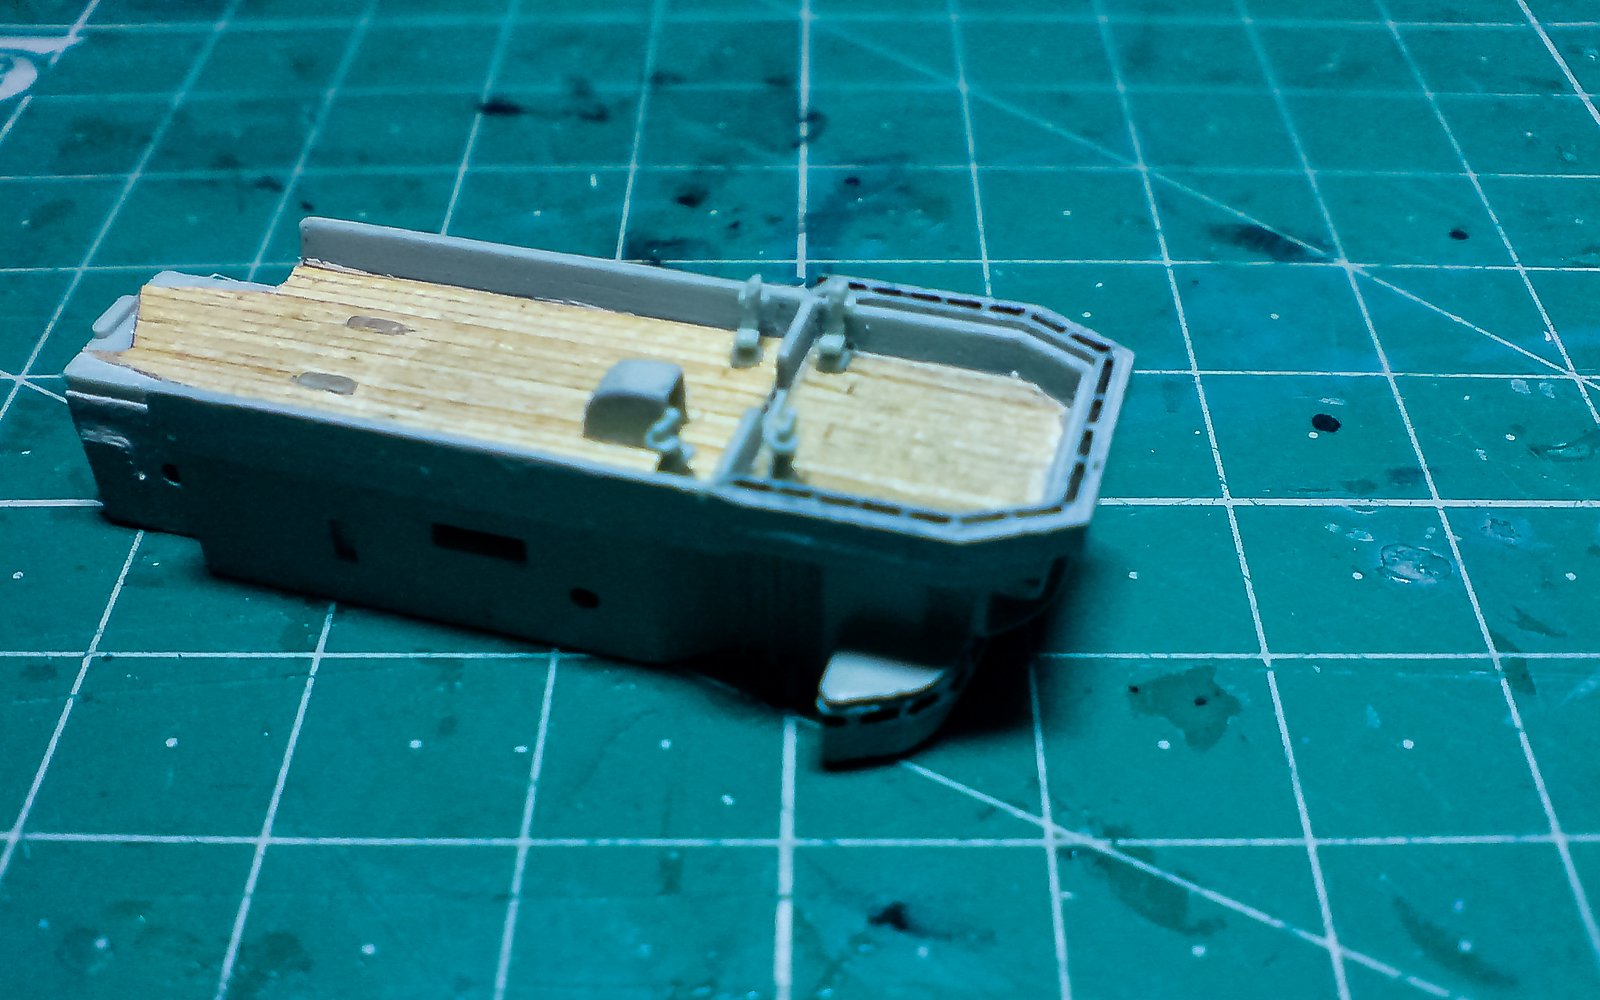
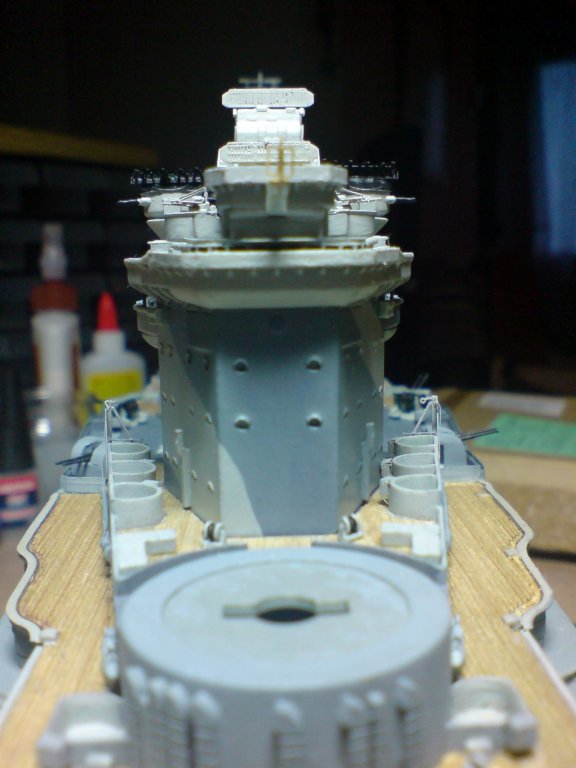
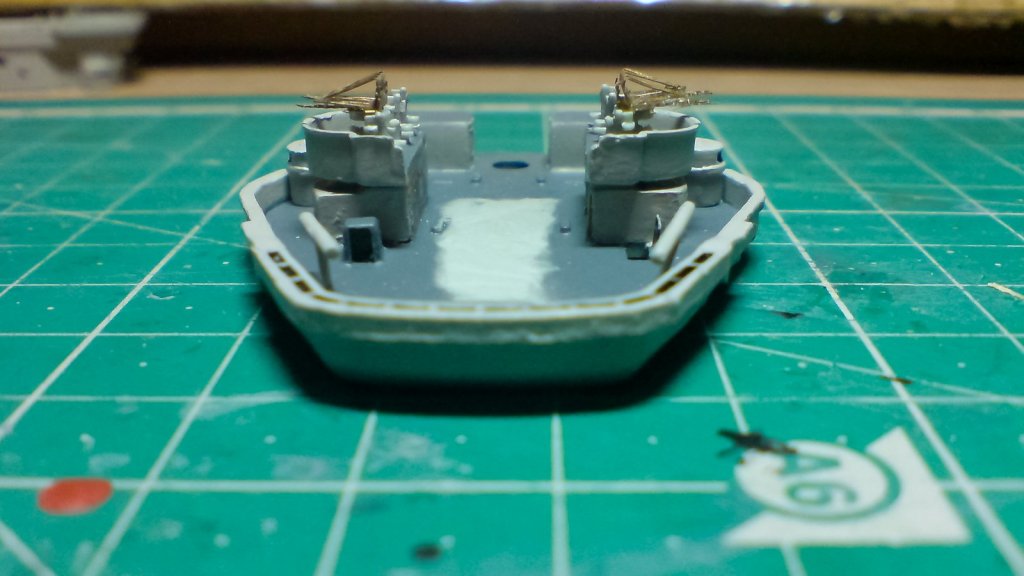
Evening all, I finished the the bridge decks today including building and attaching the two 285 radar devices including some pe pieces, next will be the main superstructure walls. OC.


-
Very tasty looking guns - she is coming on really well mate. OC.
- 467 replies
-
- 6
-
-
- mikasa
- wave models
- (and 1 more)
-
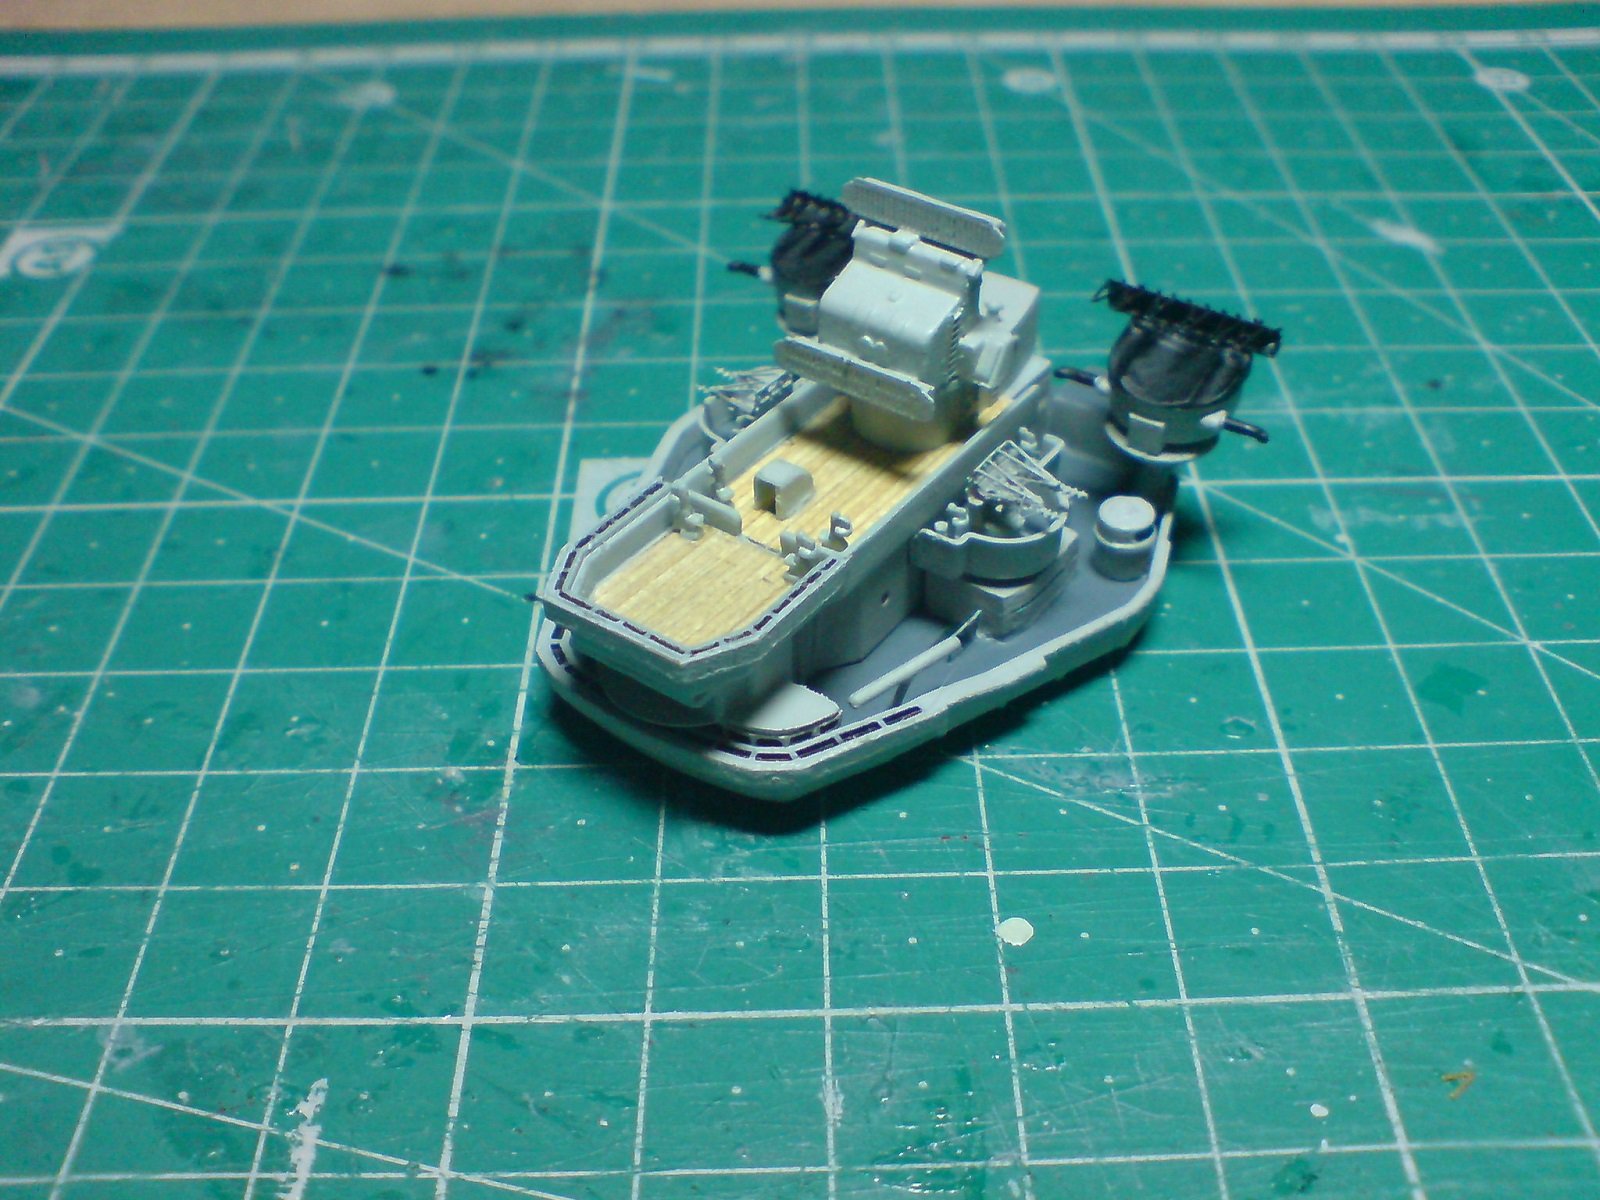
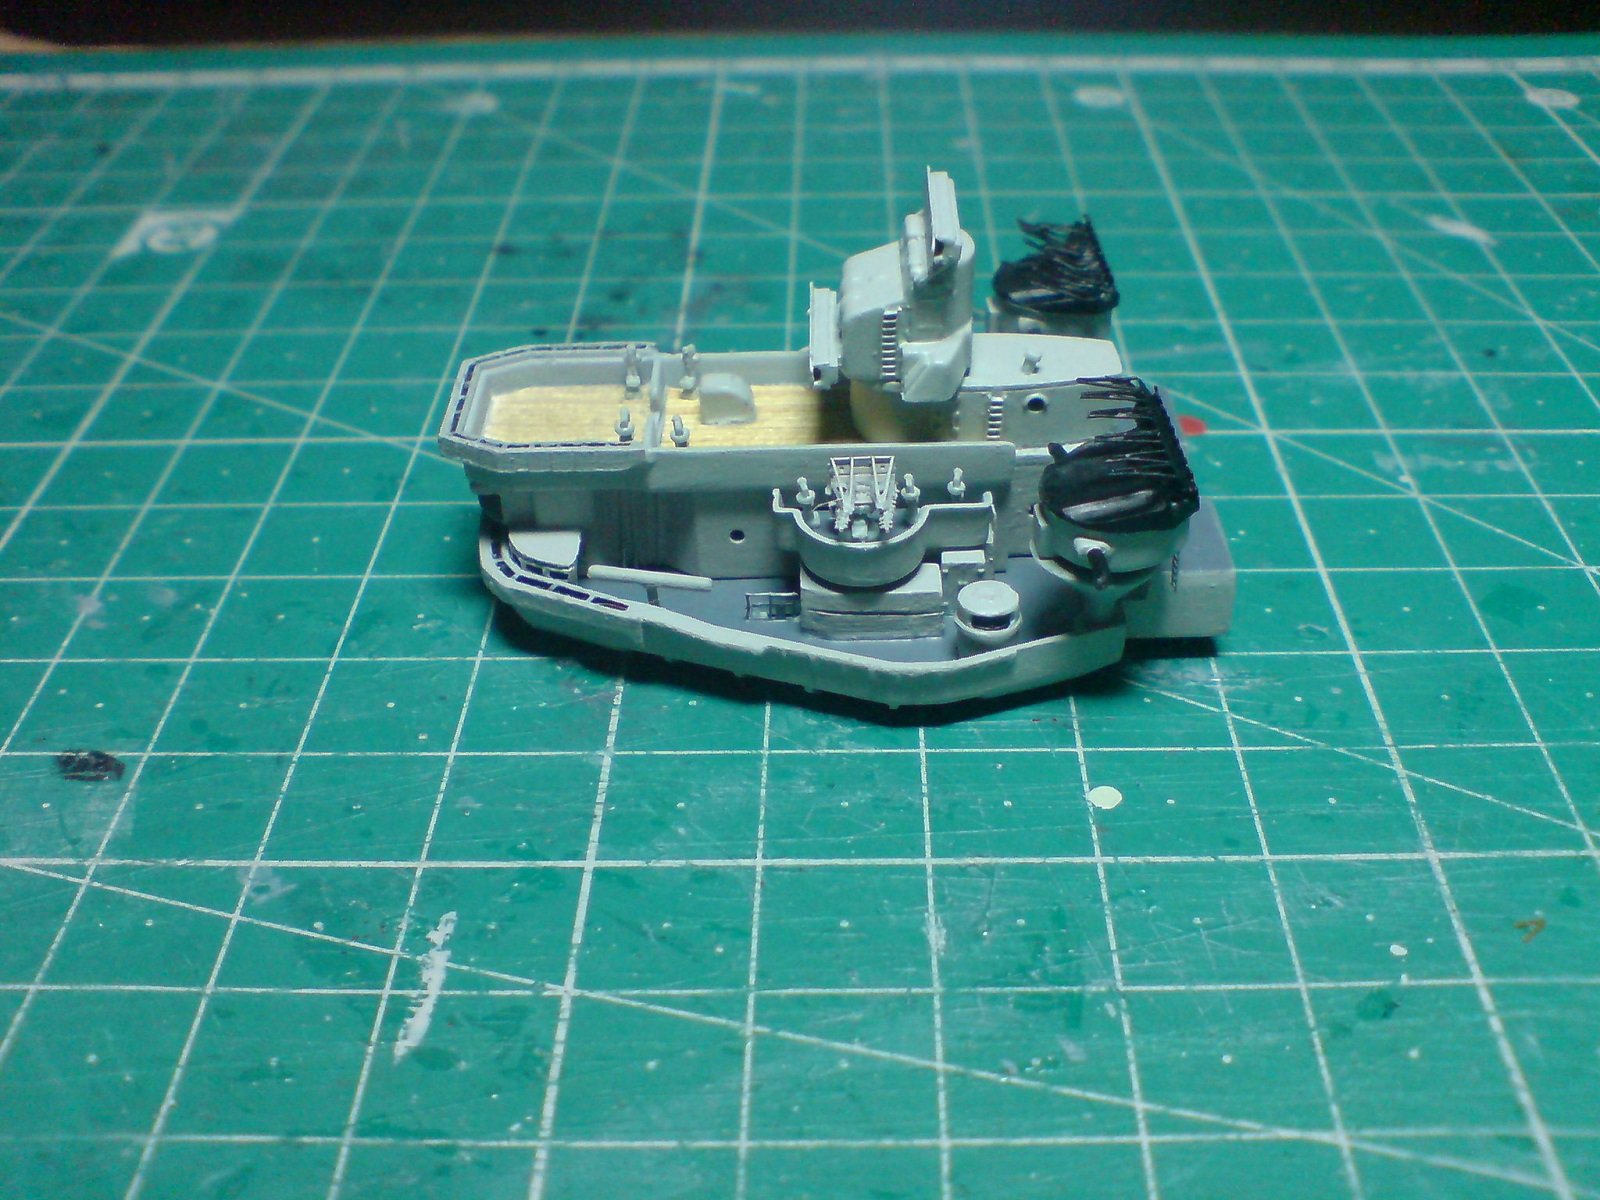
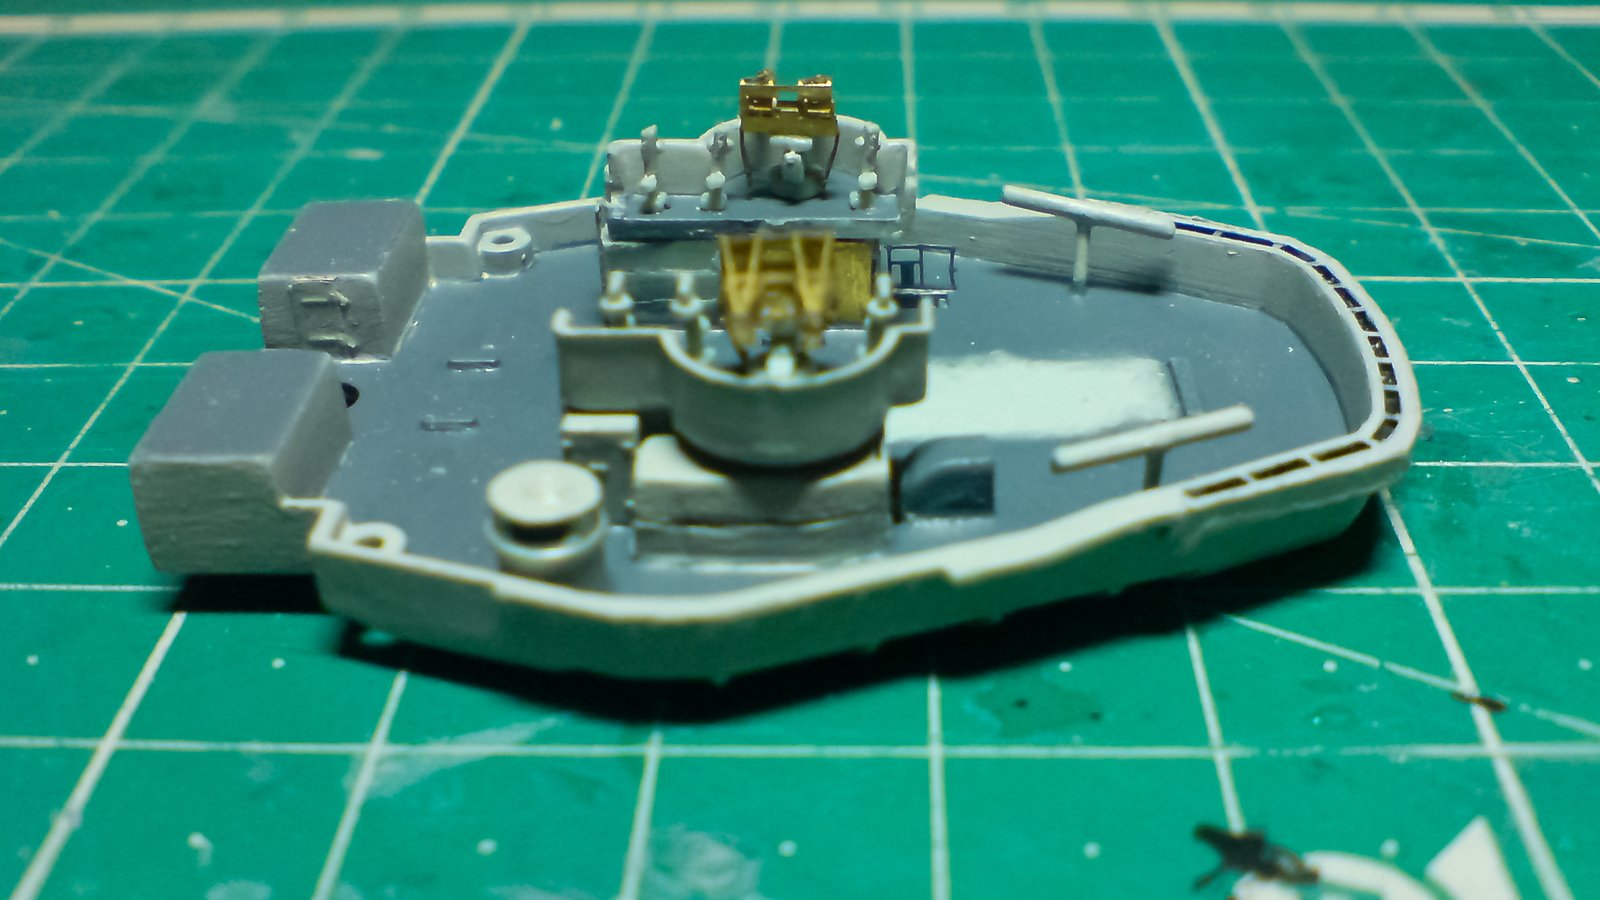
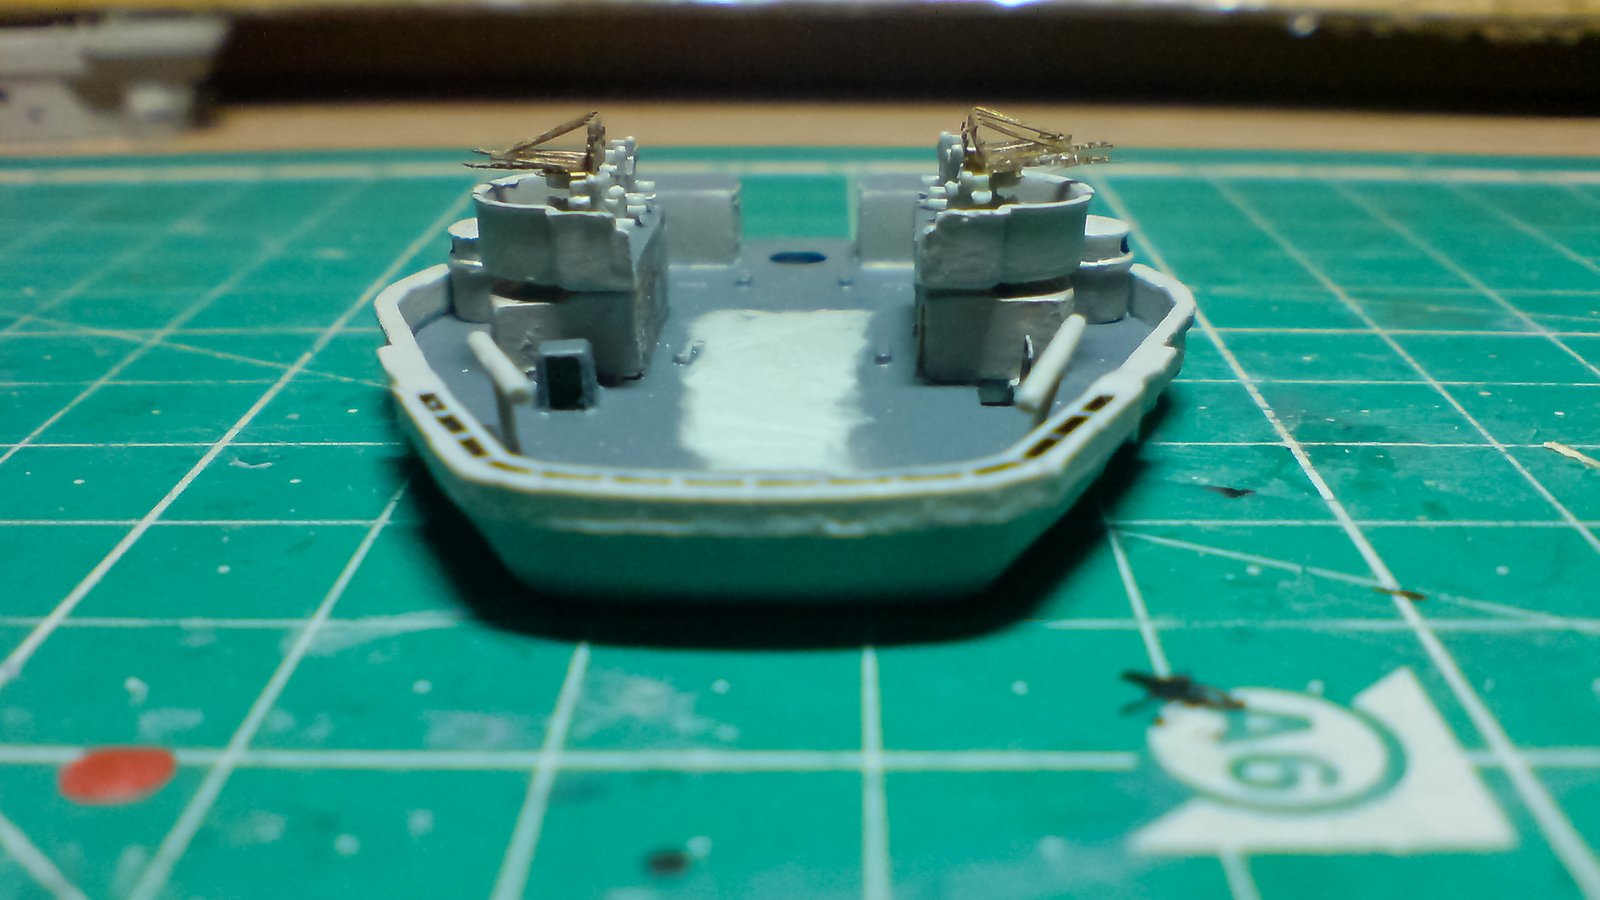
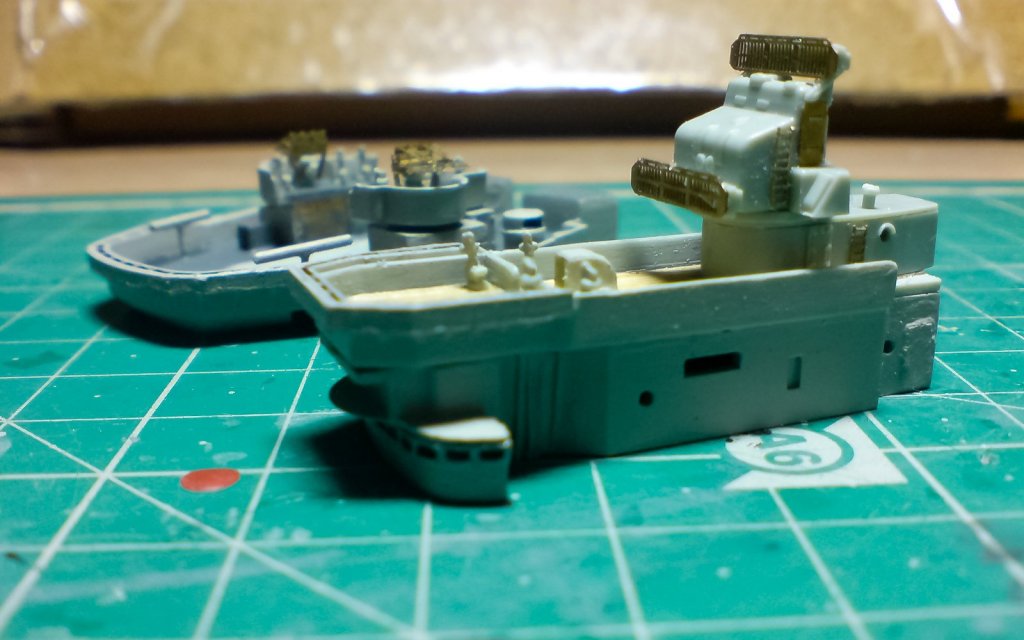
Evening all, more work today on the bridge areas - first I constructed the main gunnery control system, I firstly fitted the two kit radar sections - then I fiited some pe in the shape of a couple of doors, ladders and two pe radar fronts I then glued it down onto the control section, next I started constucting the two PPD radar devices, these consist of the kit base part with three very delicate pe parts for the top. Then I decided to populate the bridge and ppd decks with a few binocular devices. Note to self - "need to do a bit of a tidy up to the paintwork re -dust" Just a few pics. OC.


-
Surgeon steady hands, lots of working space, good magnifiers and good tweezers or similar long nose devices. OC.
- 405 replies
-
- 3
-
-
- tamiya
- king george v
- (and 2 more)
-
Yep saw both - was watching from the bench when greg performed his surgery with pin point accuracy, my mouth is still on the floor, when I try it - "well we all know about that". OC.
- 405 replies
-
- 4
-
-
- tamiya
- king george v
- (and 2 more)