HOLIDAY DONATION DRIVE - SUPPORT MSW - DO YOUR PART TO KEEP THIS GREAT FORUM GOING! (Only 13 donations so far - C'mon guys!)
×


Old Collingwood
-
Posts
12,098 -
Joined
-
Last visited
Content Type
Profiles
Forums
Gallery
Events
Everything posted by Old Collingwood
-
 Old Collingwood is from Nelson era as in Cuthbert Collingwood who was at Trafalger. OC.
 -
To be honest it doesn't really matter - just on high the blast tends to blow things over the place on the bench, but drying the paint just dries faster. OC.
-
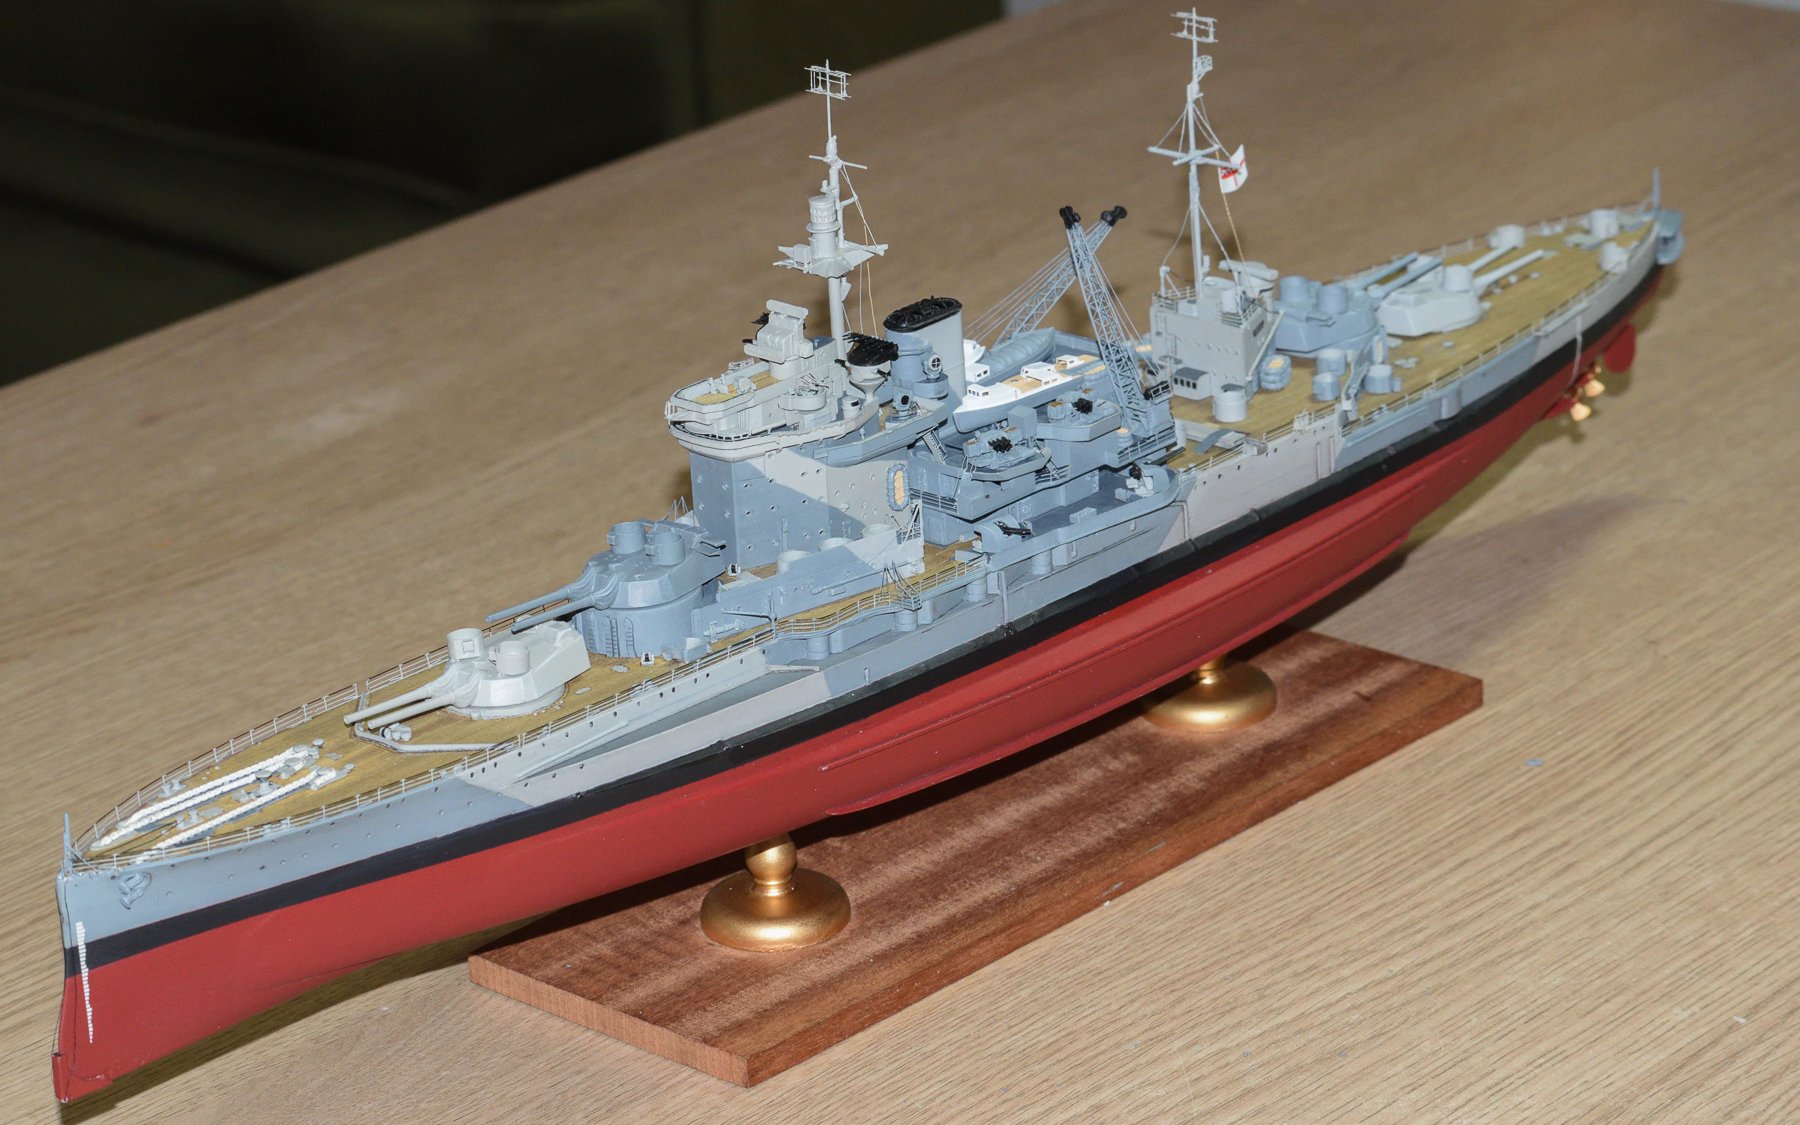
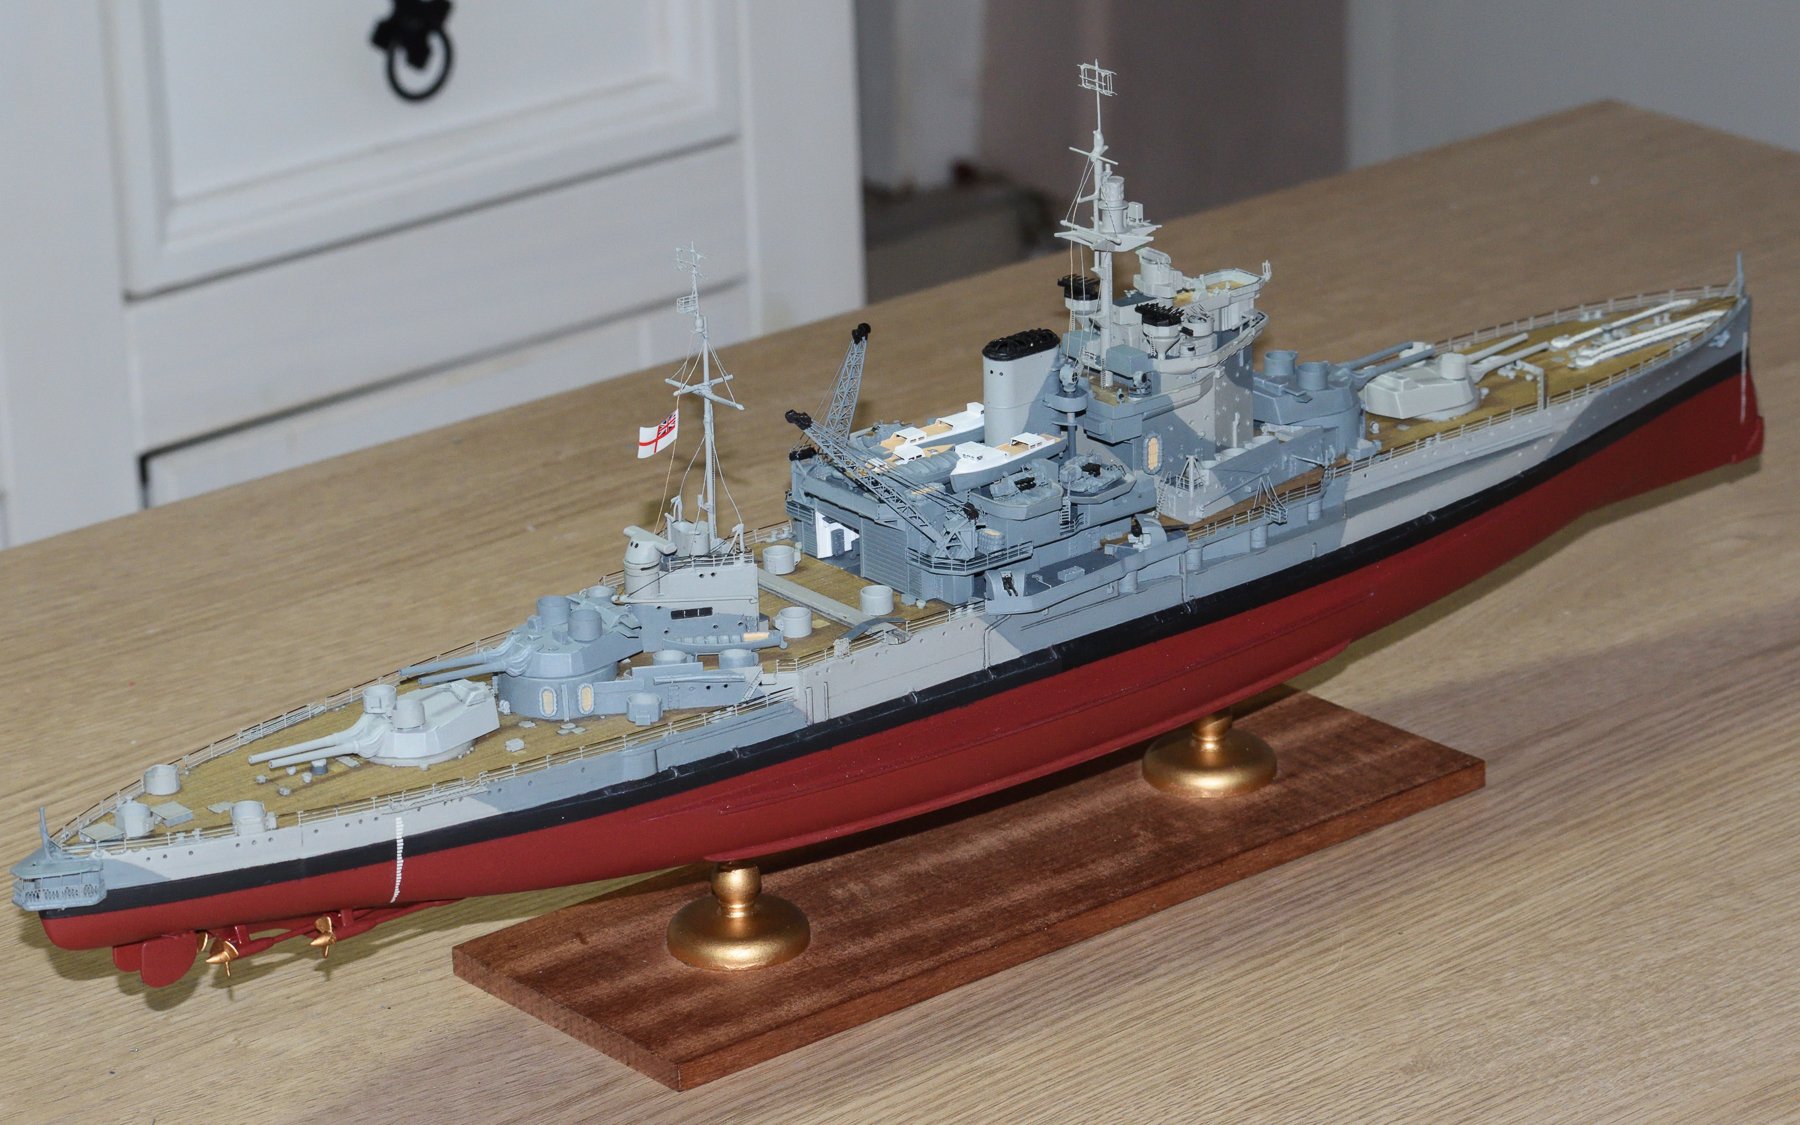
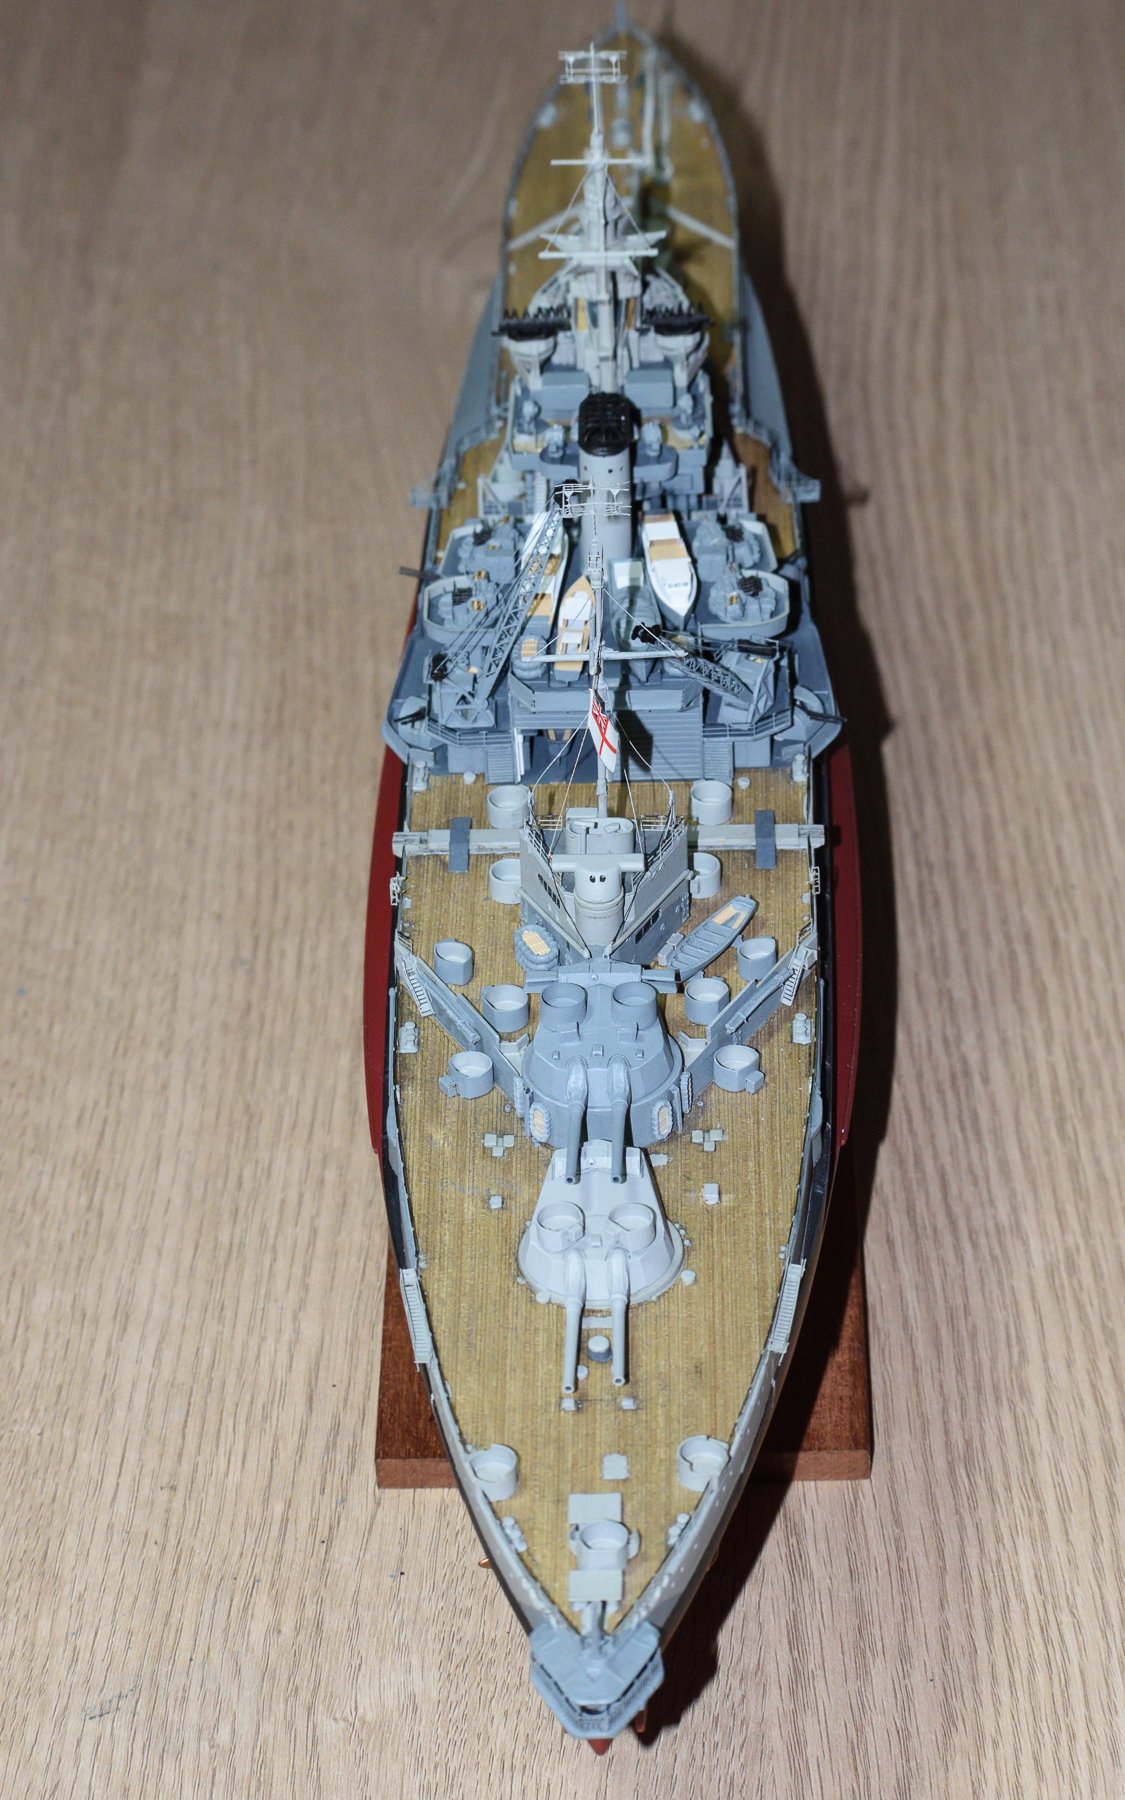
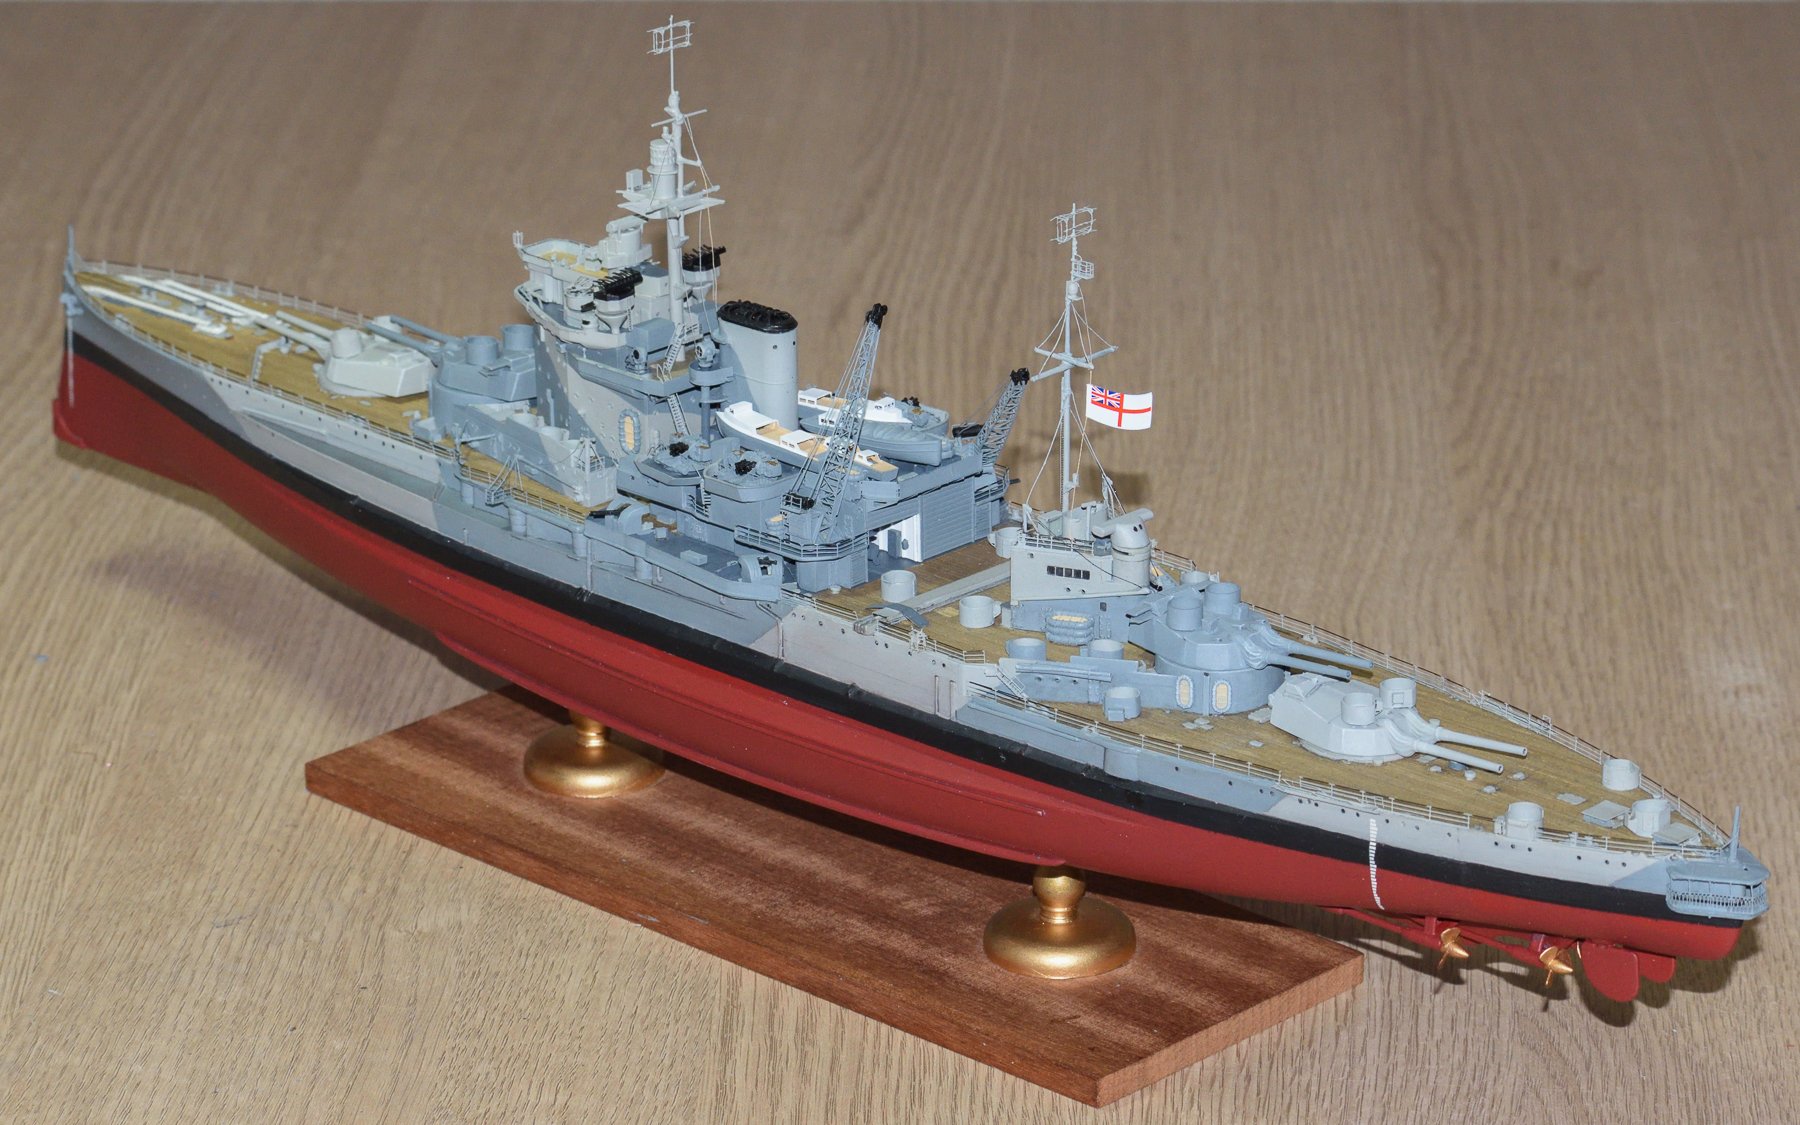
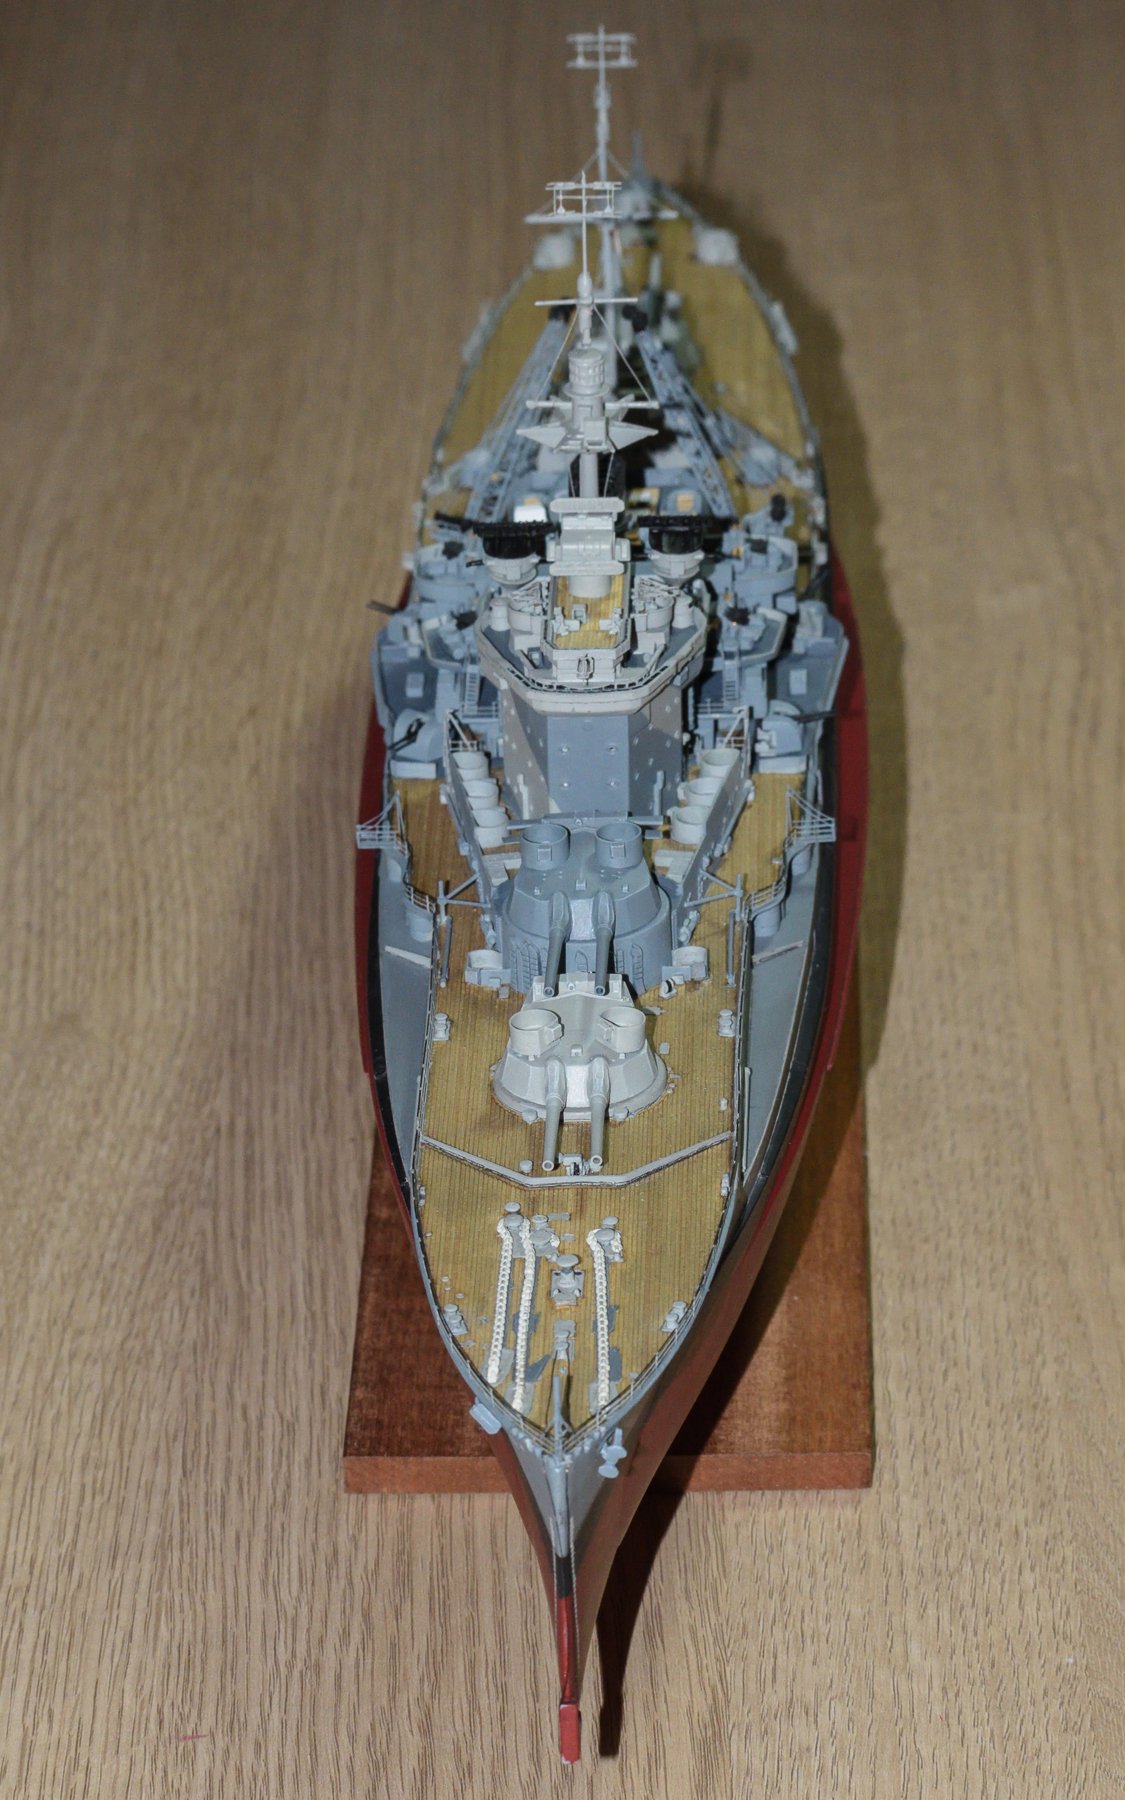
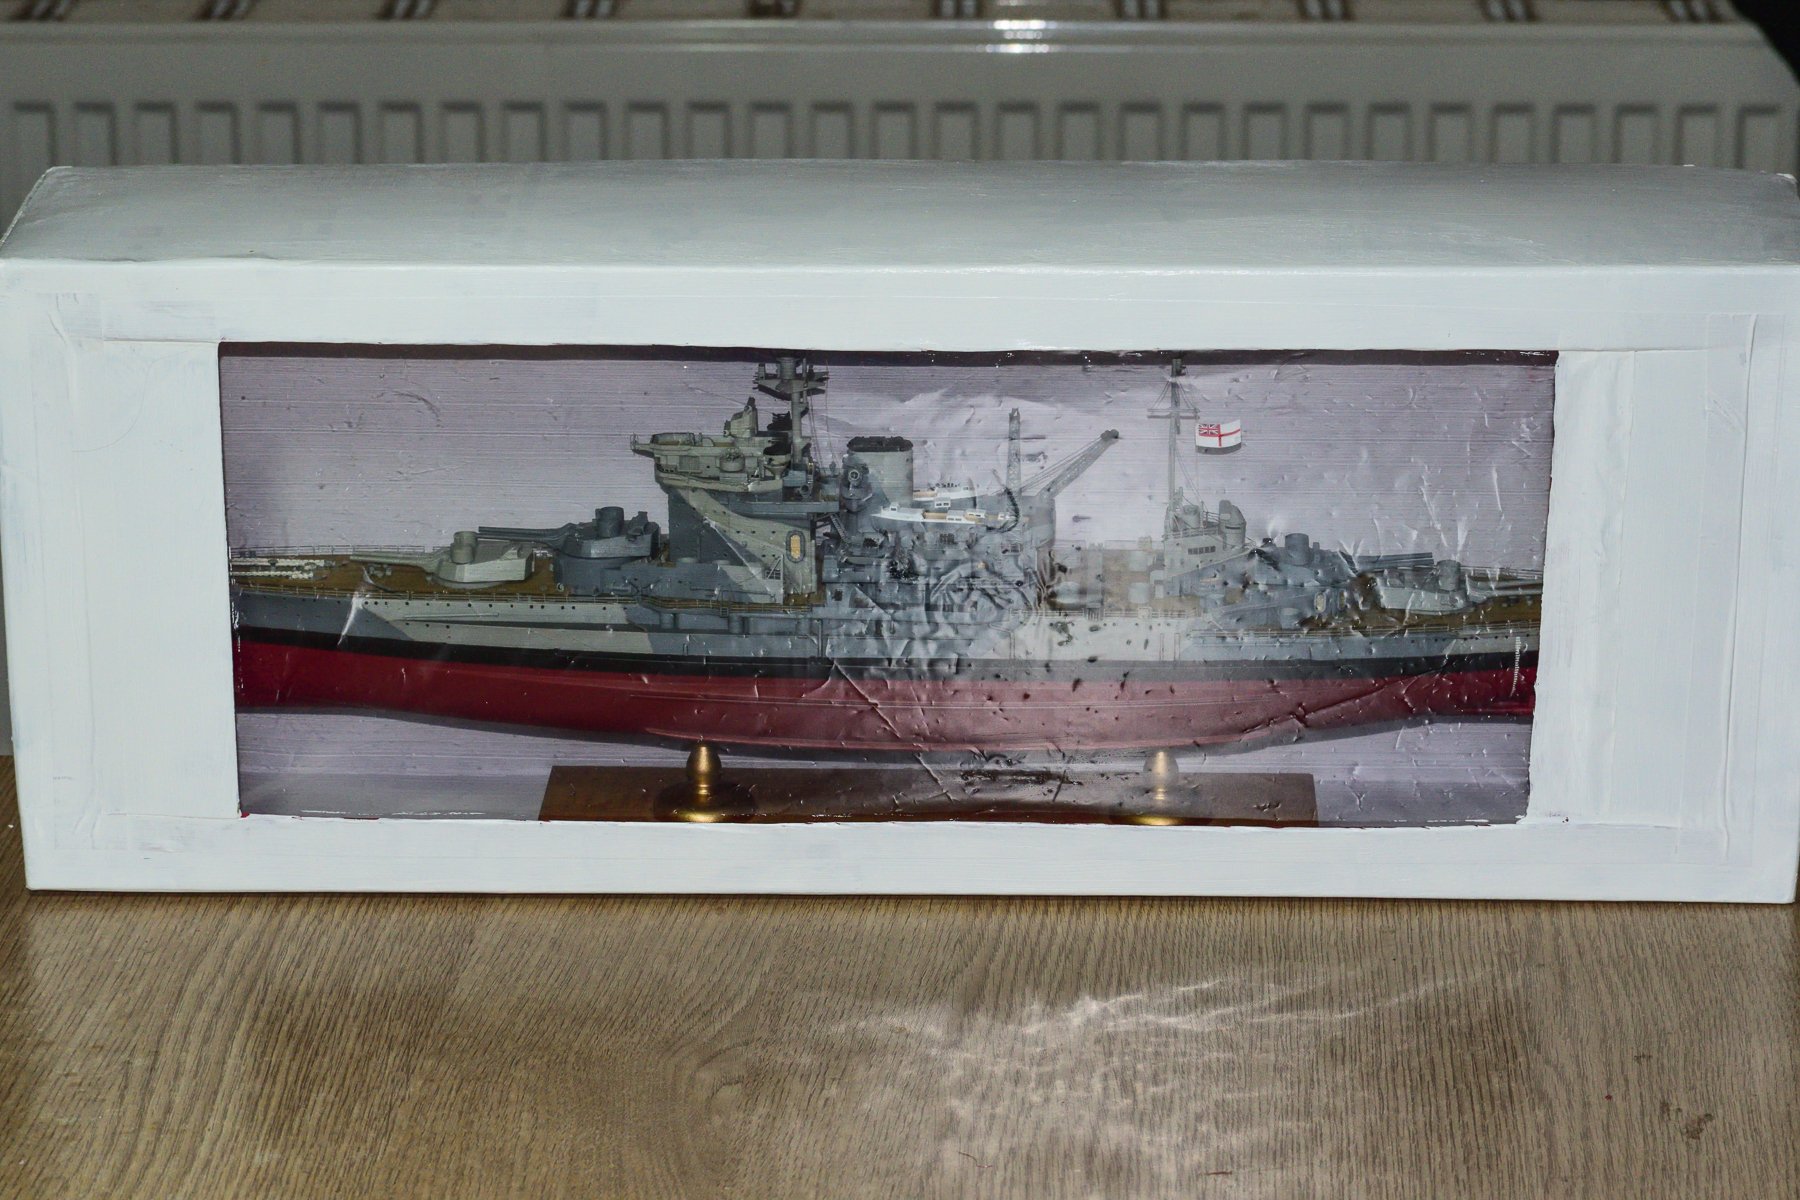
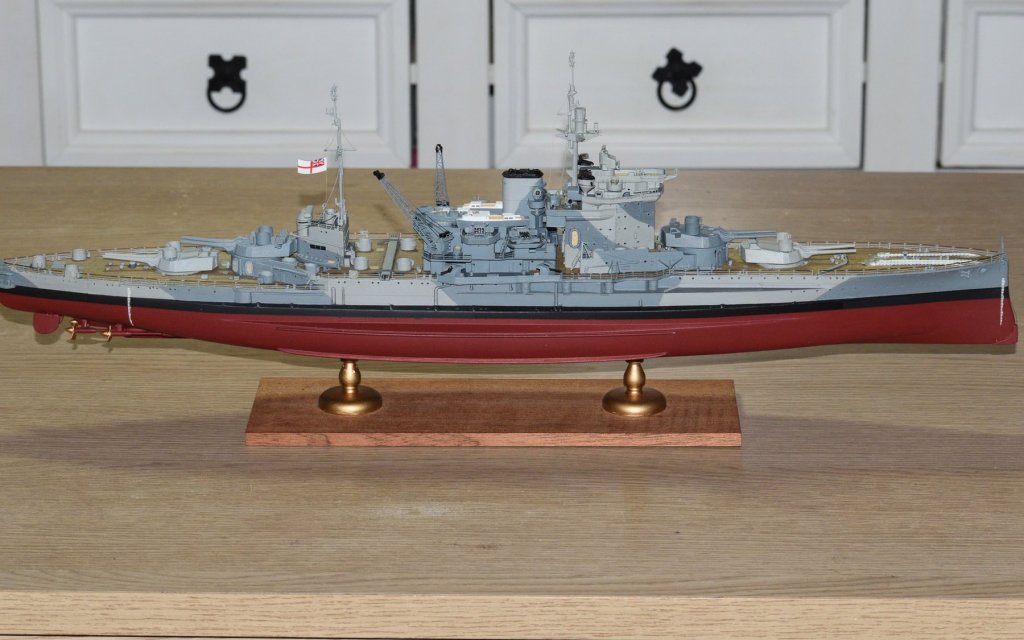
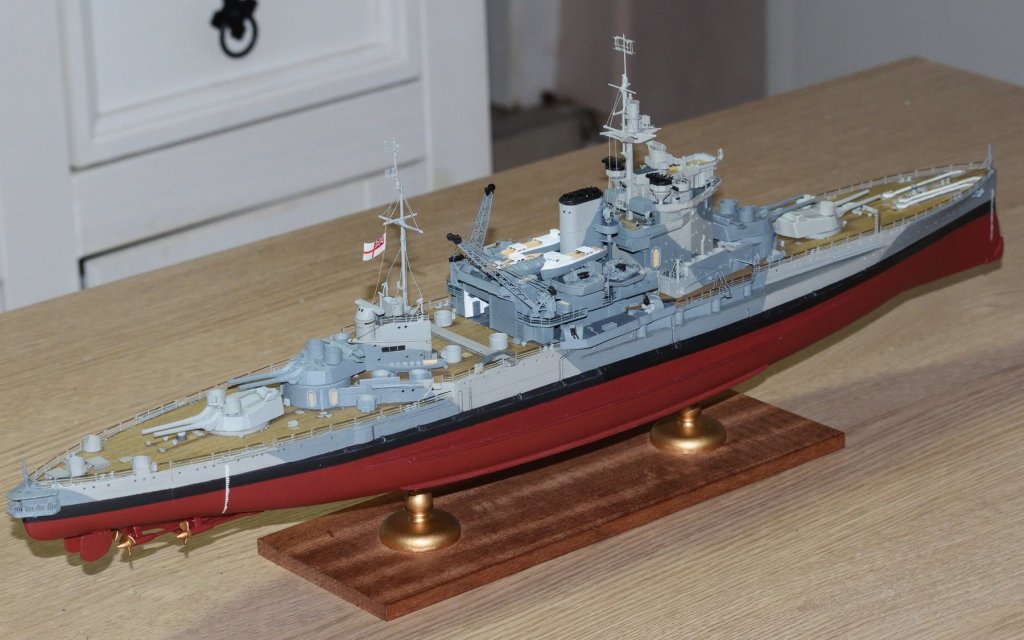
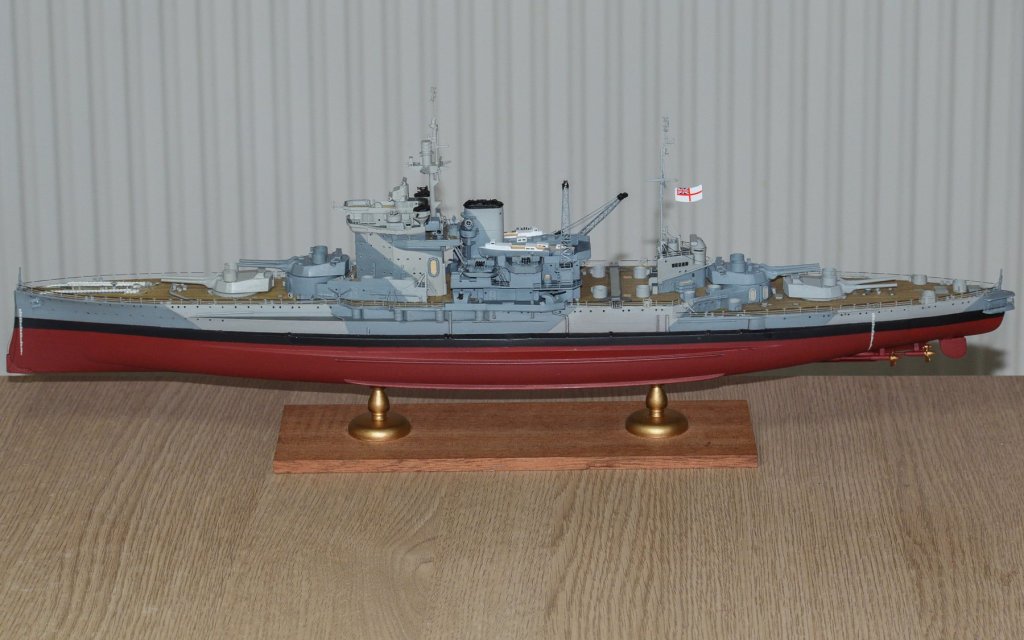
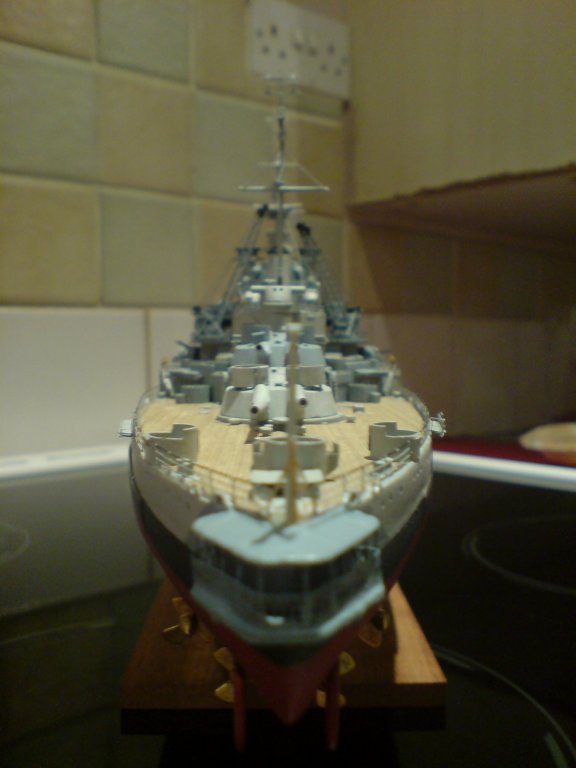
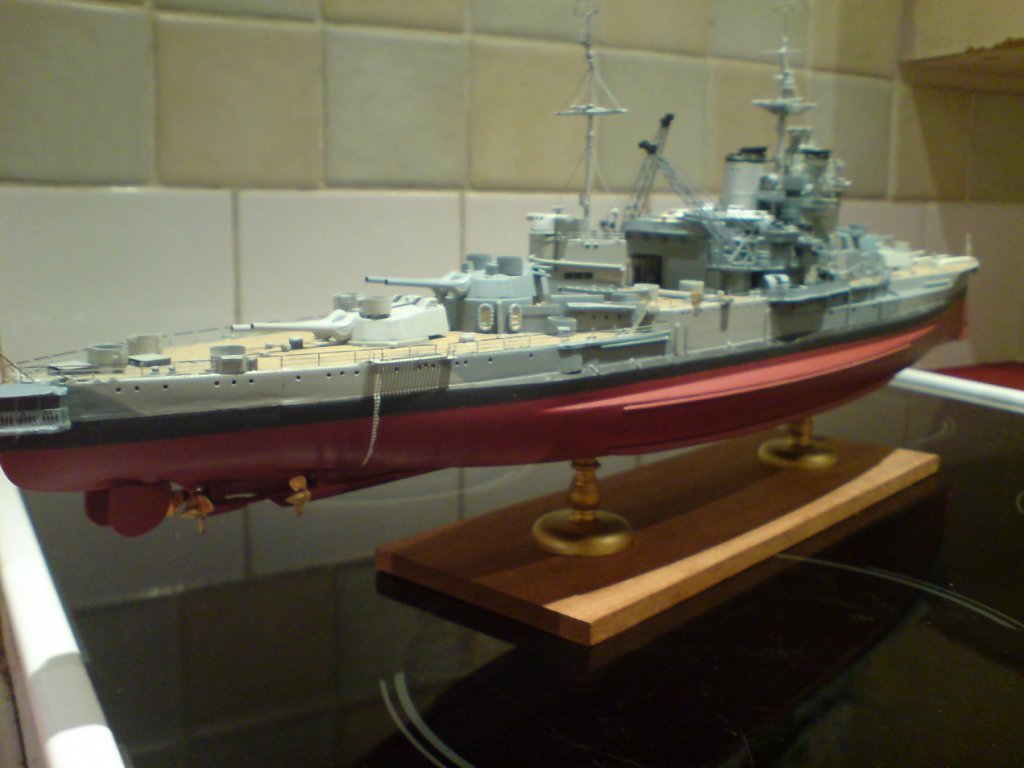
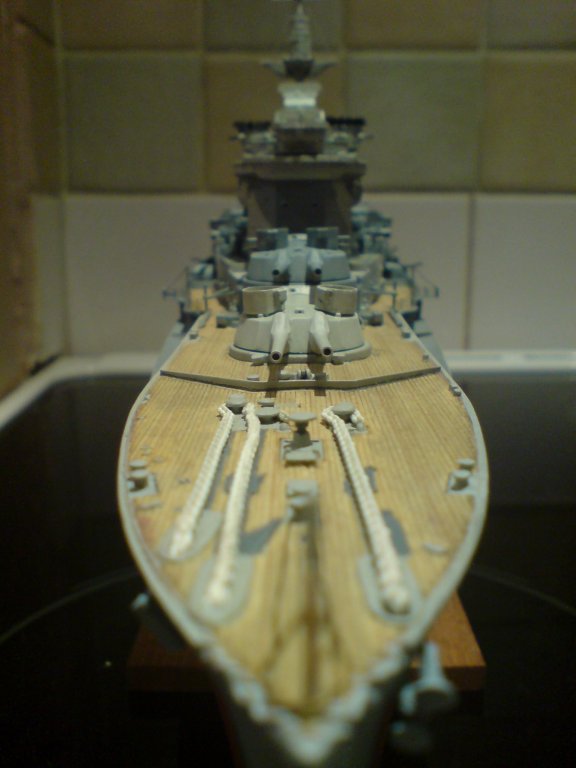
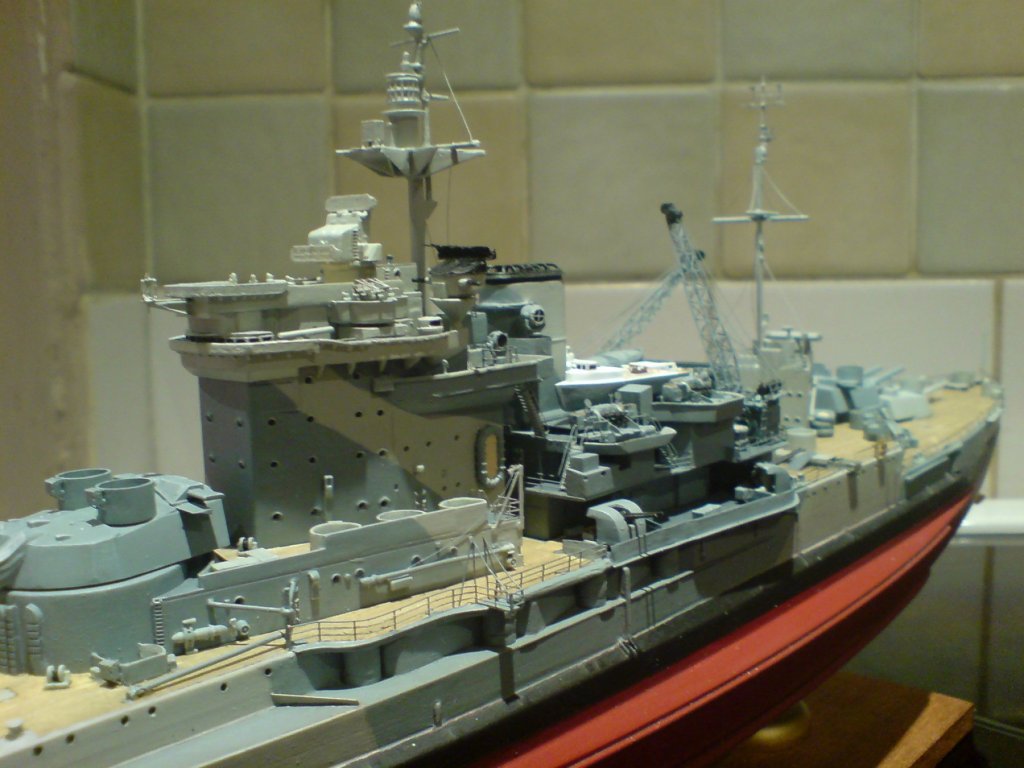
Hi all, so after fitting the last of the railings, touching up a bit of the paintwork and a couple of flag ropes - Oh and the Flag. I am considering this done apart from oerlikon pieces that I will get later. Here is the gallery - OC.


-
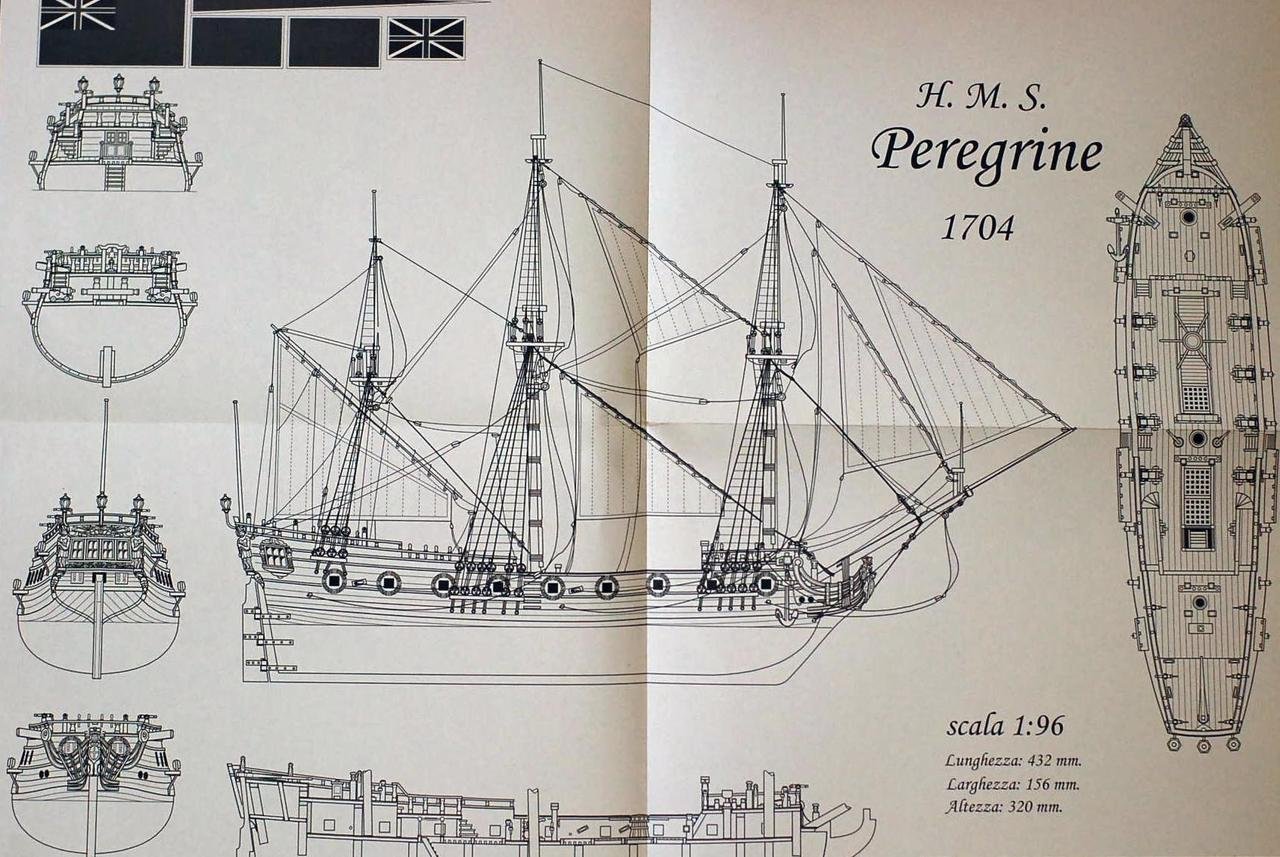
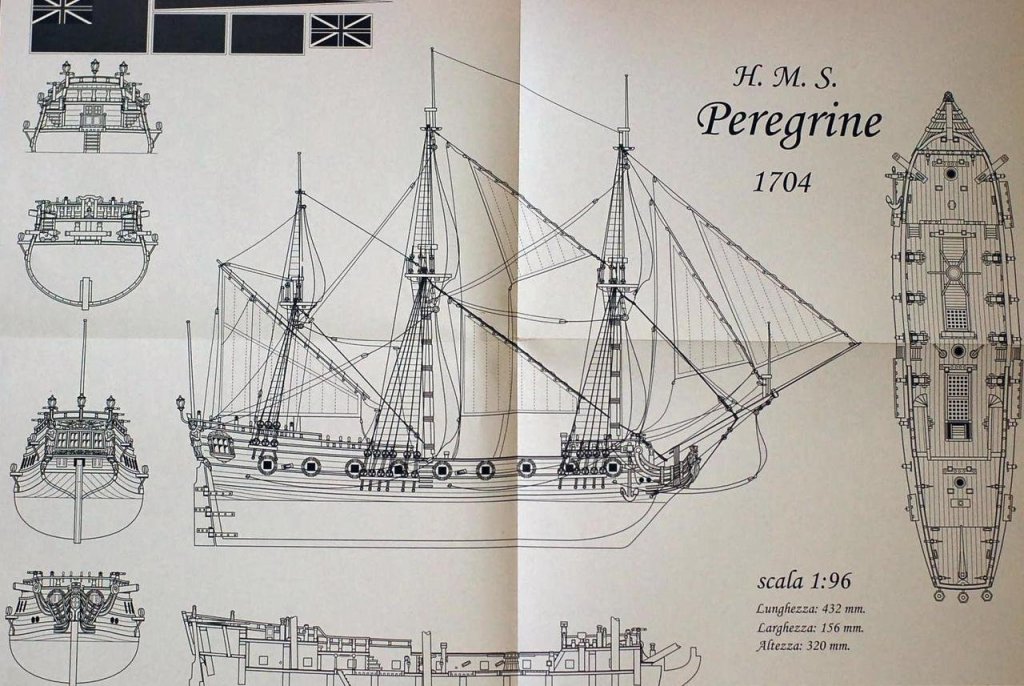
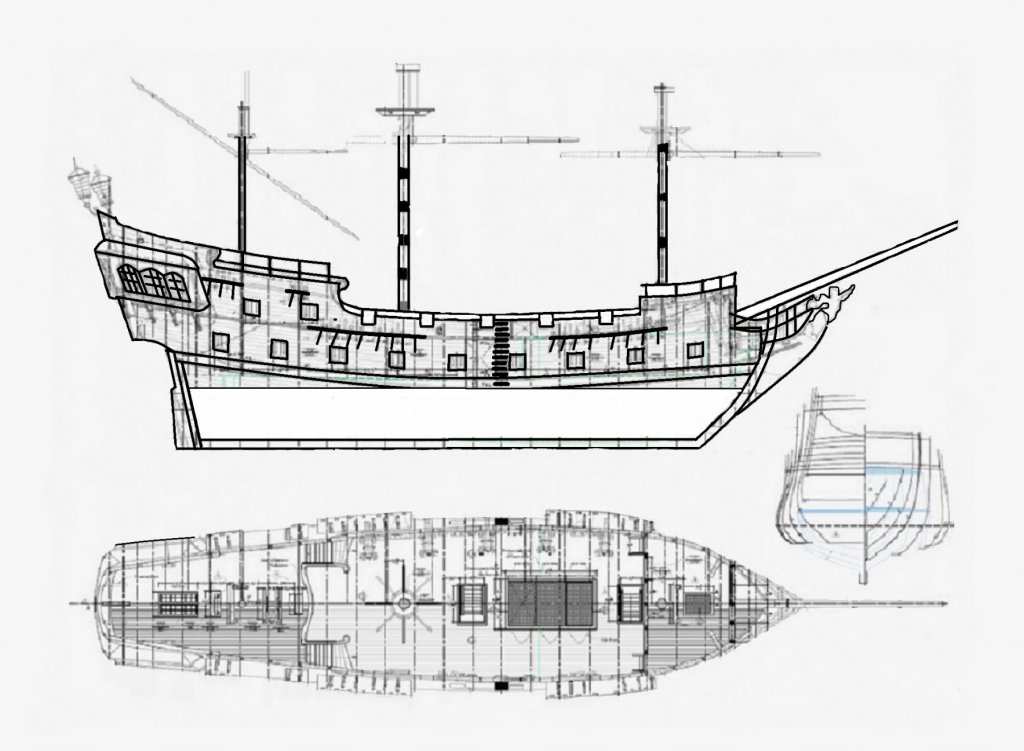
This is a rough idea what I am doing - converting the Pergrine into the Pearl uisng the Peregrine kit as a base and working from there. OC.
-
Welcome aboard - hope you like popcorn? some serious pop corn officiados in here. OC.
-
Thank you sincerley pat, I thought I would never see the day finishing her - only taken me three years. OC.
-
With regards to your brushes this looks good its a set - https://www.ebay.co.uk/itm/FINE-HAIR-PAINT-BRUSH-SET-x-6-sizes-0-00-000-for-model-figure-painting-Tasma/381137469443?epid=1348149223&hash=item58bd904003:g:s1EAAOSw1vlUxlmn And with your paints you could try this acrylic set specifically for your build - https://modelexpo-online.com/uss-constitution-paint-set-eleven-bottles OC.
- 209 replies
-
- 1
-

-
- constitution
- revell
- (and 1 more)
-
Evening all, its getting closer to being finished - today I fitted the rear hull ladder to the other side, and built and fitted the two night lifeboys, I also constructed the front flagstaff and stand. Oh I also fixed down the superstructures. Just needs a bit ot touch up and the four sections of railing alsong the front - then its finished minus the Oerlikon guns. I took a few pics in the kitchen - hence why the lighting is different (still with my cam phone as my dslr lens is too long) OC.
-
Welcome aboard, I have saved some of the internet diagrams of the Pearl, and also after doing some reading I understand the Pearl has a keel about 110ft long where as my Pergrine has a keel about 80ft long. What I intend to do is to convert the Pearl drawings to 1/100 scale and draw them over the top of my Pergrine plans and build the frame from there, starting from the keel piece/s. OC.
-
Hi mike, Loving your start I understand the kit is very good Revell have made some really goods kist another is HMS Victory, anyway on with your build - Lou mentioned tips with hand painting - I have hand painted every kit I have built, comes from never moving on to getting spraying equipment, the tips I have leaned along the way are - (please excuse the colums) Try to keep two different thickness's of each color you use - one dilluted about 50/50 and the other original thickness. You can use propriety thinning agents or as I do use disstilled water. Keep a few good paitbrushes in good shape - I use a tiny one for fine details, a small one and a medium (the medium is good for spreading the undercoat and proceding thin layers. I try to keep my paint jars - tops and around the rim clean and free from residue paint, I also tend to use the lids for applying small areas of paint as they retain a small amount of paint from shaking the bottles, if using the paint tins same difference would be to load a small container (like the glass candle holders for t cup candles - cups) with paint from the brush in use. I always paint in layers starting from the base/undercoat - start with the normal thickness paint (but not too much on the brush) as soon as a basic layer of paint is applied, I use a hand held hair dryer to dry the paint quickly - it also helps to even out the paint molecules. Then move onto the thinned paint and again apply this in thin layers (do not apply too much as it will form bubbles when set, again use the hairdryer between each coat, also change direction of the brush - say from the opposit direction each application. The thin layers help the finnish to be smoother as it tends to self level. I also use acrylics as my prefered medium as they are just all around a better paint - easier to clean up and no smells. Hope I have covered everything any other tips just give me a shout. OC.
- 209 replies
-
- 1
-
-
- constitution
- revell
- (and 1 more)
-
Thnaks lou, I'll introduce myself to mike. OC.
-
More than welcome kevin, could also get a combination lock for that popcorn machine. OC.
-
Its amazing what it can take to rectify a problem - but so pleased for you that you got it sorted. OC.