MORE HANDBOOKS ARE ON THEIR WAY! We will let you know when they get here.
×


Old Collingwood
-
Posts
12,077 -
Joined
-
Last visited
Content Type
Profiles
Forums
Gallery
Events
Everything posted by Old Collingwood
-
 Sorry for that jack call it a senior moment or the tele getting me disstracted. OC.
- 1,090 replies
-
- 4
-

-
- showcase models
- vendetta
- (and 2 more)
-
Thank you sincerely my friend, I think an important part of brush painting is to apply the paint in different levels and thickness's I tend to apply a very thin watery last few coats with most of the paint removed from the brush, and dried quickly with a hairdryer, this seems to even the paint molecules out and give a smoother finish, I have yet to do that on the details above - the work above is the rough finish yet to be finished. OC.
-
Have a look at this mate - http://www.corkshipwrecks.net/irishnavy.html OC.
- 1,090 replies
-
- 4
-
-
- showcase models
- vendetta
- (and 2 more)
-
Looking great greg, the amount of detail that goes into those turrets is amazing - really nice work. OC.
- 405 replies
-
- 4
-
-
- tamiya
- king george v
- (and 2 more)
-
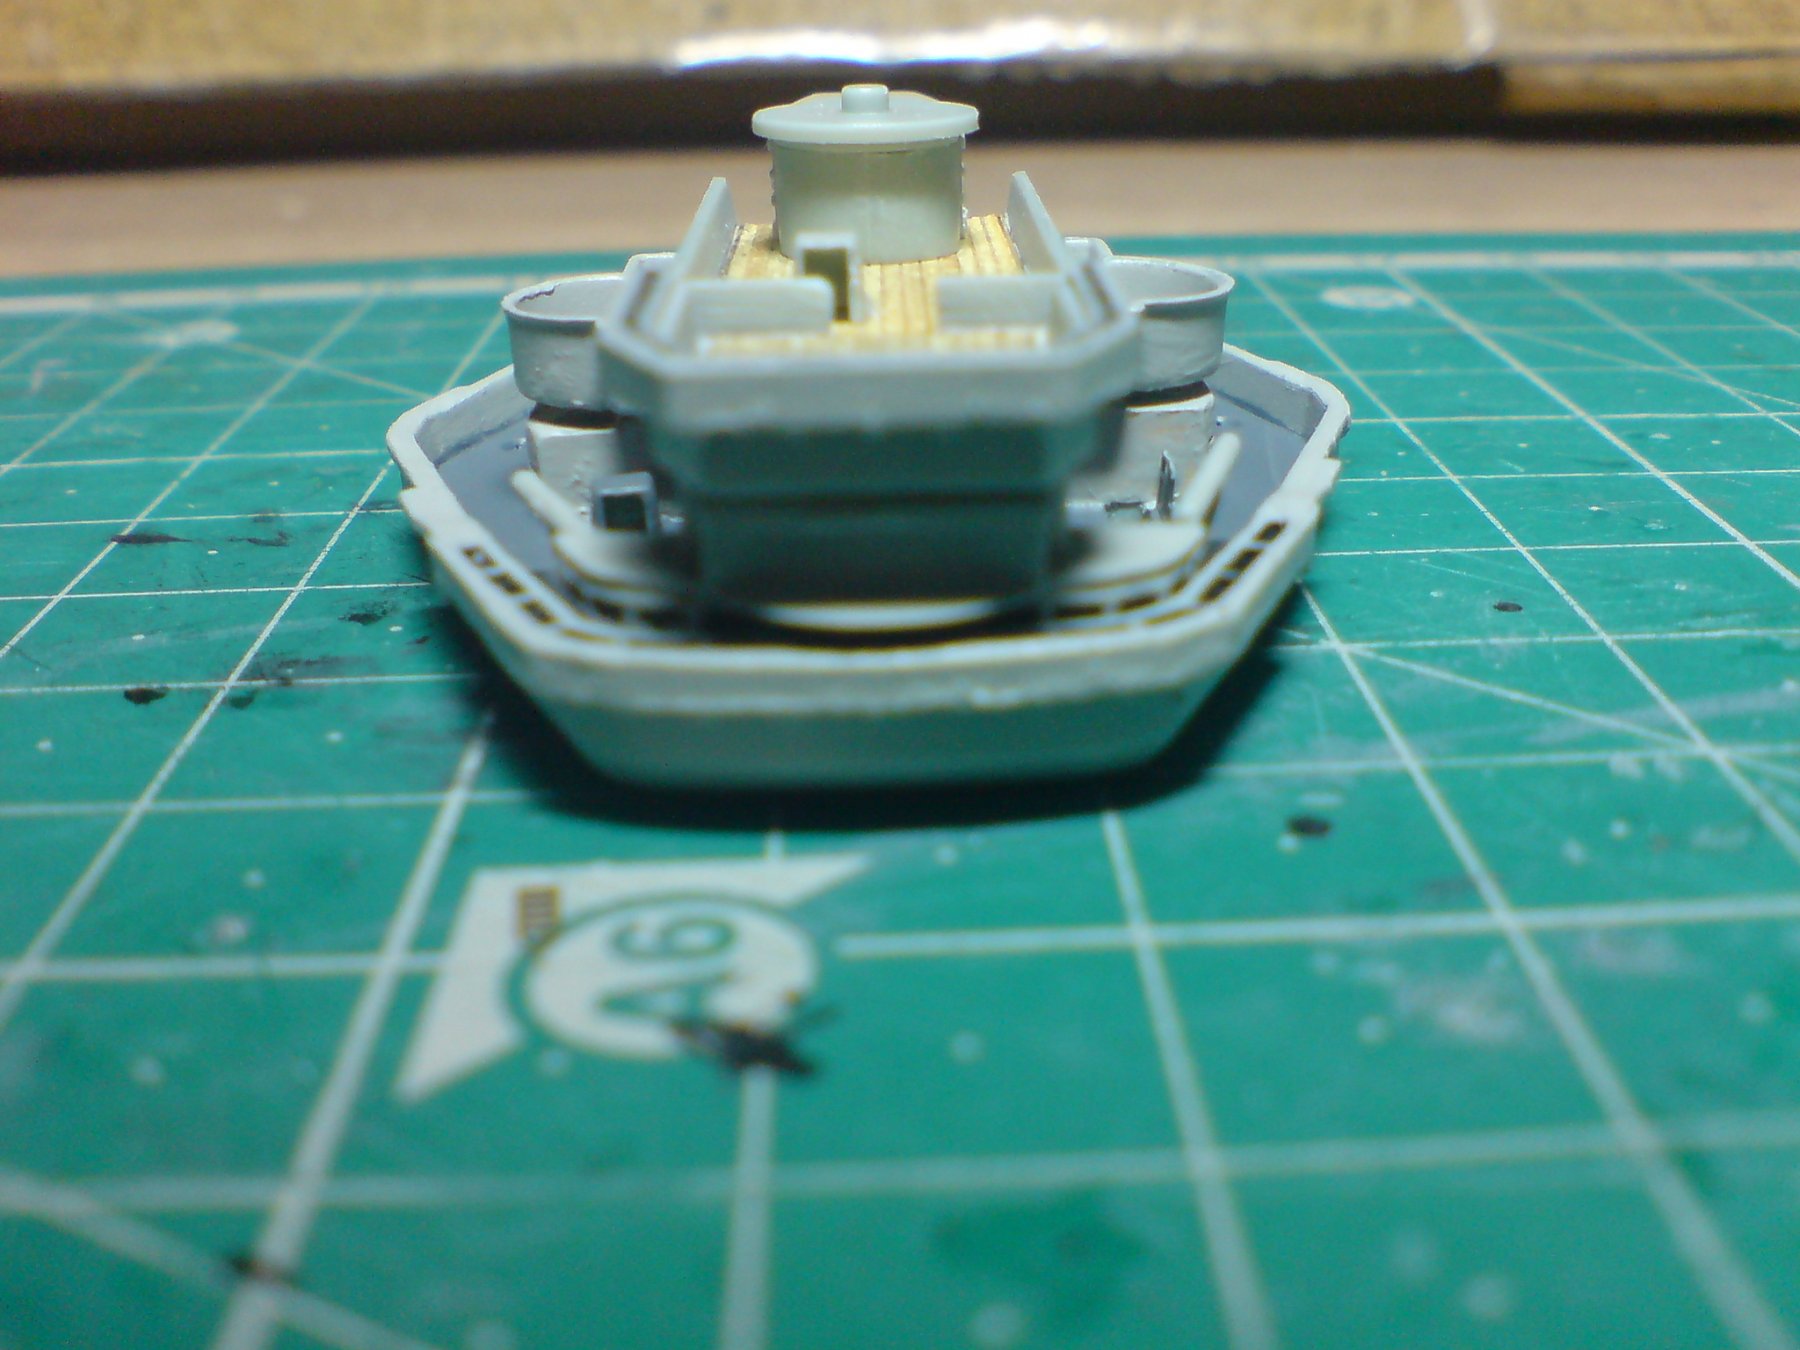
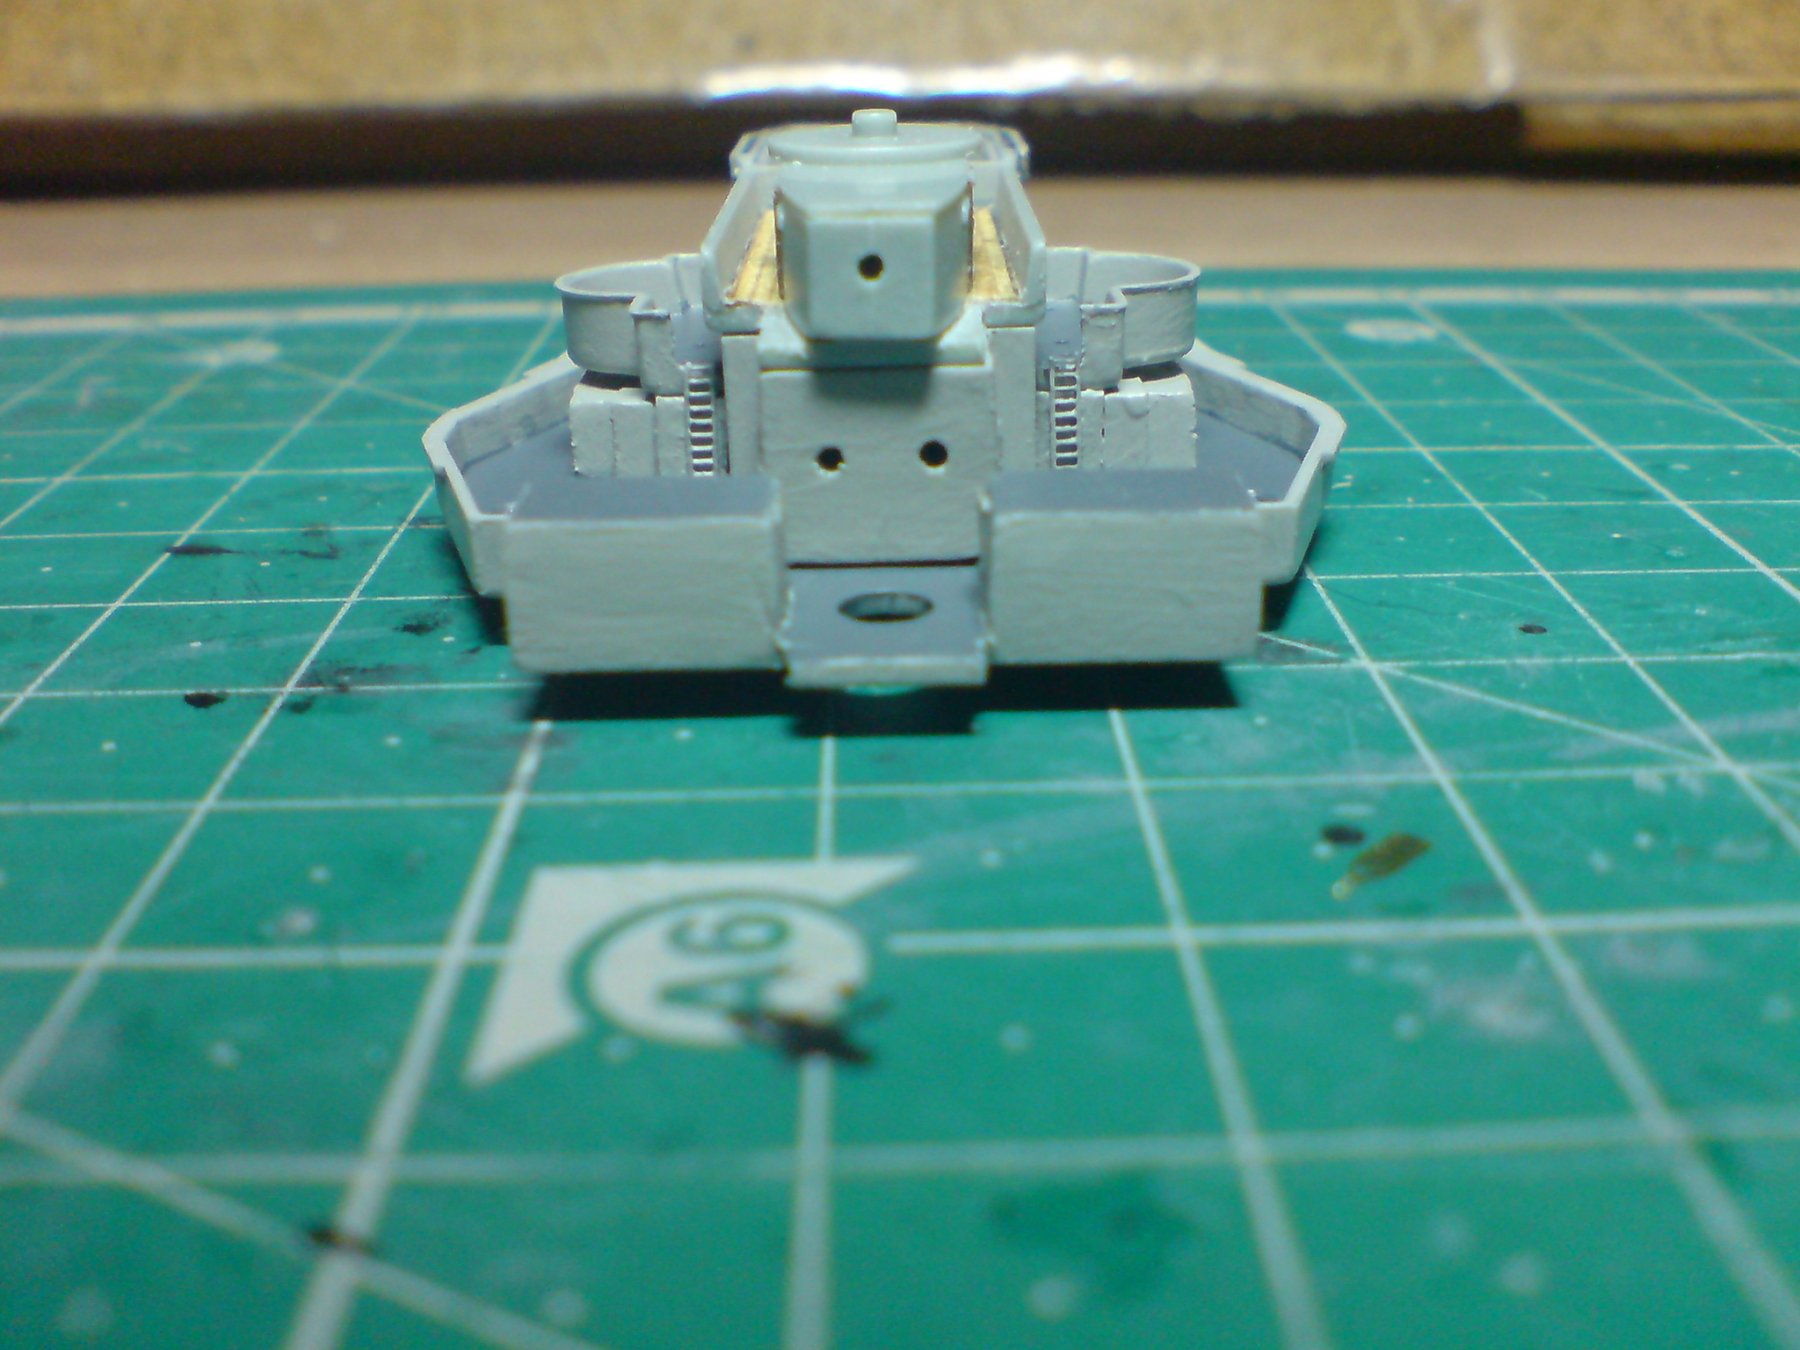
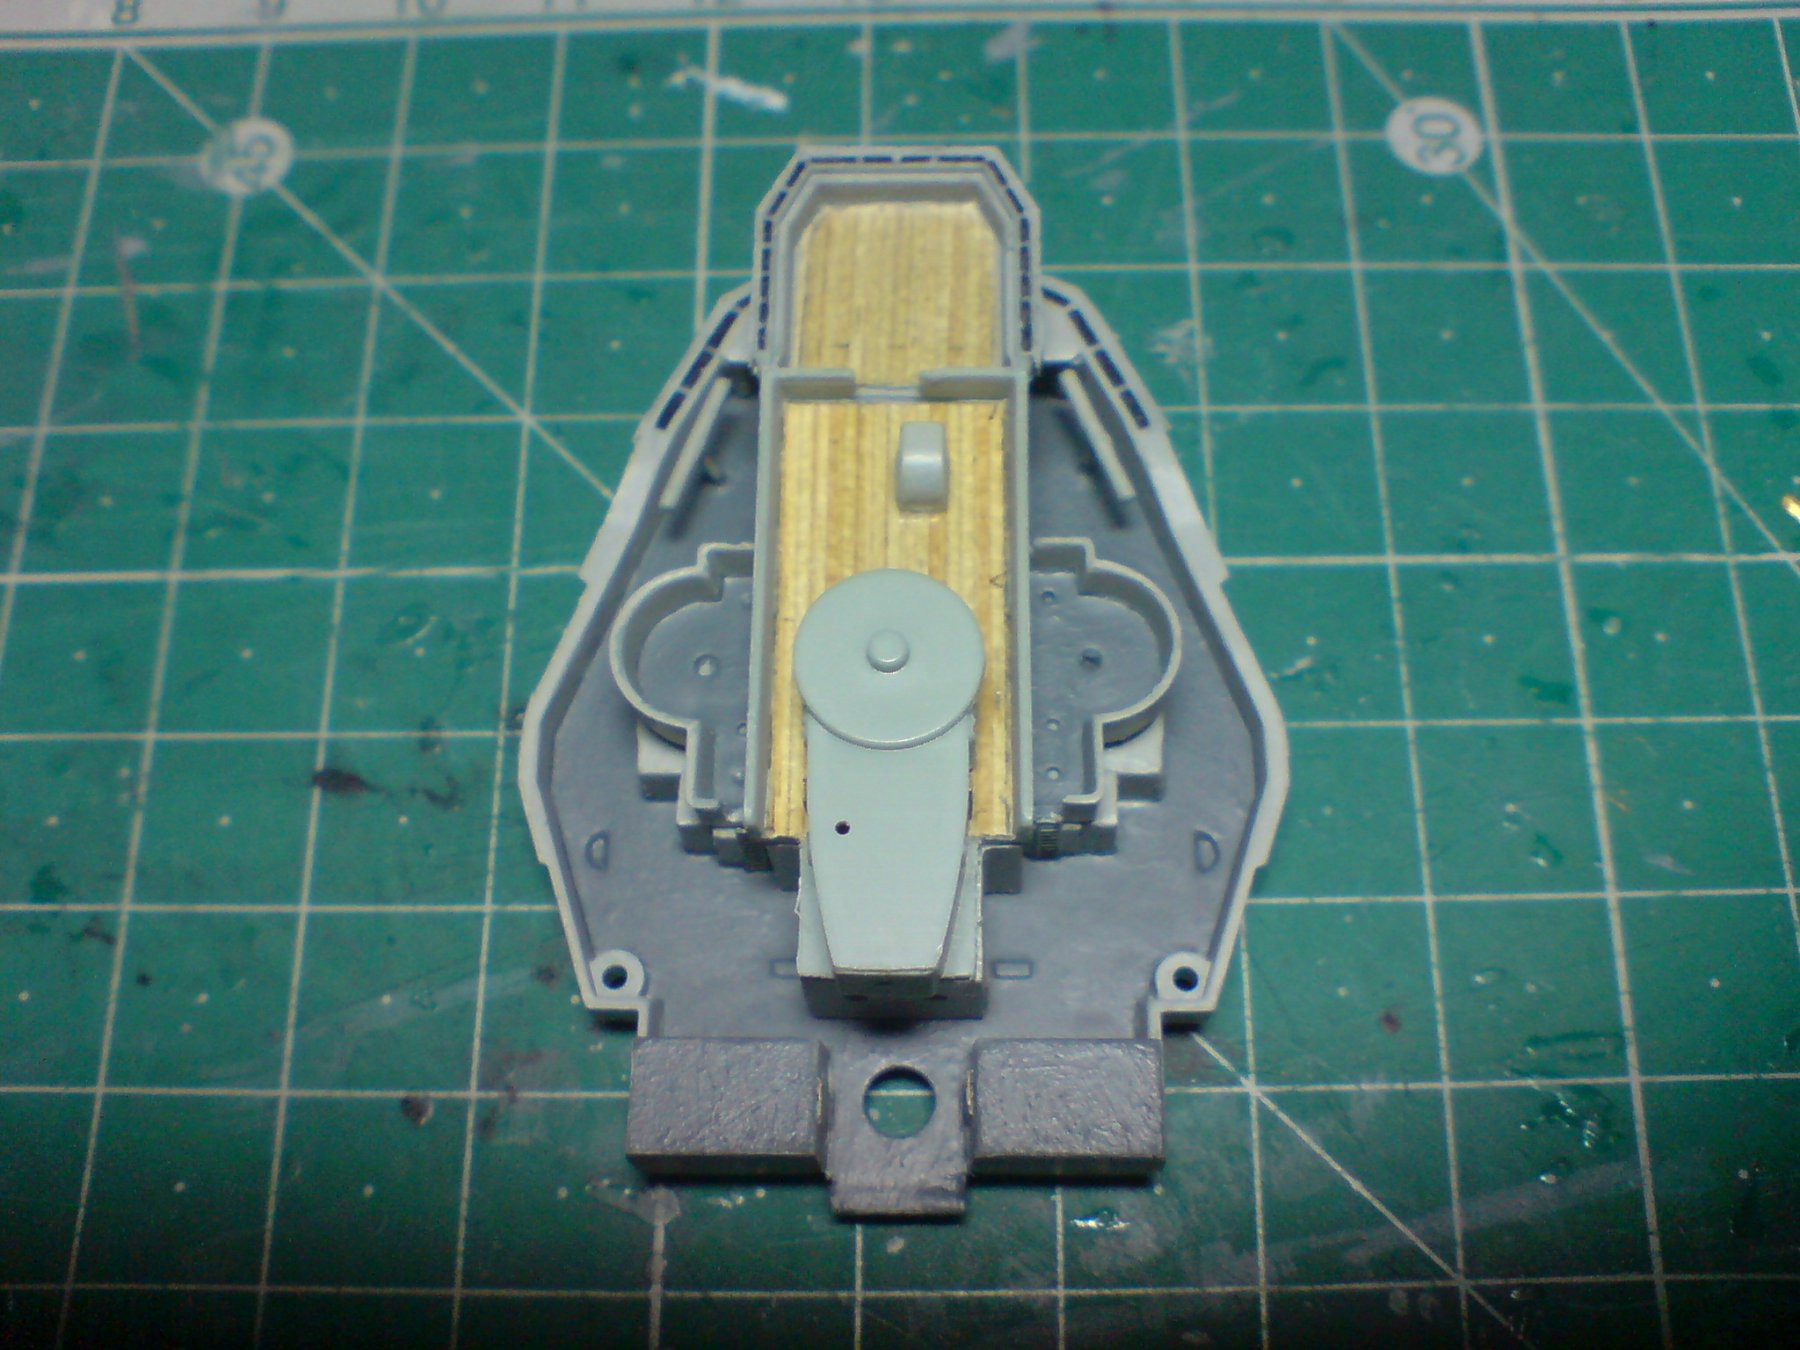
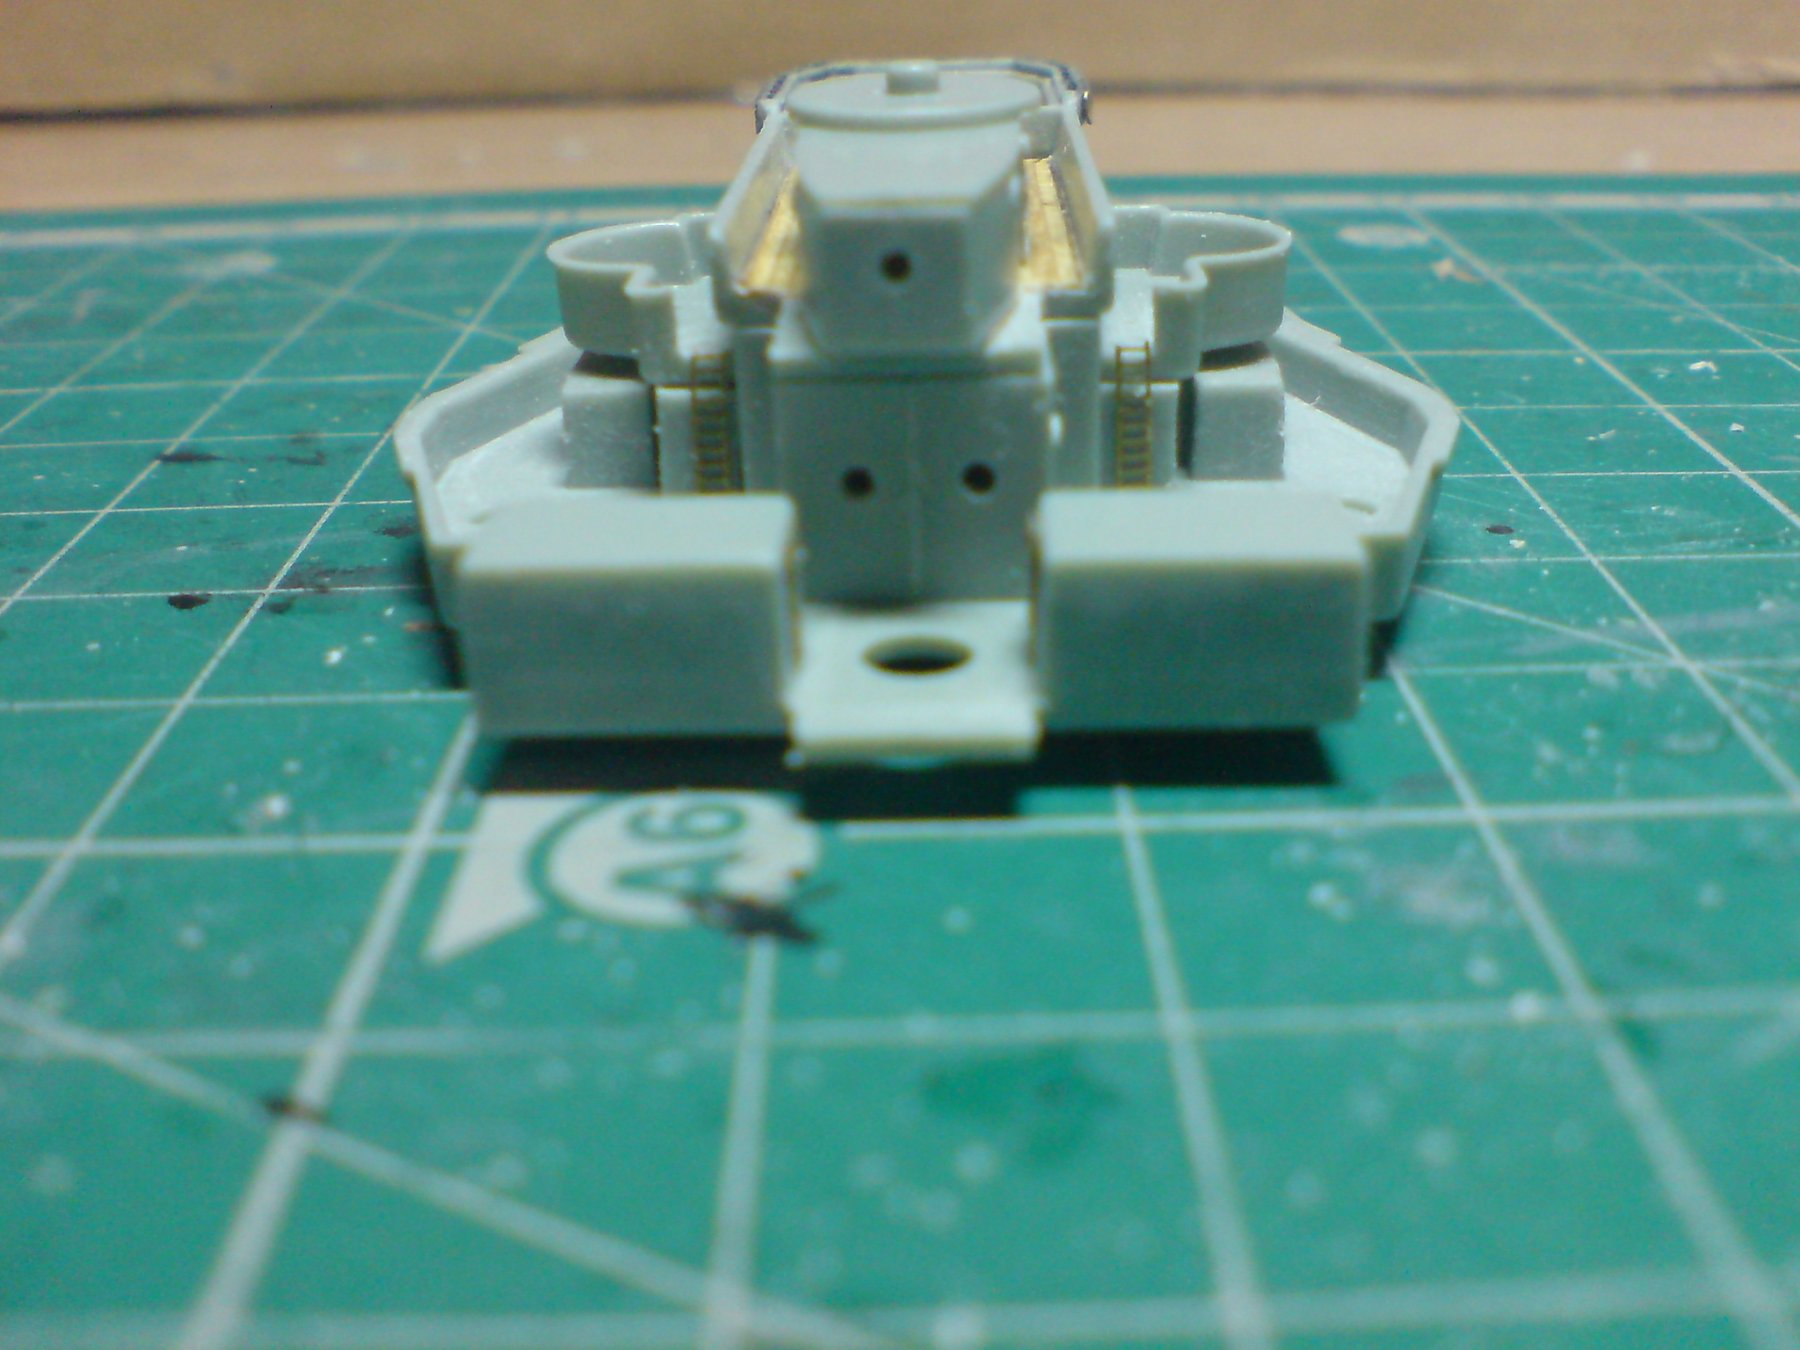
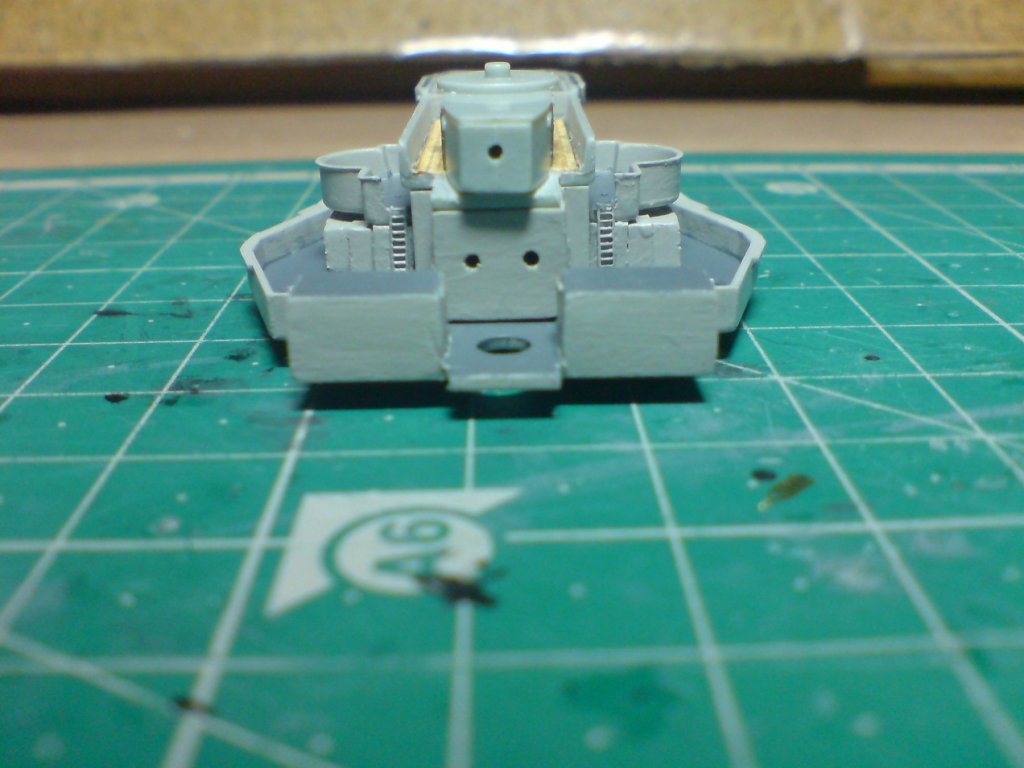
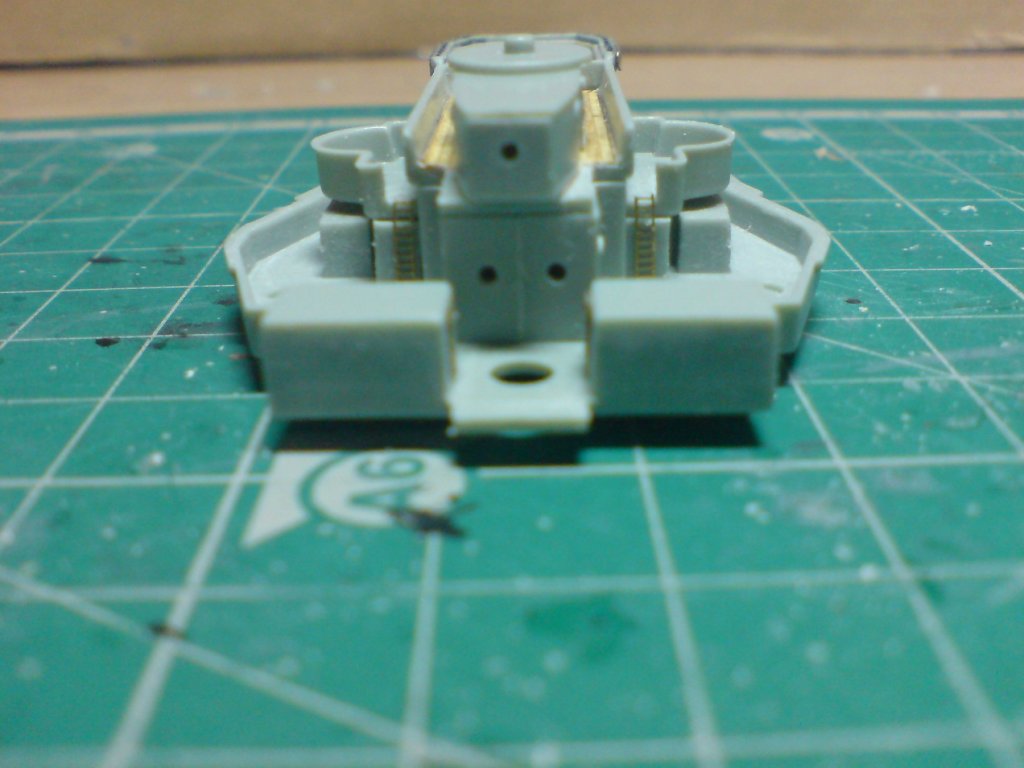
Good evening friends, I managed more time at the bench again today, I added a few more details to the bridge decks including ladders upto the main radar, a few more port holes, a couple of stairway hoods, a stairway railing and some voice pipes made from fine wires glued in place then trimmed back. I then started the stages of paintwork from the bridge deck upwards. Another bunch of pics showing painted parts (excluding the radar housing) and all still dry fitted while I am painting the different sections. OC.

-
Thank you so much harald for those extremely warm kind words, I hope I am doing the ole girl justice with my build - she deserves it due to her life and action. OC.
-
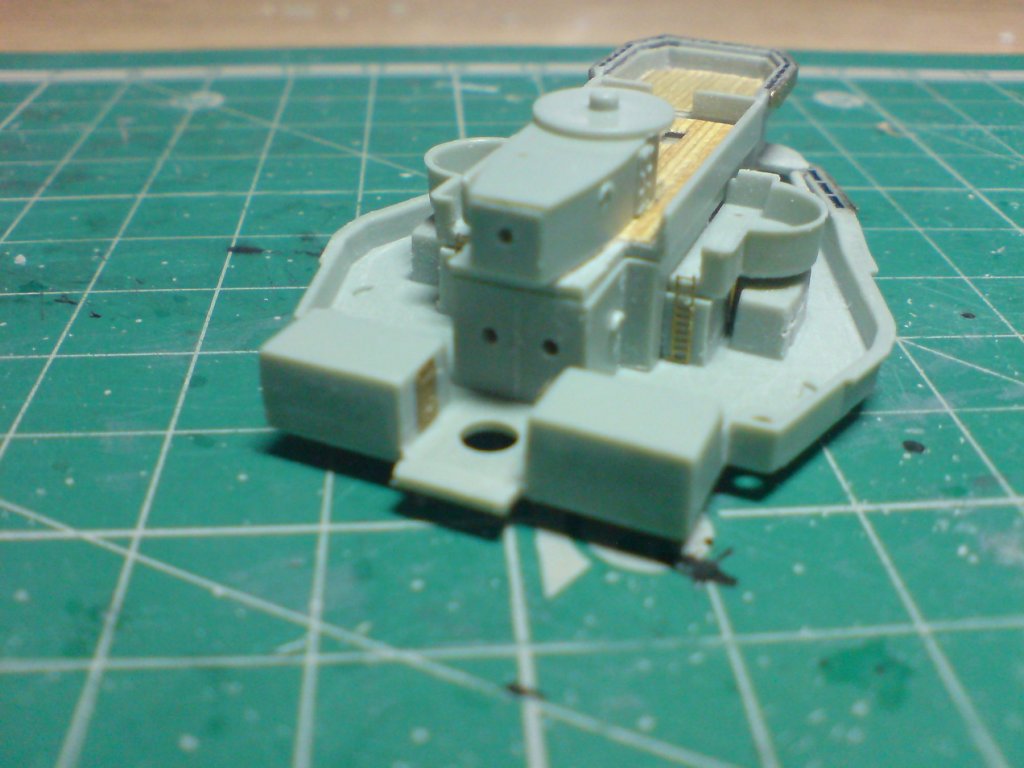
Evening all, so as I posted yesterday - I continued on the bridge decks, first I constructed two plastic blocks from a few small boxes, after these had glued and set I had to slim them down till they fitted under the ppd deck, they were glued in place and each had a ladder glued to their face. I then started work on the lower bridge deck house and windows - this comes as part kit and part pe, the kit part is the main assembly, windows and roof but the windows are not very well defined - here the pontos pe comes into play in the shape of a strip of windows, I filed off the poor detail on the front of the kit part and then glued the pe window strip, then I created two open doorways at each end and glued the assembly into place under the top bridge deck. I once gain dry fitted everything together and took some pics - OC.

-
Just been sorting out tomorrows work - I need to block in under the hacs/ppd platforms and fit two access ladders, and drill two more port holes on the front of the upper block that would look inside the lower bridge, then I need to add somemore pe parts to form the lower bridge frontage and roof. OC.
-
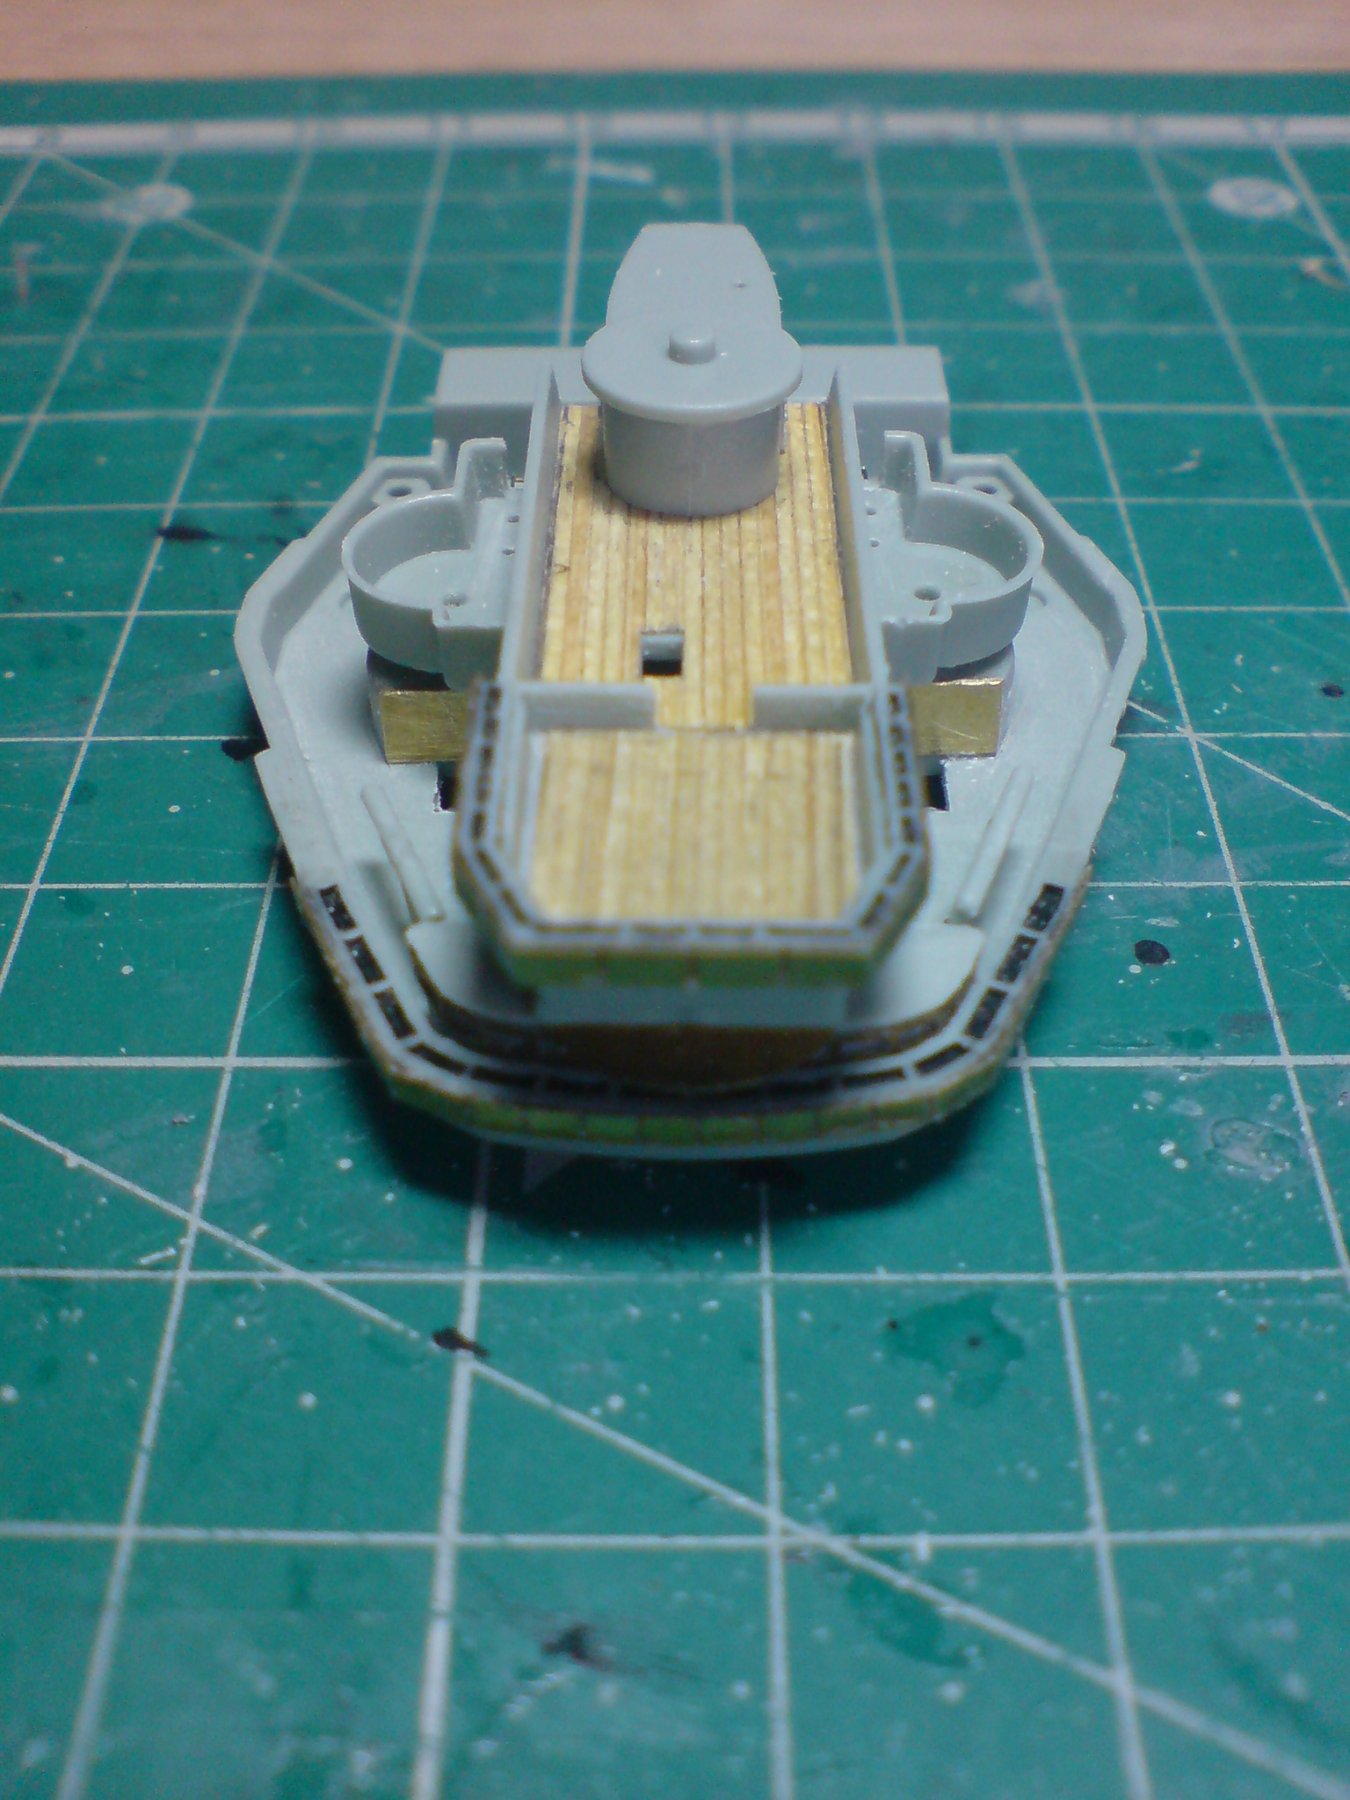
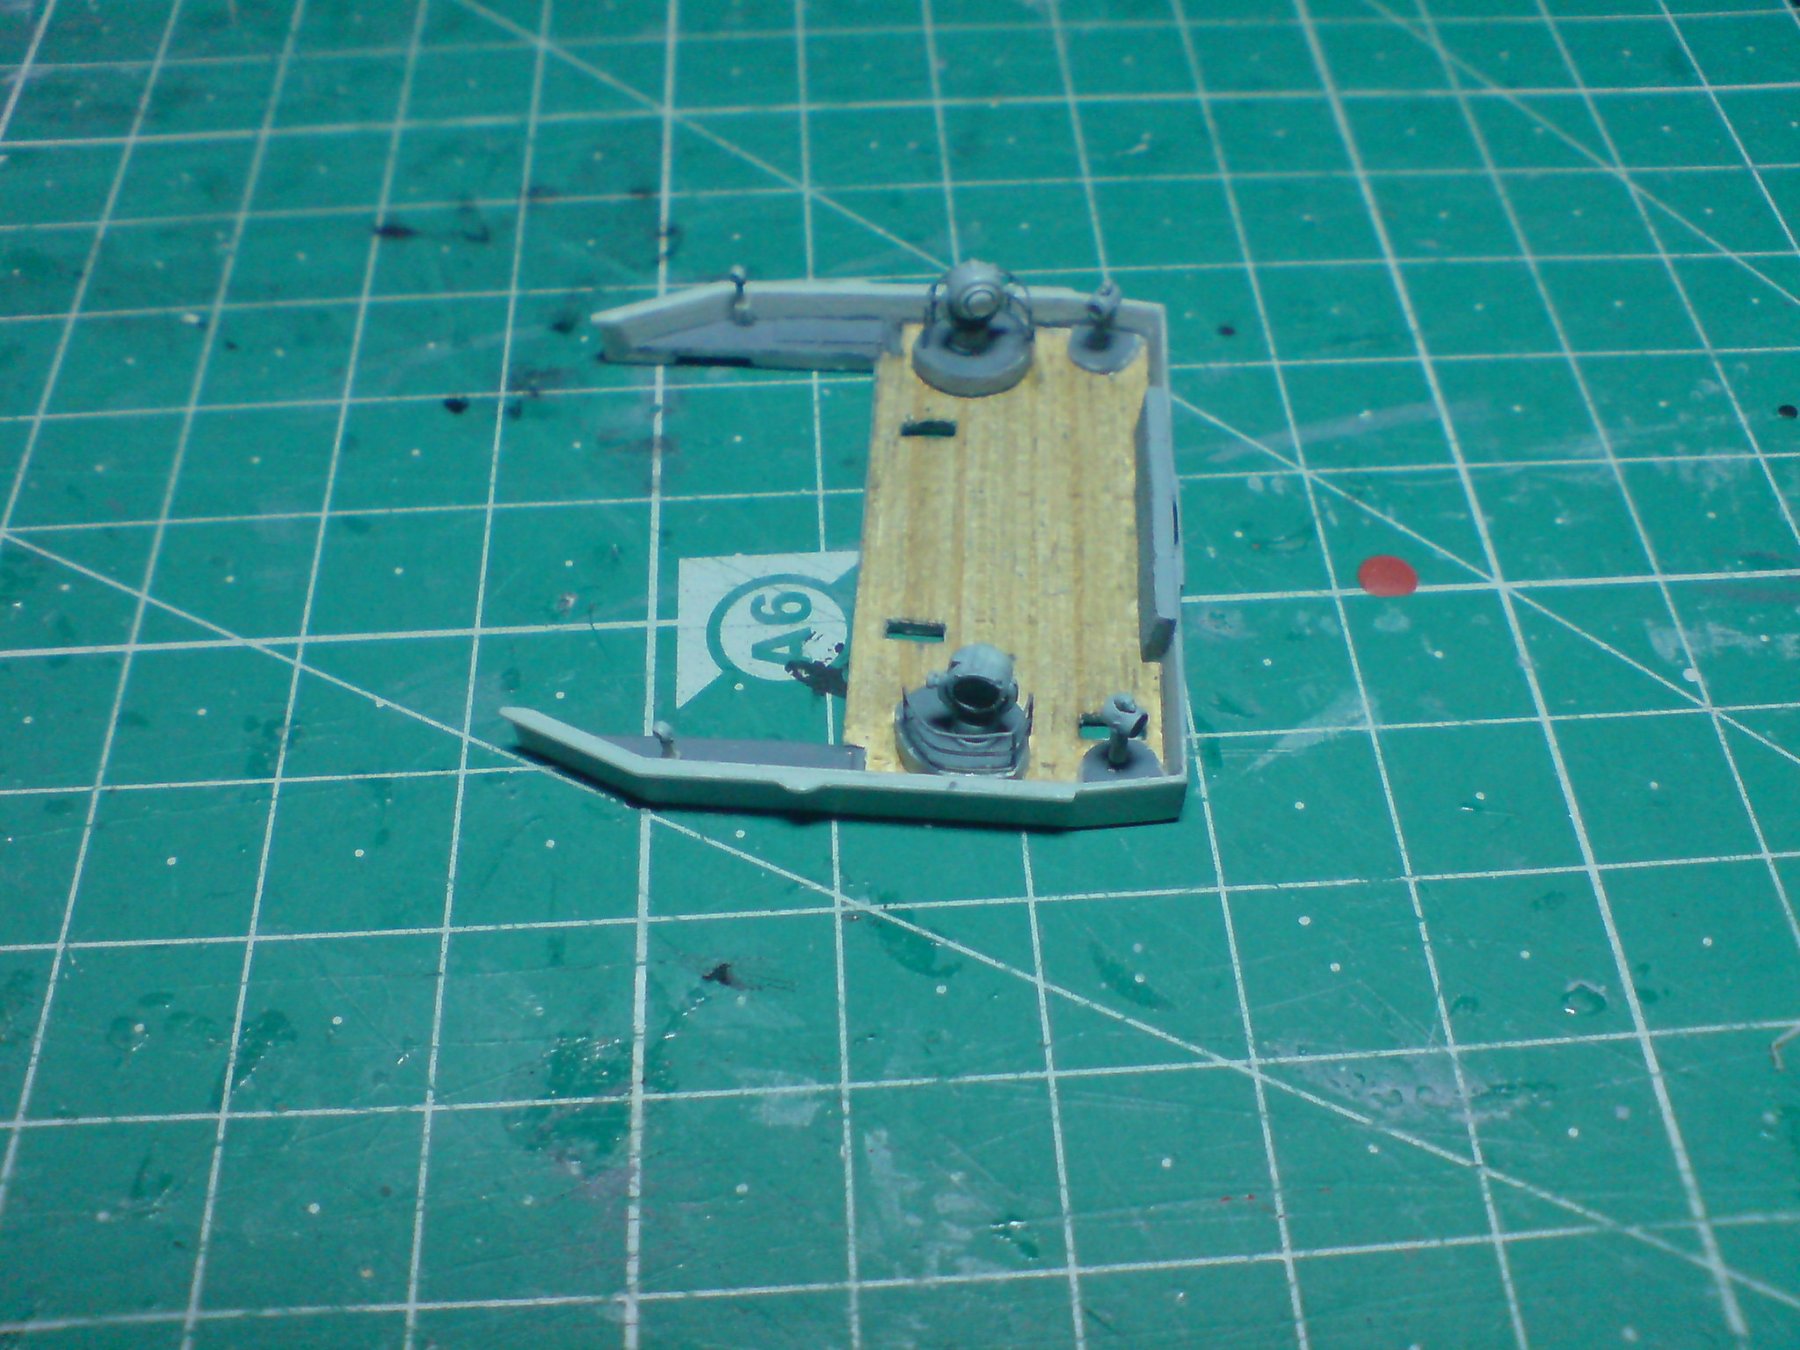
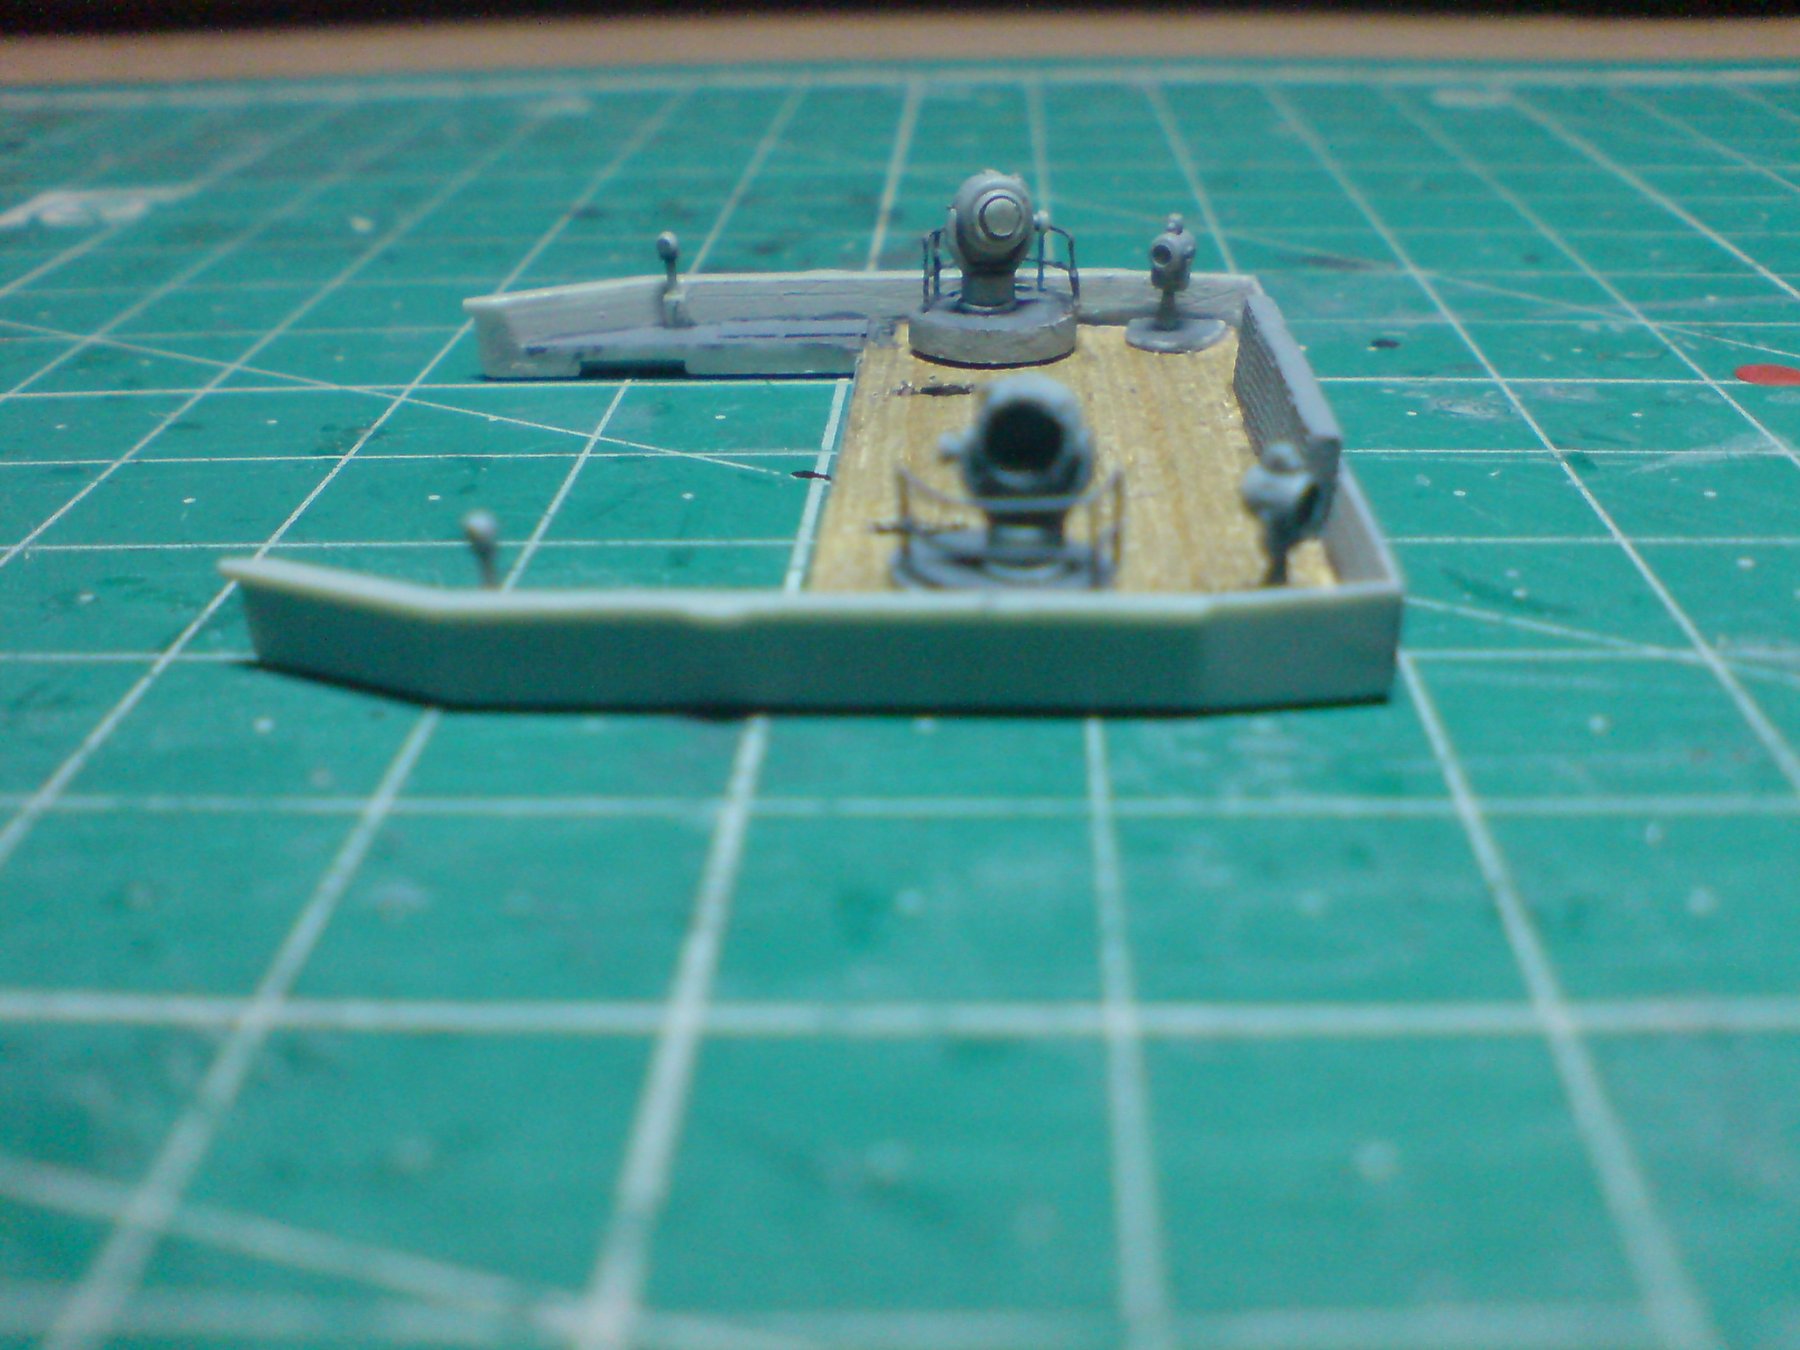
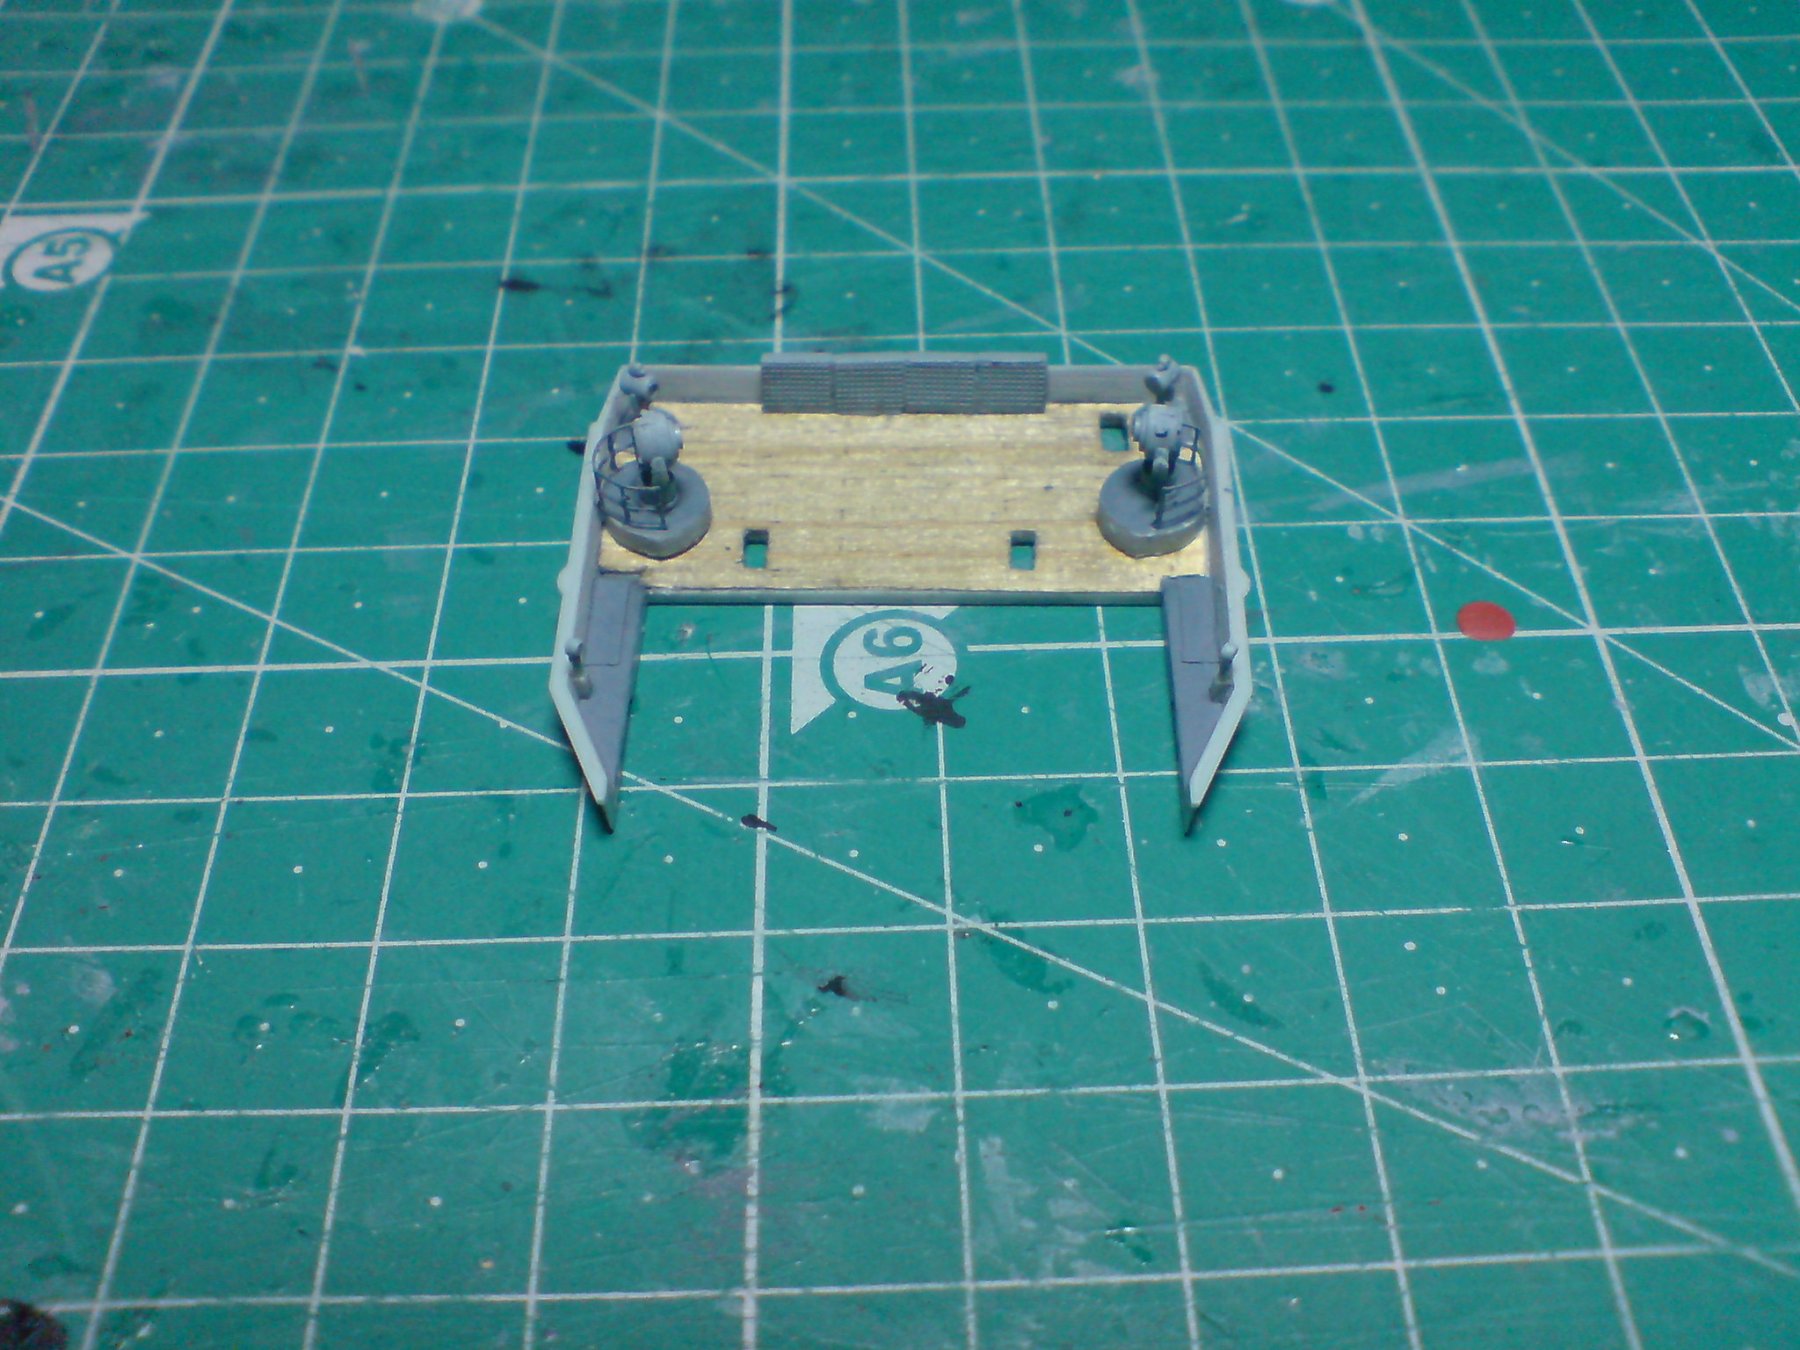
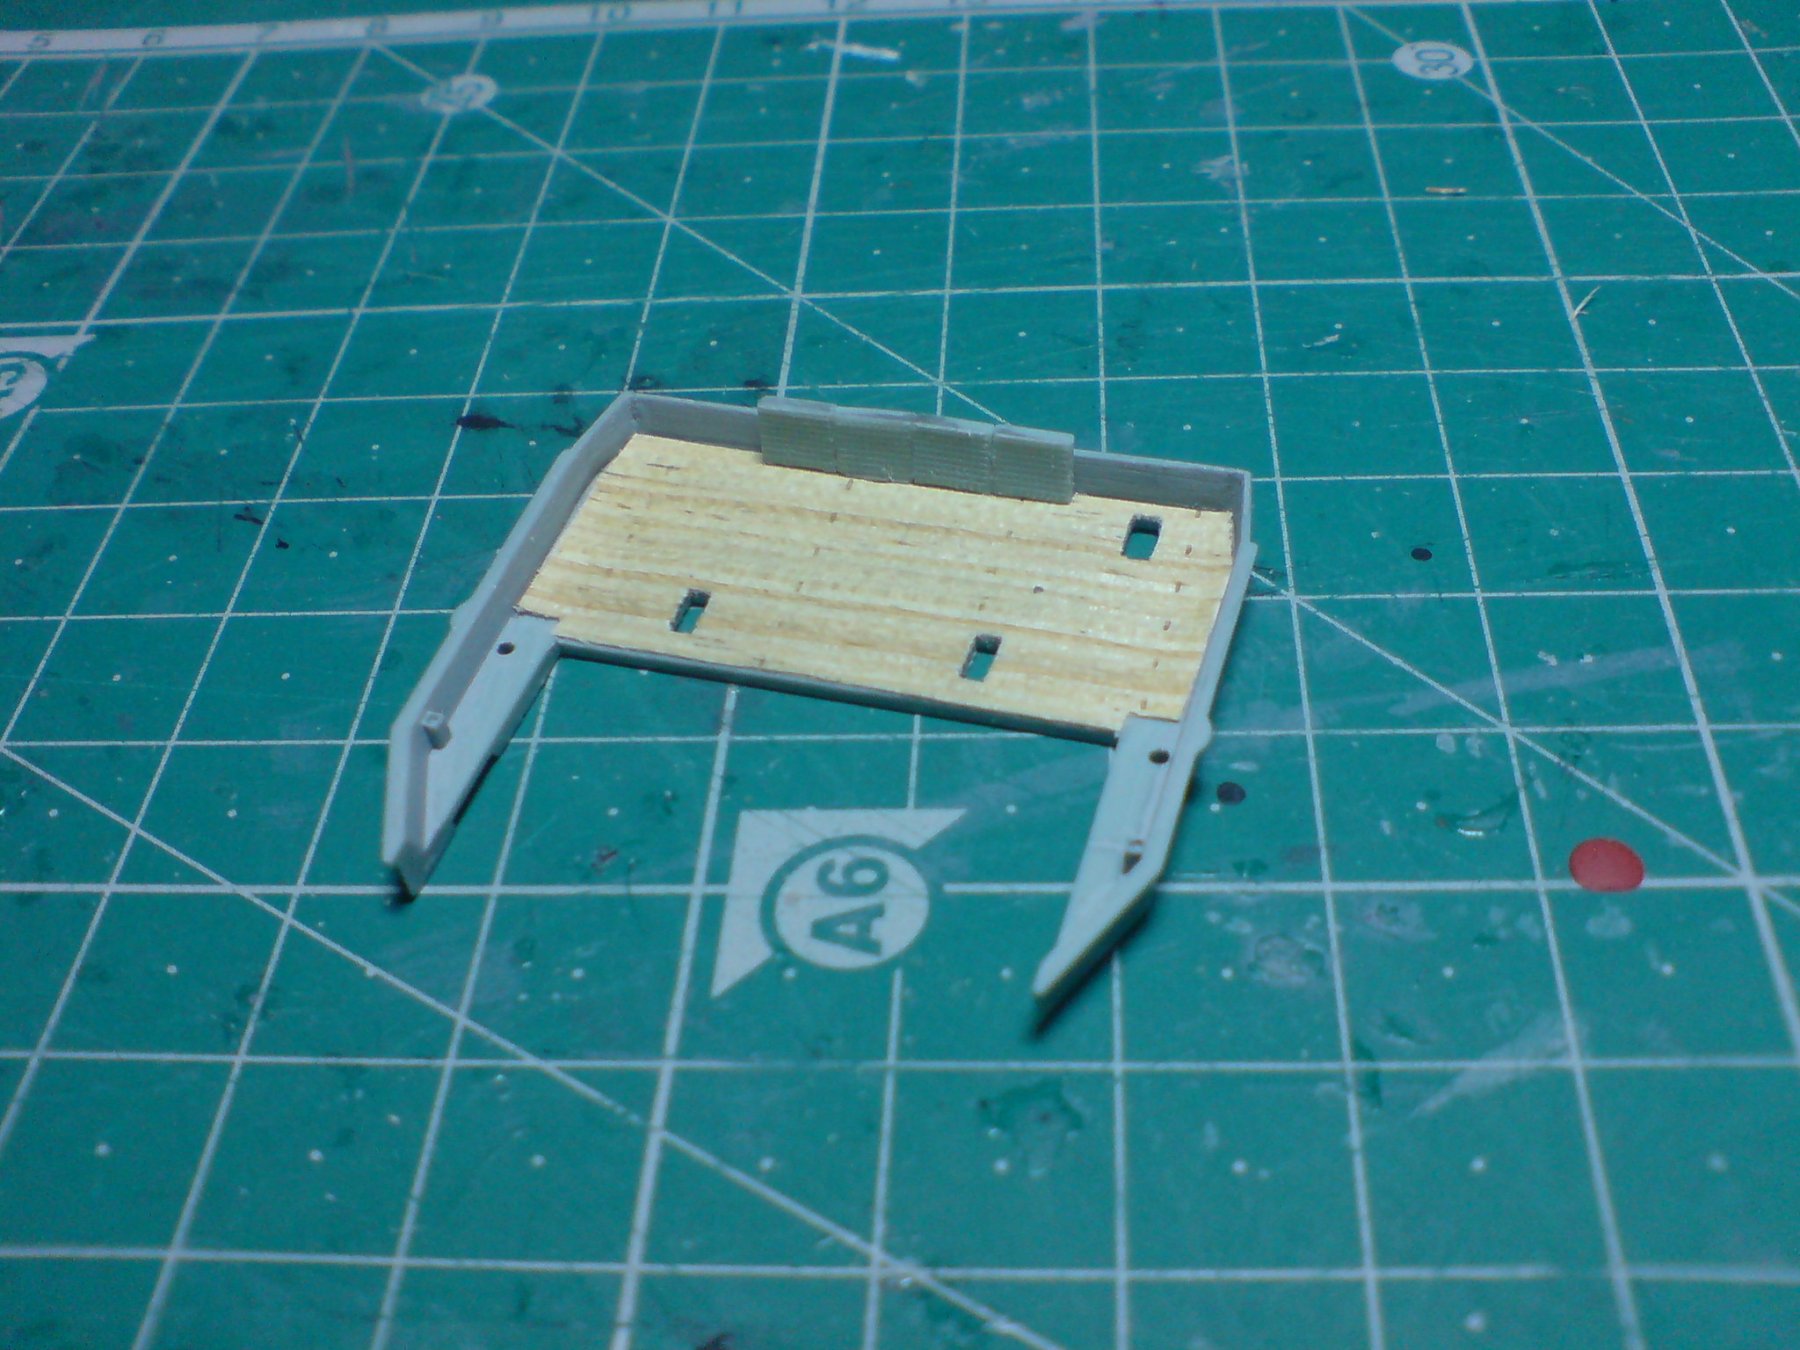
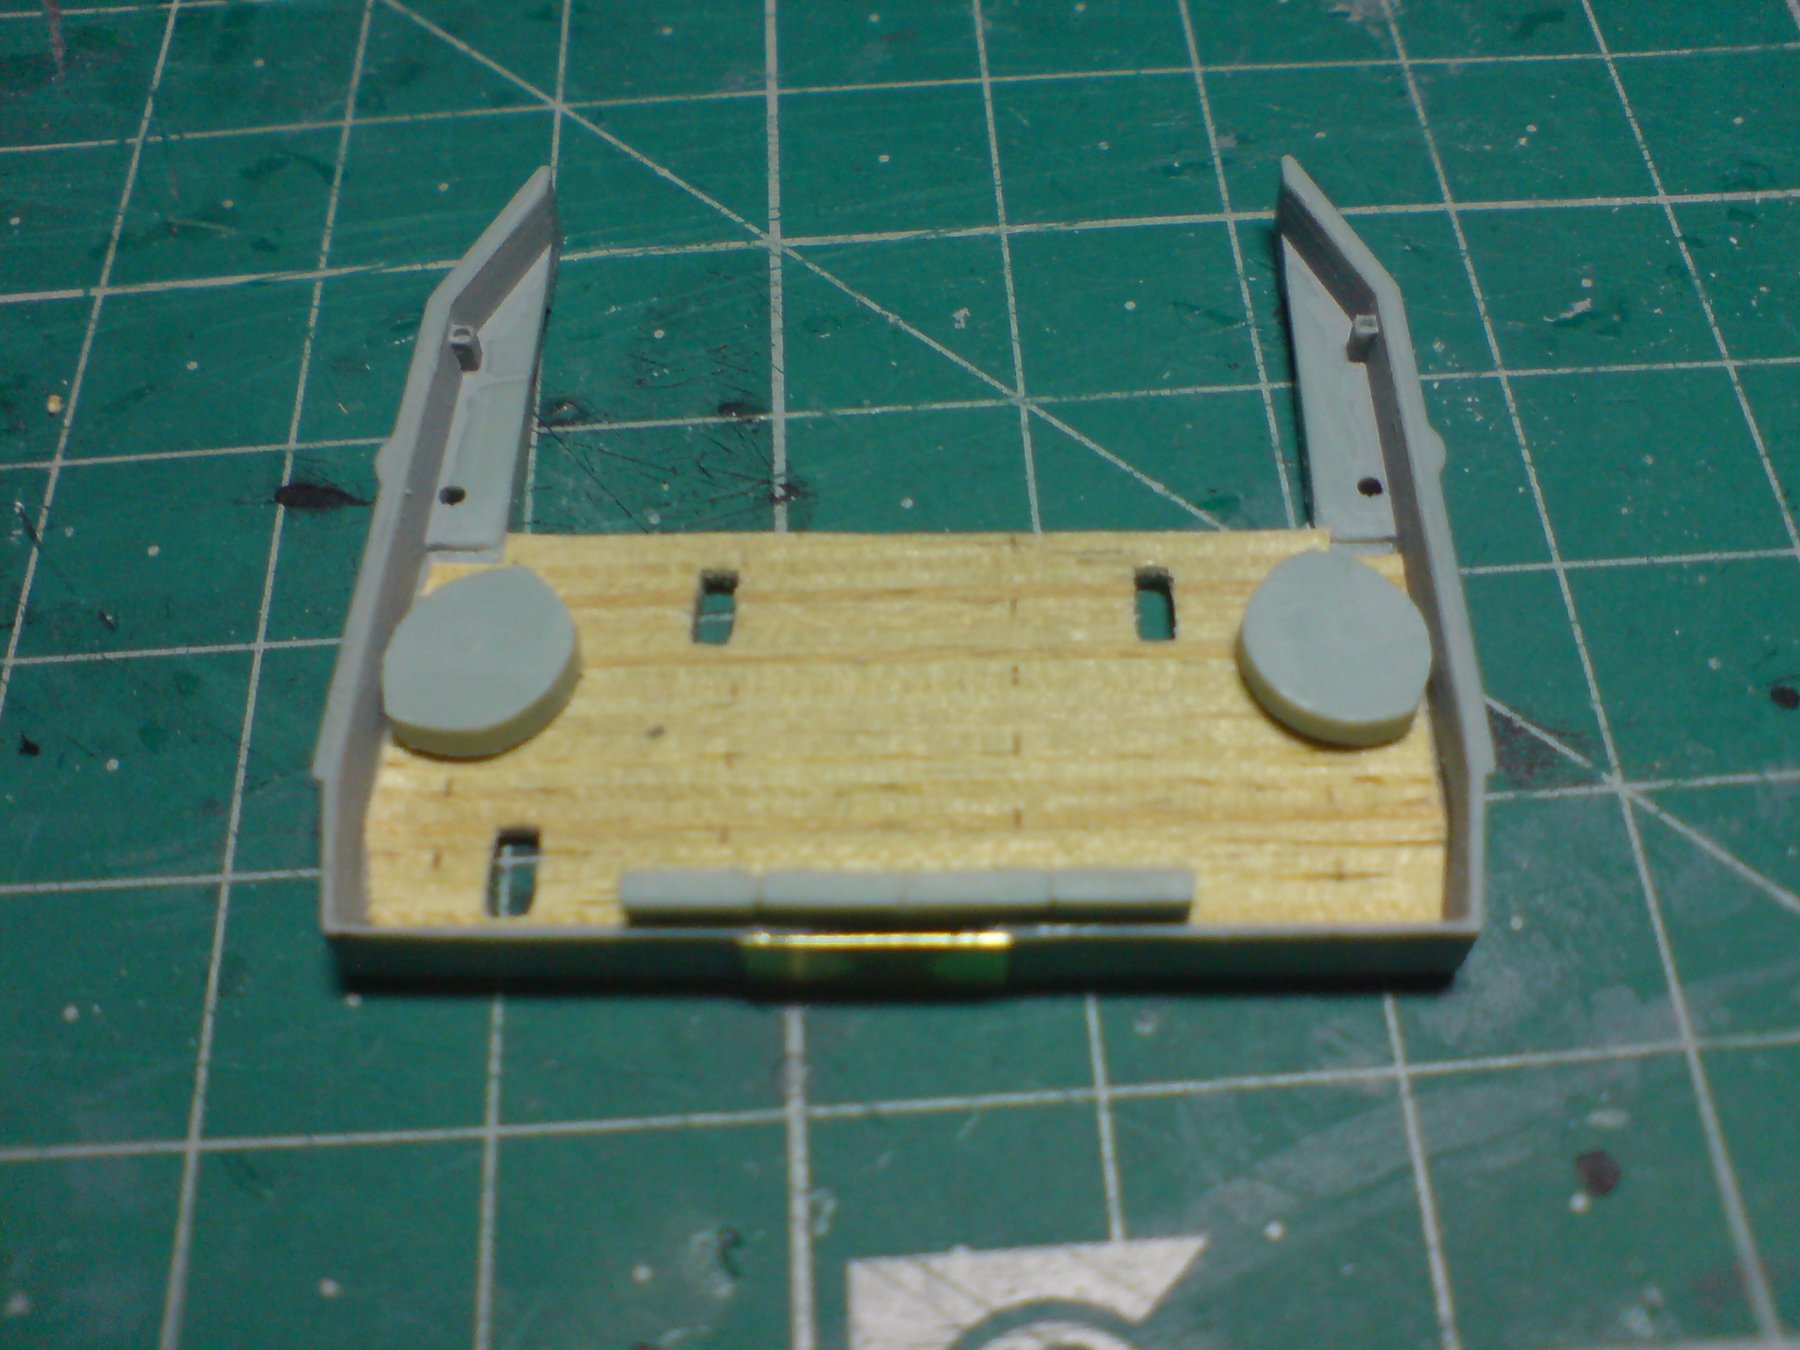
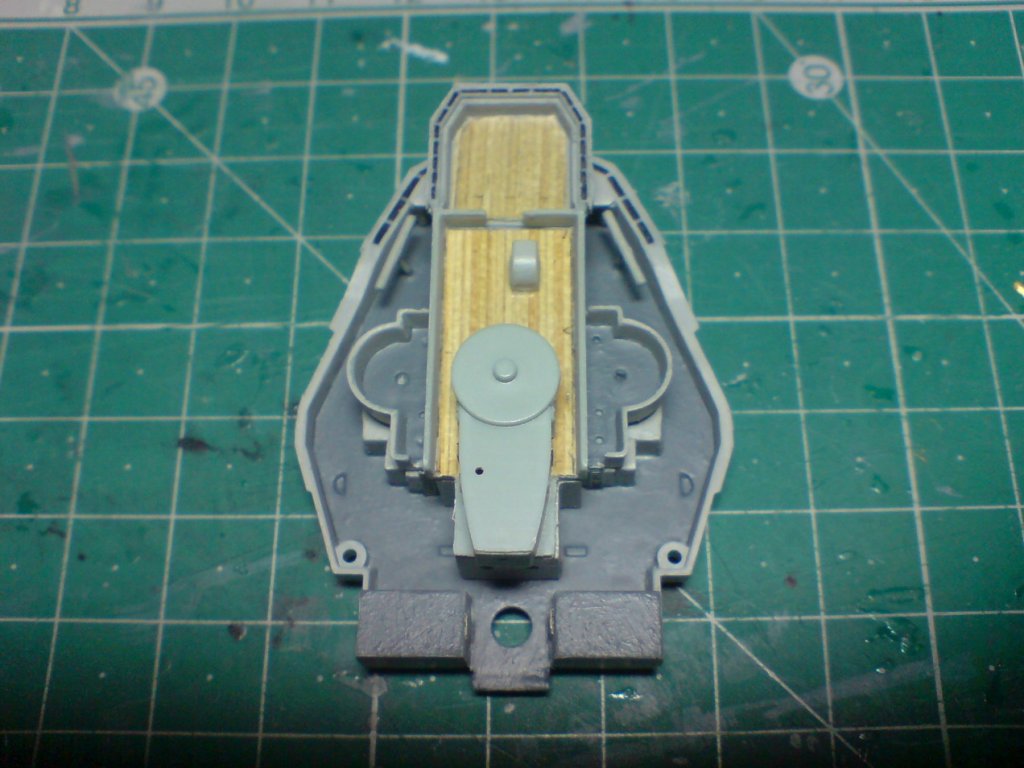
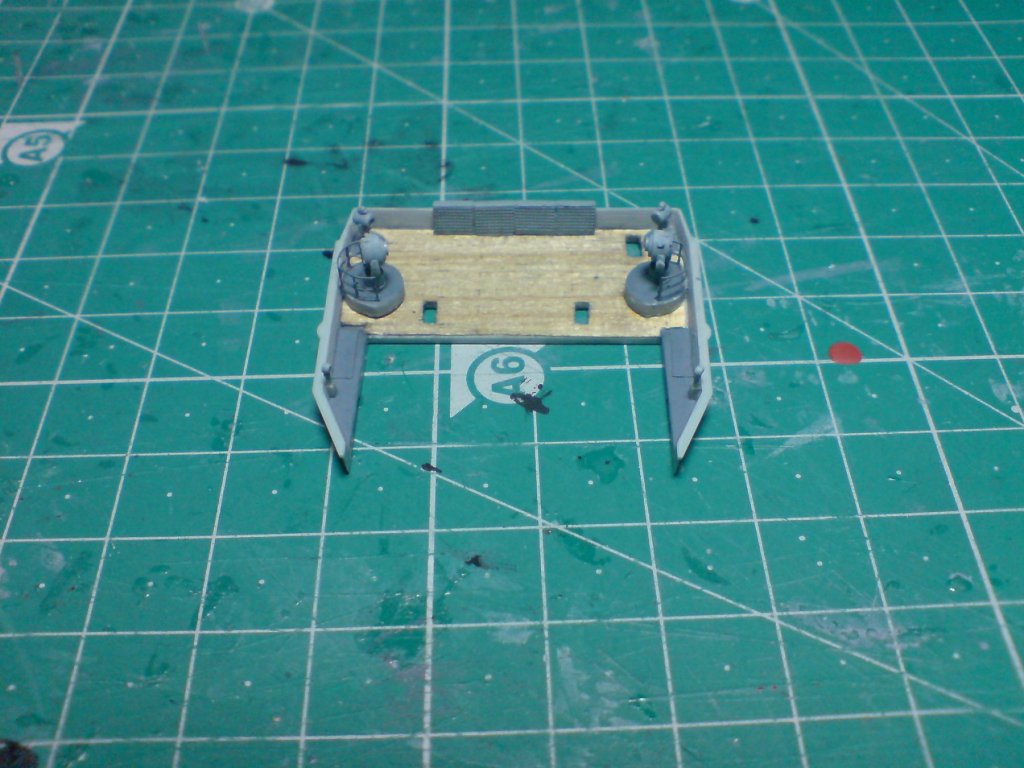
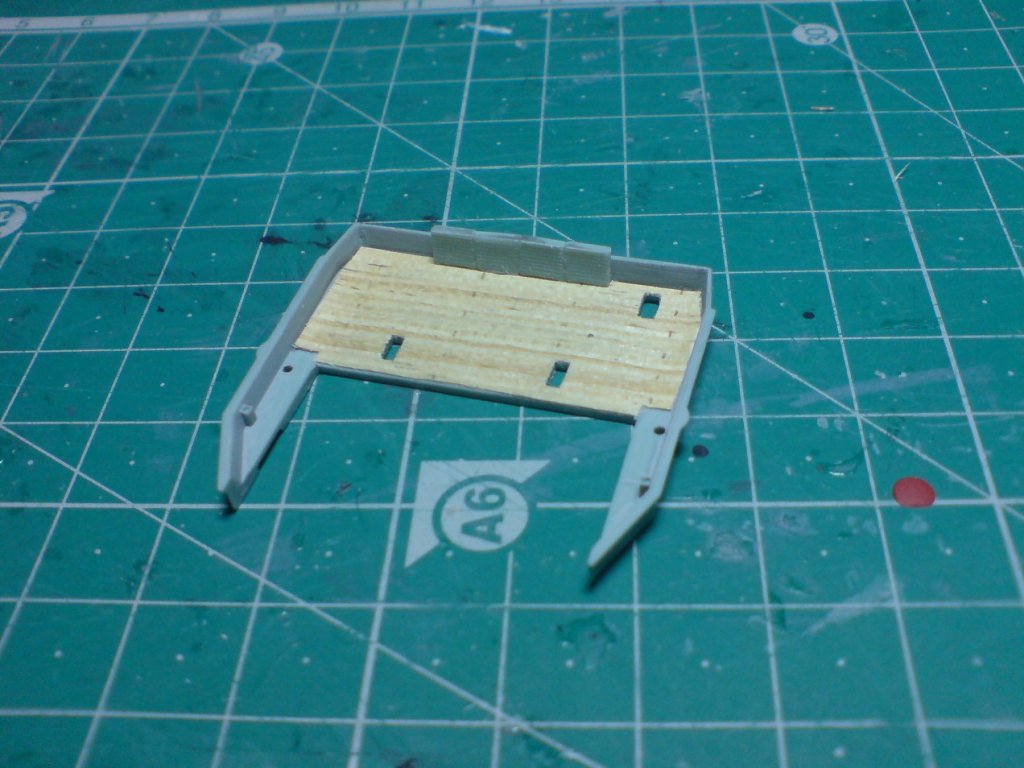
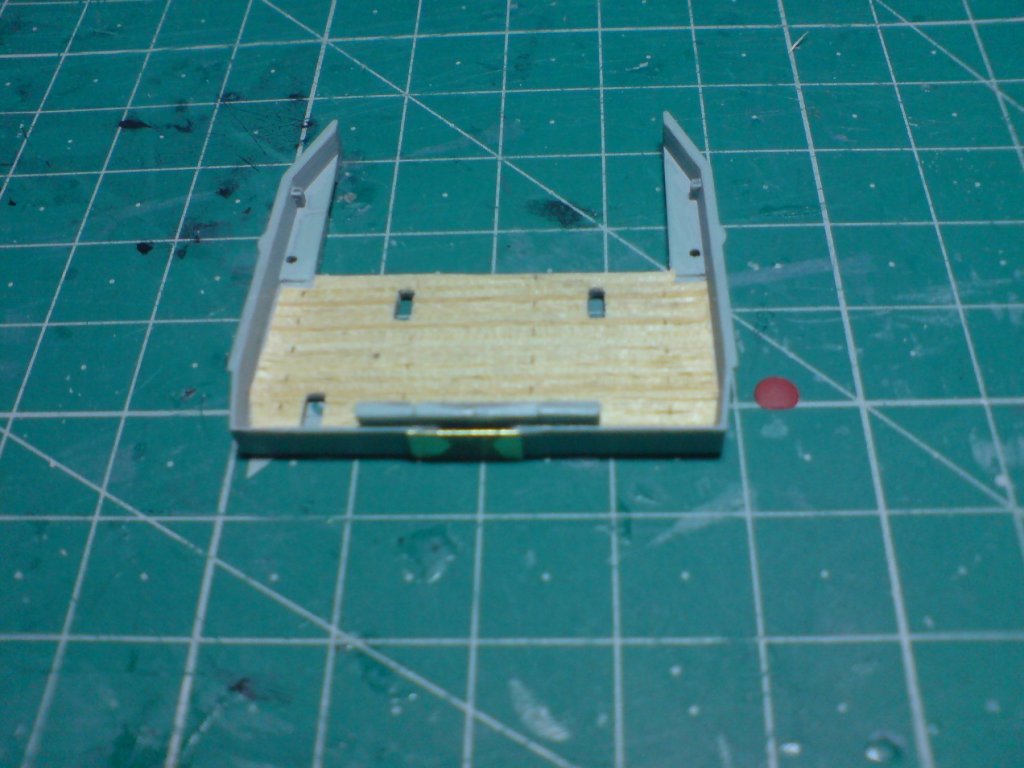
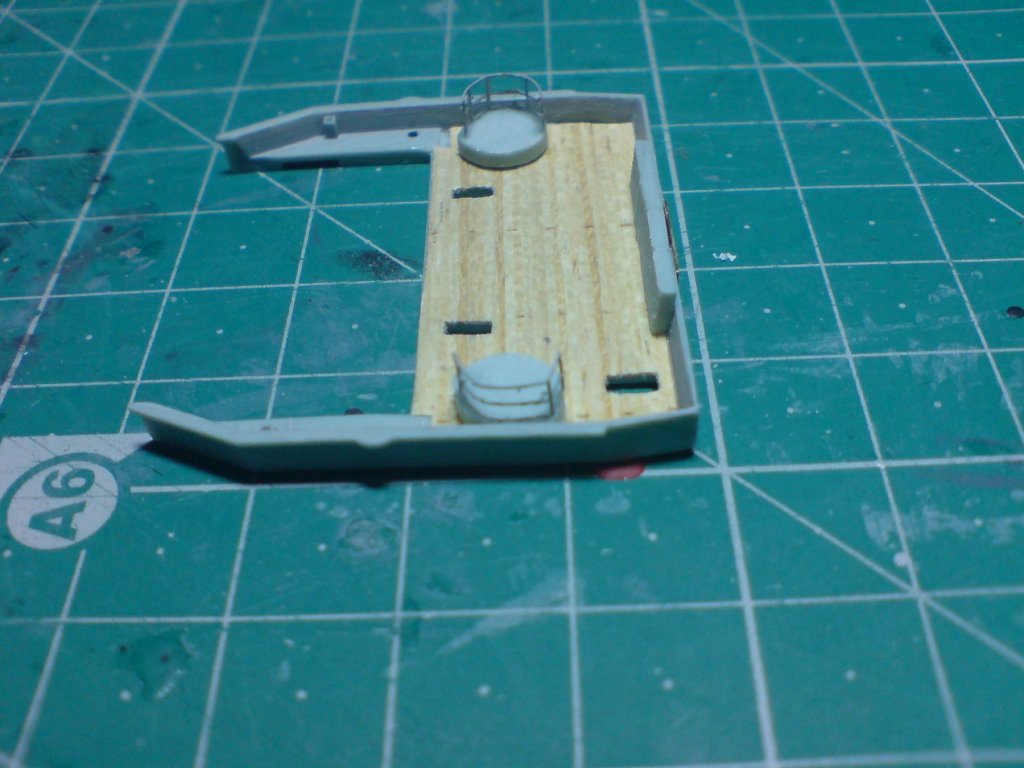
Hi all, Once again sincere thanks for all the views. likes and comments. Just a small amount of work done today - I worked on the upper bridge deck and measured and fitted some wood decking in the two sections there, then I fitted the two hacs/ppd (pom pom directors) platforms, and added a few details, then I put them all together - dry fitted to see how they fit. OC.
-
Evening all, more work today on the ole girl, I decided to make a start on the bridge deck sections, as these needed quite a bit of scratching, first I fitted the two wind deflectors to the bridge deck frontages and added some detail to the gaps, next according to the shipwrights design - I had to make two pe box constuctions that sit next to the upper bridge side walls. So nearly a days work but little steps. OC.
-
Good evening friends - so today I continued with the signal platform, I added the 40in and 20in searchlights and added some of the small ones, then It was tidied up and the deck weathered abit, so its completed now. OC.
-
Hello to everyone who has been following this build - I just want to say Im having a bit of a break from it while I am finishing my HMS Warspite build, I will return to her soon. OC.
- 455 replies
-
- 5
-
-
- slightly modified
- greyhound
- (and 1 more)
-
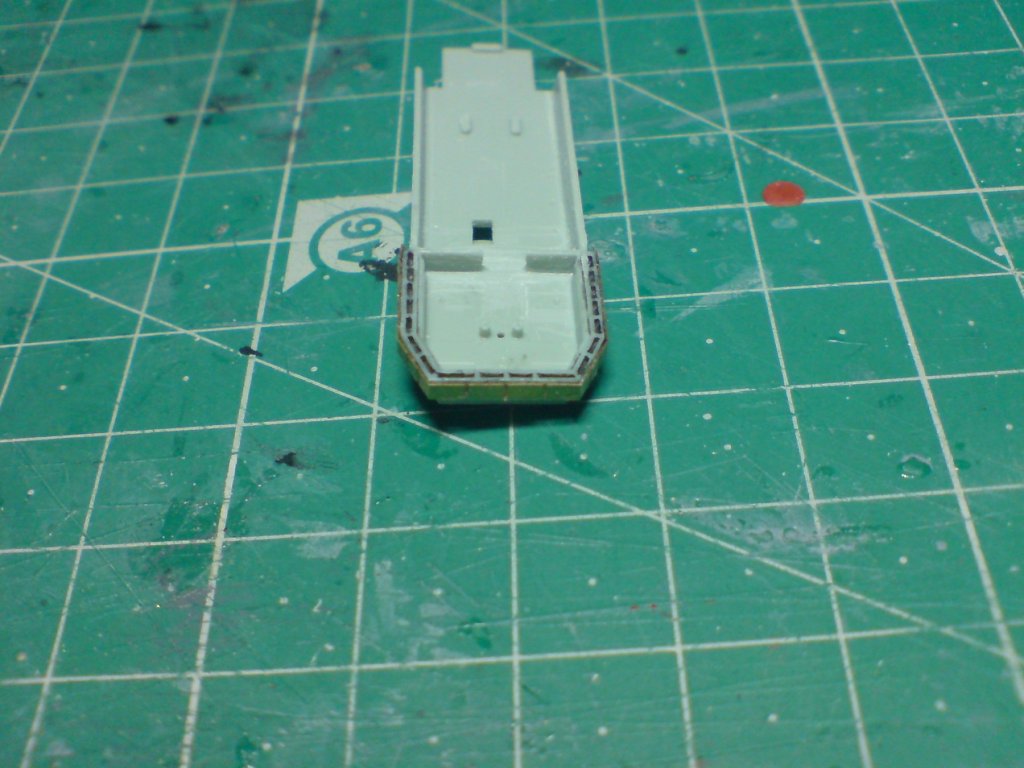
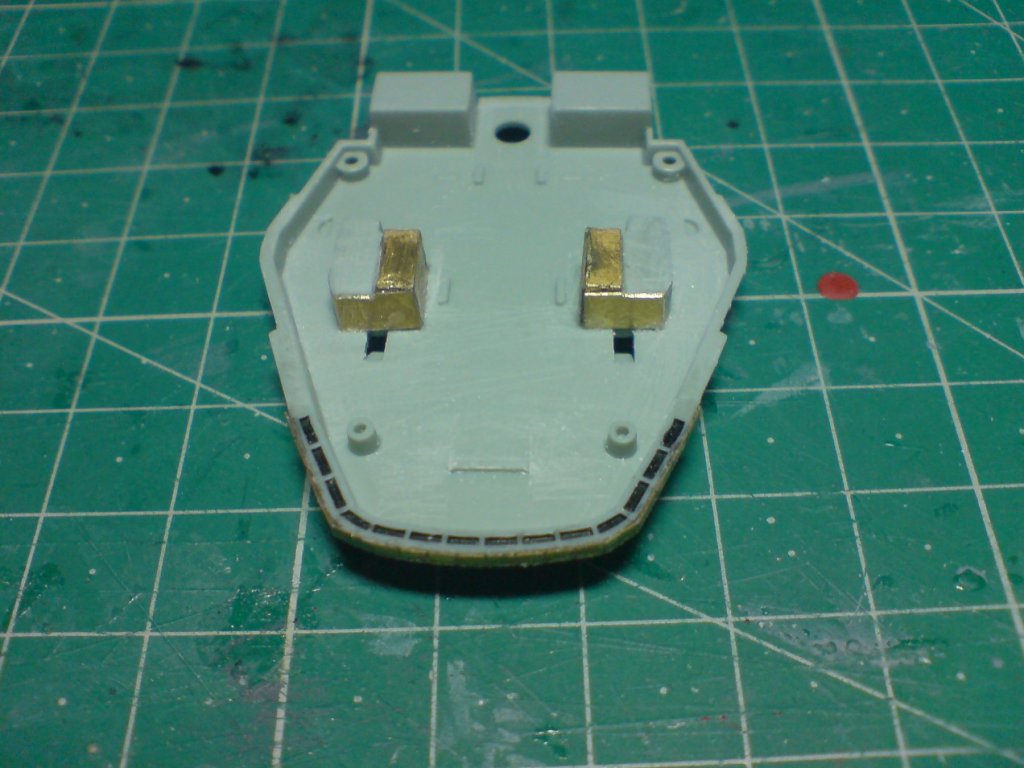
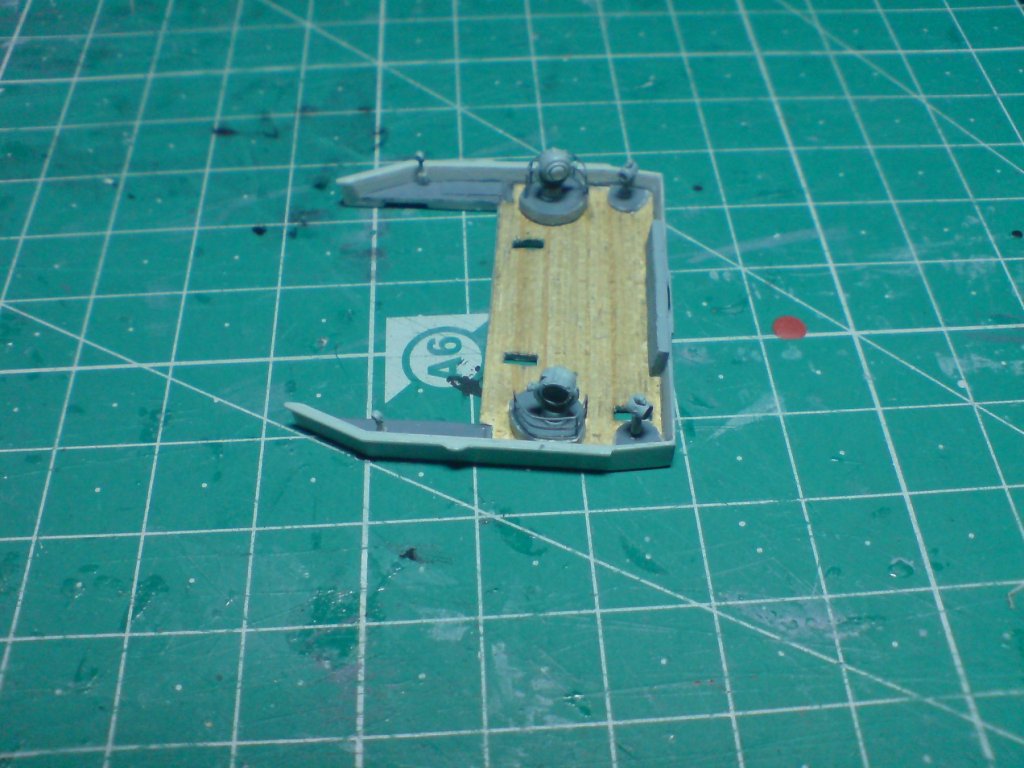
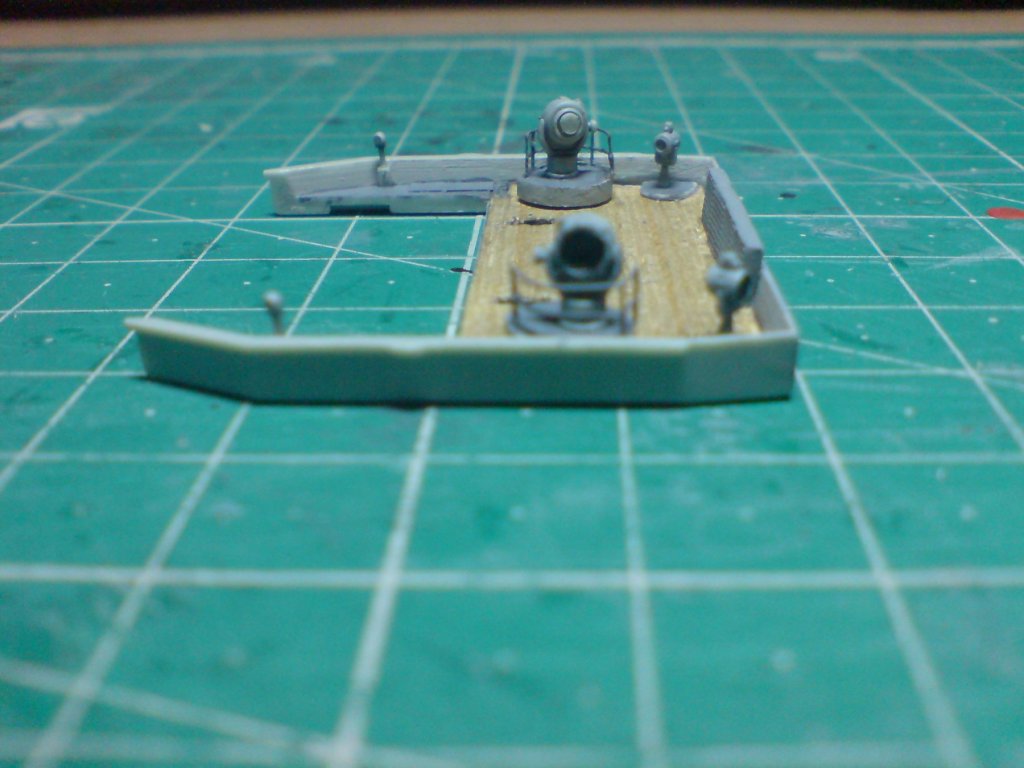
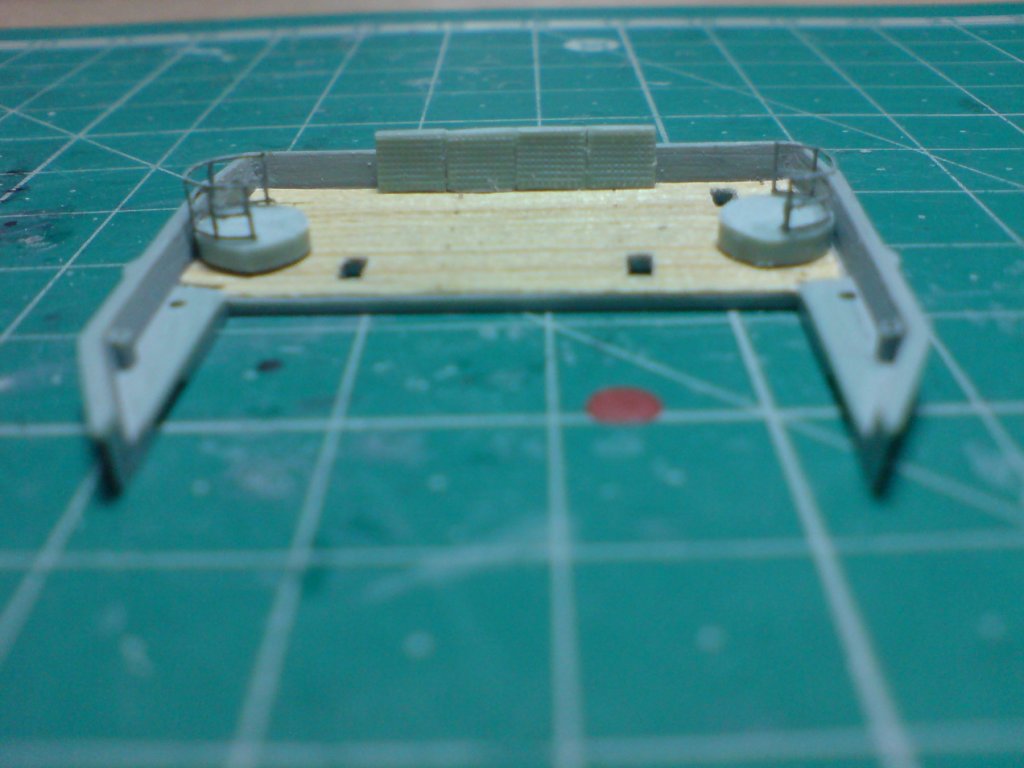
Good evening all, more positive progress today, I have started work on the main superstructuer signal deck, this in itself needed some adjustments of the kit part, the main area that puzzled me was a semi circuler cut out to the deck and rear bulwark (to my knowledge this cut out had no purpose), so as I was going to plank the deck with the remnants from my wood deck, I decided to cover it up completely (this tallies with the shipwrights model I follow). First thing I needed to do was to cut into the decks two ladder hatchways, this was done with drill pilot holes then shaped with my sharp scalpel, and fine sanding to get the corect shape. So onto the decking sheet - first I had to cut the general shape out of the decking sheet and trim the edges, then I took the backing off and placed it. Then I turned my attention to the rear bulwark - this also had a gap in the middle, so I decided to place the flag lockers over this gap, and fill the other side gap with some pe strip. Then I started work on the main searchlight platforms - for these I used two of my kit gun tubs, I turned them upside down and sanded away most of the hight leaving just a couple of mil, I then glued them onto the deck and set about fitting some railings. Here is the current status with just two more smaller searchlight platforms to be made and stuck in the corners. A few pics my friends as I am quite pleased with the scratching I have done. OC.

-
Thank you kindly for that, it is a real pleasure and relaxing and when things go to plan I still get that cheeky grin and feeling of jubilation, and thing "wow I did that". OC.
-
Yep, I try to do the same but perhaps I was guilty of not doing it enough beforehand. OC.
-
Thank goodness for Acrylics - it was the best day of my life when I first started using them over enamels, no more turps/thiners smell in the room with the wifes acute nose and dislike of strong smells, and the shear convenience of just having a jar of distilled water to clean brushes and a rag between color coats. OC.
-
Thanks lou, I always assumed water was ok to thin and break down the thickness of the paint? OC.
-
Really nice clean colorful work - she will look superb when finished in a case, you should site her Pride of place in your living room. OC.
- 359 replies
-
- 4
-
-
- prince de neufchatel
- model shipways
- (and 1 more)
-
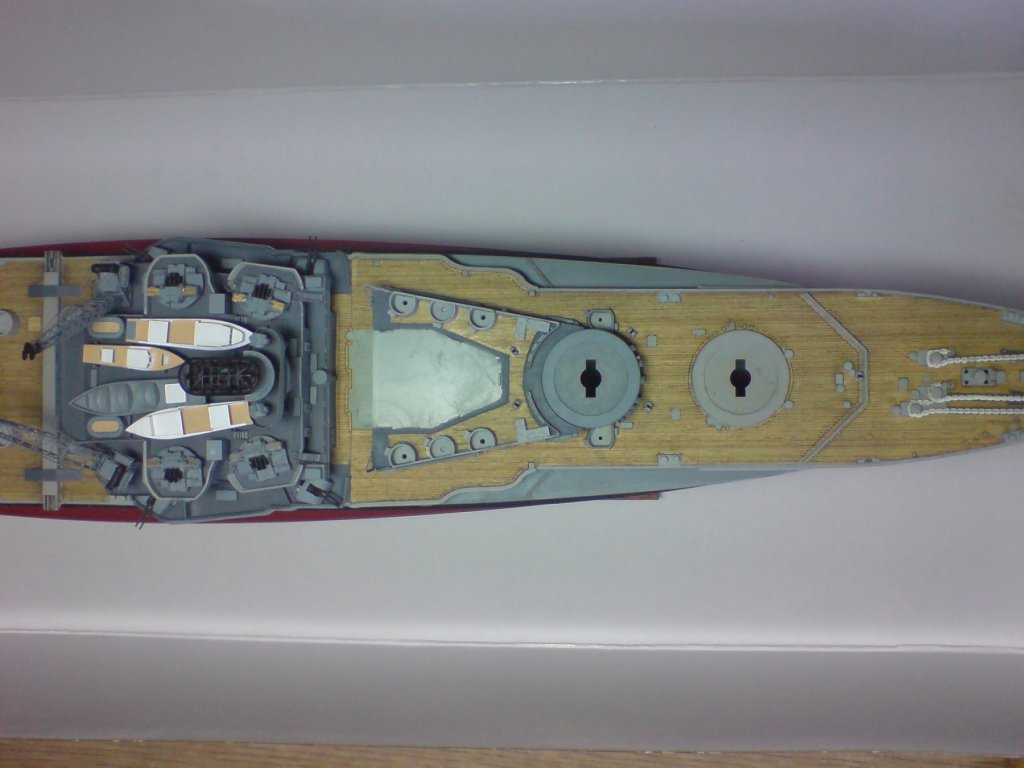
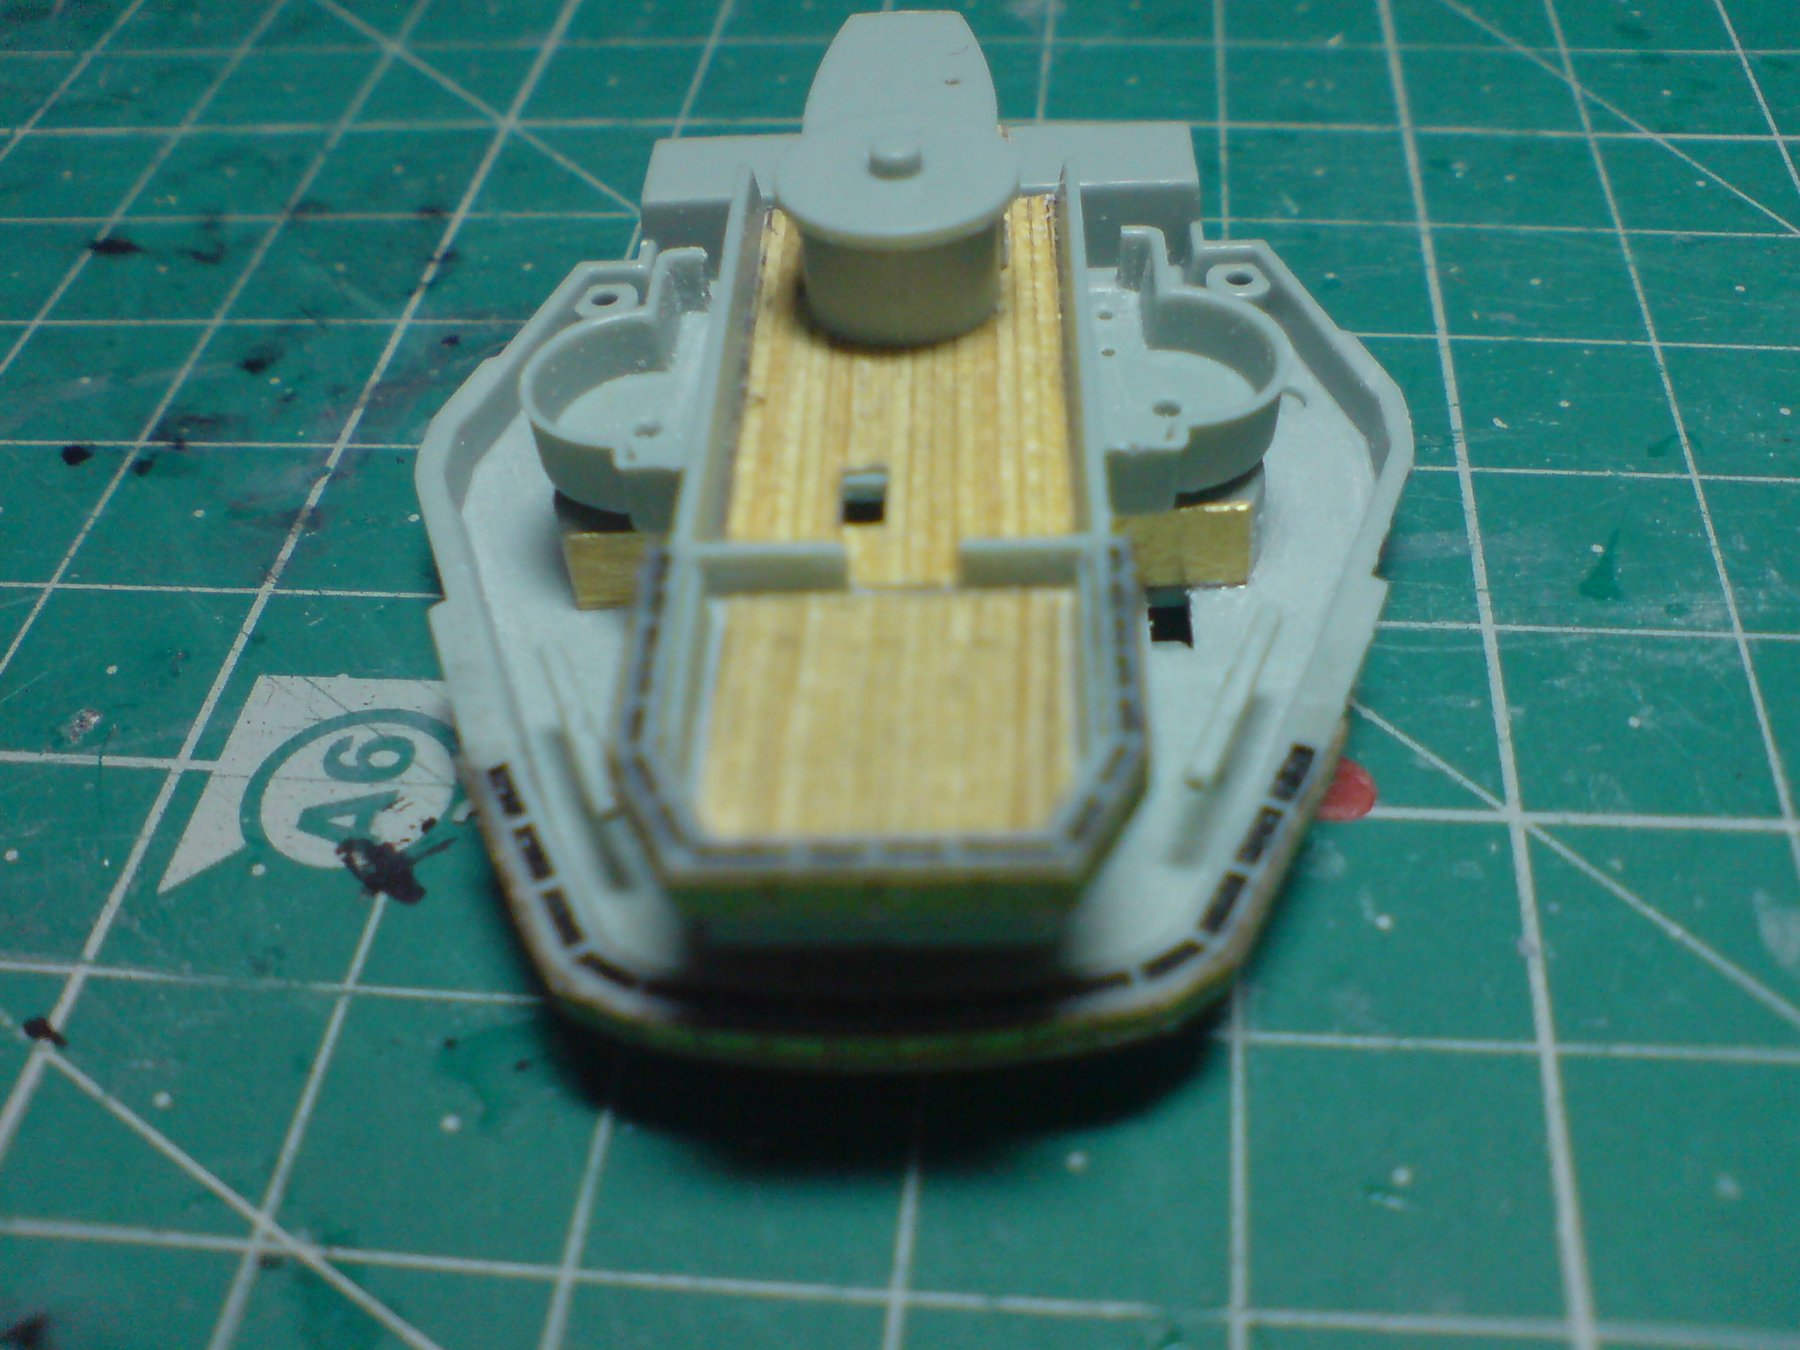
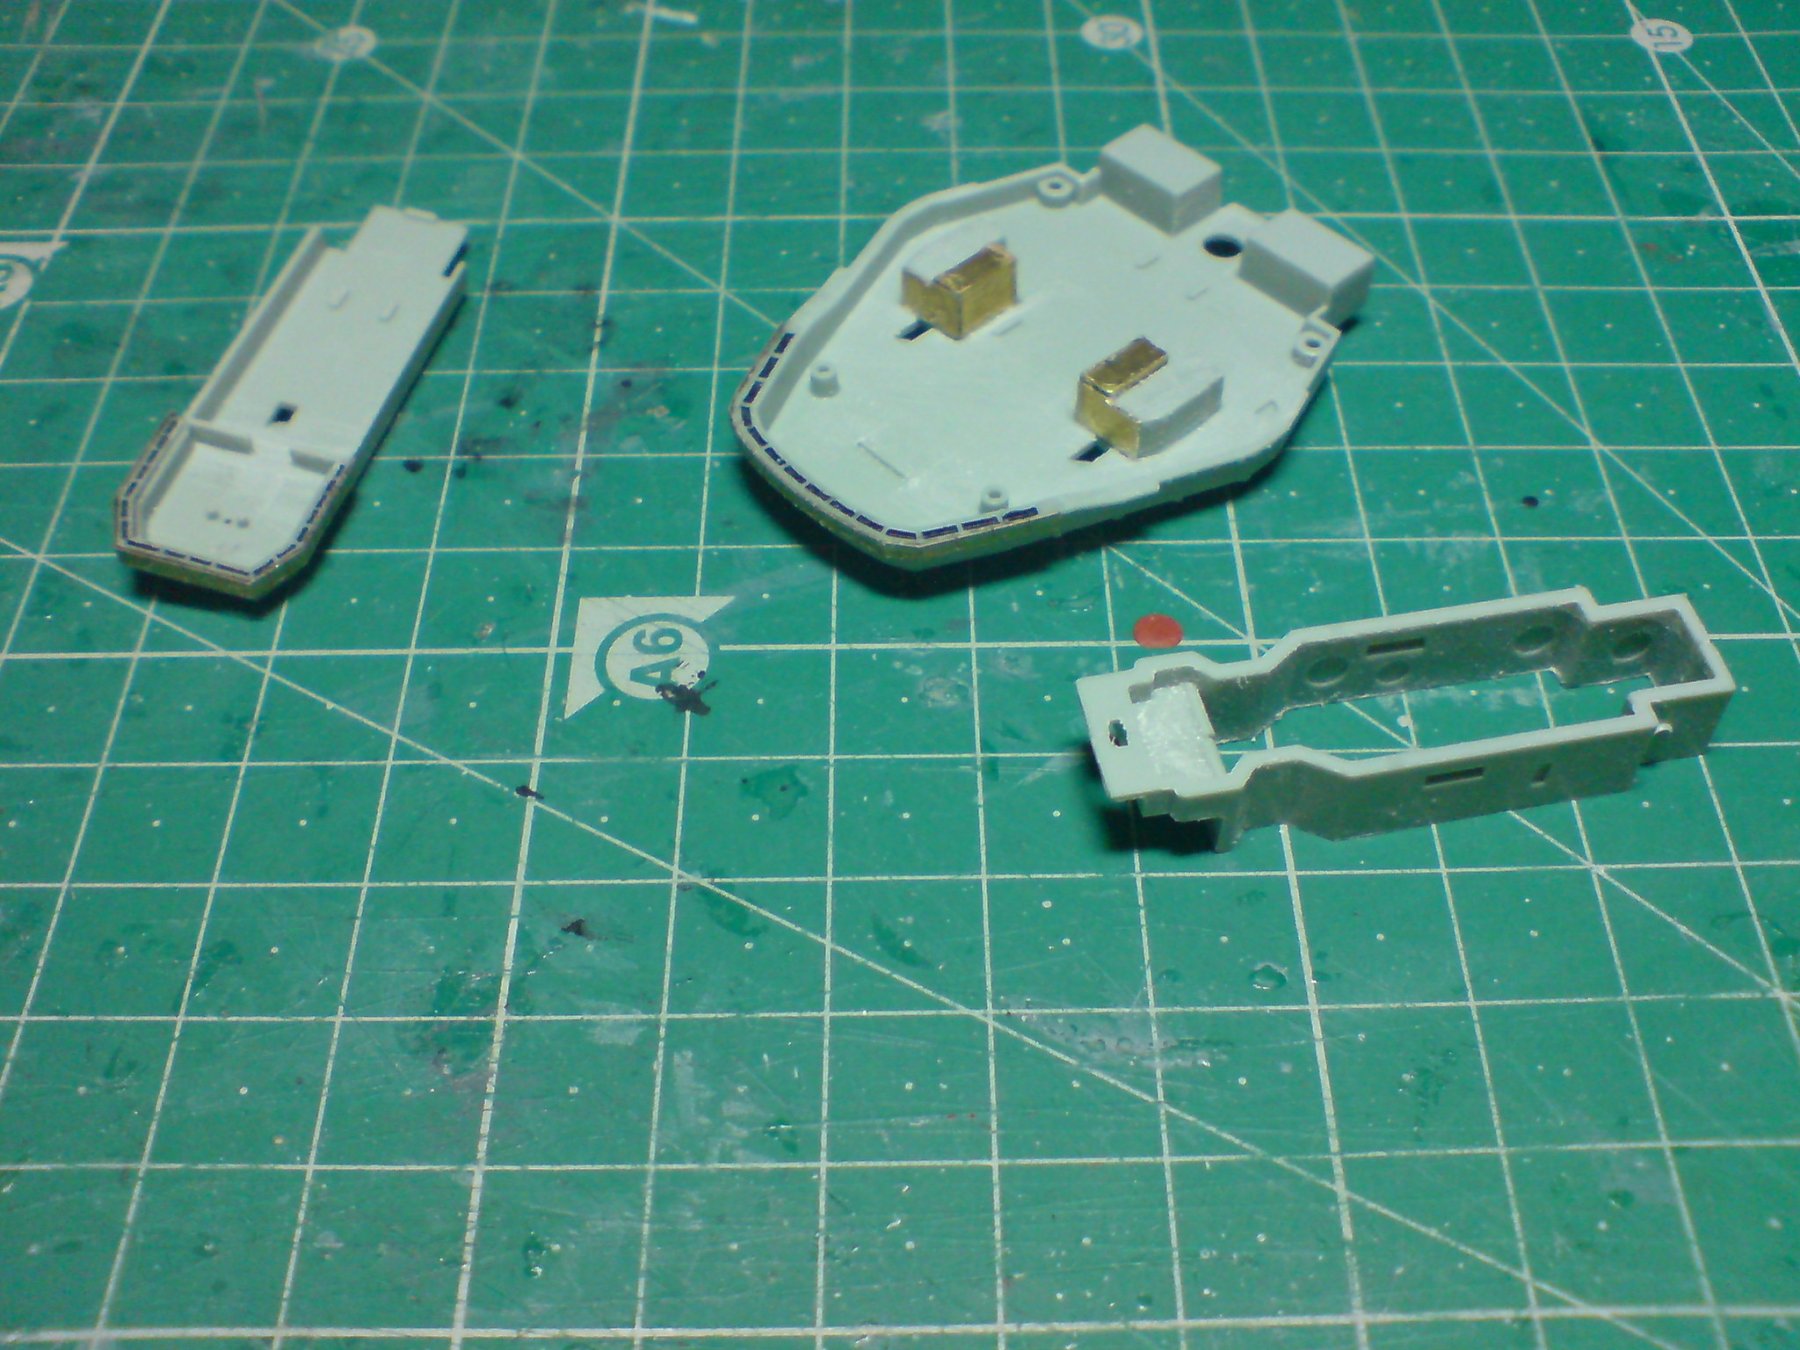
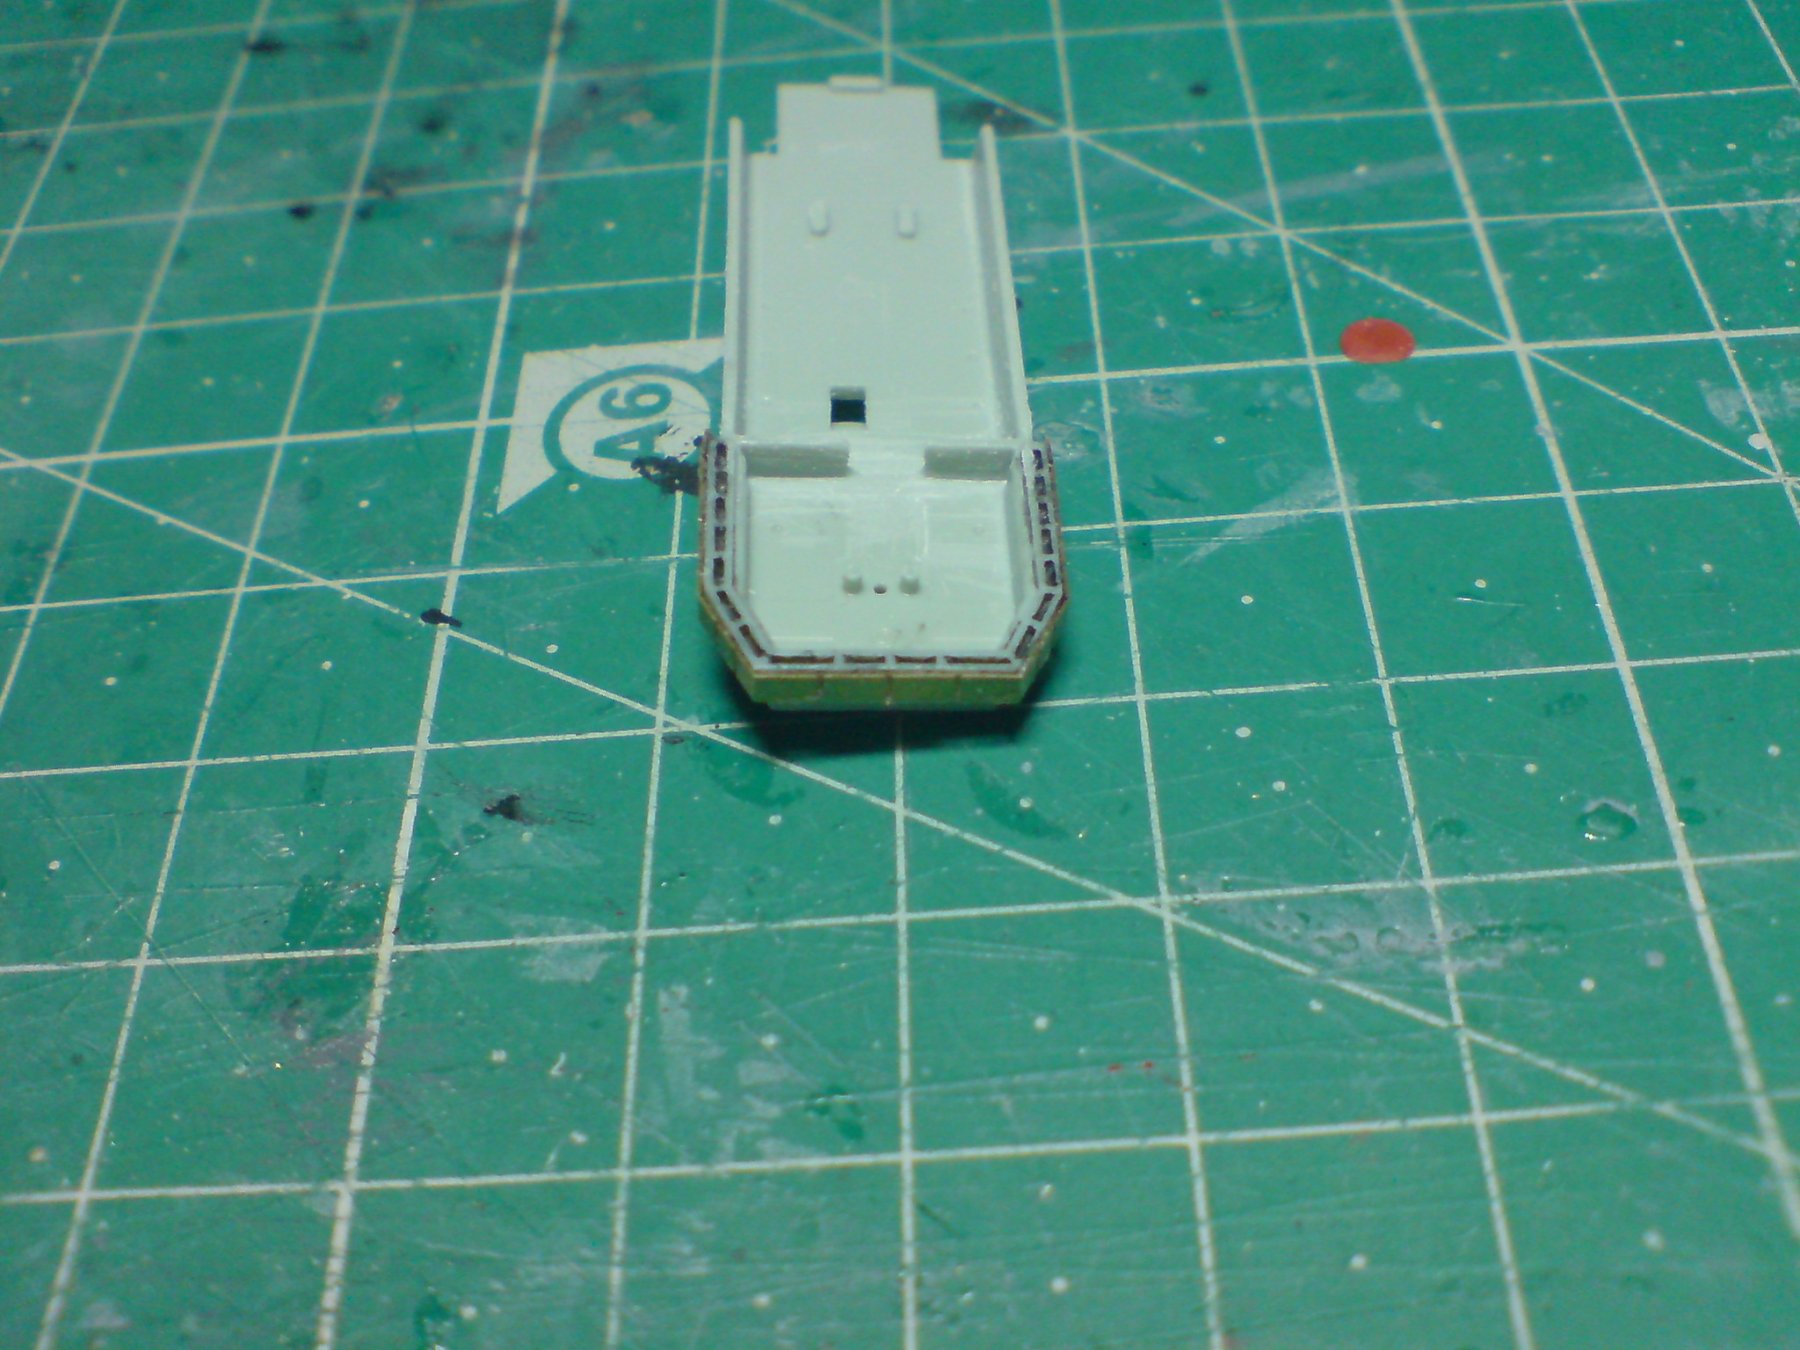
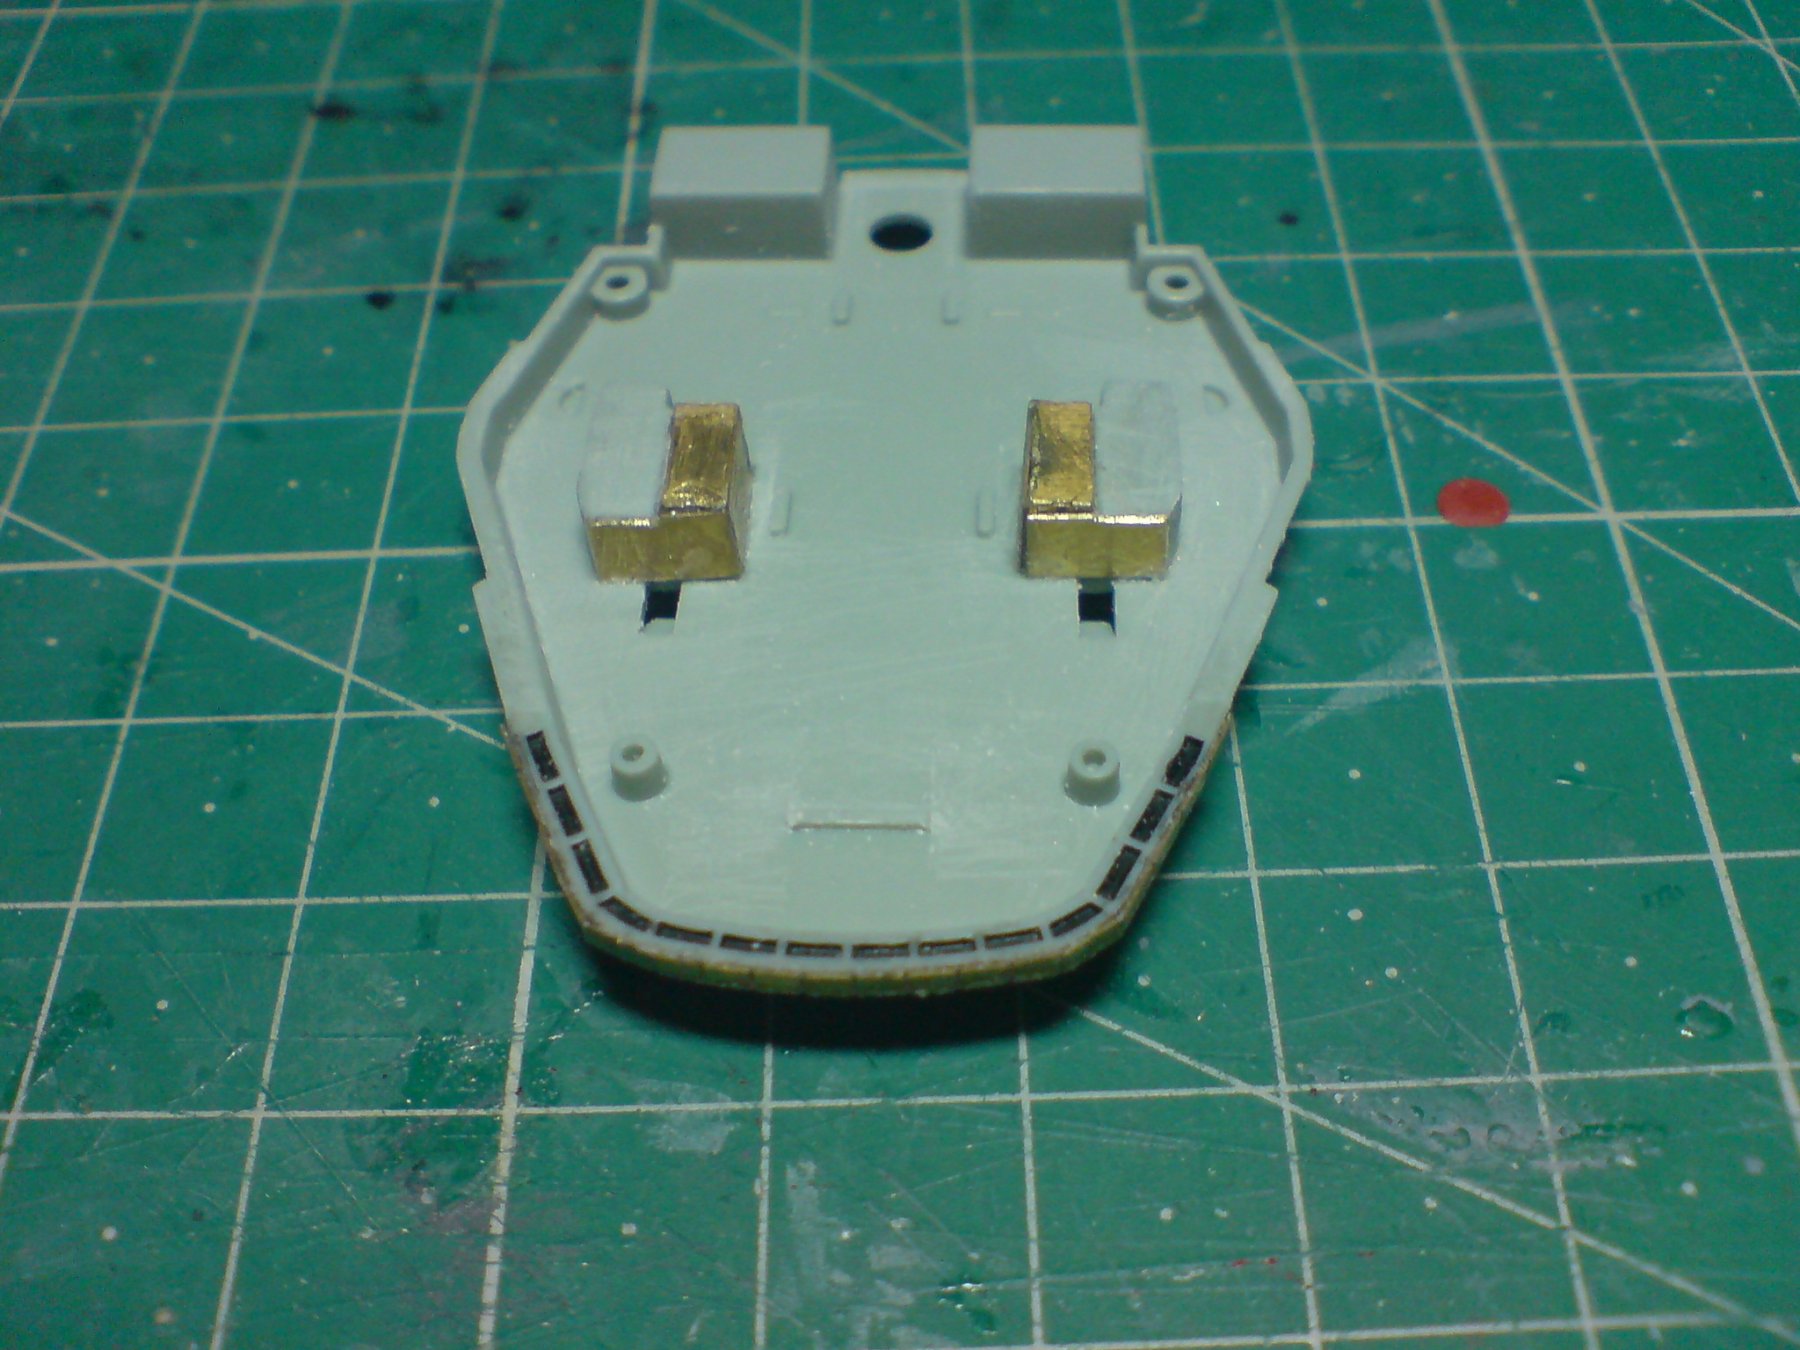
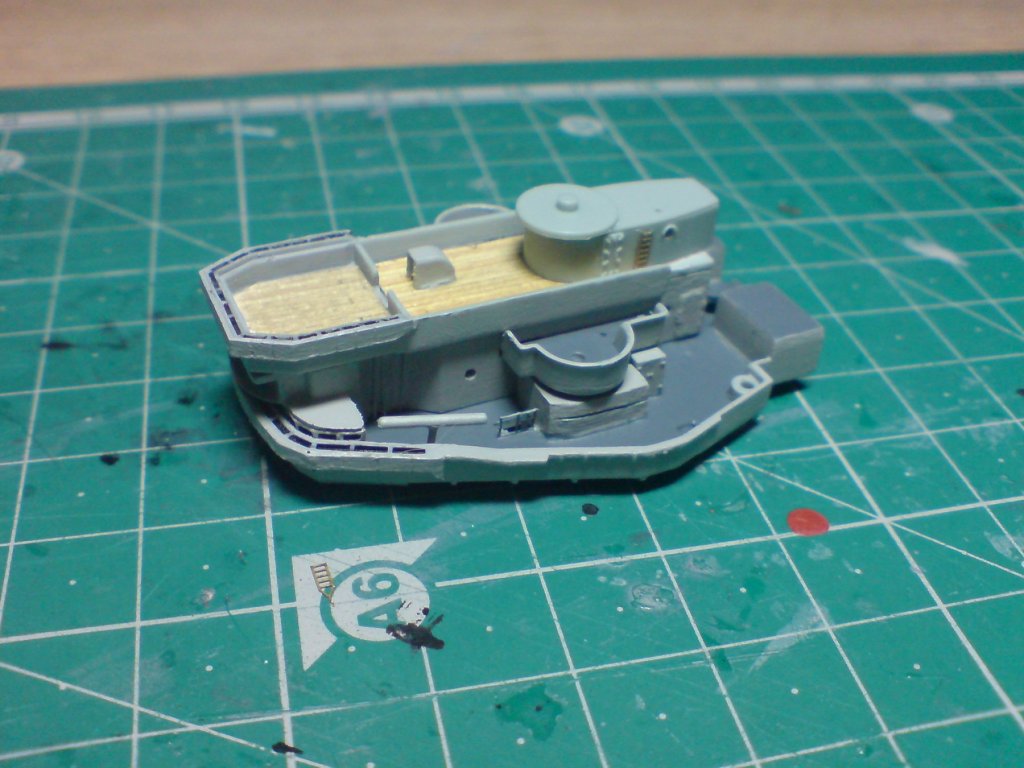
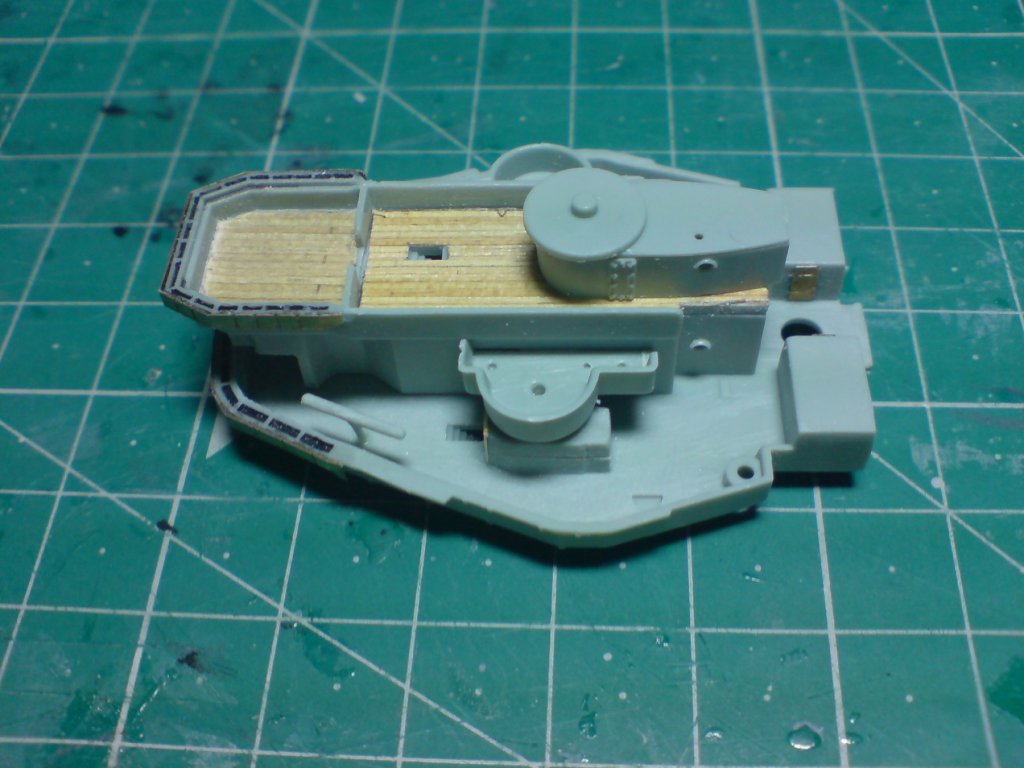
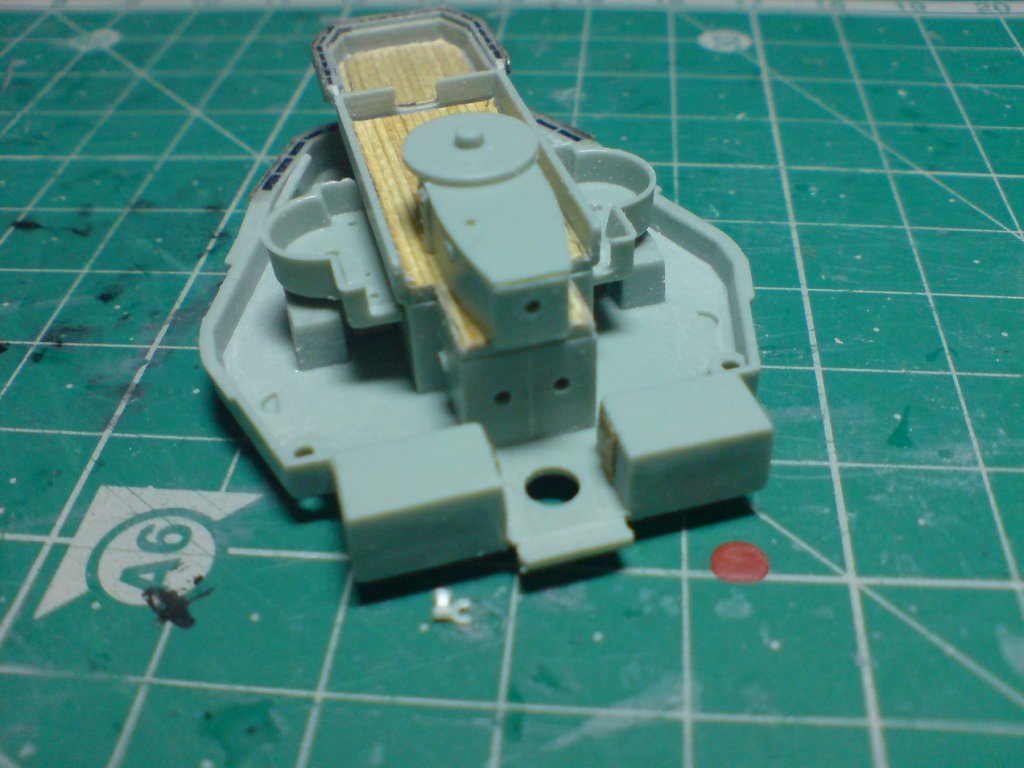
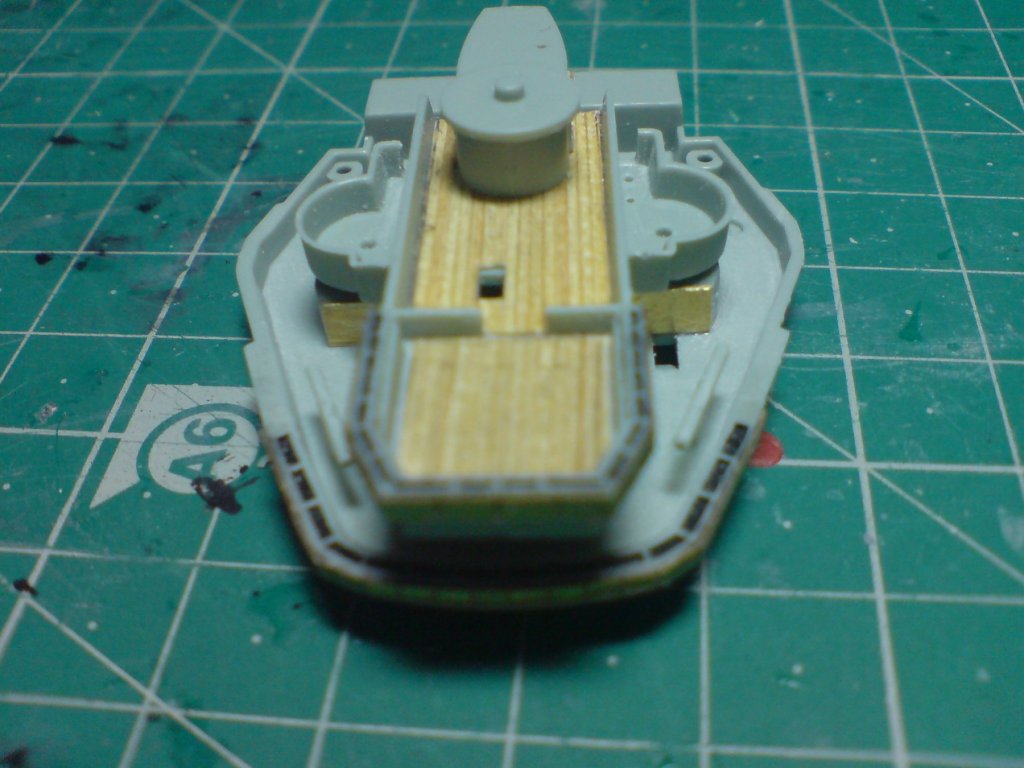
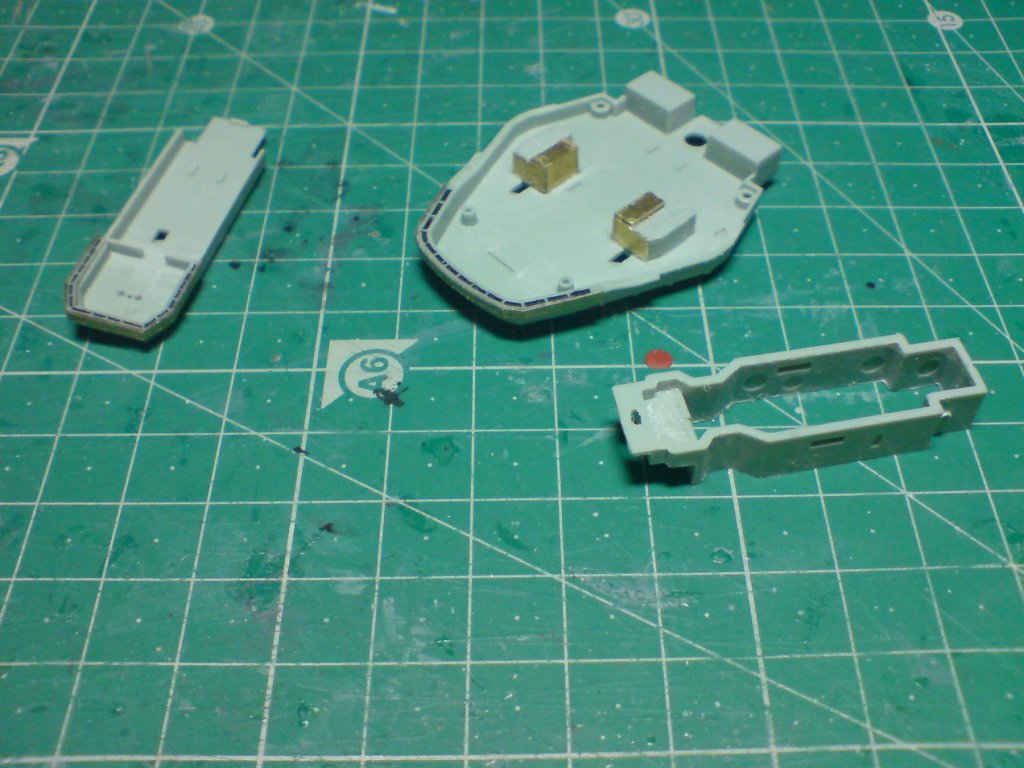
Good day all, so despite my paint woes I have been able to fix somemore bits on the forward lower deck build-up, these were painted earlier being small parts consisting of - the other derrick and wire cable, a small section of railing the two paravanes, then I drilled out a few port holes but left a few closed. I then gave the completed section a quick coat of clear matt by hand to seal it, then I glued it down onto the deck. Here are a few pics showing this stage but also the with hanger/boat assembly dry fitted just to get an idea how its all coming along. OC.