HOLIDAY DONATION DRIVE - SUPPORT MSW - DO YOUR PART TO KEEP THIS GREAT FORUM GOING! (Only 13 donations so far - C'mon guys!)
×


Old Collingwood
-
Posts
12,098 -
Joined
-
Last visited
Content Type
Profiles
Forums
Gallery
Events
Everything posted by Old Collingwood
-
 Most welcome mark, bring the popcorn machine but keep the key to yourself - you know how greedy the normal bunch can be😉 OC.
 -
Good day all, I thought I would start this log in preperation for finishing my HMS Warspite build, I have wanted to build a version of the Black Pearl for a while now, but there is no Honest company making a wood kit and only the one decent scale plastic kit, so I came up with the crazy idea of mashing my Peregrine kit into the Pearl. Most inportant Im building this for the wife as a Special request. This will take some doing as the keel pieces and ribs in the peregrine kit will all need modifying with extra pieces adding to them (I am under no illusion this will be a real trial of building skills and my first attempt at a real scratch built ship. I will have to firstly lengthen the keel section/s as the Pearl was about 30 feet longer than the Pergrine - so some additions to be added. So pull up a chair in readyness for this madness - it wont be dull. OC.
-
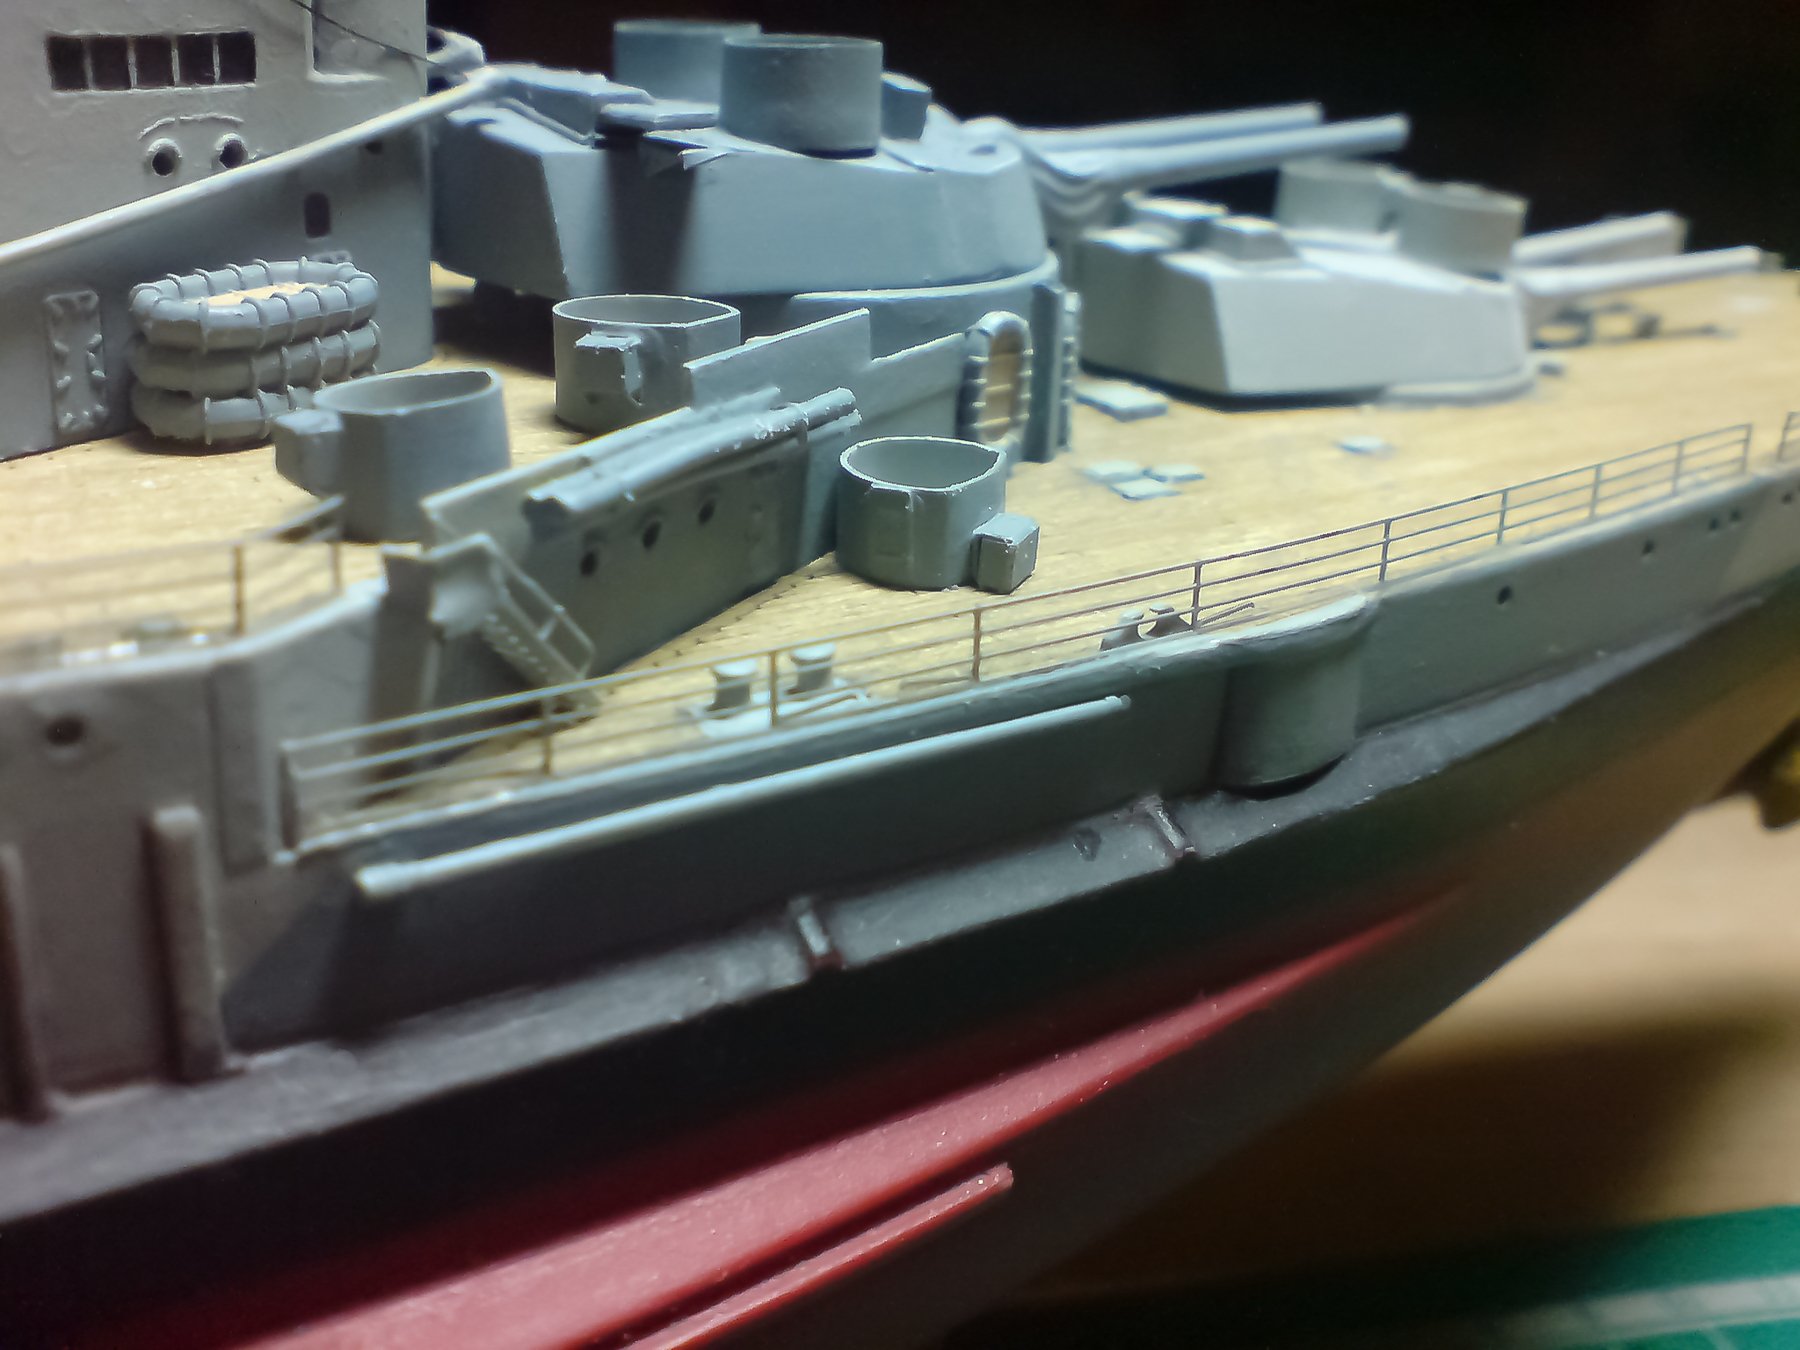
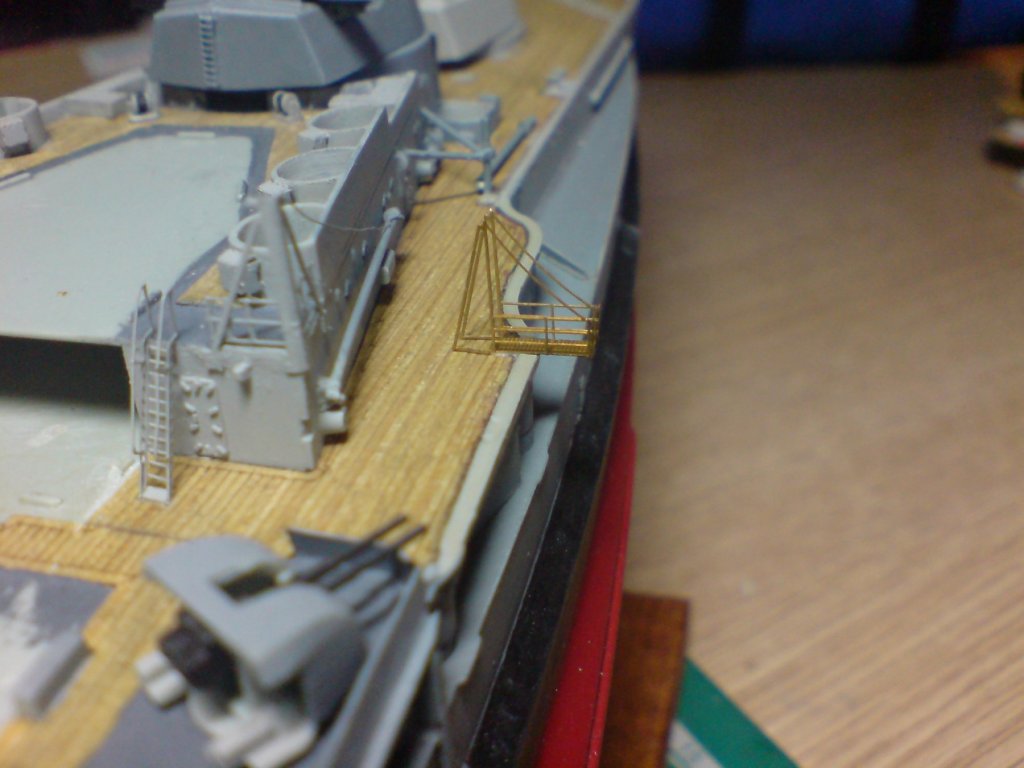
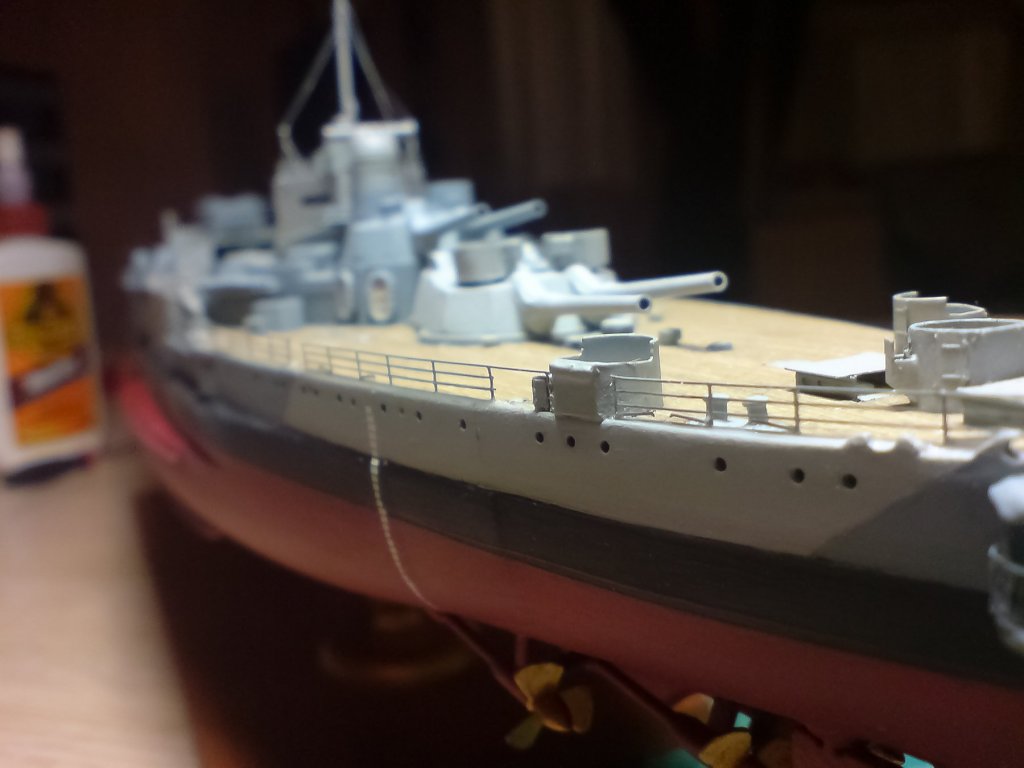
Hi all, more work again today she is getting closer and closer to completion, anyway I cut the mid section of railing into two sections, the first one fitted in a nice short straight line between the 4inch gun mount shroud and the platform, the next section continued on from the platform and forward, this section needed bending in two opposing directions, then glueing into place. I did this for both sides then turned my attention to the rear access hull ladder, this has a platform at both ends and after assembling I fitted in the stowed position. OC.
.thumb.JPG.fadedc7a3cbd4d89fd269f48b41f0353.JPG)
.thumb.JPG.0794781da2ca29410211e865c4320878.JPG)
-
Great work and the colors look fantastic. OC.
- 331 replies
-
- 3
-

-
- nuestra senora del pilar
- occre
- (and 1 more)
-
Thanks mate, yep I discovered the diemensions by accident when I sat her in the lid to take a pic. OC.
-
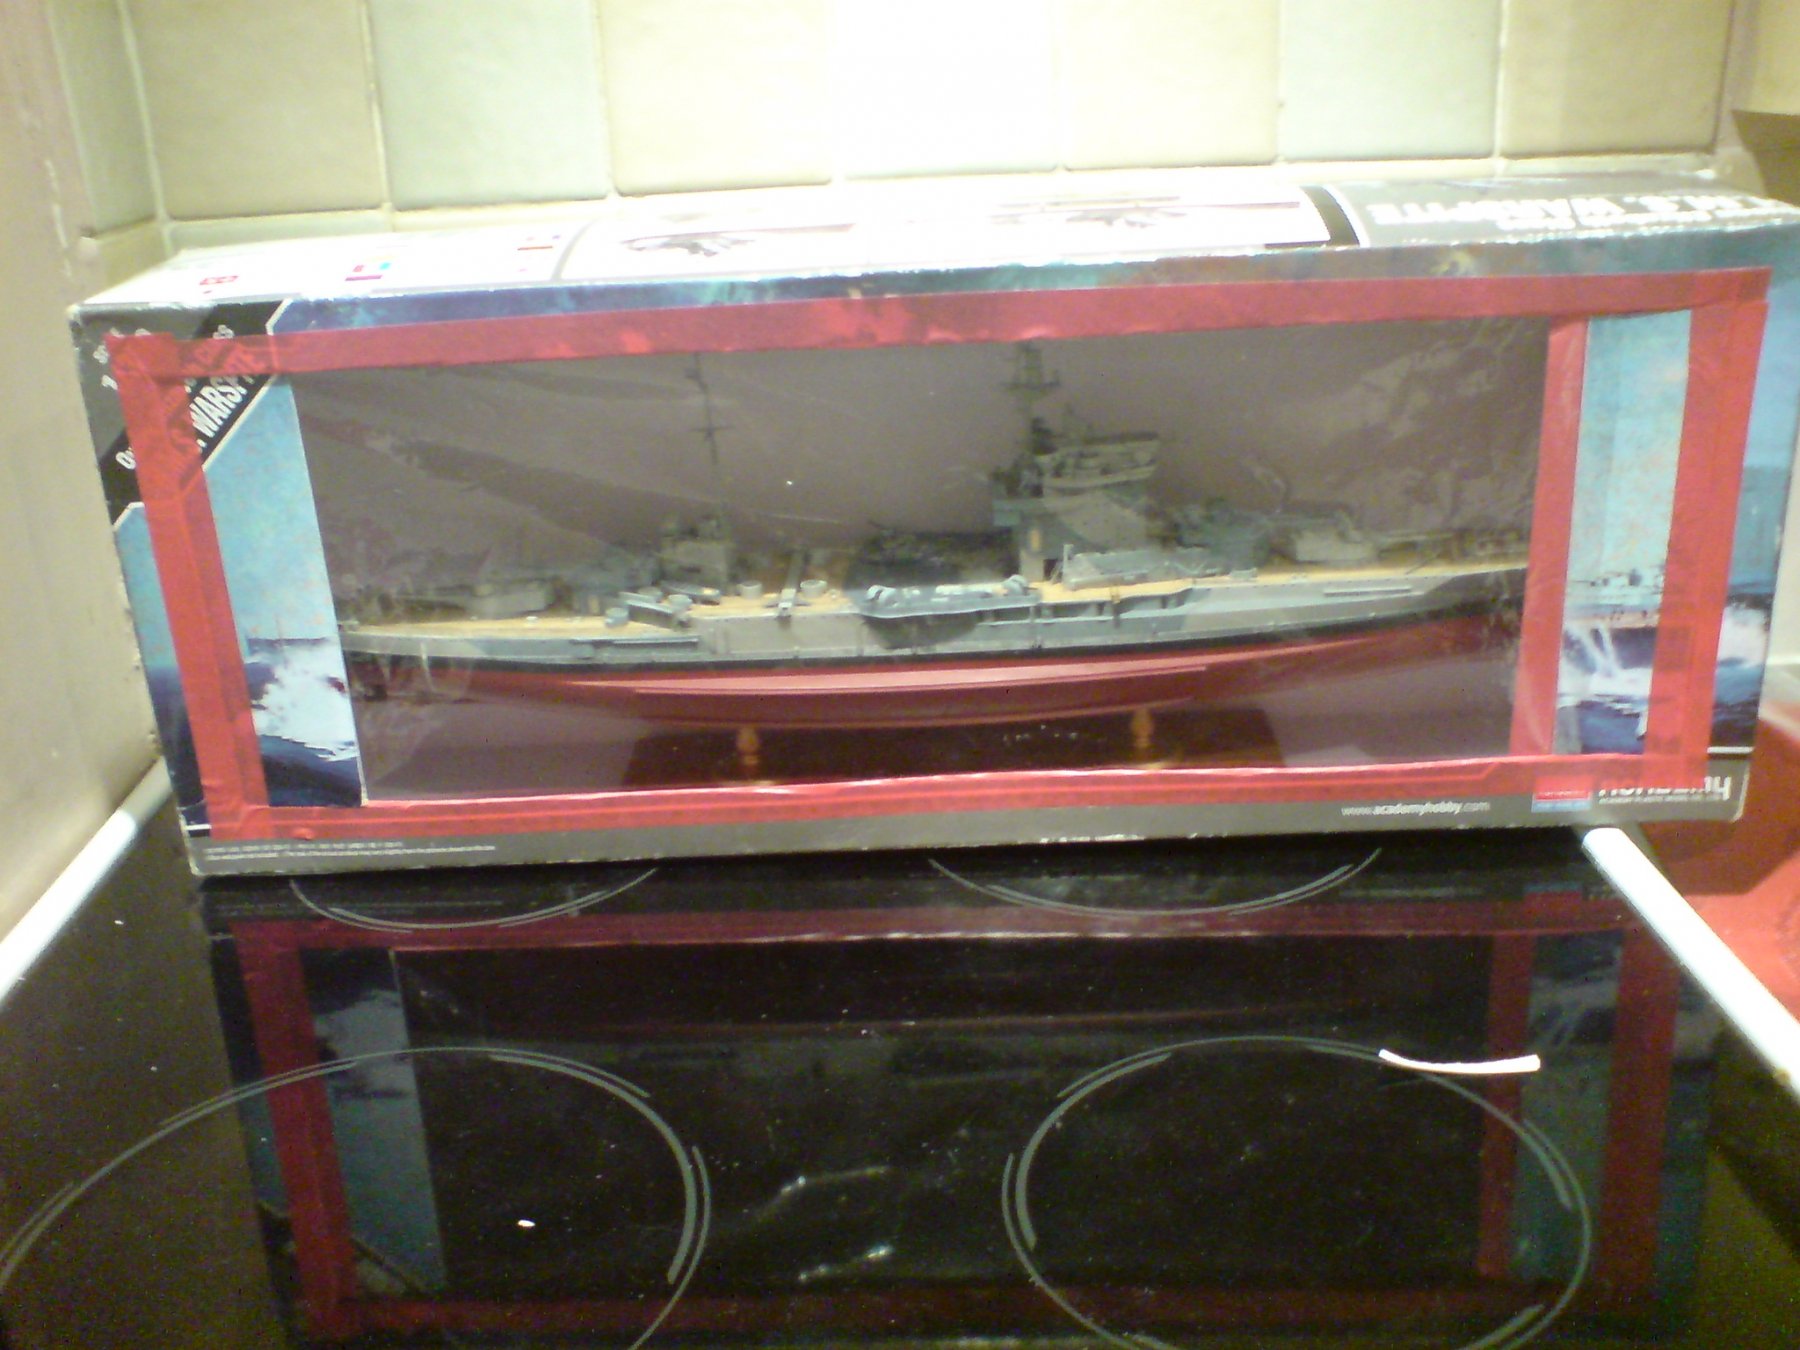
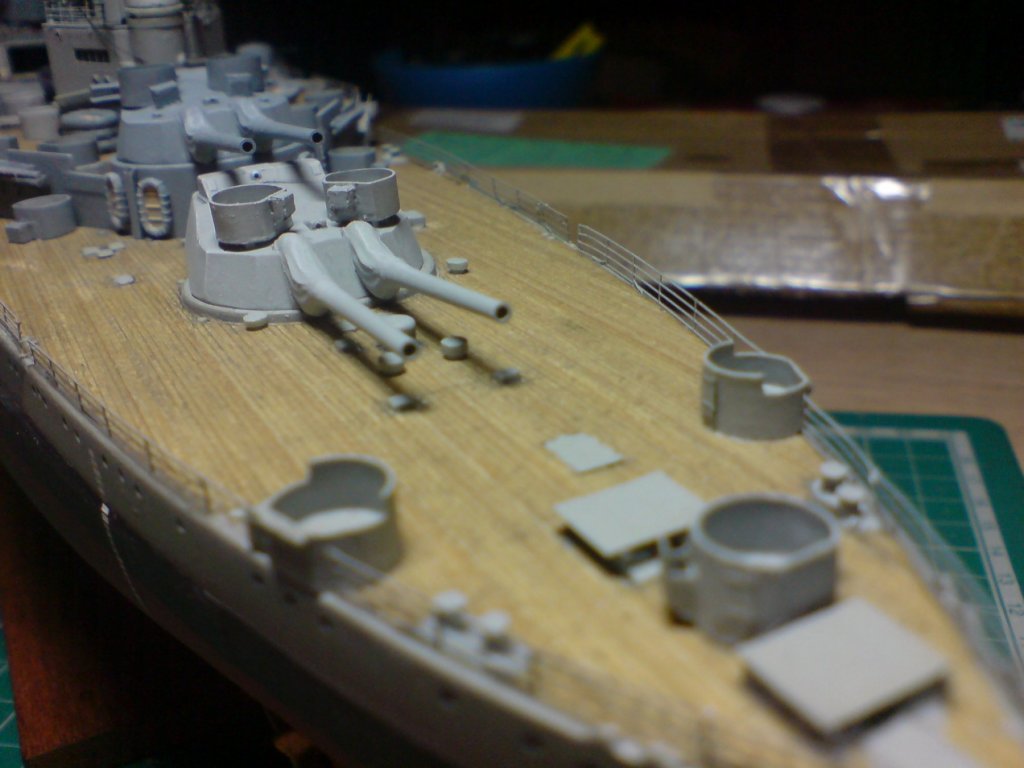
A bit more work on the bench today - I constructed the two lookout depth sounding platforms then glued them down, I then constructed a temporary house for my build out of the kit box - it will receive a couple of coats of white emulsion to cover the box art. OC.
.thumb.JPG.ba1d1ccc3064a93471818ac1c453e70d.JPG)

-
Following on from jasons excellent advice what I did was to find my line for the top lip of the wale, then start planking above this but not covering the gunports but trying to finnish the planks where each gunport is (its easy to clean up the edge where they meet the gunport) and to just keep working like this (I did mine in sequence on both the port and larboard side so as to make sure they matched in height). Then I continued up the hull sides till I reached the forecastle and poop deck edges. Then I constructed the wales and planed below that moving down to the keel. Hope this helps david. OC.
-
Evening all, thanks again for all the likes and follows. After an unexpected early morning as the wife had a bad night and it was easier to just get up, anyway she lay on the sofa and I hit the bench - my first job was to paint the forward booms/supports, then I painted the tops of the rear section railings black, it came out quite good despite being half asleep. OC.
-
Fine work mark, reminds me of my Agostini Vic build on here before the site problem - this was my ships barge I had built. OC.

-
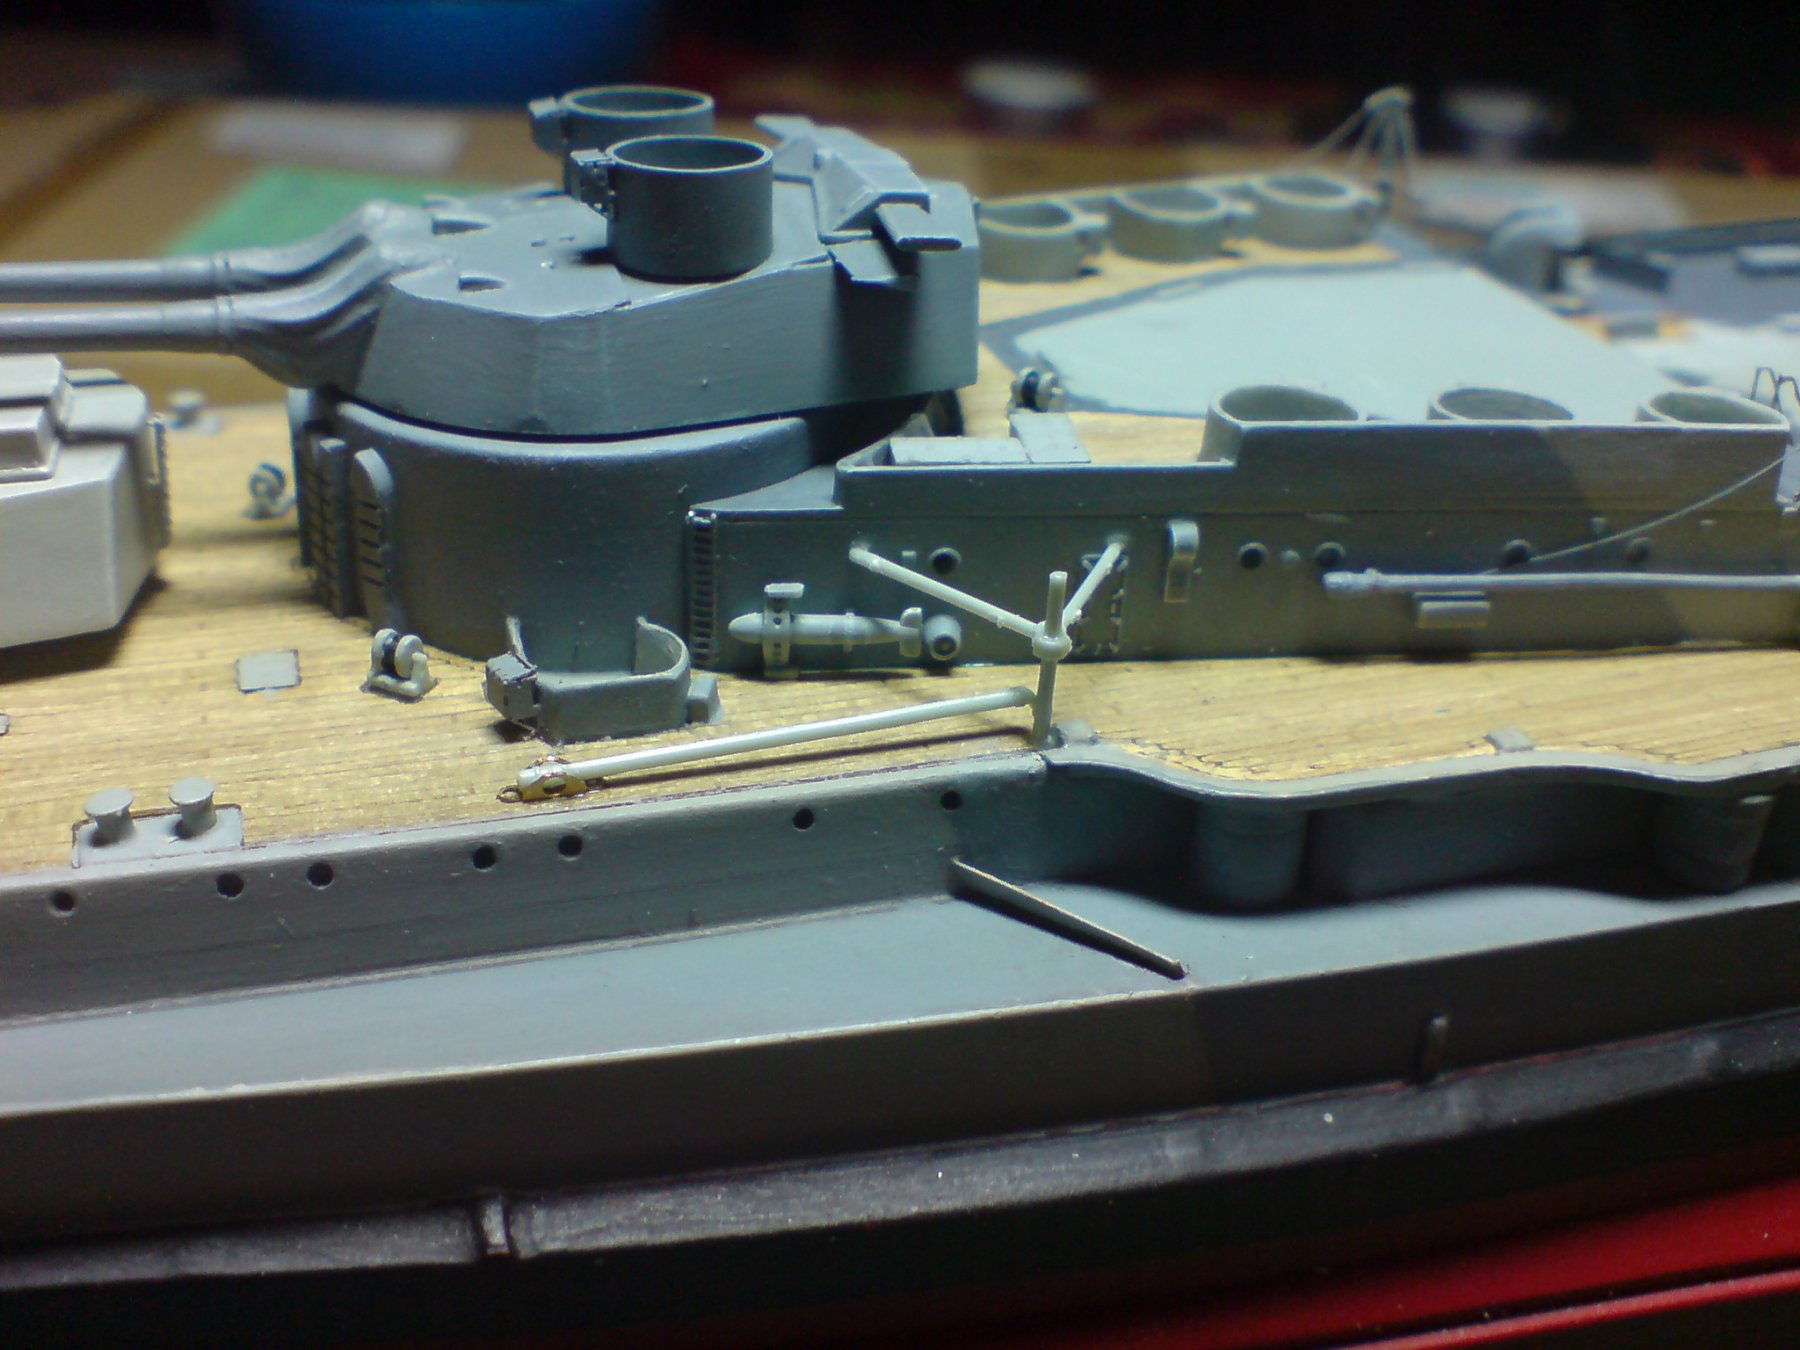
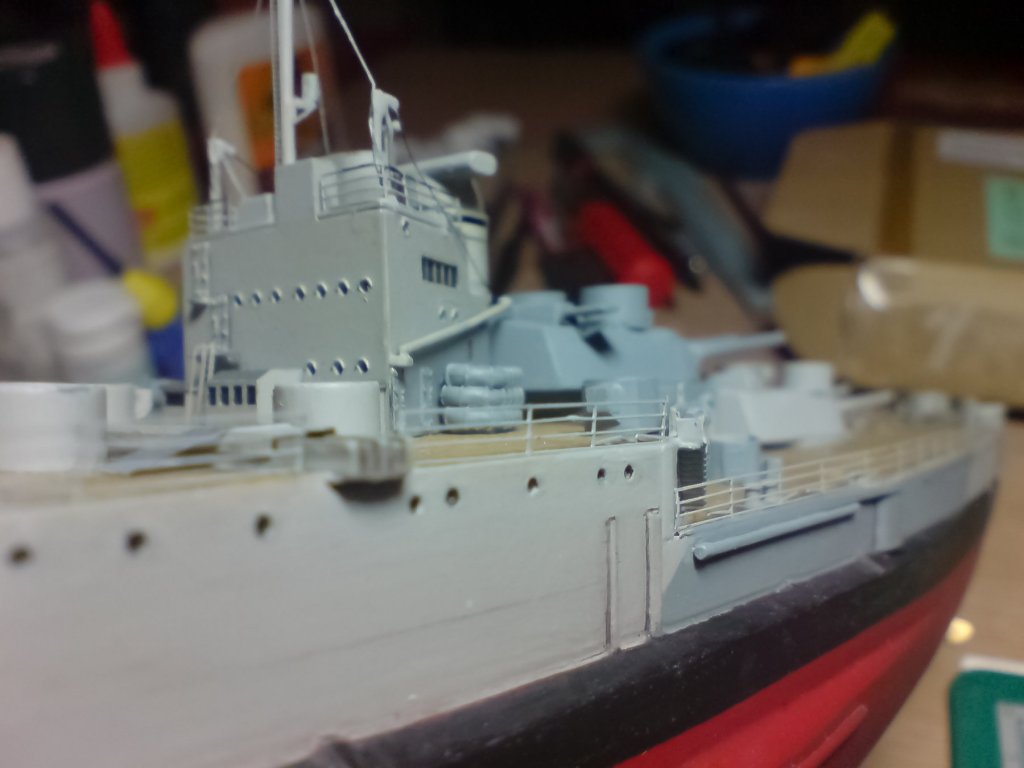
Good evening all, I managed some more time on the bench this evening - I put the deck railings on the rear deck (other side), then turned my attention to the forward booms and frames, I decided to use the kit ones (well I had no choice as I lost one of the pe frames) anyway I think they look ok for kit parts, I also created two pe brackets/cradles for the boom ends to sit in. Just the two pics tonight. OC.

-
Yes mate thats the stuff - I am frankly amazed how much better it is over standard (cheap) pva glue, I found out how tuff it is when I left abit of wood stuck in some glue residue ontop of a lid, the wood stick was almost welded in to the set glue. OC.
-
Coming along very nicely david. OC.
-
Another Superb job greg always a pleasure watching your builds. OC.
- 405 replies
-
- 7
-
-
- tamiya
- king george v
- (and 2 more)
-
Thanks greg, im finding the thick quick setting gaitor pva glue a real help, as it grabs the rail and within minutes its starting to set, they are actually less hassle than I thought they would be. OC.
-
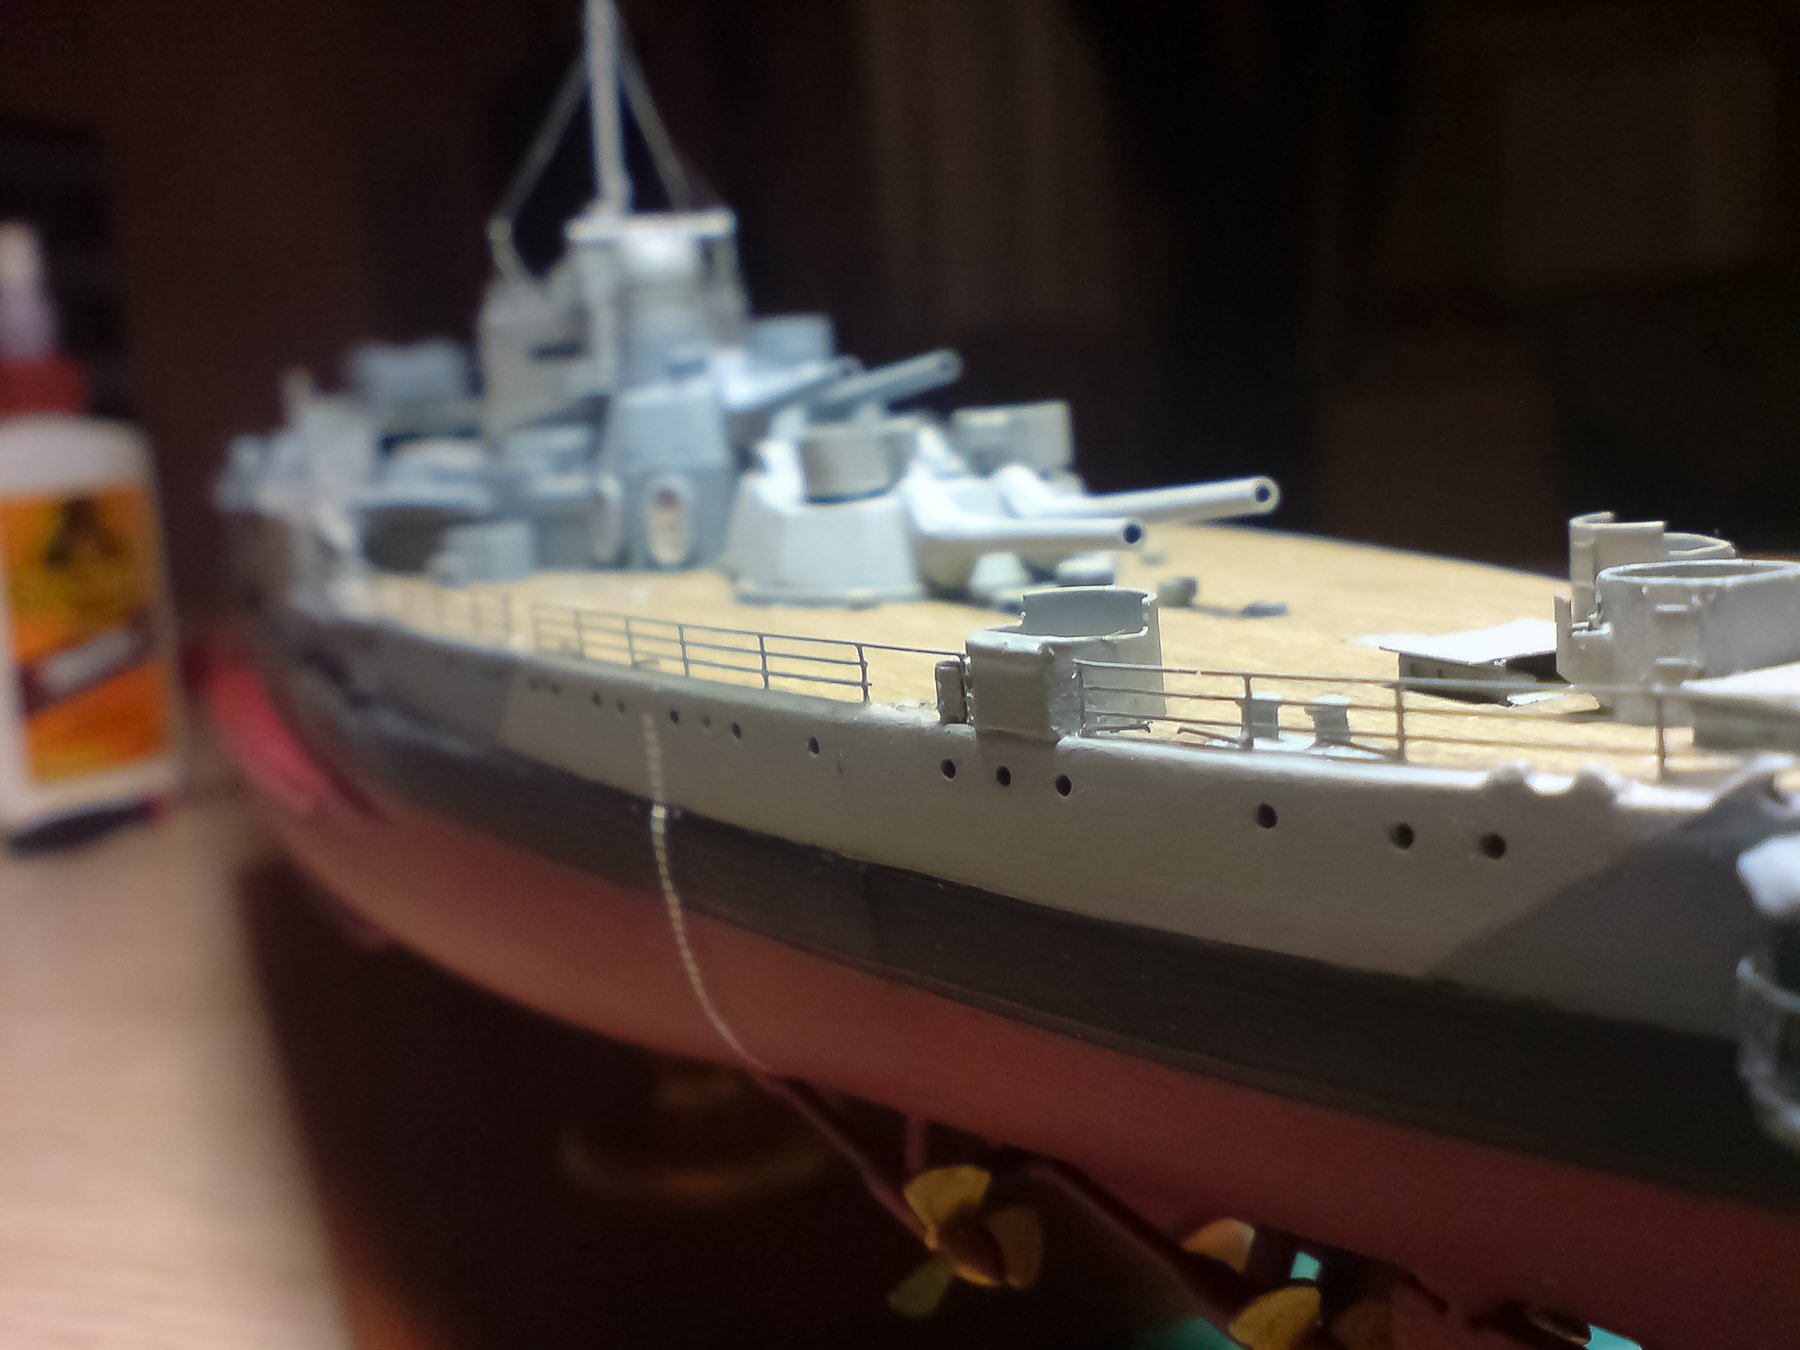
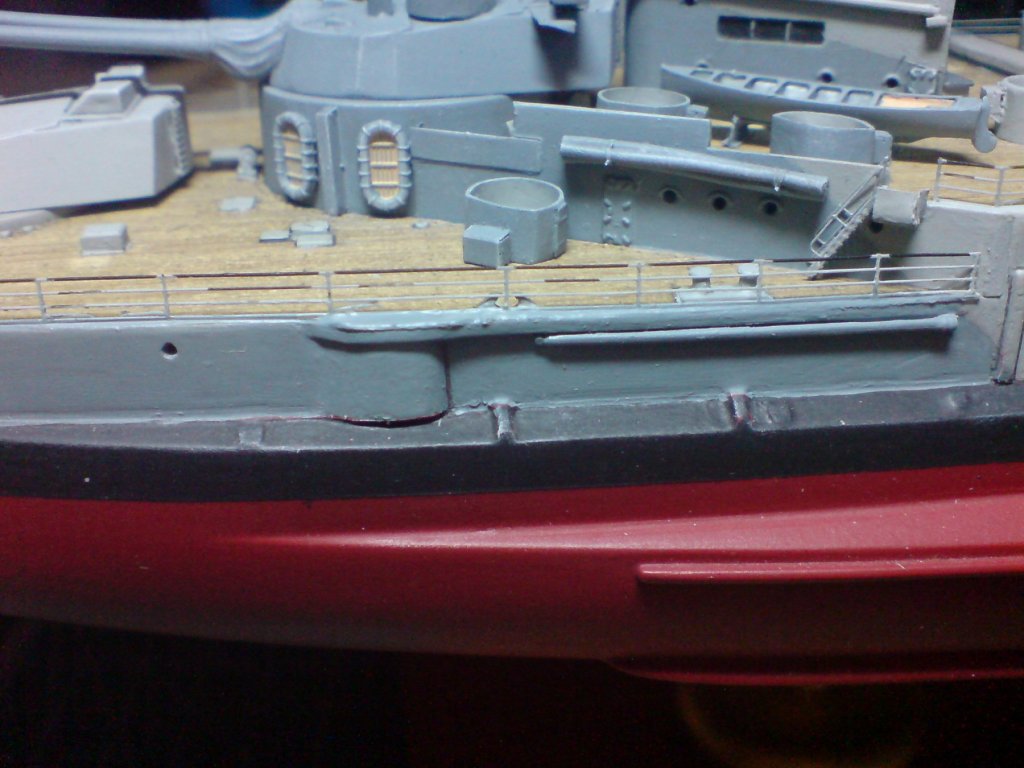
Hi all, I started fitting the deck rails starting with the rear deck, after checking the location of the obstructions like the rear tubs, and also the rear accsess hull ladder, it gave me the the opportunity to cut the railing into three pieces, this worked quite well I just sat them in a small smear of thick gorila pva. Heres the dreaded pictures. OC.

-
Looking really smart mate that turret looks superb. OC.
- 467 replies
-
- 4
-
-
- mikasa
- wave models
- (and 1 more)
.JPG.0f0a1f0c6ea94306994c331492b251b5.JPG)
.JPG.7b1fcc81e2d5586044013ed7657be4e6.JPG)
.JPG.93dd4408951f231f1eacd551cc3b5422.JPG)