Old Collingwood
-
Posts
12,106 -
Joined
-
Last visited
Content Type
Profiles
Forums
Gallery
Events
Everything posted by Old Collingwood
-
 Thanks Carl, I did install my own artistic license as there is no proof that this happened - just me being a bit imaginative. OC.
 -
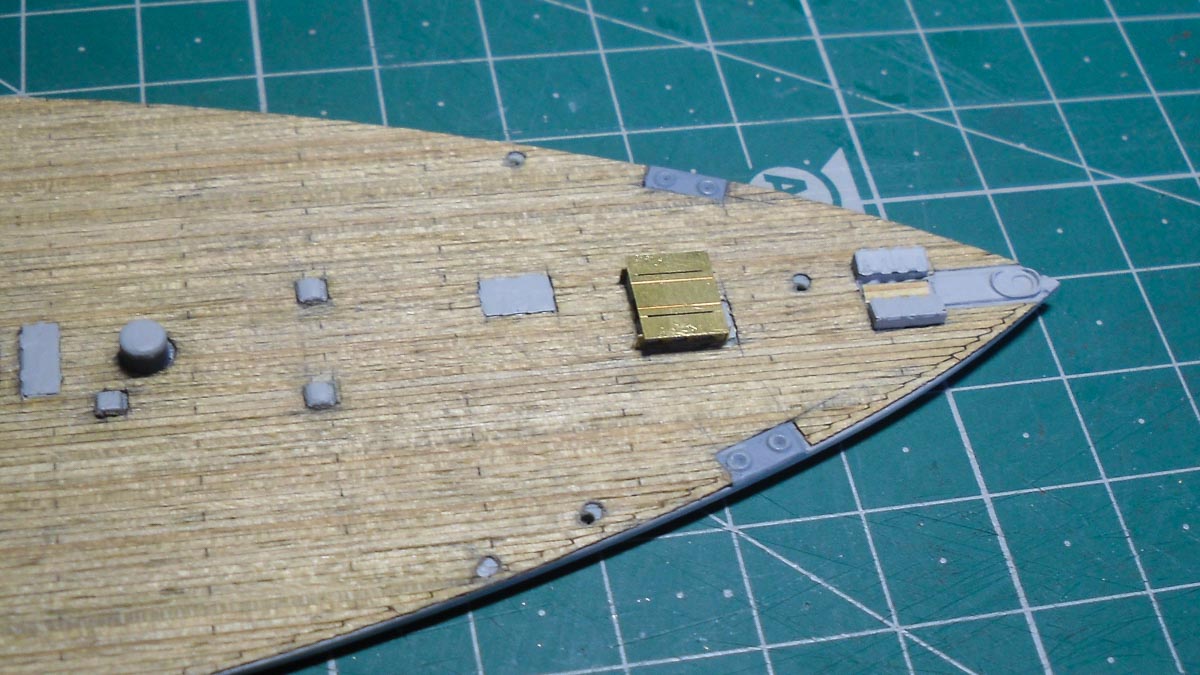
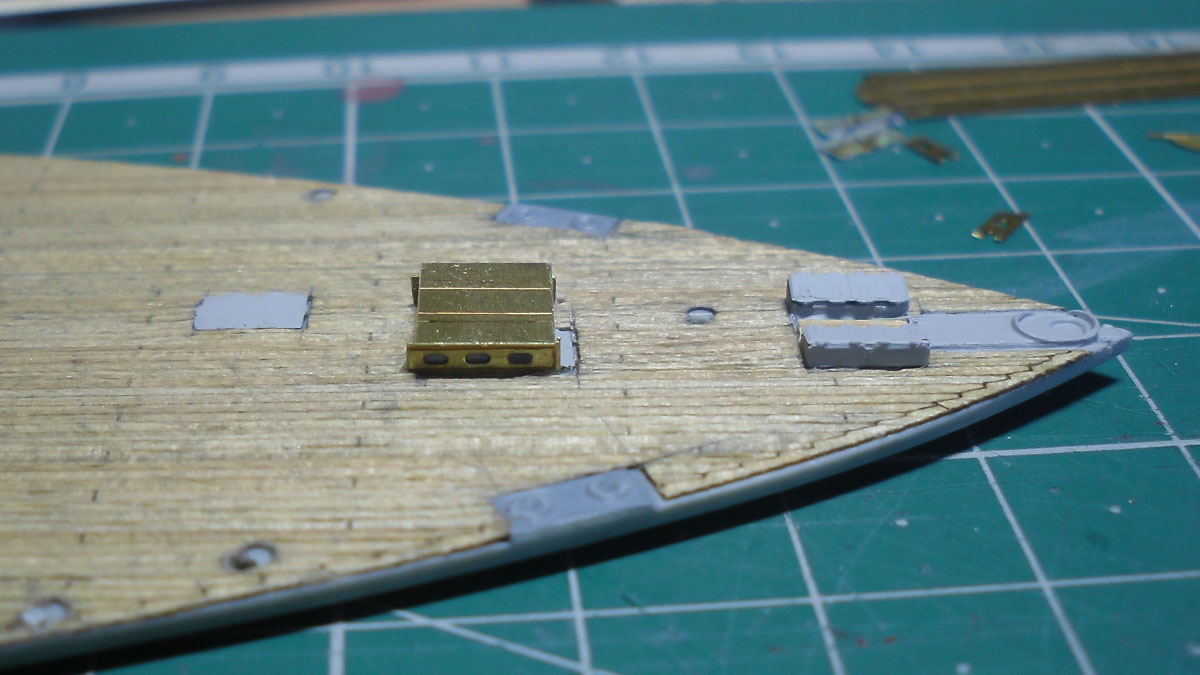
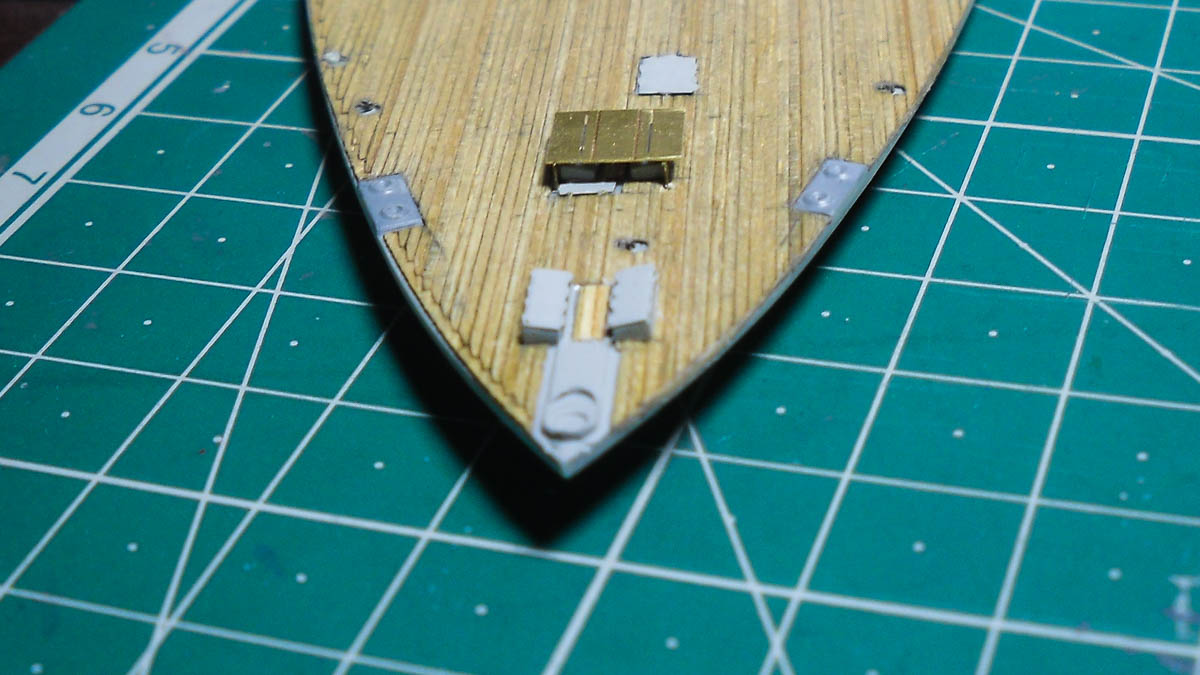
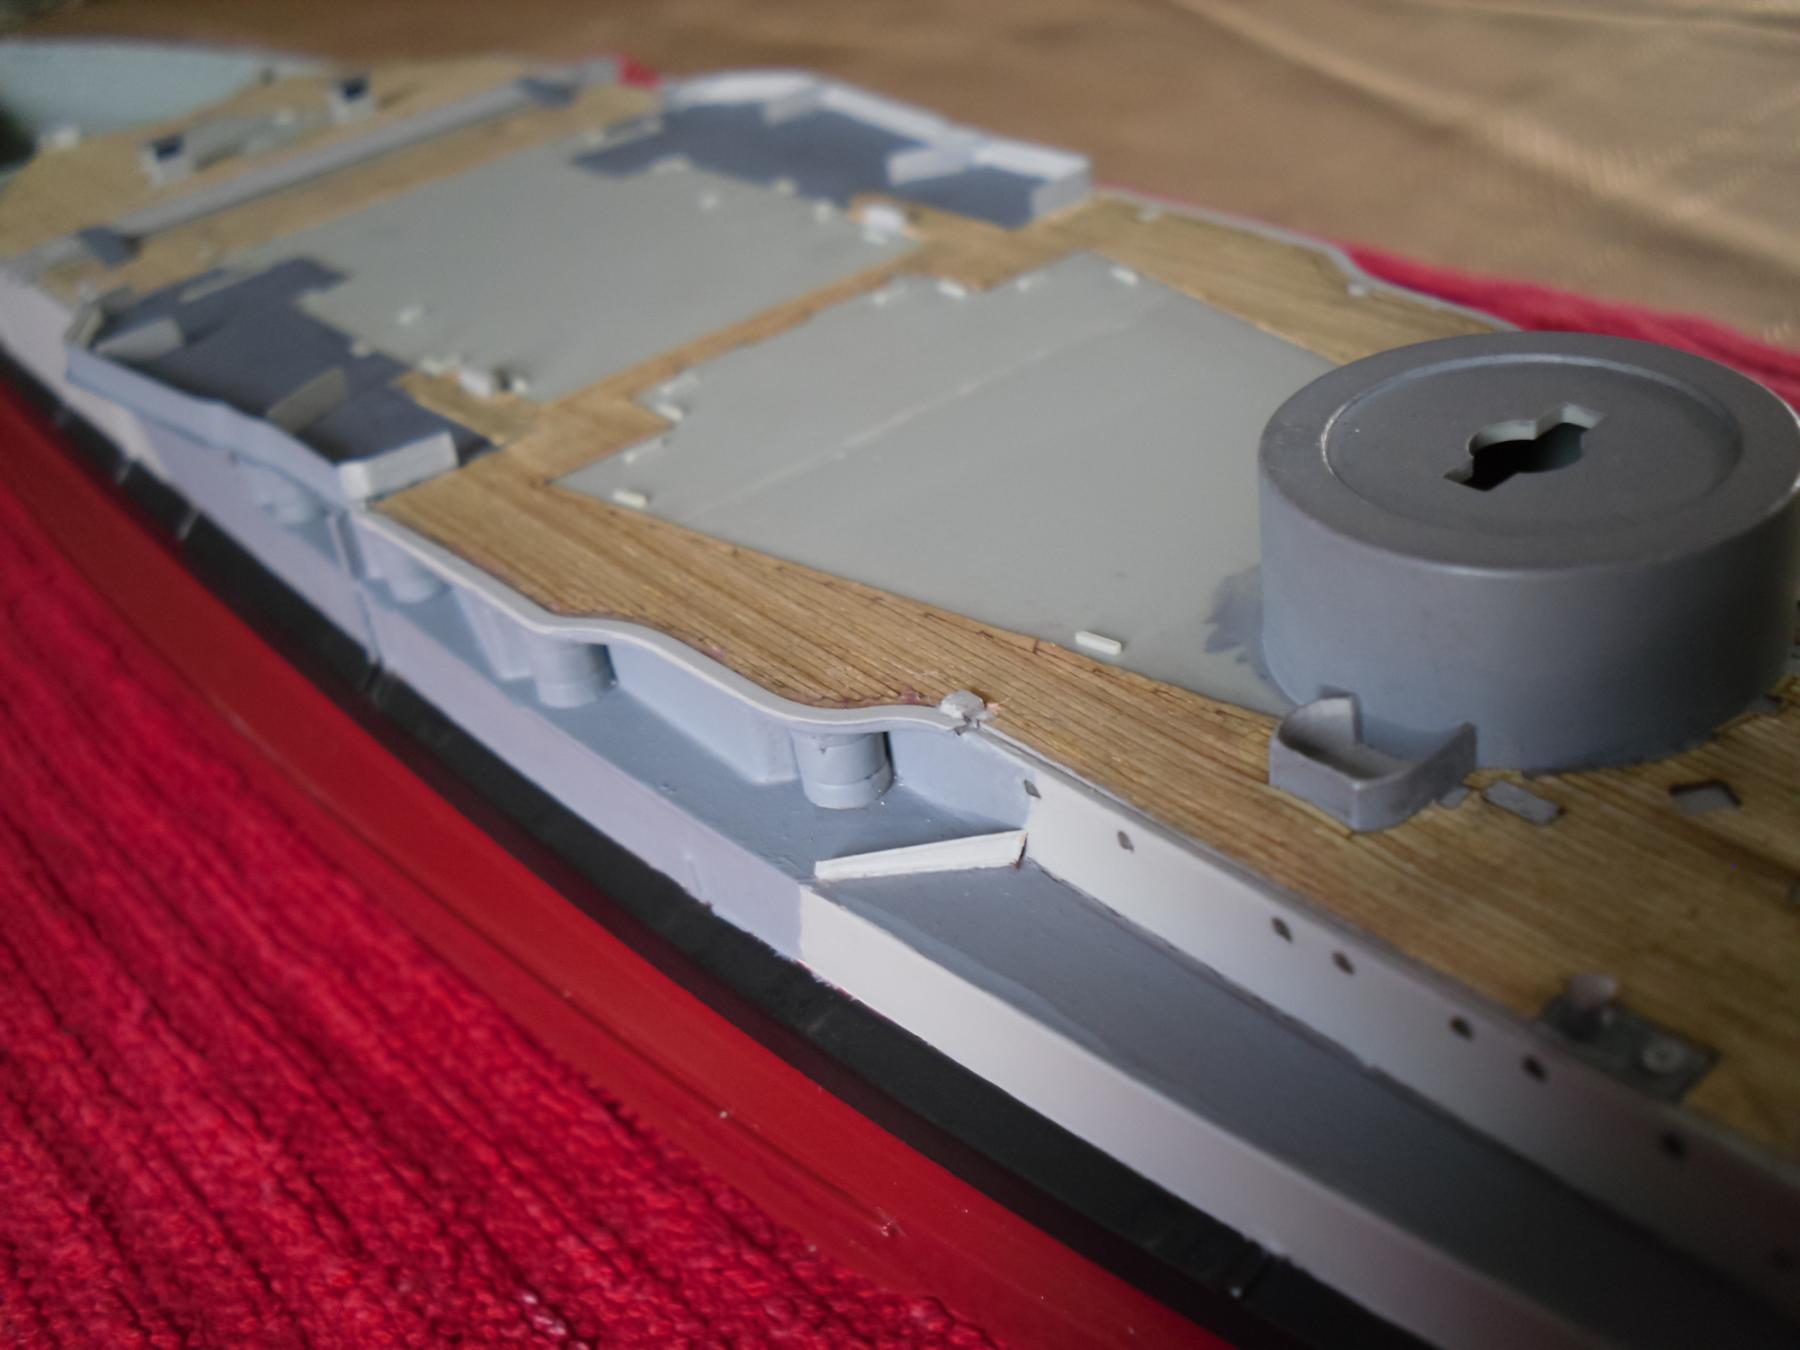
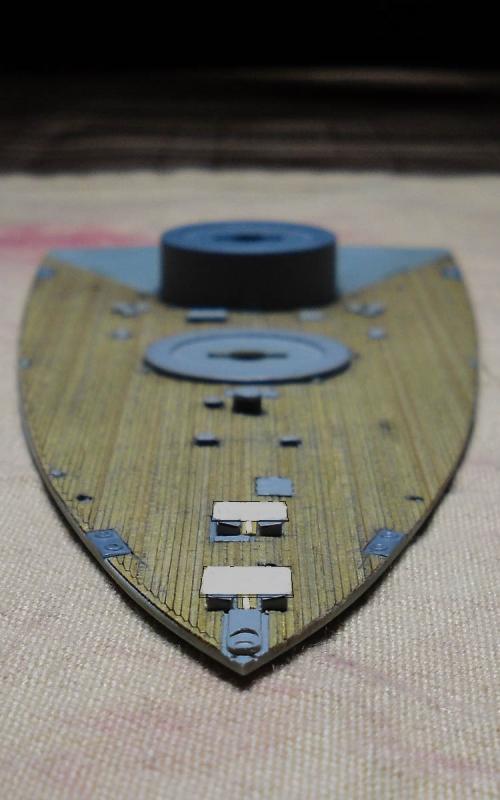
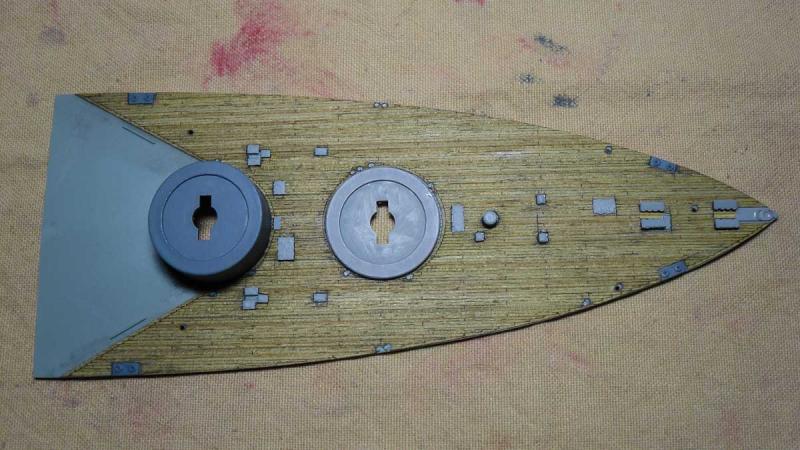
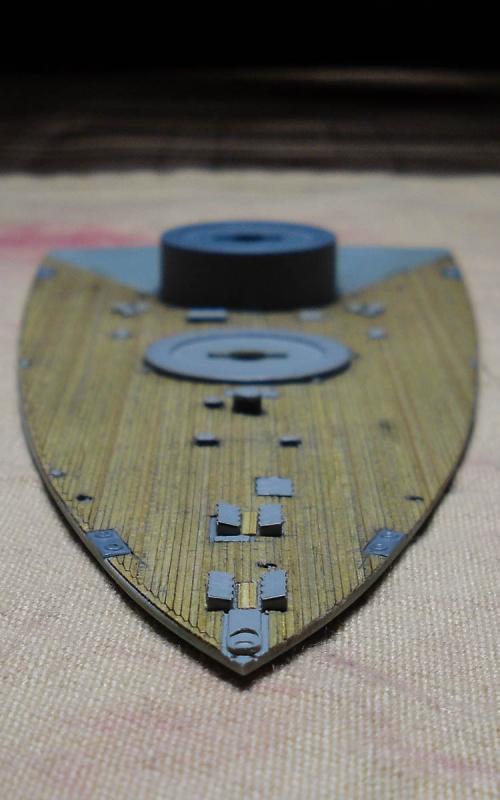
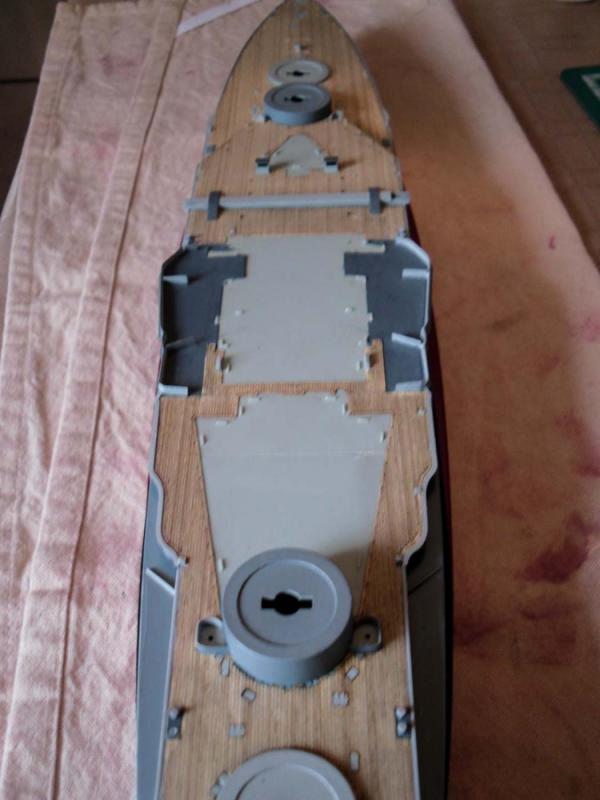
I managed to tare myself away from aircraft spotting and did some more work on the build, I got hold of the PE fret, and found the Catapult frame that I am using for the armour cover plate over the rear hatches, this frame is flat and has perferations at set distances, I chose the section that is closest to the size I needed then scored a line and bent it till it seperated. A bit of sanding and it was the required length, next off was the two edge supports that also needed a bit of shortening, then a gauged a channel in the decking to fit the frame edges, and after a bit of dry fitting I went ahead and glued them in place with a bit of CA, next was the top plate - again with a light application of CA. Here are a few pics of the result folks. OC.

-
And these are what I might use for side plates to support the plate, again from the PE fret. OC.

-
Just a quick post - This is what I intend to place over my hatches - Its from the PE fret and shows the rough size compared to one of the hatches, the hatch layout is Two across with an equal gap, so after measuring the plate it should fit nicely with a slight overhang. OC.

-
This will no doubt tun into another Epic build, if your previous build have anything to do with it, I have seen a few excellent builds on her in different build forums, so I will be following along aswel If I may. OC.
-
Folks still pushing on - I have decided to apply a bit of artistic license with my build folks, my way of thinking is during the old lady's later battles 1943-1944, her captain considered her rear deck area near her rear flagstaff and right above her rudders, to be vulnarable to plunging attack, esp around the area of the rear hatches as these where considered a weakness from cutting into the light deck armour of just 1inch, so the captain decided to fit two armour plates of 2 inchs in thickness over the hatches, to give an additional layer of protection. These I will fashion myself out of square secion plates and attach these via a frame. OC.
-
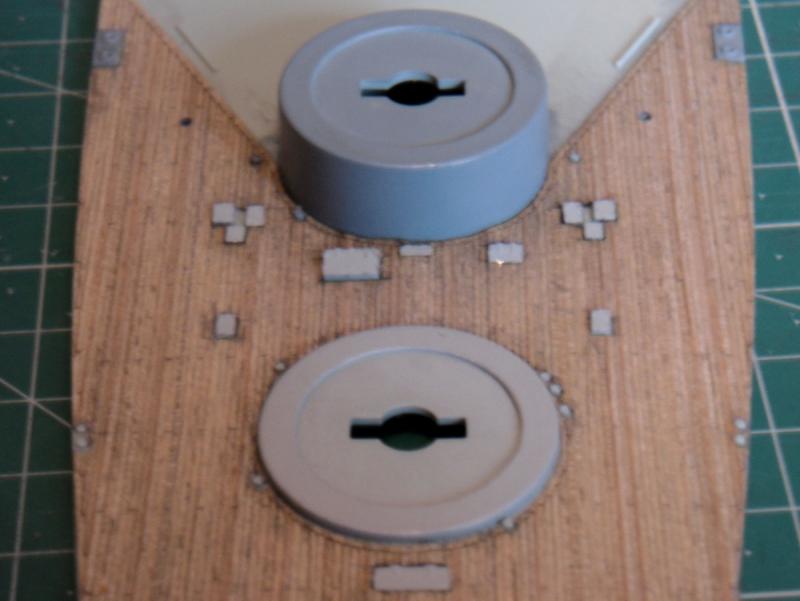
Did a bit more painting this evening on the hatch covers giving them a few coats 507C. OC.
-
Hiya Frank thanks for the comments, No its a Full Hull build as I got over the Hull problems I had, the rear deck pics are while its not stuck down to the hull yet, works better that way. OC.
-
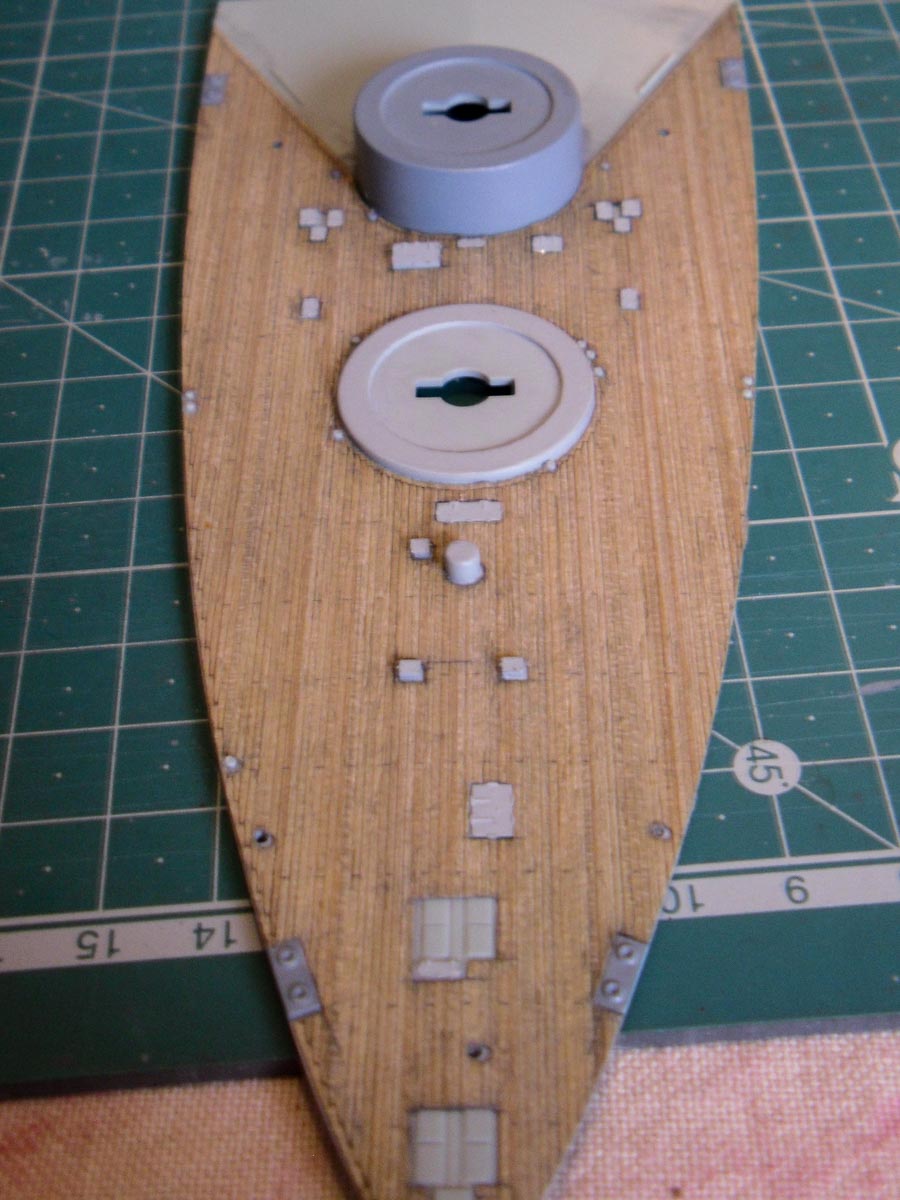
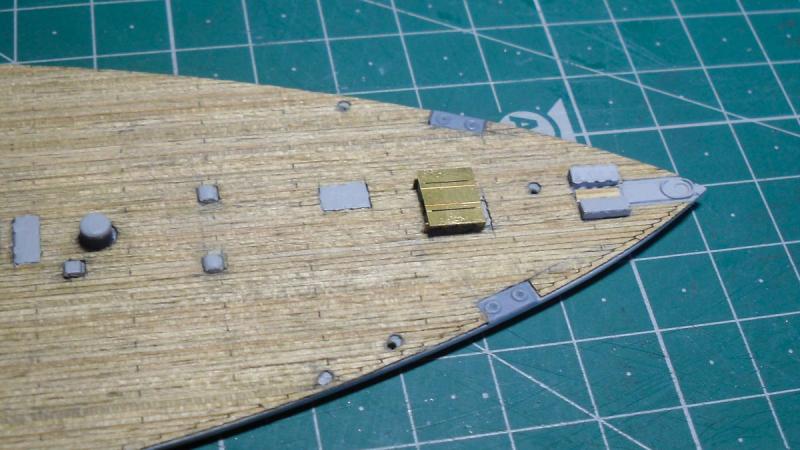
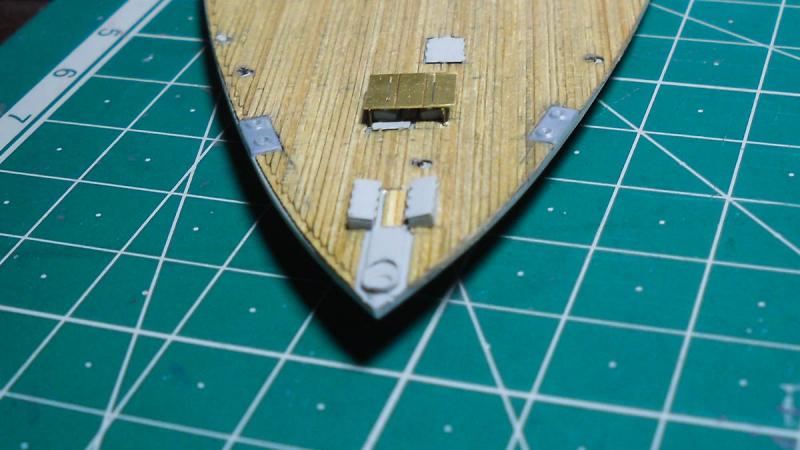
Managed to get a bit more work done today on the rear deck, I built up the rear access hatches starting with fitting the four plastic frames (a bit like cold frames) I glud these down with my revel glue, then this afternoon I cut out the four hatch covers to go ontop of these, from the PE fret, these were again glued down with PVA. Here's a pic of the progress folks. OC.

-
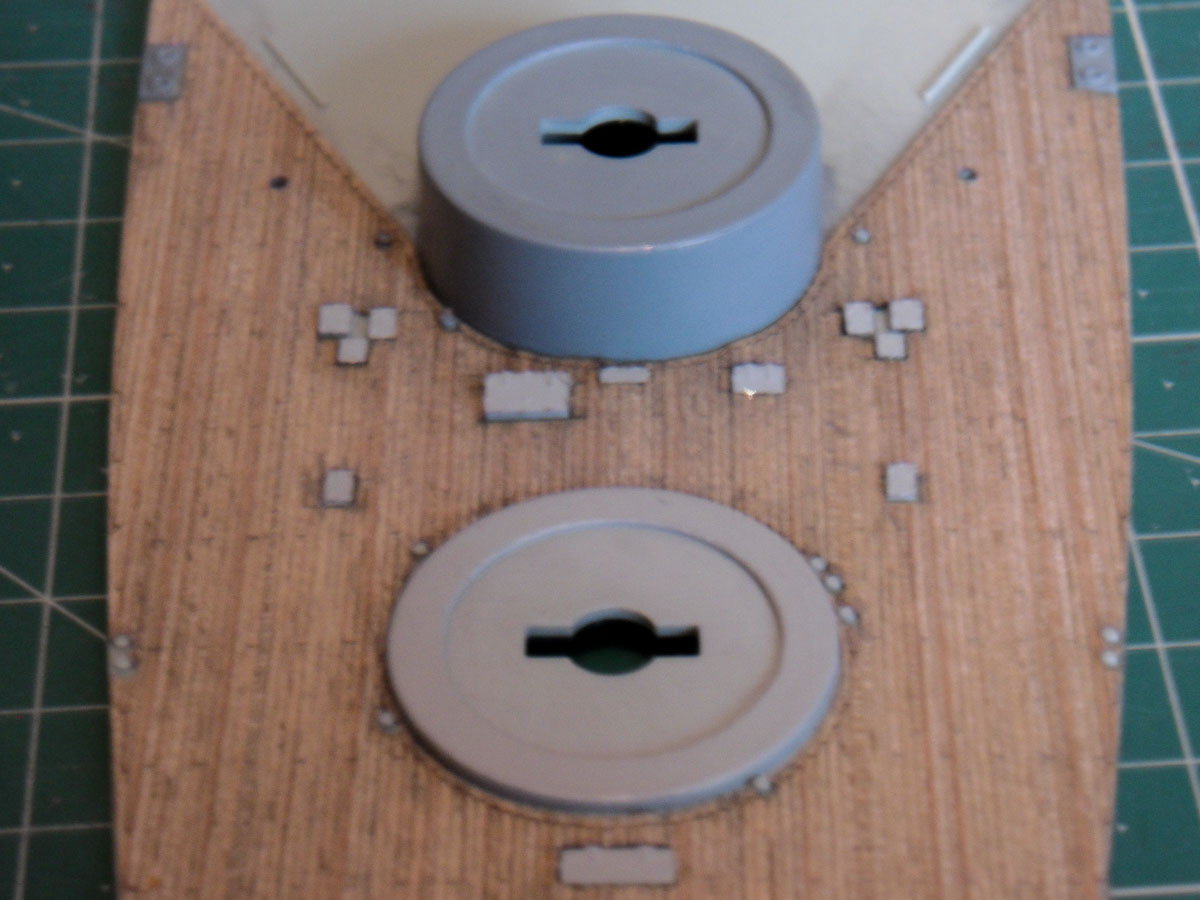
I got round to placing the PE hatch covers to day - 18 in total, the normal tip I use for doing this is to apply a small amount of White Glue by a paint brush tip, then move the PE part into place with the tip of my modeling knife Here is a few pics folks. OC.
-
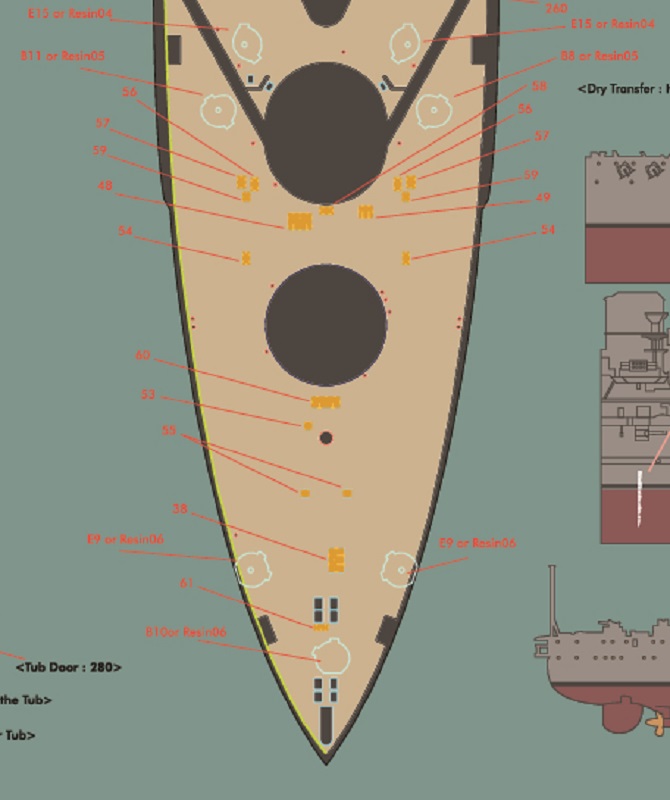
Here's my next stage folks - fitting all the PE deck fittings - hatch covers and the like. OC.
-
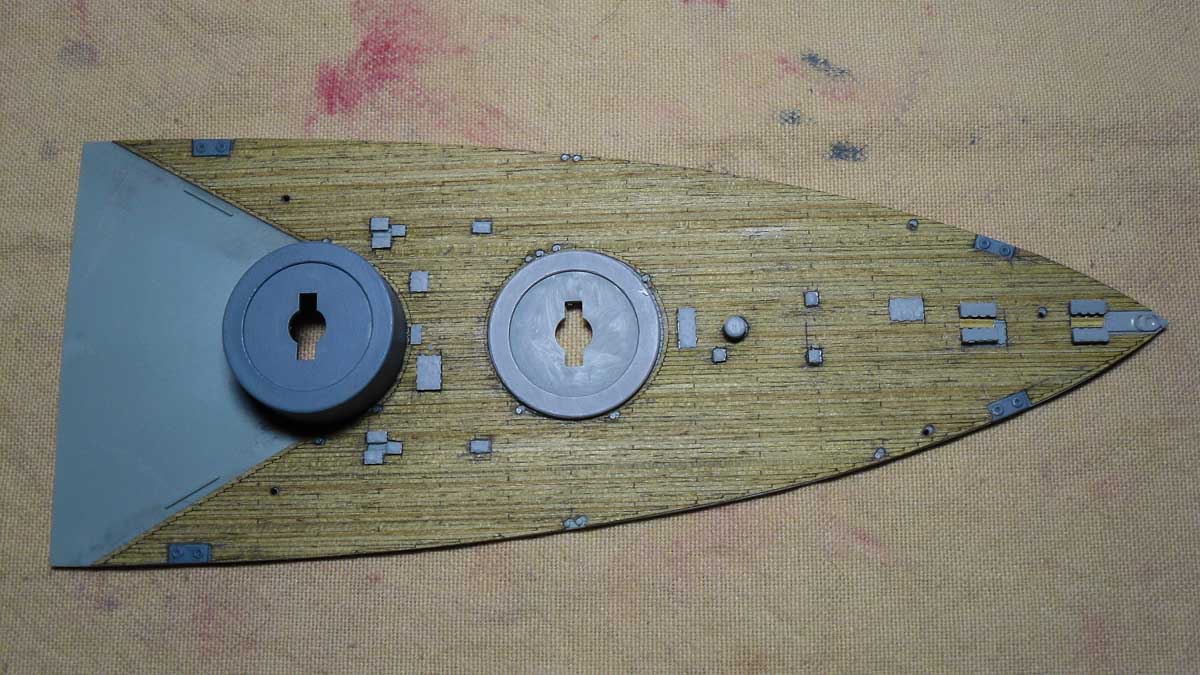
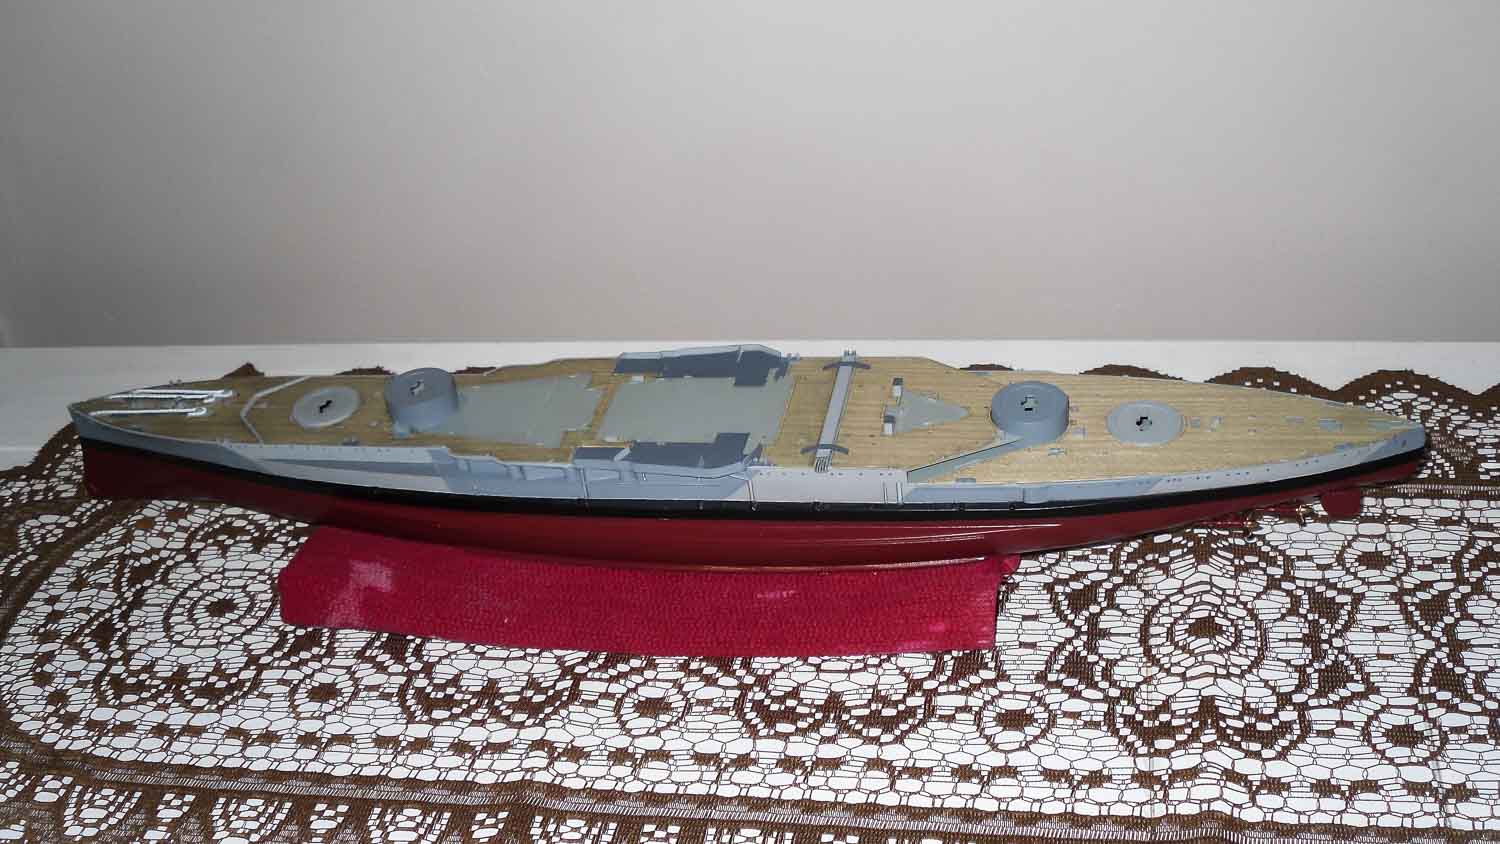
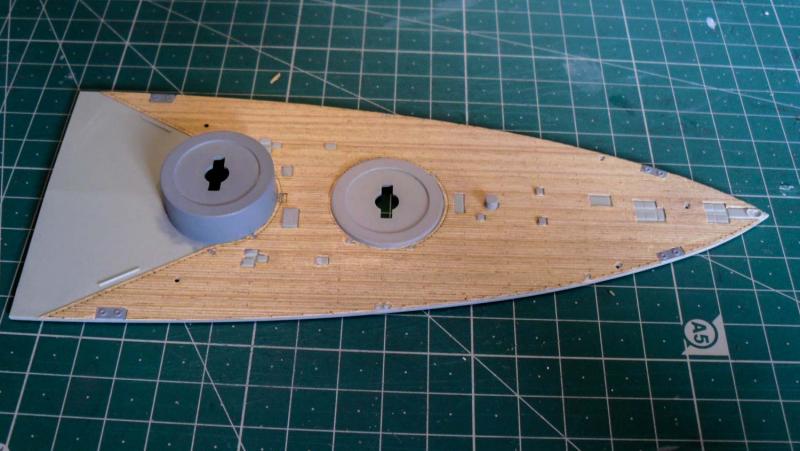
More work on the rear deck laminate today, I managed to cut the deck section away from the sheet it was attached to then did a bit of dry fitting - adjusting - dry fitting etc, then the "Hold breath" stage again where you get just one chance to lay the Very very sticky laminate, again starting from the rear turret and carefully placing it down pressing gently as I went. It went down with a slight portion to one side but this just ment a bit or trimming around obstructions and the edge to balance it out. Here are a few pics fisrtly showing the laminate down and the rest are how the whole ship is looking to date. OC.

-
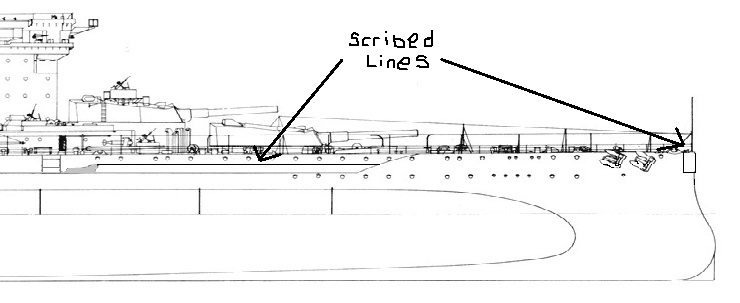
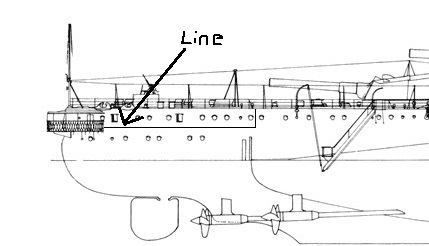
Another area I plan to work on after the rear deck is in place, is to scribe a couple of armour lines into hull, where they were most noticable, this will be along the shelf hull and on the extreme bow, I have done a drawing to show what I mean, and the Stern. OC.
-
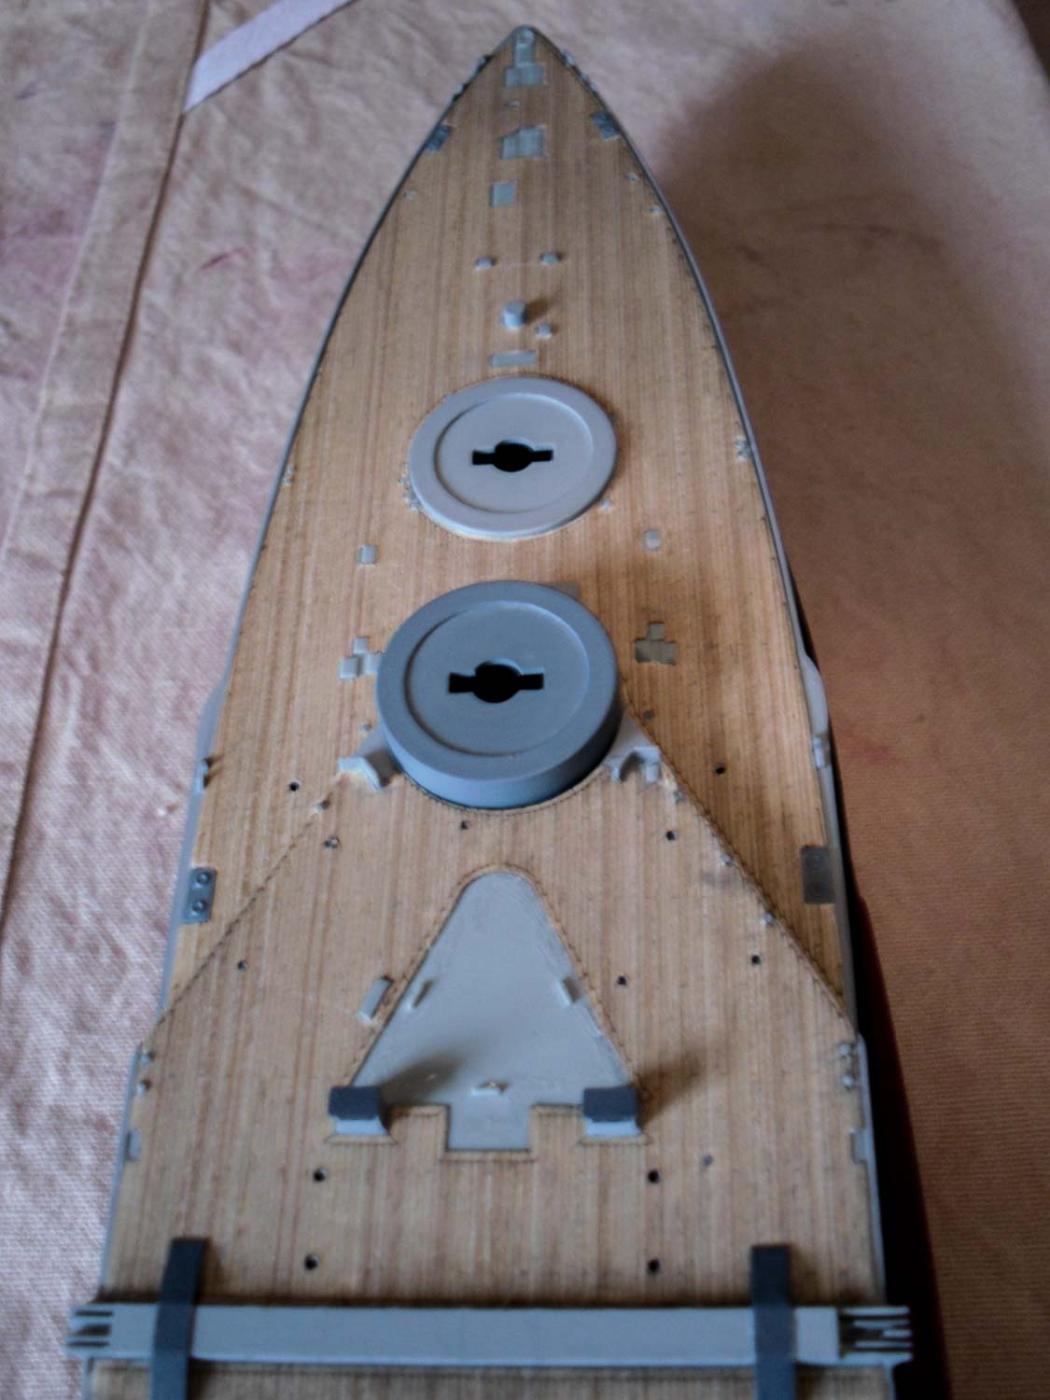
Just posting a pic to show the current situation - I painted the areas that will stick through the wood decking, and also cut out these areas on the wood decking. OC.

-
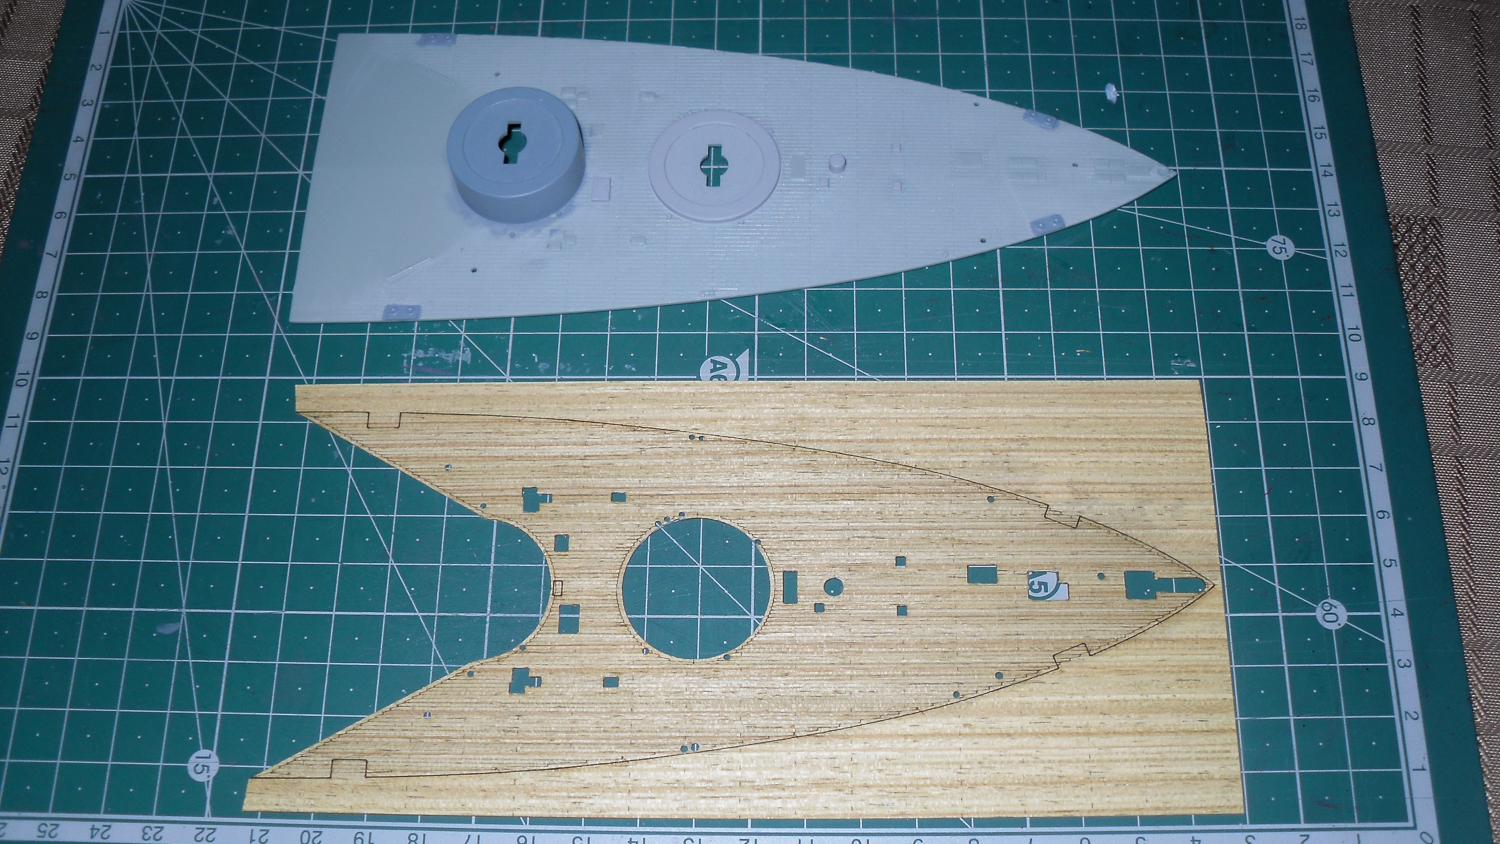
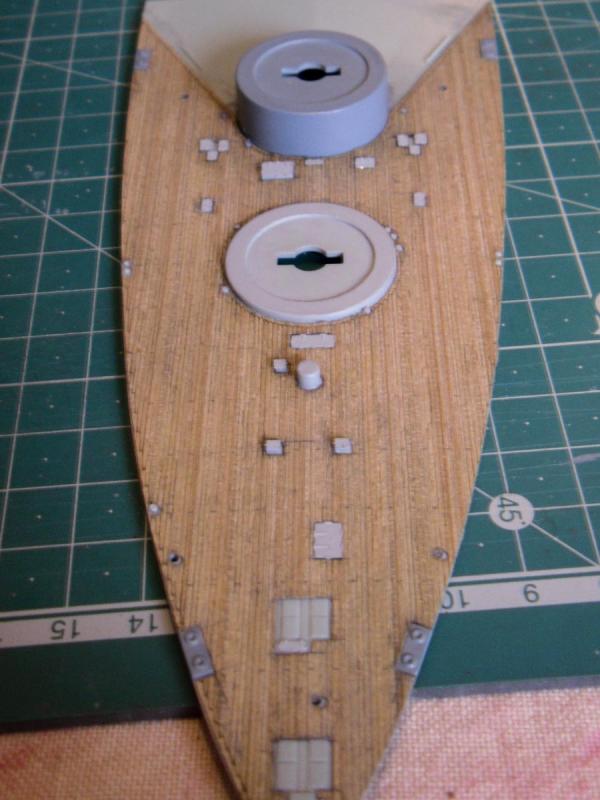
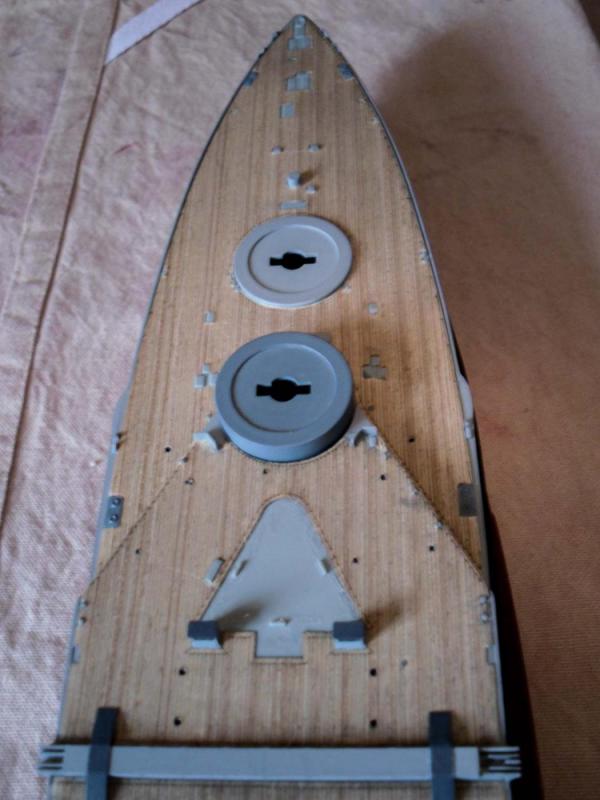
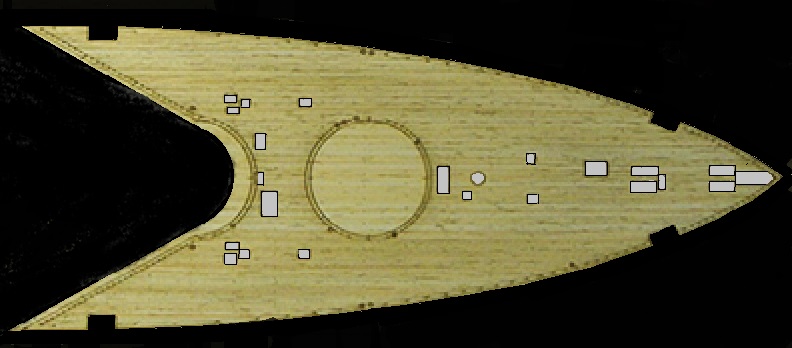
I finished tidying up the Hull and even re painted the props, and have now moved onto the rear deck area, I started in the same way as the other deck areas by firstly sanding off slightly the raised plastic deck boards, to get a smooth flat surface for the wood deck to sit on, next will be to paint all the protrusions that stick through the deck when its down, next I will cut out these fittings on the wood laminate and tidy them up, before fixing the laminate wood deck down. Here is a picture showing the laminate wood section and the sections to be cut out. OC.
-
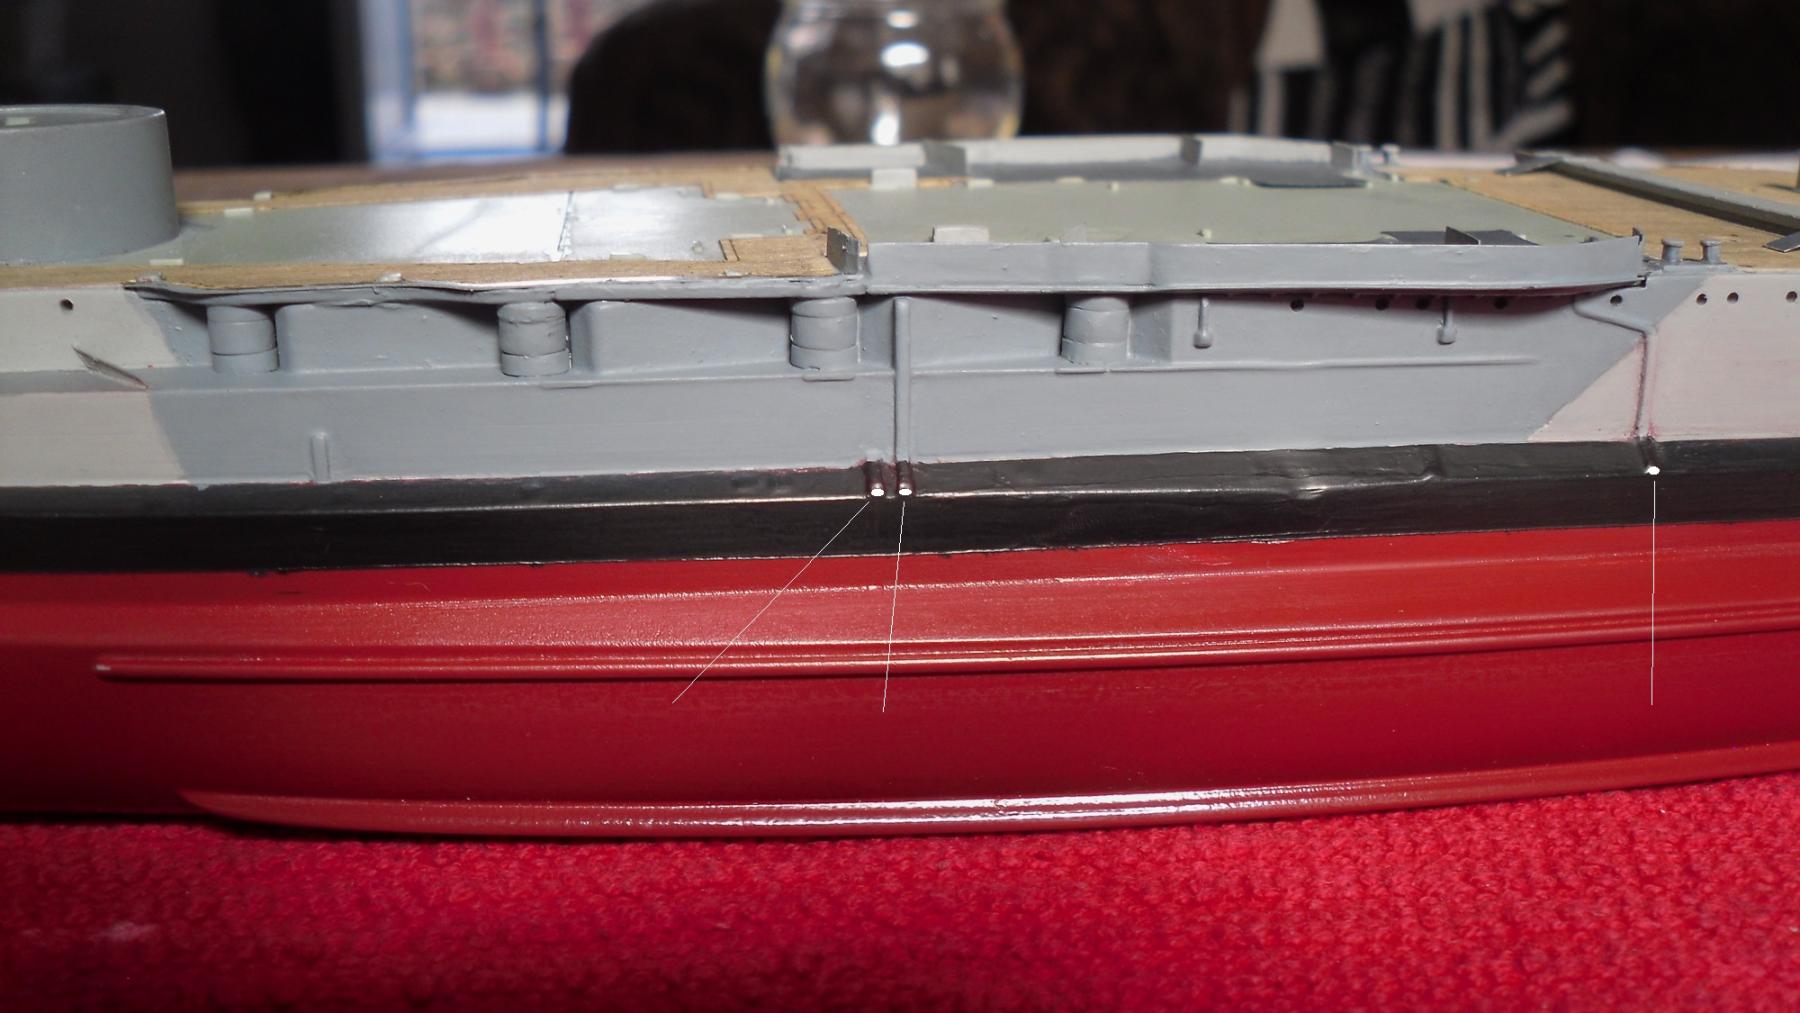
Next job on the hull will be to drill out the bilge pump pipes that run just above the bootline, this photo shows the location of them. OC.

-
Have you tried going to the Pontos site looking for the update set for your build - then downloading it? I tried that with my Warspite and got two Big Large Adobe Reader Files that I can keep zooming in to massive levels to show where stuff goes and what it is numbered to coinside with the PE Frets. Give it a Try OC.
-
Thank You so much, the lesson I learned was just to work in a small area, work under a strong magnification and keep the psint quite thin - like skimmed milk, dry it between coats using a hairdryer, and after three or four coats the acrylic paints tend to smooth out nicely. OC.
-
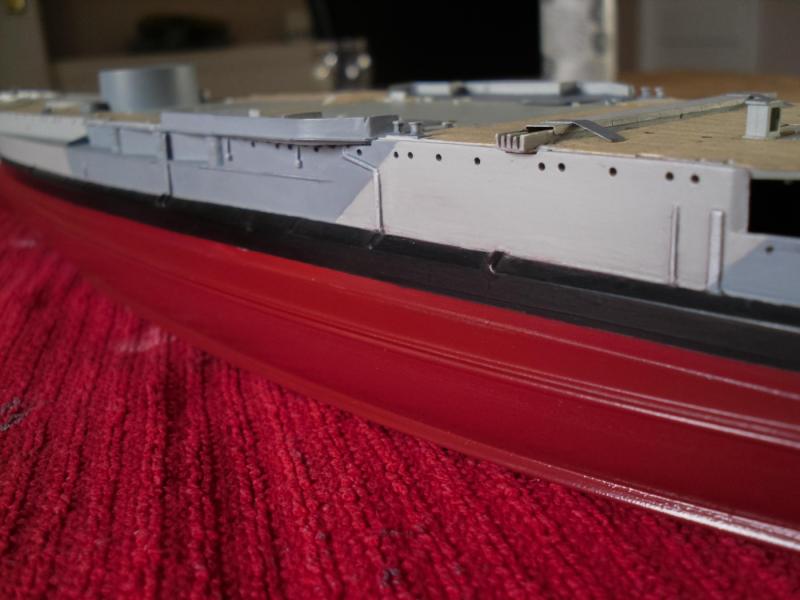
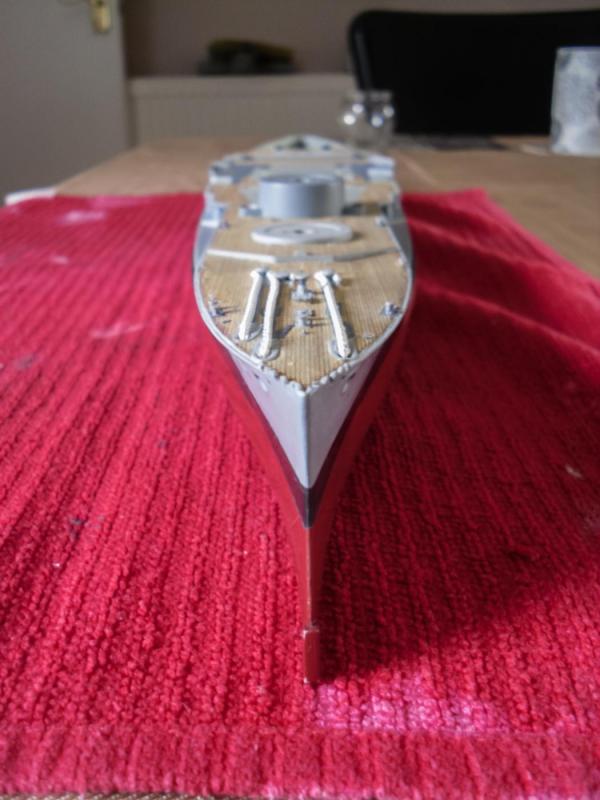
Just been doing a bit more tidying up of the starboard paintwork, and while at it I have also touched up a few other areas including the spernwater and edge of the hull side/deck edge. Here are a few photos that give an idea of the progress. OC.