Old Collingwood
-
Posts
12,106 -
Joined
-
Last visited
Content Type
Profiles
Forums
Gallery
Events
Everything posted by Old Collingwood
-
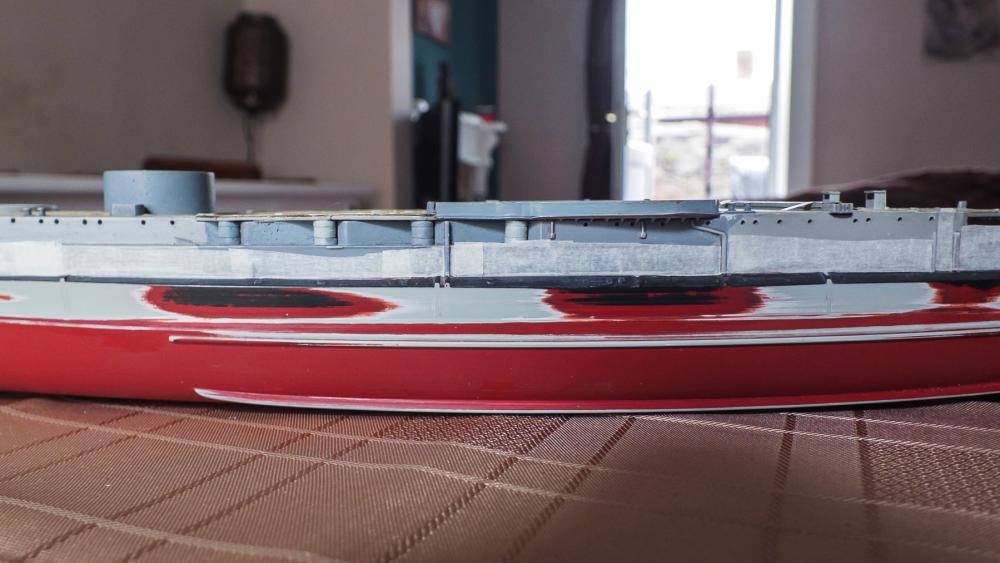
 Some update pics folks showing the prep work and masking completed on one side, just need to mask up the other side and the top will need completely covering before I spray the Anti-Fouling. Hope all the bodywork hasn't shocked to many folks OC.
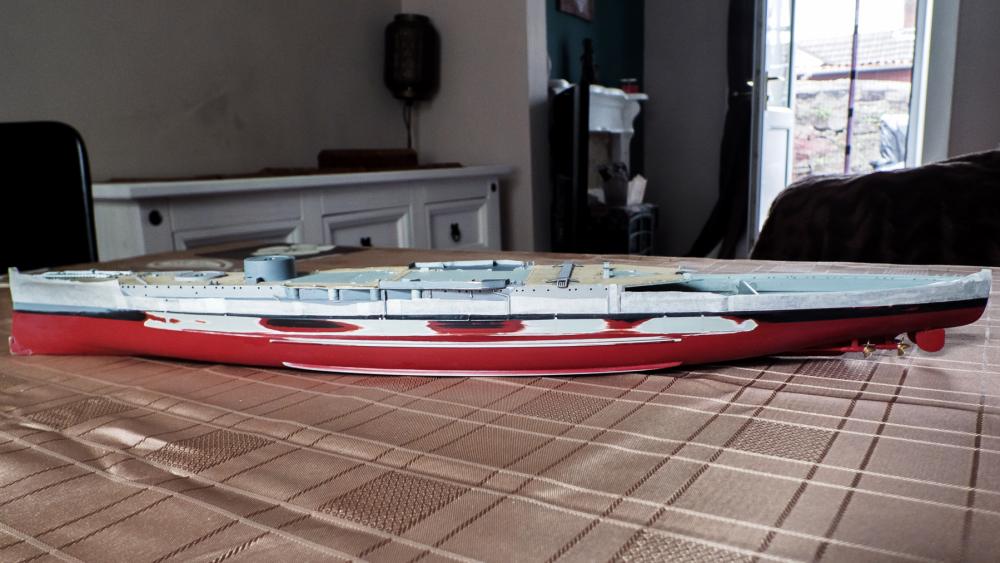
-
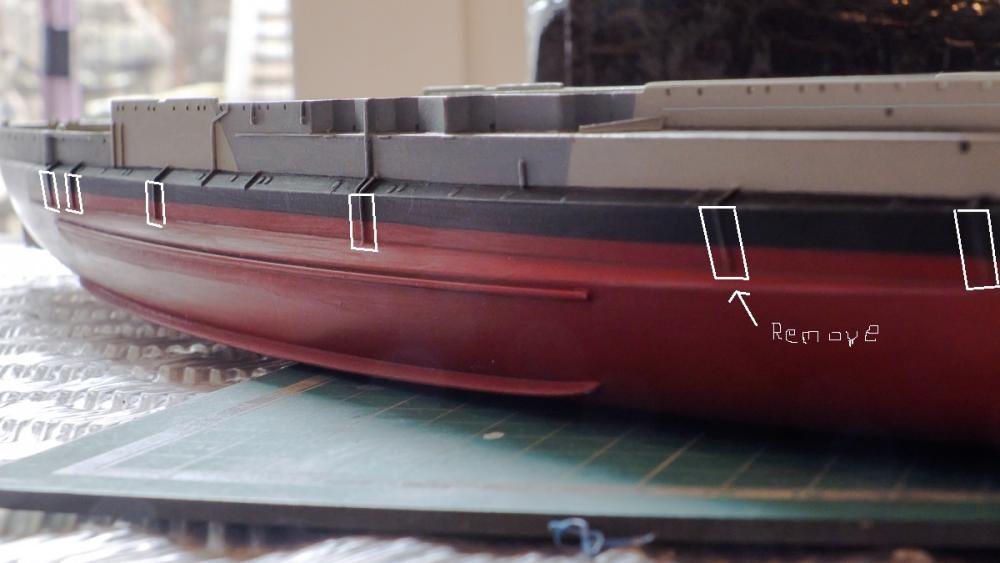
Folks - here is a pic to show what I had intended to do(its a pic showing the side and the alterations marked on it) I have done both sides like this but also other alterations as mentioned above, I will take some more pics tomorrow to show the pre - painting stage. OC.
-
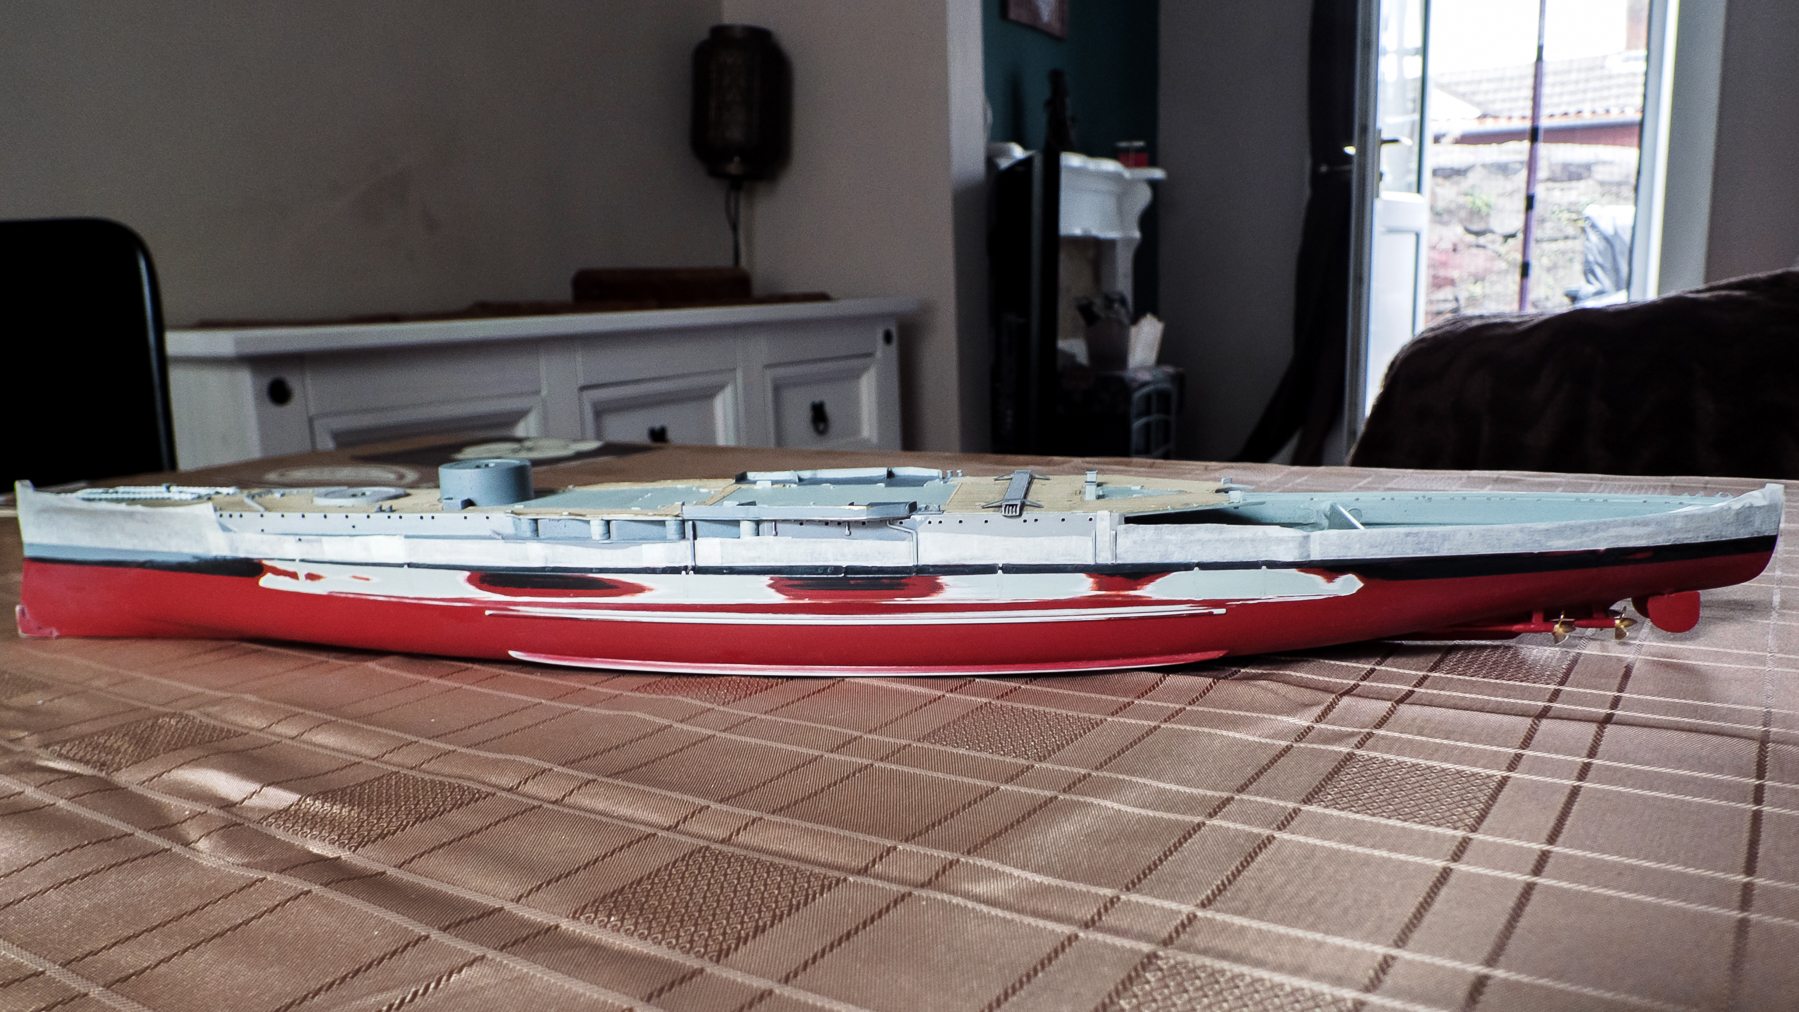
A bit more of an update but minus any pics, as I am trying to hold on to the small amount of Internet allowance we have left, till our next next fill up and pics take allowance up. anyway - I carried on sanding the pipes off and am very happy with the finish, I also decided that now was the time to correct any other issues on the hull - while I had the chance, so I sanded around the bow as there had been a few bubbles, that where from the paper armour plate that had not settled, but by doing this I kind of made the situation worse and ended up with a shallow gouge down through the paint layers and paper, and to the plastic hull, this was going to need some work to rectify as it looked terrible. I sanded the area quite hard to blend the area as best as I could, then I did a lot of thin washes with my brush over the dent and over the whole frontal bow area, inbetween I force dried the paint using a hair dryer and continued till the dent was filled, the result from doing this for several hours was sucsess. I moved away from this and started scrappng the top line against the recess ontop of the Torpedo Bulge, to get a more accurate line for masking when I spray the boot line after re doing the lower hull sides Red Antifouling. At the moment the hull looks like a car when its having body work done on it - Rough LOL. OC.
-
Looking great greg, love all that detail in the small boats really adds to the ship. OC
- 342 replies
-
- 5
-

-
- dreadnought
- zvezda
- (and 2 more)
-
I made a start earlier yesterday on the pump outlet pipes along the mid boot line, I started with a medium corse standing stick and gradually worked my way along the hull, i cleaned up as I went with water as this gave me a smoother finish, I finnished off using a much finer(well used) sanding stick and cleaned up with an abrasive sponge pad. One side has been finished like this and tomorrow I will attack the other side with the same method, after I will finnish off fitting the casemates and any other small bits along the hull, I will then tape up the top edge of the Boot line and also mask of the lower torpedo bulge round to the bow/stern, and cover the props/spinners/rudders and re-spray the red anti-fouling. I will put her aside to fully set and harden before I mask up to spray the Boot Line. OC.
-
Decided folks after some careful looking over my hull, and some research - some rather drastic re-work needs to be done, in the shape of filing away a few profiles that are supposed to be pump hull tubes(these where cut back higher as the boot line was highered due to her extra weight), this also includes a few going lower than the boot line, so after filing/sanding i might aswell give her bottom side hull, boot topping a fresh spray, i will then do any touching up - finish off the hull fittings and add her depth markings to the semi shiny surface. I will then do any touching up to the two coats of grey on her camo, and get hold of a good flat rattle can top coat, as I couldn't get smooth even coats of acrylic top coat with a brush. OC.
-
I started on the casemates yesterday each one comes in three sections top middle and bottom(souds like strike it lucky) first off i sepaerated them in to groups of four and glued the bottom sections on to the deck first, I did this both sides till all eight were in place, next I seperated the middle section that contained the barrel shroud, I had to file off the joing pip from the fret then glued onto this this the top section, the whole two pice section was then carefully glued into possition ontop of the bottom section(hope you are foilowing this ok) After completing four sets I noticed I had managed to mar a few areas of the hull from Constant handling - as for some reason the lower hull just seemes to have a very slight tacky feel to it and picks up all sorts of stuff, dust marks etc(it should be hard and set solid as the Vallejo top coat was applied months and months ago, this was applied by brush over the top of a thoroughly dry enamel rattle can finnish that gave me my hull red finnish. Also I noticed that I had somehow got some poly cement on the lower hull and this had caused a slight run and melted into the finnish slightly, so Im pondering ideas to treat this area - light sanding then a small masked off spray from that enamel rattle can? or a bit sprayed into the cap and applied with a small brush. But its protecting the painted hull during all the months and months of work ahead, its so soul destroying seeing the once nice paint work getting shabby and tacky :o OC.
-
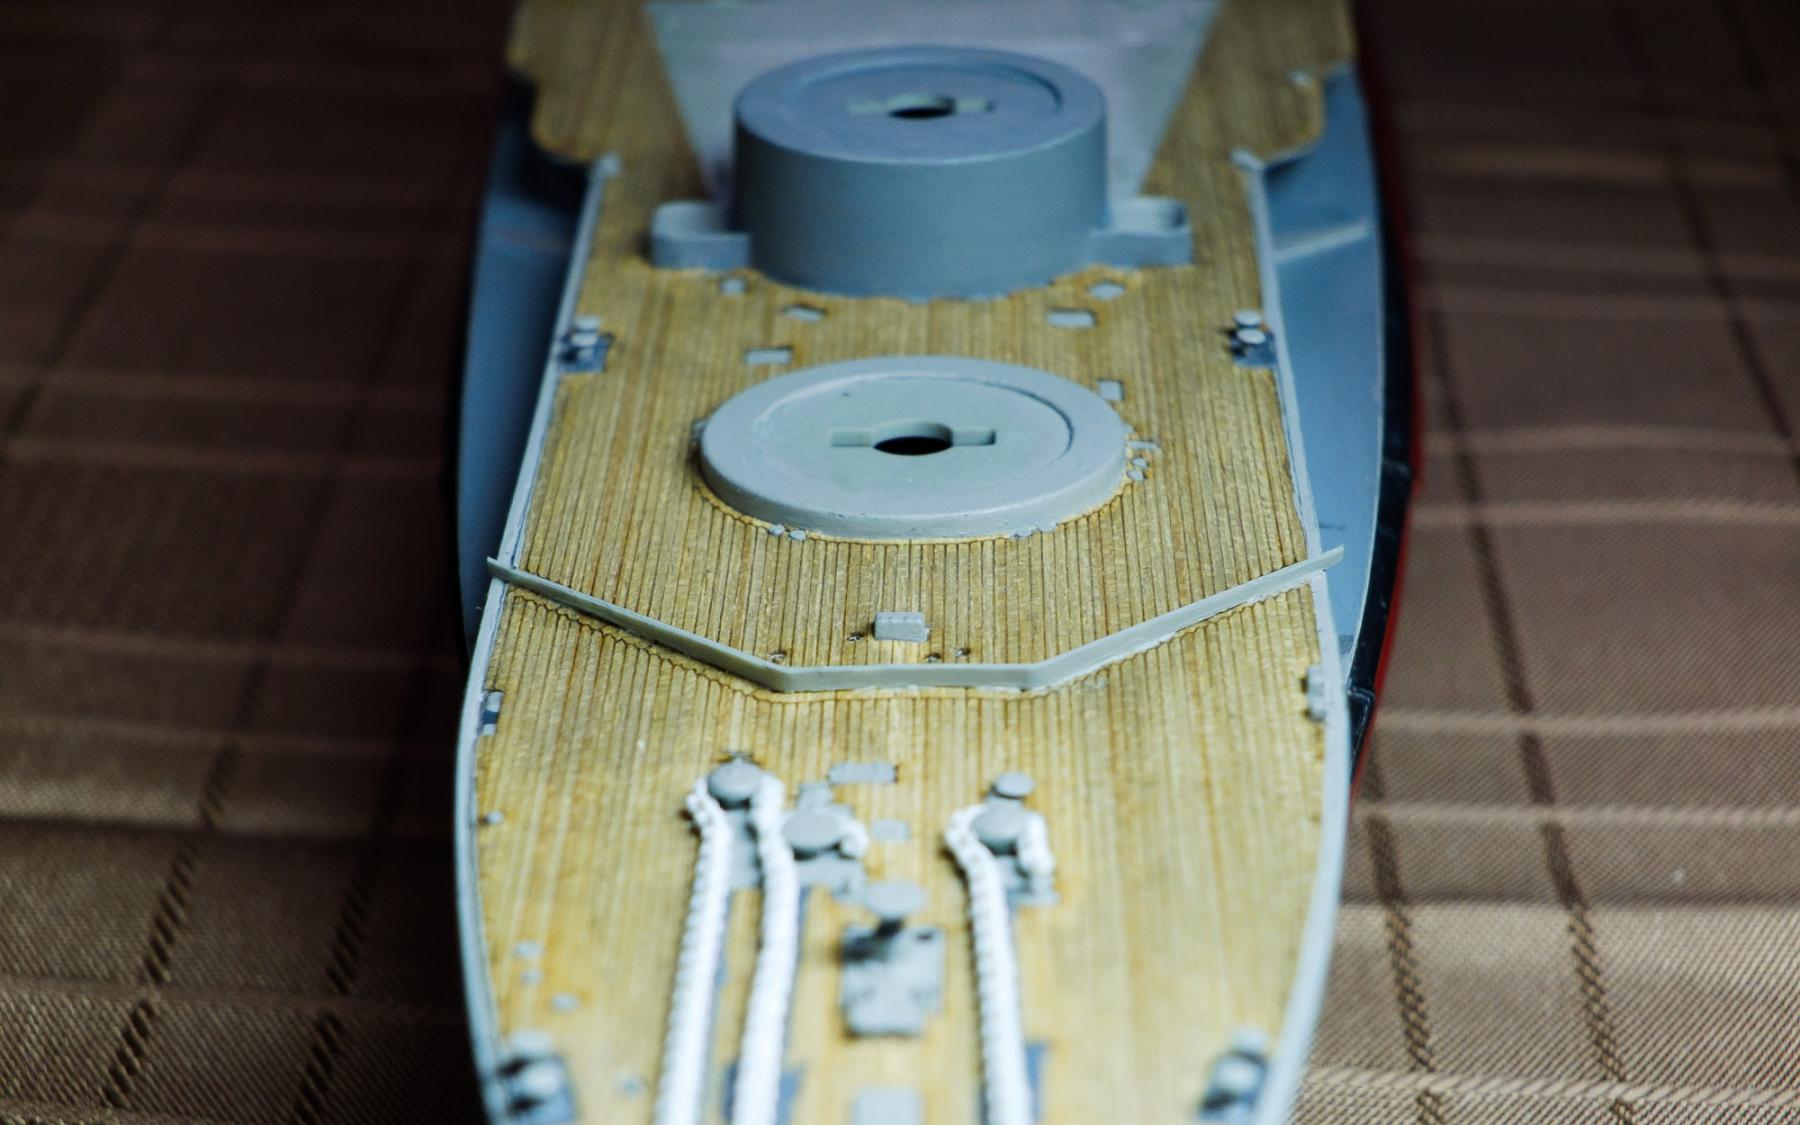
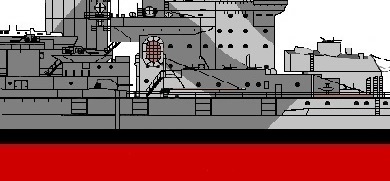
Next move tomorrow is start on the 6 Inch Casemates that she carried on here lower broadside deck, she had the barrels removed prior to D Day but kept the housings that were just turned inward, I will do the same with mine. Here is a part pic from my drawing I did showing the four casemates on the lower deck and how they blend in. OC.
-
Yep its the Academy kit with part of the Pontos detail set also the Lifecolour paint set. OC.
-
Thank you for the compliment - I am trying to make her look as realistic as possible as she was in 1944. your build is looking great aswel. OC.
-
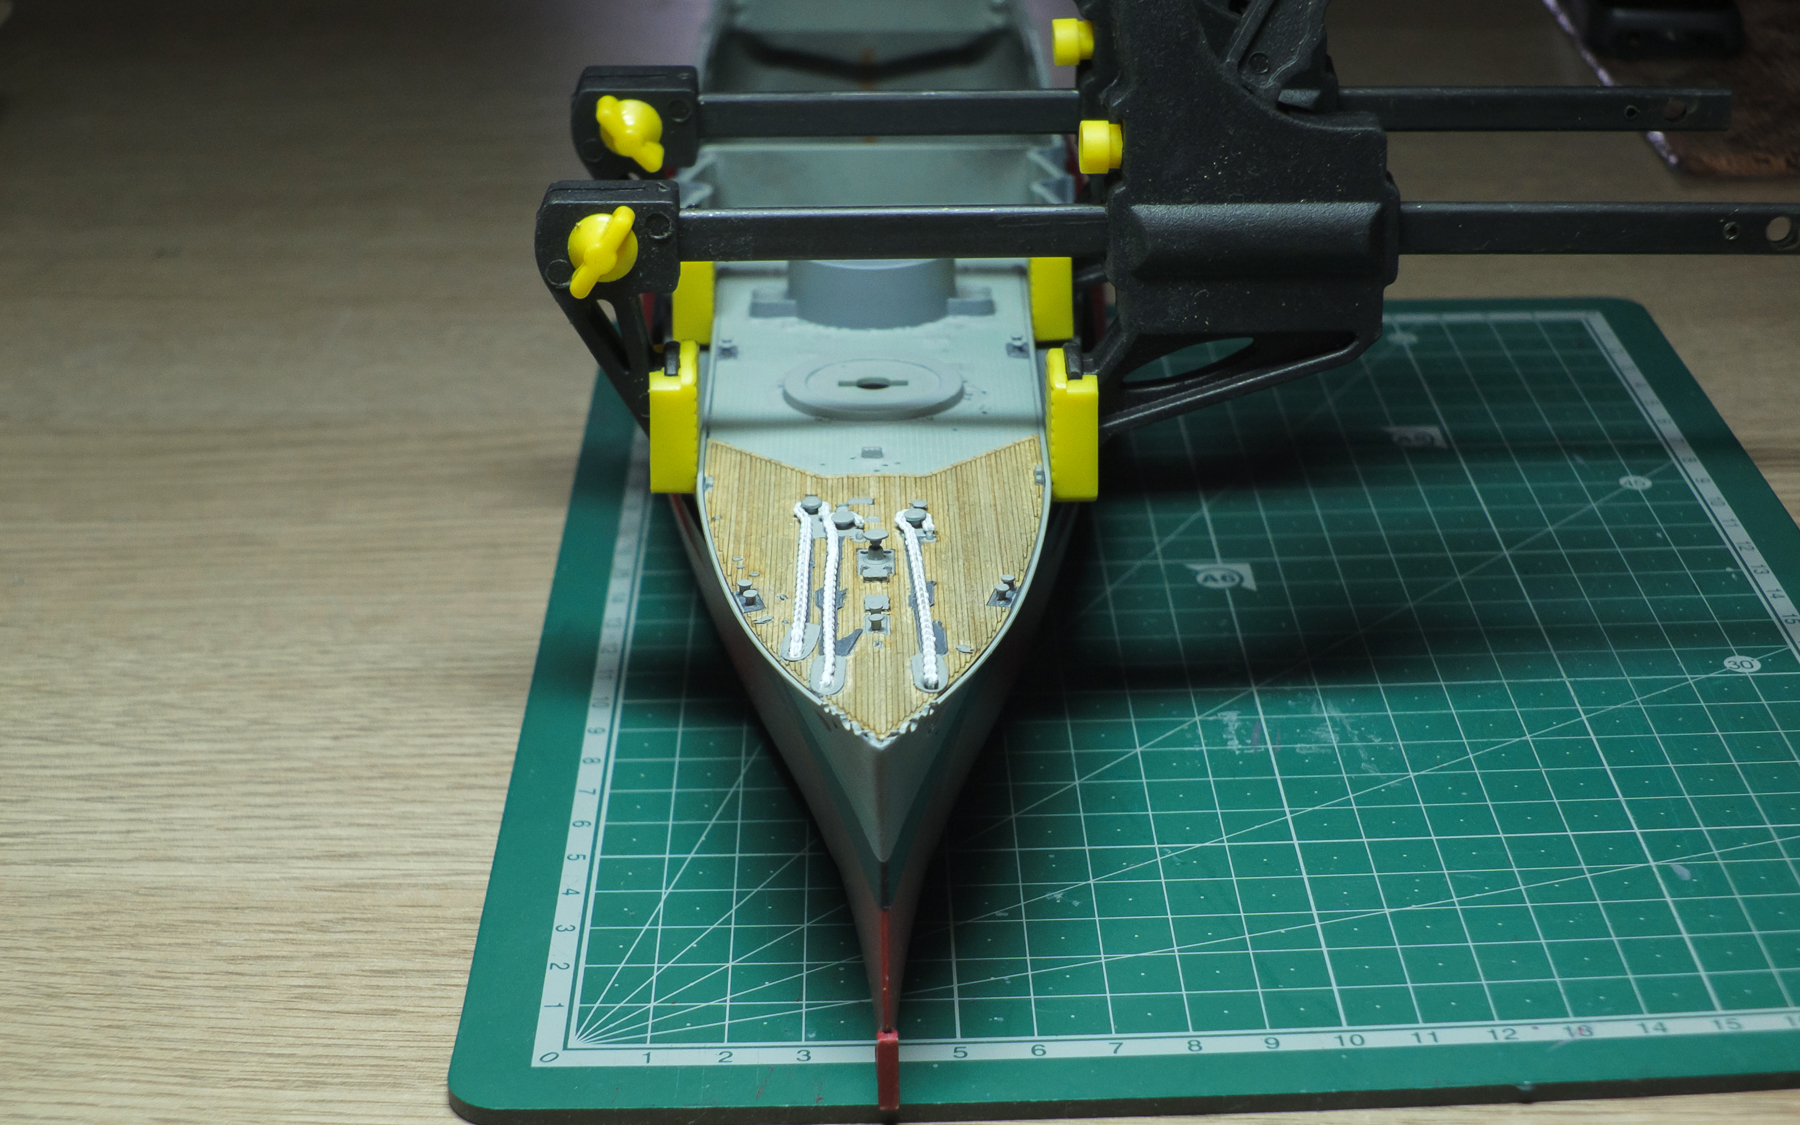
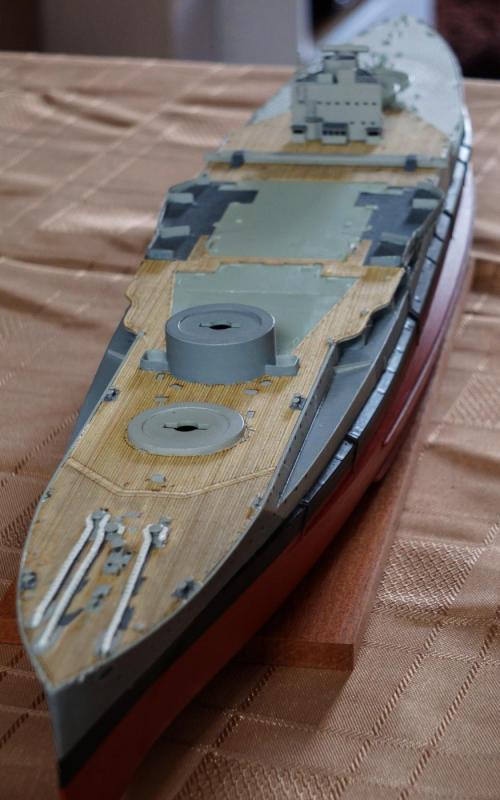
Two more updates today folks, I cut the spurnwater parts from the brass fret then dry fitted to check alignment, i applied a small amount of PVA then placed them on both sides, I also fitted some of the brass covers on the deck - same procedure using PVA. Just the two pics folks. OC.
-
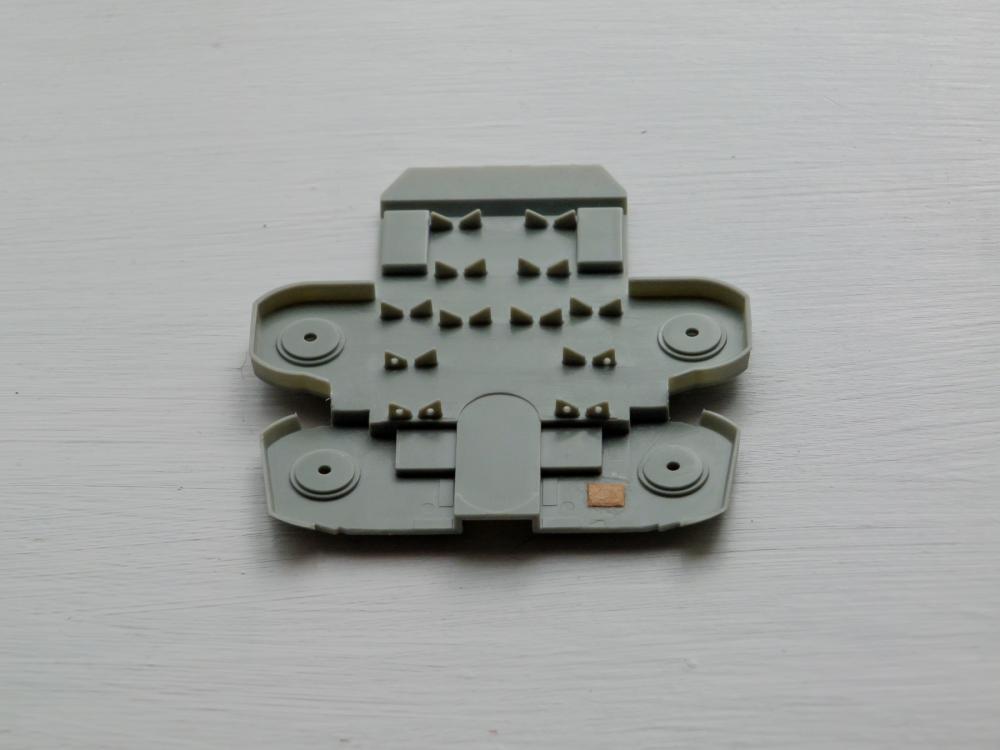
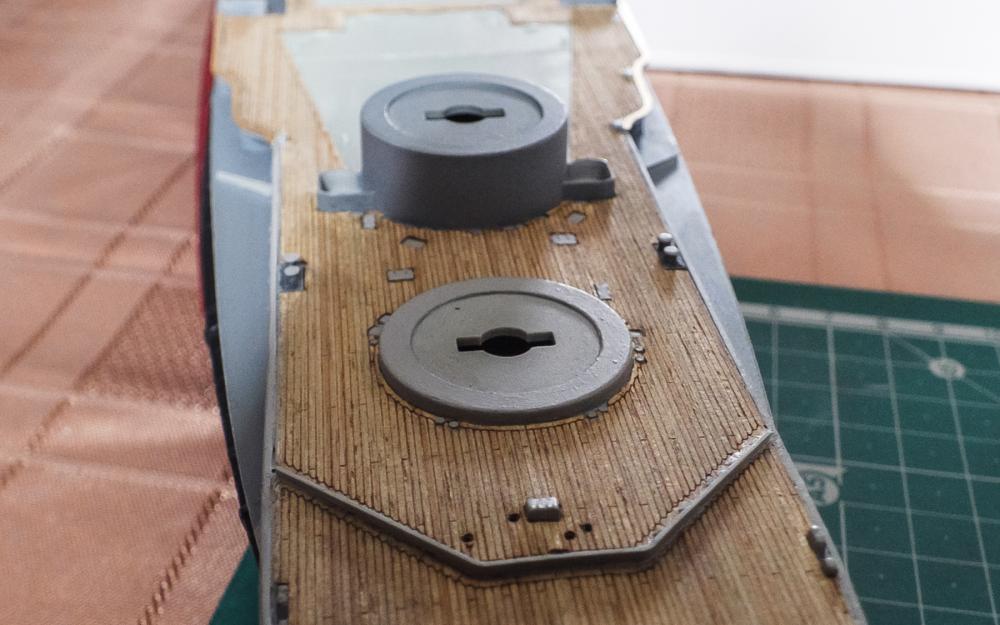
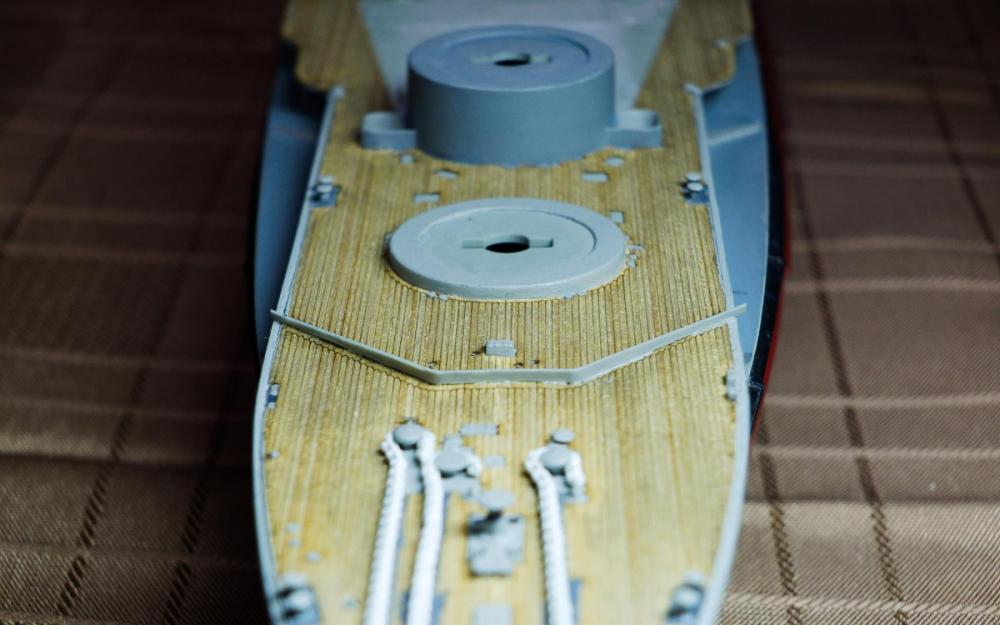
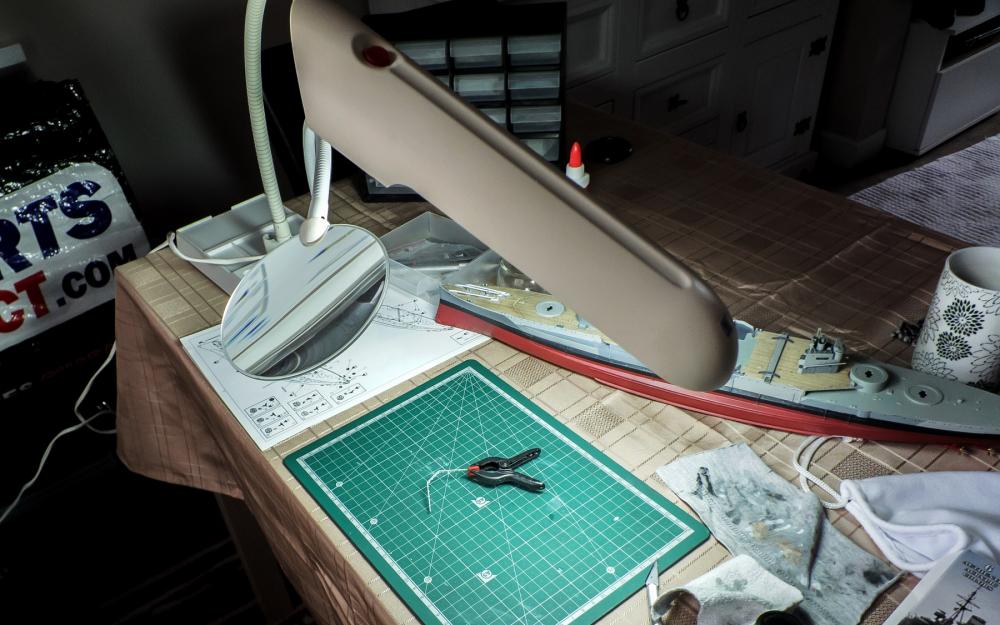
A bit more progress today - i lightly weathered the wood deck section I have fitted so it matches the other sections, this was done with just a diluted black wash then wiped away with a rag, just leaving a bit of detail between the planks, next i cut the waterbreak from the fret and tidied up between the ribs, then i genly thined the profile a bit, after a coat of light grey I glued it down onto the deck. It will need cleaning up a bit where it meets the deck and the ends trimming, then I will have to deside whether or not to cut for the walk way or just show them as closed, as they were made with two slot in sections. Here are some pics also showing my work station and new light/magnifier. OC

-
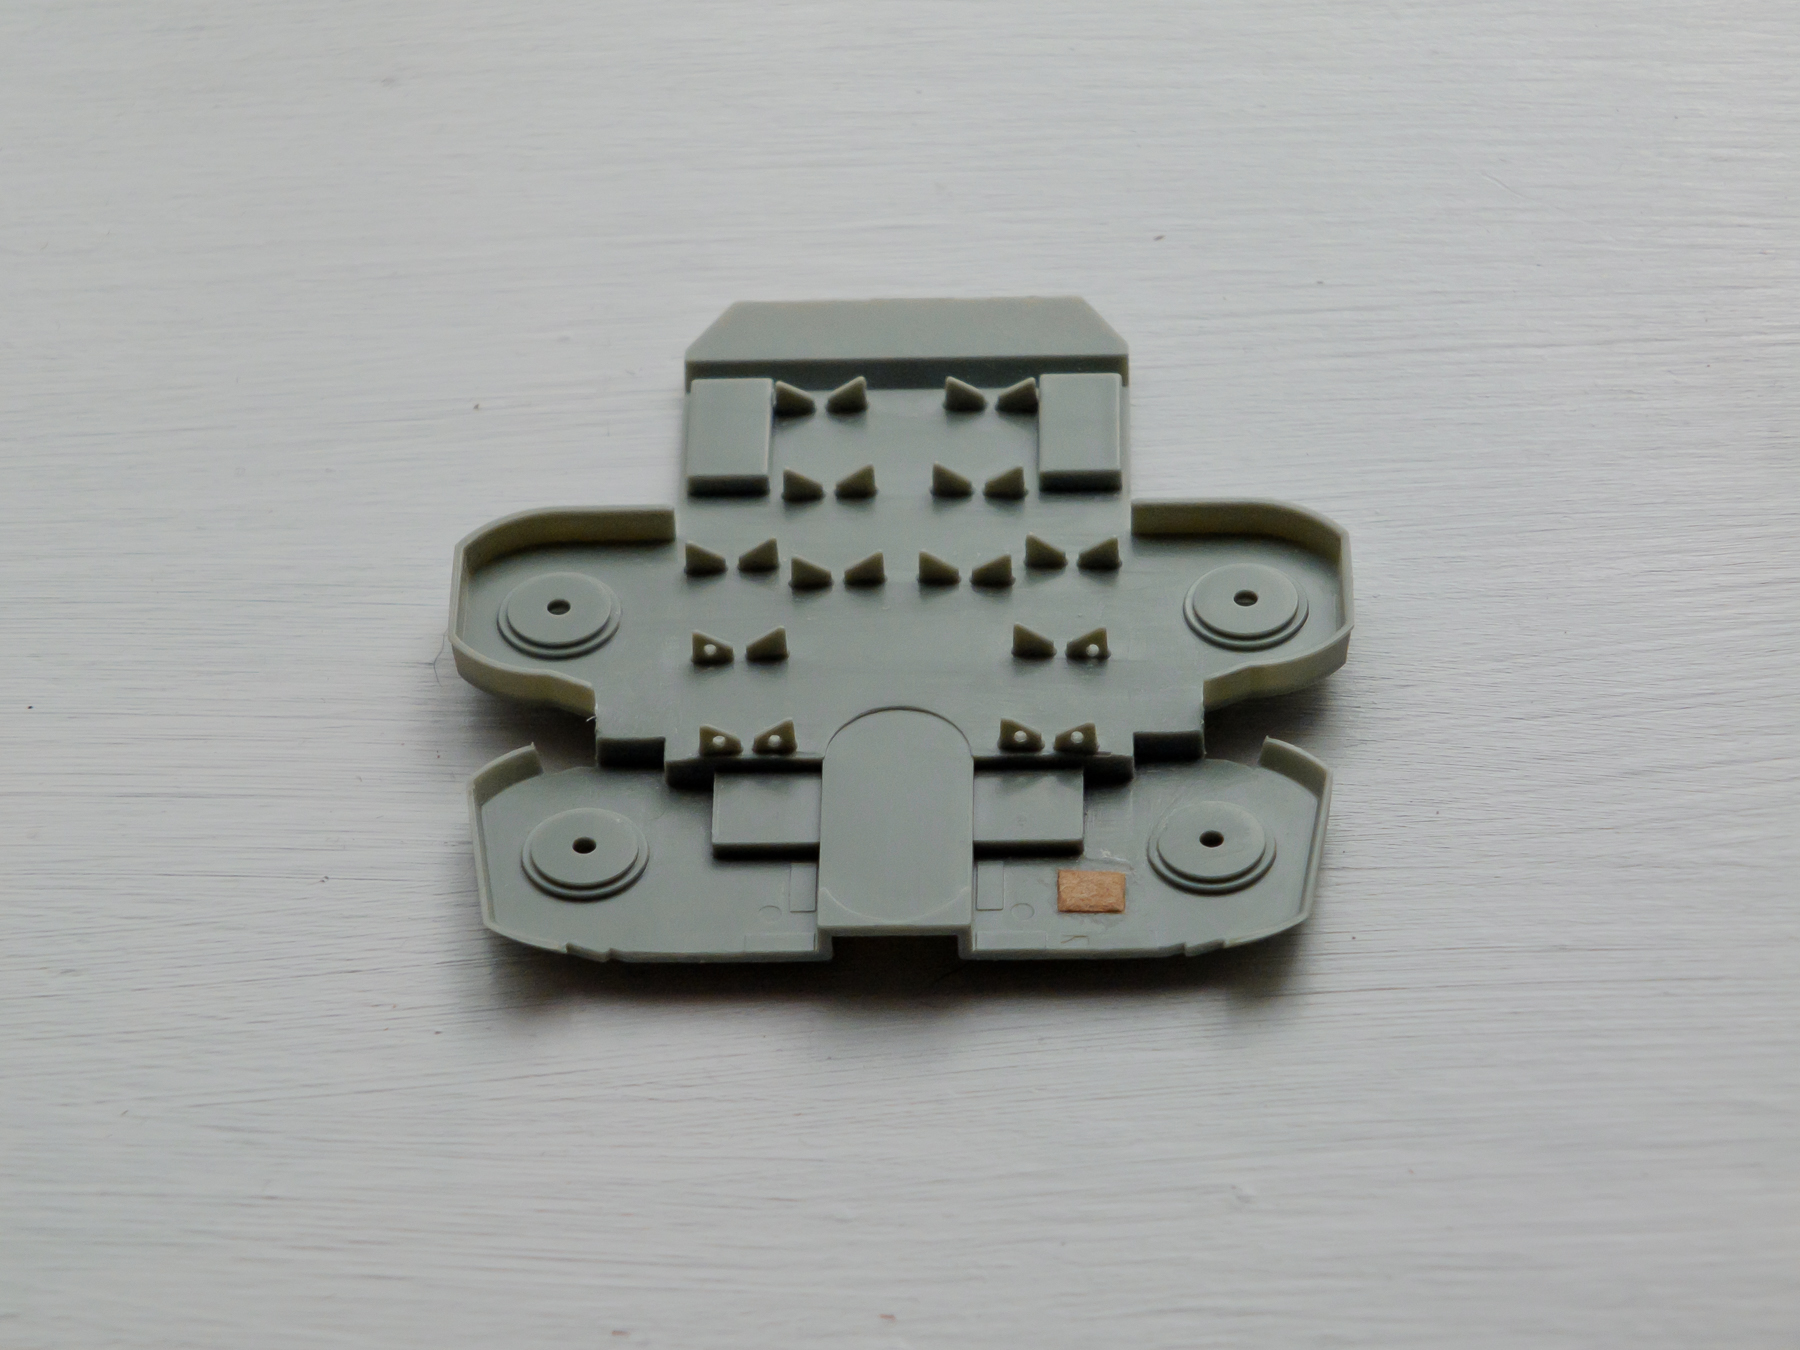
After letting the decks settle I noticed that around the mid to bow, the port holes had become partially obscured and blocked by the deck, i found the corresponding drill bit and carefully set about re drilling all the port holes, by gently drilling into the bottom section of the deck hidden inside the hull. Next will be to start on the fittings on the deck - brass covers etc and the waterbreak, I will use the plastic one that came with the kit but I will file down the edges slightly to give it a sharper profile, including cutting out the walk through sections. OC.
-
Sounds a bit like my build that will not be finished anytime soon possibly 2017-18 OC
- 75 replies
-
- 3
-
-
- scharnhorst
- dragon
- (and 2 more)
-
Keep up the work and showing us what you are doing - we are all very interested. Kind regards OC.
- 75 replies
-
- 7
-
-
- scharnhorst
- dragon
- (and 2 more)
-
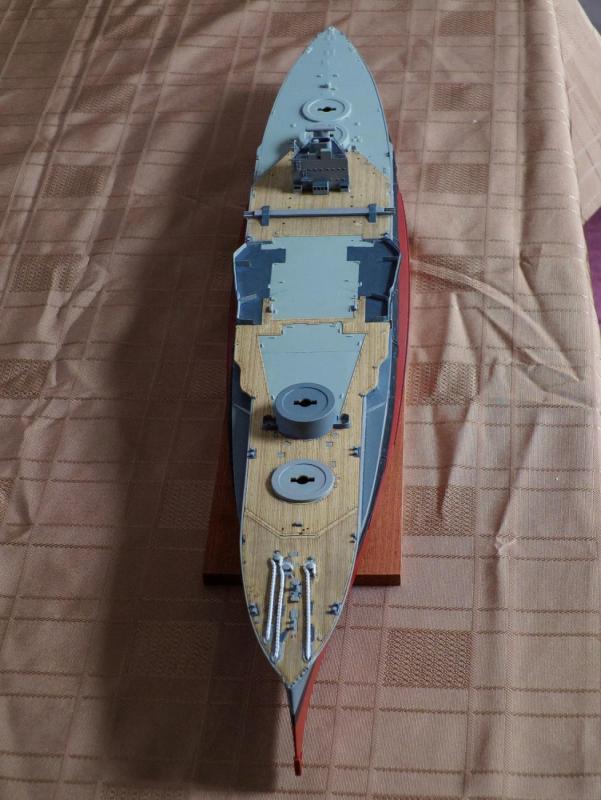
Thanks to greg i managed to get a bit more glue in the forward deck join, this brought it together better and closed the gap better, so next I decided to fix the mid ship deck section in place, then I dry fitted the wood deck laminate and trimed slightly around obstructions to aid its placement, after a few adjustments I peeled off the backing and bit by bit layed the decking sheet down, this needed a bit of adjustment here and there, but over all not a bad fit, I have dry fitted the stern deck section as well just to see how it fits. Here are a few pics folks. OC.

-
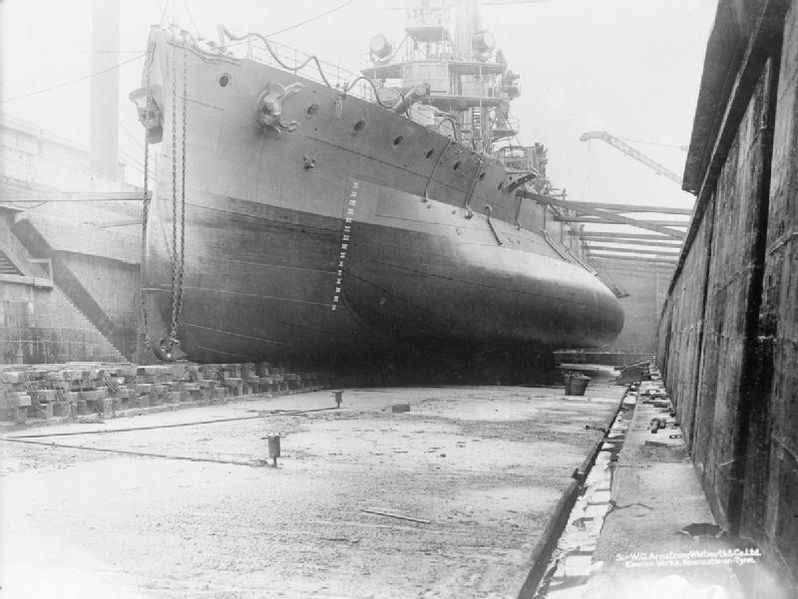
In reference to the paravane linkage/s - I have found this pic of a different but similar ship, showing the link chains running from the bow bottom up to the bow fairleads, I am not sure if they end there or continue along the deck towards the breakwater.
-
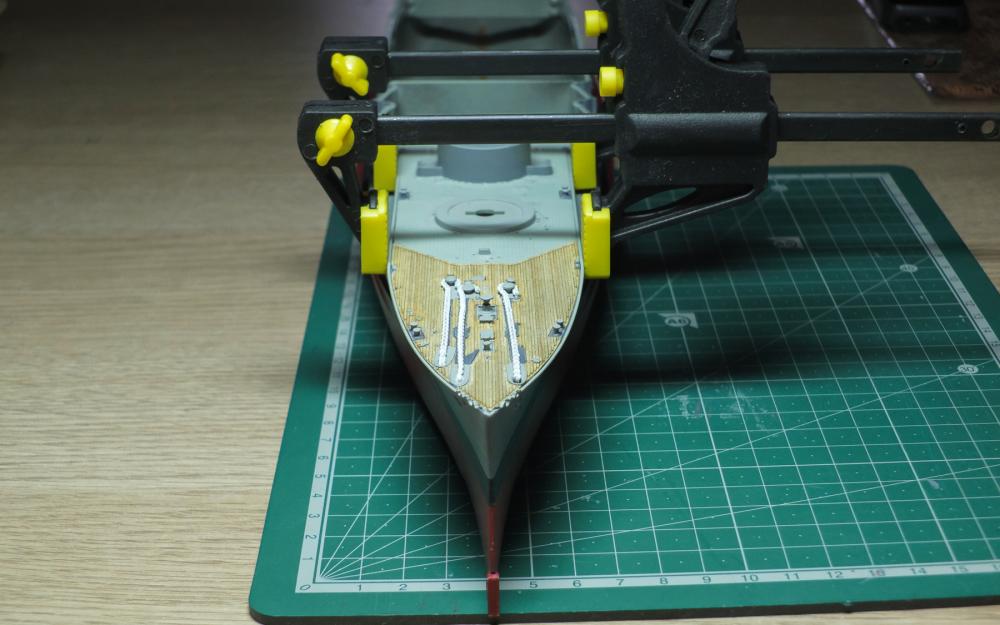
A bit more work this afternoon that nealy started out with a disaster as i spilled a full cup of hot coffee over my deck parts that had been finished, i thought they had been ruined but after rinsing the forward deck section under running water, and dried with a hair dryer it was ok. I think the layers of top coat had protected the paint work and wooden deck. Anyway i decided to continue and create a possitive out of possibly the end of my build, and i glued the forward deck section onto the hull, this was made a lot easier under my new lamp stand and held in place with a couple of clamps, the only fault with the fit is a slight gap against the one side but i can work around this a few ways - filler or just letting the rails cover this when i get round to doing that. Here is a pic folks - OC.
-
Thank you for that - I will do my best just I am not thei fastest builder but do not intend to be as it is a vocation for me and i learn as I go along. OC
-
Amazing work greg - I just cant imagine trying that on the plastic staffs on my build they would just snap being to brittle, thats why I have not bothered even wiring up the boat stays on my build. I take my hat off to you sir - its looking Amazing. OC
- 342 replies
-
- 5
-
-
- dreadnought
- zvezda
- (and 2 more)
-
I cant praise plastic enough - its just more small scale do-able imagine trying to build a 350 scale wood Victory, just not very easy and the size of those planks for it, but with plastic a lot of that worry has been taken away - replaced by etch metal parts I cant wait to delve into 200 scale plastic when i win the lotto OC
- 75 replies
-
- 5
-
-
- scharnhorst
- dragon
- (and 2 more)
-
I was on my build today but first my wife supprised me with an Amazing toy in the shape of a larger -higher mag glass and sturdy stand with a high power halogen lamp, this should make a Big difference with seeing what I am doing Anyway more progress - I started by touching up the rim of the hull in preperation for fitting the decks, I also painted the under sections of midship deck area, tomorrow will be the time to either mate the two deck sections together, then fit the wood deck over the two sections, or fit the forward deck section first before the mid then the wood deck section. OC.
-
I think they used small chains attached to the bow fairleads, I have not seen any photo evidence of this on the Old Lady. OC.
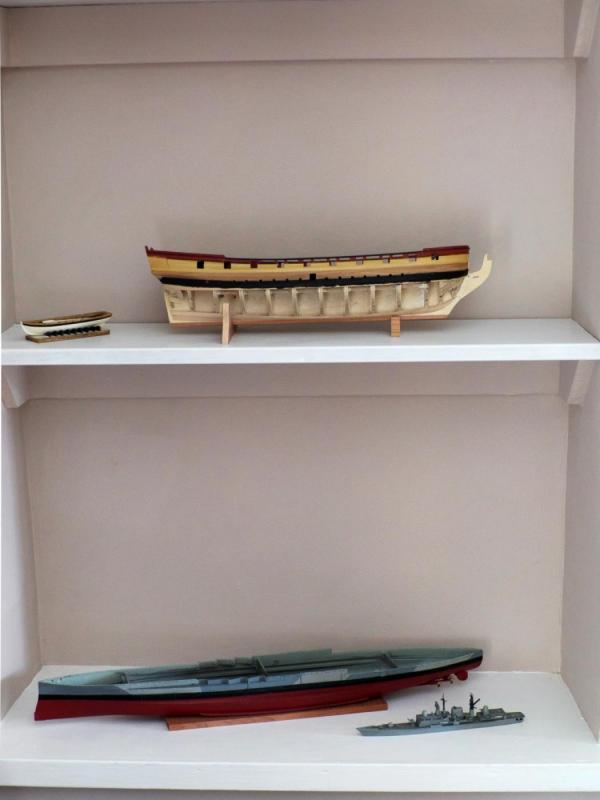
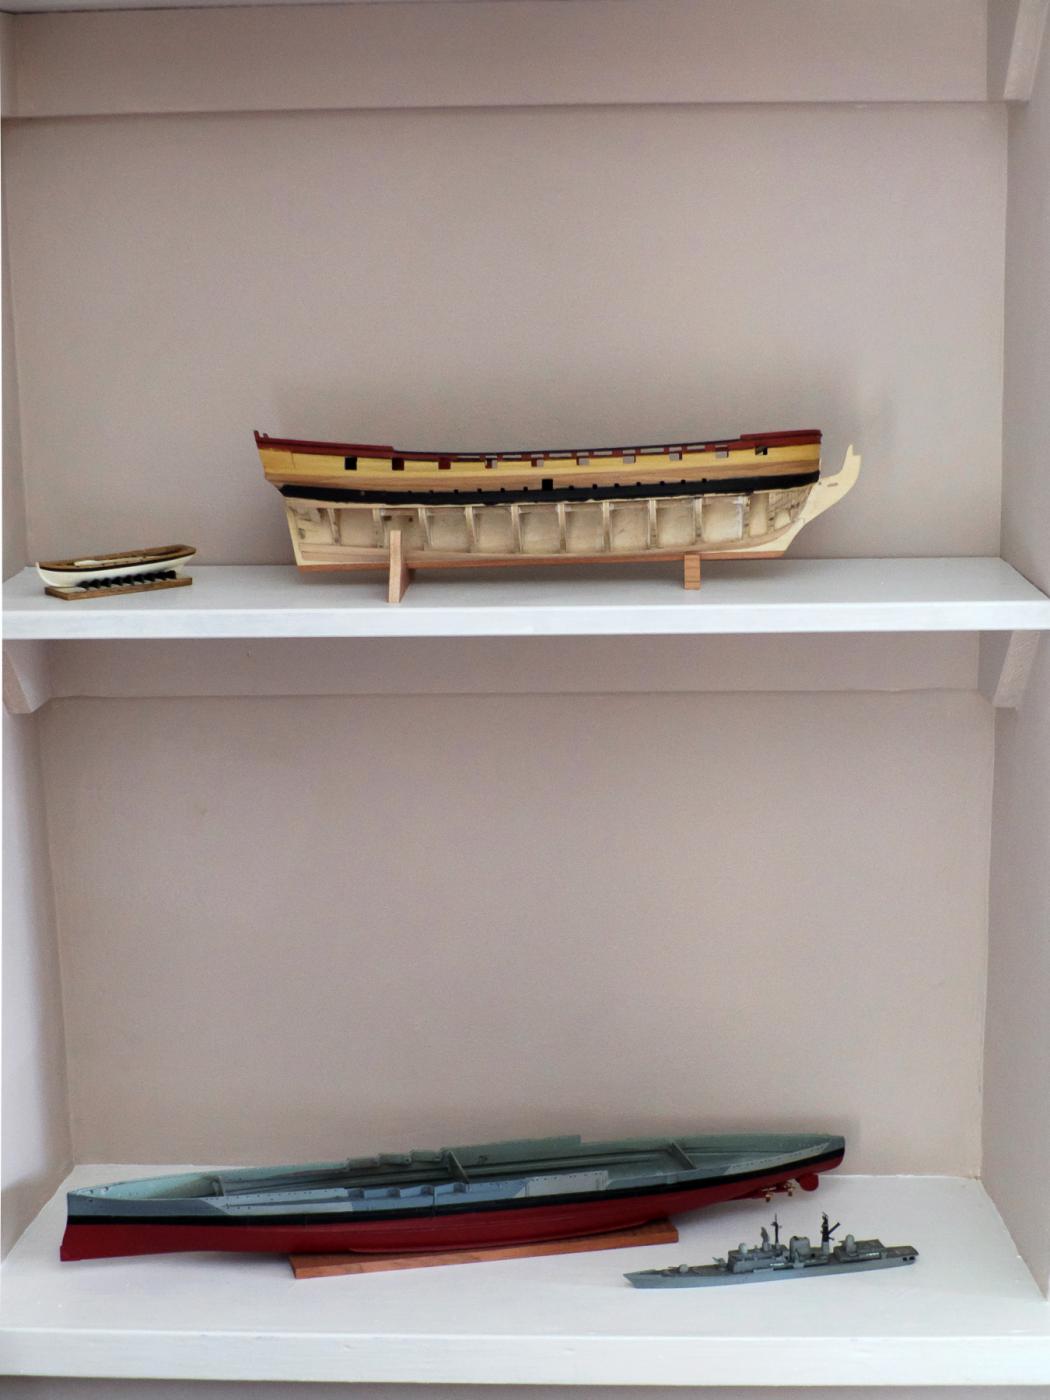
-
More work again today - i finished off removing both plastic stairs and cleaned up the vent sides, i also roughly fitted the plate to cover the bomb damage, this is supposed to be roughly a 5 foot square plate that was riveted over the hole, it will need sanding down a bit when it has glued. Also i have taken a pic of my new display area showing my hull and part completed wood project, and my 700 scale type 42 destroyer. OC.