Old Collingwood
-
Posts
12,106 -
Joined
-
Last visited
Content Type
Profiles
Forums
Gallery
Events
Everything posted by Old Collingwood
-
 Thanks mate, its actually more enjoyable now, as I am working in small areas at a time, and feel that much more in control, a couple more days and the hull painting will be finished. Next will be a bit of minuture drilling out of the pump outlet pipes. OC.
 -
I thought it was appropriate to say a Big Thank You to all those who constantly keep pressing the like on my build - It means A lot folks OC.
-
A written update folks minus any pictures at the moment, as all I am doing is the same on the Starboard side as I did on the Port, Its careful work as I am not using any tape for masking, and just hand painting the camo to where it meets the angled Torpedo Bulge, Its slow going but tidy. OC.
-
Just do like i do - spend the next 1-2 years building it - guarantee you learn a lot about your skills that way OC.
-
WOW That bottom hull looks so shinny like new. OC.
- 68 replies
-
- 3
-

-
- Arleigh Burke
- BlueJacket Shipcrafters
- (and 1 more)
-
Massive MP cameras that can crop - in - in - in on a picture are not that great for our boat building, its bad enough scrutinizing our work under a magnifier, but to then zoom in even more is not good I dont think, its best photographing them at the same scale we view them in normal life. OC.
- 75 replies
-
- 4
-
-
- scharnhorst
- dragon
- (and 2 more)
-
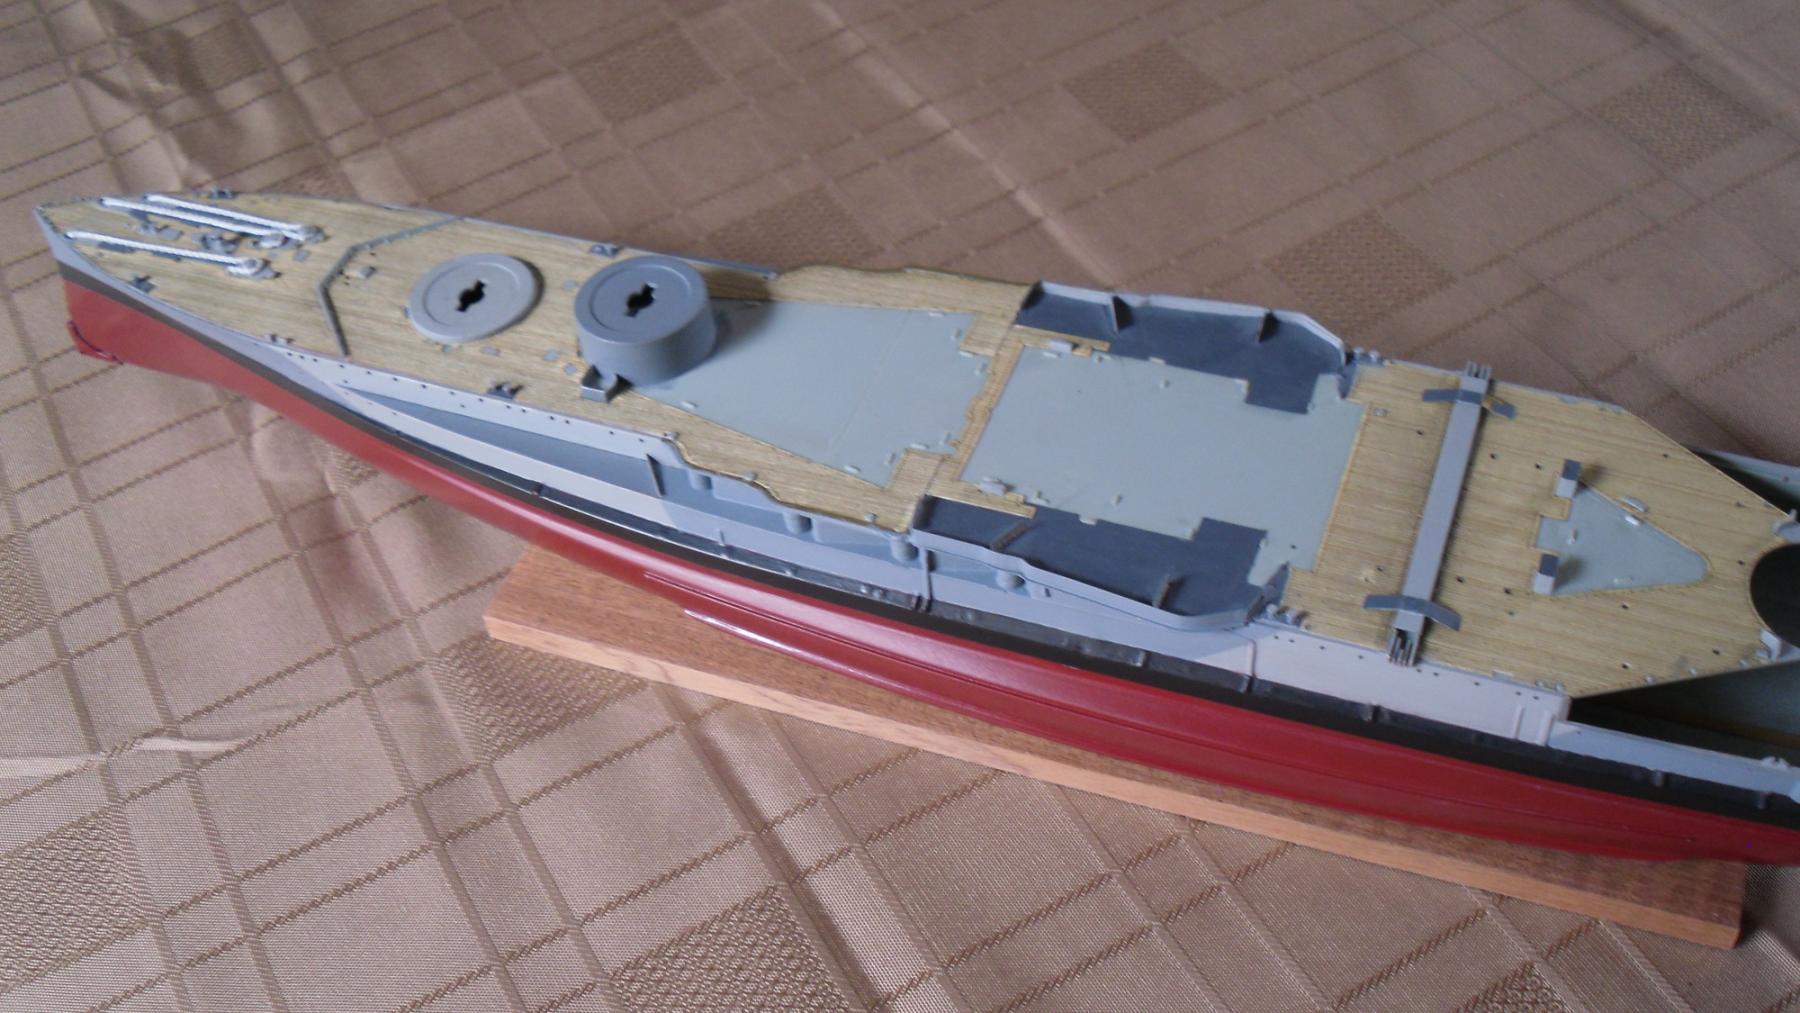
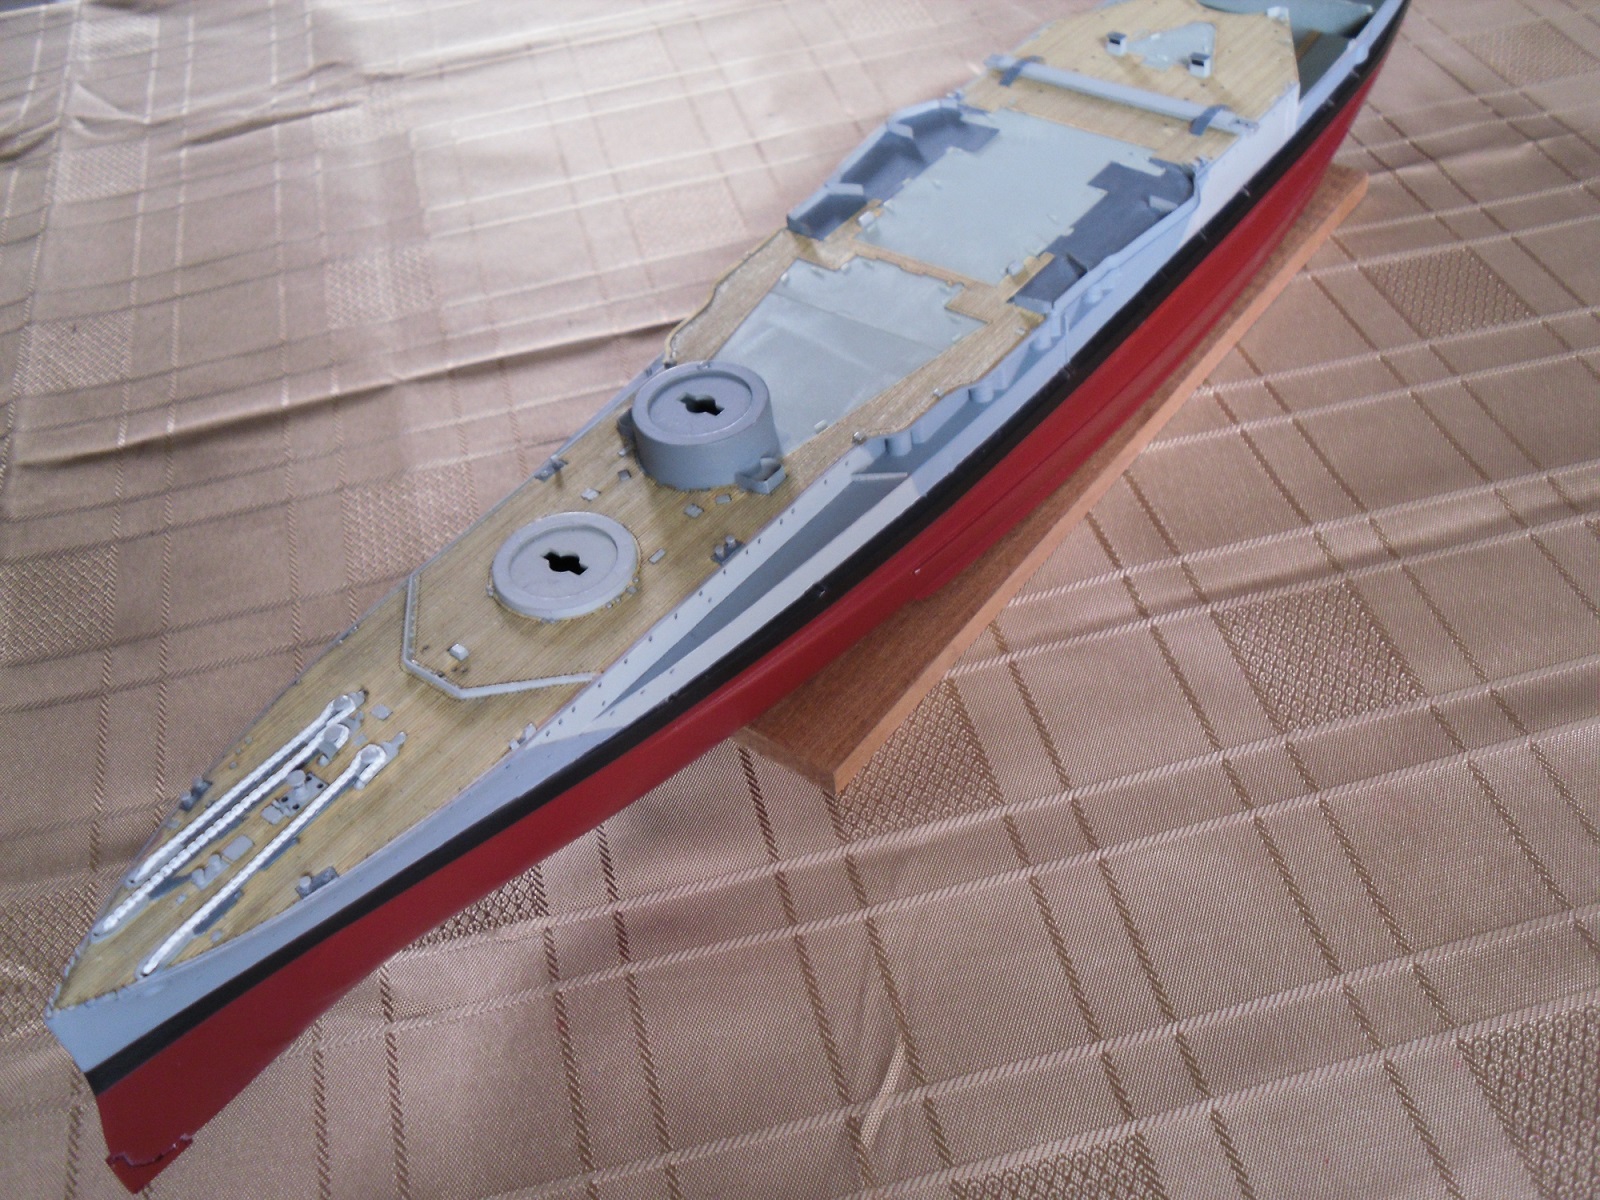
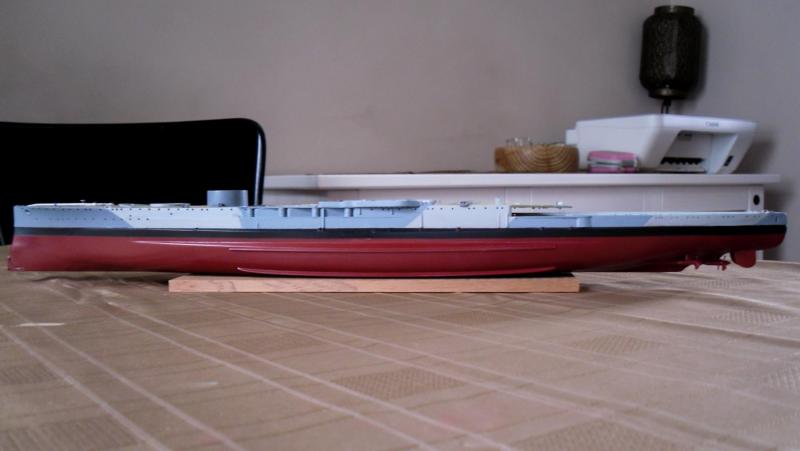
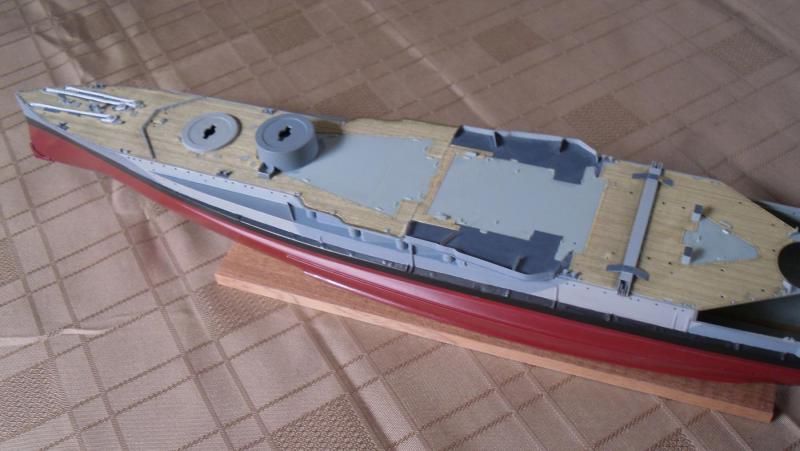
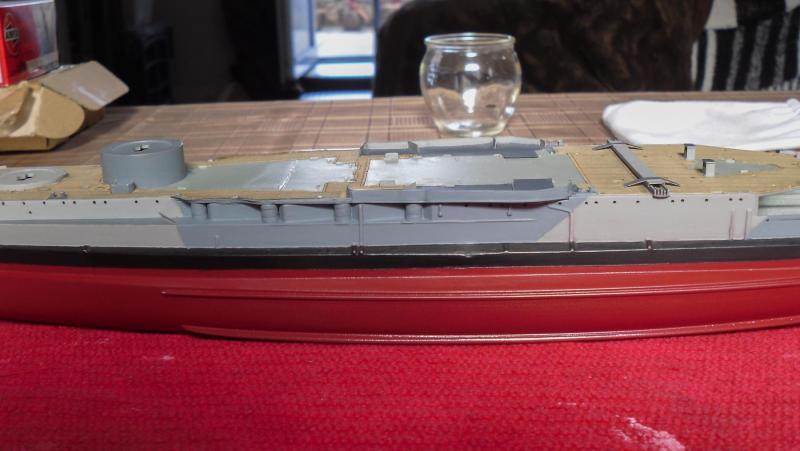
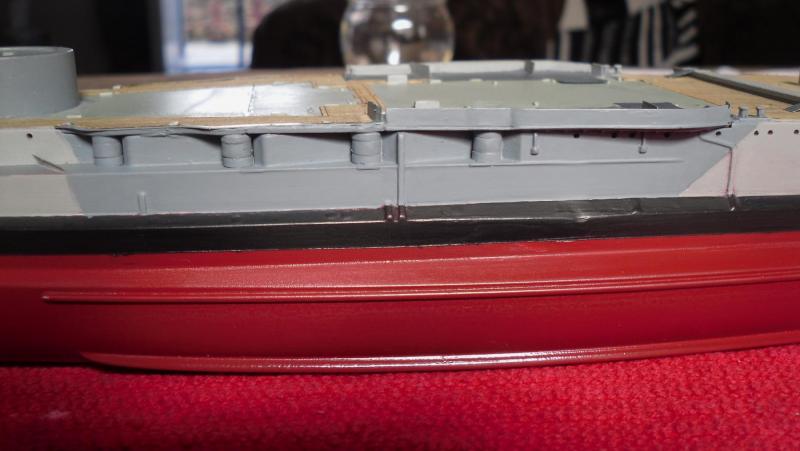
I finnished off touching up both Ap507C and 507B so the port side is finnished. Here are a few pics folks. OC.

-
Been thinking the same about an airbrush, but our room dictates i hav eto build on the living room table, so I have to be as tidy and smell free as poss, hence why when i used a rattle can I had to do it outside-doors closed then put it away to dry for a bit till the smell went off. OC.
- 342 replies
-
- 3
-
-
- dreadnought
- zvezda
- (and 2 more)
-
"GULP" :o How on earth can you see all that thread let alone work with it :o Sorry words escape me looking at your amazing work. OC
- 342 replies
-
- 5
-
-
- dreadnought
- zvezda
- (and 2 more)
-
Waiting with bated breath in anticipation to see the magic you do in front of our eyes, an insight into the miniture world you are king of greg. OC/
- 342 replies
-
- 4
-
-
- dreadnought
- zvezda
- (and 2 more)
-
The plan for tomorrow - Finnish off touching up the Ap507B mid grey colour around the stern and the bow, that will finnish off the camo on the Port side. After letting this settle for a bit it will be the turn of the Starboard side - repeating what I have done but minus the repair work to the damaged section. OC.
-
This makes A lot of sense and I think is the Cause, I had my magnifier (6 inch round one) on the stand and there was strong sunlight coming through over my shoulder, I will learn a lesson from it. OC.
-
Thank you for that, I am quite pleased with it, using the magnifier I can paint cleaner with my fine brush. OC.
-
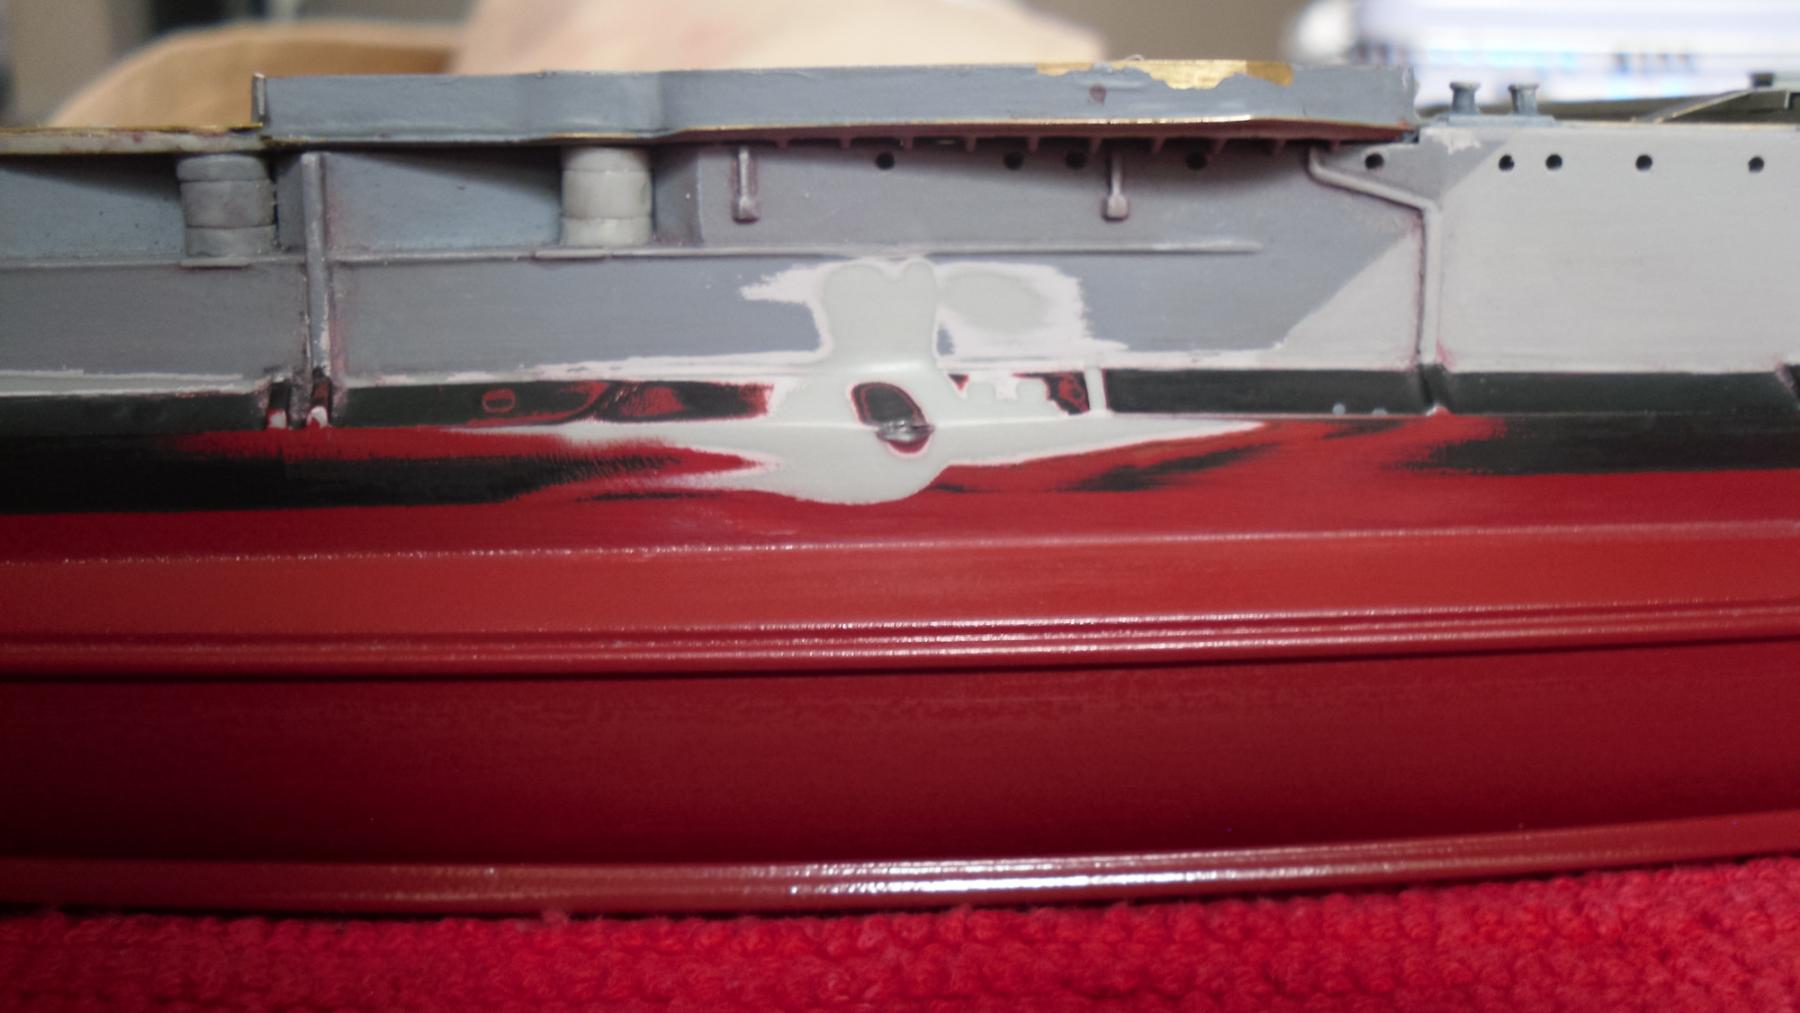
An update folks with a couple of pics courtesy of my wifes cam, I managed to build several thin paint layers with drying in between, I worked on the Black bootline first, then the next day I worked on the light grey section where the damaged area was, its 90% done and I think viewing at normal distances and magnification, It wont be all that noticable. Here are a couple of pics. OC.
-
How about Trumpy's 1/350 HMS Belfast? That kit also has some excellent brass by flyhawk pontos etc, It also a current ship and well worth a visit in London. Superb work you are doing by the way. OC.
- 342 replies
-
- 4
-
-
- dreadnought
- zvezda
- (and 2 more)
-
prachtig sjors OC
-
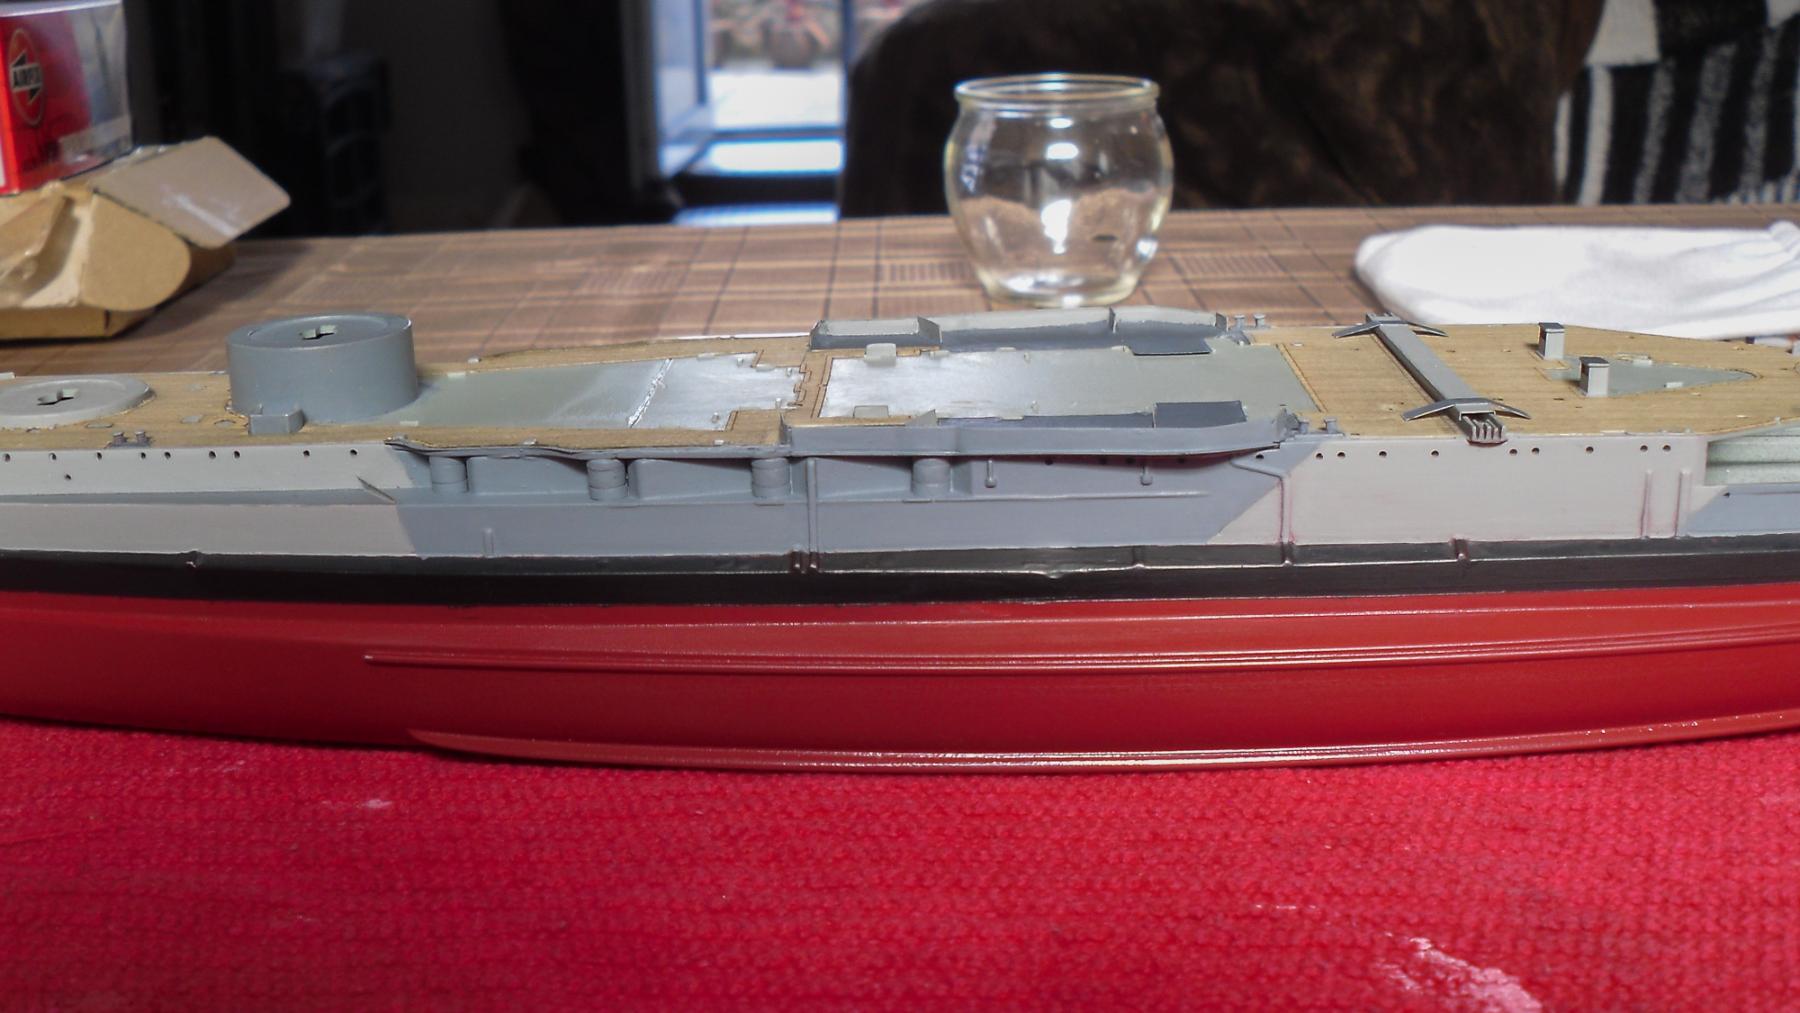
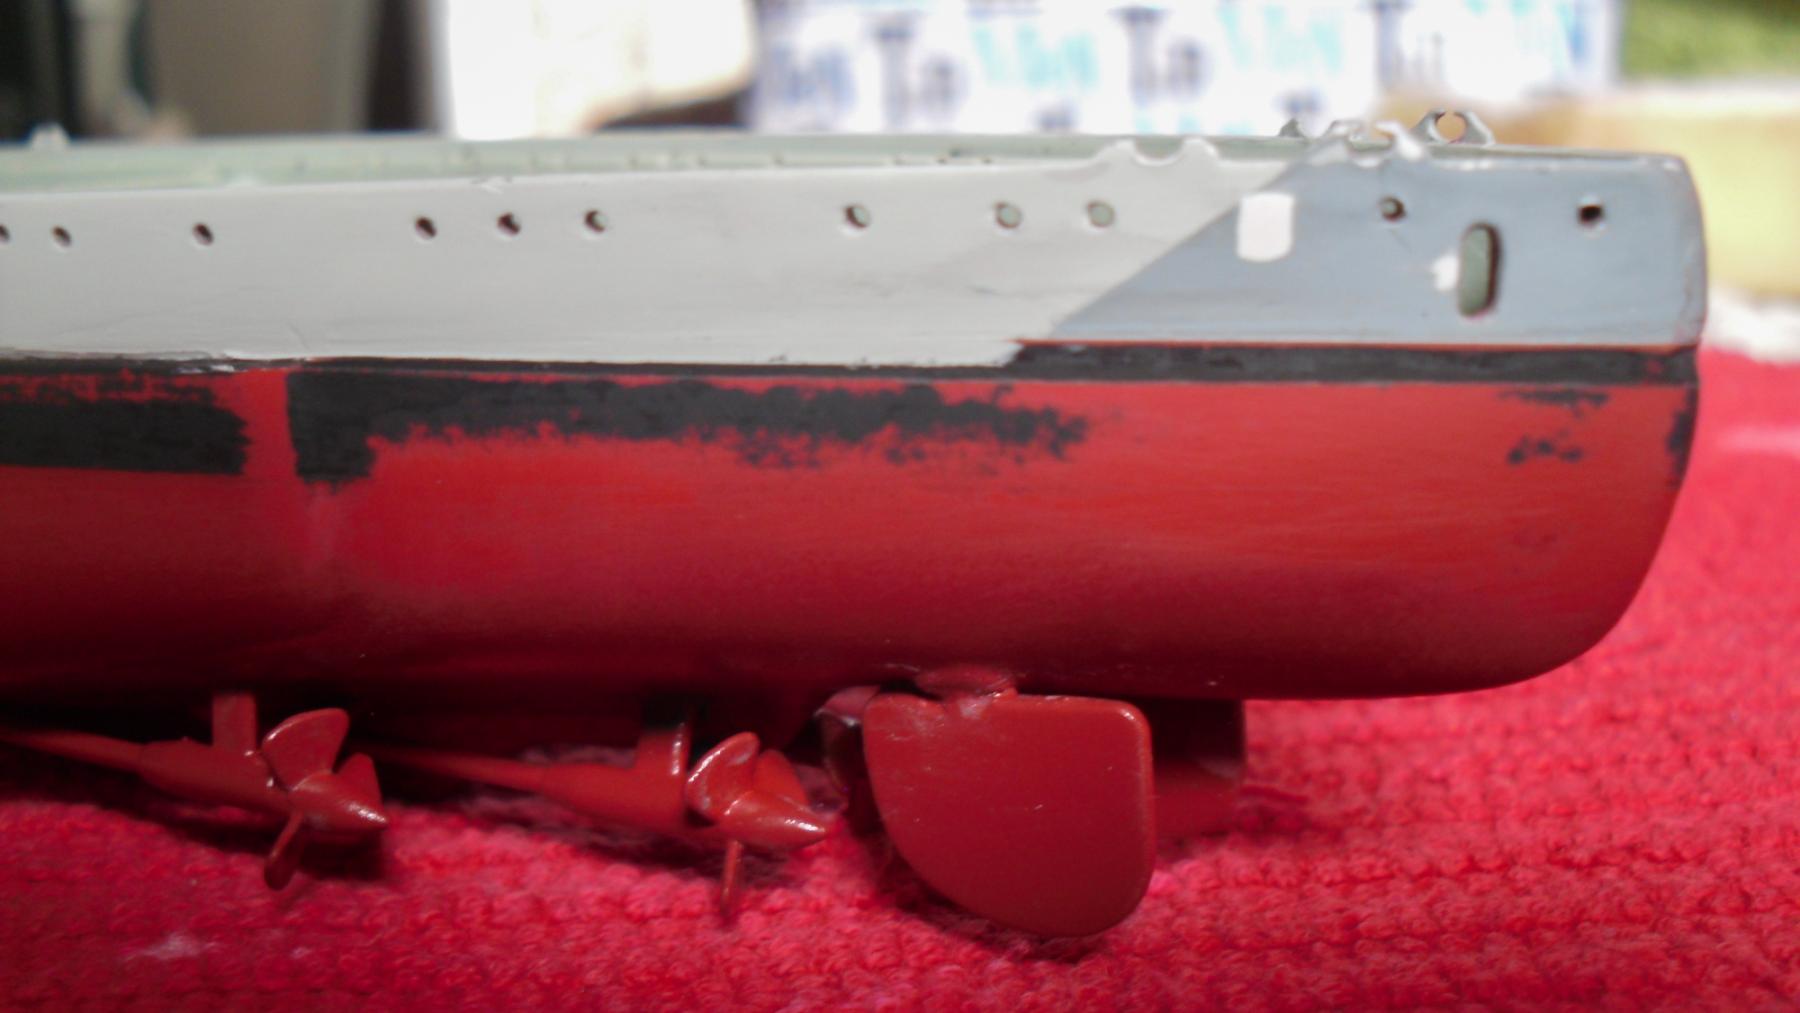
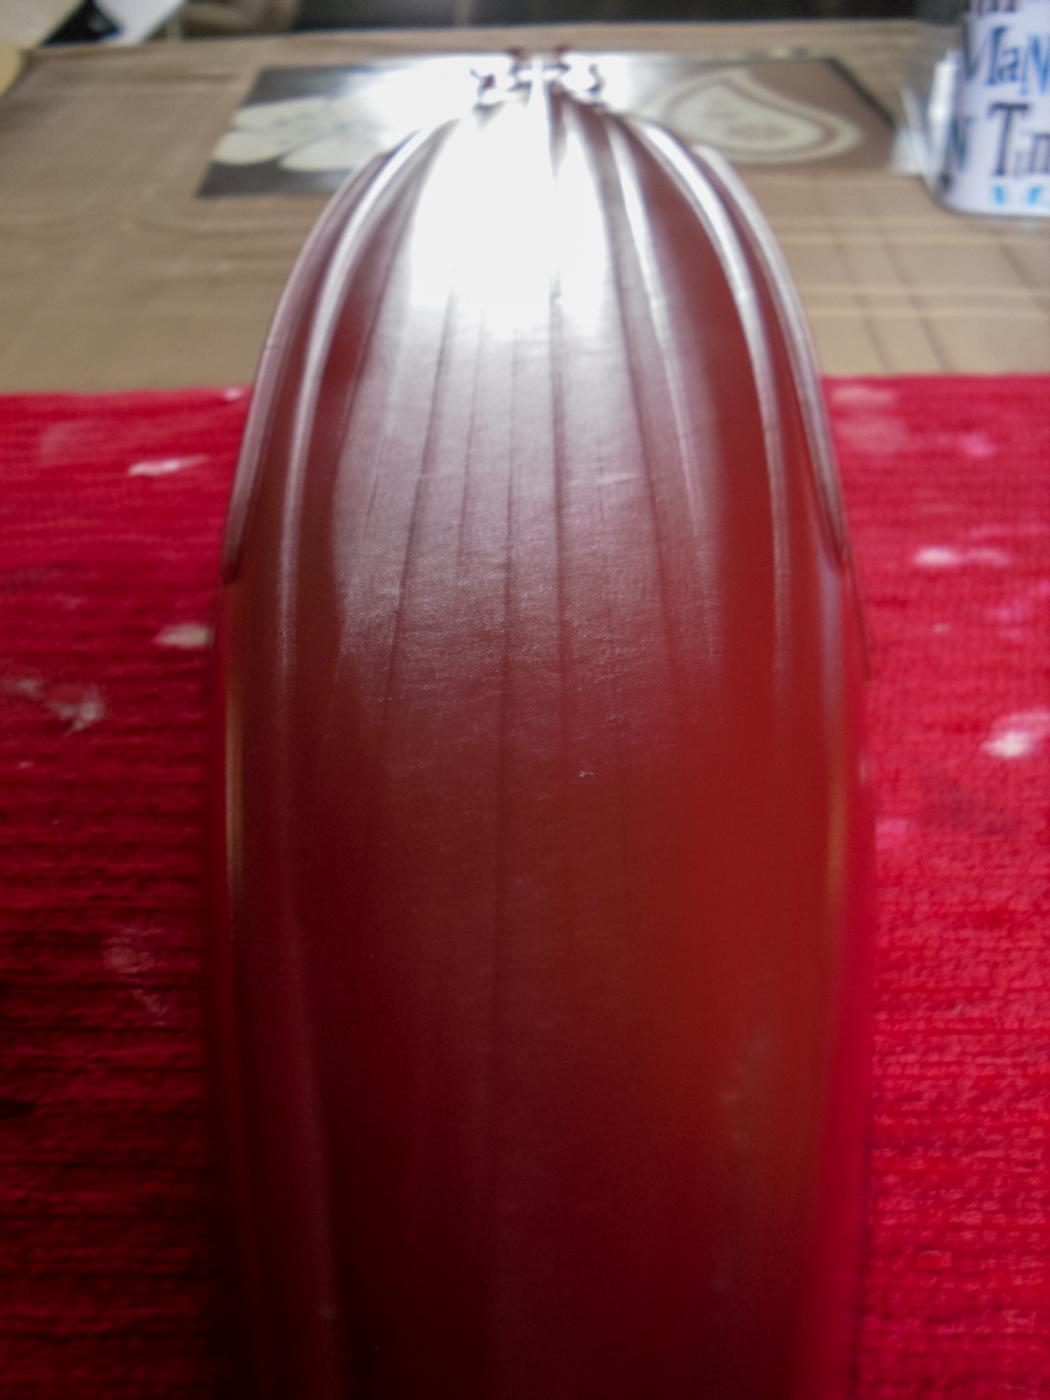
A bit more work attacking the offending area - i got some wet and dry on the go keeping it on the area and not going to wide on the other areas, I think when its painted up it wont look to bad, the rear quarter still needs some work tidying up and getting a better boot line. I have included a shot of the bottom - the detail I put into the hull plates is Inspiring me to push on and get the hull finished, then I can get back to the more enjoyable deck fittings etc. OC.


-
Thank you my friend, the only problem is - it extends firther up where I had it masked away from the rattle can spray, could it have worked its way even without causing a paint creeping(there was no paint creeping under the mask) it hasn't reacted anywhere else - everywhere is fine. Its as if a naked flame - lighter had come to close to the plastic and made it soft and form a dent/smudge in the plastic - you can feel it aswel as see it. OC