HOLIDAY DONATION DRIVE - SUPPORT MSW - DO YOUR PART TO KEEP THIS GREAT FORUM GOING! (Only 20 donations so far - C'mon guys!)
×


Old Collingwood
-
Posts
12,098 -
Joined
-
Last visited
Content Type
Profiles
Forums
Gallery
Events
Everything posted by Old Collingwood
-
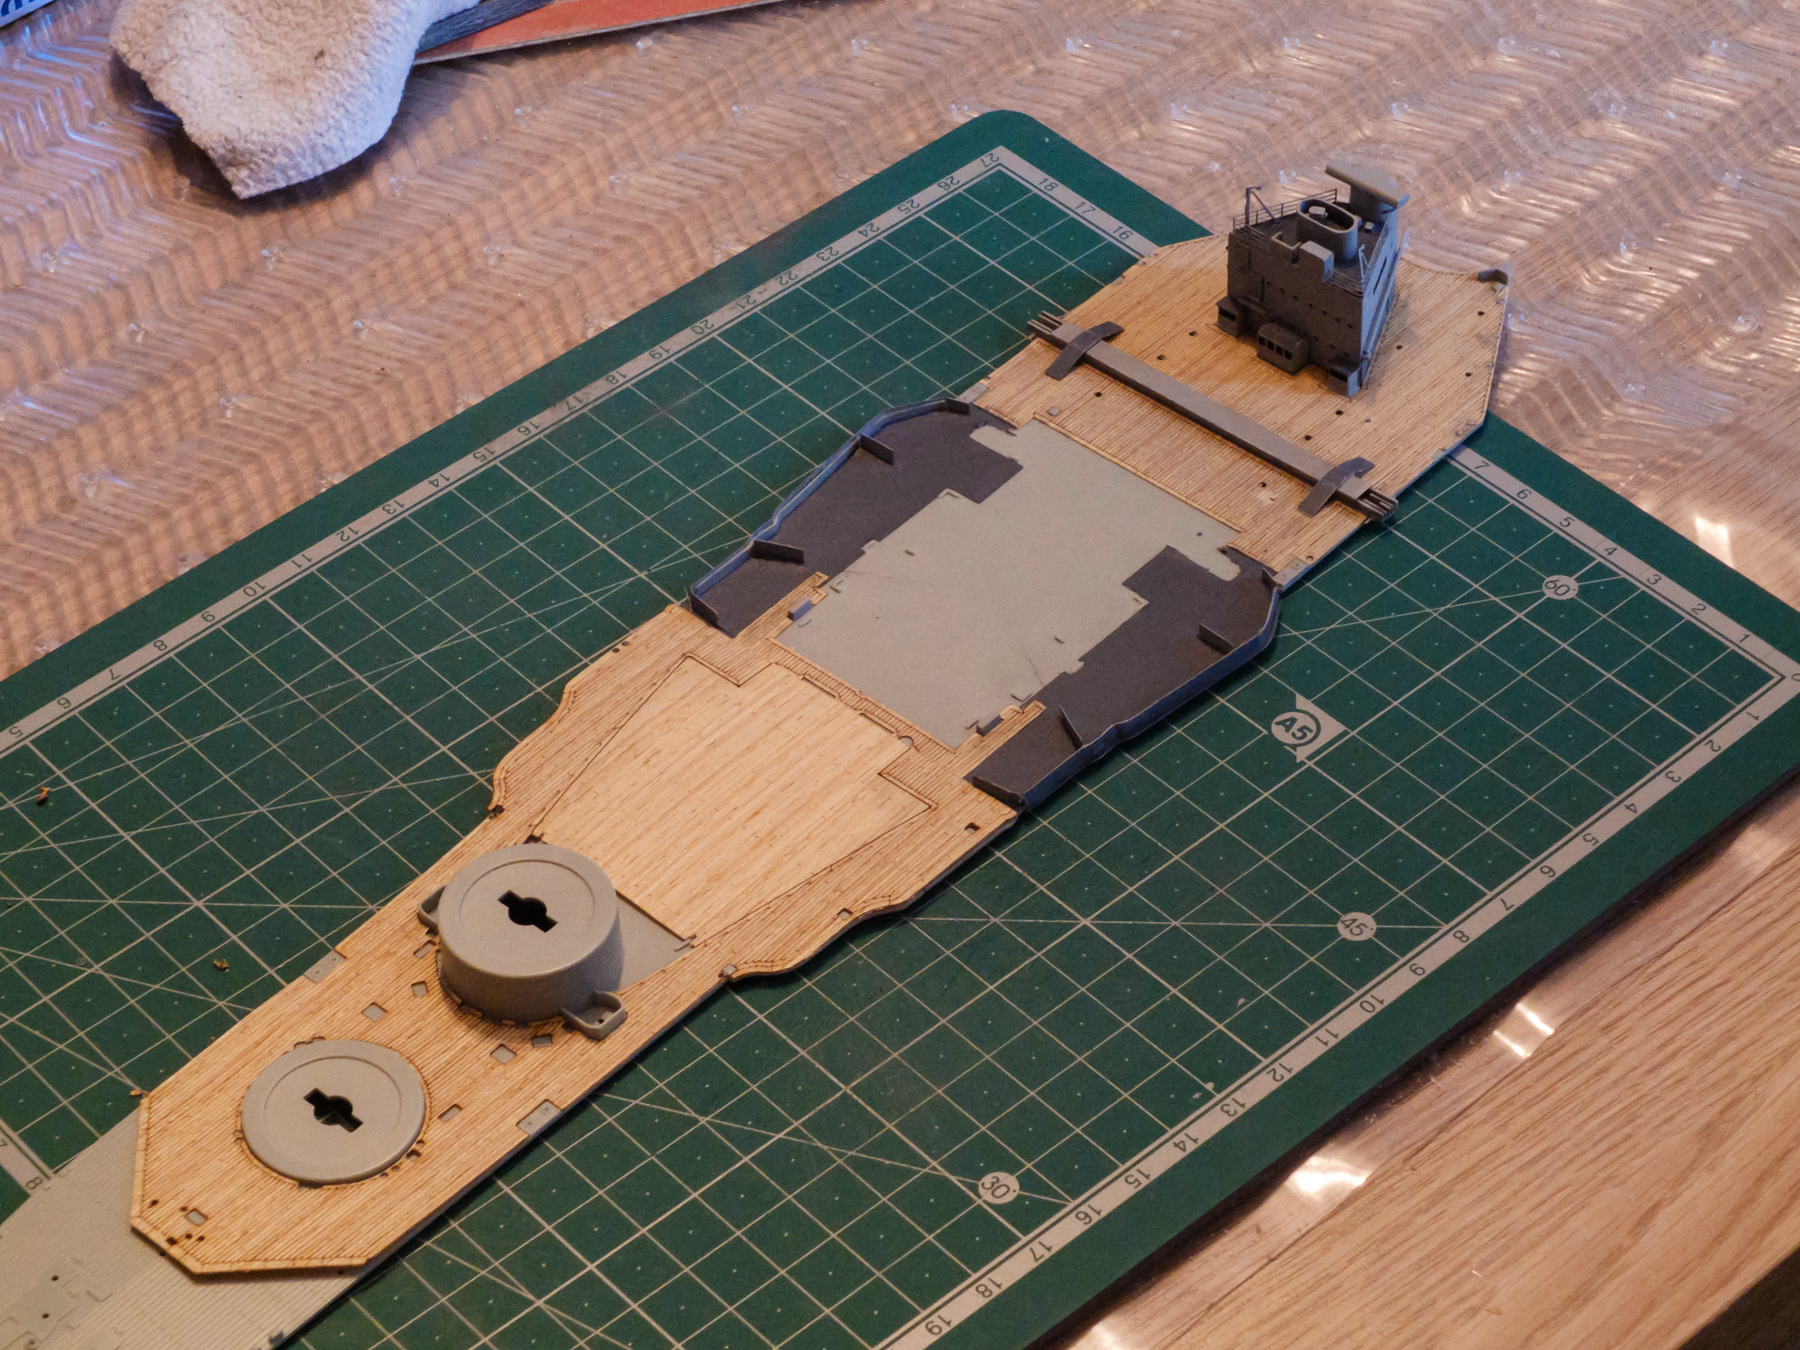
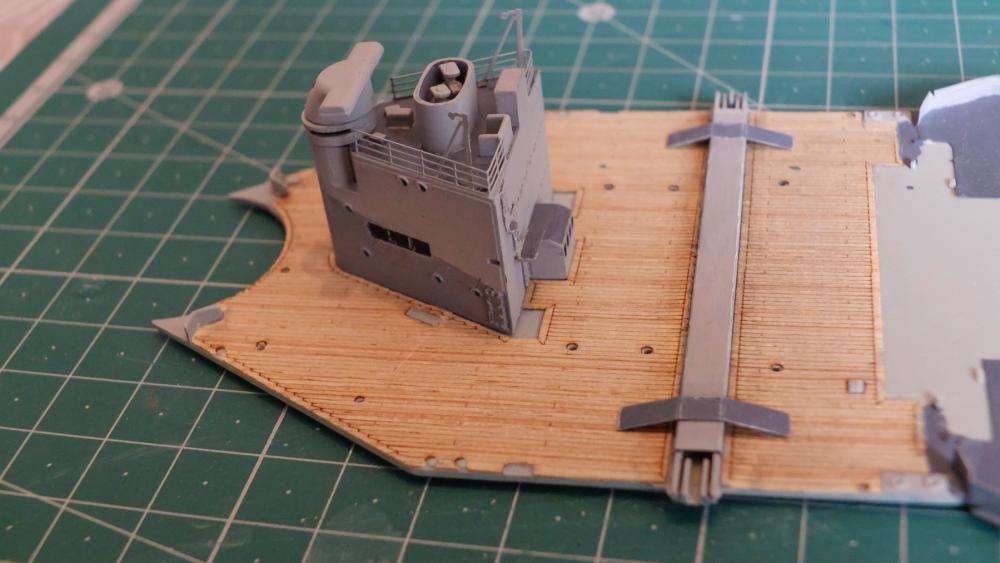
 Spent a bit more time on the table today - preparing a couple of the rear deck boats, next i decided to start the mind numbing job of removing the pre moulded deck detail in preperation for the forward section of wood decking, this was slow and careful work wife a fine knife blade and small file, afterwards i started on the decking sheet cutting out the obstructions with a sharp blade. I finished off by dry fitting both deck sections with the dry fitted wood deck sheet with its backing still attached. Here is a couple of pics just to show how it is shaping up. OC.
-
Have you seen the Film Battleship? it show cases the Mighty Mo in great detail, Love that film. OC.
- 187 replies
-
- 3
-

-
- new jersey
- trumpeter
- (and 2 more)
-
Looking Fantastic Hank - just shows how slowly slowly does the trick, if you are like me I do a little bit then put it down till I kind of get the urge to do more, my Warspite will probably take about 5 years to build at my pace. OC.
- 187 replies
-
- 2
-
-
- new jersey
- trumpeter
- (and 2 more)
-
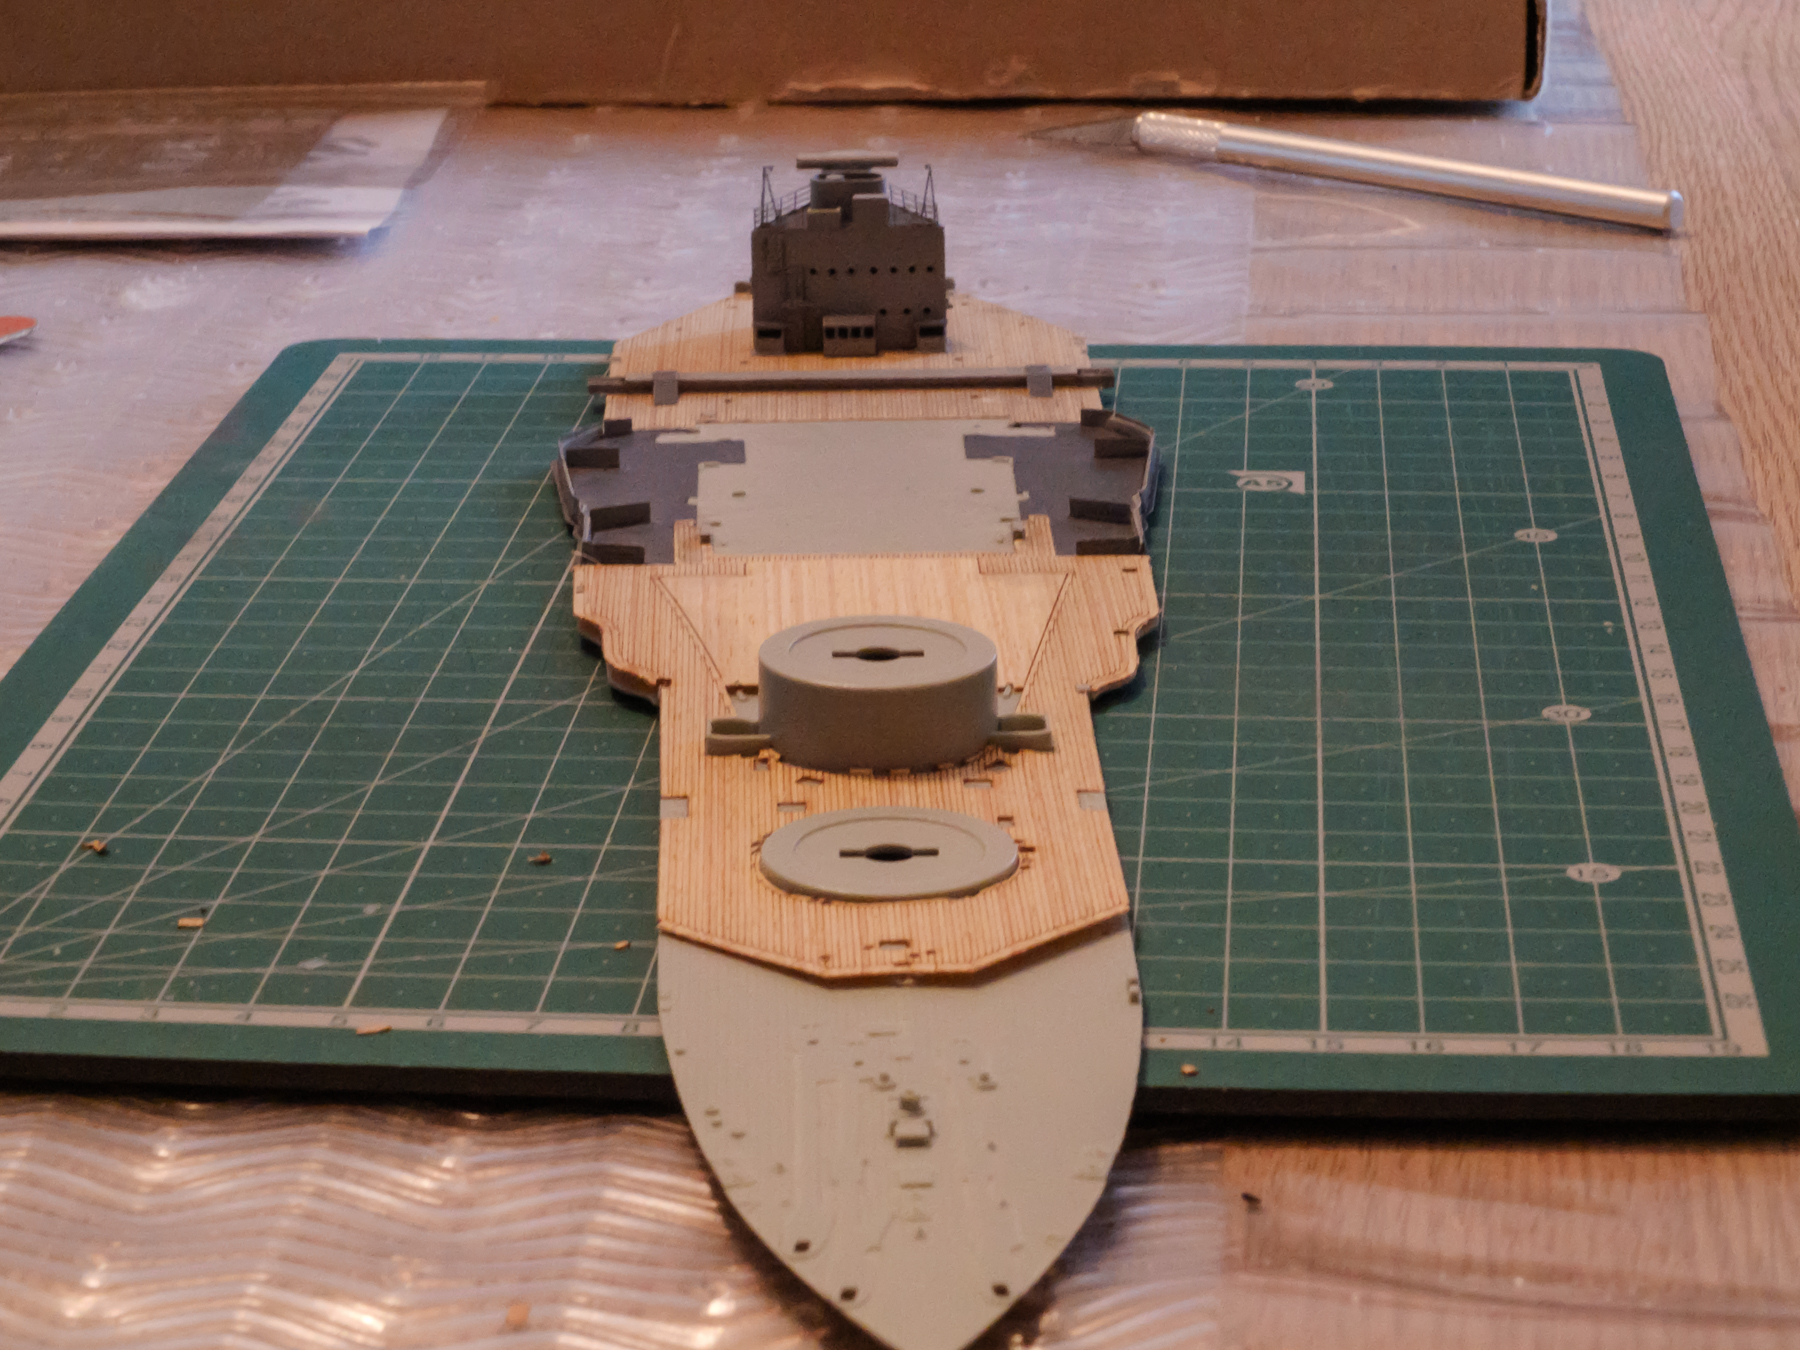
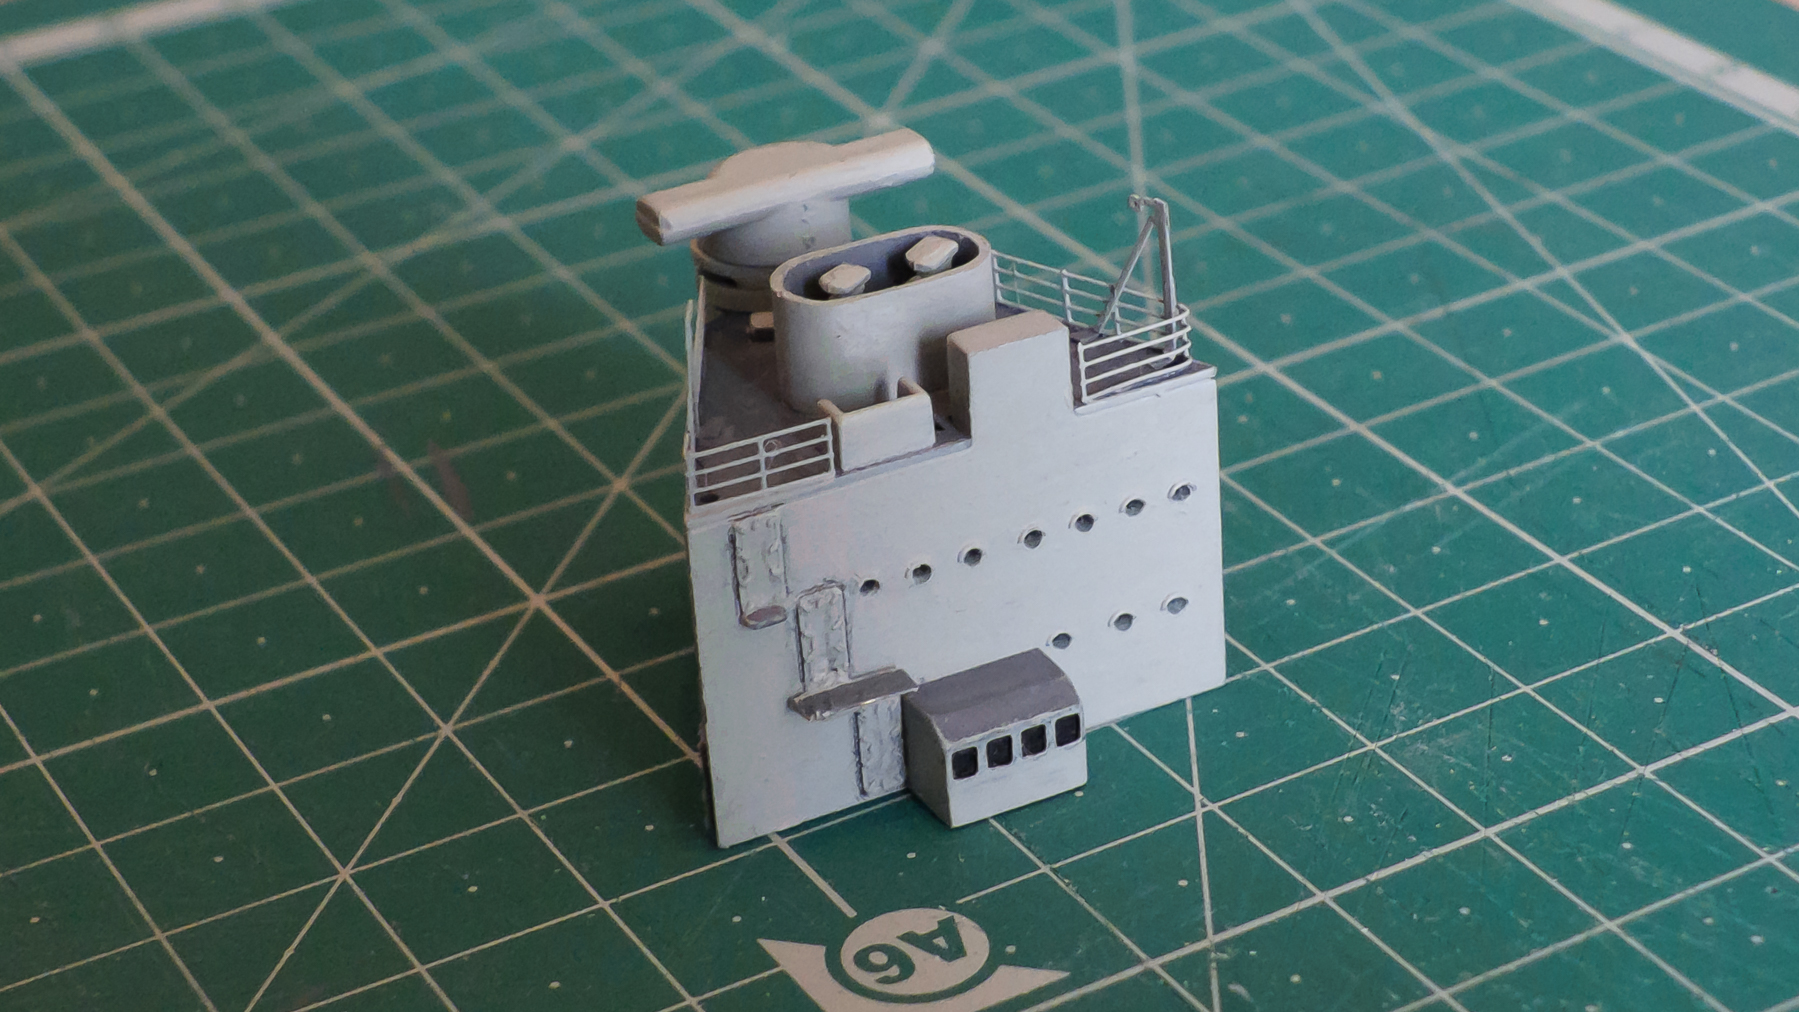
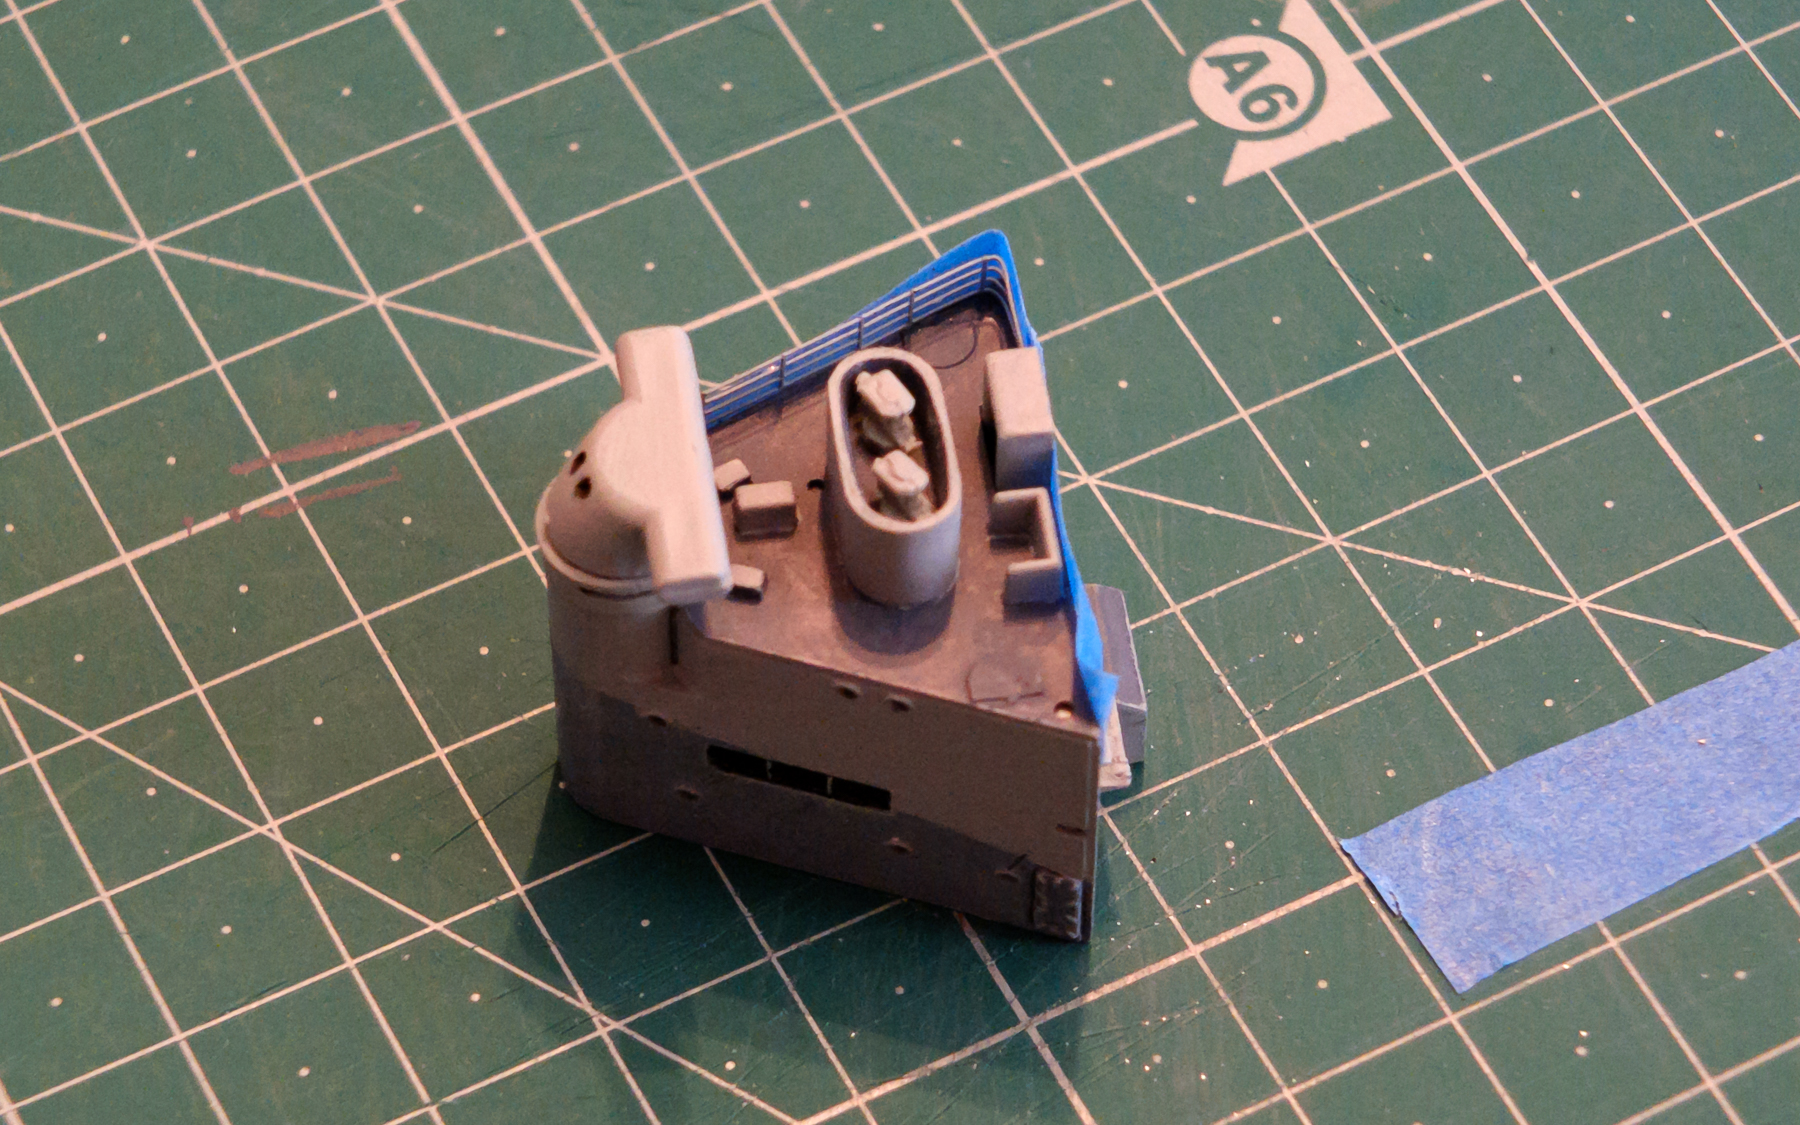
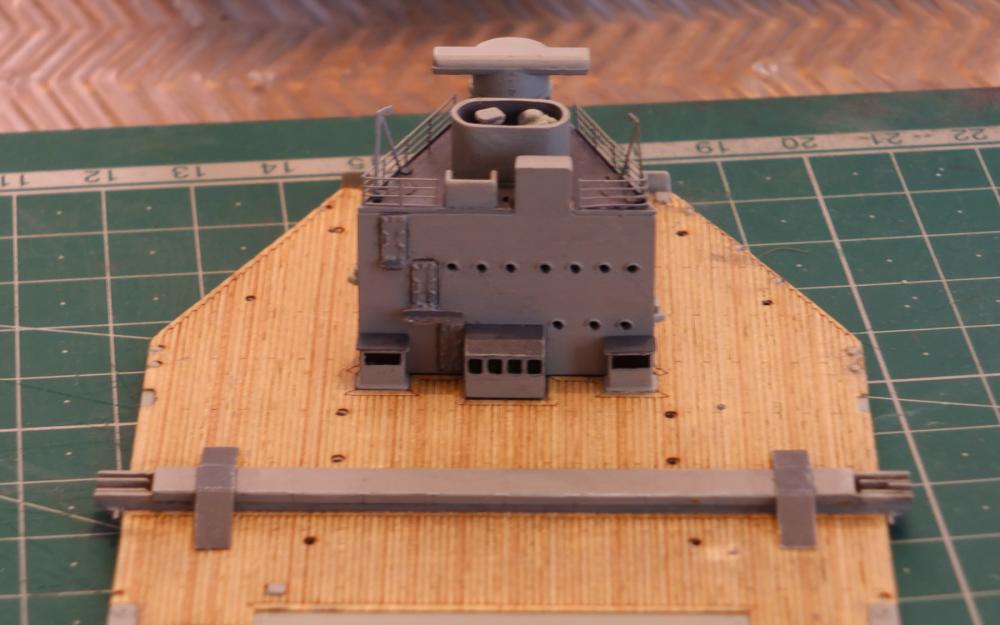
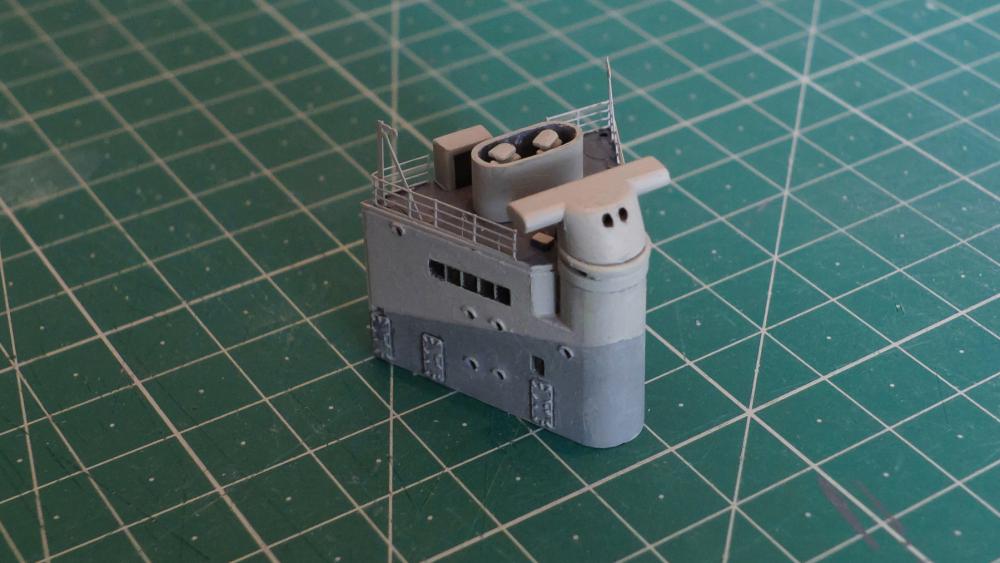
More work today finishing off the Rear Block by adding the Derricks, and the two small buildings that where glued down on the deck area, I then fixed the block down to the deck. Heres two pics showing the completed work on the deck secion so far. OC.
-
Looking Superb Greg, it just goes to show - that the camera never lies and has a habbit of showing up every detail, your close work passes the test with flying colours my friend OC.
-
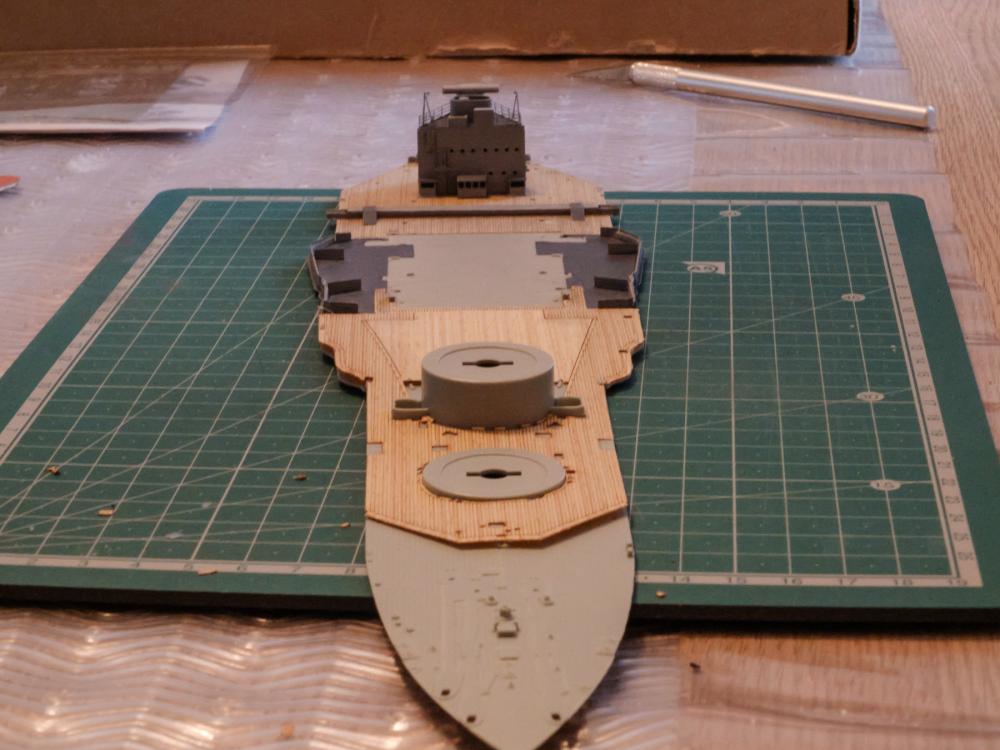
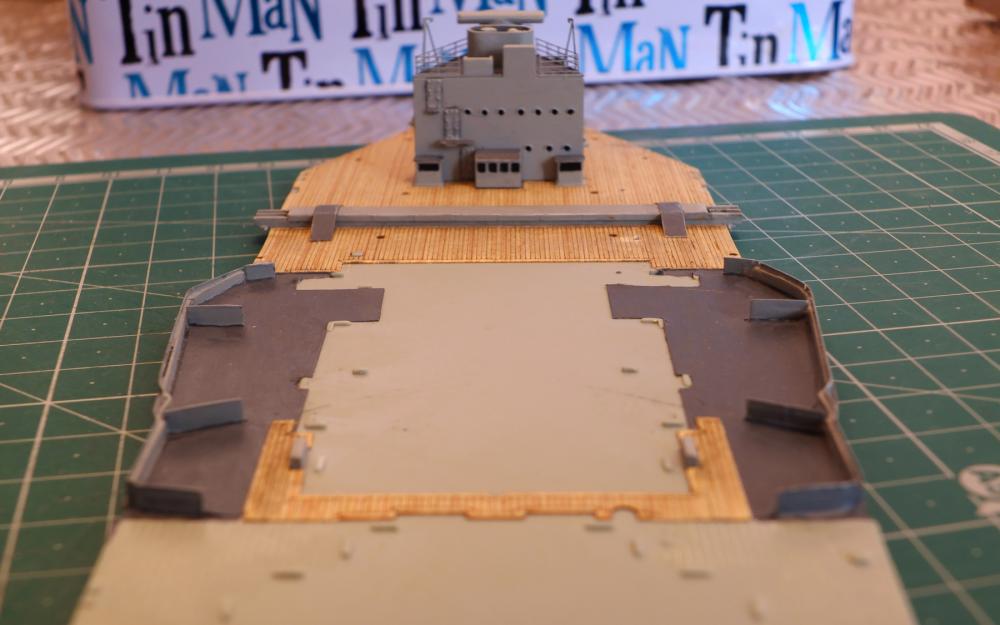
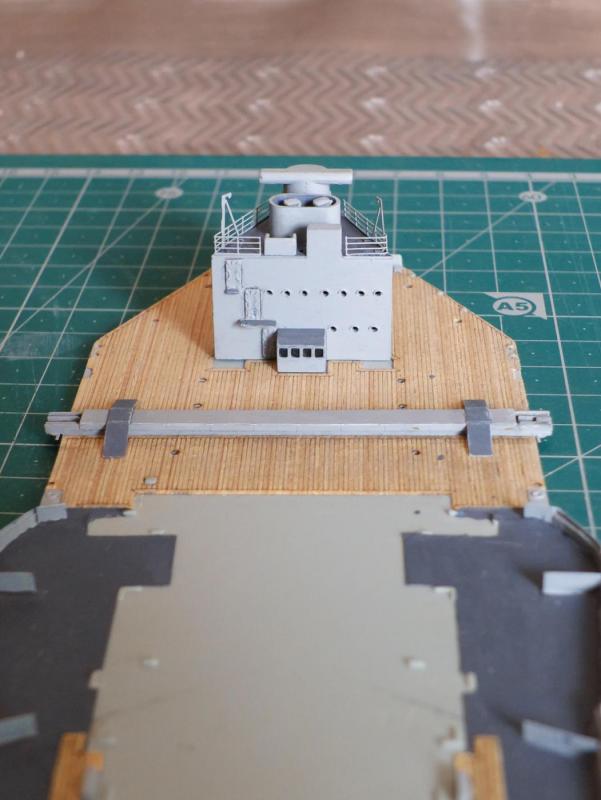
I dug deep inside my work bag today and found the box from the kit, I was looking for a couple of frets to add some more stuff, I found the hull sitting at the bottom so I decided to do a dry run with the mid deck section, and the rear block i am finishing off, I put them together with the other deck sections. Hers a pic. OC.

-
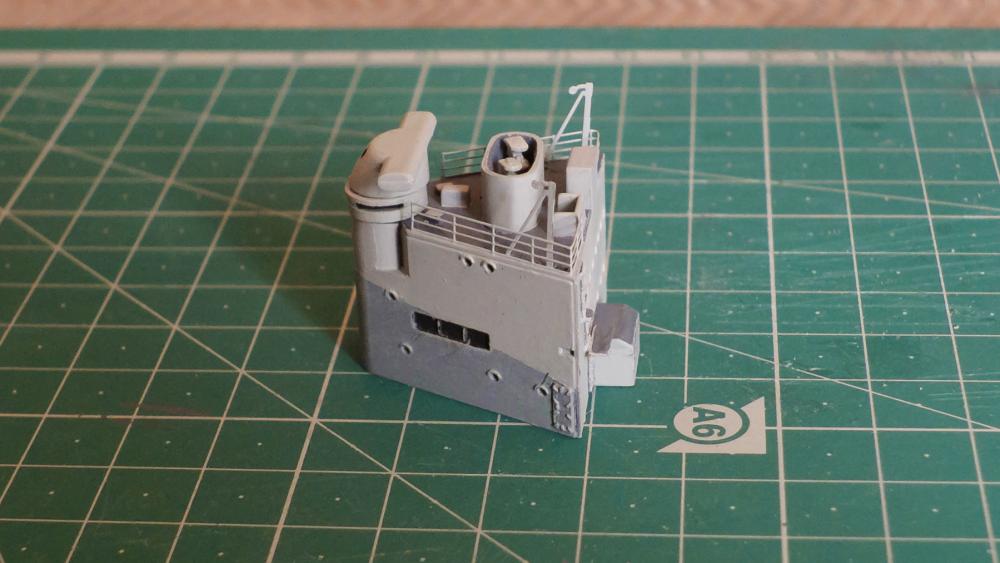
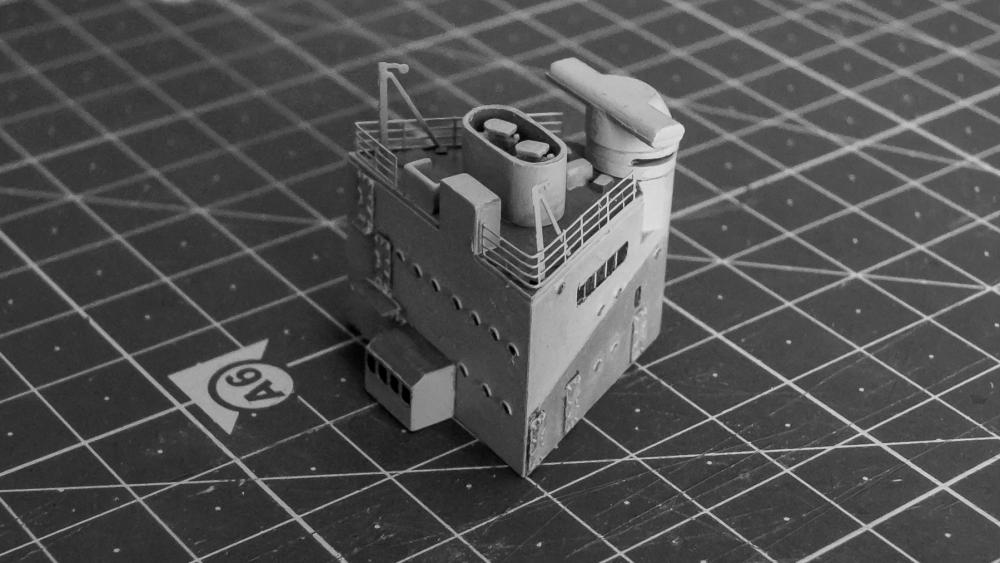
I have nealy completed the rear block except for the mast, i added the two derricks and touched up a few areas of paintwork. Here are a few photos of the progress - OC.

-
Those sponge sanding blocks are Brill for sanding as they follow contours and are abrasive enough to sand down where you want to, ive used them for everything from household skirting to wood boats. OC
-
I agree with what others have said - applying Diluted PVA is a good idea but make sure you leave the whole area after applying, a good few days to dry then give it a good sanding to key the area. OC.
-
Just a quick look at what i had done by fixing the rail down in a small puddle of slightly watered down PVA, and its stuck nicely, i will do the same for the other side then touch up as needed - i can relese my breath now onlt been holding for about 4 days lol. OC
-
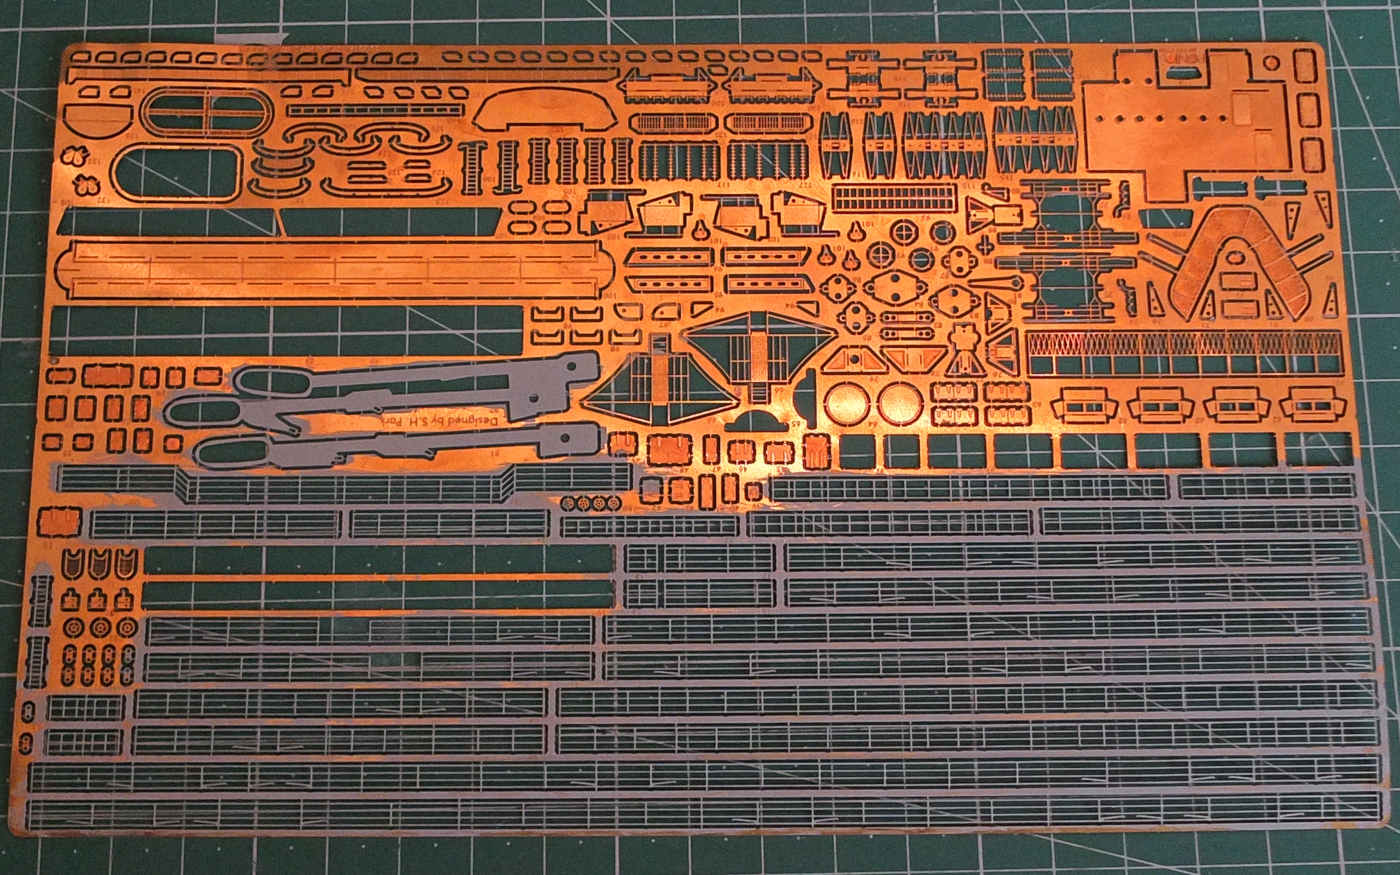
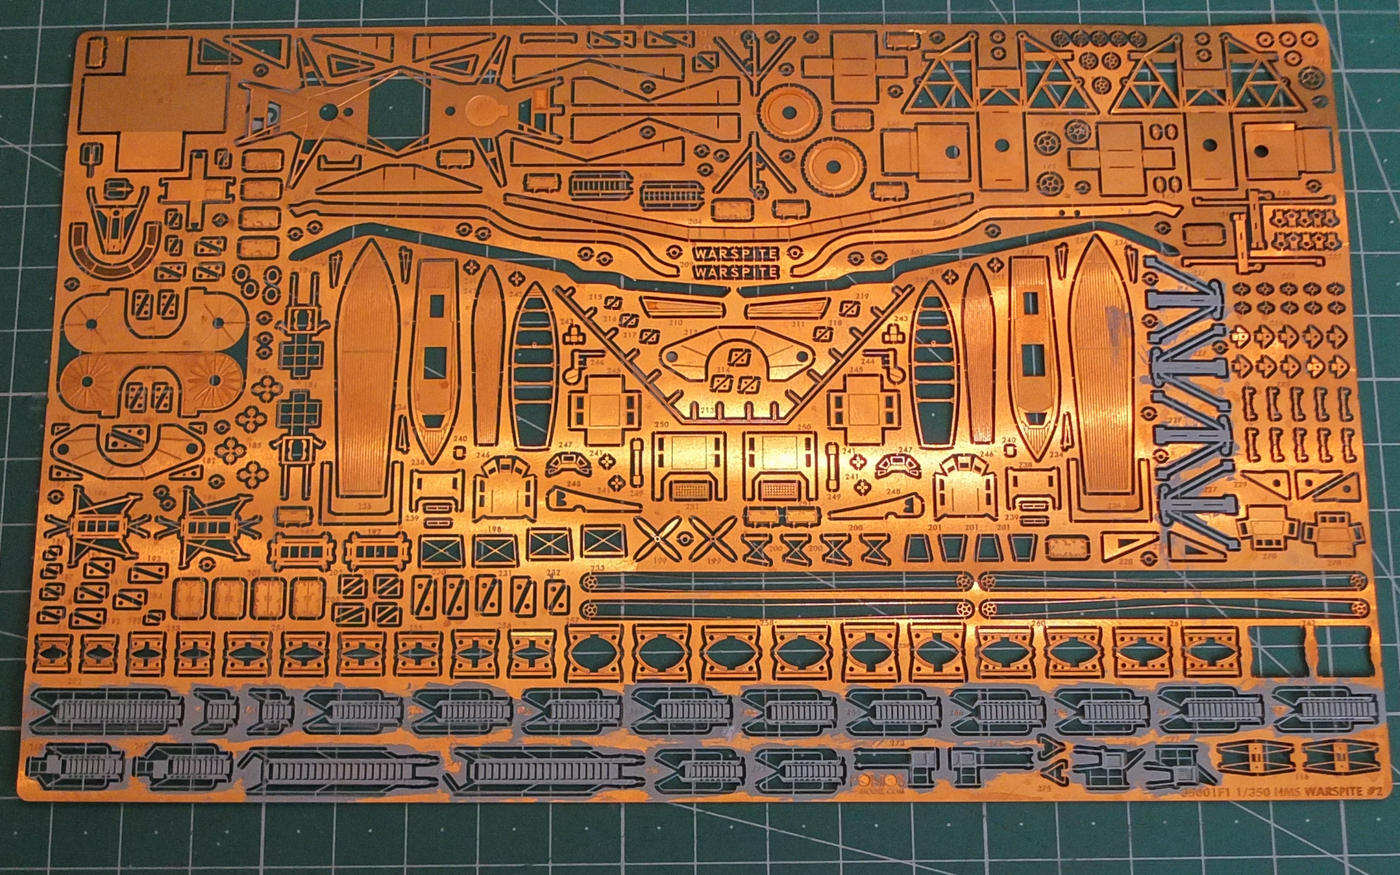
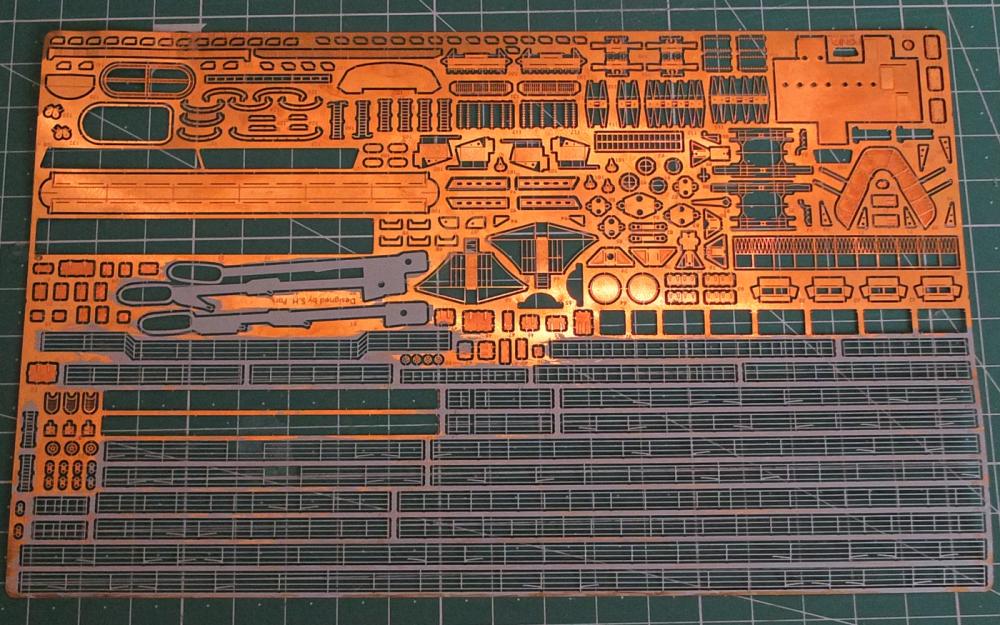
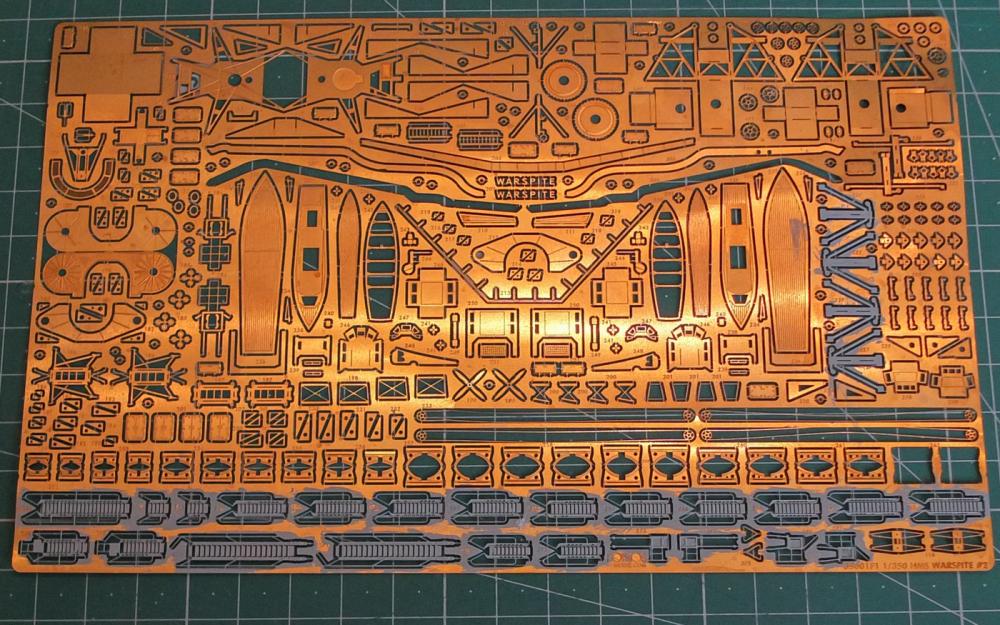
It looks good on the fret and is easy to paint etc - tillI have to take any off it off Cant I just leave it on the fret please folks .....? OC
-
I was affraid to use CA as the type i have is the brush on variety with the brush attached to the cap that screws into the bottle, i was going to try applying a small bit from the brush to the bottom edge of the railing before placing it, but i worried that if I missed it would attach itself somewhere else and cause all sorts of trouble OC
-
Its Slowwwwwwwwwwwwwwwwwwww Progress this PE work, it wasn't till today that I had a peak at the single tiny section of railing, i gently peeled away the low tack tape that was holding in place while the PVA glue was setting but - Shock Horror it started to loosen the rail from the deck. So onto plan B or is it Z? i decided to sit the rail in a puddle of PVA that i had proffesionly added to the deck my way of my paint brush tip - lets see if that sticks the little blighter I worked out at this stage - I will be a bout 90 when i finnish the Ole Lady and I'm only 10 now OC
-
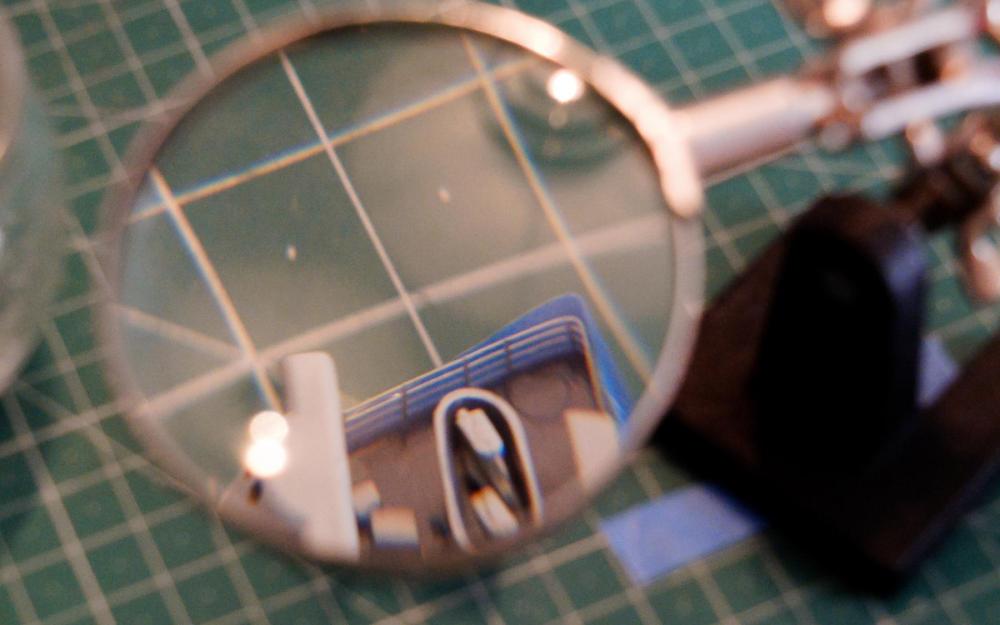
I did a few limbering up exersises then took some deep breaths and dived in head first into my PE railings to go on the rear block, i cut them from the fret under my mag glass stand, then offered the one side up, but found it was to long - so a small section was cut away, i then gently bent the end that wraps around the face of the rear block. I placed some blue tape along the edge to grip the rail then applied a watery PVA seam with a fine brush (while holding my breath-and bitting my lip), but it stayed in place so i gently took a couple of pics - then put it away to let it set fingers crossed Heres the pics

-
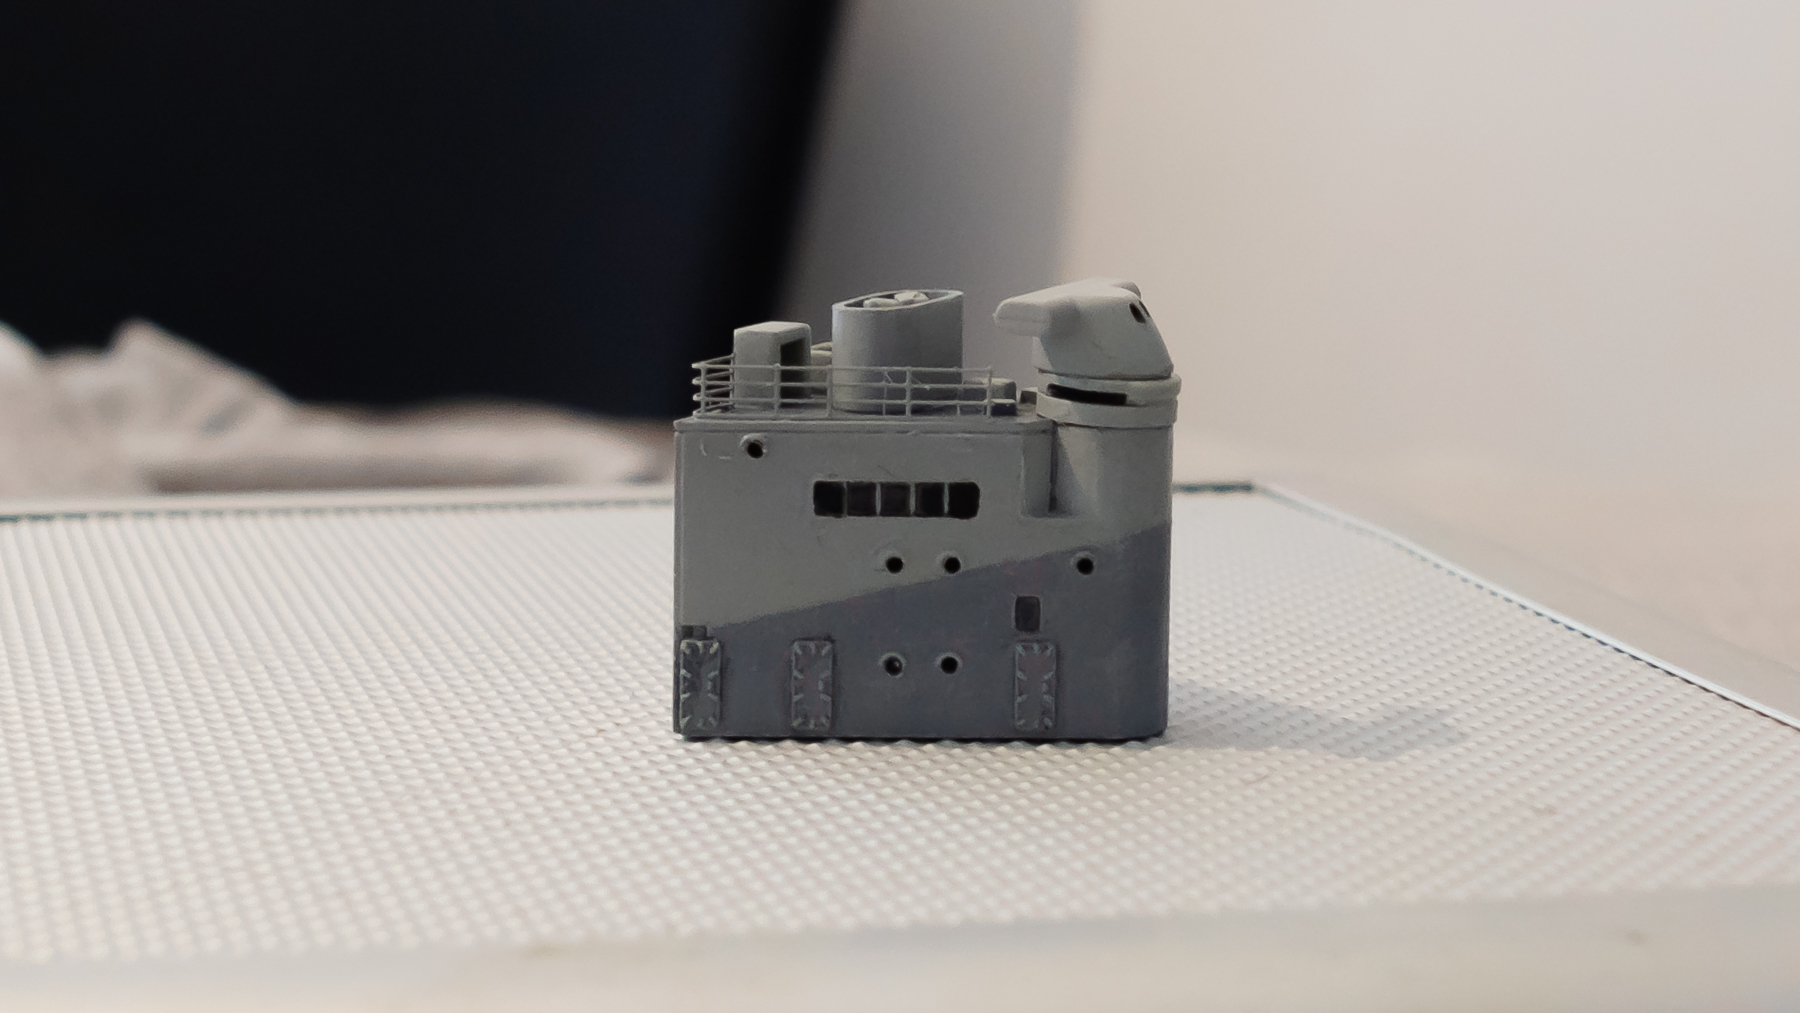
Two pics showing the brass etch that I have painted twice and added a coat of varnish to the stairs and hand rails, I will leave these for a good few days to harden fully before attempting the interesting part of fitting with shaky hands - OC
-
Thanks for that greg, i am using the Lifecolour Acrylics and they do seem to dry very tough also with the acrylic varnish, i am hoping this will be both flexible and tough? OC
-
Managed to get an hour or two on the table today - i decided to paint the brass fret details - rails ladders etc, the idea is add the top coat laquar when the paint has dried so hopefully the paint wont crack or come away when i fit the individual pieces? OC
-
THe true sign of a model making genious is when it can sail through the scrutinizing view that a camera shows worts and all, Fantastic Work Greg. OC
-
Makes one wonder - with all those hammock nets etc creating almost a solid section, with Turners Trafalger pic where he showed solid Bulwarks on the forecastle, could he have mistaken the hammock nets for them? OC
-
Incredible - I take my hat off to you and watch in ore open mouthed and think - i will never be able to do stuff like that to my Warpy..... :o OC
-
Really interested for obvious reasons - keep up the great work its looking very nice. OC.
- 22 replies
-
- 3
-
-
- kirk
- orange hobby
- (and 4 more)
-
Thanks mate - yep its coming on i think bits and pieces slowly does it rome and all that lol, i painted a bit of etch on the fret giving it about a year to dry before i handle it(dont want that pesky paint rubbing-peeling orf) OC