Old Collingwood
-
Posts
12,106 -
Joined
-
Last visited
Content Type
Profiles
Forums
Gallery
Events
Everything posted by Old Collingwood
-
 With all the trouble I have had with the hull Im tempted to do not just a waterline model, but a deck line model and cut off the entire hull :( pretend she has sunk and just the superstructer and deck visible :o OC
 -
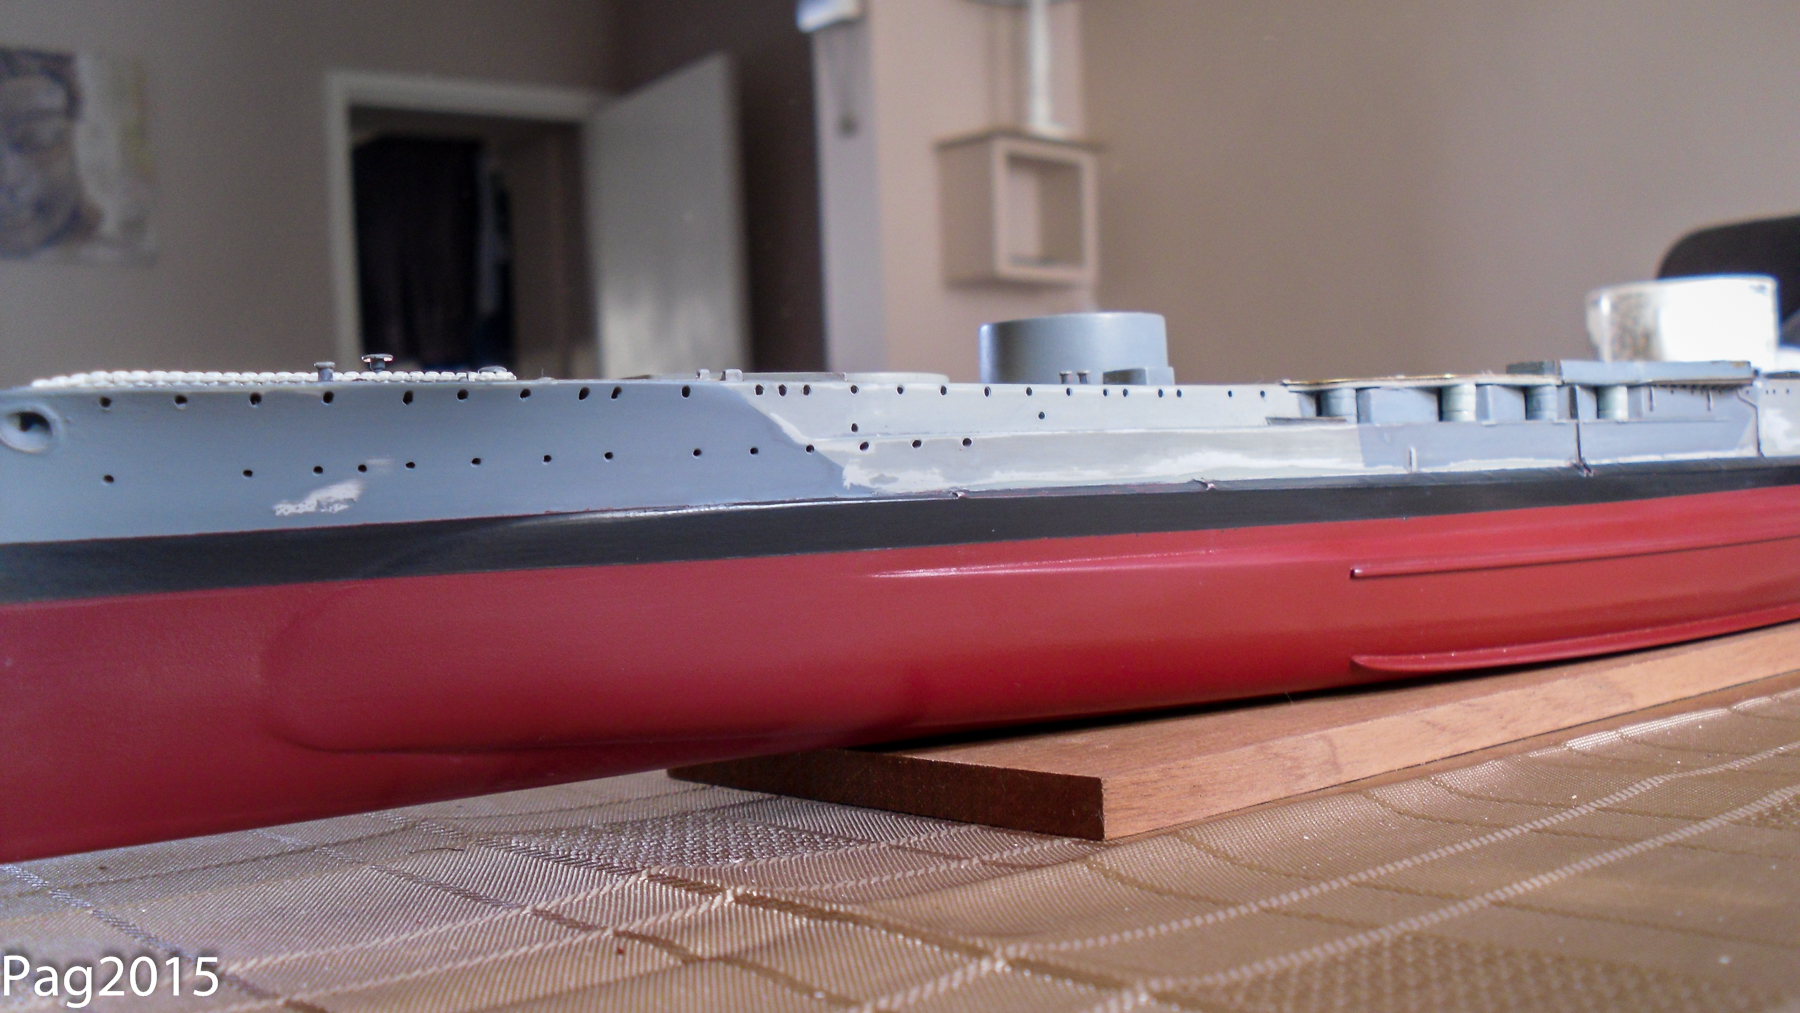
Thanks to all for the encouragment - it does seem like im up against it with my build, I decided to a bit more touching up of the hull paintwork, I masked a small section over the boot line on the rear quarter ready for some more light greay AP502C, this went on well in thin applications as it was drying ready for the next coat in a few minutes, I carried on till I was ready to remove the tape - and it looked ok, just need to tidy up the boot line a bit (you know the situation - touch up one area then have to go back over another till its strait). But another strange think caught my eye - a small section of the hull mid ship, has some how sunk in and almost caused like a hot grab like if a hot finger, had pulled at the plastic but with enough heat to melt the plastic, and form a dent, its quite noticable and makes me feel - "not something else going wrong on the build" I just dont know how it happened - I didn't do it and it wasn't like it before and nothing has been by it on the shelf - Weird. OC
-
Folks I am just posting a bit of an apology for the lack of updates and the slow progression I am making with my build, I know it is taking a long long time, but to be honest its just my way as I have to feel the the need to work on her, I also like to do small stages as I feel in more control that way, and by taking several atrtempts at it, I am learning as I go along and improving day by day. I have built many many plastic kits before of many transport type things, but nothing that I have done as required a level of knowledge or research to this level, much of it my doing - I admit as i want her as historicaly corect for the time period 1944 D Day as possible. Brass Etch has also been an adventure for me as I have never ever come across it before in any model, and requires some learning and understanding how to work with it. I guess what I mean is - Its going to take some time and I hope you folks dont get to bored. OC.
-
I bet if you do a 200 scale kit like the HMS Hood one (please) it would be easy peasy for you with the extra scale, Im only envious of your talent and skills. OC
- 342 replies
-
- 4
-

-
- dreadnought
- zvezda
- (and 2 more)
-
Yikes and Gulp that has made my eyes bleed you are achieving amazing stuff. OC
- 342 replies
-
- 5
-
-
- dreadnought
- zvezda
- (and 2 more)
-
She is looking Realy nice and that deck looks so sharp, I understand what you mean about noticing ones faults, thats why I have re - done the hull as I can see areas where I can do them better - and I attempt to. Keep up what you are doing she is looking Superb. OC.
- 75 replies
-
- 6
-
-
- scharnhorst
- dragon
- (and 2 more)
-
Thats a good question - I will decide after I have finished touching up the hull side paintwork, prior to build the superstructor. OC.
-
Next will be to touch up the two camo colours and the areas where the tape pulled some paint off, then I will decide what I am going to do with the prop issue. OC
-
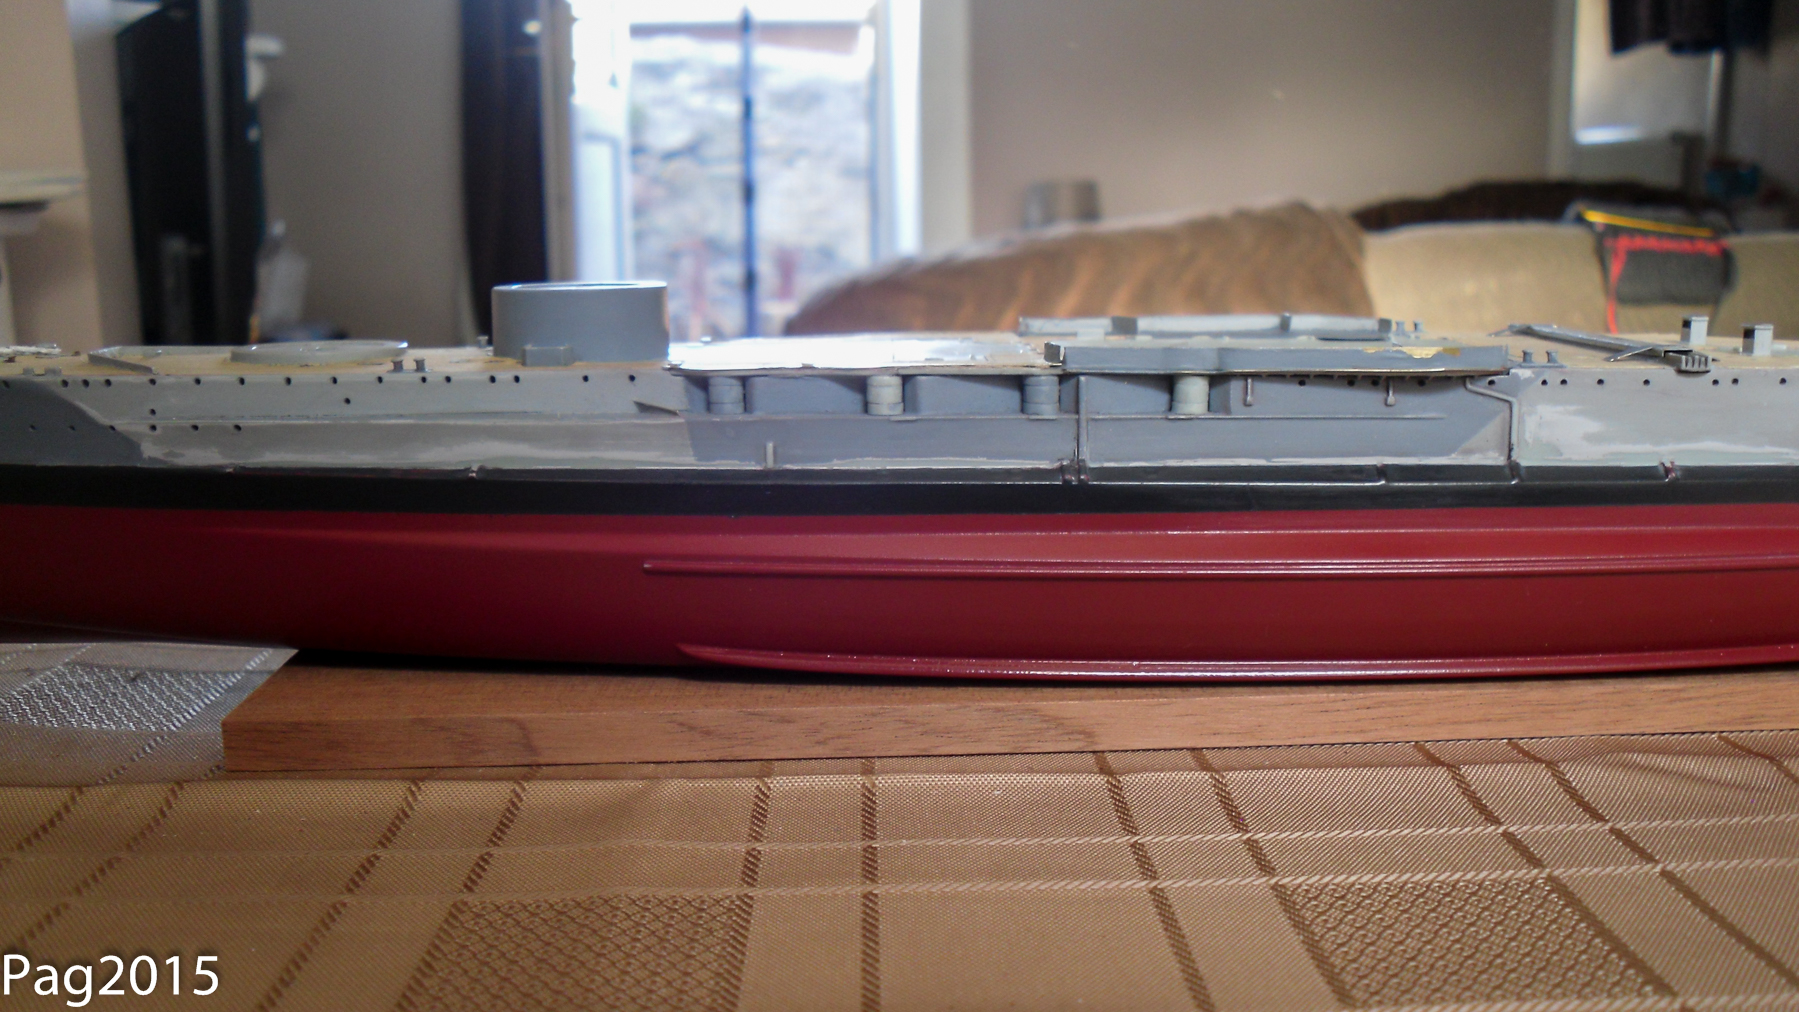
An update folks with a few picture updates curtosy of my wifes cam, they show the completed anti-fouling and black boot line, I have also started cleaning up where the camo paint meets the boot. OC.

-
I masked the bottom boot line after marking with a strait line tool(Block of wood with pencil attached) Then mask was a very narrow blue tape following the strait boot line, I then decided I would hand paint the boot using my nato black that I had in Water Acrylic, it is matt but several coats and its gone on well with little to no creeping under the masking. Let it dry then Tape Off top and lower strip, and its done quite a good job about 50% better and neater than my first attempt, I will have to hand paint each camo section where they meet the boot line, as masking would be a nightmare due to all the raised fittings on the ledge of the torpedo bulge, but with any luck and light from my new stand and magnifier I should be able to do the two tone shades bit by careful bit. OC.
-
From what I have read during DDay she had to return to Portsmouth UK to replenish her 15 Inch shells, but while in port the descovered she had worn out the sleeves in most of her three remaining turrets, so the decided to send her upto Scotland(Rosyth Yard) to have her barrels changed, on the way there sailing along the English Channel just past Dover she hit a mine on her rear quarters and this knocked out her four shafts and jammed her stearing, she was also holed that created a partial flooding to her rear. They managed to get two of her props going and freed her rudder by brave divers, when she arrived at Rosyth they patched her hull and managed to straighten the prop shafts by heating and forcing with jacks, but one was stuck solid so they left it, and she was so needed for the shore bombardment at Dunkirk. My quiry is - would they have taken the spinner off the dead prop shaft at this point to save on drag, or would they have just left it on the jammed shaft? I assume the spinners would have just been screwed onto the shafts - so would have either been unscrewed or perhaps cut off leaving a more streamlined prop shaft. Any thoughts as there is no photo evidence and nothing written about the desison to remove the spinner or leave it in place. OC.
-
Folks during Warspites action at Dunkirk she hit a mine and lost one of her prop shafts and spinner actions, she had repairs including new barrels but was left with just three shafts working, would she have had spinner removed to save on drag with just the shaft left in place. Any ideas please? OC.
-
Later today I should be able to mask up the boot line as the red should have gone off and be dry enough to take the tape, i will need to decide if I am going to hand paint the boot line using some of the satin spray from the rattle can in a cup, as this would require less masking and covering of the bottom hull, or if I should just cover the whole bottom upto the mask - and spay? OC.
-
I had the same problem Greg do you think I could find the bollards and part of my spinner that just fell off somewhere, The carpet monster has a lot to answer to OC.
- 342 replies
-
- 4
-
-
- dreadnought
- zvezda
- (and 2 more)
-
I gave her a second coat of anti fouling and it seems to have sprayed quite well, I will give it a couple of days before spraying the boot line - after masking her again. Third time lucky - or is it tenth time OC
-
Small update folks but just words in absense of a camera I let the paint dry for a good 24-30 hrs then had a look at it, it was fully dry - even the smell you get from enamel had gone, so i got my wet and dry paper - not 1000 grade as suggested, but I have some 800 that has been used so its lost a bit of its bite, I used water aswel and in small areas gently rubbed the small ridges that had been formed due to the reaction between the two mediums, it went quite well and I was left with a dulled but smooth surface that is ready for another spray. I did manage though to knock of the spinner blade that I had glued back on, so it will either have to wait for a replacement part or put it down to shell damage when she lost her stearing OC
-
Thank you for the comments greg, I thought I would have some fun and games with the hull, but as I was feeling a bit dissheartened, I rushed on with spraying the bottom, its that constant learning curve where you see inperfections later that should have been done beforehand, with my situation it is from now having better light and a more powerfull magnifier, and my errors show through clearly, and more so on the pics I took before my cam broke. Like I said above - I'm going through a bit of a rough path at the moment, but just need to weather it out, and hope for better things soon. OC
-
Than You for your kind words, I'm kind of going through a bit of a rough patch at the moment, the boats playing up a bit, my camera had died on me, my other hobby is Aviation or Aircraft Spotting and that aint going well as my cam was firstly no good for that and secondly its died, and lastly my health aint to great at the moment, all while being rather strapped for cash so cant even get away for a break. OC
-
I didn't know if I should post this or not - but I have not been having a very good time with the build, I seem to be going backwards and not improving anything on it, when I was rectifying the hull sides I managed to knock several deck fittings off including several bollards, the small block on the rear deck kept getting the brass derrick supports bent and broken, so I managed to remove the whole block and put it aside, next was the spinners - I managed to break one of them in two but I found the piece and glued it back on, only to be knocked off every time I handled the hull, one of the props it came un glued from the hull and needed securing. Today I masked up the whole top side and deck with layers of tape like a tent ridged in the center - at least no spray should kreep in, well i put a couple of surgical gloves on went outdoors and sprayed the whole bottom and sides up to the mask, with the same rattle can as I used before, it went on in a couple of layers but - Its Orange Peeled folks , no doubt the enamel base over the top of the Water Acrylic hand painted top coat, even though that had been painted on months and months ago. Not a happy bunny at the moment with it :( OC
-
I spent the last two days in the sunshine doing my other hobby - photographing planes, so this gave me a good break from the build kind of rested my eyes, I will be back on her today masking the hull top sides and deck to make sure no paint sprays onto that section, I will spray the bottom and part sides - upto the Boot line with the red I used before, then put her aside to dry thoroughly. OC.
-
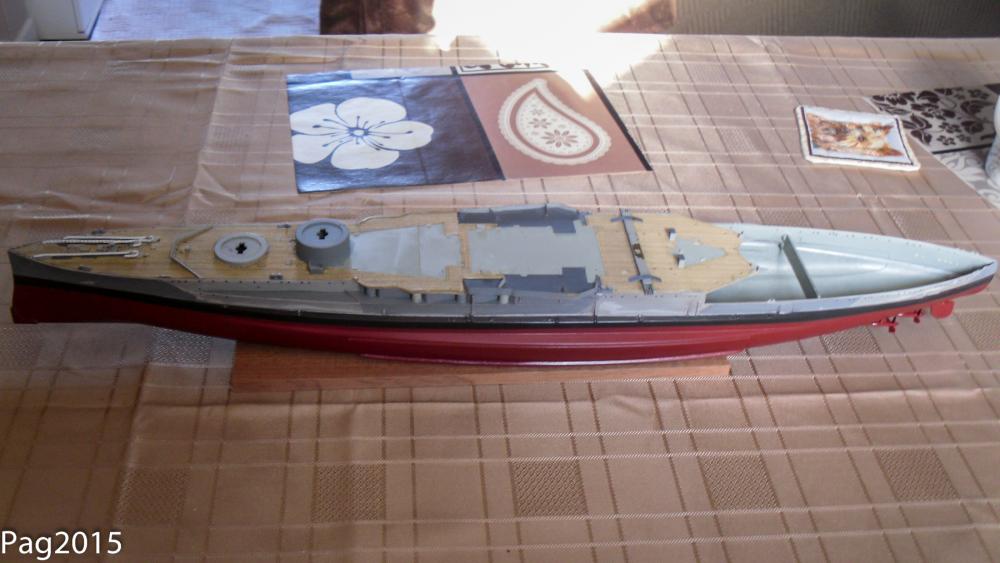
I sanded off all of the raised plastic detail on my warspite deck before fitting the pontos deck, perhaps this helped its fixing as it was a flat yet slightly abrasive due to sanding. OC
- 75 replies
-
- 6
-
-
- scharnhorst
- dragon
- (and 2 more)